2025/06/20(金)マチアソビに行ってきた
投稿日:
これは去る5月10日に、メイクアガールがマチアソビ Vol.28に参加するという情報を得ていたため、前々から興味のあったマチアソビに行ってみようと思い、行ってみた記録である。
正直想像以上に楽しめたし、また遊び足りない感があるほどだ。
- 前日譚
- マチアソビ一日目
- 朝食会場からの景色
- メイクアガールの鑑賞整理券の配布場に向かうべくバス乗り場へ
- 整理券をもらいにufotable CINEMAへ
- 入手し損ねた整理券
- 駅への帰路
- 整理券を入手する二度目のチャンスを逃す
- 徳島を味わいながら駅へ向かう
- 徳島駅に戻ってきた
- 幕開け前のポッポ街へ
- ホテルへ戻る
- ボードウォークへ向かう
- ボードウォークへ戻る
- メイクアガールの整理券を探す
- メイクアガール鑑賞整理券の入手
- 開会式へ
- ゆるキャンカー
- 冷凍みかんと出店
- 休憩所
- 部屋替えにホテルに戻り、そのままゴロゴロしてしまう
- ポッポ街見物
- 神椿物語研究開発部の試遊会に参加
- ポッポ街を探索する
- ボードウォークへ戻る、その2
- マチをアソビ尽くす!
- メイクアガール鑑賞にufotable CINEMAへ
- メイクアガール上映会
- ホテルへの帰路
- マチアソビ二日目
- 行き交う痛車
- 賑わうメイン会場
- 夏の知らせ
- ボードウォーク再見
- マチへ繰り出す
- マチアソビの核心との出会い
- 斬られた灯篭
- 東新町商店街の出店
- 道路沿いの商店
- 白滝製麺周辺
- 大人気だったフリー素材ずんだもん
- 駐車場にいた痛車
- 路肩にいた関係車両
- 銀座福助とバル
- 徳島仕様の自販機
- 阿波踊り会館
- 徳島眉山天神社
- 阿波踊り会館内部へ
- 二連結ゴンドラの眉山ロープウェイ
- ufotable一色だったロープウェイ山頂口
- ufotableカラーのある眉山山頂
- マチ★アソビCAFE
- 一等三角点「眉山」と平和記念塔パゴダ
- 眉山とキッチンカー
- 眉山から徳島市街を望む
- 帰りのロープウェイ駅
- 阿波踊り会館ちょい前にあった謎の肉屋
- ボードウォーク
- 行列のできる大判焼き
- アワライズ無料試飲キャンペーン
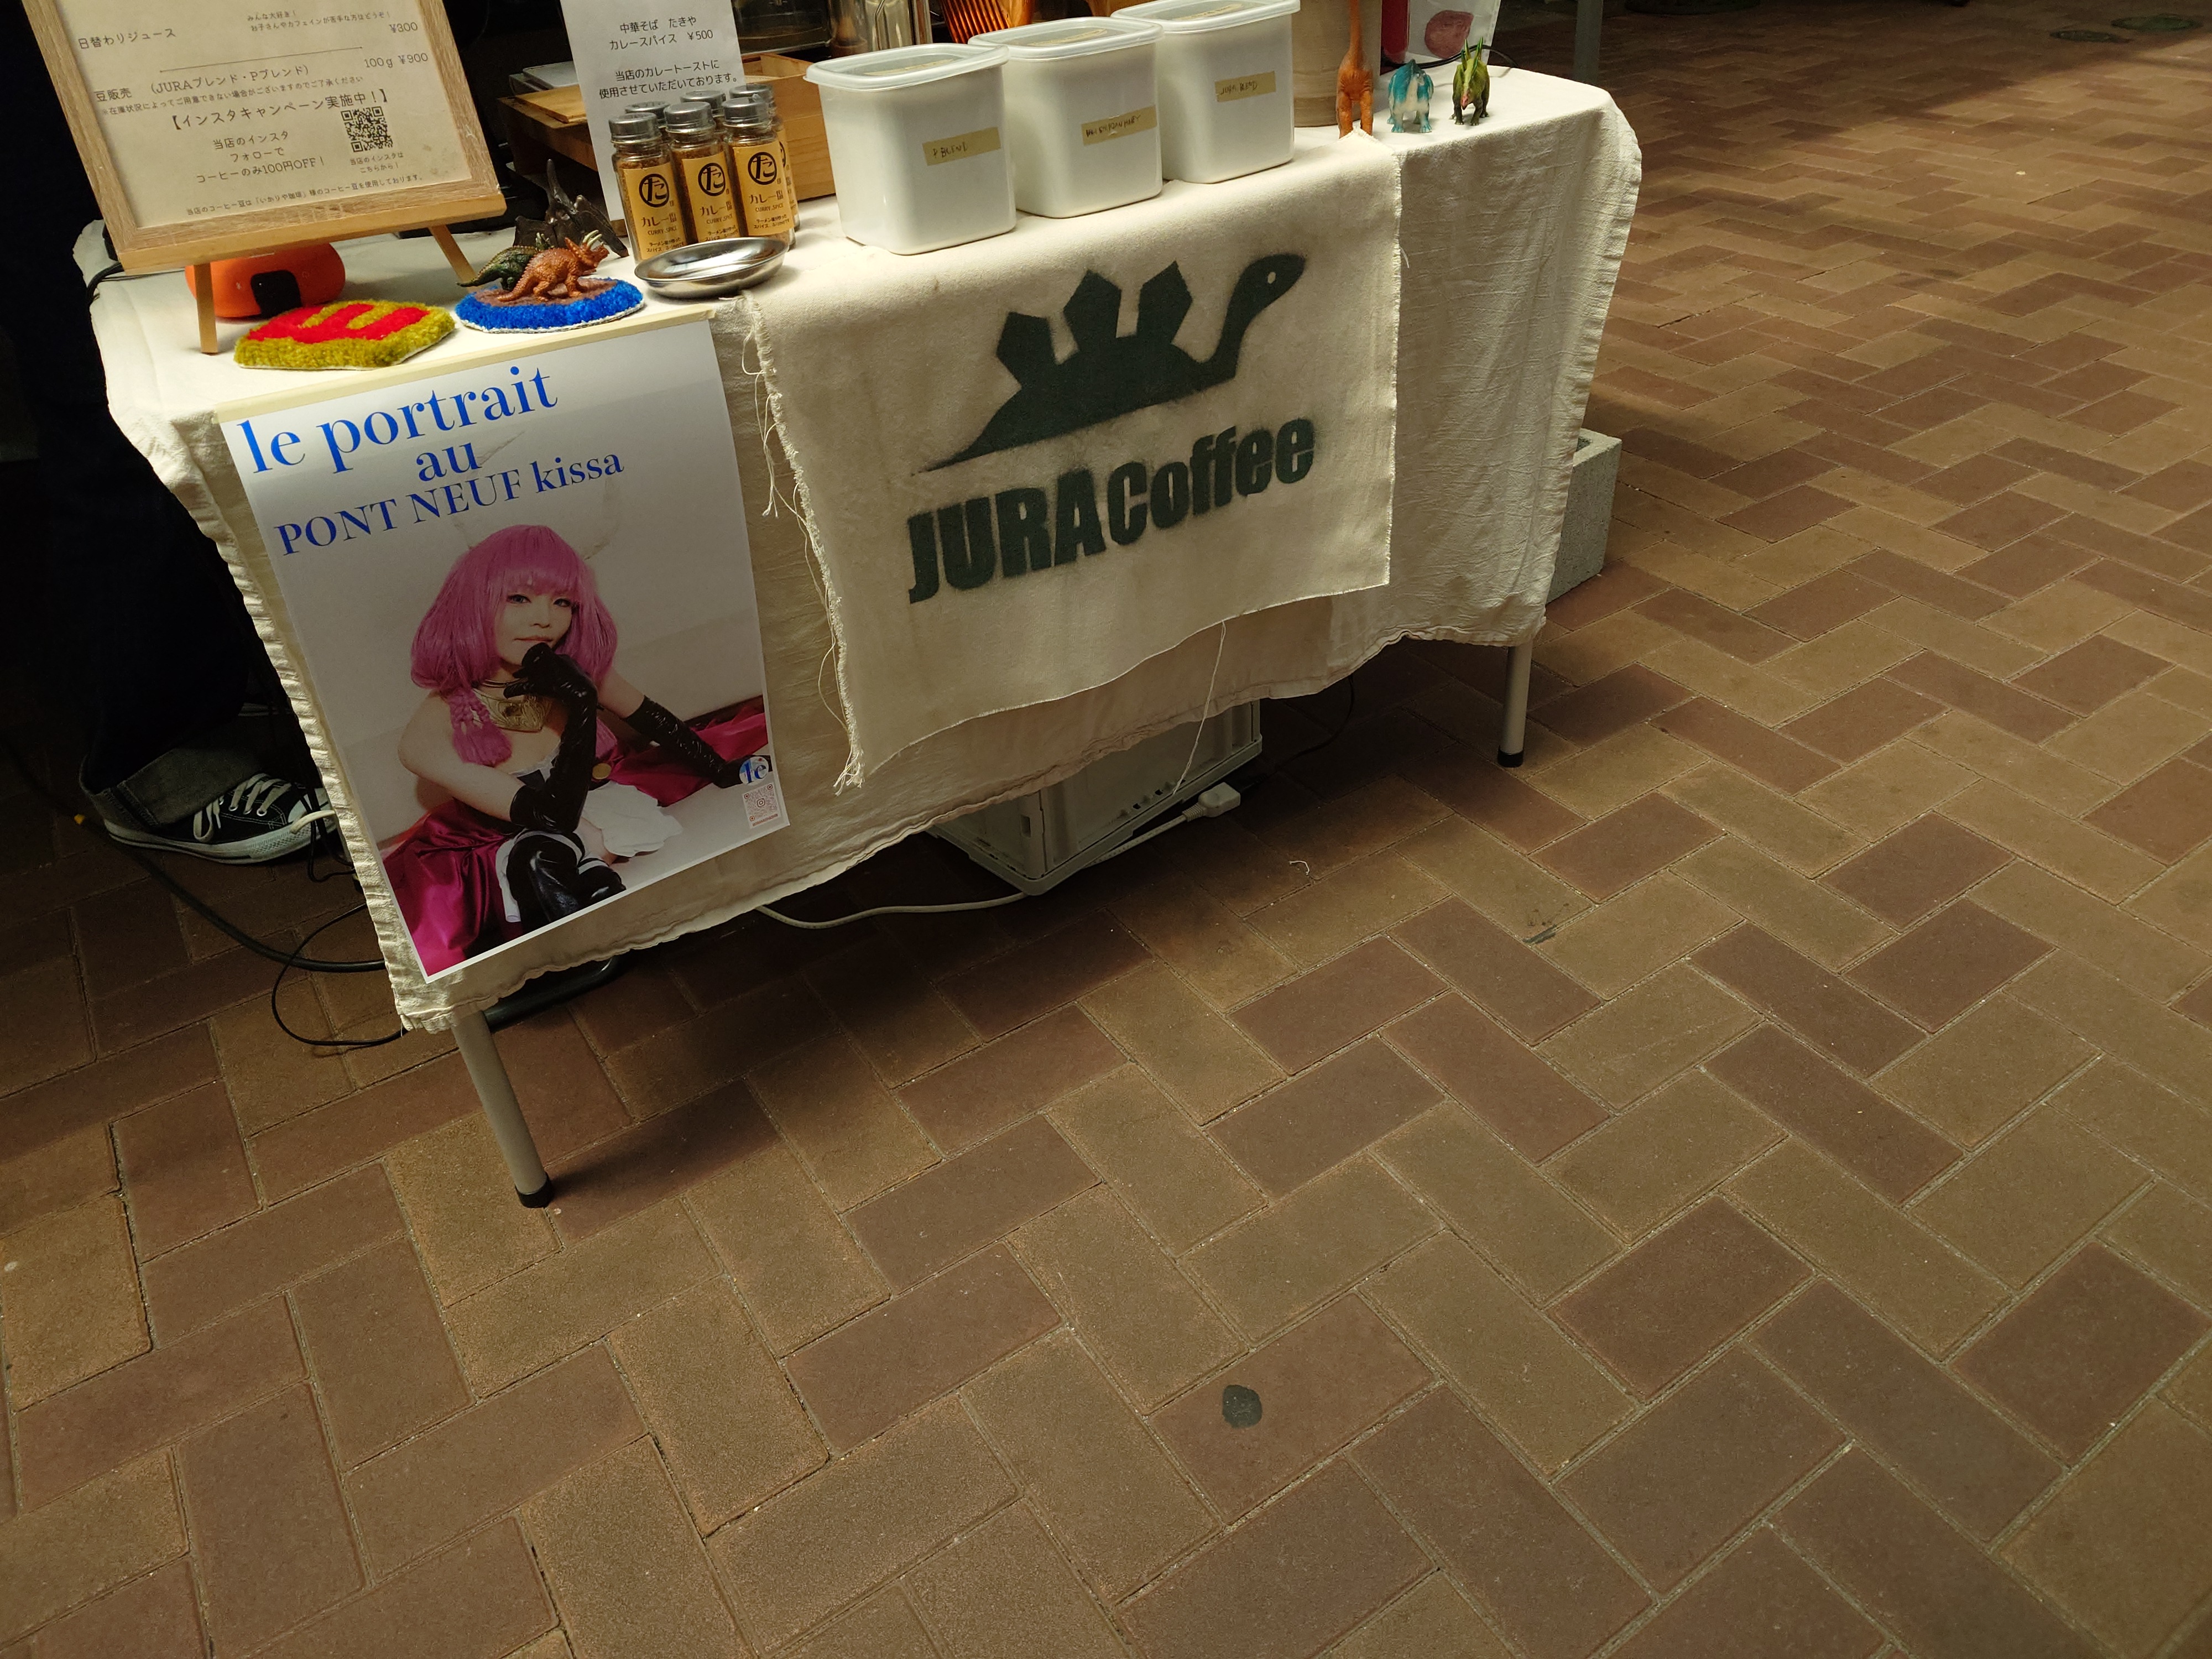
- 森珈琲店
- 徳島駅高速バスターミナル
- 徳島バス車内
- 四国側最終出口
- アオアヲナルトリゾート
- 大塚潮騒荘・大塚国際美術館
- 高速道路への復帰
- 鳴門糸わかめ販売所
- 鳴門の渦潮
- 本州に入り詰まり始める高速道路
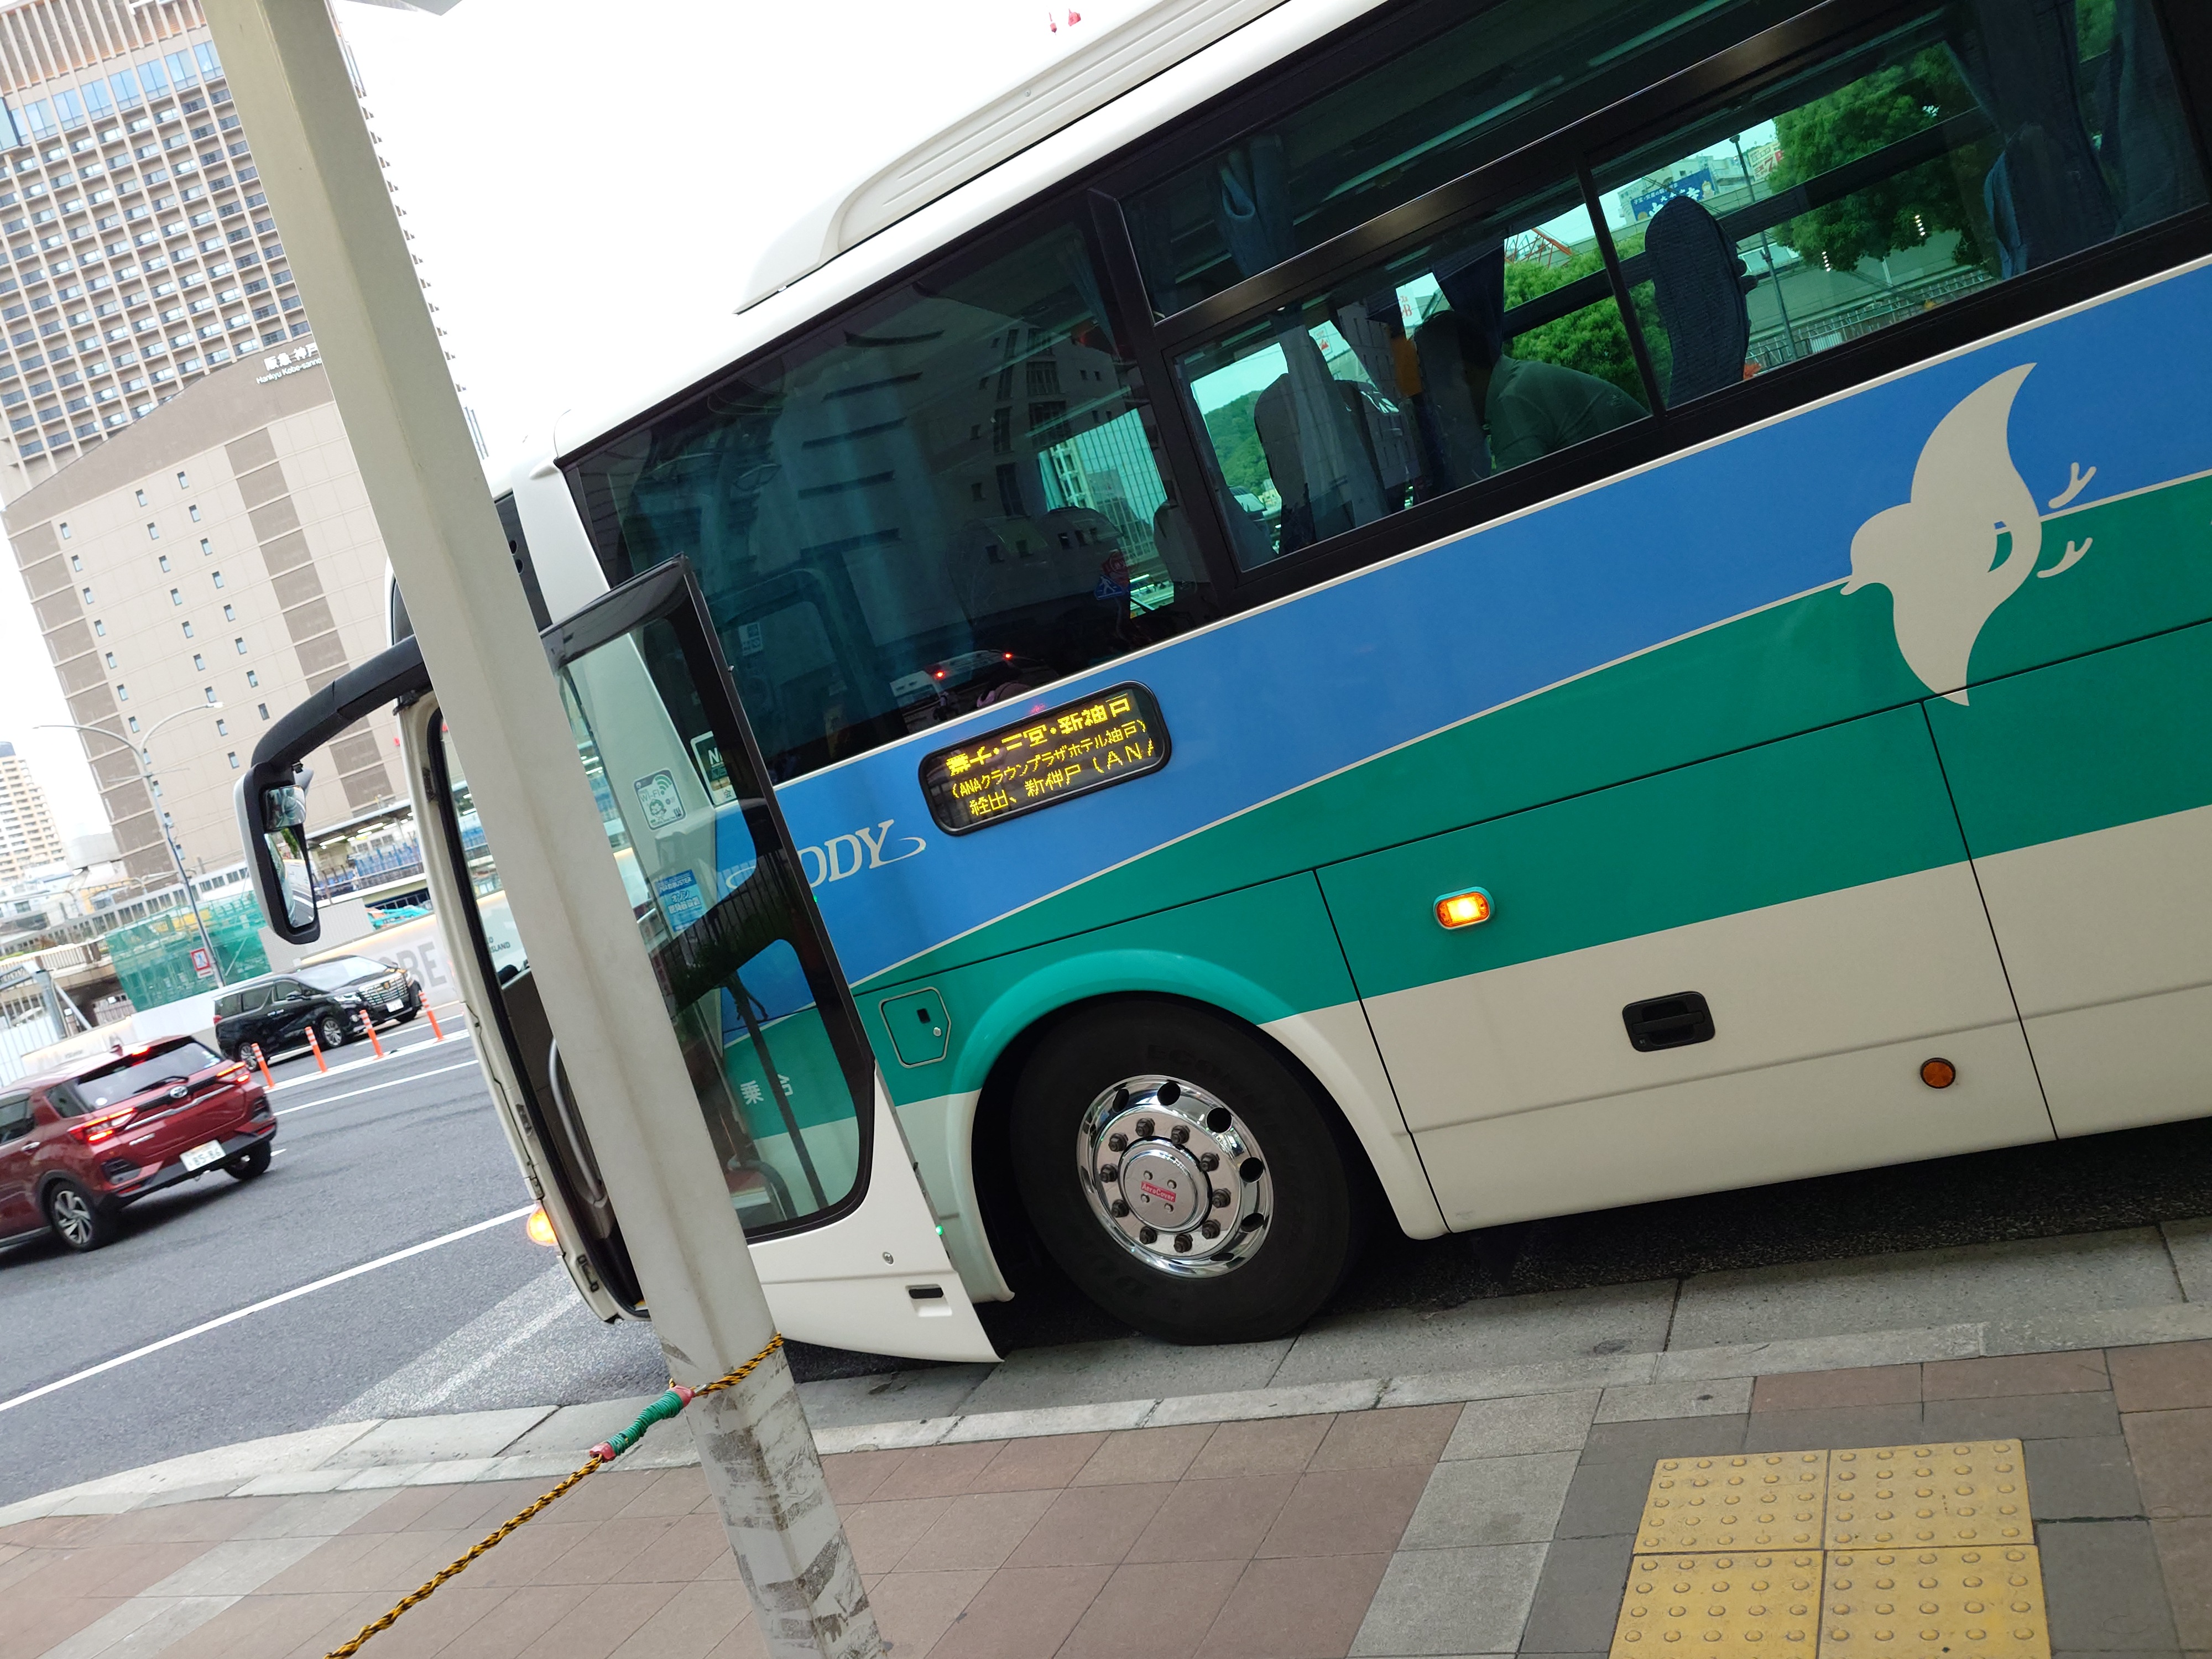
- 下界、三宮へ
- 三宮を走るバスたち
- 帰宅
- 徳島土産
- 徳島県つるぎ町を舞台としたRPG「ツルギスタ」
- まとめ
前日譚
早朝にメイクアガール上映の整理券配布があるとのことで前日入りするために一日早く家を出たので、その様子。
旅の始まり
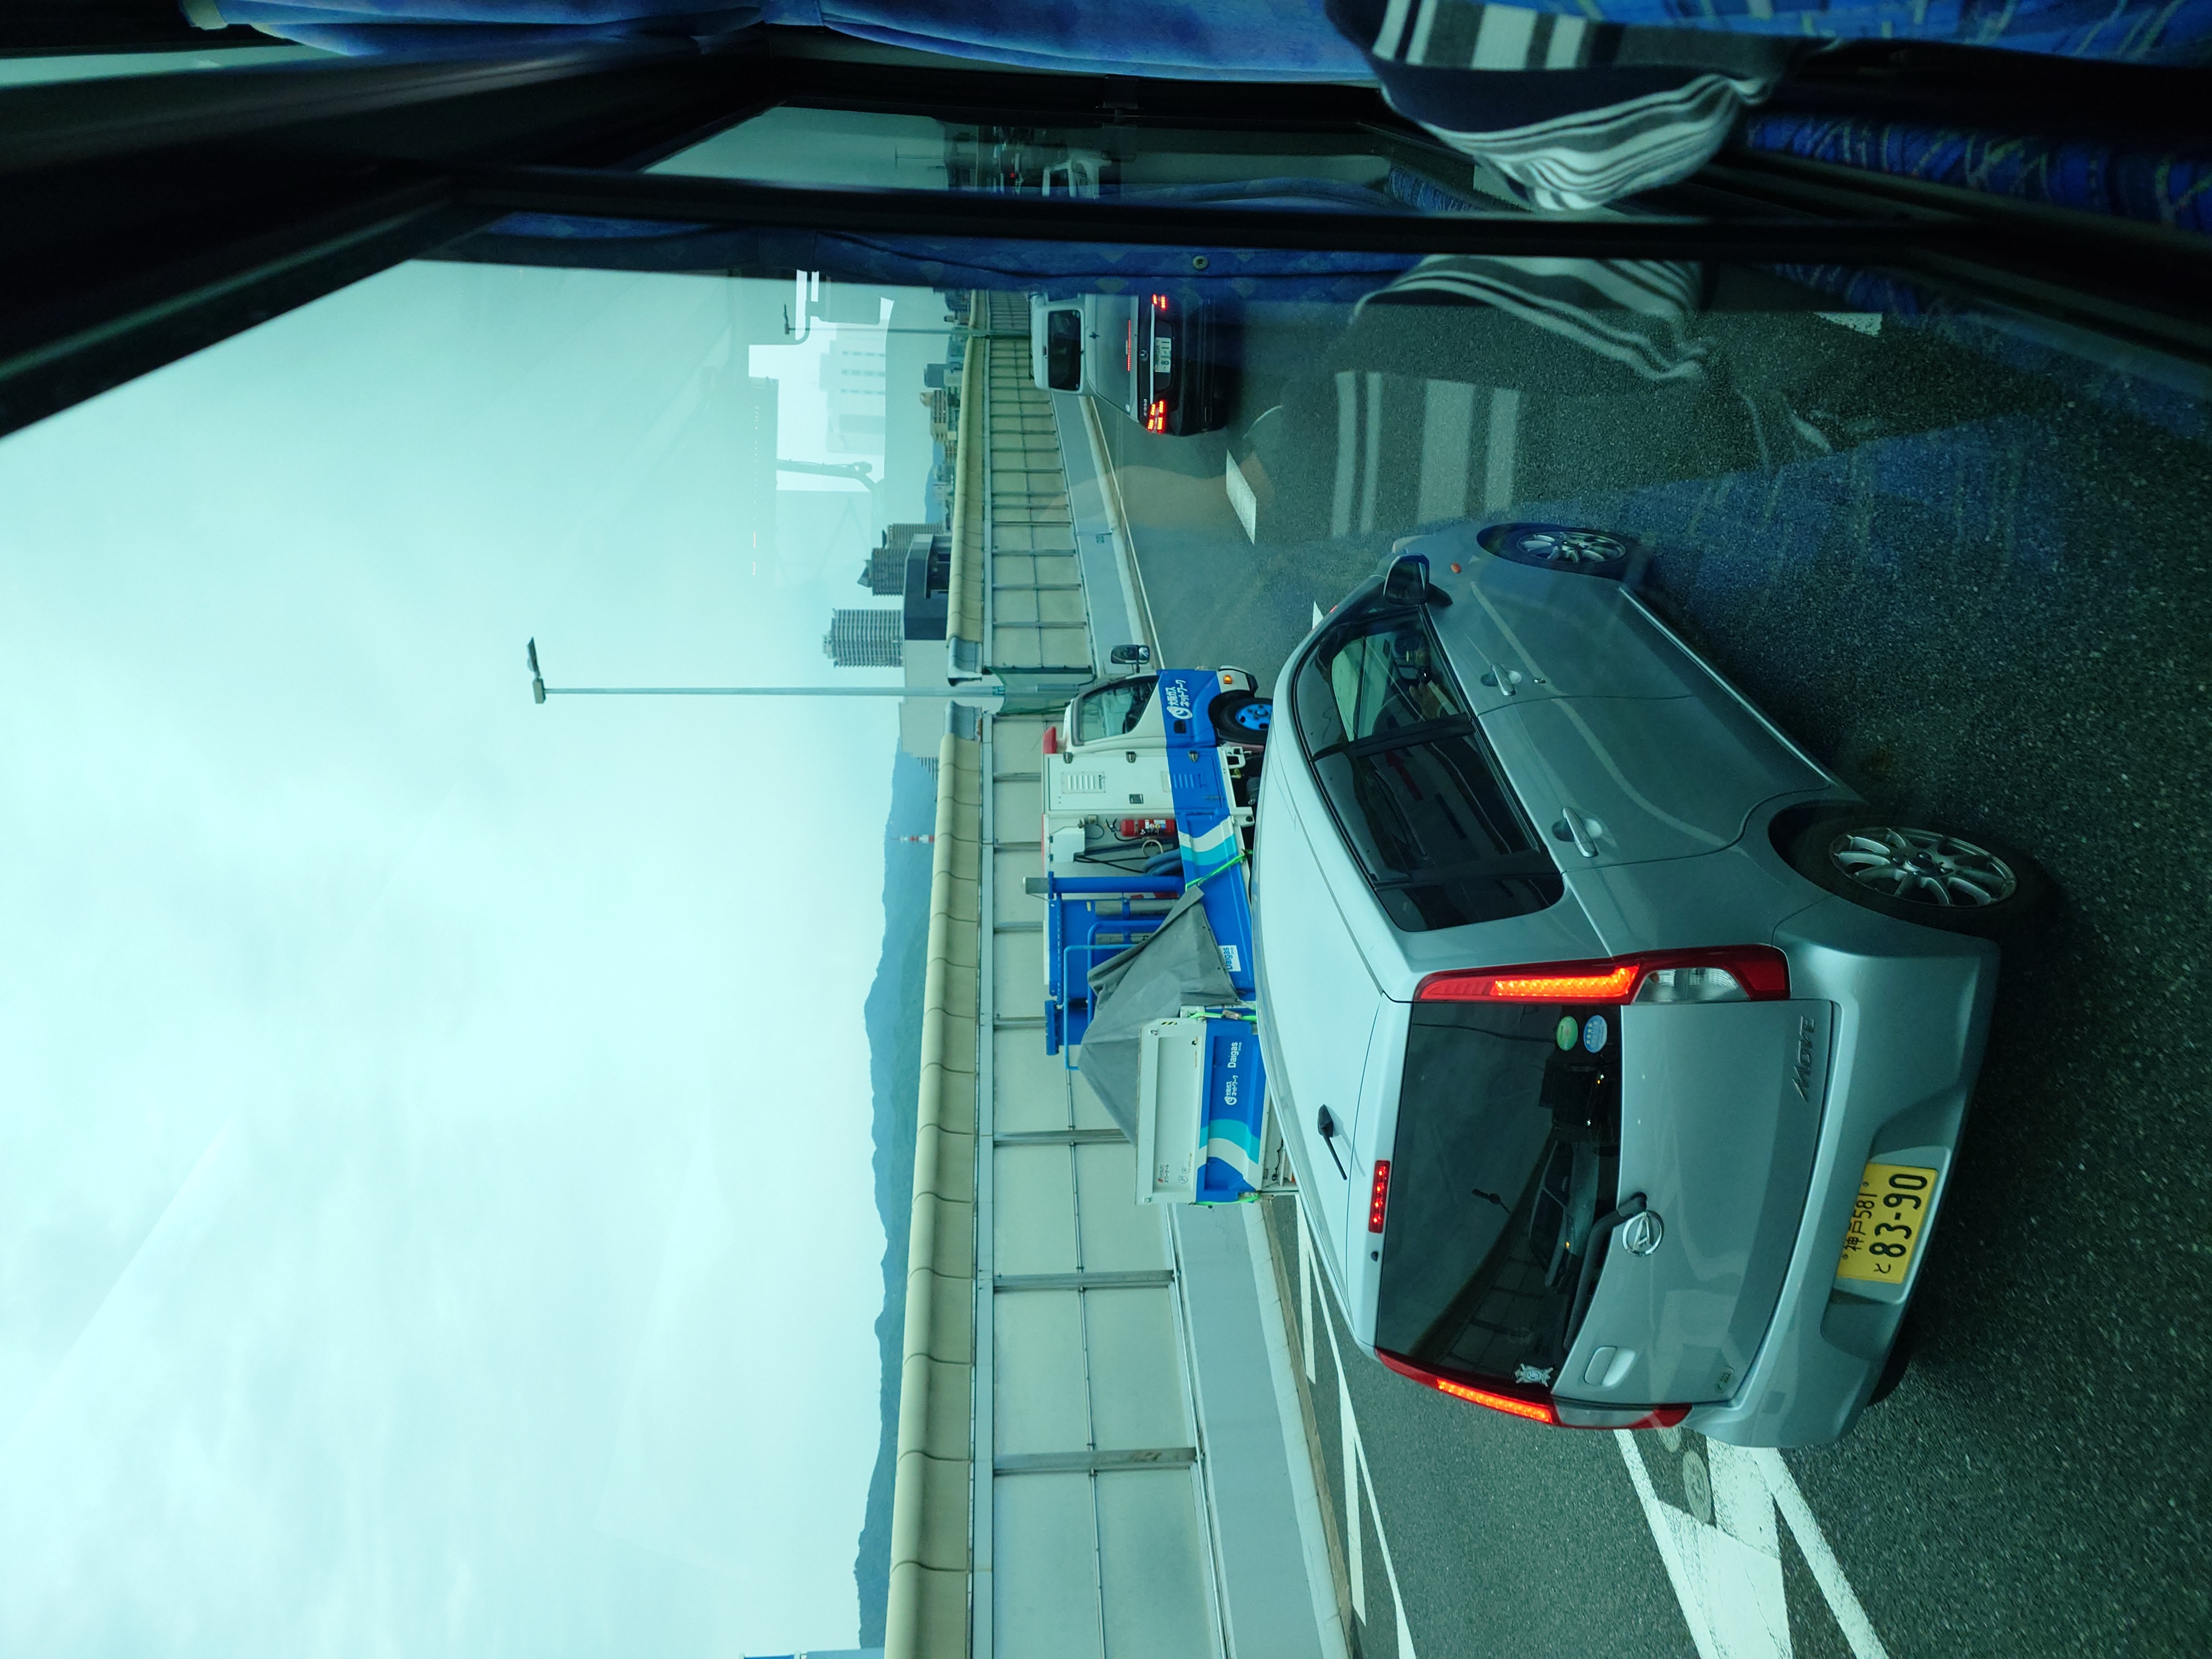
今回の旅の始まりは神姫バス三宮BTから。天気はあいにくの雨だった。
乗る予定のバスは遅れていたが、前日入りするため問題なかった。
利用したのは阪神バス。サラダエキスプレスはこれが初めてだ。

窓際には丁度メガネが置ける程度のスペースがあって便利だった。
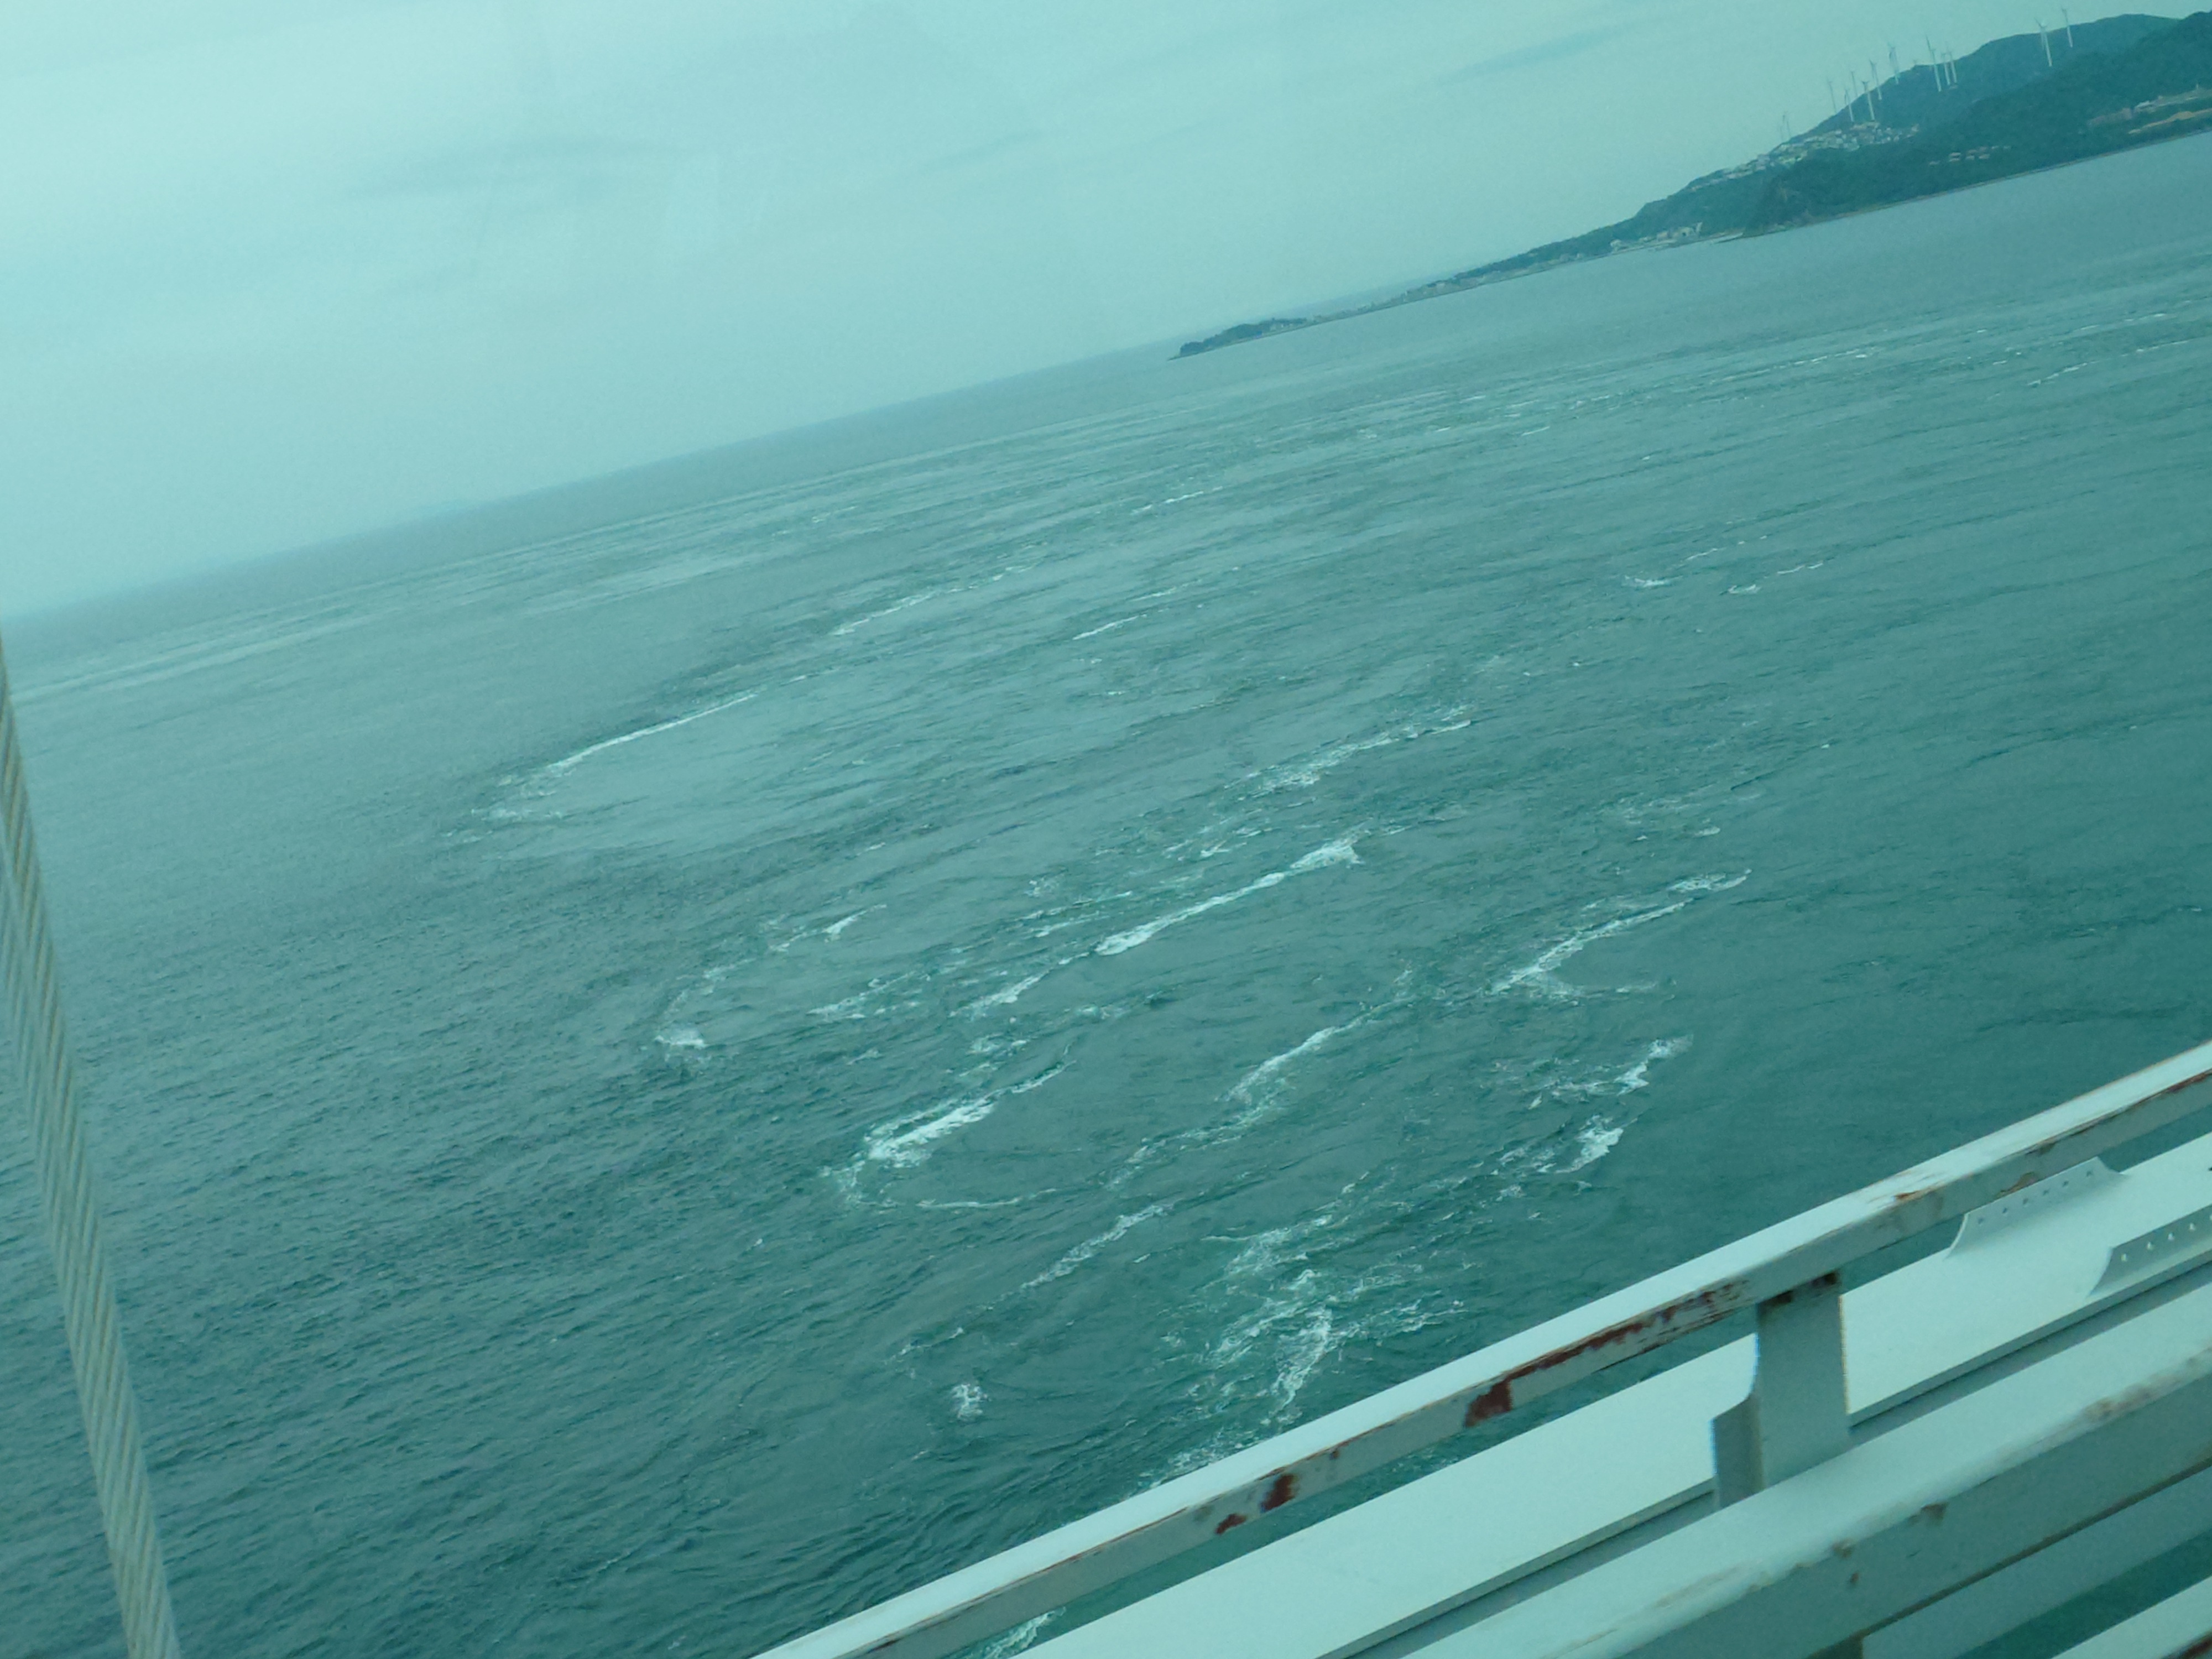
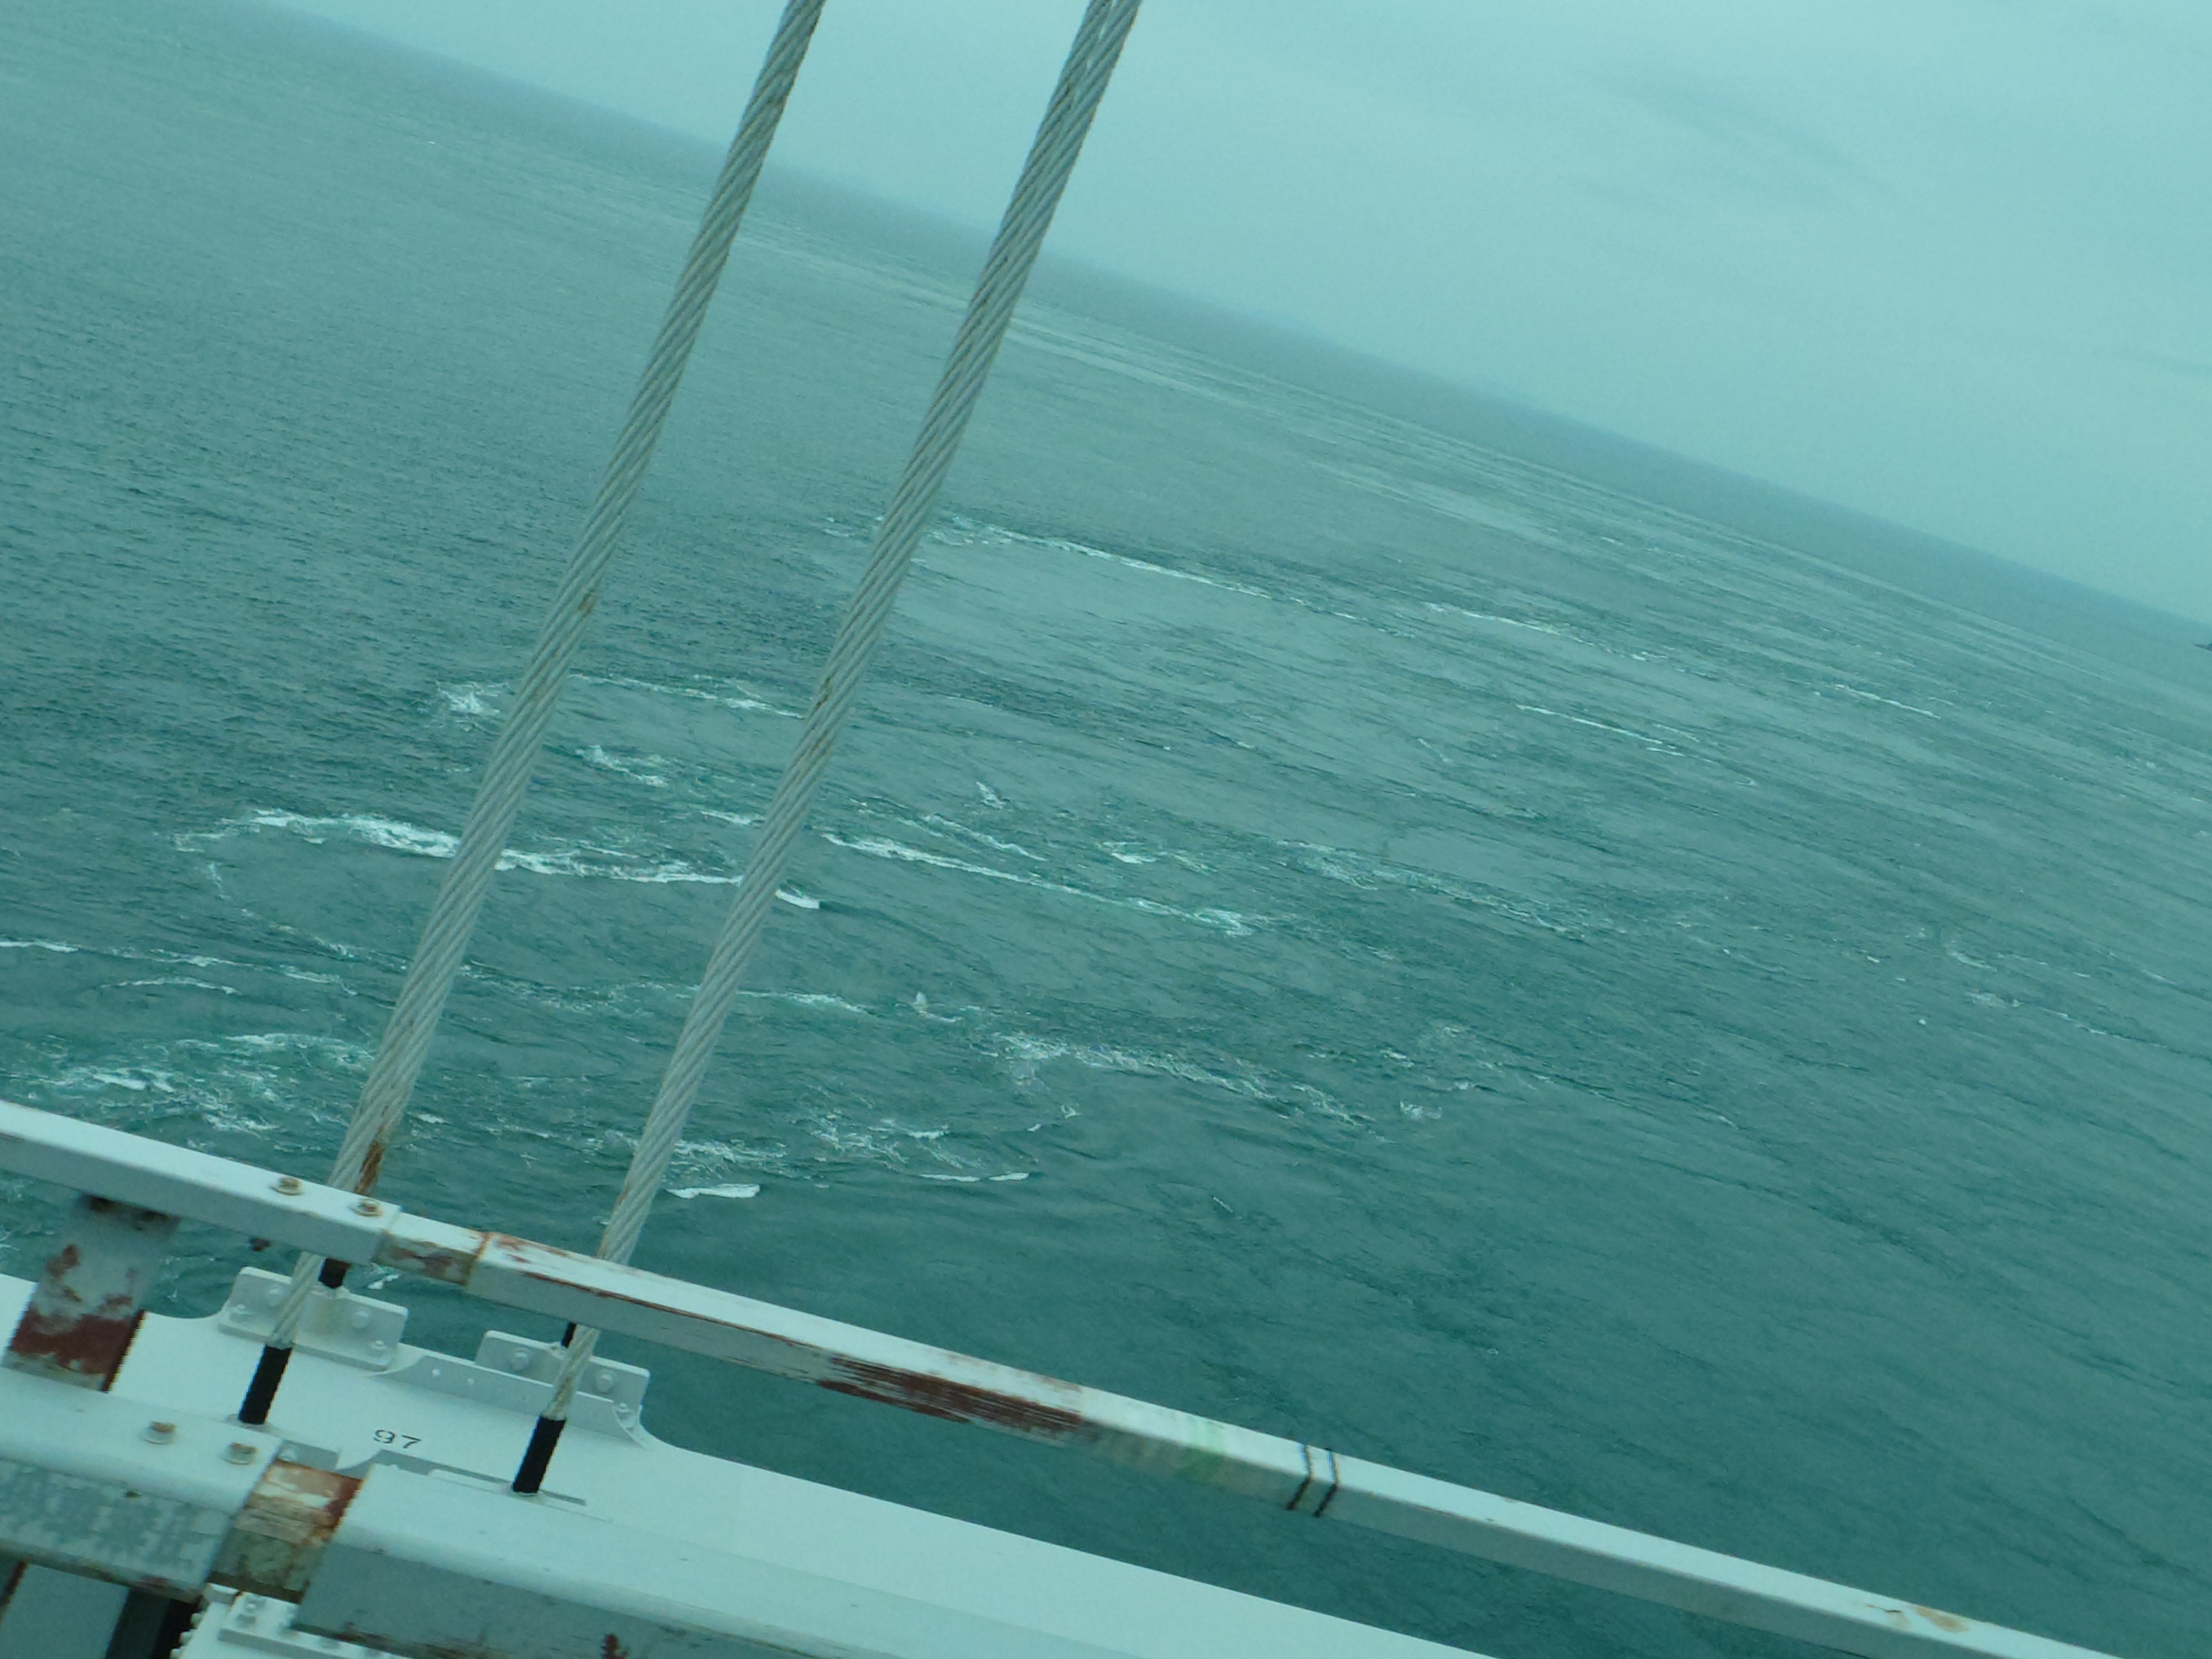
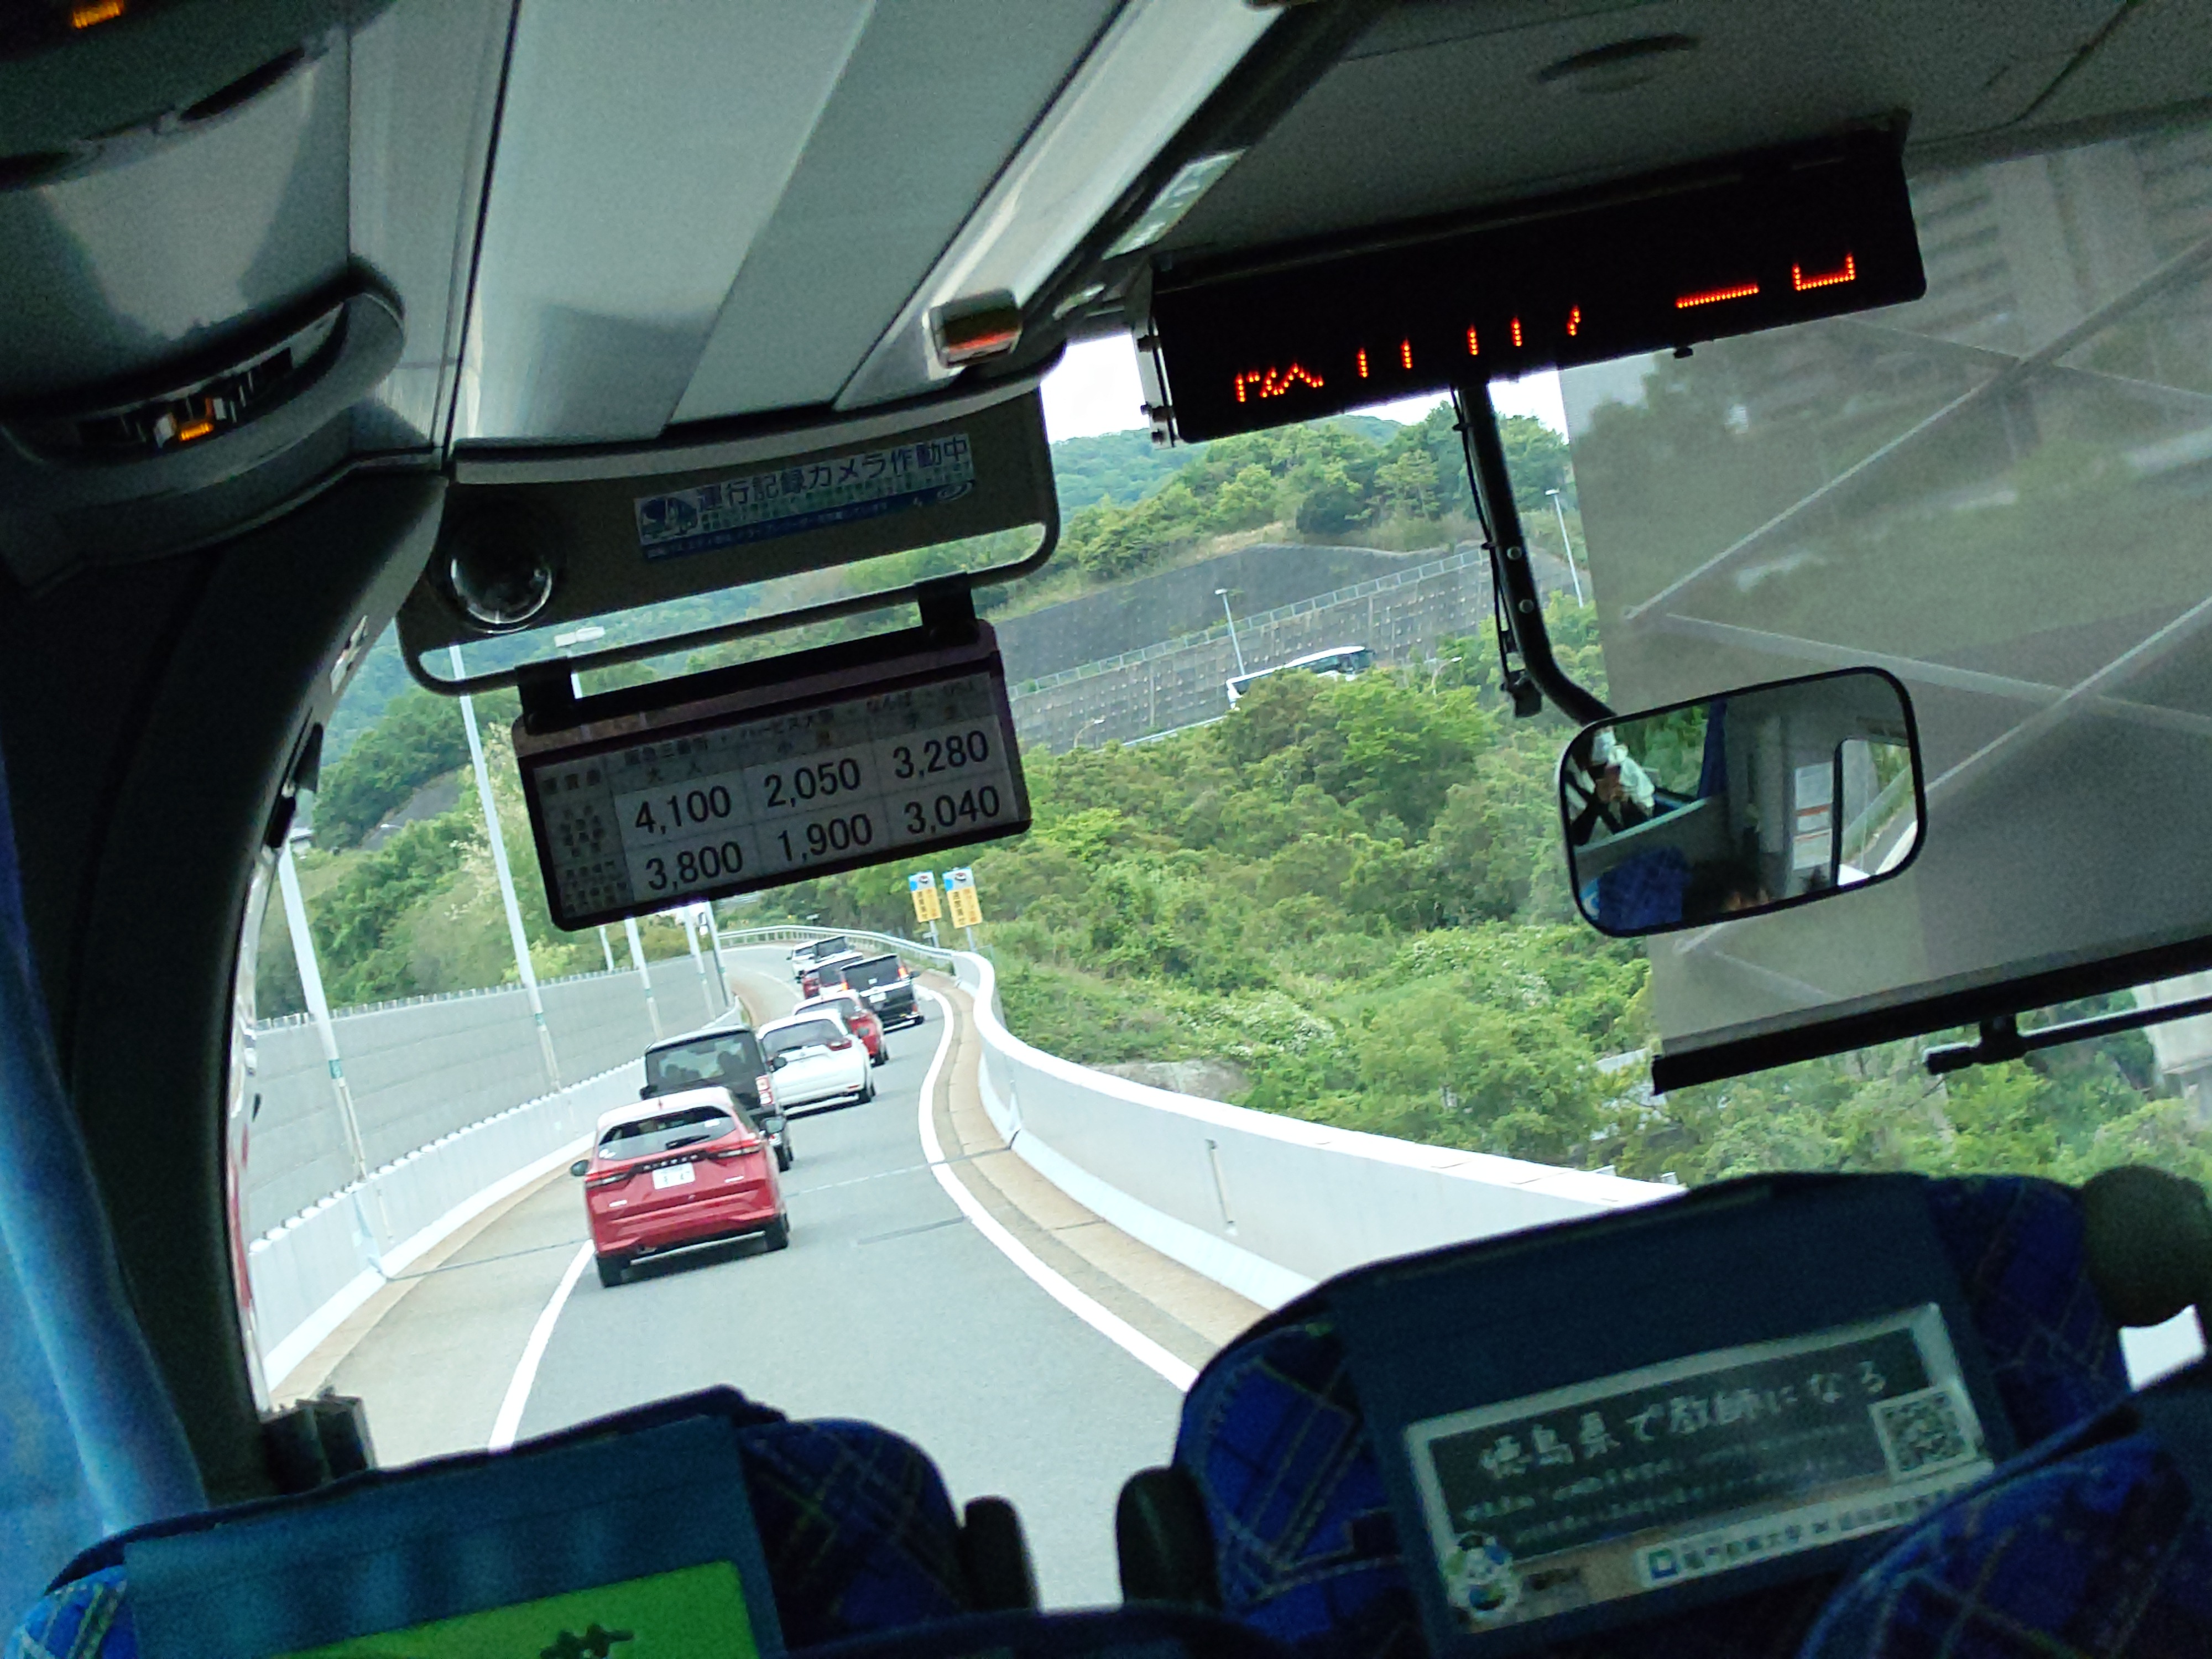
大鳴門橋
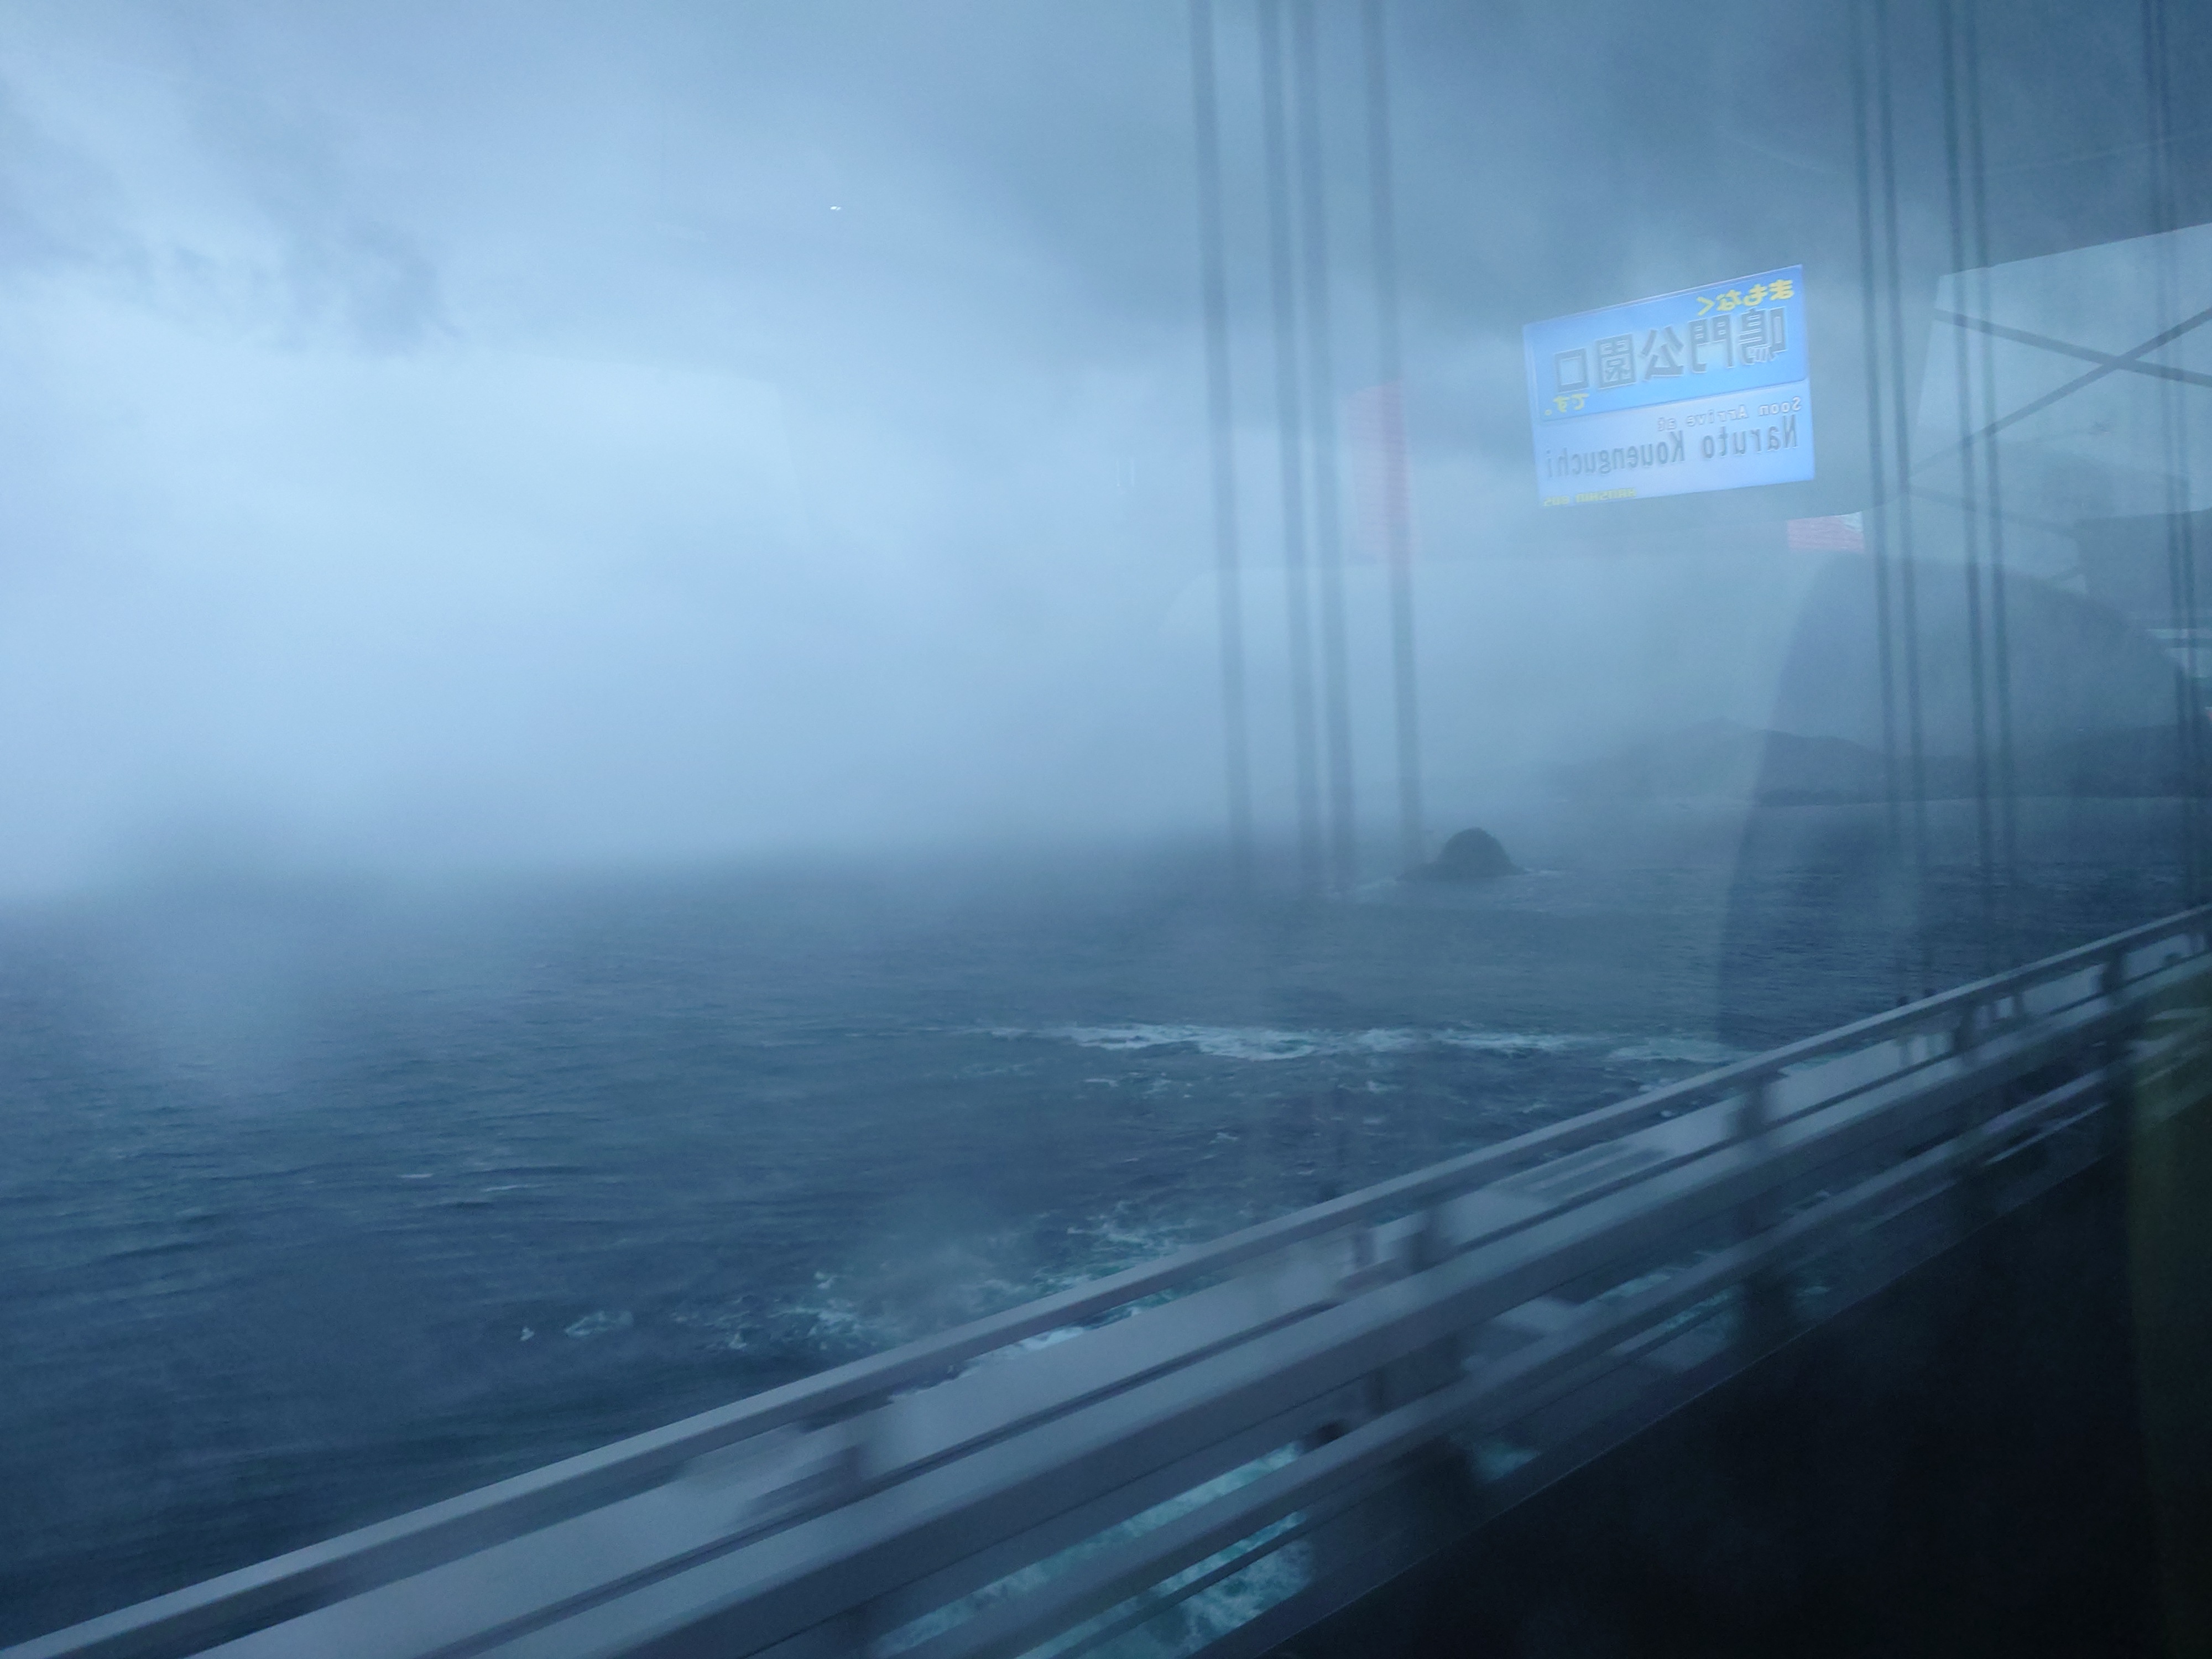

高速バスが大鳴門橋に入り、雨が降り視界は悪いものの渦潮が見えた。これはちょっと得した気分だった。
実は以前福良に遊びに行ったことがあり、その時は時間の都合で渦潮が見れなかったのだ。今回はその時の無念を晴らせ、思わぬ景色が見れてよかった。
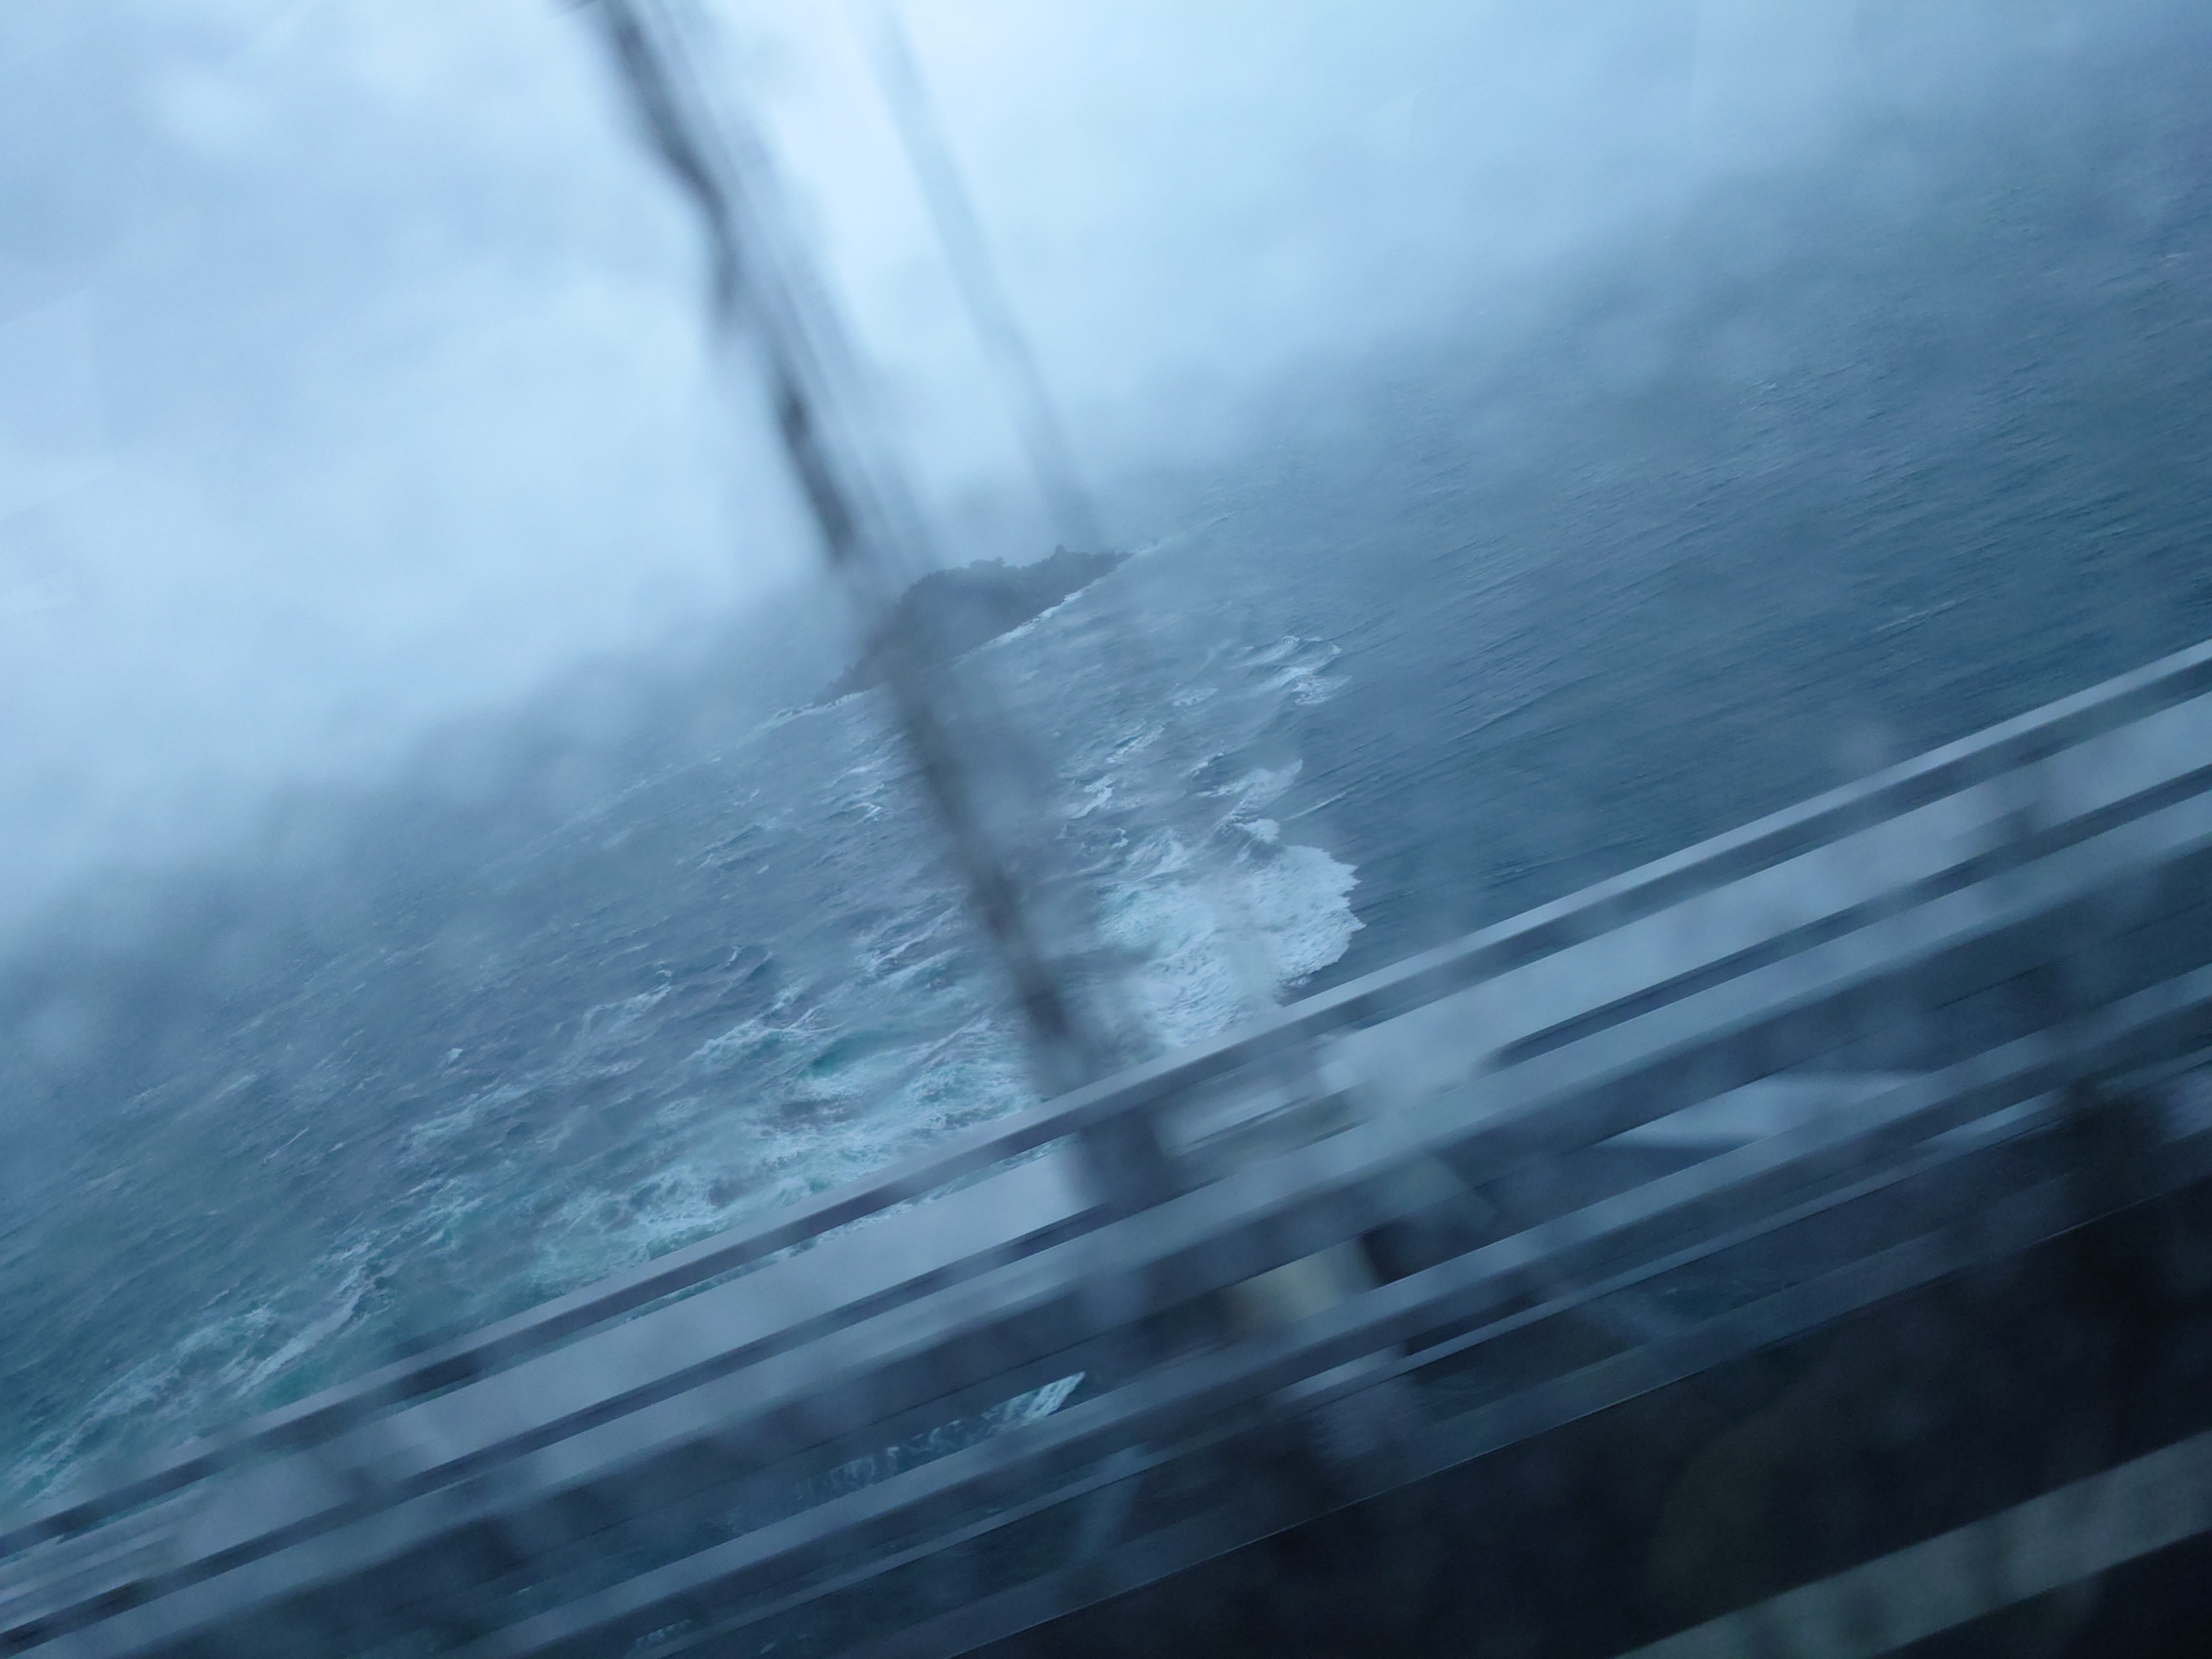
渦になっている様子までは見れなかったが、なかなか壮大だ。
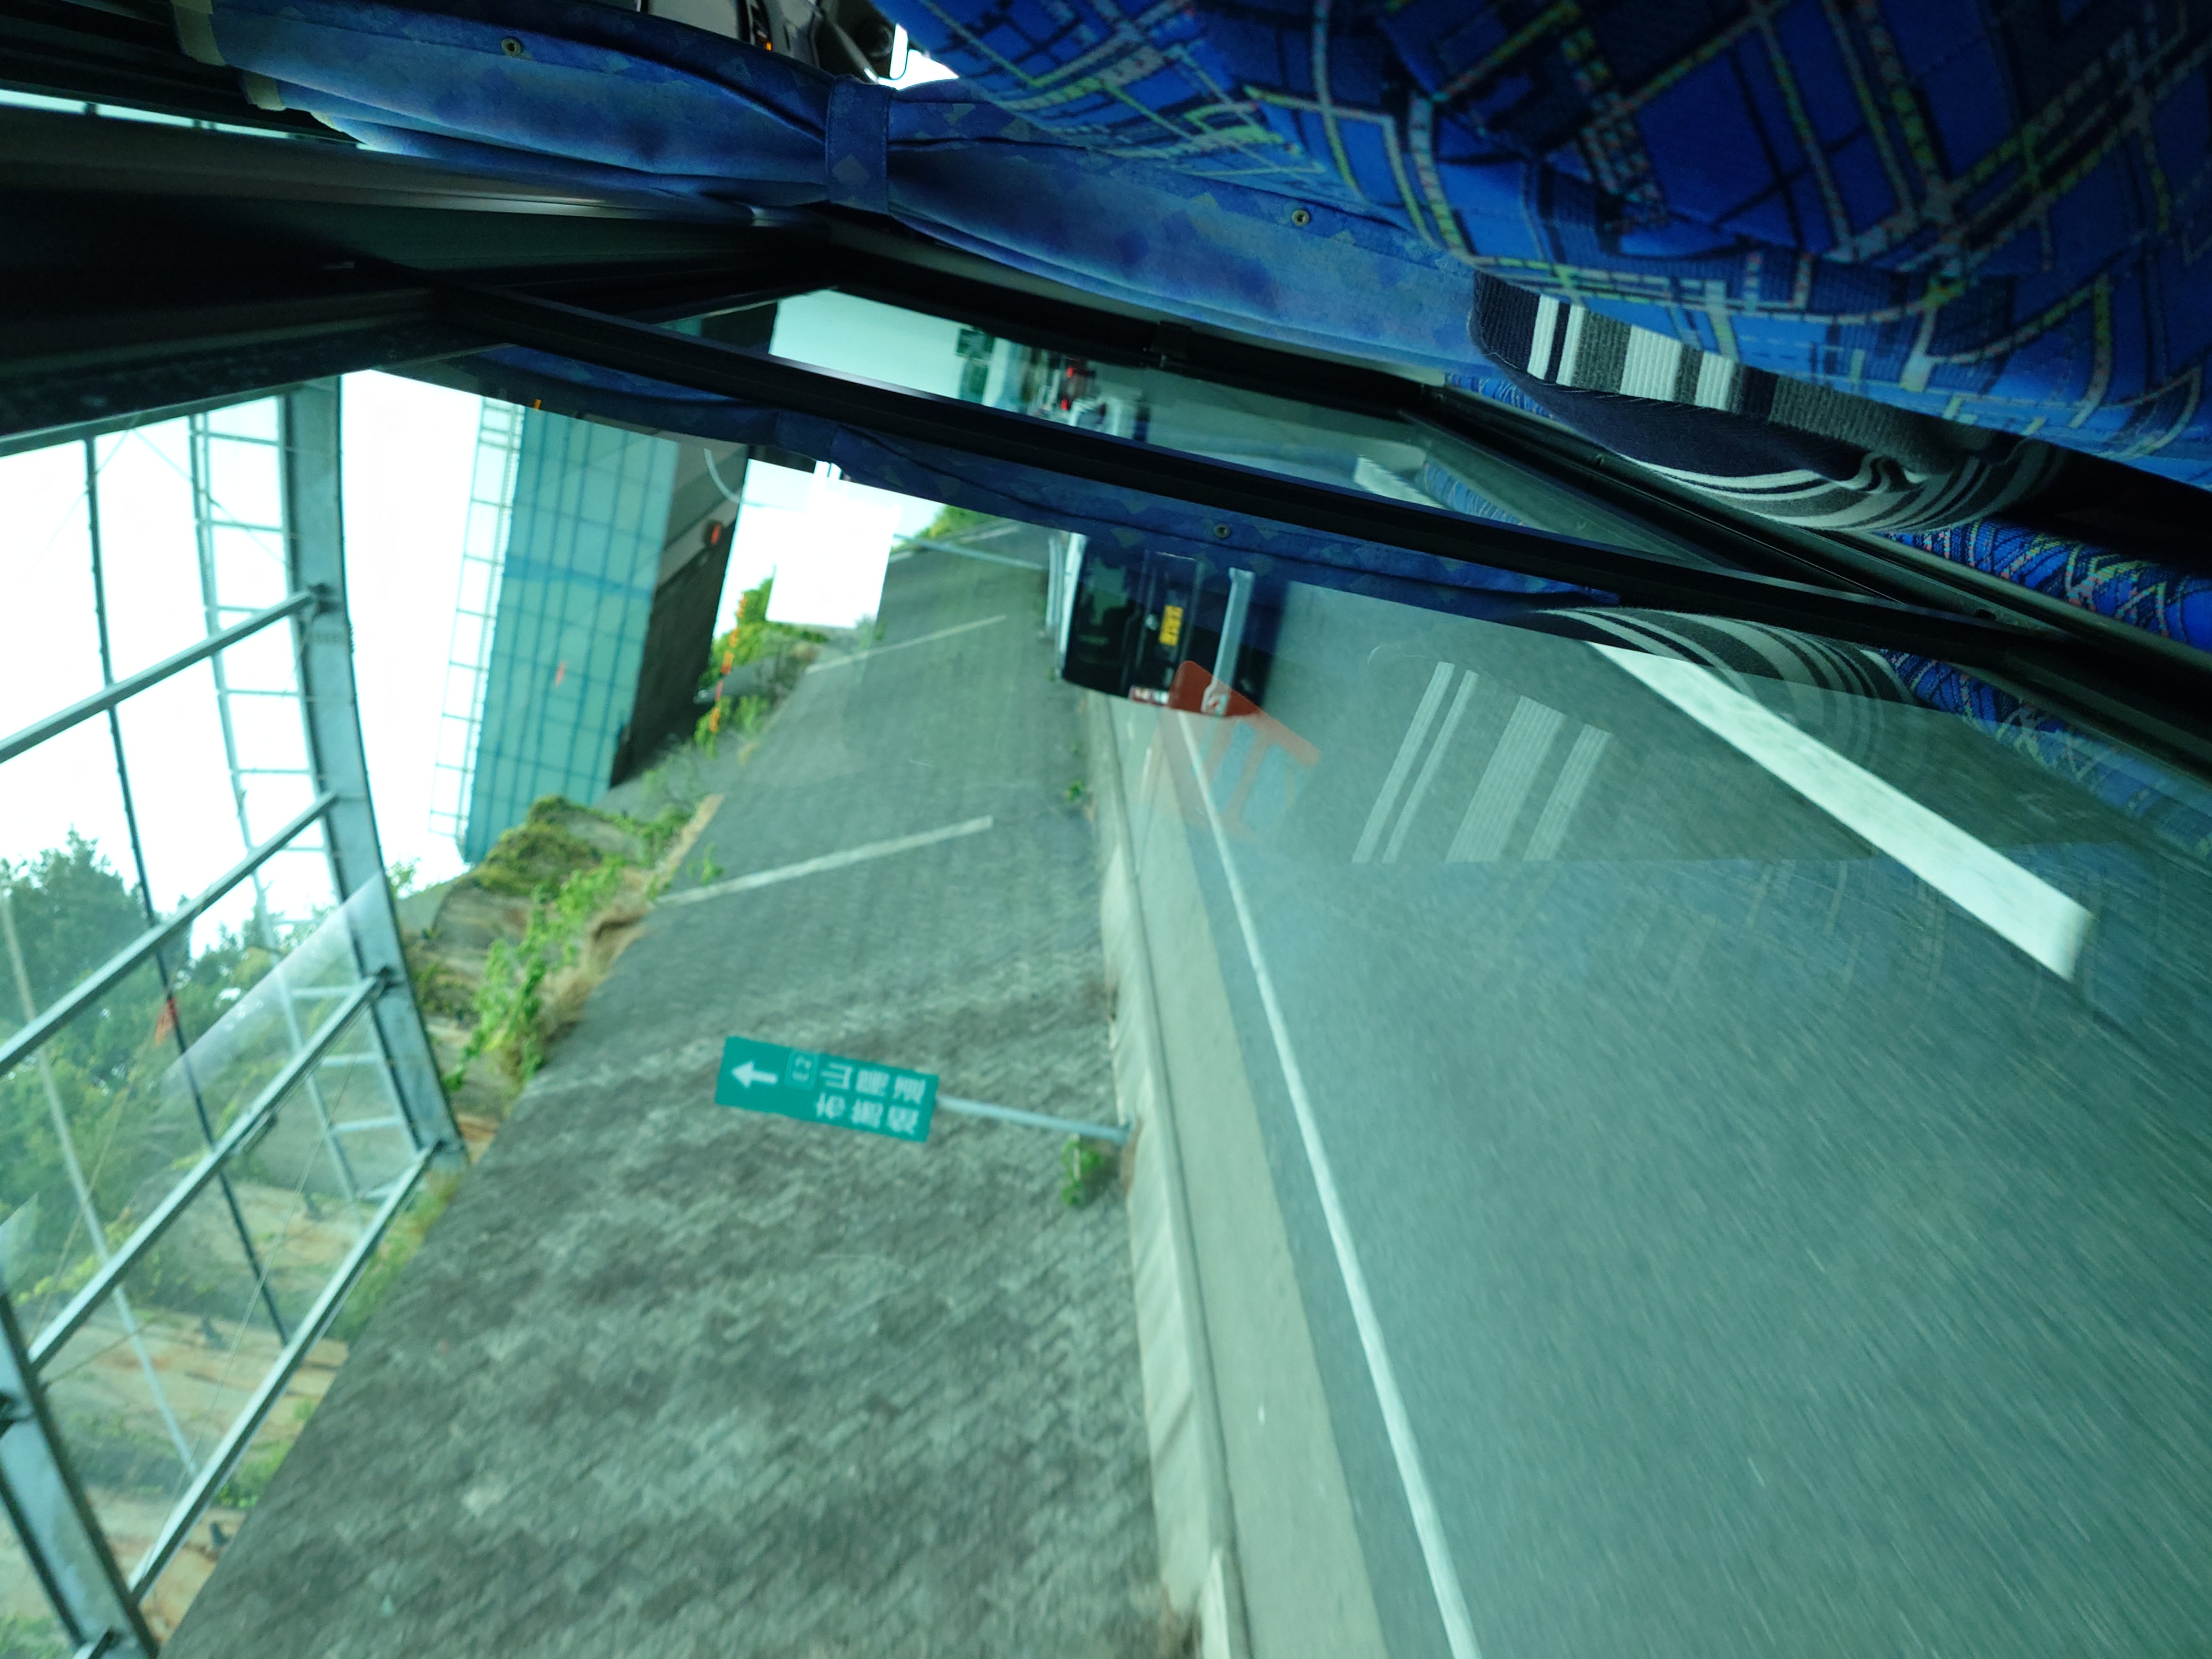
徳島入り
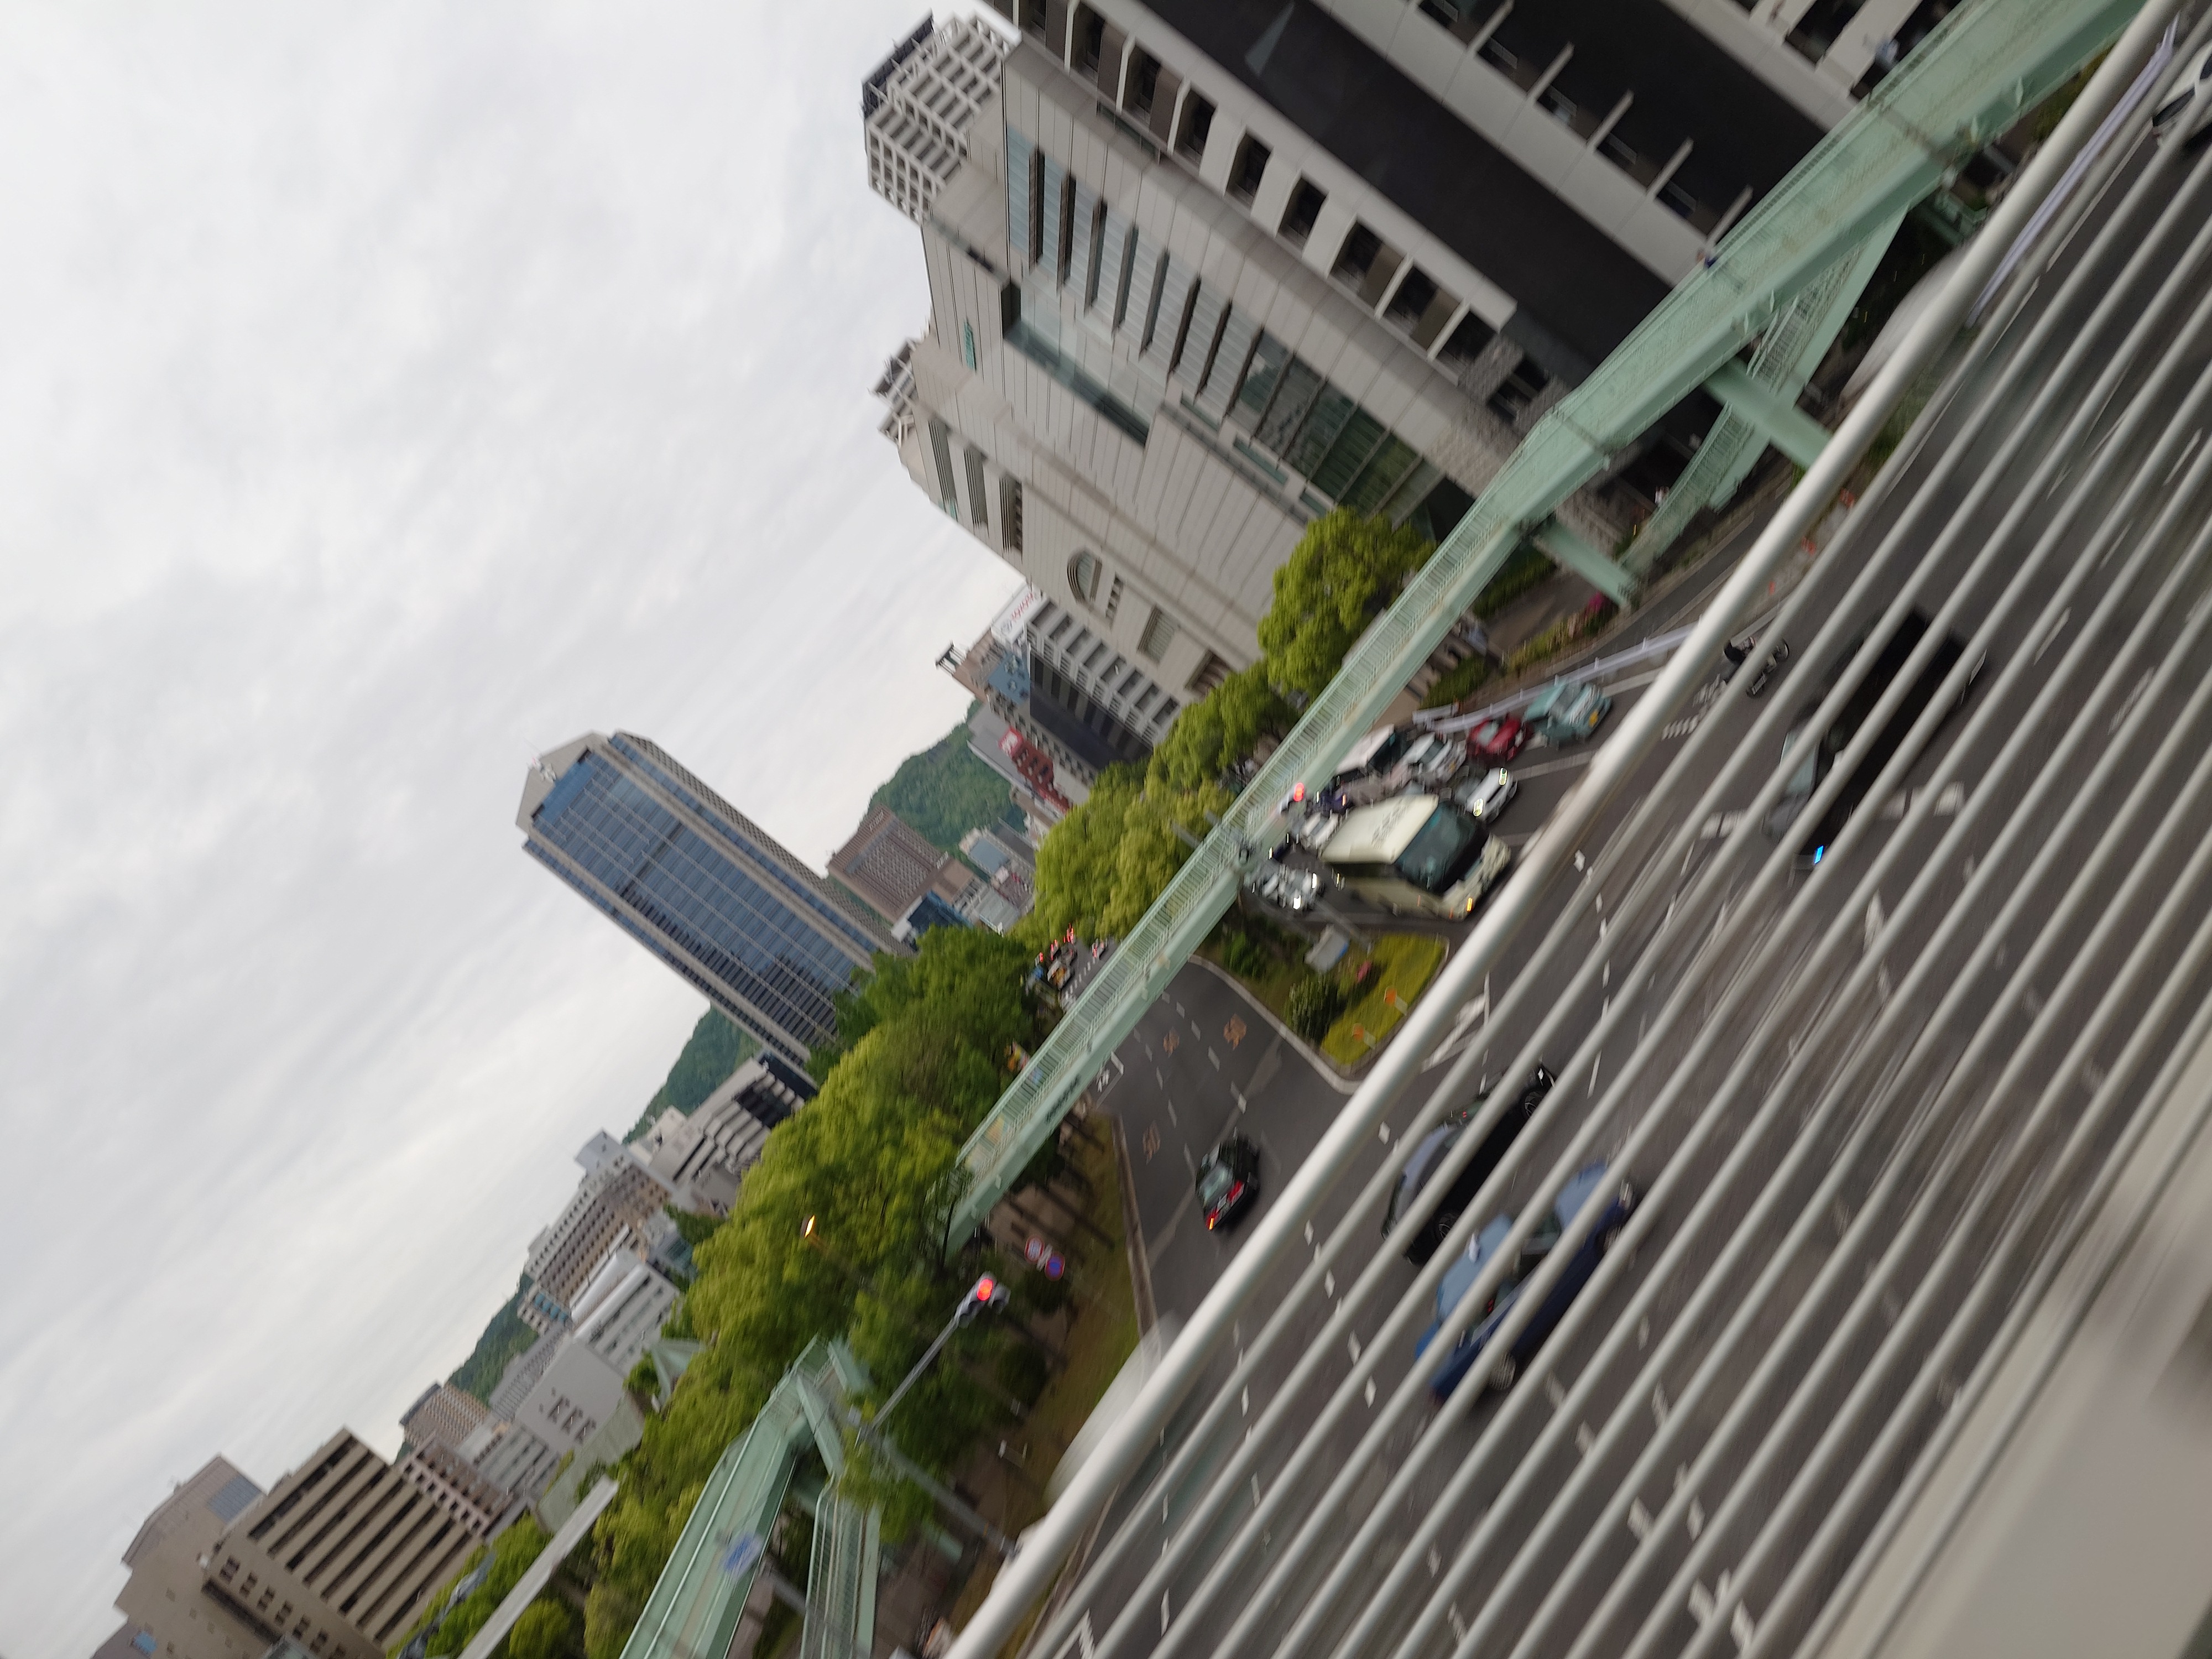
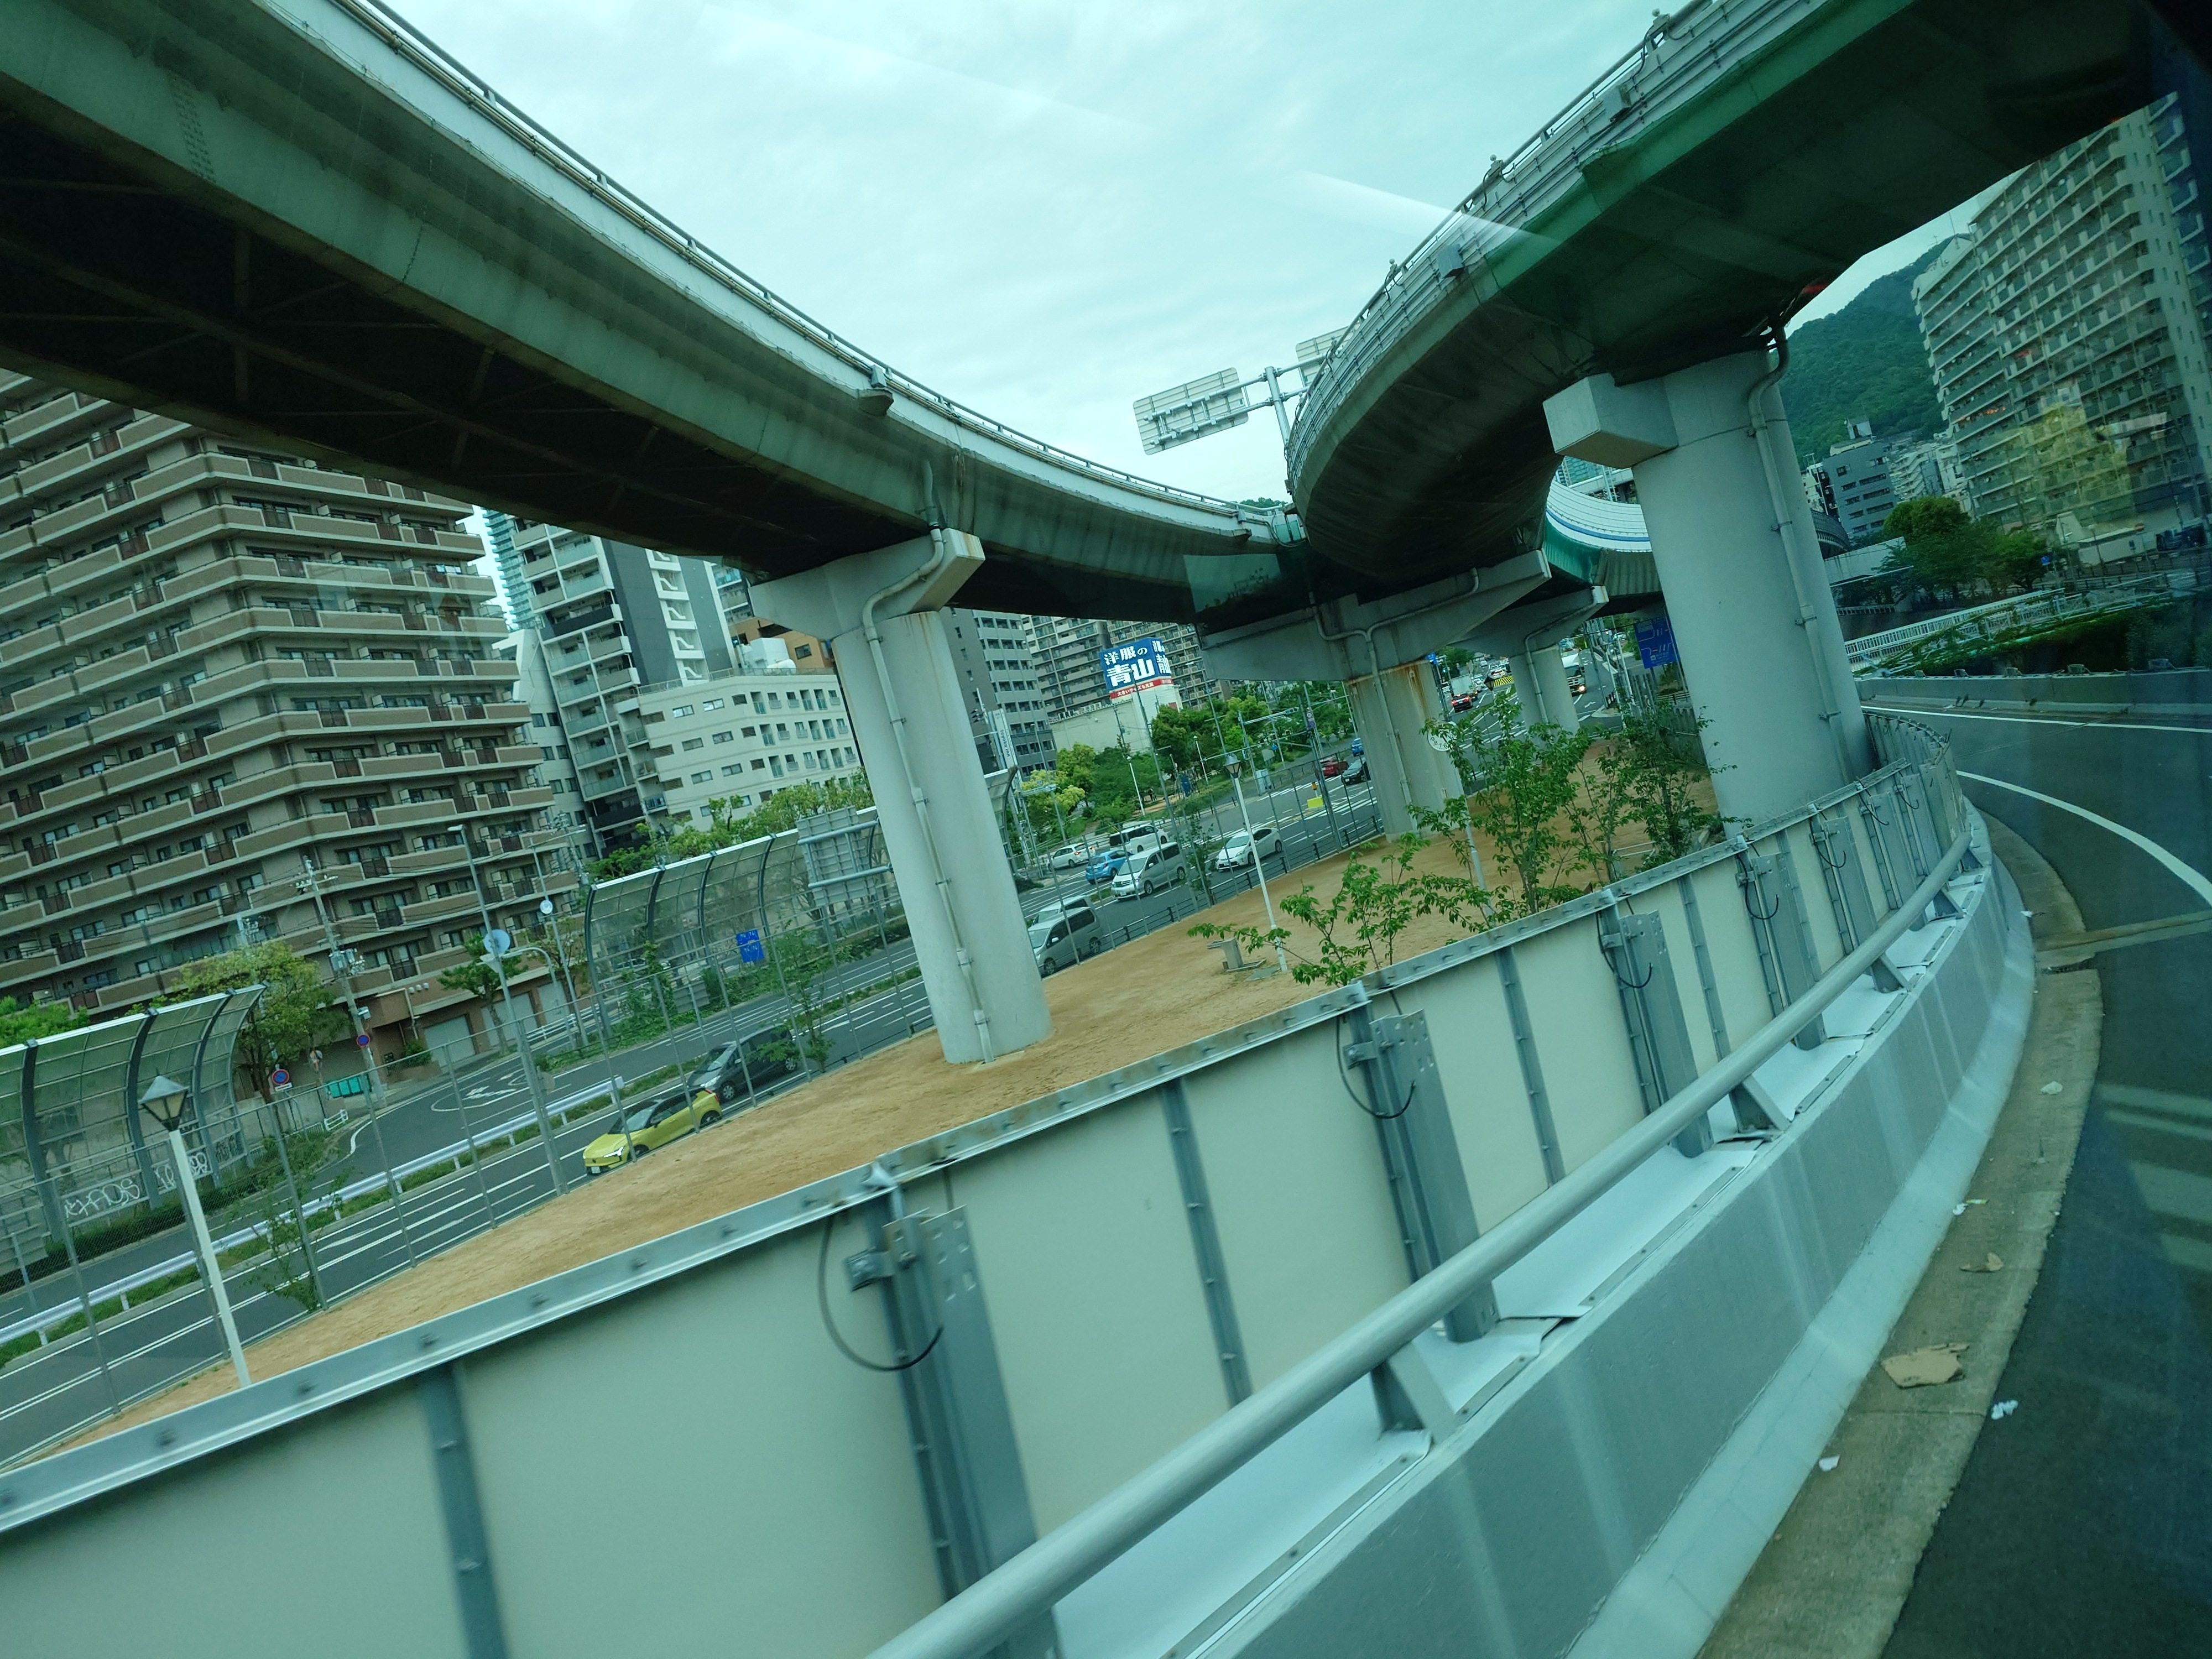
バスは高速を降り下道に入る。
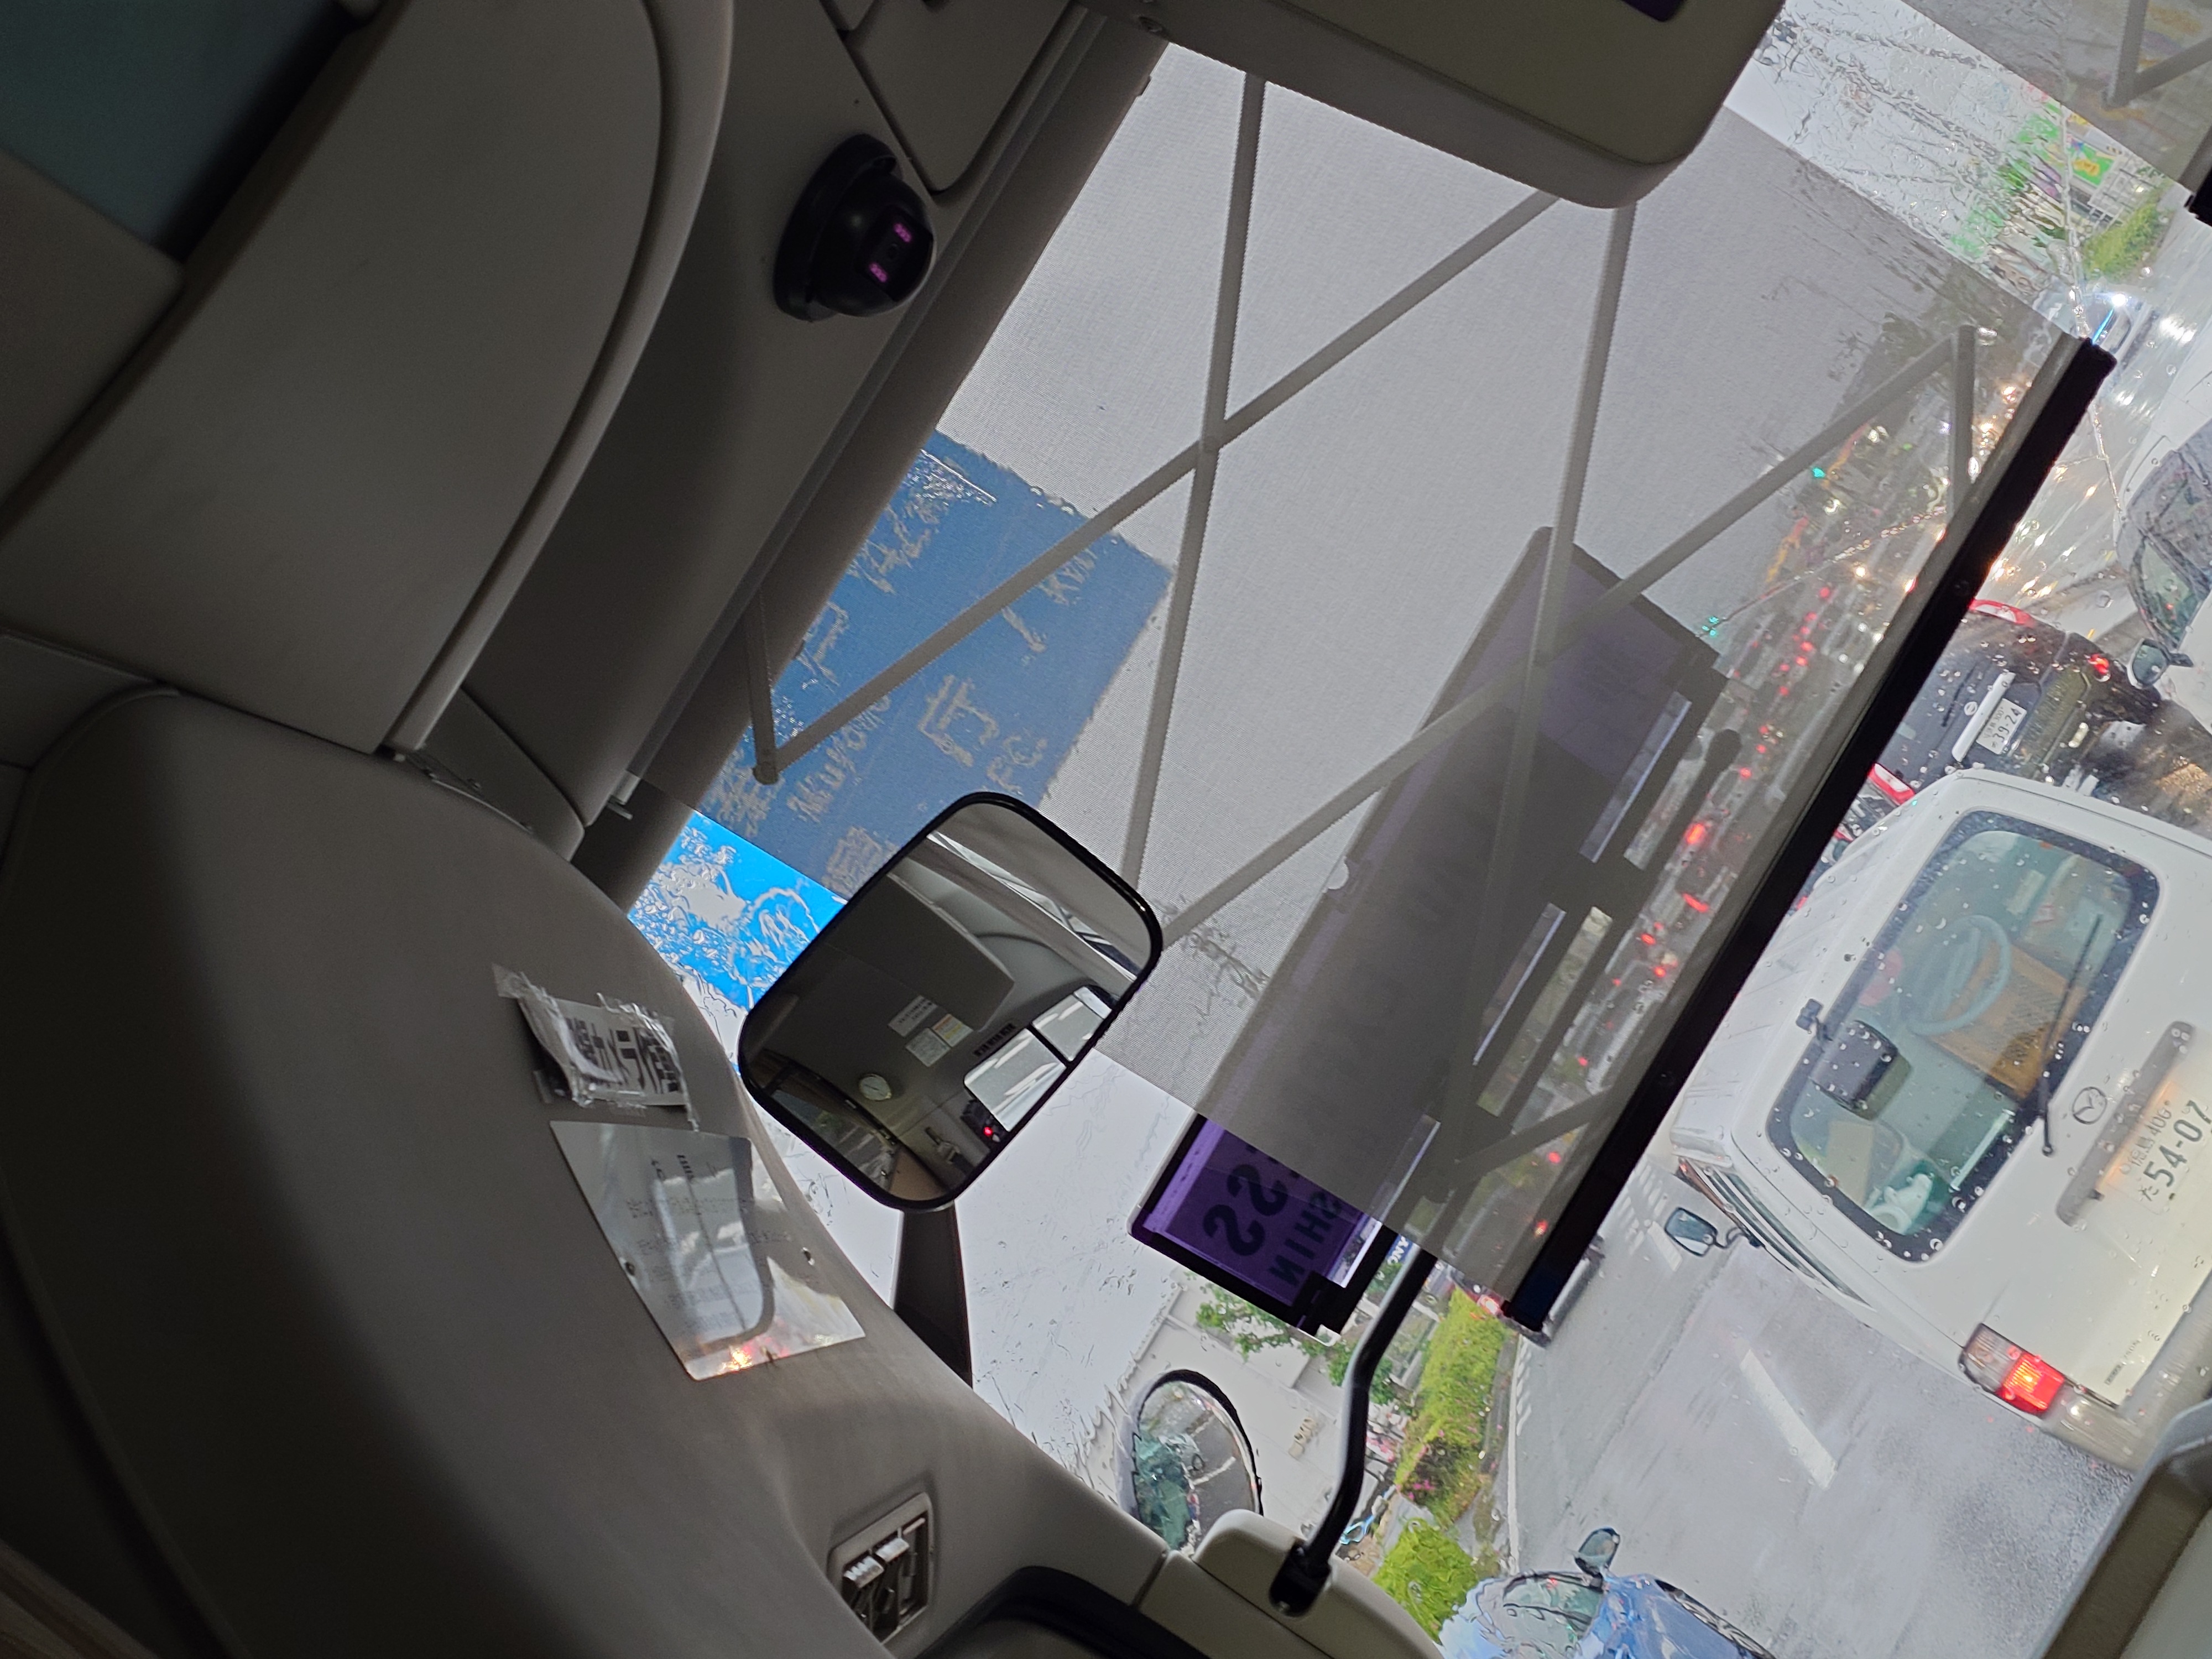
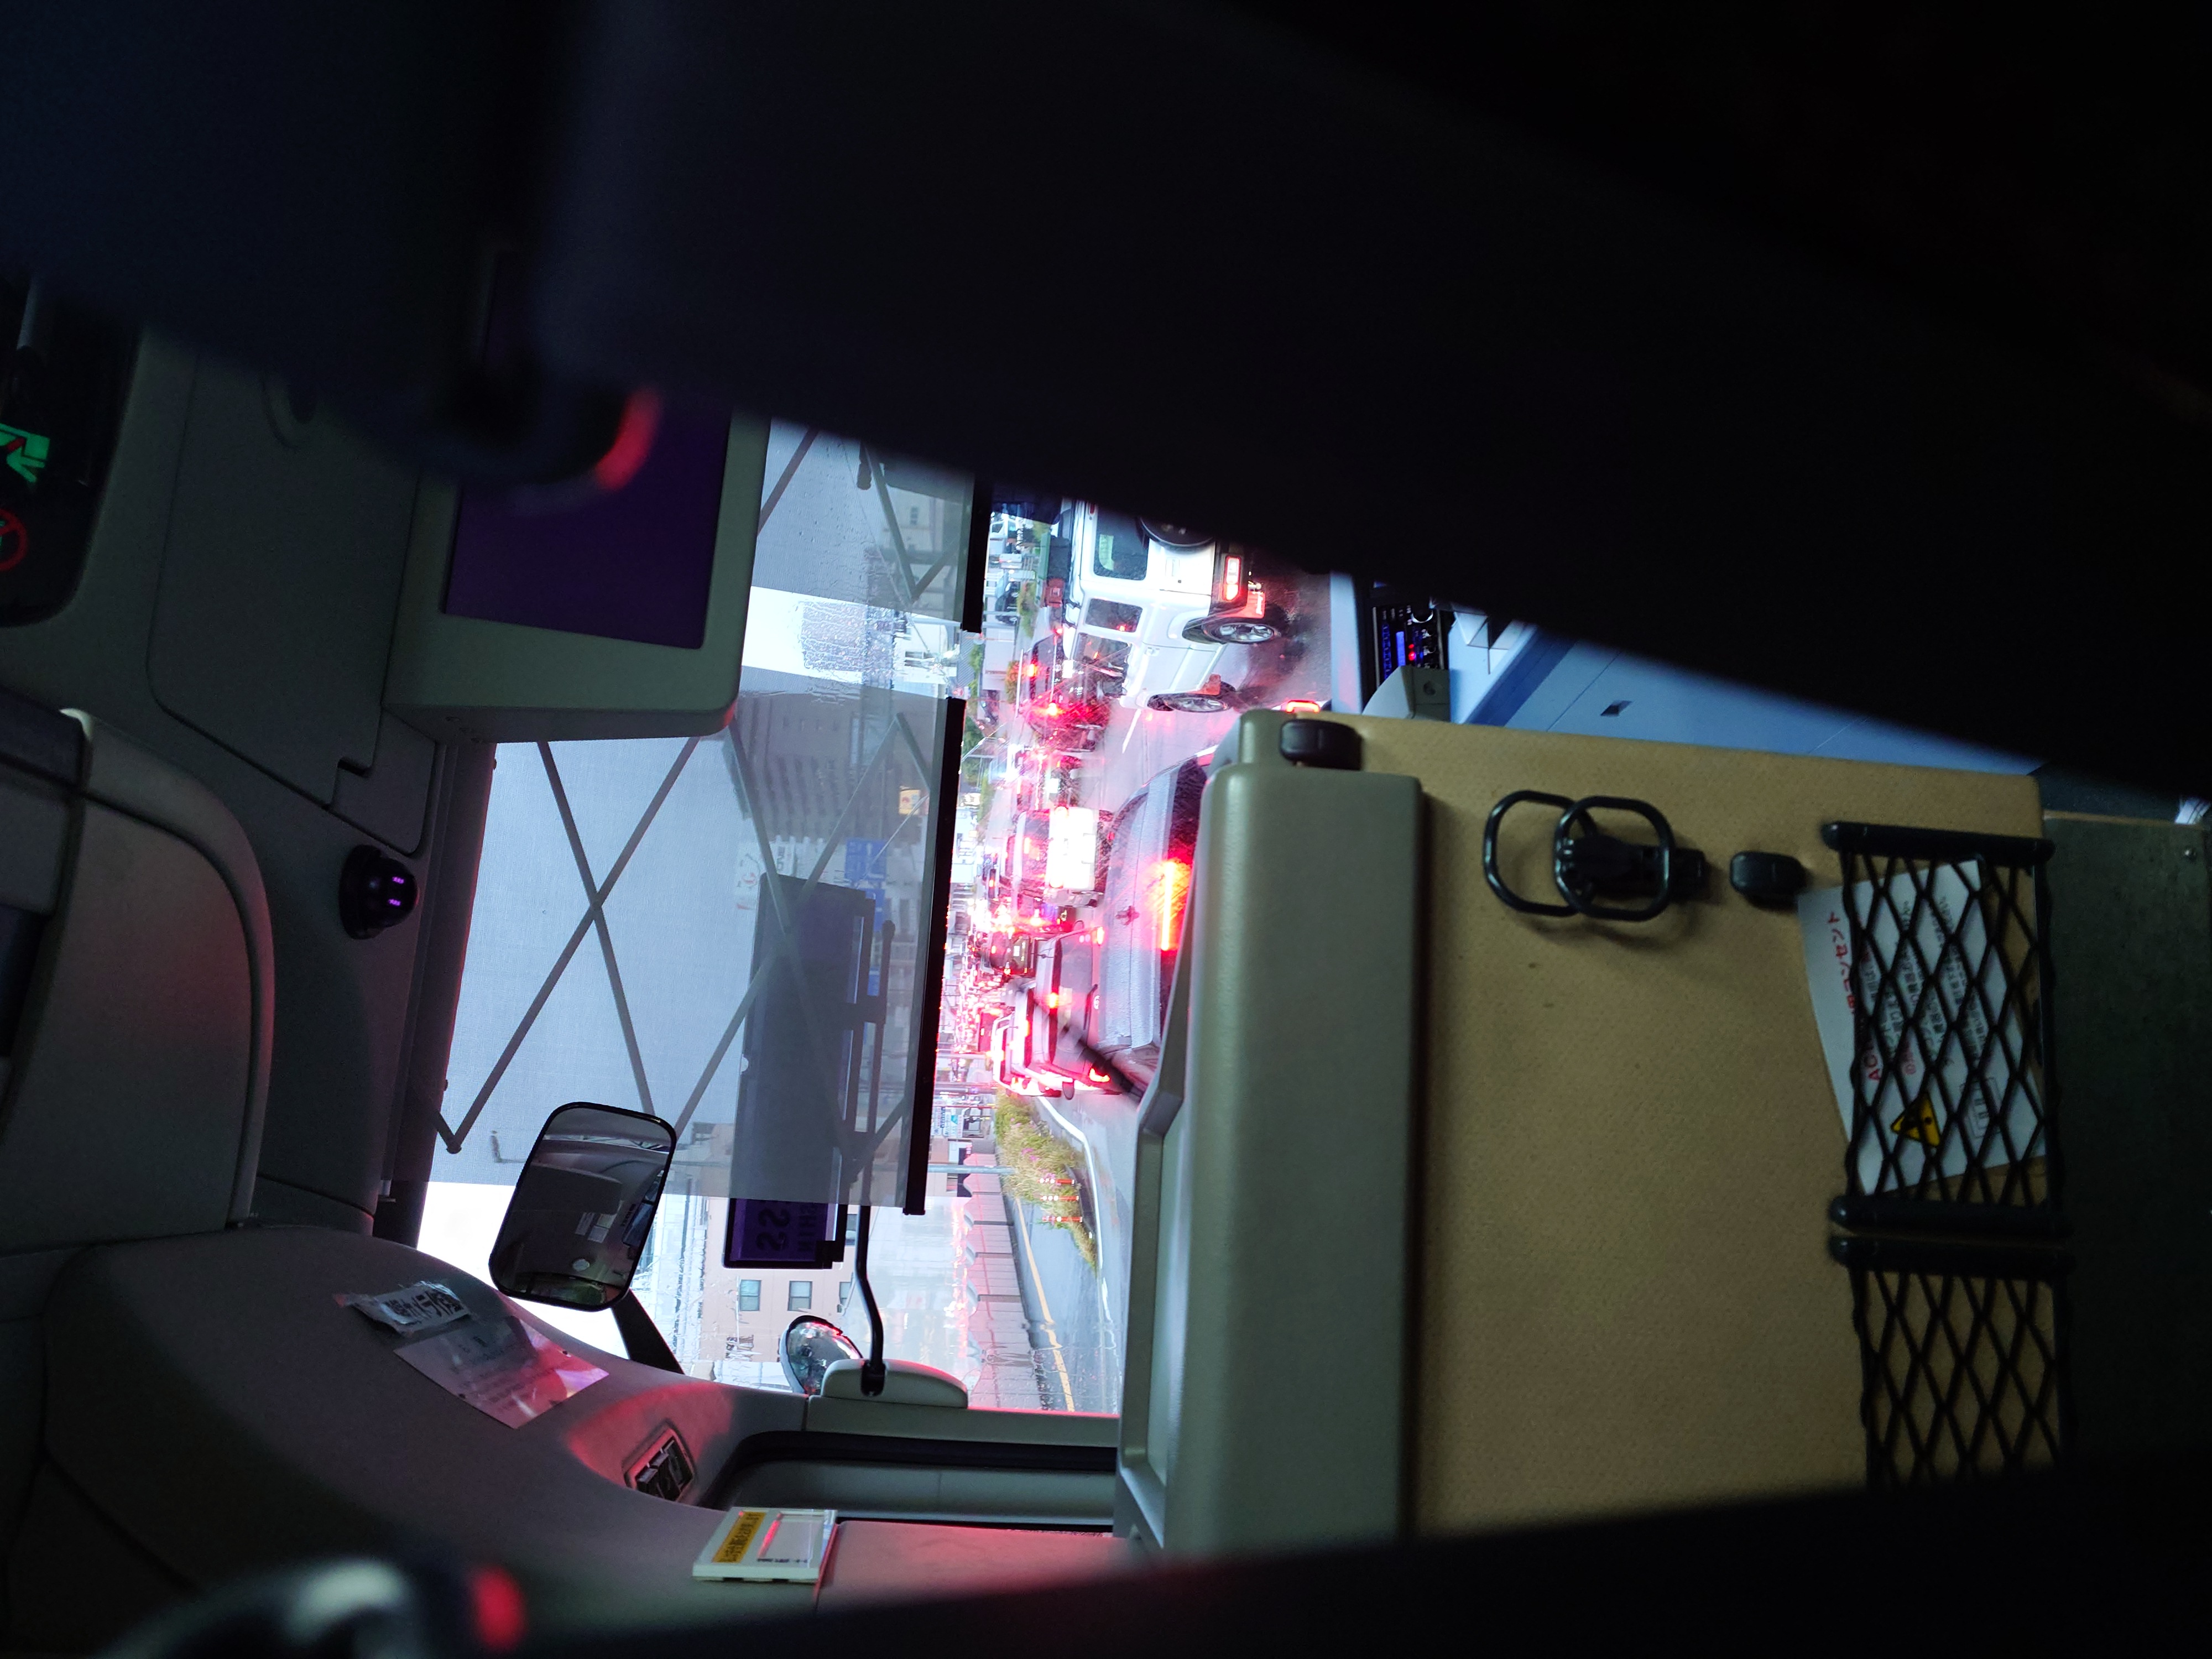
道は大渋滞でかなり進みが悪かった。岡山ICから岡山駅ですらこんなに混んでないと思うが、今回は鳴門ICから徳島駅がずっとこんな感じだったので、長く感じられた。
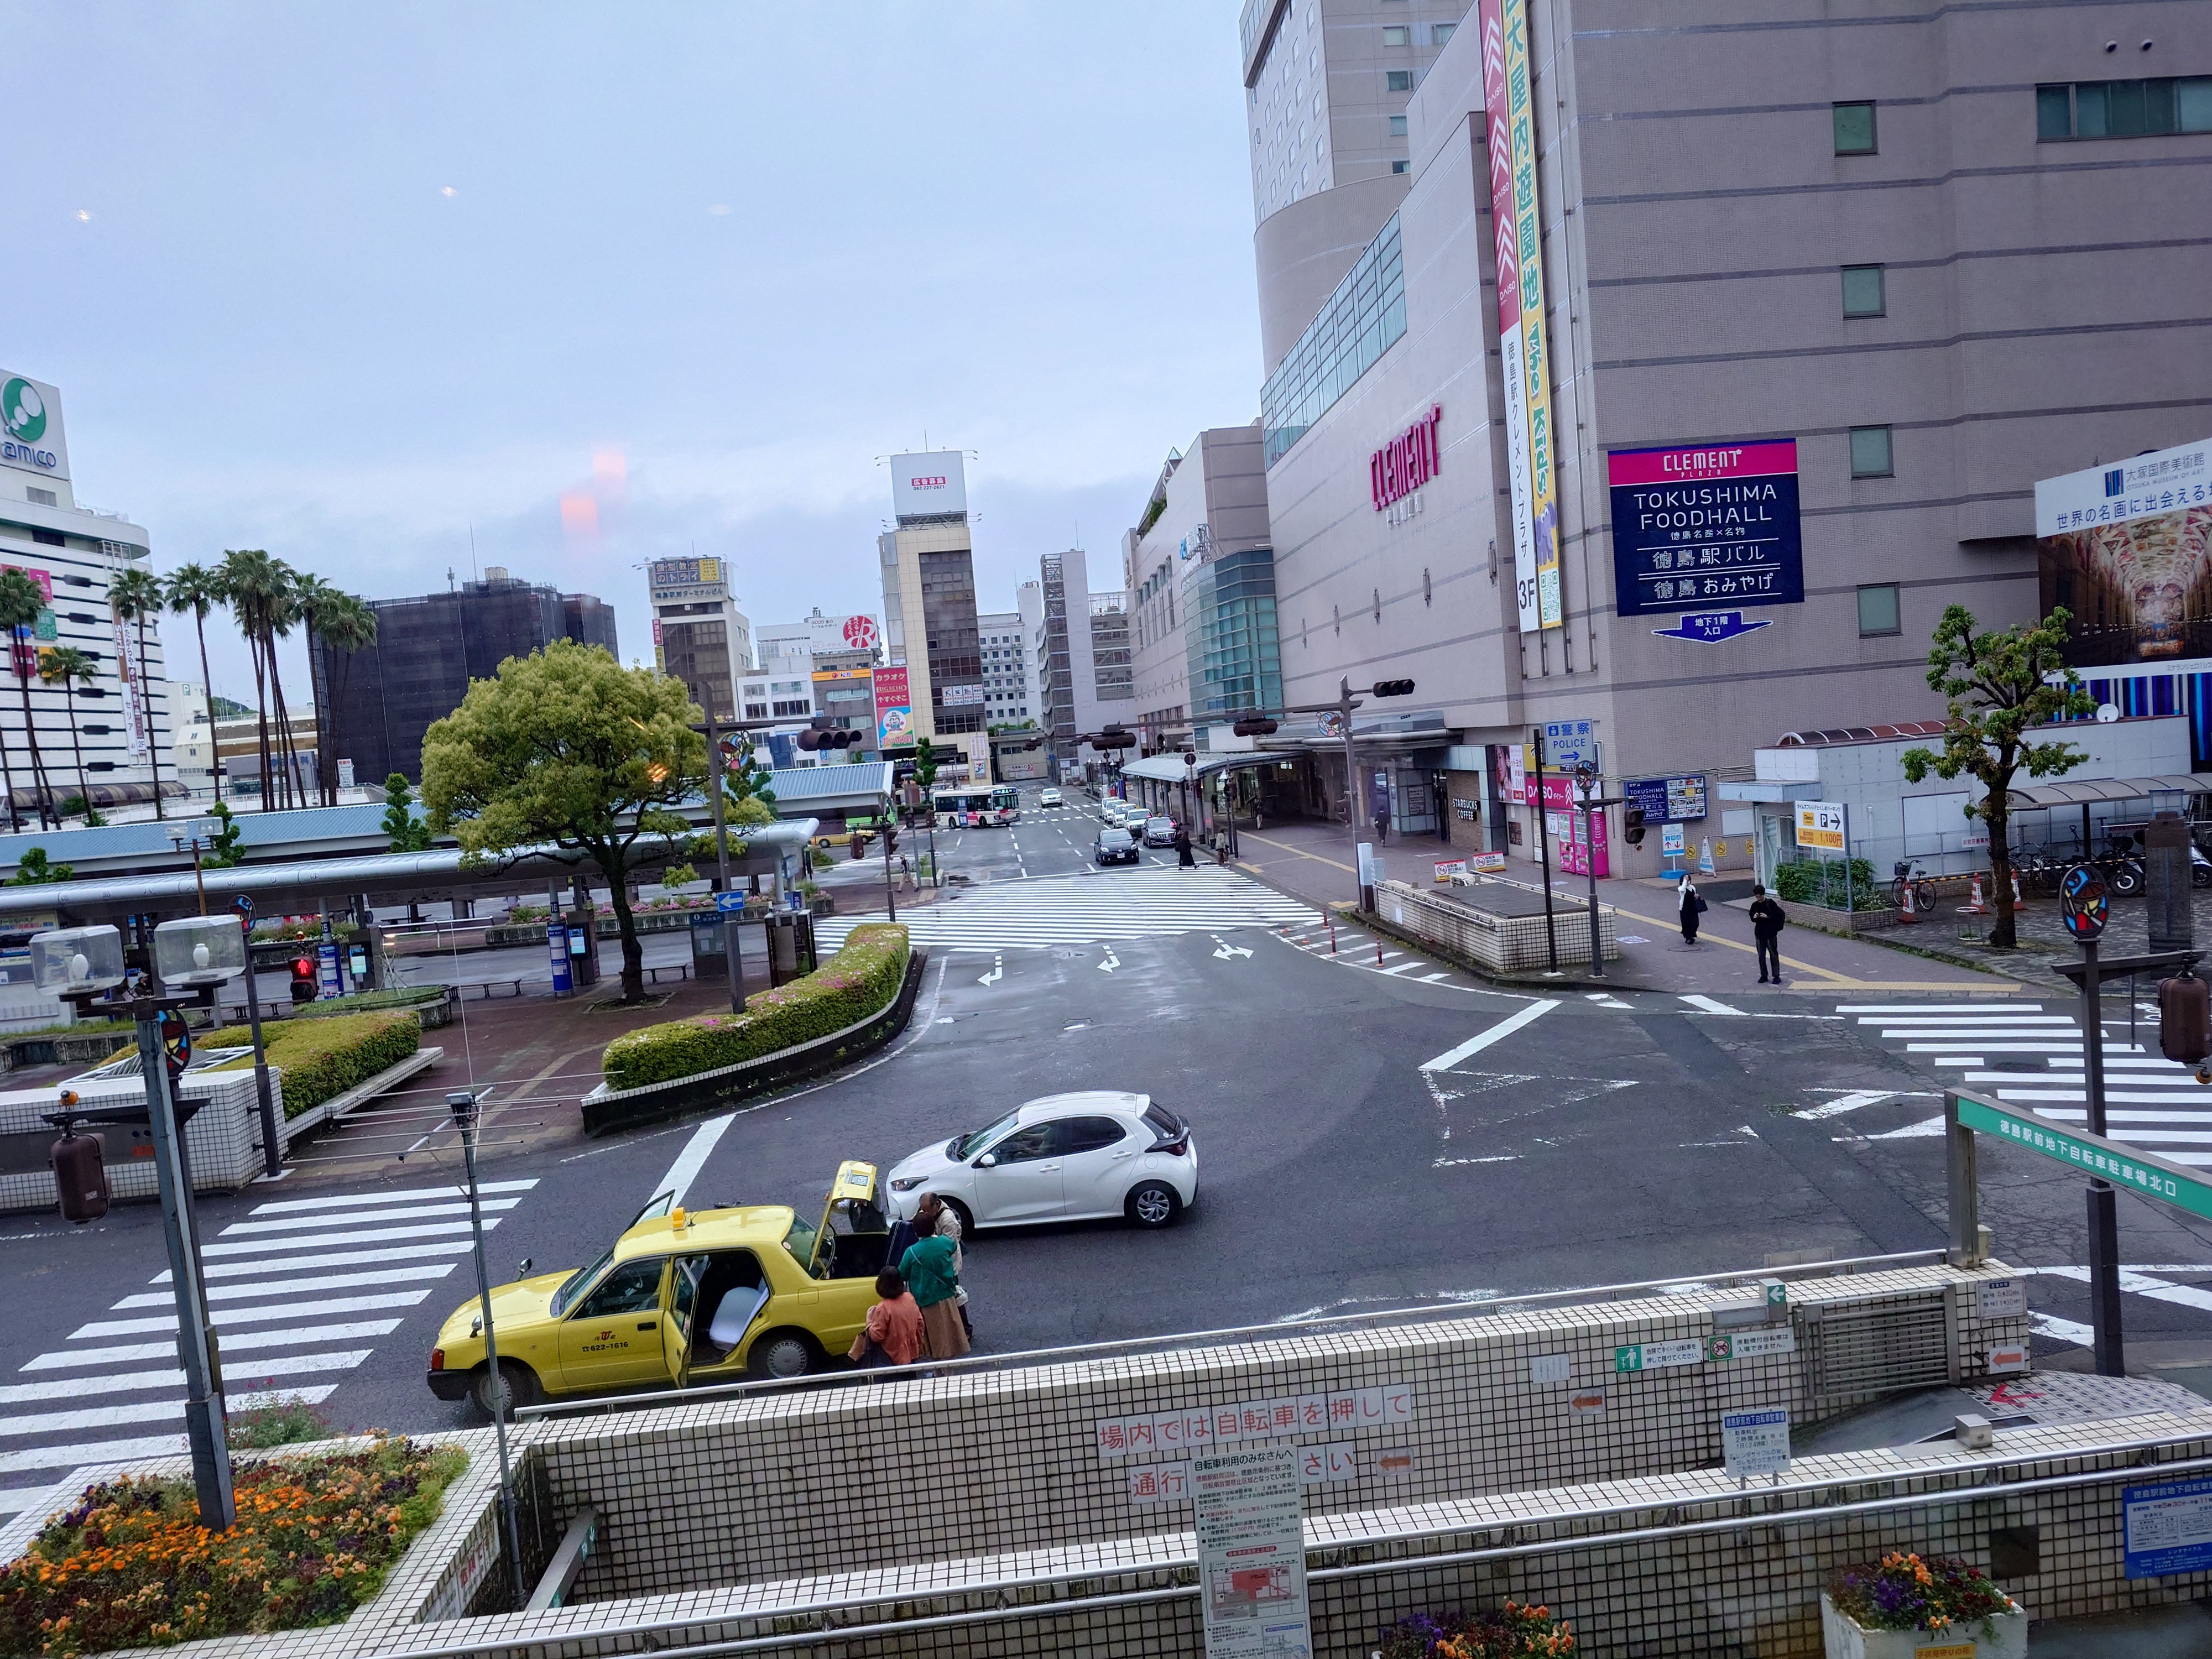
徳島駅着
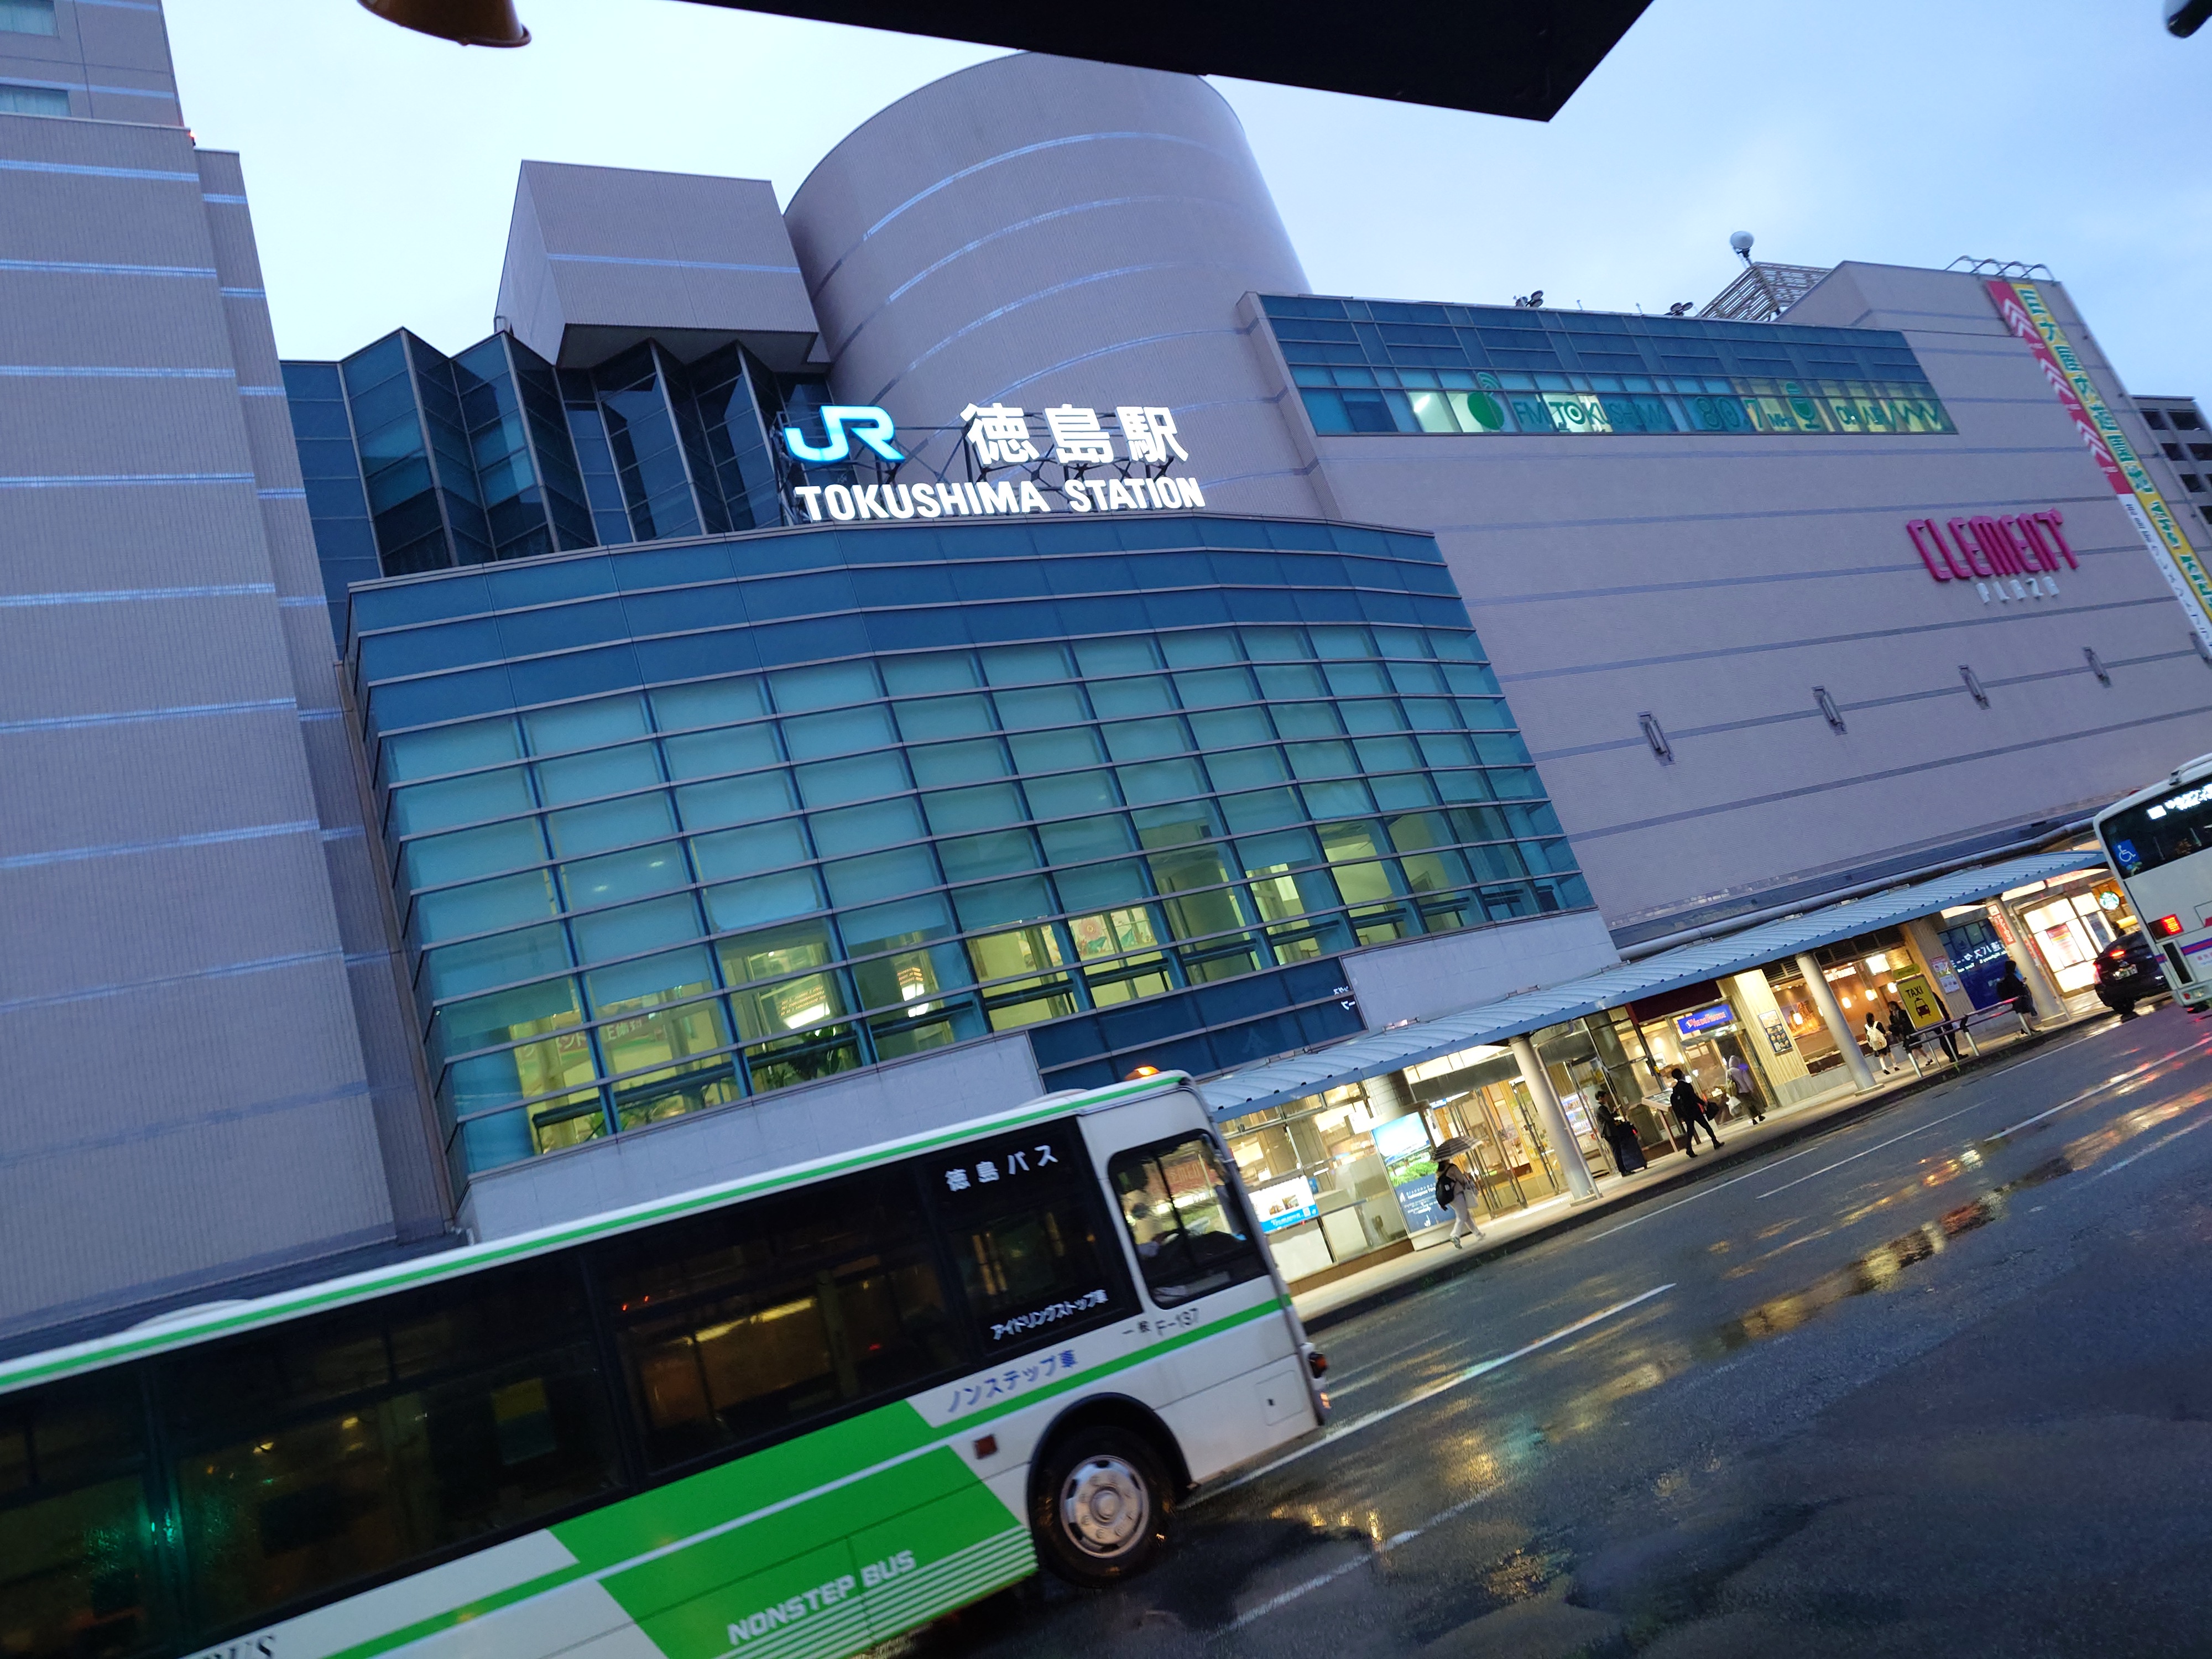
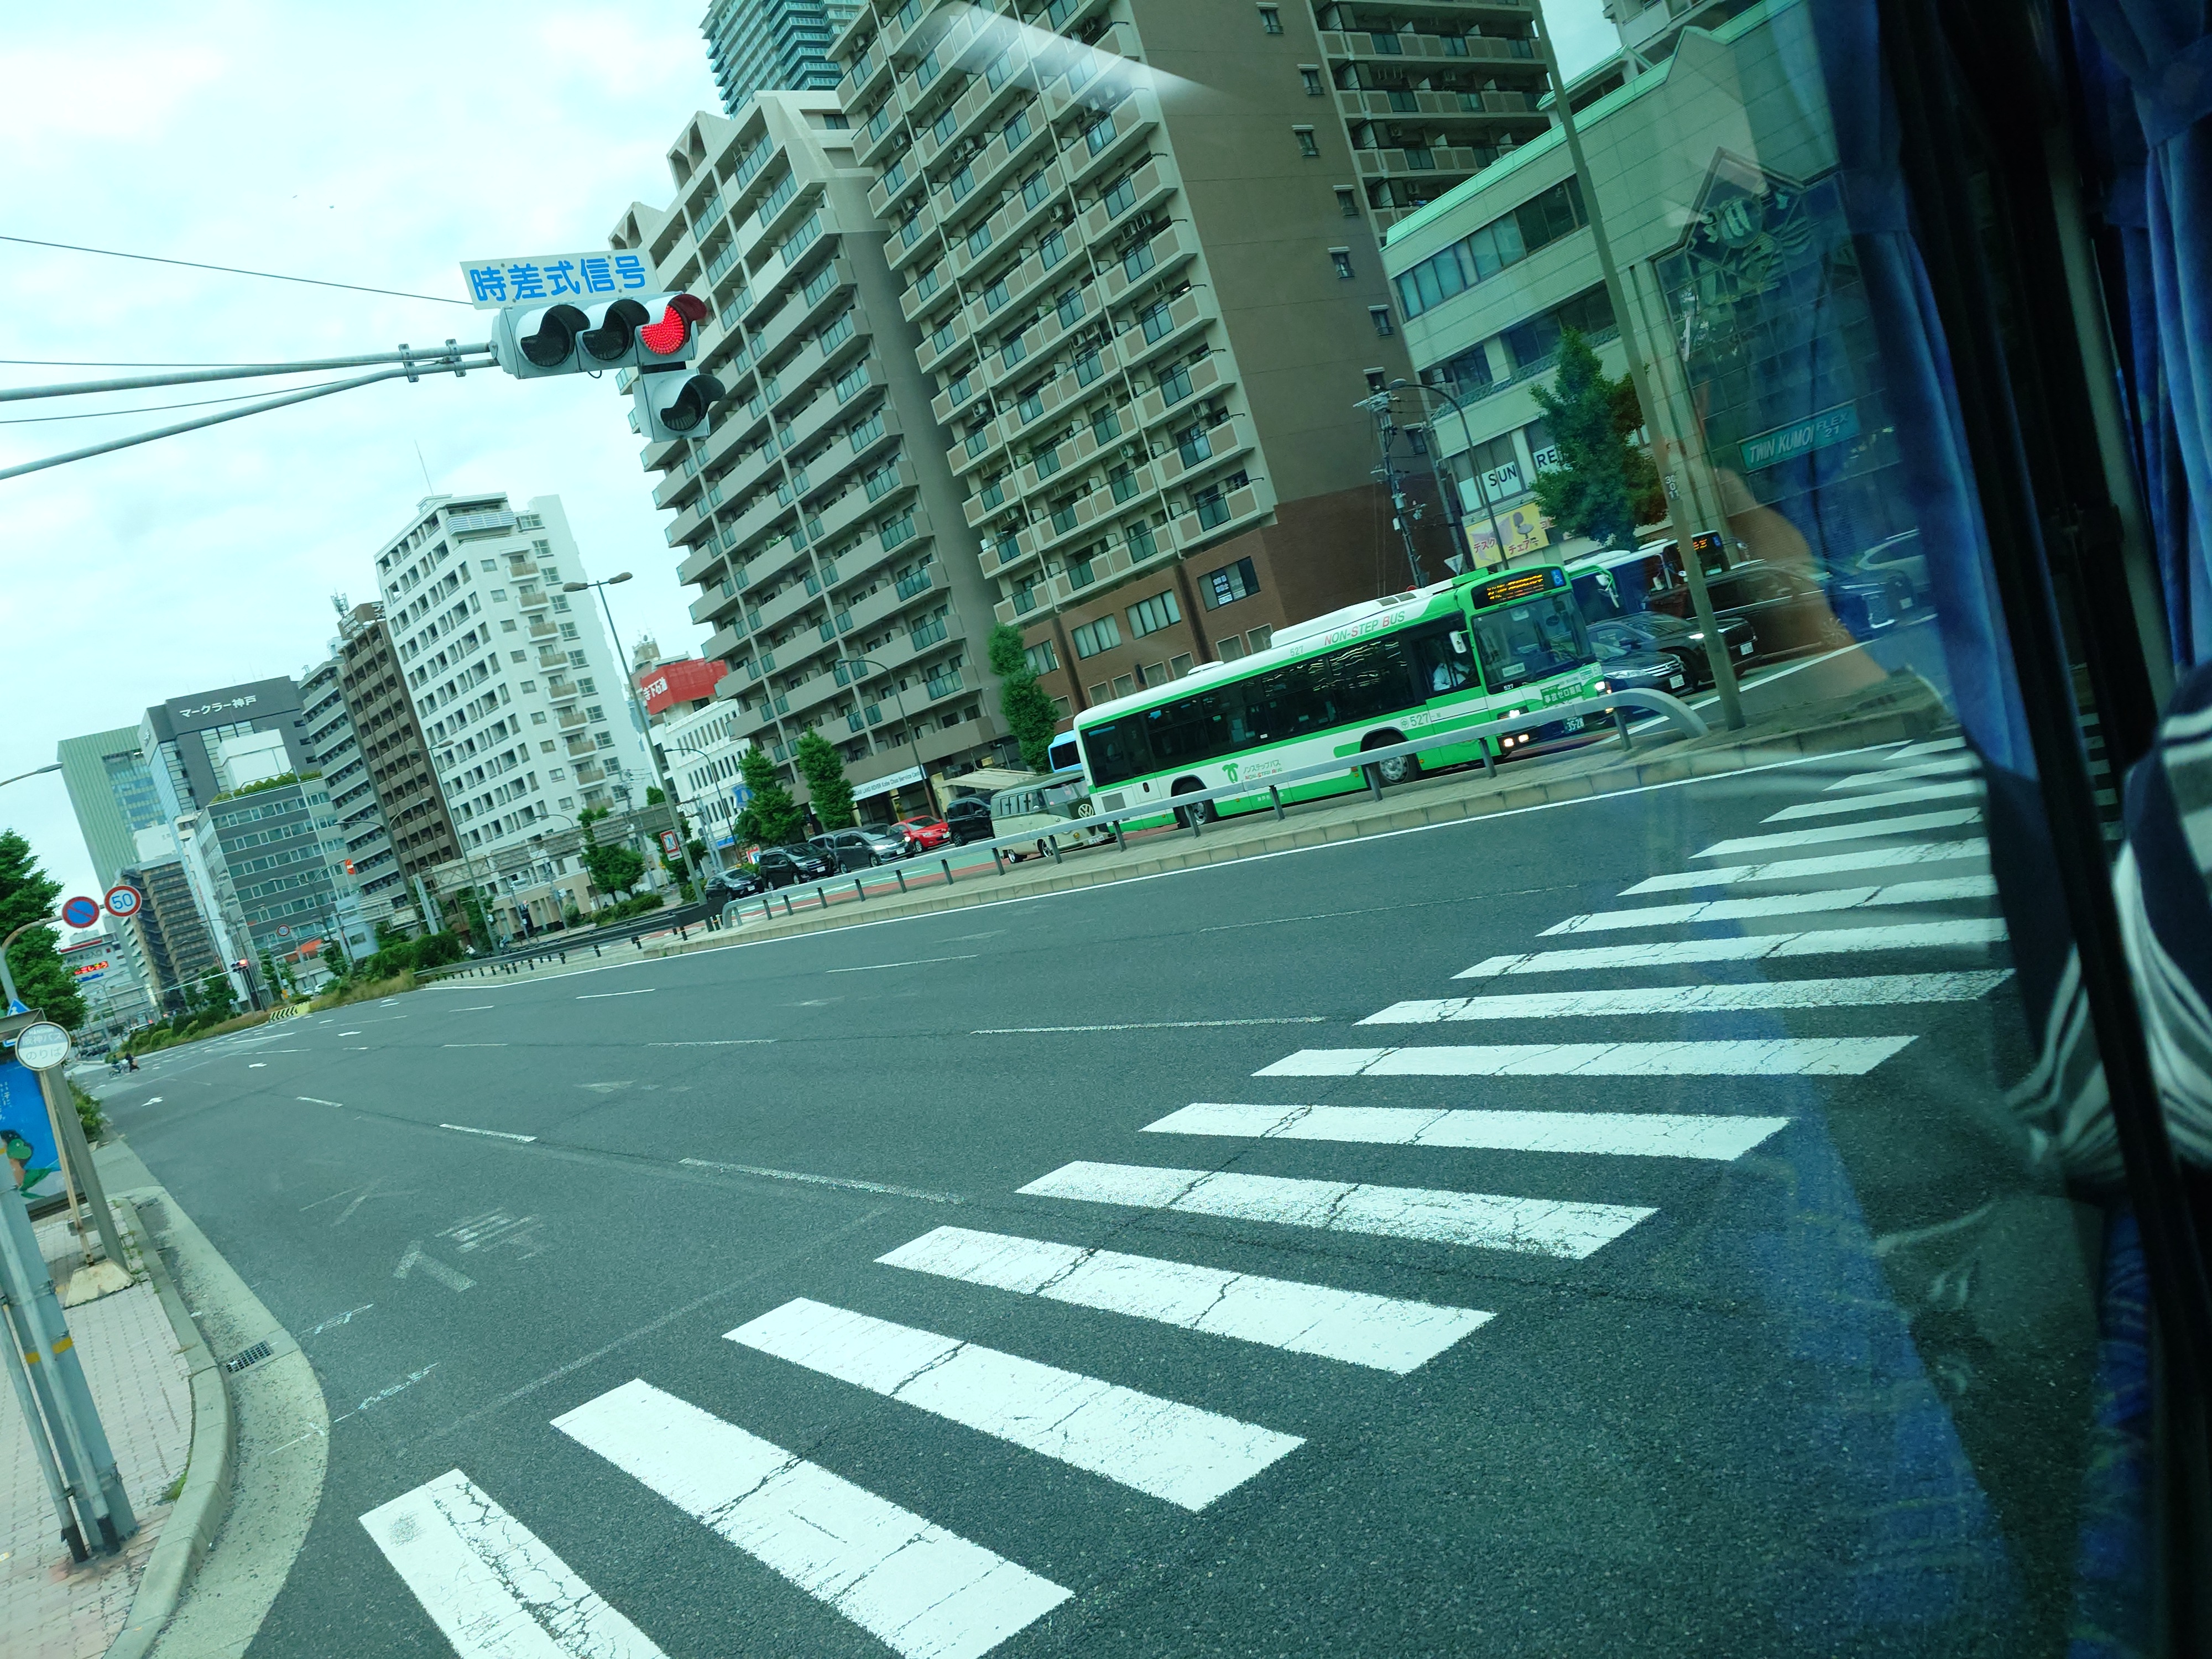
バスは定刻20分オーバーで徳島駅に到着した。
駅前には新しめのビルが目立ち、松山より新鮮な感じがした。また神戸市営バスに採用されているのと非常によく似たデザインの水素バスらしきものも走っていた。ひょっとするとこれが標準デザインなのかもしれない。
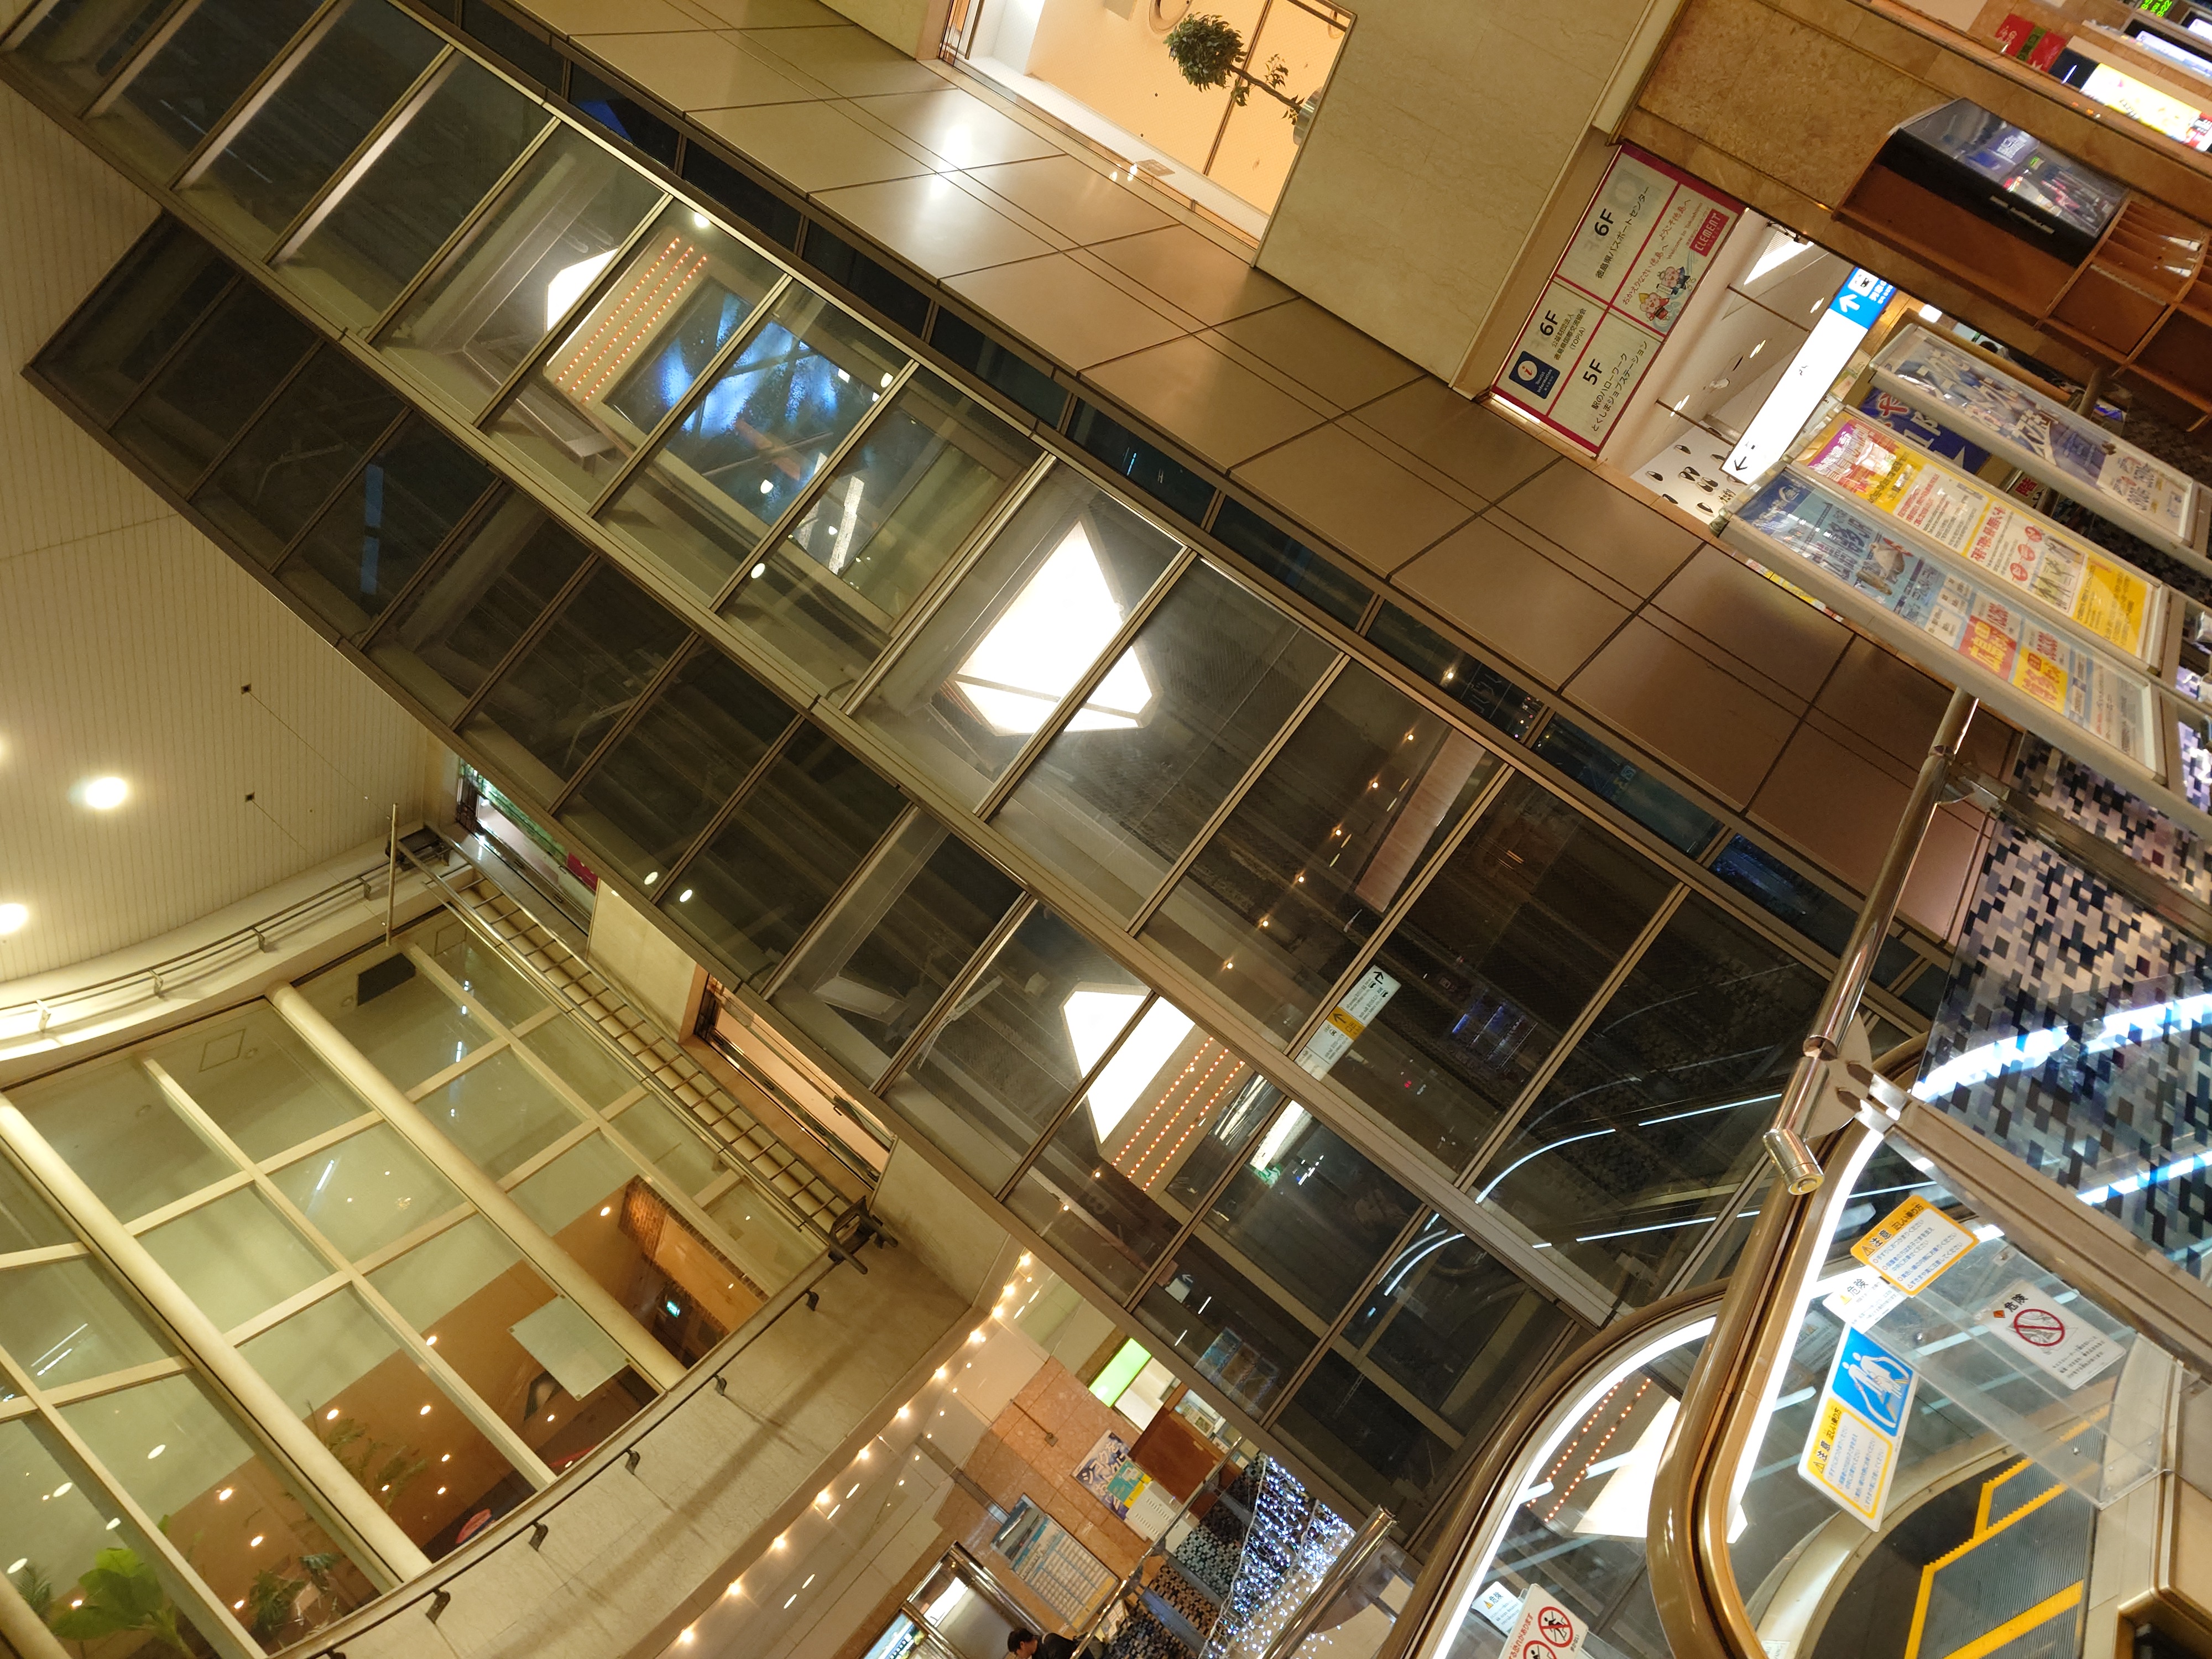
駅の中にはバブル期のゴージャスなエレベーターがあってよかった。
一つ目の土産屋へ
暇だったのでそののまま土産屋へ
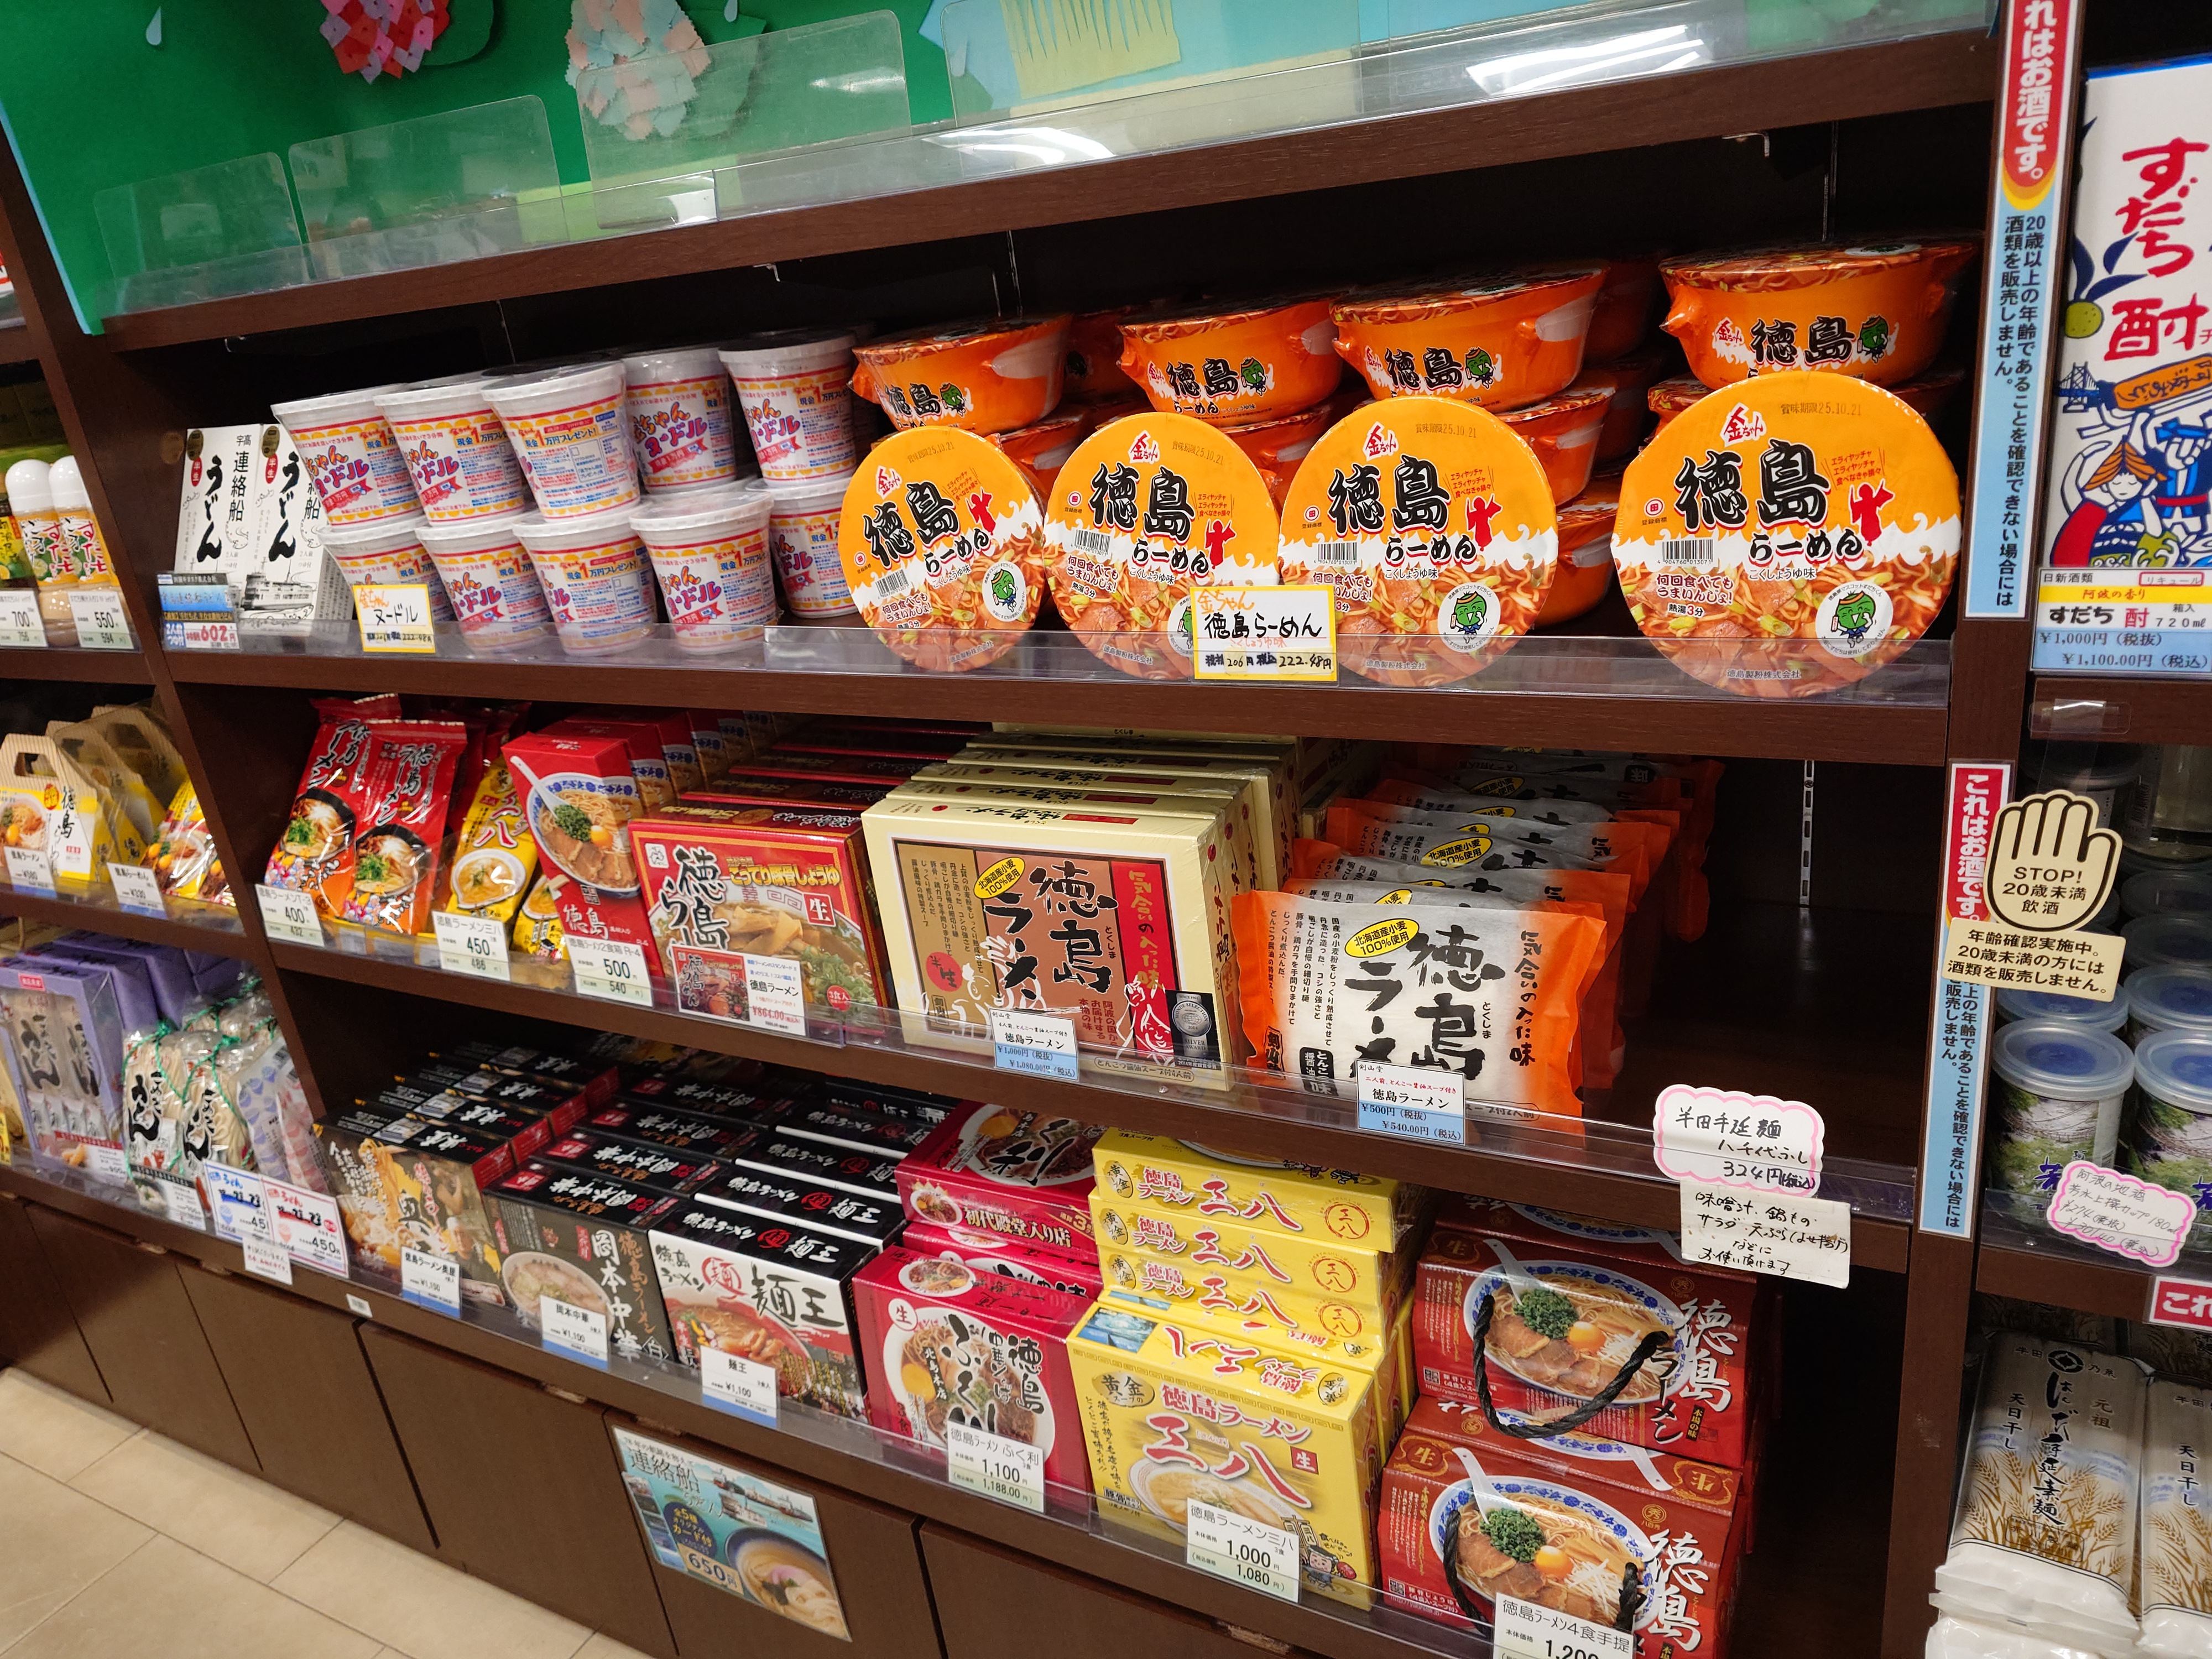
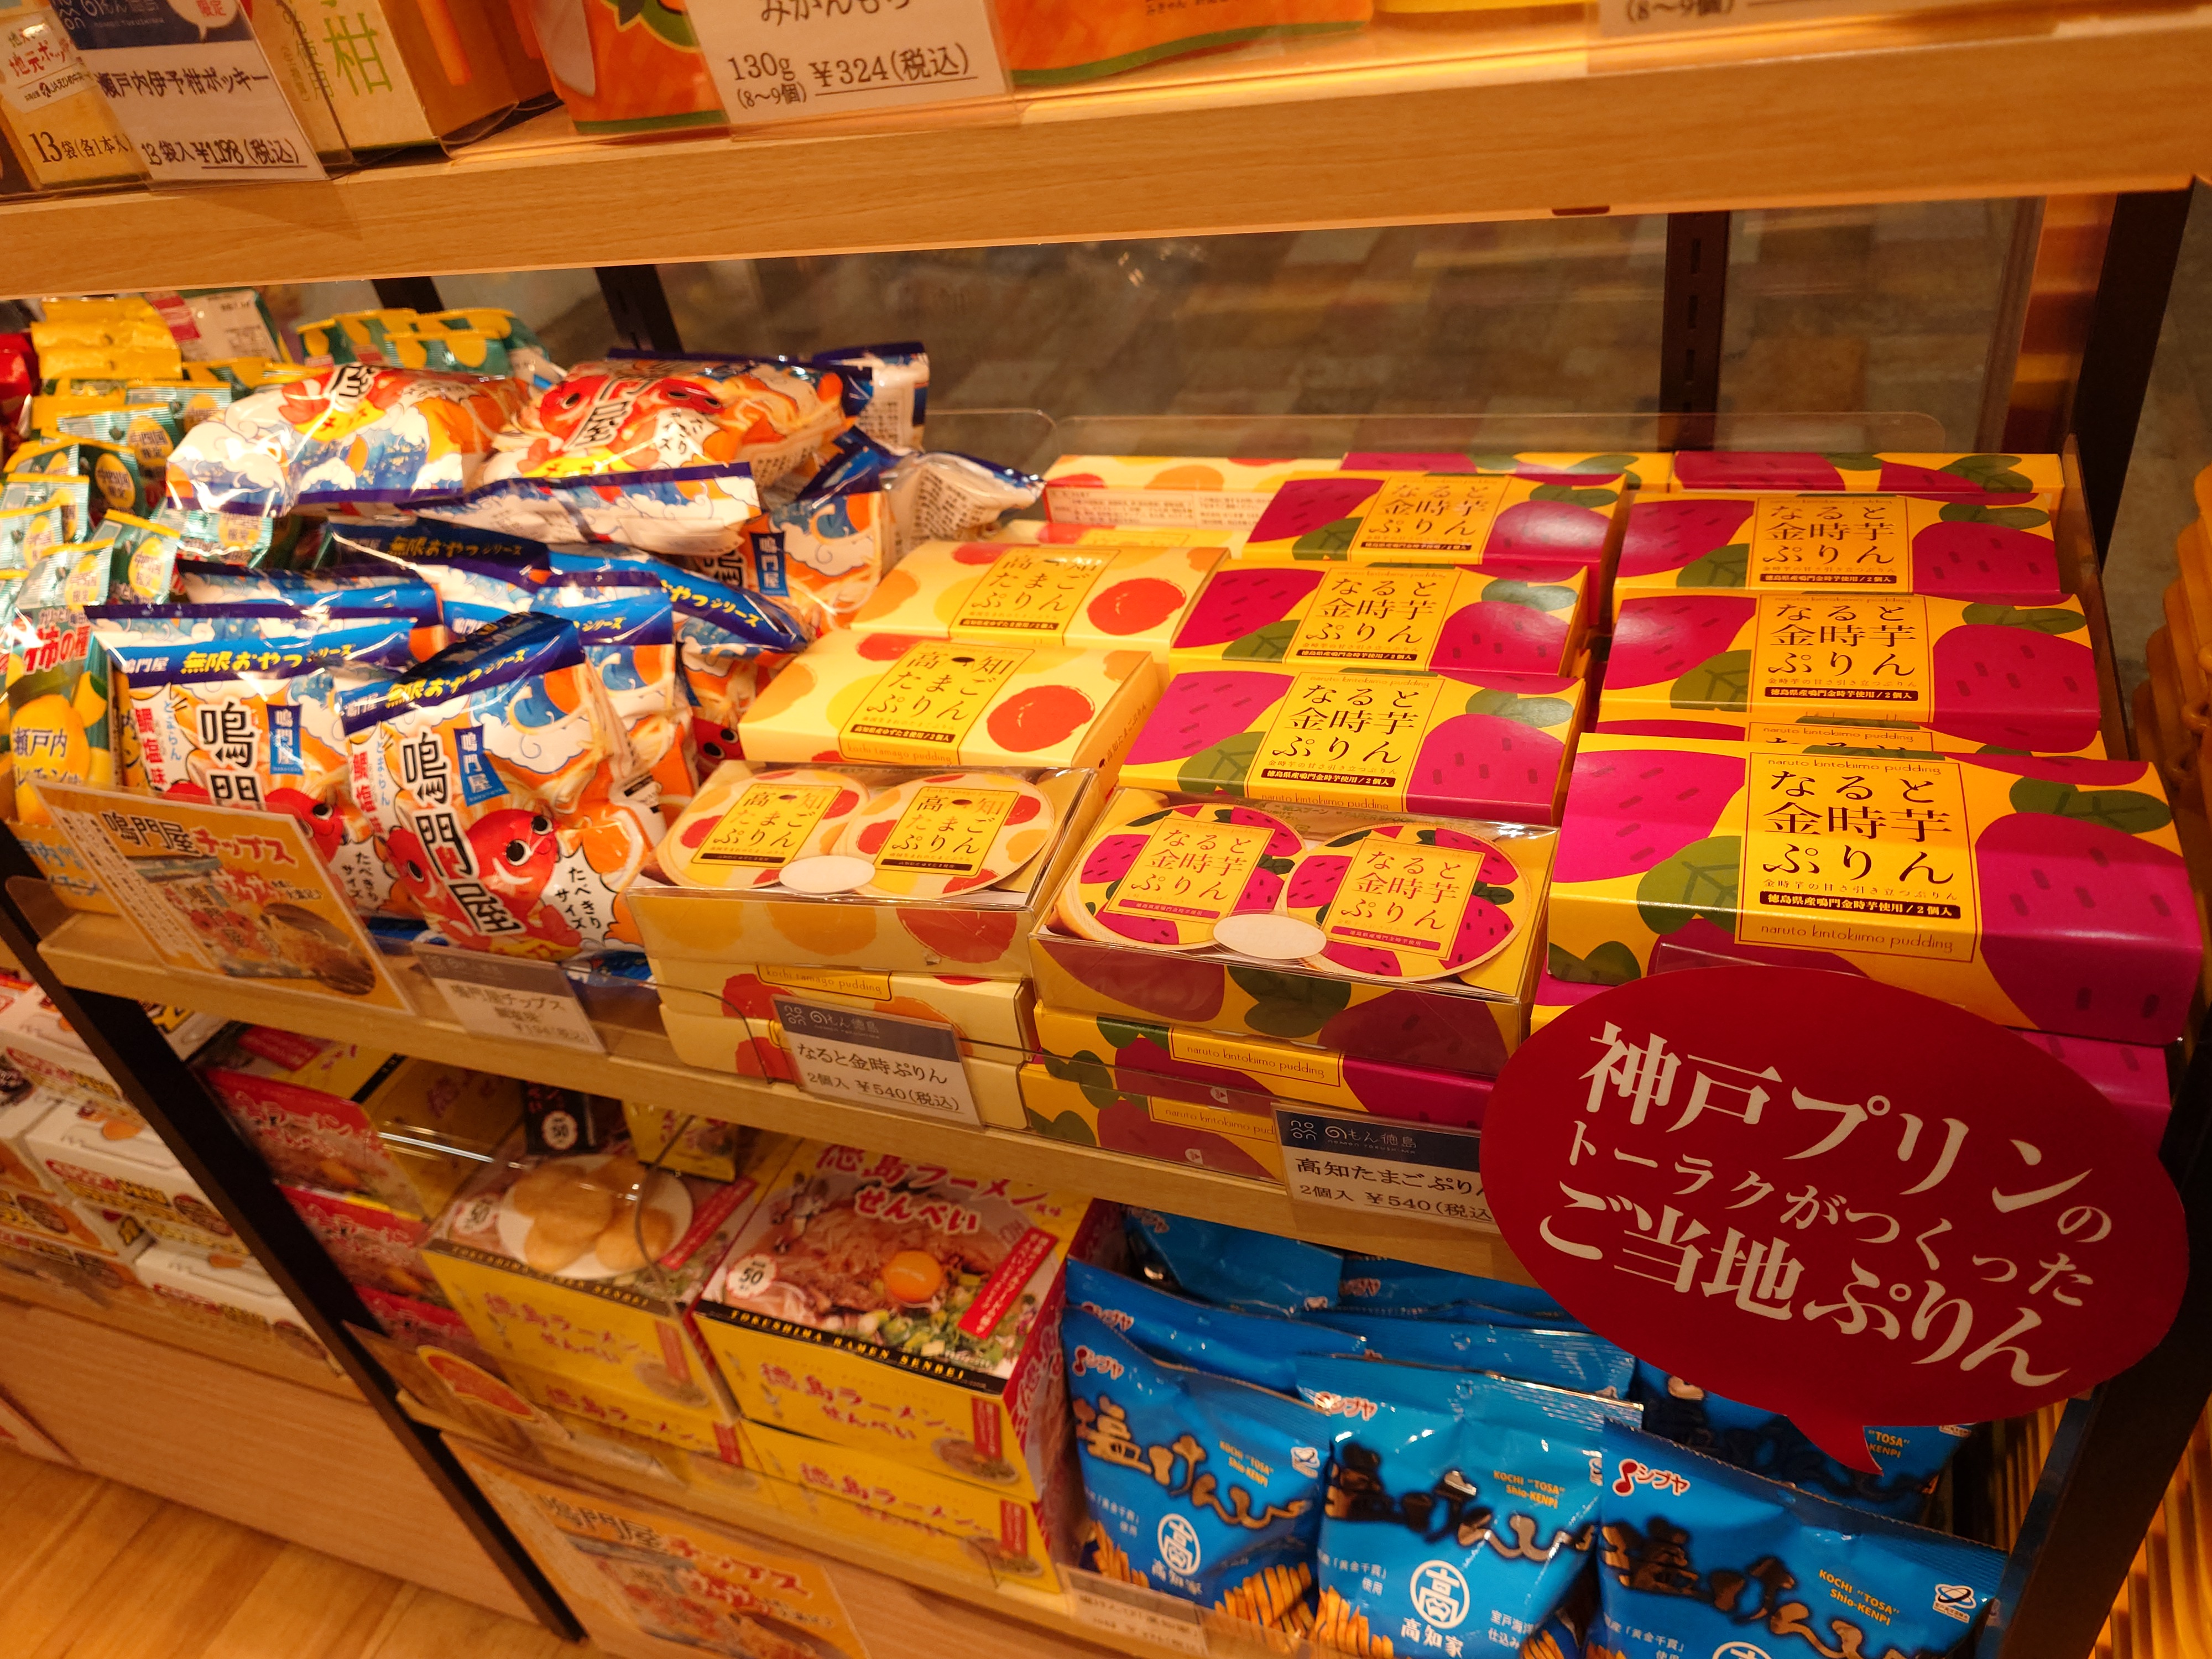
まず目に入ってきたのは徳島ラーメンだった。正直神戸でも買えるので目新しさはないがカップ麺を一つ頂戴した。

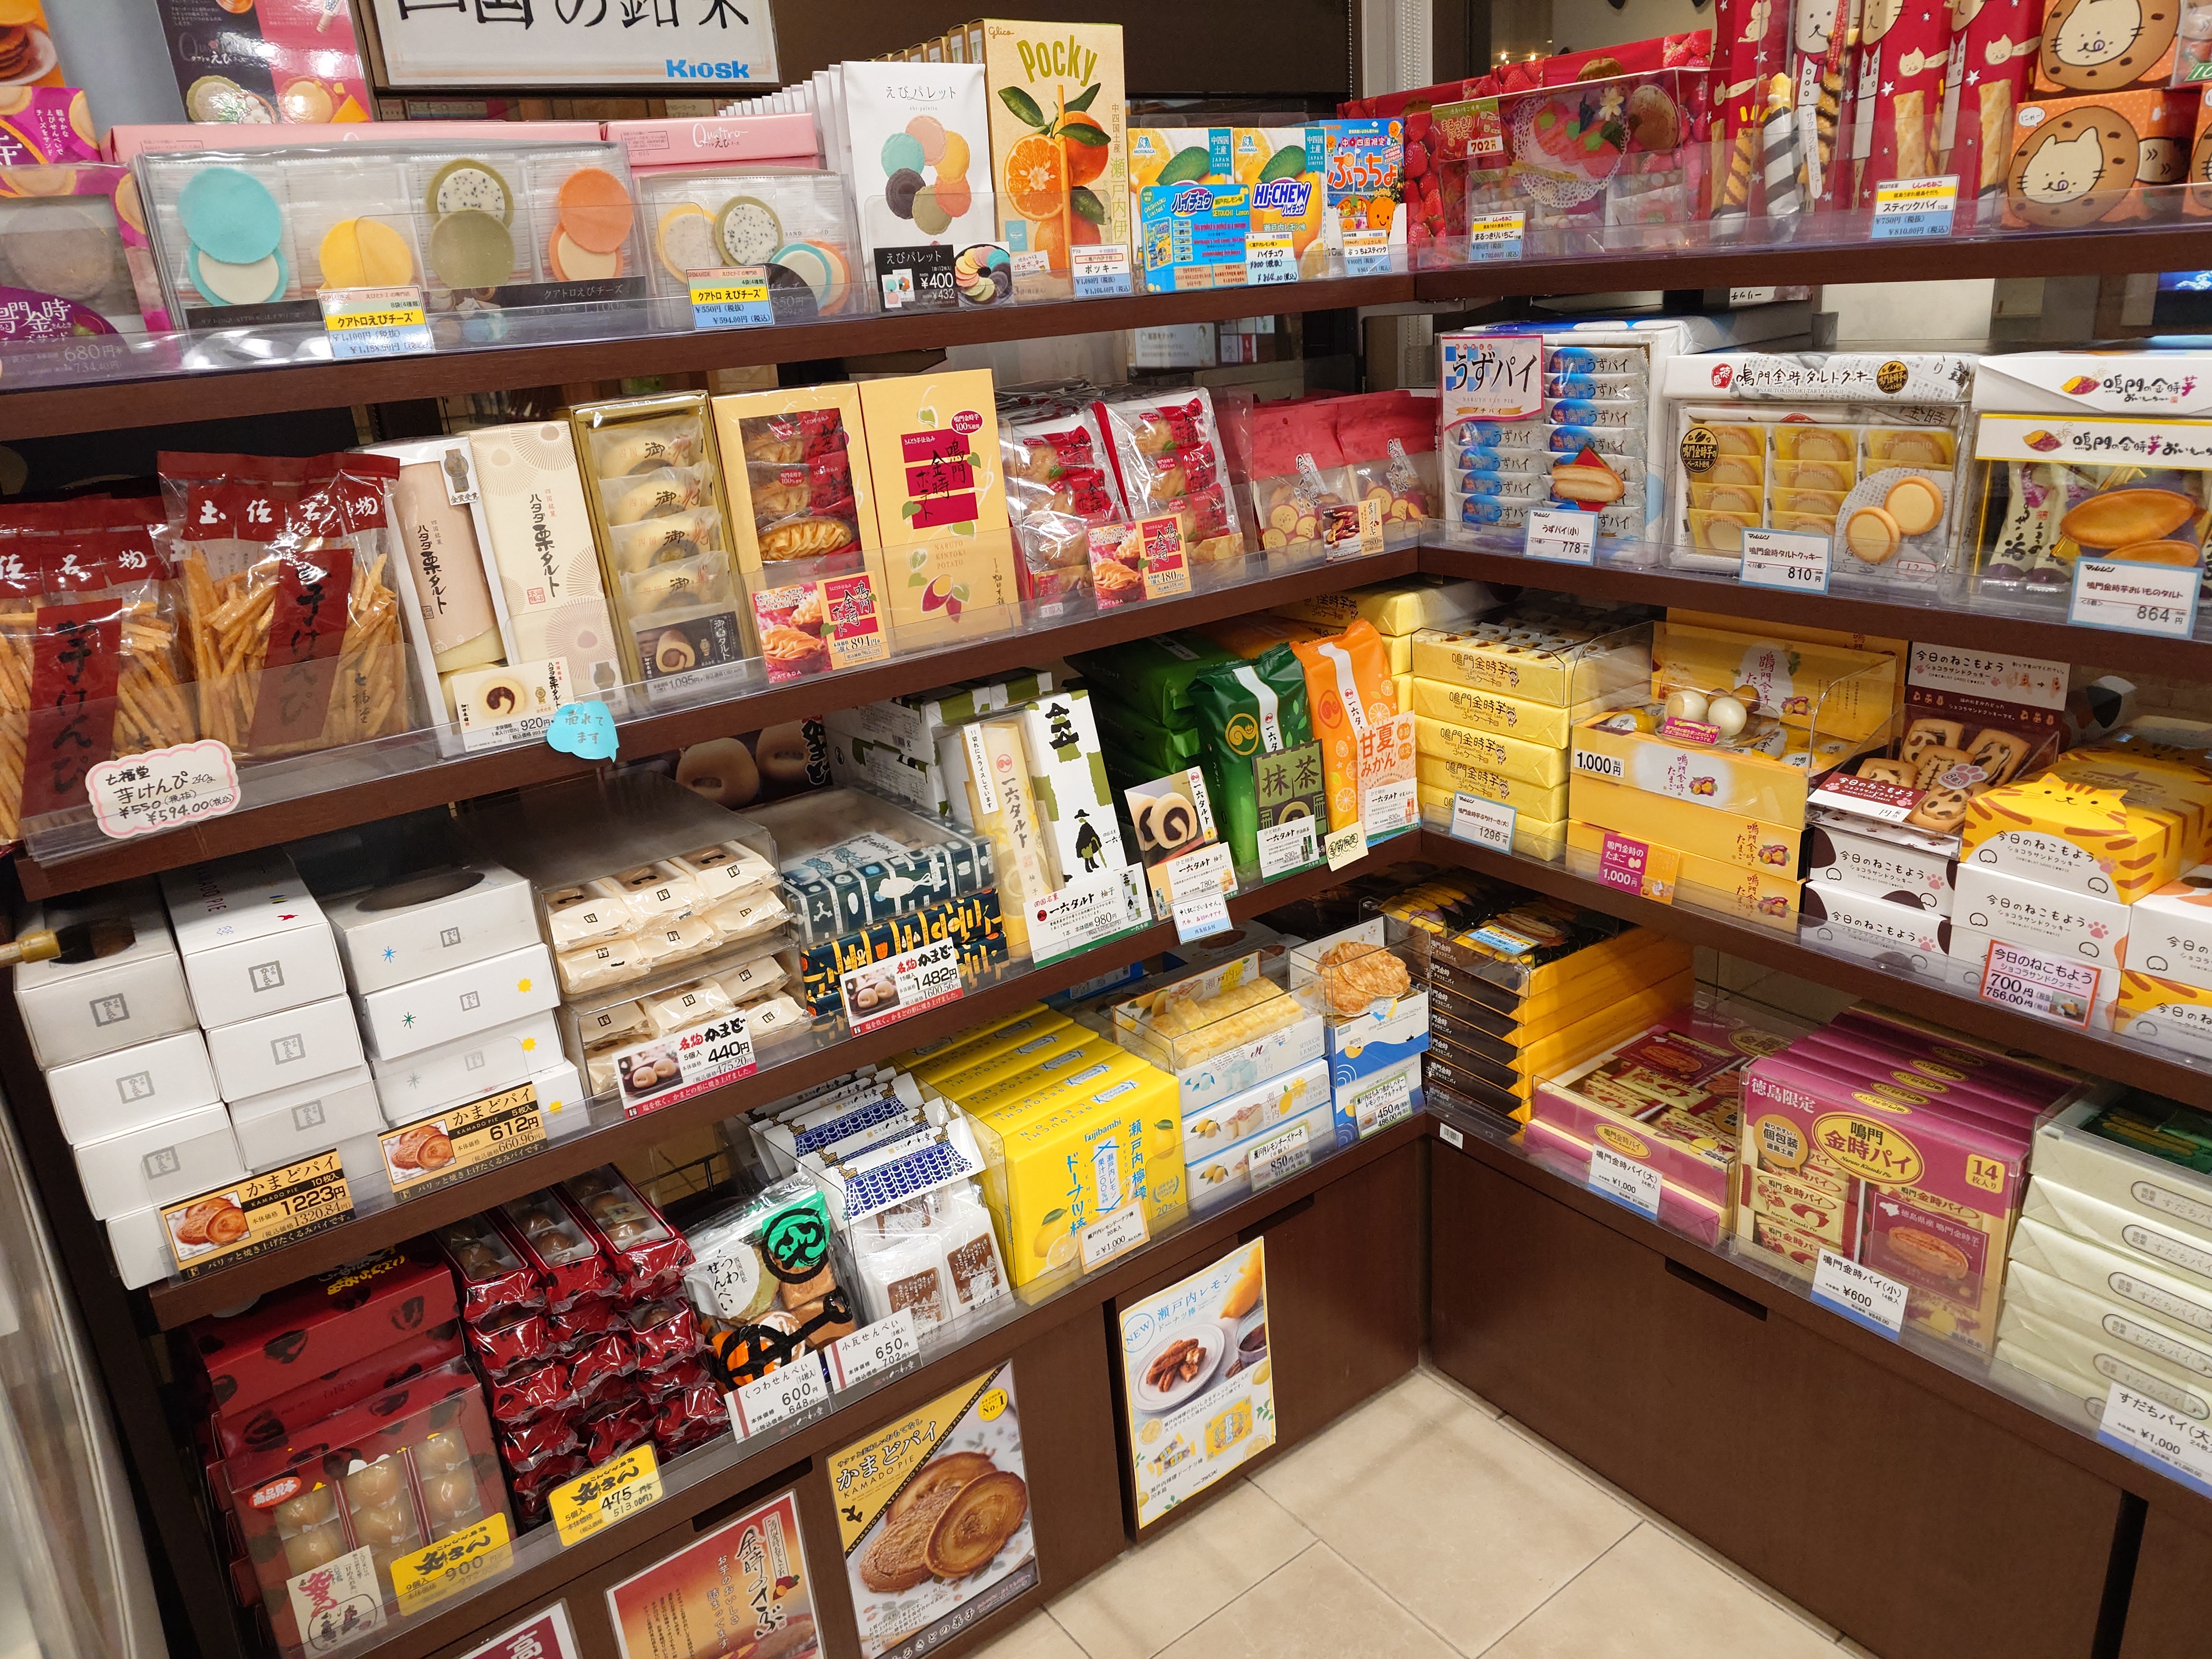
讃岐うどんやハタダ、一六などの松山土産、芋けんぴや鯨肉といった高知土産も取り扱っていた。
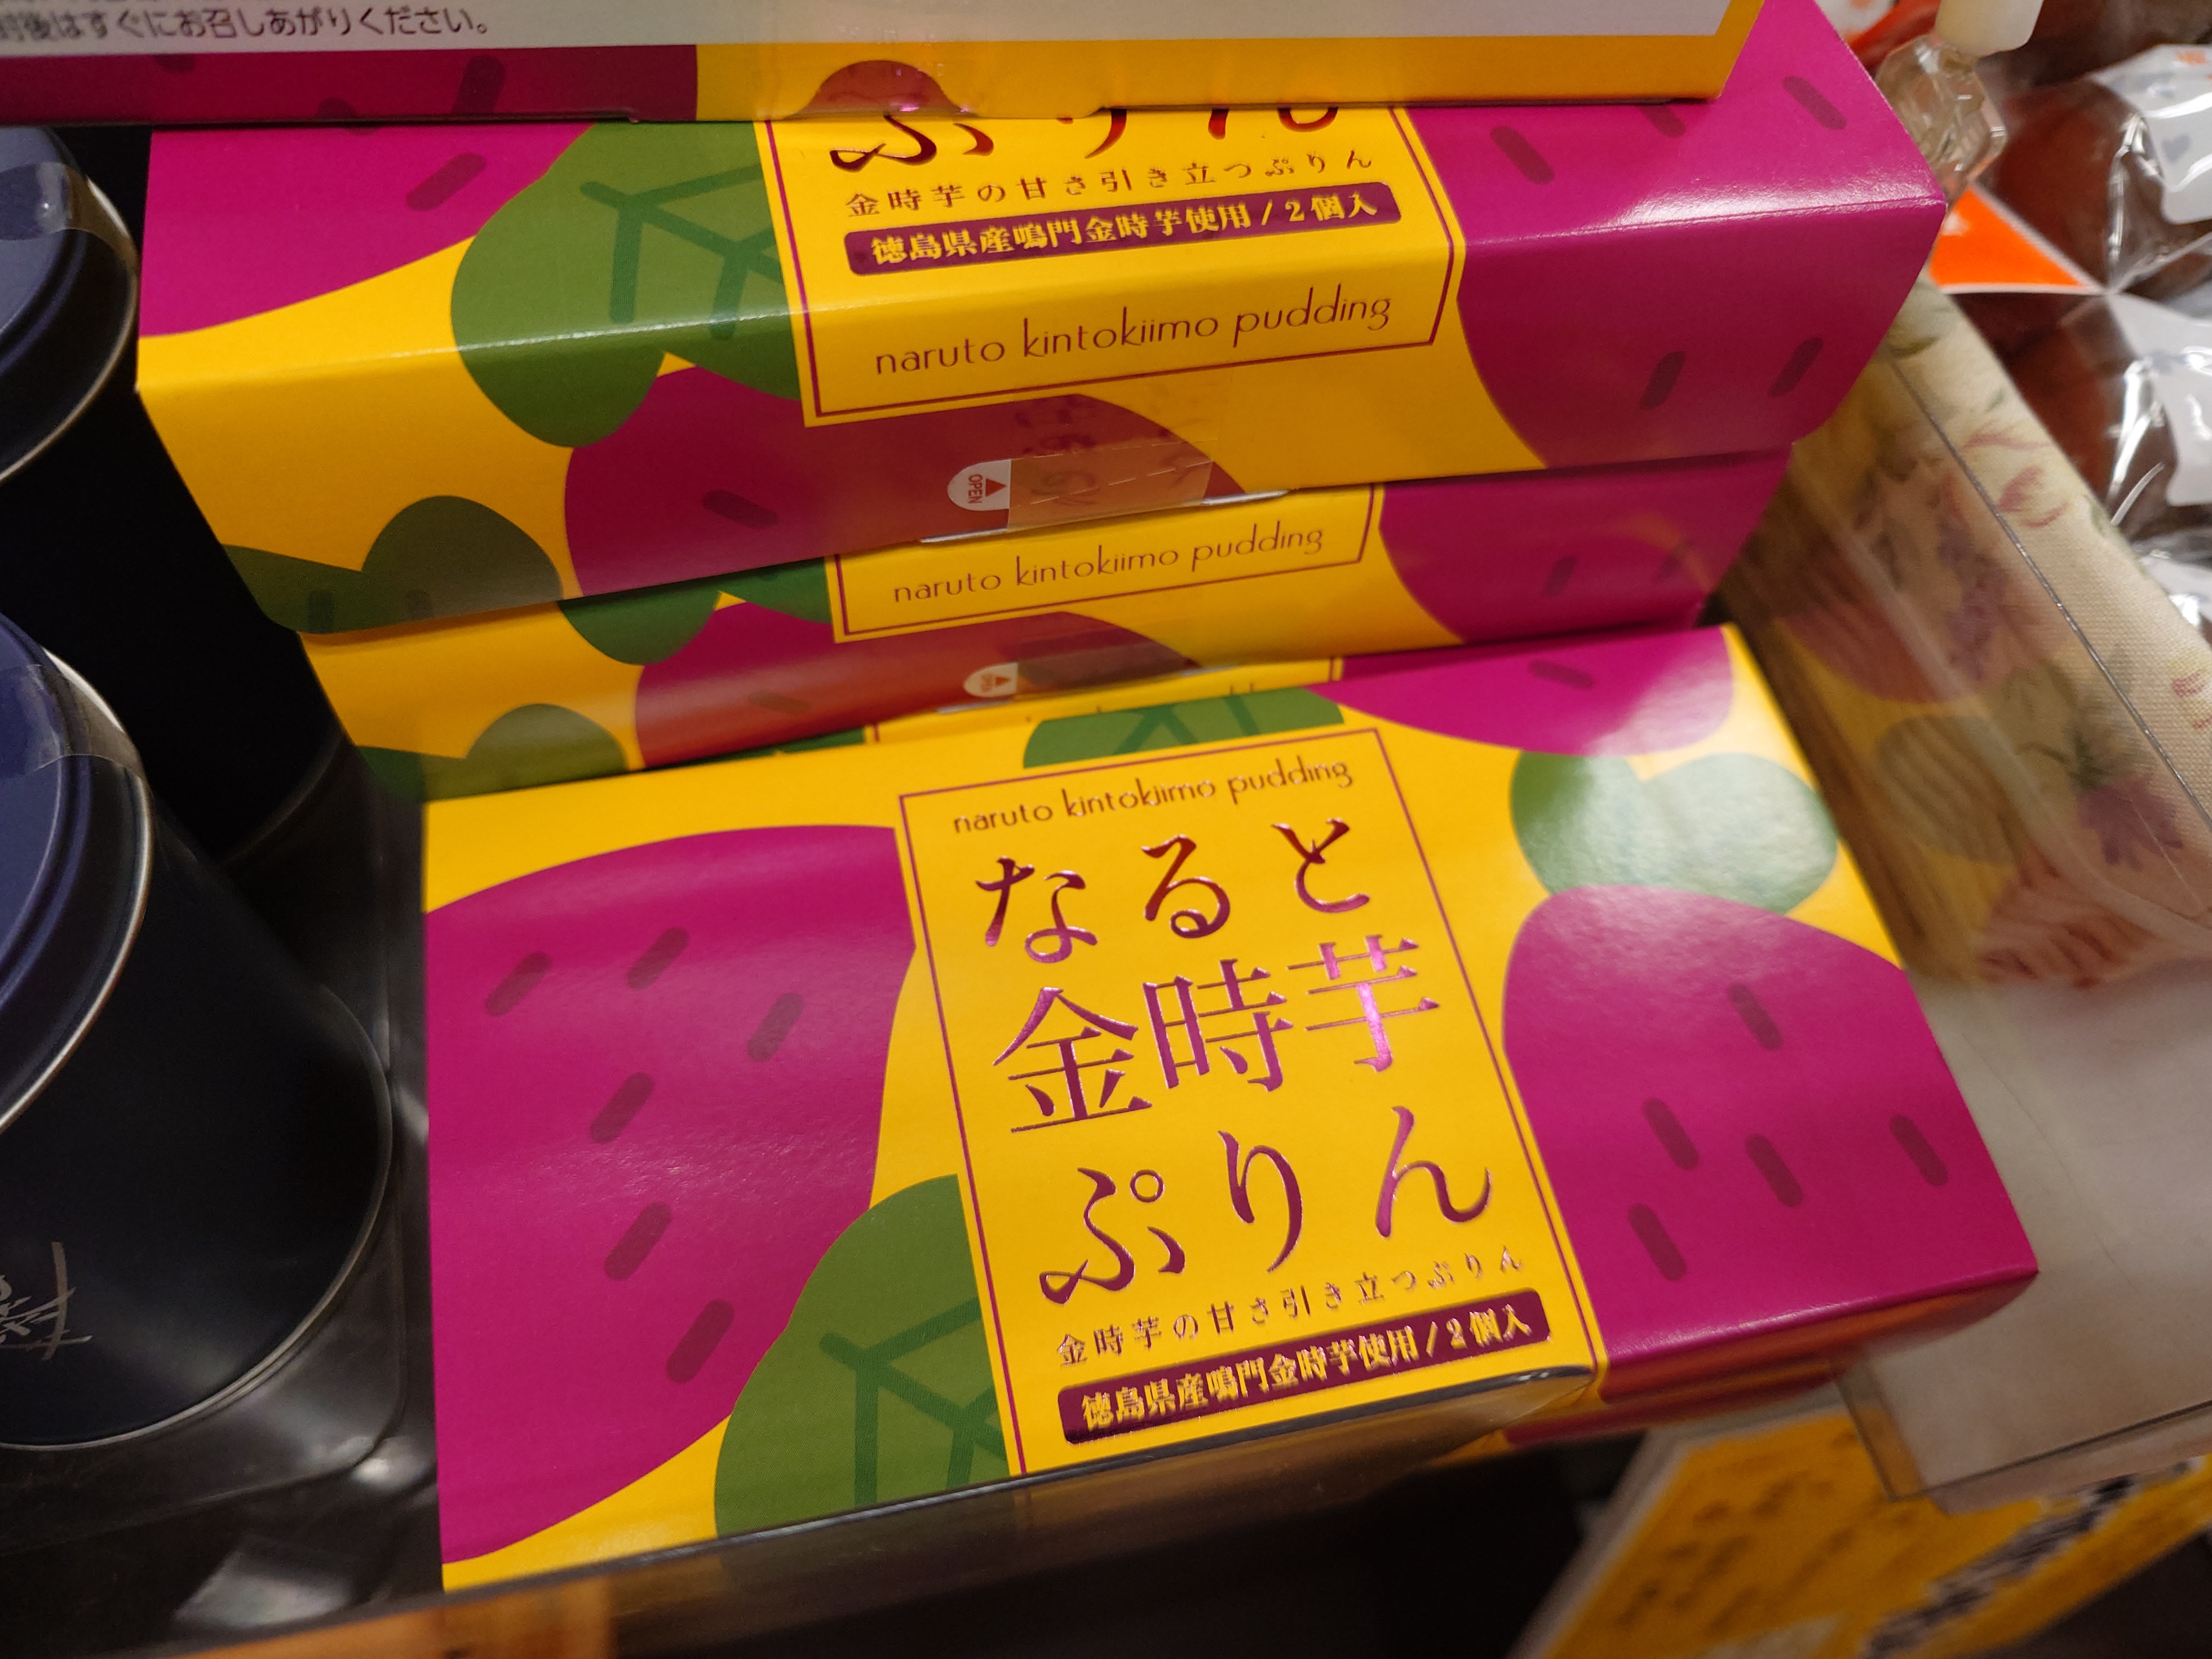
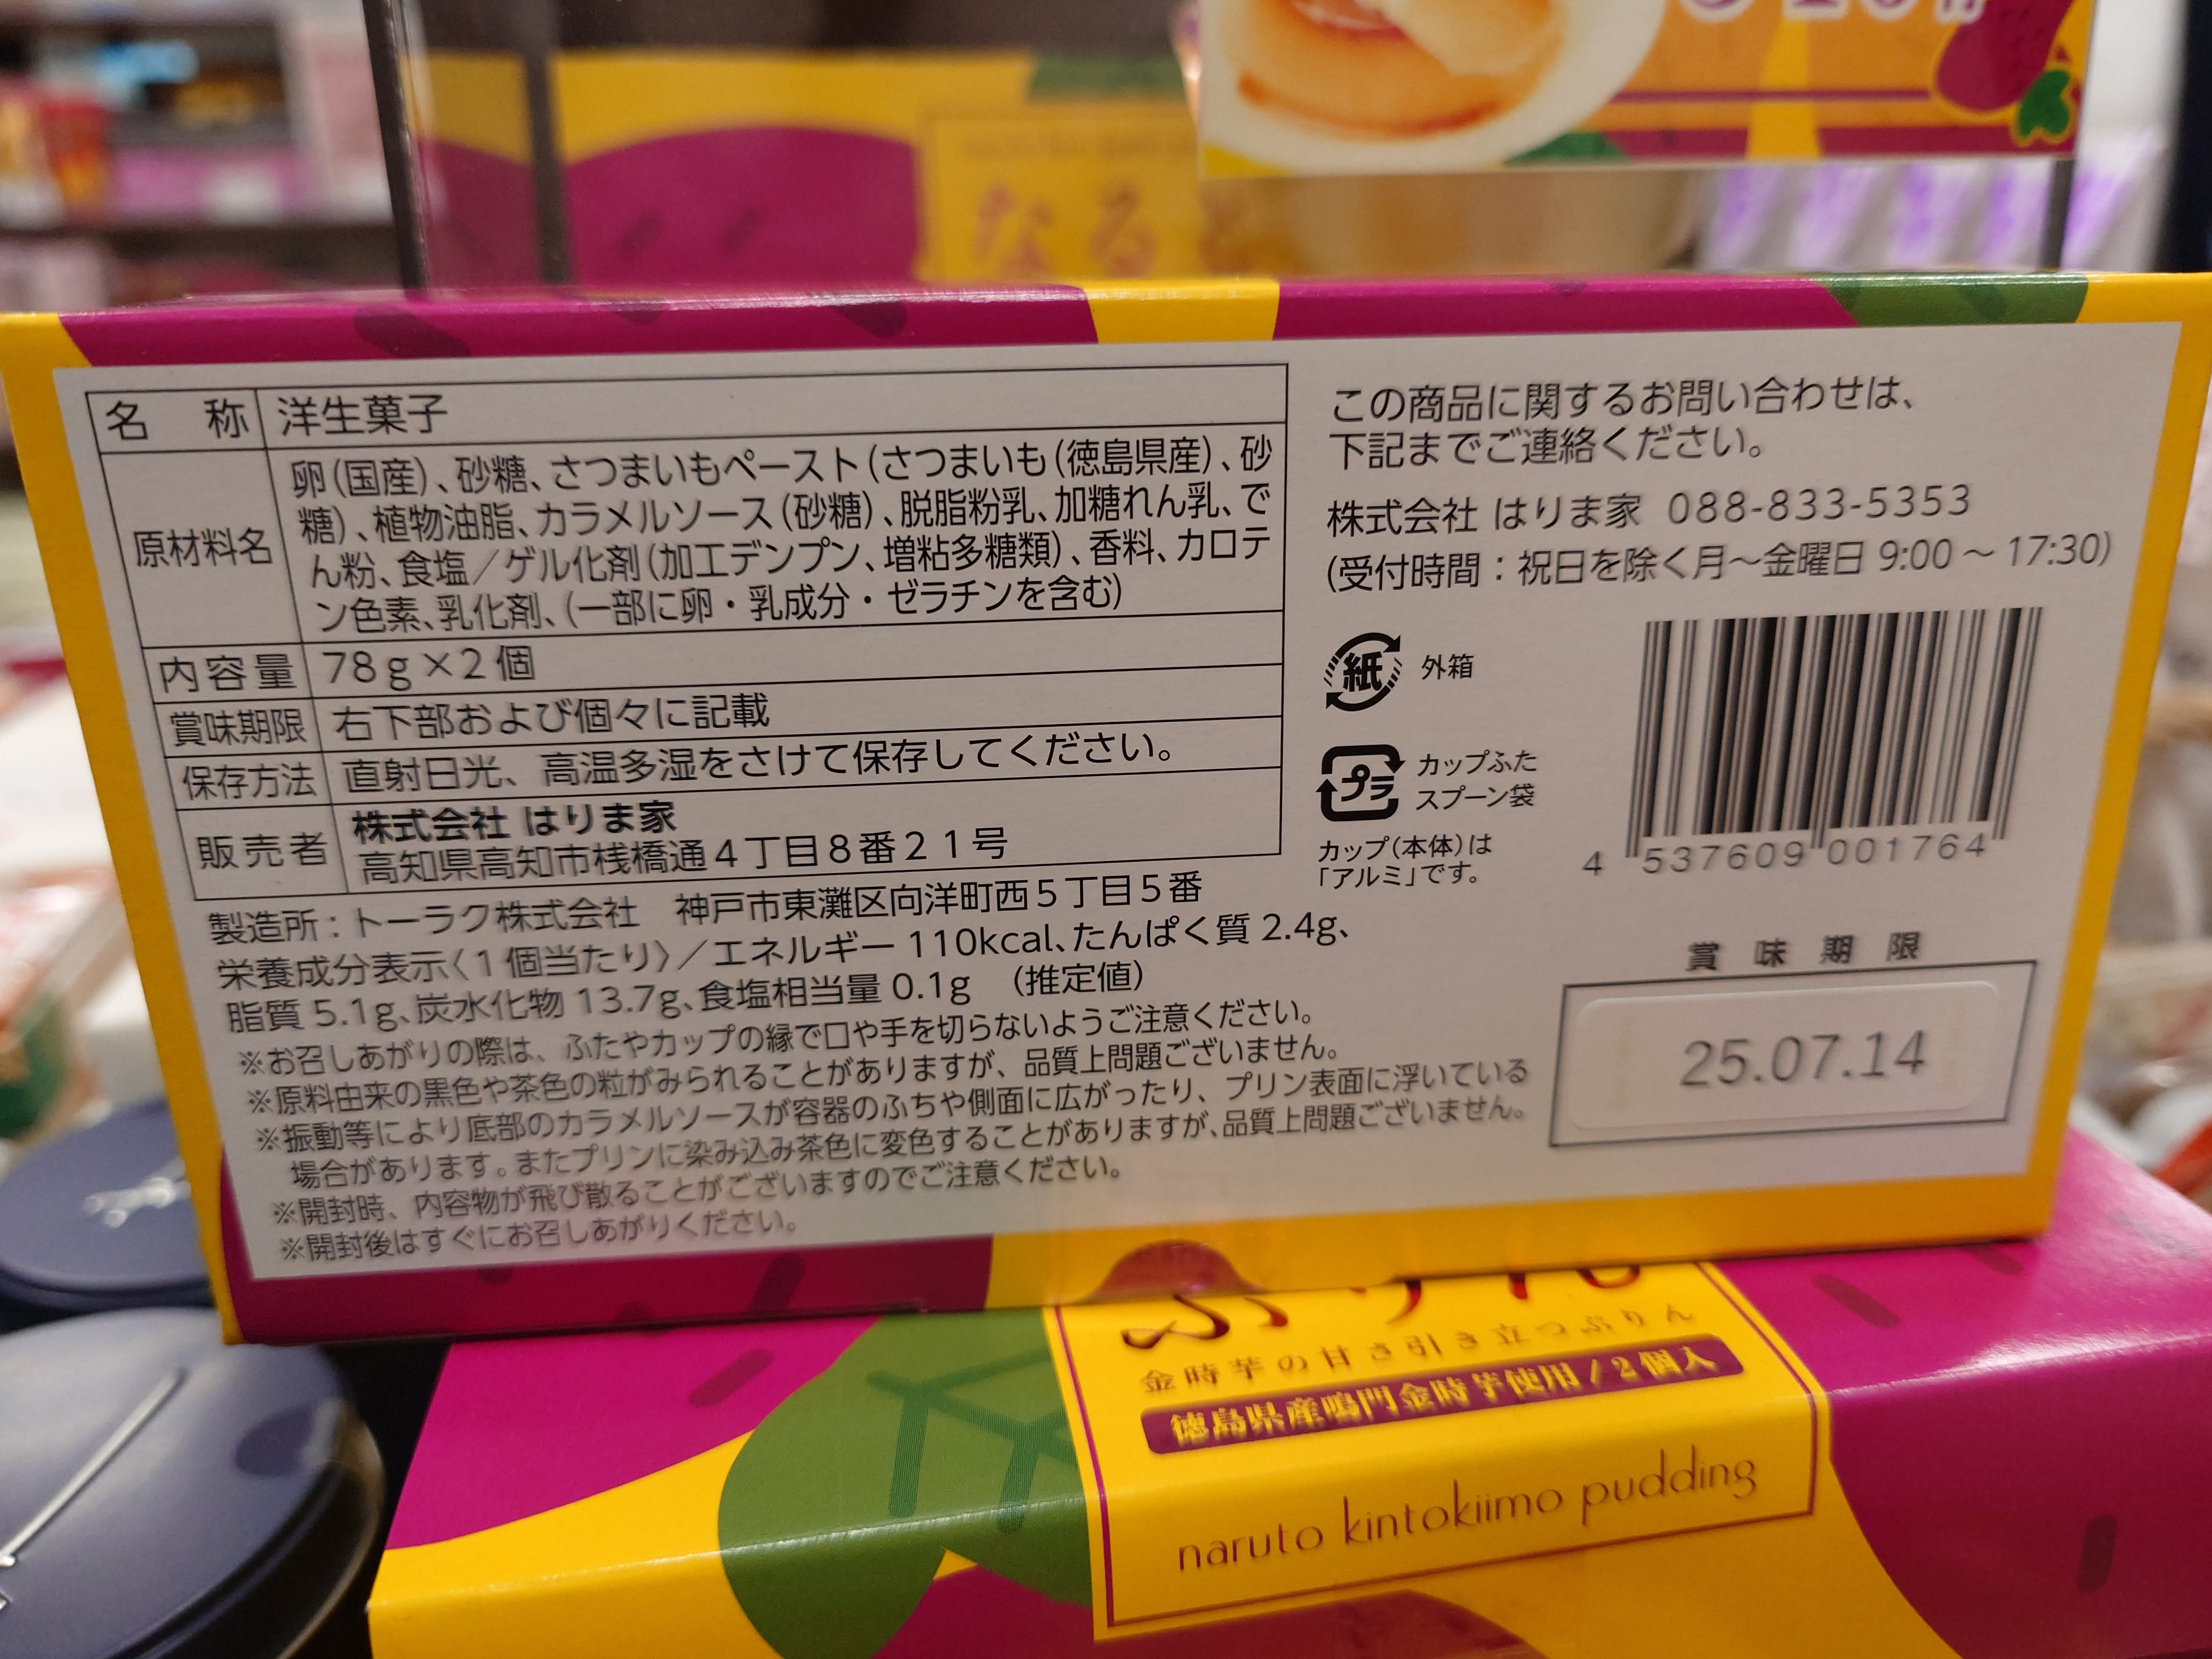
やけに神戸プリン感があるものがあったので見てみたらまんまトーラクだったので神戸プリンの亜種だった。
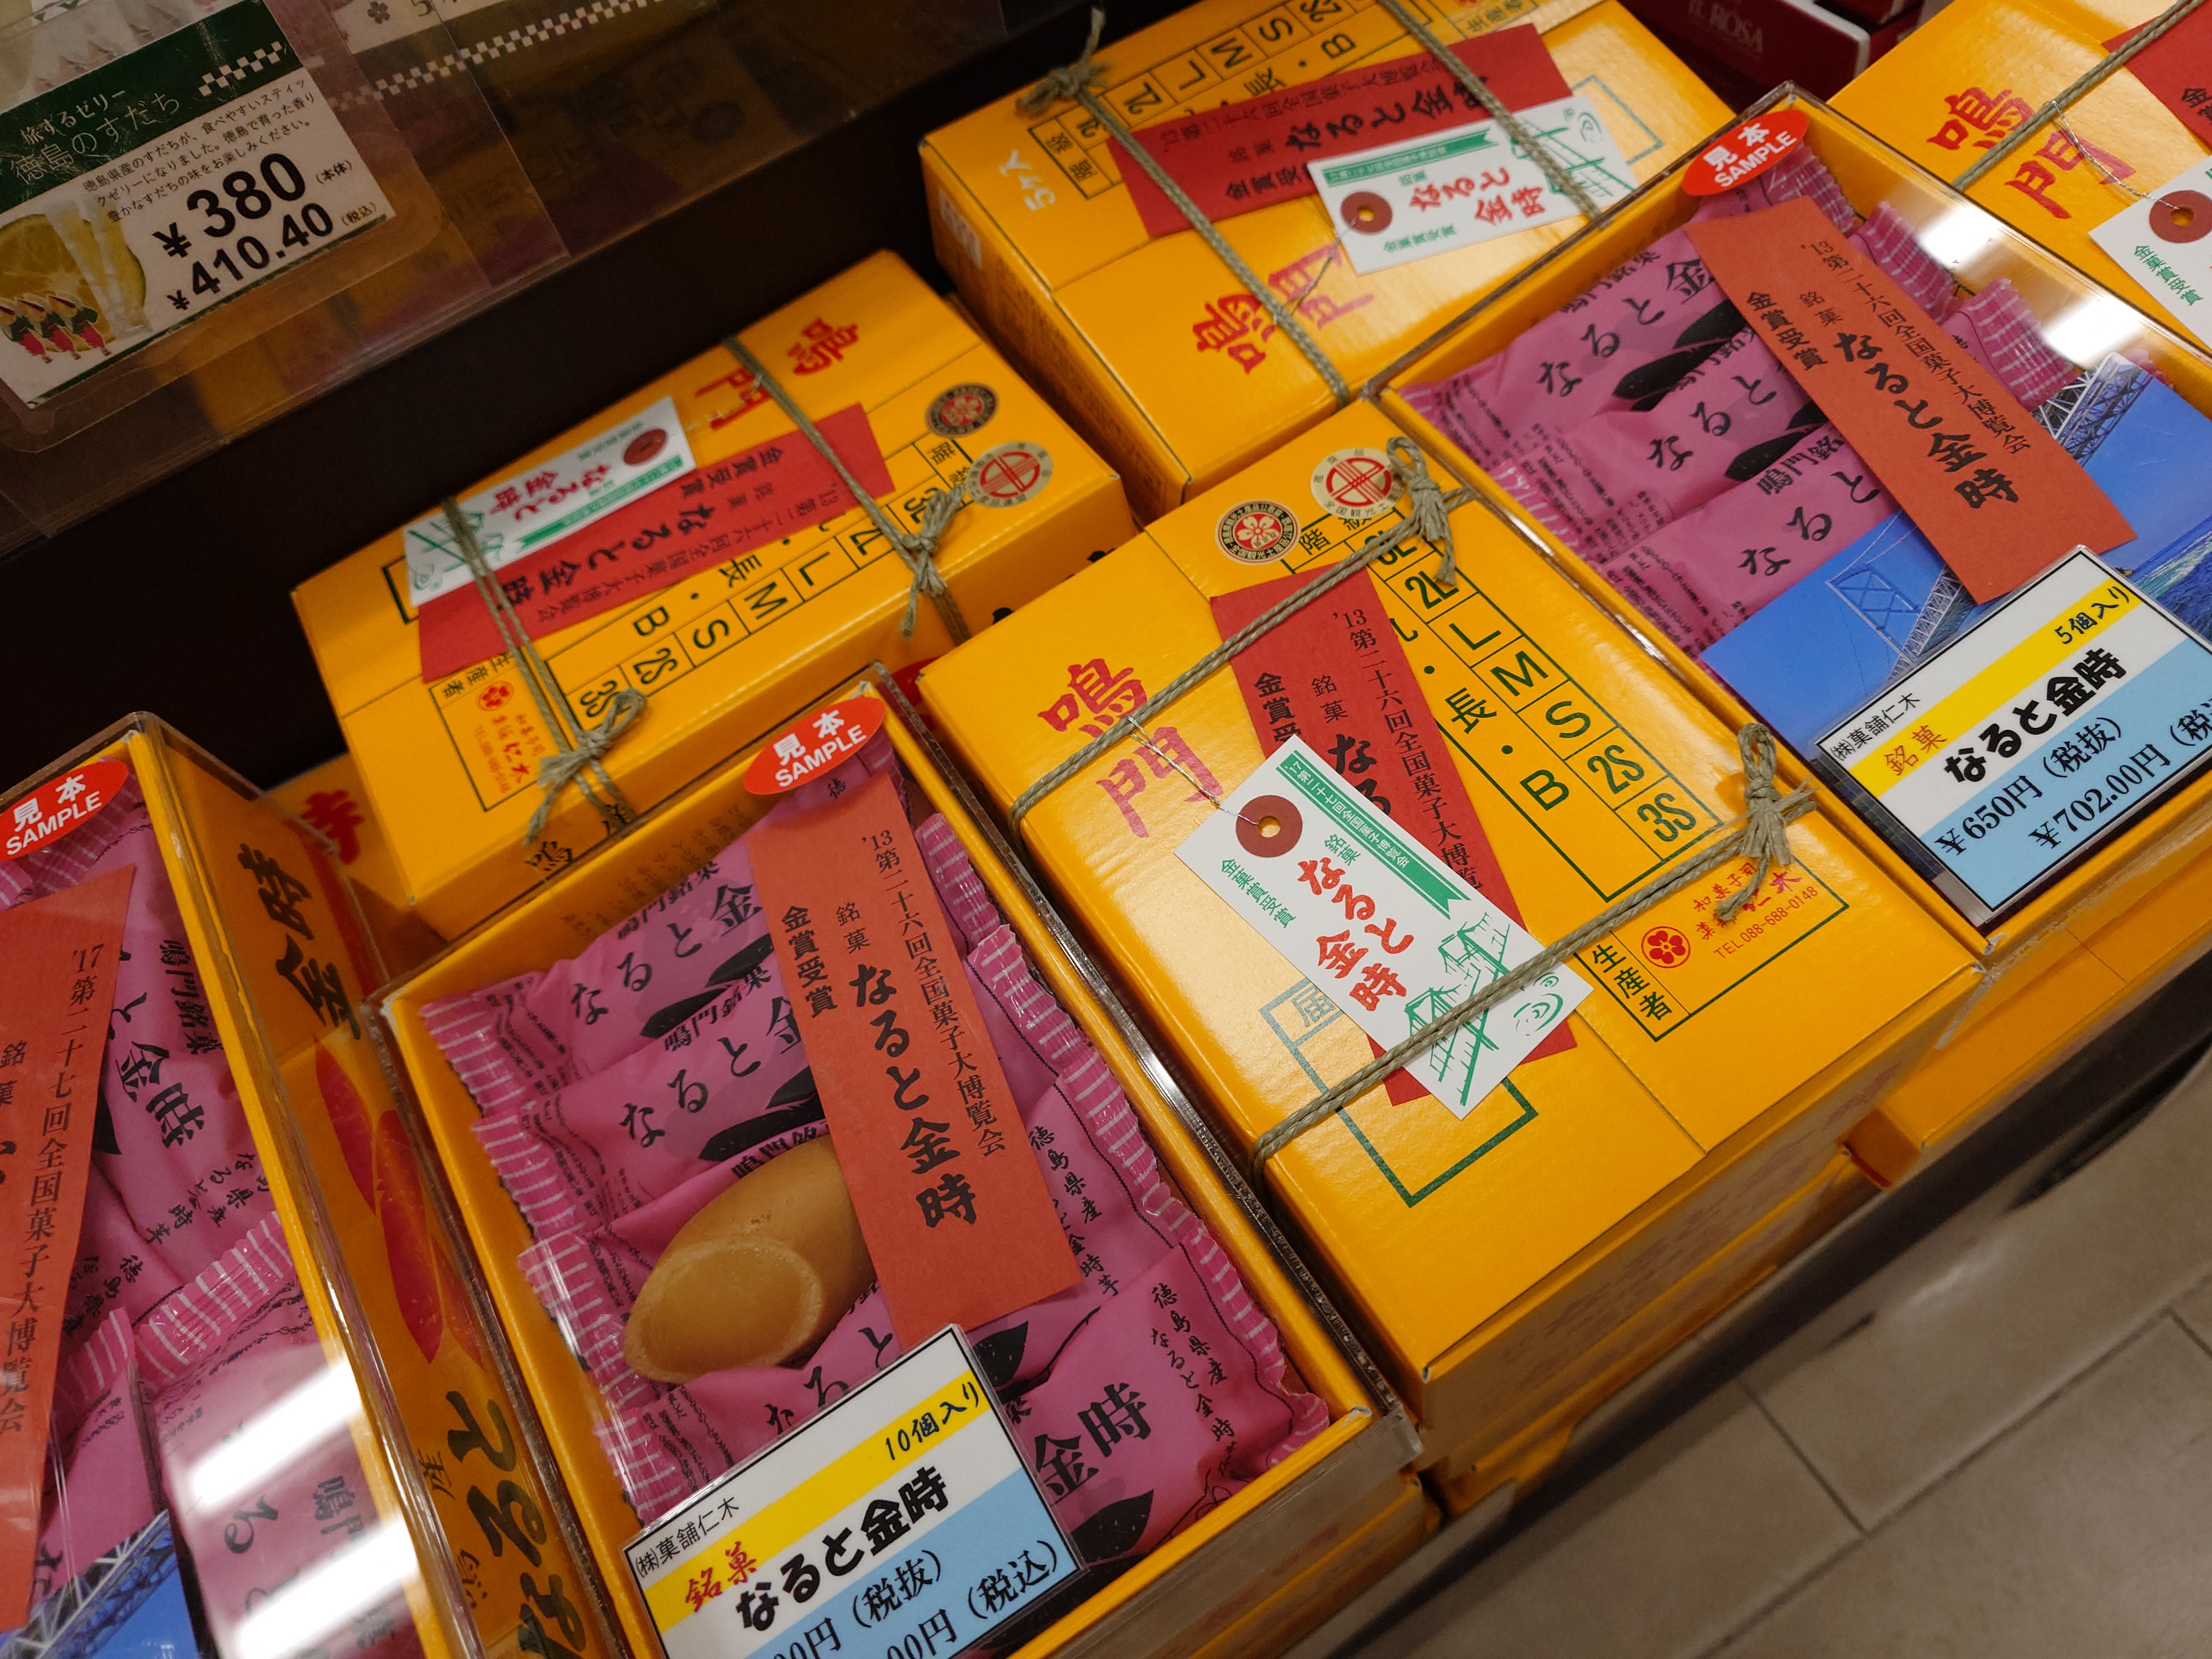
愛媛にあったみかん箱包装は徳島では鳴門金時になっていた。
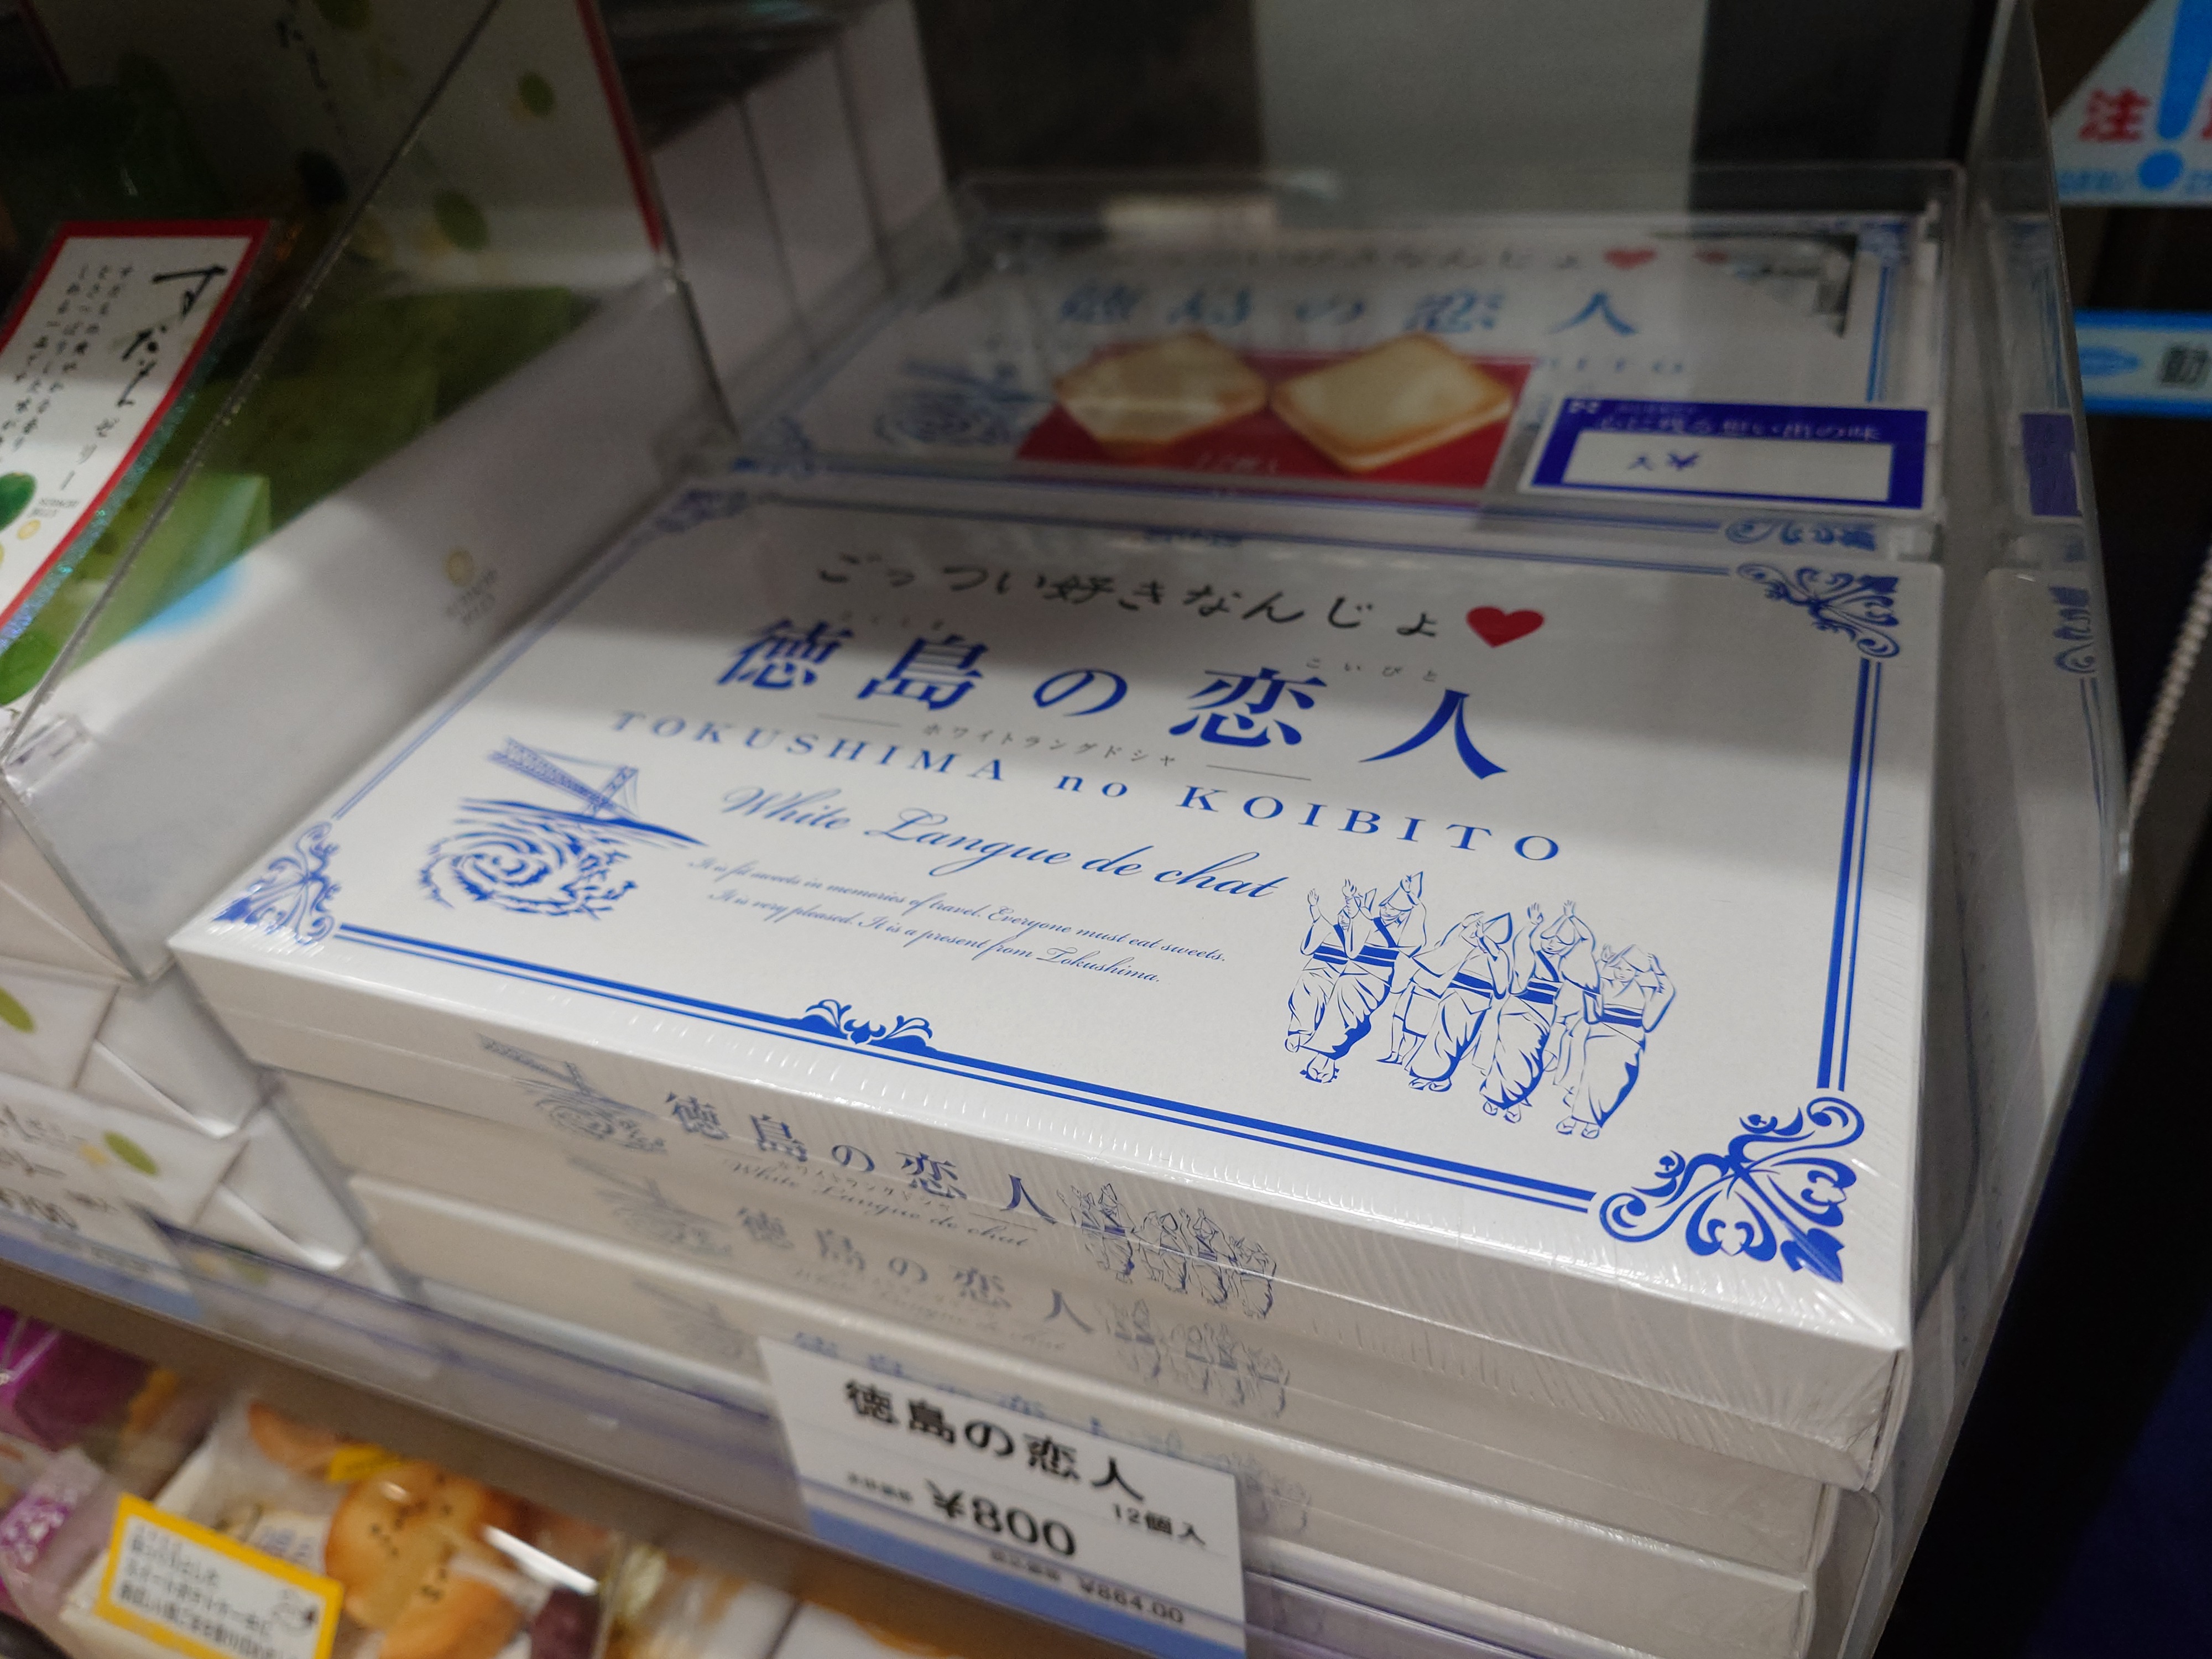
阿波の恋人じゃなくて徳島の恋人にしちゃうのかーとか。
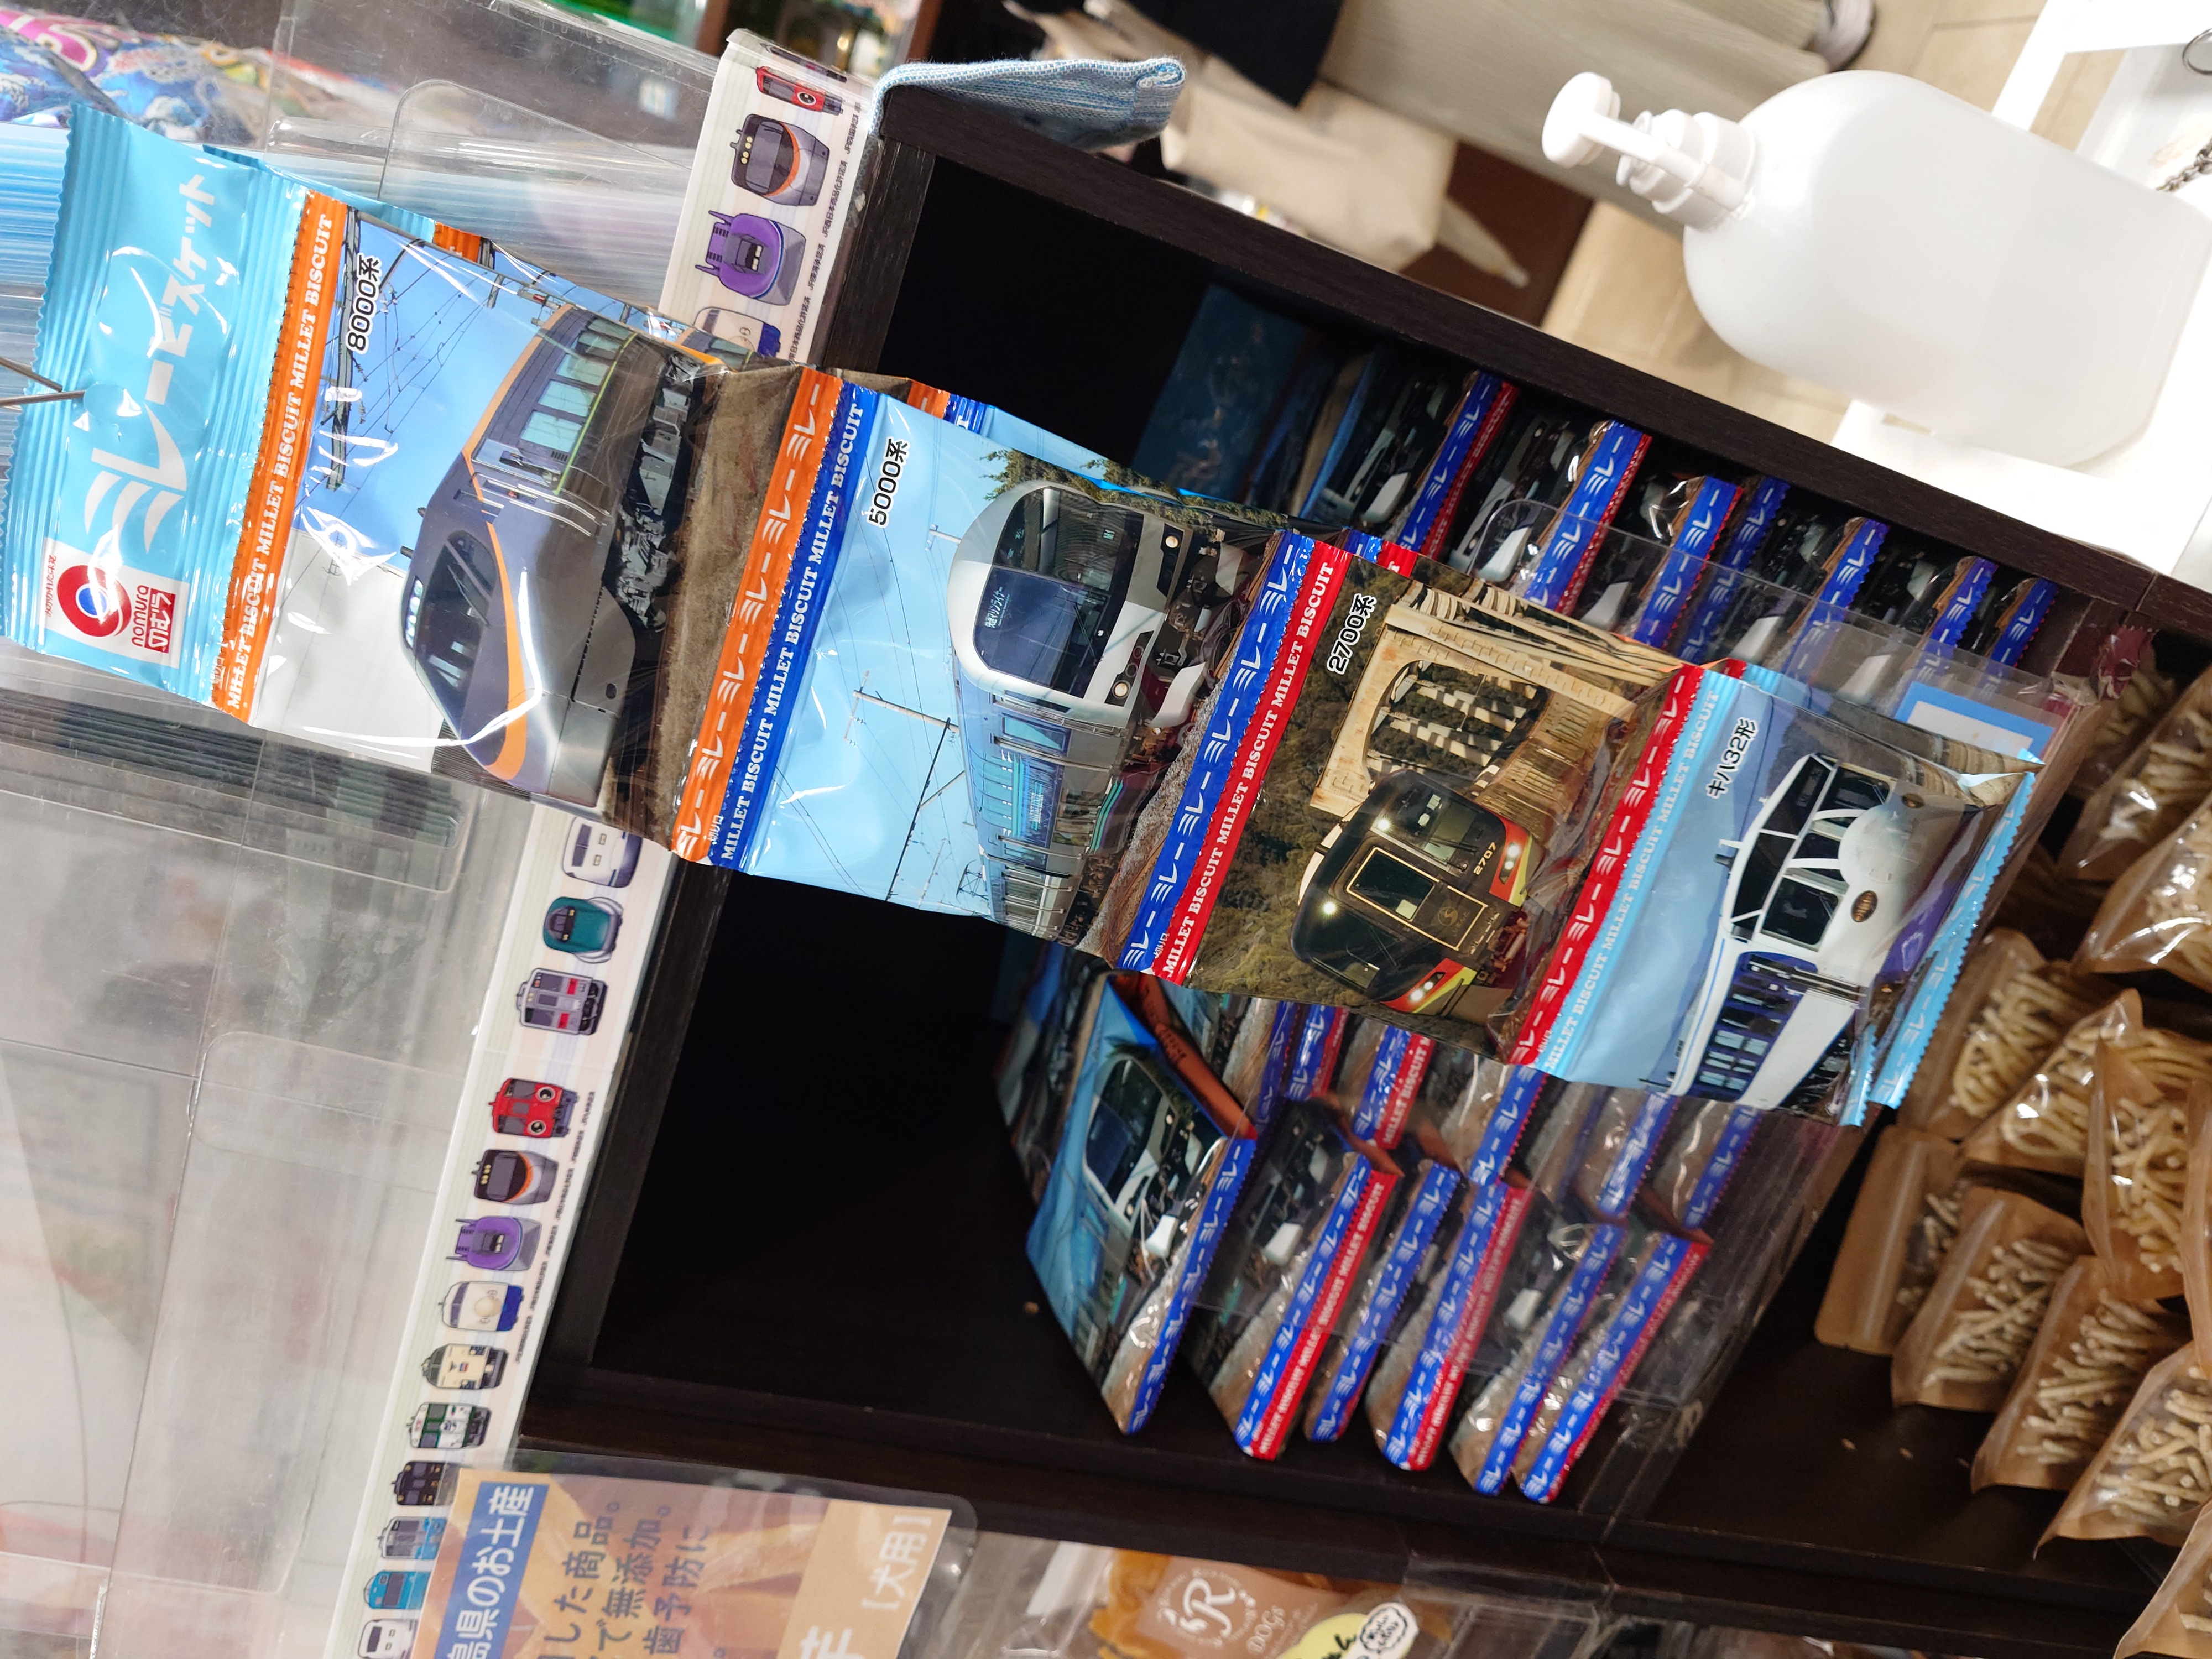
JR四国とコラボしてそうなミレービスケットもあって面白かった。
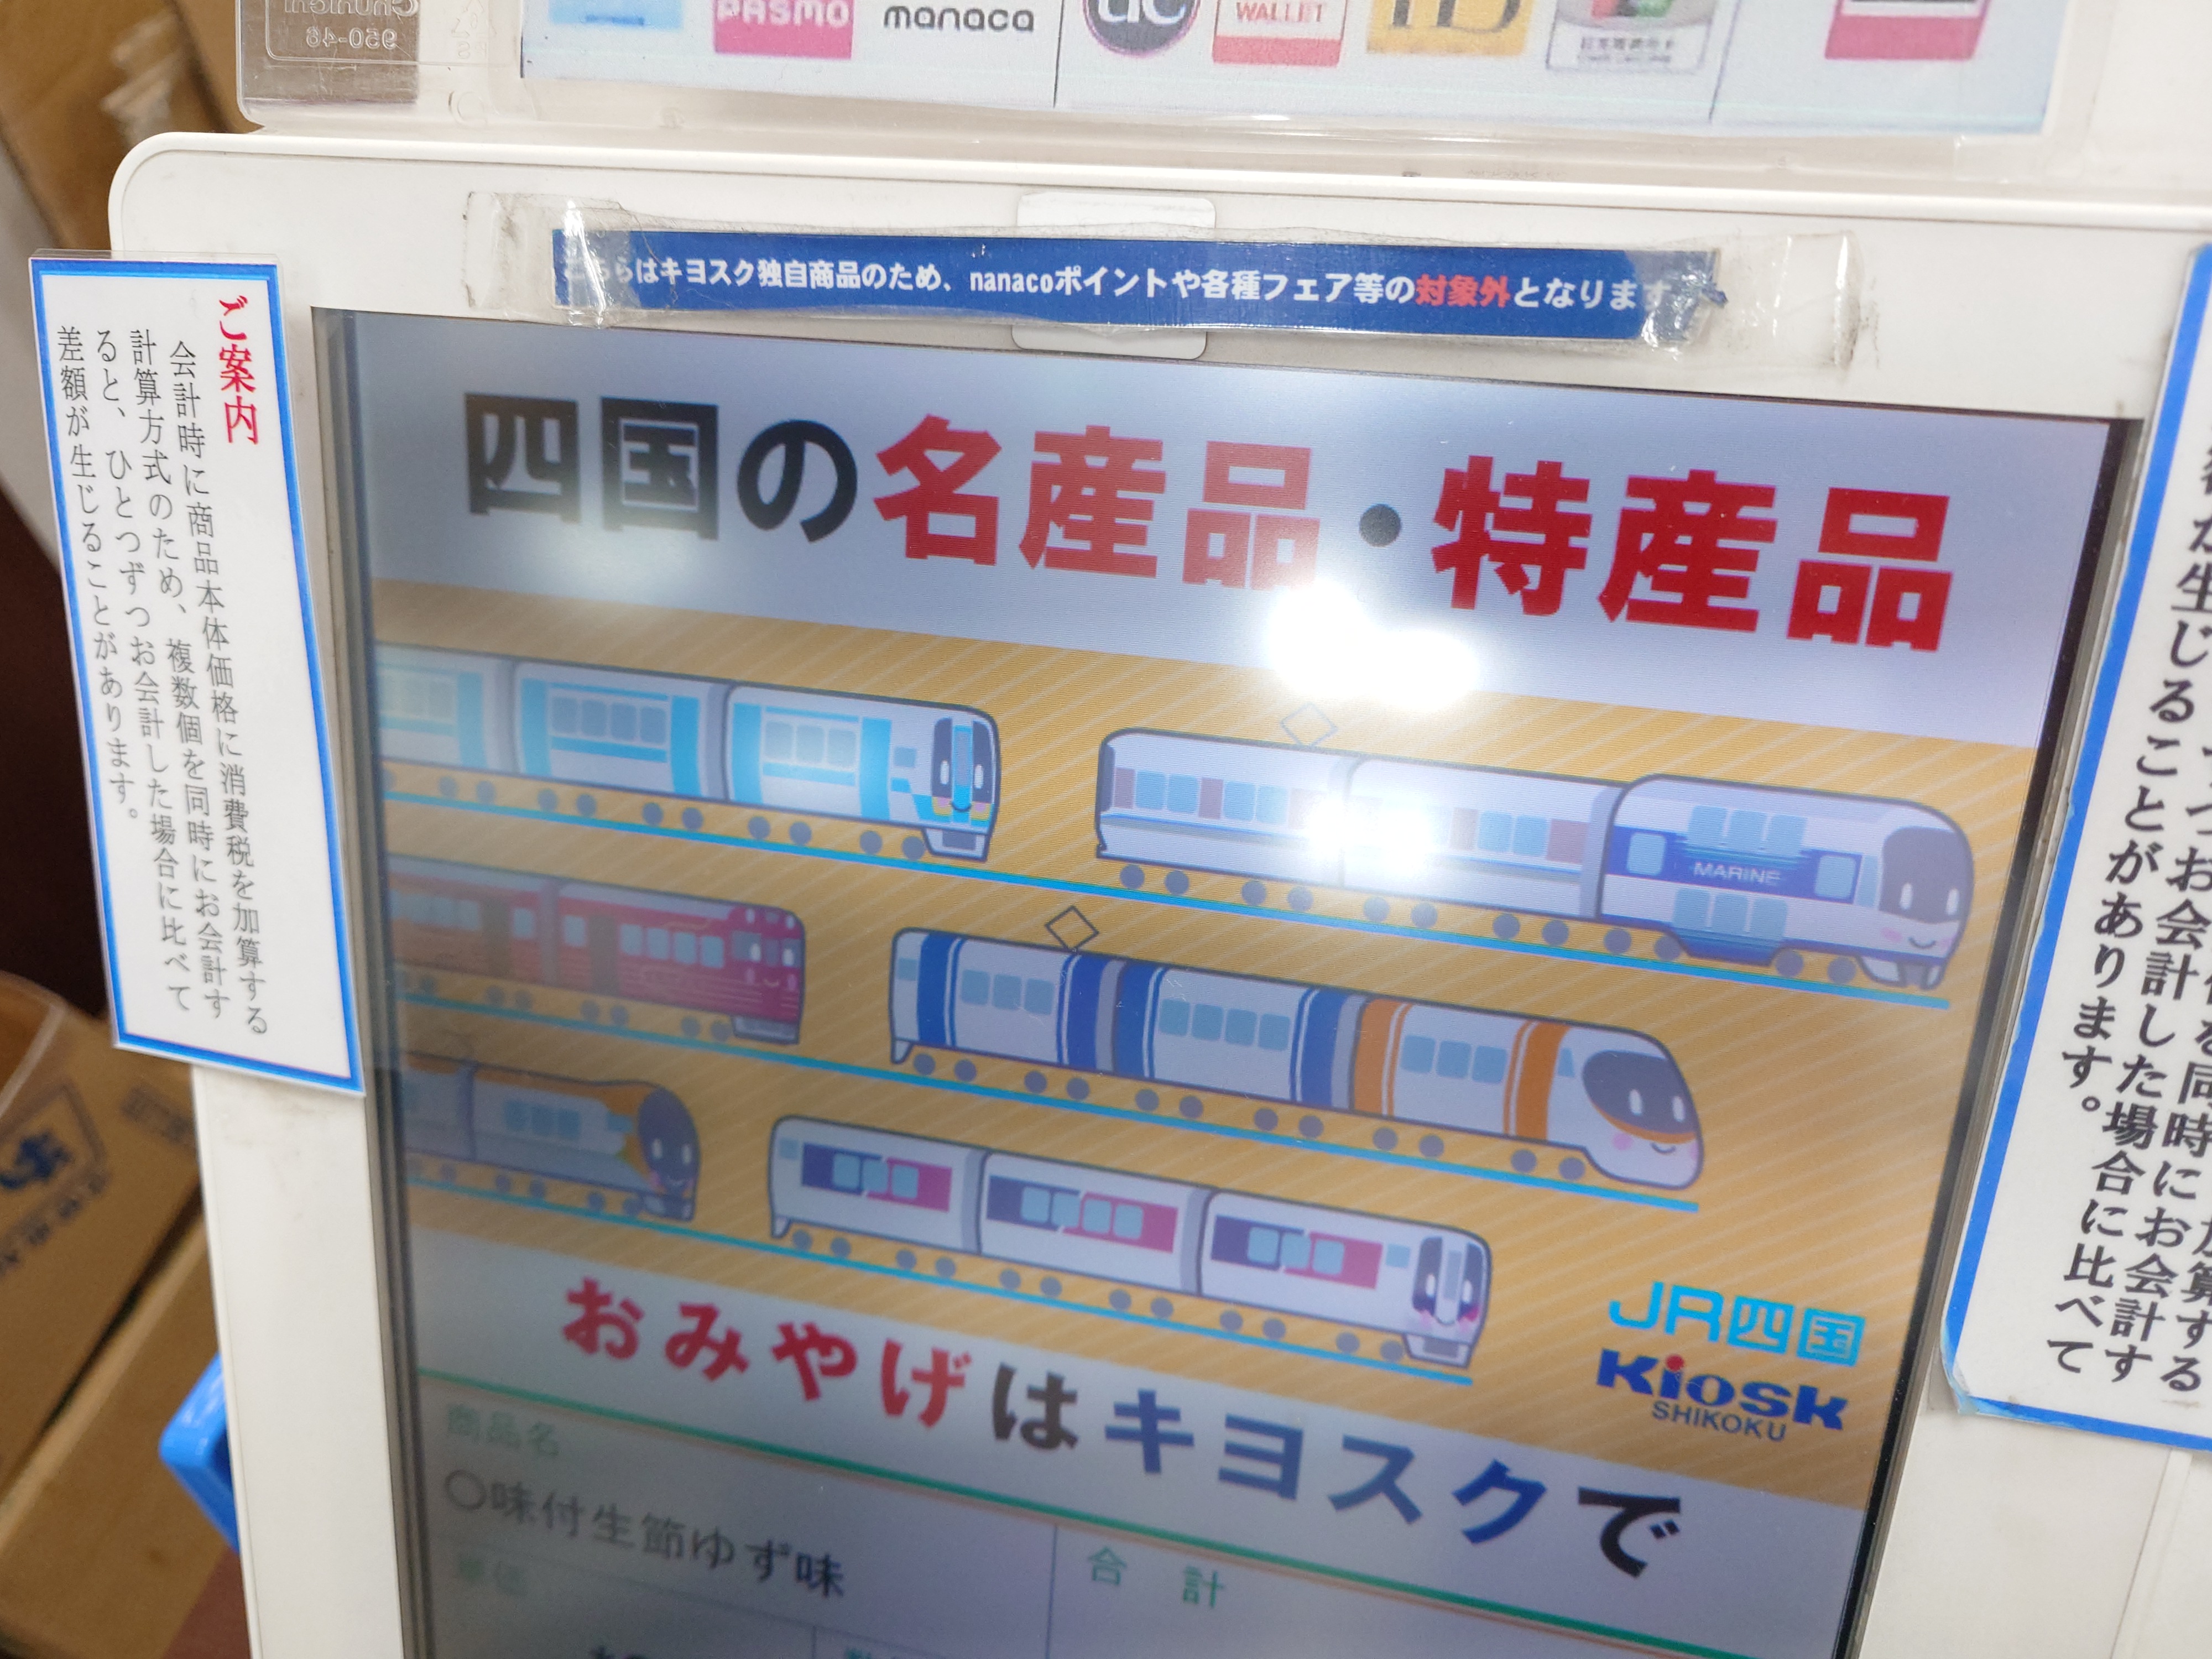
レジのJR四国がかわいかった。JR四国のキャラって基本なんかかわいいよね。
徳島駅改札

改札の先では交通ICが使えないことが猛烈にアピールされていた。
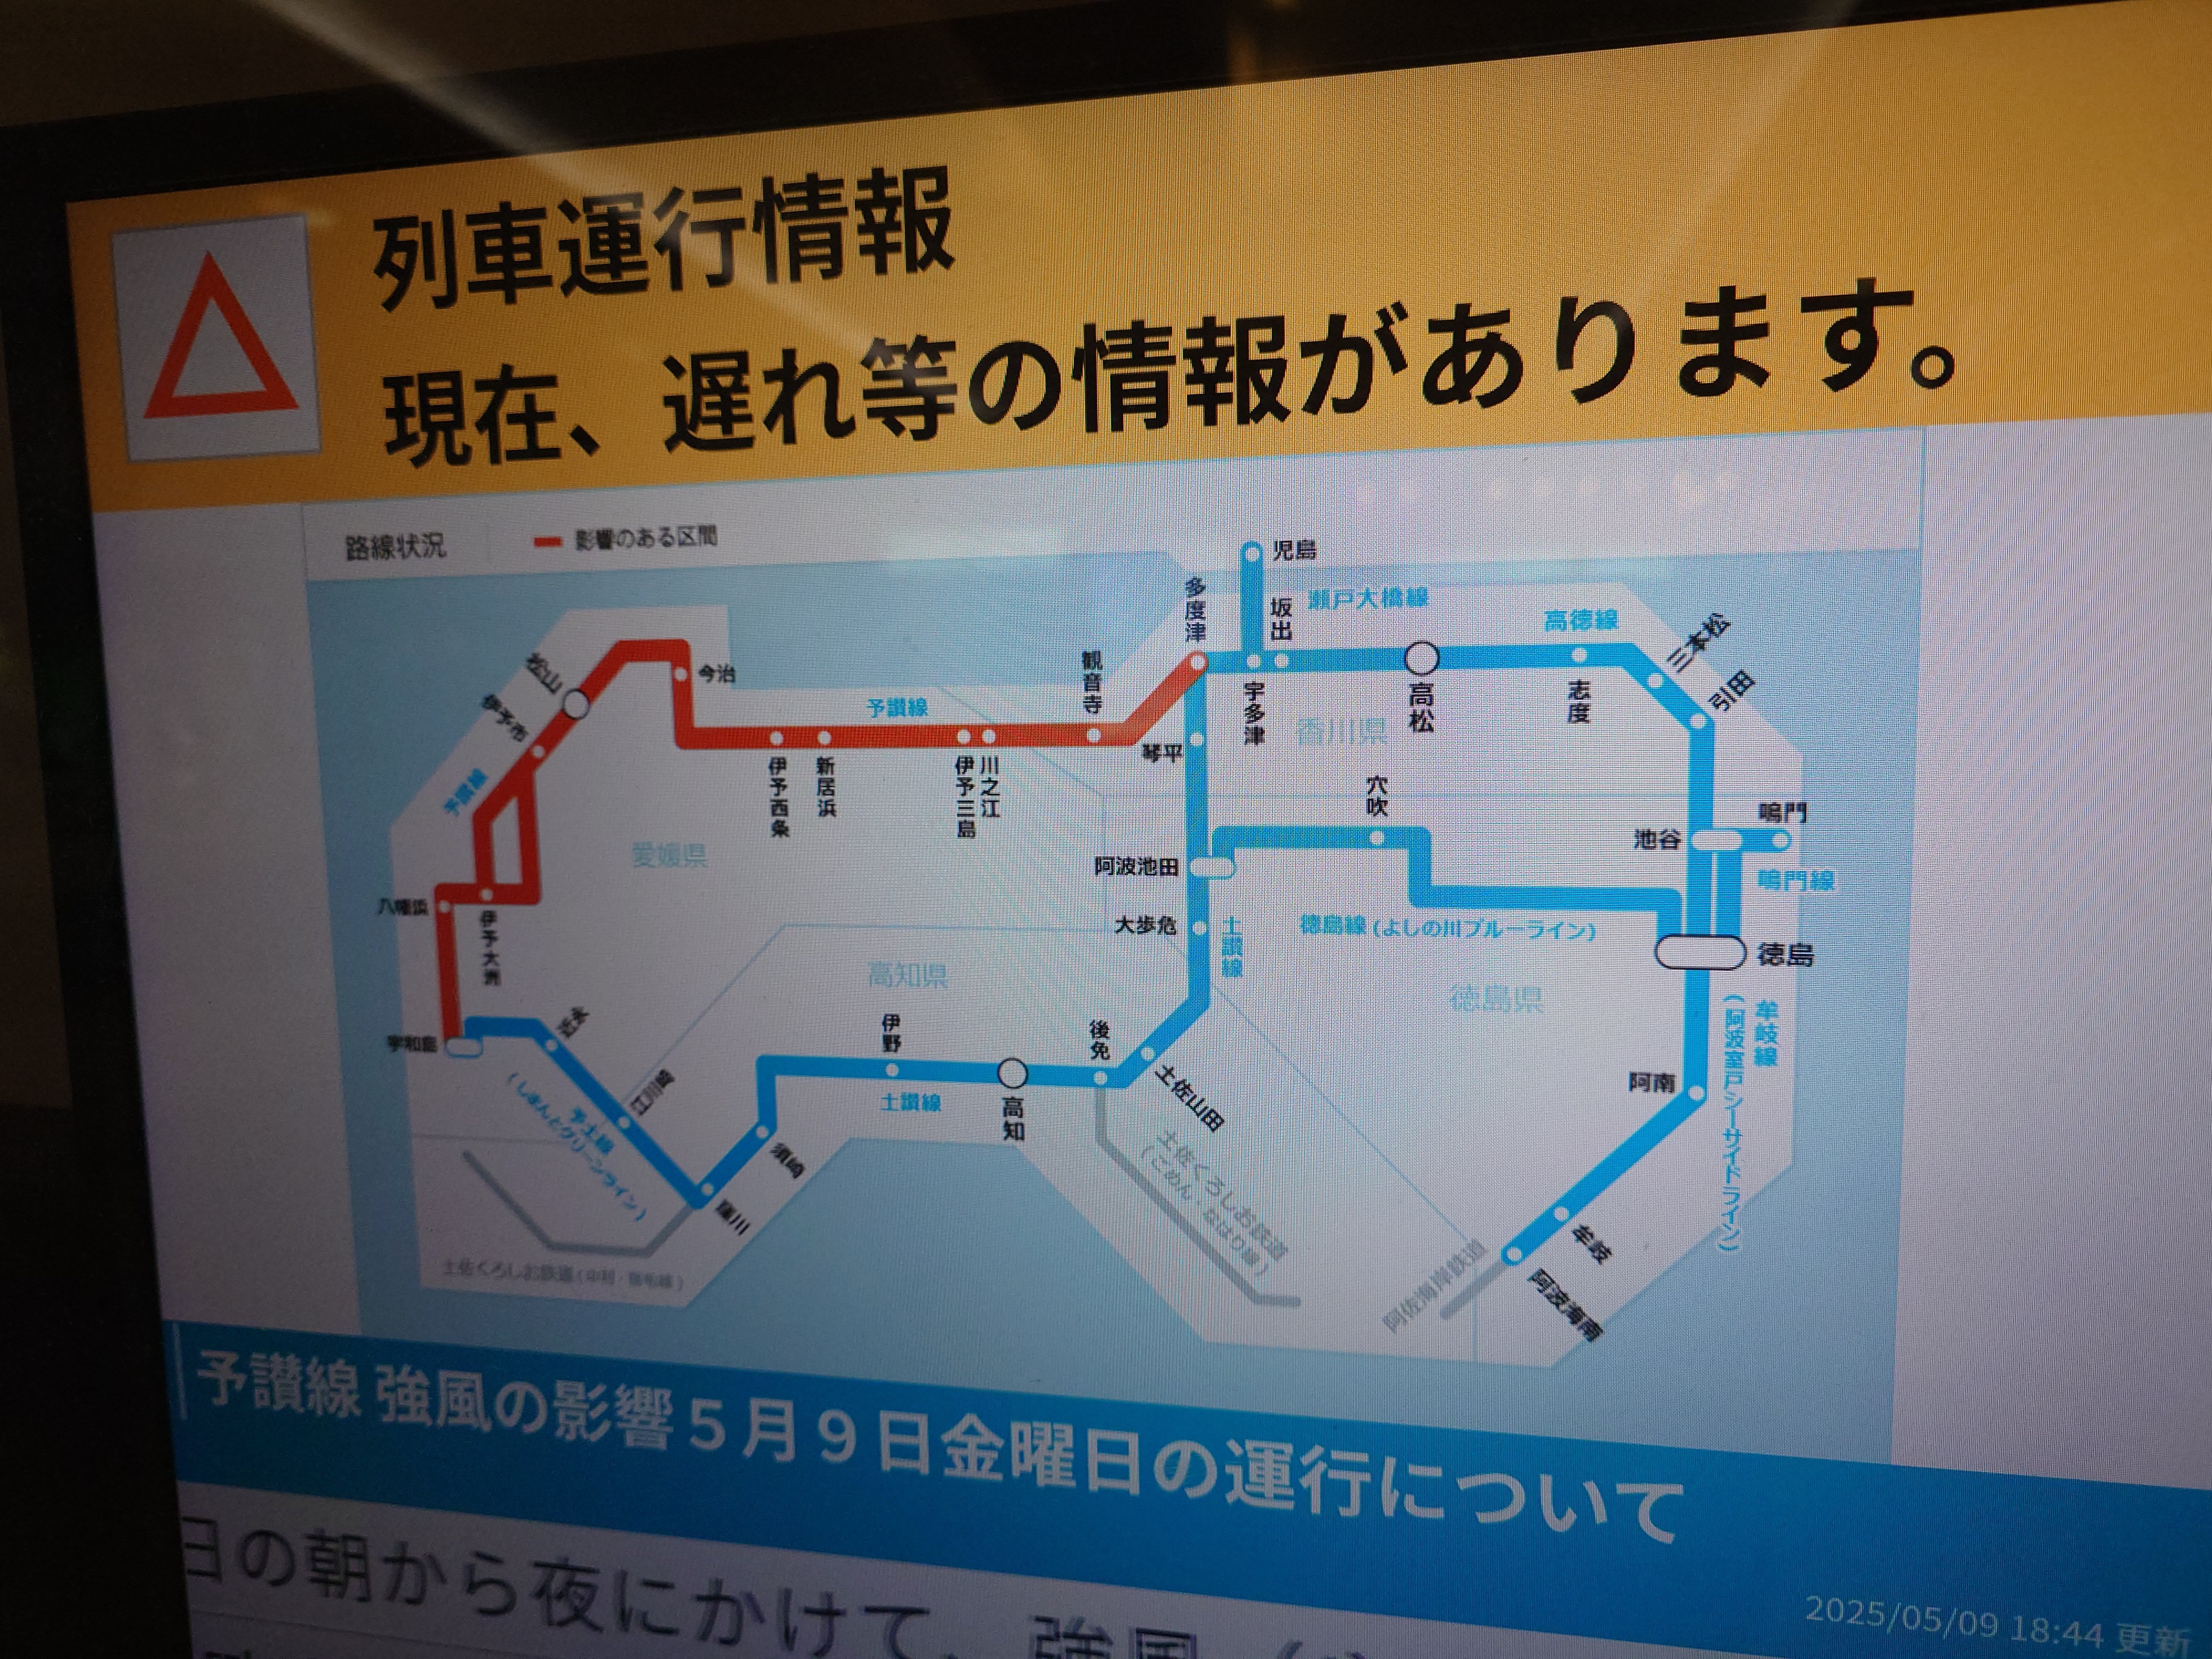
運行情報を眺めていて、児島の文字が見え、以前松山の出身者が児島を知っていたことを思い出し、ここに出ているなら、そら名前くらいはわかるよなとか思うなどした。(競艇のCMもあると思うが)
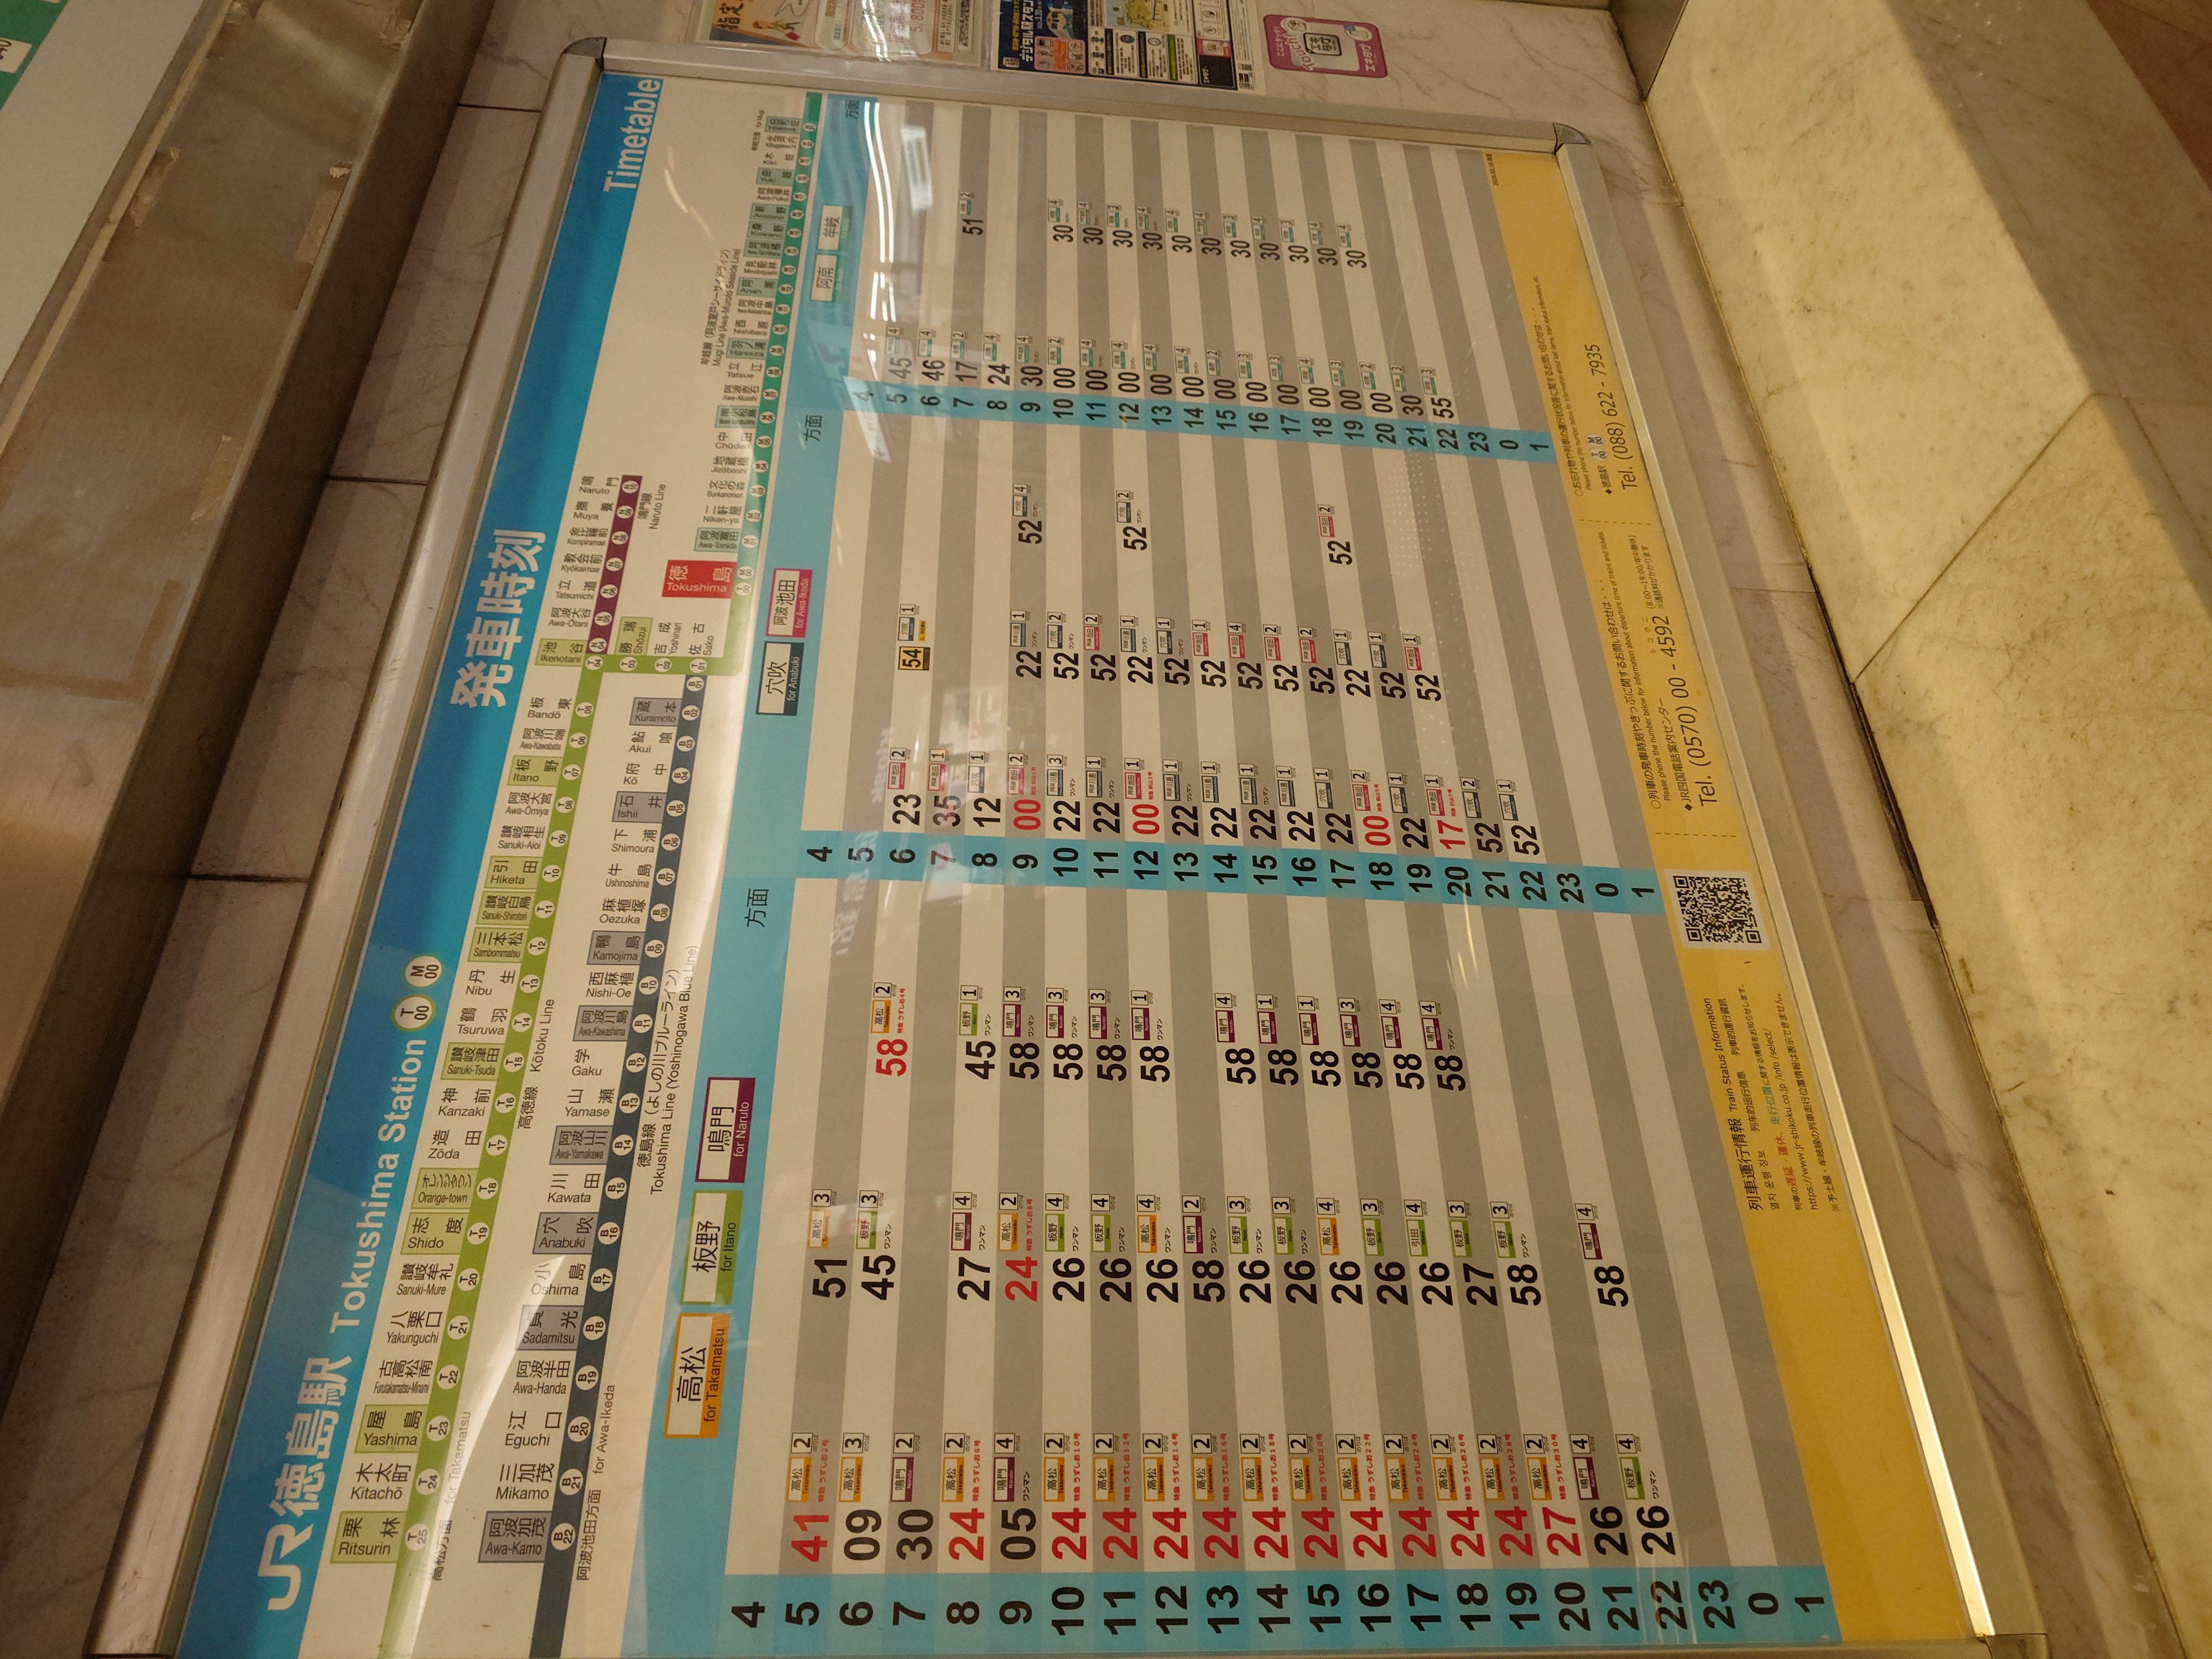
各線の列車本数は壬生川よりは多く見えたので、ぼちぼち本数はあるようだ。ただ高松行の終電が20時台とかなり早く、マチアソビのような夜までやるイベントに参加する場合、必然的に泊りになってしまう。
ちなみに徳島→三宮の終バスも20:30に出てしまうので結構苦しい。どのみち片道二時間もかかるので泊まるのが安牌だ。
二つ目の土産屋へ
ぶらぶらしていたらまた土産屋に入ってしまった。なんかこの駅、土産屋がやたら多い。駅前のも含めたら4つくらいあるんじゃないだろうか?
こちらでは先ほどのプリンが神戸プリンのトーラクのものであることが大々的に宣伝されている。いいのかそれは。徳島の誇りとかないんかと、少しだけ思った。

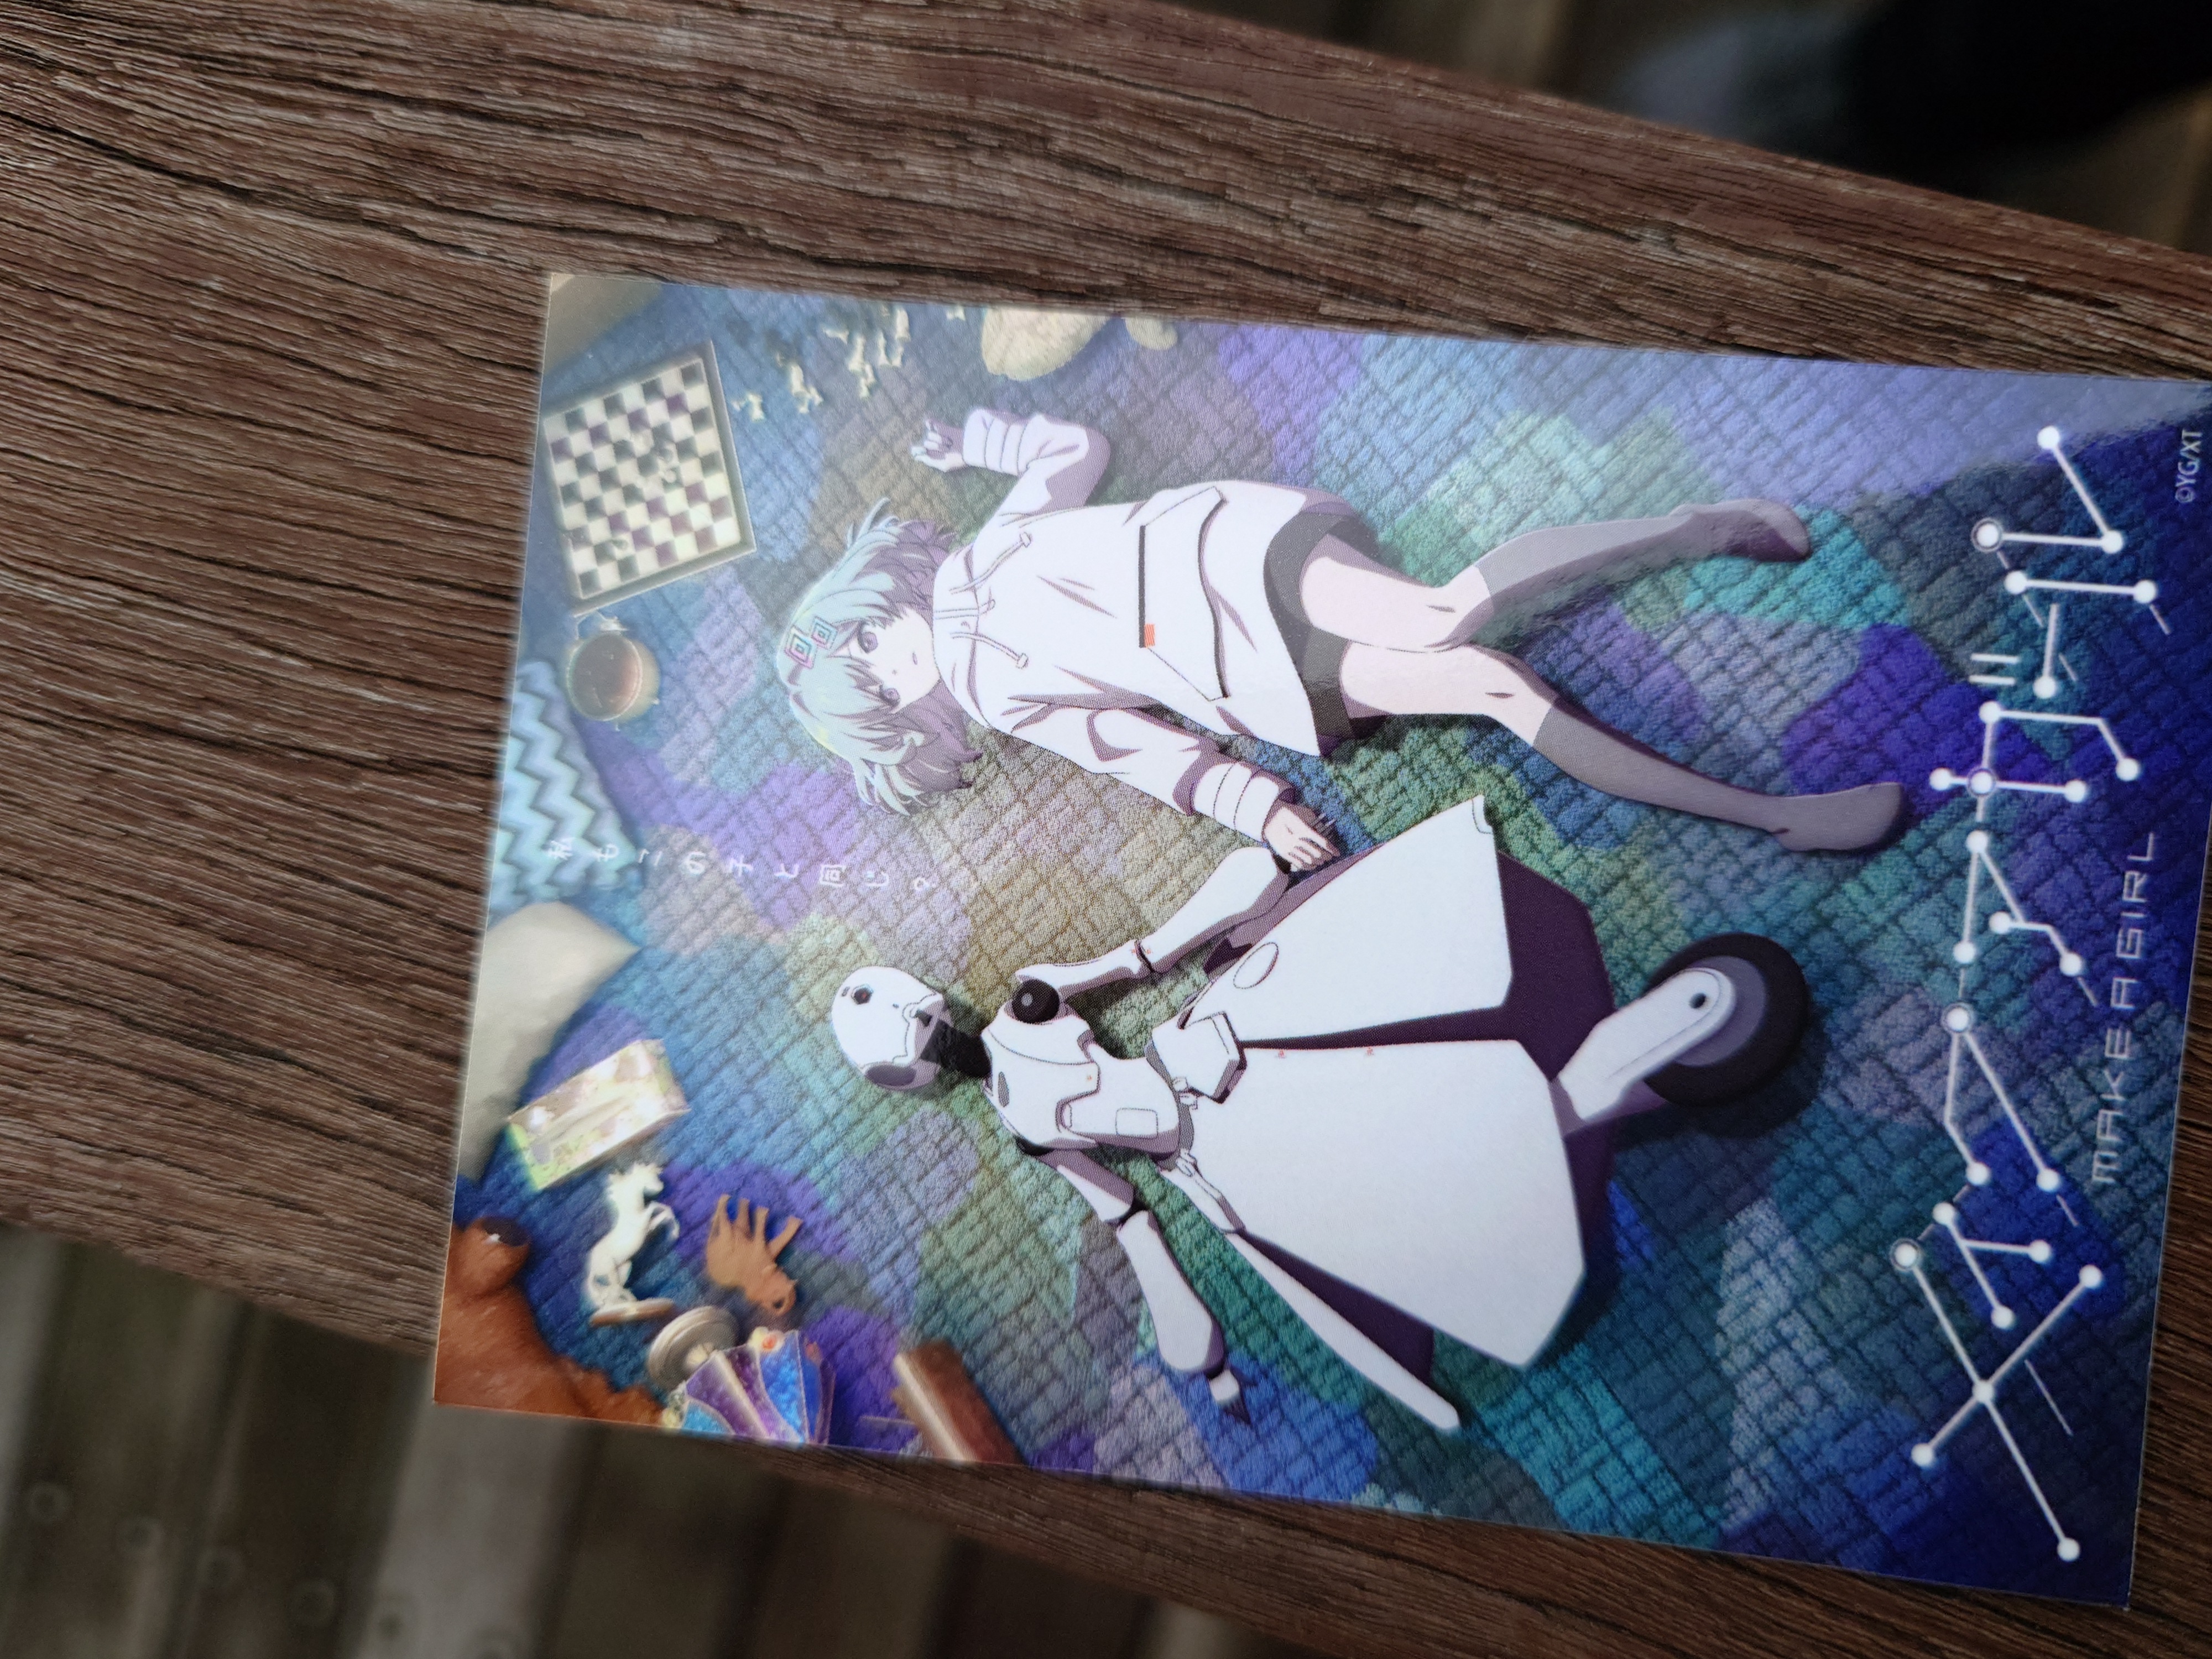
特に目を引いたのが、この半田そうめんだ。マチアソビが近いからだろうか、パッケージがマチアソビである。しかもポストカードももらえる。これを撮影した時点では四種あった。Xを見た感じもうポストカードは残ってないらしい。
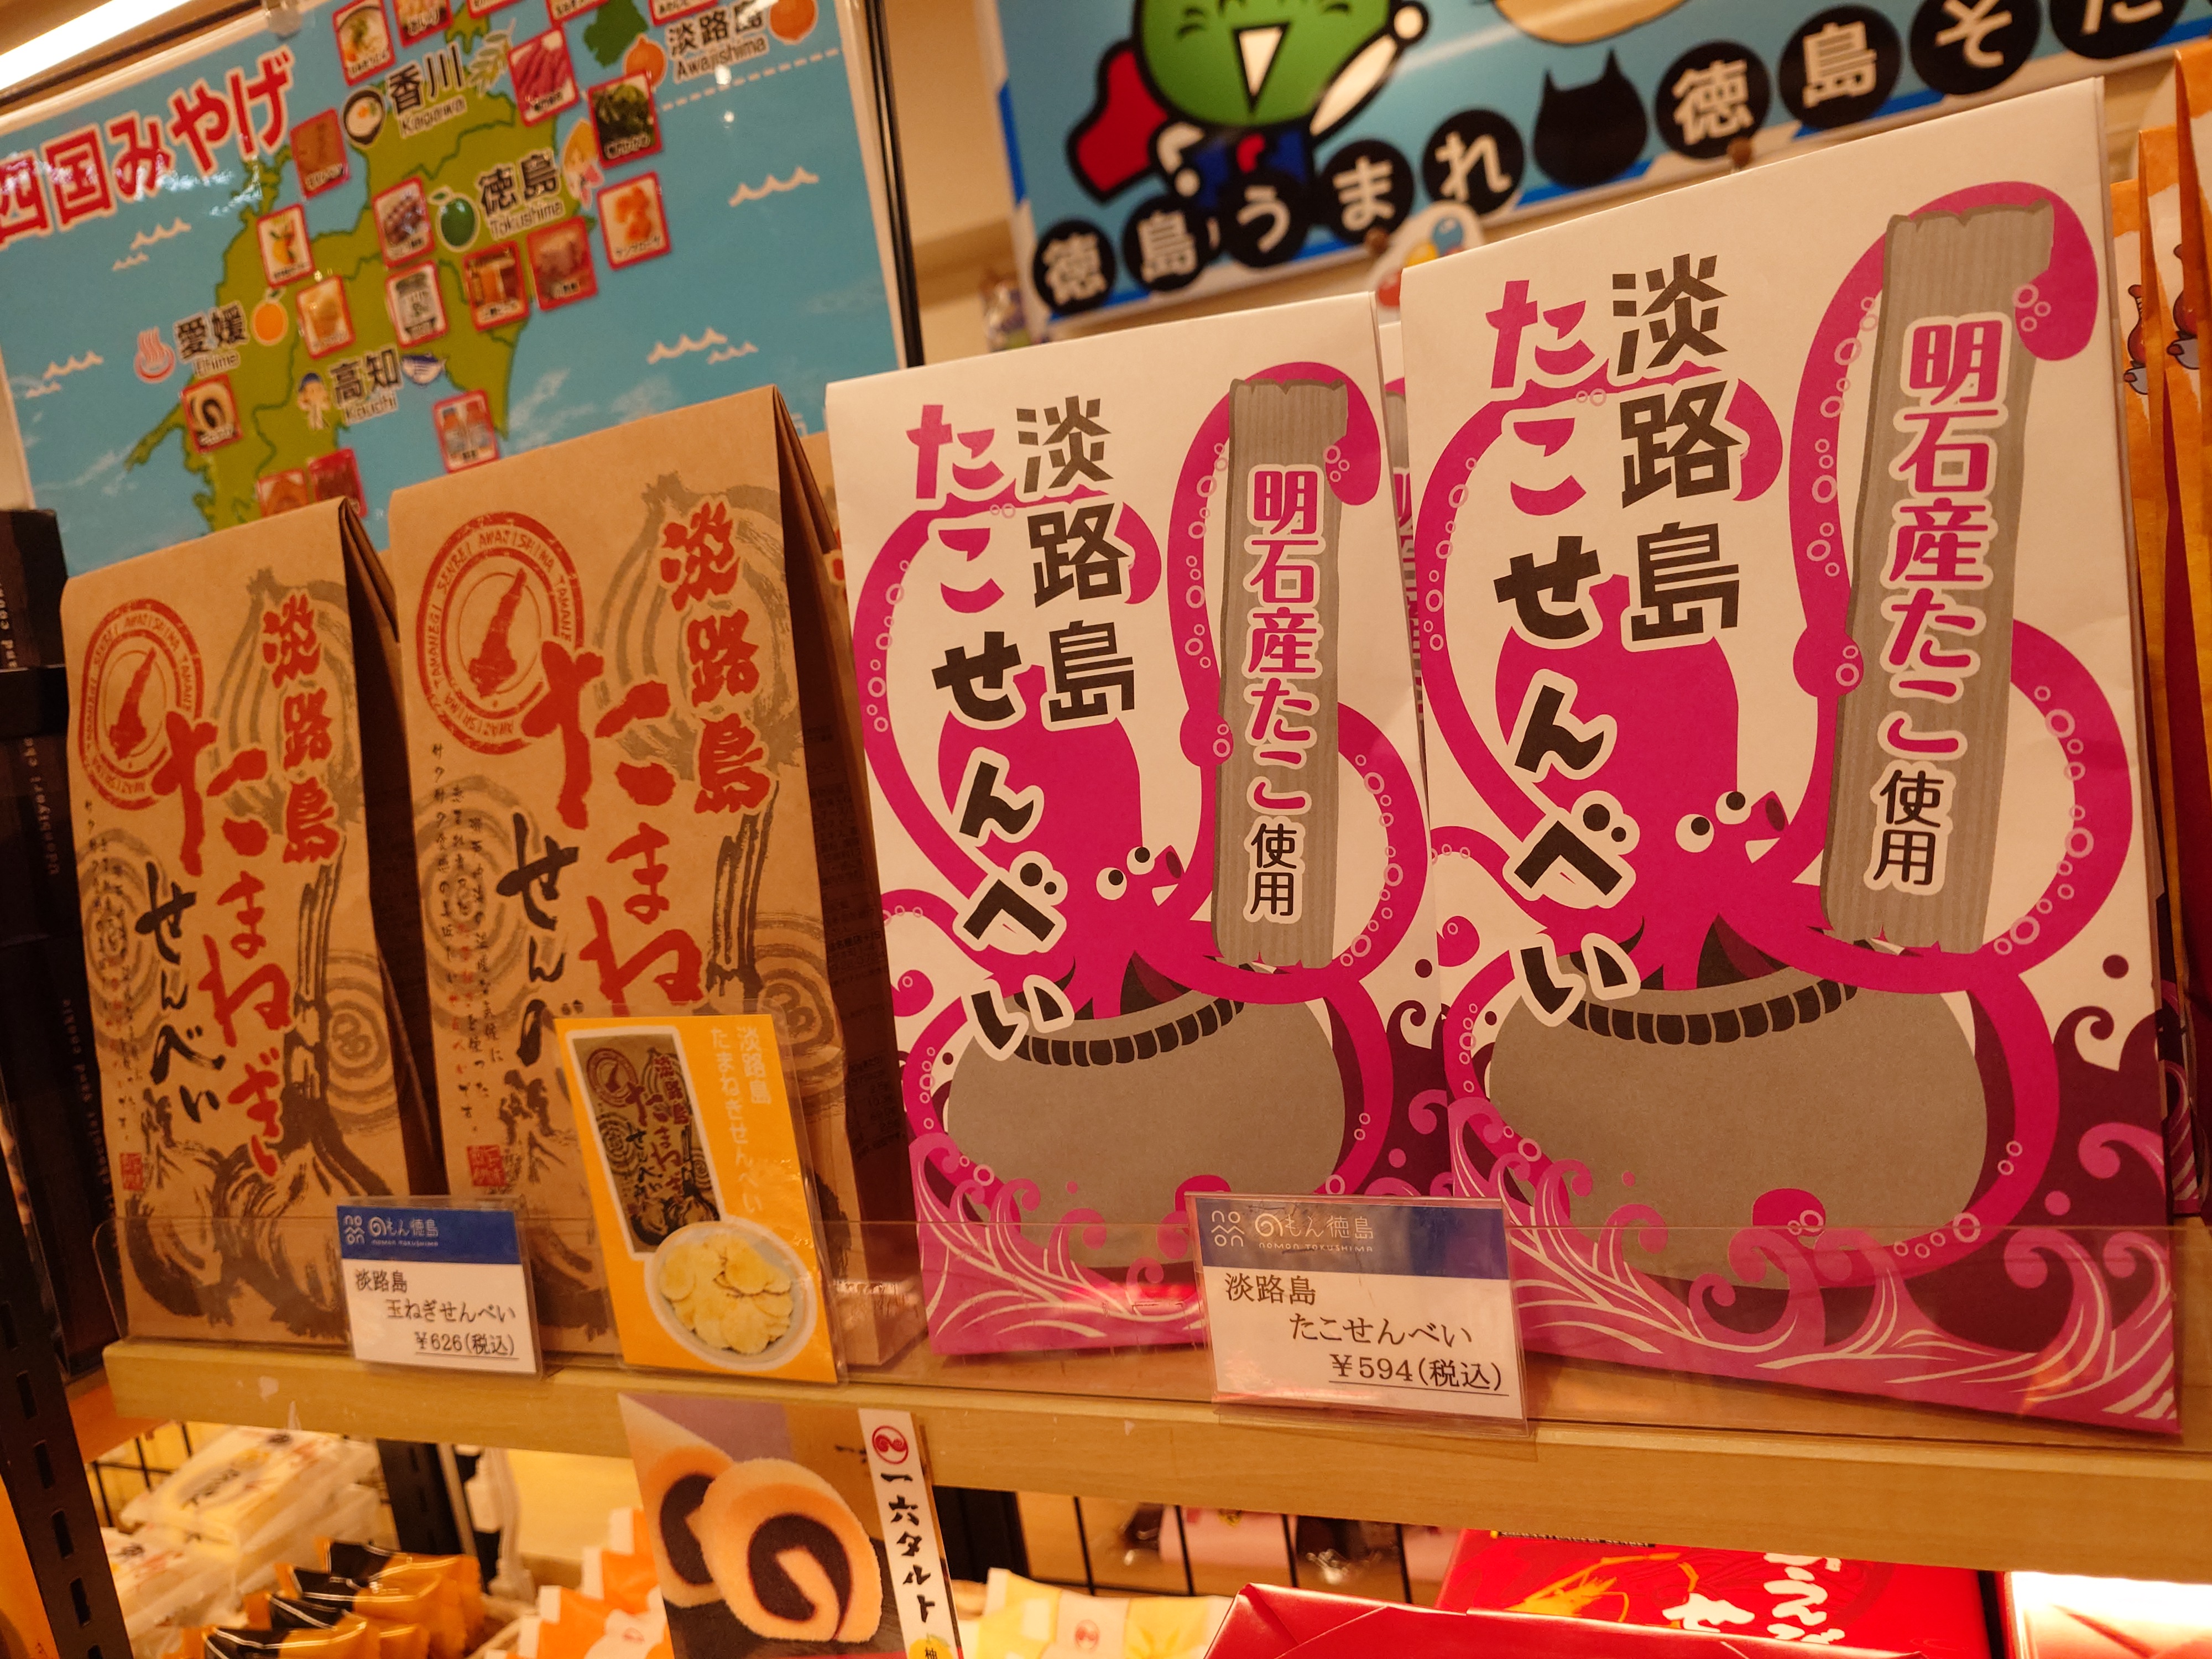
やたら情報量の多いせんべいを見つけた。徳島で売られている淡路島たこせんべい(明石産たこ使用)。淡路島要素どこ?製造地?ってなった。
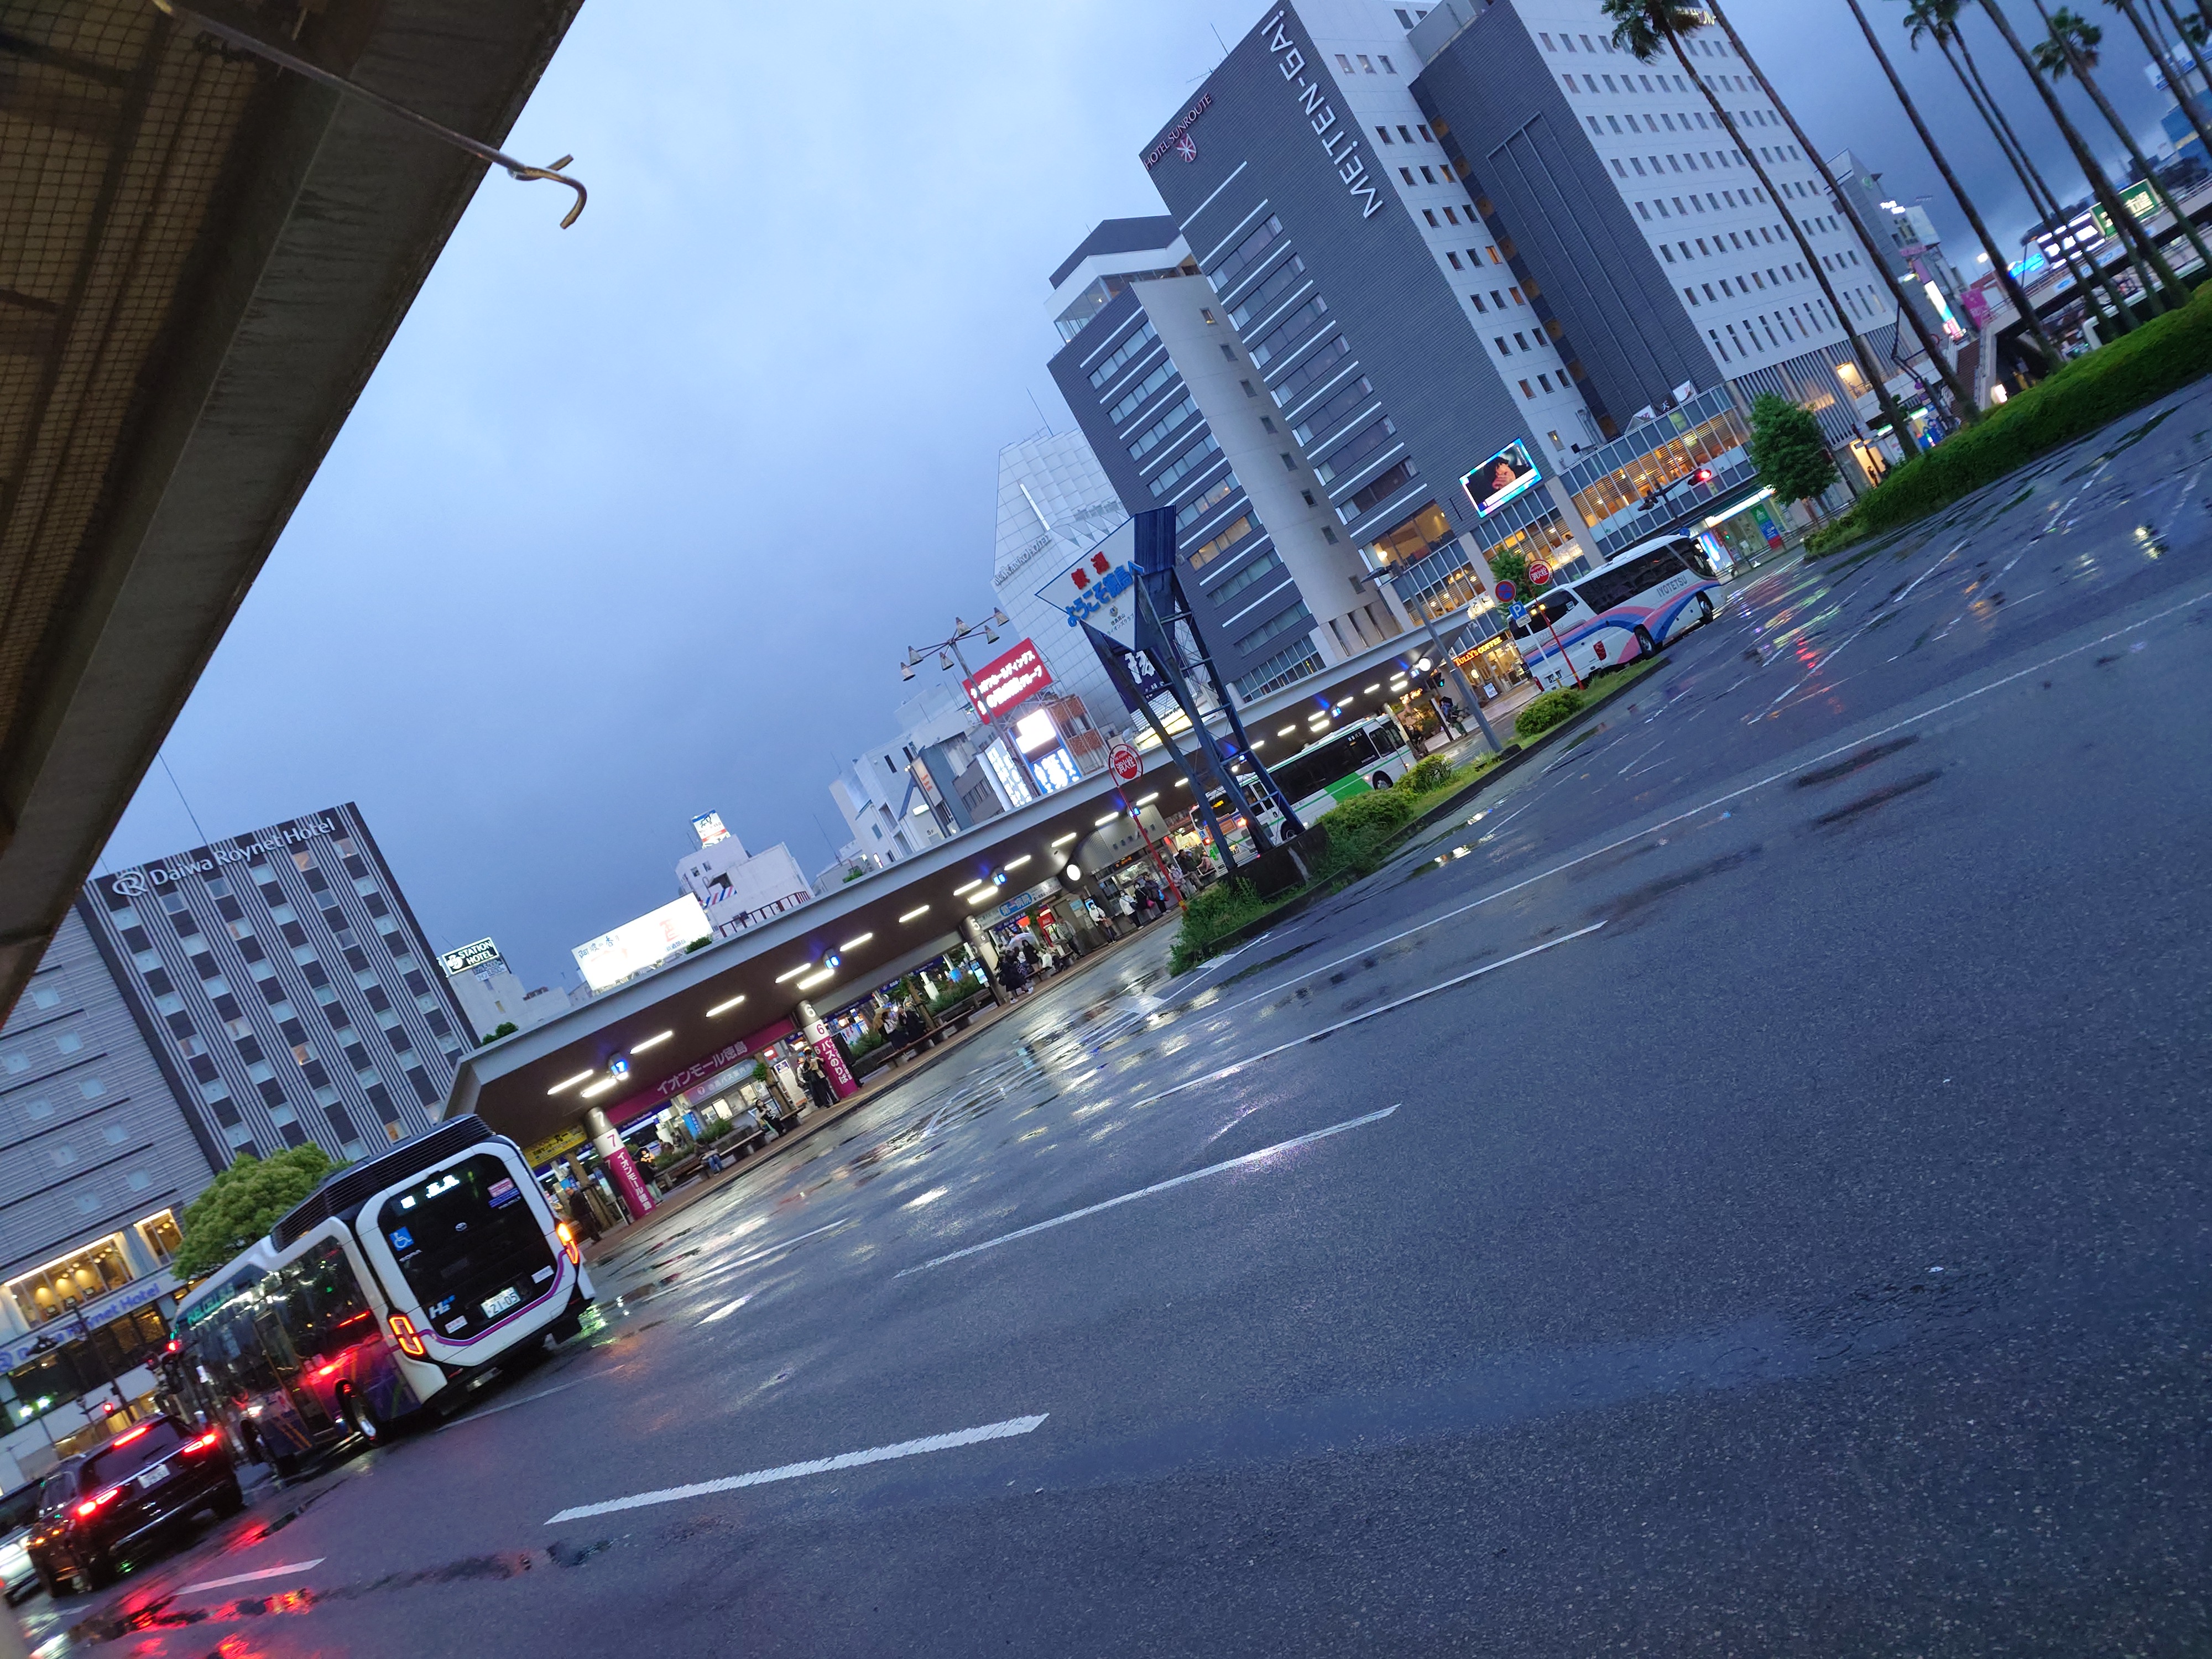
投宿先を望む
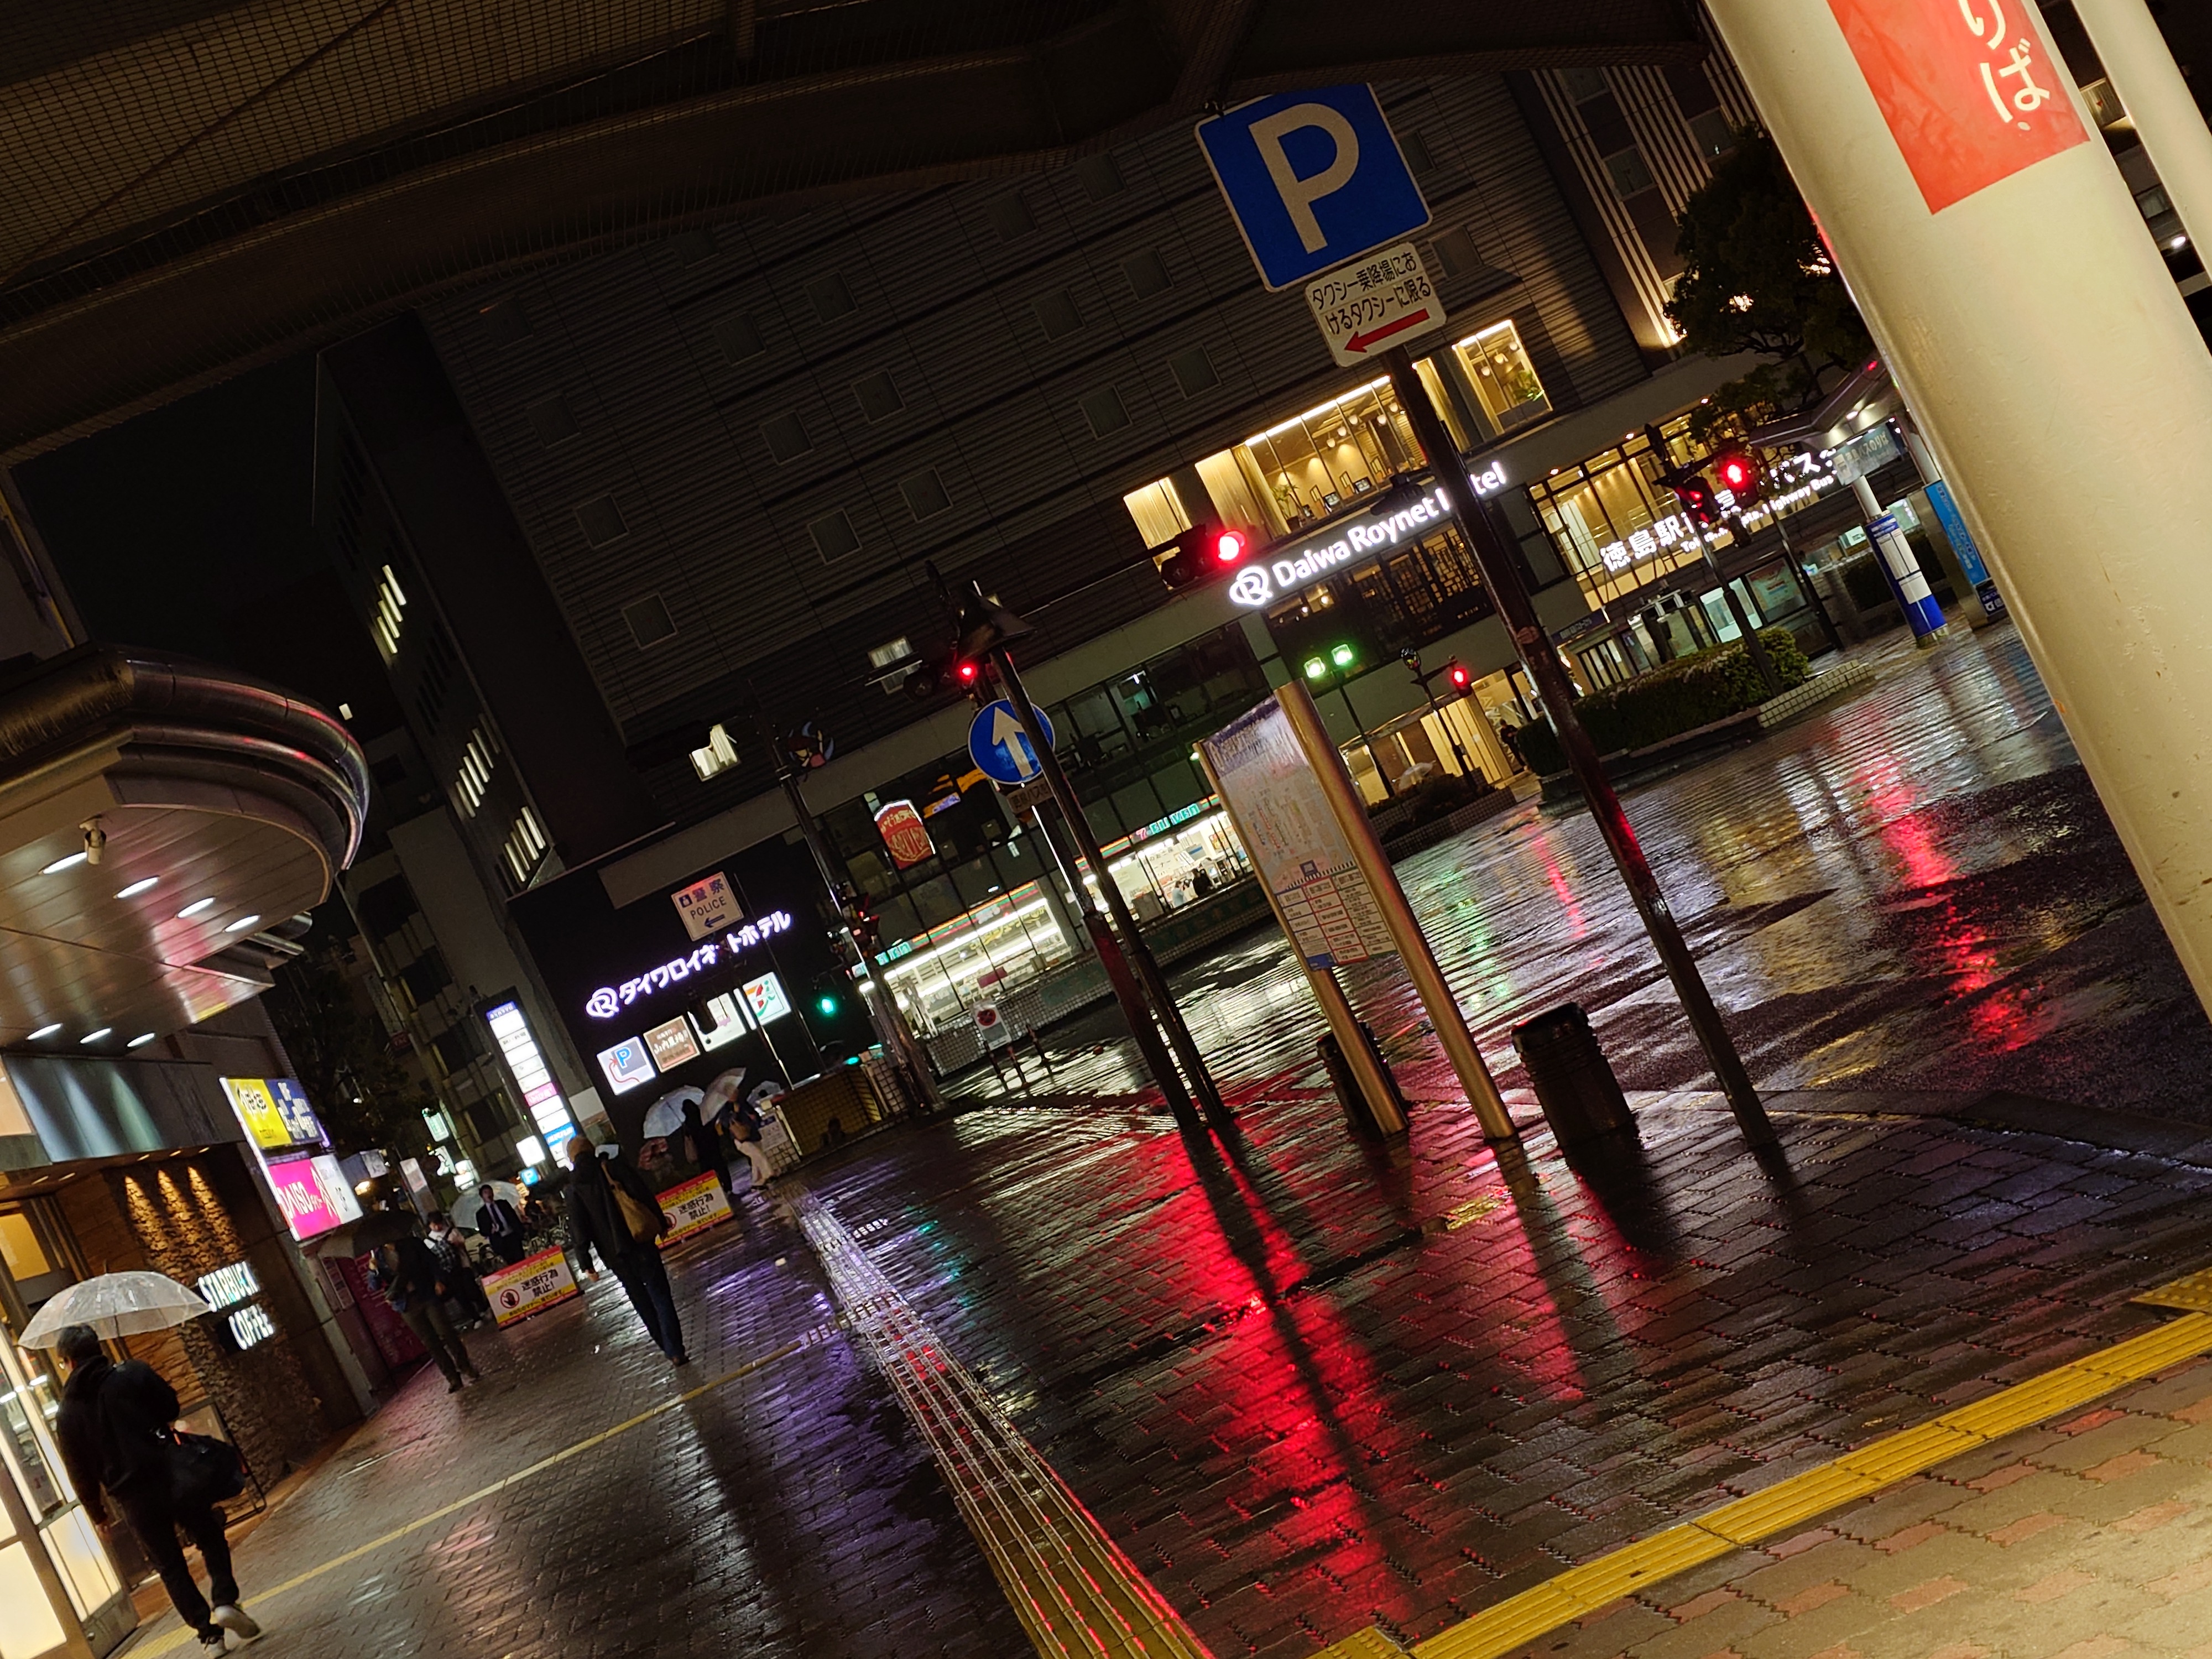
駅を出て振り向くと、そこには今日の宿があった。驚くほど近く、地図アプリを立ち上げる必要性すらなかった。
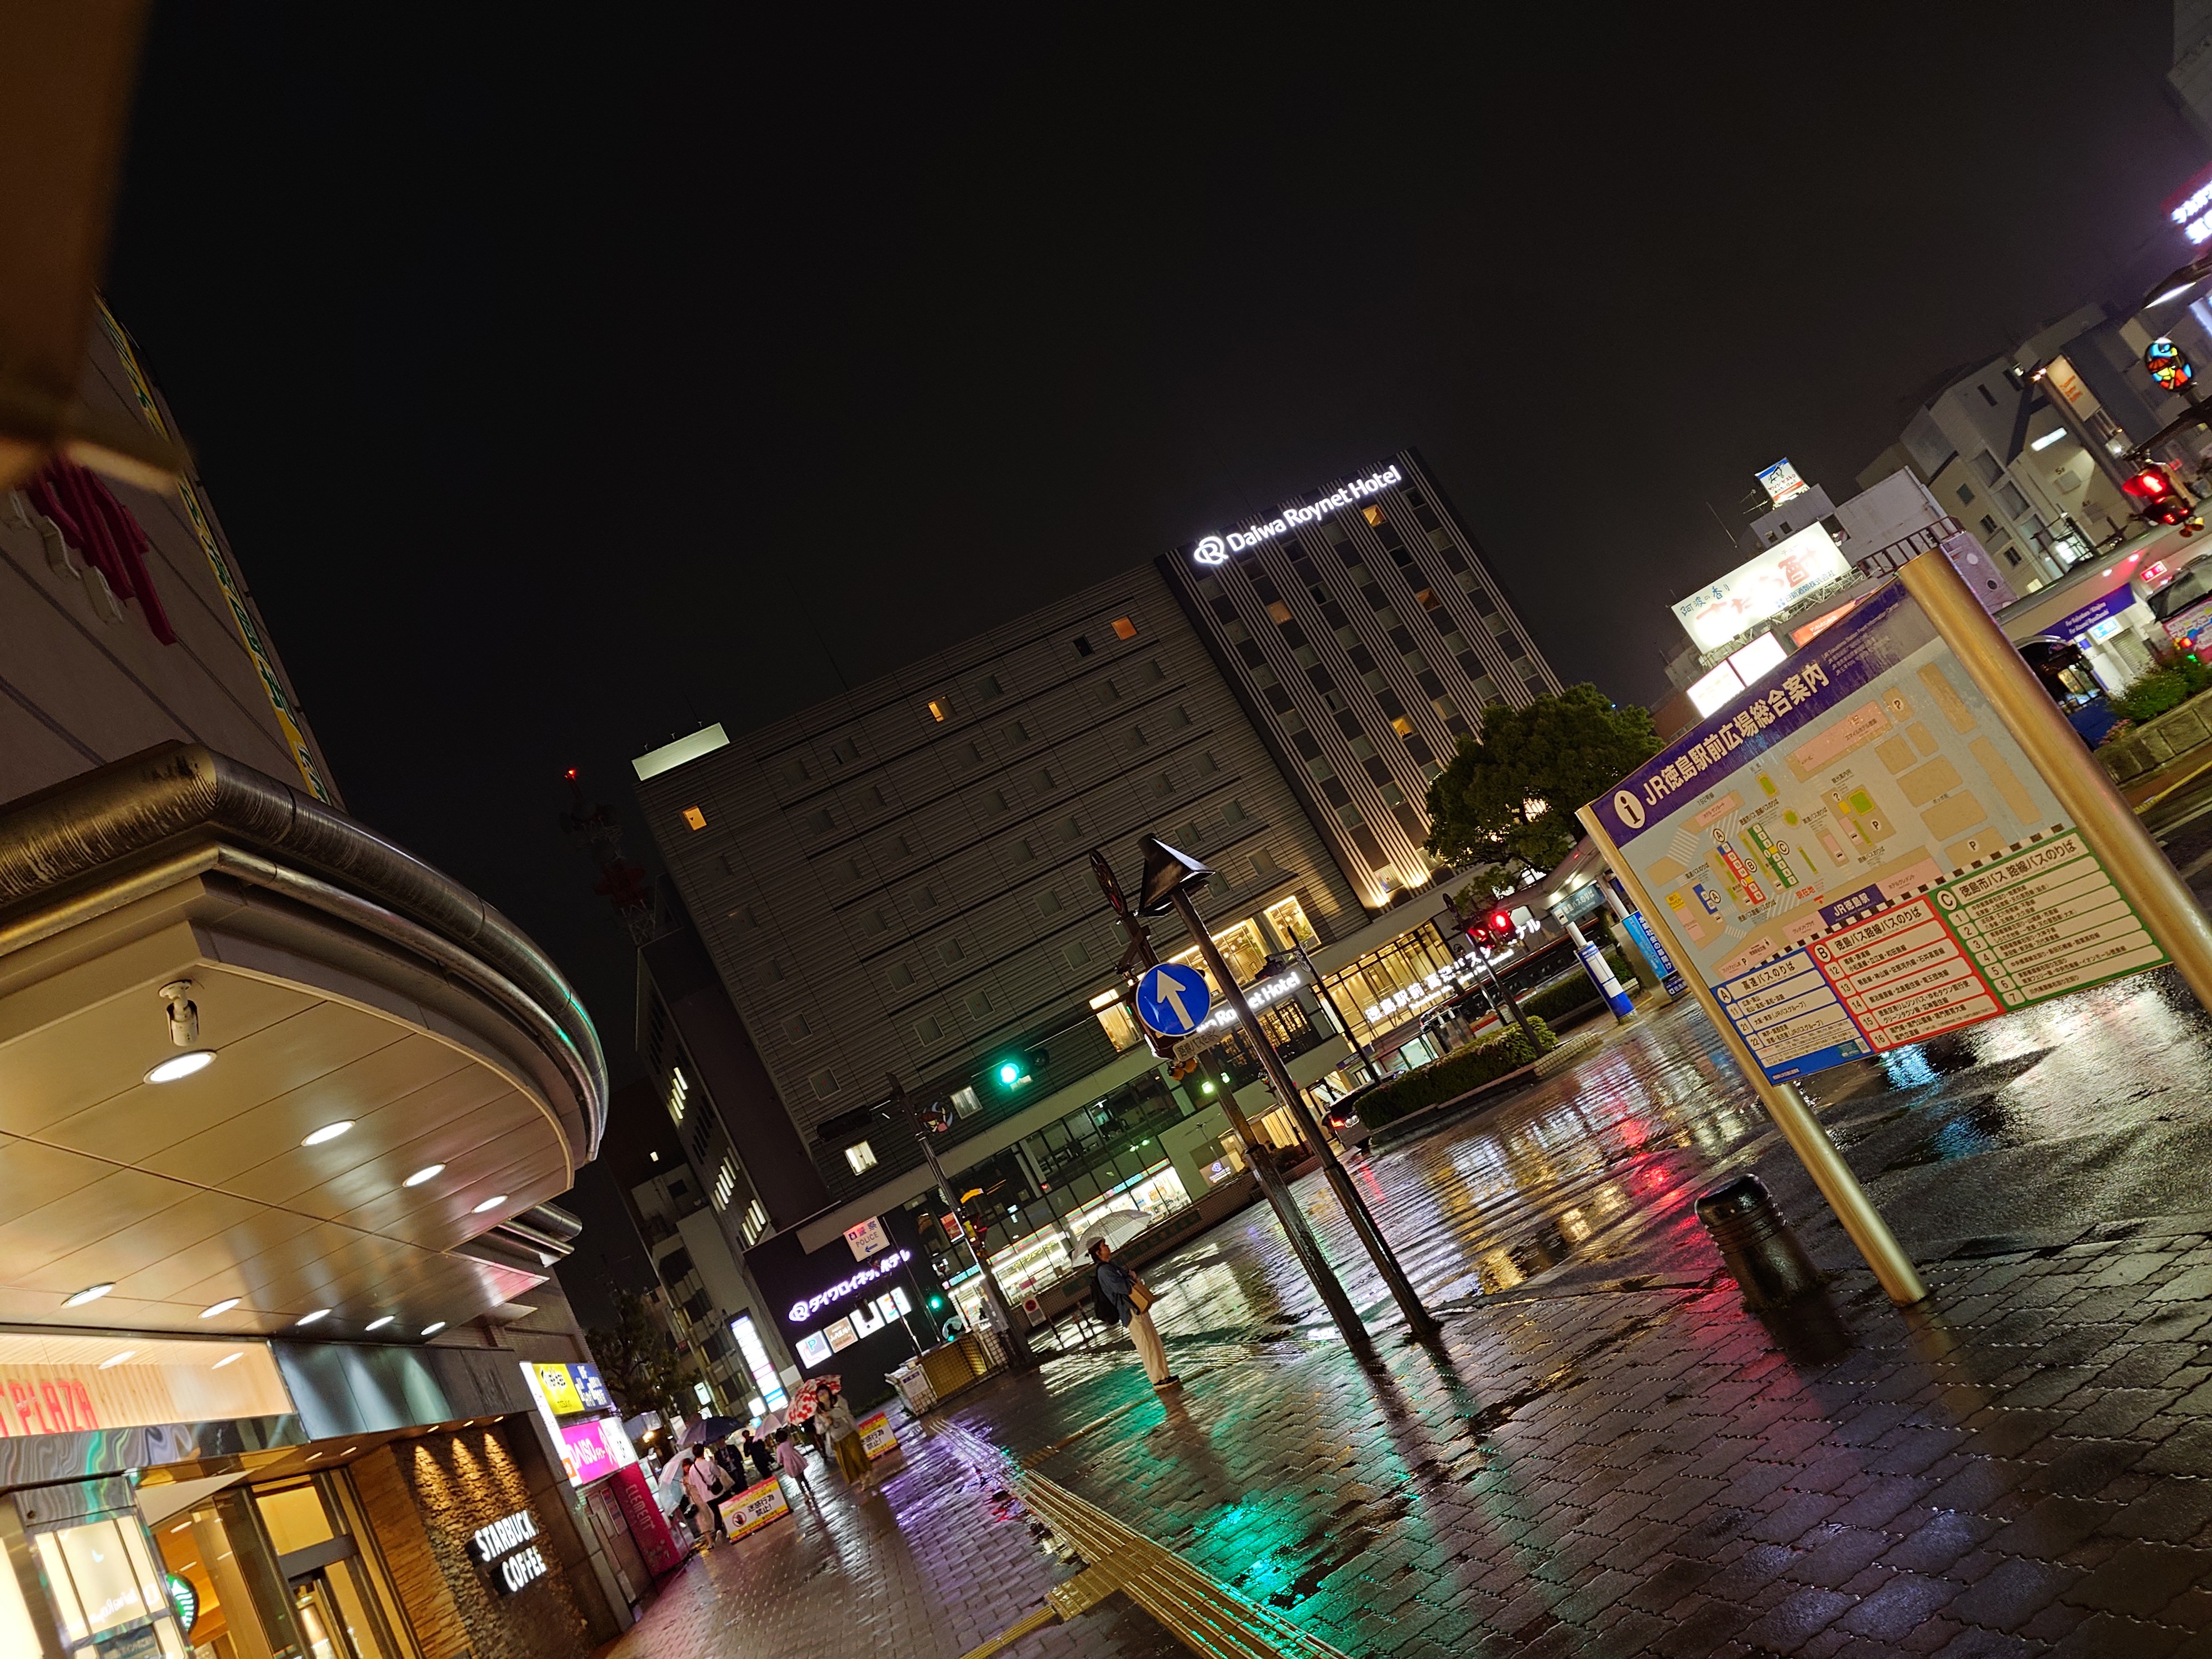
Xperia 1 VIのコンピュテーショナルフォト ONで撮影するとフォーカス周辺の白飛びは抑えられるものの、やはりそれ以外は苦しいなという印象を抱いた。
徳島を味わえる飯屋へ
雨が降っていて飯屋をどうするか調べたところ、さかなや道場があったので向かうことにした。ここは児島駅前店が大当たりで、兵庫店がハズレだったので半分ギャンブルくらいの気持ちで向かった。
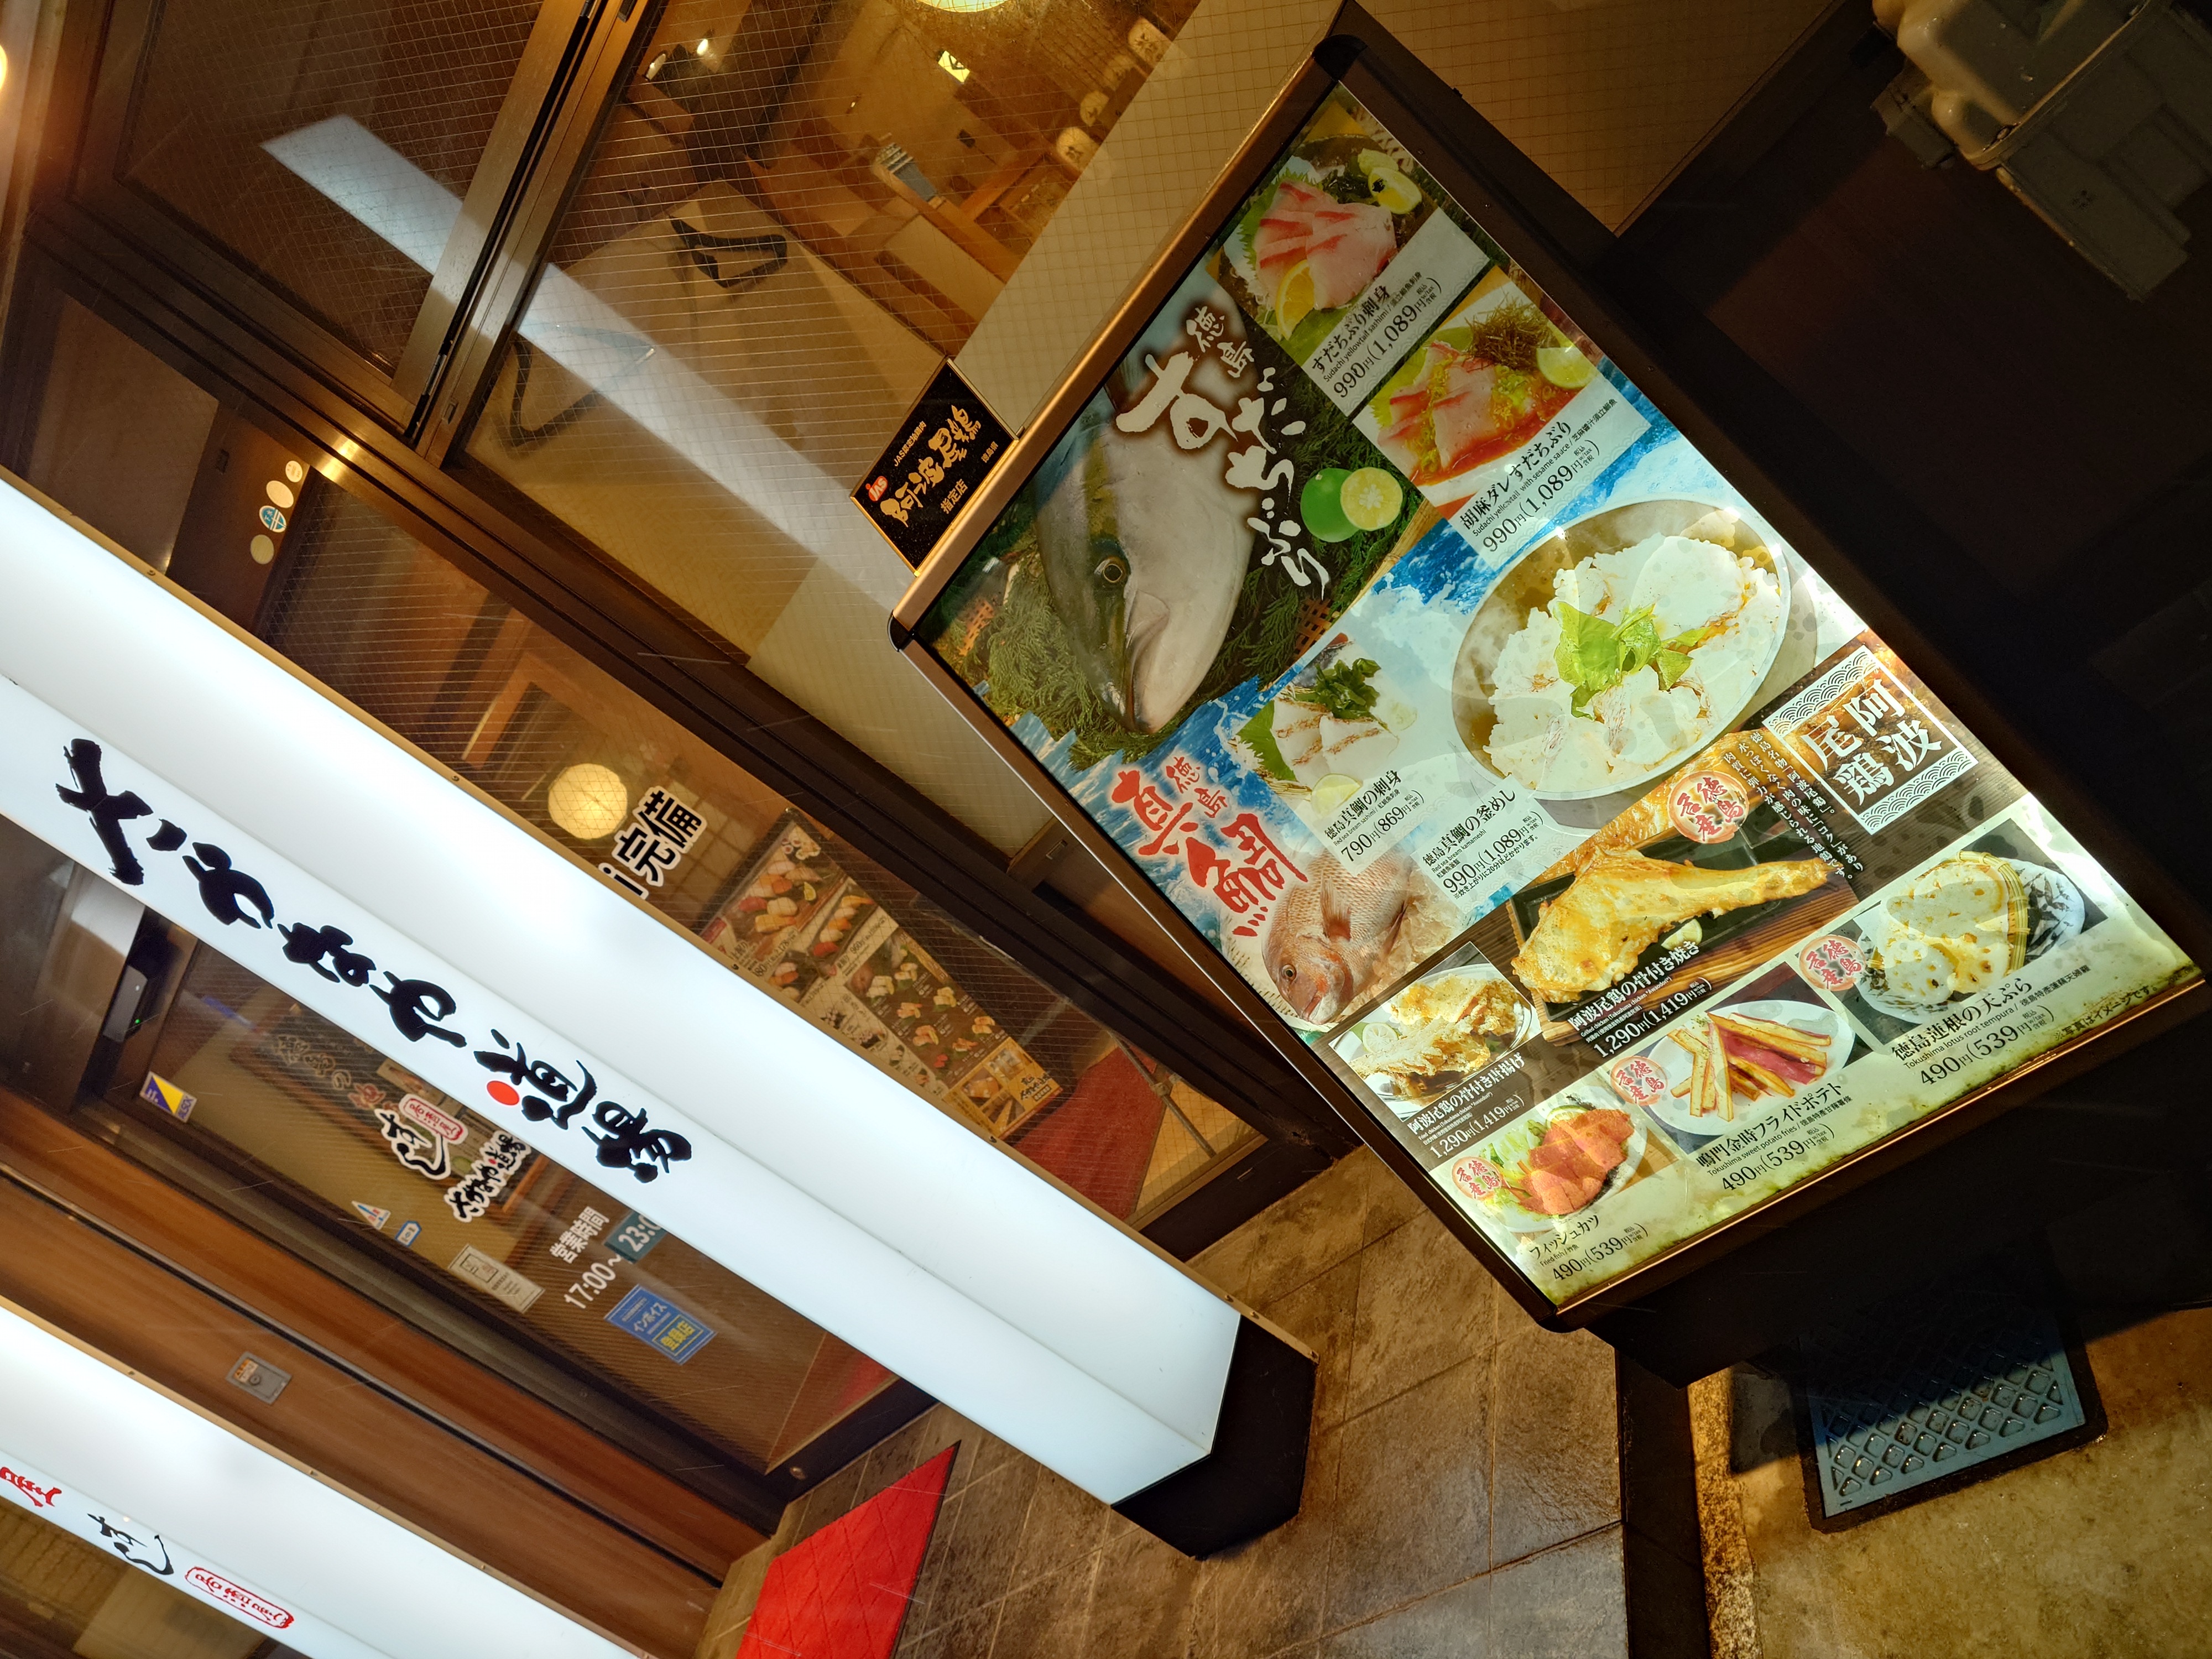
しかしこの看板を見た瞬間、当たりは確定した。児島駅前店にあったのと同じ地域メニューの看板、これはもう当たりしかない、そう確信した。
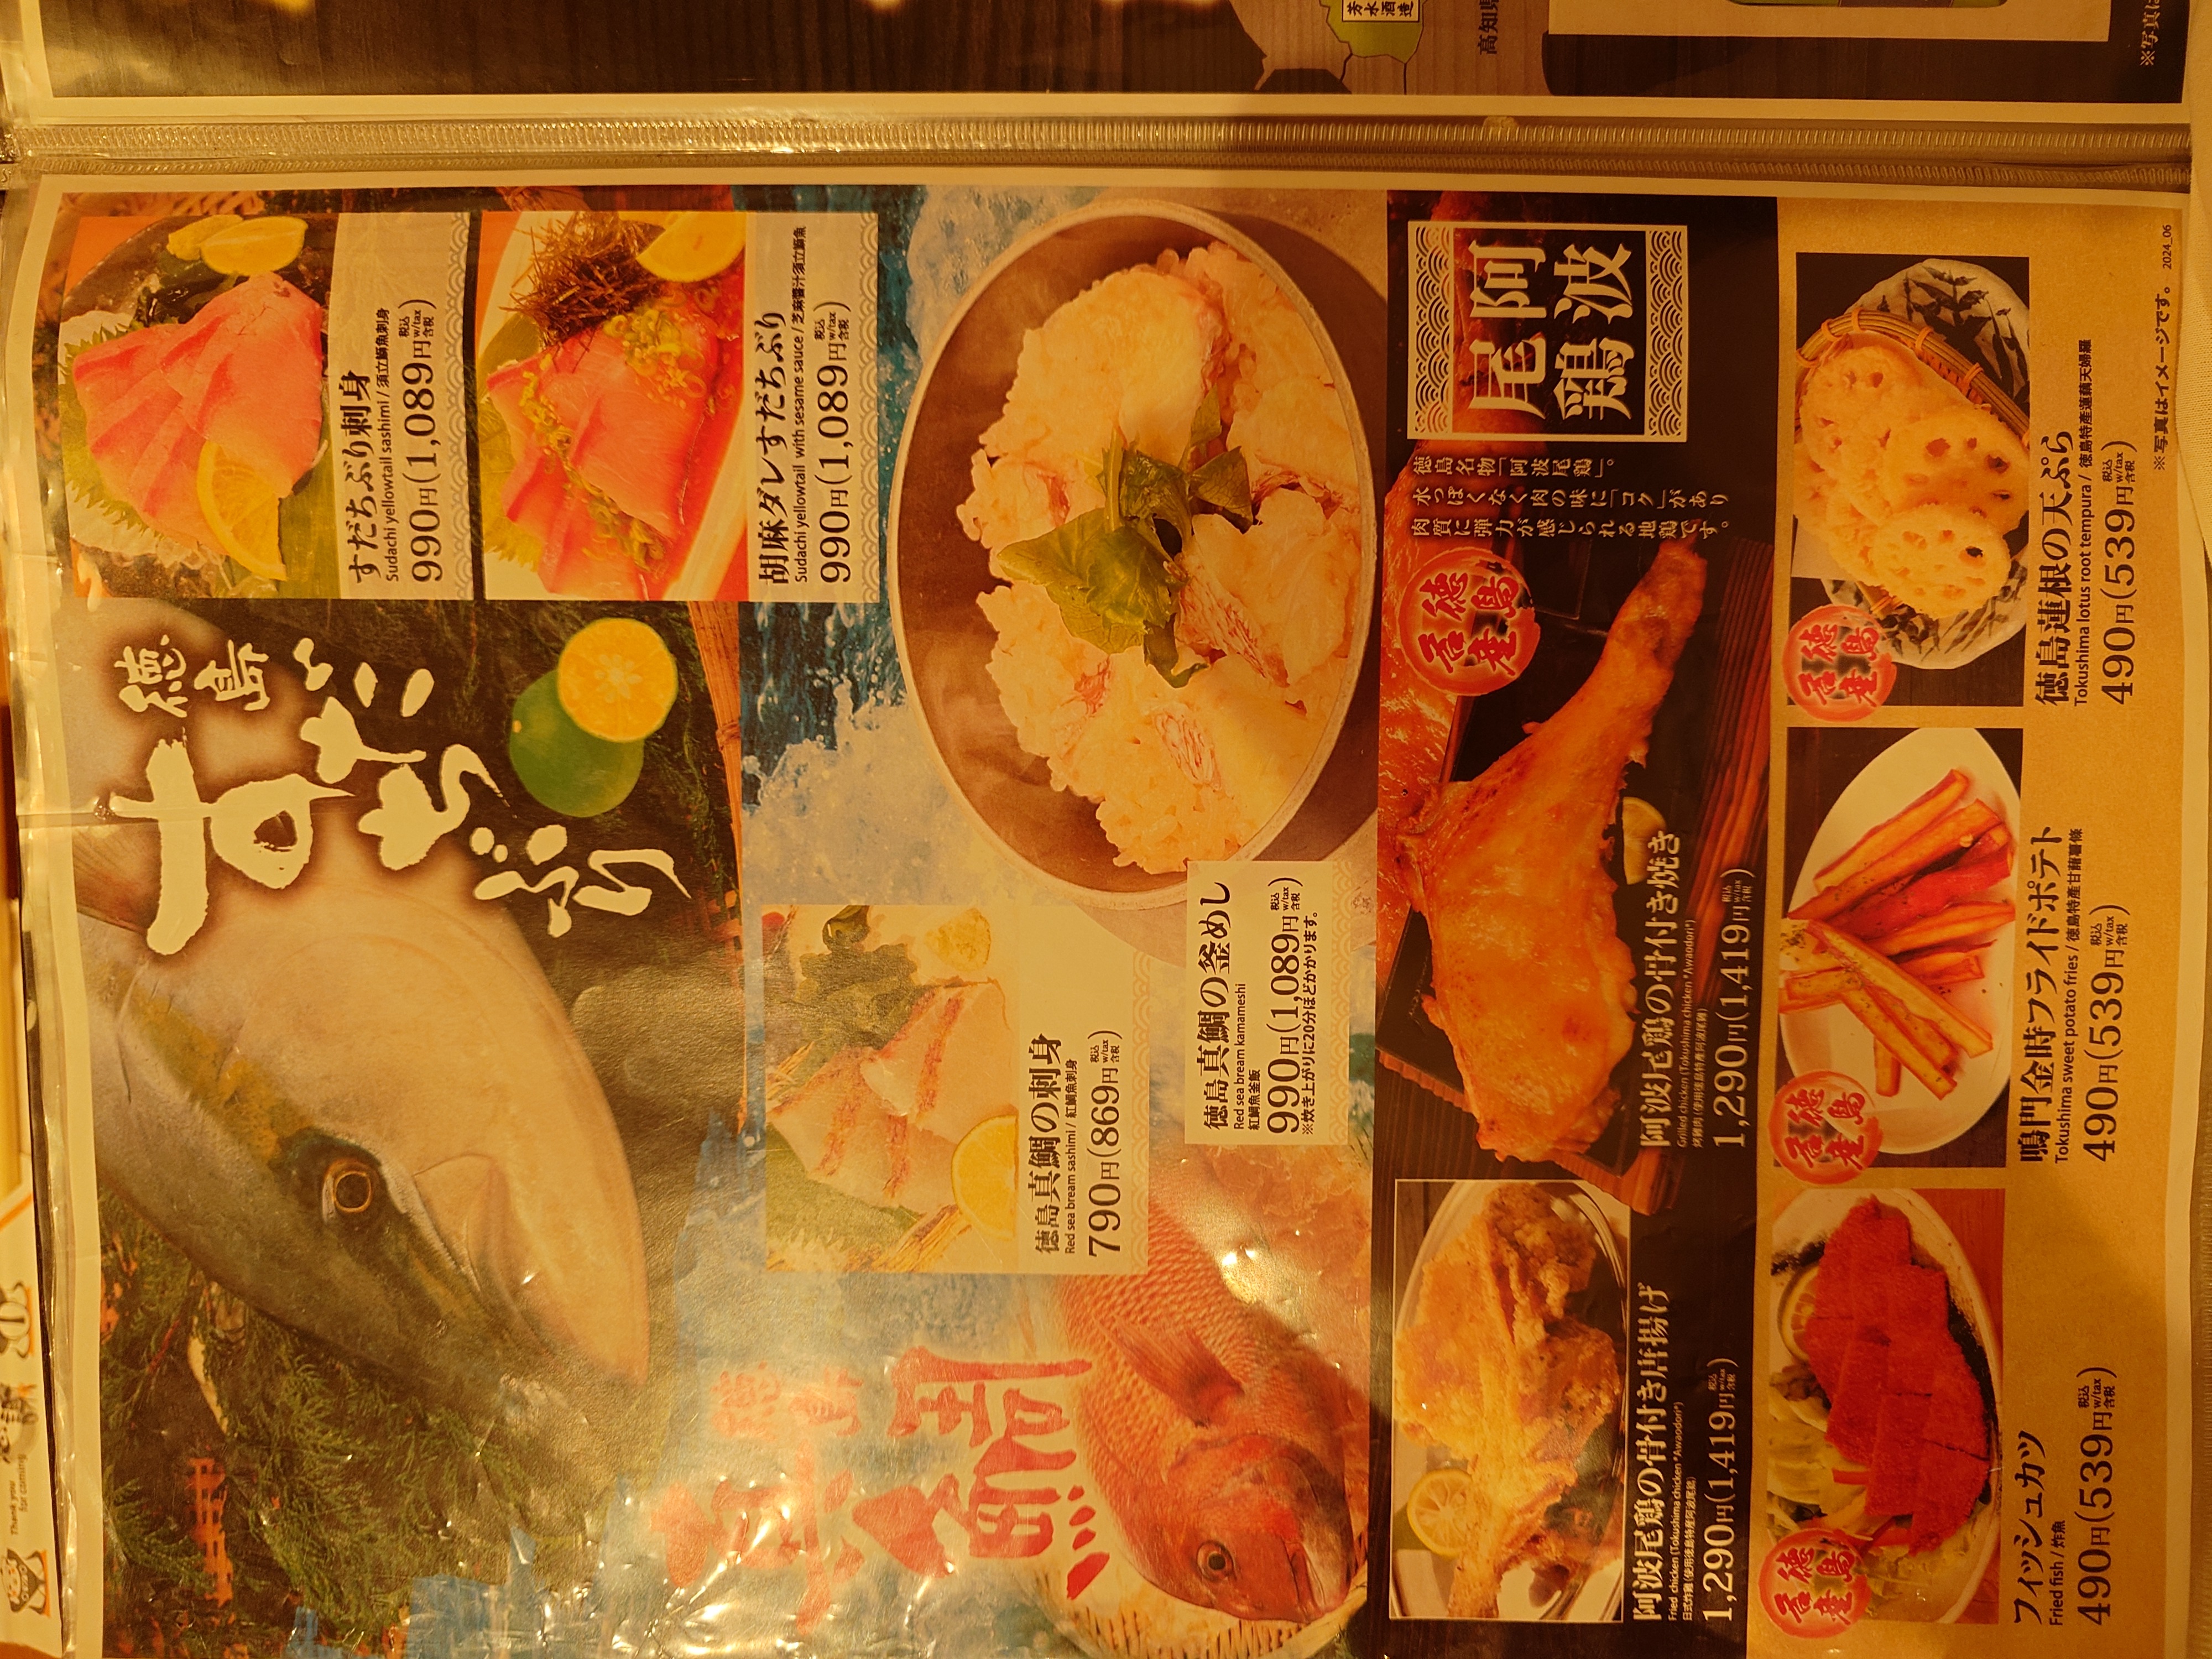
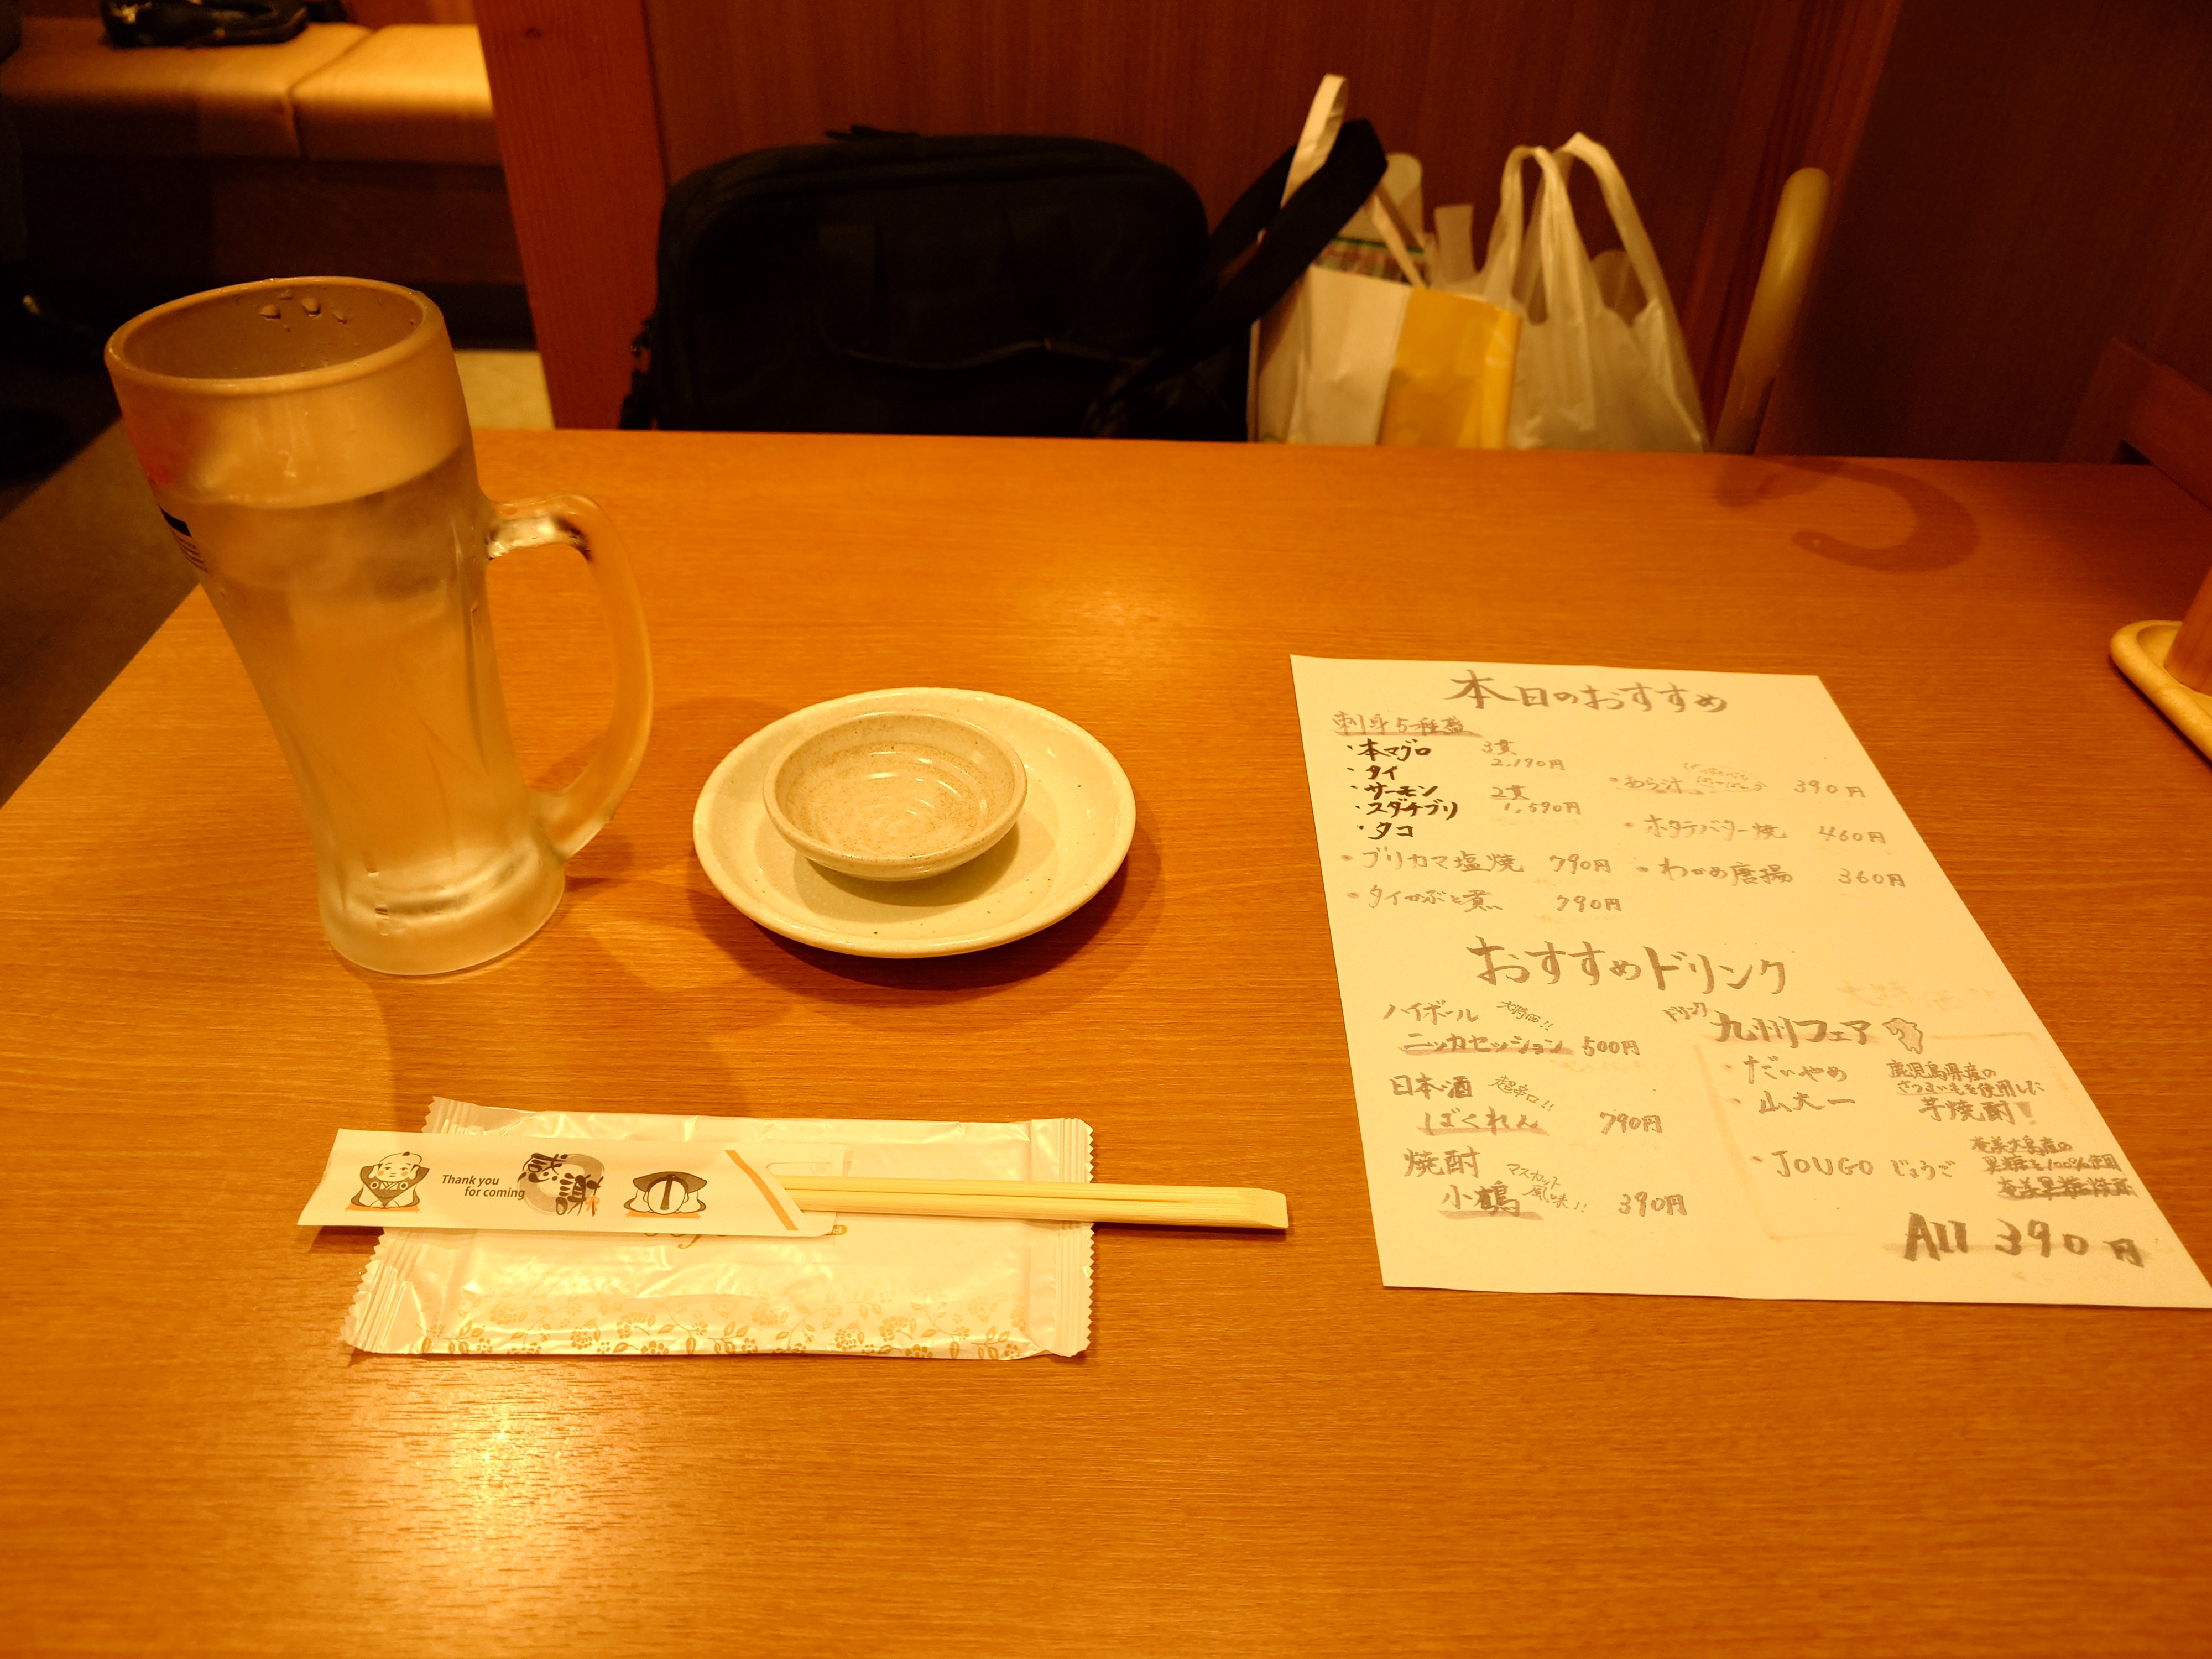
徳島感あふれるグランドメニューに手書きのメニュー。児島駅前店と同じ形態だ。
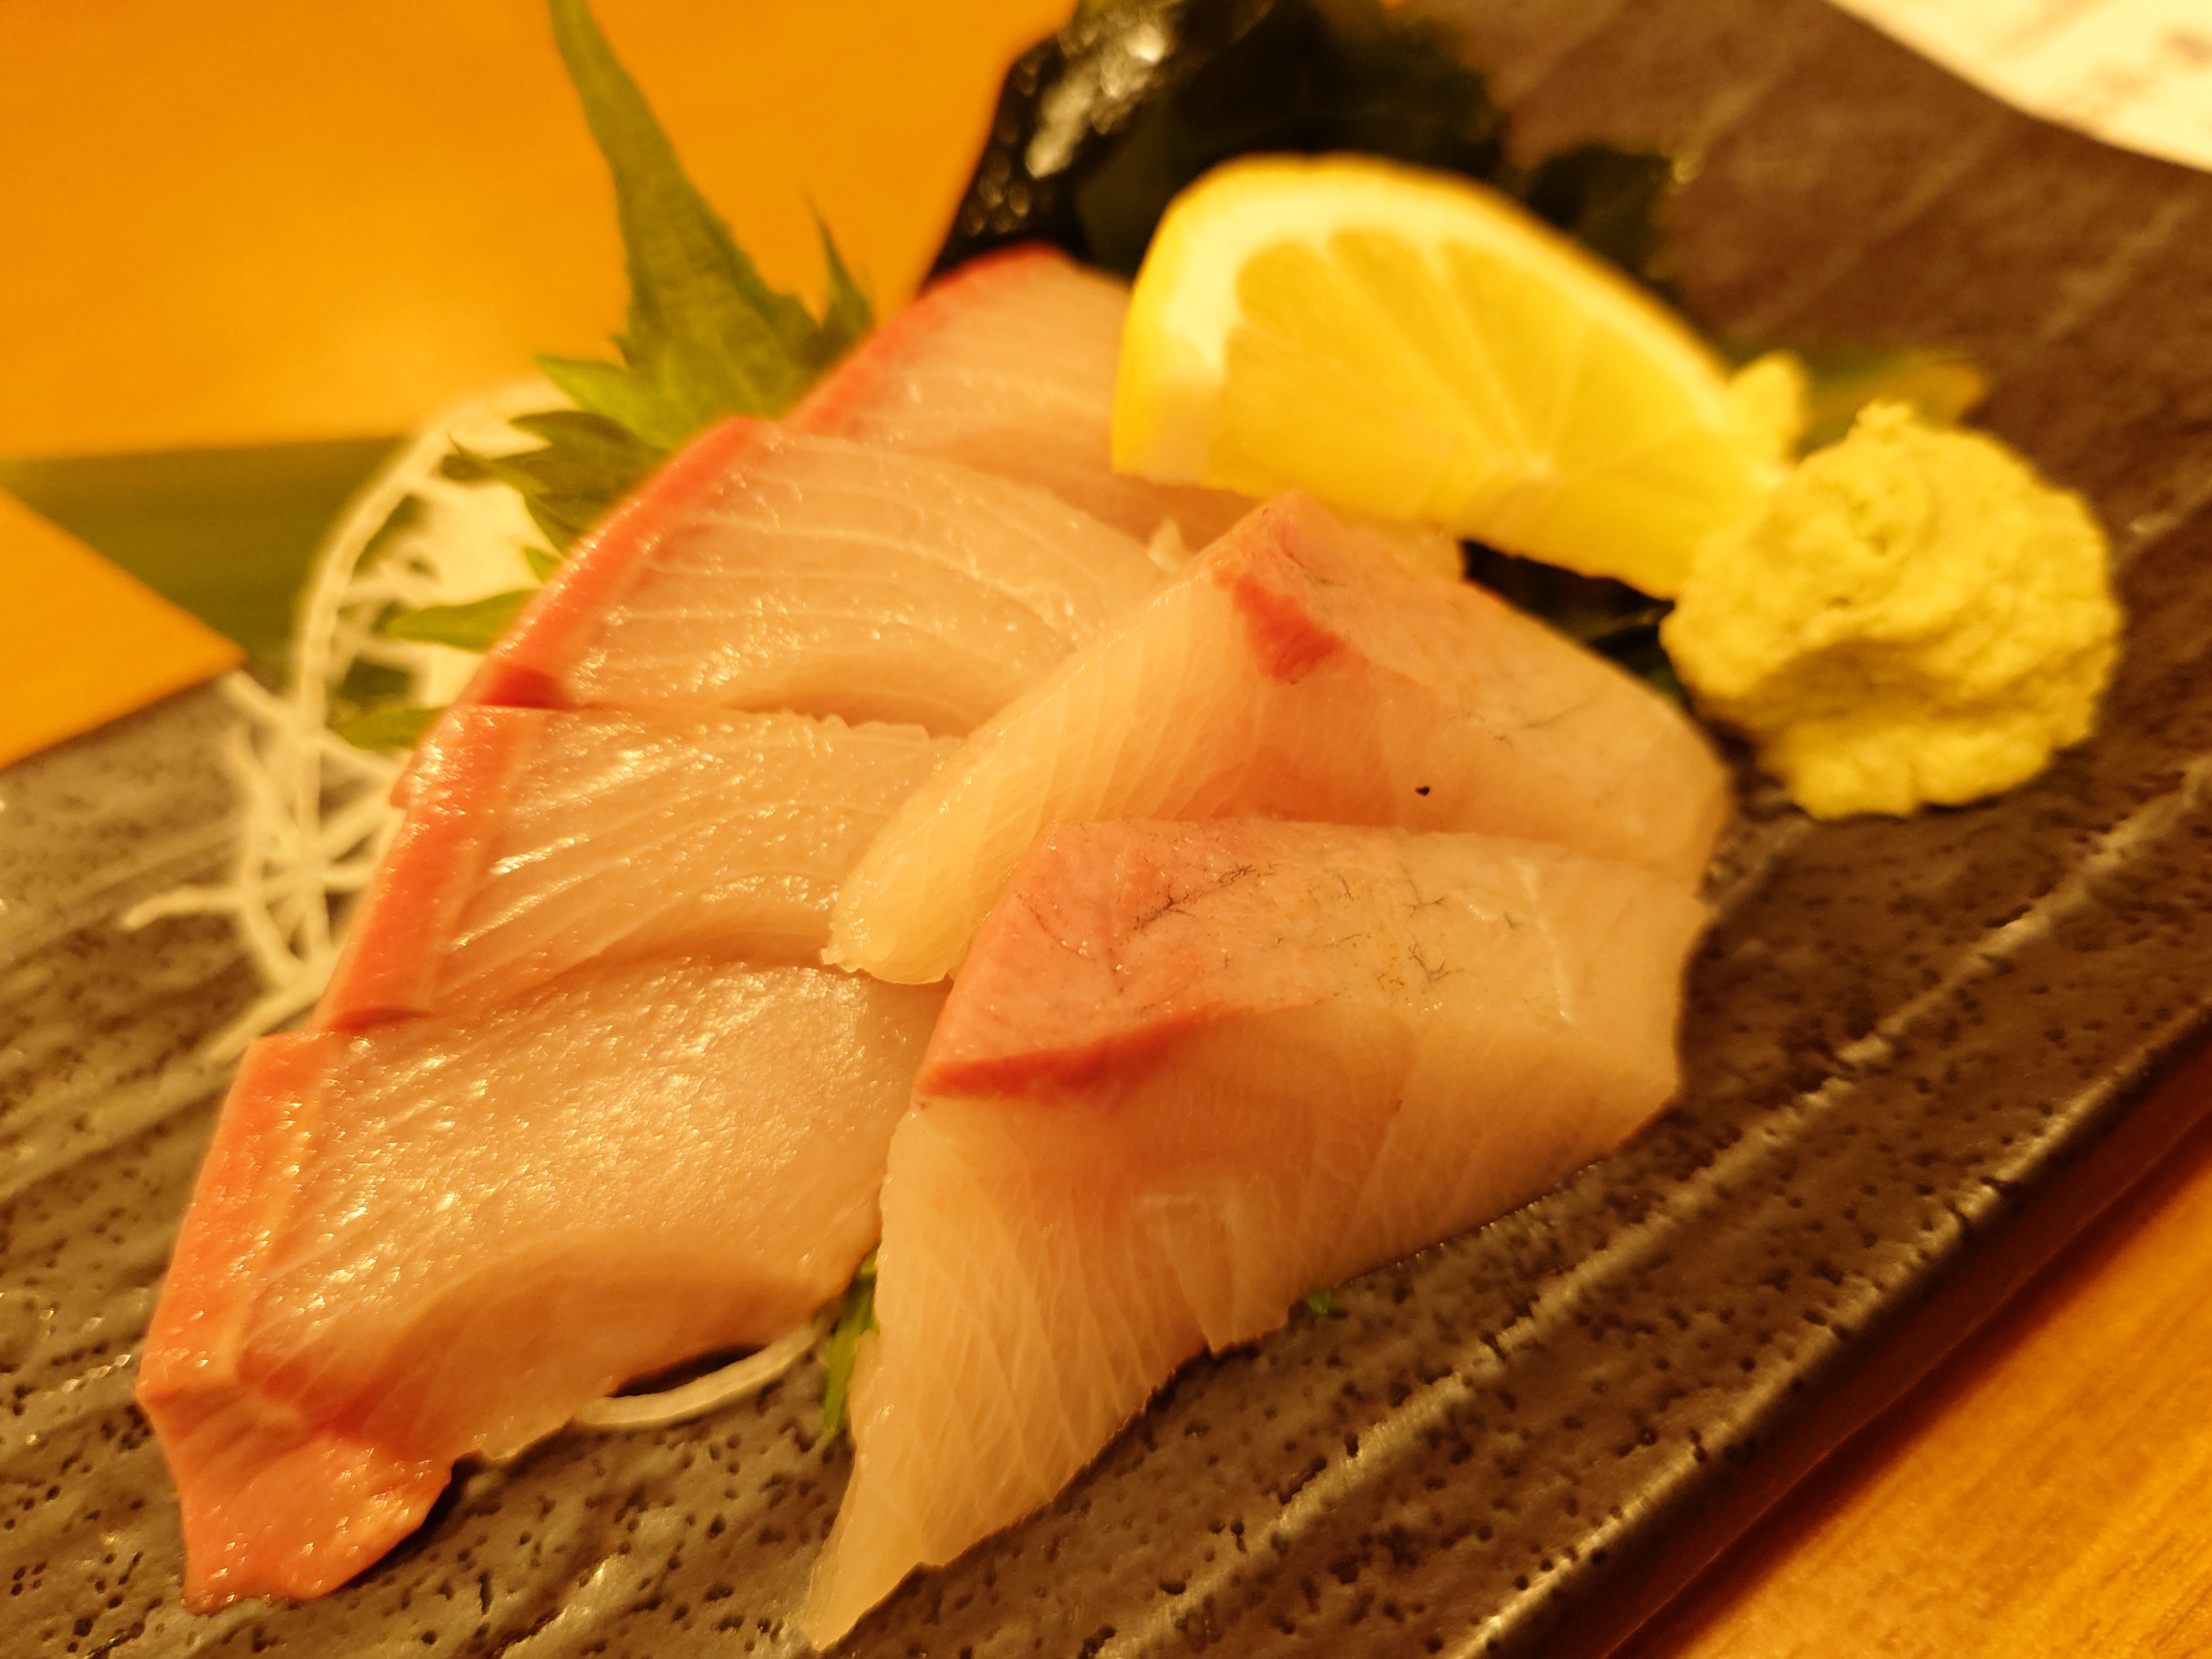
すだちを食べて育ったというすだちぶりのお刺身。鮮度がよく美味い。
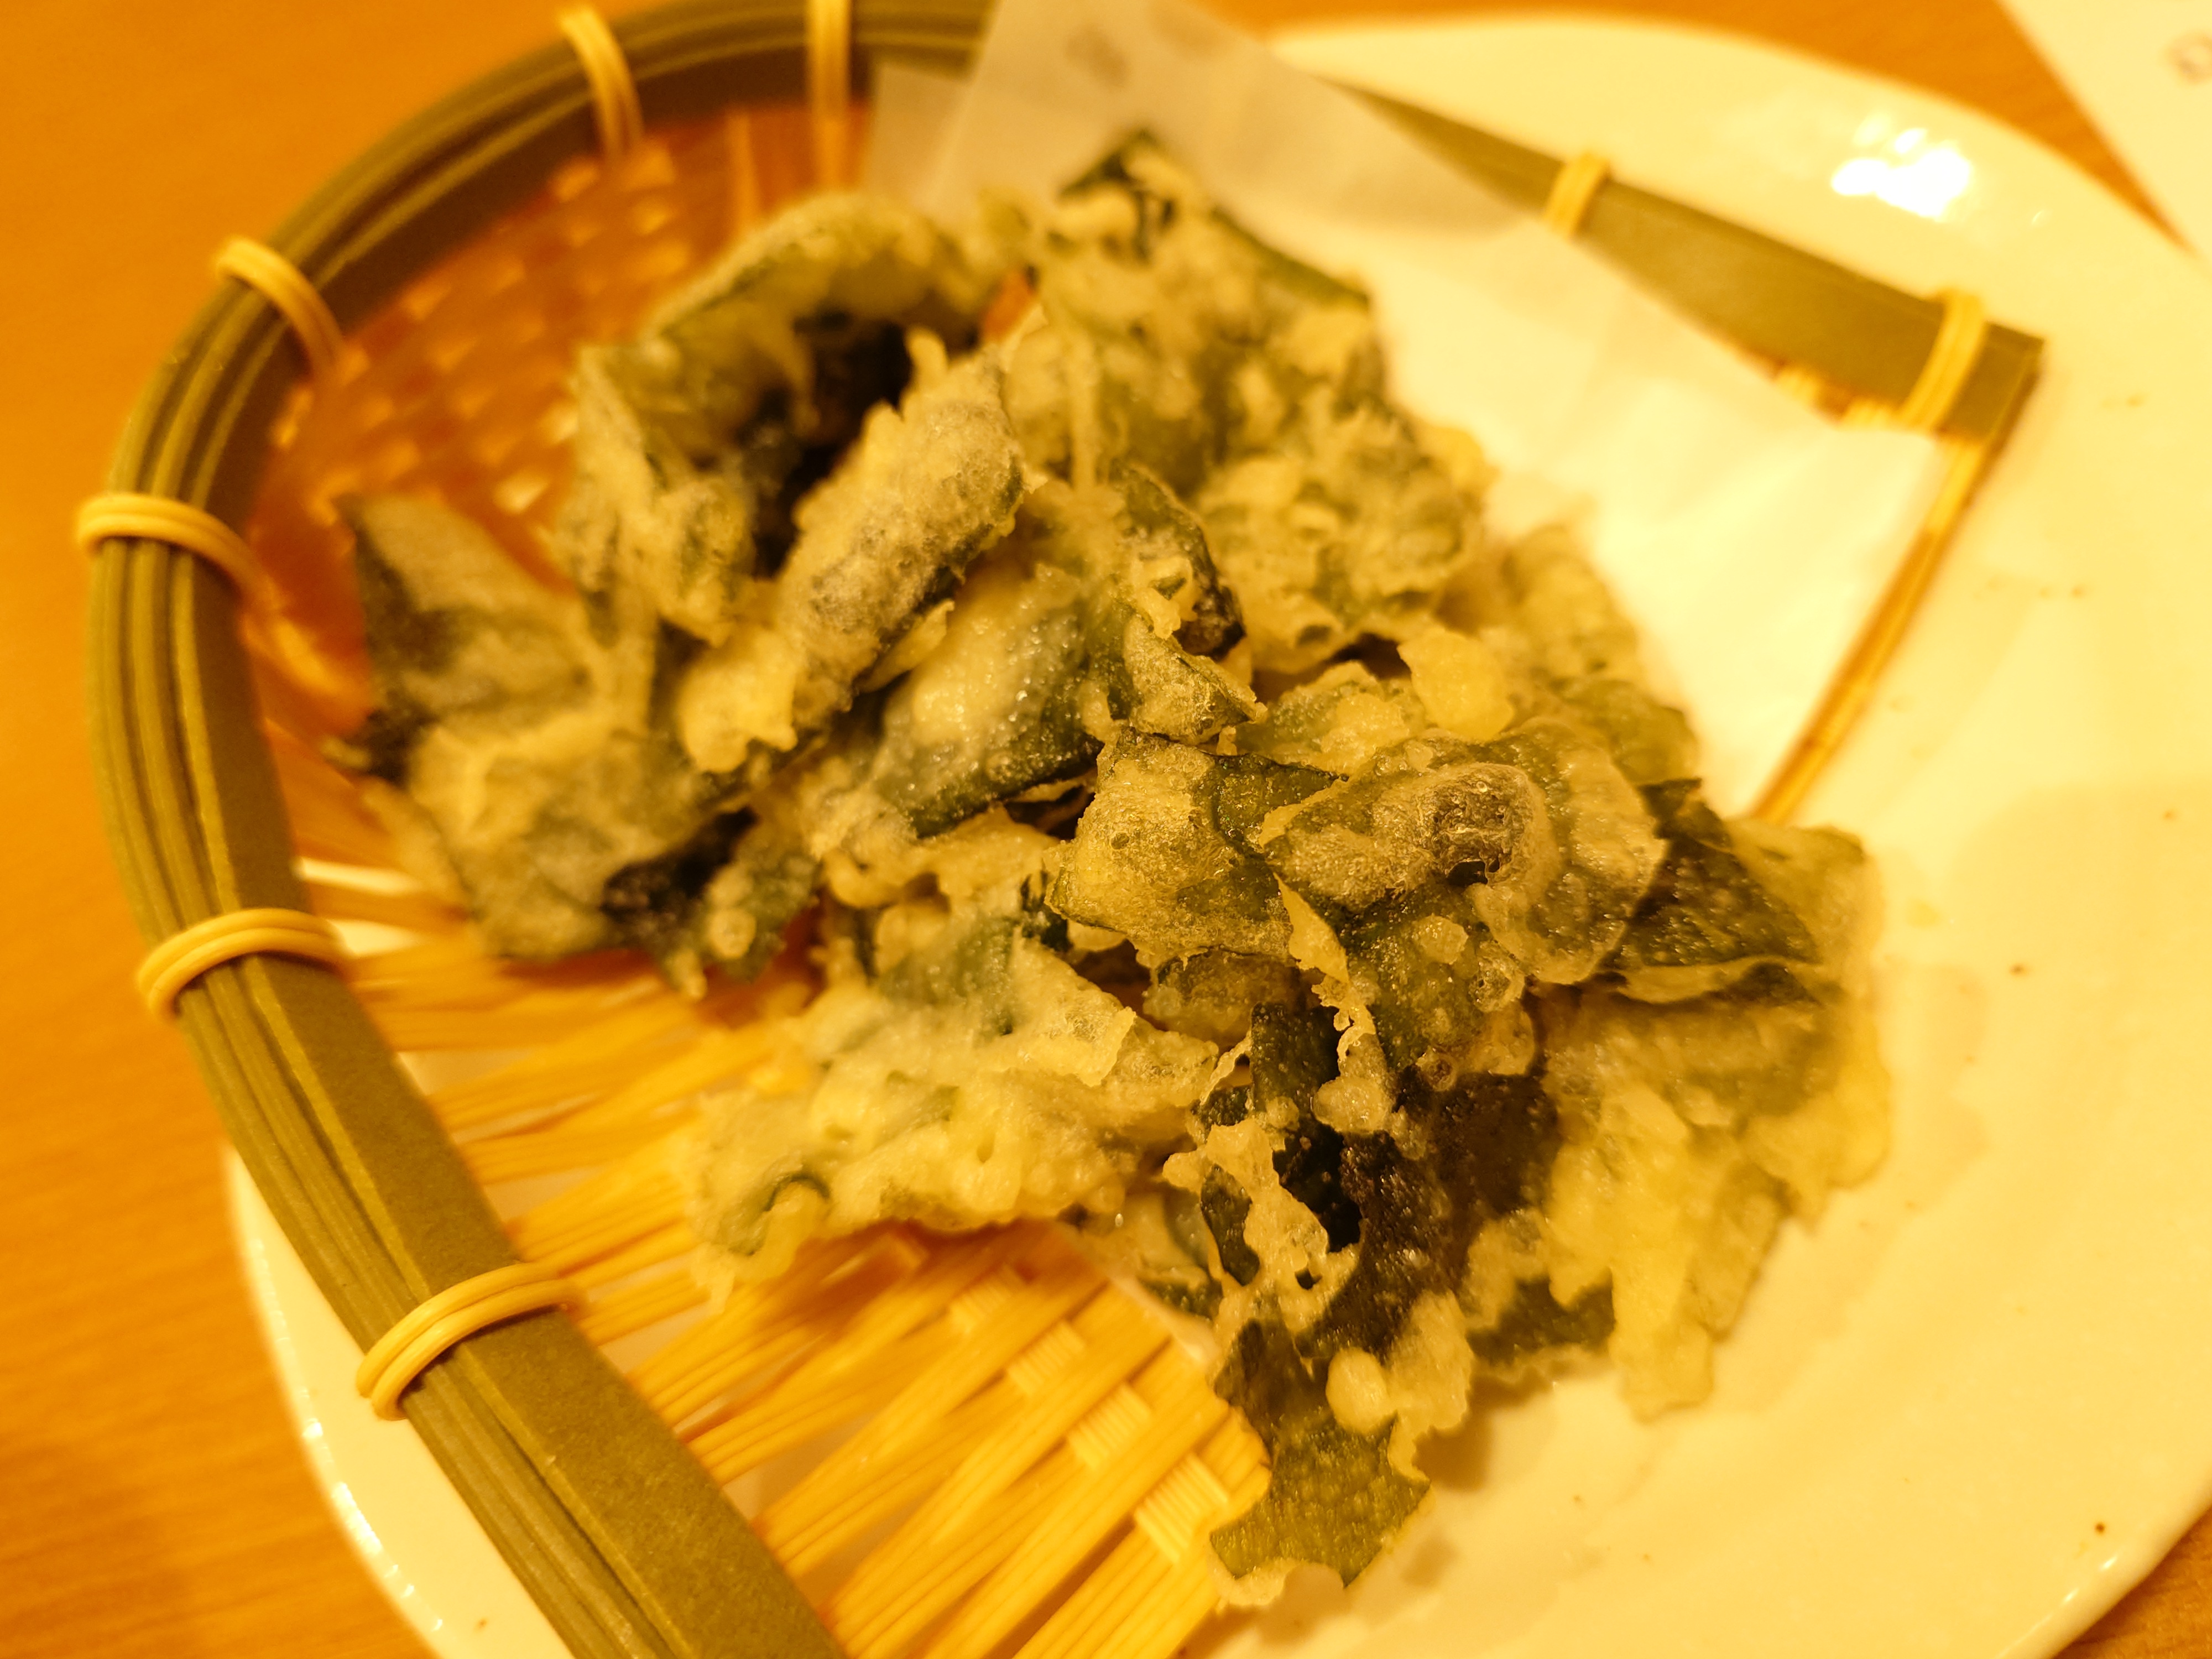
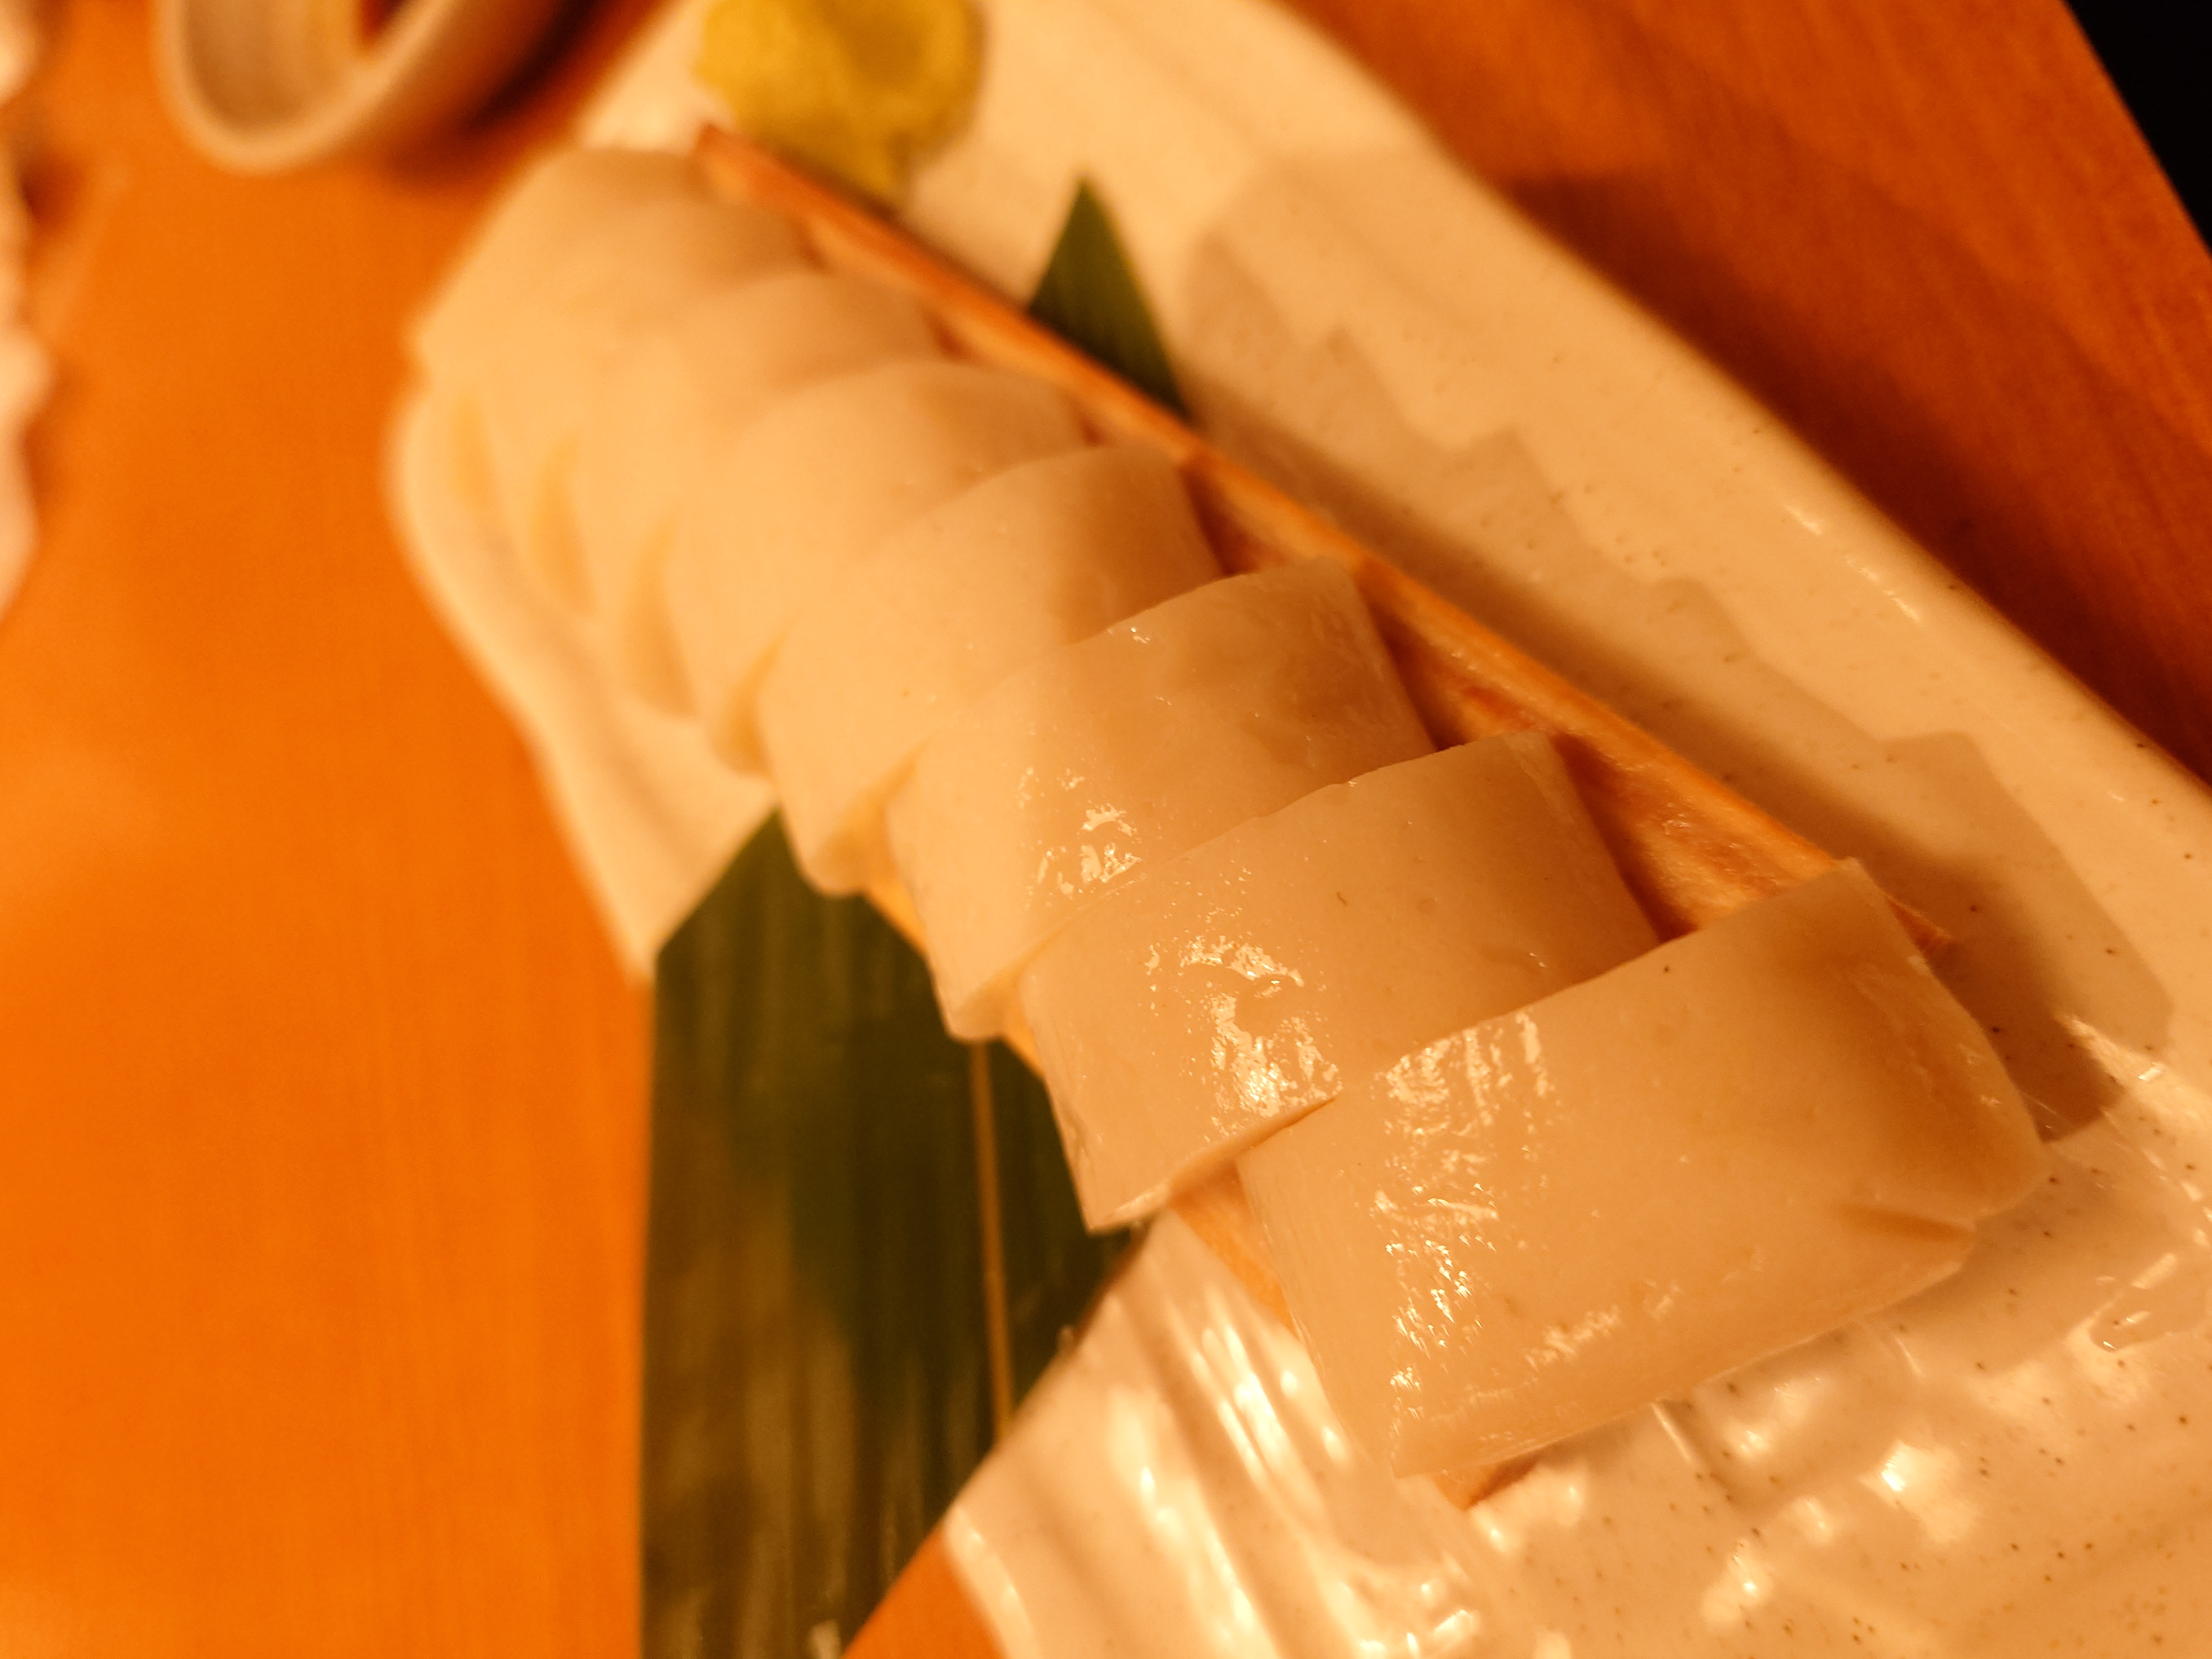
わかめのから揚げ。ぬるぬるした磯部揚げを食べてる感じでおいしい。これは家でも作りたいメニューだ。
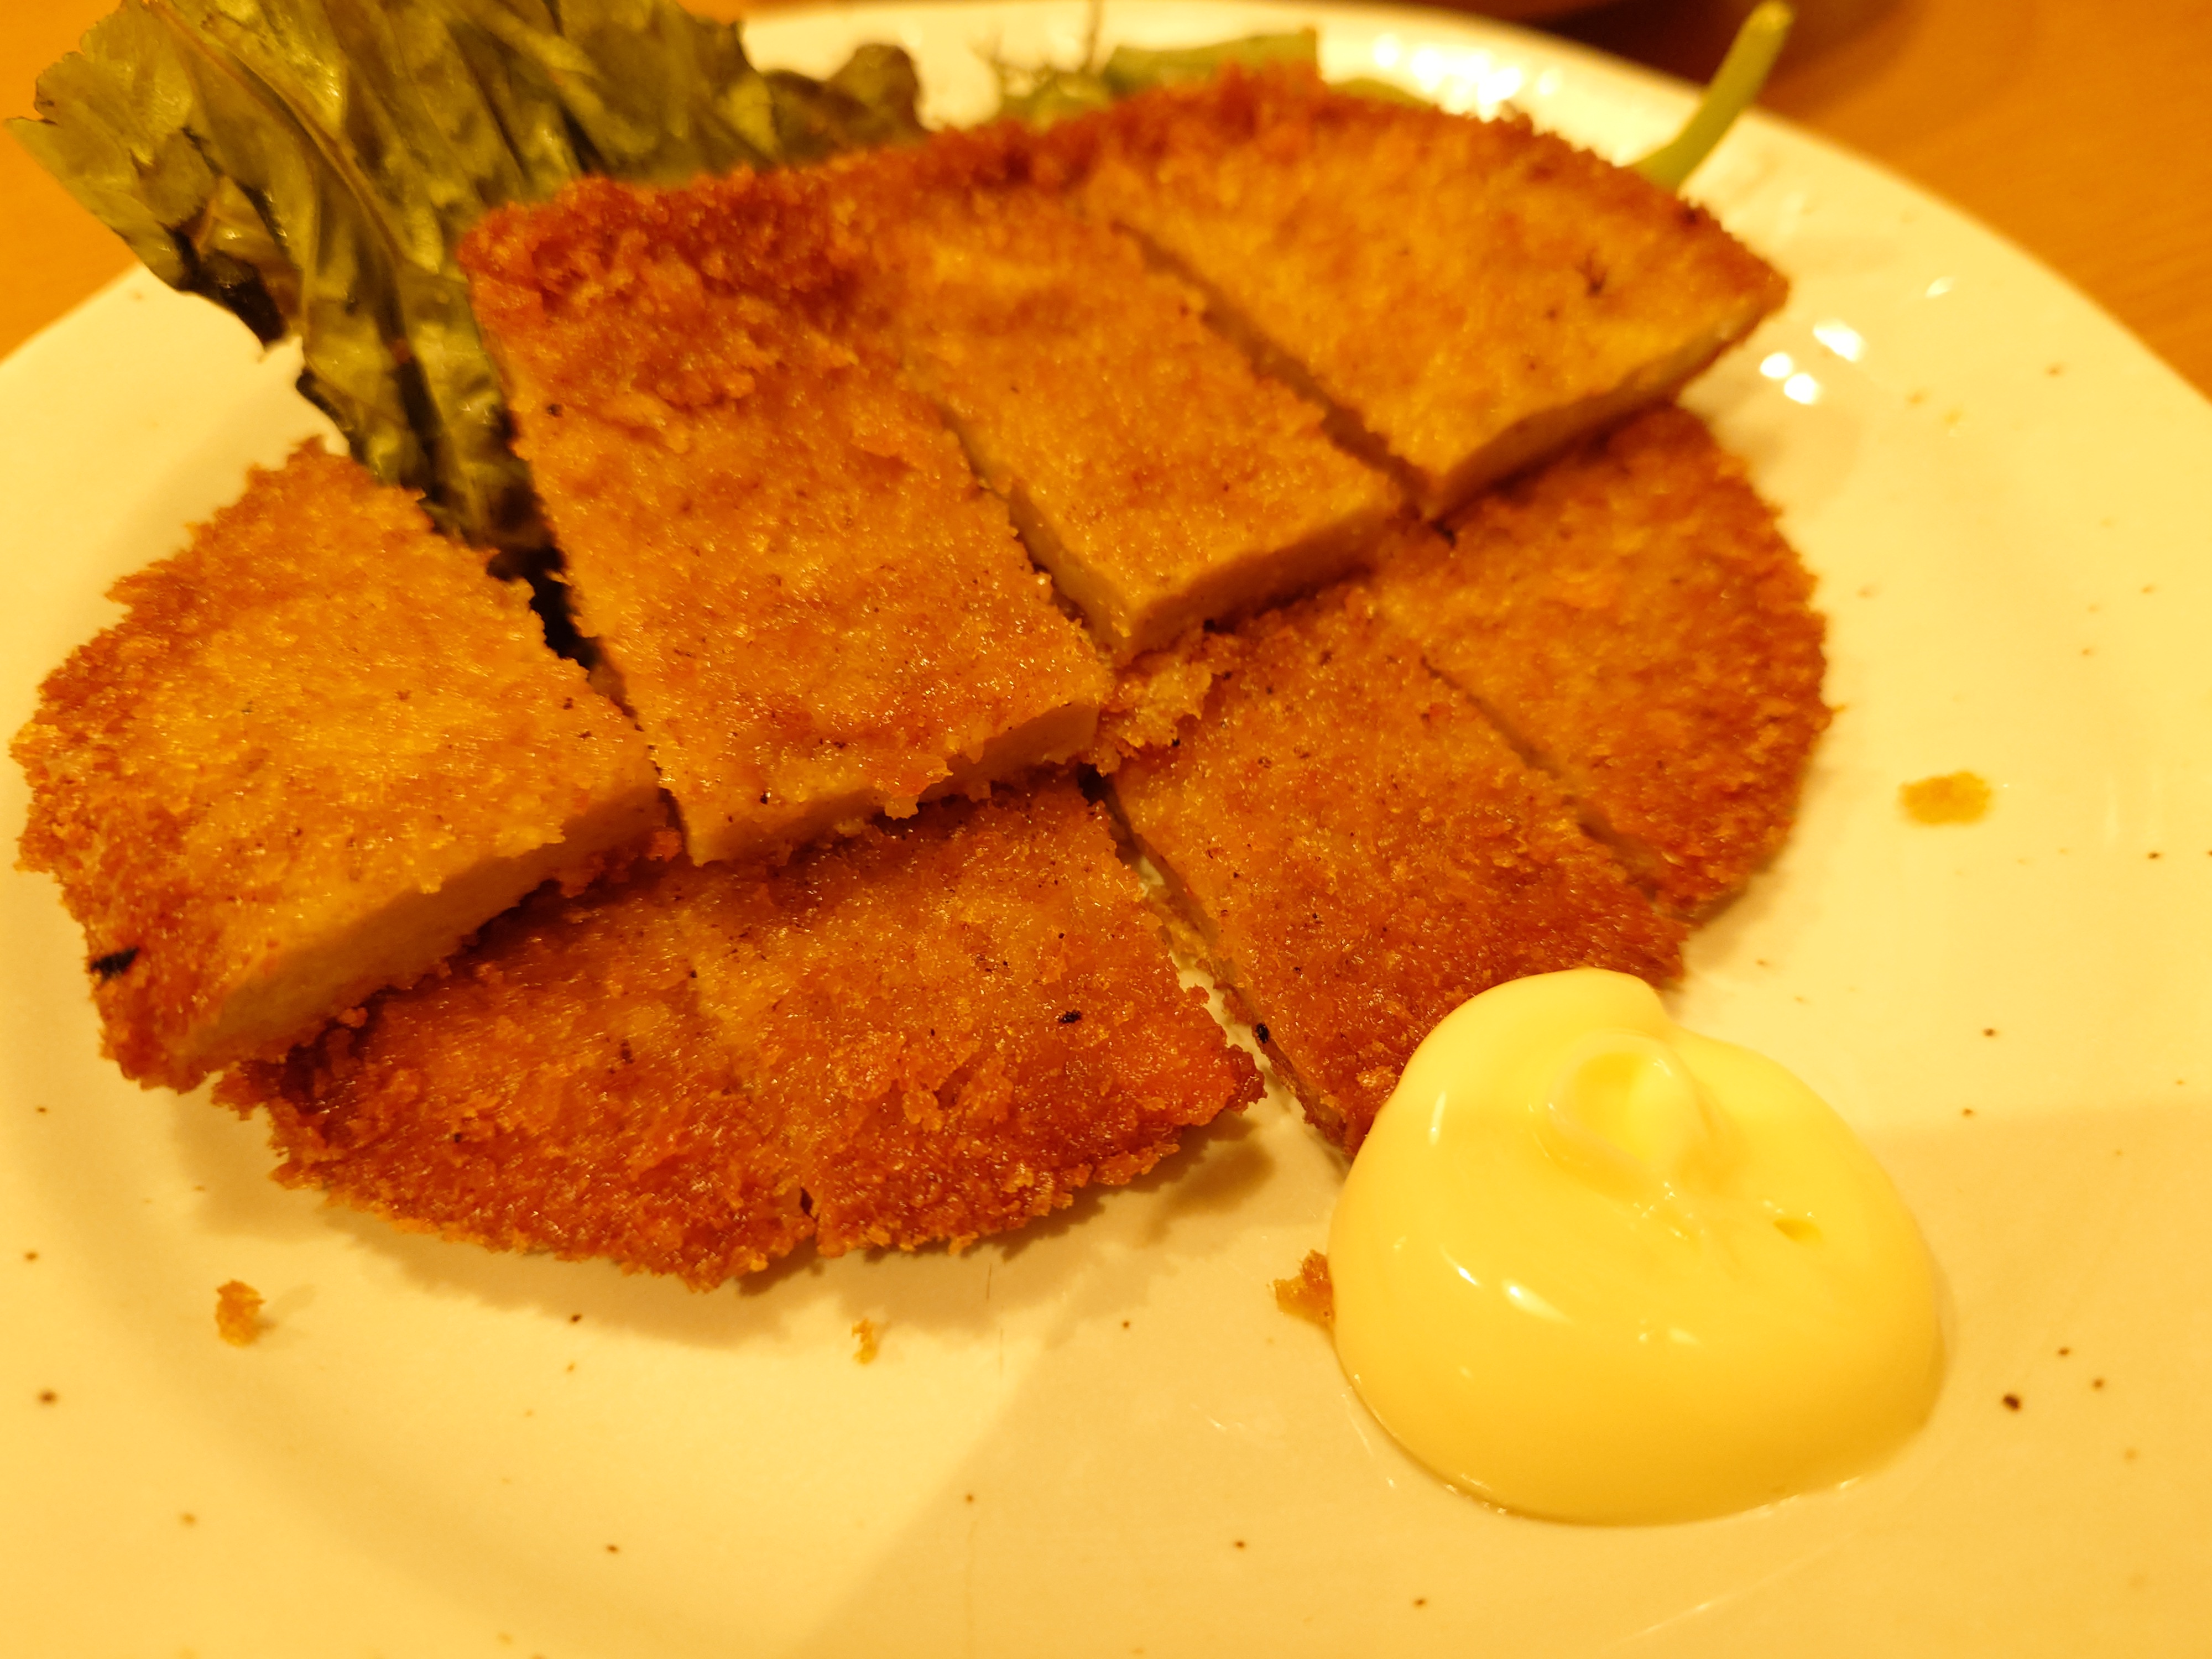
フィッシュカツ。宇和島のじゃこカツを彷彿とさせる存在だ。やはり美味い。
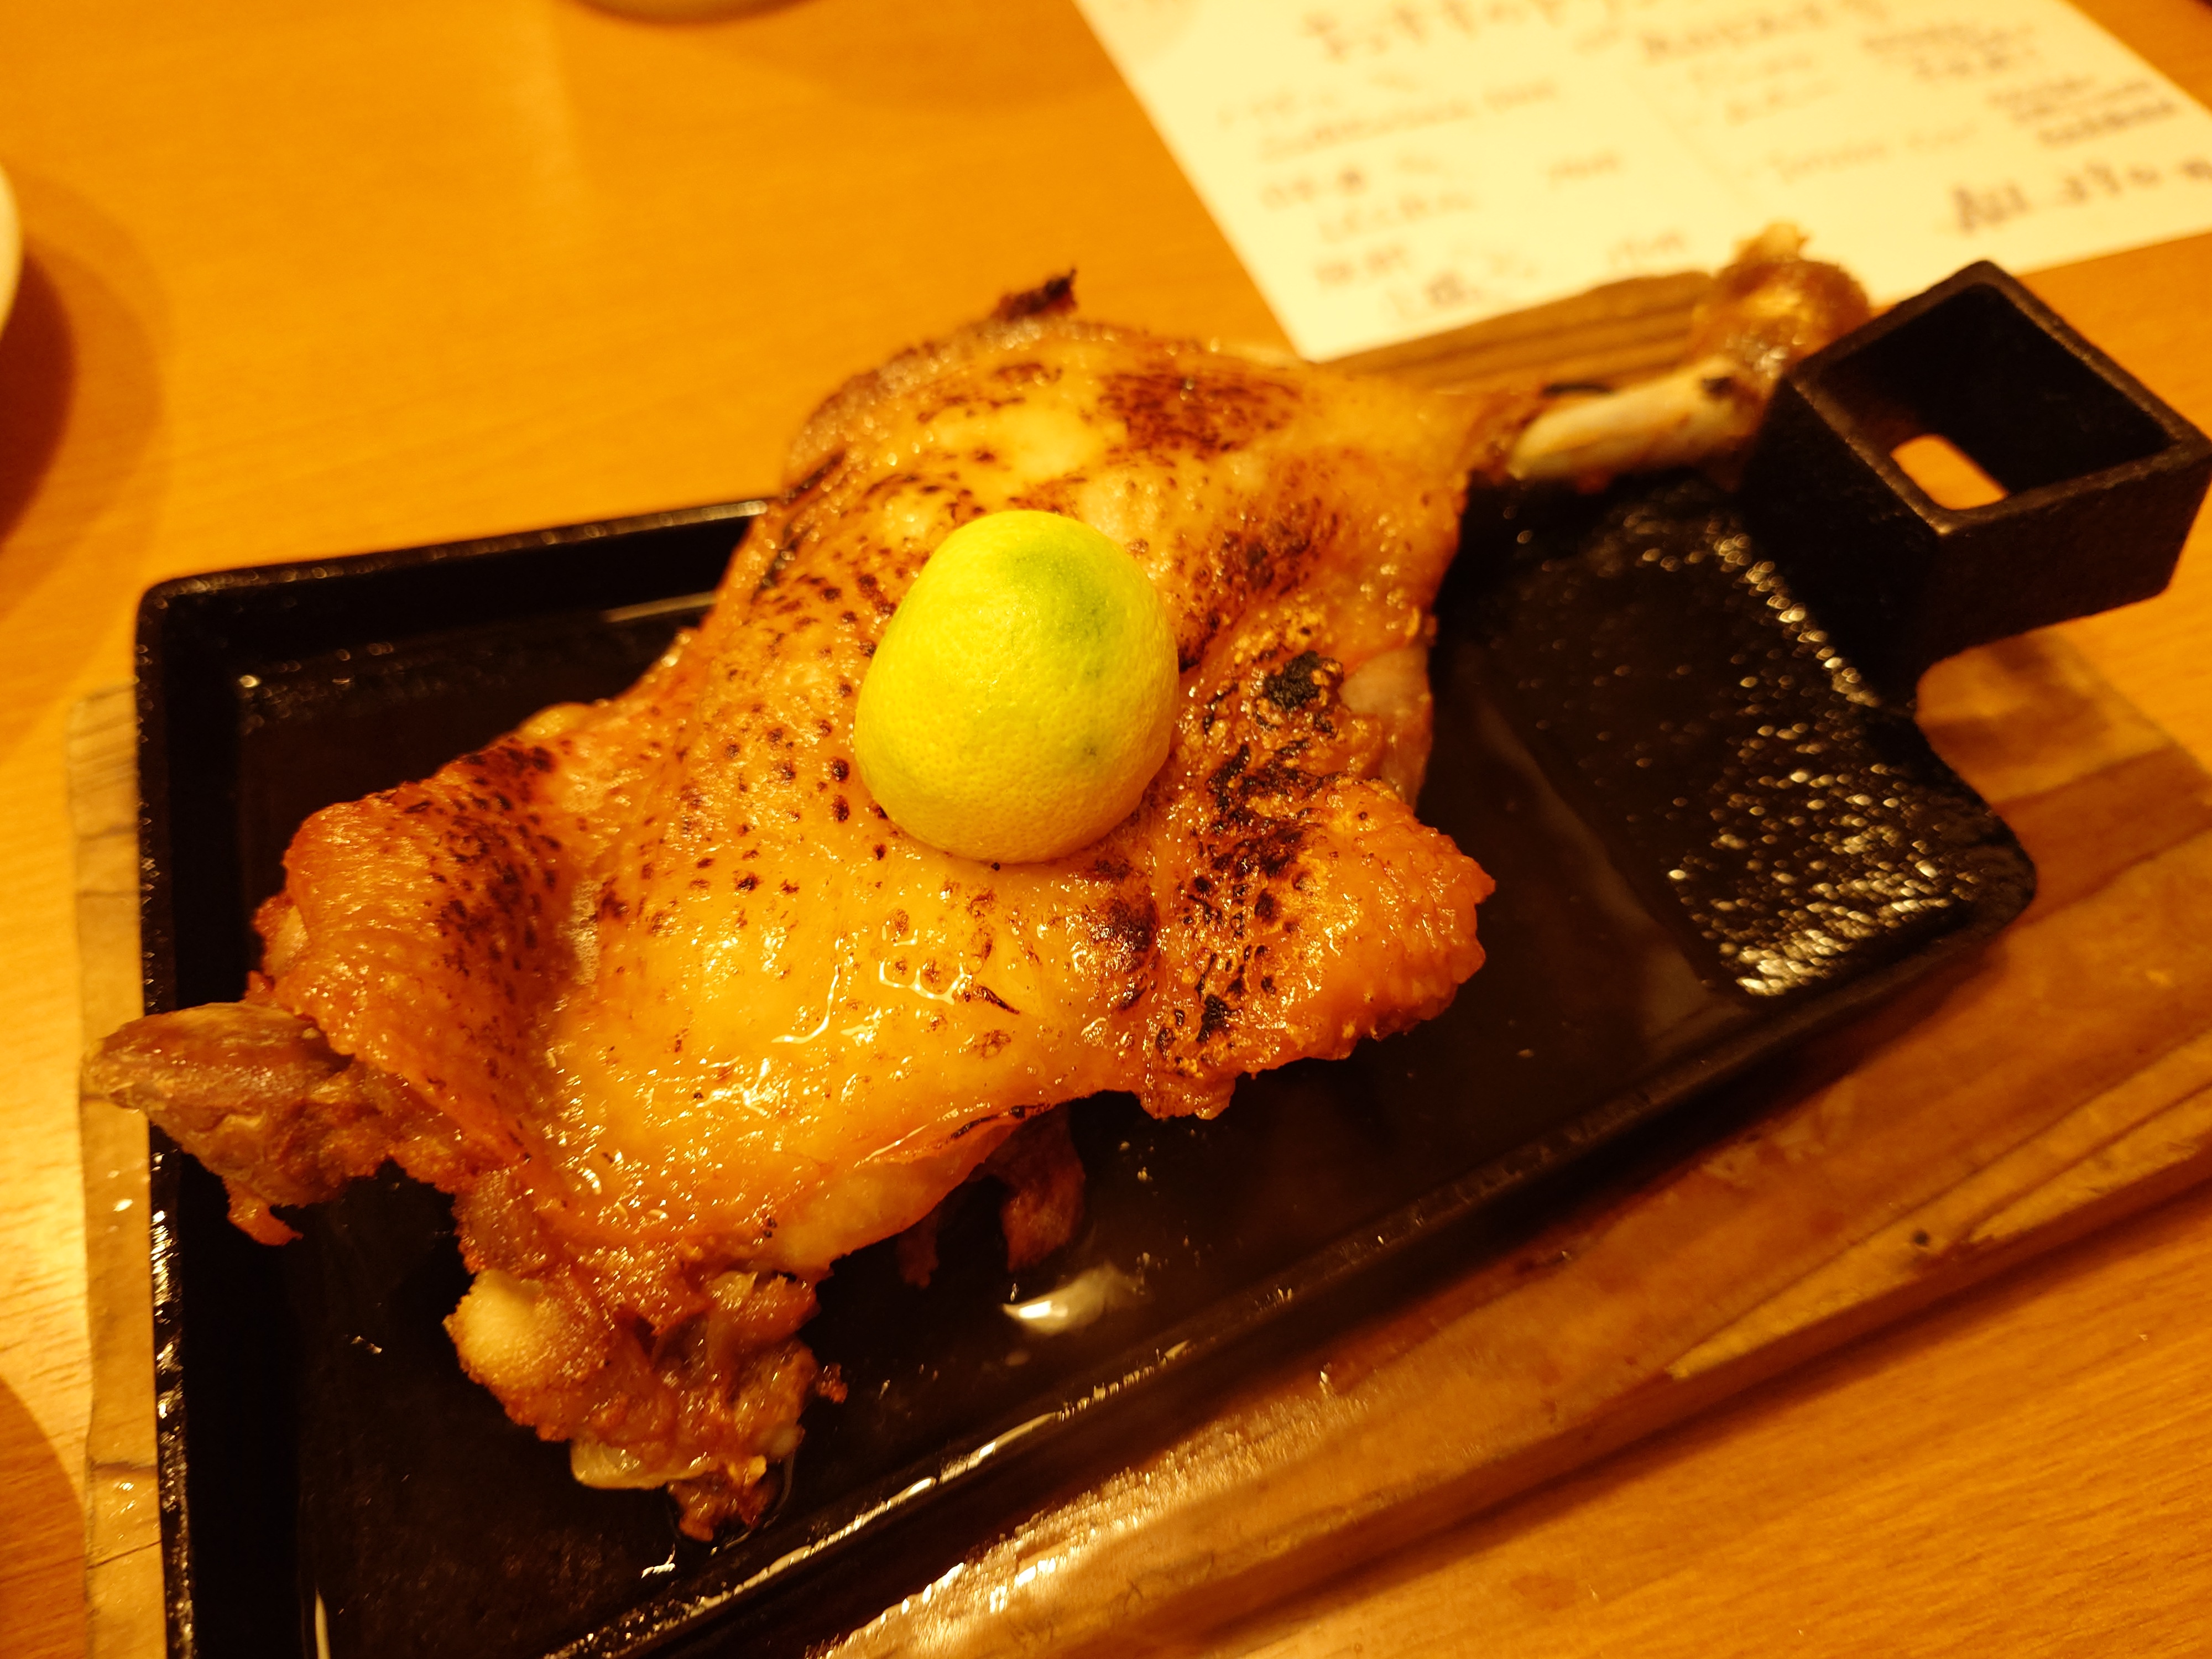
阿波尾鳥の骨付き鳥。肉の味にコクがあり、皮もぱりぱりしていてよかった。ちゃんとトングとハサミもついていた。
板わさ。全店舗共通メニューのクオリティはやっぱいまいちだなと思った。
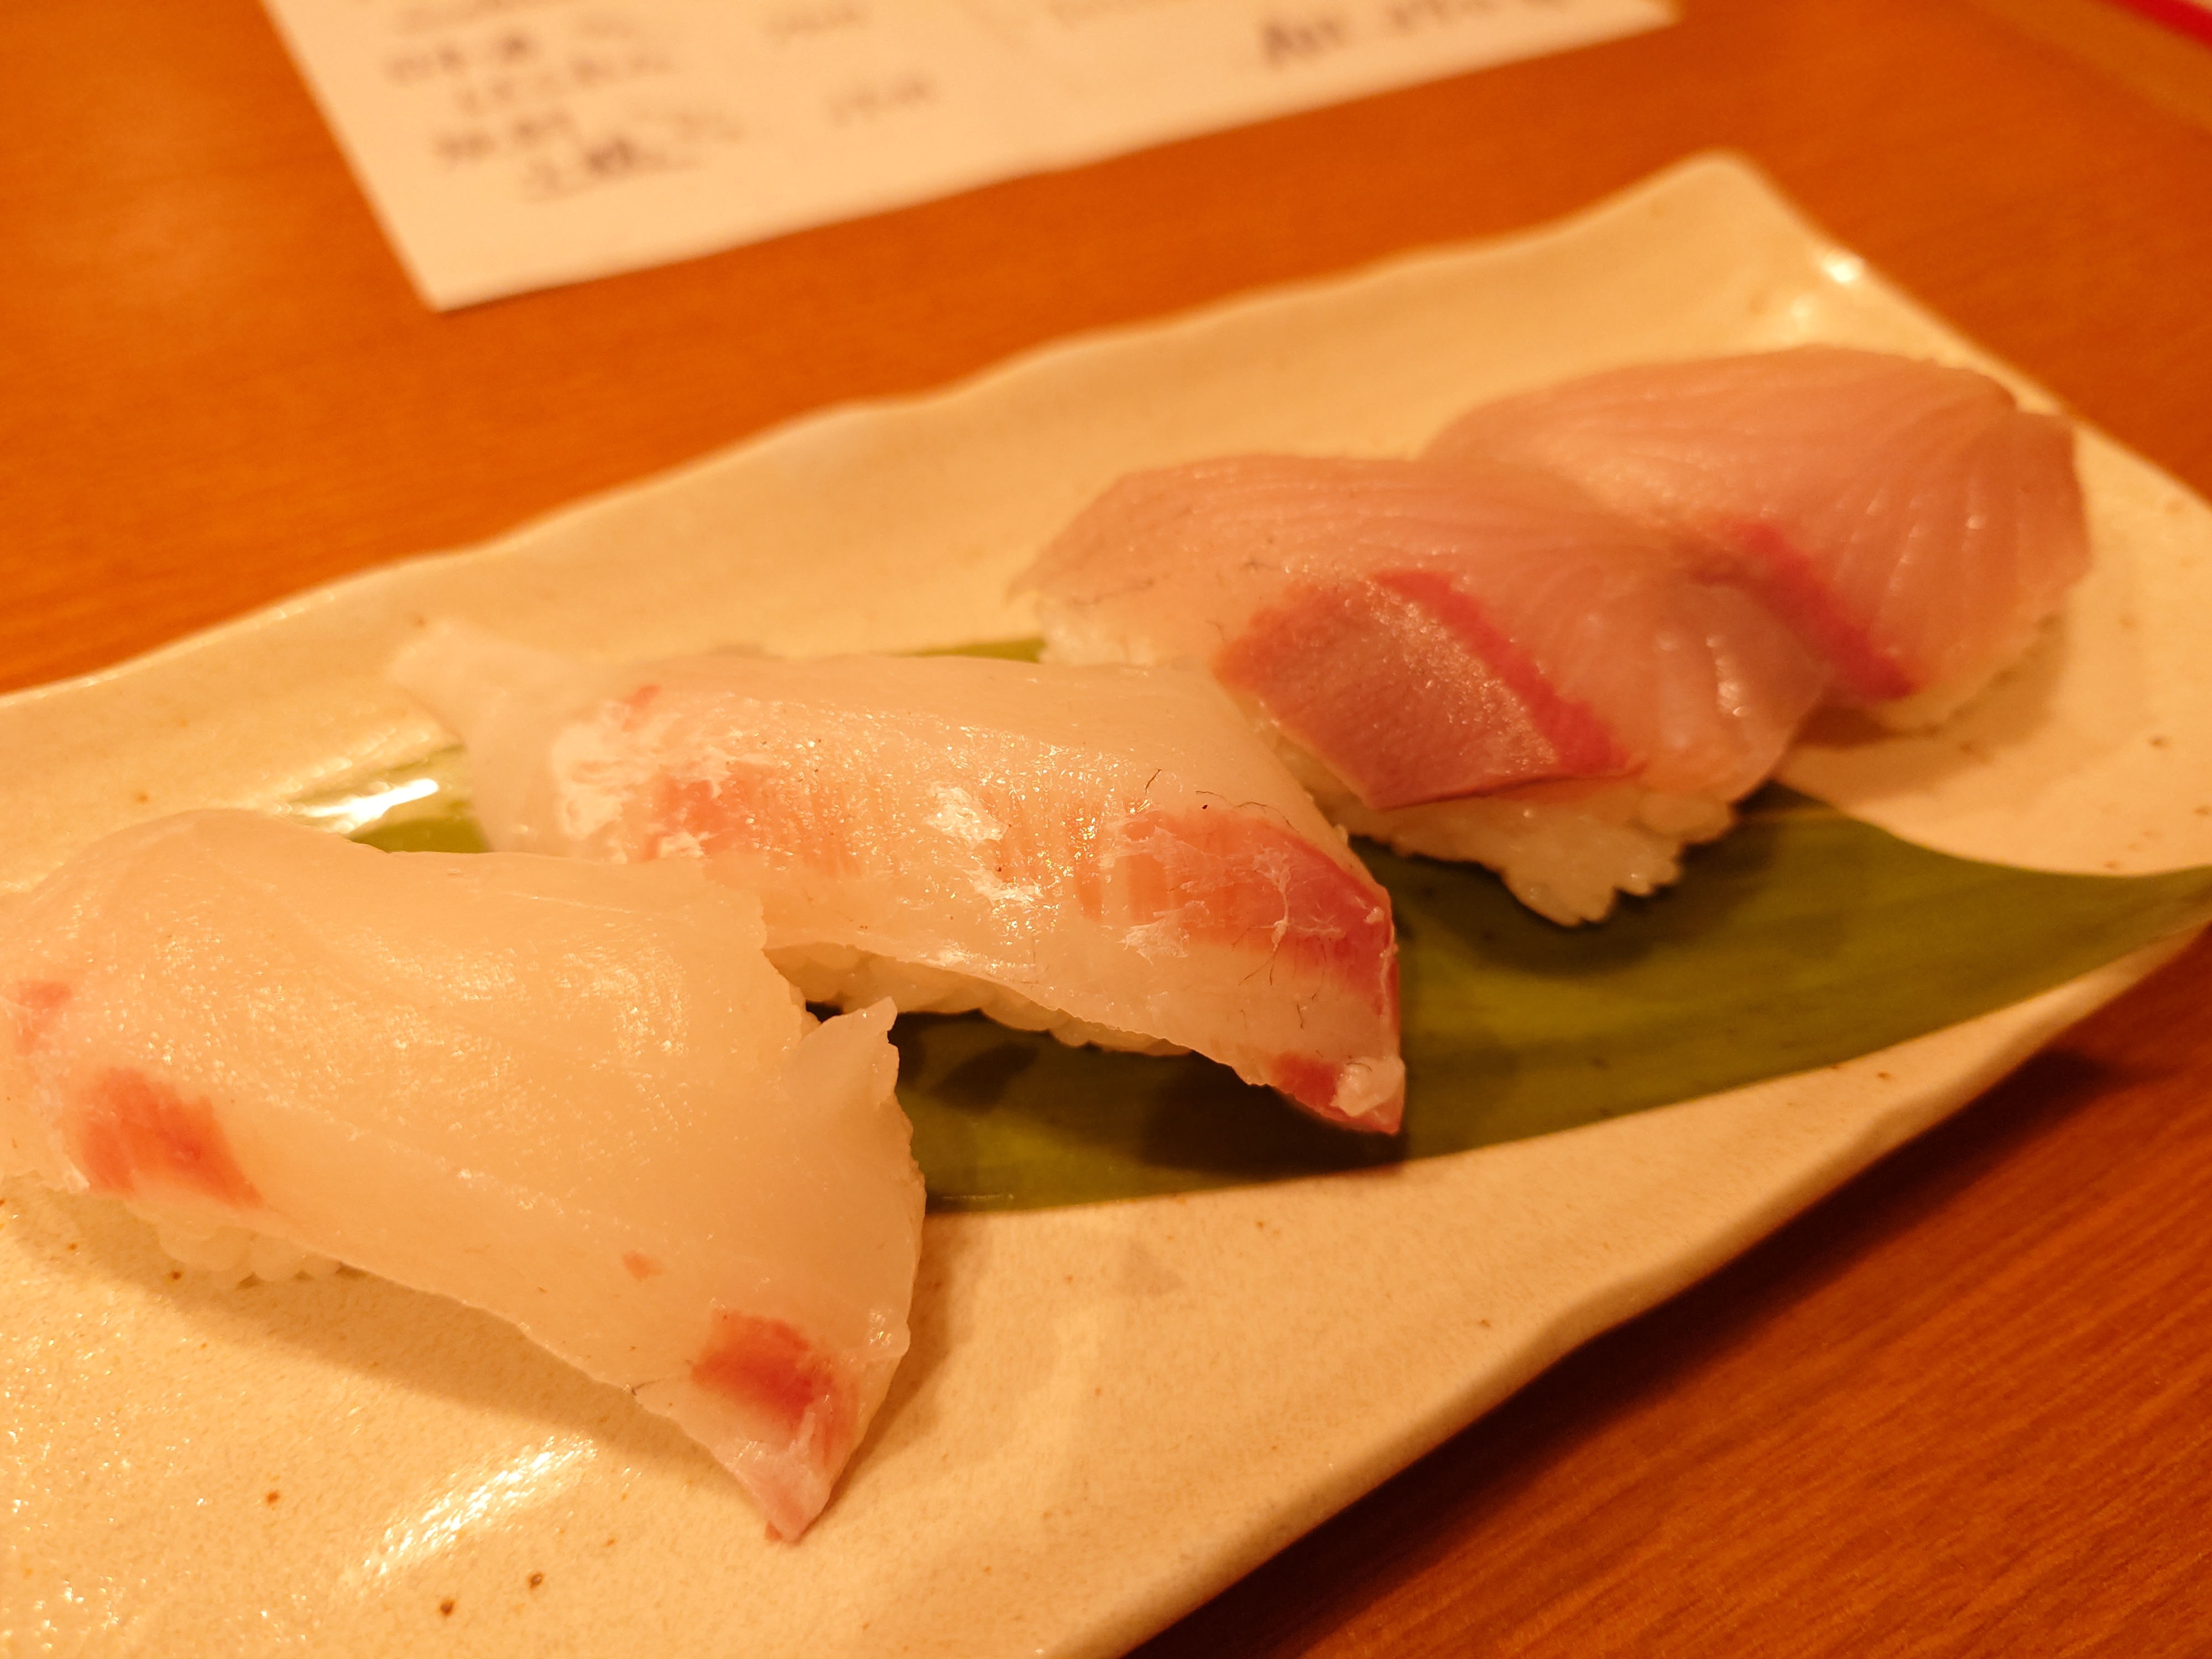
真鯛とすだちぶりの寿司。美味い。鮮度がいい魚はよい。
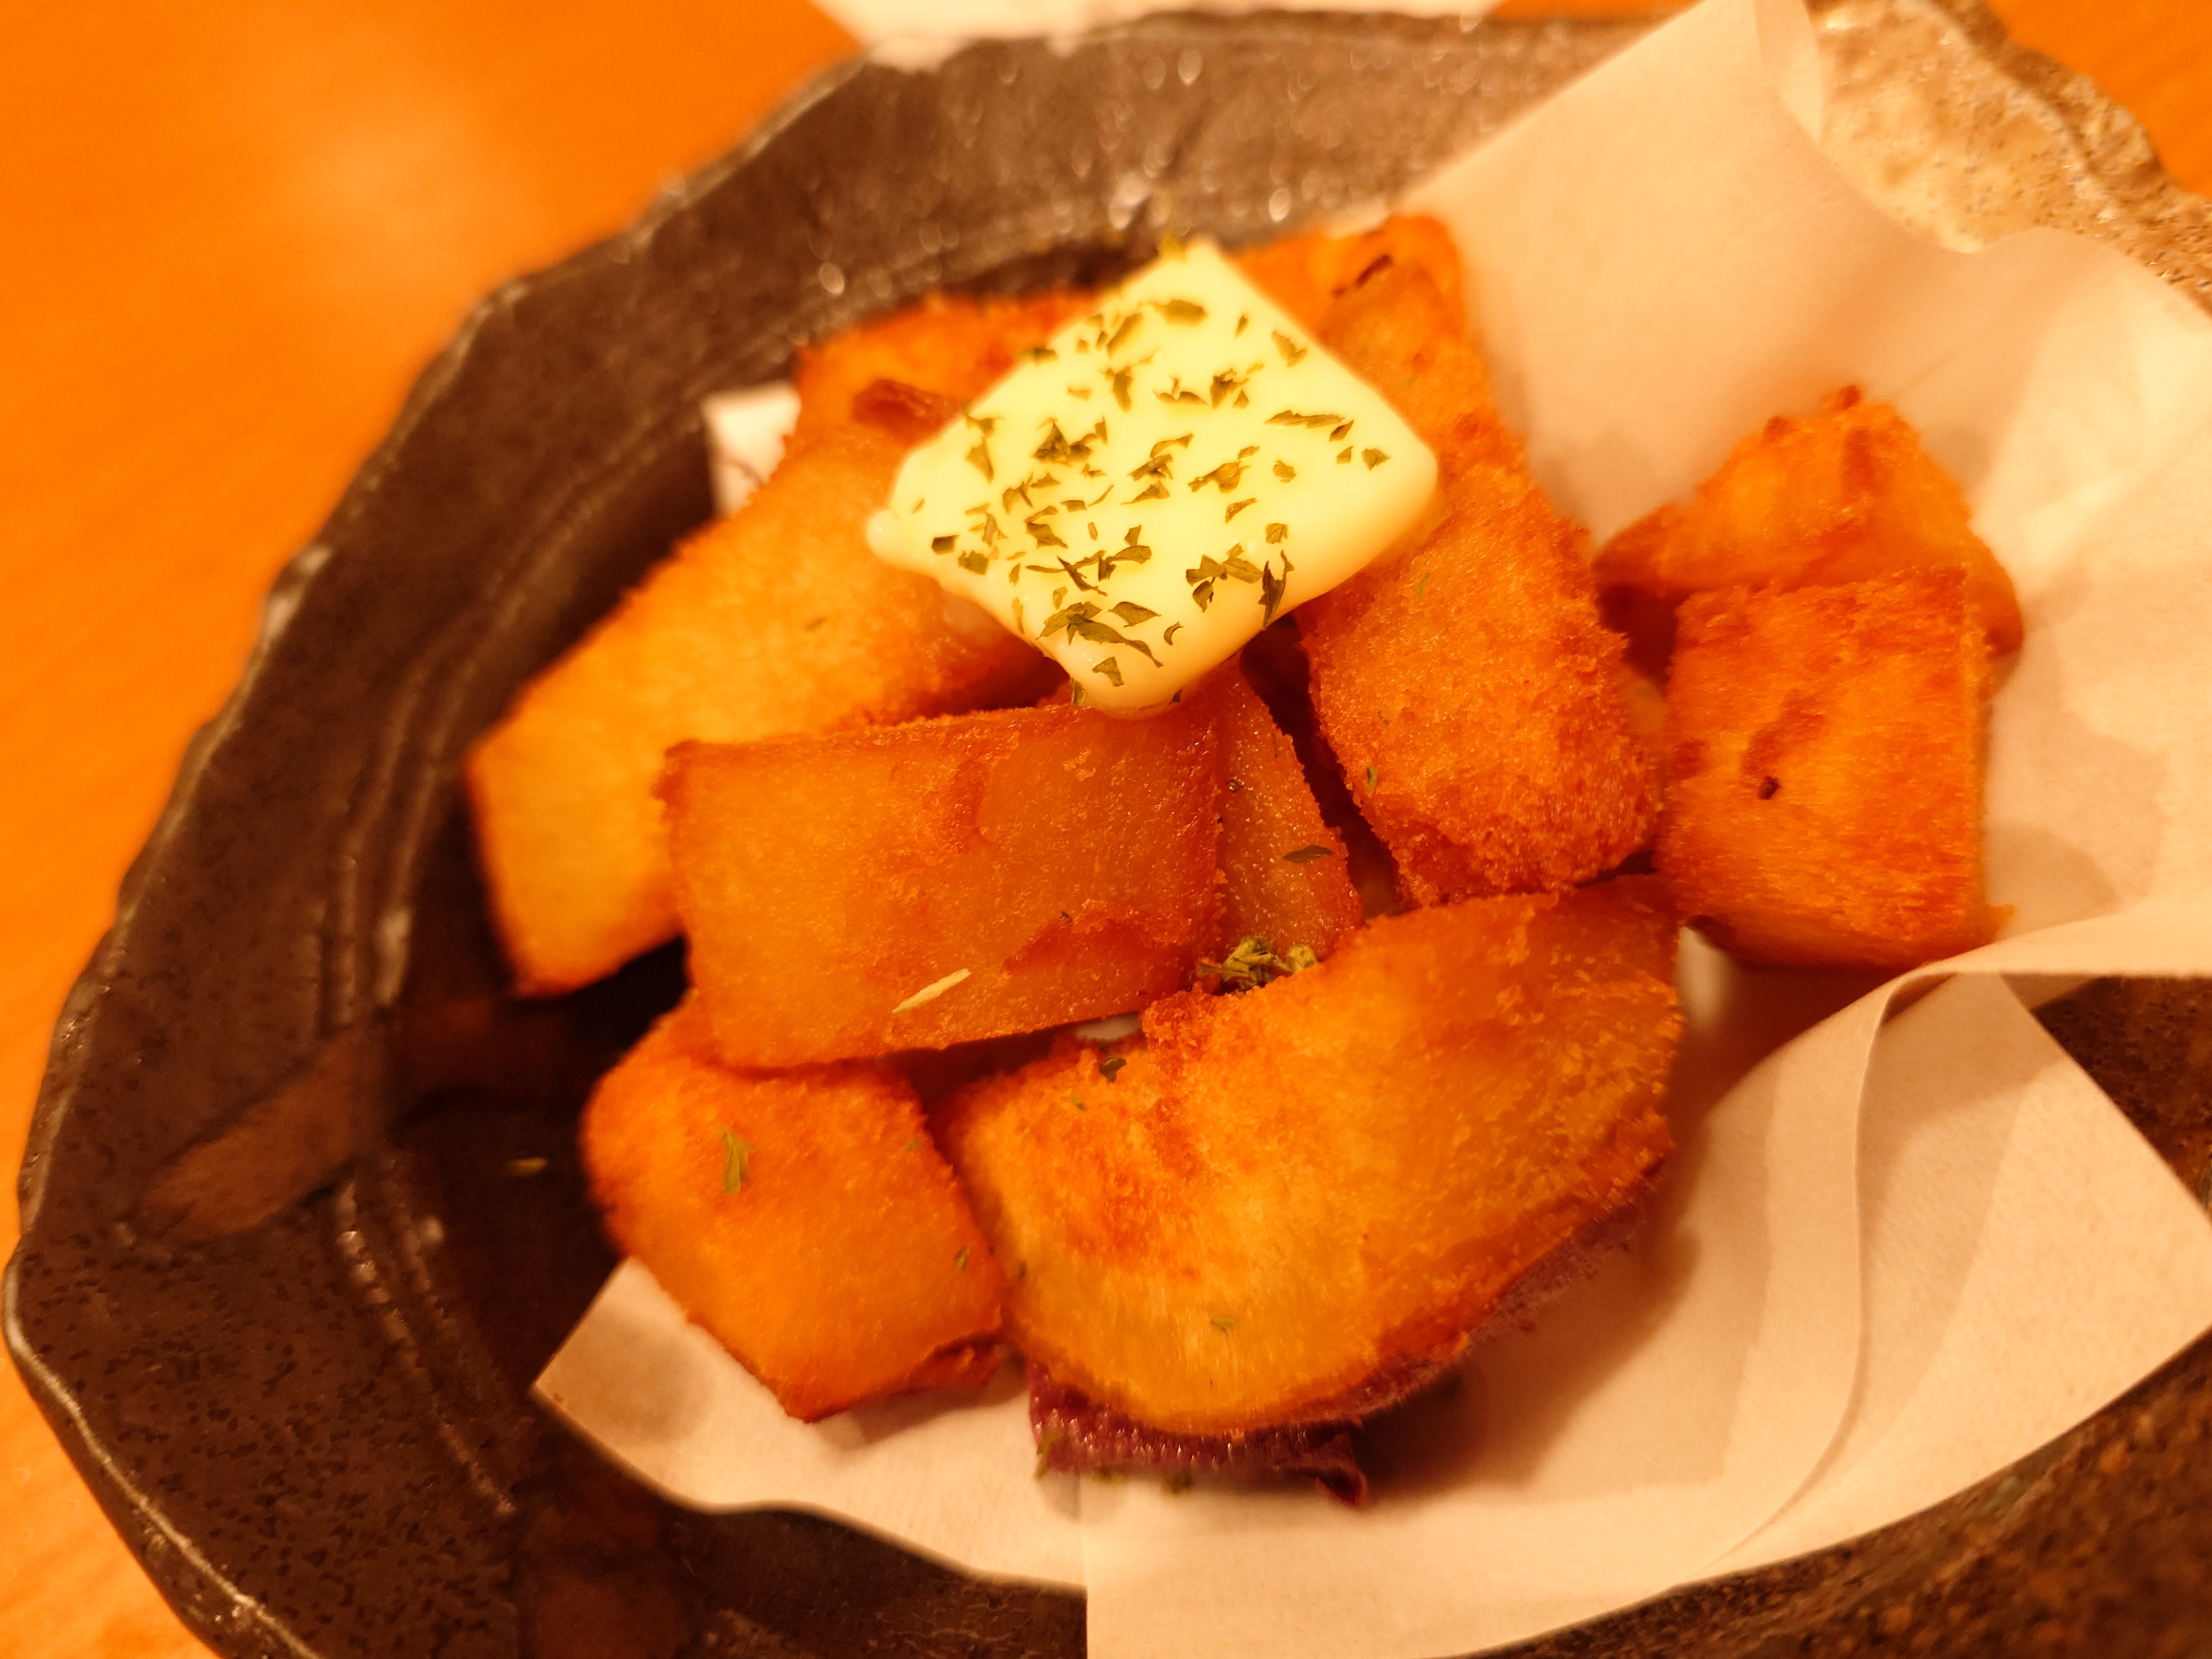
鳴門金時のフライ。やはりさつまいもは鳴門金時しか勝たんよと思えるほくほくさでよかった。
投宿とマチアソビの核心との出会い
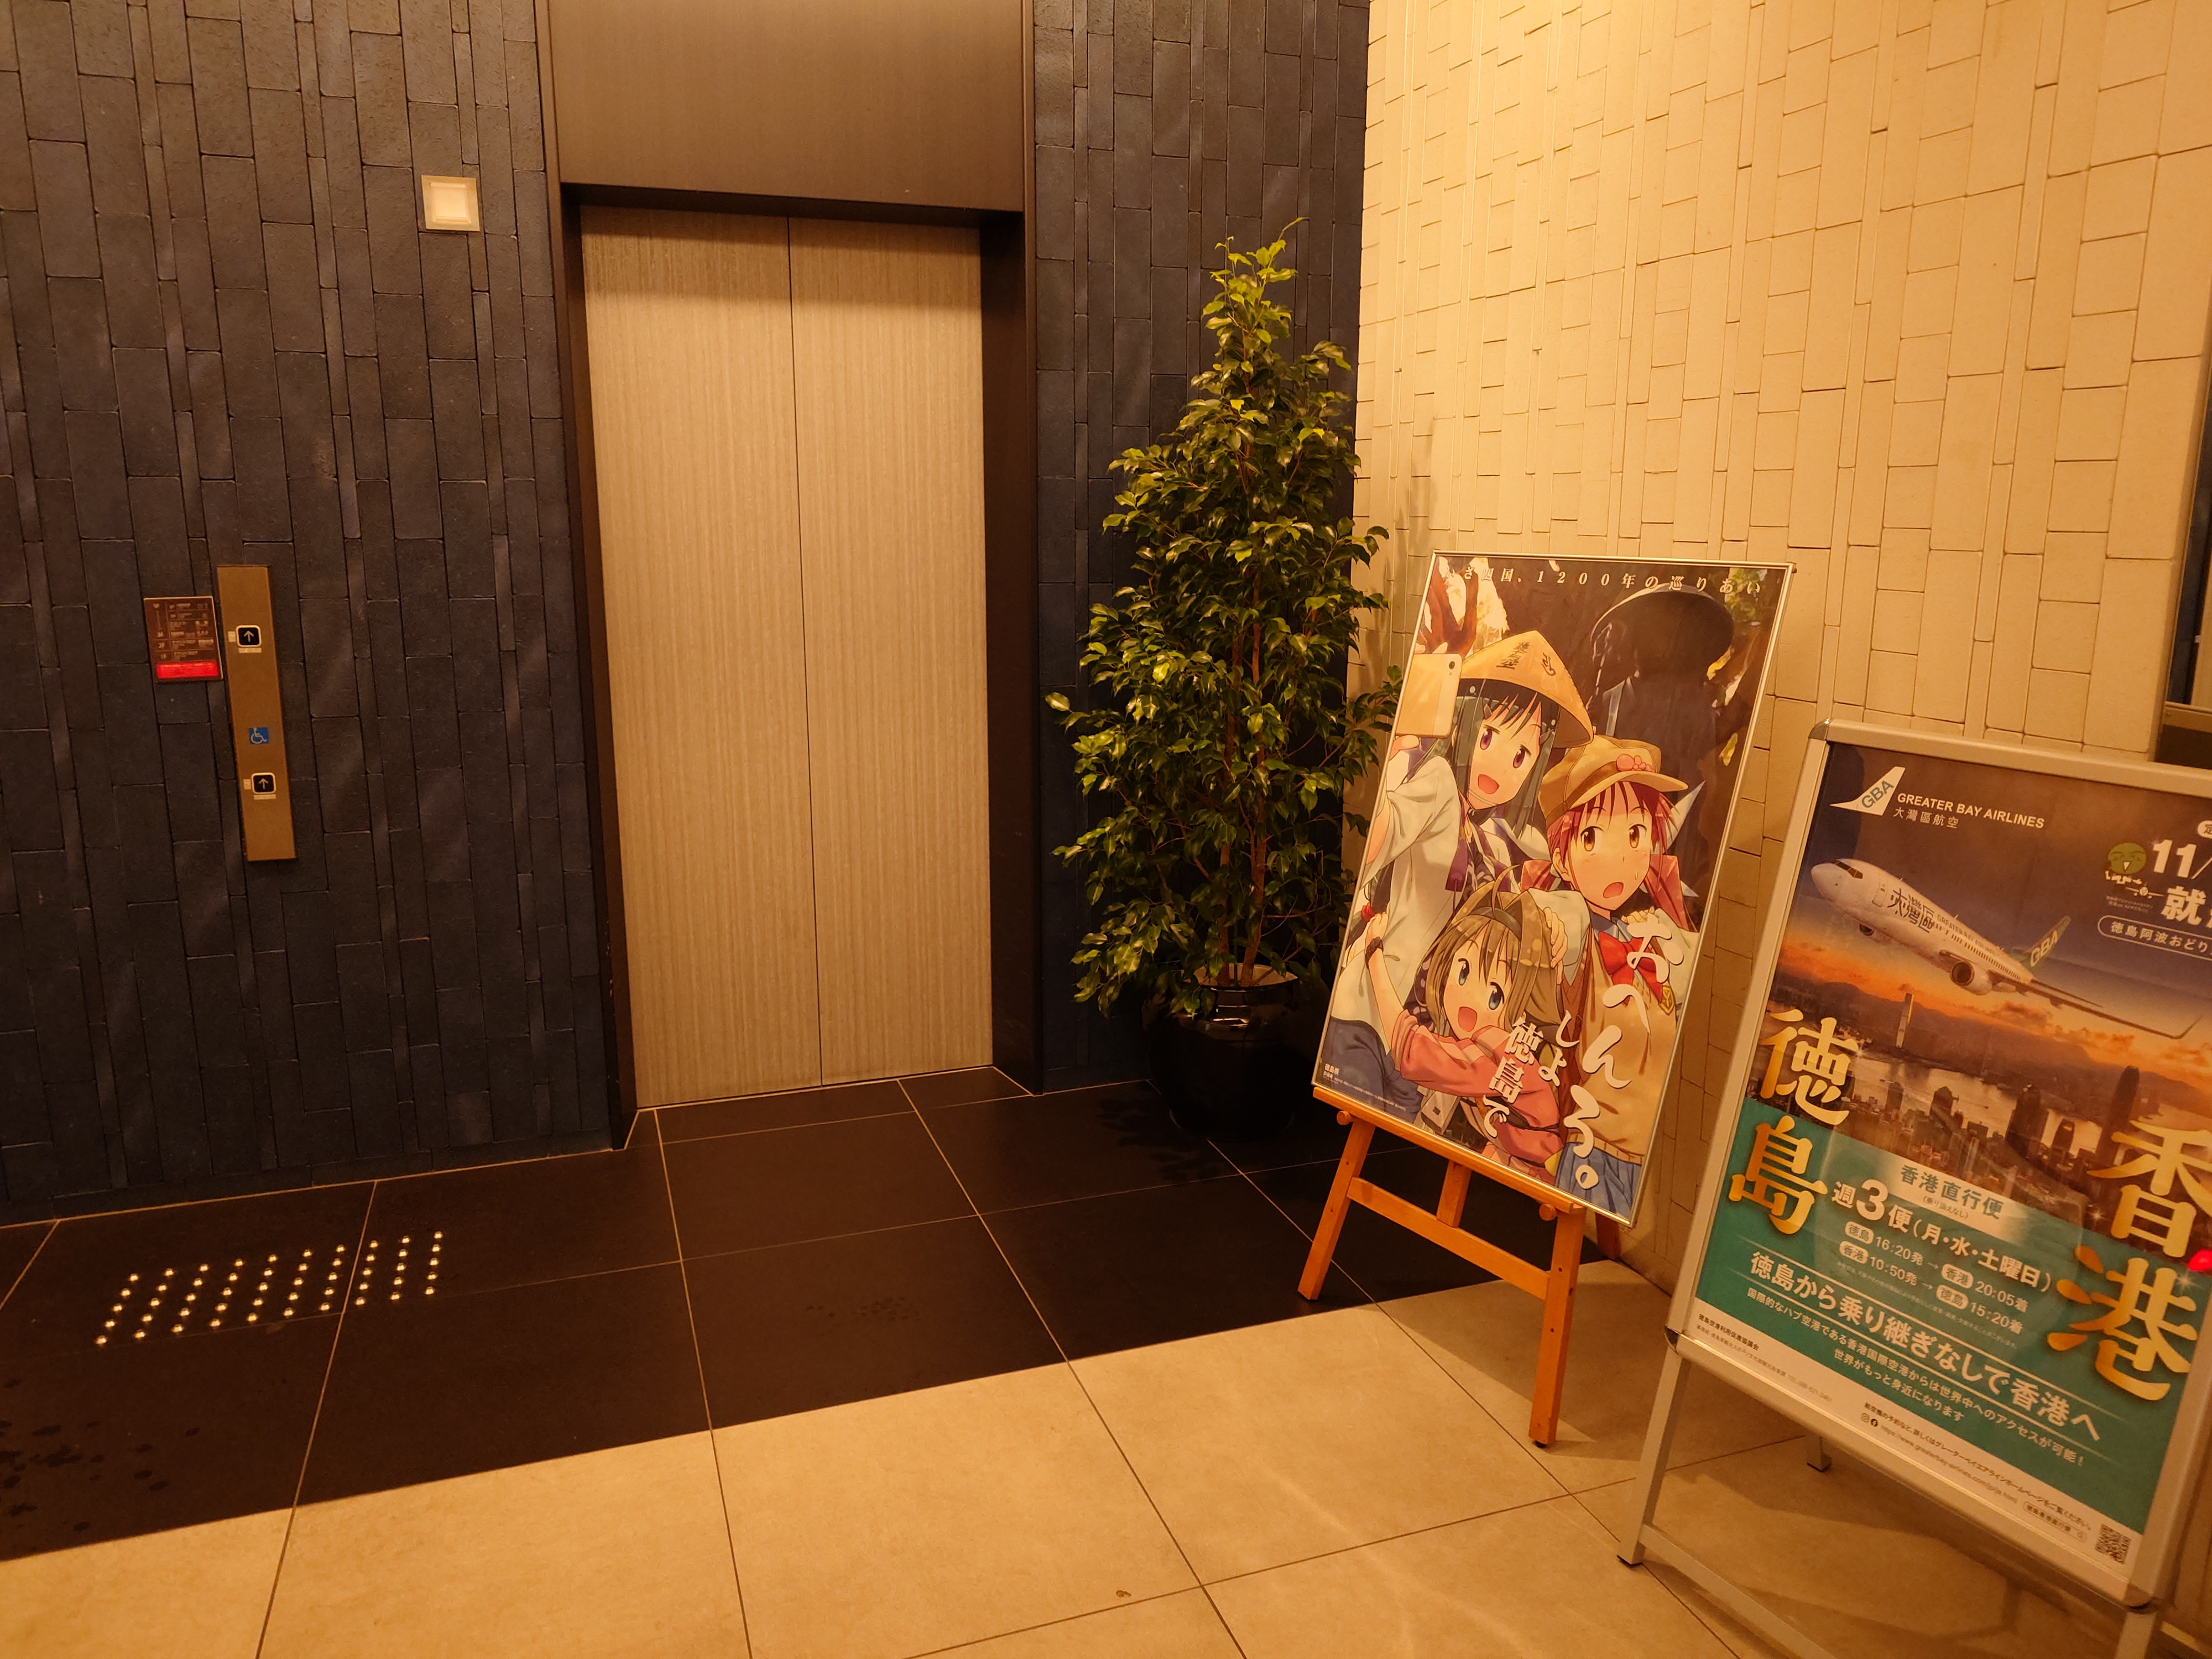
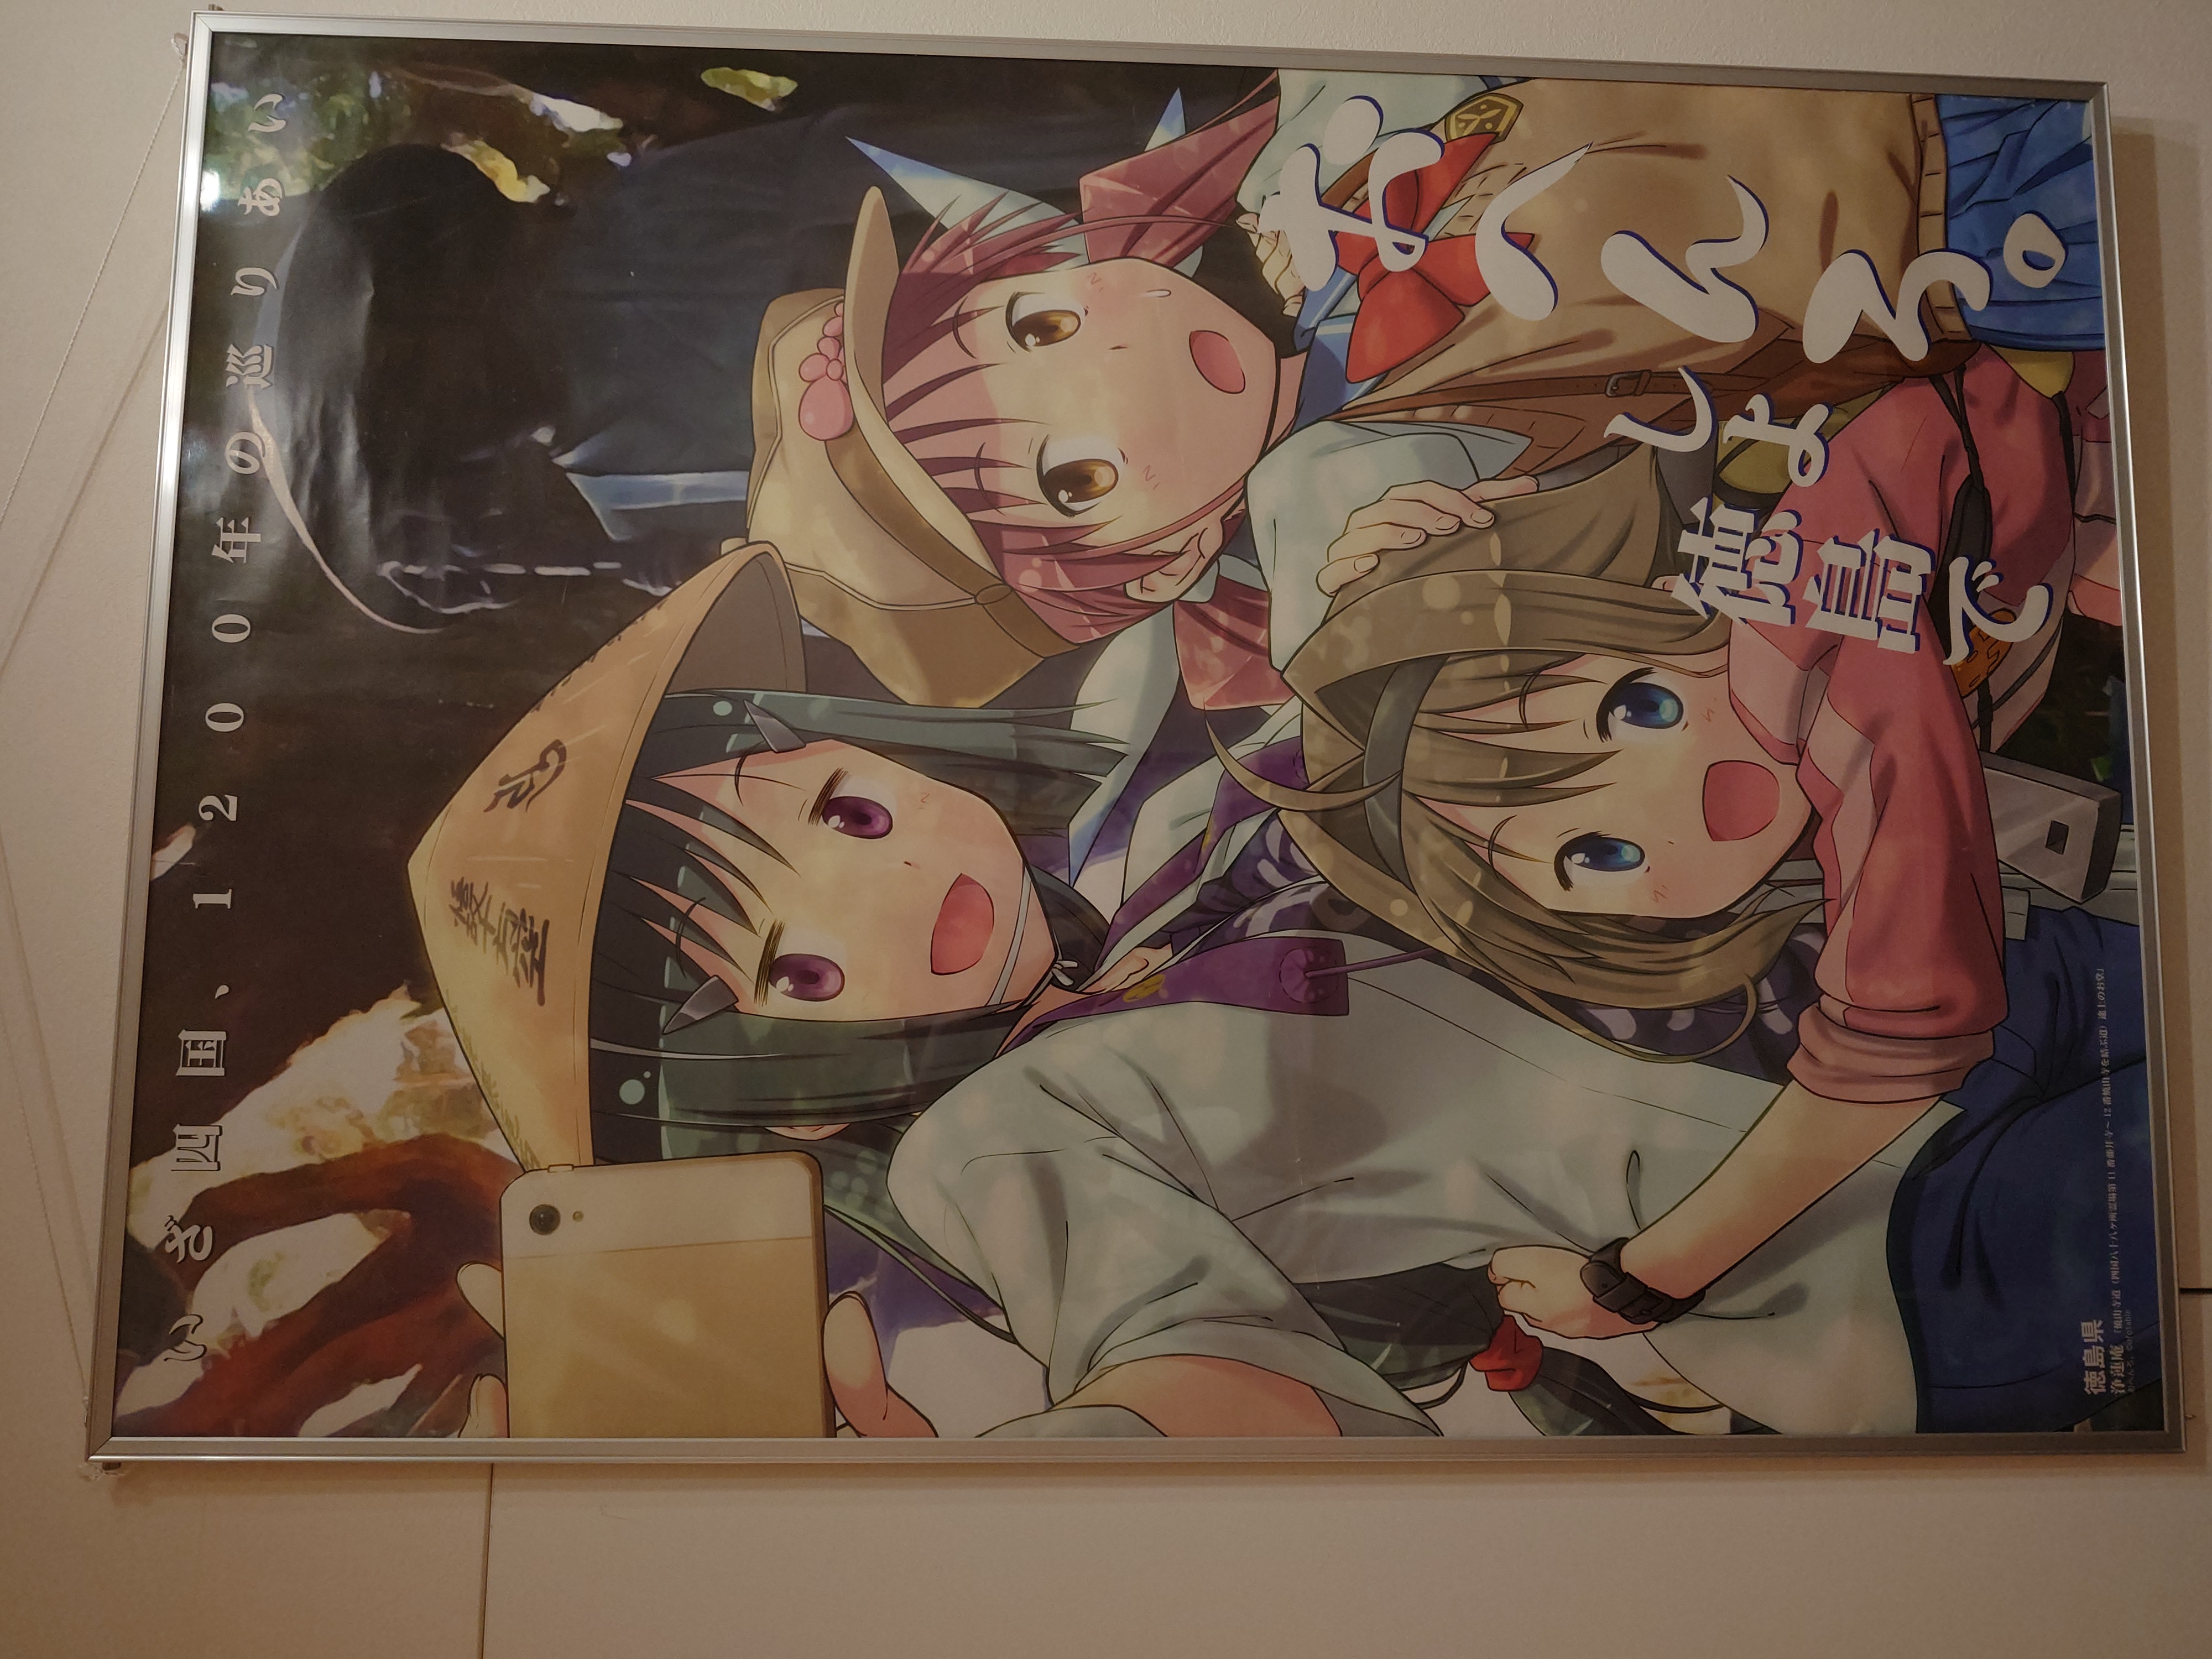
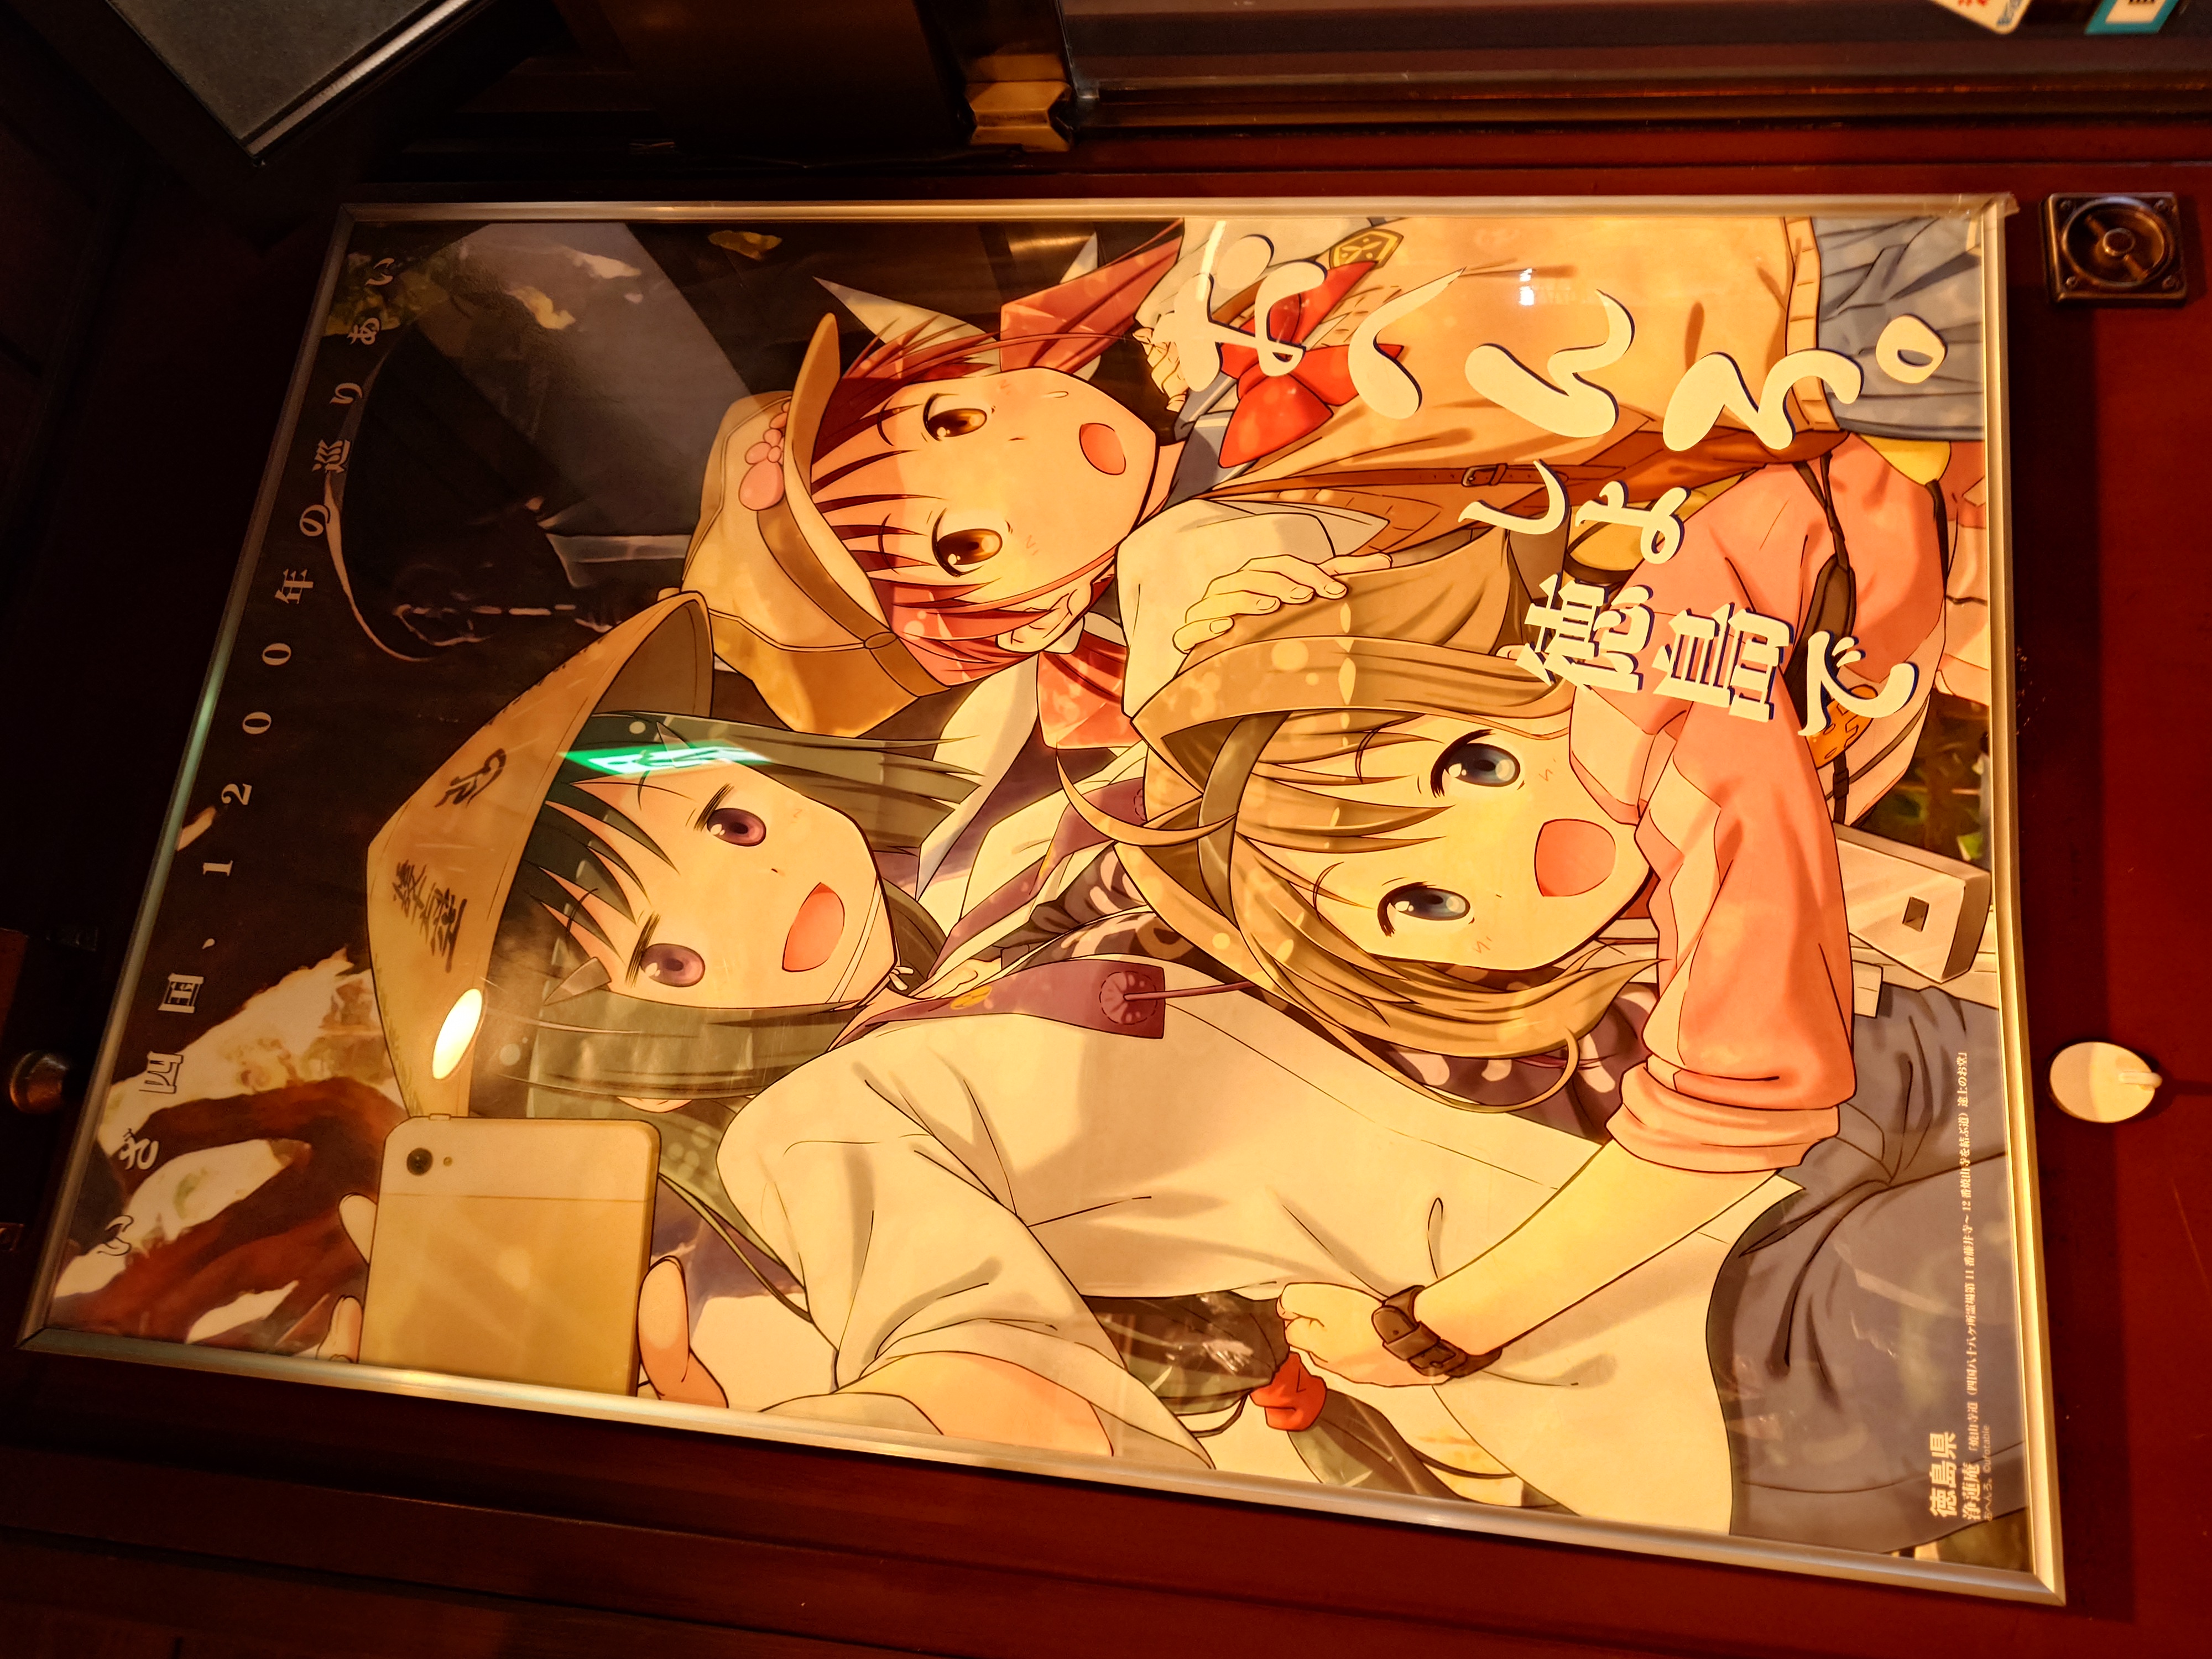
今回の宿、ダイワロイネットホテル徳島駅前に入ると、いきなり半田そうめんのパッケージに書かれていた子たちが出迎えてくれた。
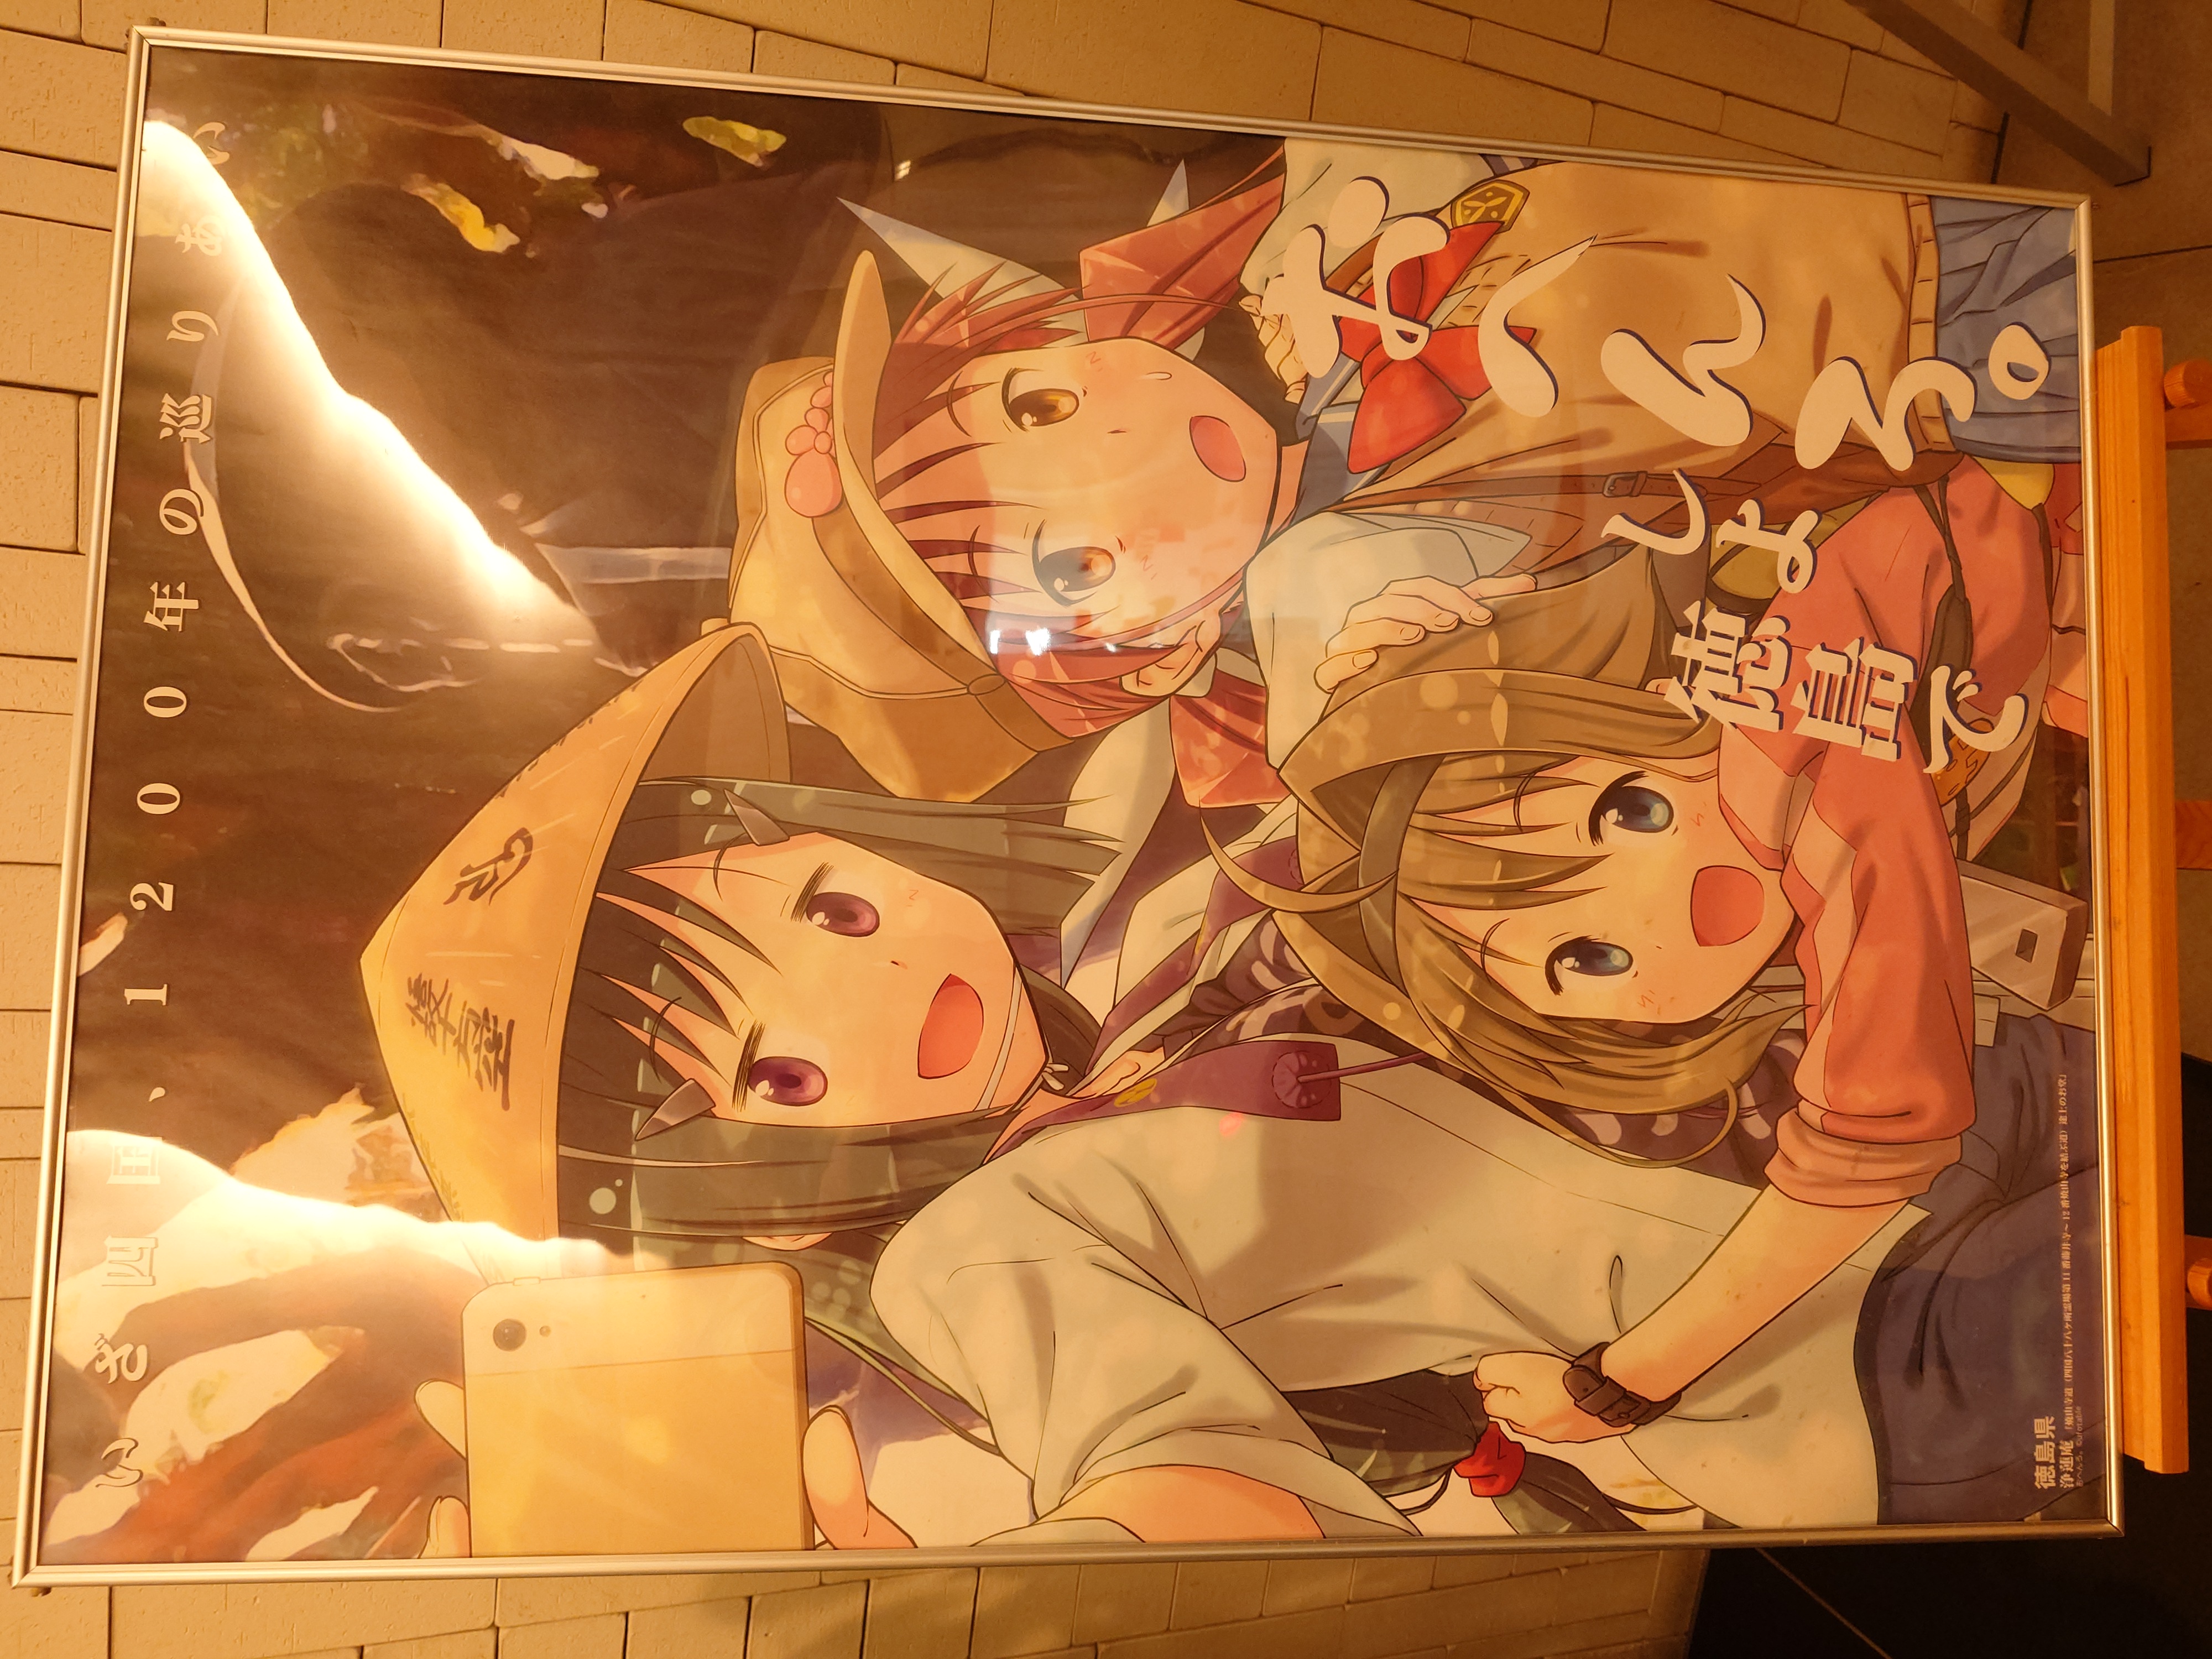
「おへんろ。しよ徳島で」というフレーズがすごくいい。かわいい。しかも今どきの萌え路線から若干ずらして一般寄りの絵柄にしているのが更にいい。
この時はまだこのキャラクターたちが何なのかわからないまま、チェックインした。まさかこの出会いがマチアソビ最大の出会いに繋がるとは、この時は思いもしていなかった。
マチアソビ一日目
07:45からメイクアガール鑑賞の整理券配布があるため、早く起きホテルの朝食を素早く食べていた。明風に言うなれば「このために前泊したんじゃないか」だ。
朝食会場からの景色
数万人が訪れると聞くマチアソビの初日にしては、そこまで交通量や人は見えなかった。これならメイクアガールの整理券は取れるだろう。この時、私はそう高をくくっていた。
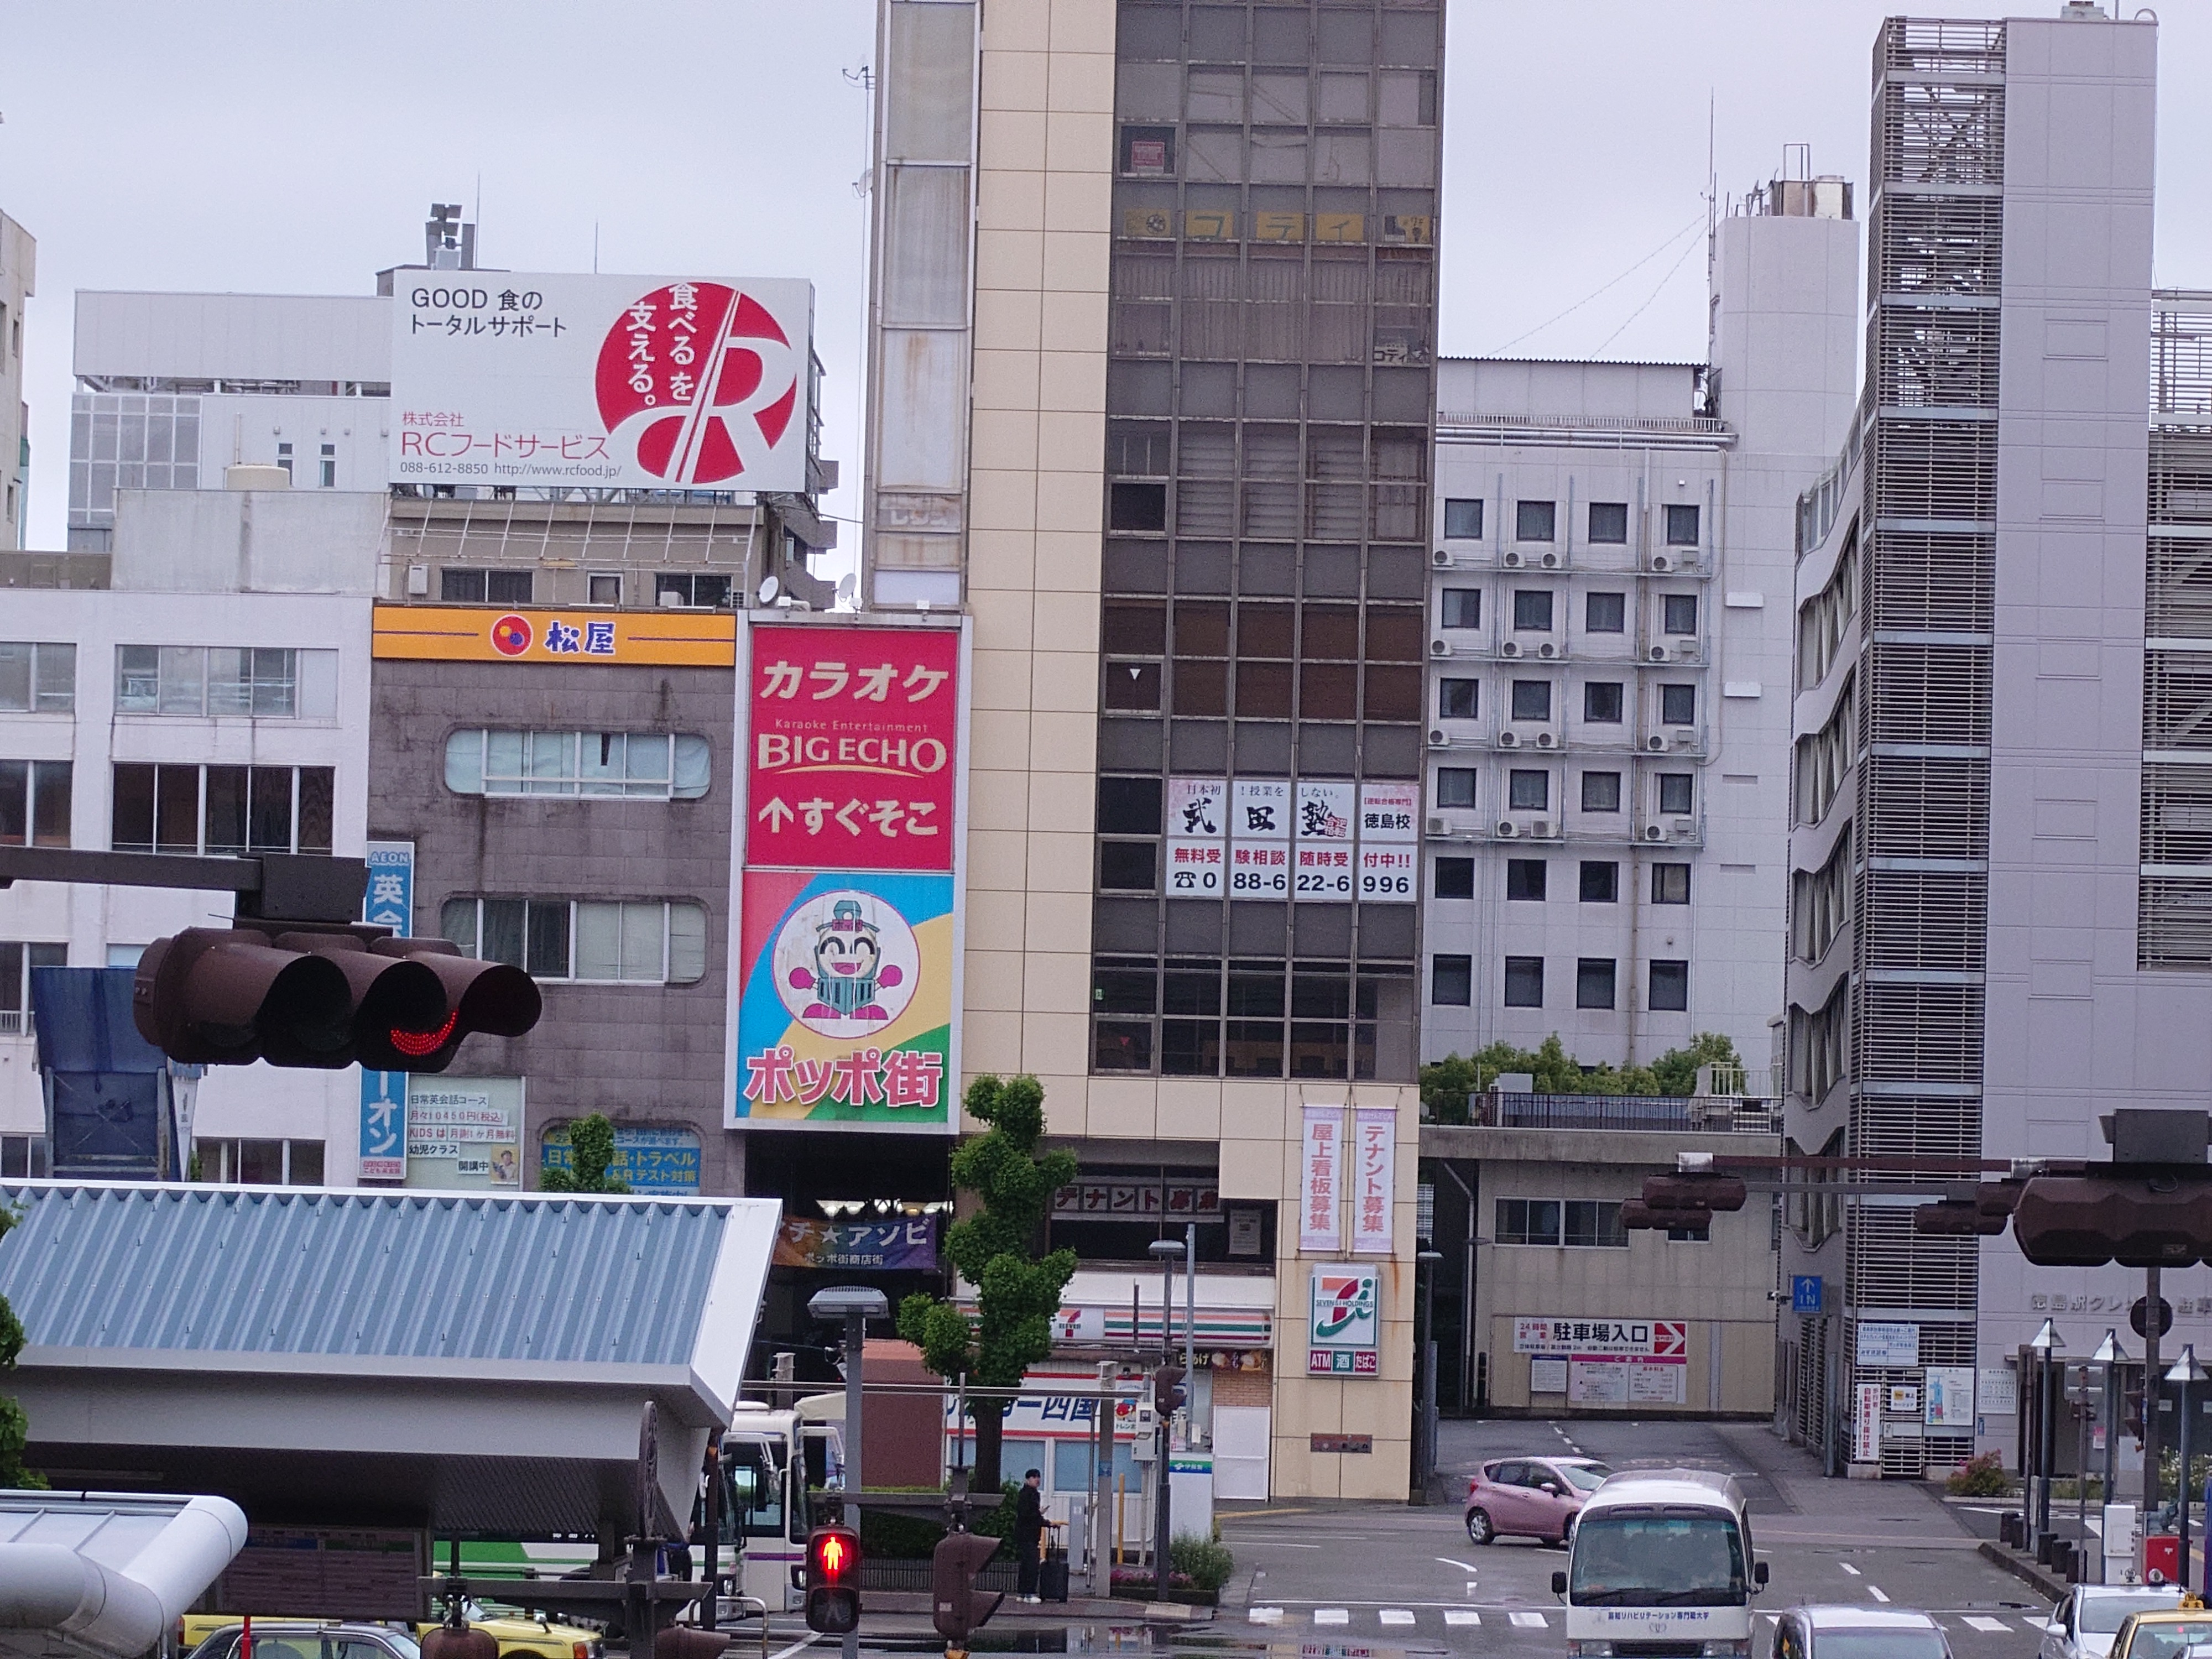
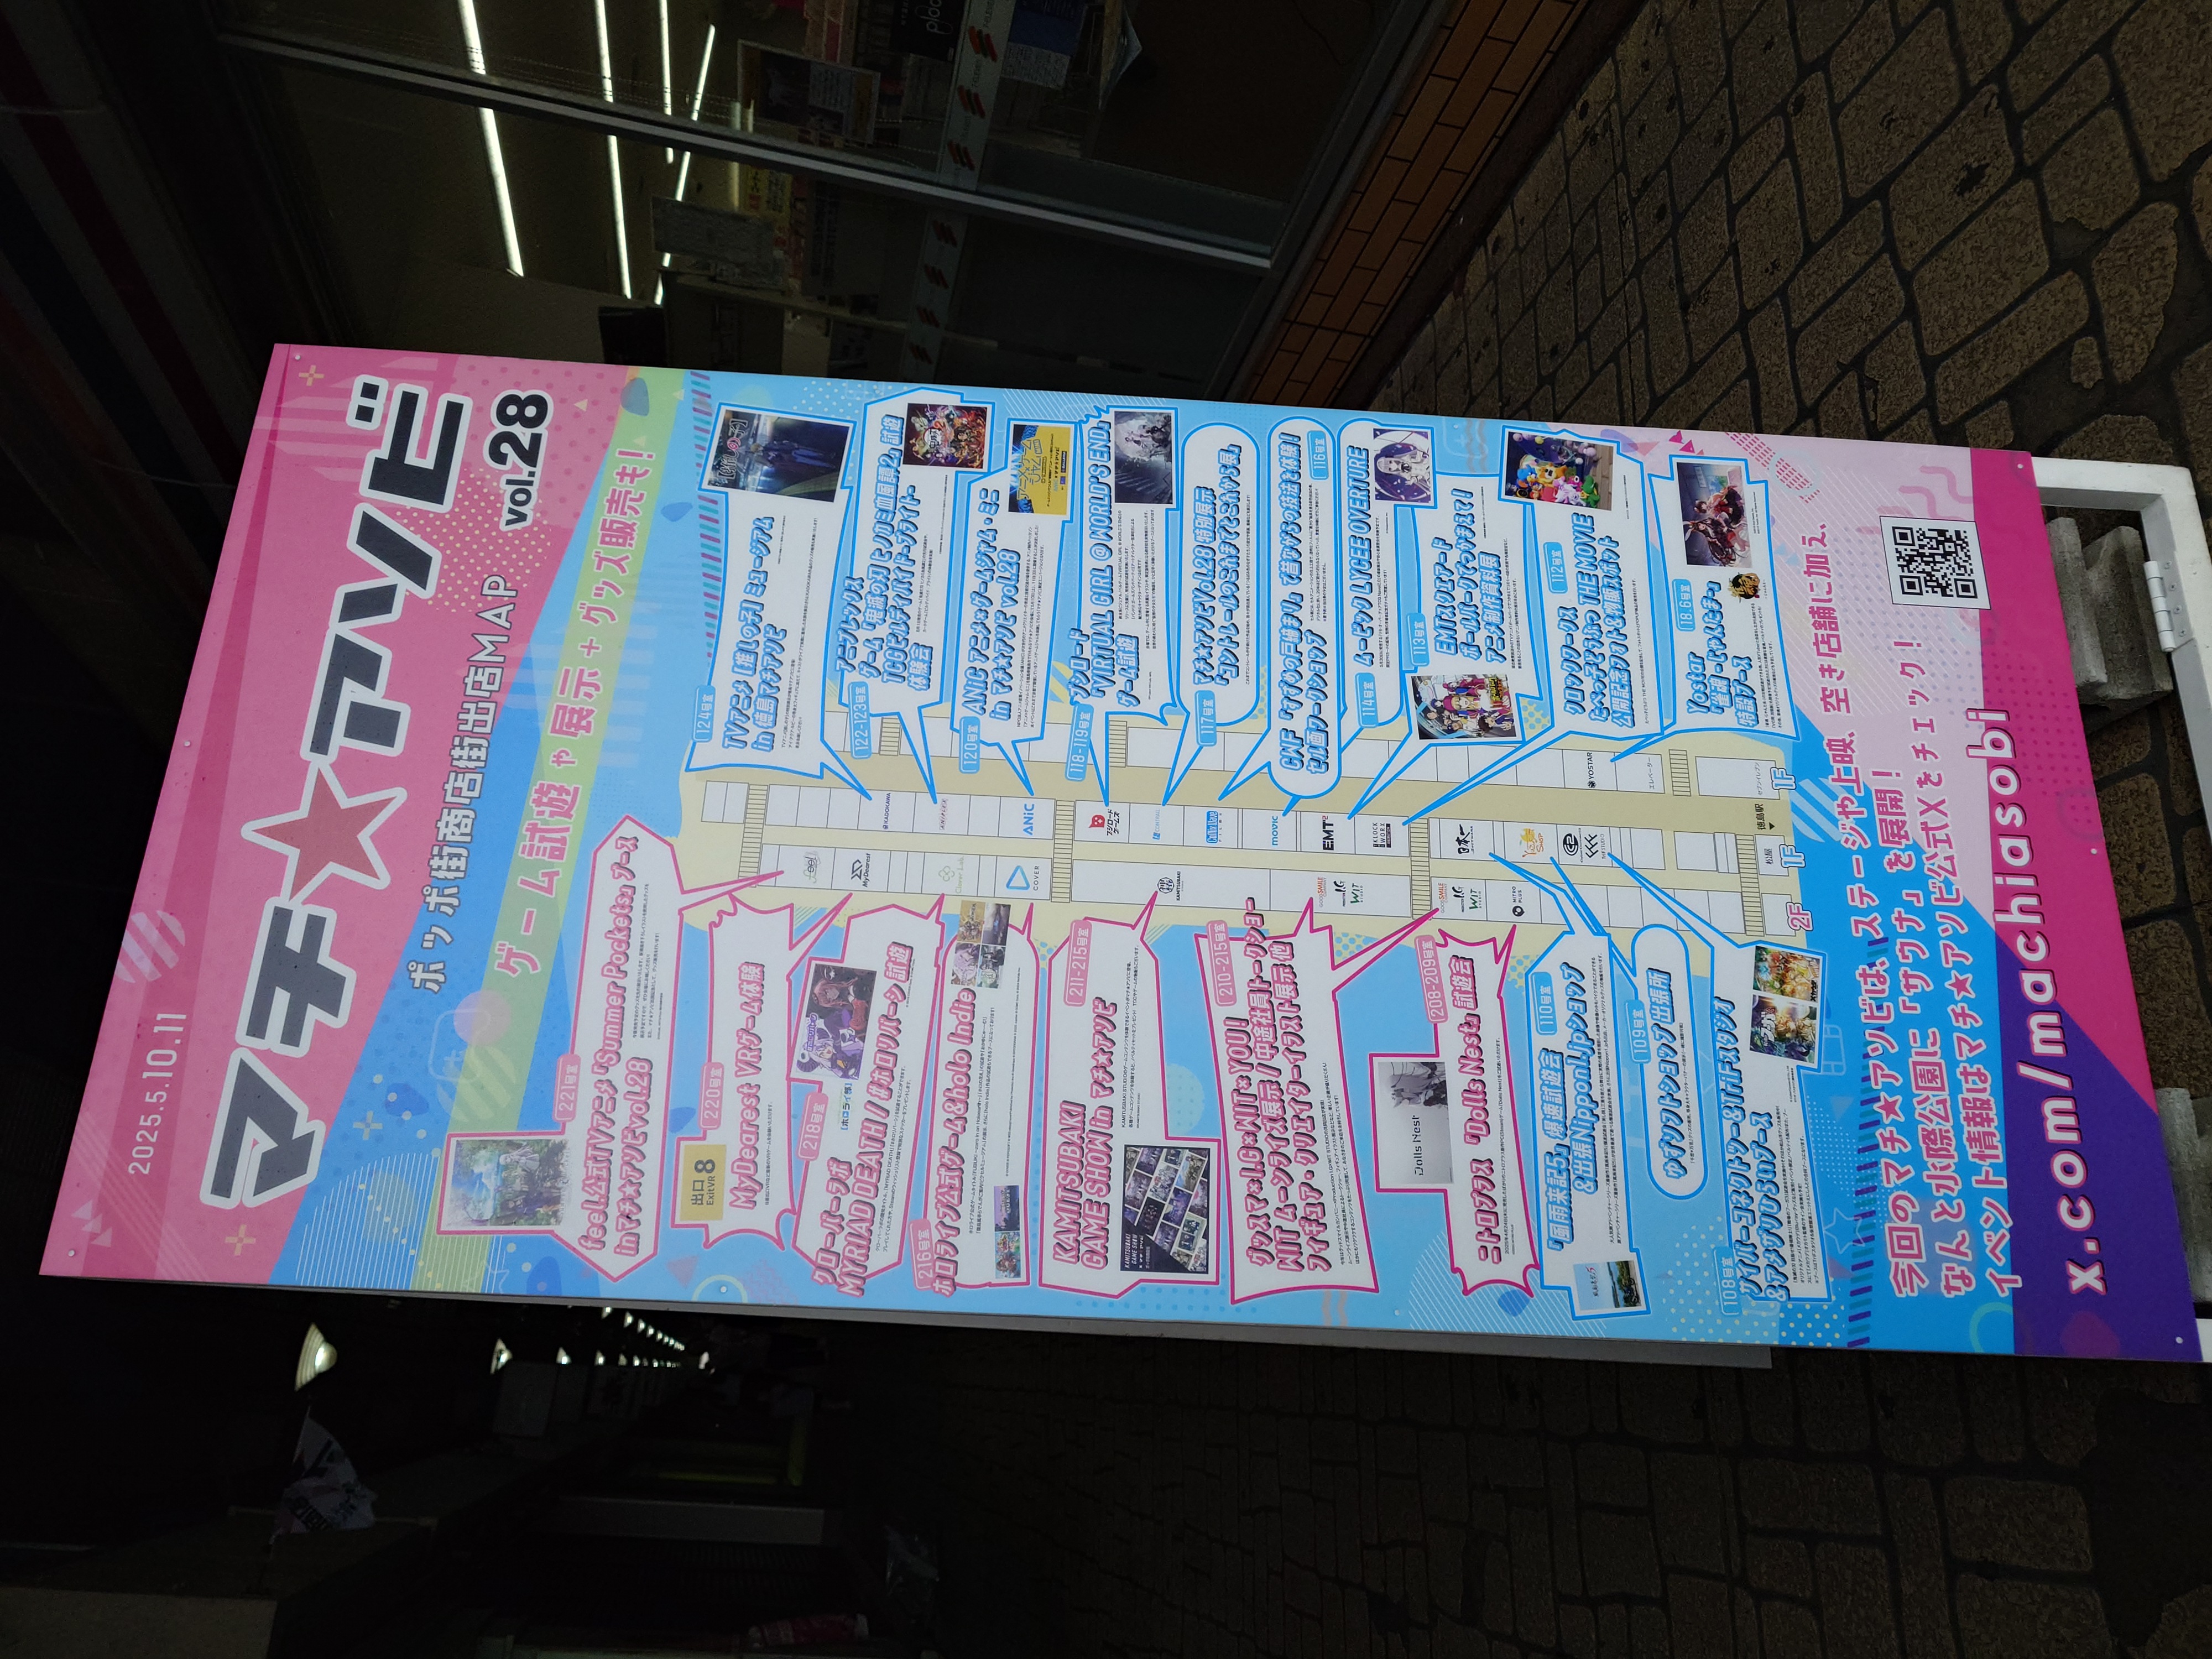
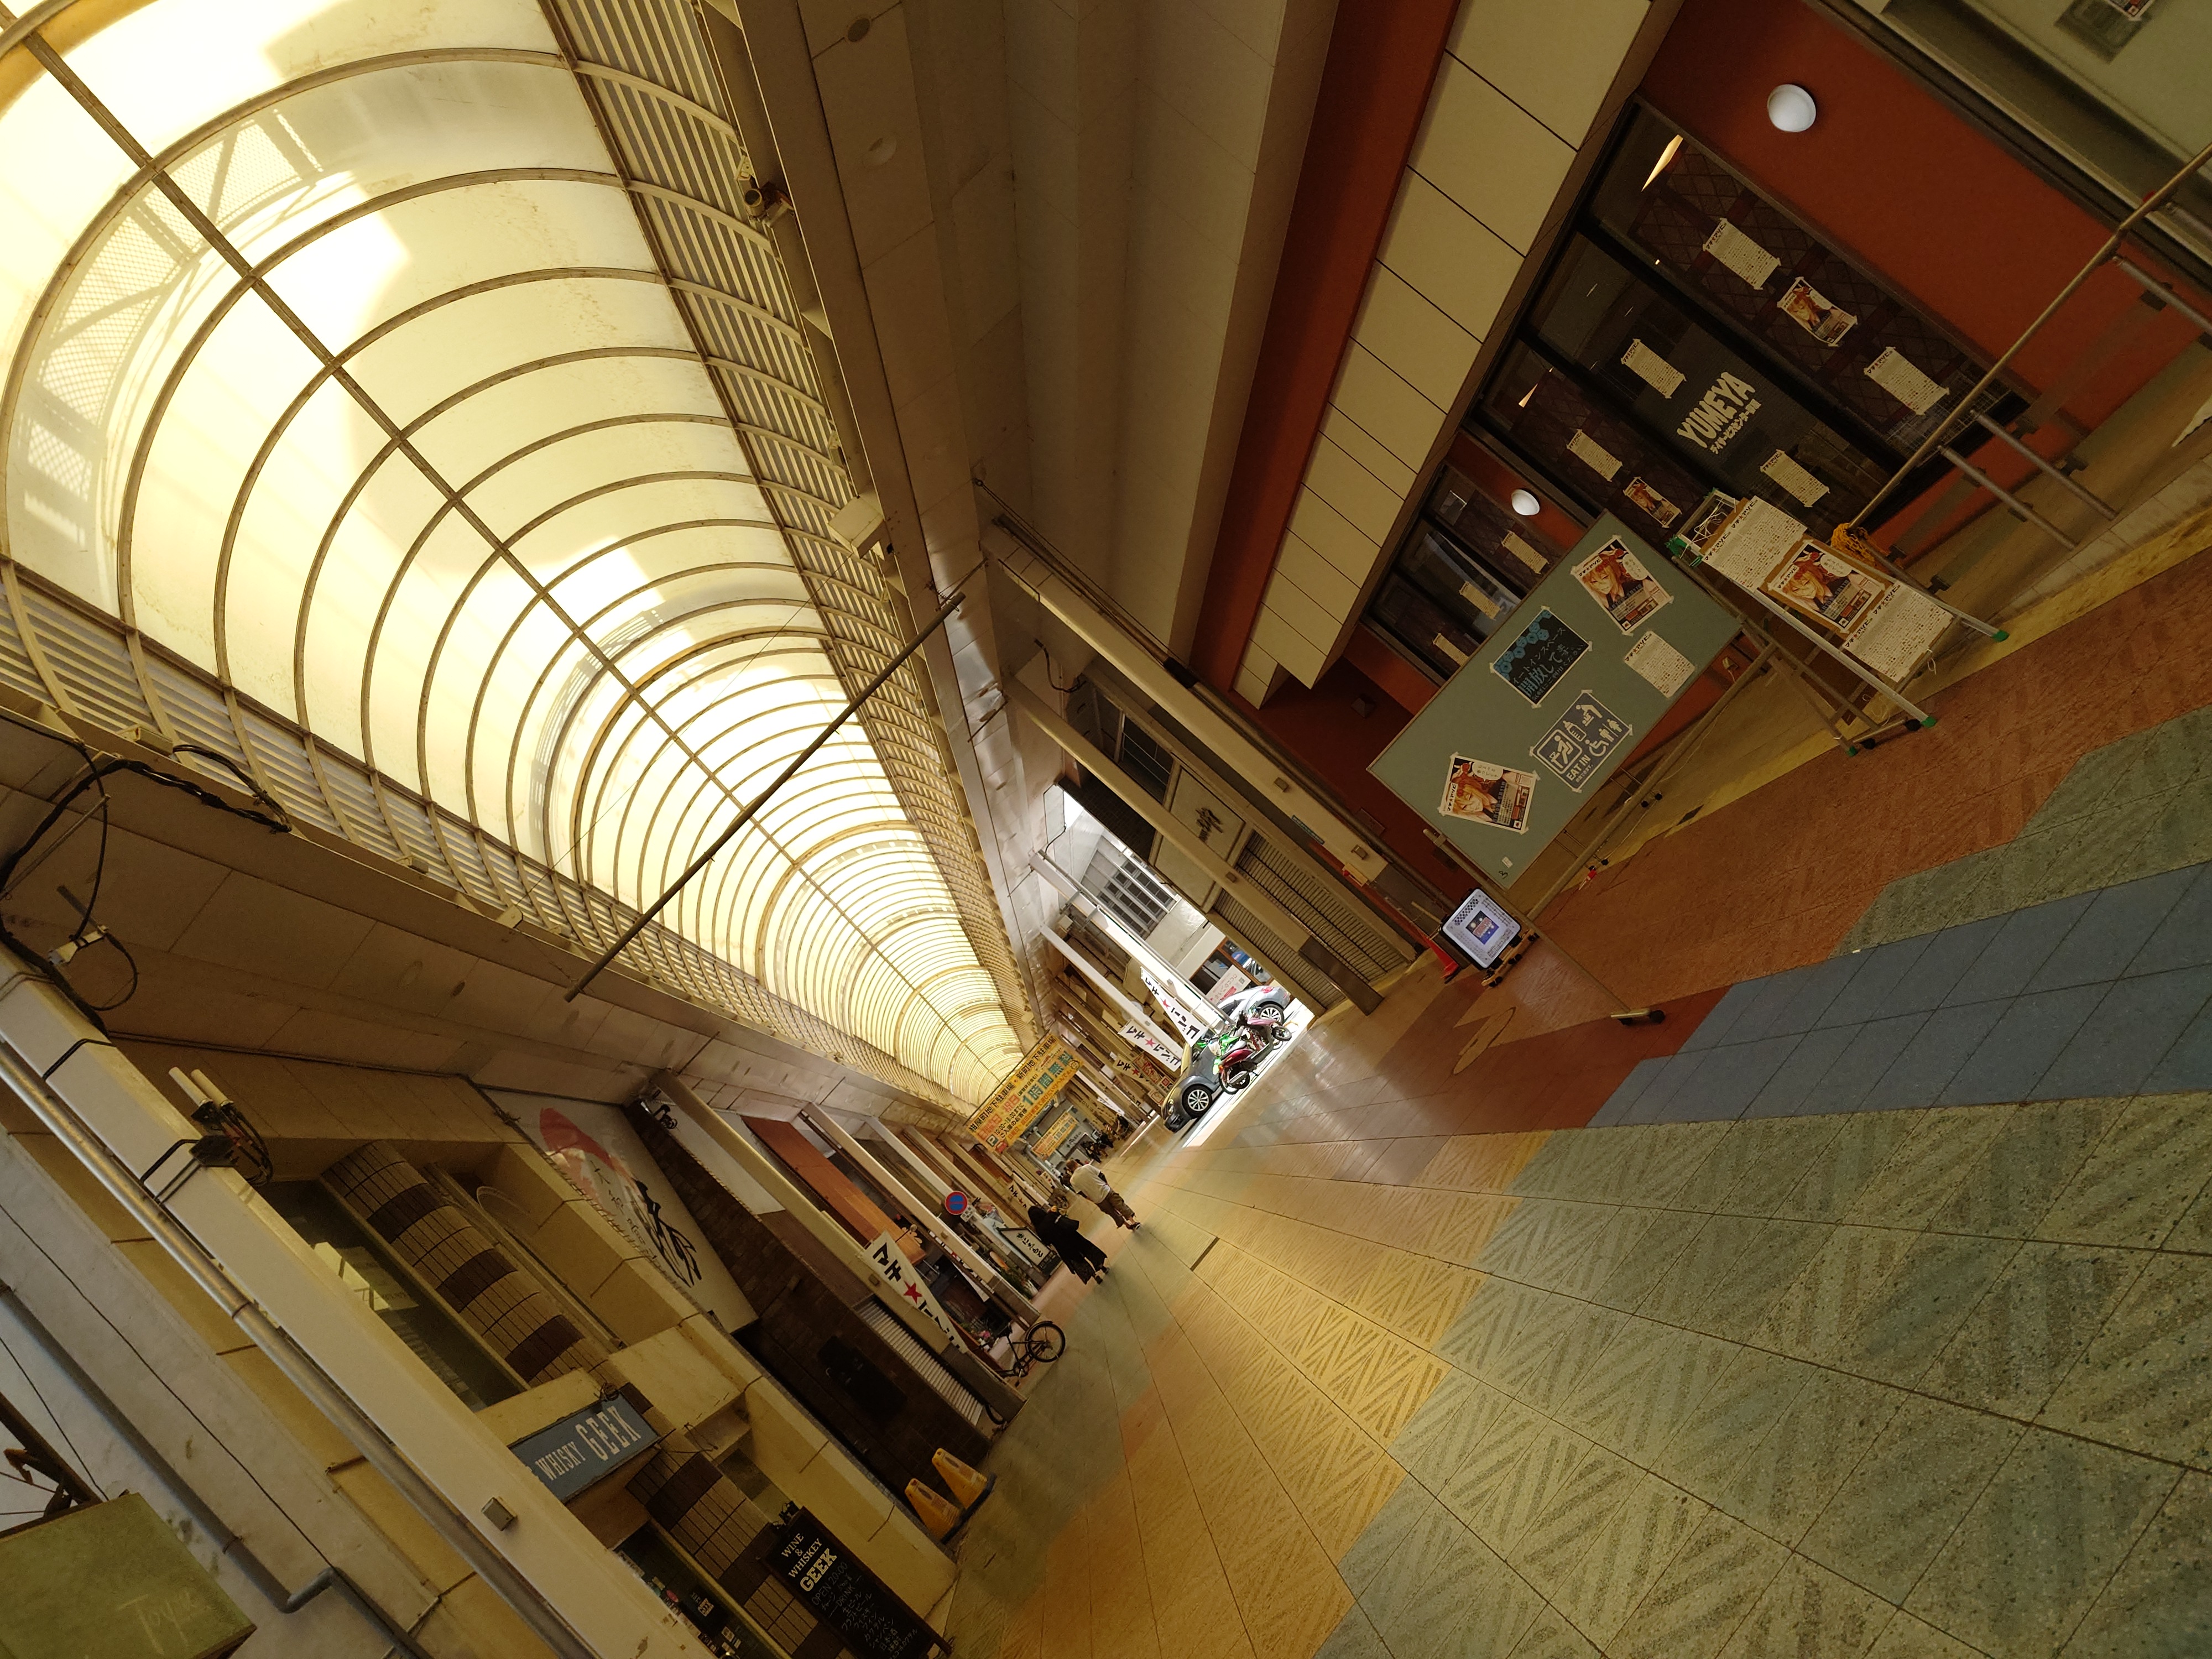
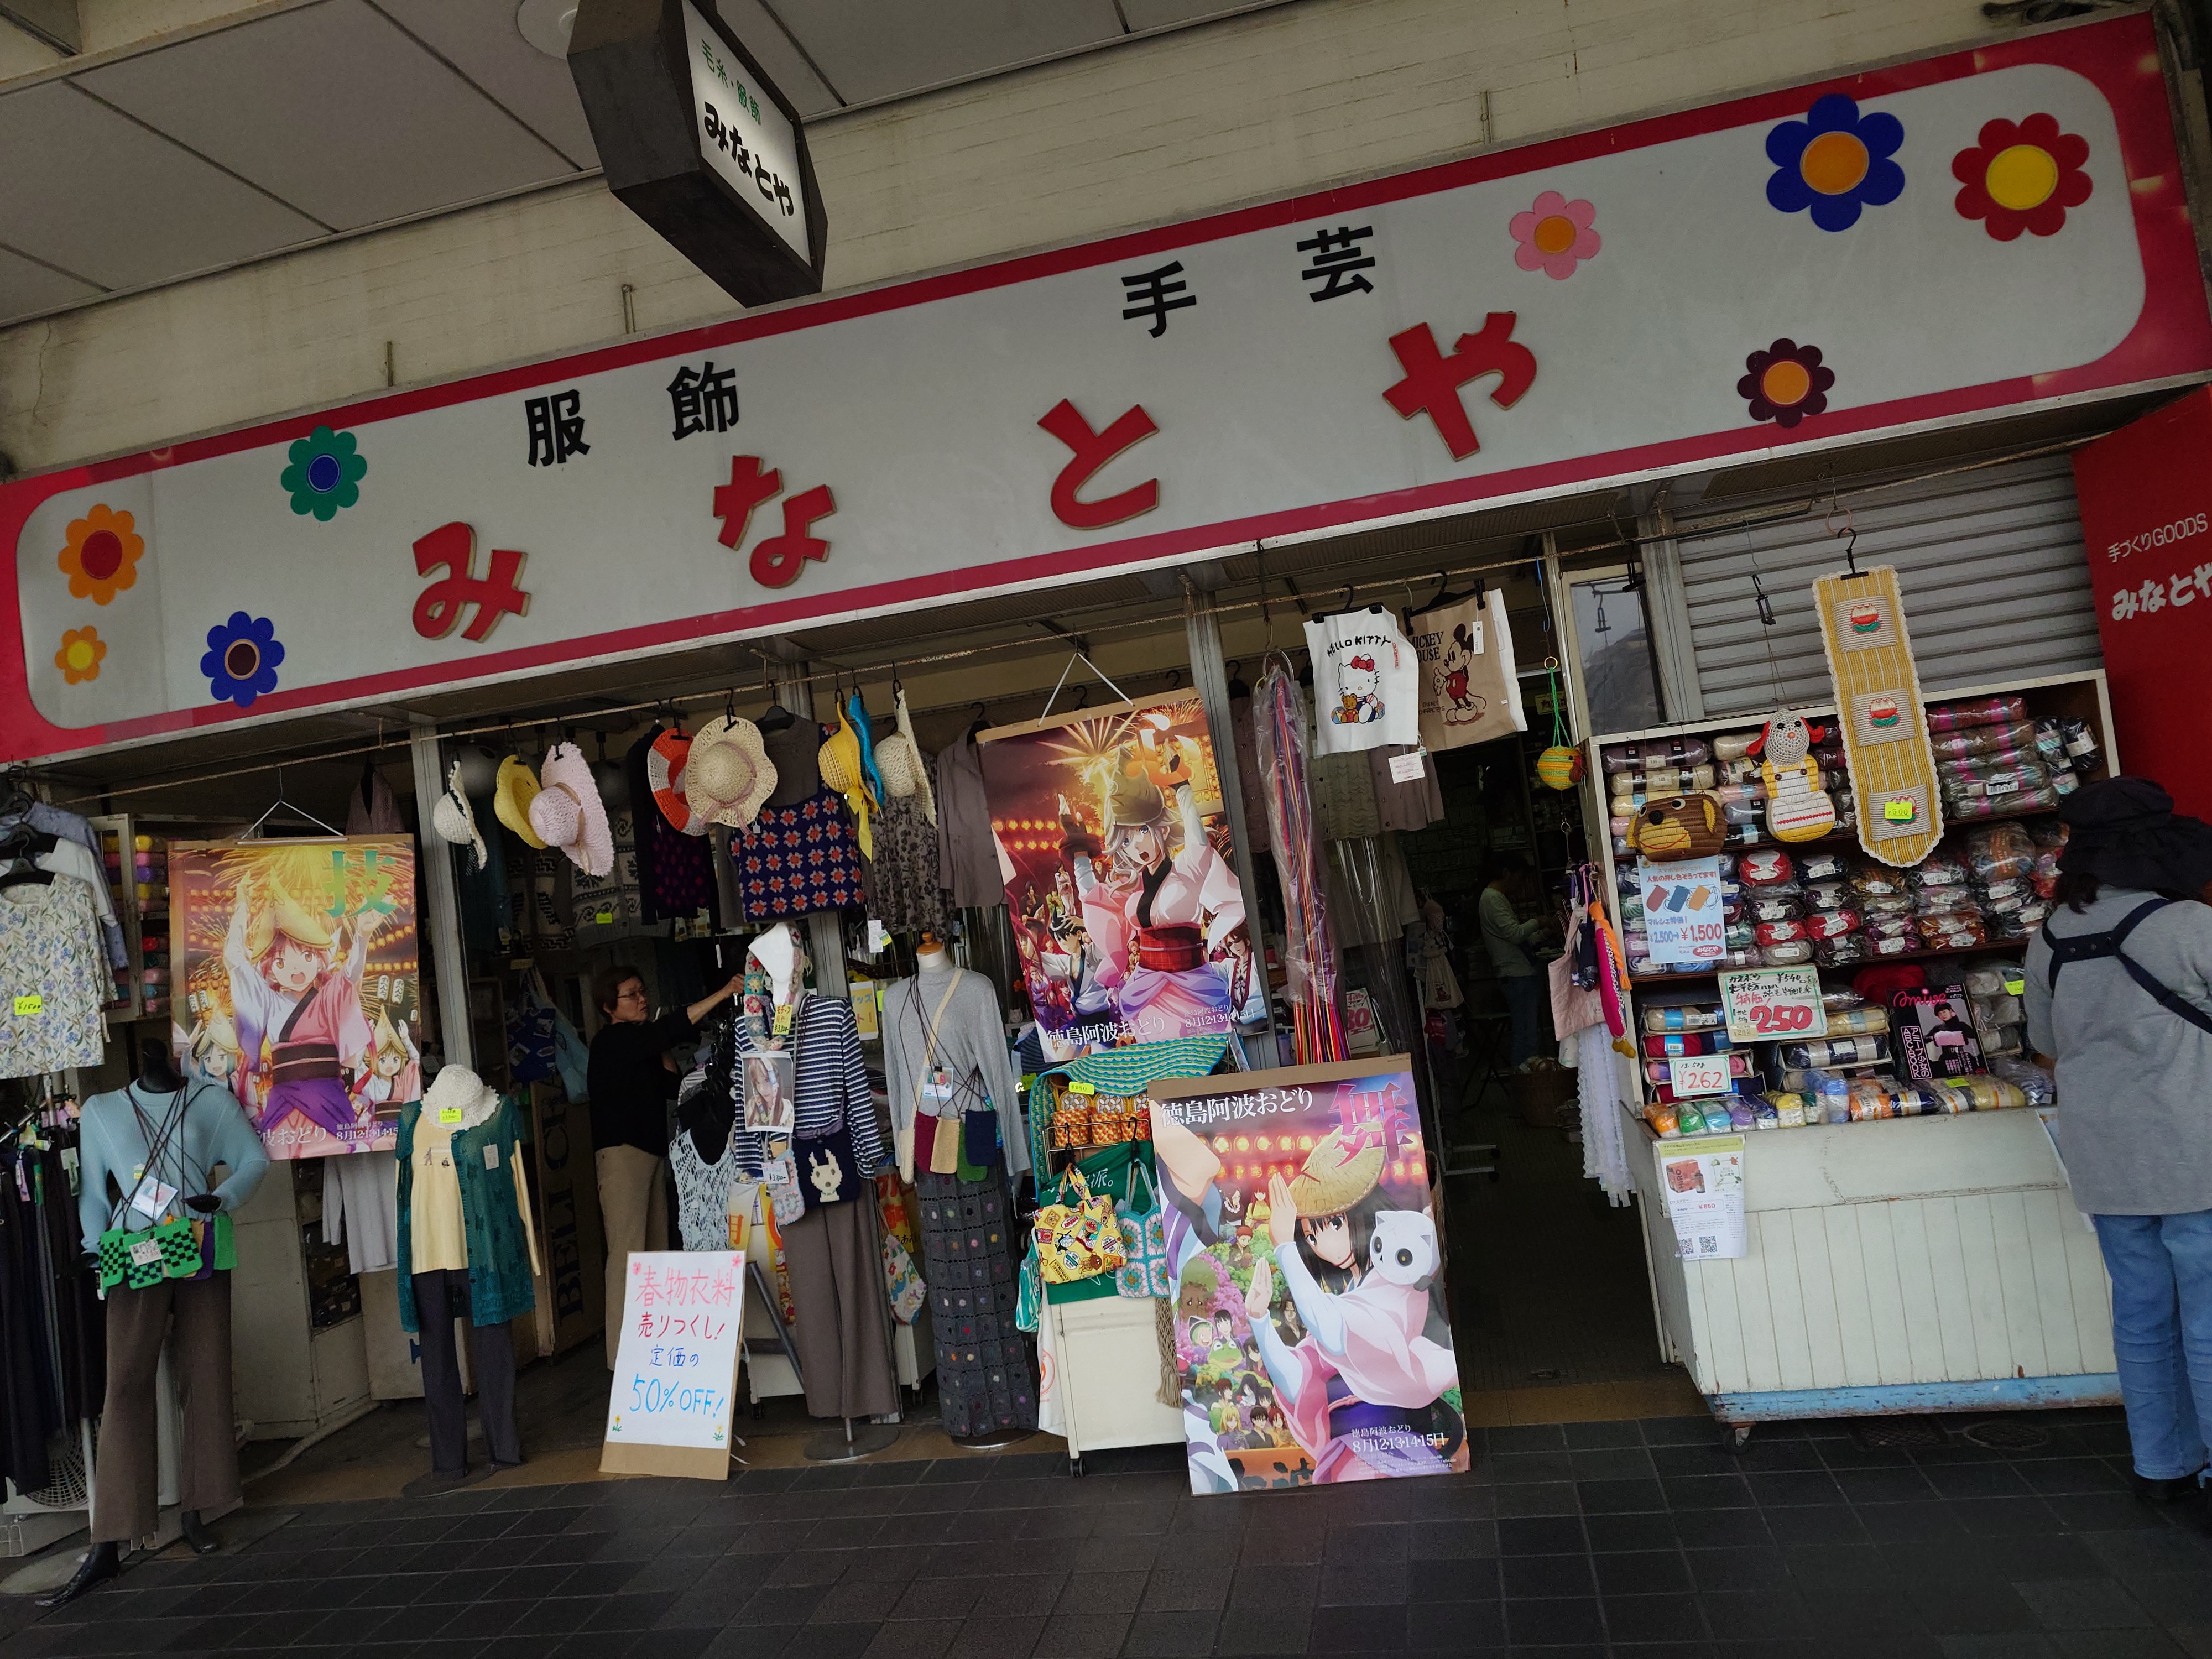
遠くを見るとポッポ街と書かれた寂れてそうなアーケードの下にマチアソビの文字が見える。ここはゆずソフトなどが出店する区間だ。恐らく廃商店街か何かを祭事場として利用しているのだろうと私は考えた。
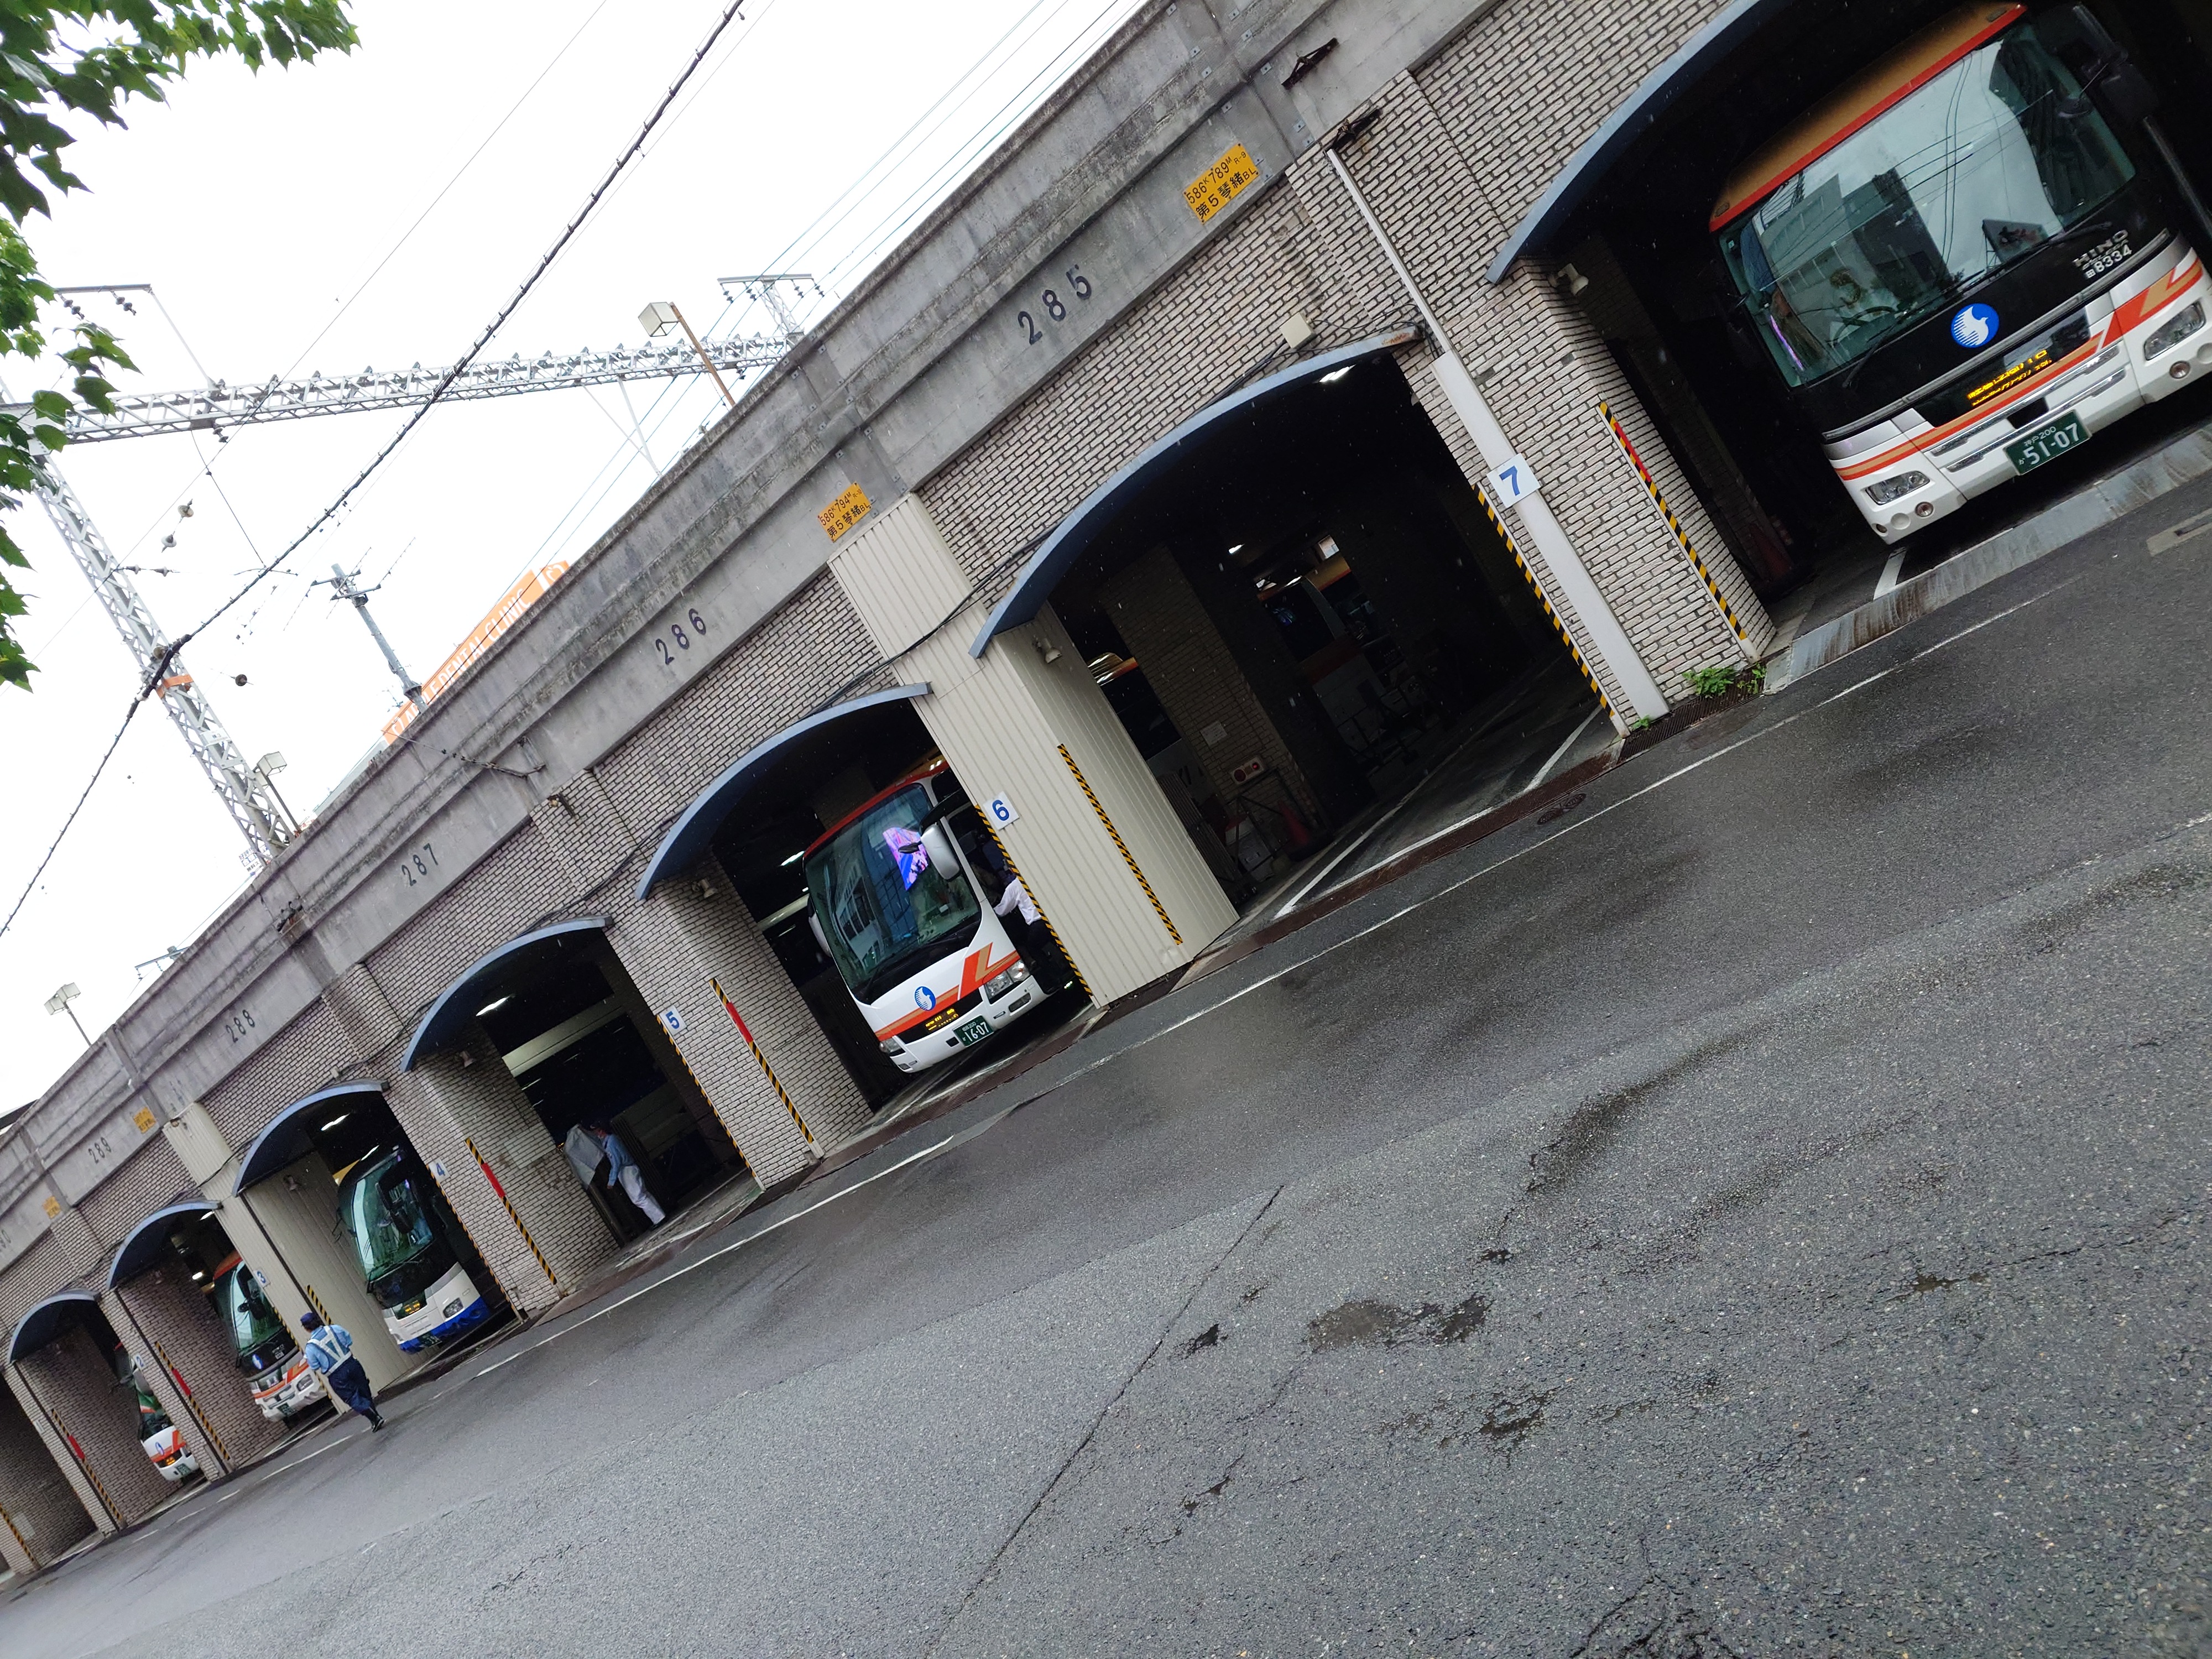
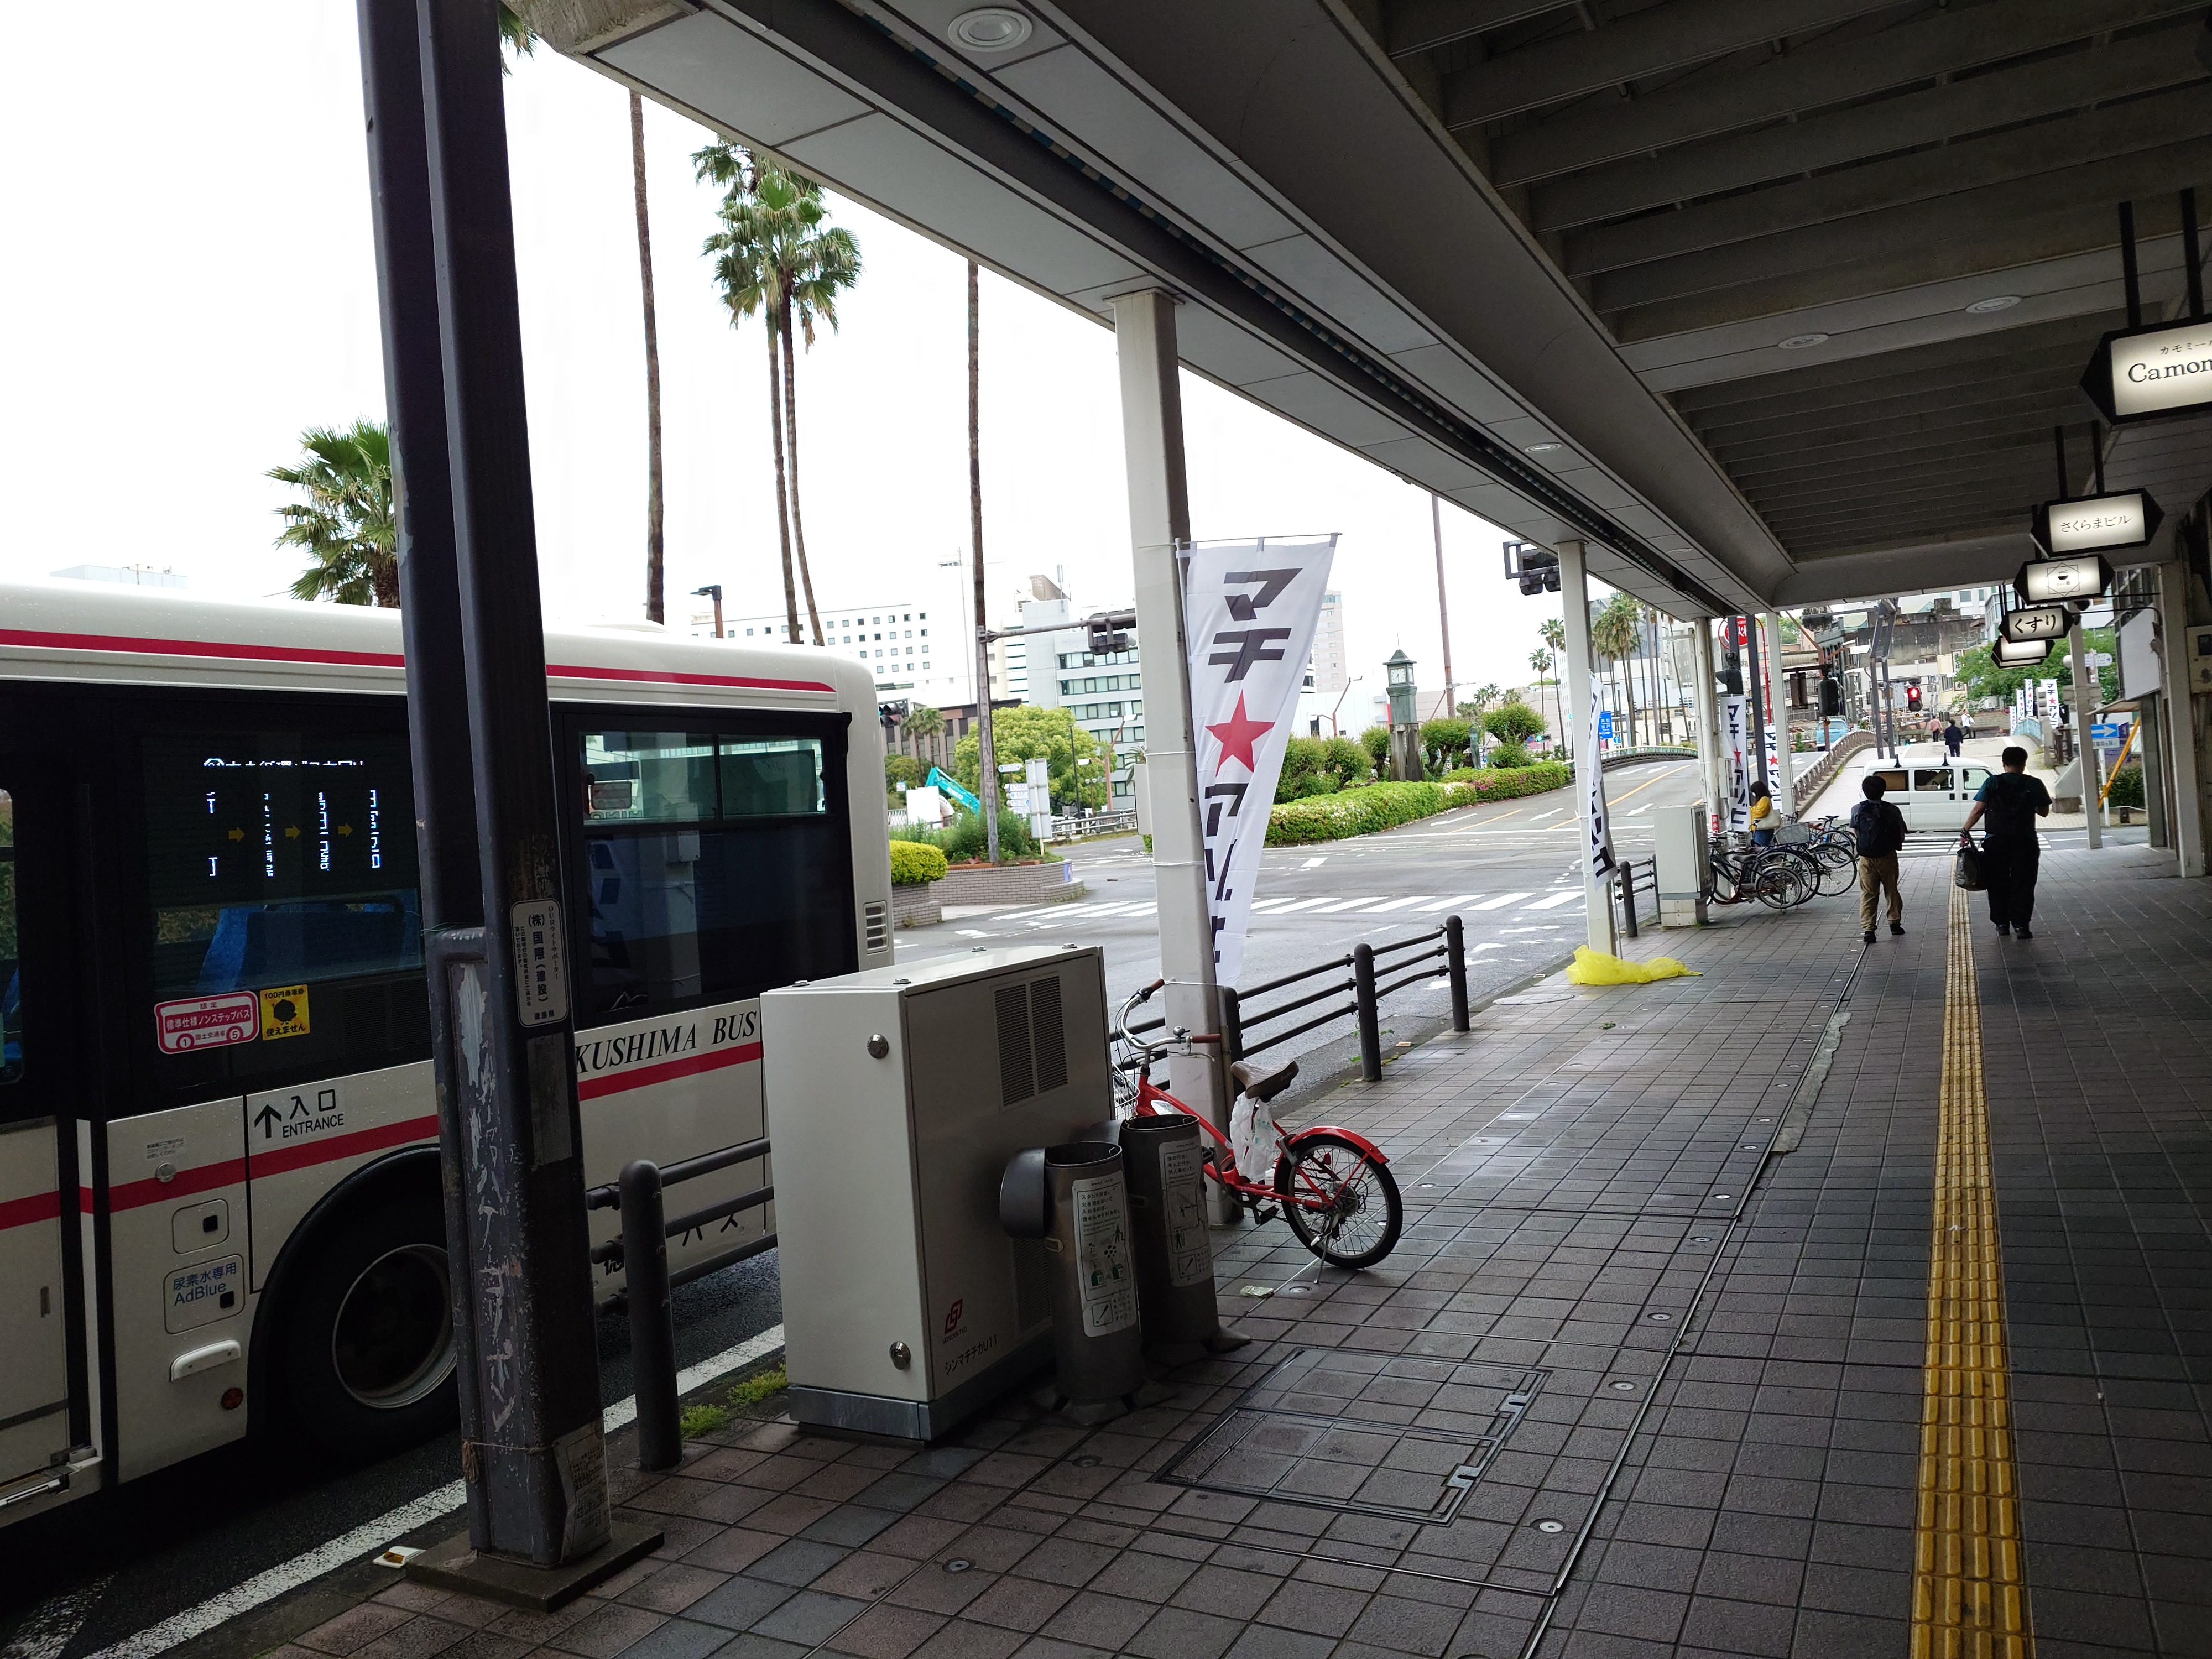
メイクアガールの鑑賞整理券の配布場に向かうべくバス乗り場へ
私はメイクアガールの鑑賞整理券をもらいにufotable CINEMAに行くべくバス乗り場へ移動した。徒歩18分だがバスだと3分らしかったので。ぶっちゃけGoogle Mapsの大噓だった。
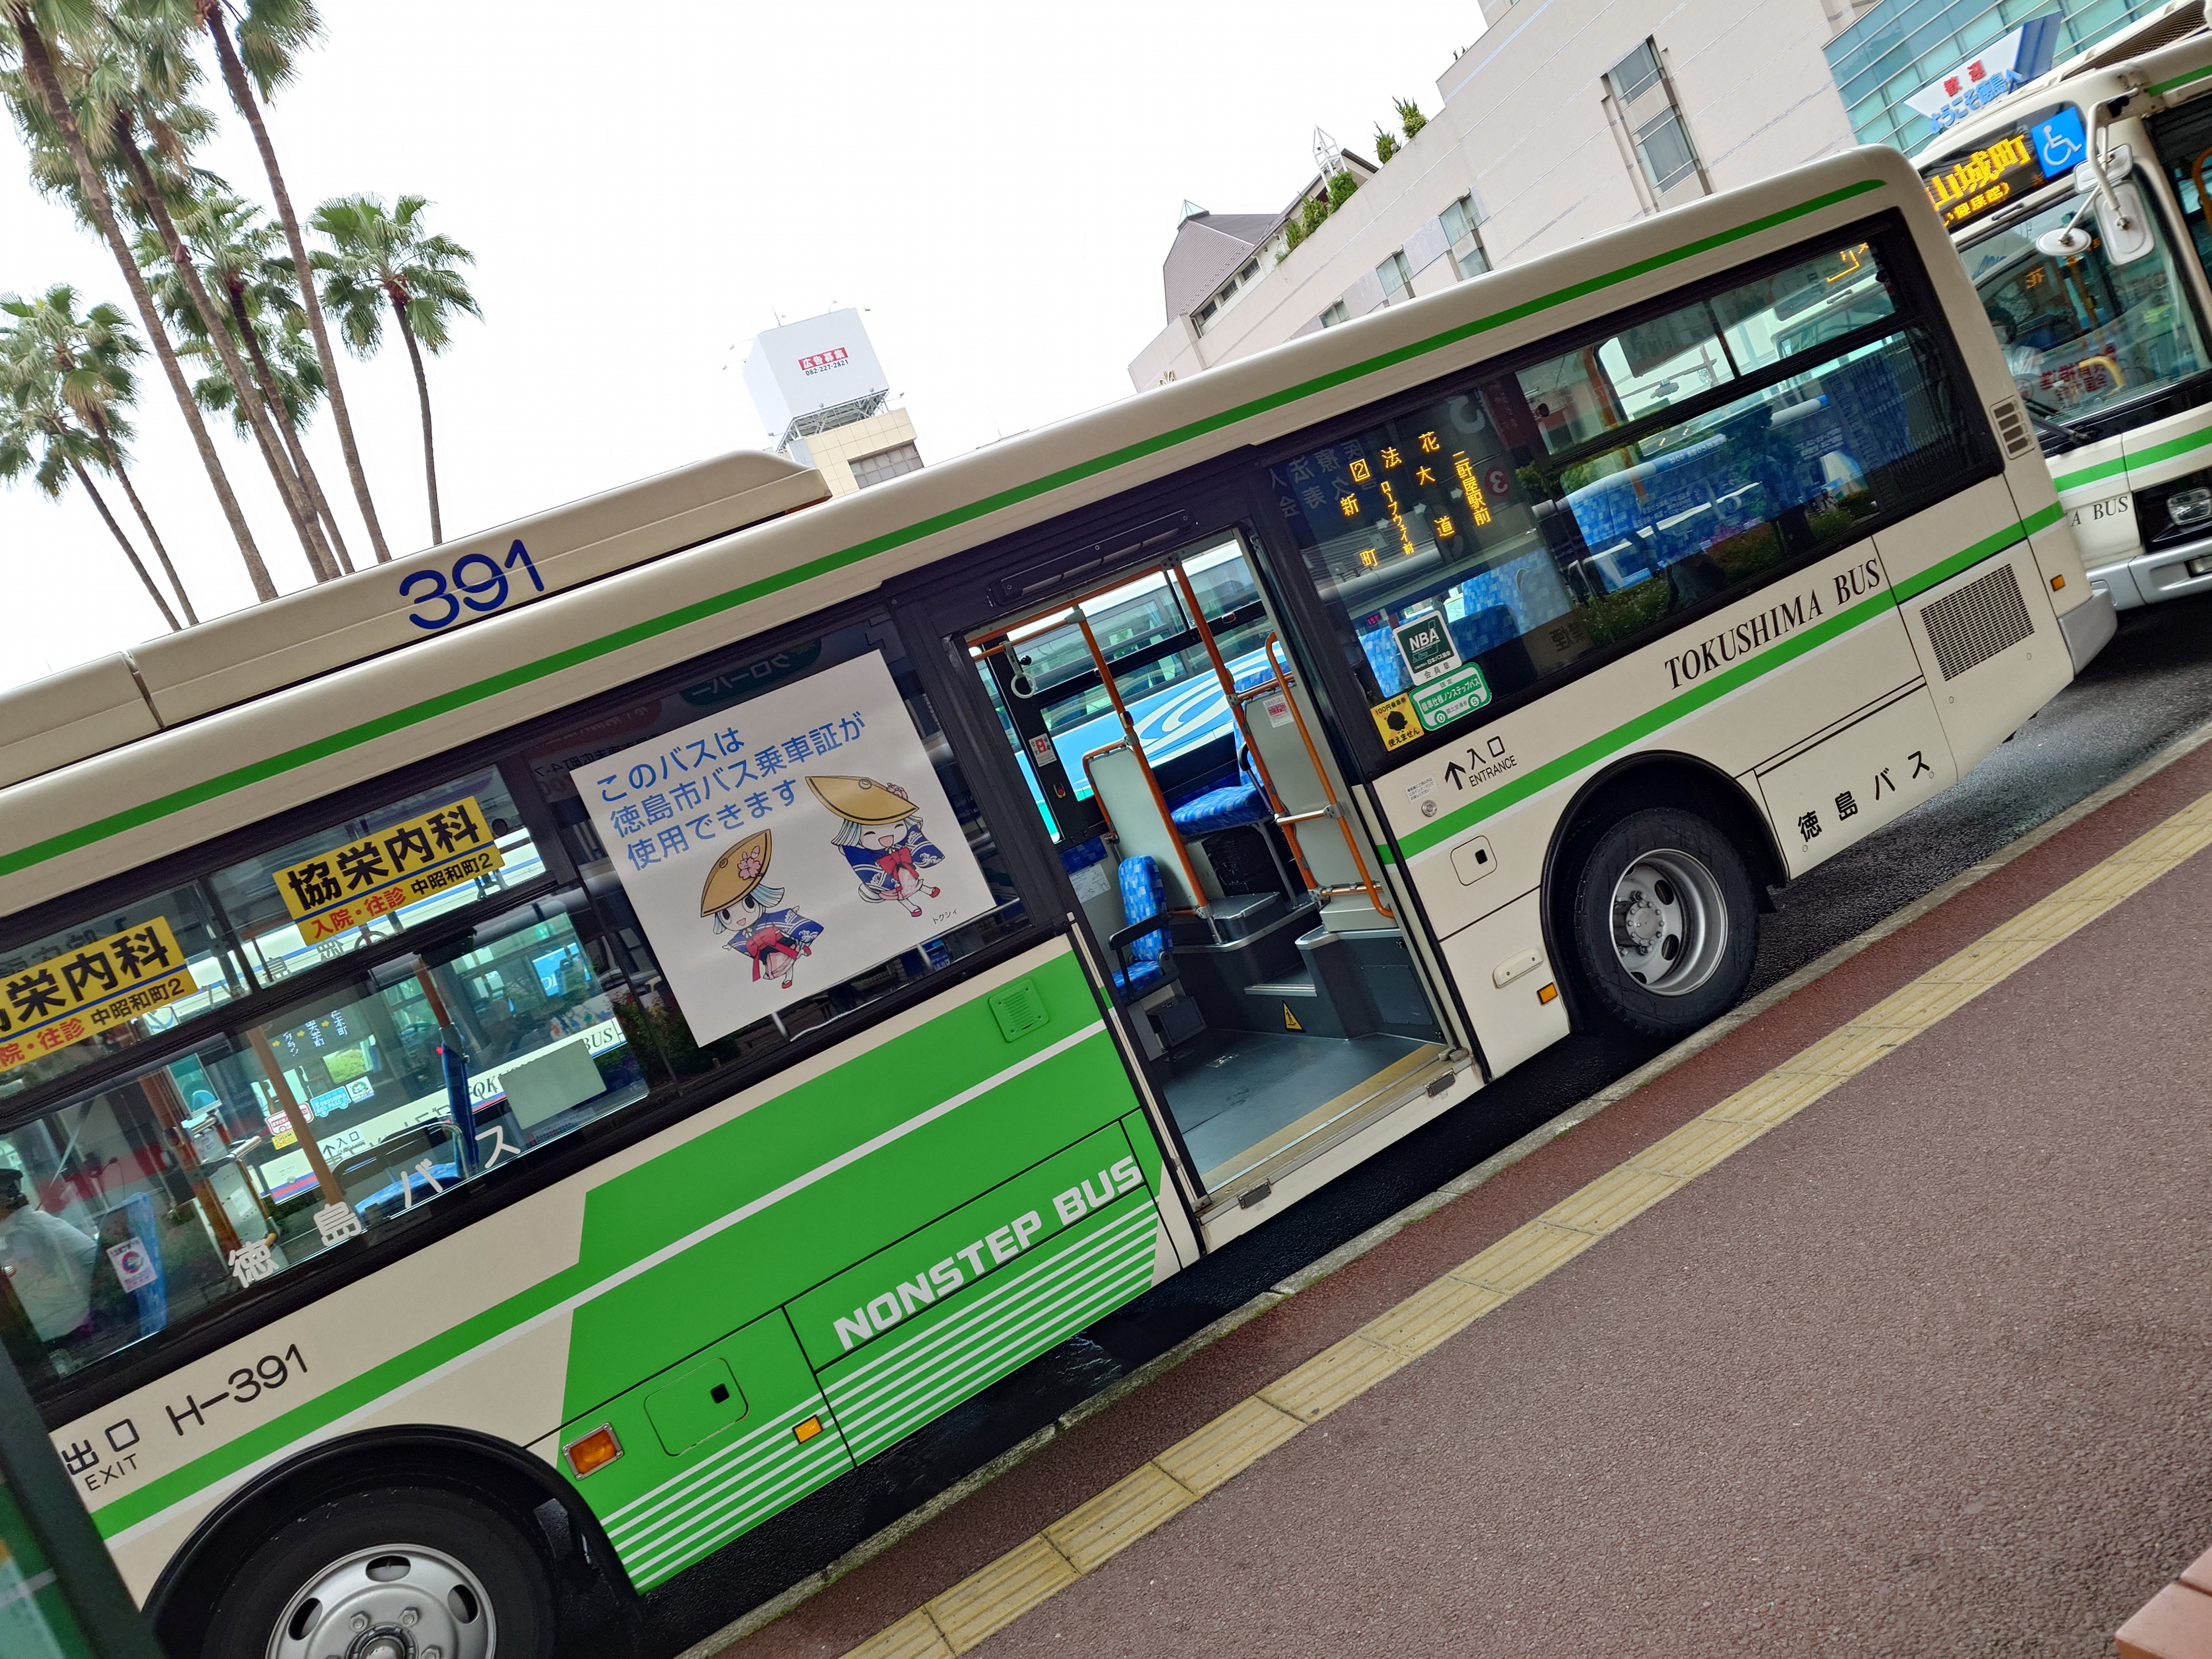

行き交うバスにはトクシィという可愛らしいキャラクターが描かれていた。アニメで町おこしをする徳島らしいキャラだ。
後で知ったのだがトクシィマンホールもあるらしいので次回行ったときにはぜひチェックしたい。
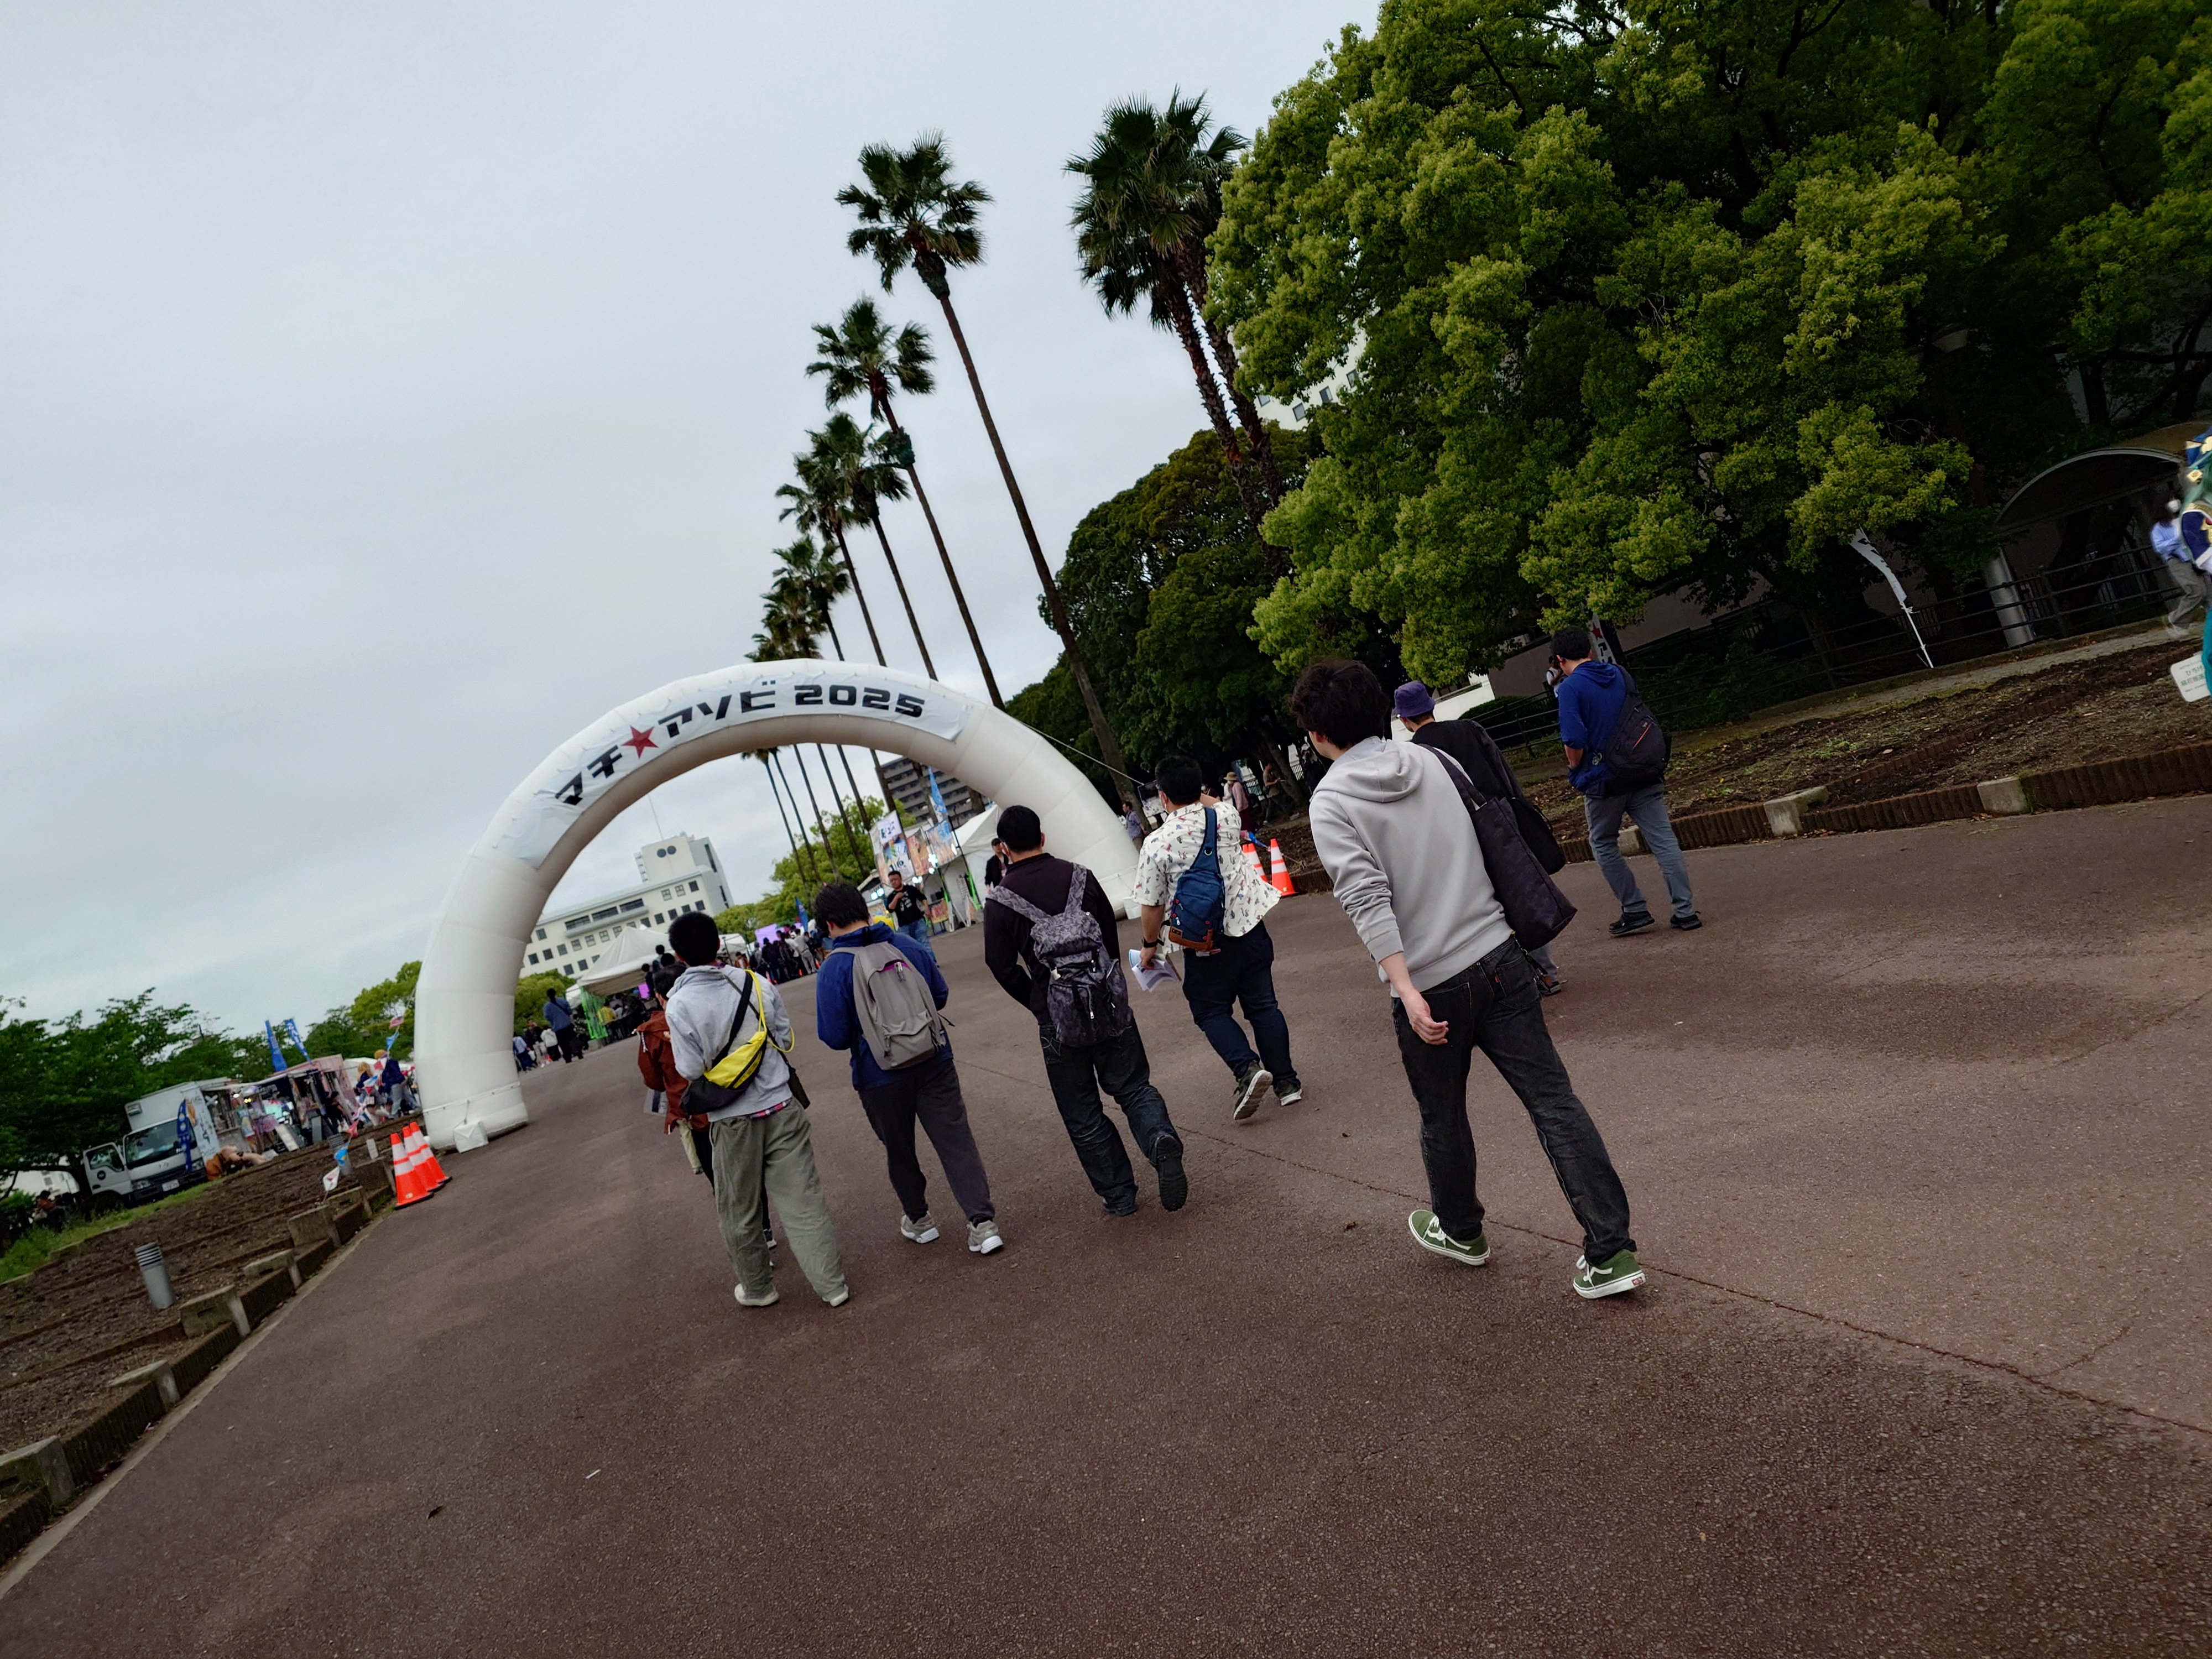
バスはやたらヤシの木が茂る道を進み、マチアソビカラーの強い場所に出た。
予想通りそこまで人はいなかった。これならメイクアガールの整理券は余裕でとれるだろうと、この時はまだ思っていた。
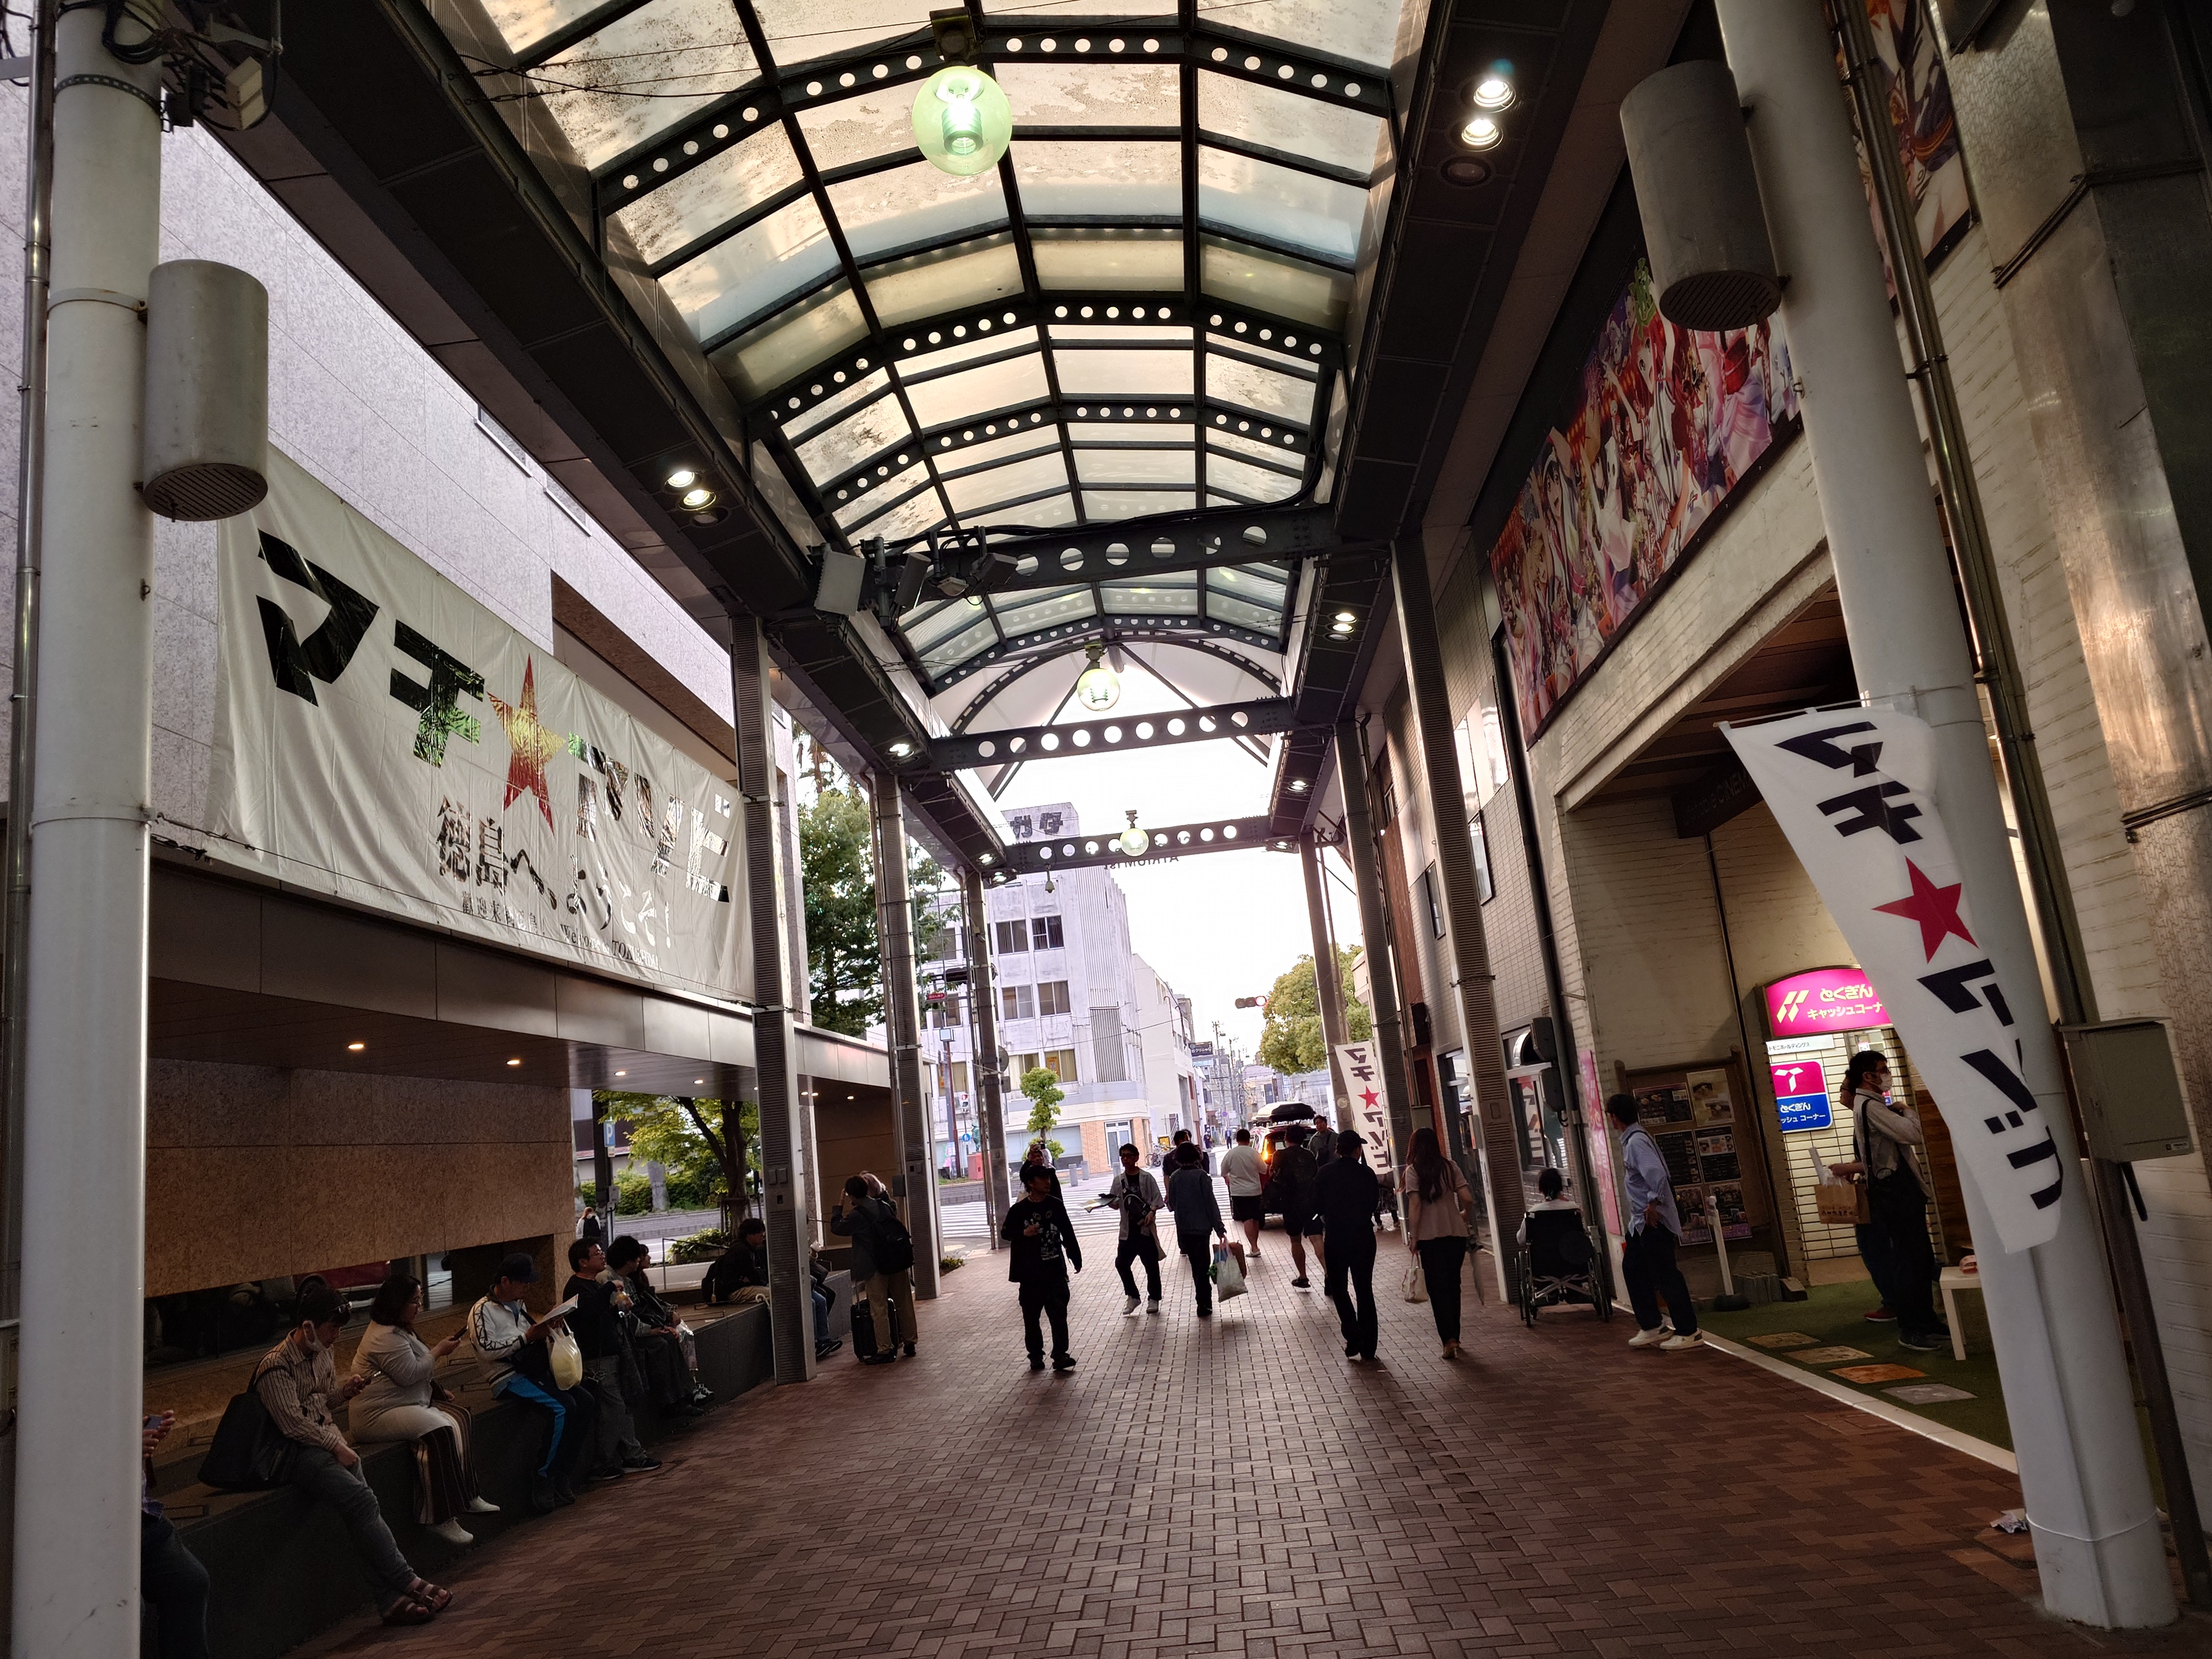
整理券をもらいにufotable CINEMAへ
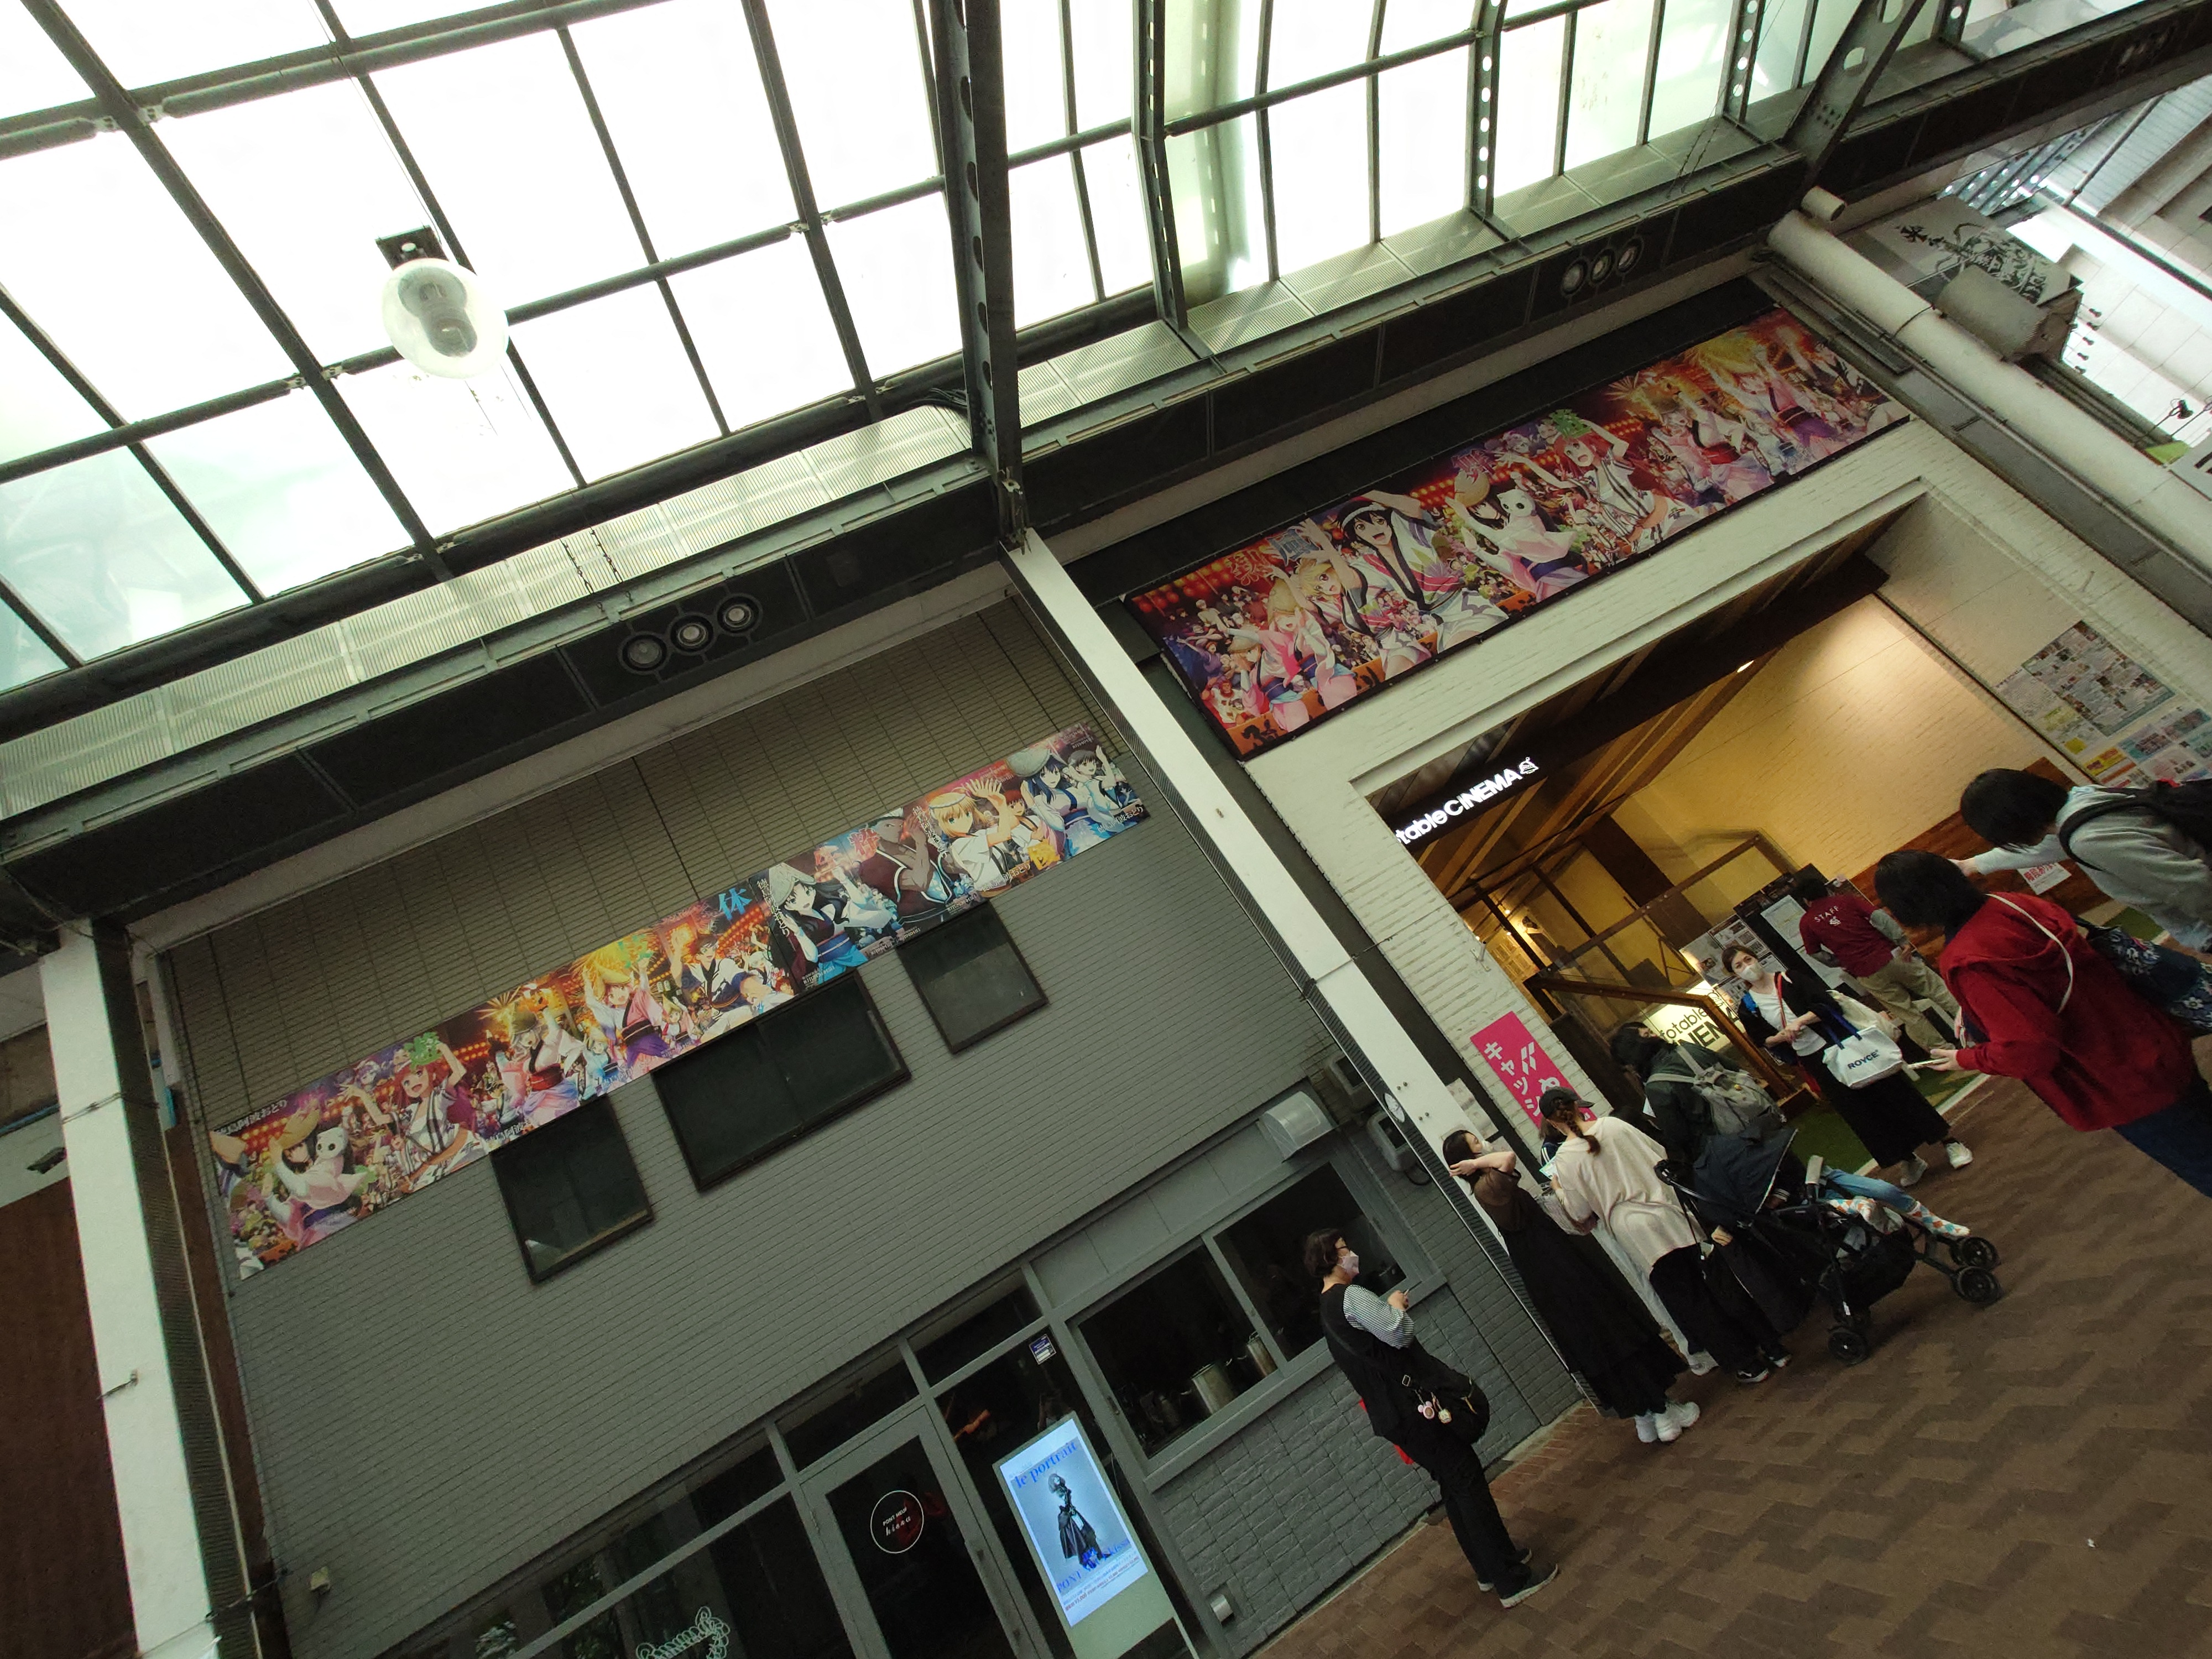
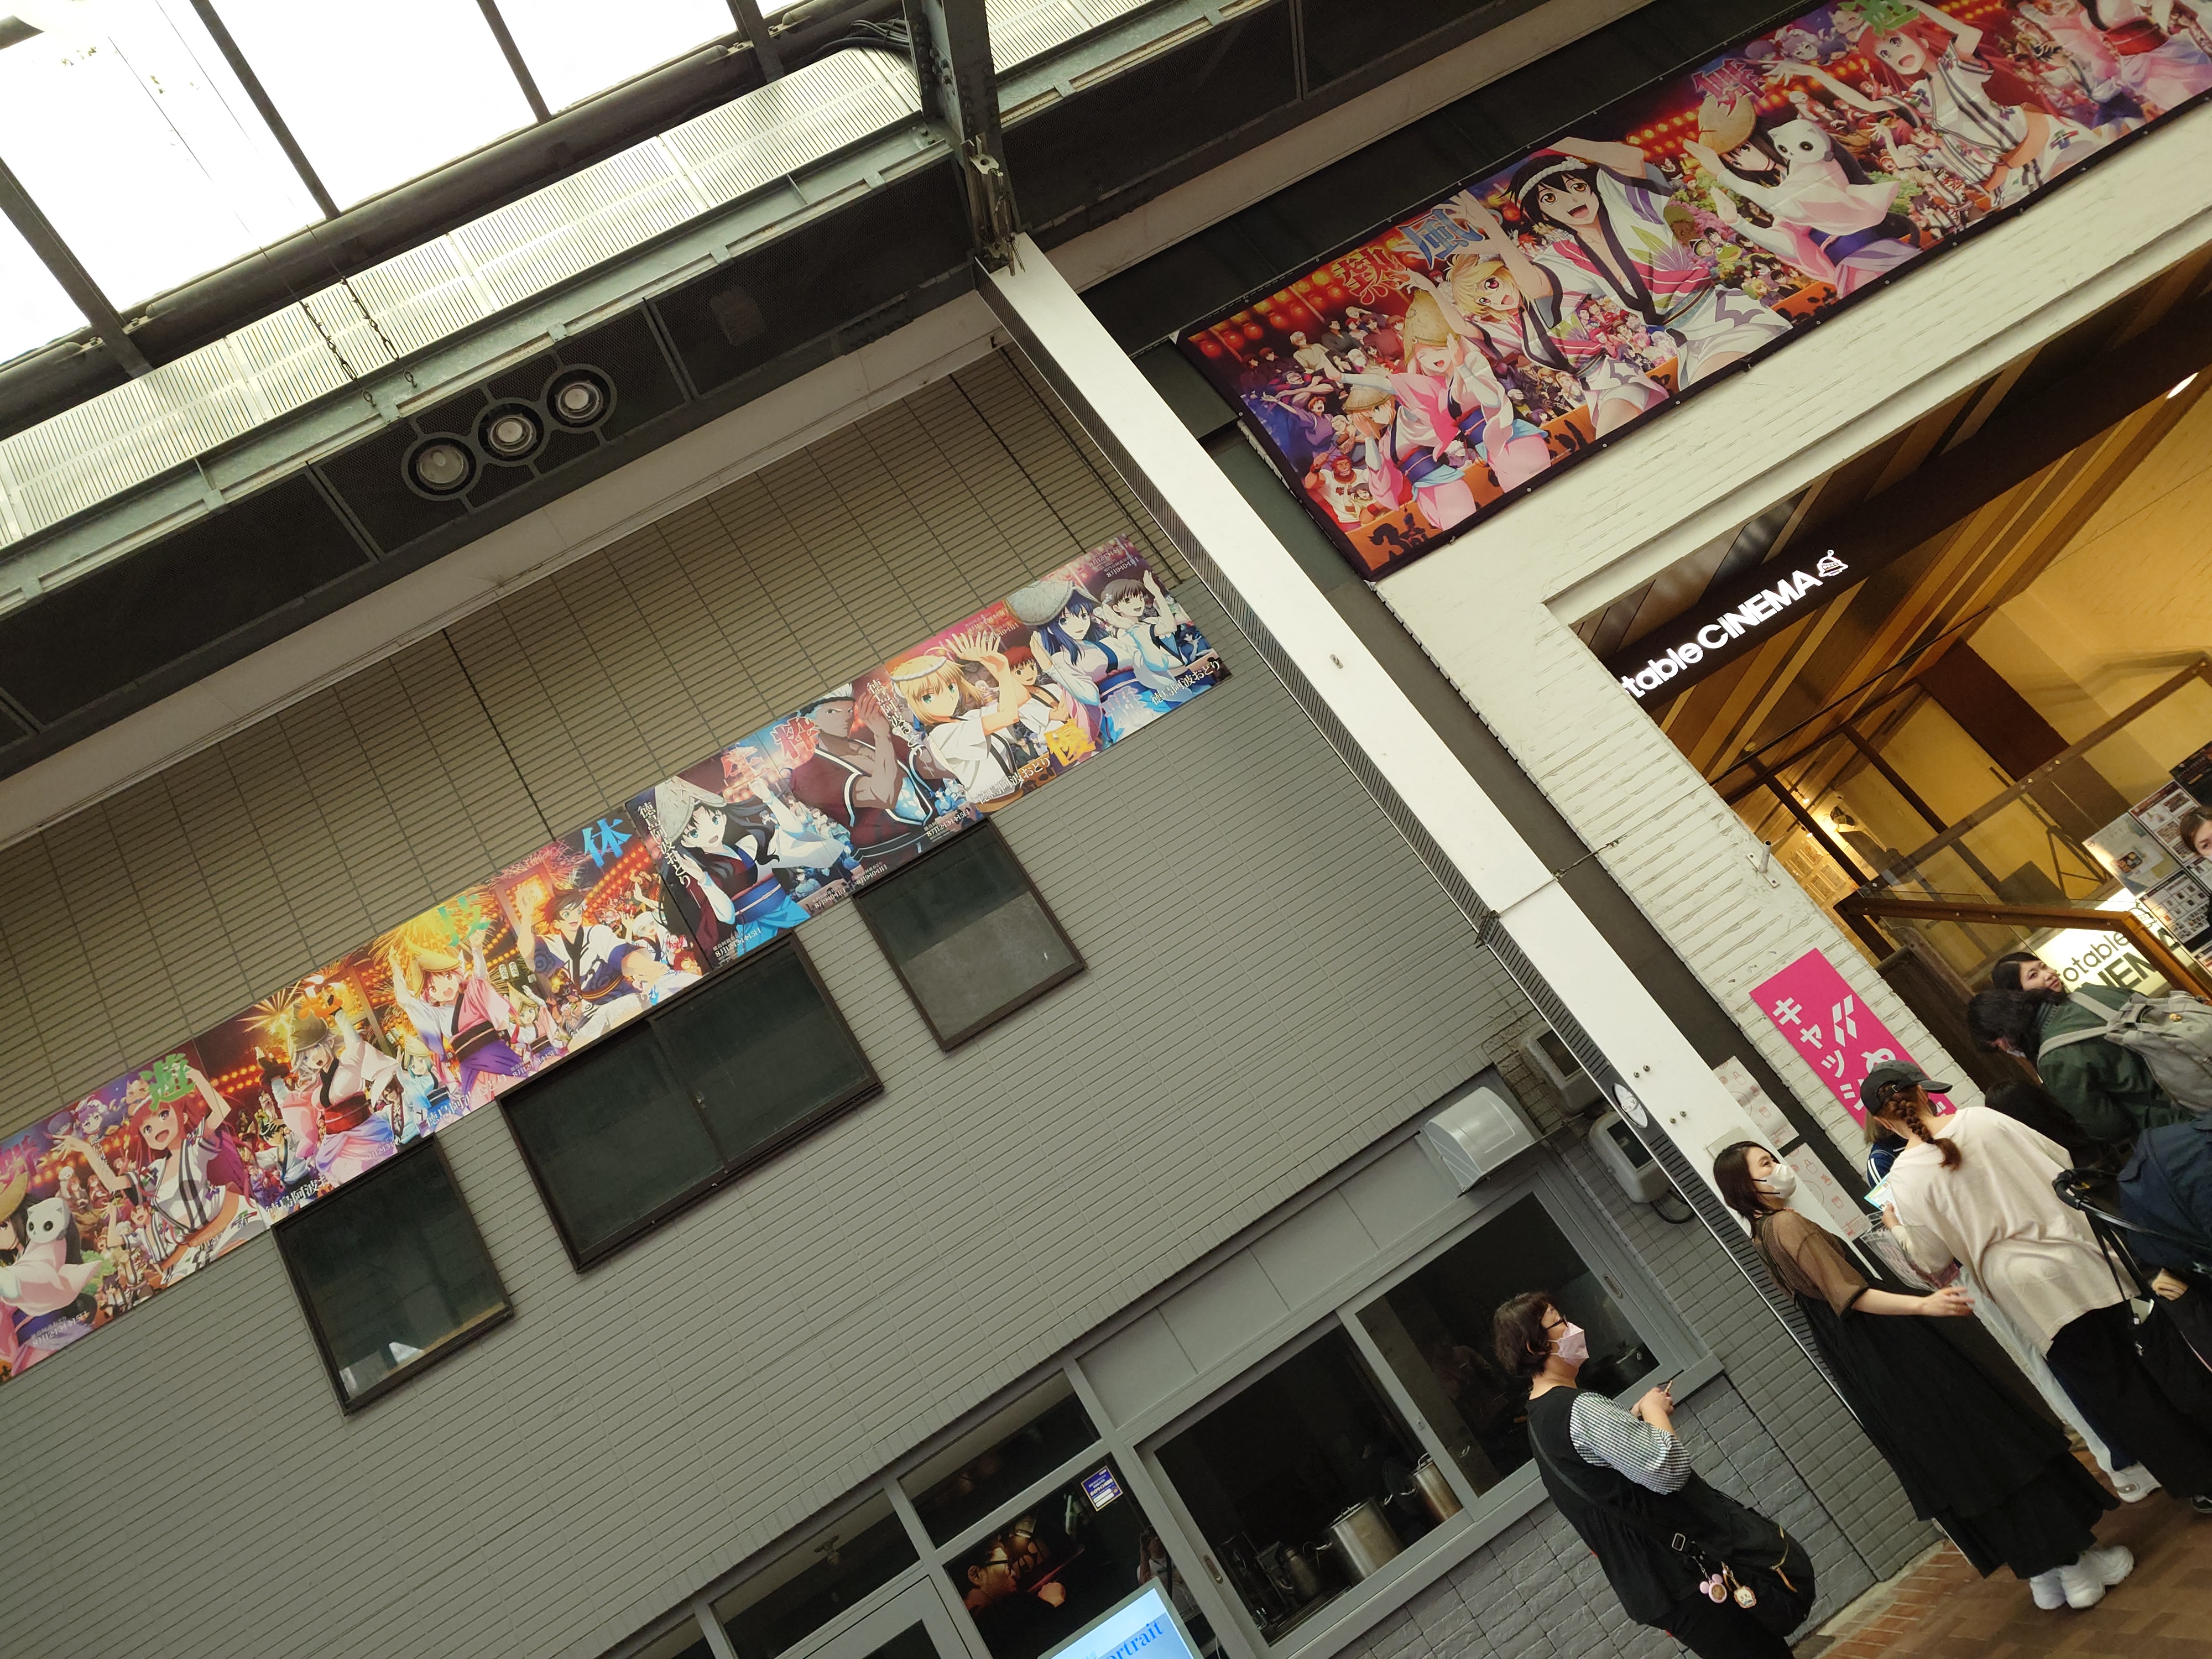
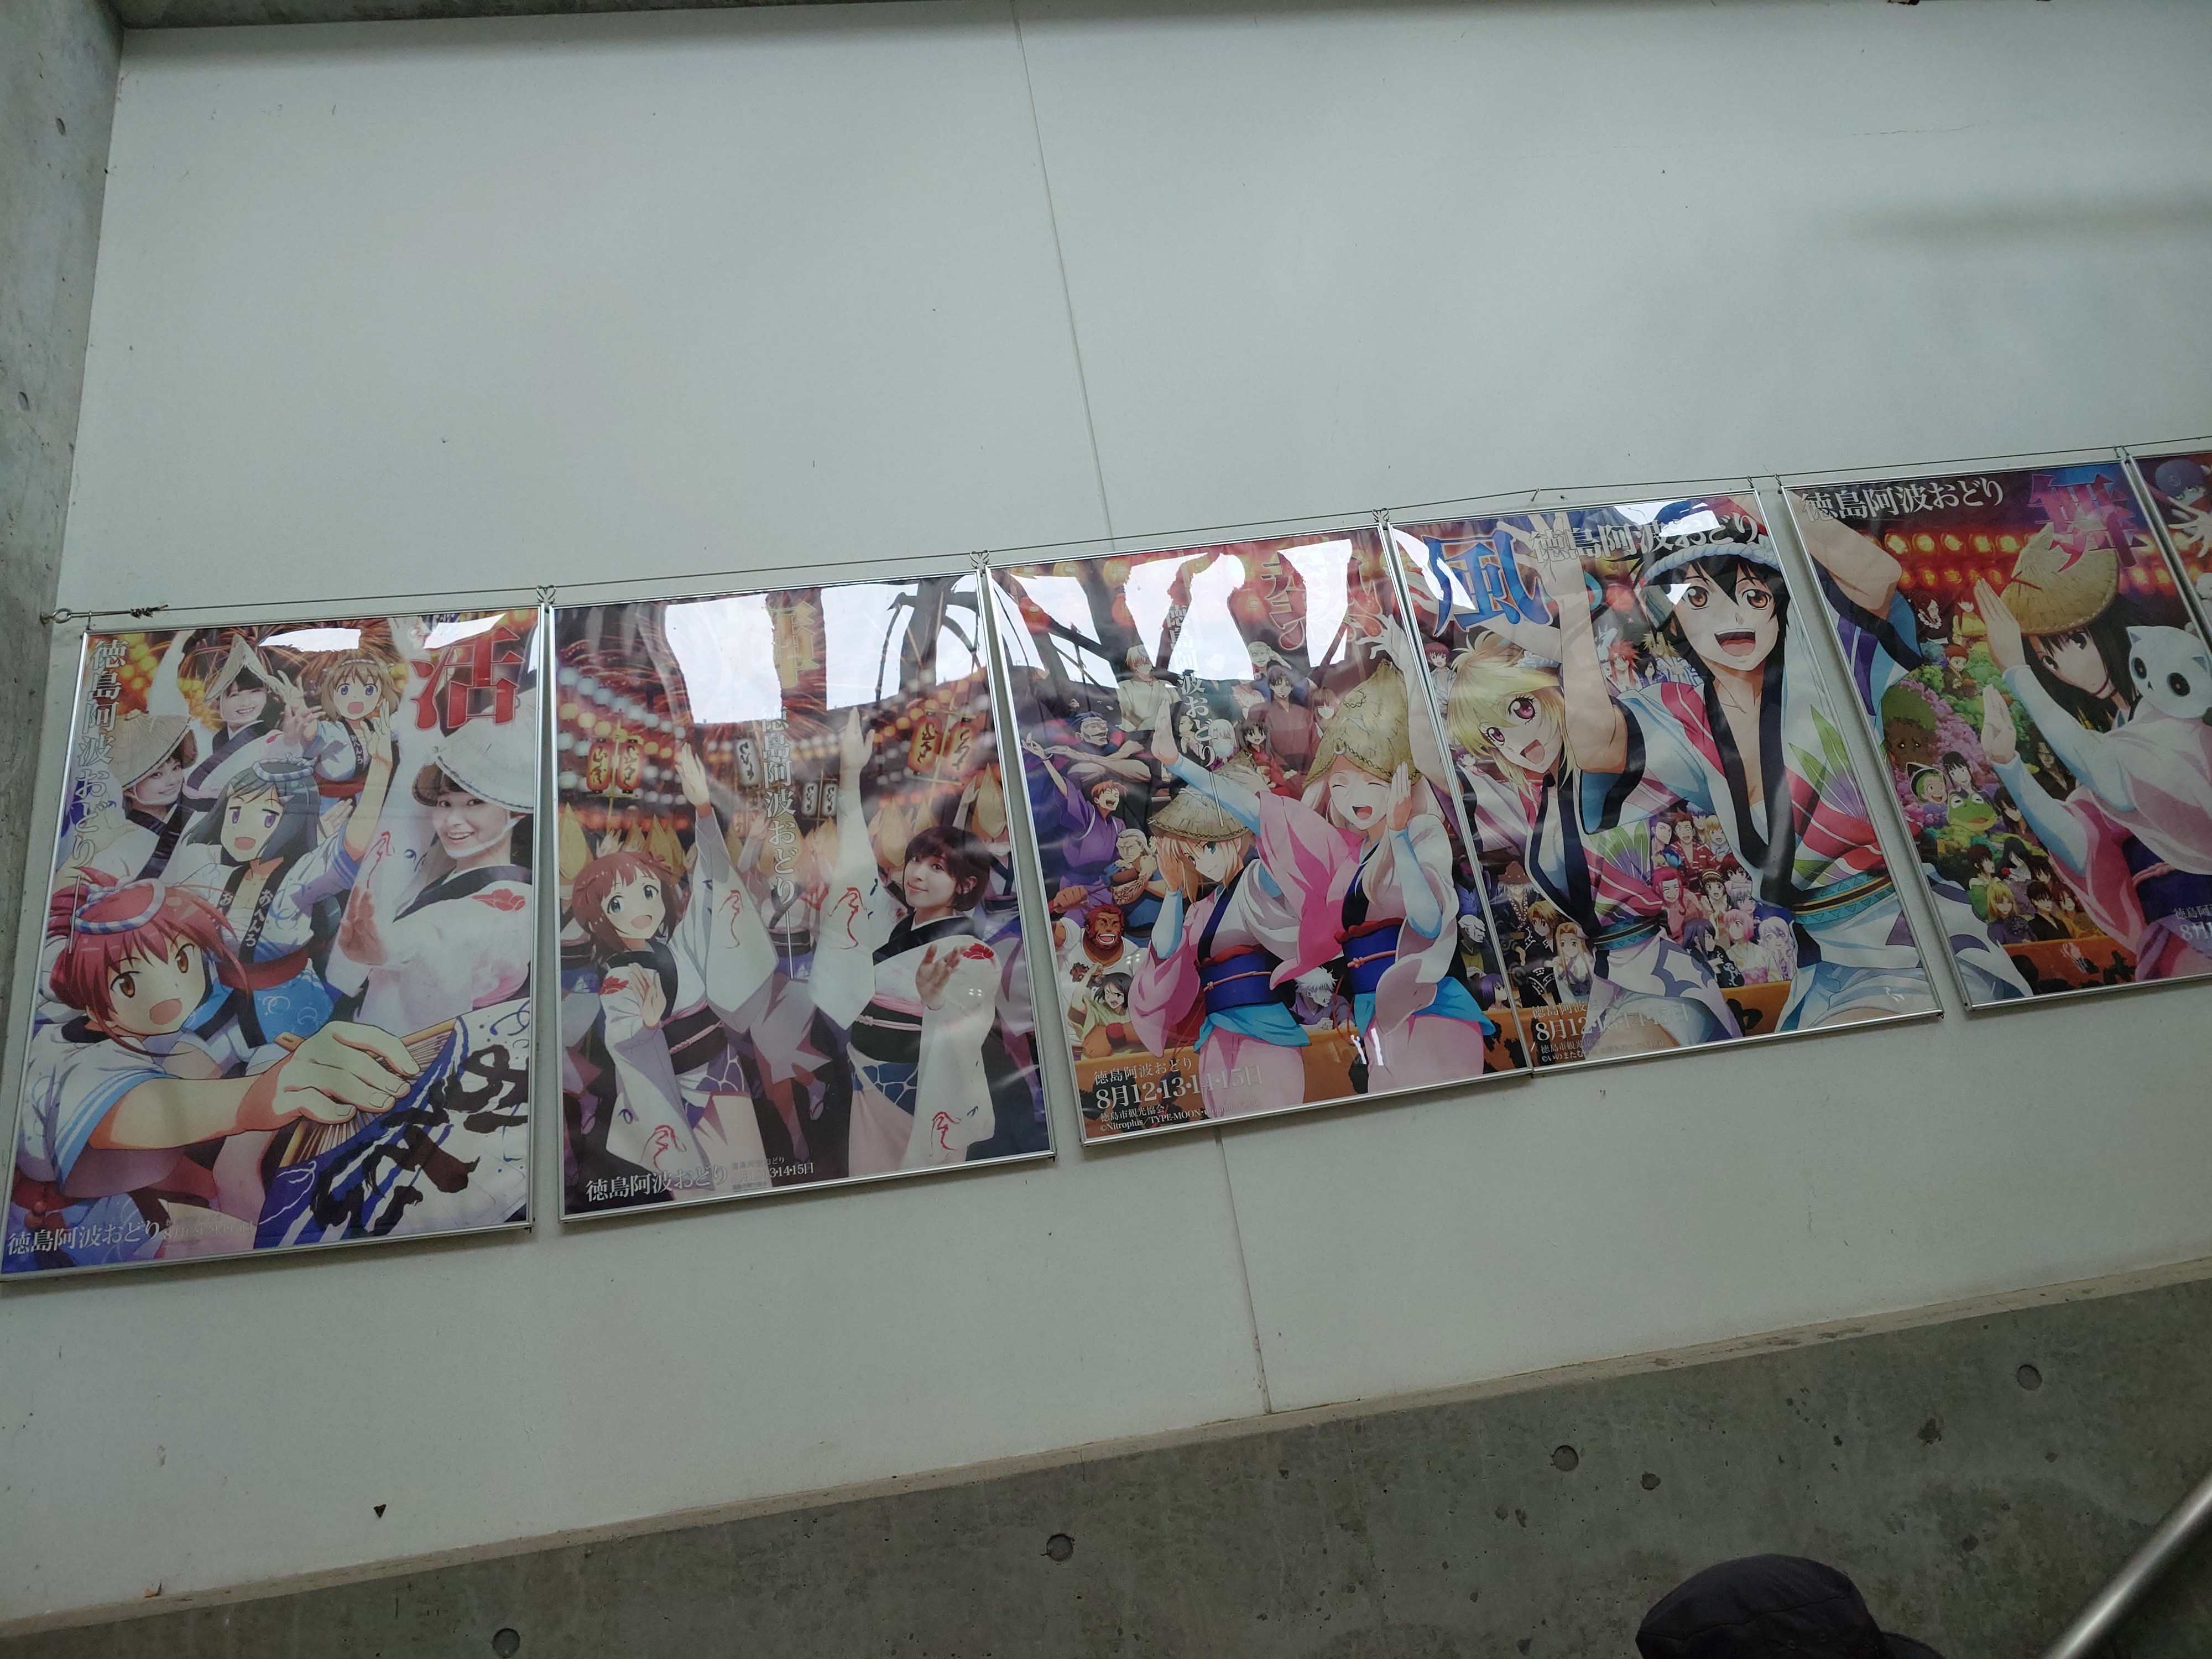
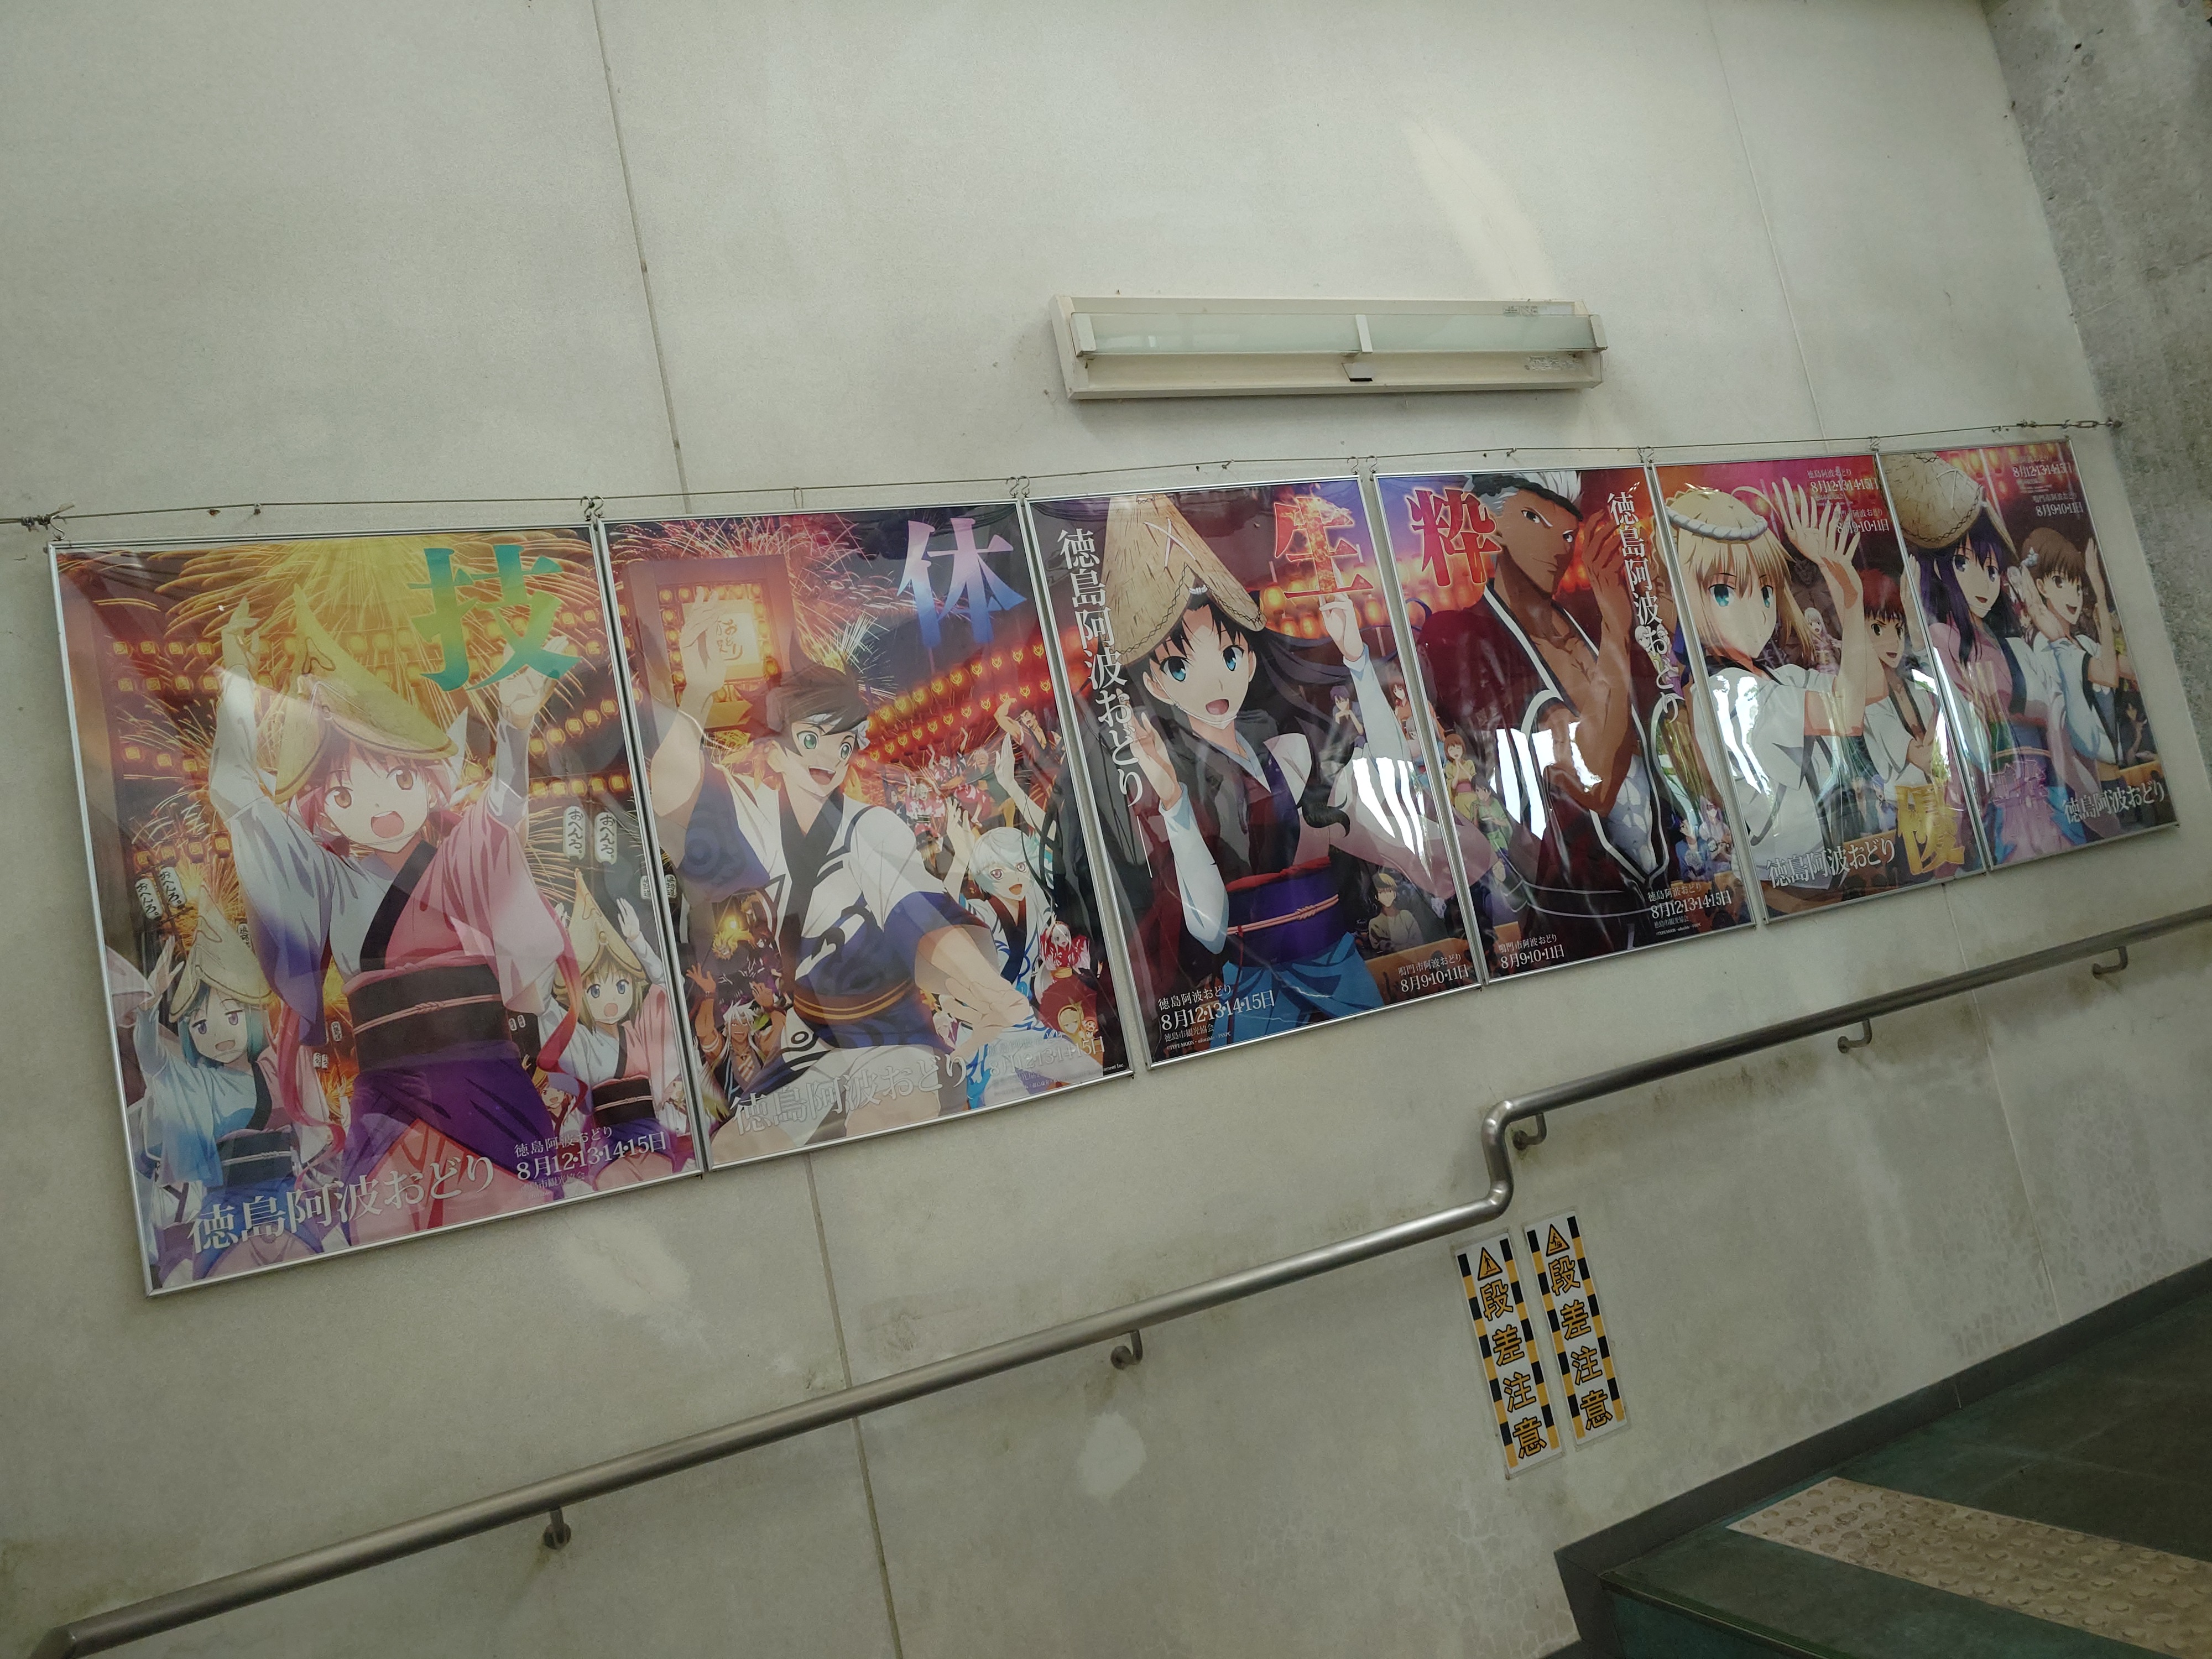
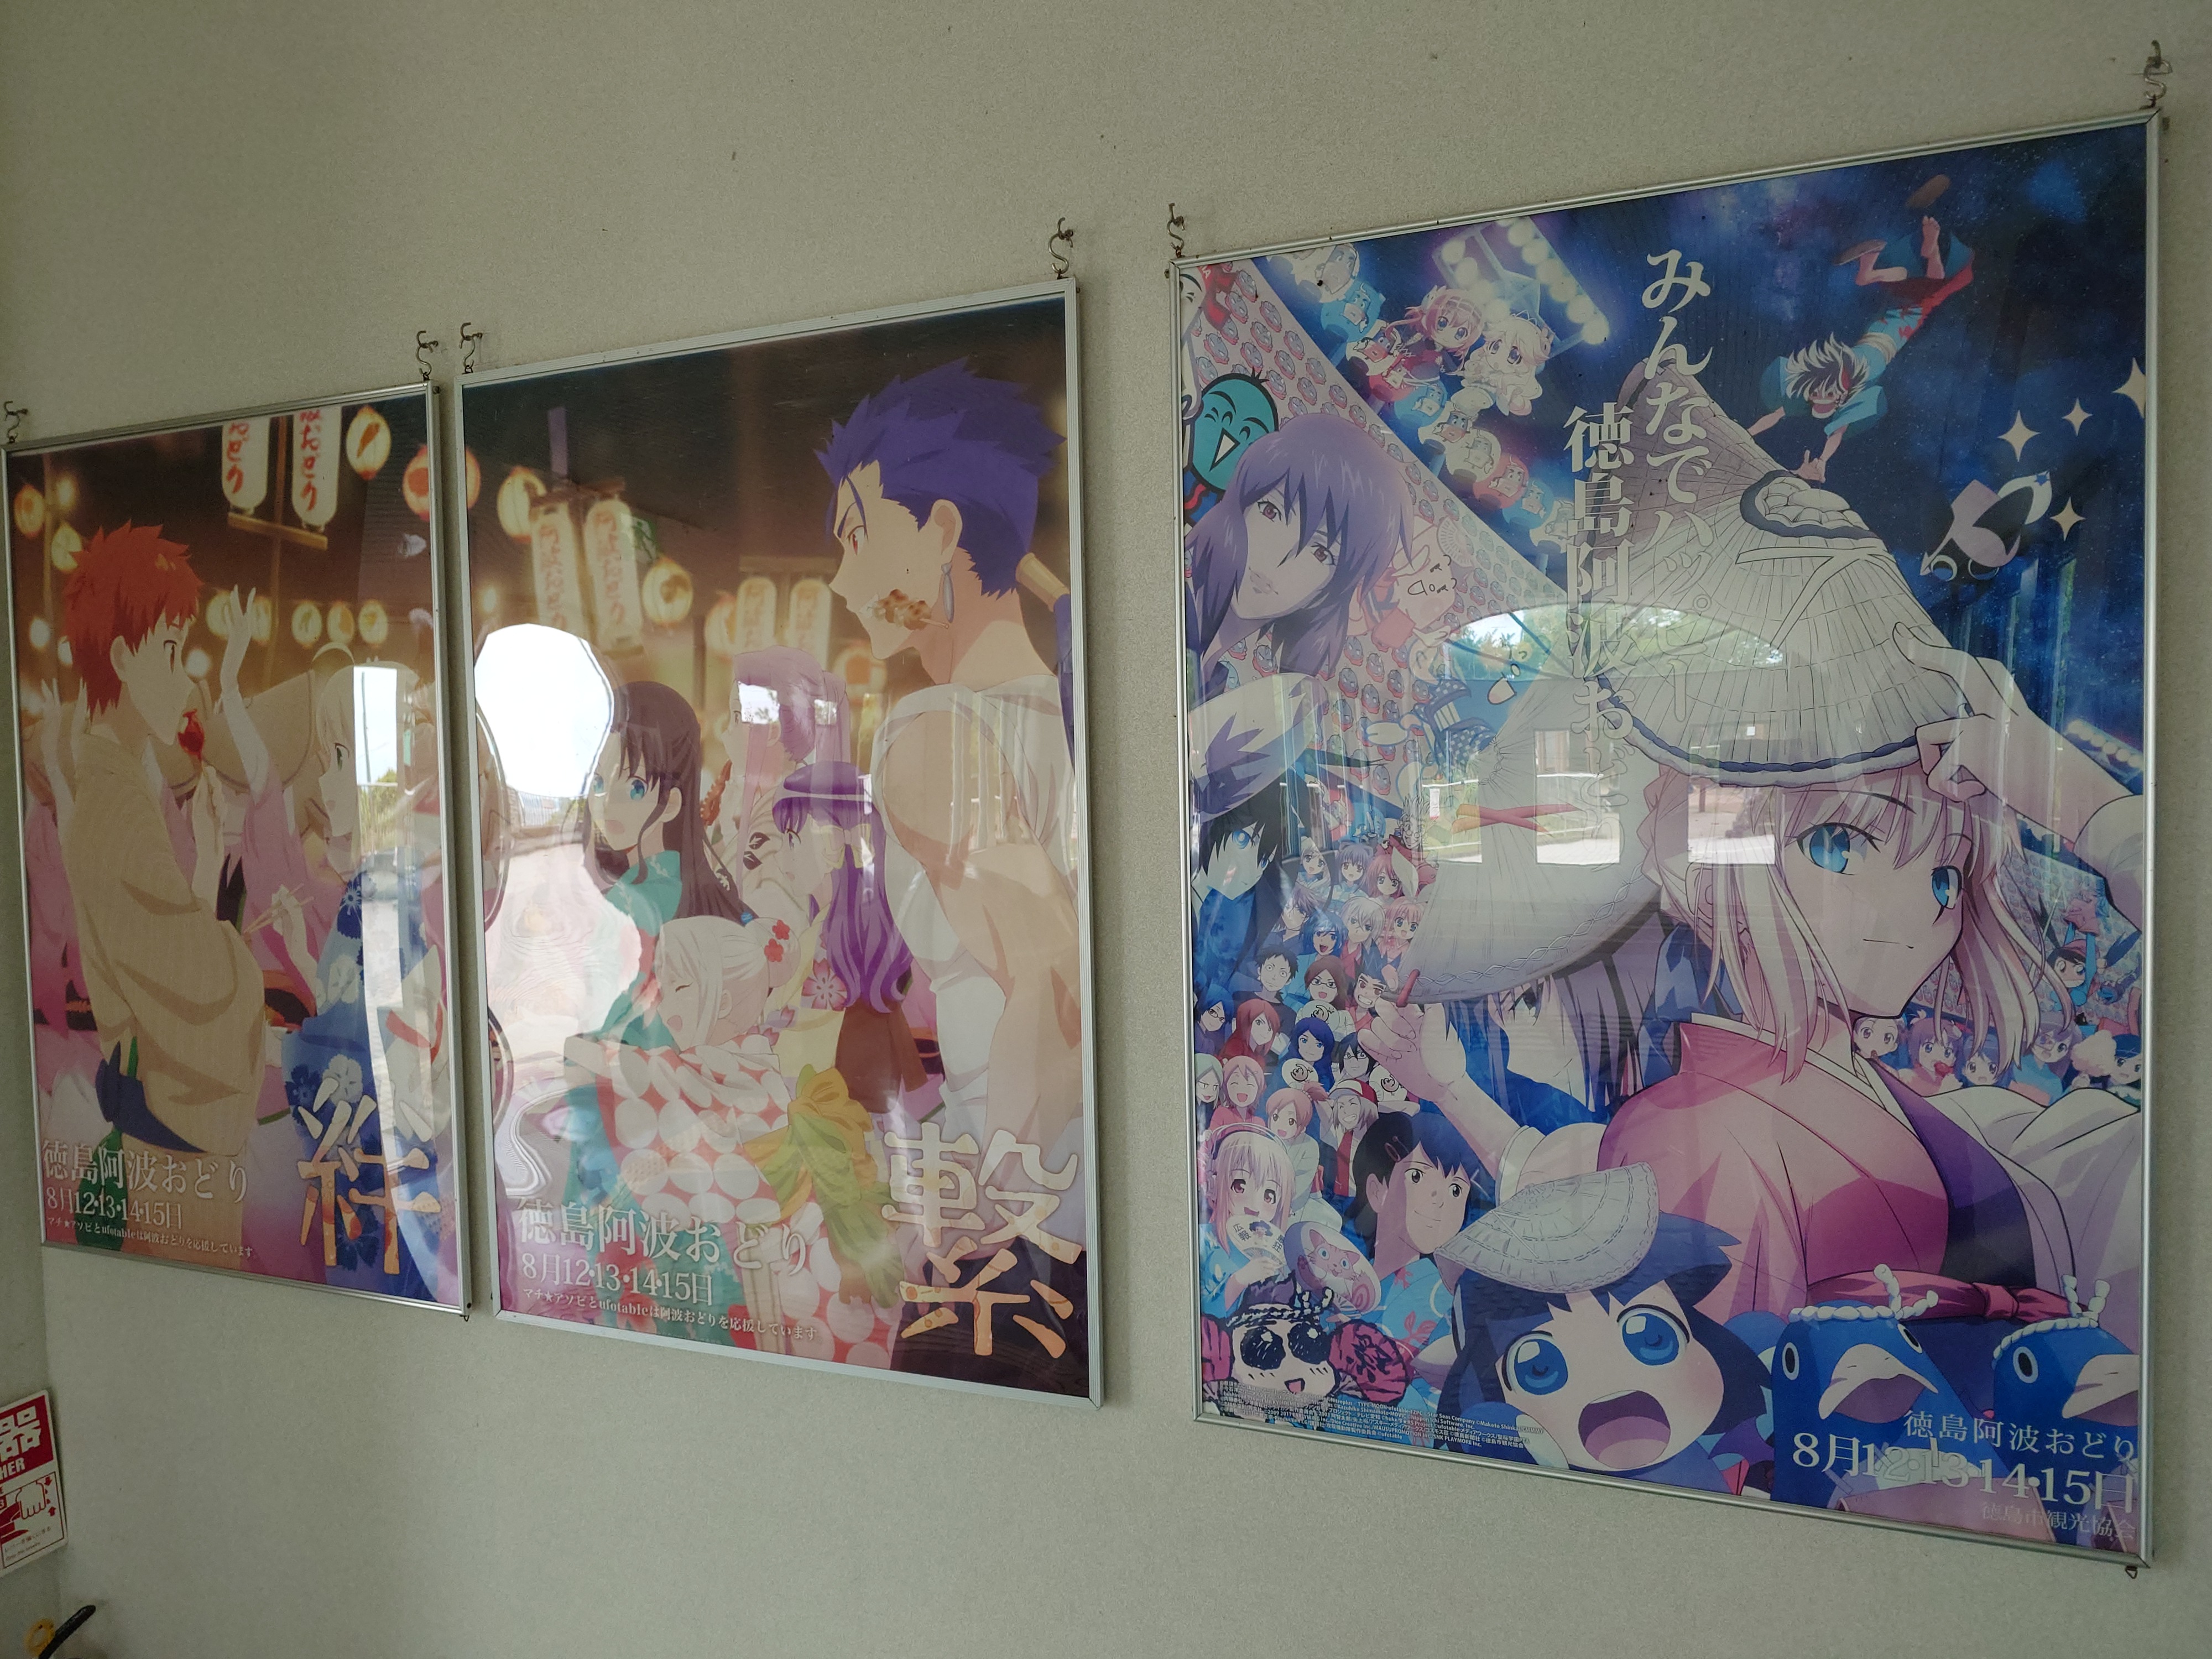
ufotable CINEMAはFateなどのキャラクターが阿波踊りを踊っているポスターで上部が埋め尽くされていて軽く感動した。なお左側の建物は全く別のカフェであり、ufotableは関係ない模様。
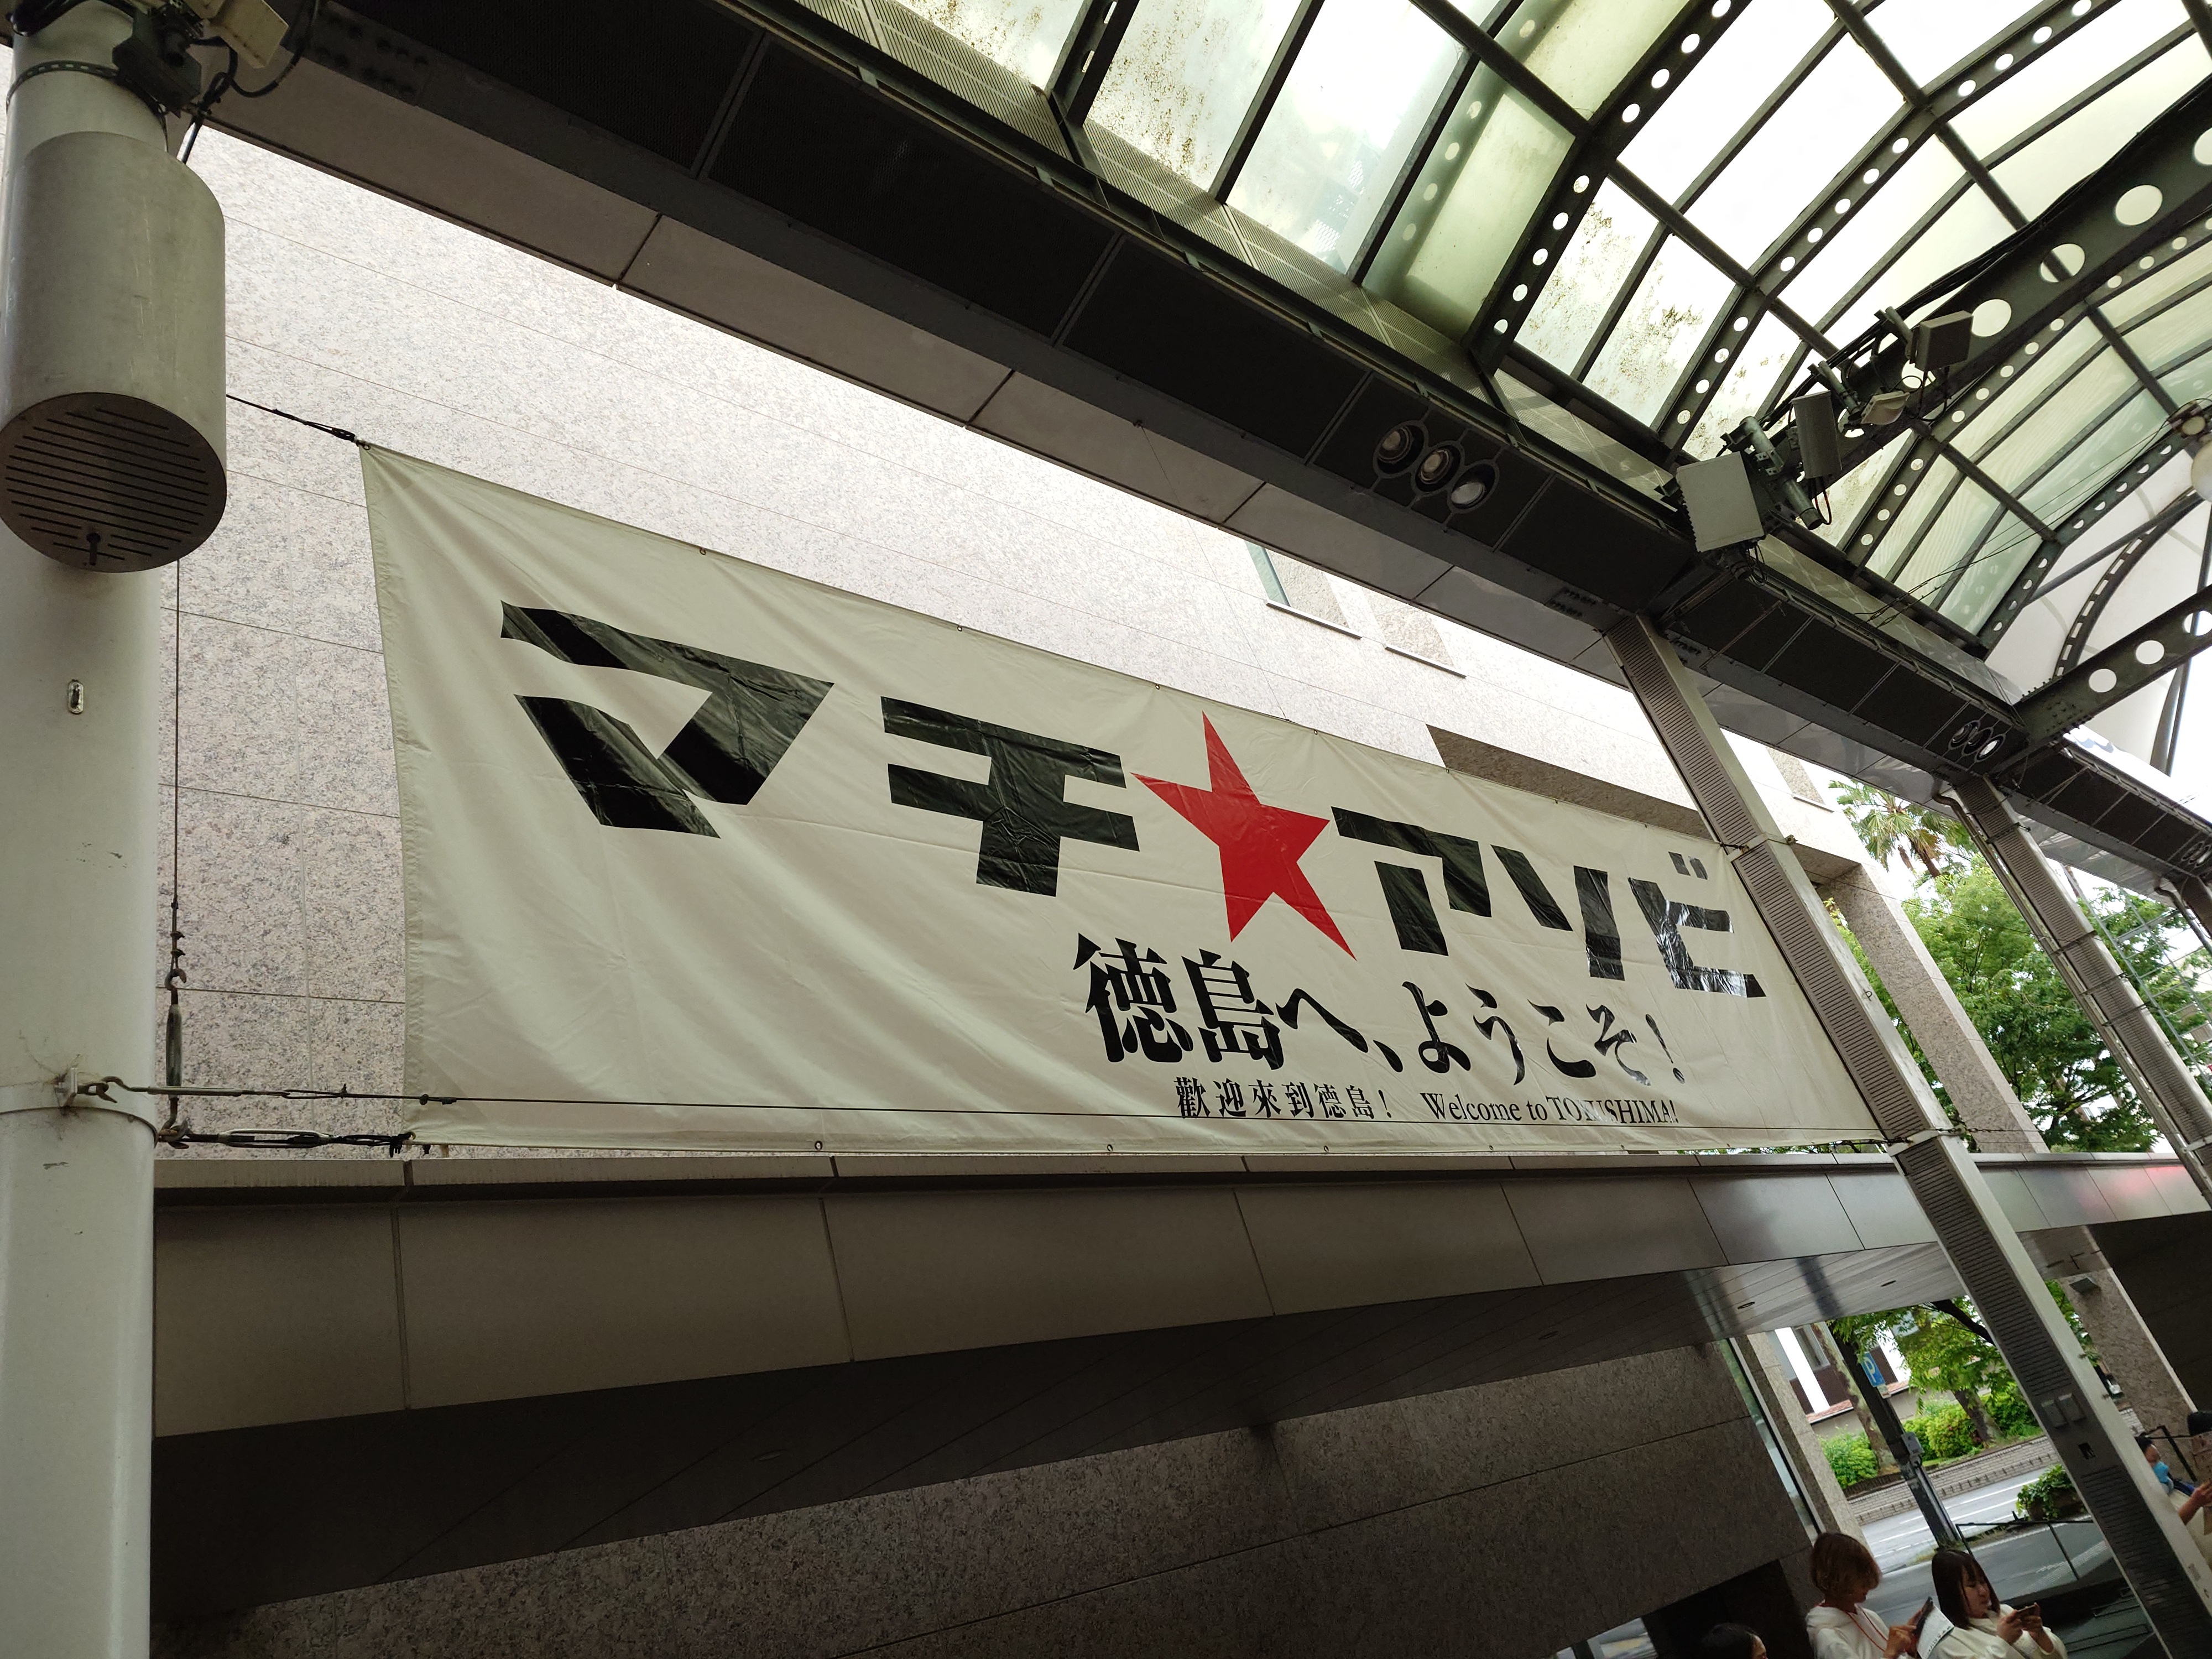
映画館の前にも大きな幕が張られており、ここが聖地であることを如実に示していた。
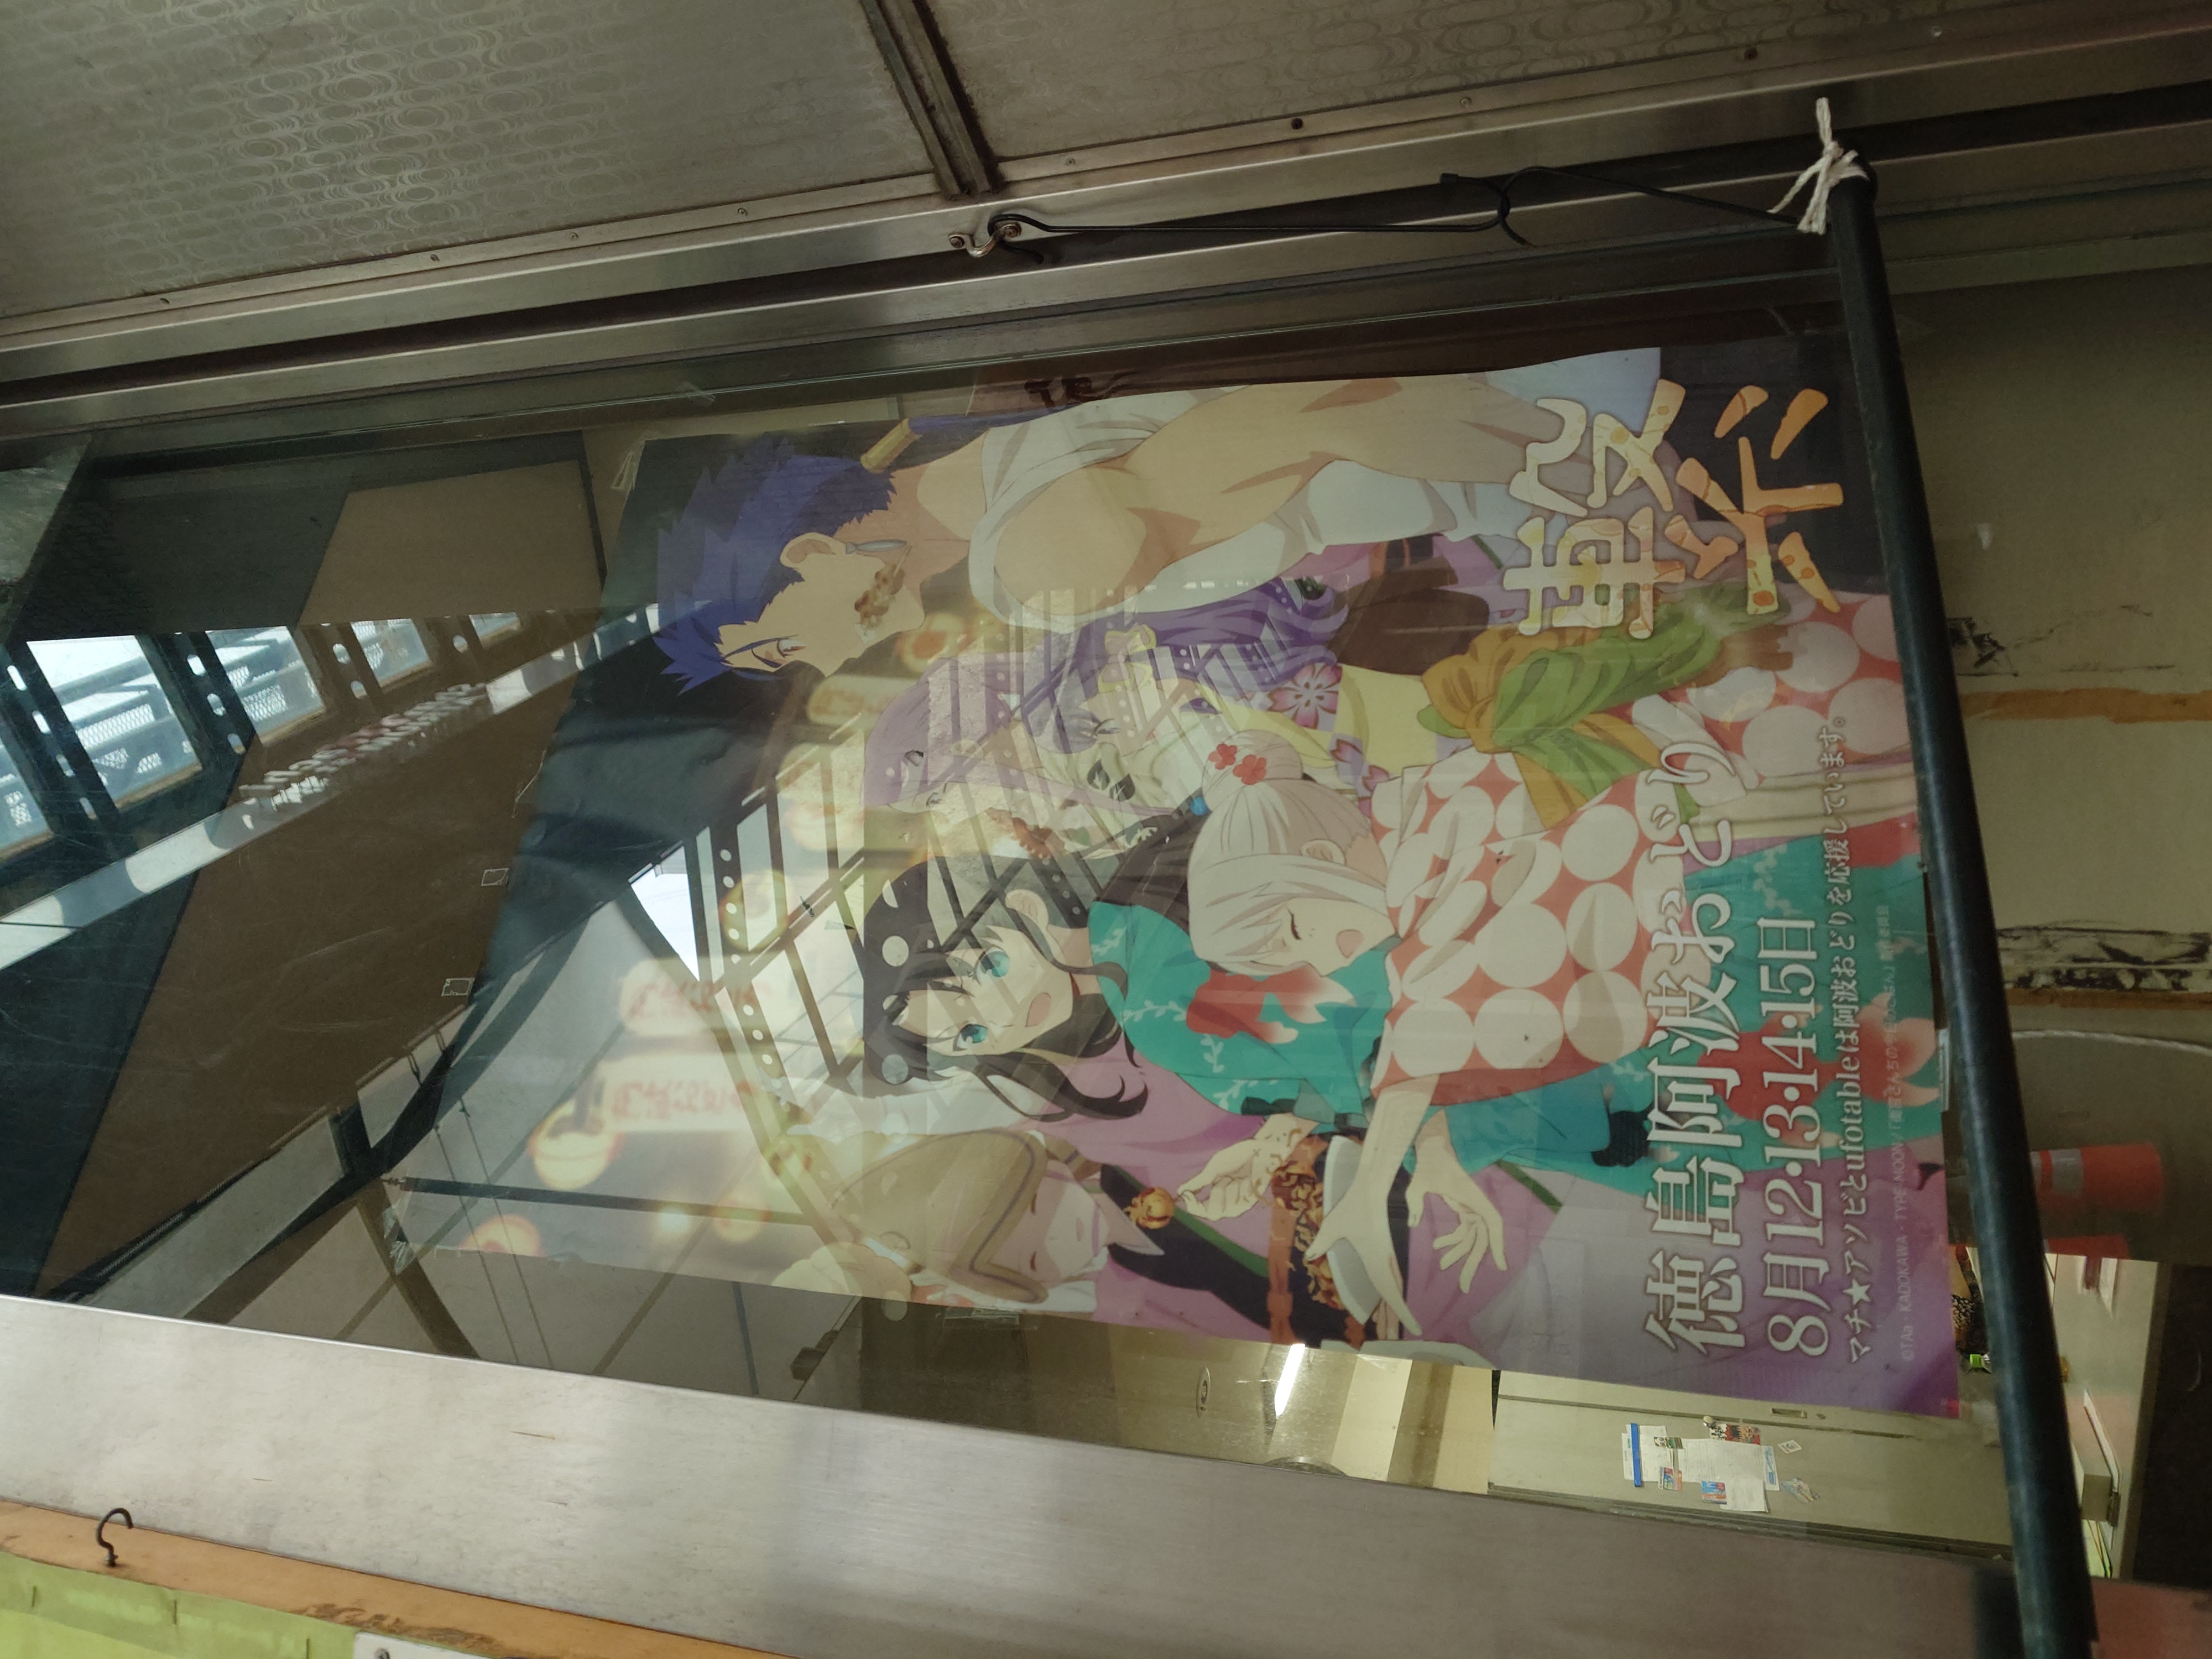
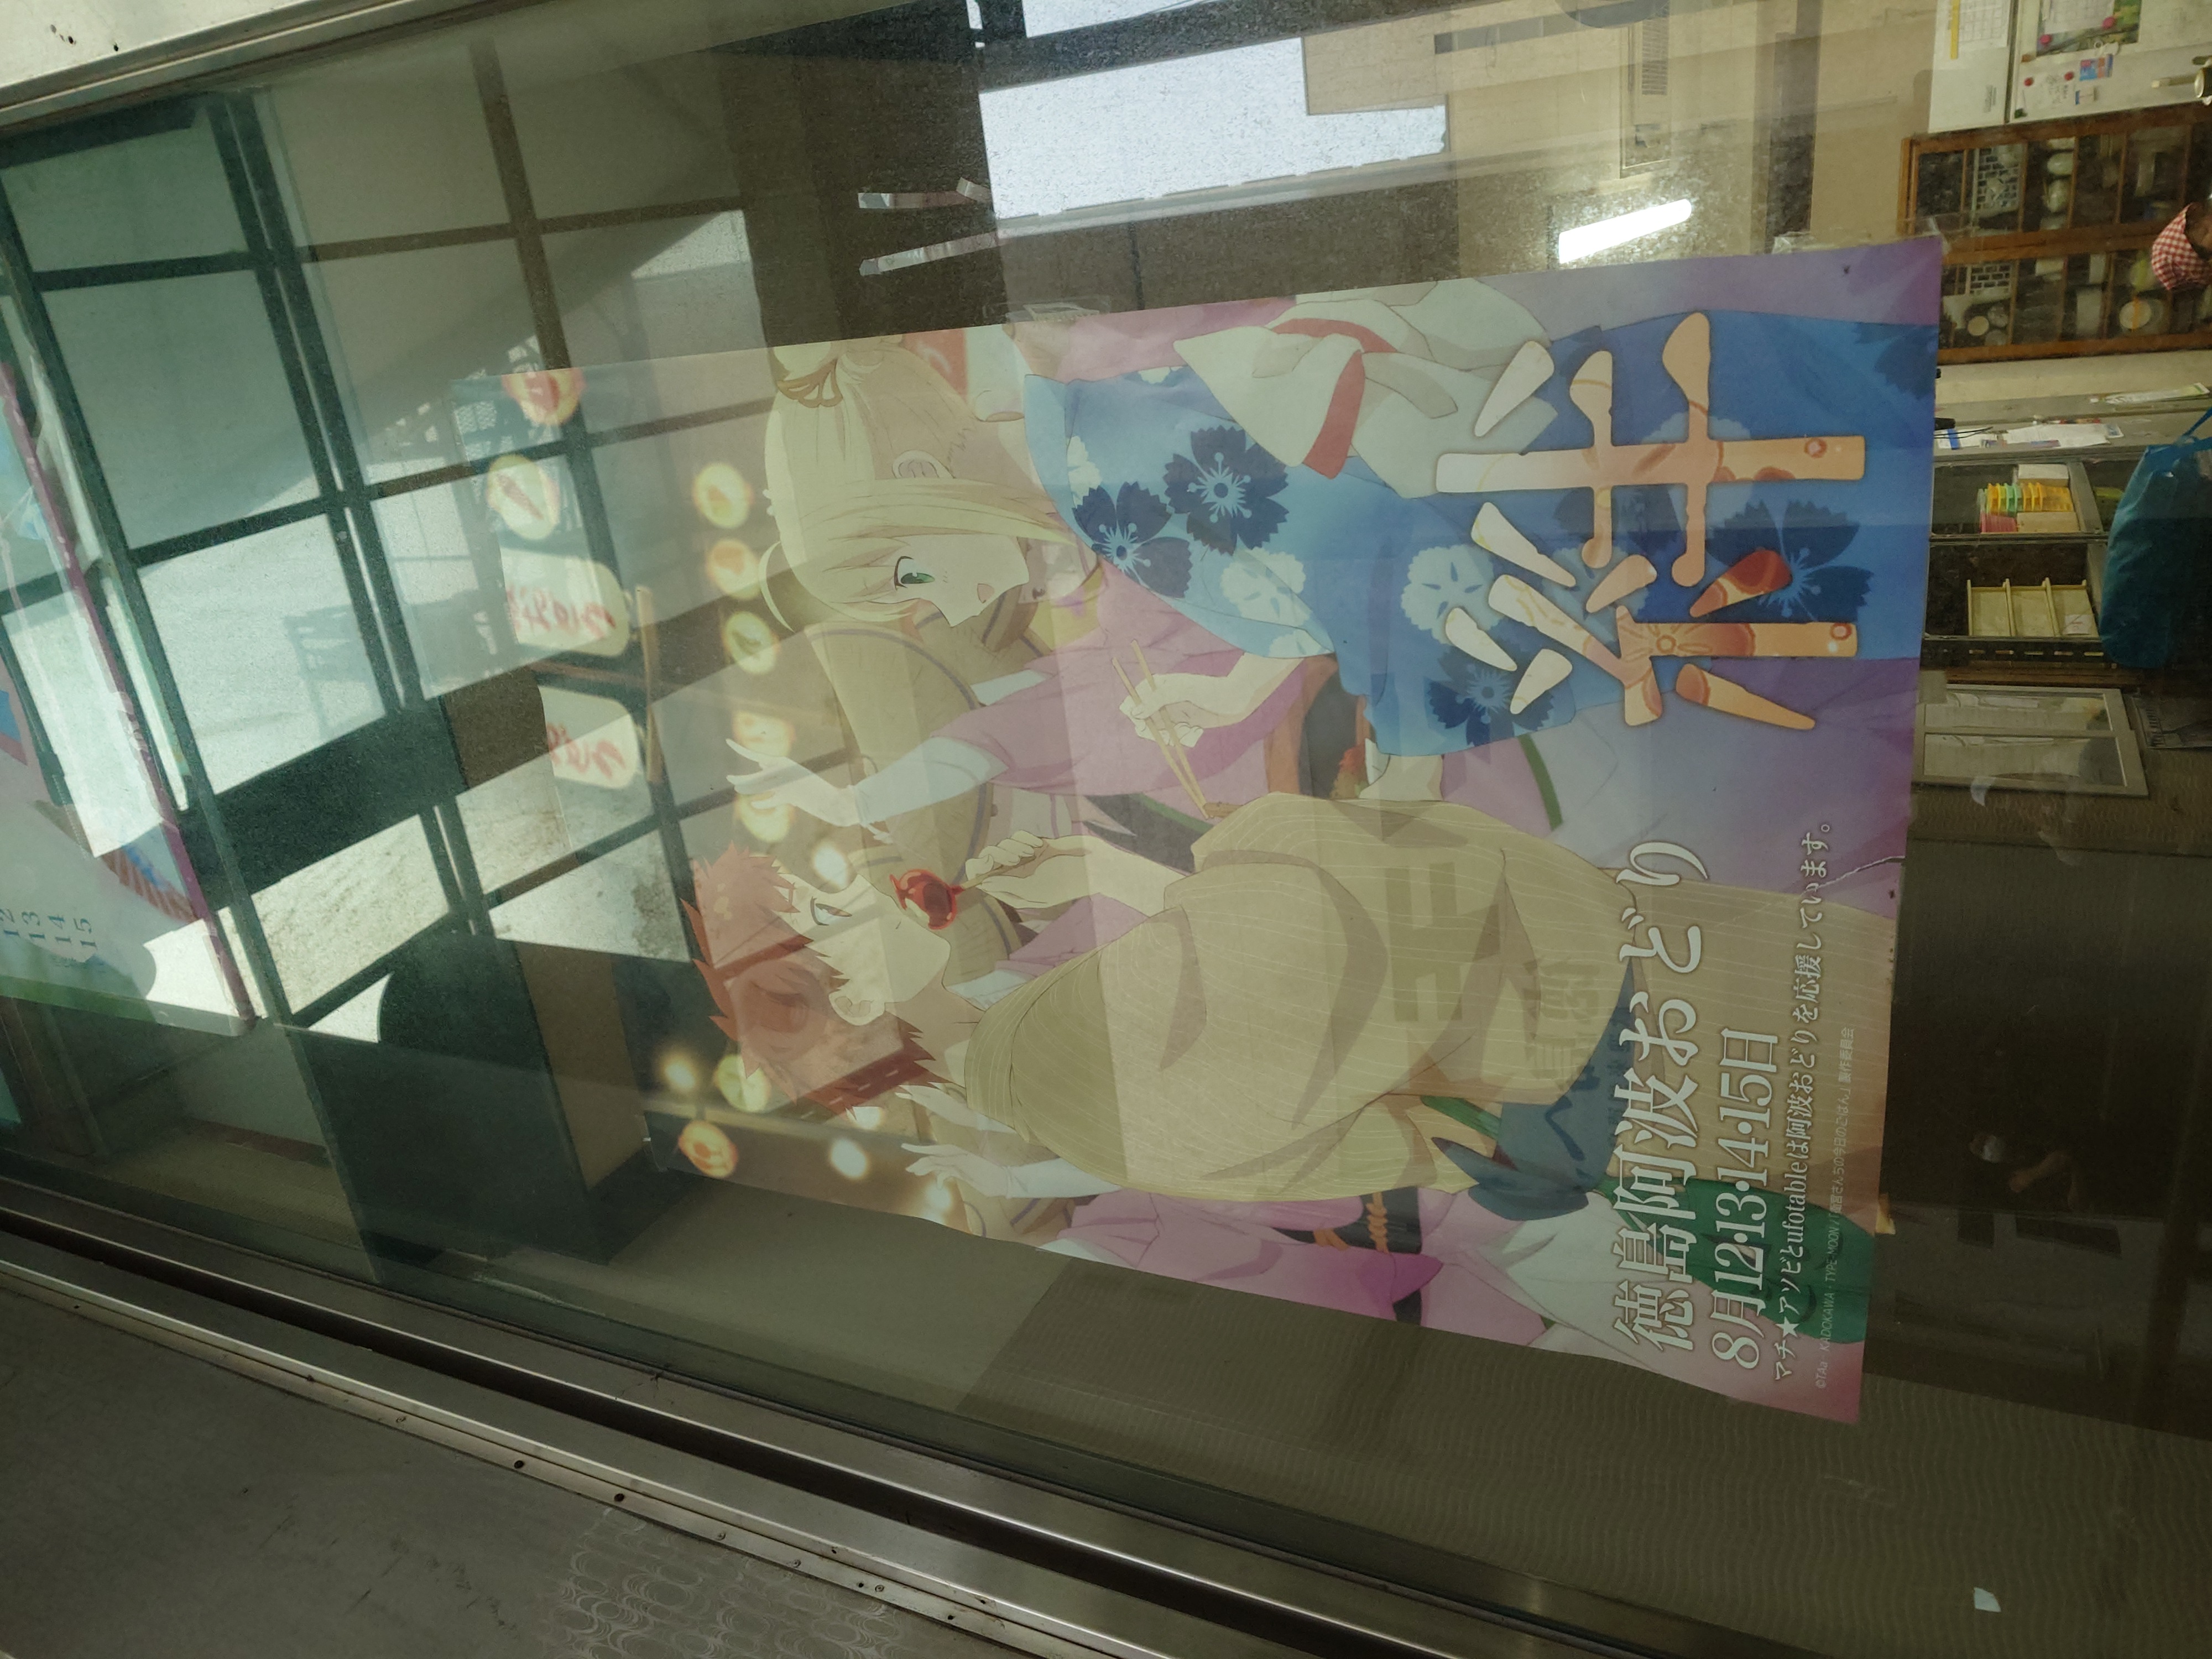
この辺りはそこら中にufotableとマチアソビが阿波踊りを応援していると書かれたポスターが貼ってあった。
入手し損ねた整理券
私は意気揚々とメイクアガールの列を探したがどこにもない。ないのでスタッフに尋ねてみたところ、ここに並んでないものは上映時配布、1dayパスも上映前に買ってほしいと告げられ、私は軽く混乱してしまった。
その場でWebを開いて確認しようにも人が増えてきて邪魔になってしまうため、一旦離れた場所に出たら憔悴しきってしまい、そのまま駅方面へ戻ってしまった。
もしここでWebを見れていたら、ちゃんと整理券がもらえたのだろうが残念ながら私は腑抜けになってしまっていて、貰うことは叶わなかった。15年の私であれば、いや10年前の私でさえもっと粘ったはずだ。ただ、この時はただただ頭がグルグルしていて何も考えられていなかった。
駅への帰路
頭の中が真っ白になった私はとりあえず、なすすべもなく駅に戻ることにした。だって開場の10時まですることないし。
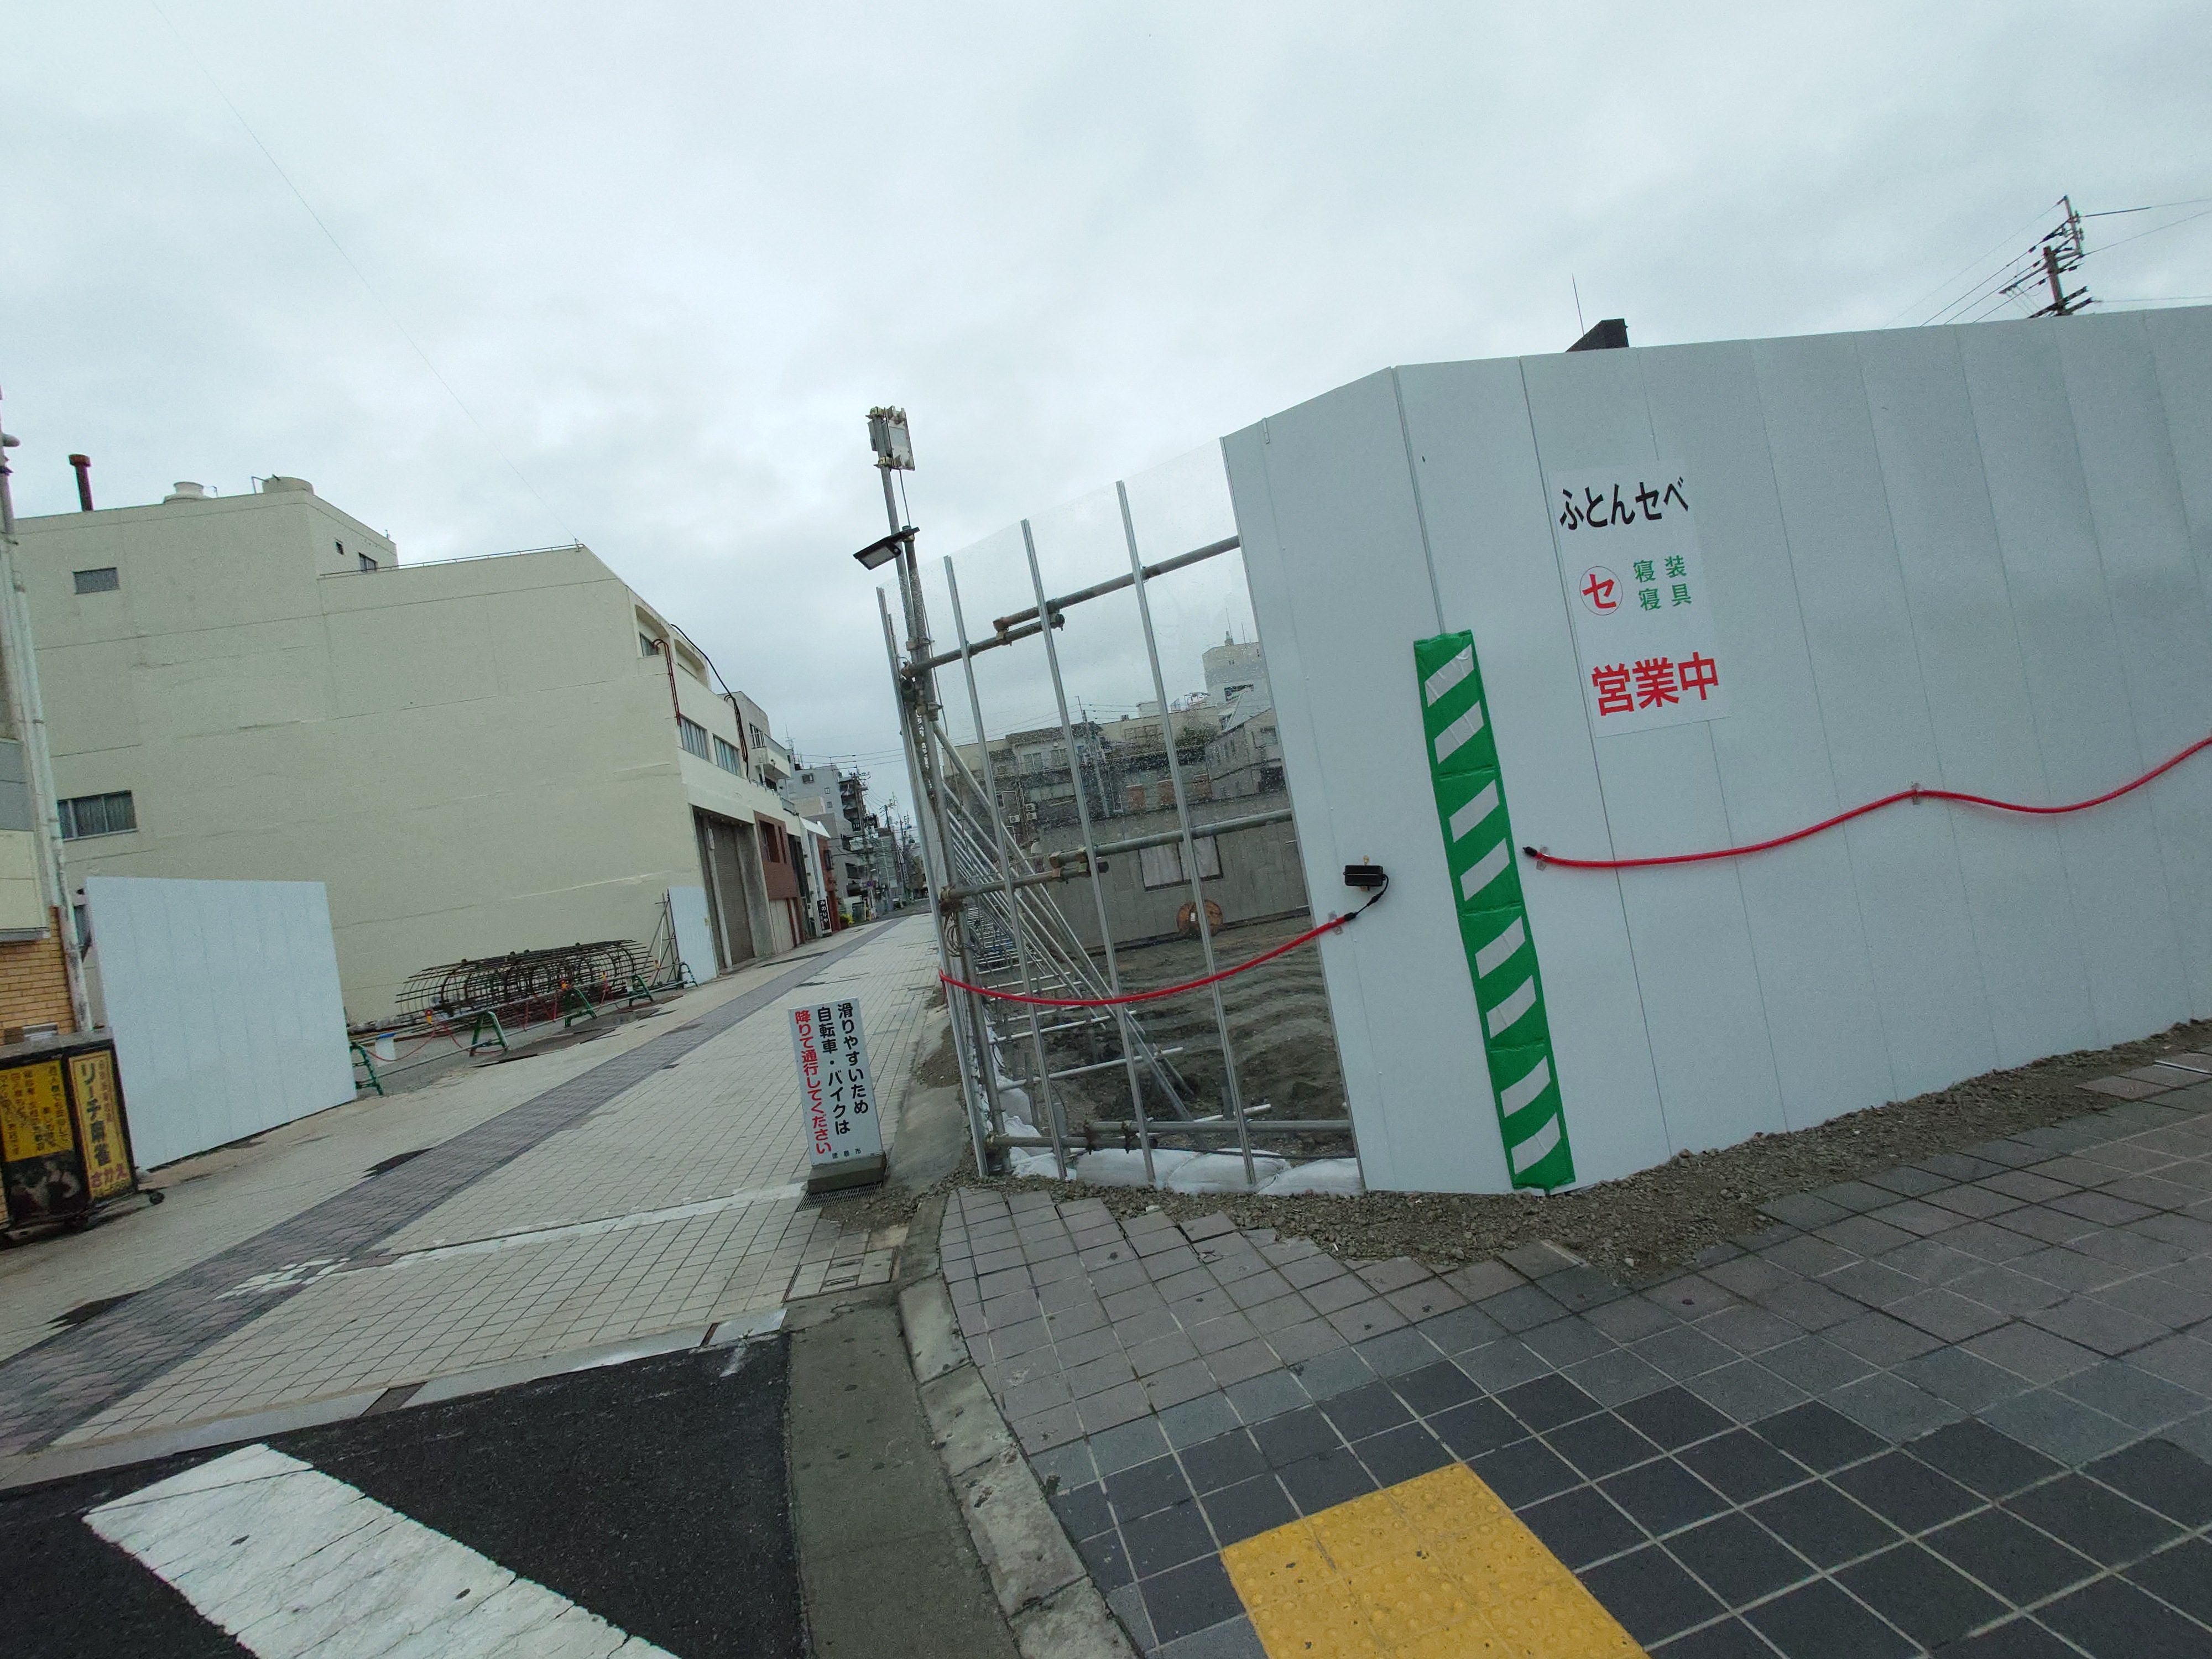
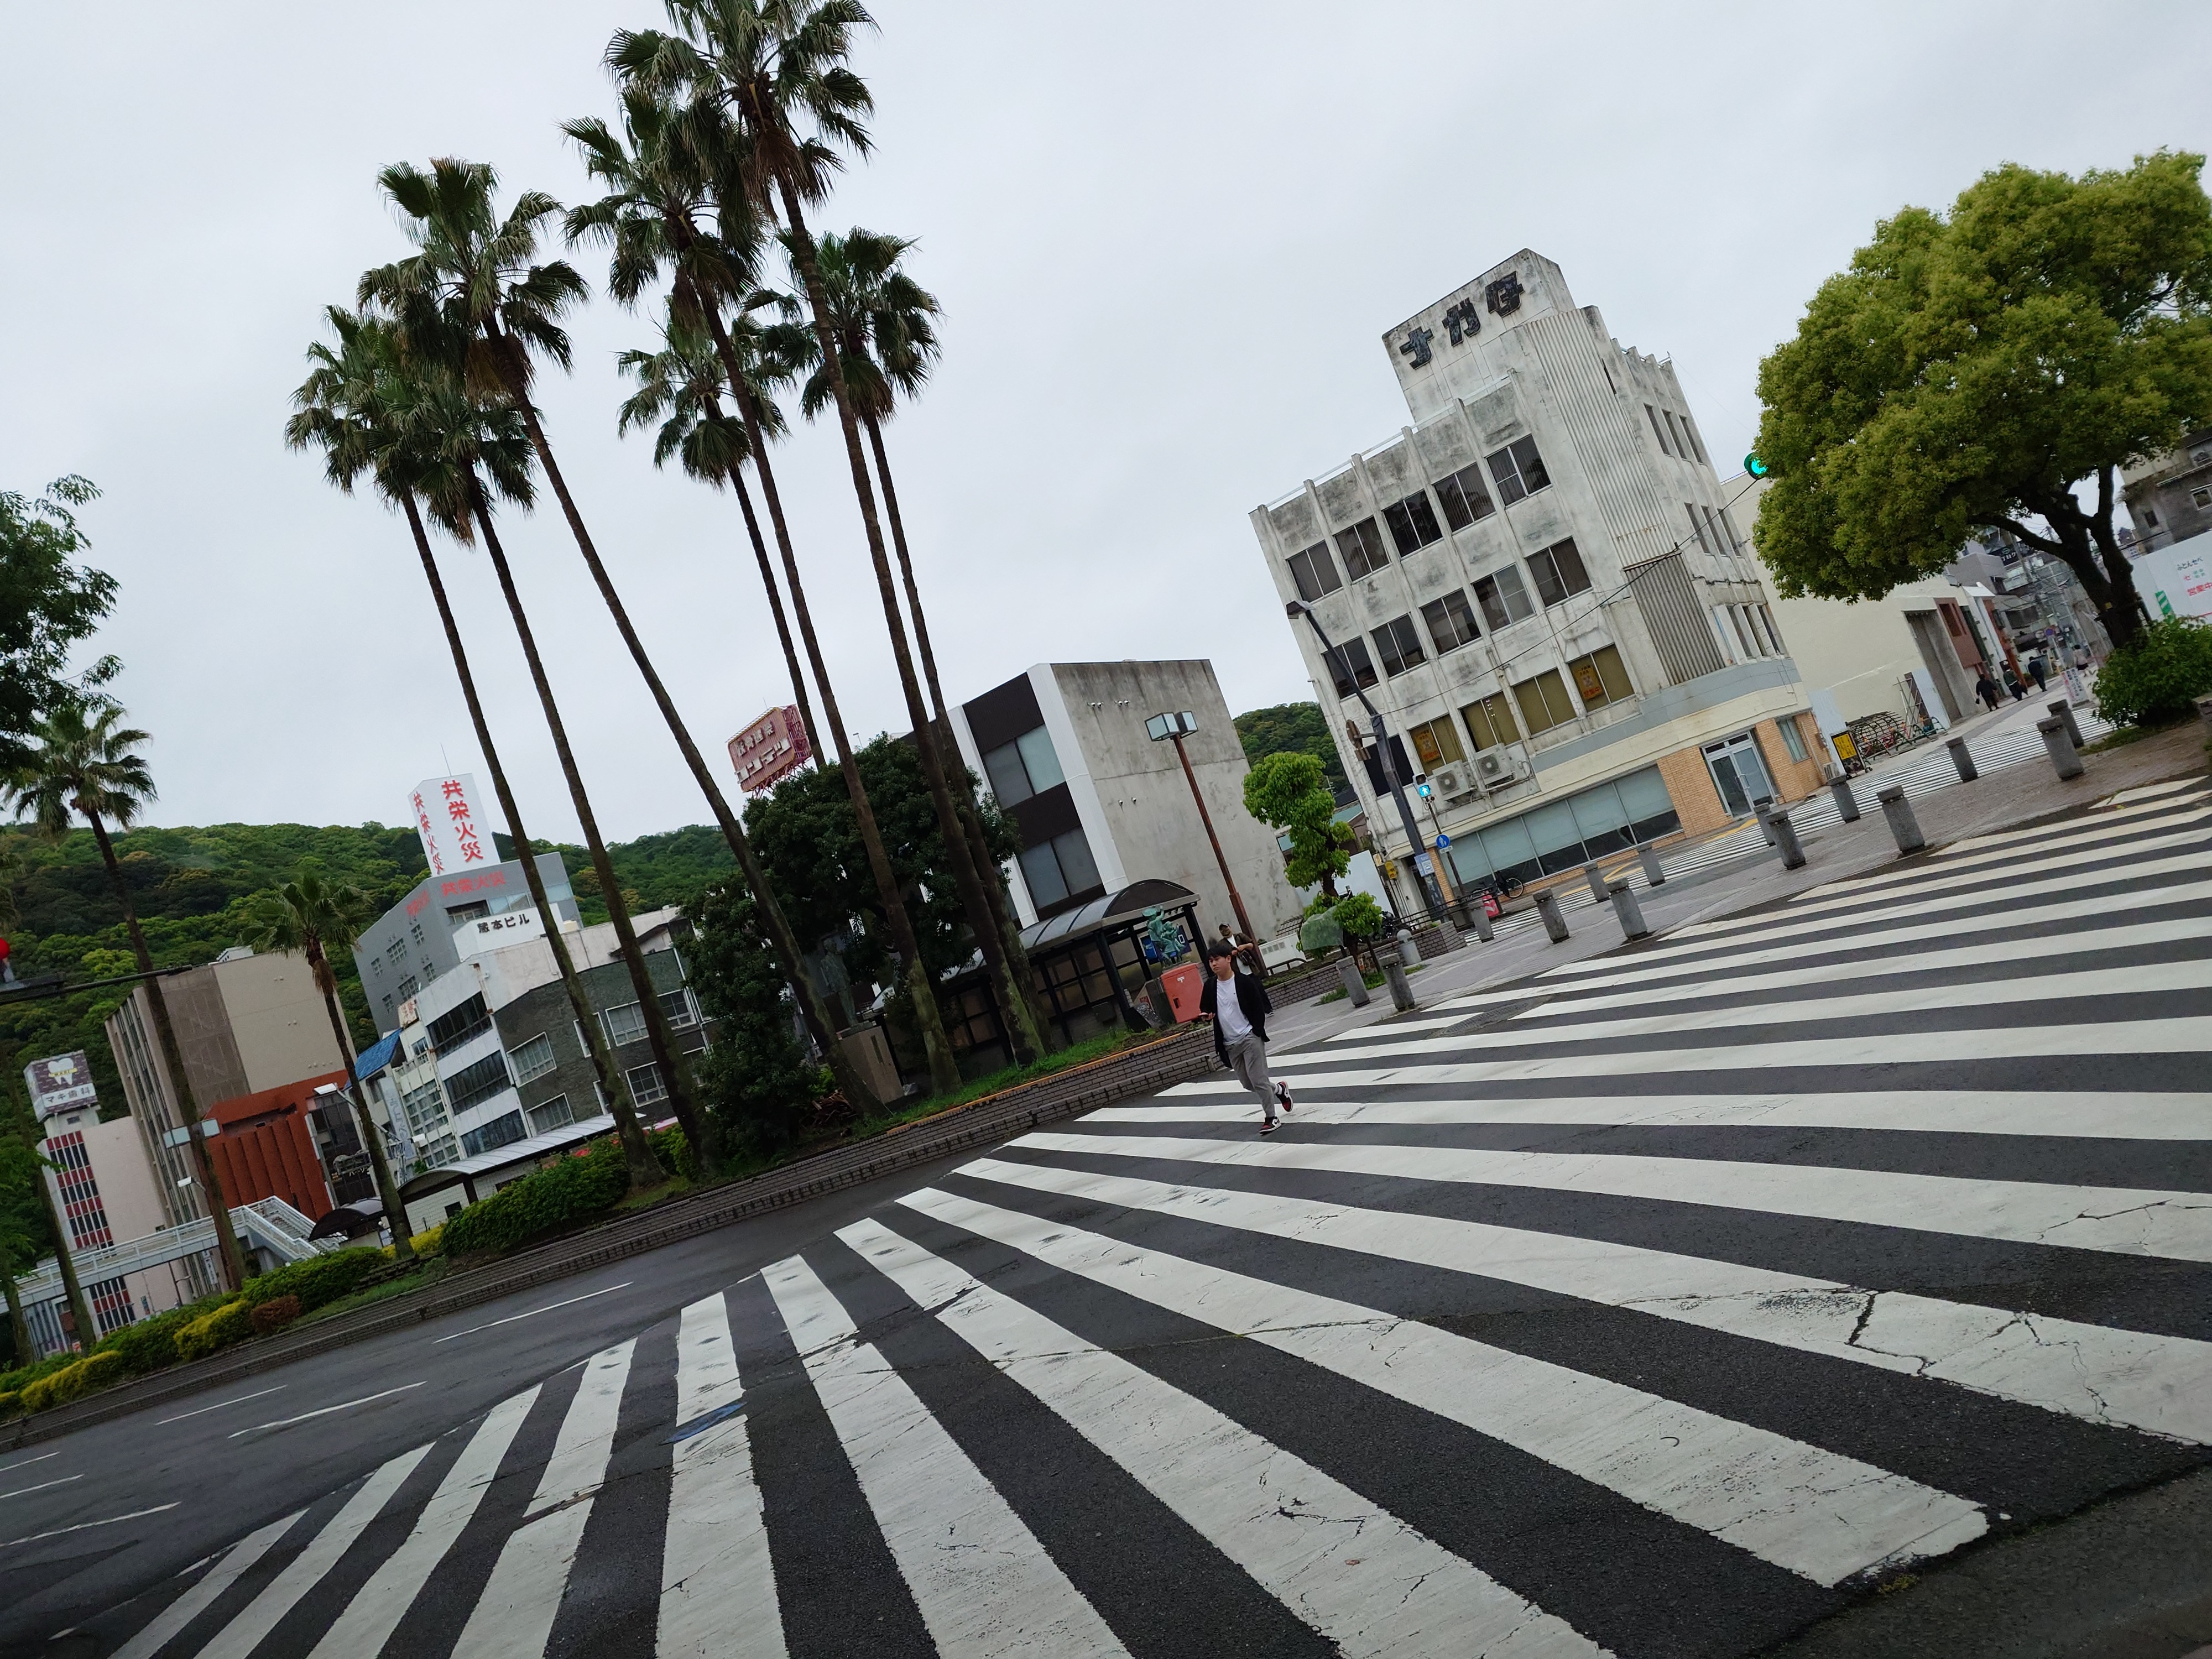
商店街を出た向かいでは再開発が進んでいるのか、大きな工事の囲いが見えた。ふとんセベ営業中の文字が珍しく、ちょっと驚いた。まず個人の寝具店が今現在まだ残っていて、こういった看板を出すほど精力的にやっているのだなと。
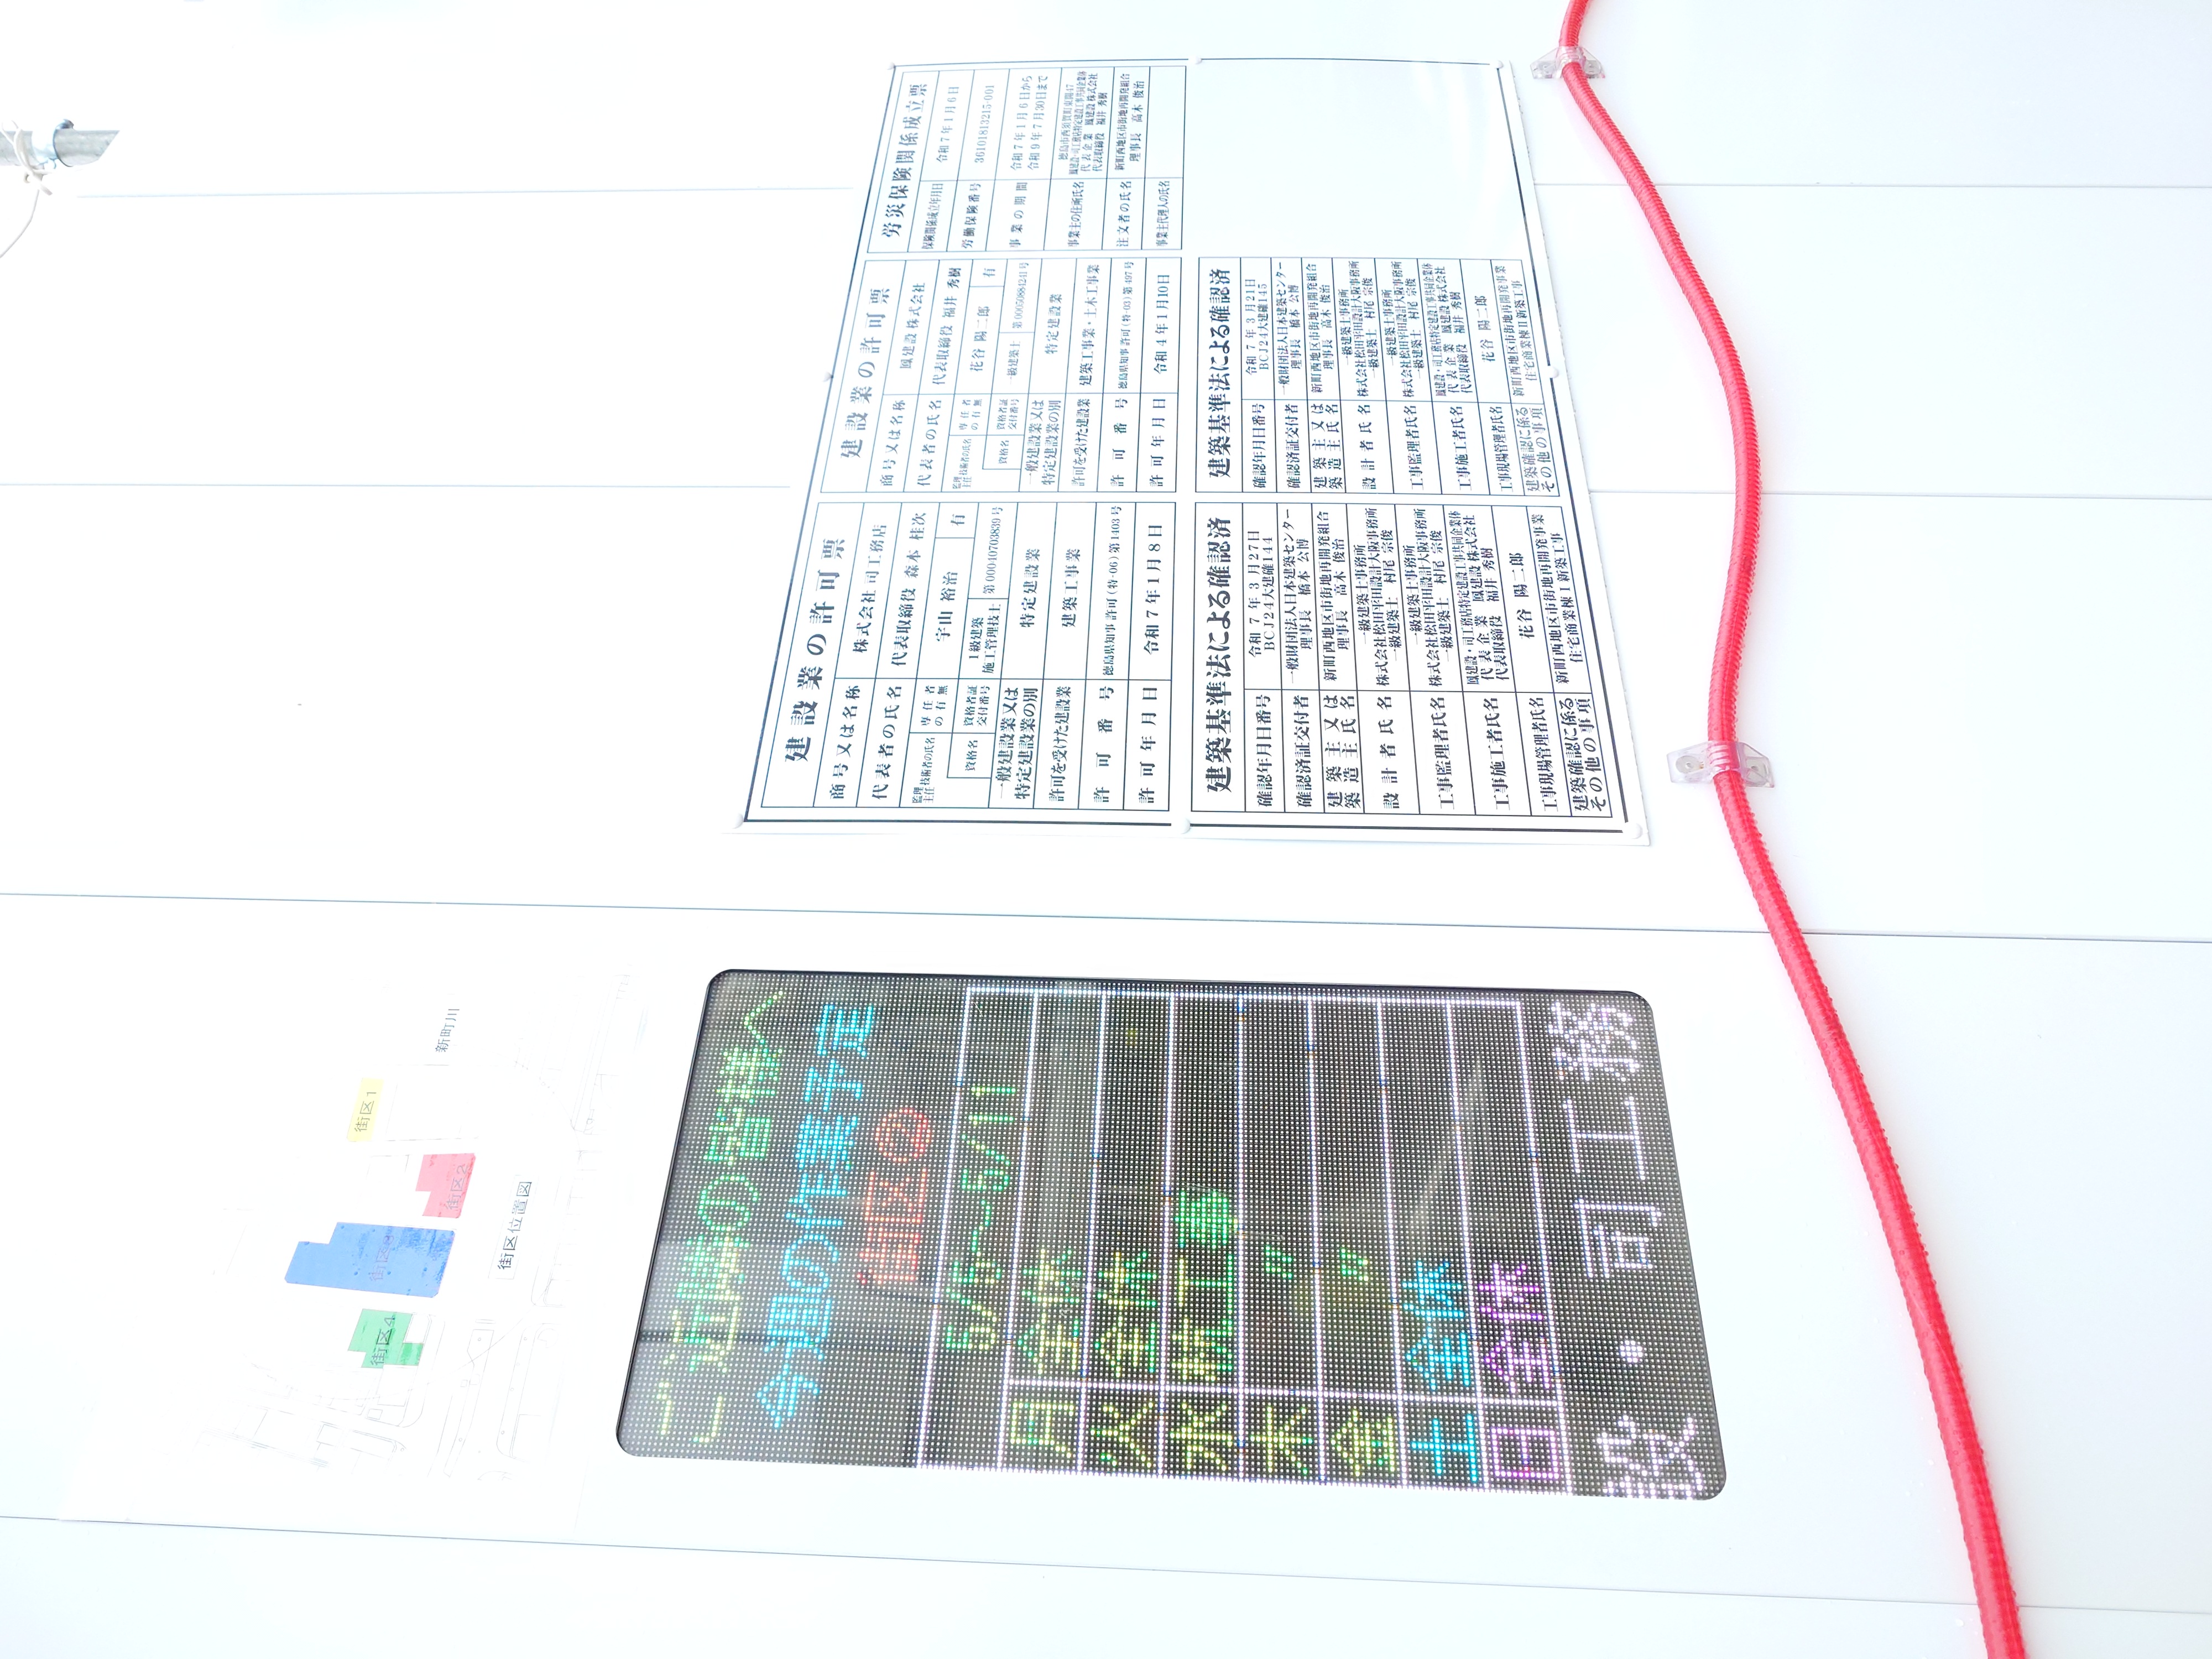
徳島みたいな地方の工事でも電光掲示板程度は備えられているのだなと感心した。三宮だと電光掲示板に加え、液晶ディスプレイもみられる。正直ホワイトボードでいいと思う。
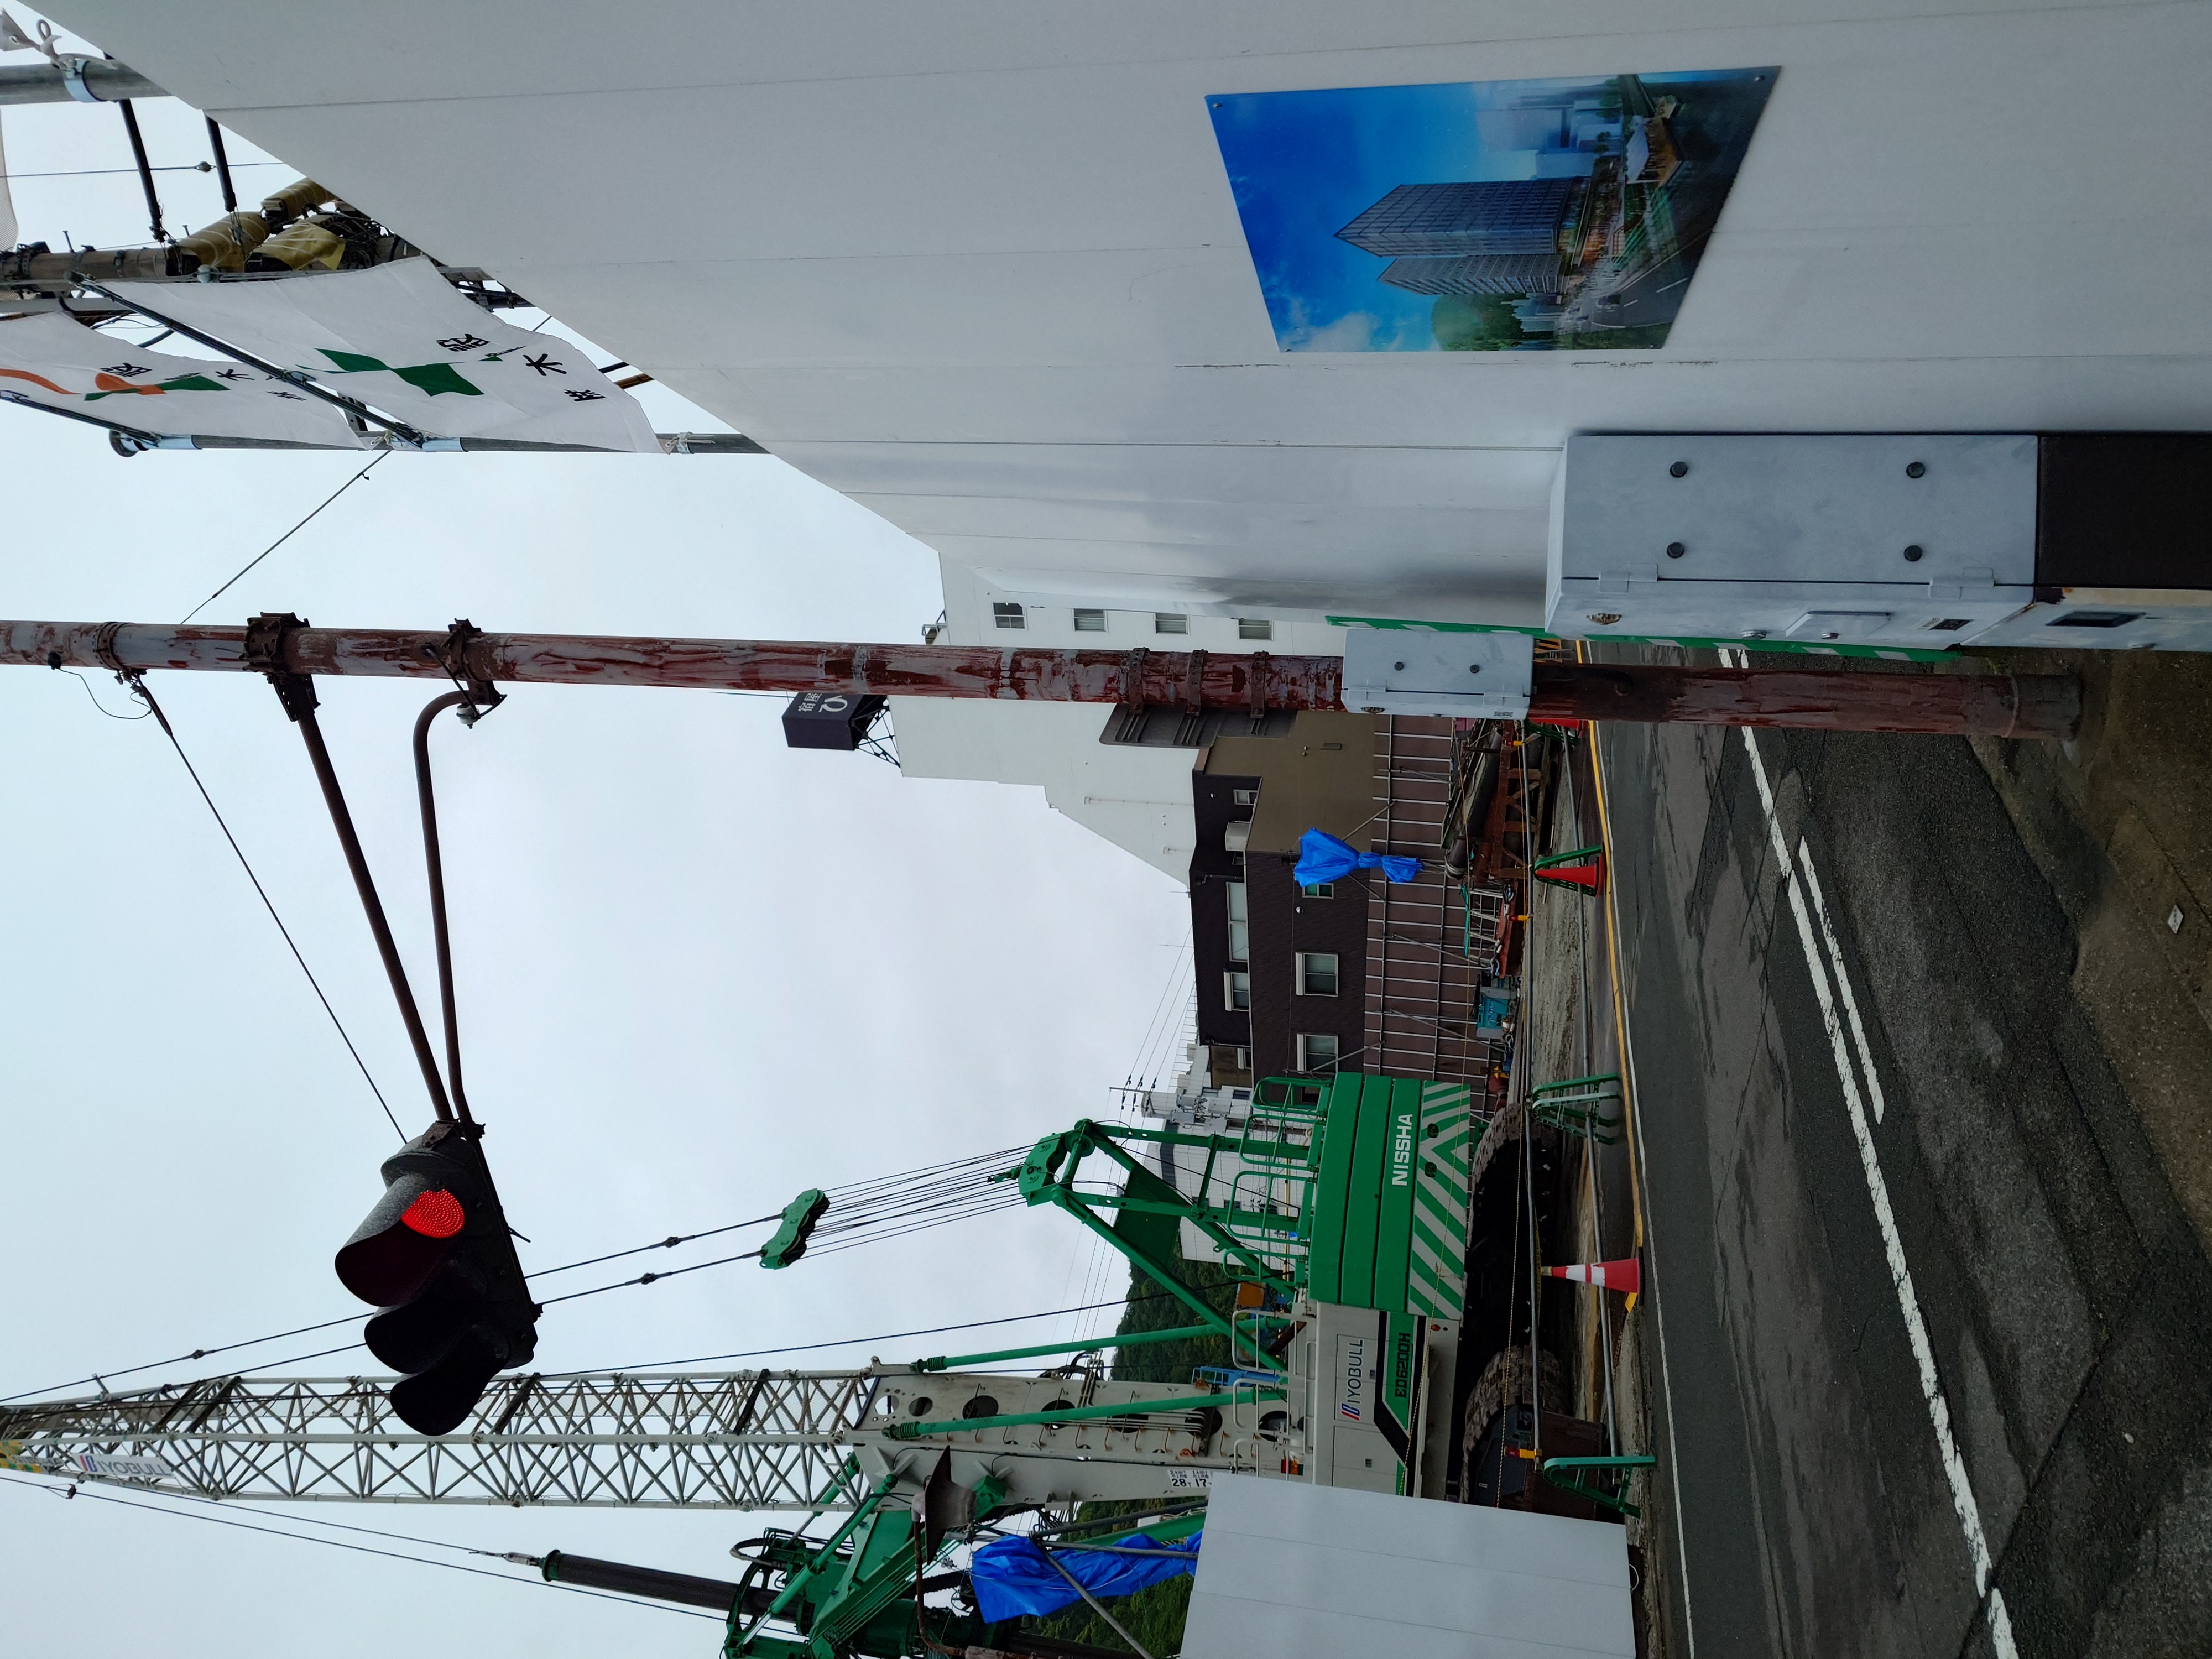
工事現場にはIYOBULLと書かれた大型建機がおいてあった。絶対伊予ブルドーザーだろこれと思ったらそうだった。やはり四国の建設は四国内から集まるのだろう。こういうのは徳島にはないのだろうか?
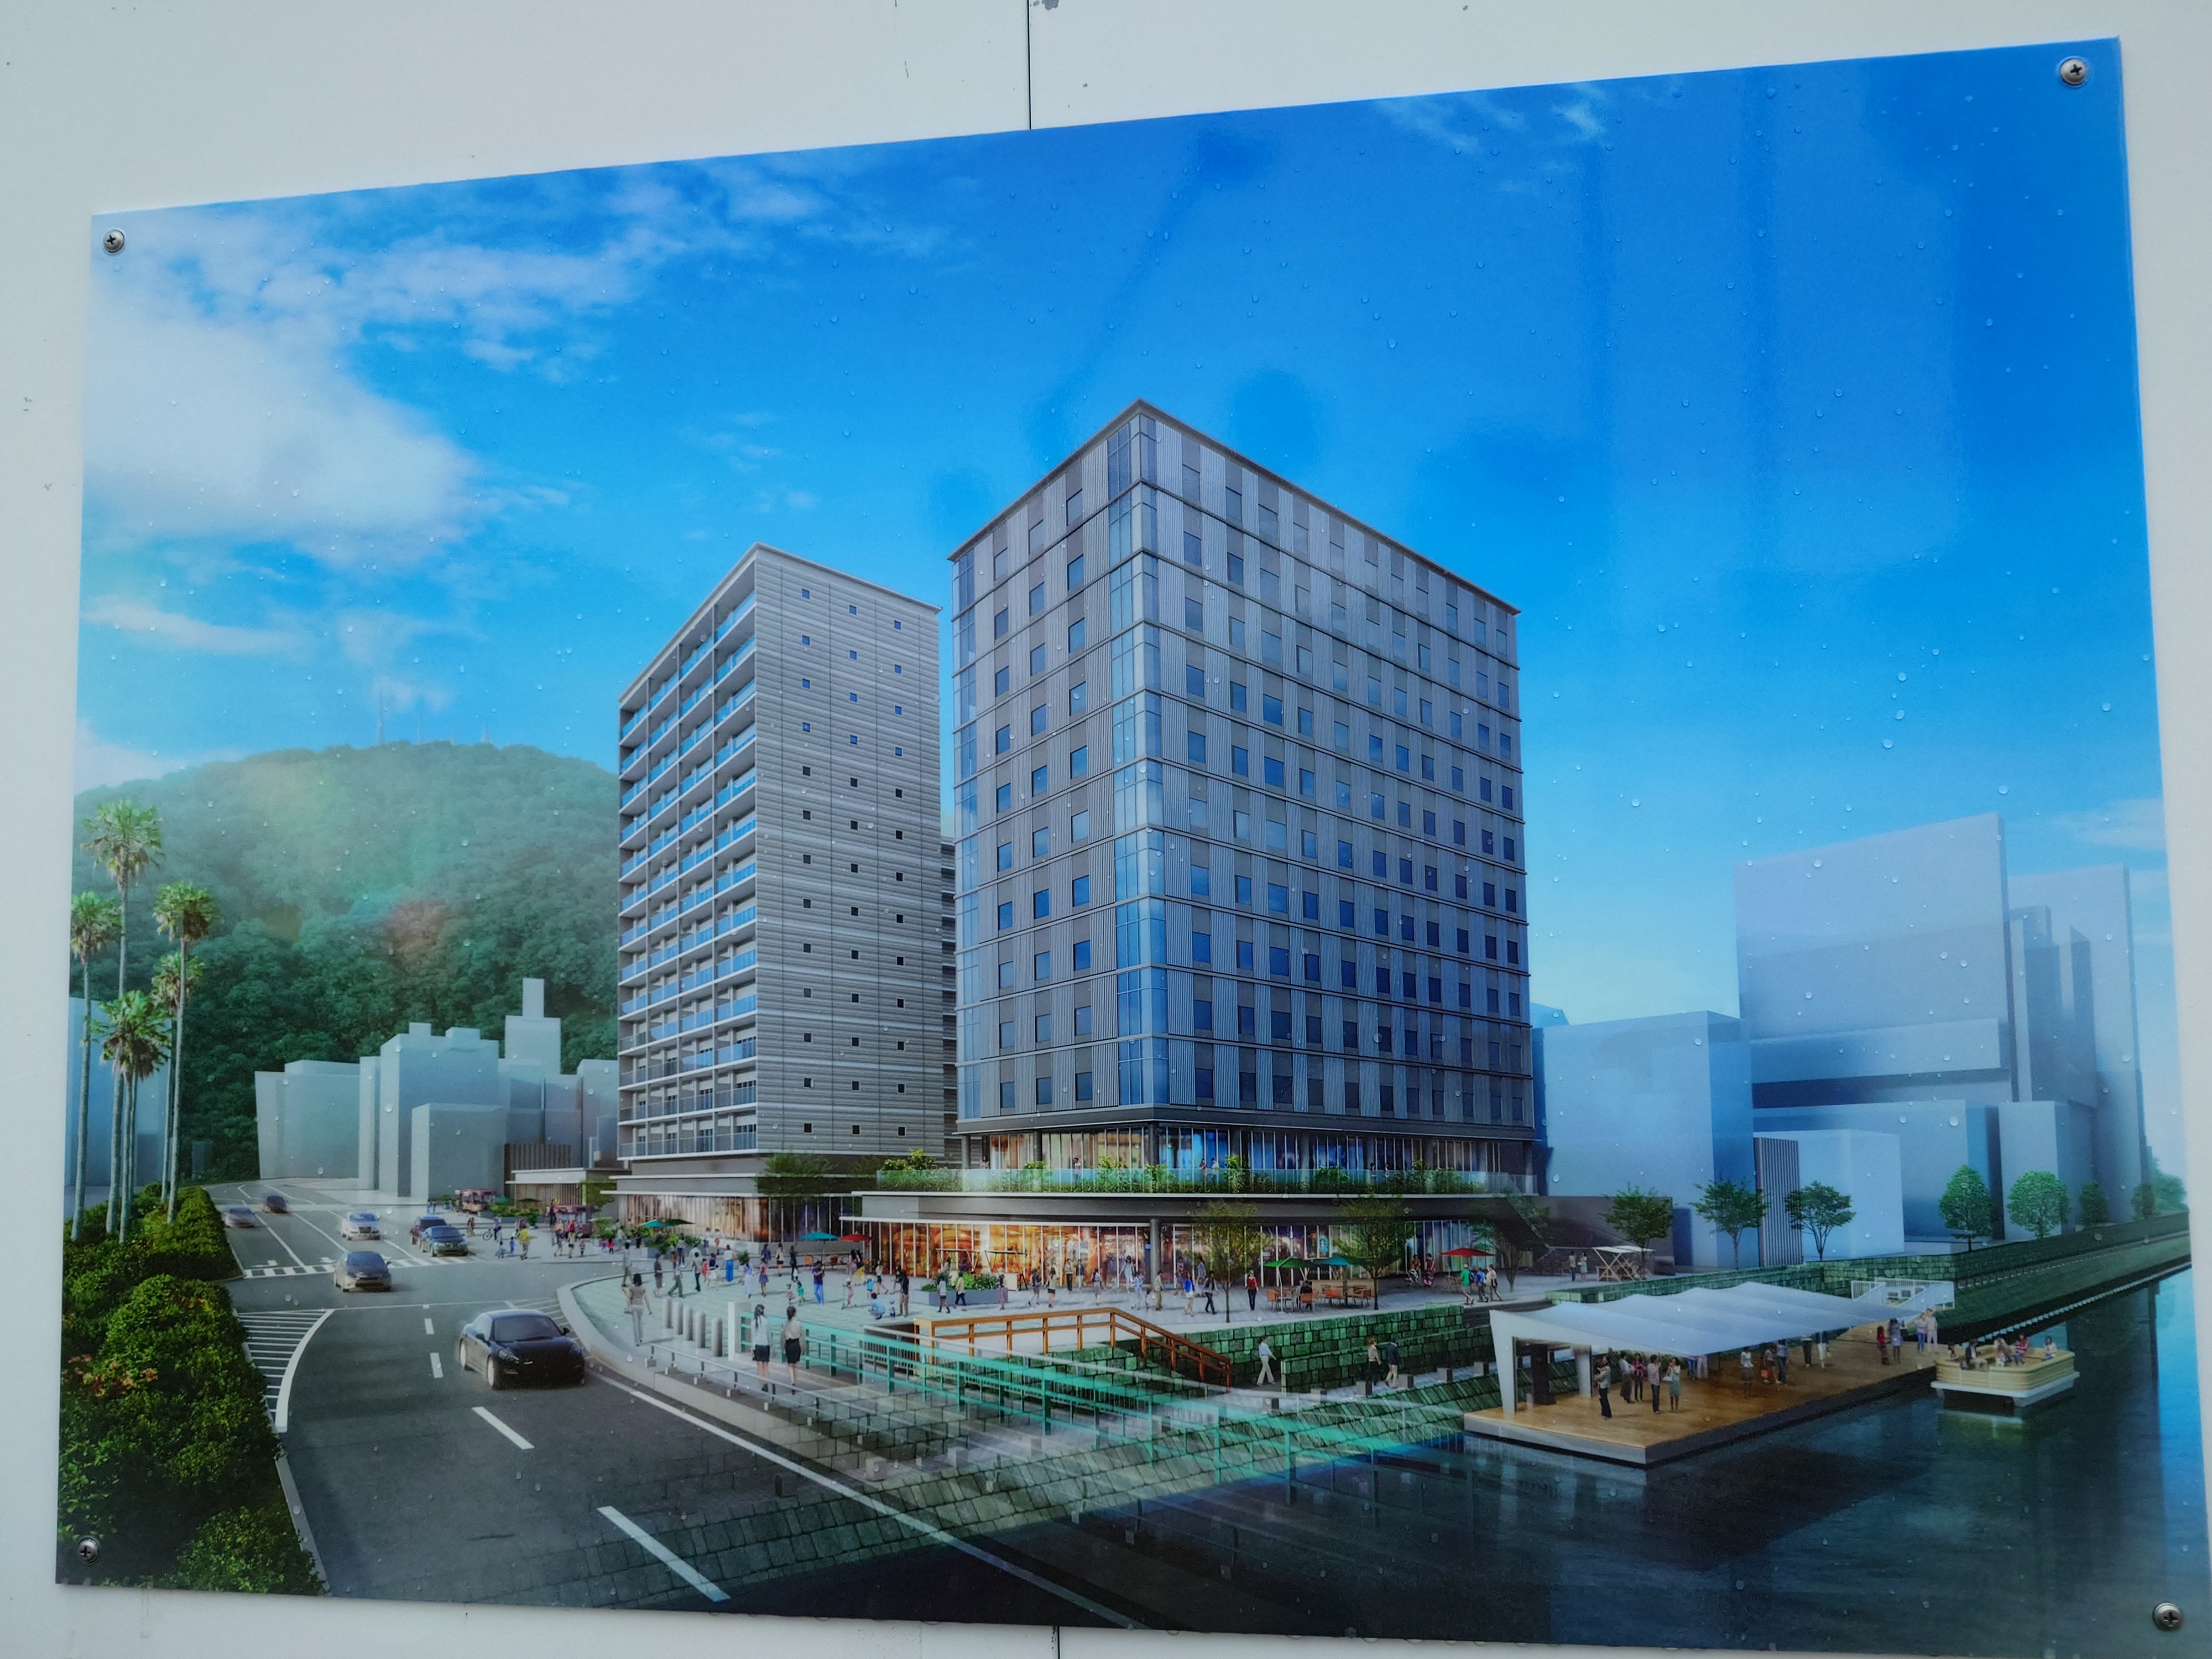
恐らく1Fが商業施設でそっから上がマンションみたいなのができるのかなと思った。

徳島の標識はびっくりするほど阿波踊りだった。
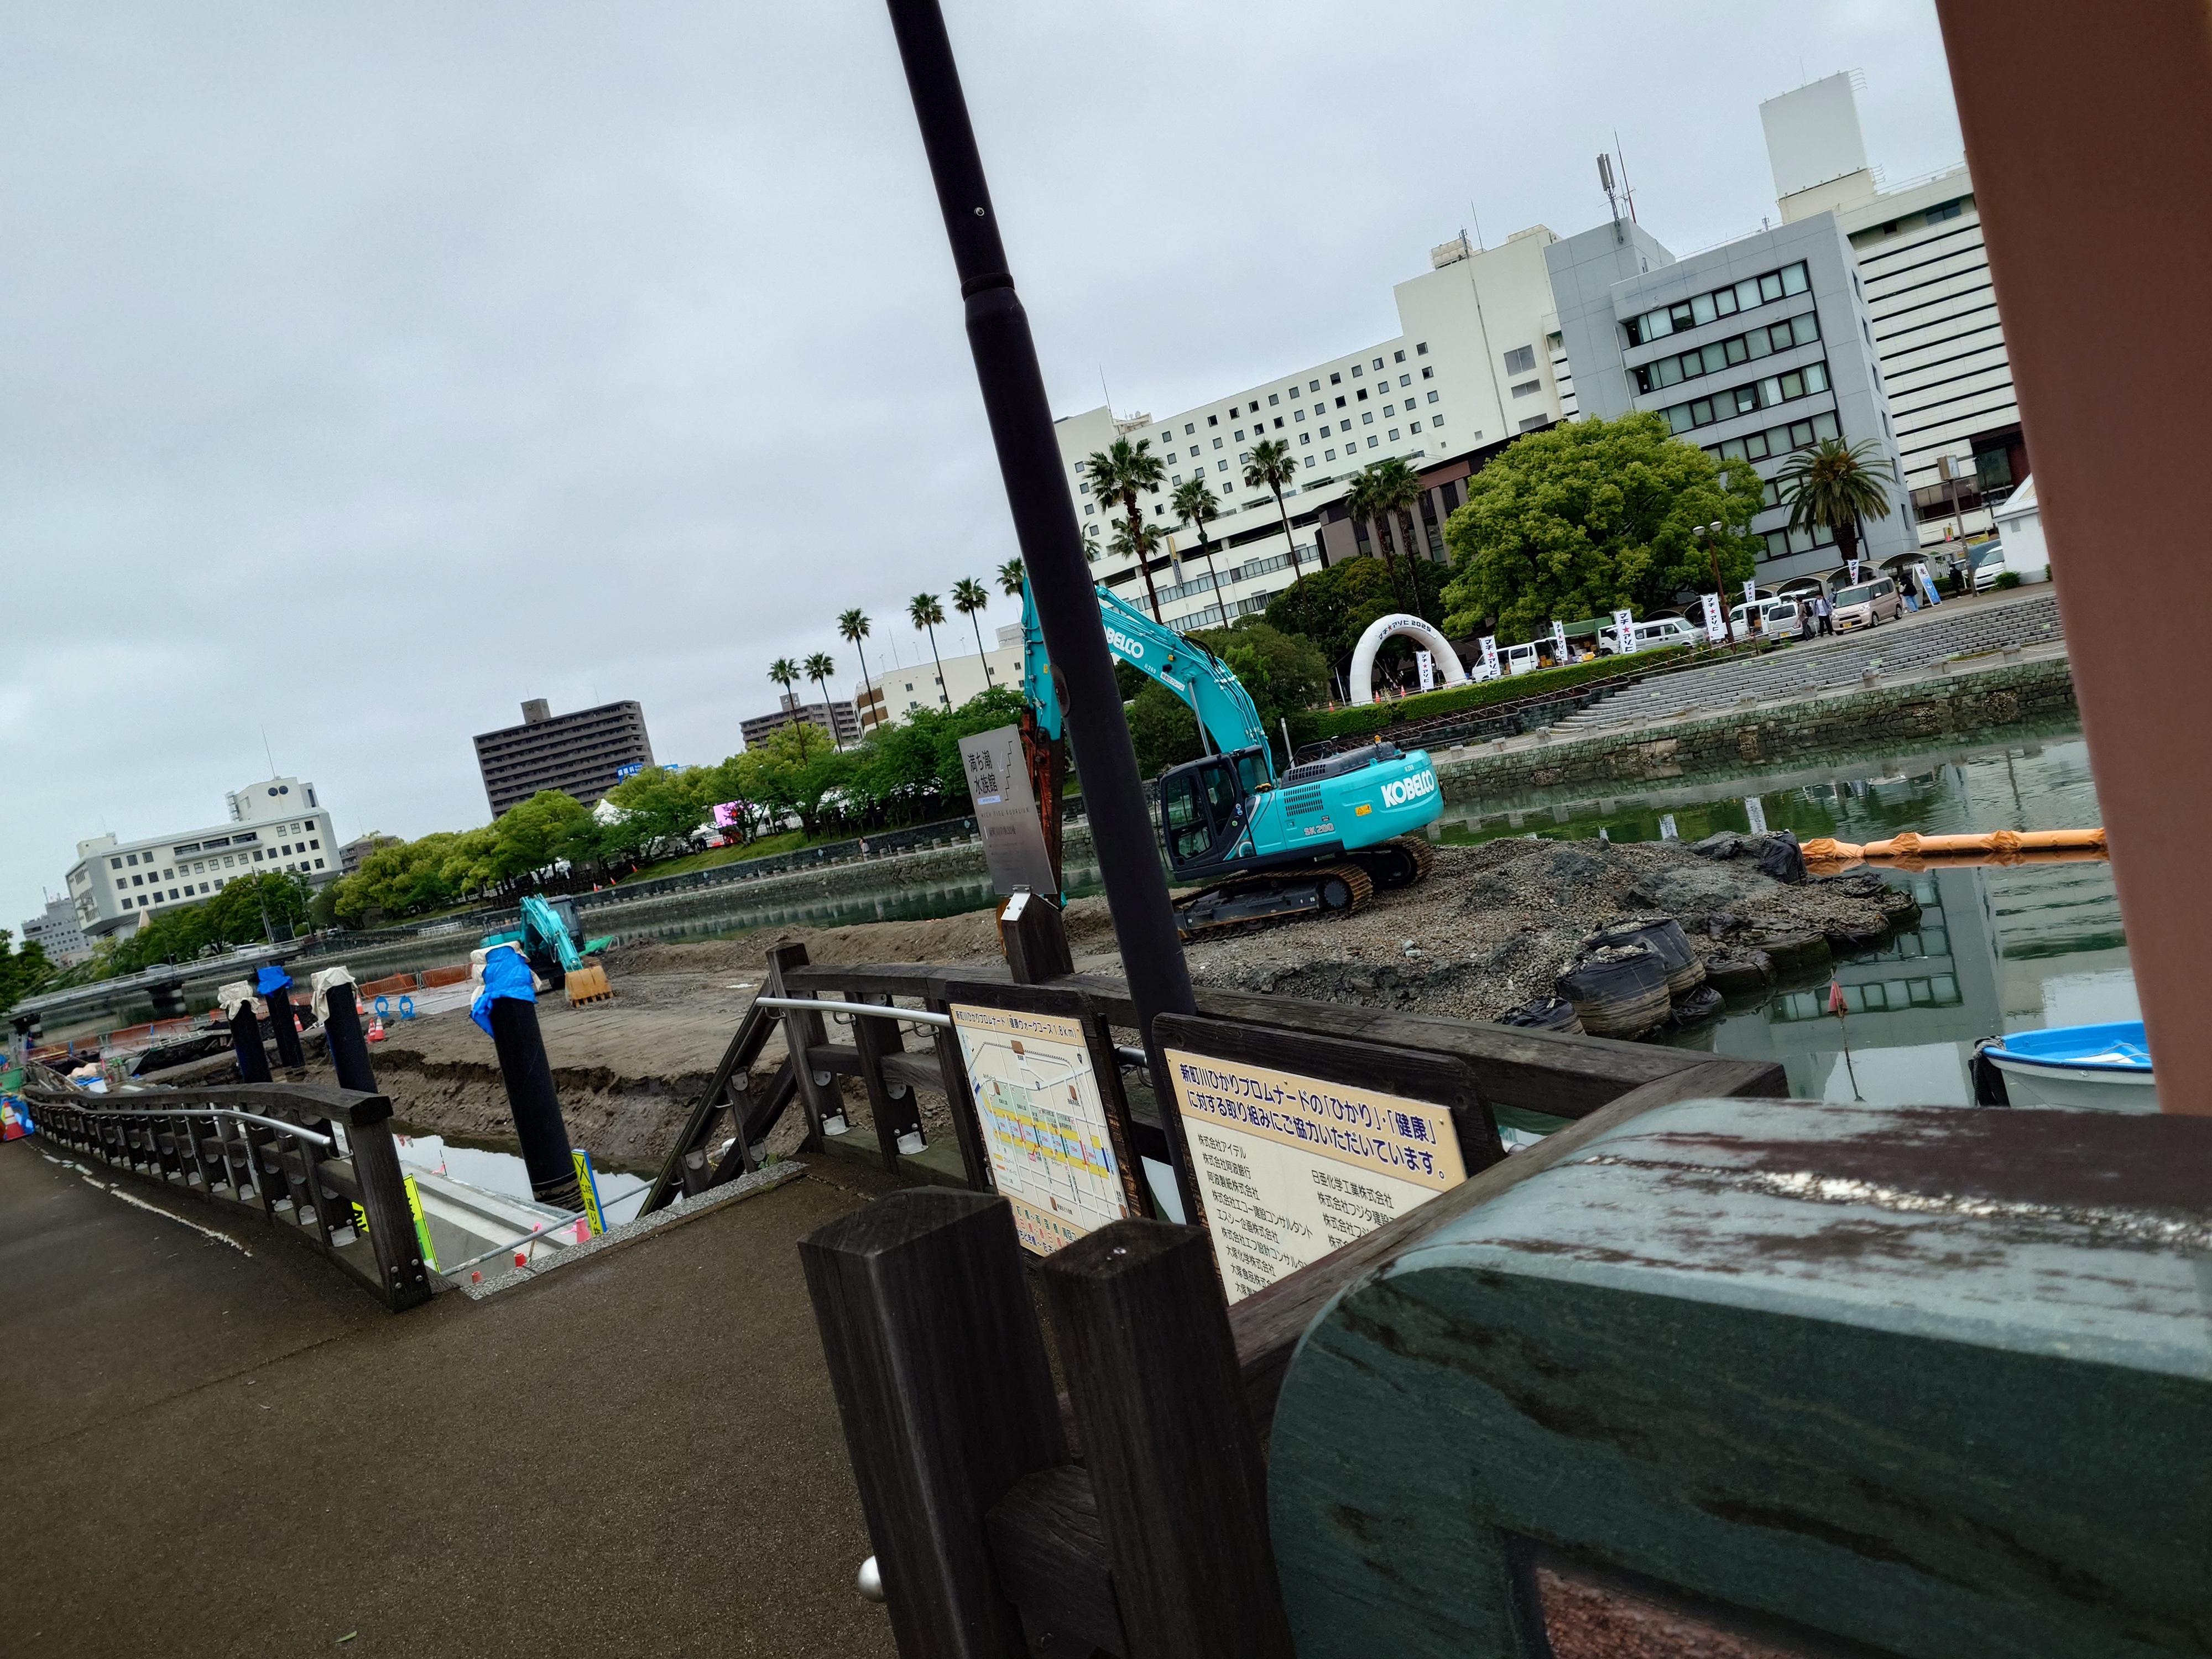
河川の工事ではコベルコ建機の機材もみられた。海を挟んで向こう側だからかな?
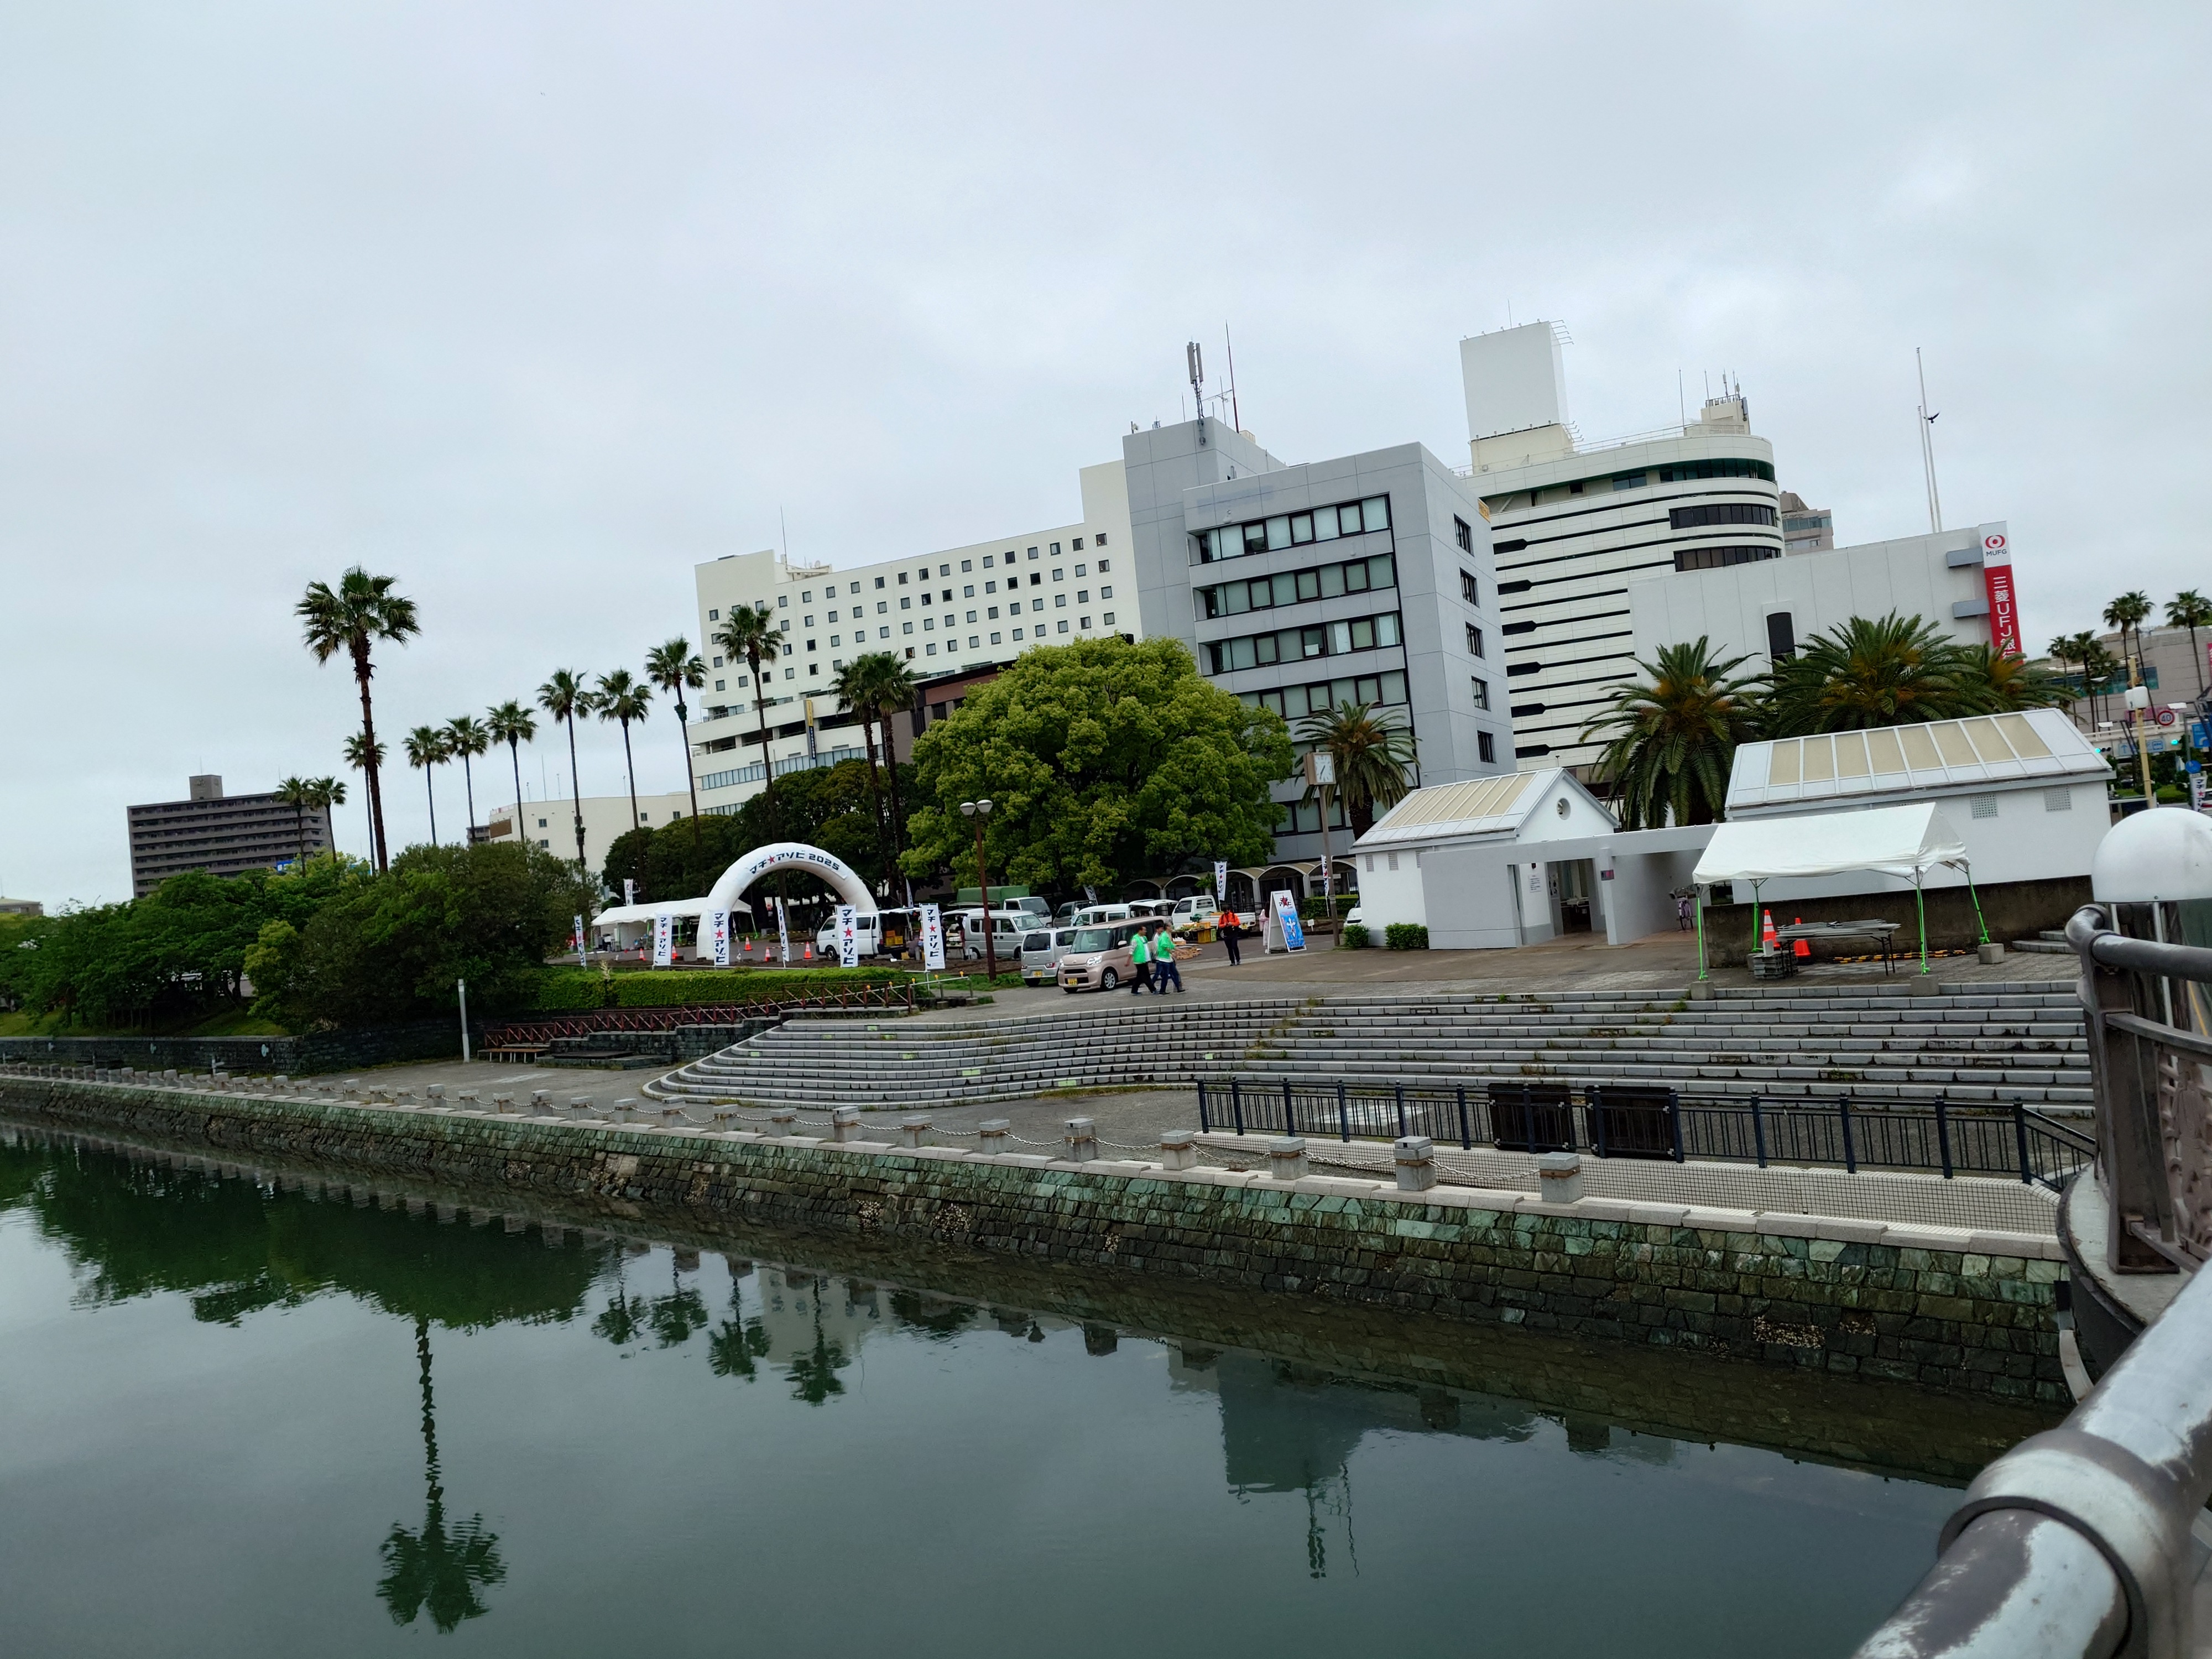
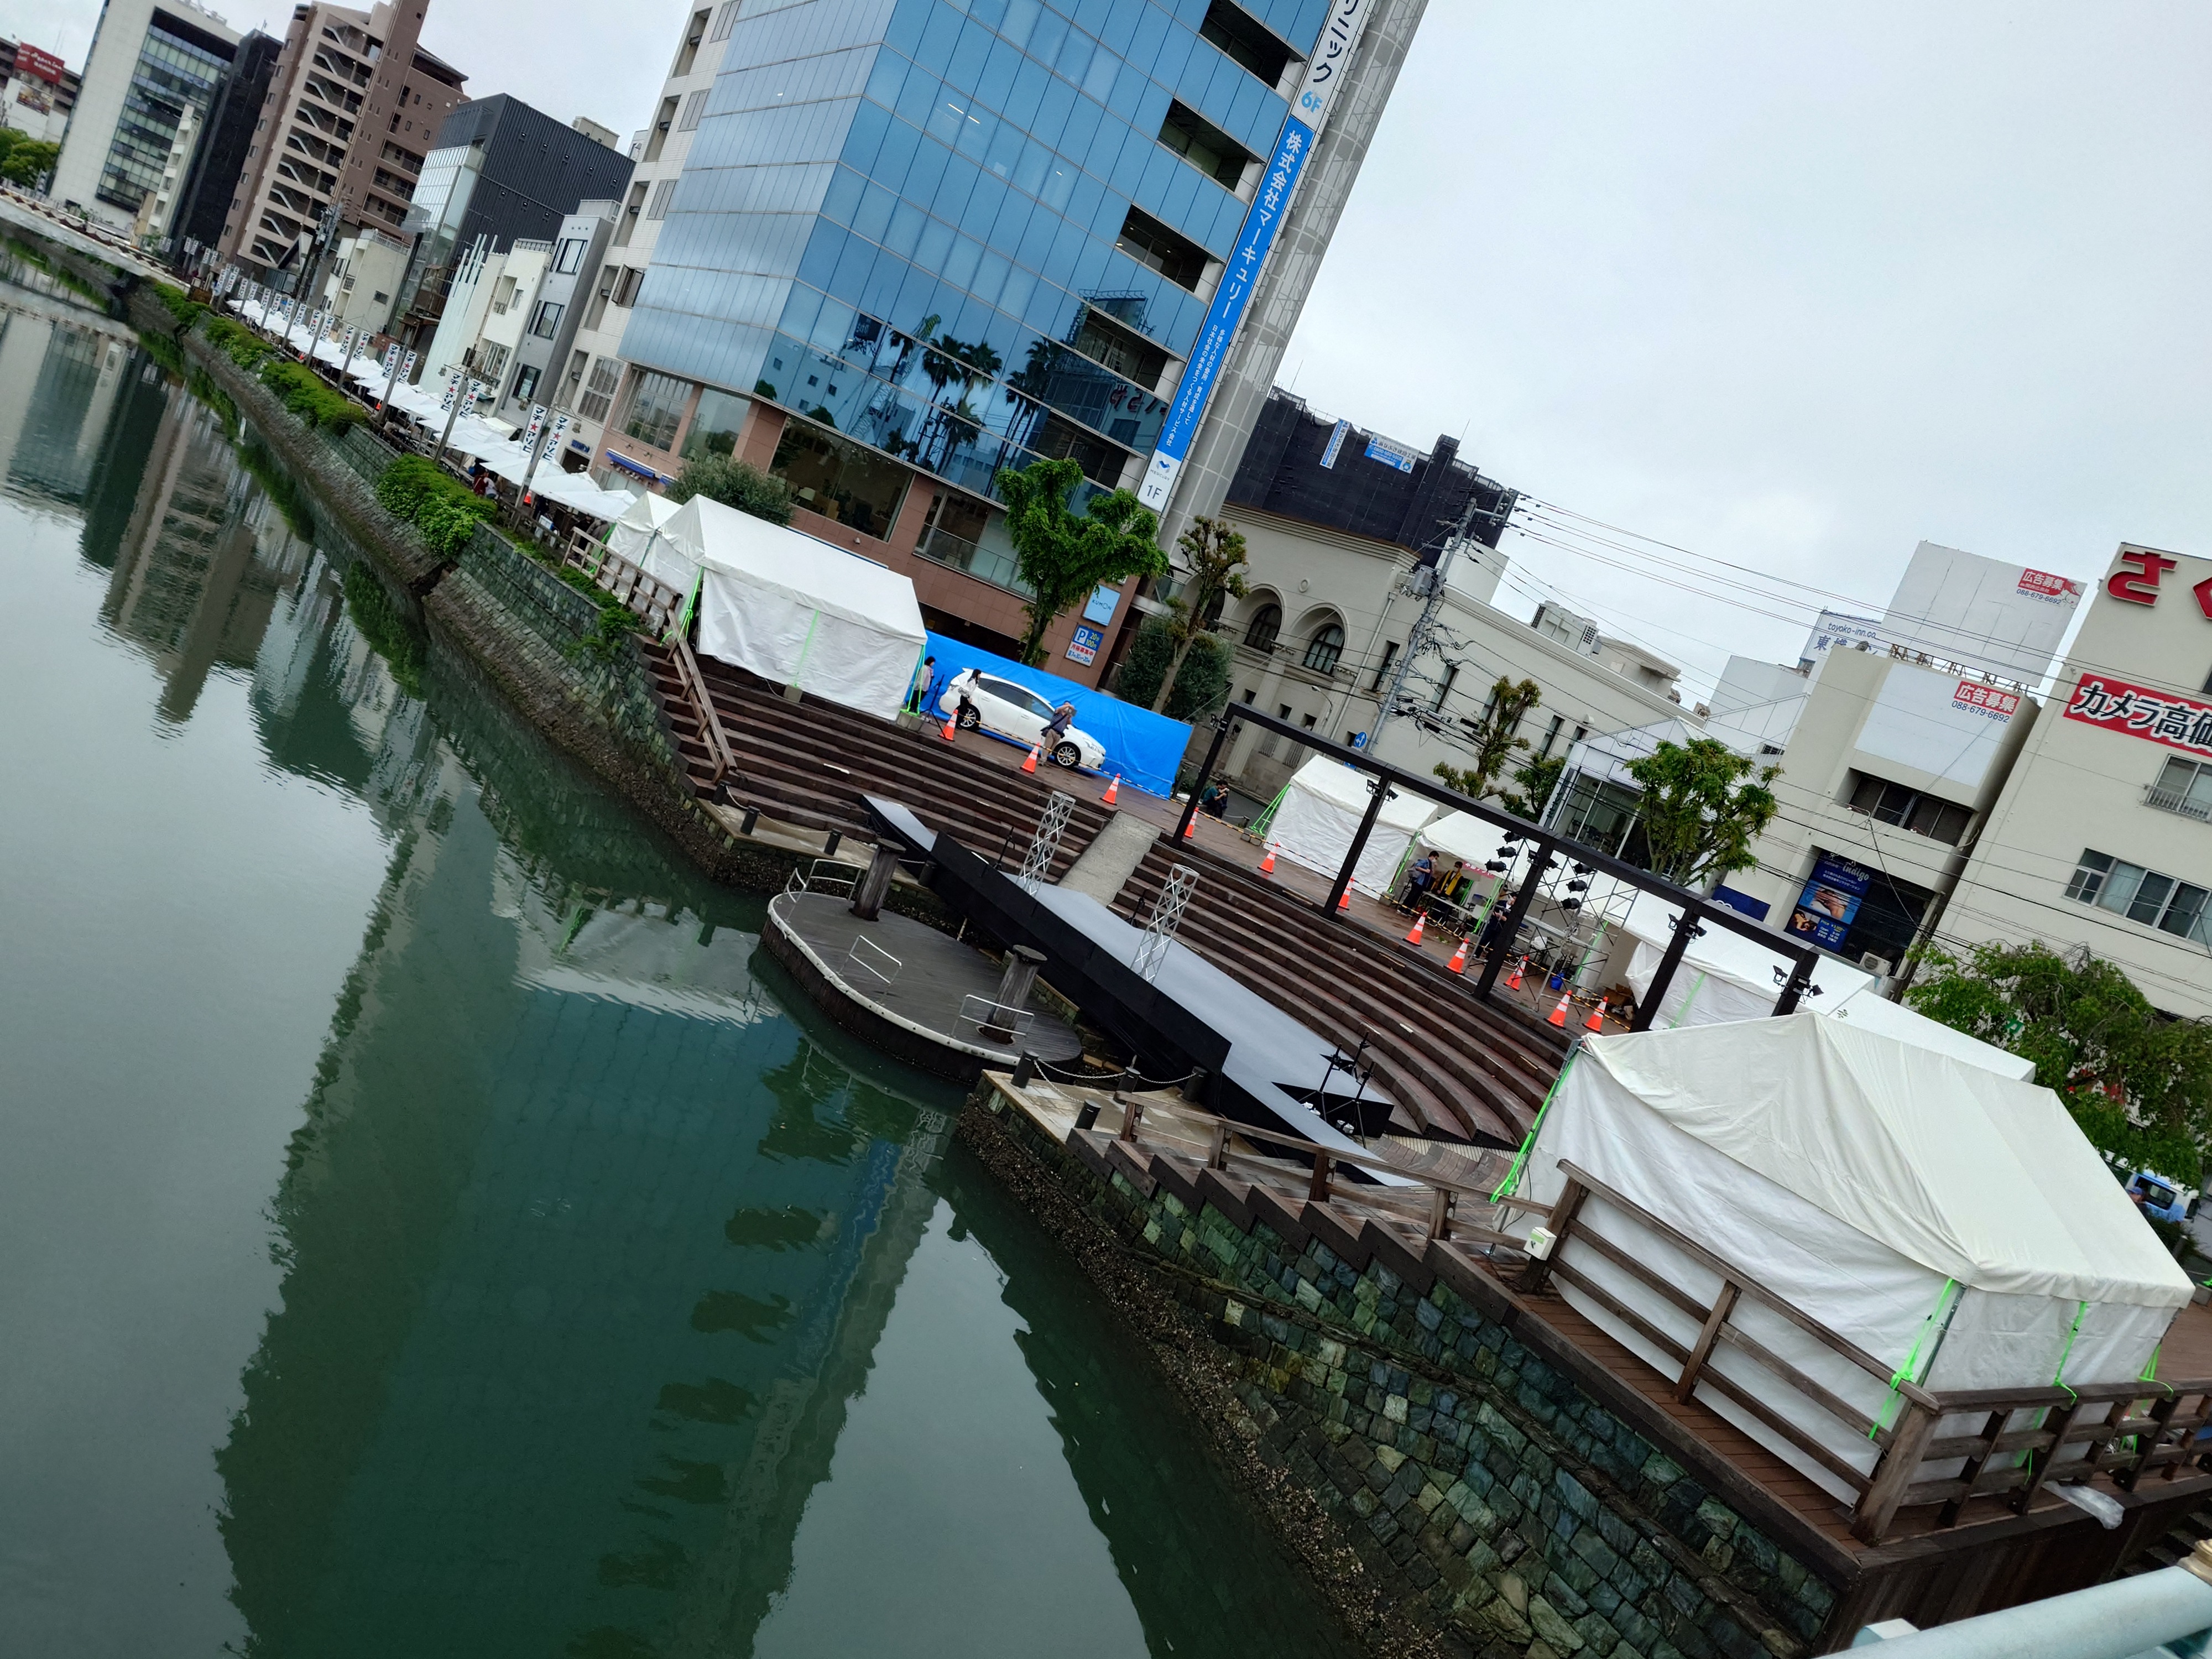
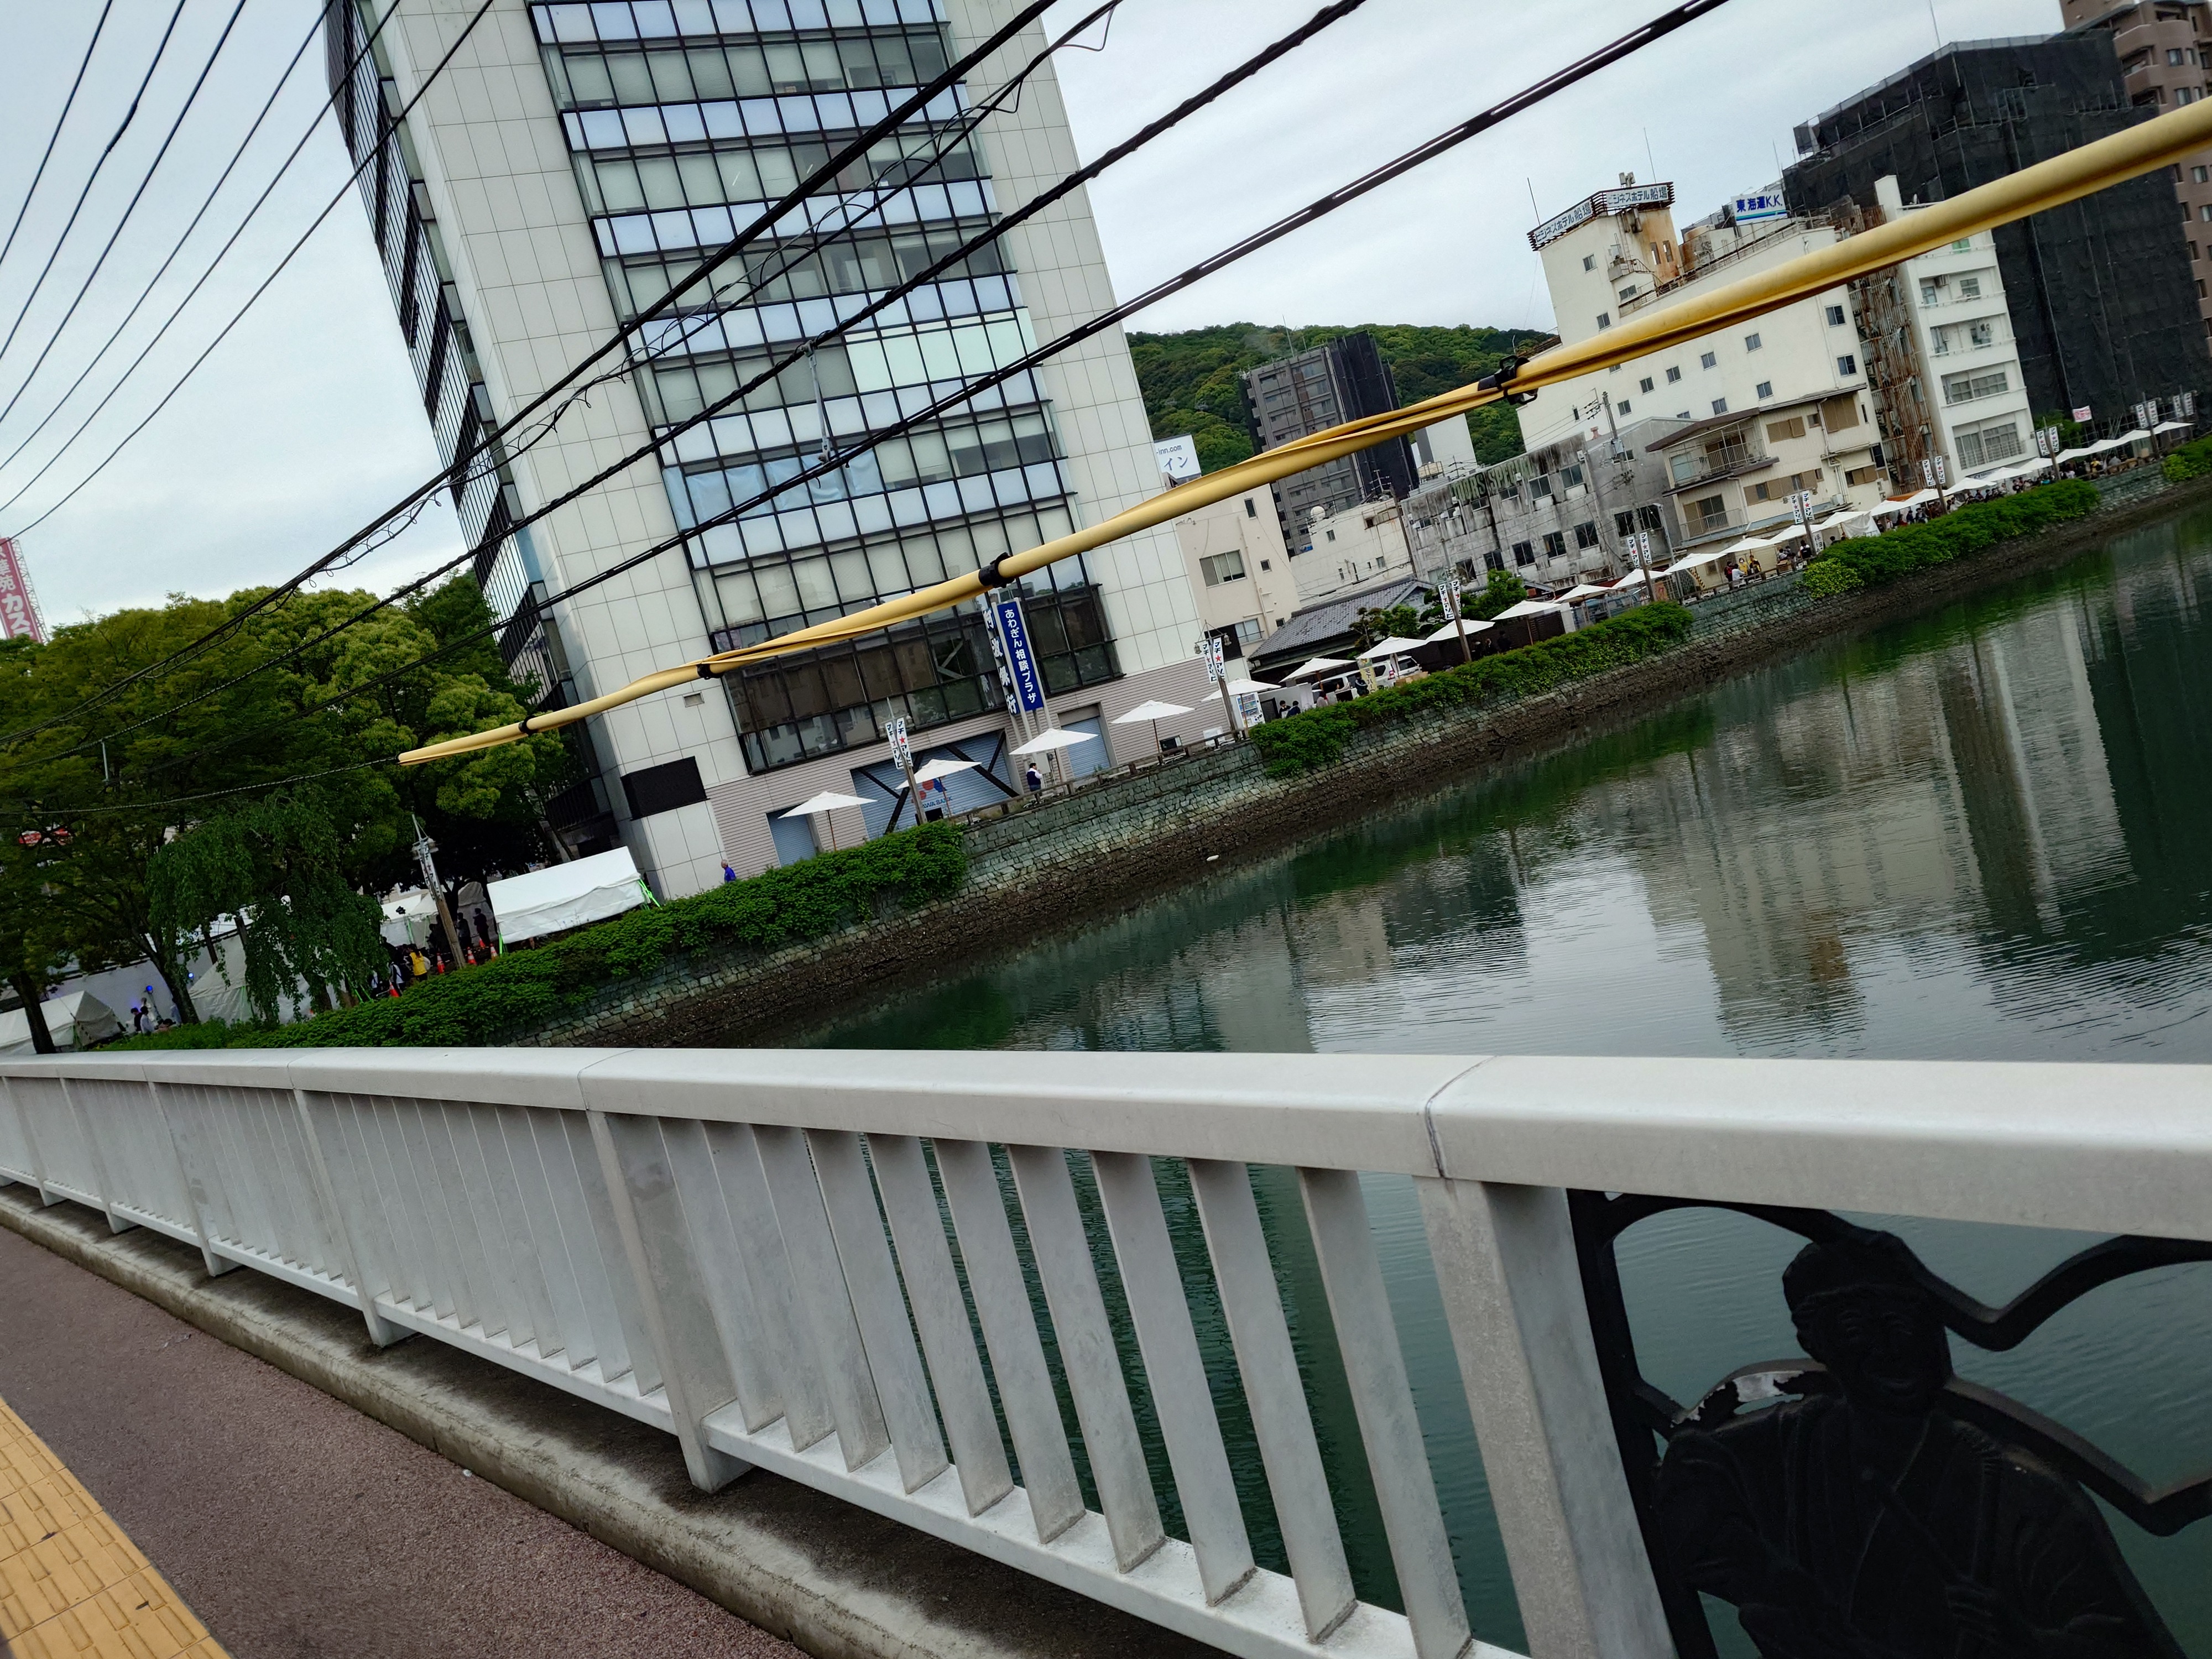
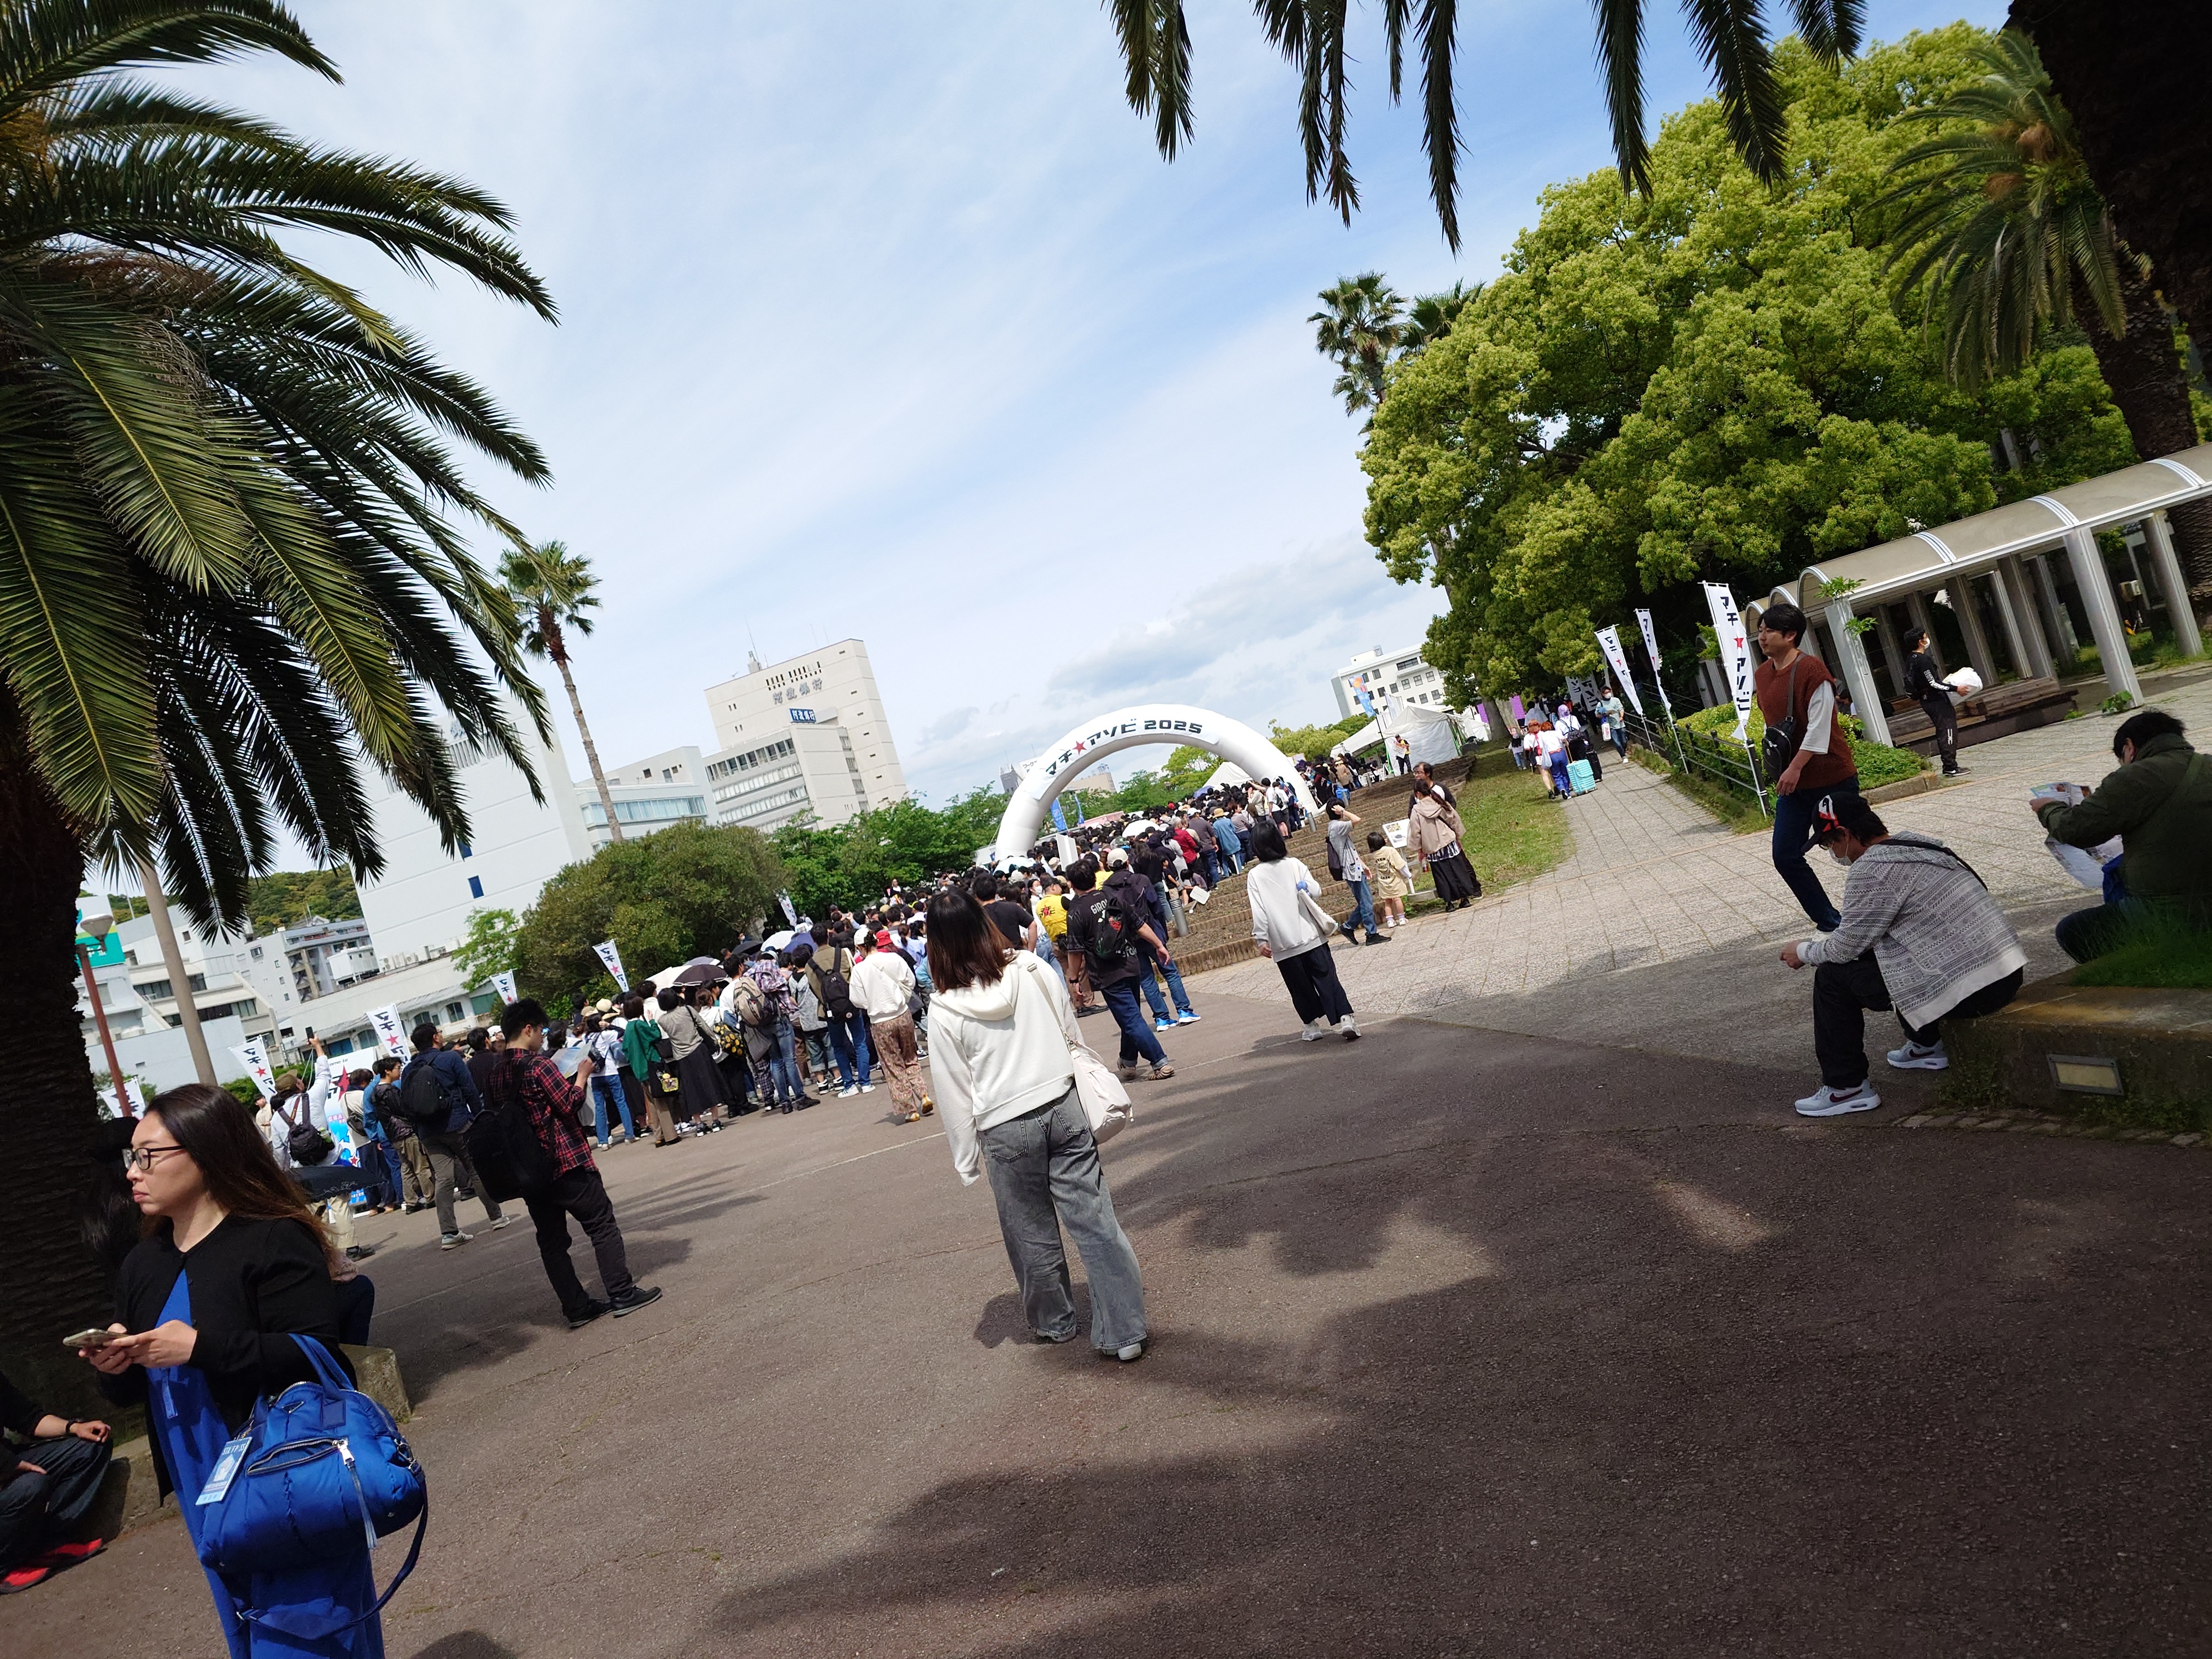
マチアソビのメインステージと思われる場所も見えた。
凄くマチアソビなモニターが表示されている。
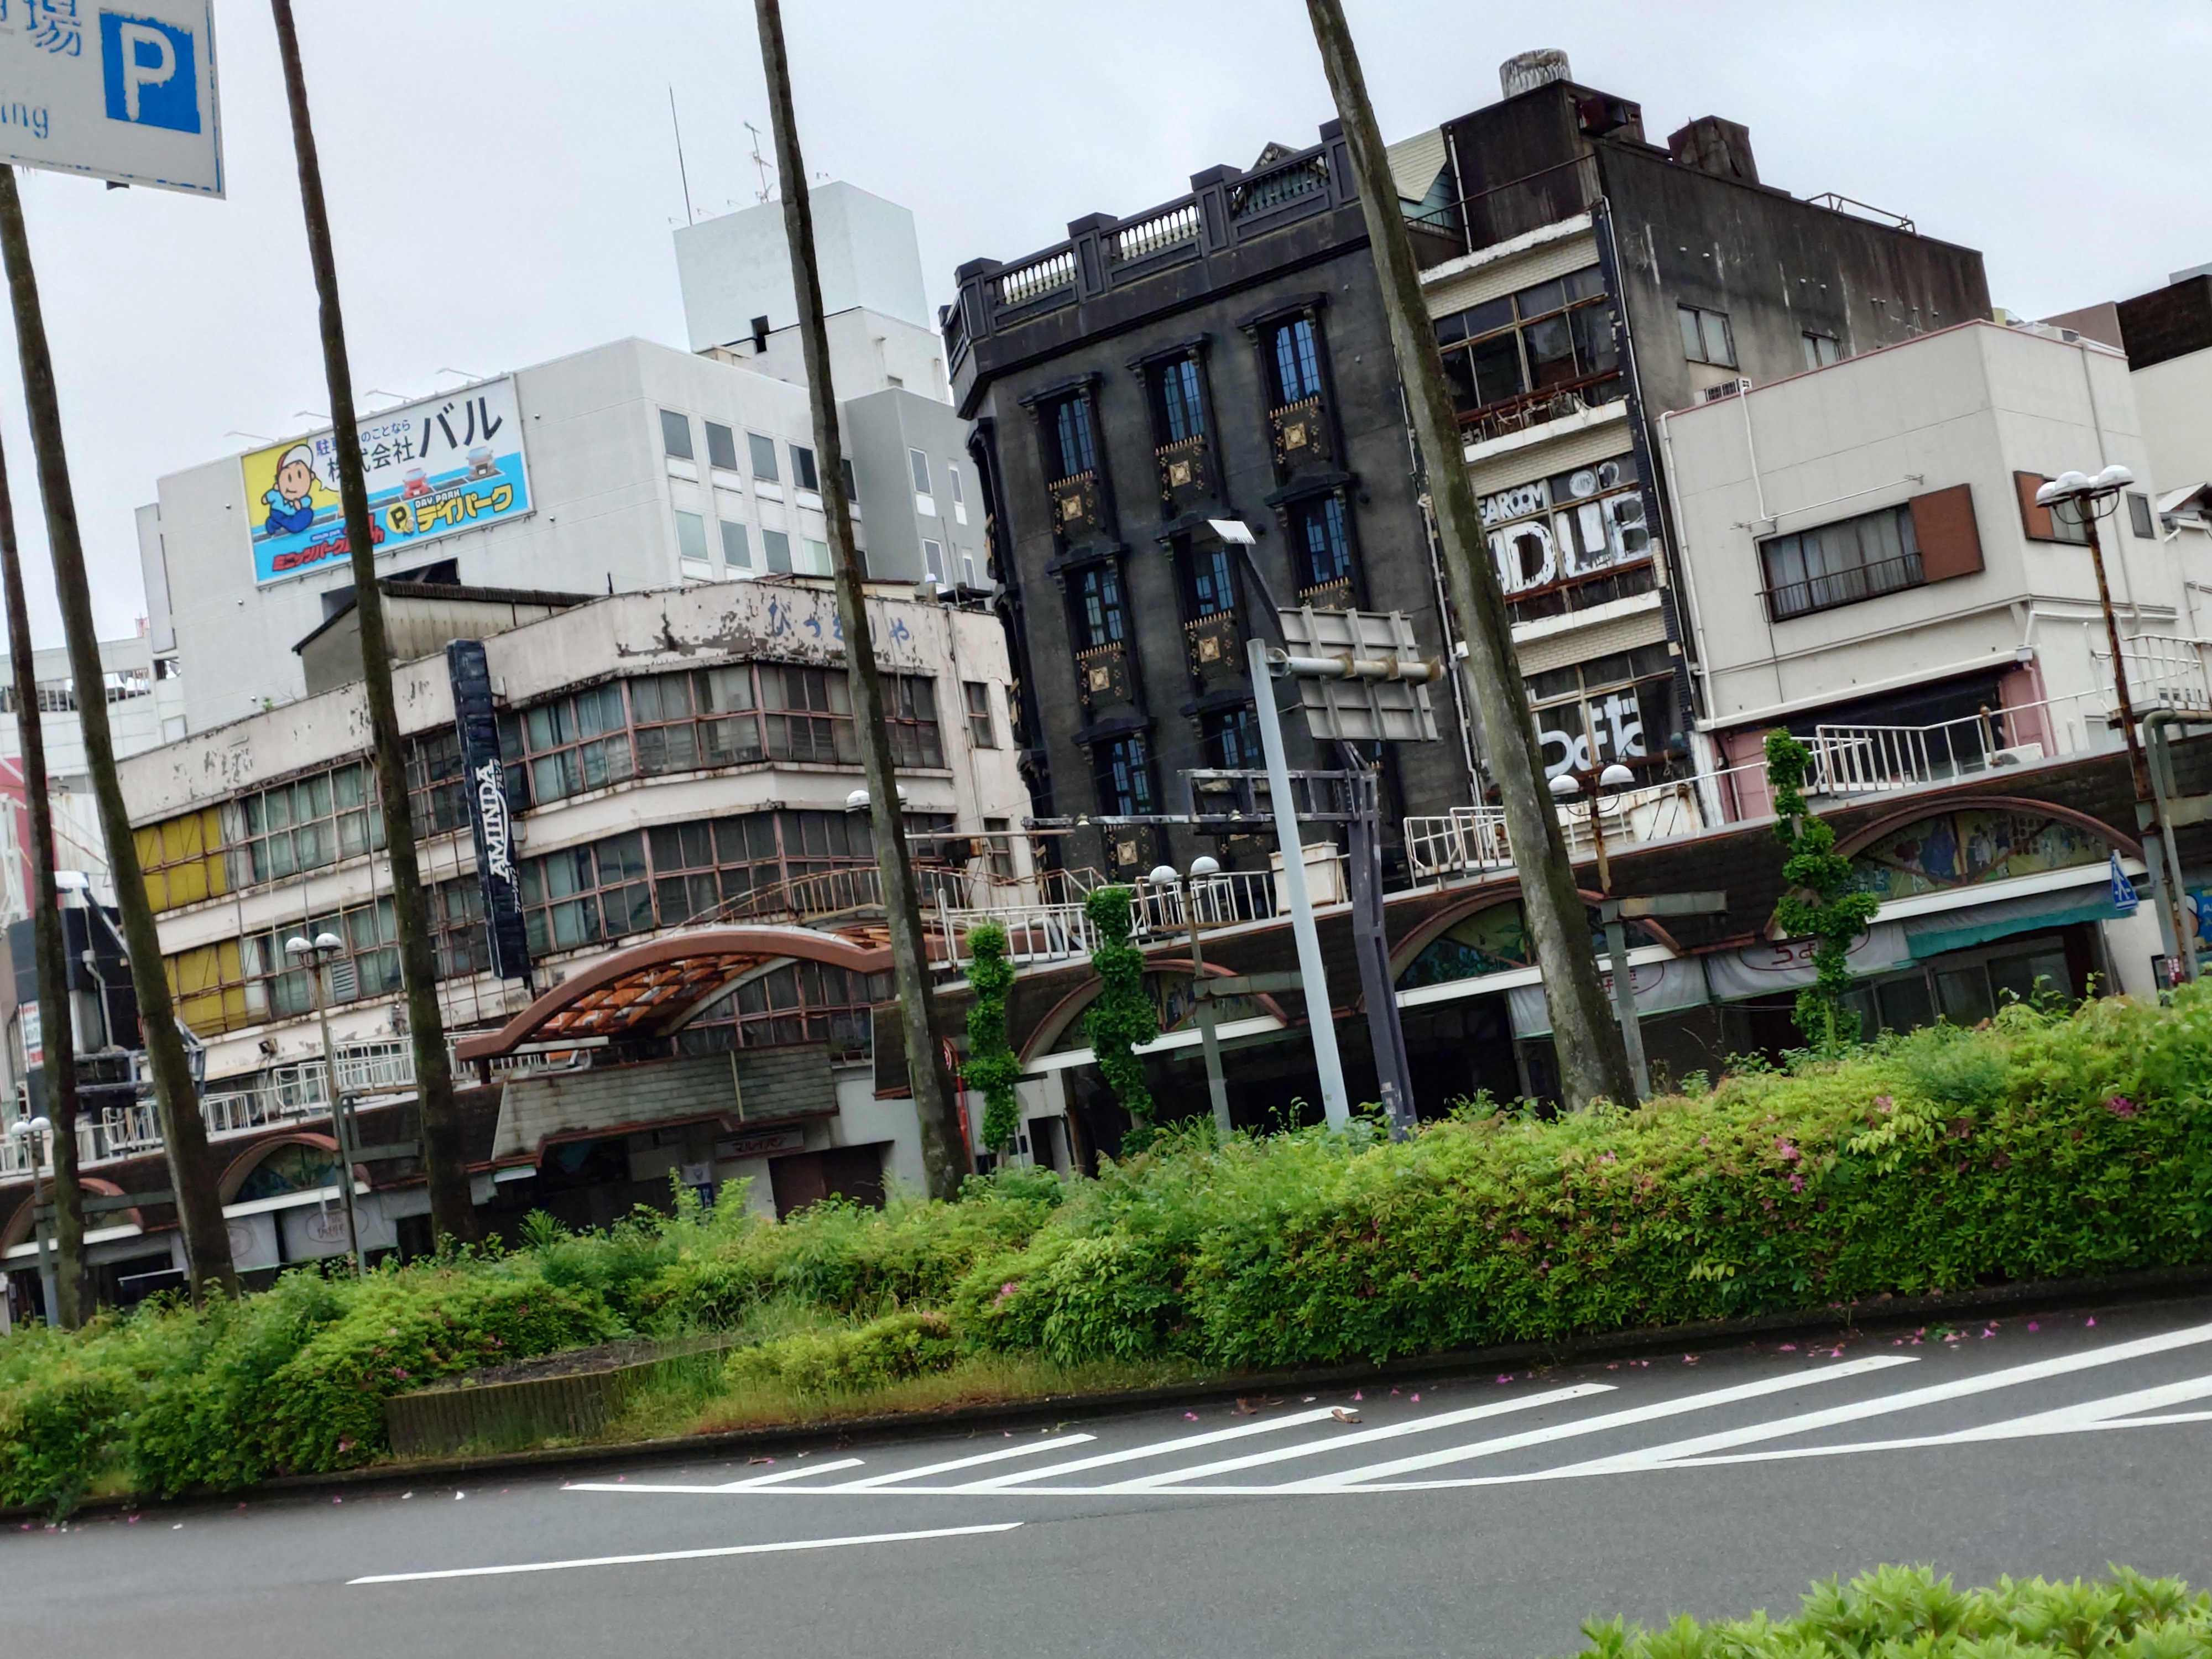
道沿いにはレトロな建物が目立つ。
整理券を入手する二度目のチャンスを逃す
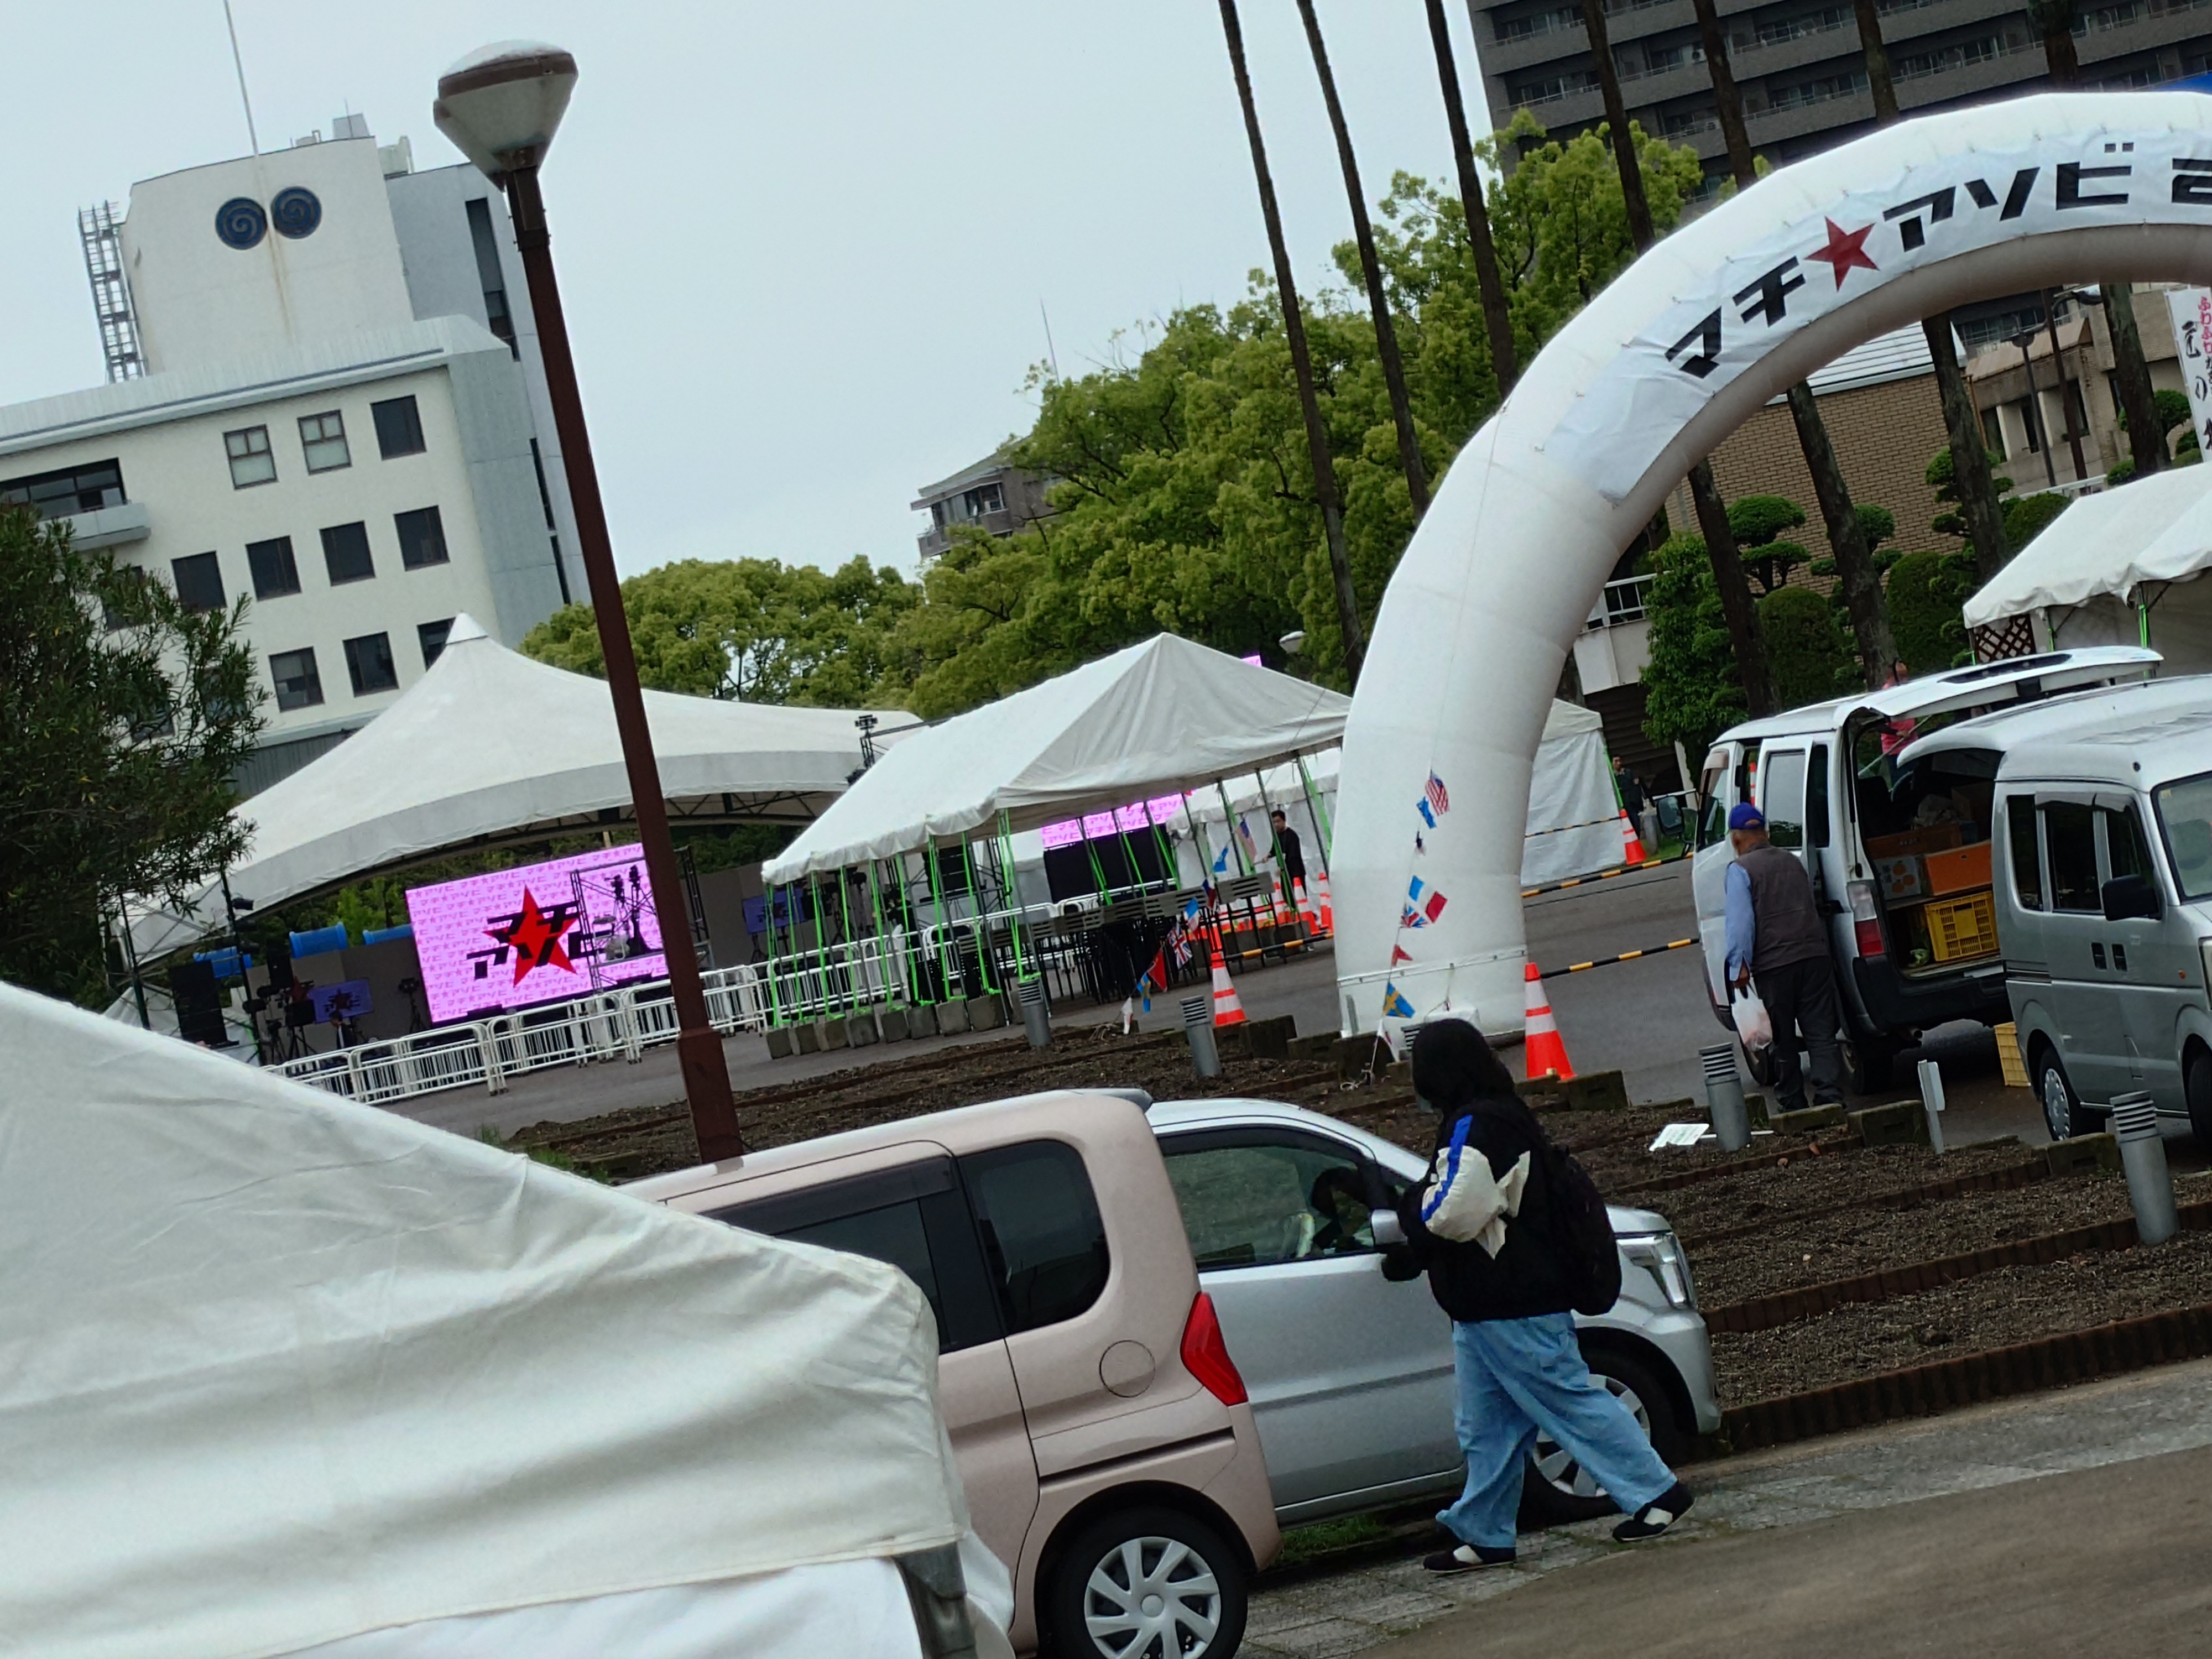
私は何も考えずに会場の写真を撮っていた。撮影時は誰もいないなーと思っていたが、よく見ると写真の奥のほうに行列が見える。実はこここそがメイクアガールの鑑賞整理券の配布場だったのだが、この時の私は気が付いていなかった。もしこの時に気が付いていれば整理券が手に入っただろう。
徳島を味わいながら駅へ向かう
もはやこの時の私はメイクアガールのことなど忘れ、徳島の街並みを楽しんでいた。何のために来たんだ一体。
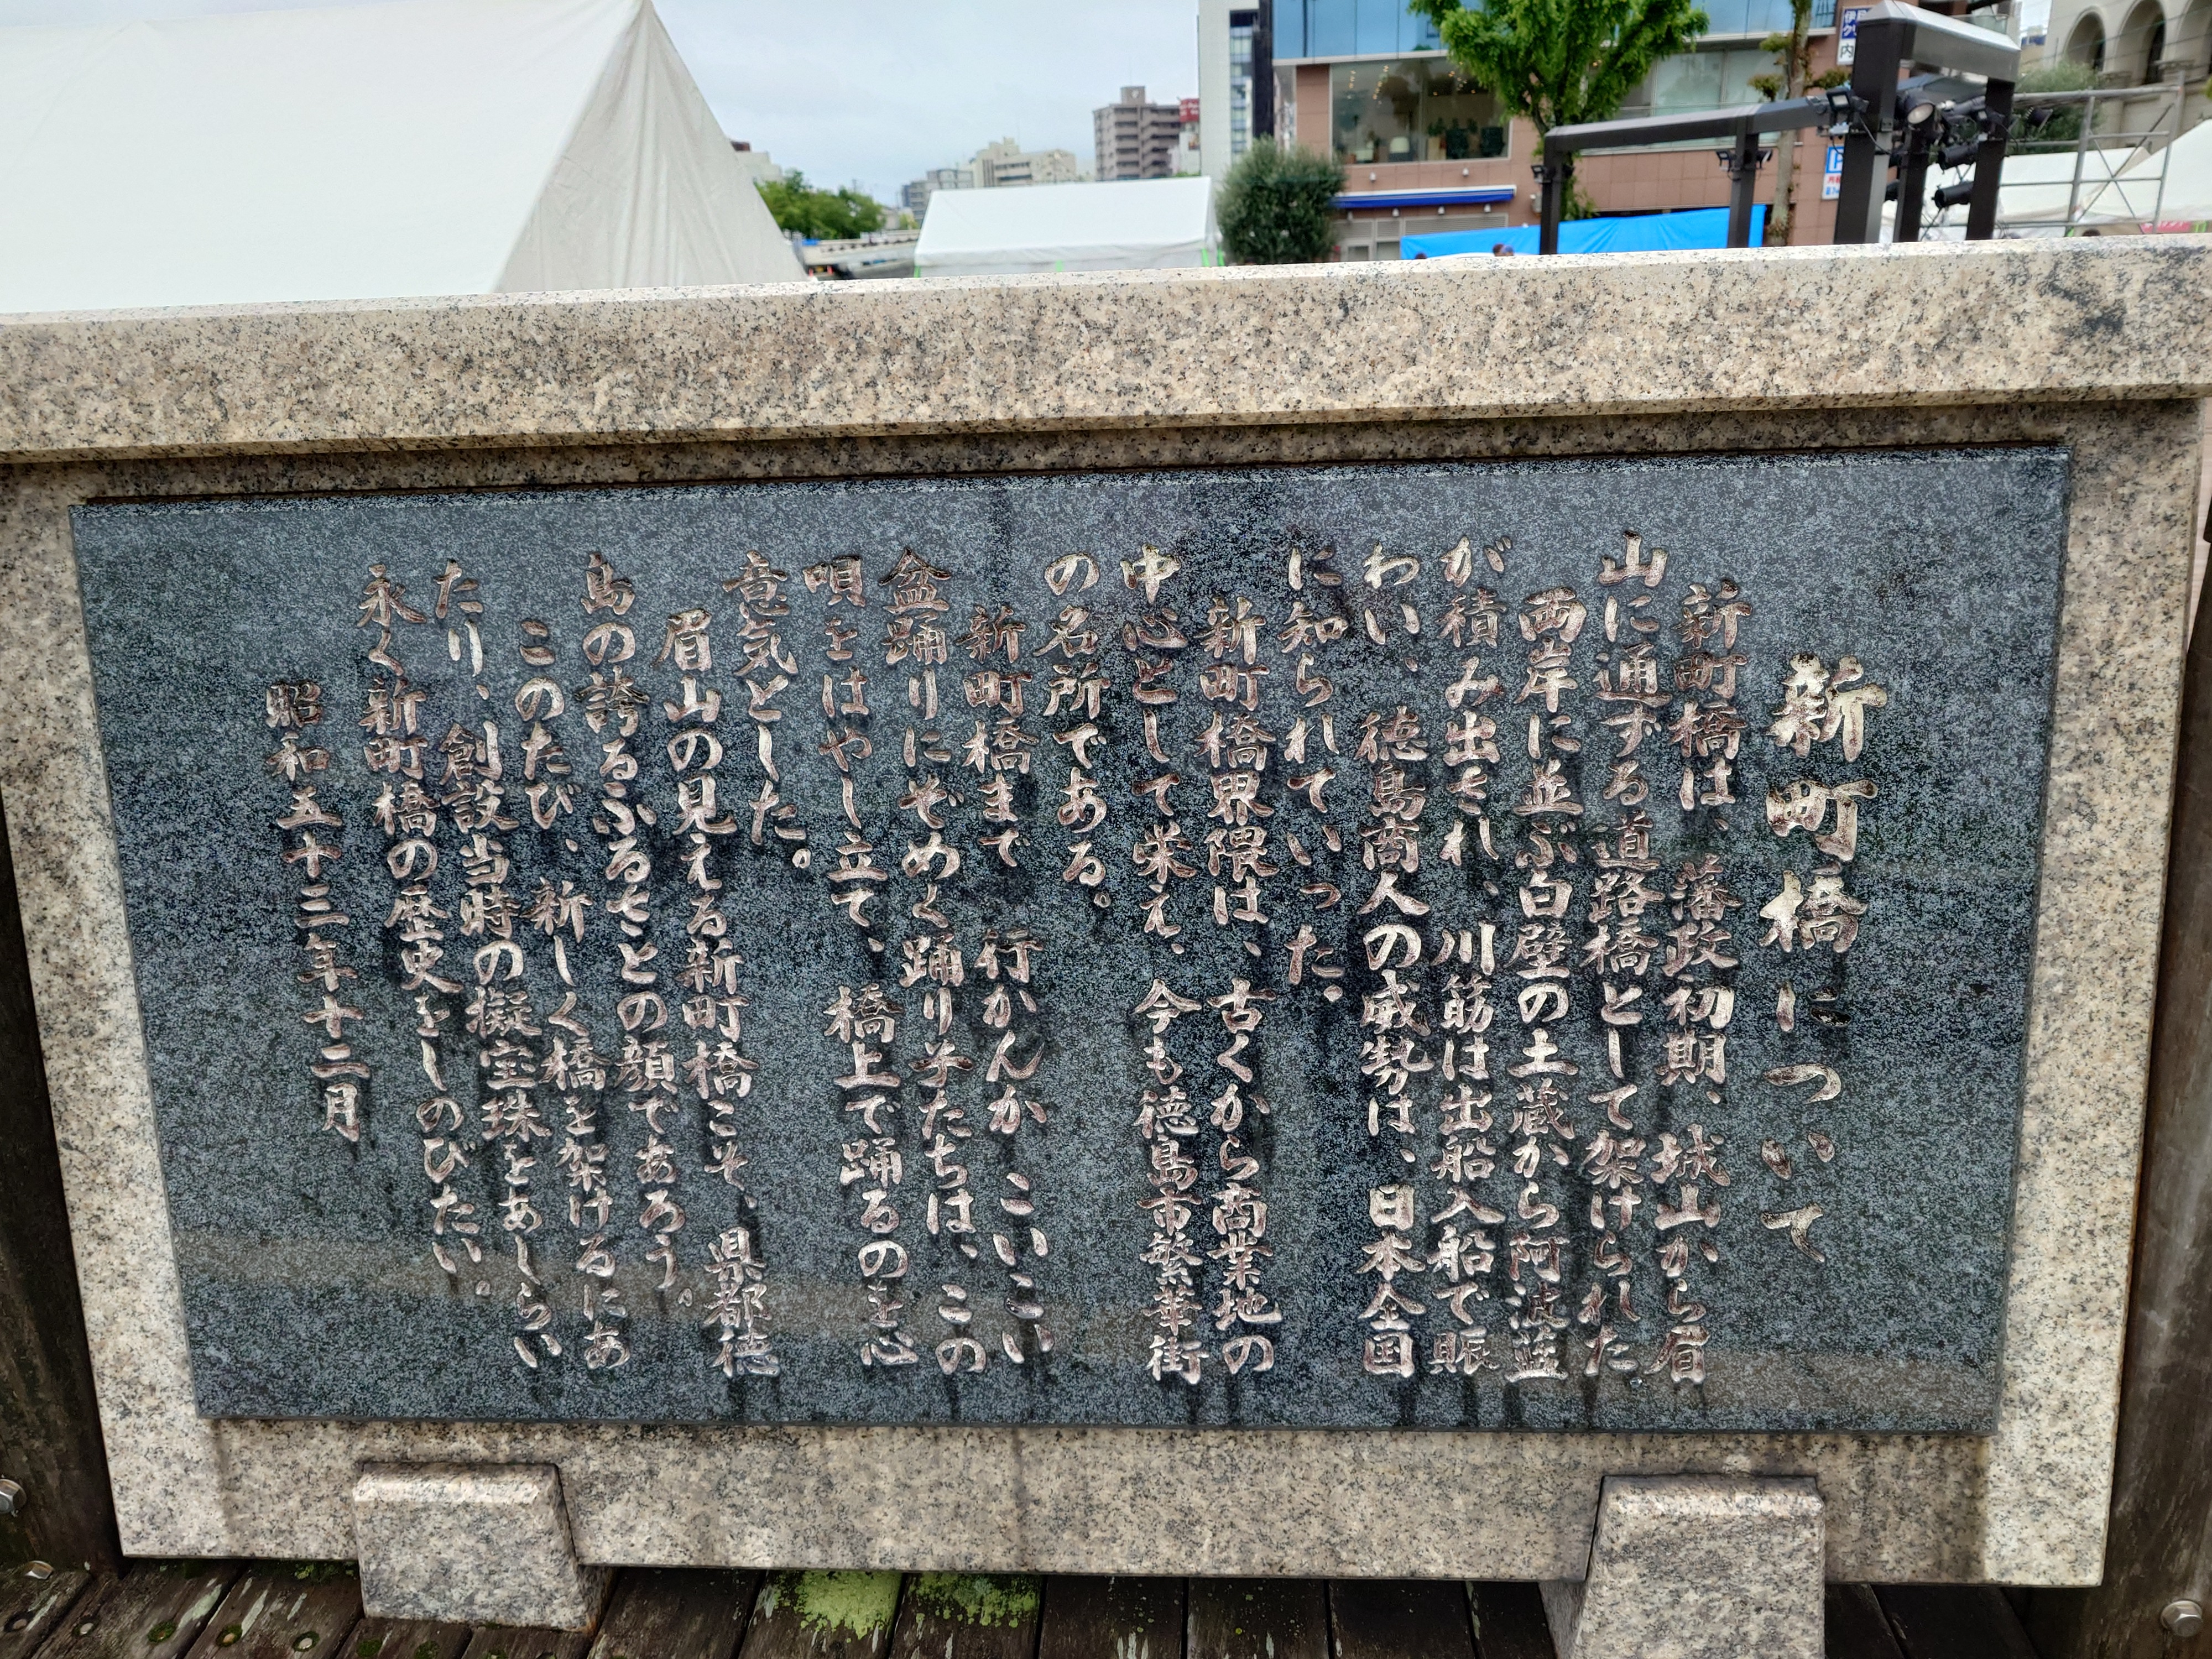
道沿いには阿波踊りの歴史や阿波の商人に関する記述があり、大変興味深かった。阿波商人の威勢は浪速の商人より有名だったのだろうか?
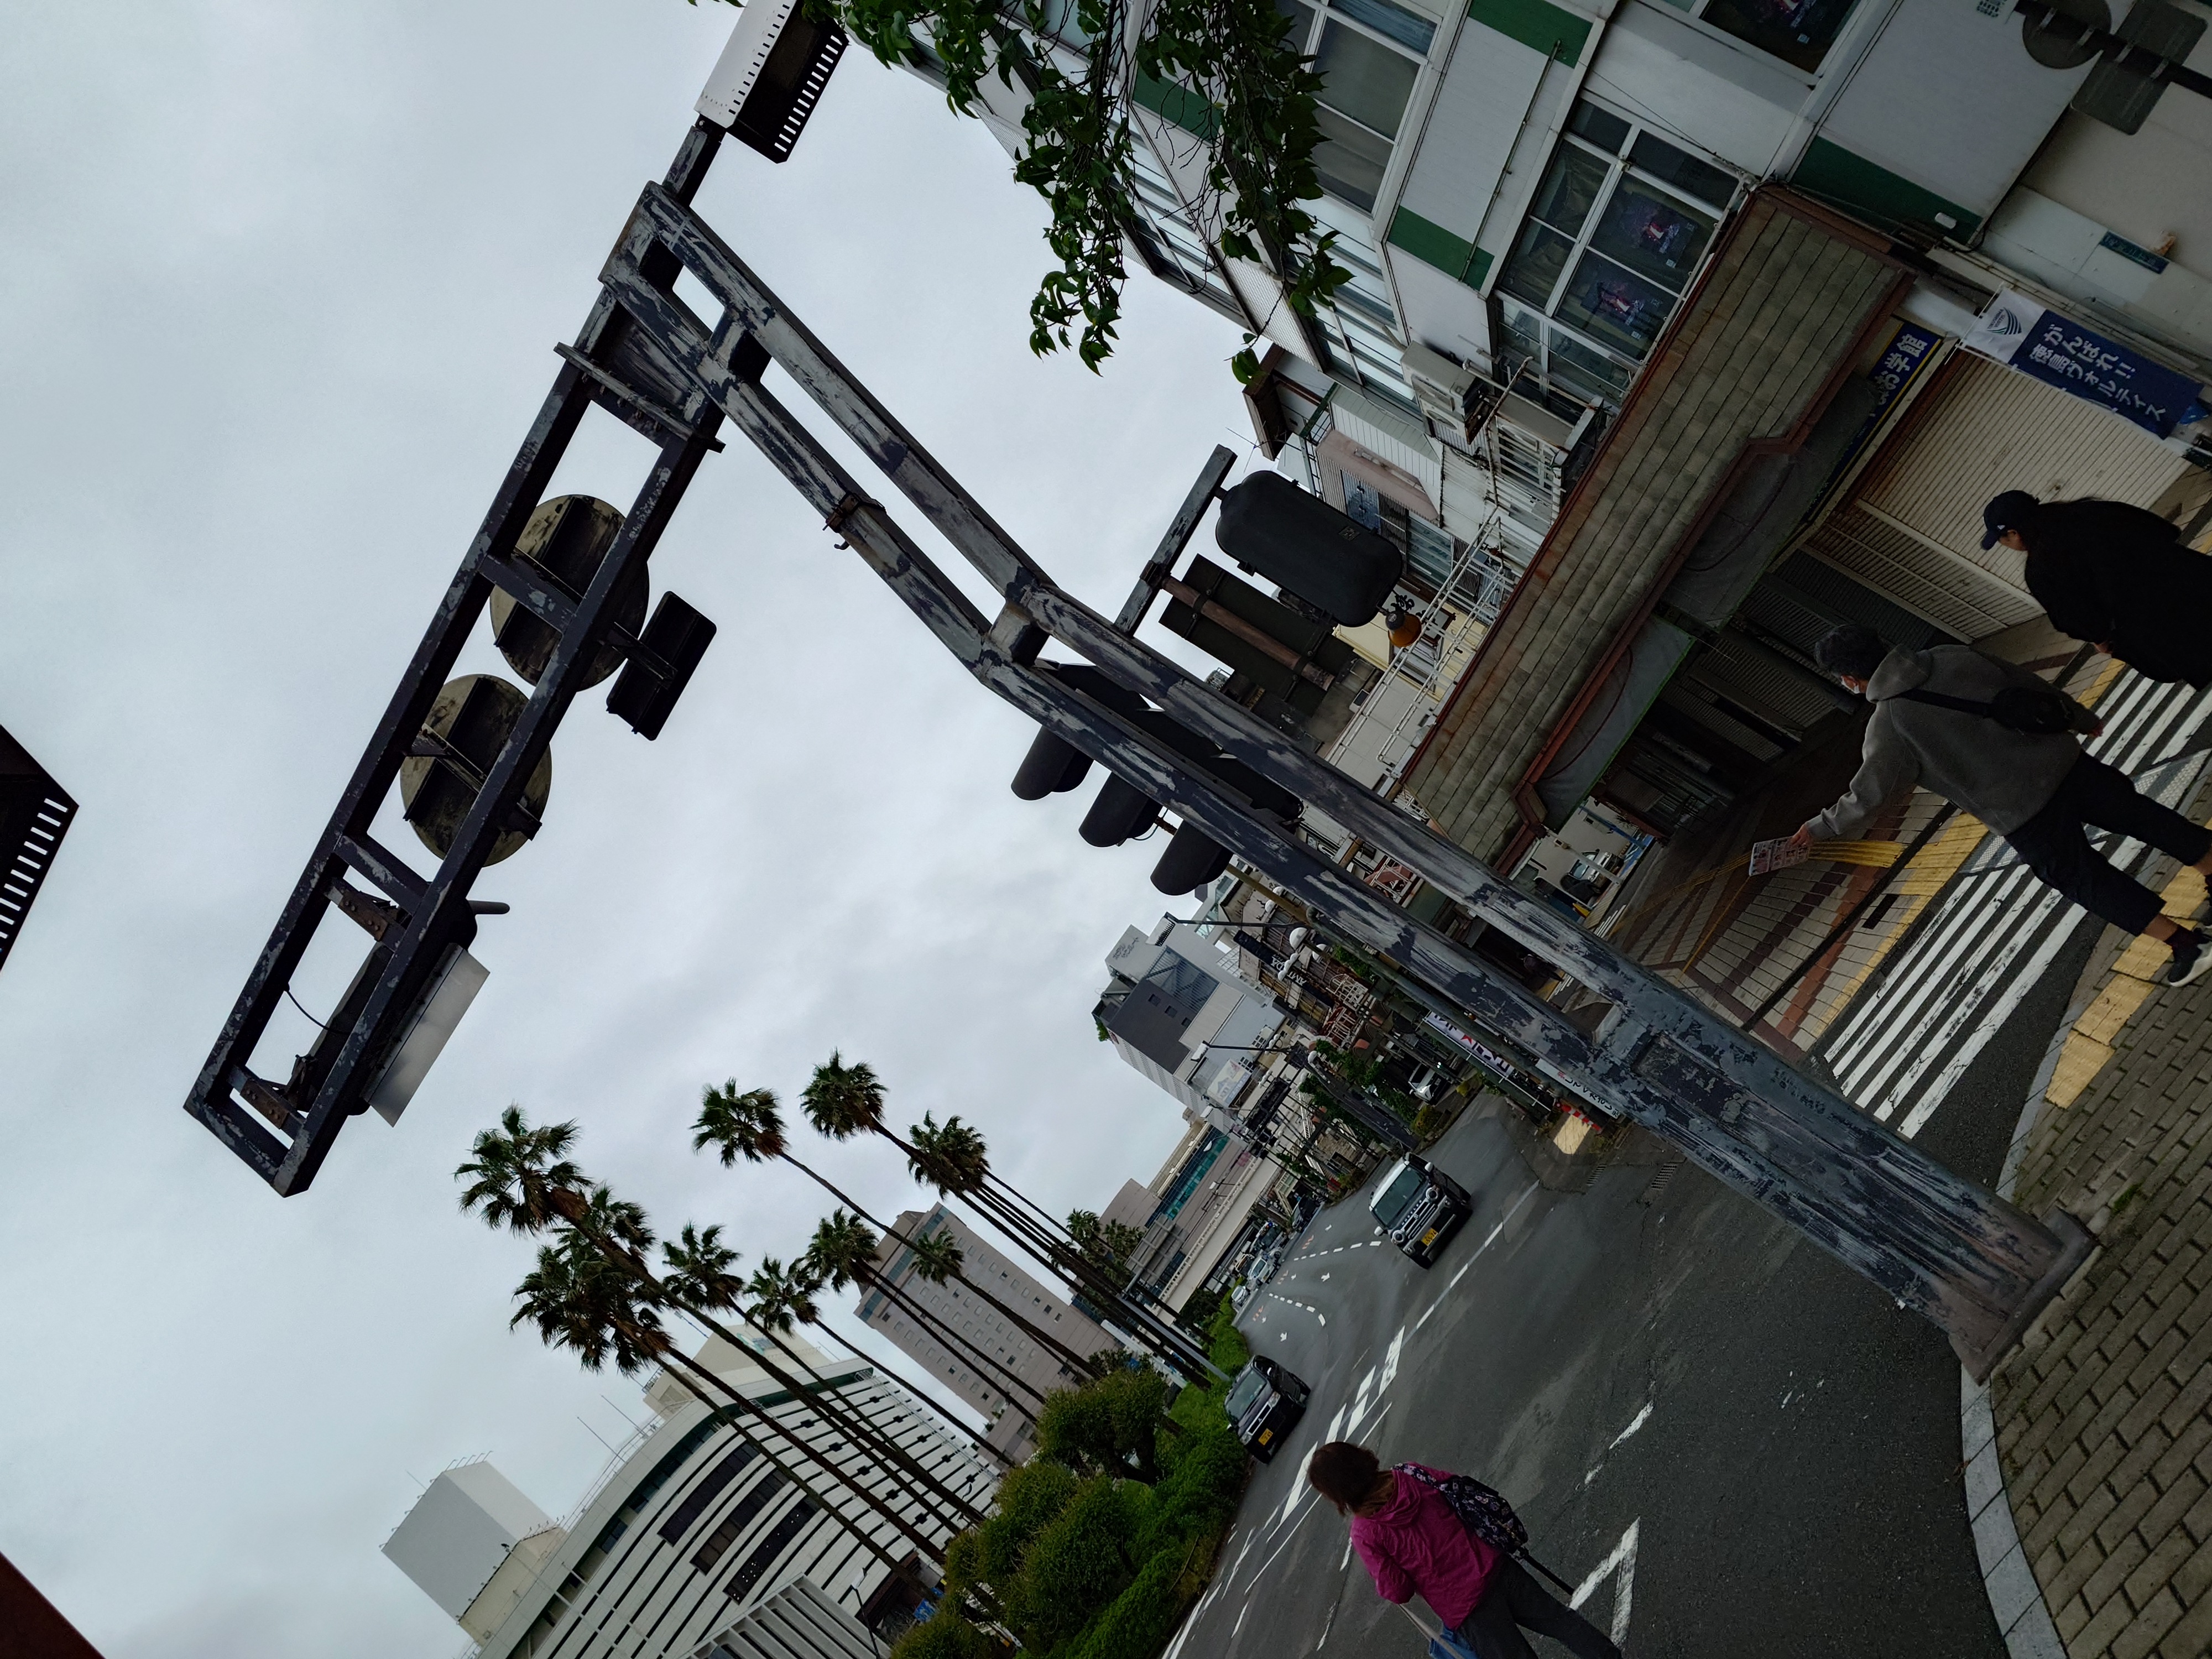
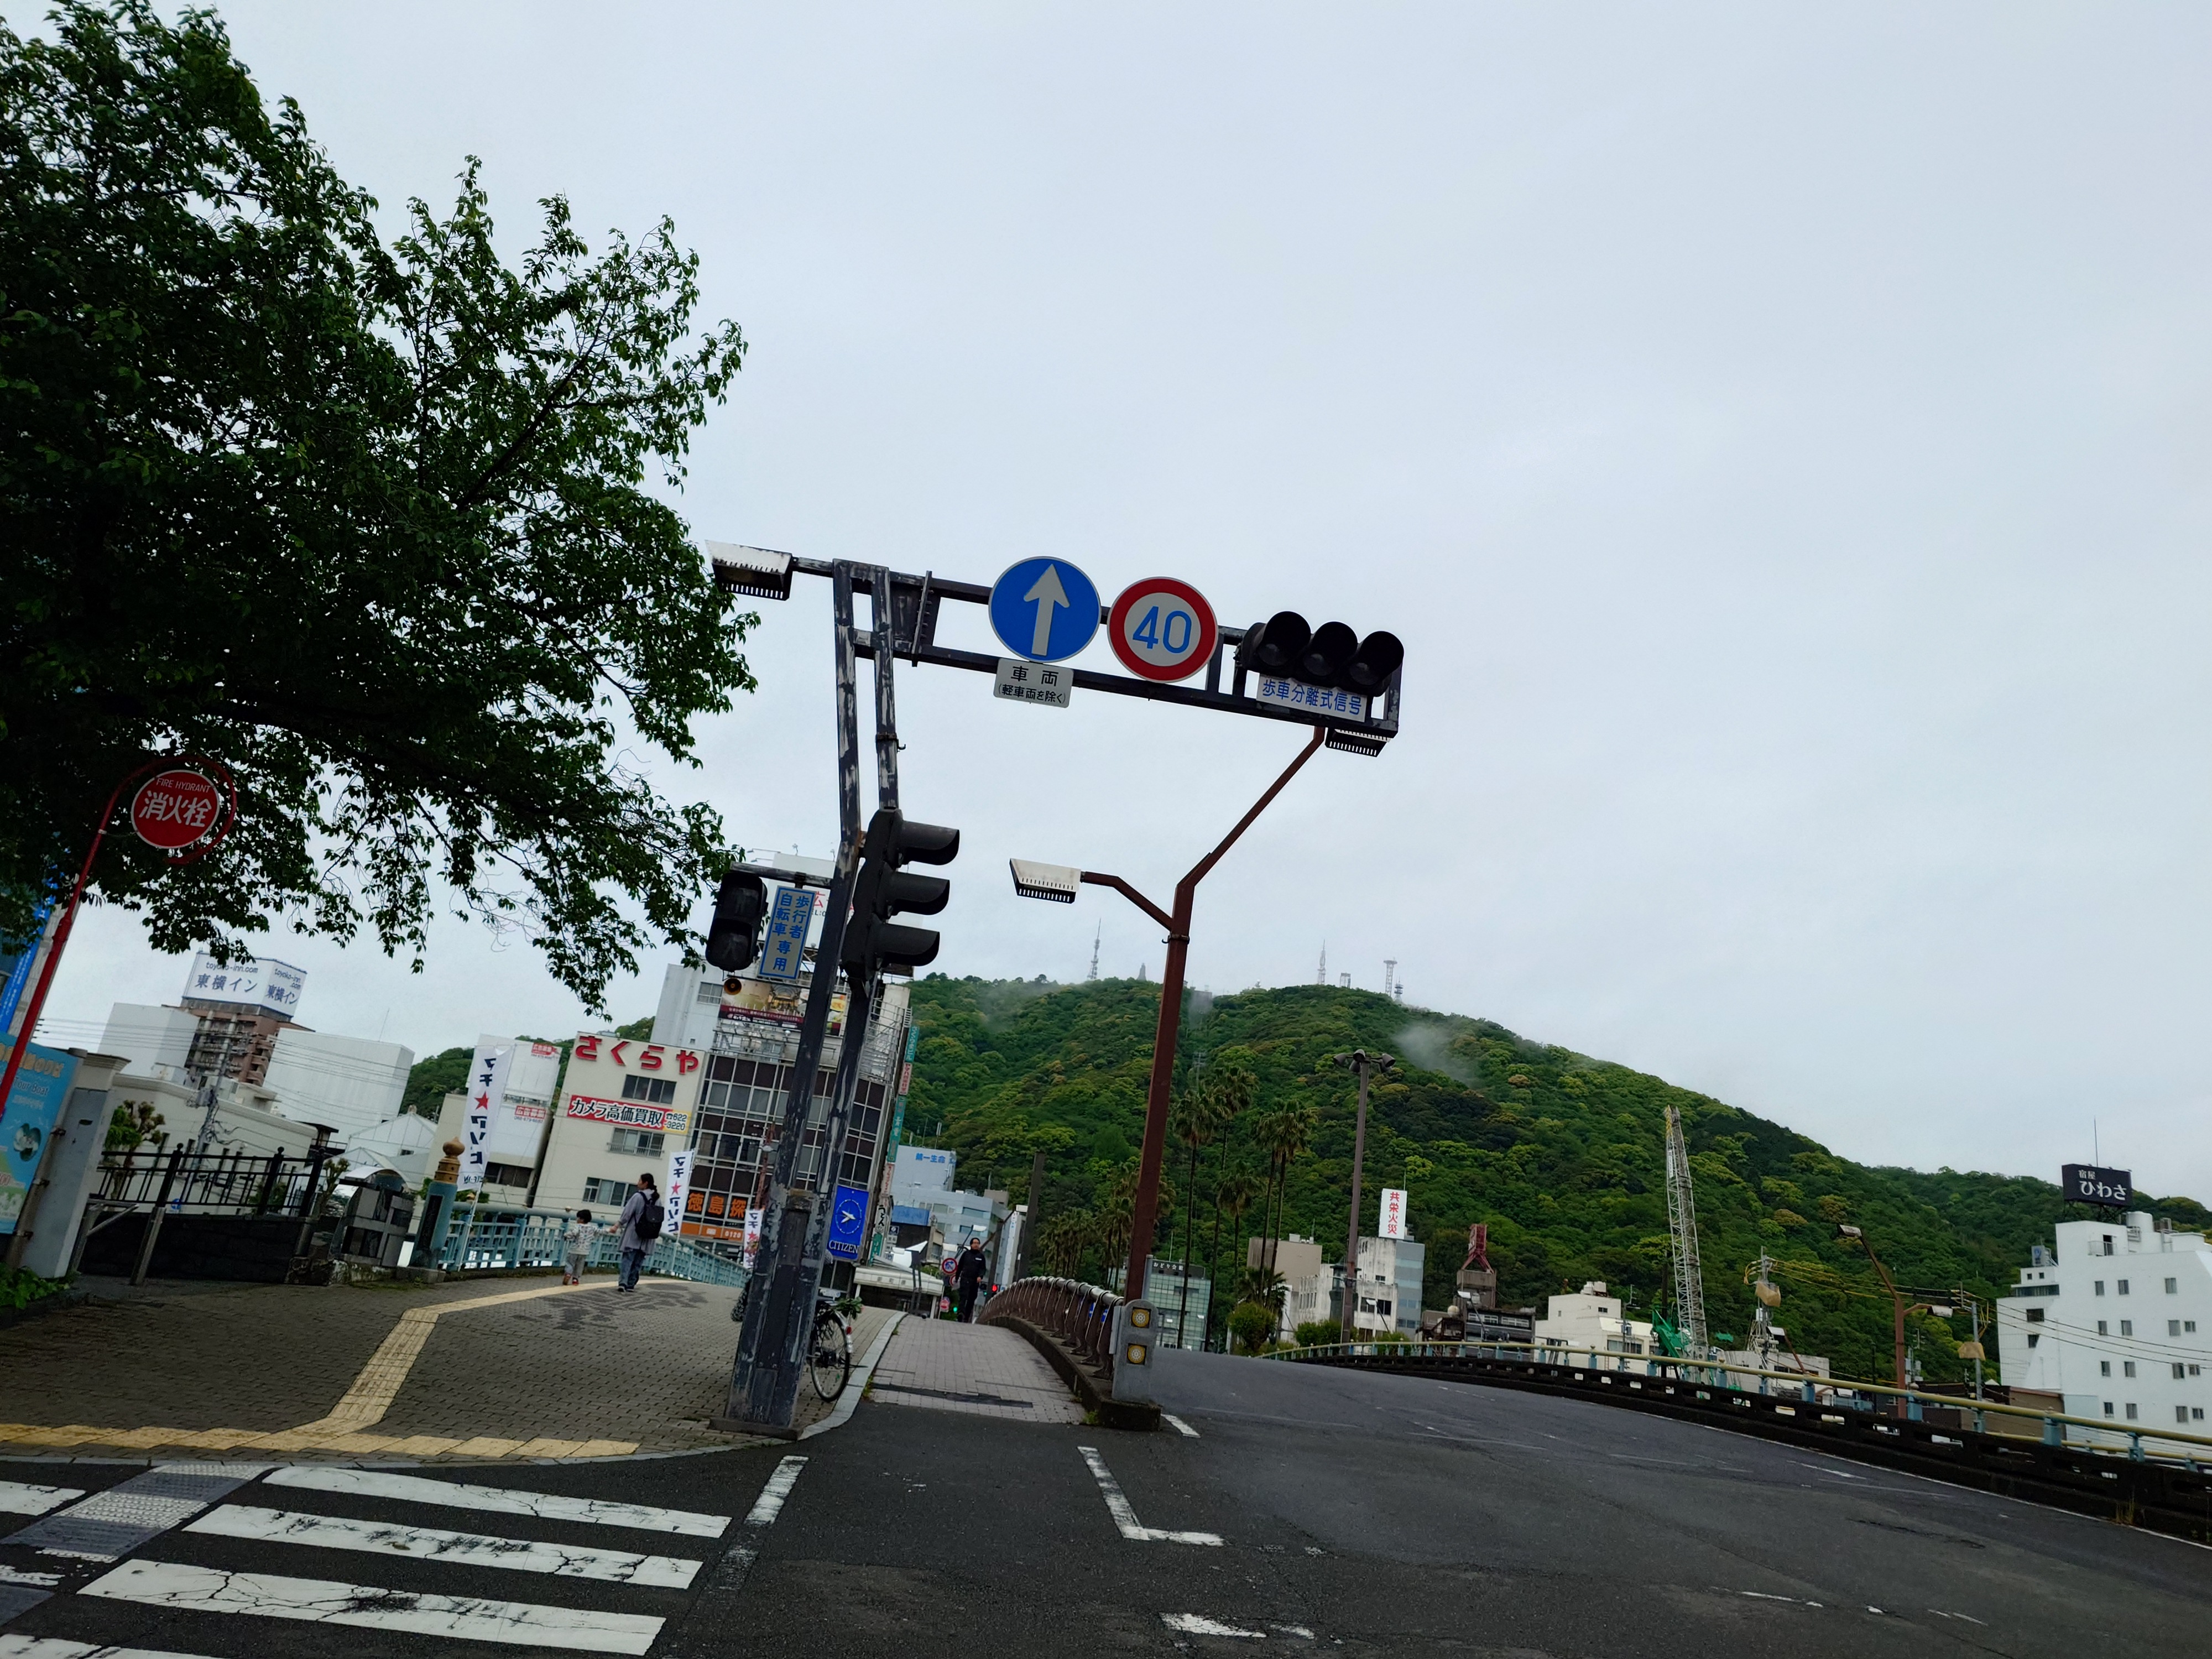
このあたりの信号は独特な構造物で支持されており、由来が少し気になった。
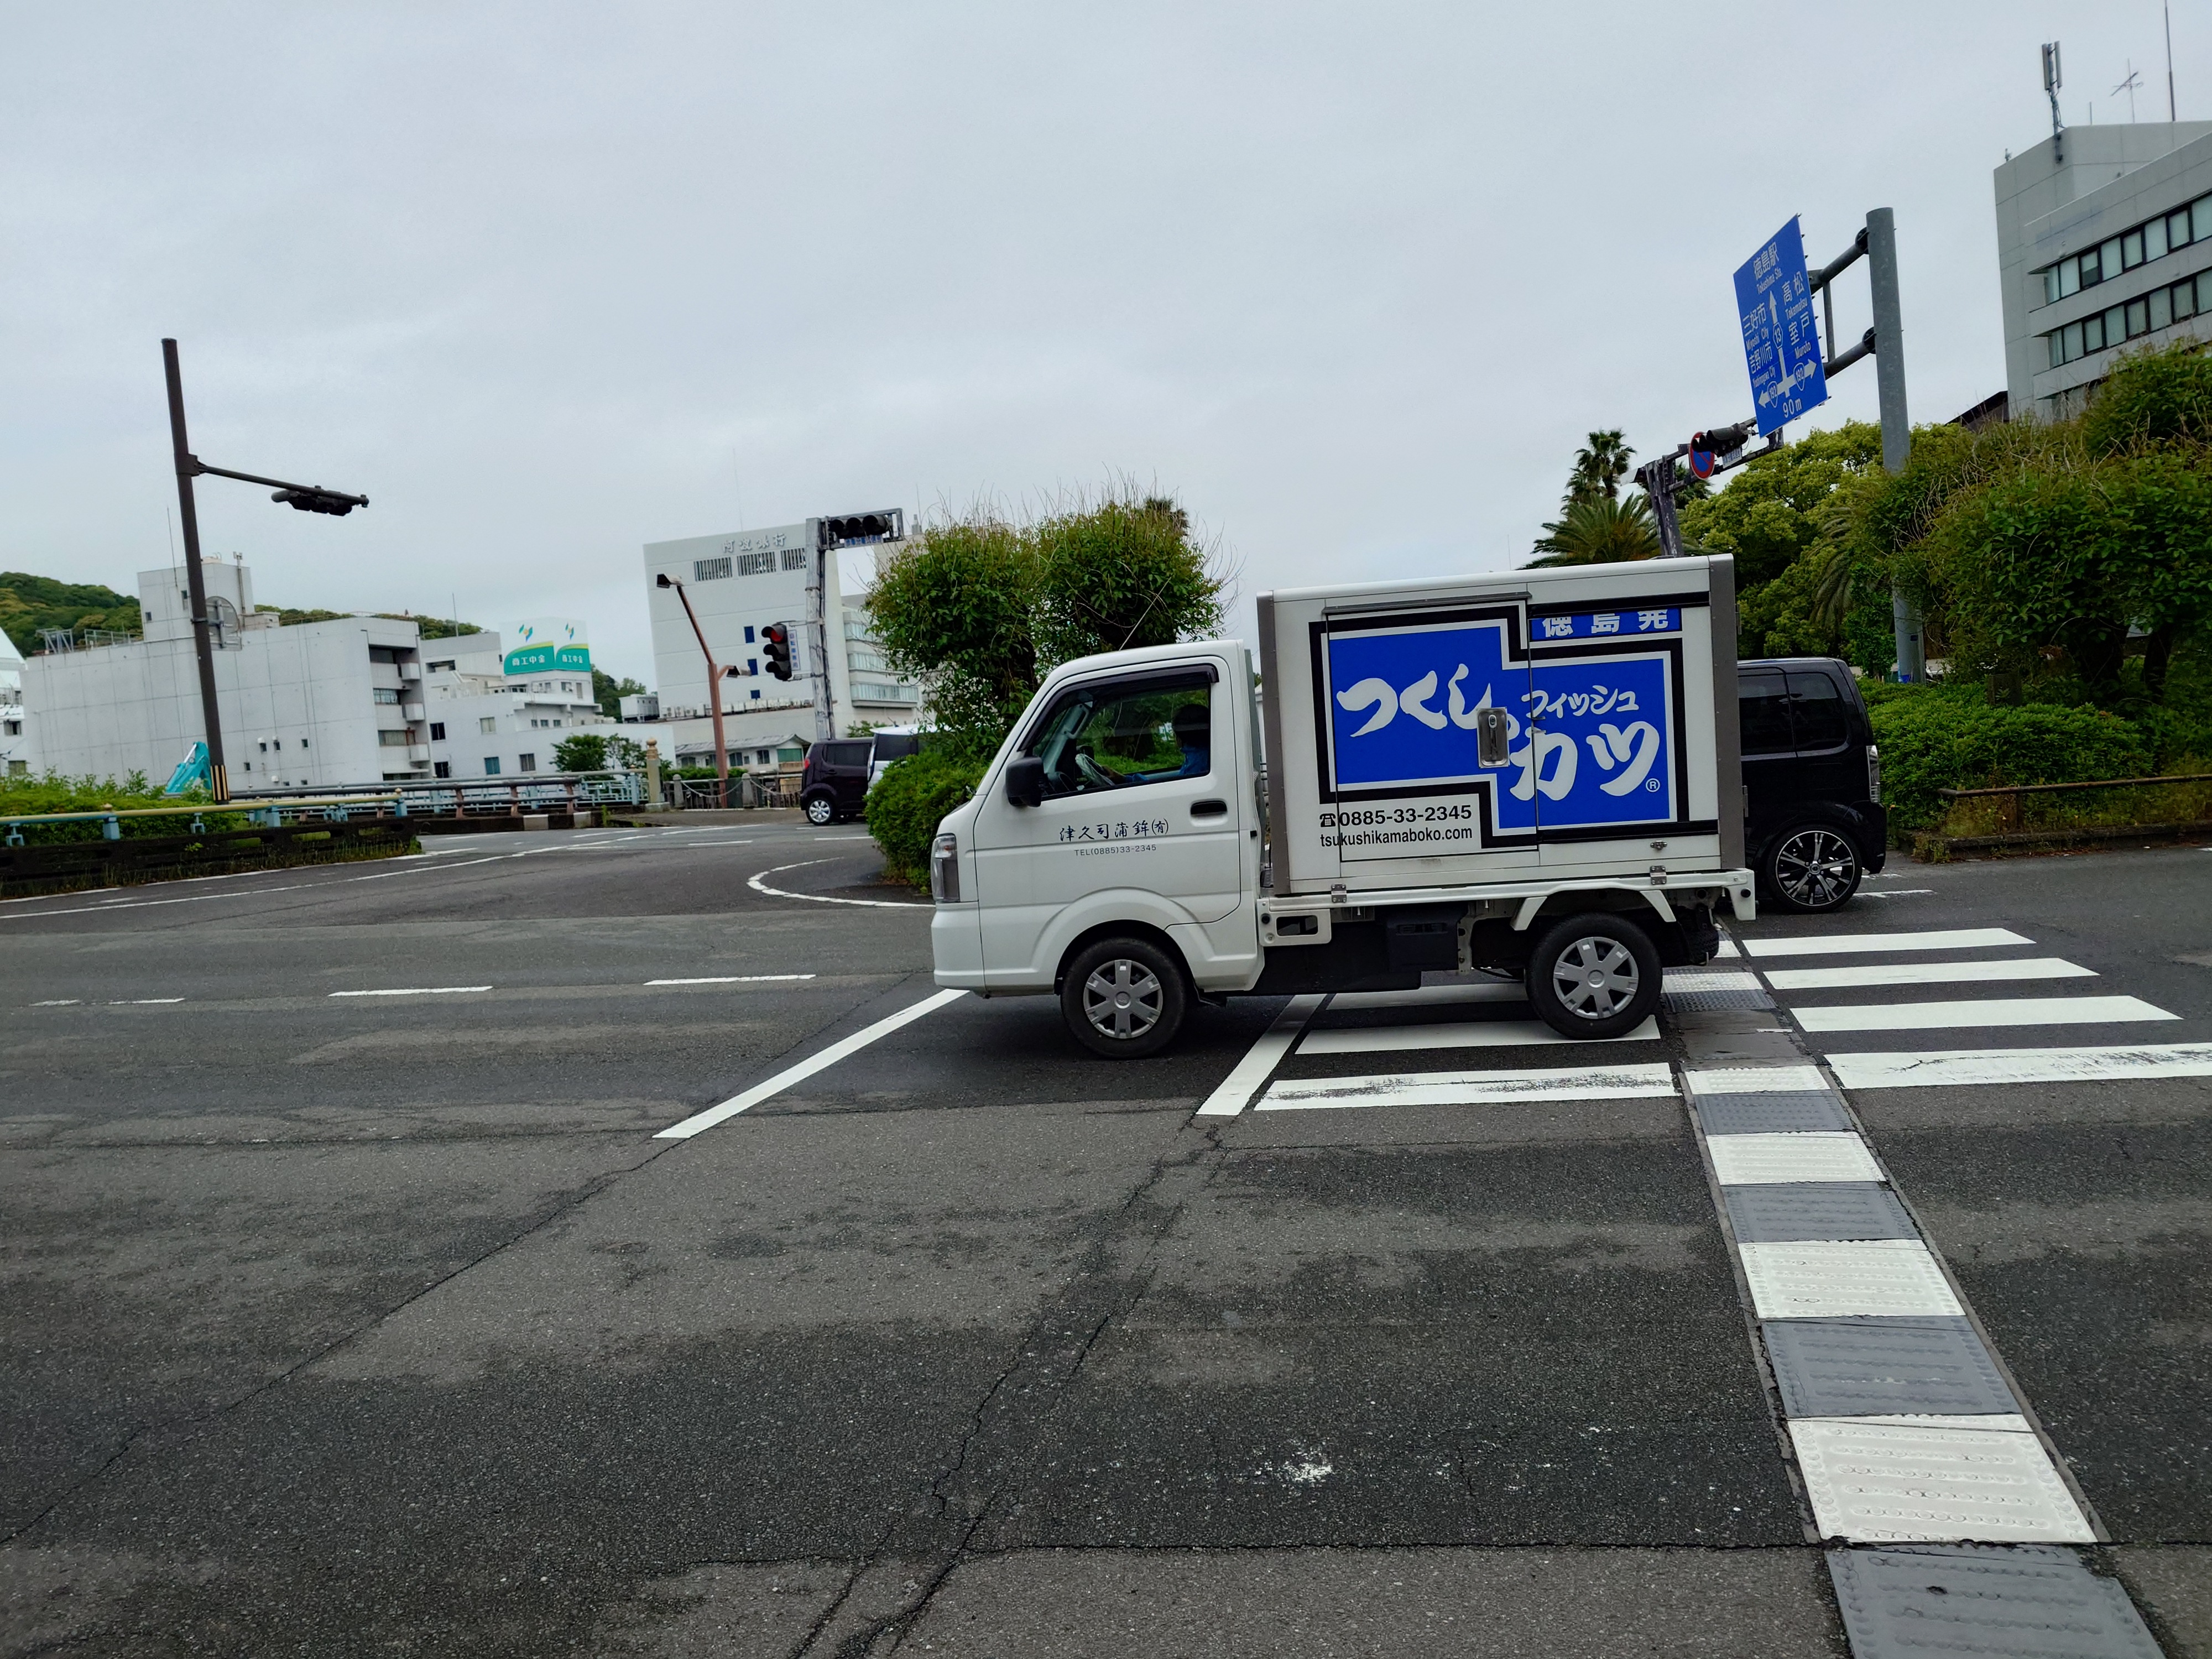
フィッシュカツの軽トラが走っており、徳島におけるフィッシュカツの需要が伺い知れた。
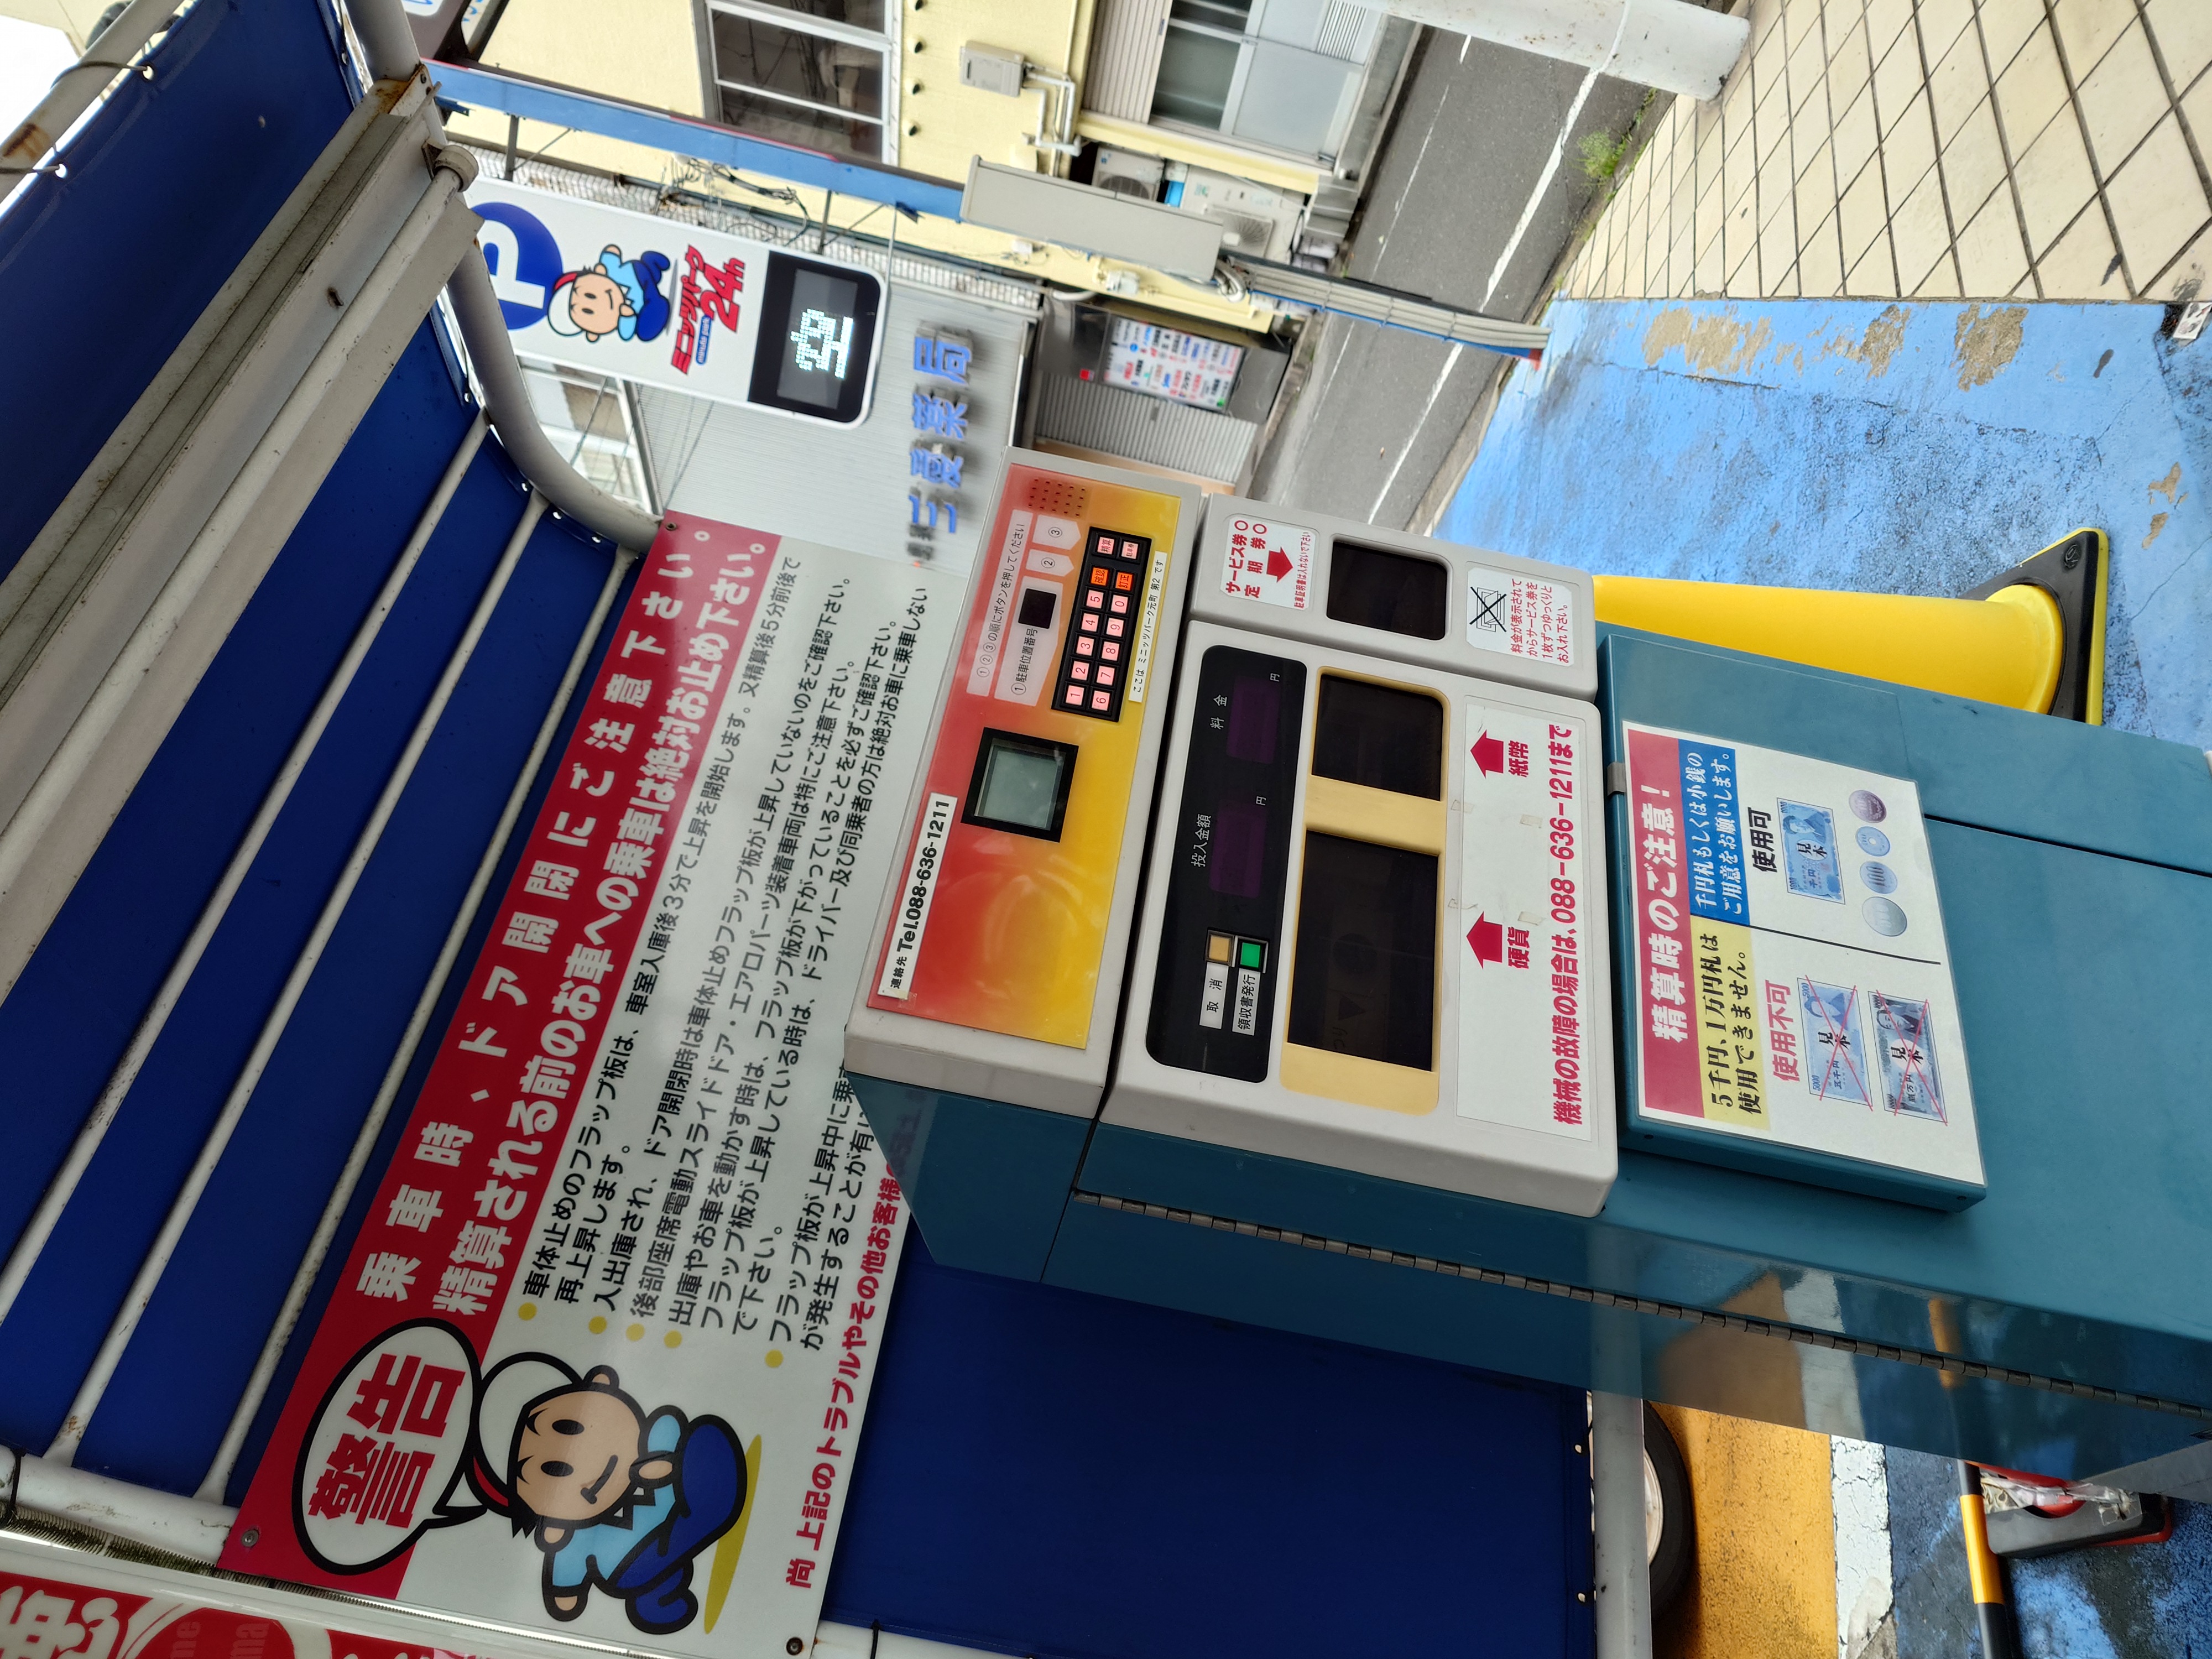
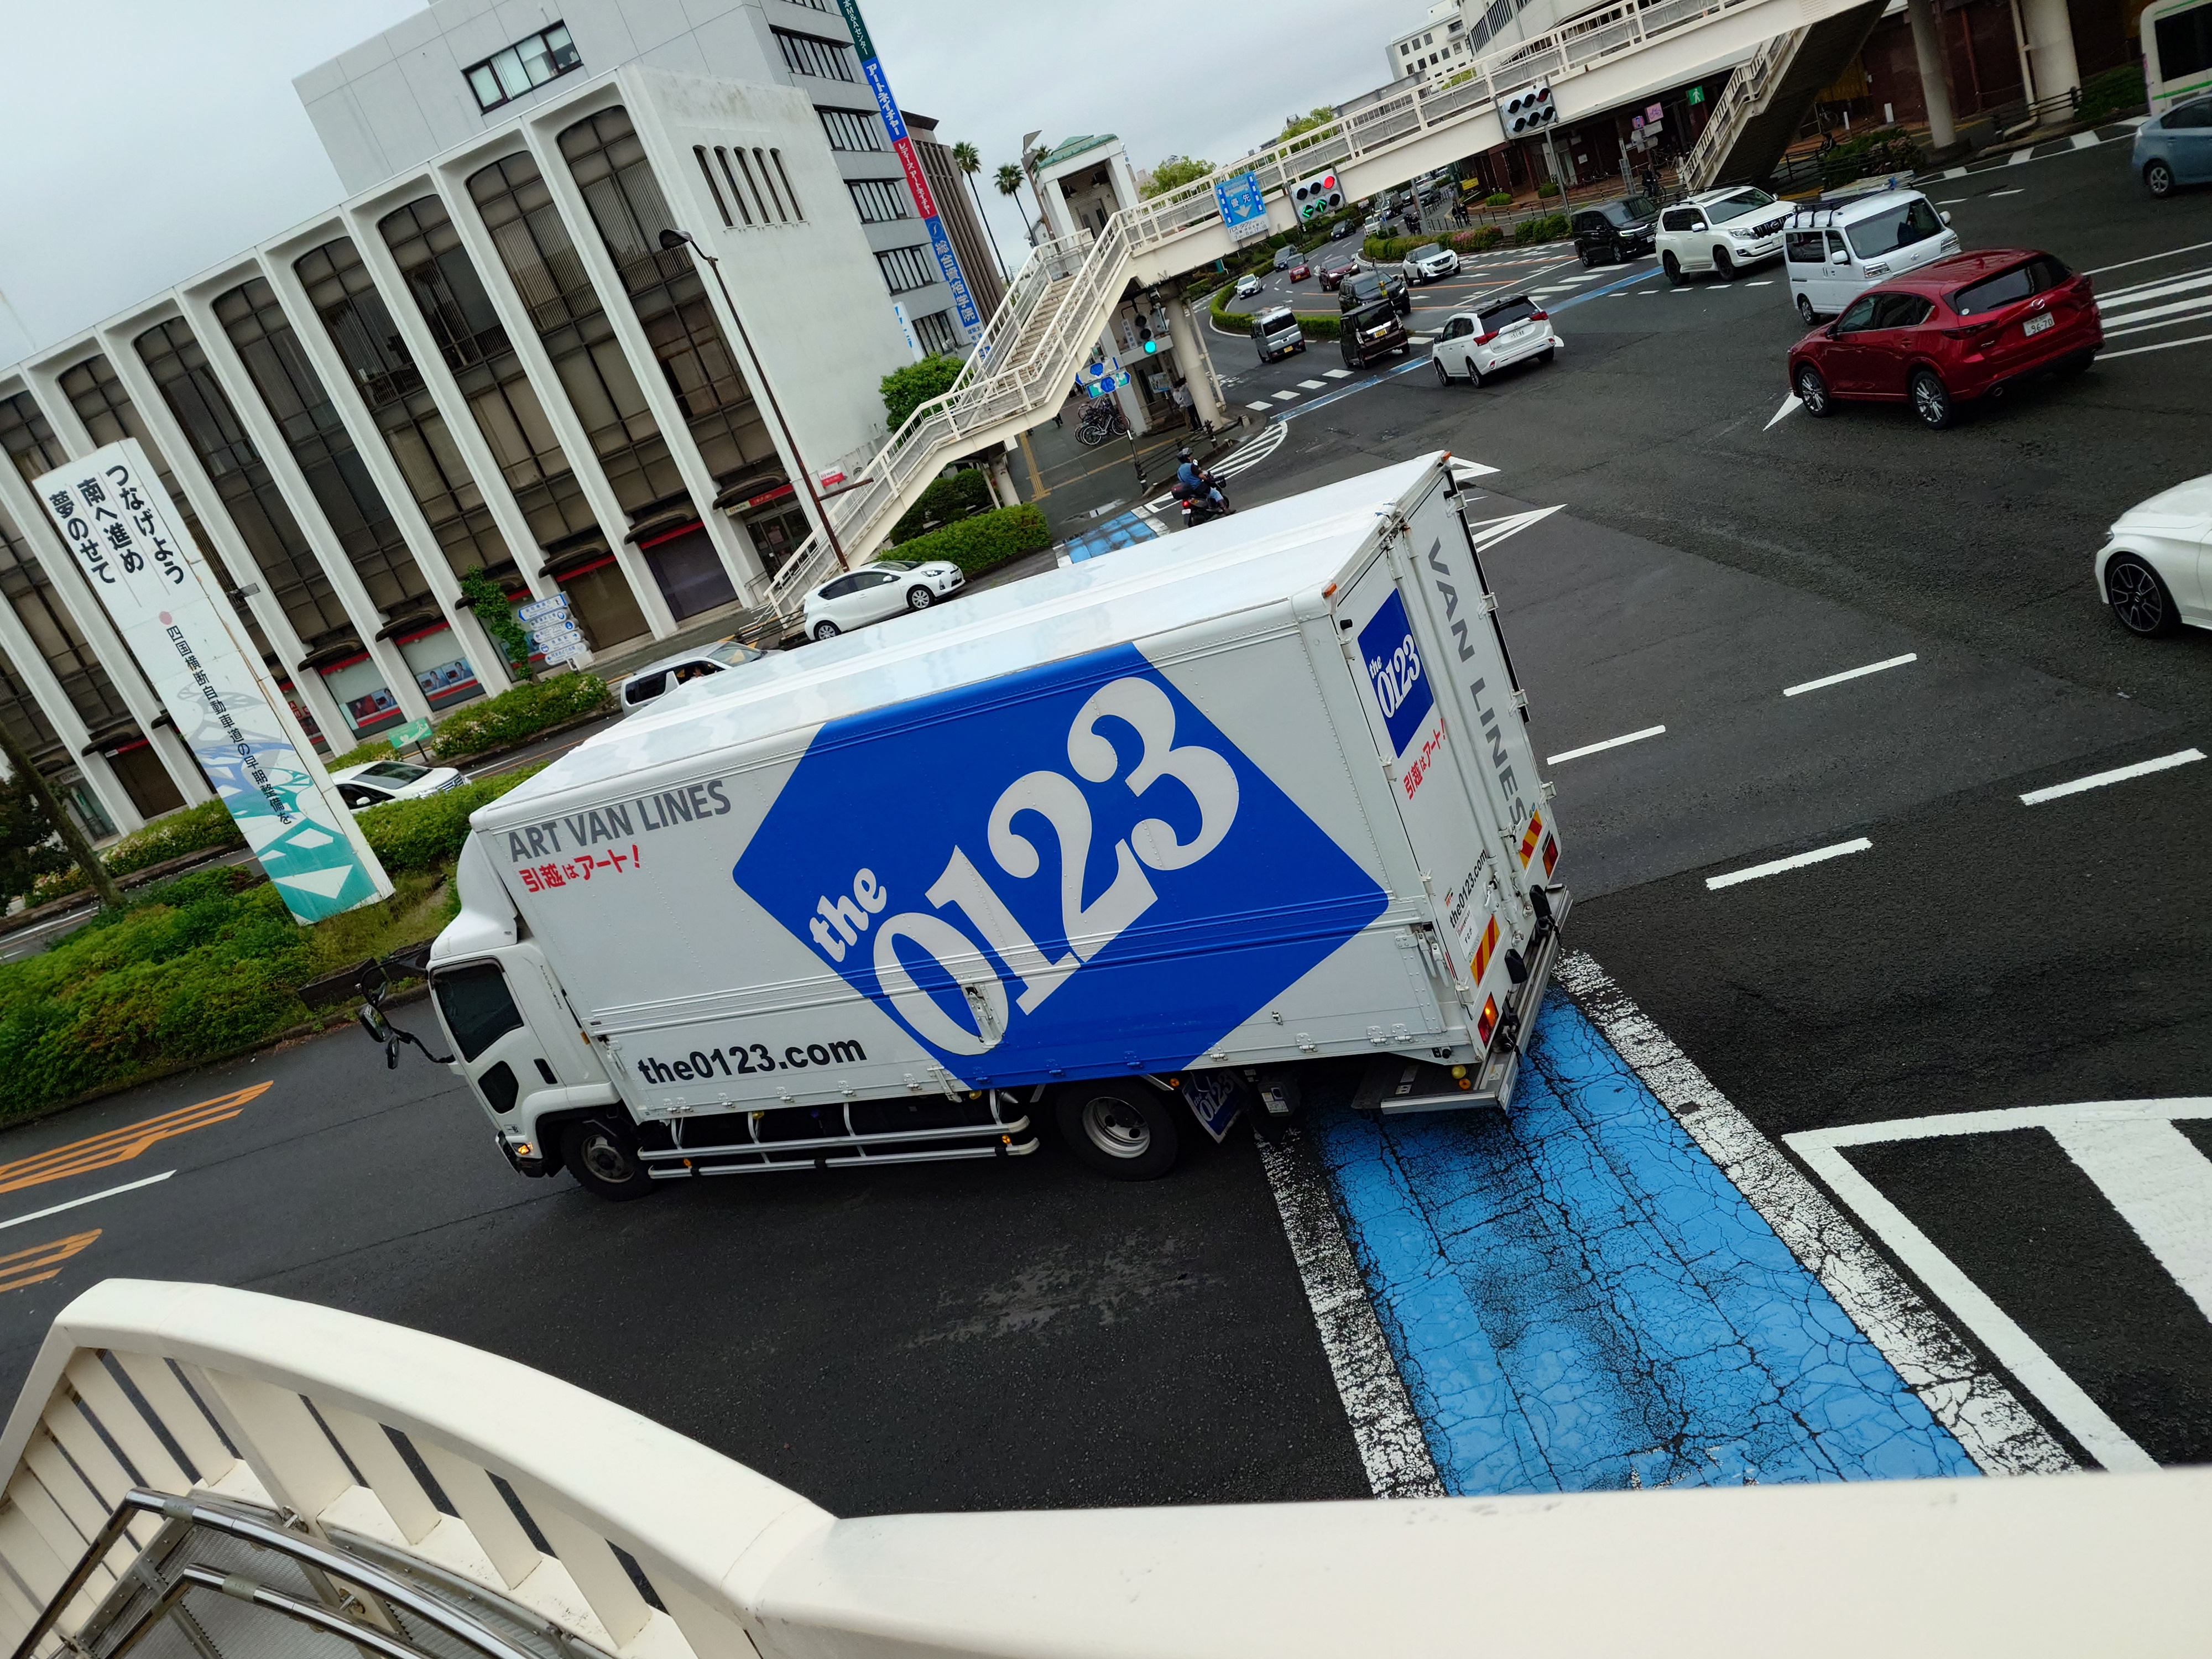
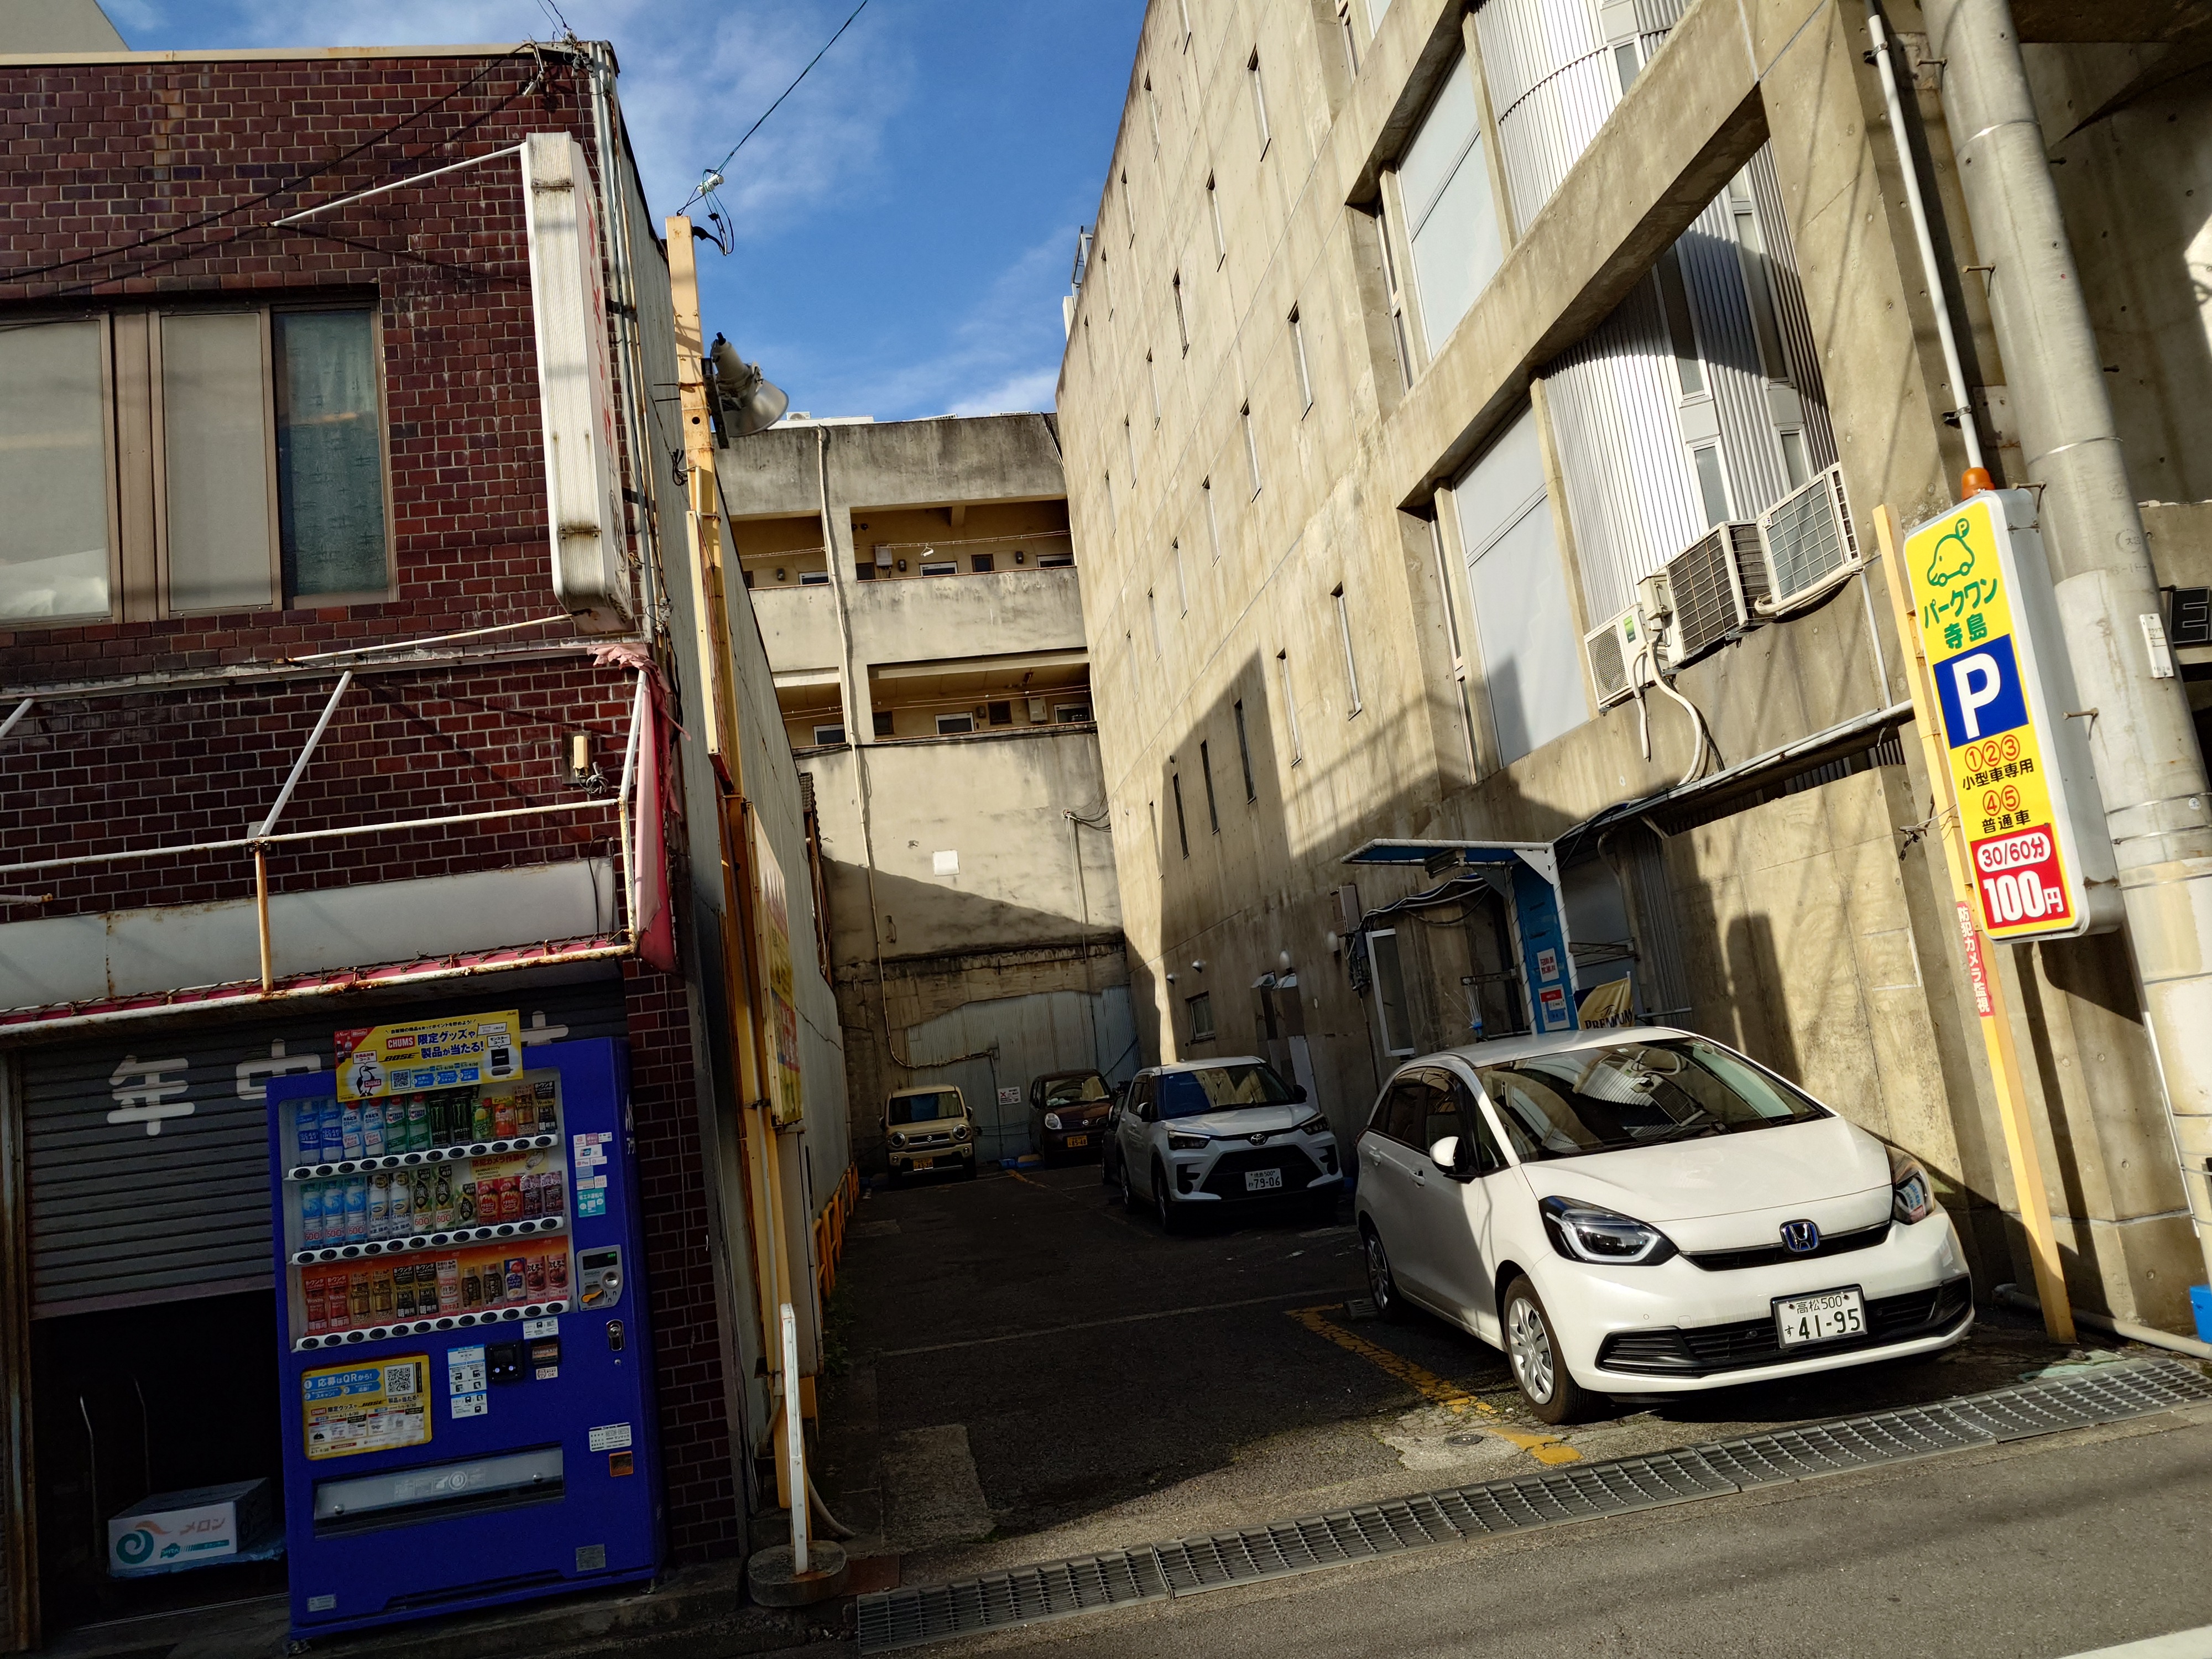
高速バスに乗っているときも見たし、徳島を歩いていると無数に見つかる坊や。恐らく地場の駐車場チェーンなのだろう。Timesみたいな全国区に支配されていないのはいいことだ。
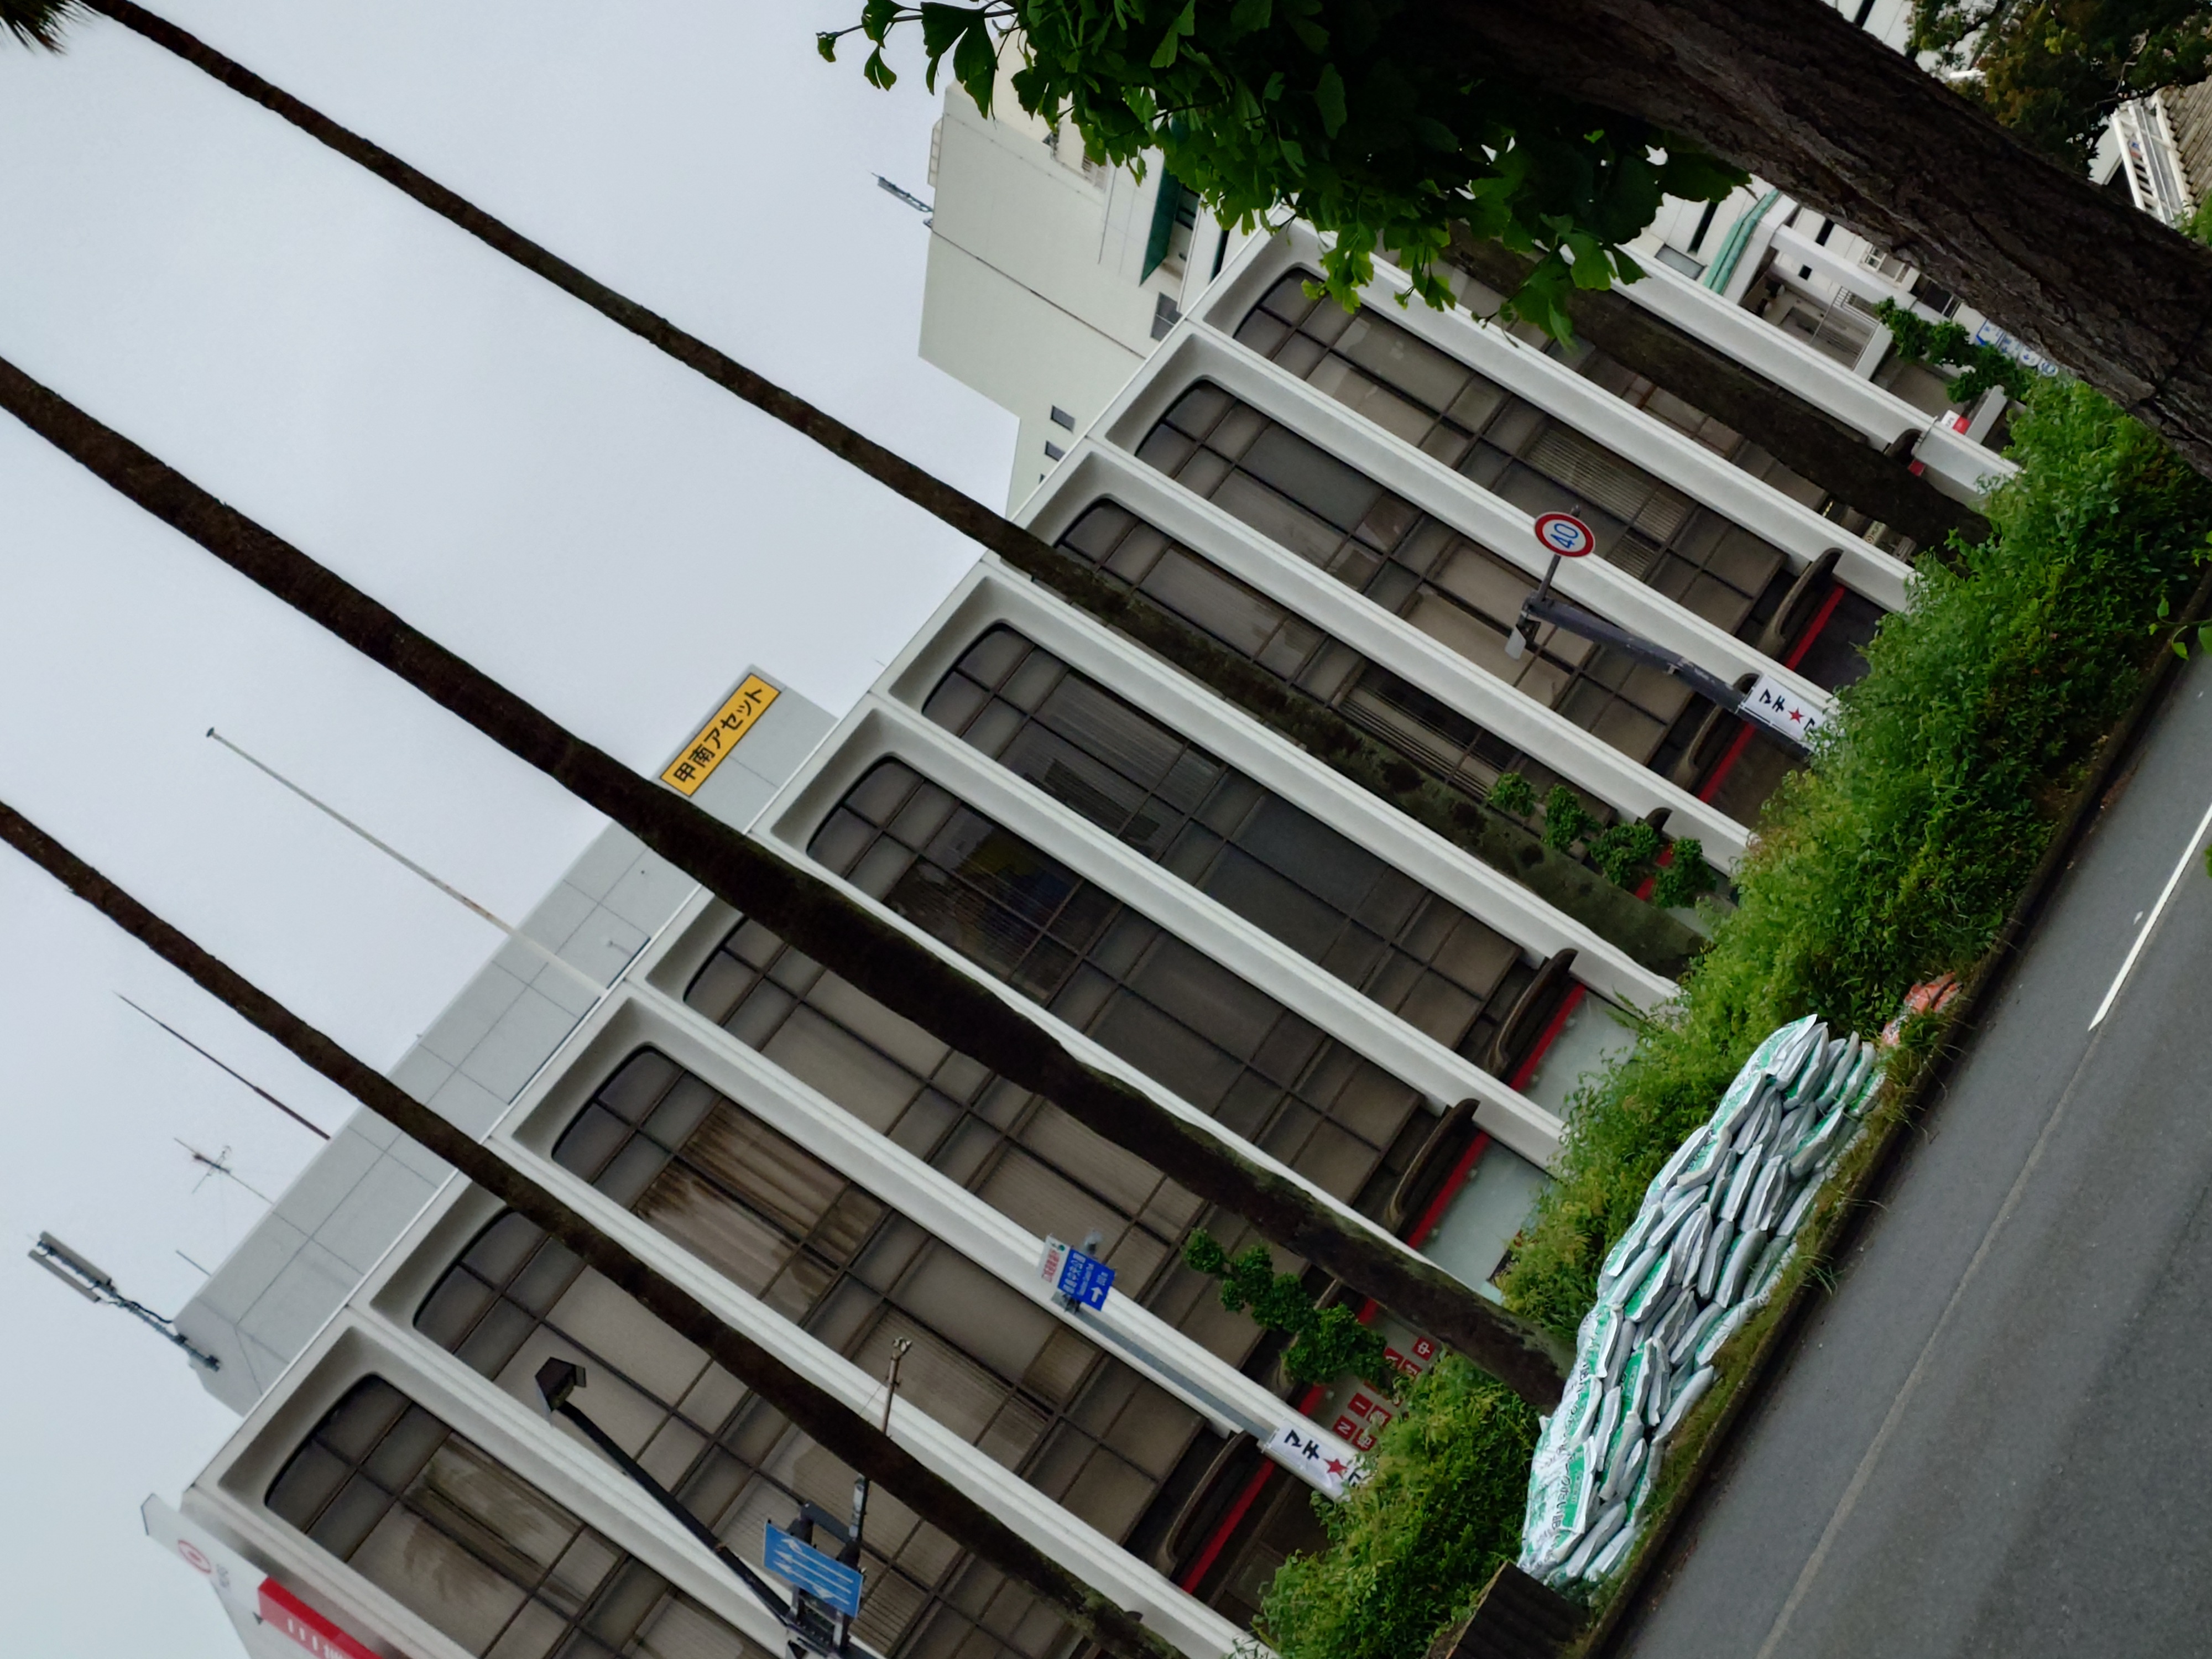
まさか徳島で神戸の甲南アセットを見ることになるとは思わず、驚いた。
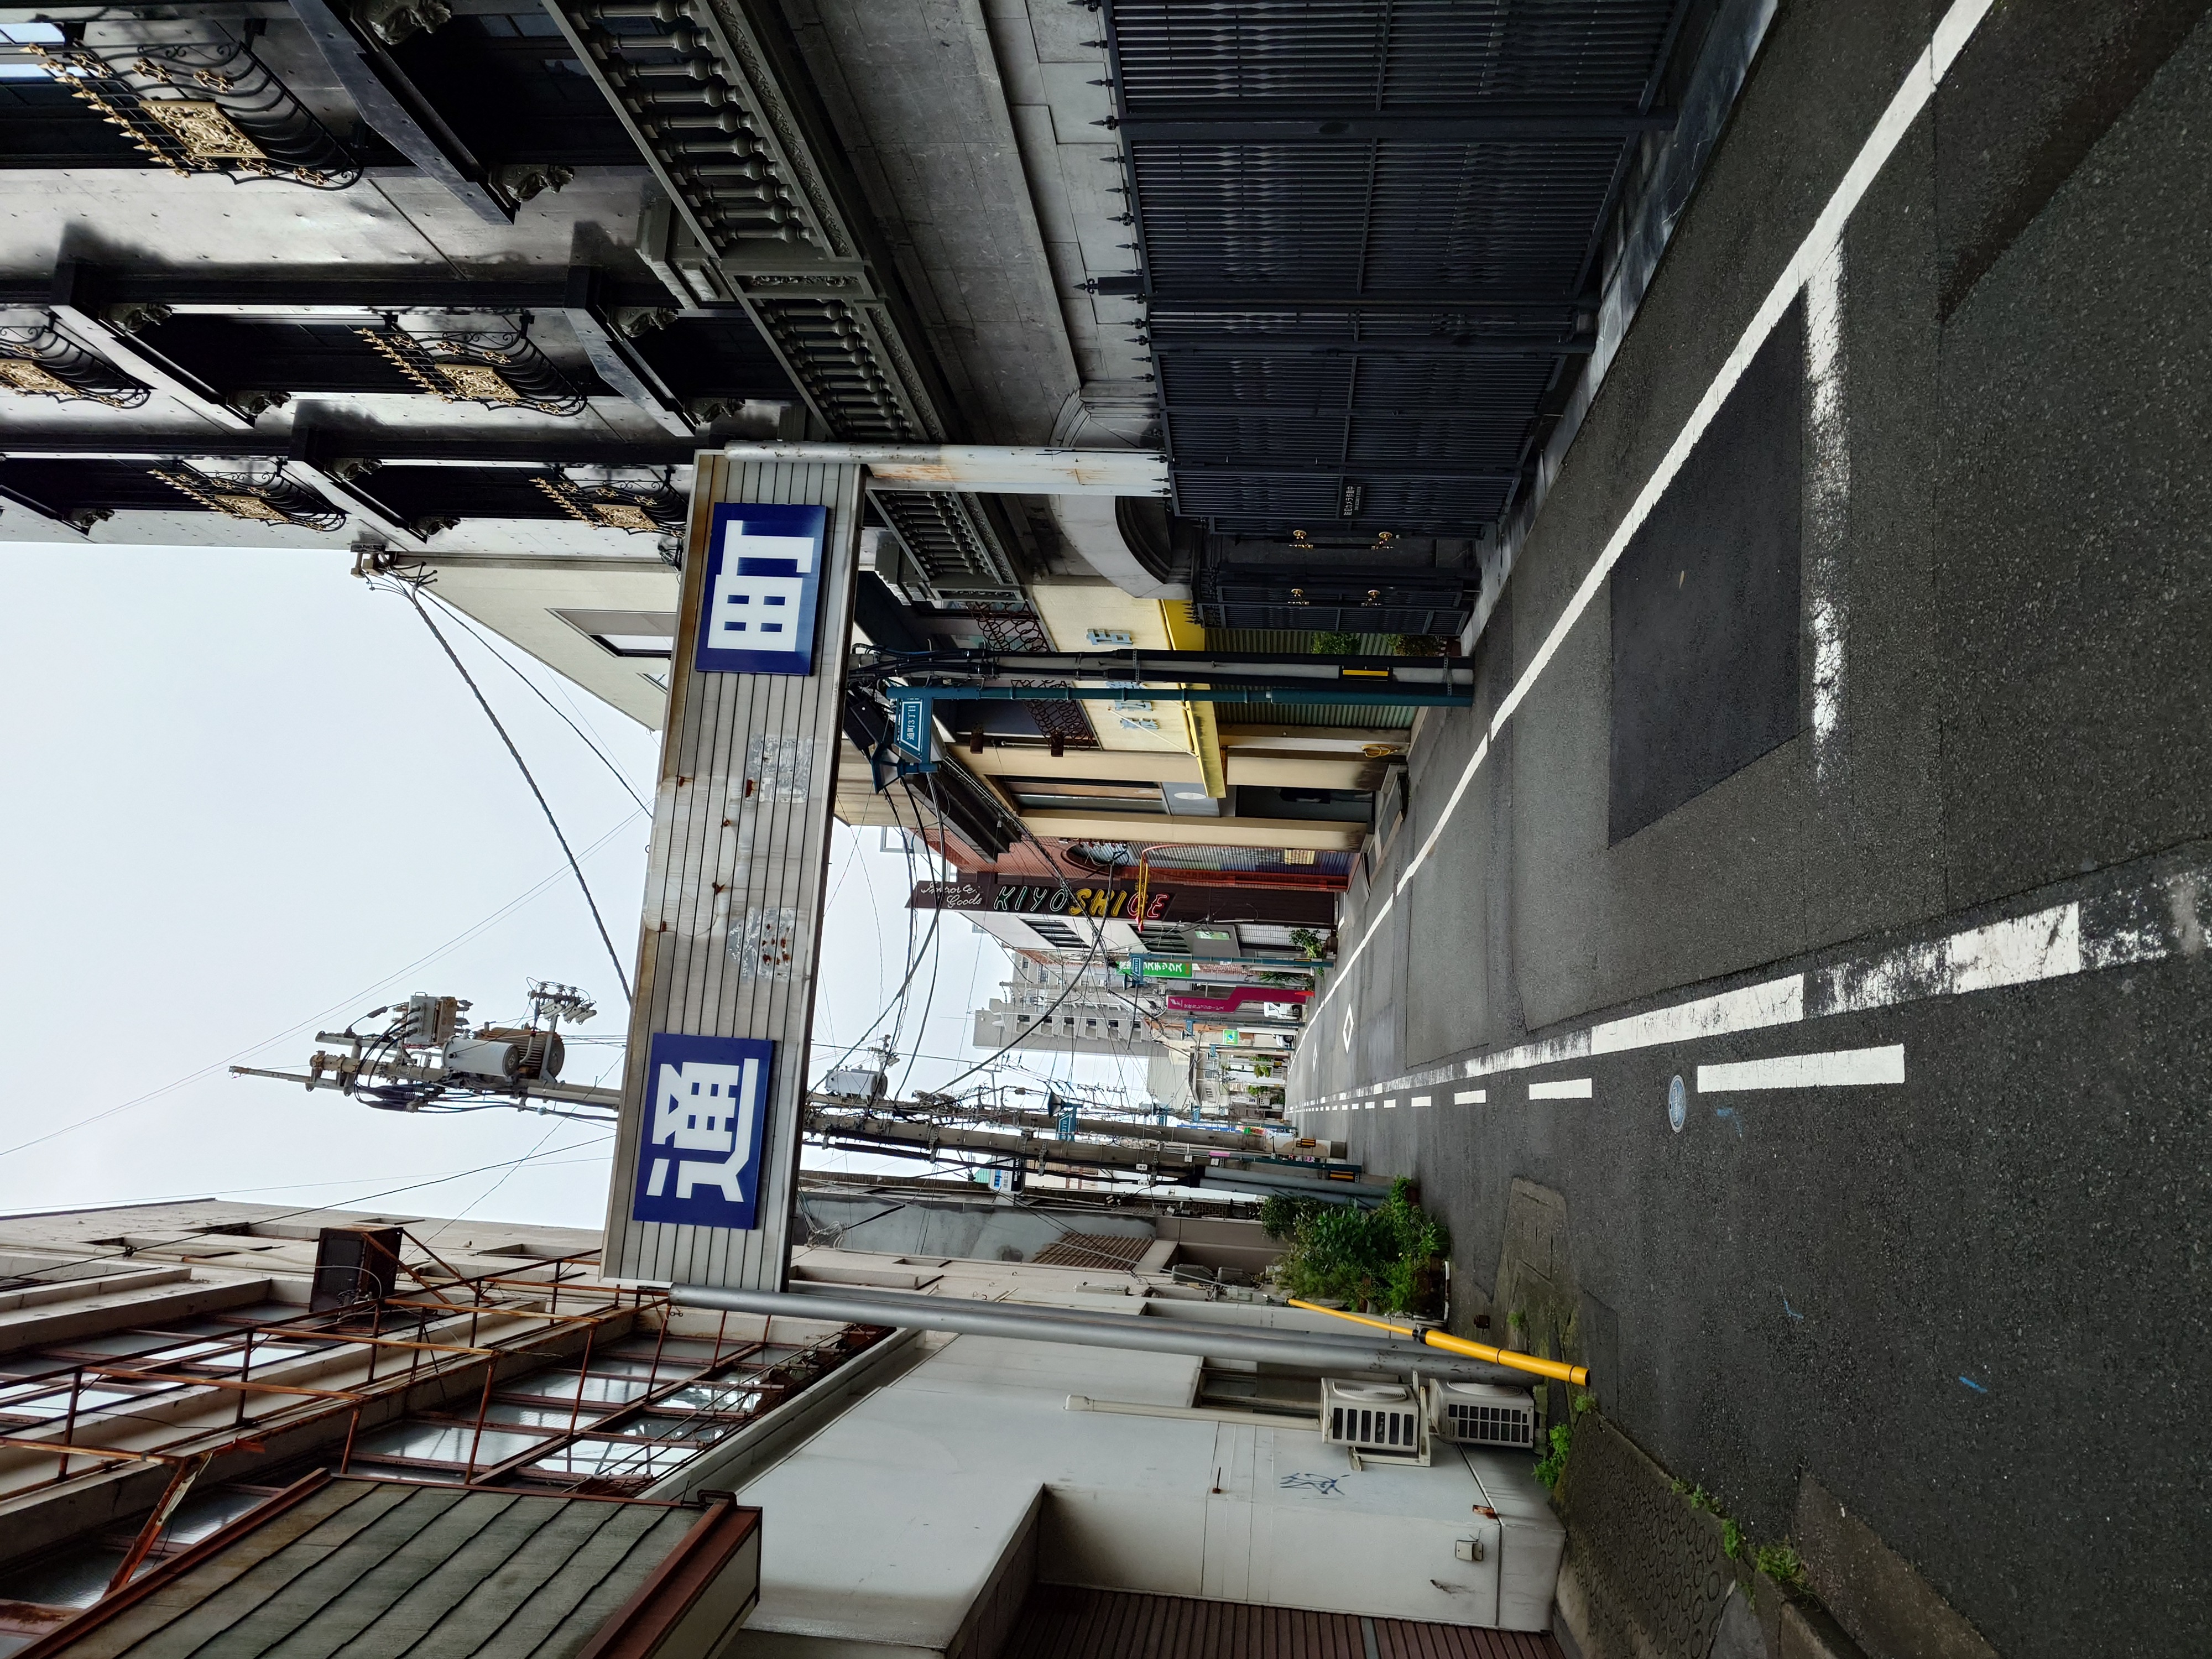
通町という商店街は、南通と書かれた板や恐らくアイコンが貼ってあった箇所がはがれているようだったが、まだ生きているようだった。
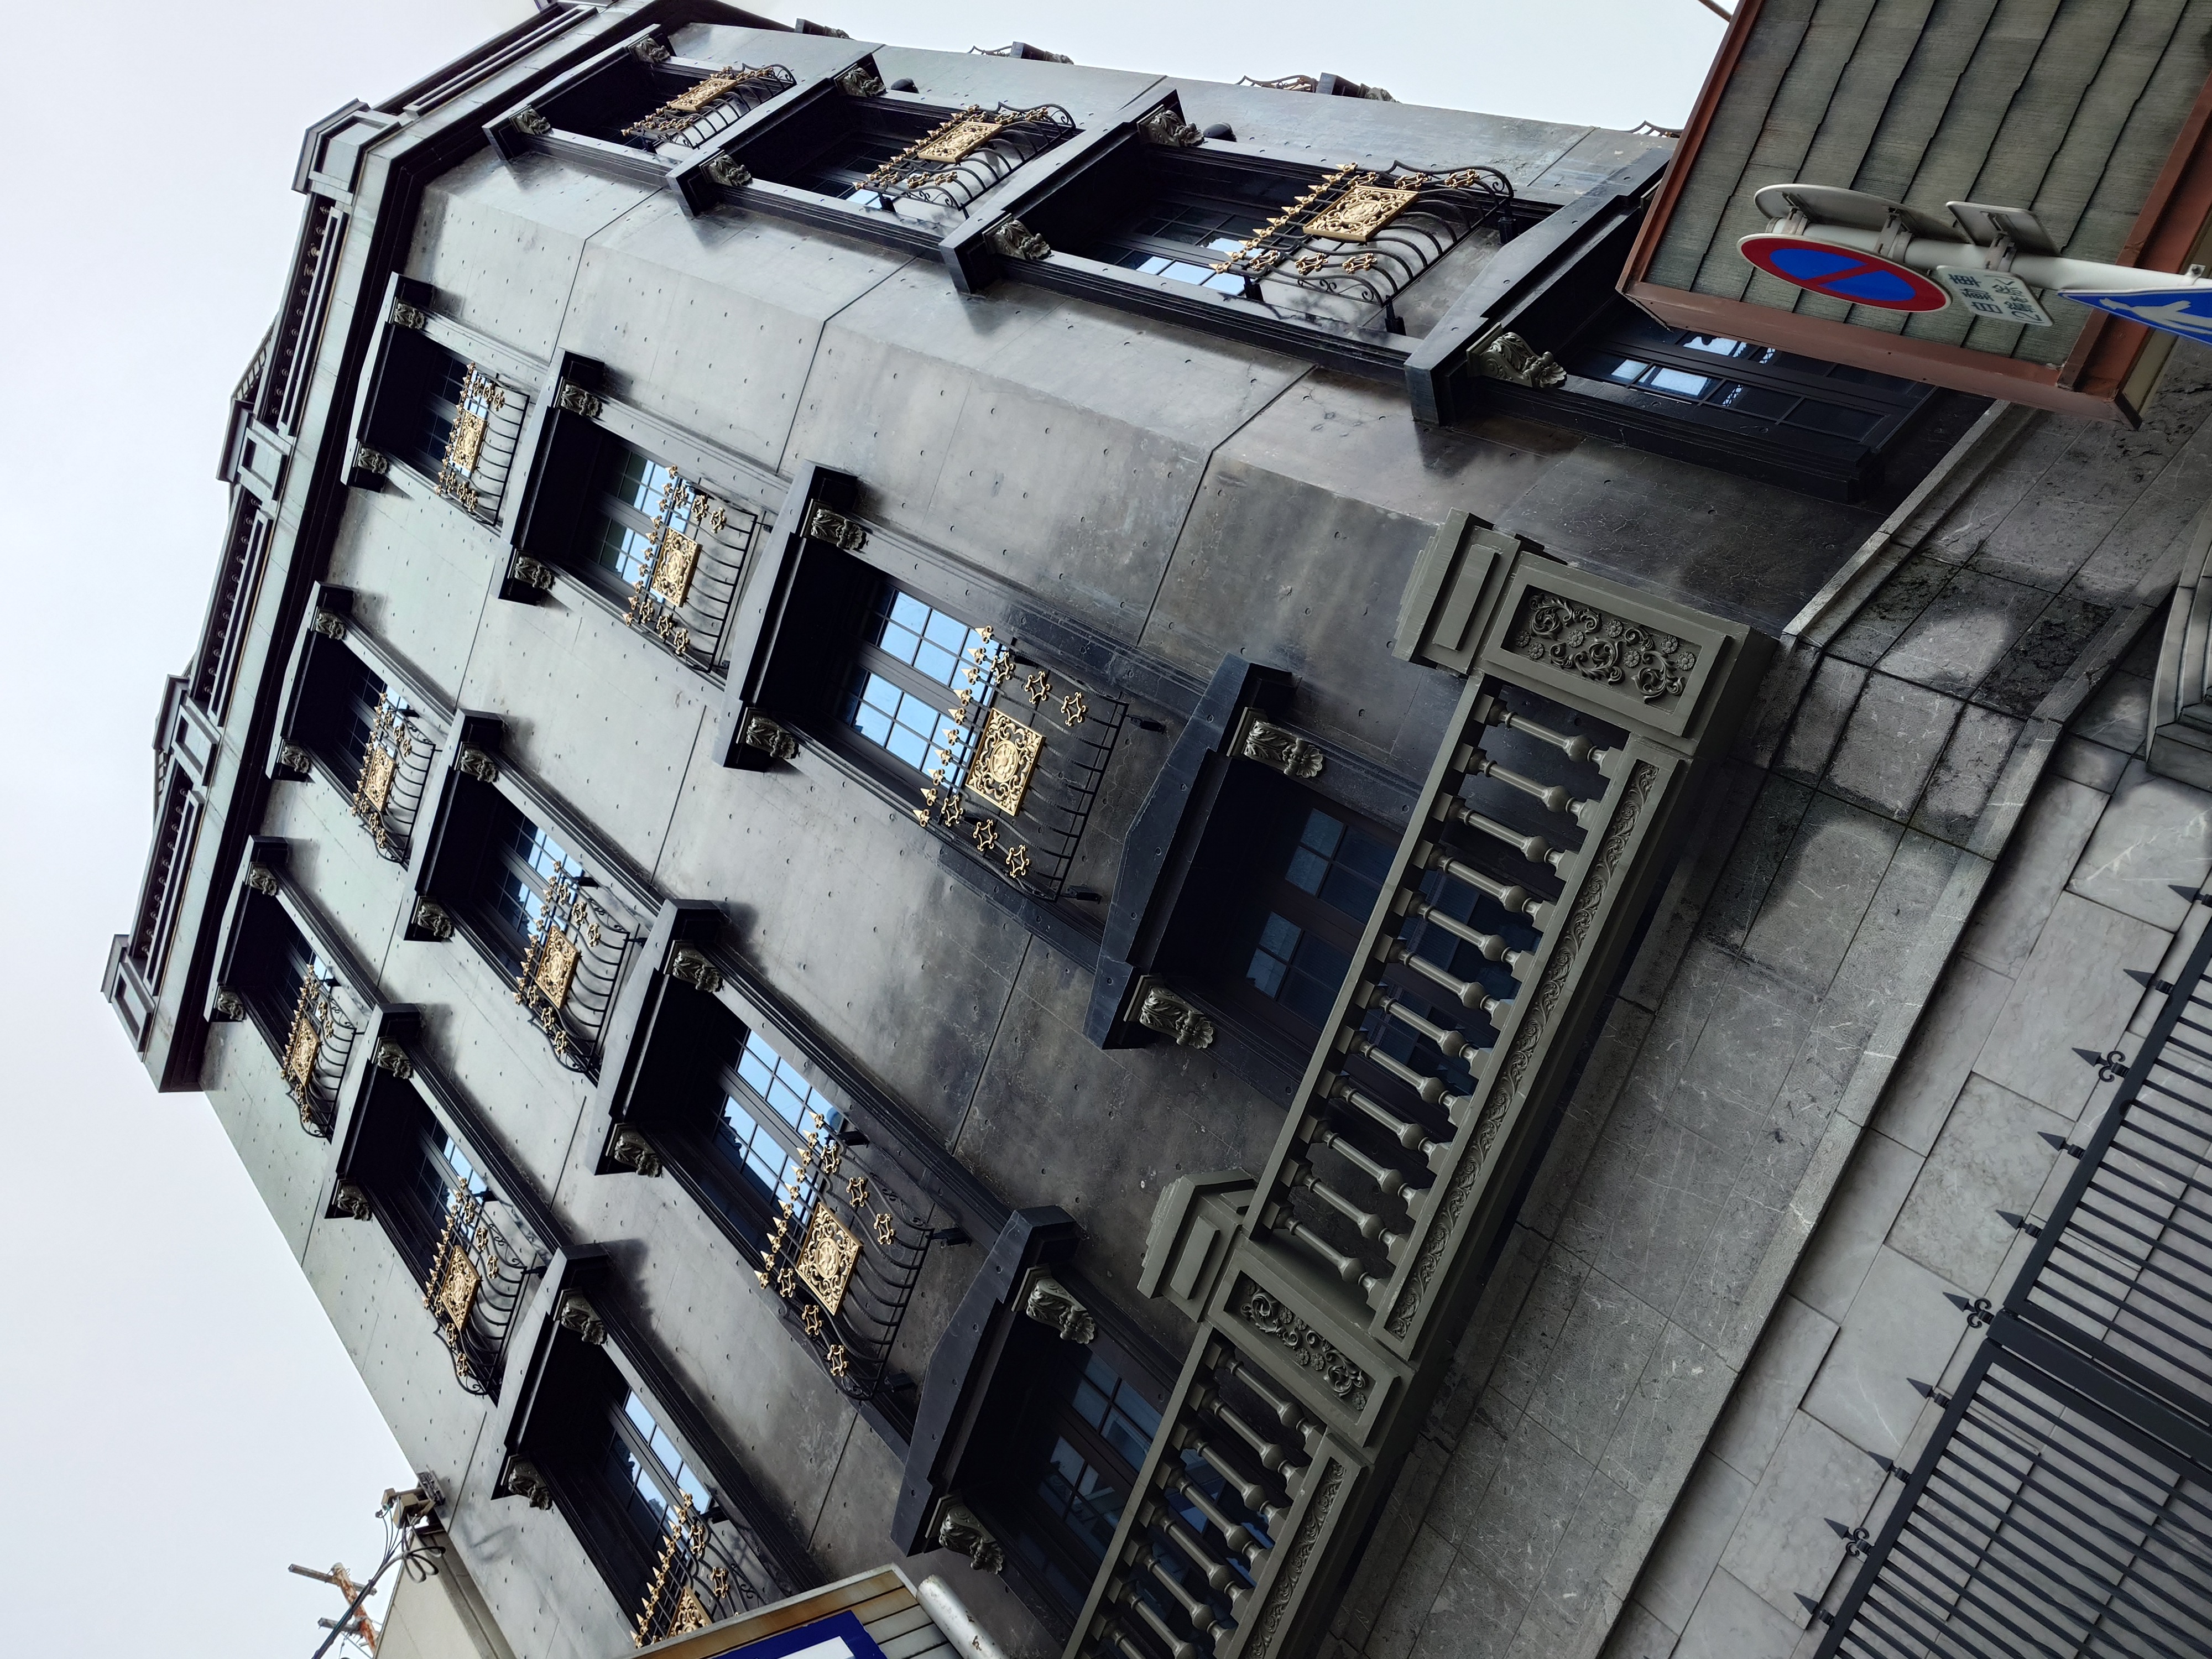
先ほど見かけたレトロビルの一角はリノベーションされているのか、結構綺麗目だった。何の建物なのかはわからないが、少なくとも店ではなさそうだ。
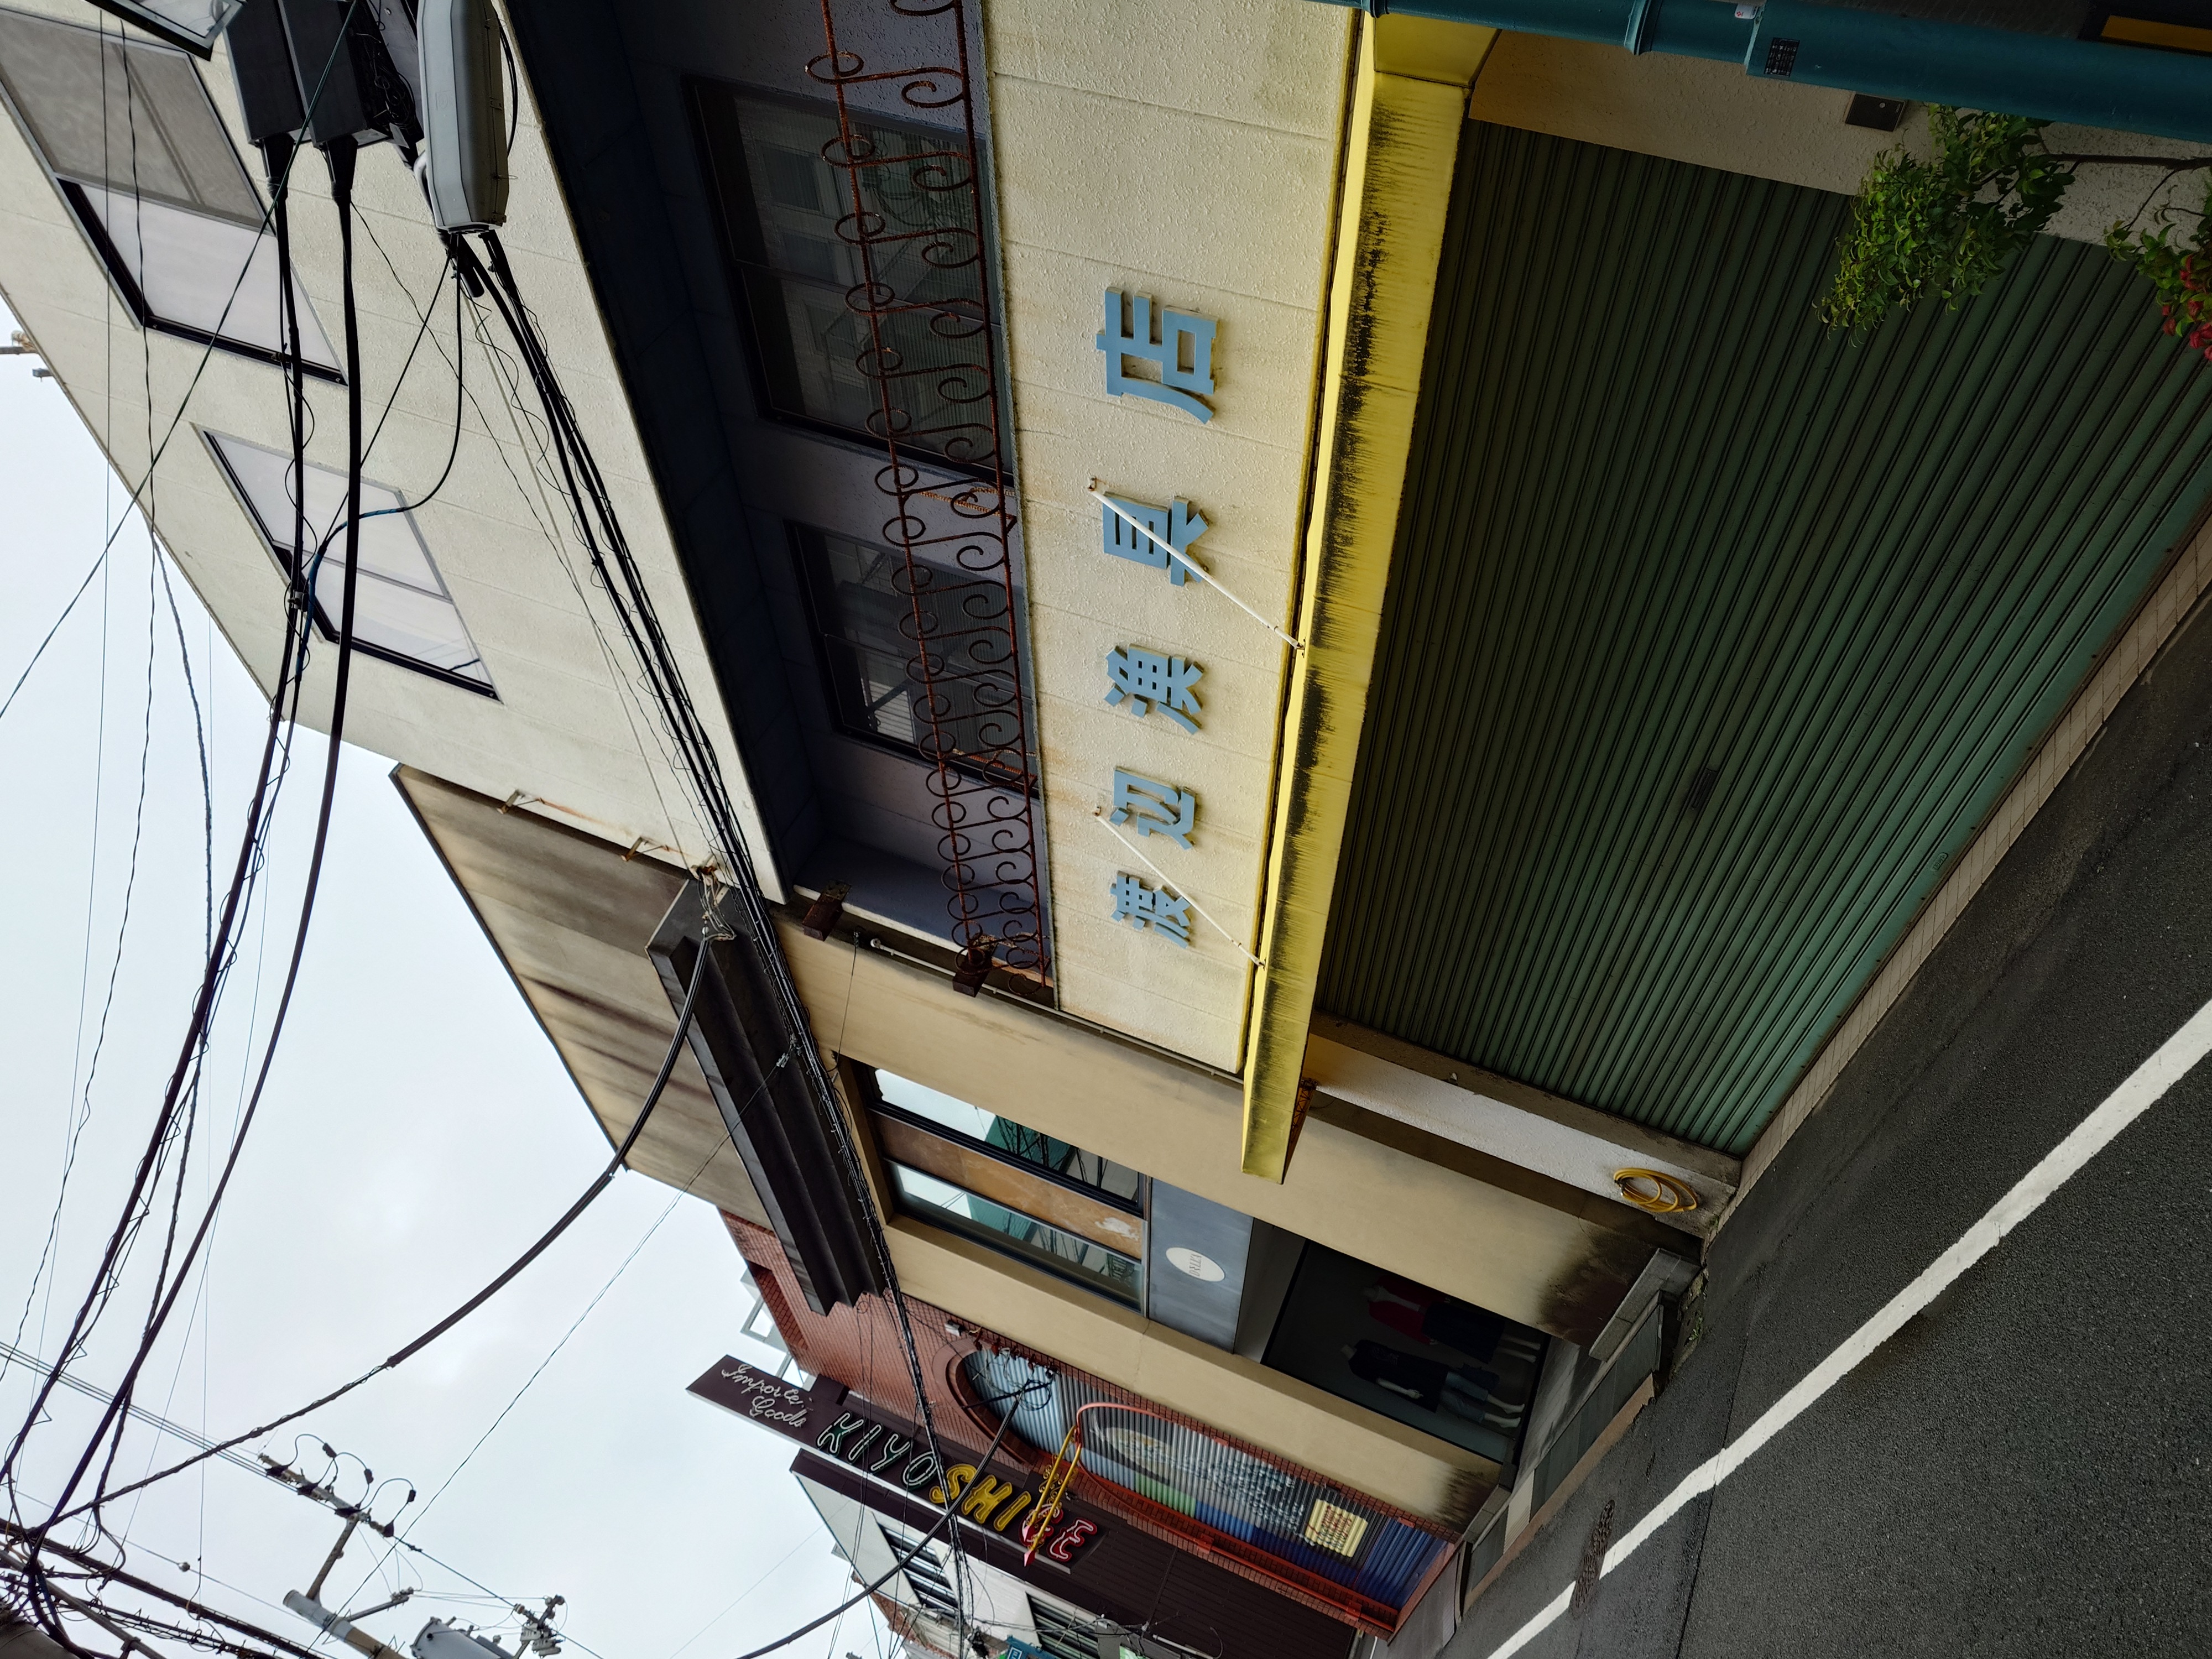
漁具店の漁の字が古めかしく良かった。
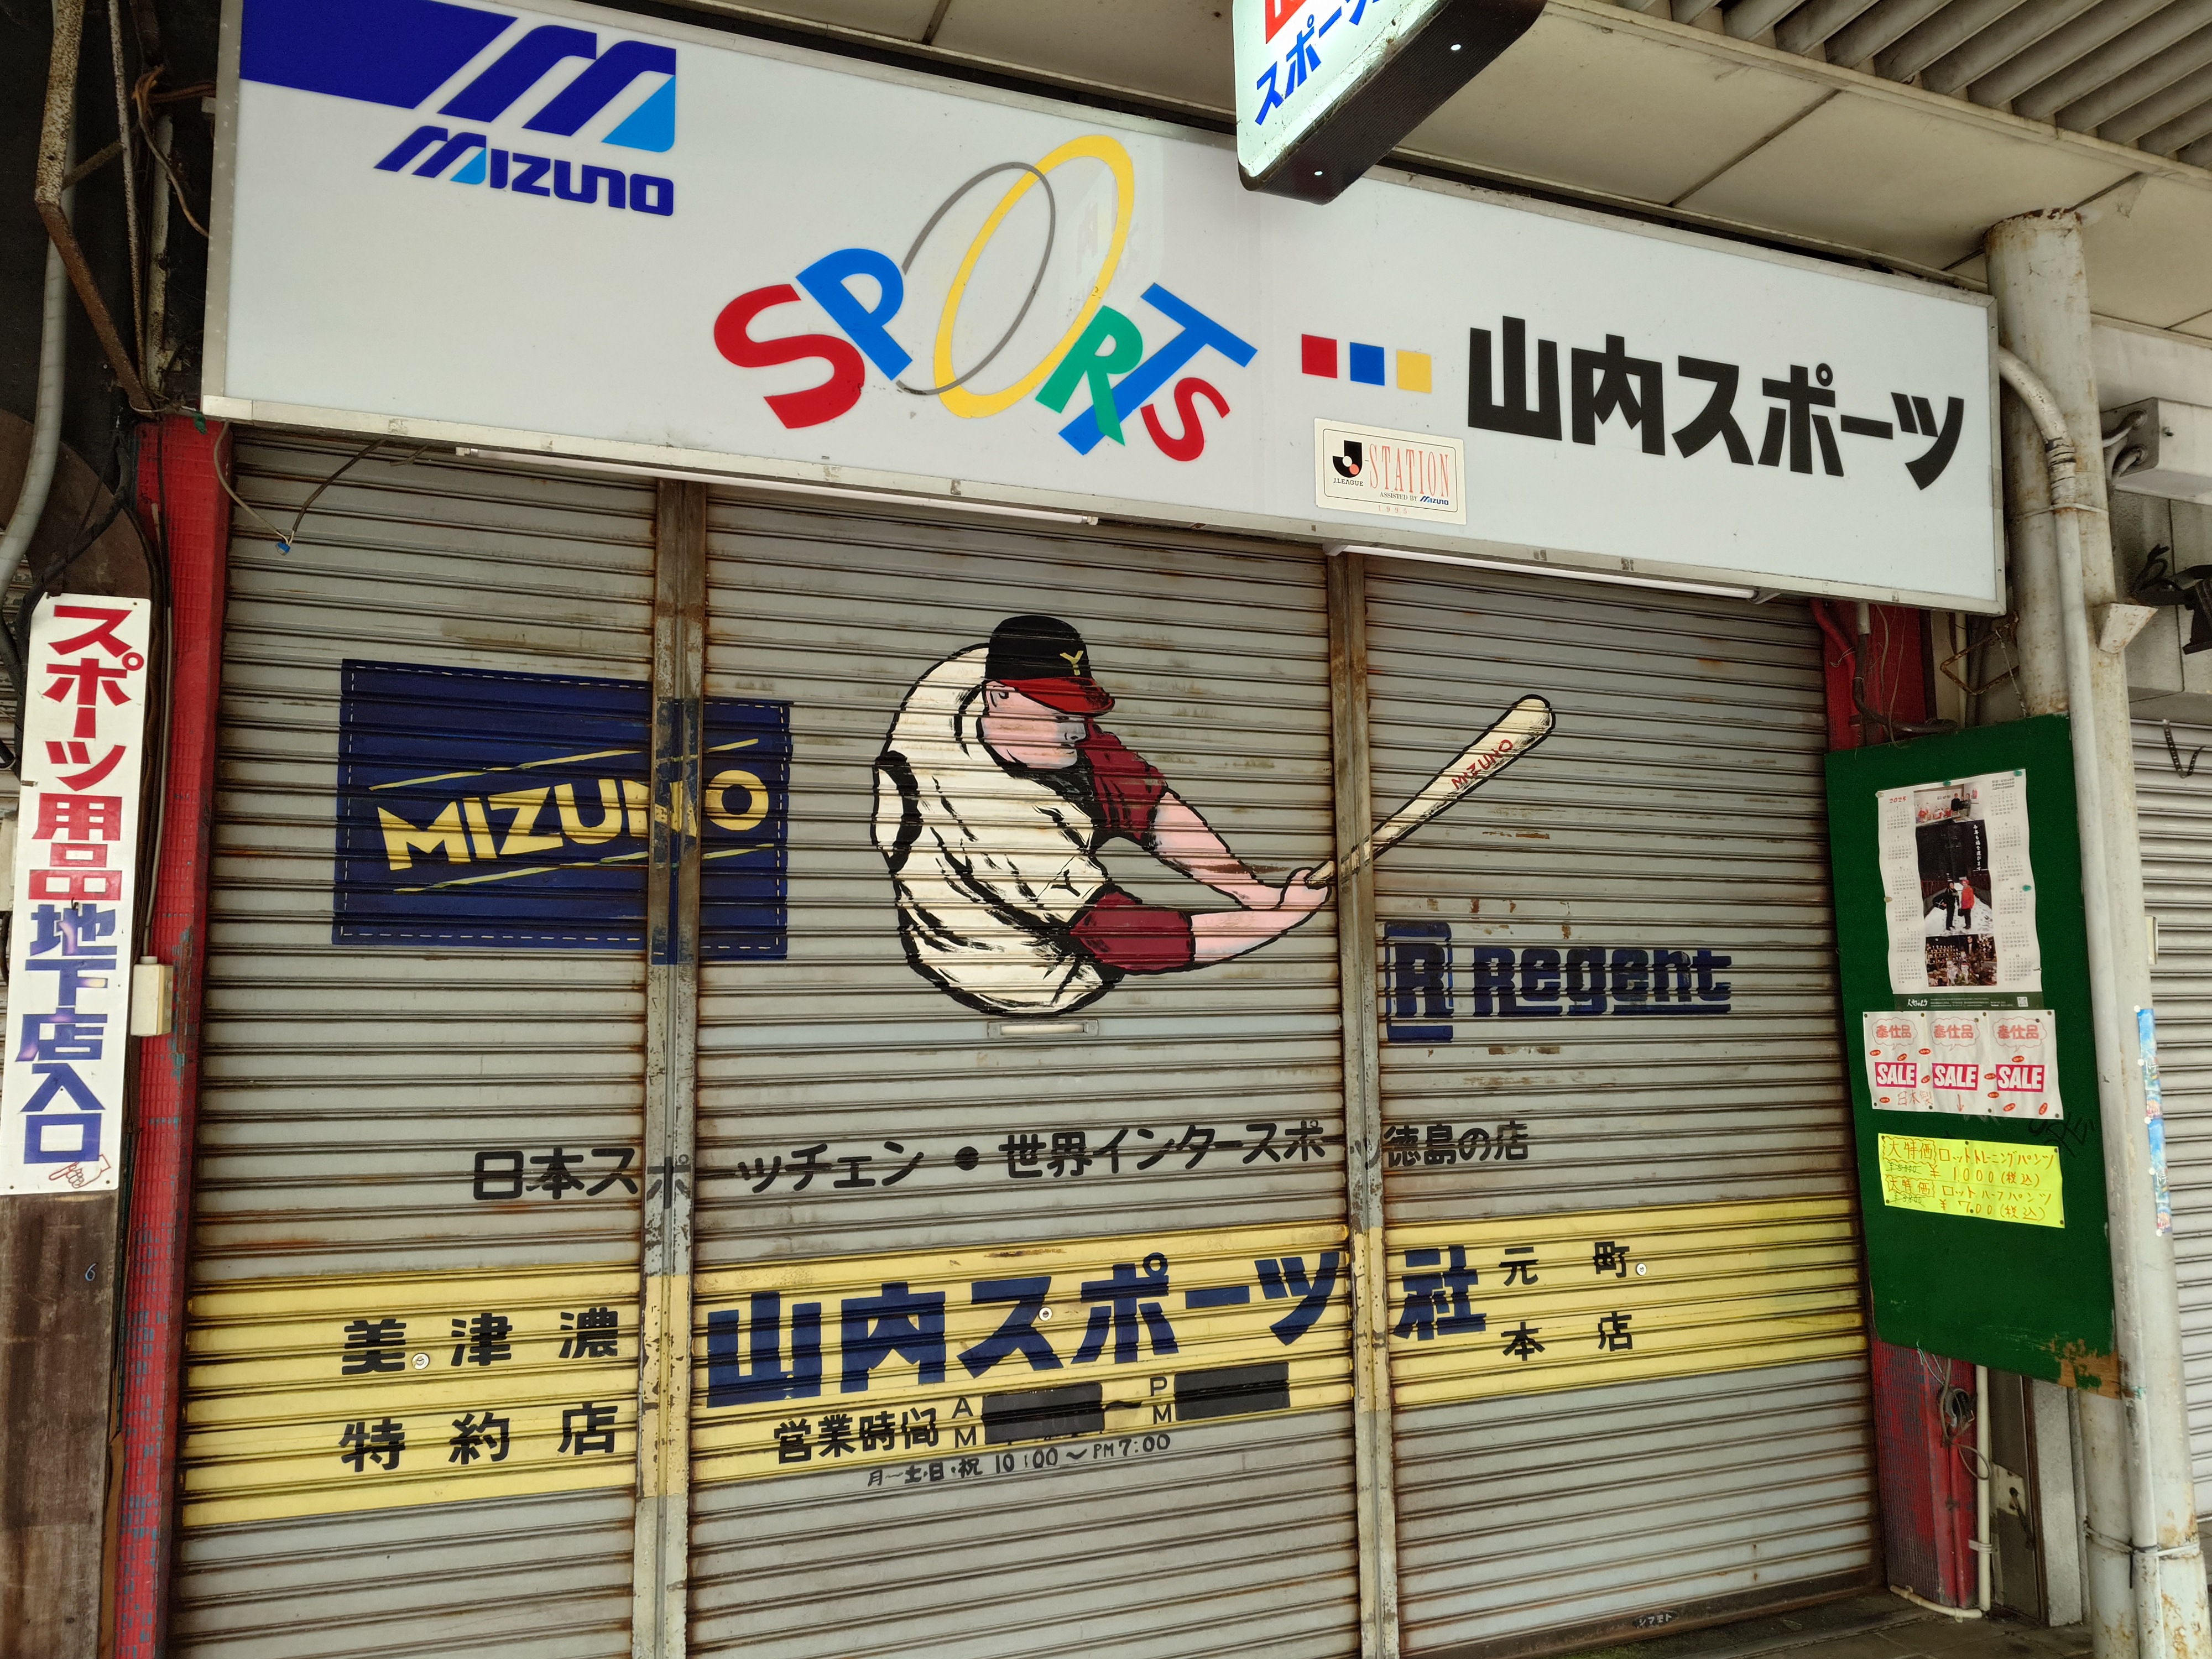
随分レトロなスポーツ店だが、2025年のカレンダーが貼ってあることや、ビラが新しいことから営業しているようだった。ここが本店のようだが、今でもチェーンはあるのだろうか?
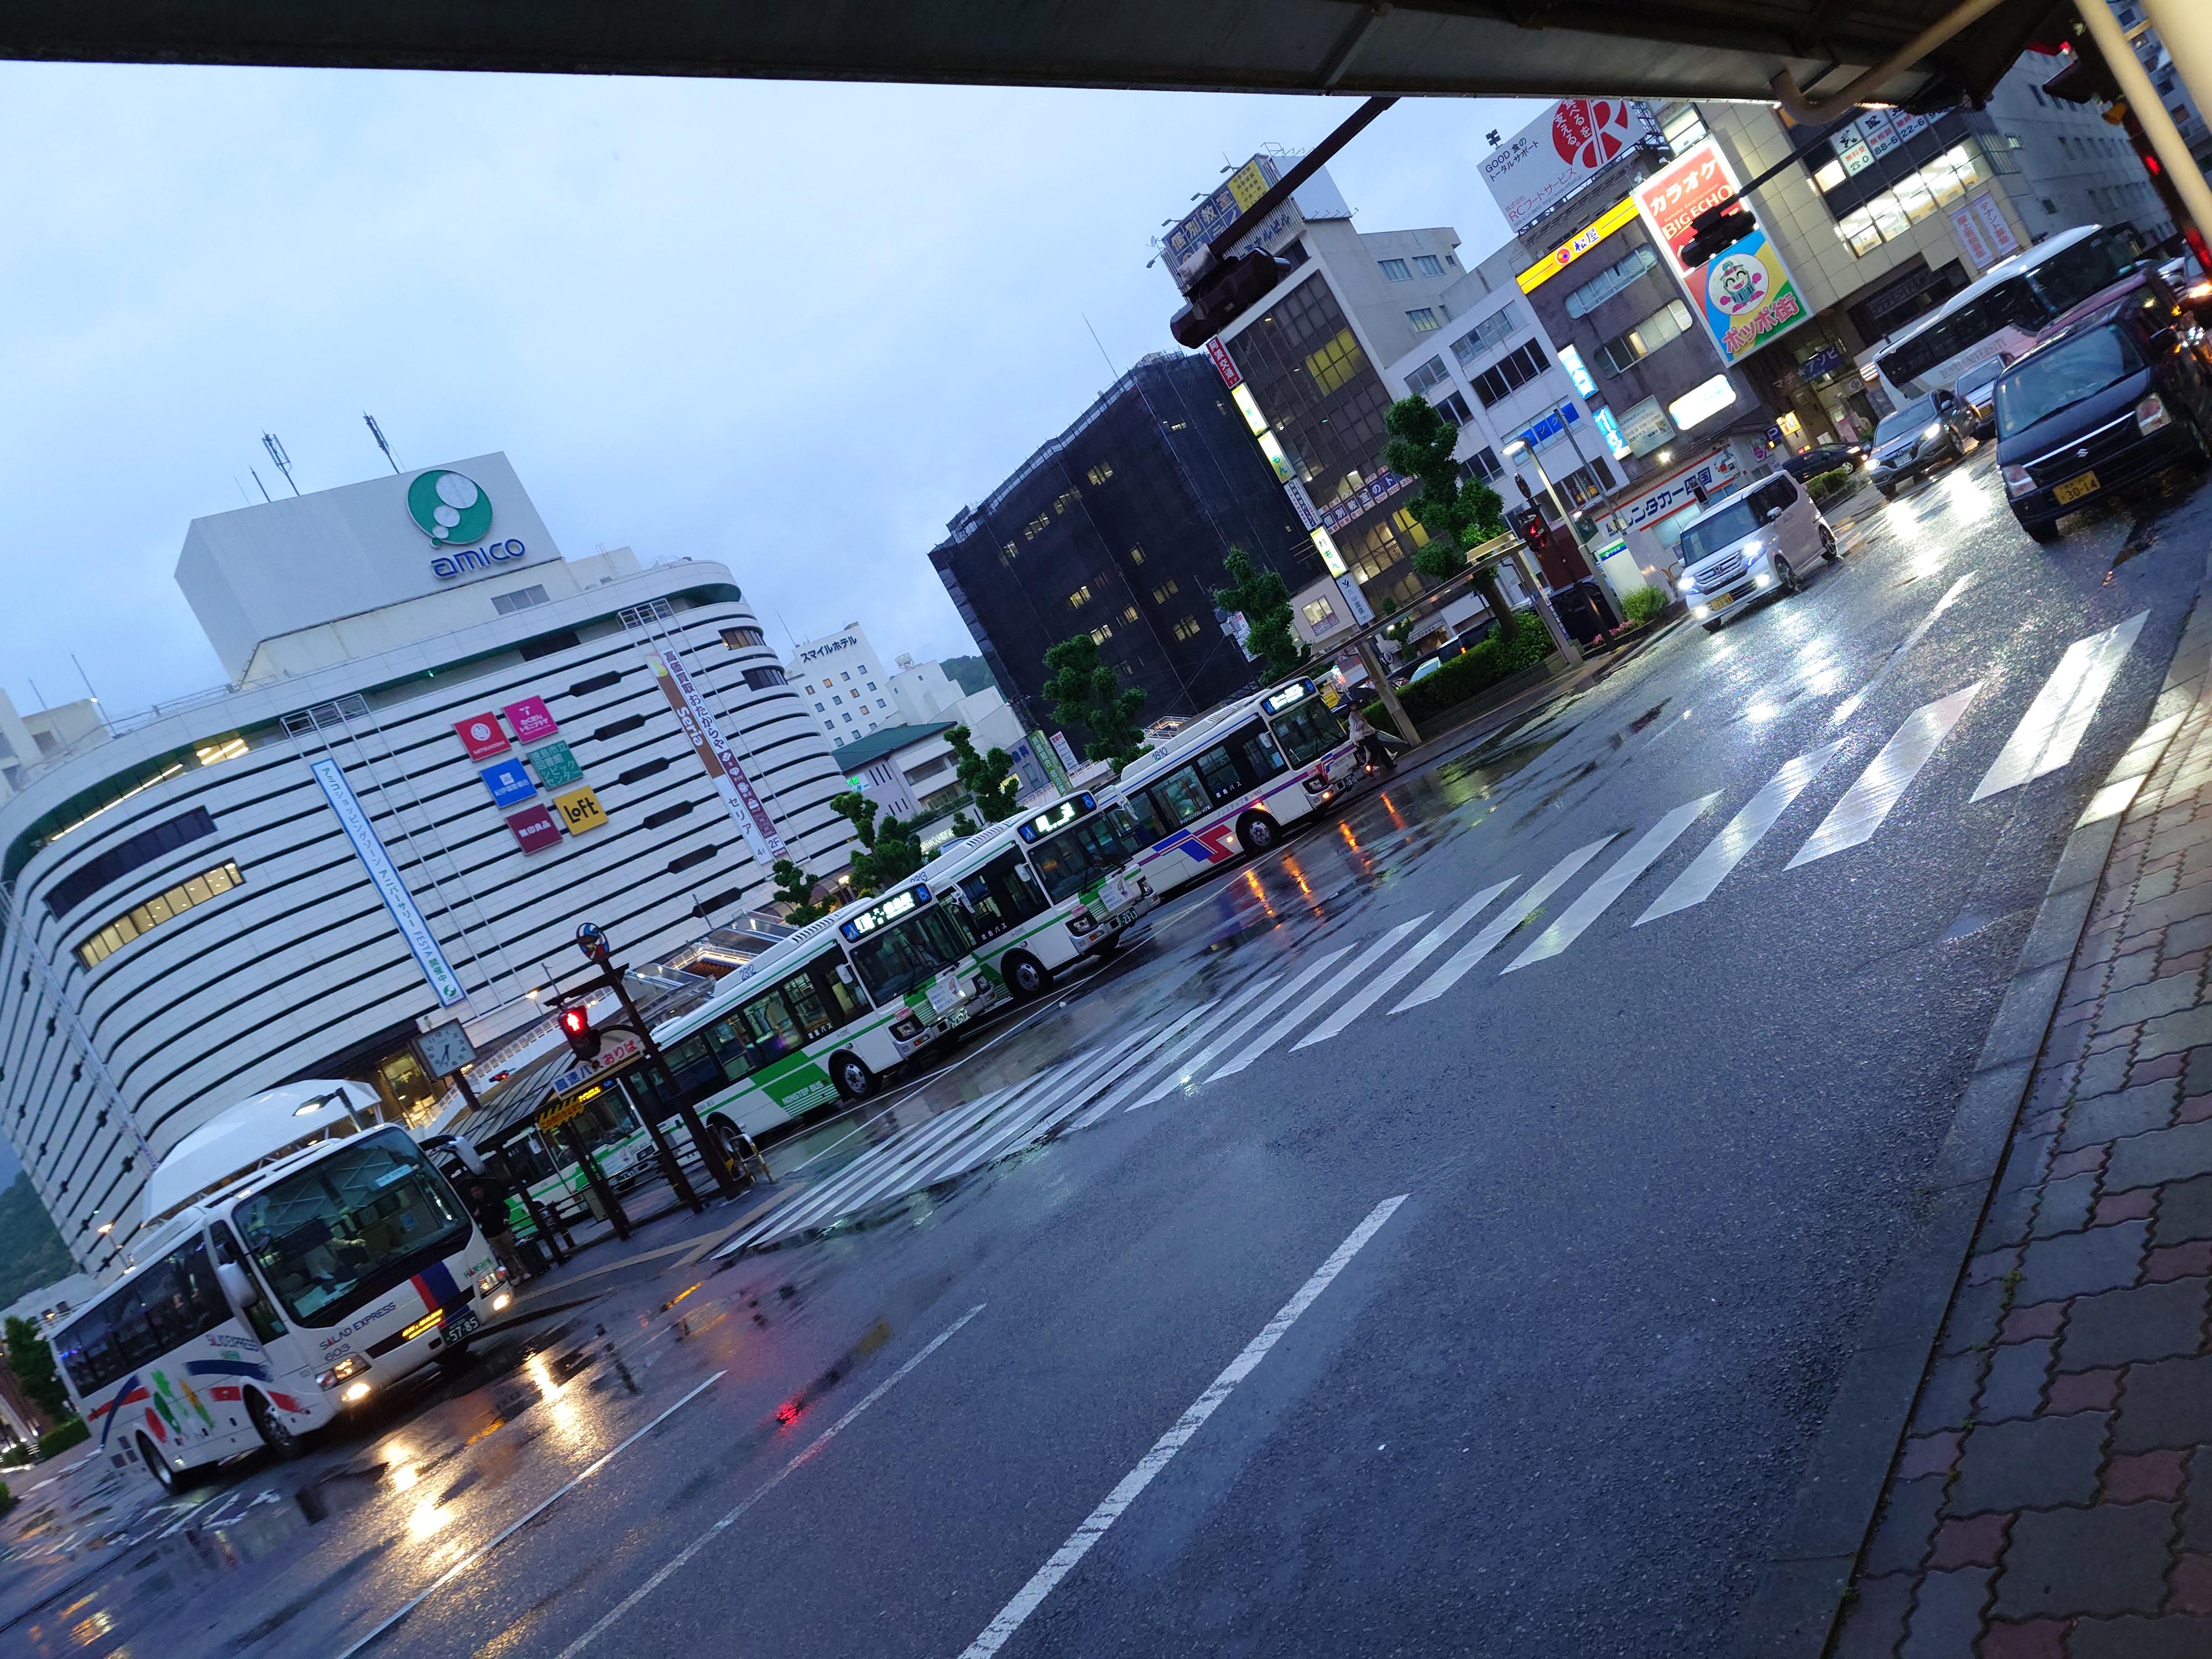
時刻は8時前。駅前の交通量は多く、県外ナンバーも目立ったことから、いよいよマチアソビが始まるのかという期待が湧いてきた。
周囲の駐車場は徐々に埋まりつつあった。
徳島駅に戻ってきた
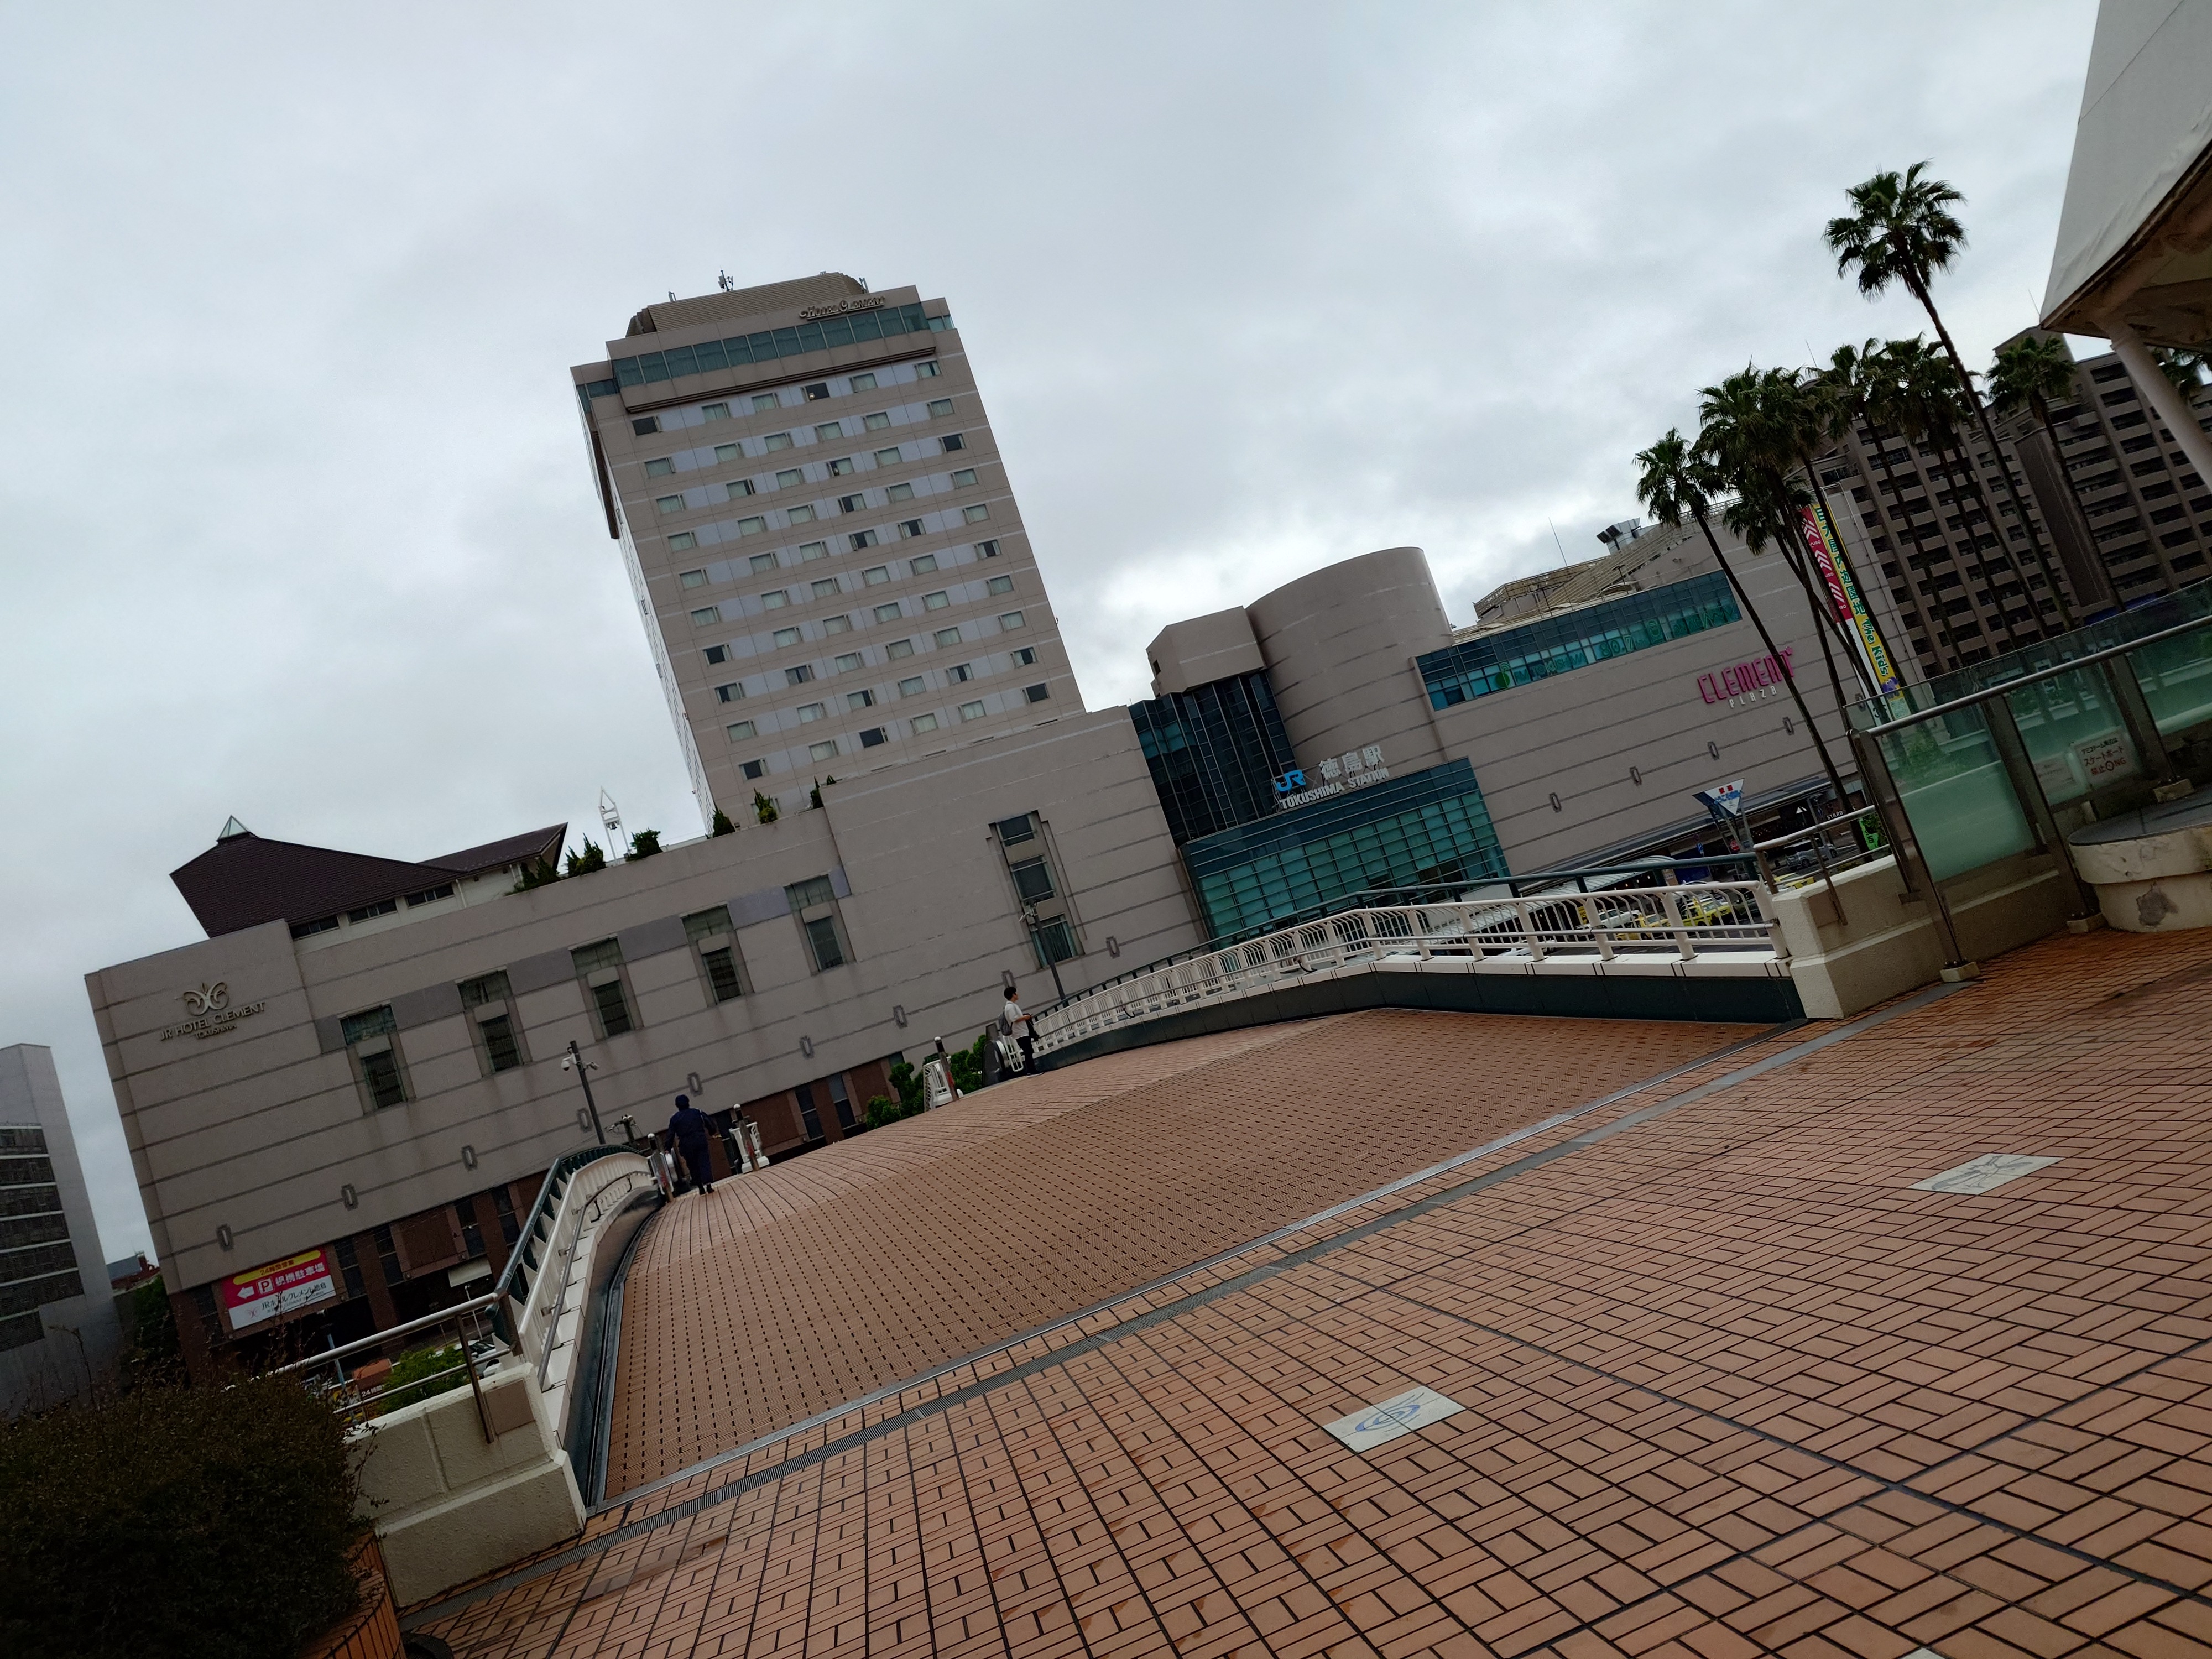
ホントどこの都会なのかと見まごうような立派な駅舎だ。

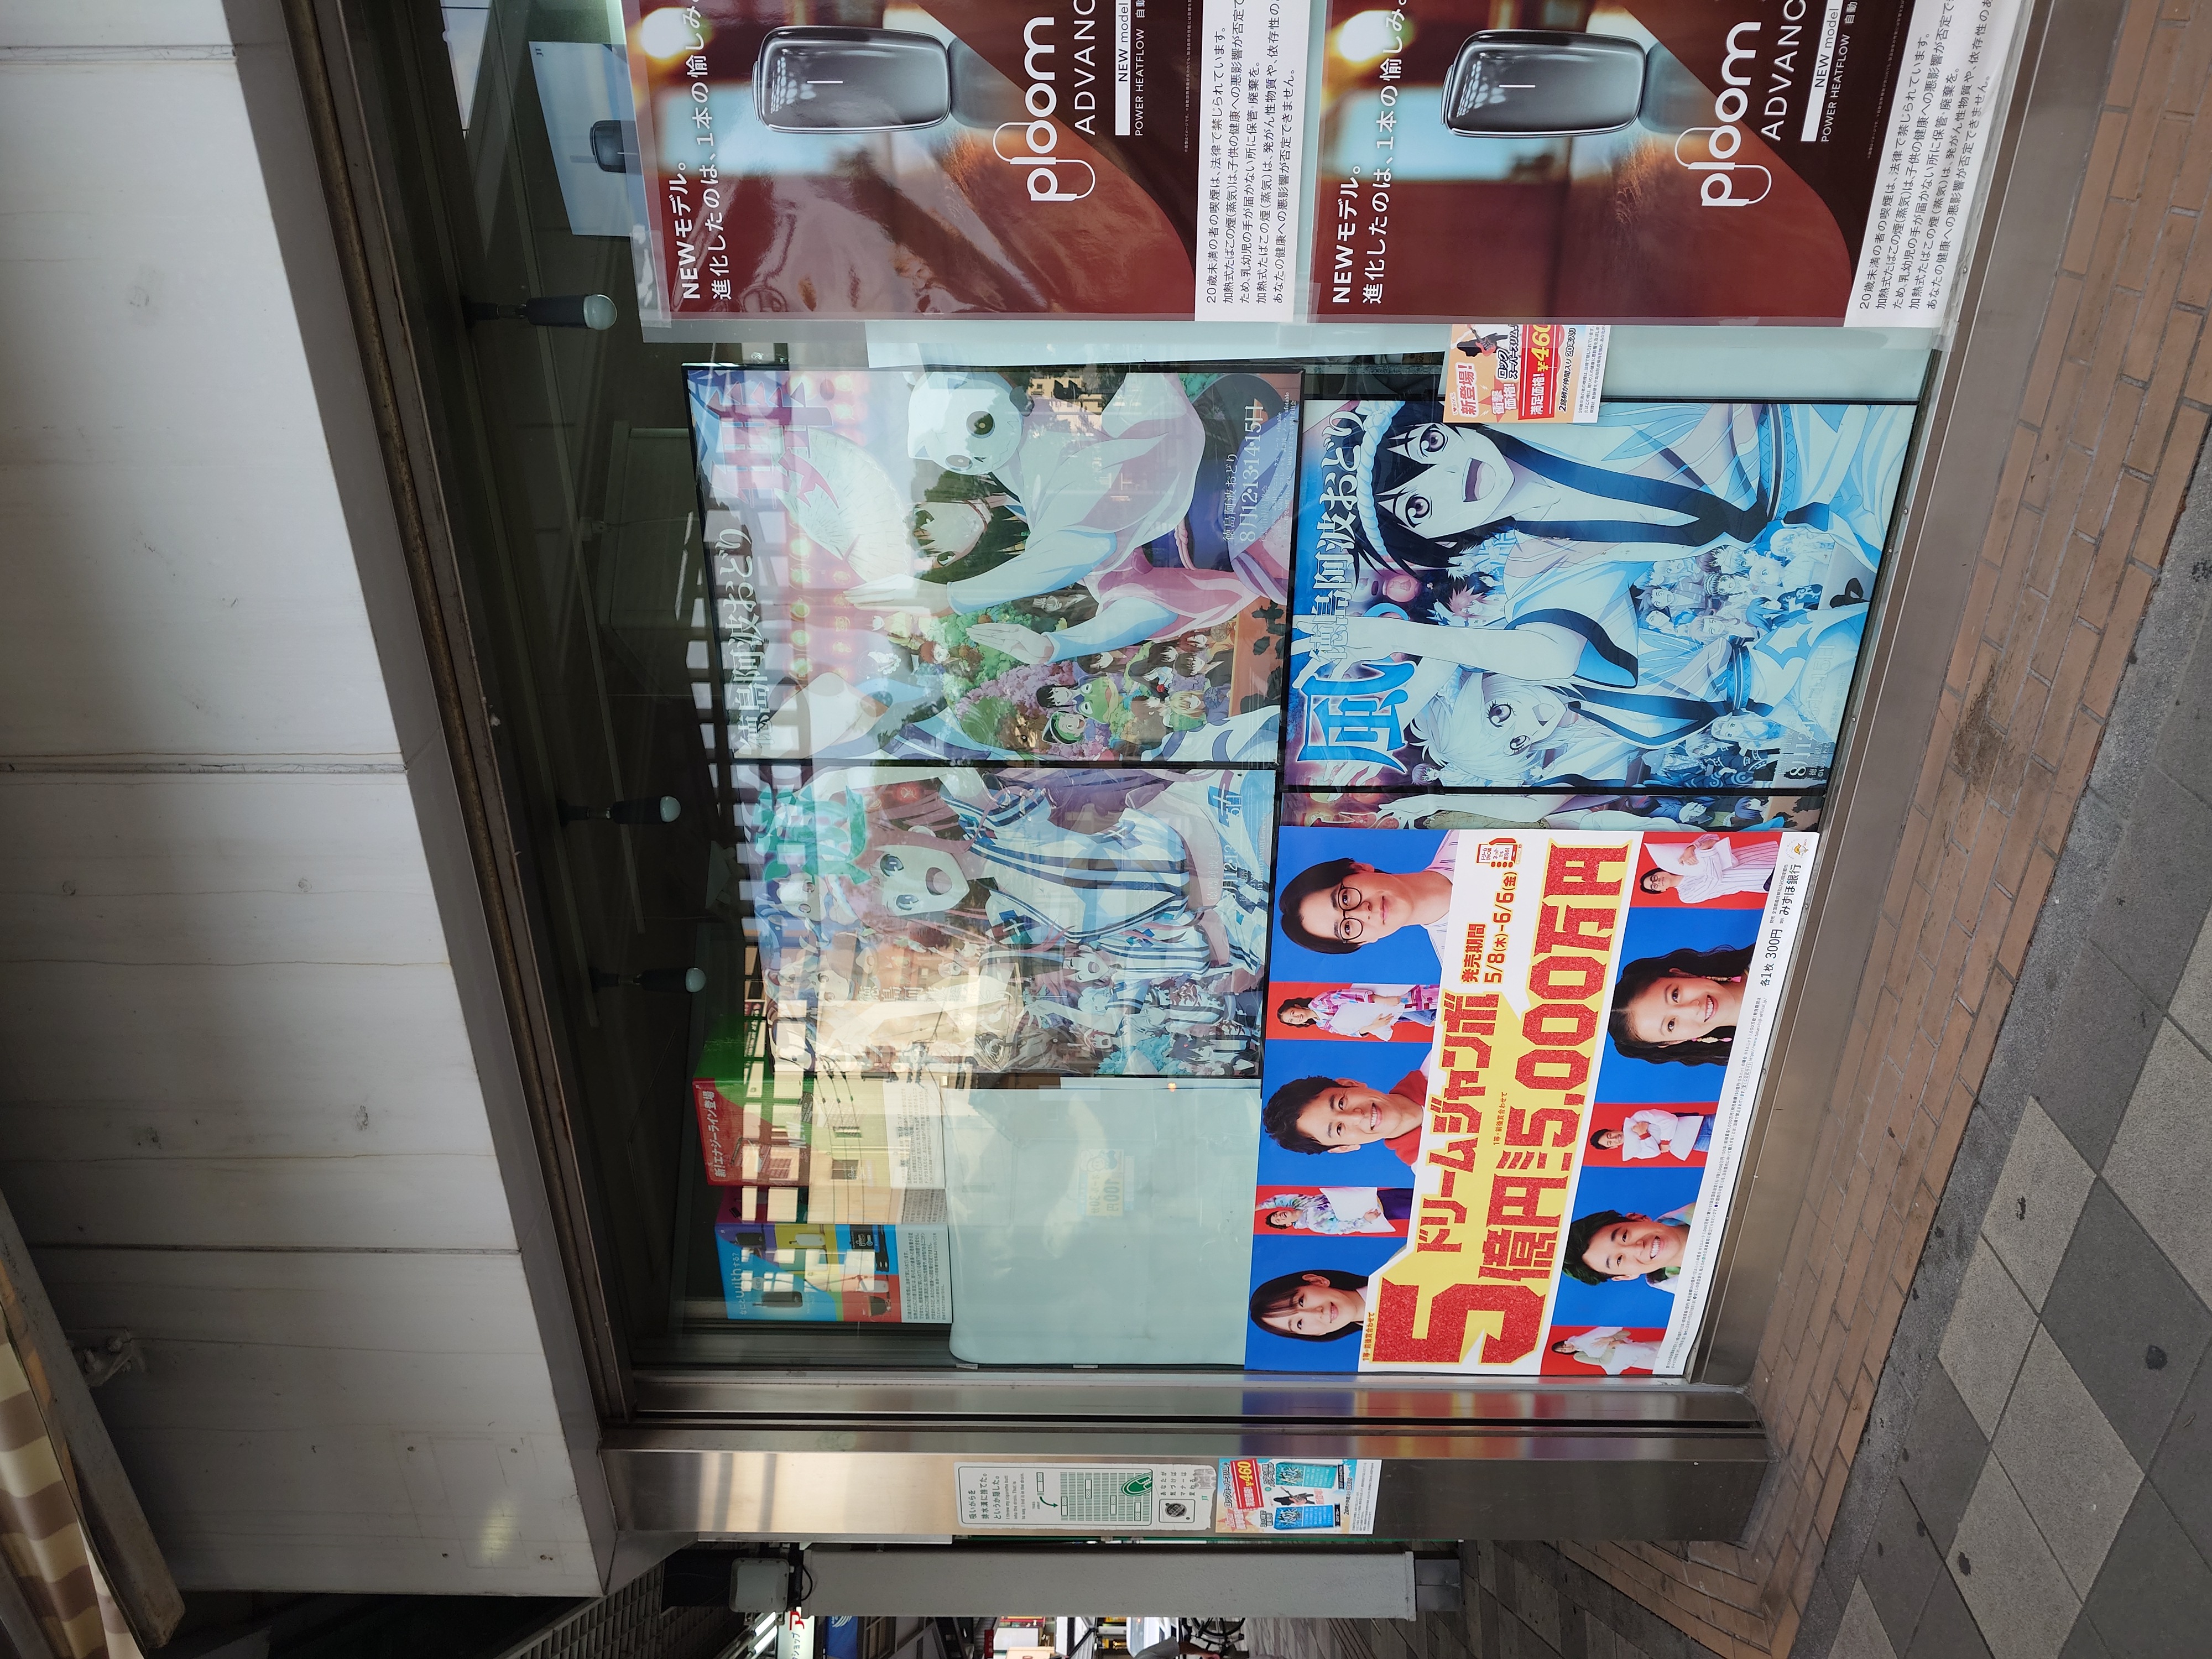
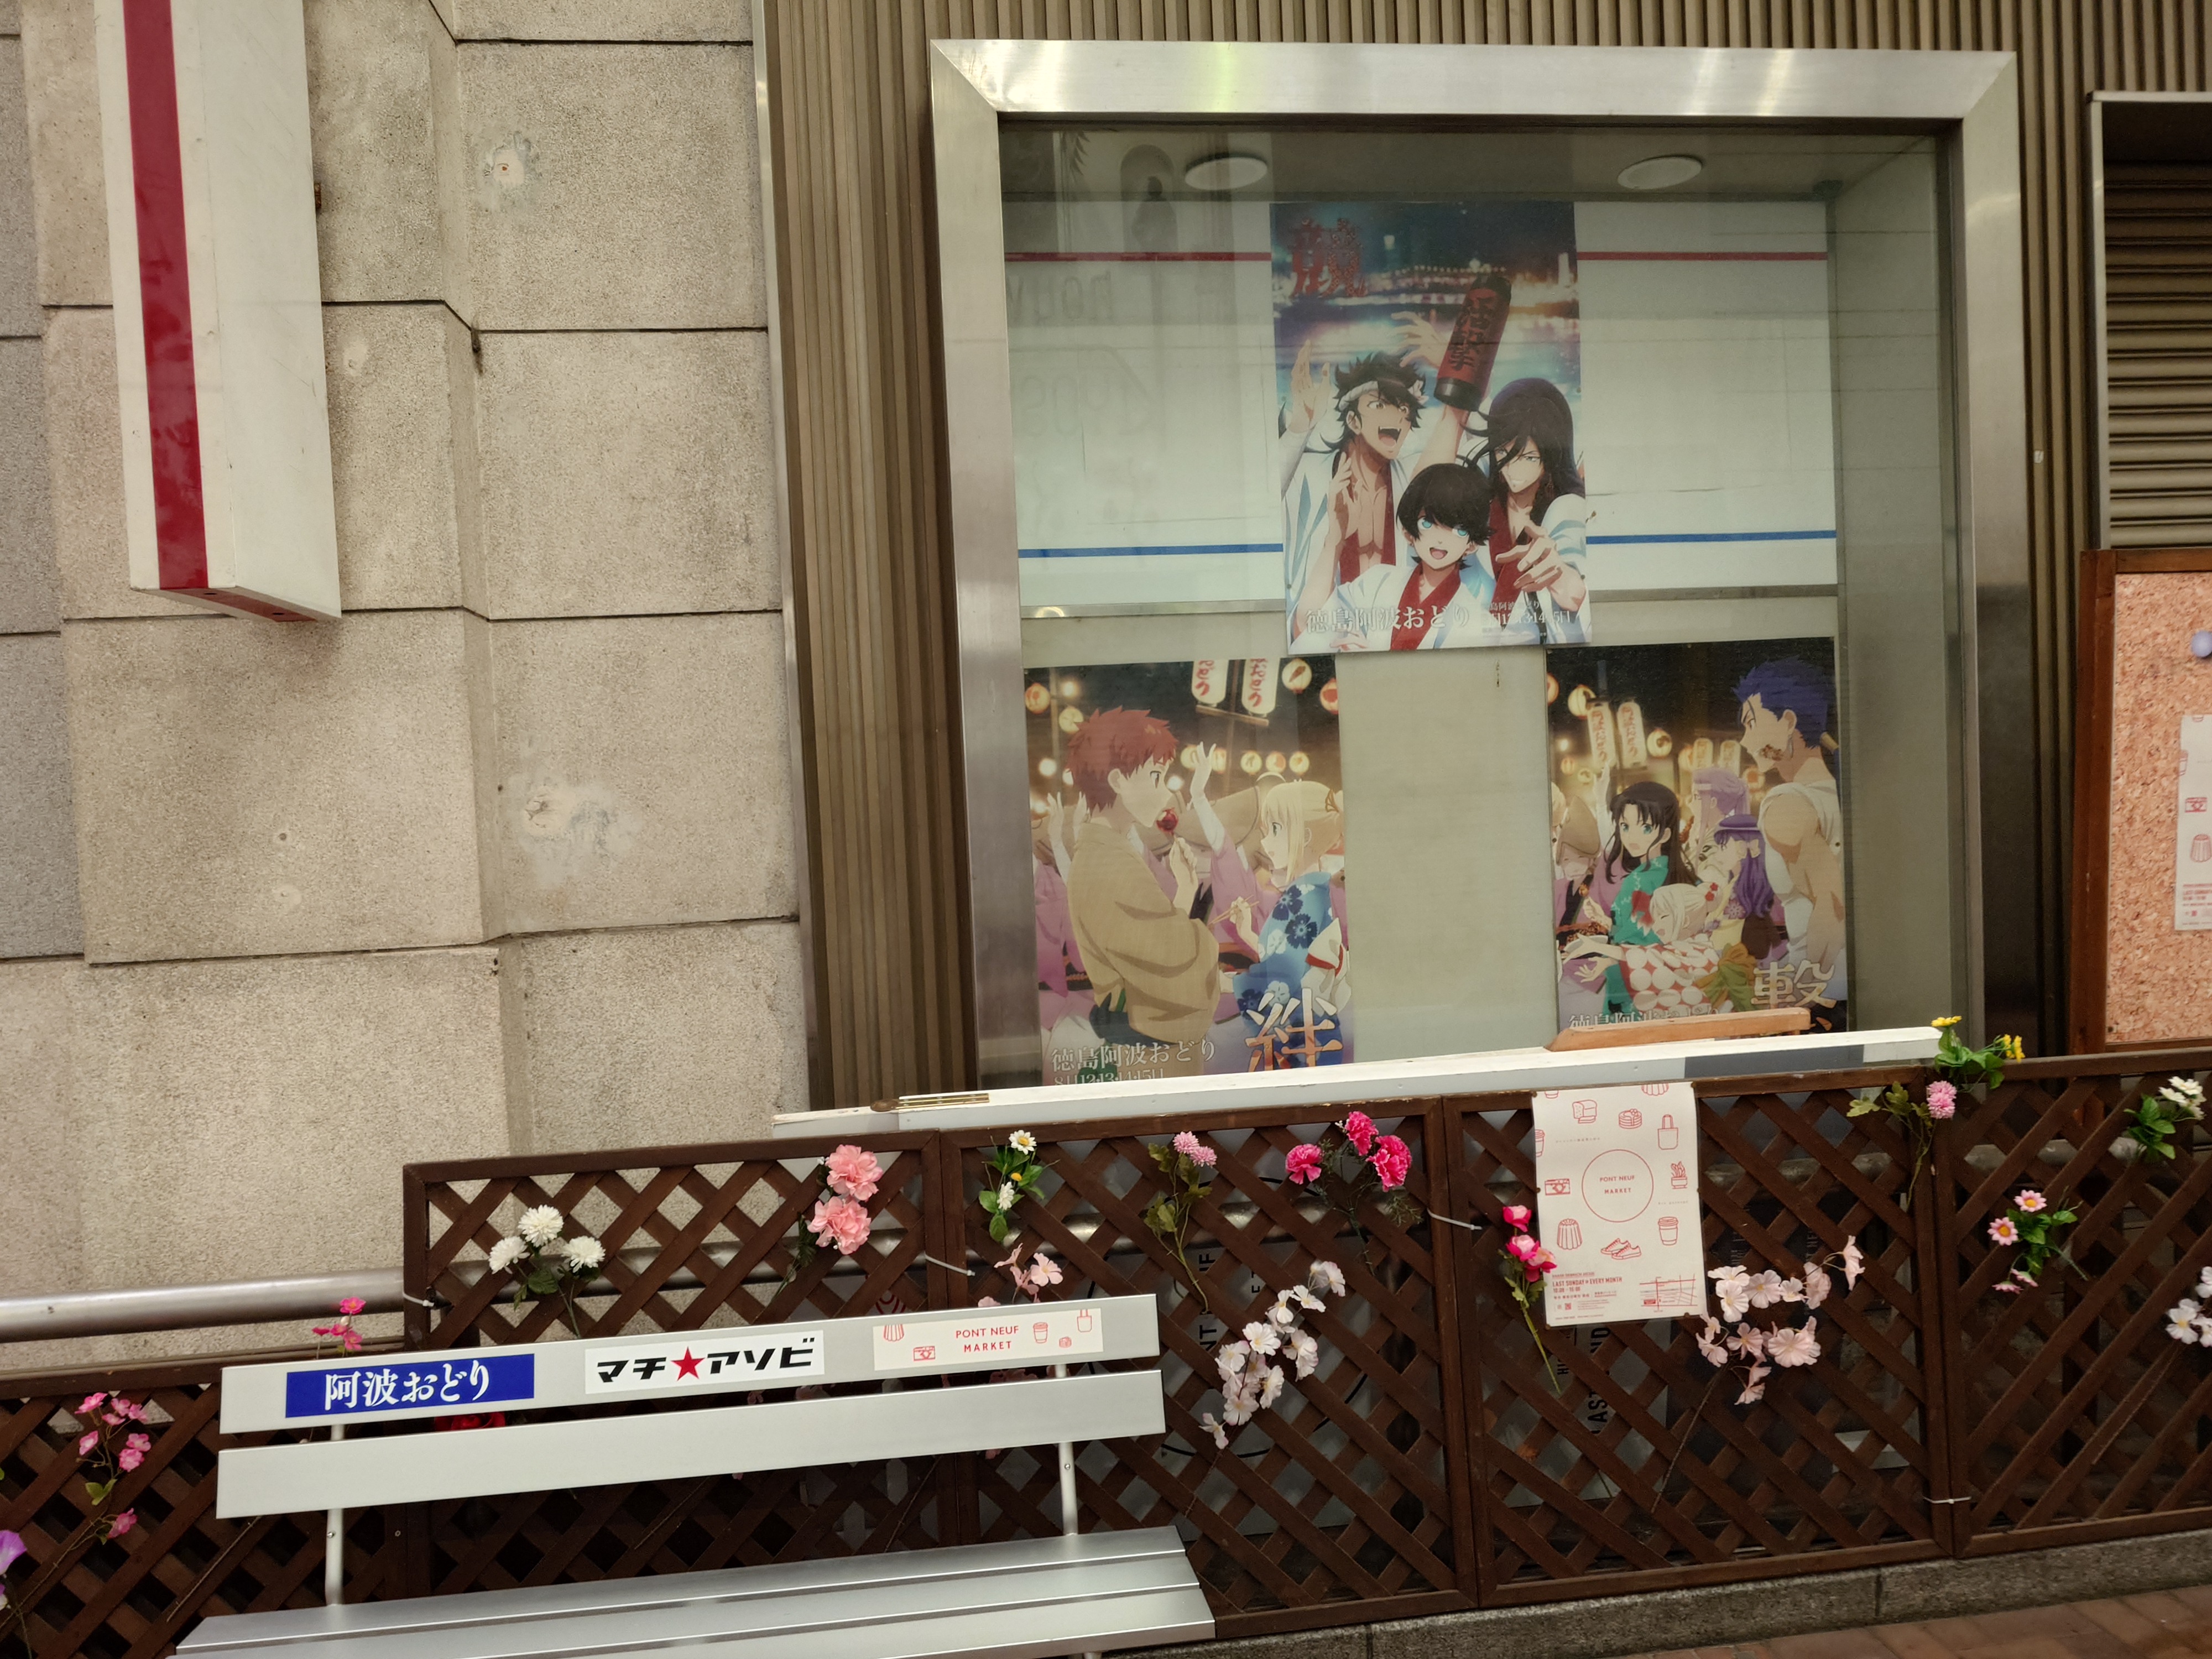
阿波踊りの広告掲示があった。伝統芸能が近代的なデザインで表現されてるのがとてもいい。特に「あほう」というのがいい。踊る阿呆に見る阿呆は阿波踊りに由来するのだろうかと思ったが、Wikipediaによると京都発祥の言葉が阿波踊りに根付いたものらしい。
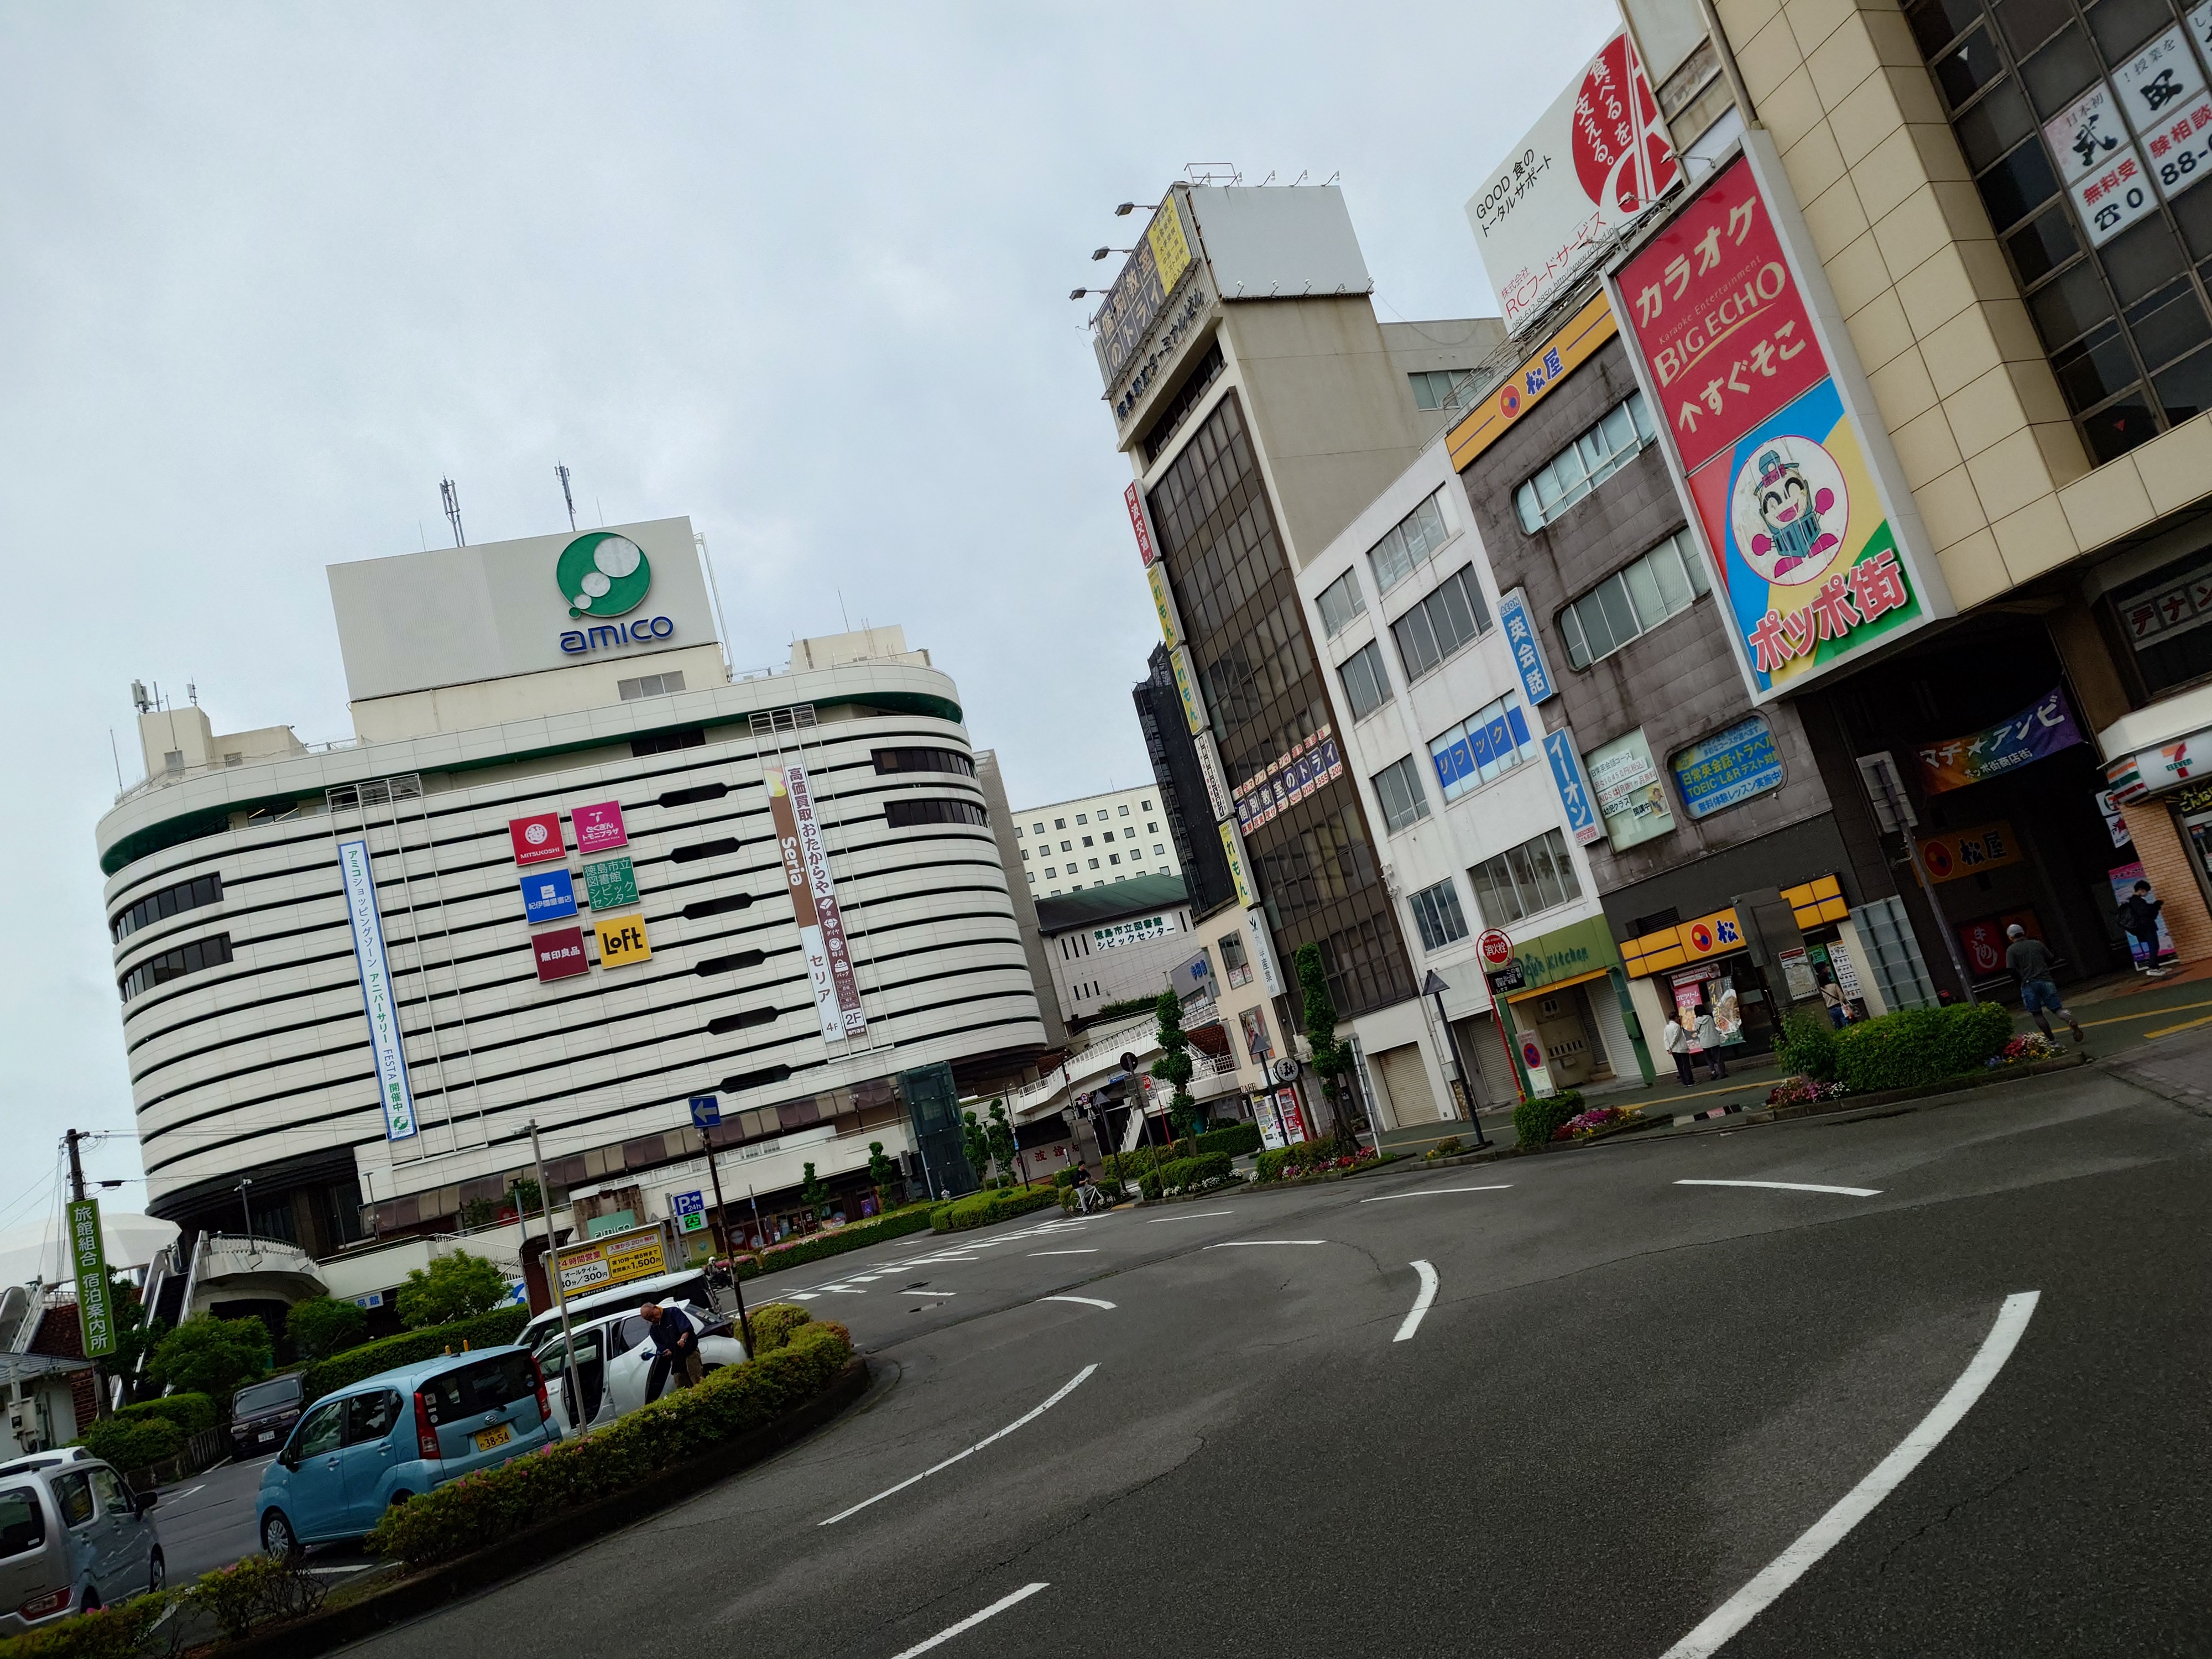
ポッポ街に出てきたので、ついでに中を見ていくことにした。関係ないけどamicoってそごうっぽいなと思ったらそごうの跡地らしい。そごうの建物はどこも似たり寄ったりなので分かりやすい。
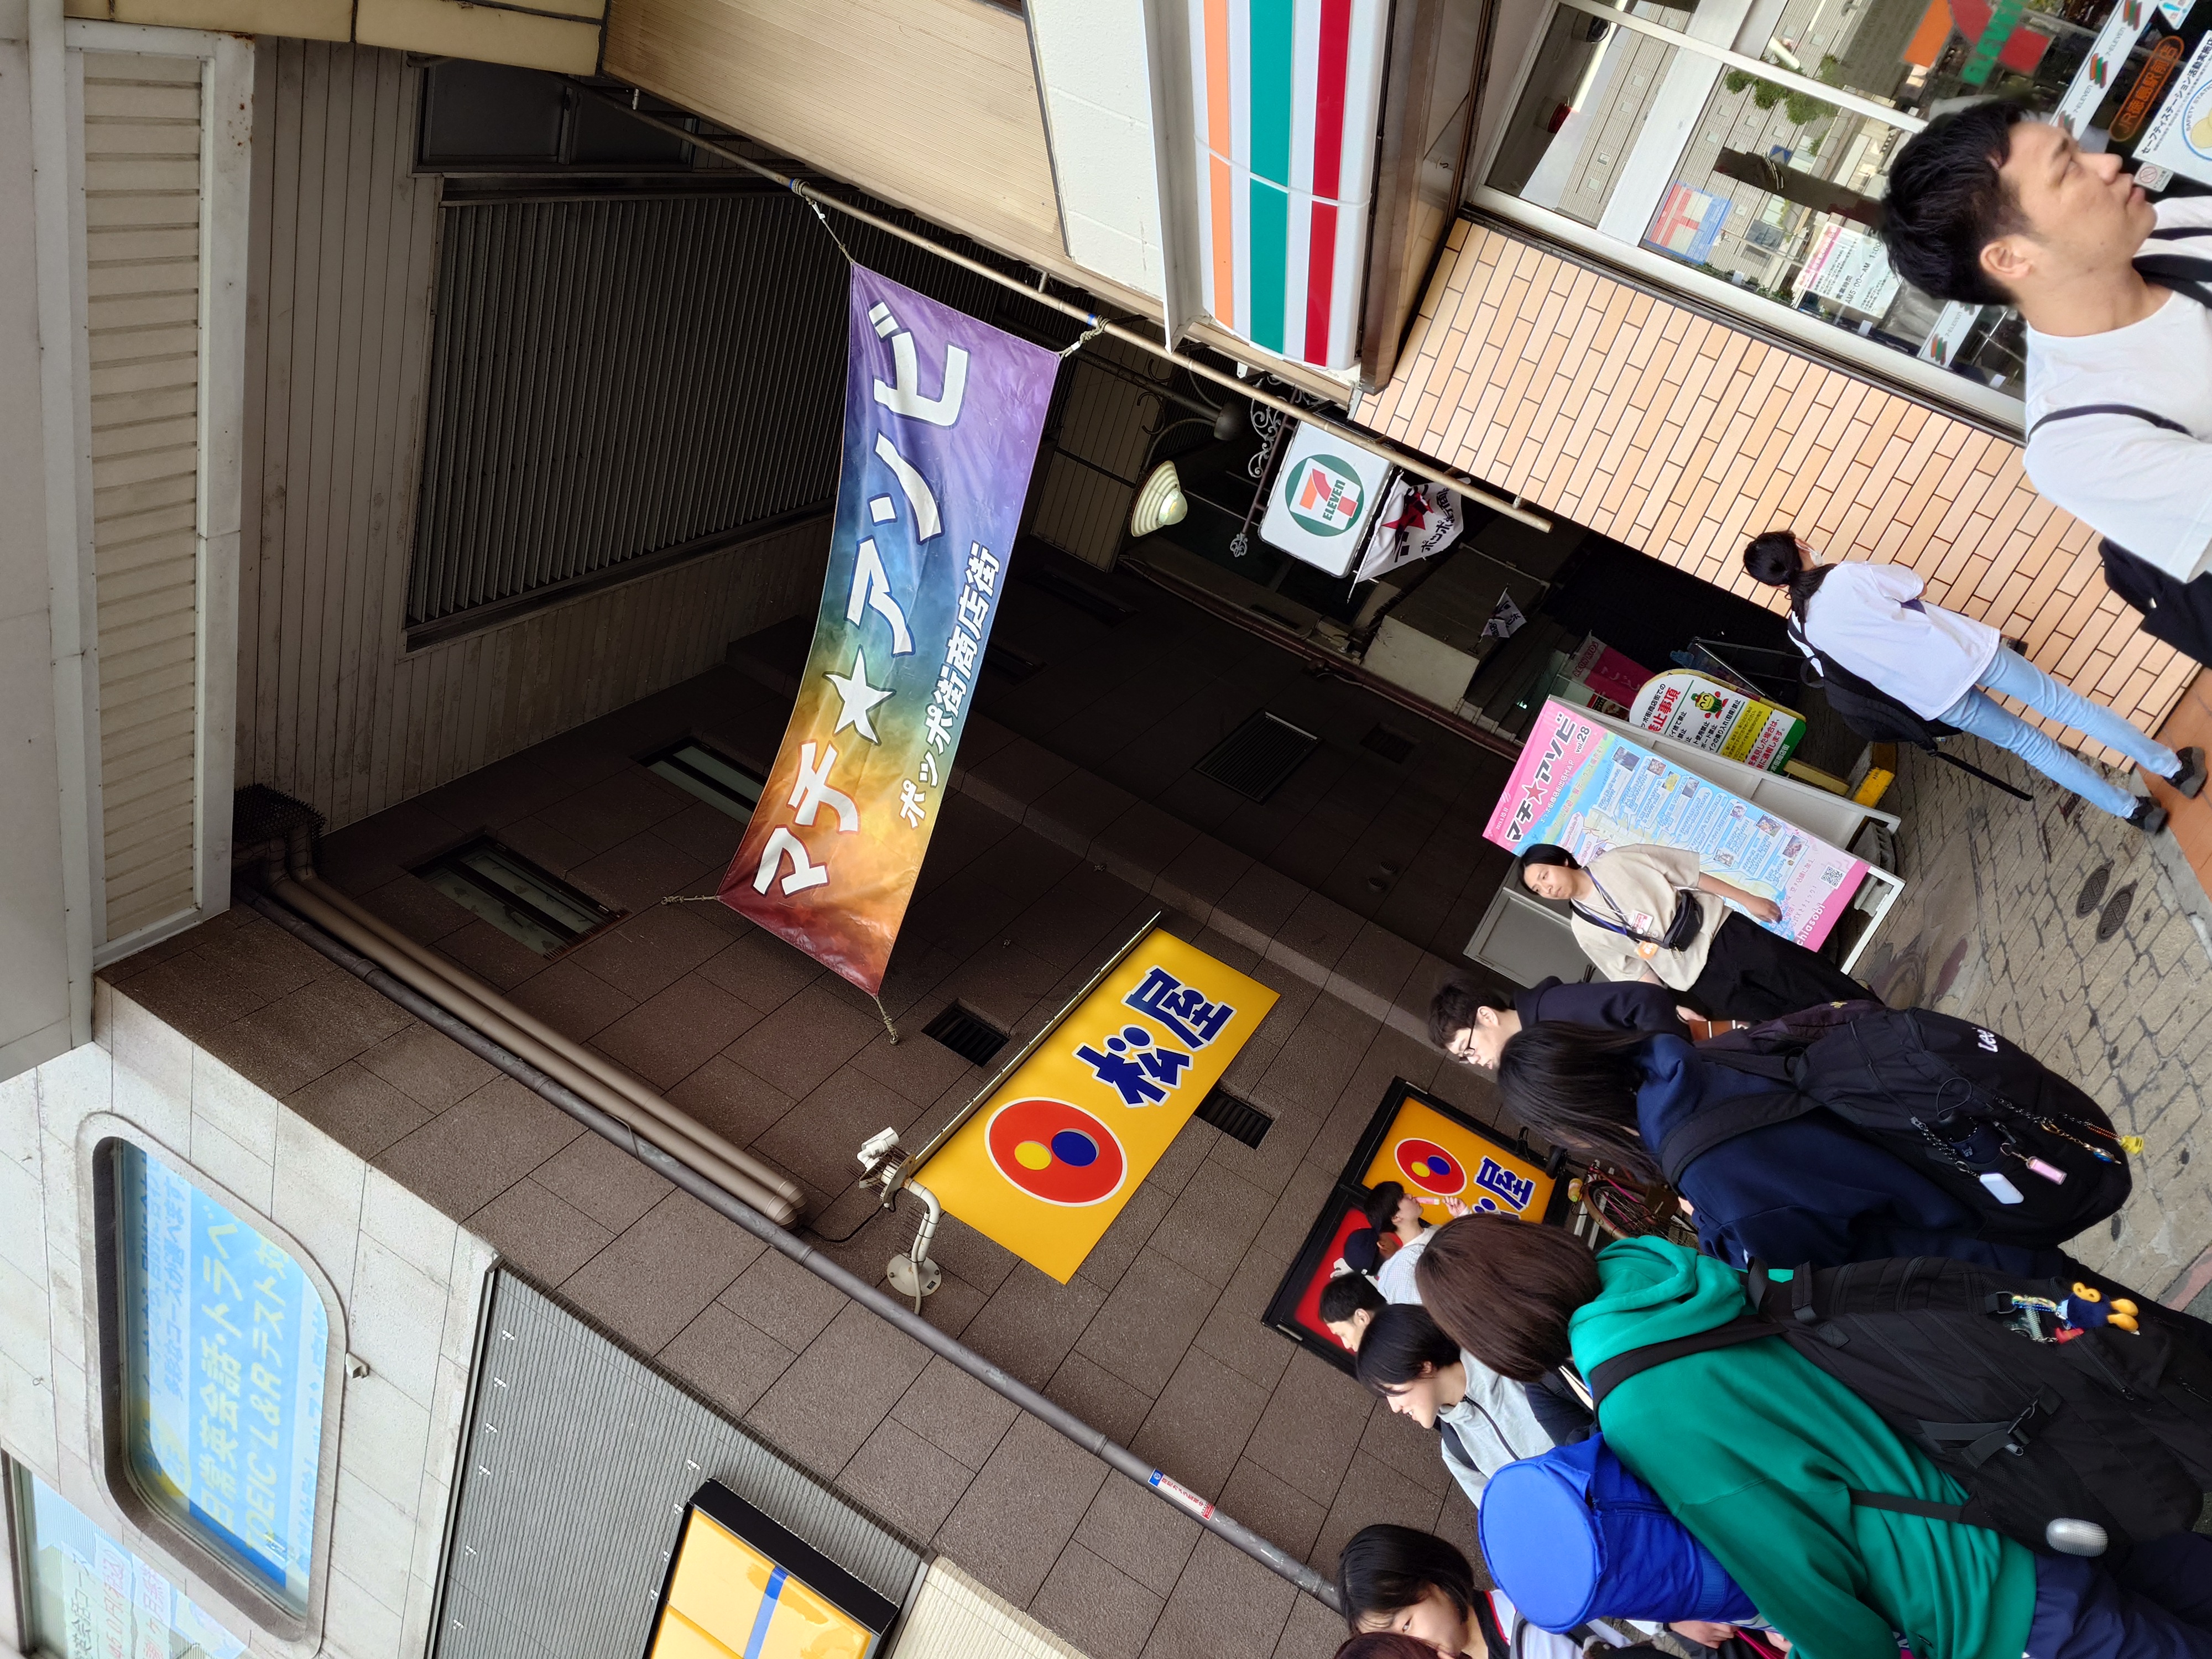
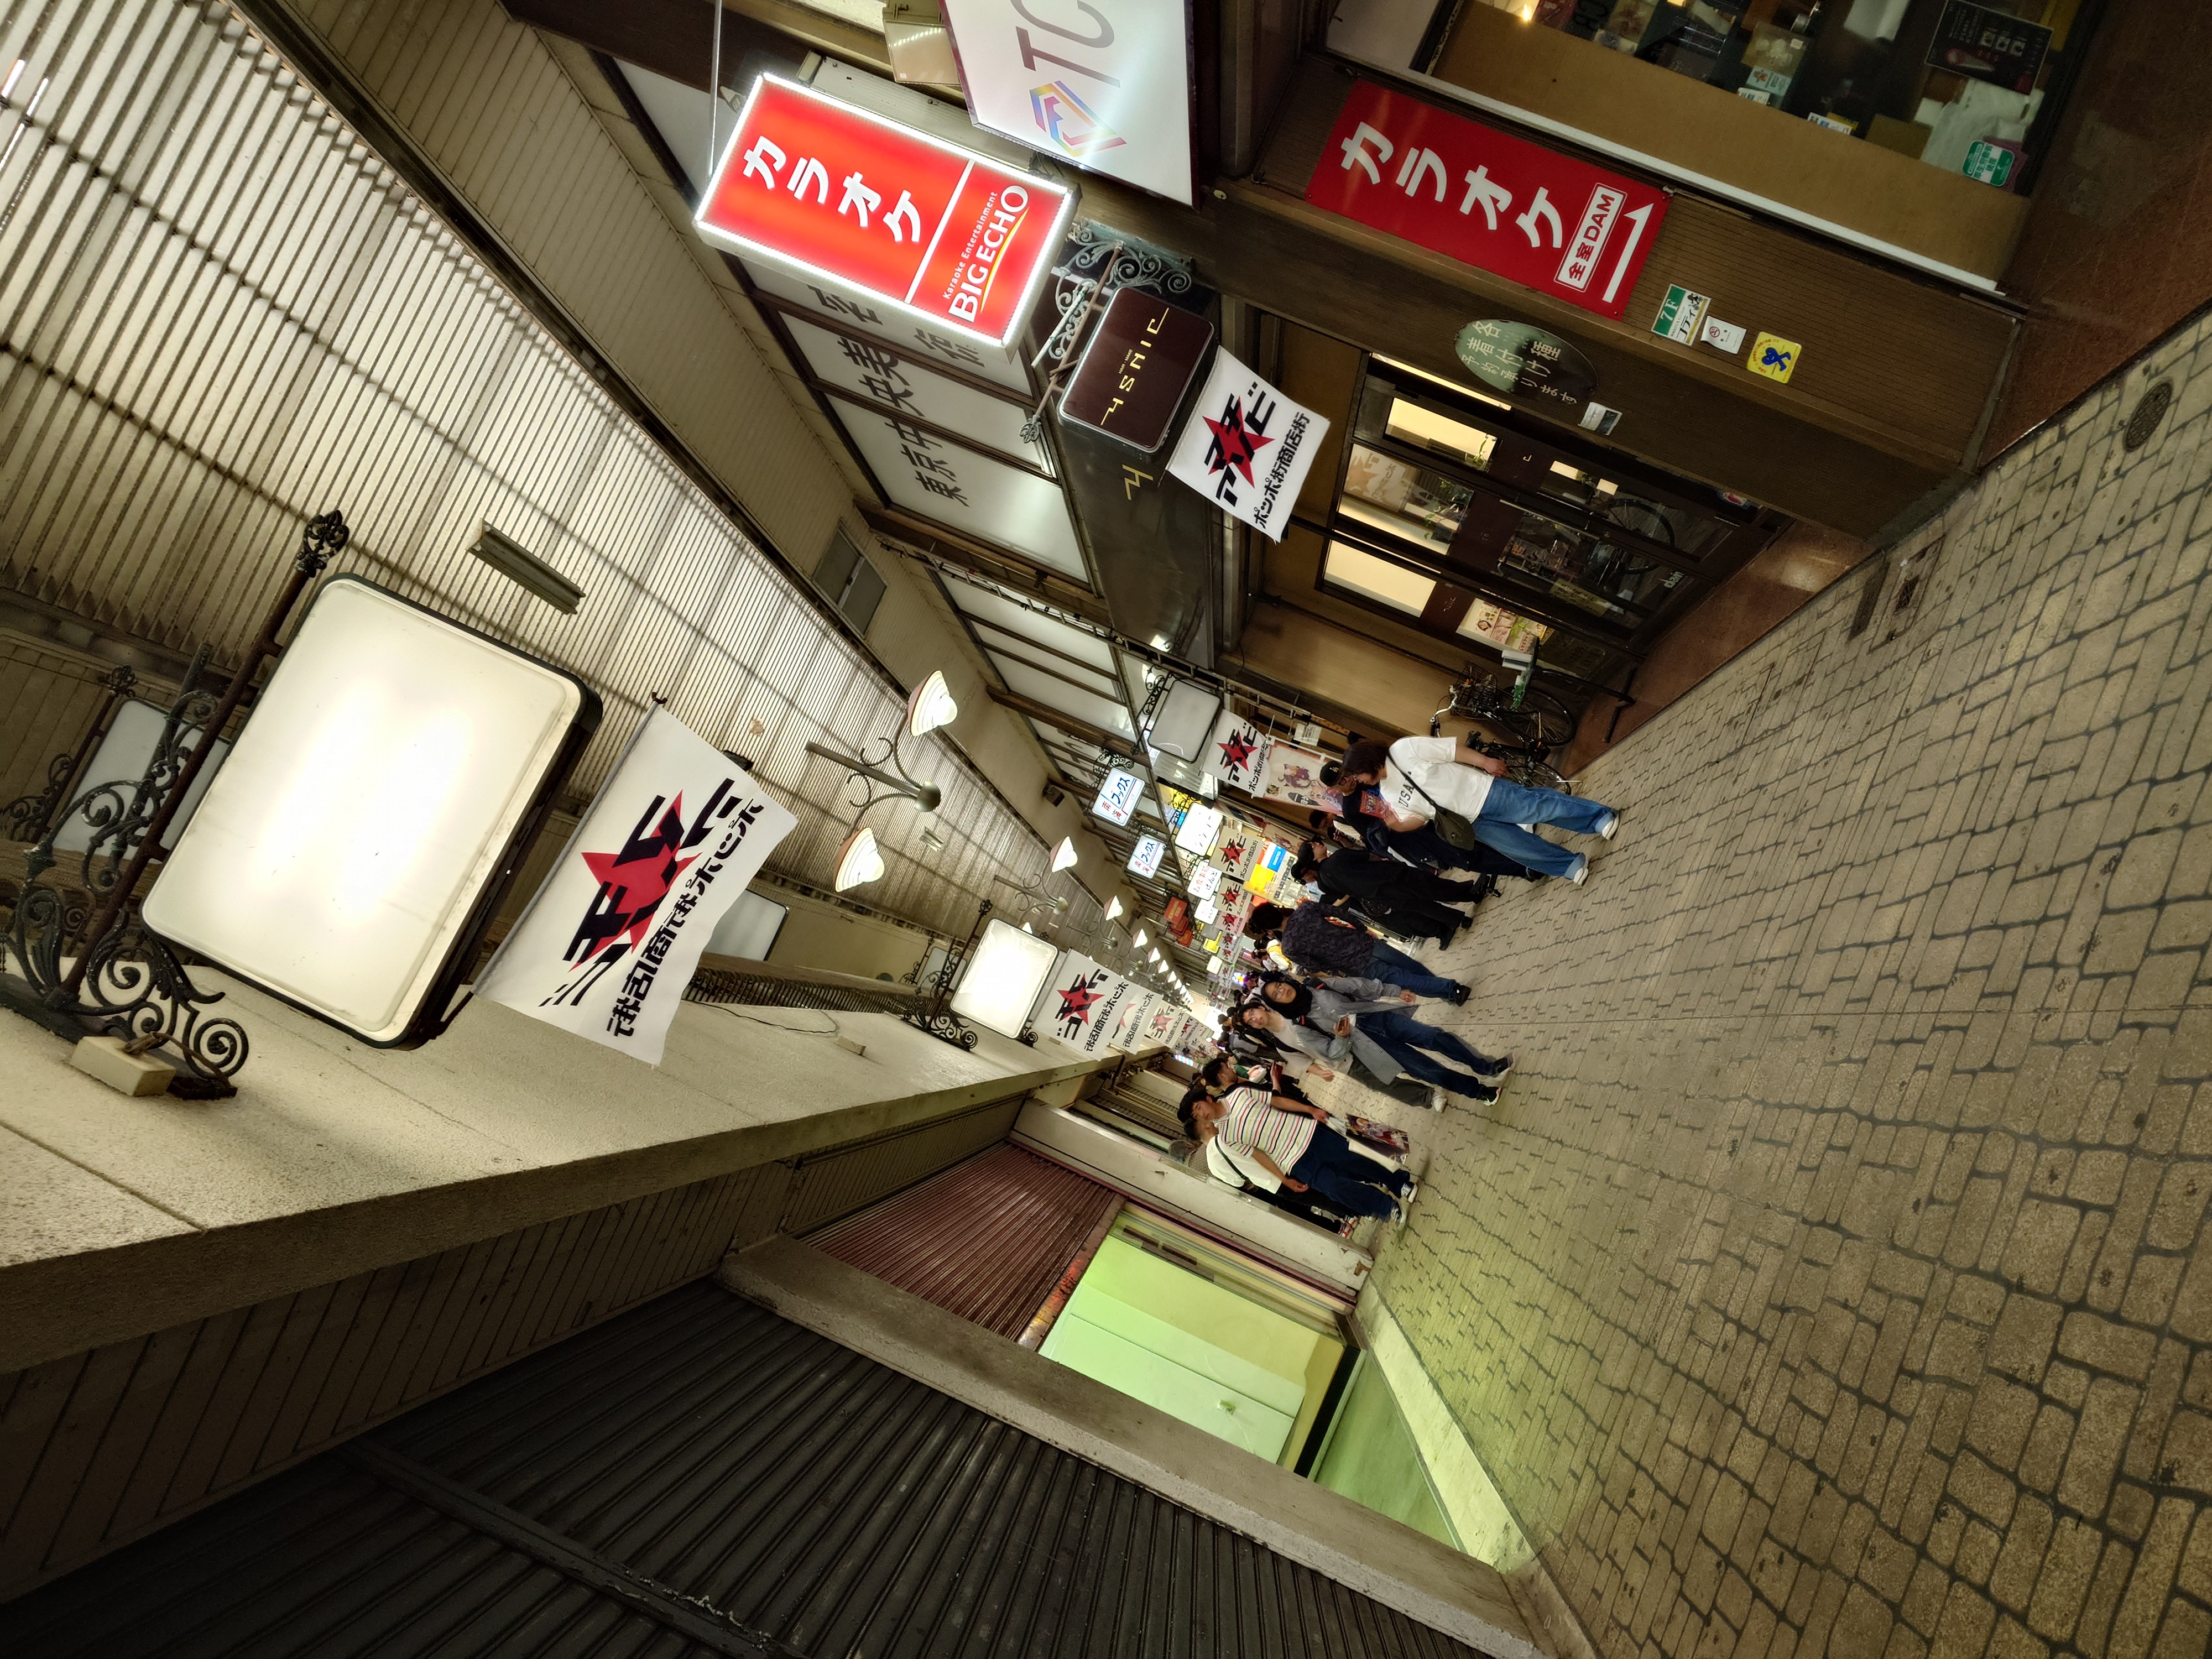
幕開け前のポッポ街へ
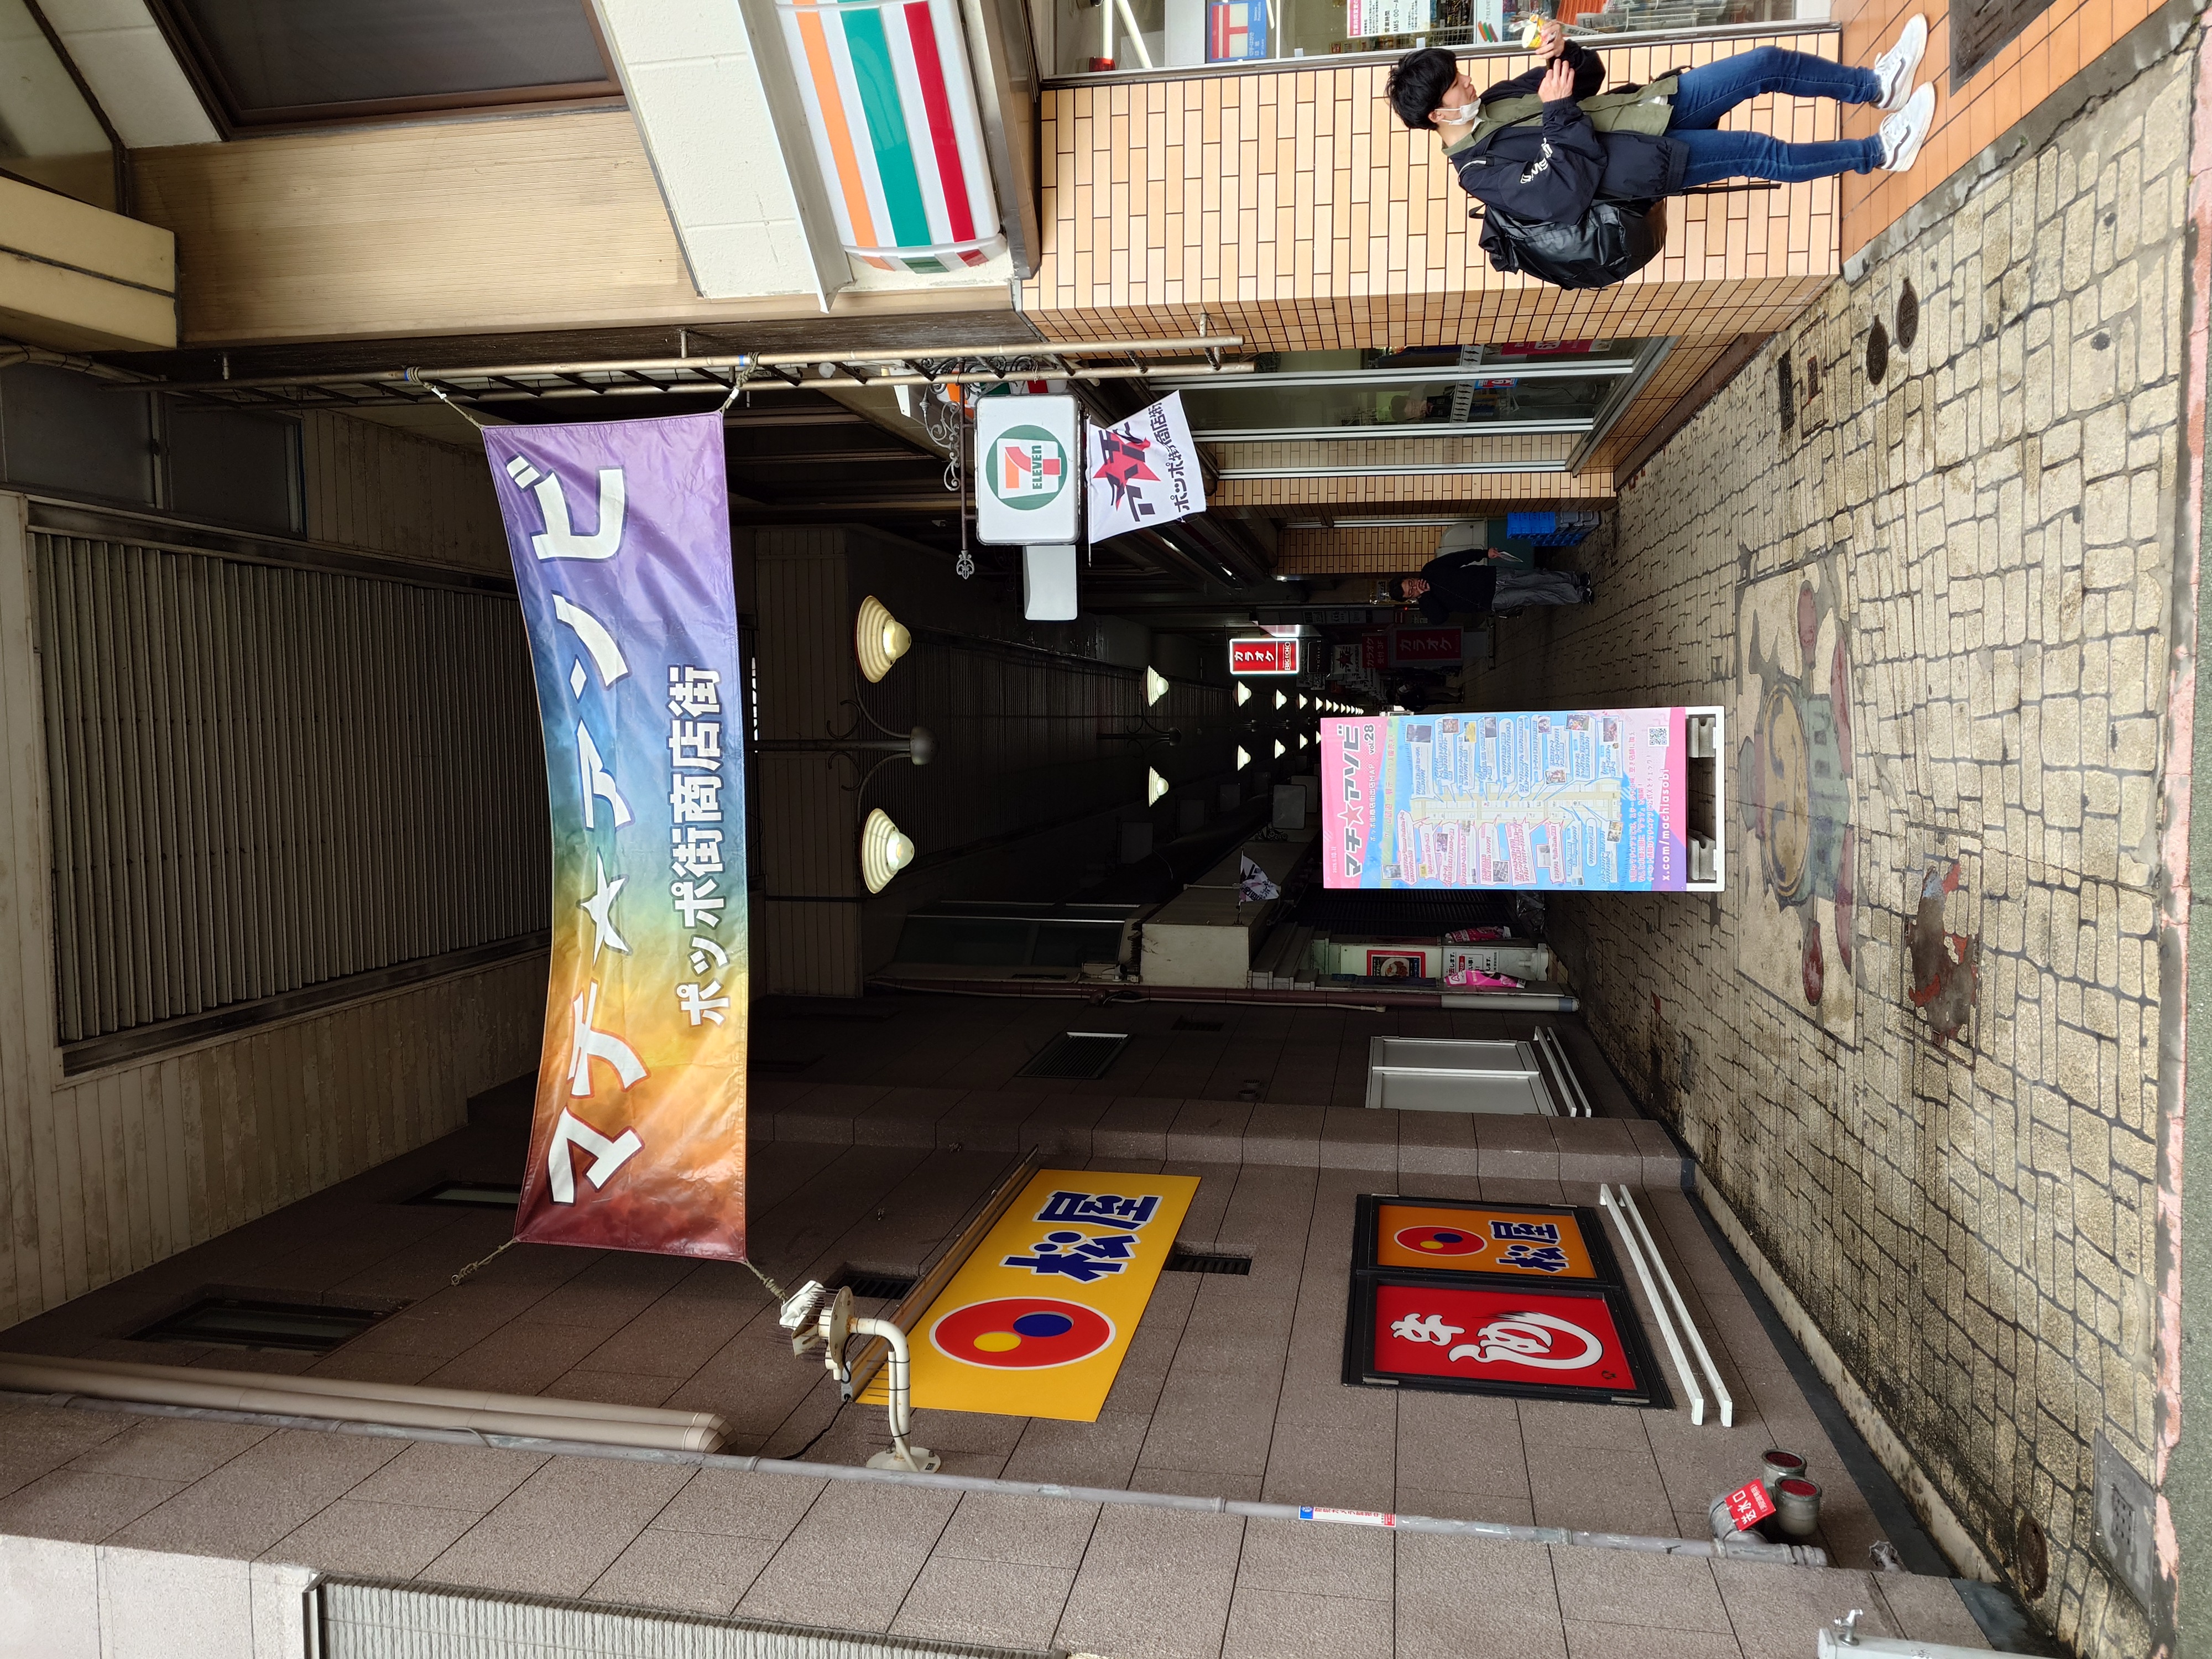
開会式の前とだけあってポッポ街はまだ閑散としていた。
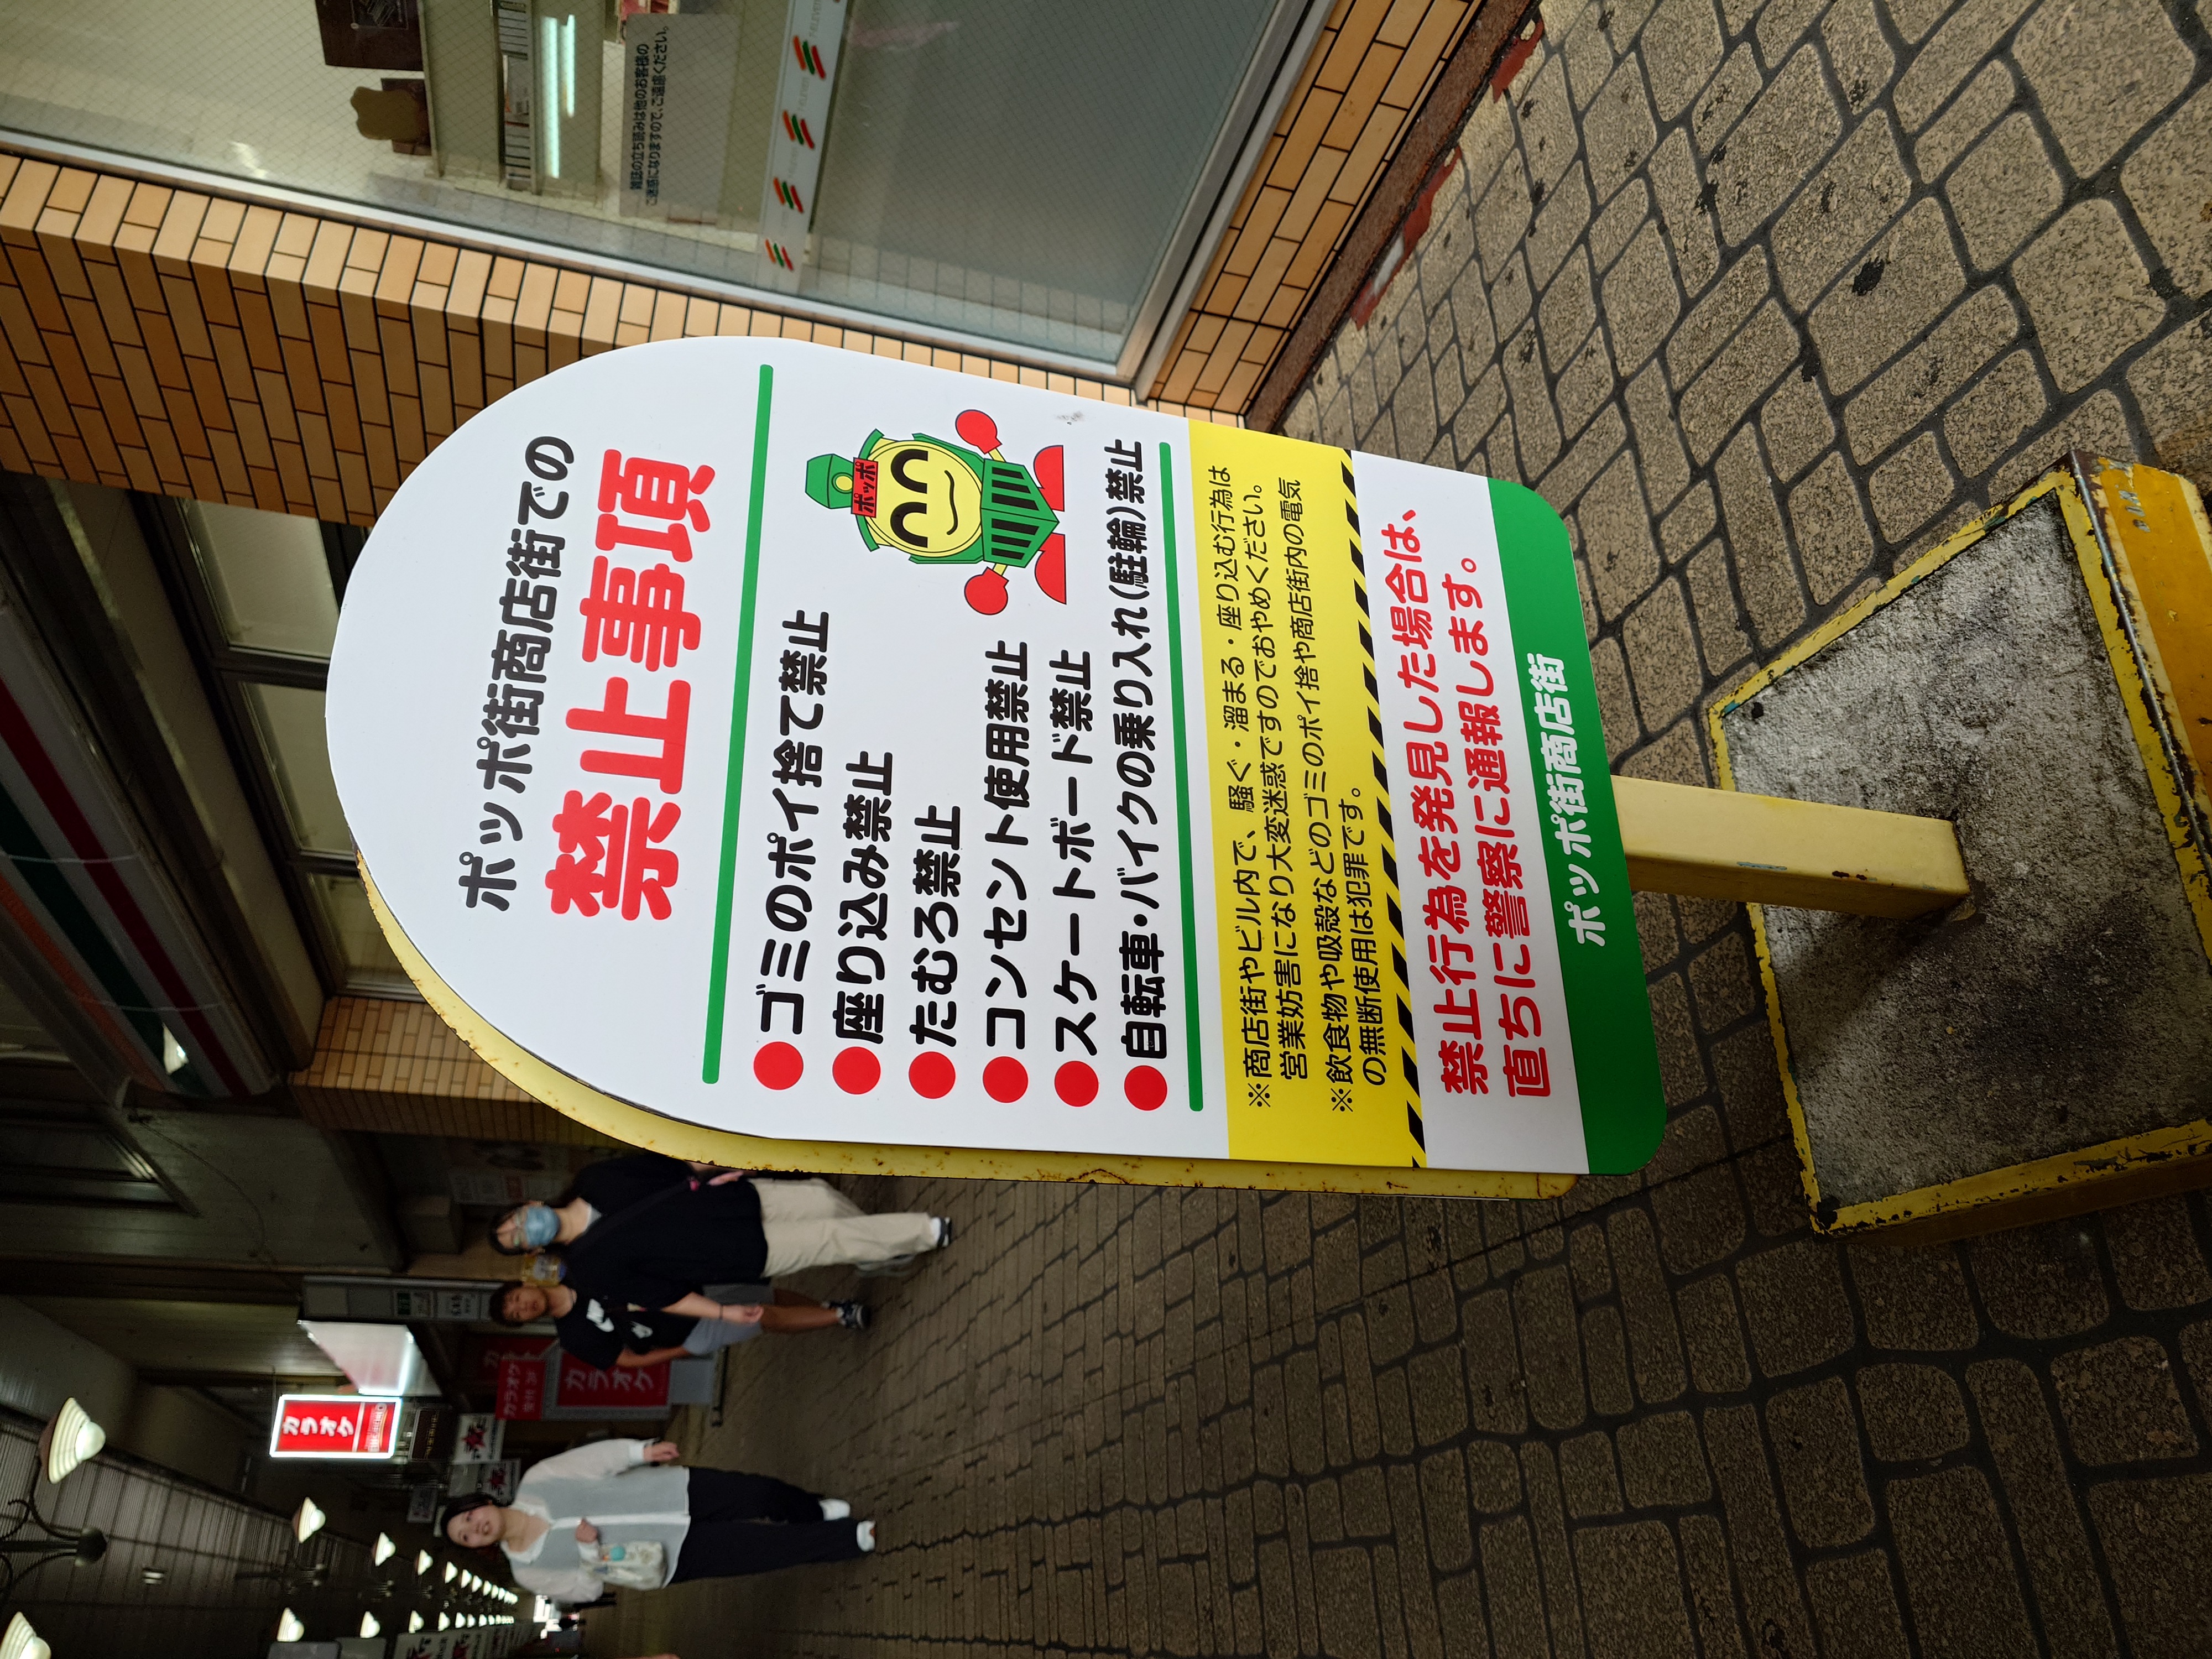
注意案内の看板は比較的新しいなと思い、マチアソビのために整理しているのだろうかと思った。
ところでポッポ街というのは駅前にあって、元々SLが走っていた名残なのだろうか?
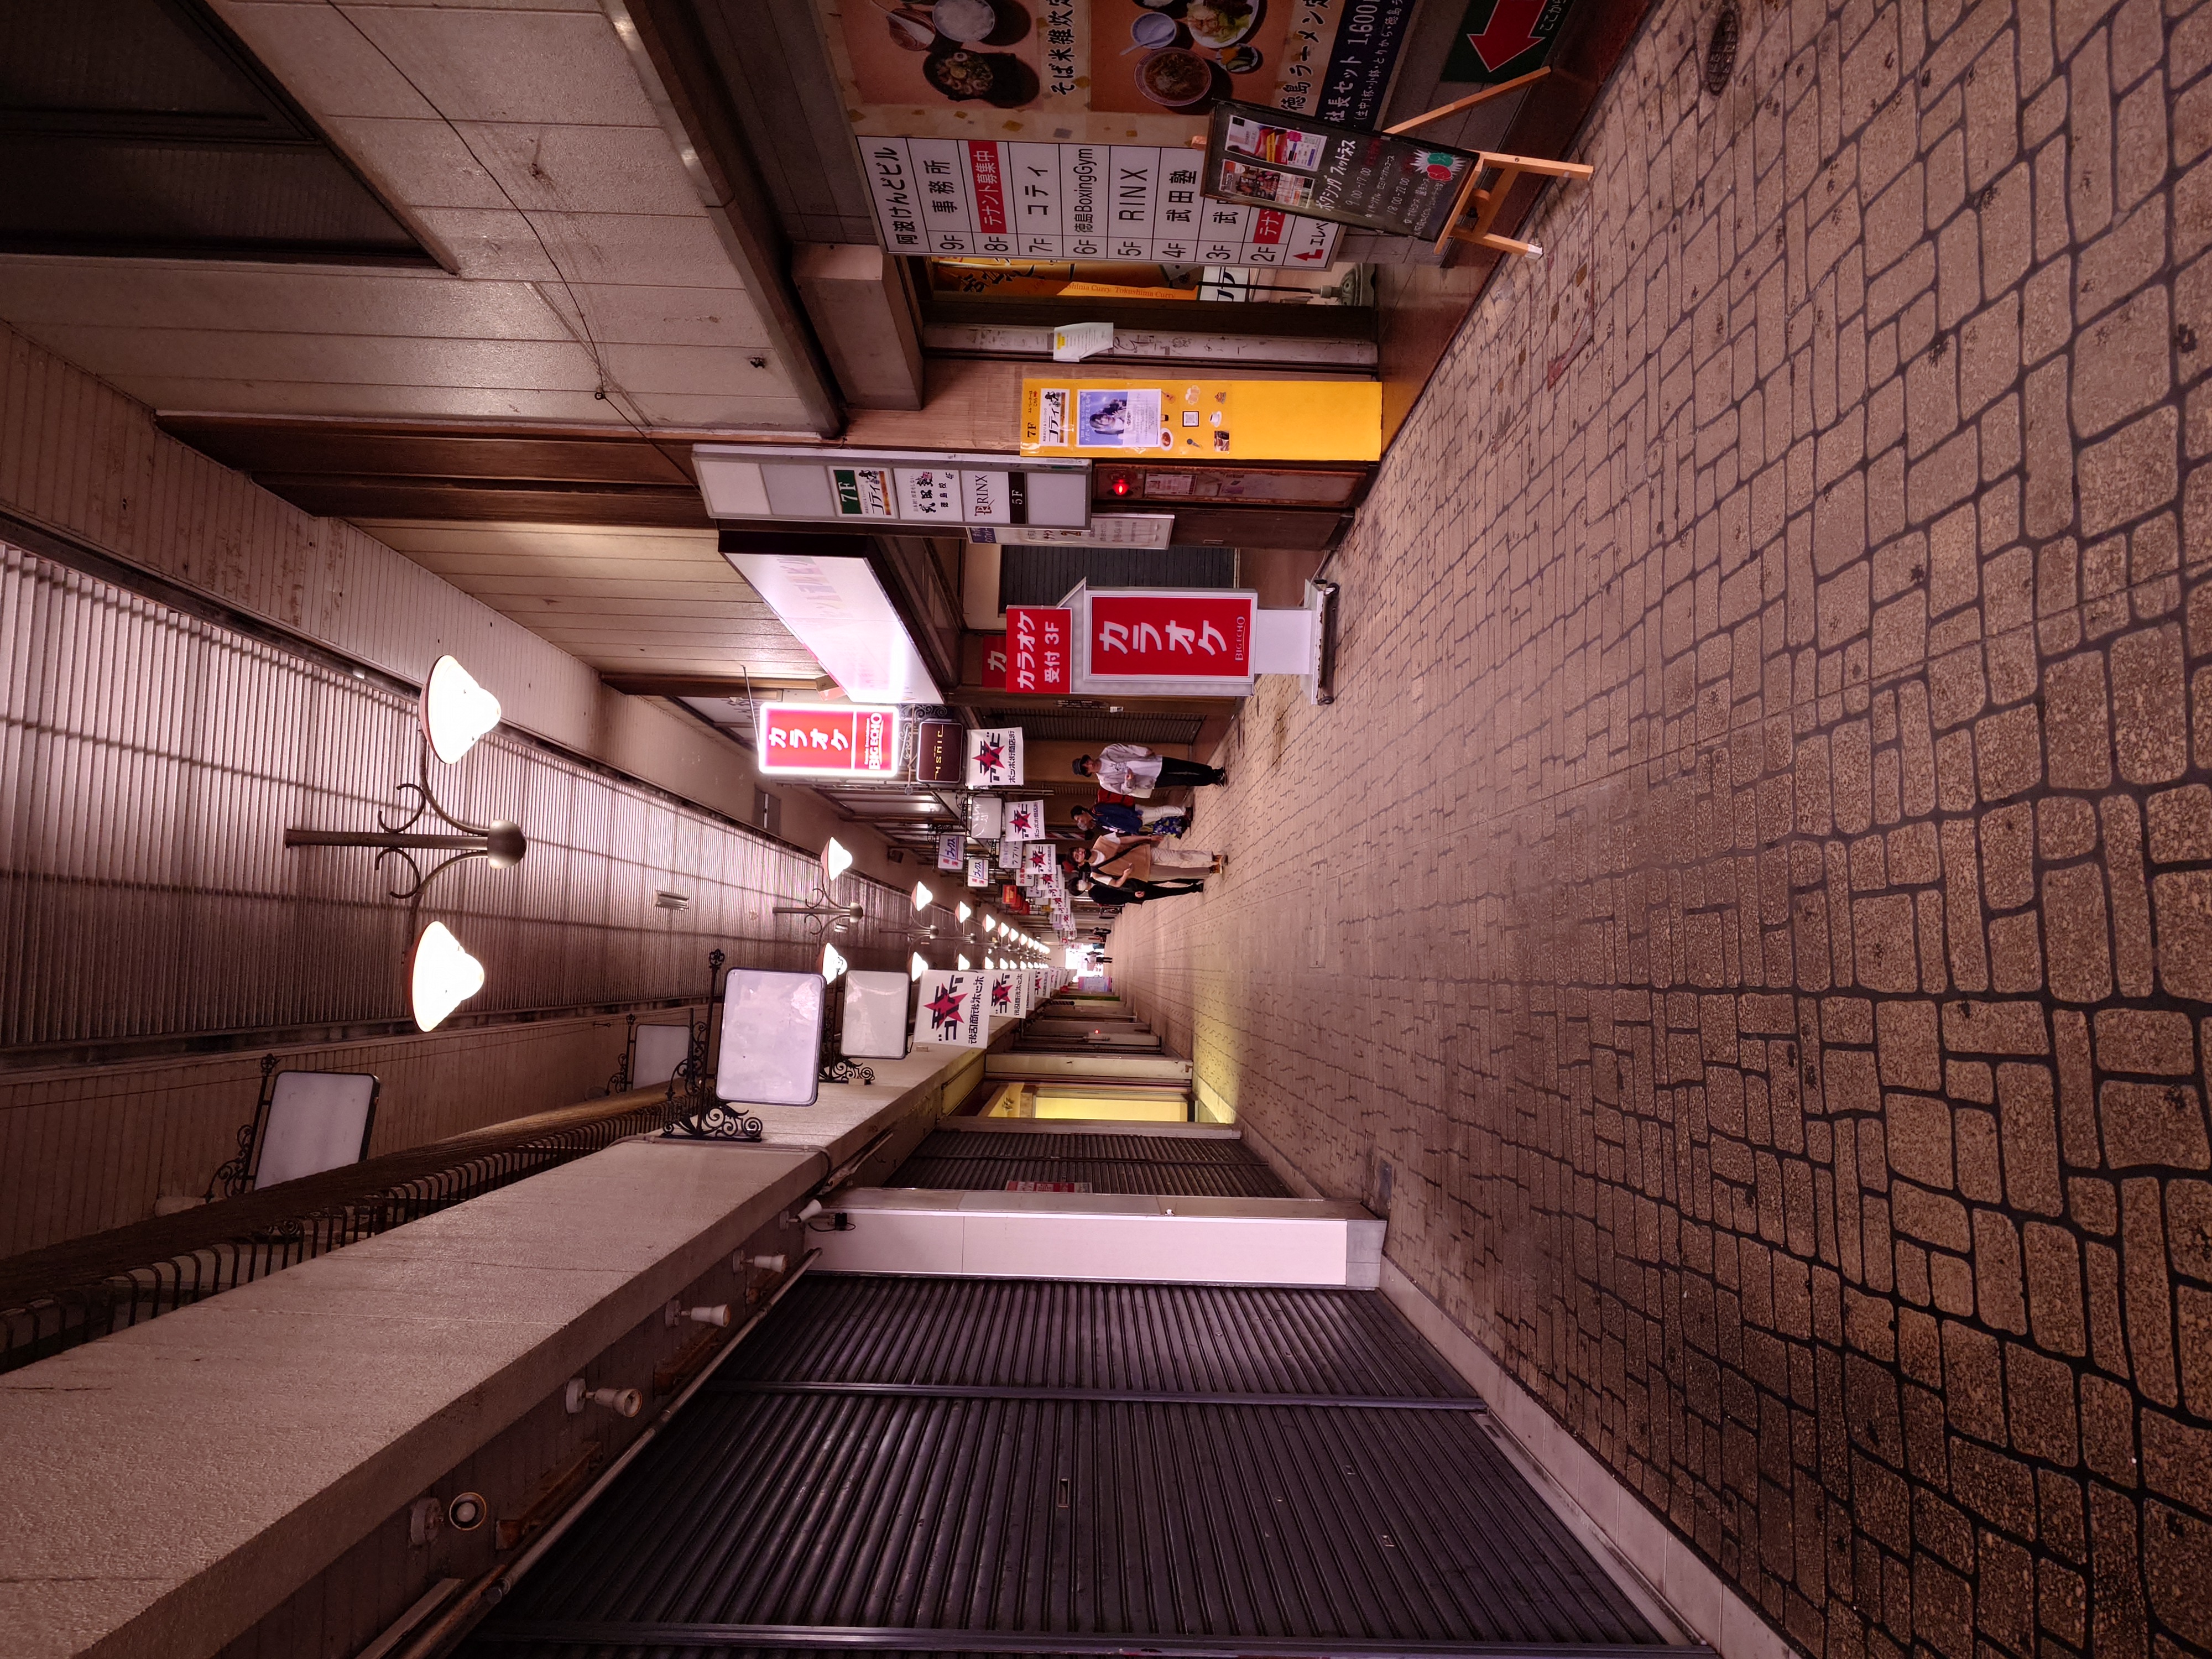
マチアソビの吊るしが目立つが、全体的にシャッターが閉まっており何も見えない。
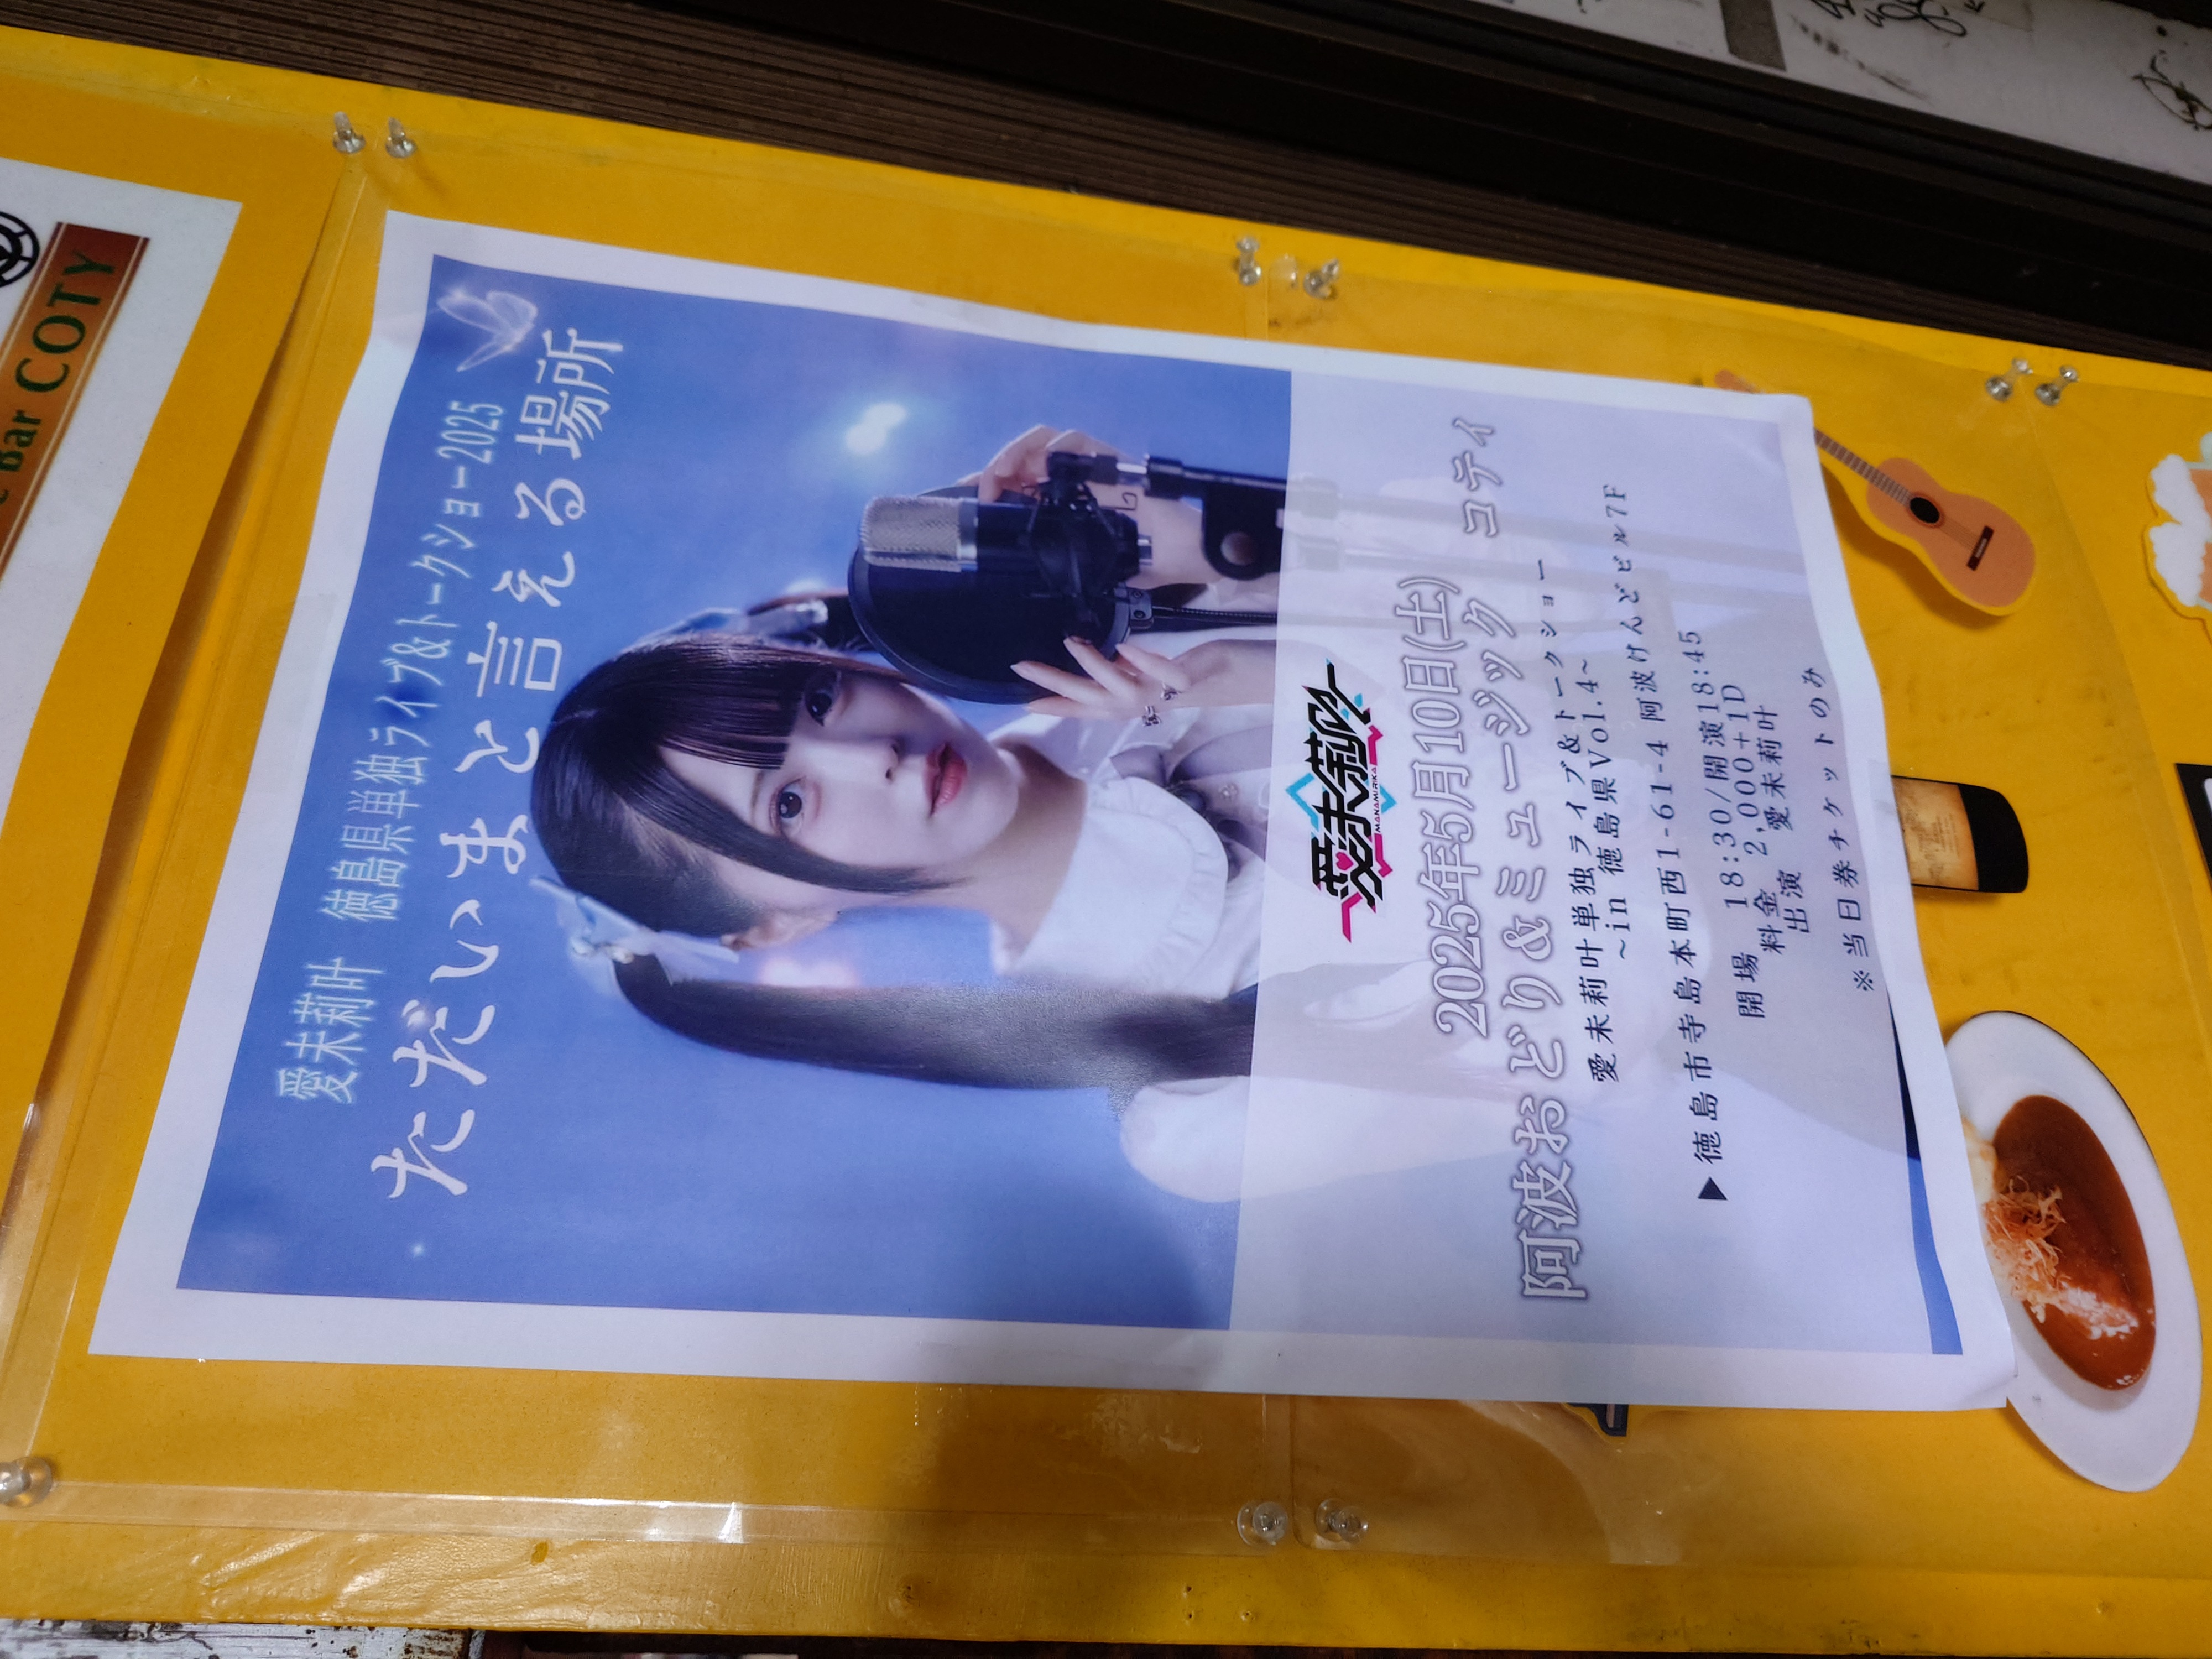
中を歩いていると愛未莉叶なるアーティストのライブのビラが貼ってあった。マチアソビのイベントリストにはなかったので、恐らくまだあんまり売れていない人が便乗してやってる系の奴だろう。
このフライヤーの立派さだけは凄いところには敬意を示したい。
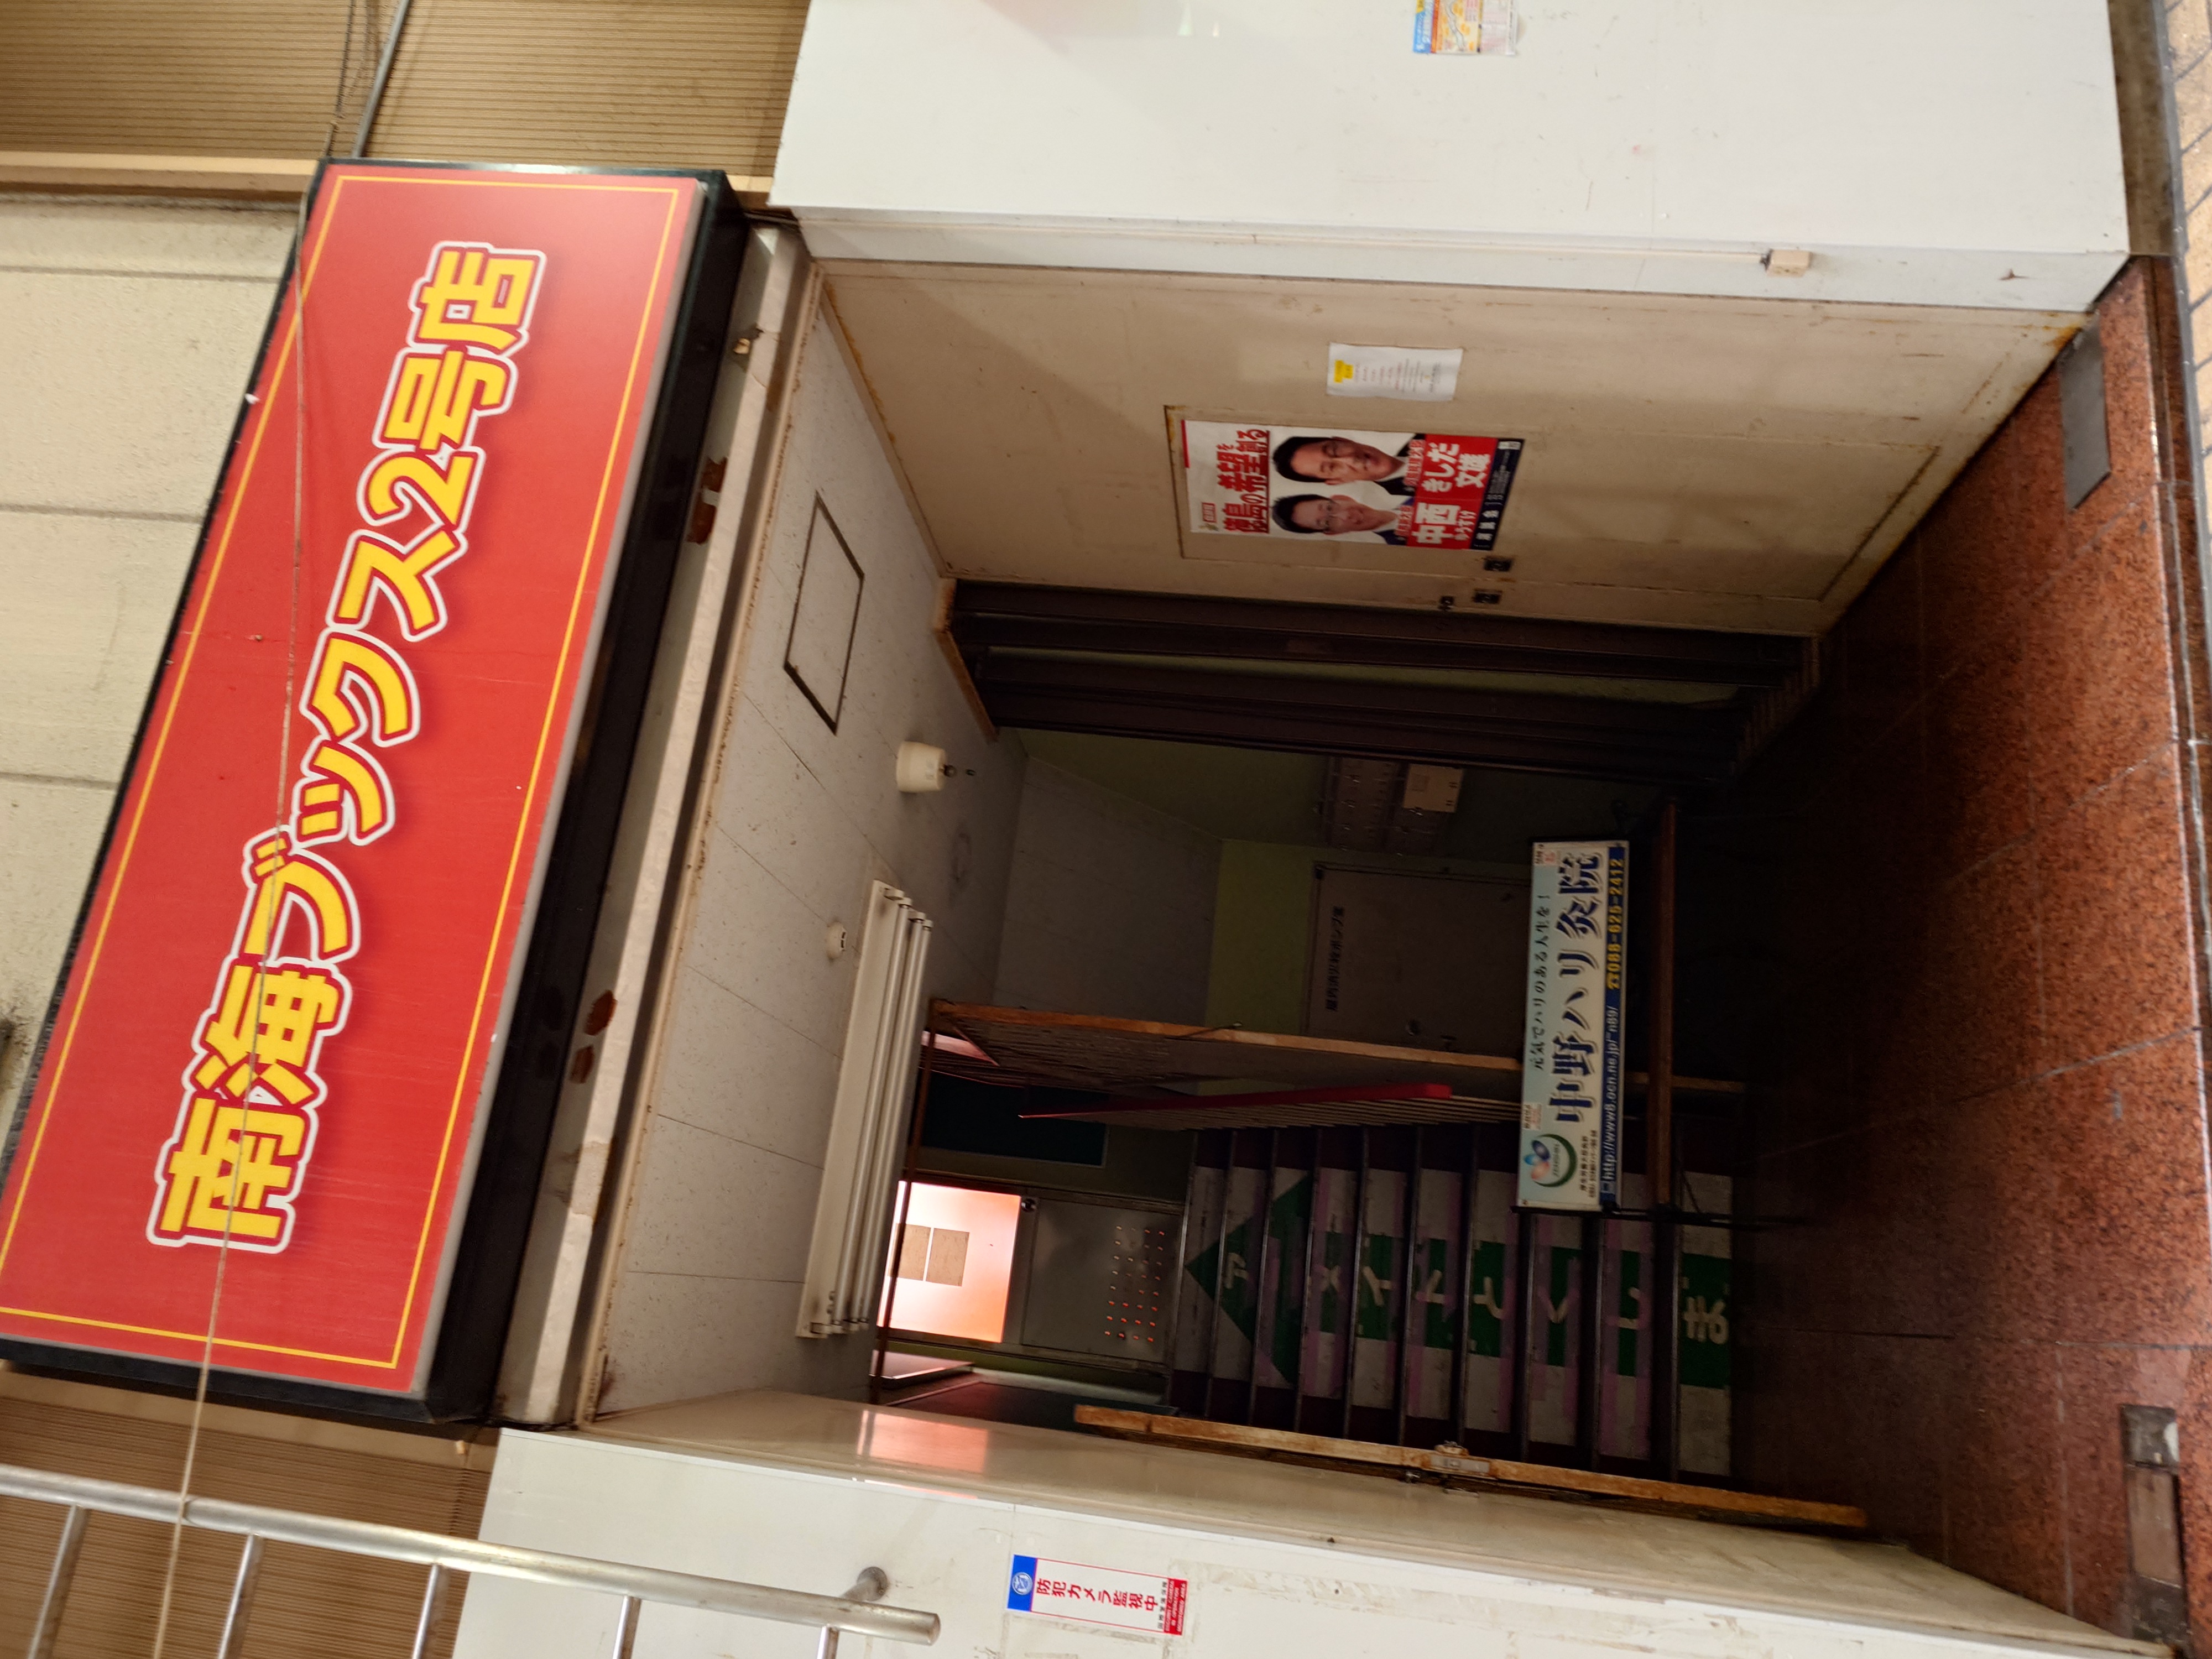
いかがわしい本屋も見つかったが、どう見ても店がなく潰れているようだった。実際潰れている。調べた限り、かつては徳島のアニメイトとも呼べるオタクの聖地だったようだ。時期的にコロナ禍で閉店した感じだろう。

ほとんど空きテナントのようだが、営業している場所もぽつぽつ見られた。徳島のような場所では駅前は廃れるので仕方ないが、それでも残っている店が一定数あるのはいいことだ。
またカードを抜き差しすることで店の入れ替えに対応しているのは設計的にいいなと思った。上からシール貼って上書きしているようなところもよく見る。上からシールを貼っていると、そこだけあからさまに違和感があるのでイマイチだが、この方式だと違和感がないのでいい。
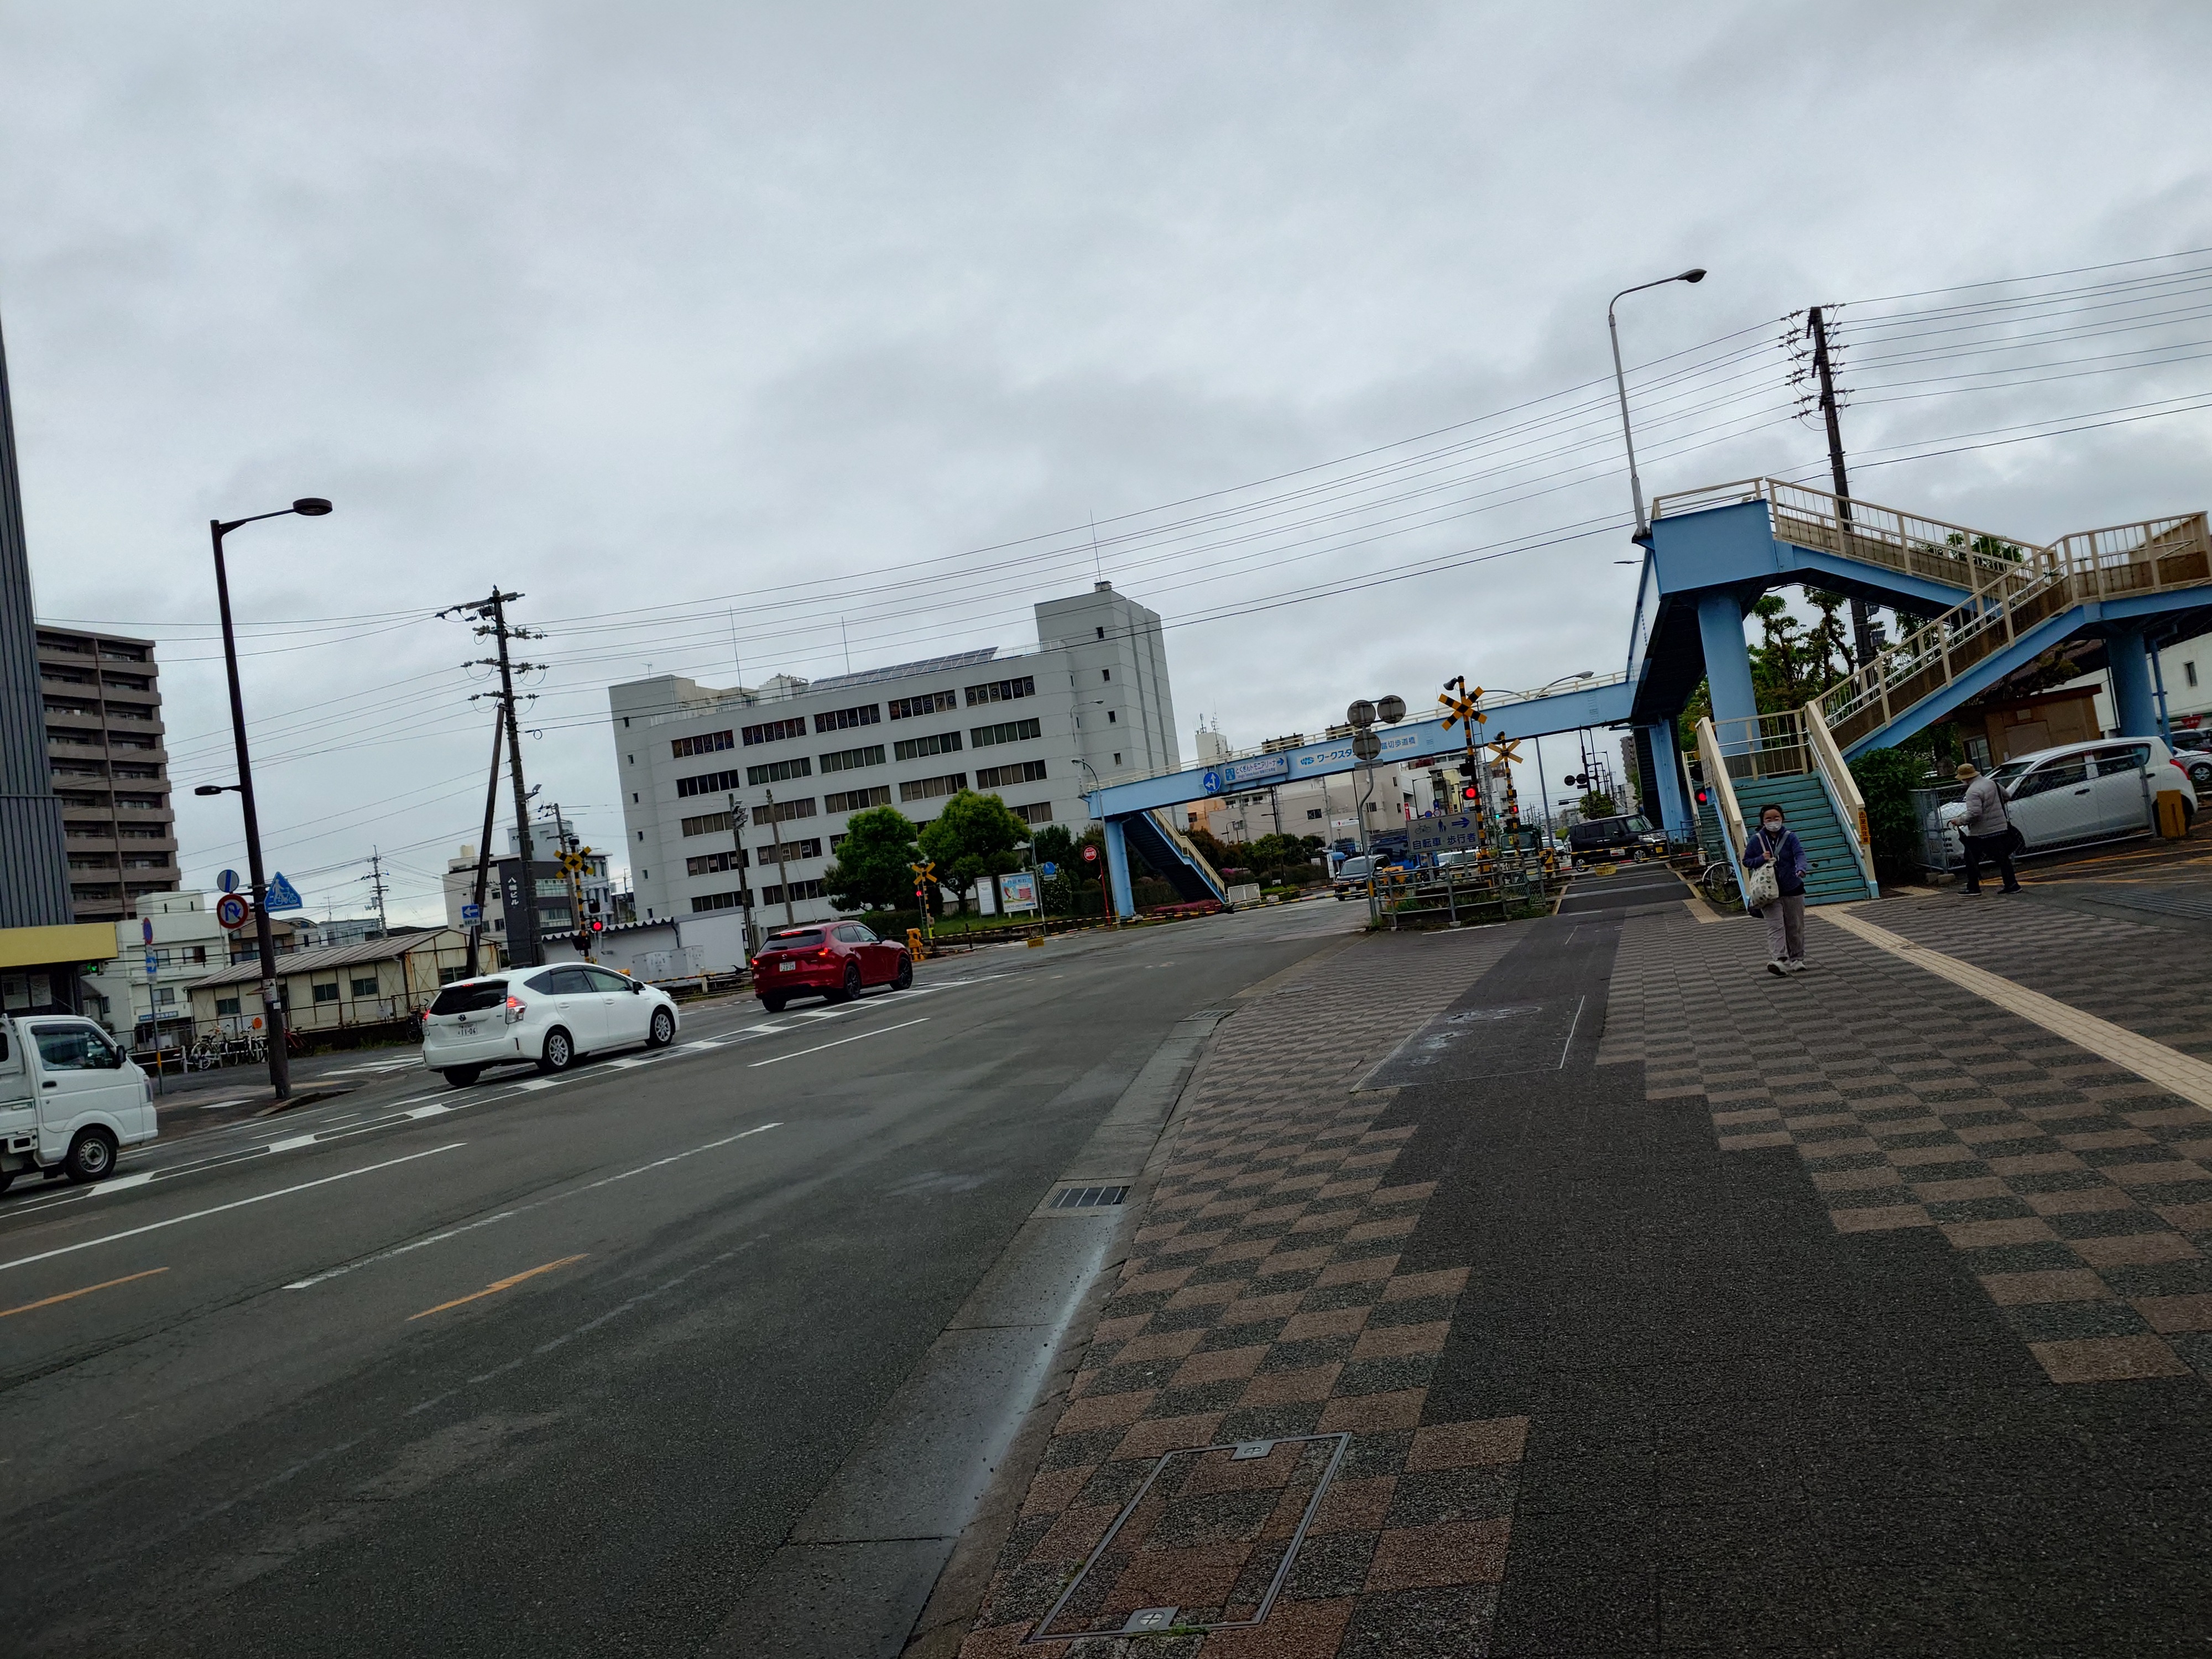
ポッポ街を抜けると踏切に出た。歩道橋で踏切をバイパスできる作りなのはよく考えられている。ただ、ここまでしても踏切の無理な横断は出るのだろうなとか思った。
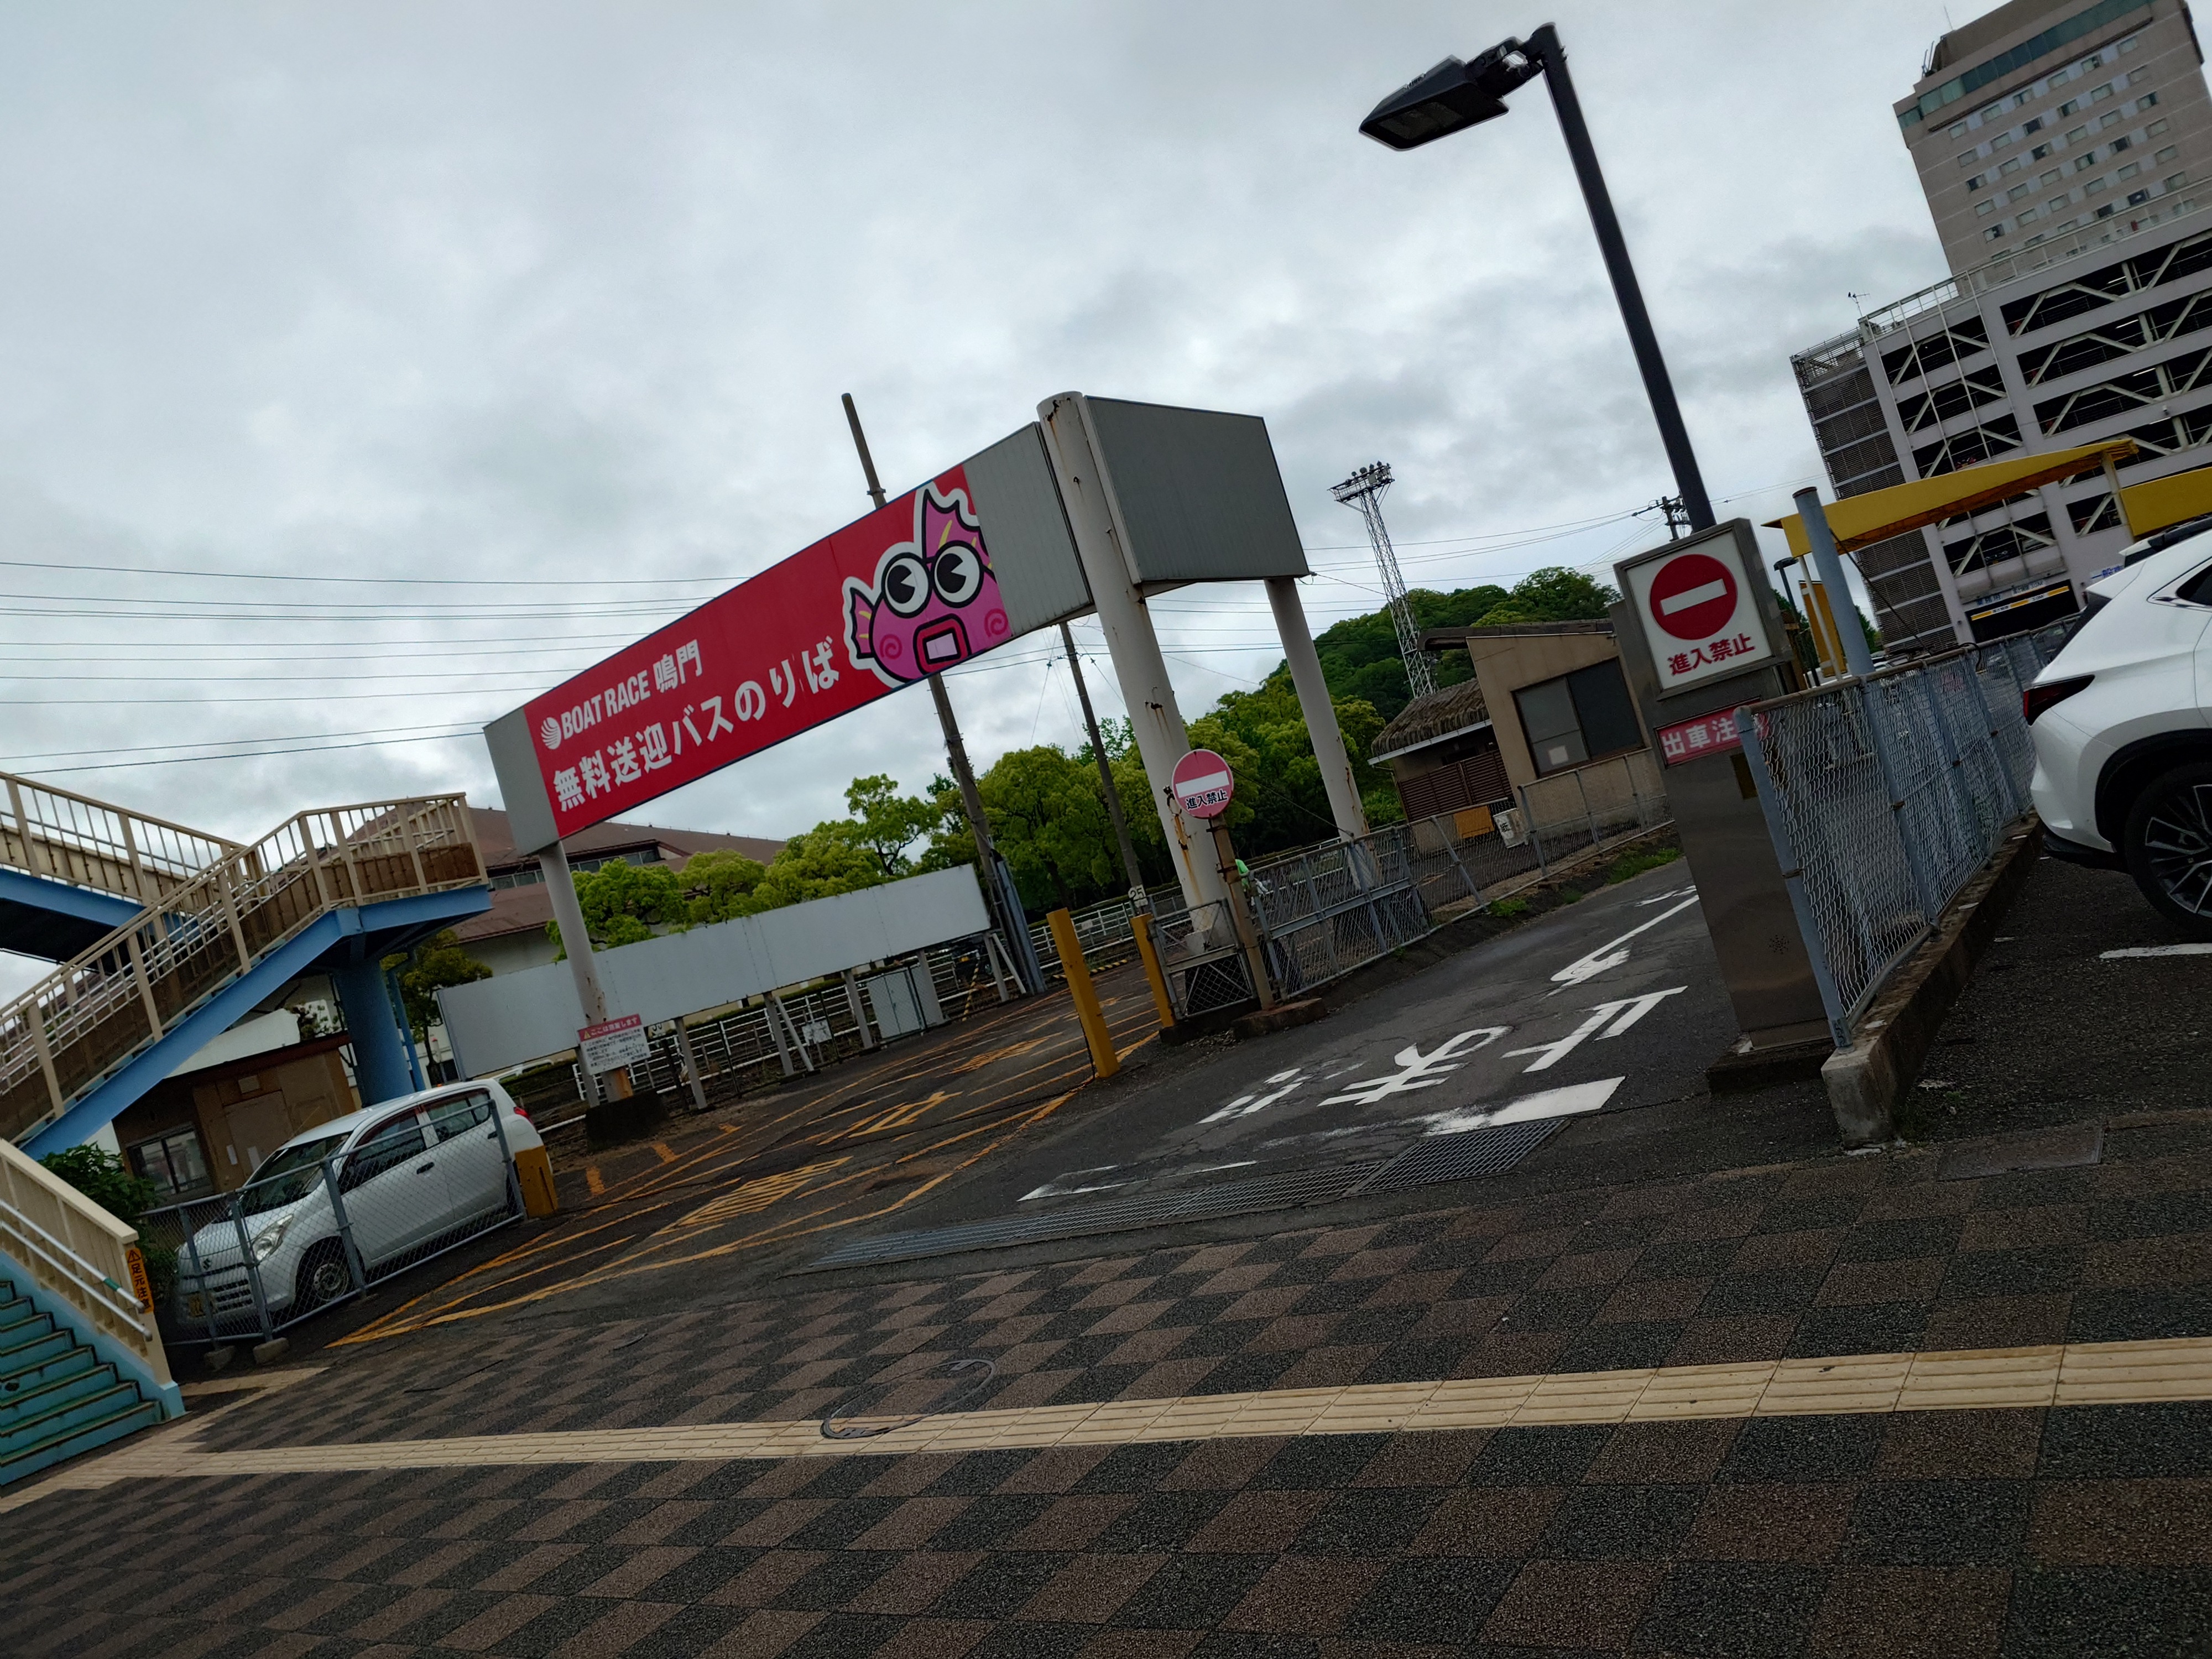
踏切脇にあった鳴門競艇のキャラがなると模様のほっぺのお魚でかわいかった。
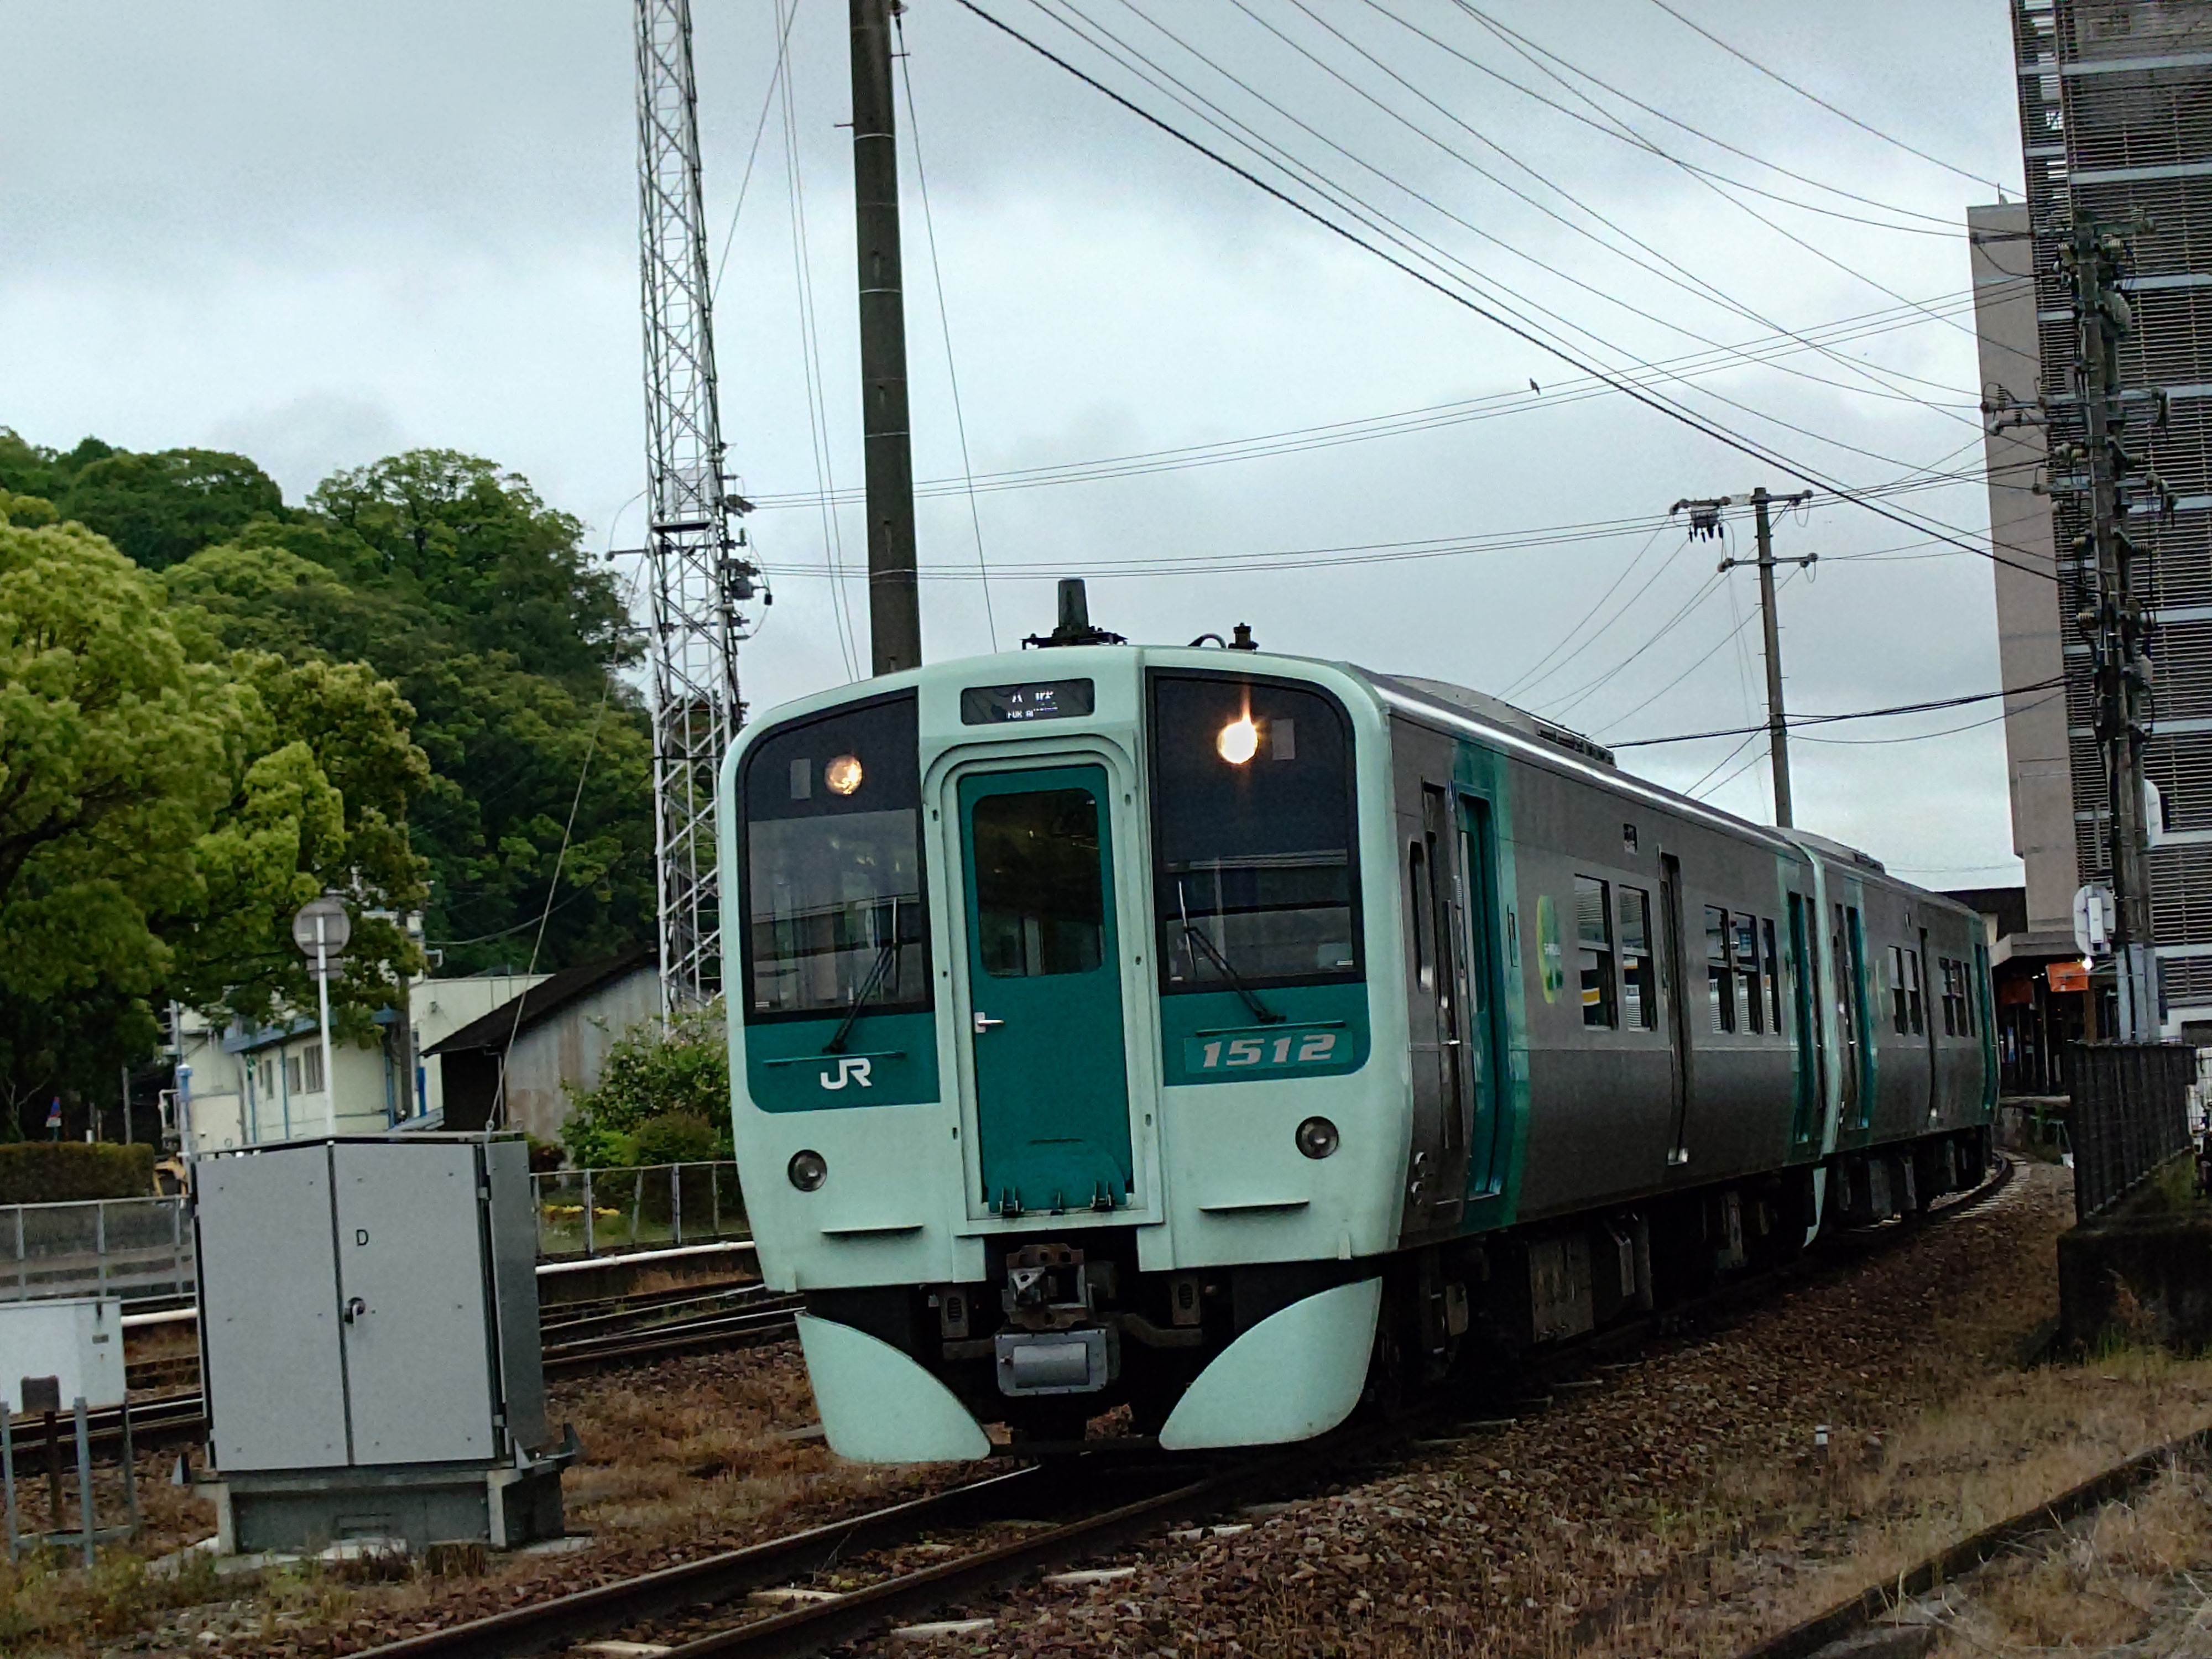
踏切の前で眺めていると穴吹行の普通列車が通過していった。乗客は学生が多いようだった。
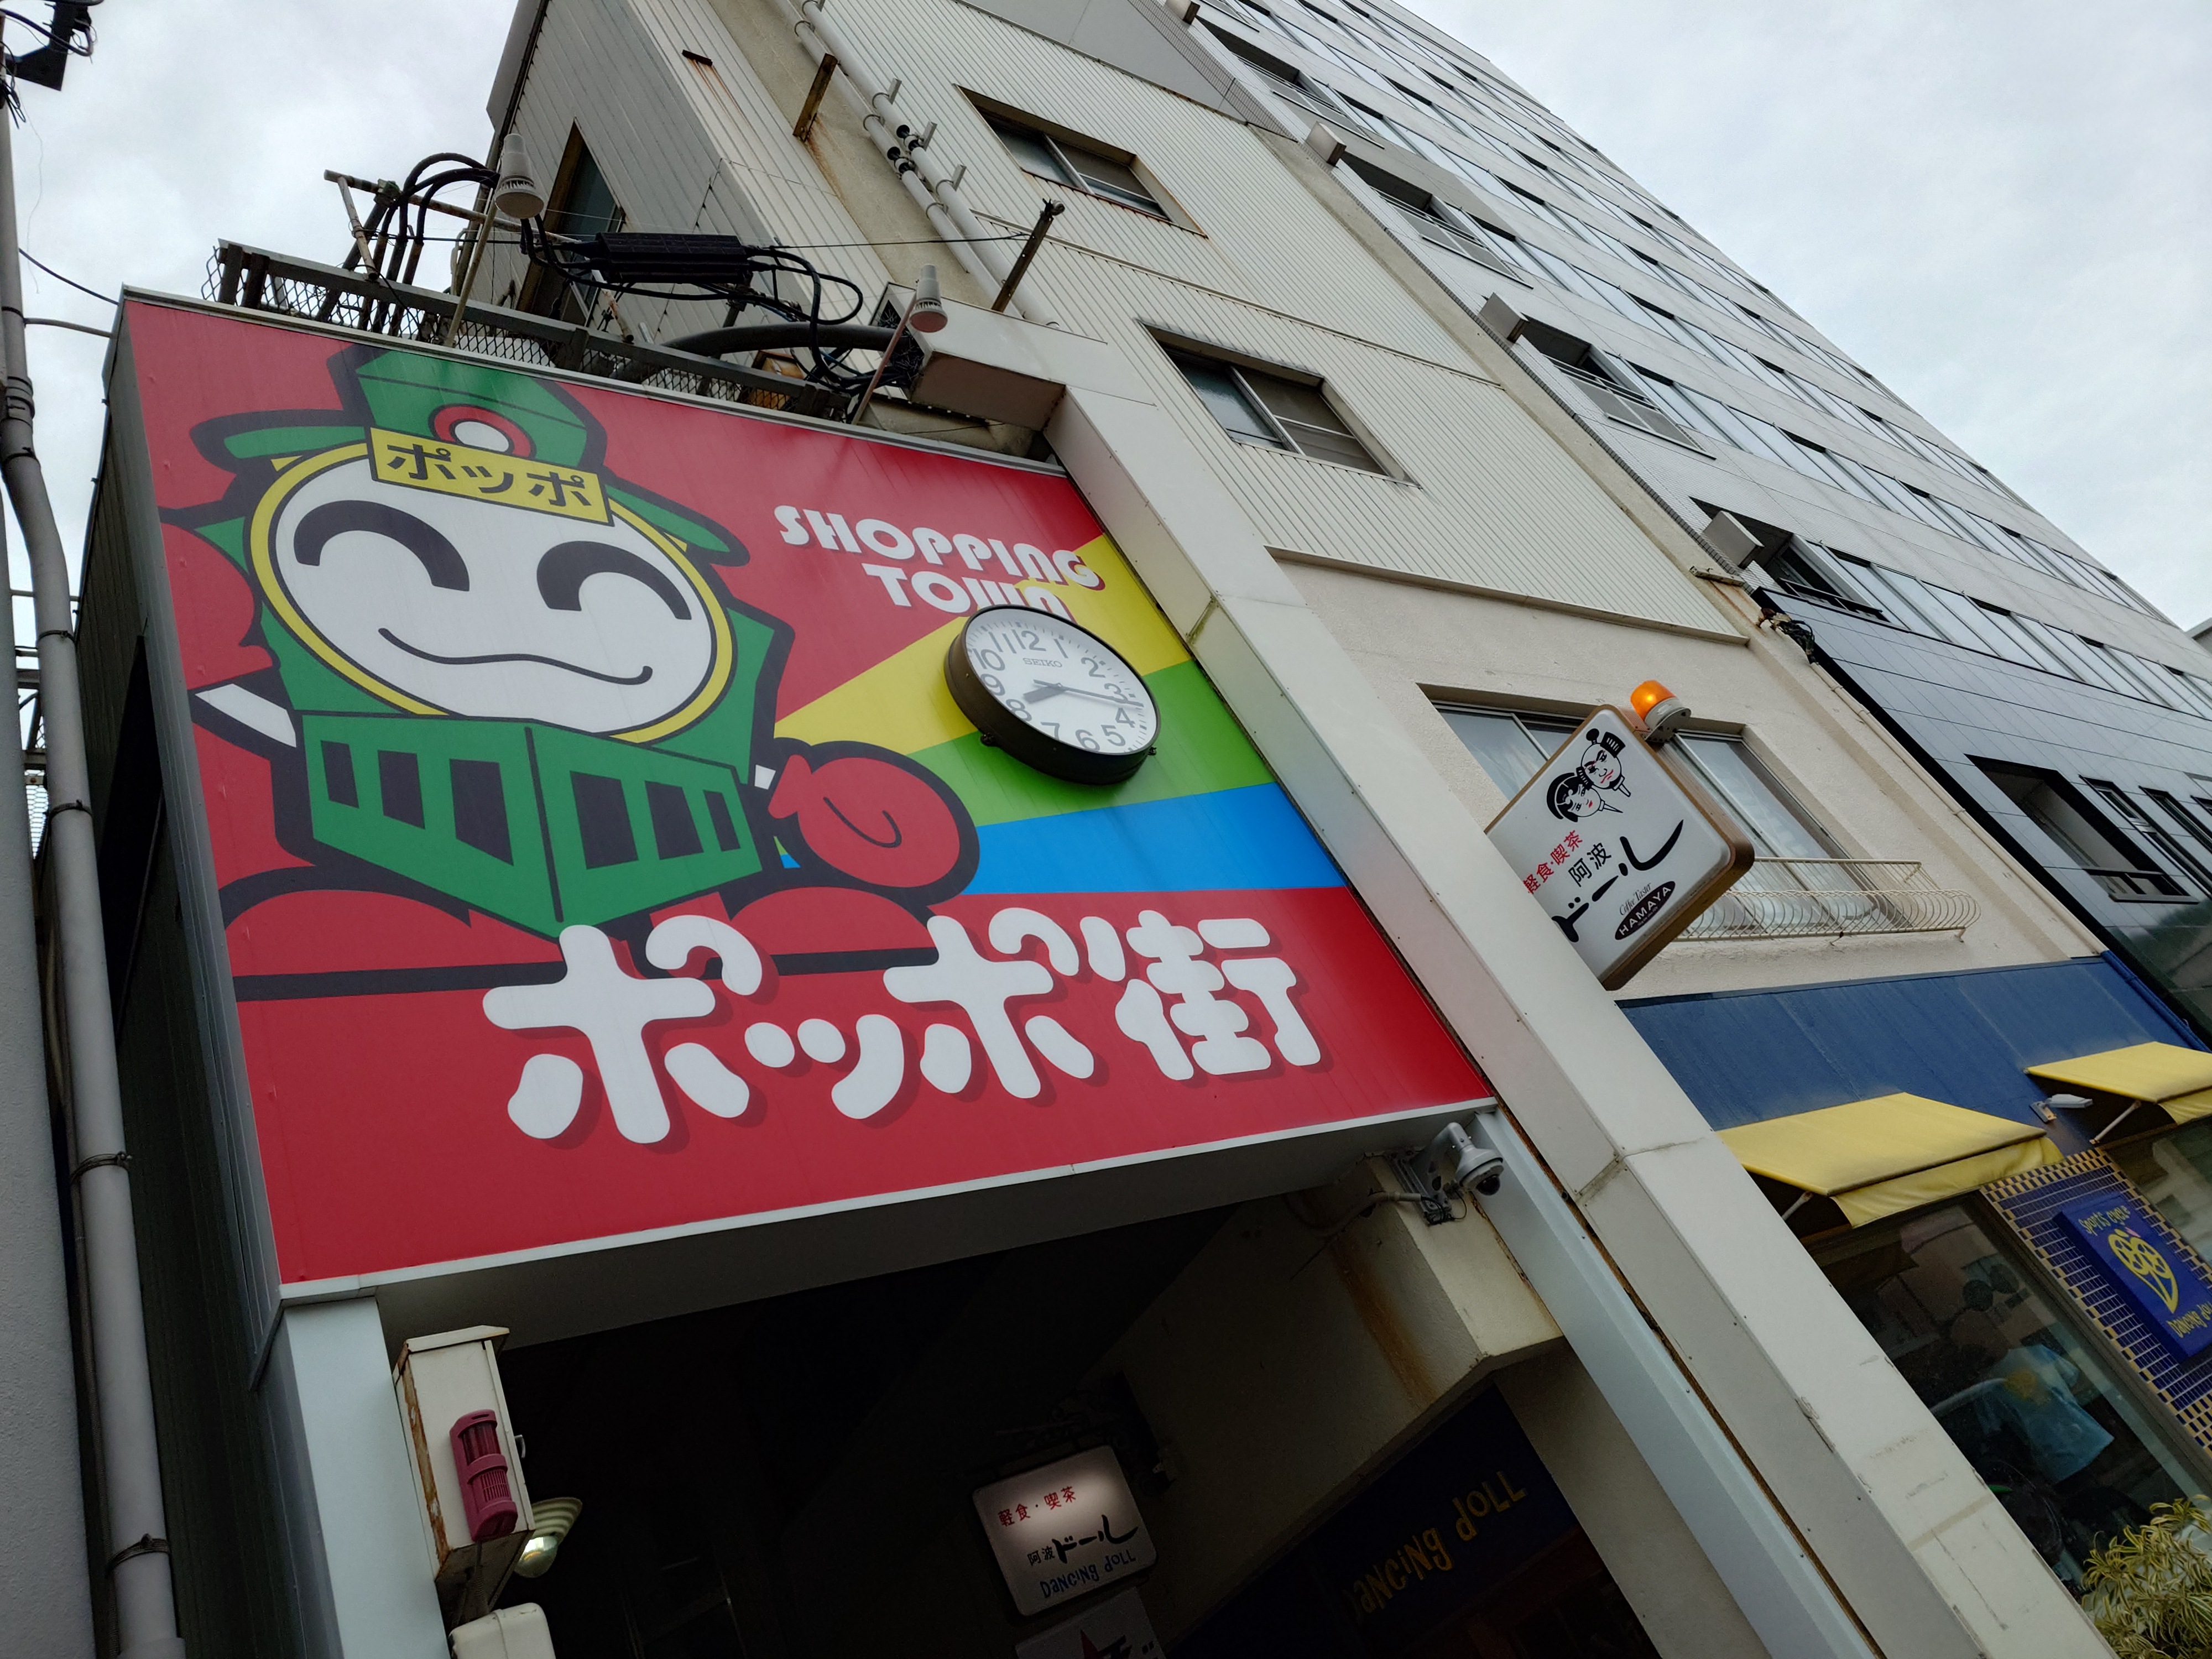
ポッポ街に戻ろうとすると、逆側はかなり綺麗で驚いた。最近塗装しなおしたのだろうか?駅側もそうだが時計があるのは地味に便利だ。
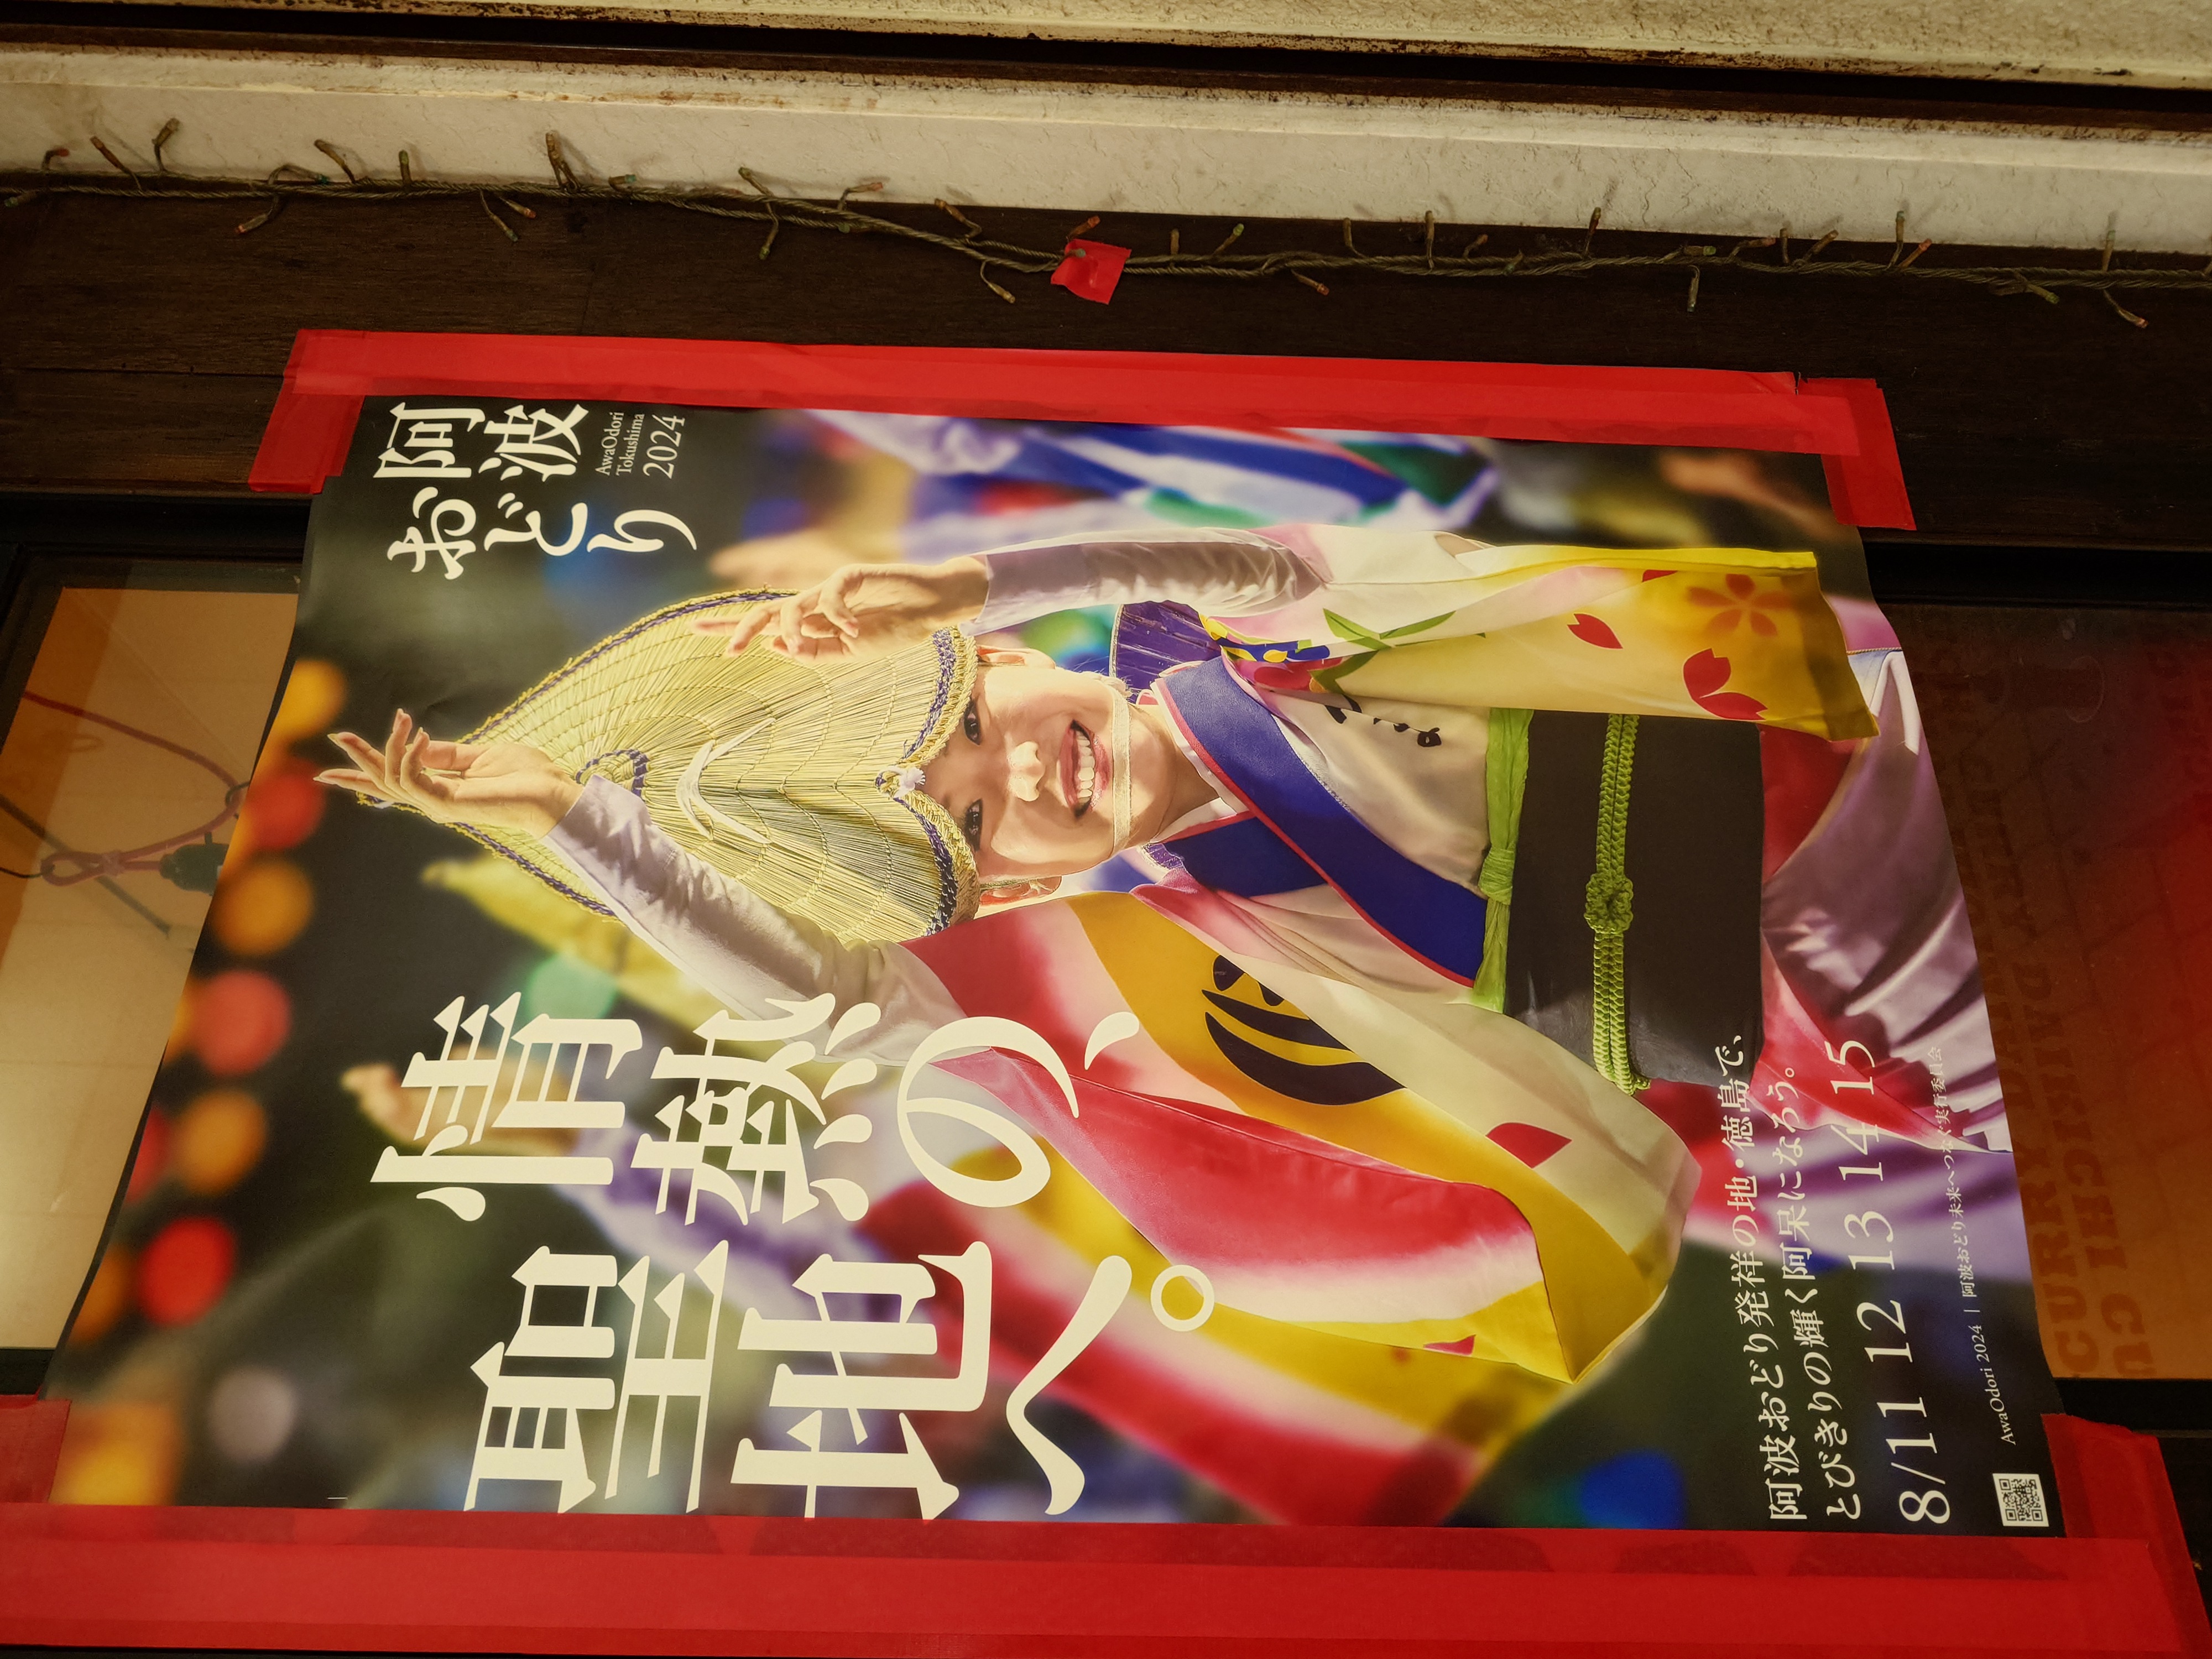
情熱の聖地へ、とびきりの輝く阿呆になろうというコピーがいい。ここから駅方向に向け来た道を逆走していく。
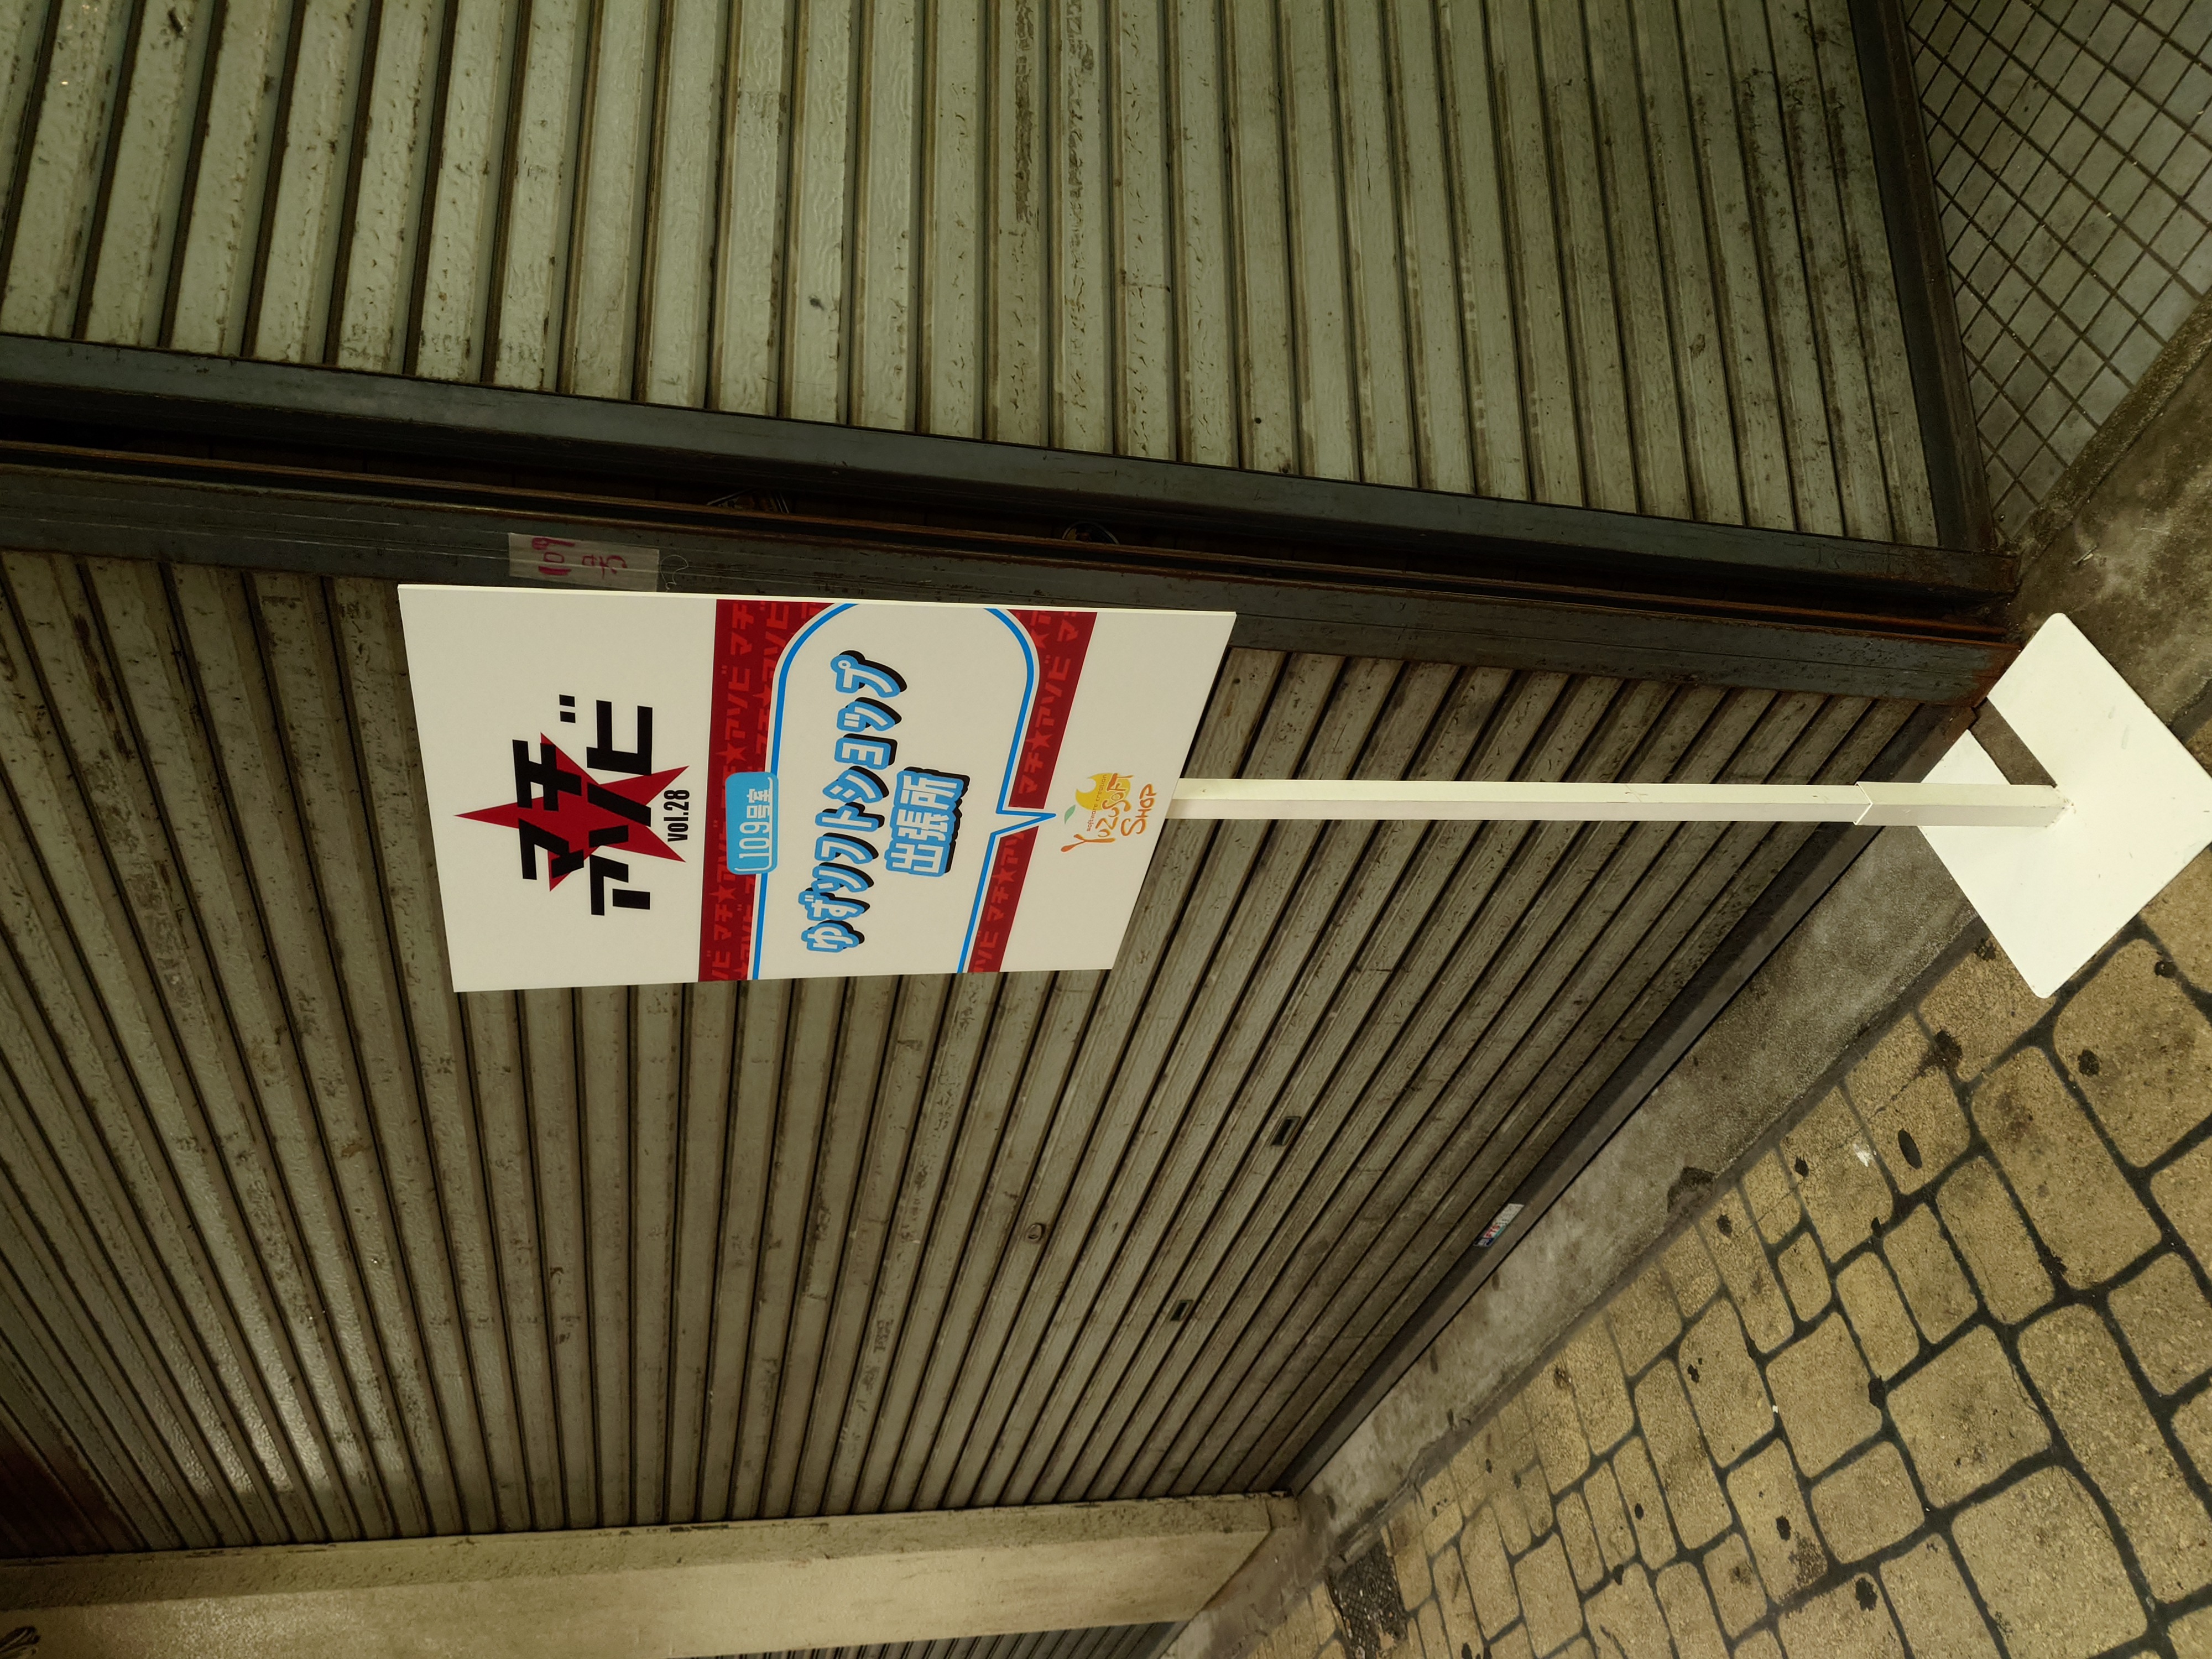
さっき通った時にはなかったゆずソフトの看板が立っていた。私はポッポ街にゆずソフトが出ていることだけは把握していたのでまじまじと眺めていた。
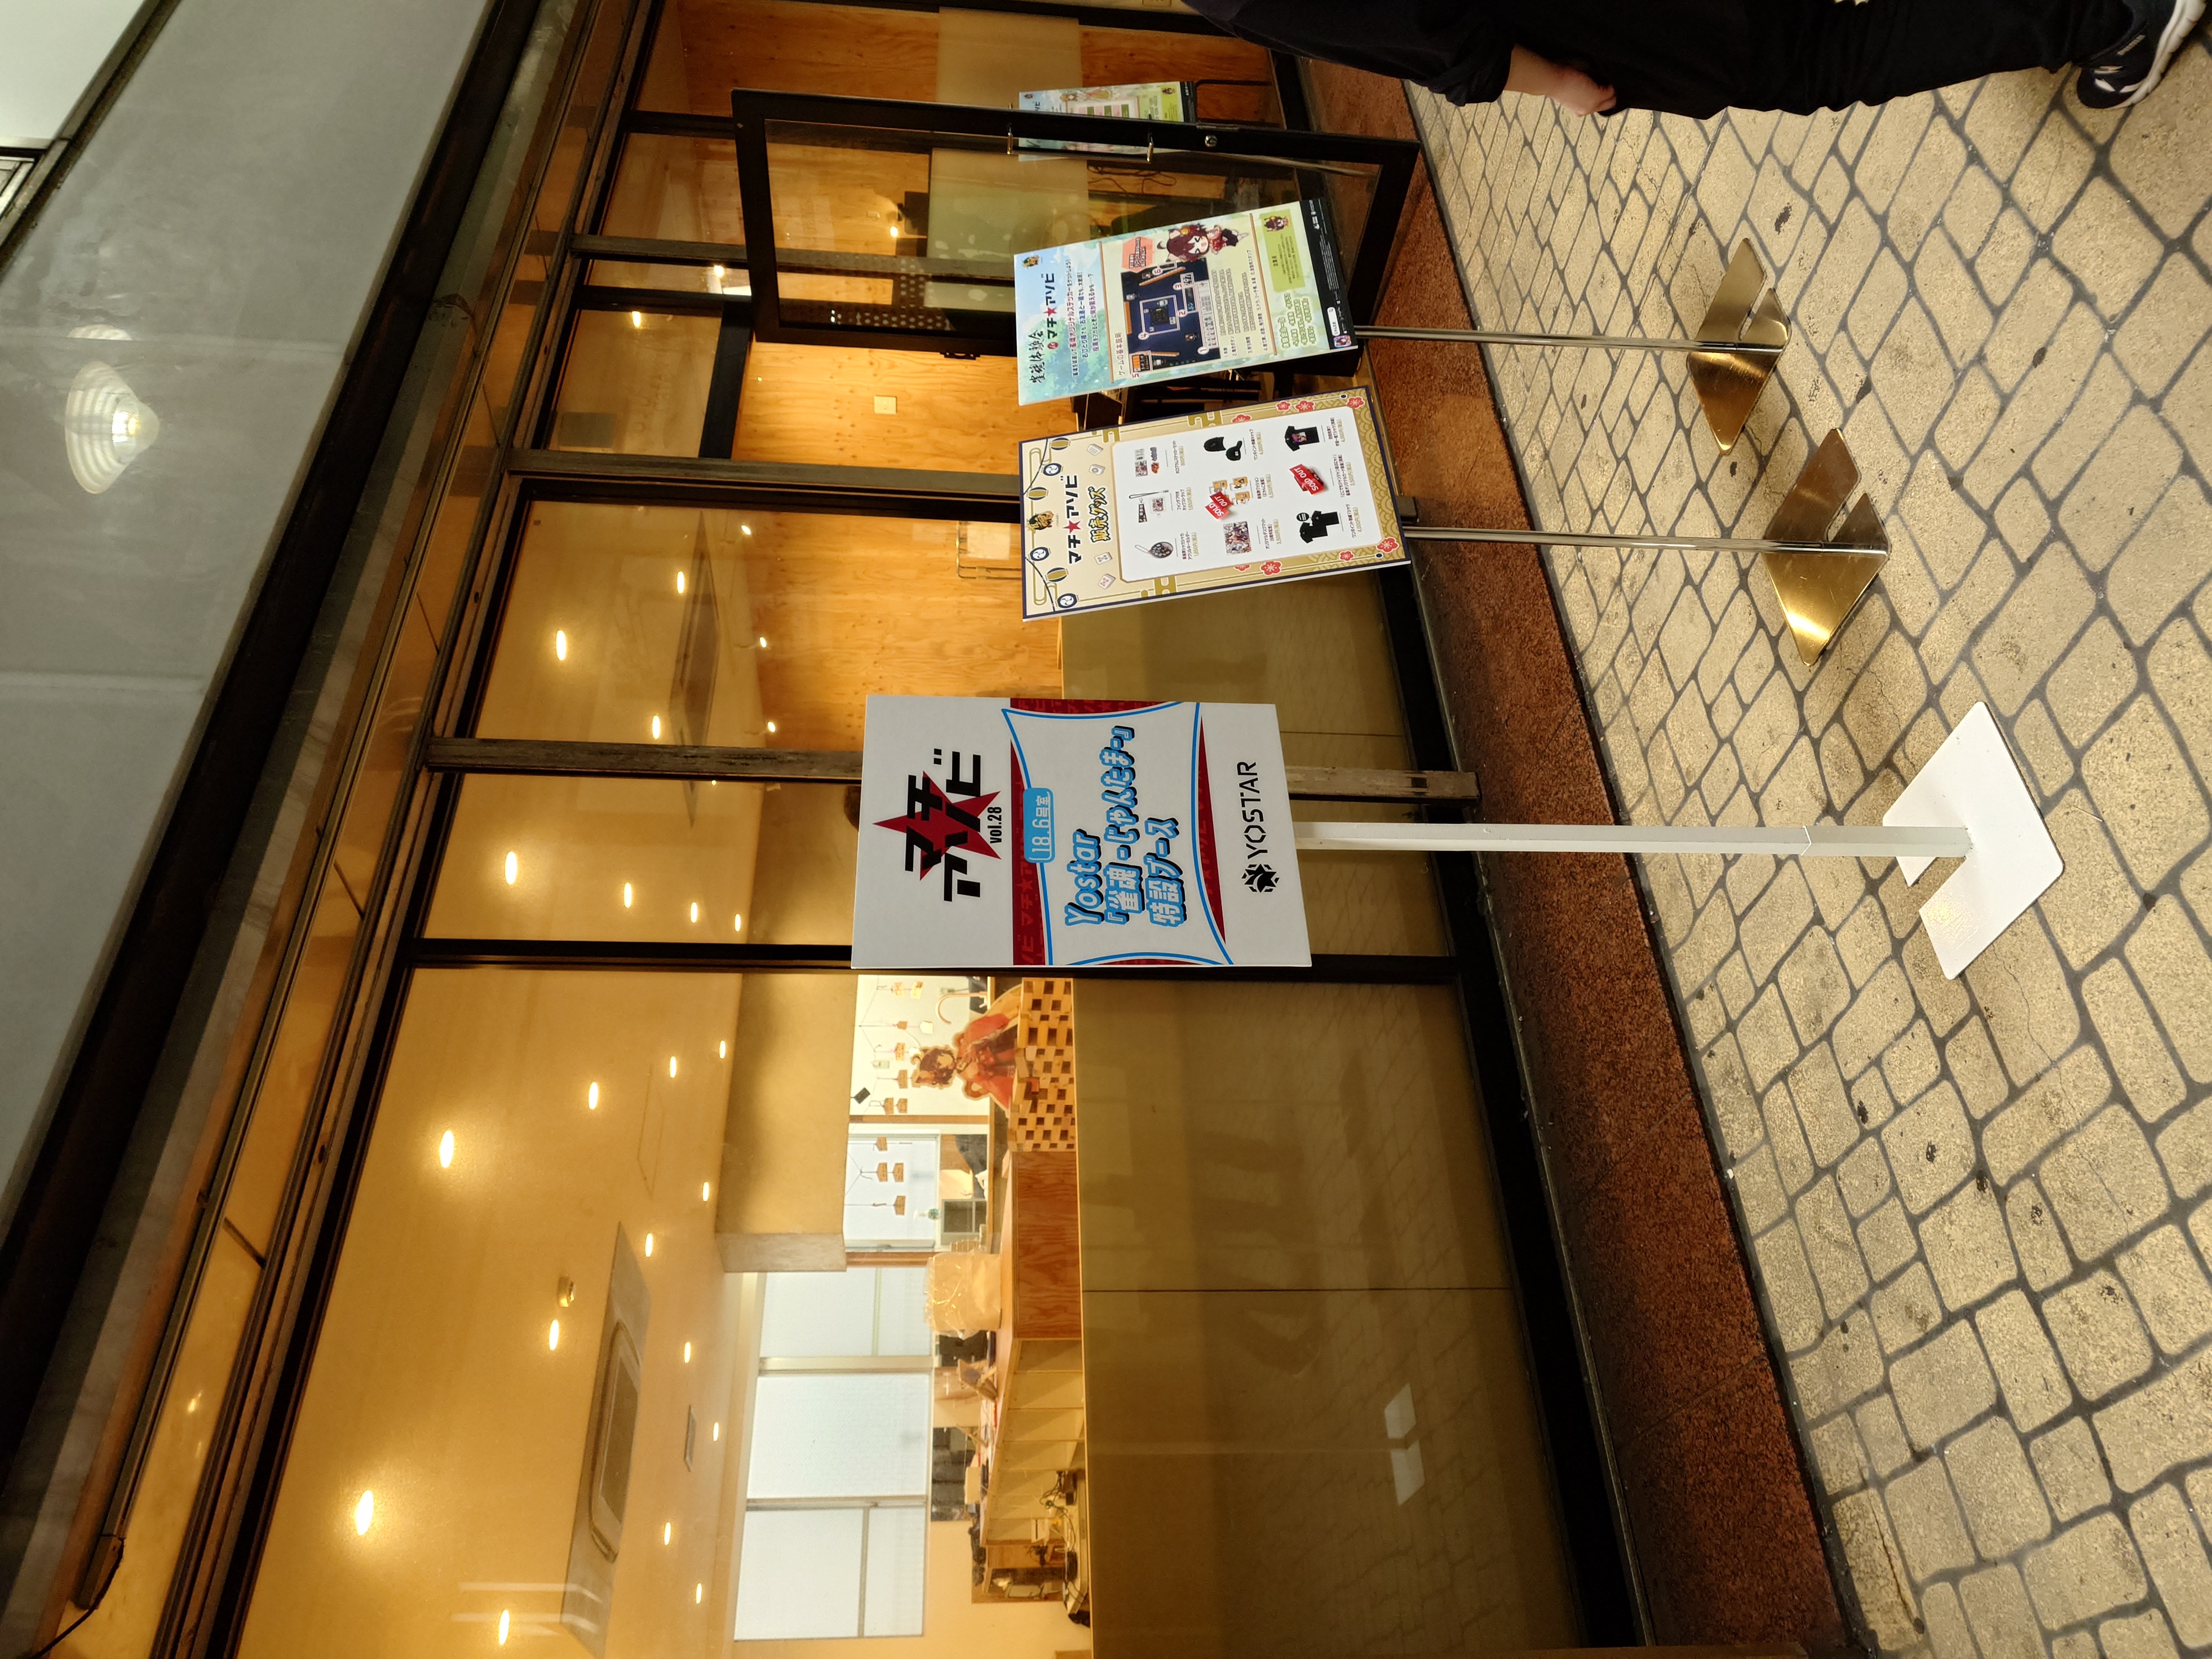
Yostarのブースも設営が始まっていた。
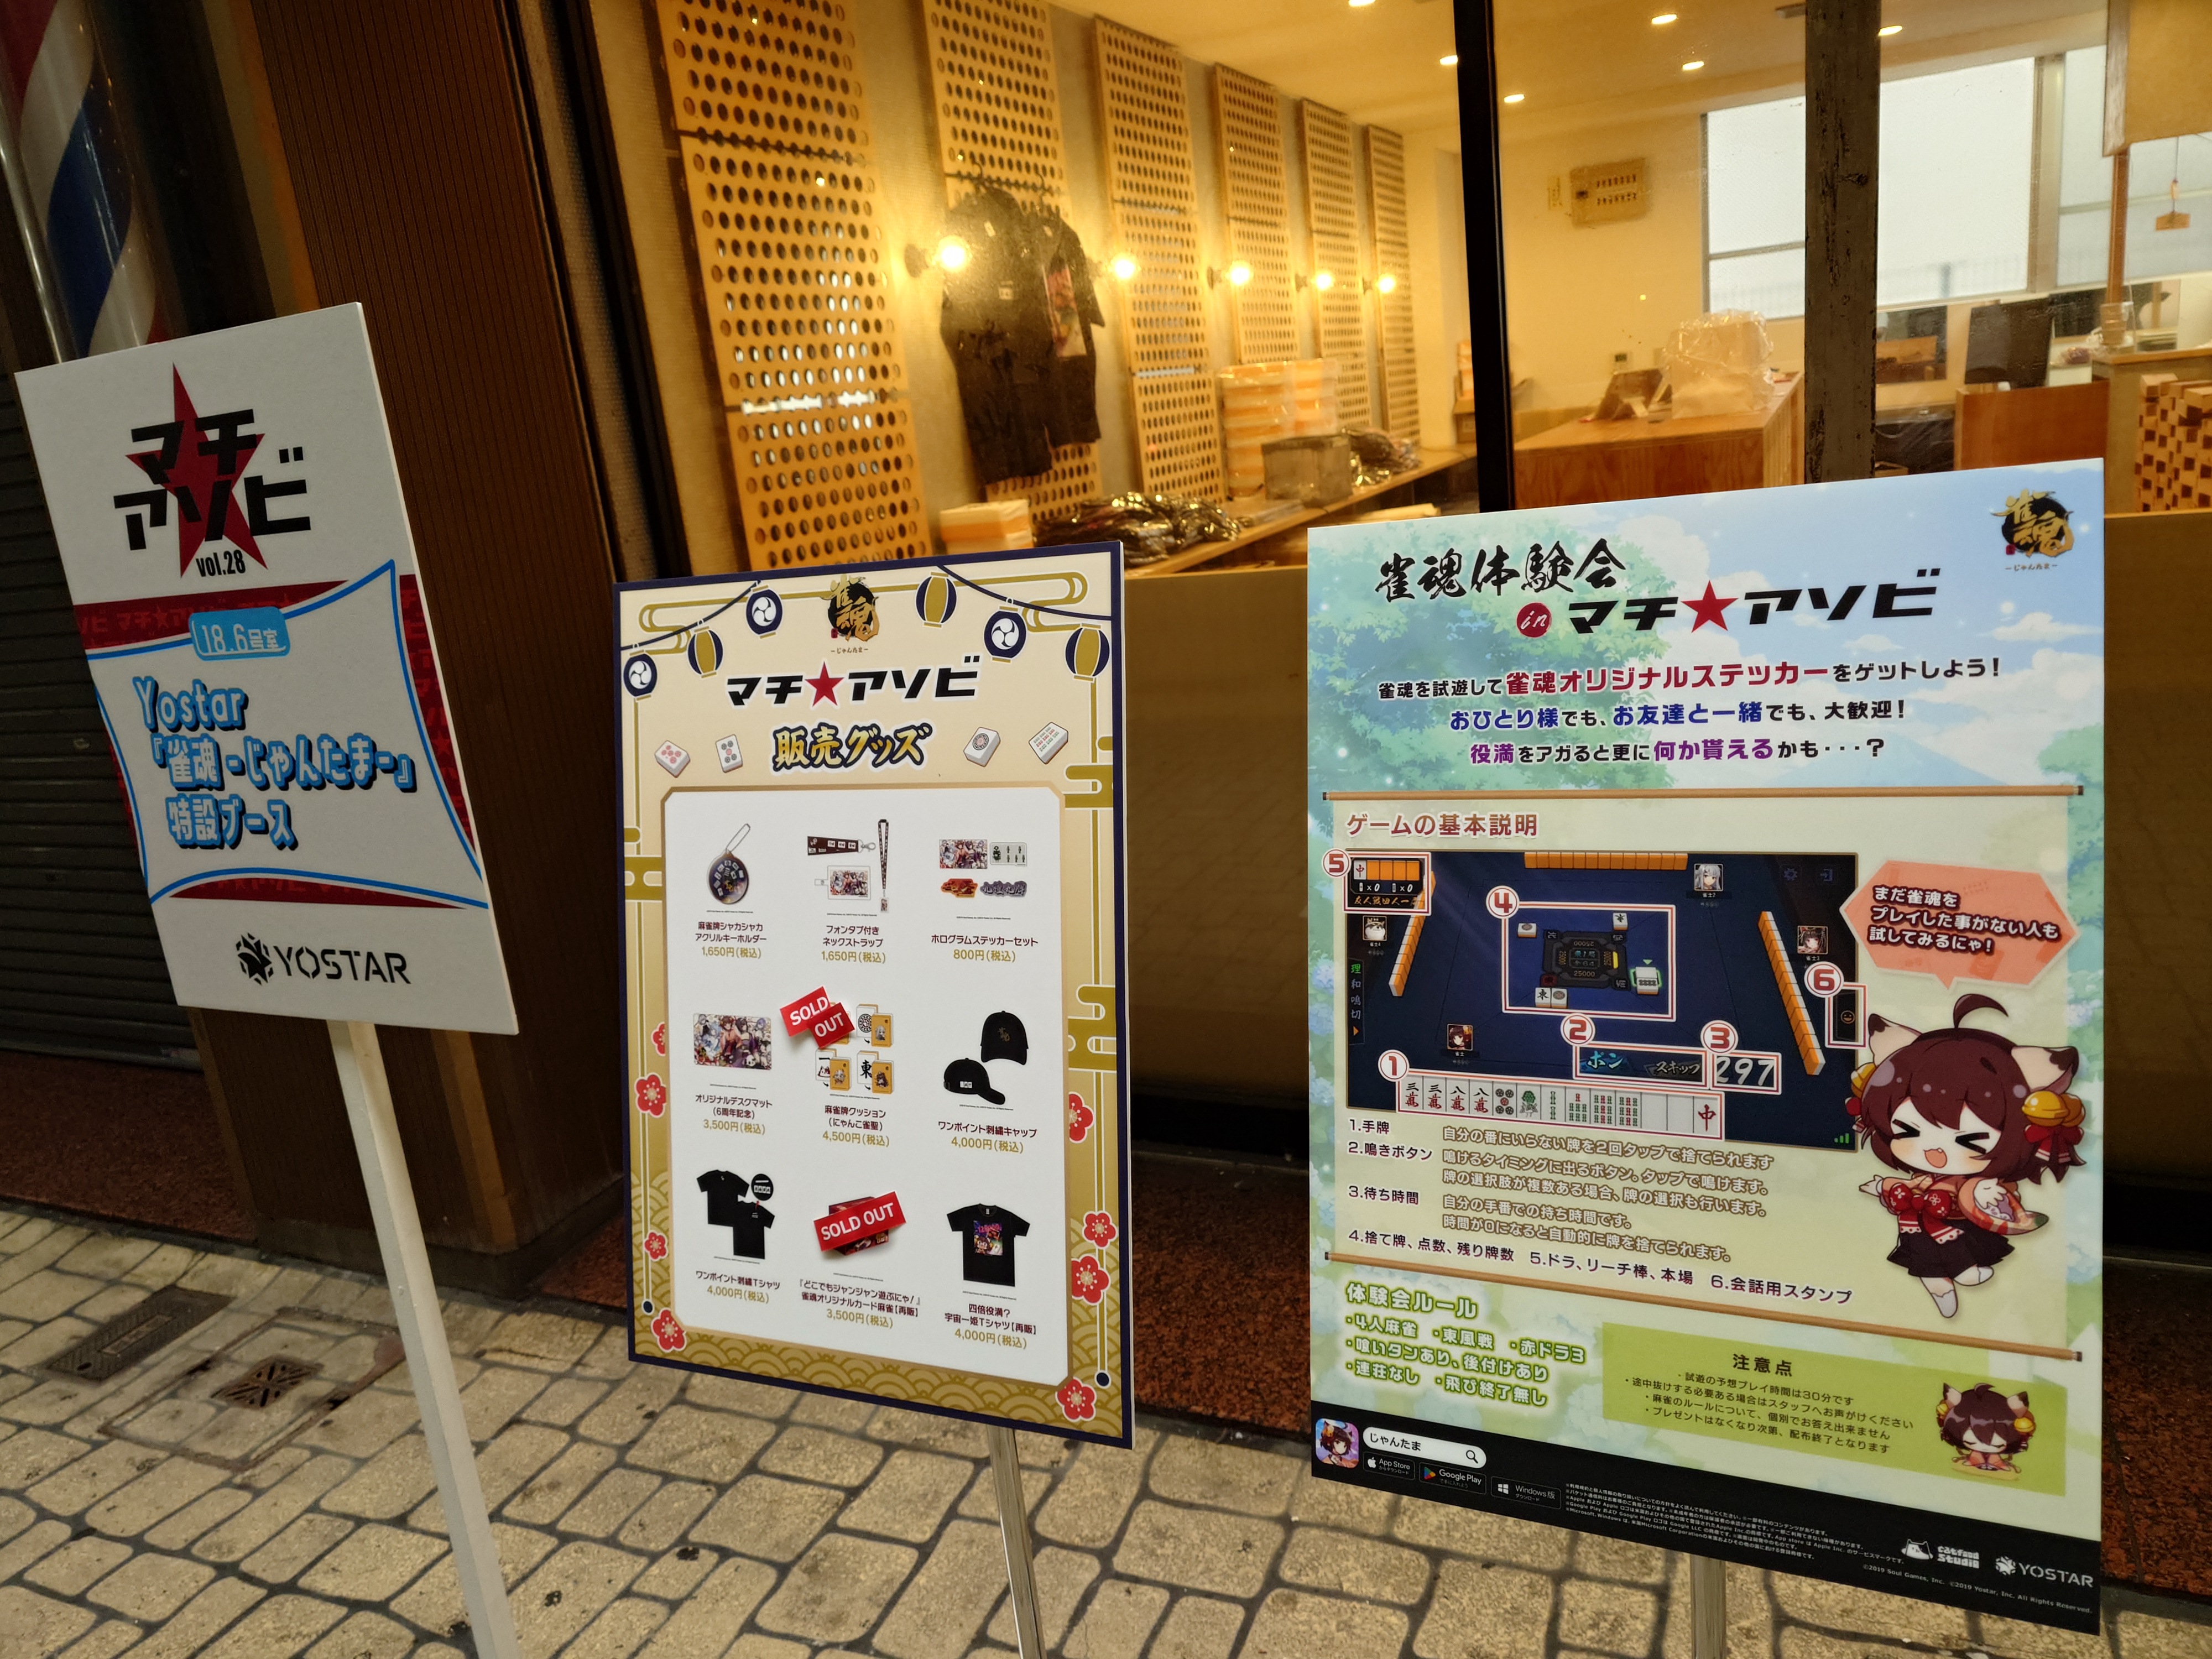
何故か始まる前から売り切れている謎のYostarブース。
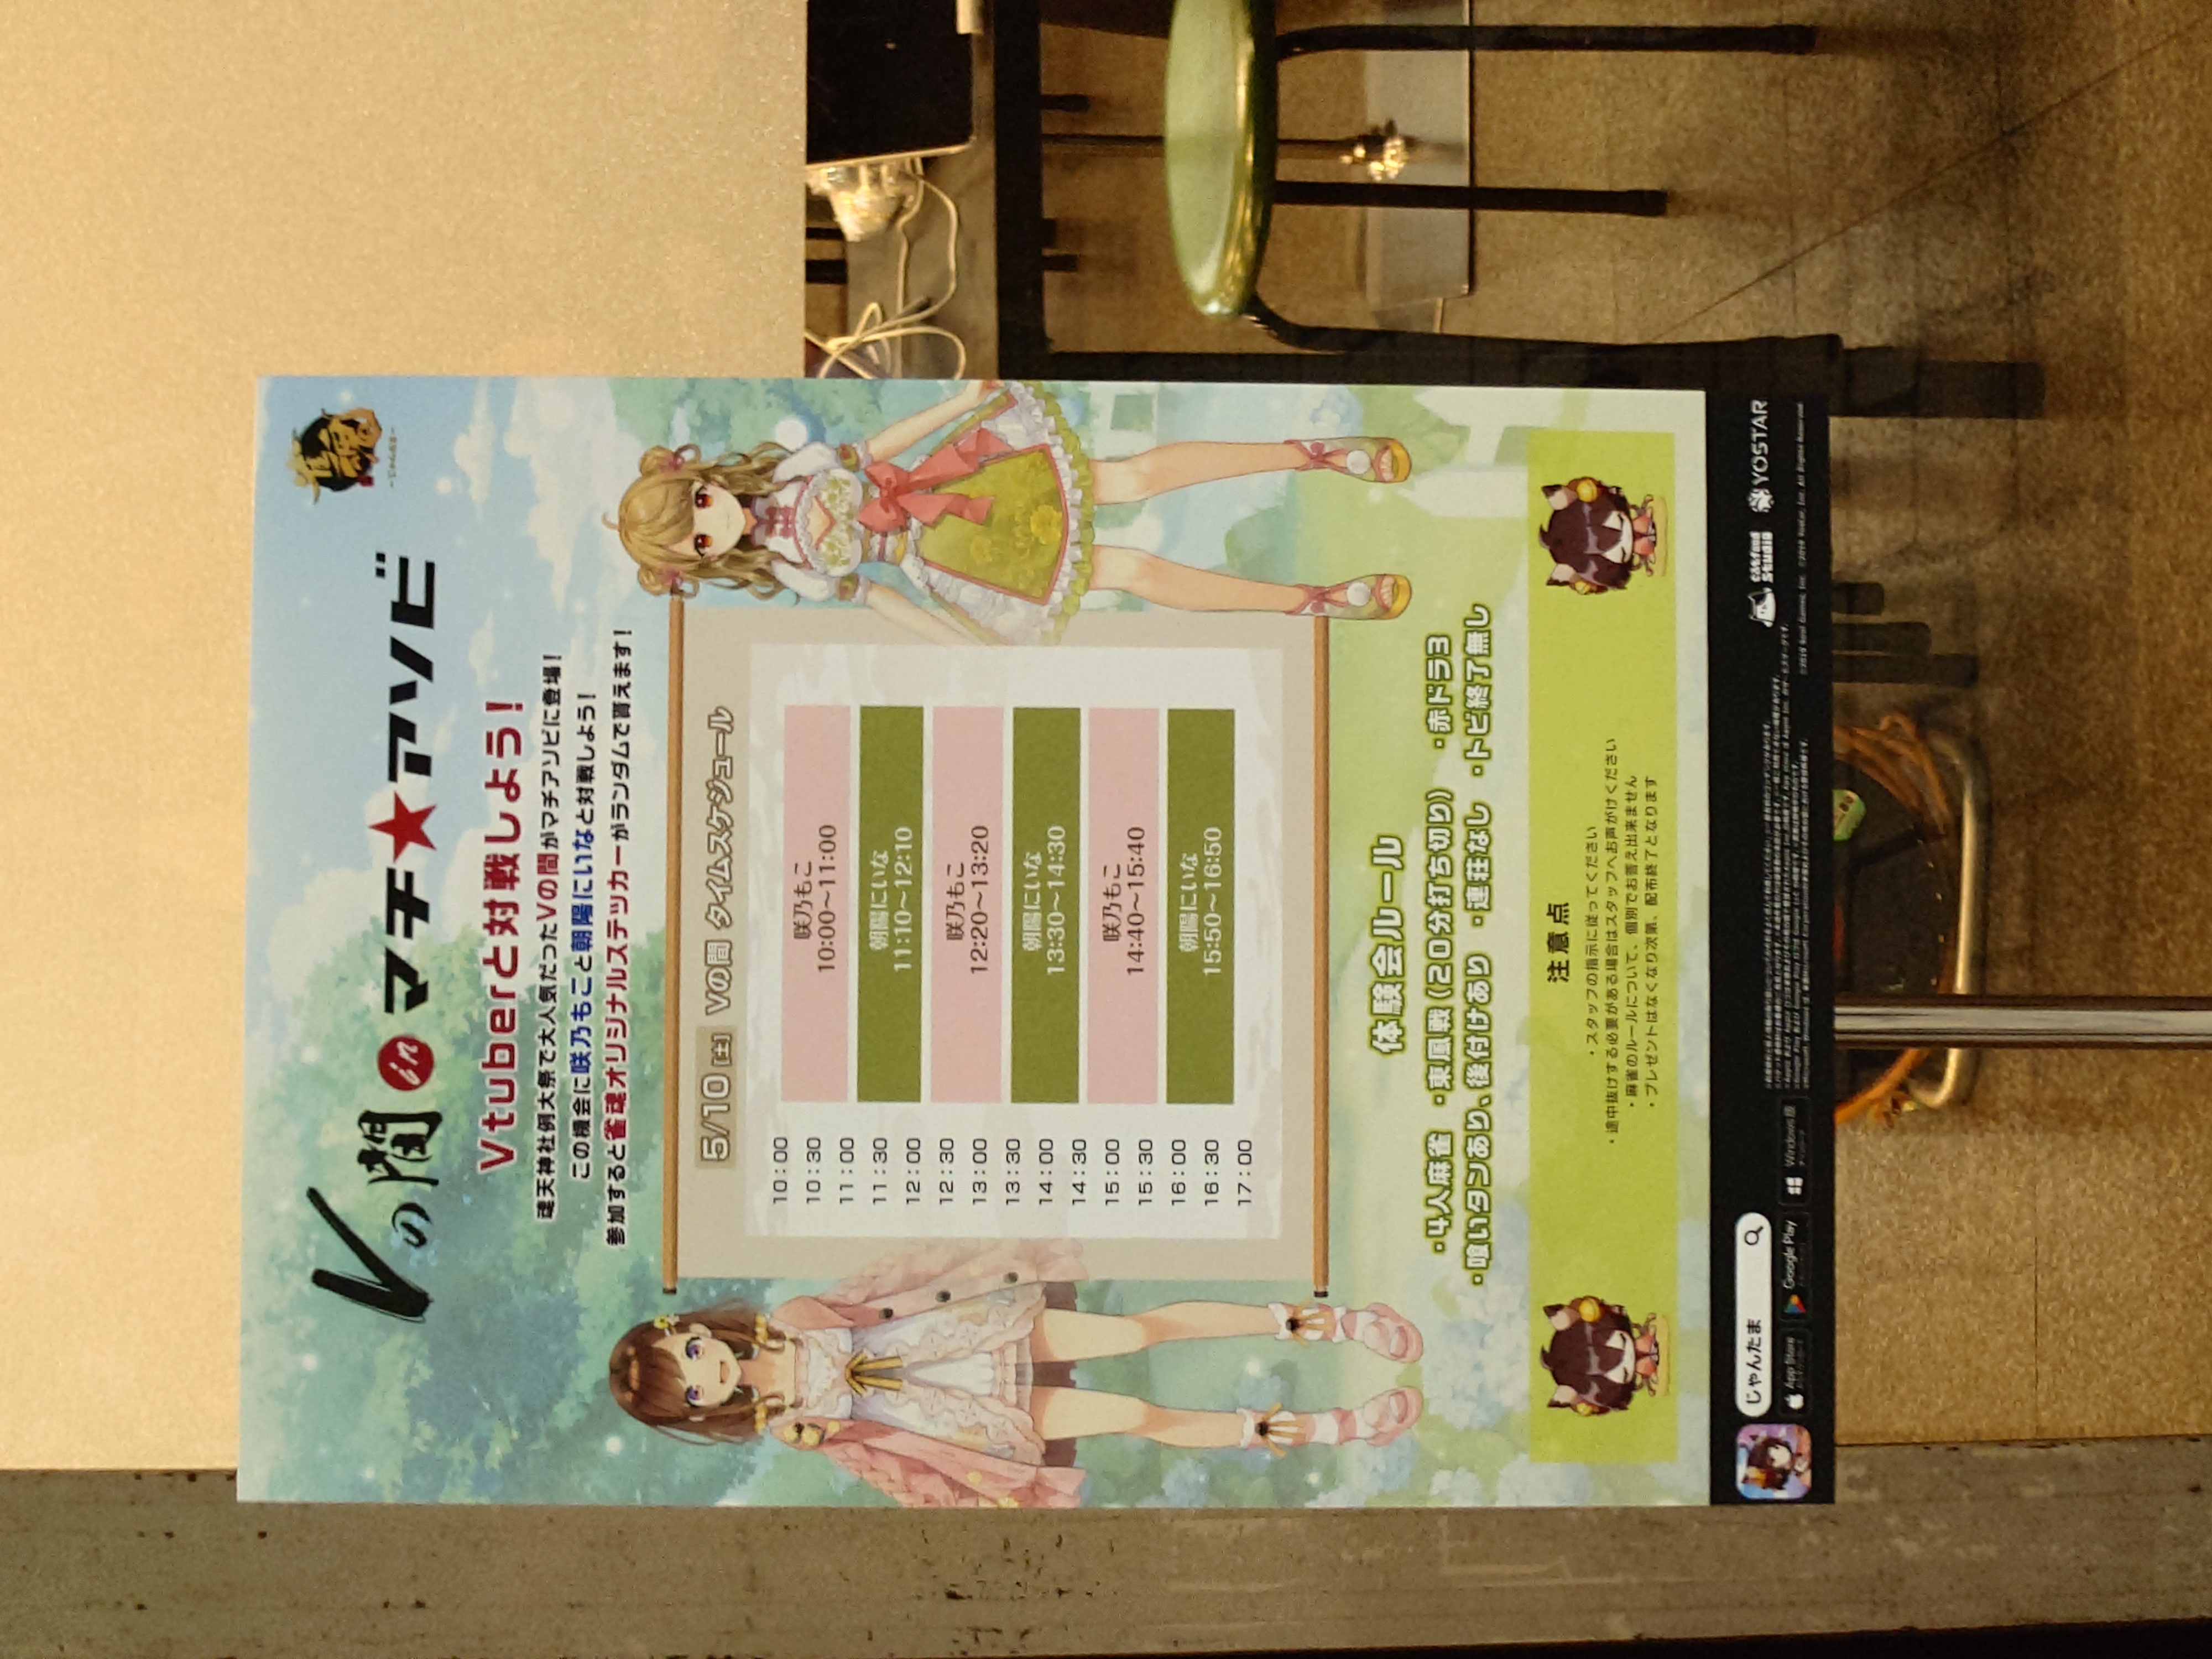
Vの間なるコンテンツも用意されているようだった。
Yostarブースは開会前にも関わらず列ができており、人の往来も激しく、写り込まないように綺麗に撮るのに地味に苦労した。
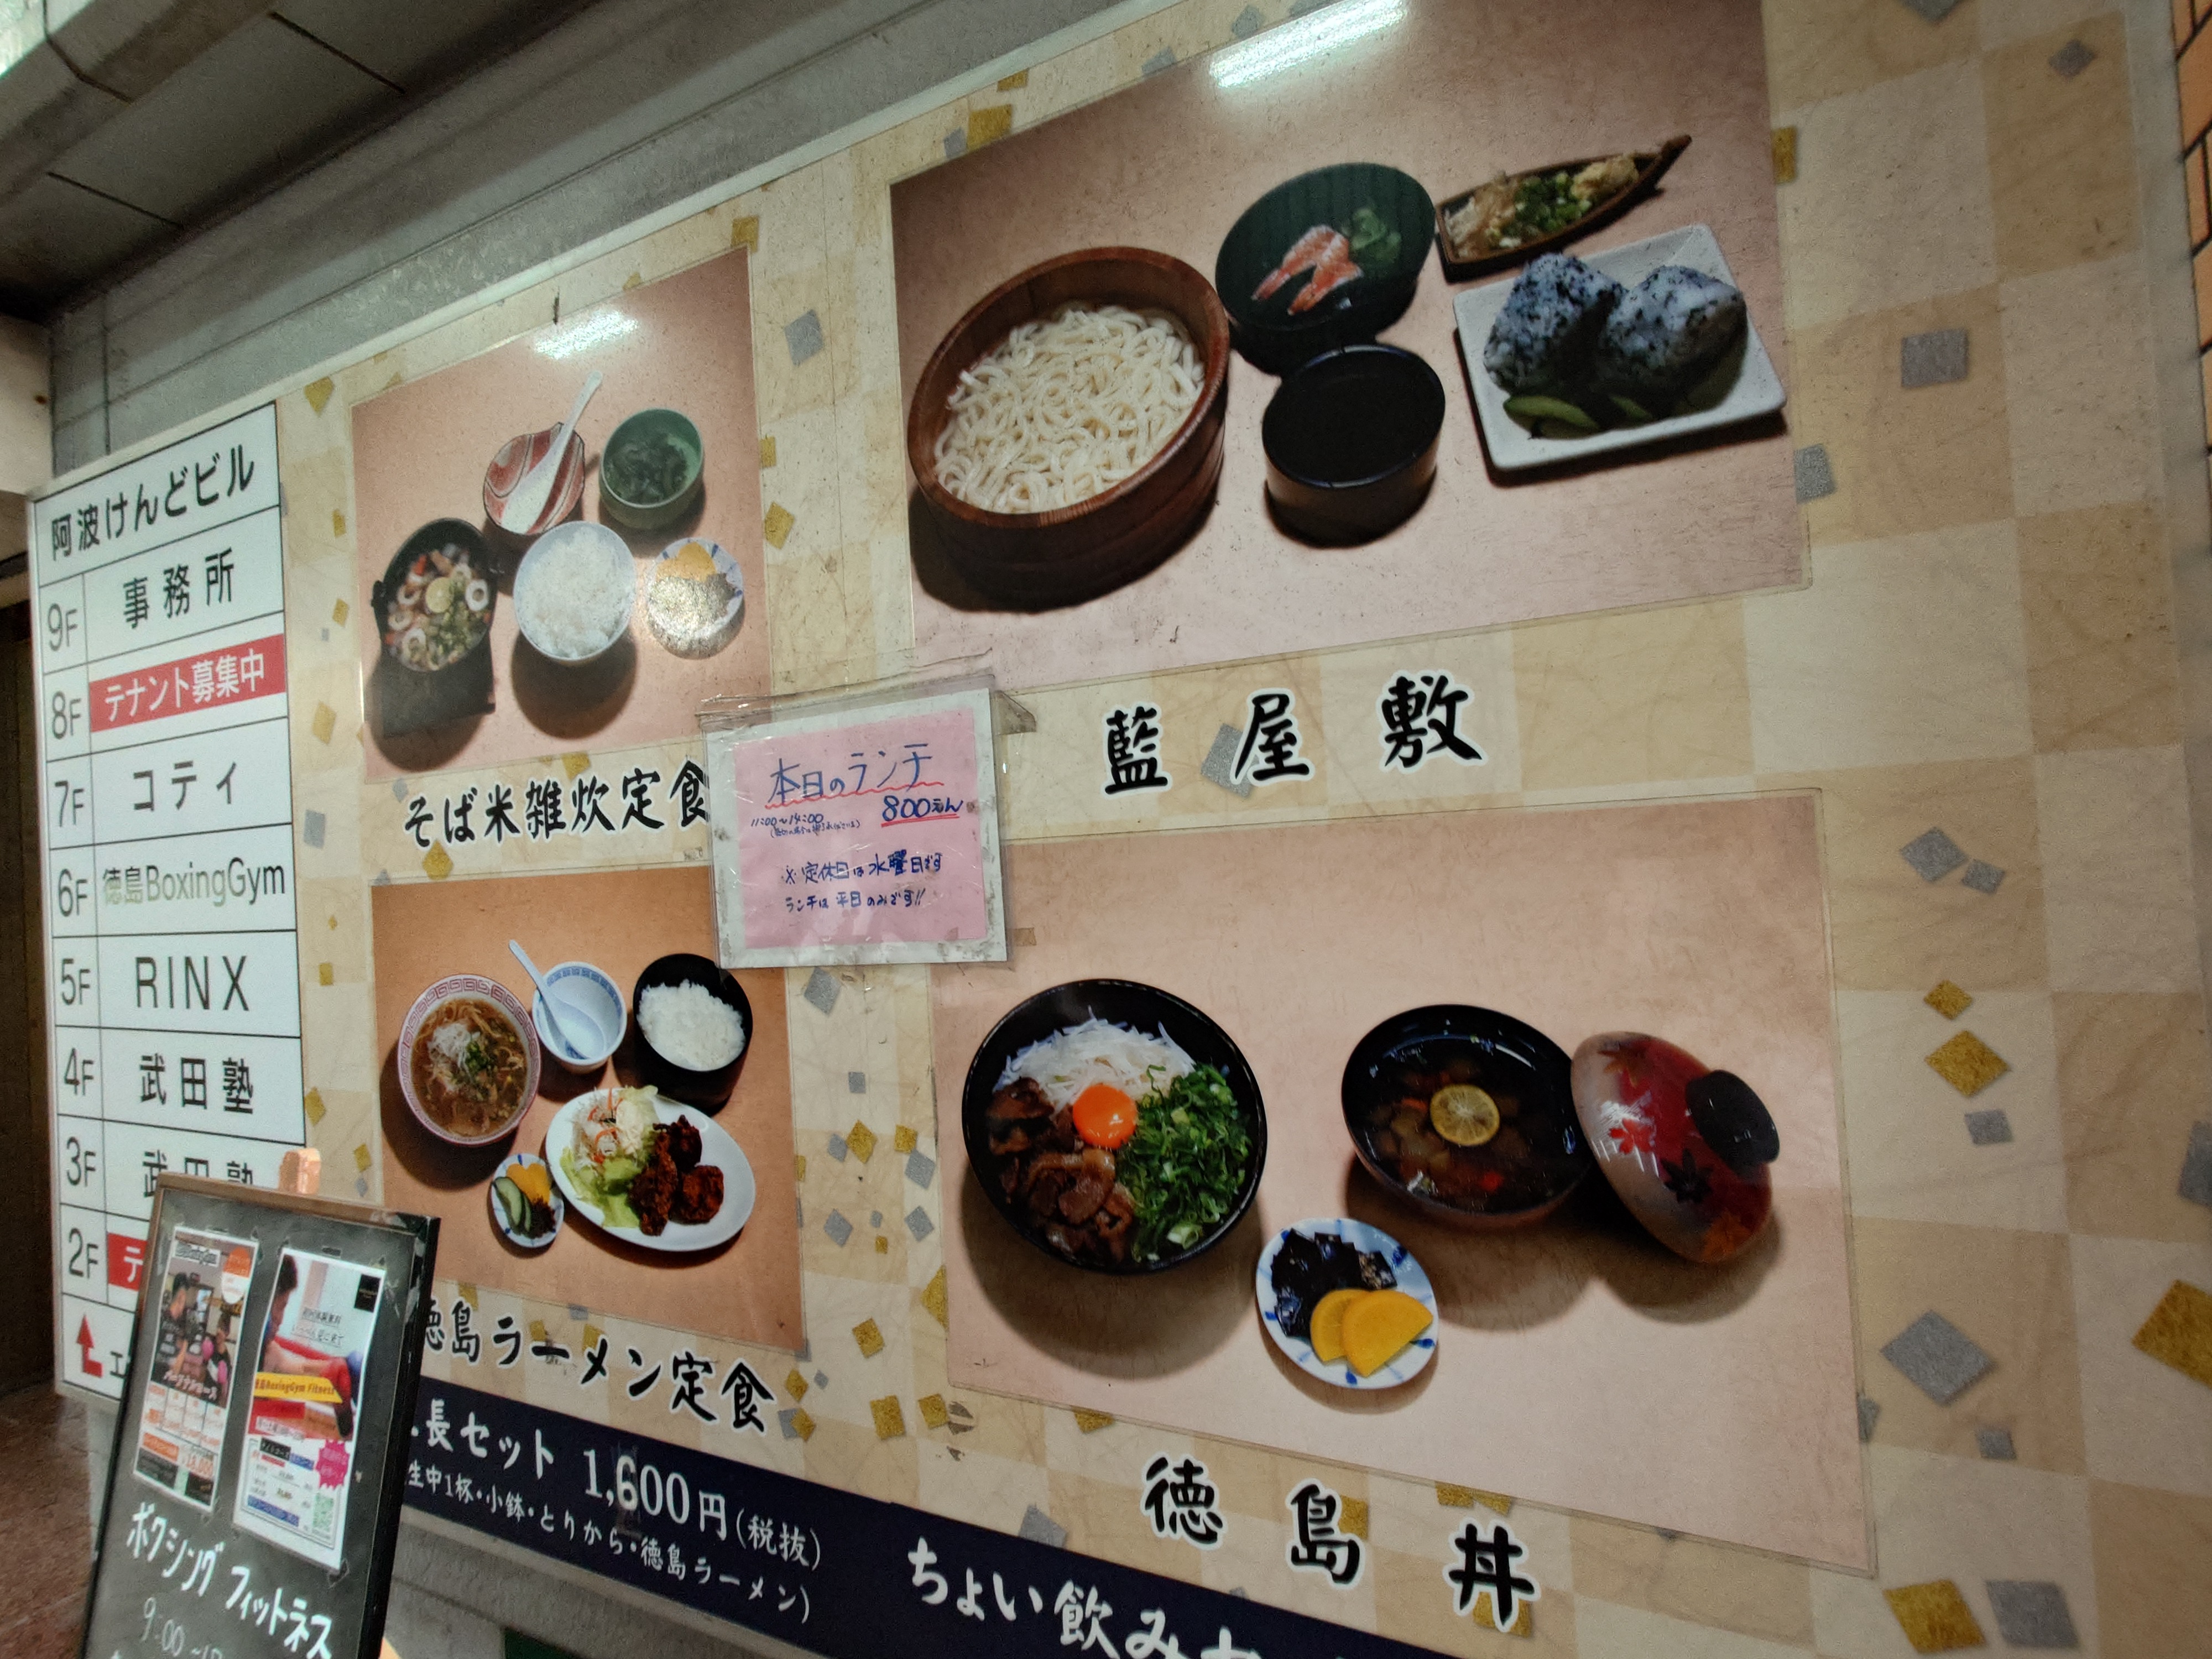
ポッポ街入り口の定食屋はなかなかよさそうだった。次回来ることがあれば是非利用したいところだ。
ホテルへ戻る
やることがないのでホテルへ戻ることにした。もはやメイクアガールのことは頭からすっかり消えていた。
ベッドでごろごろしているときに、ふとマチアソビのサイトを開き、特に意味もなく整理券の配布情報を確認していたら、ufotable CINEMAではなくボードウォークで配布されていることを知った。
メイクアガールの鑑賞整理券配布開始時刻は07:45、現時刻は08:30、希望は薄いがボードウォークへ向かうべくすぐさま立ち上がり移動した。
ボードウォークへ向かう
ボードウォークは先ほど「整理券を入手する二度目のチャンスを逃す」で見たところだ。
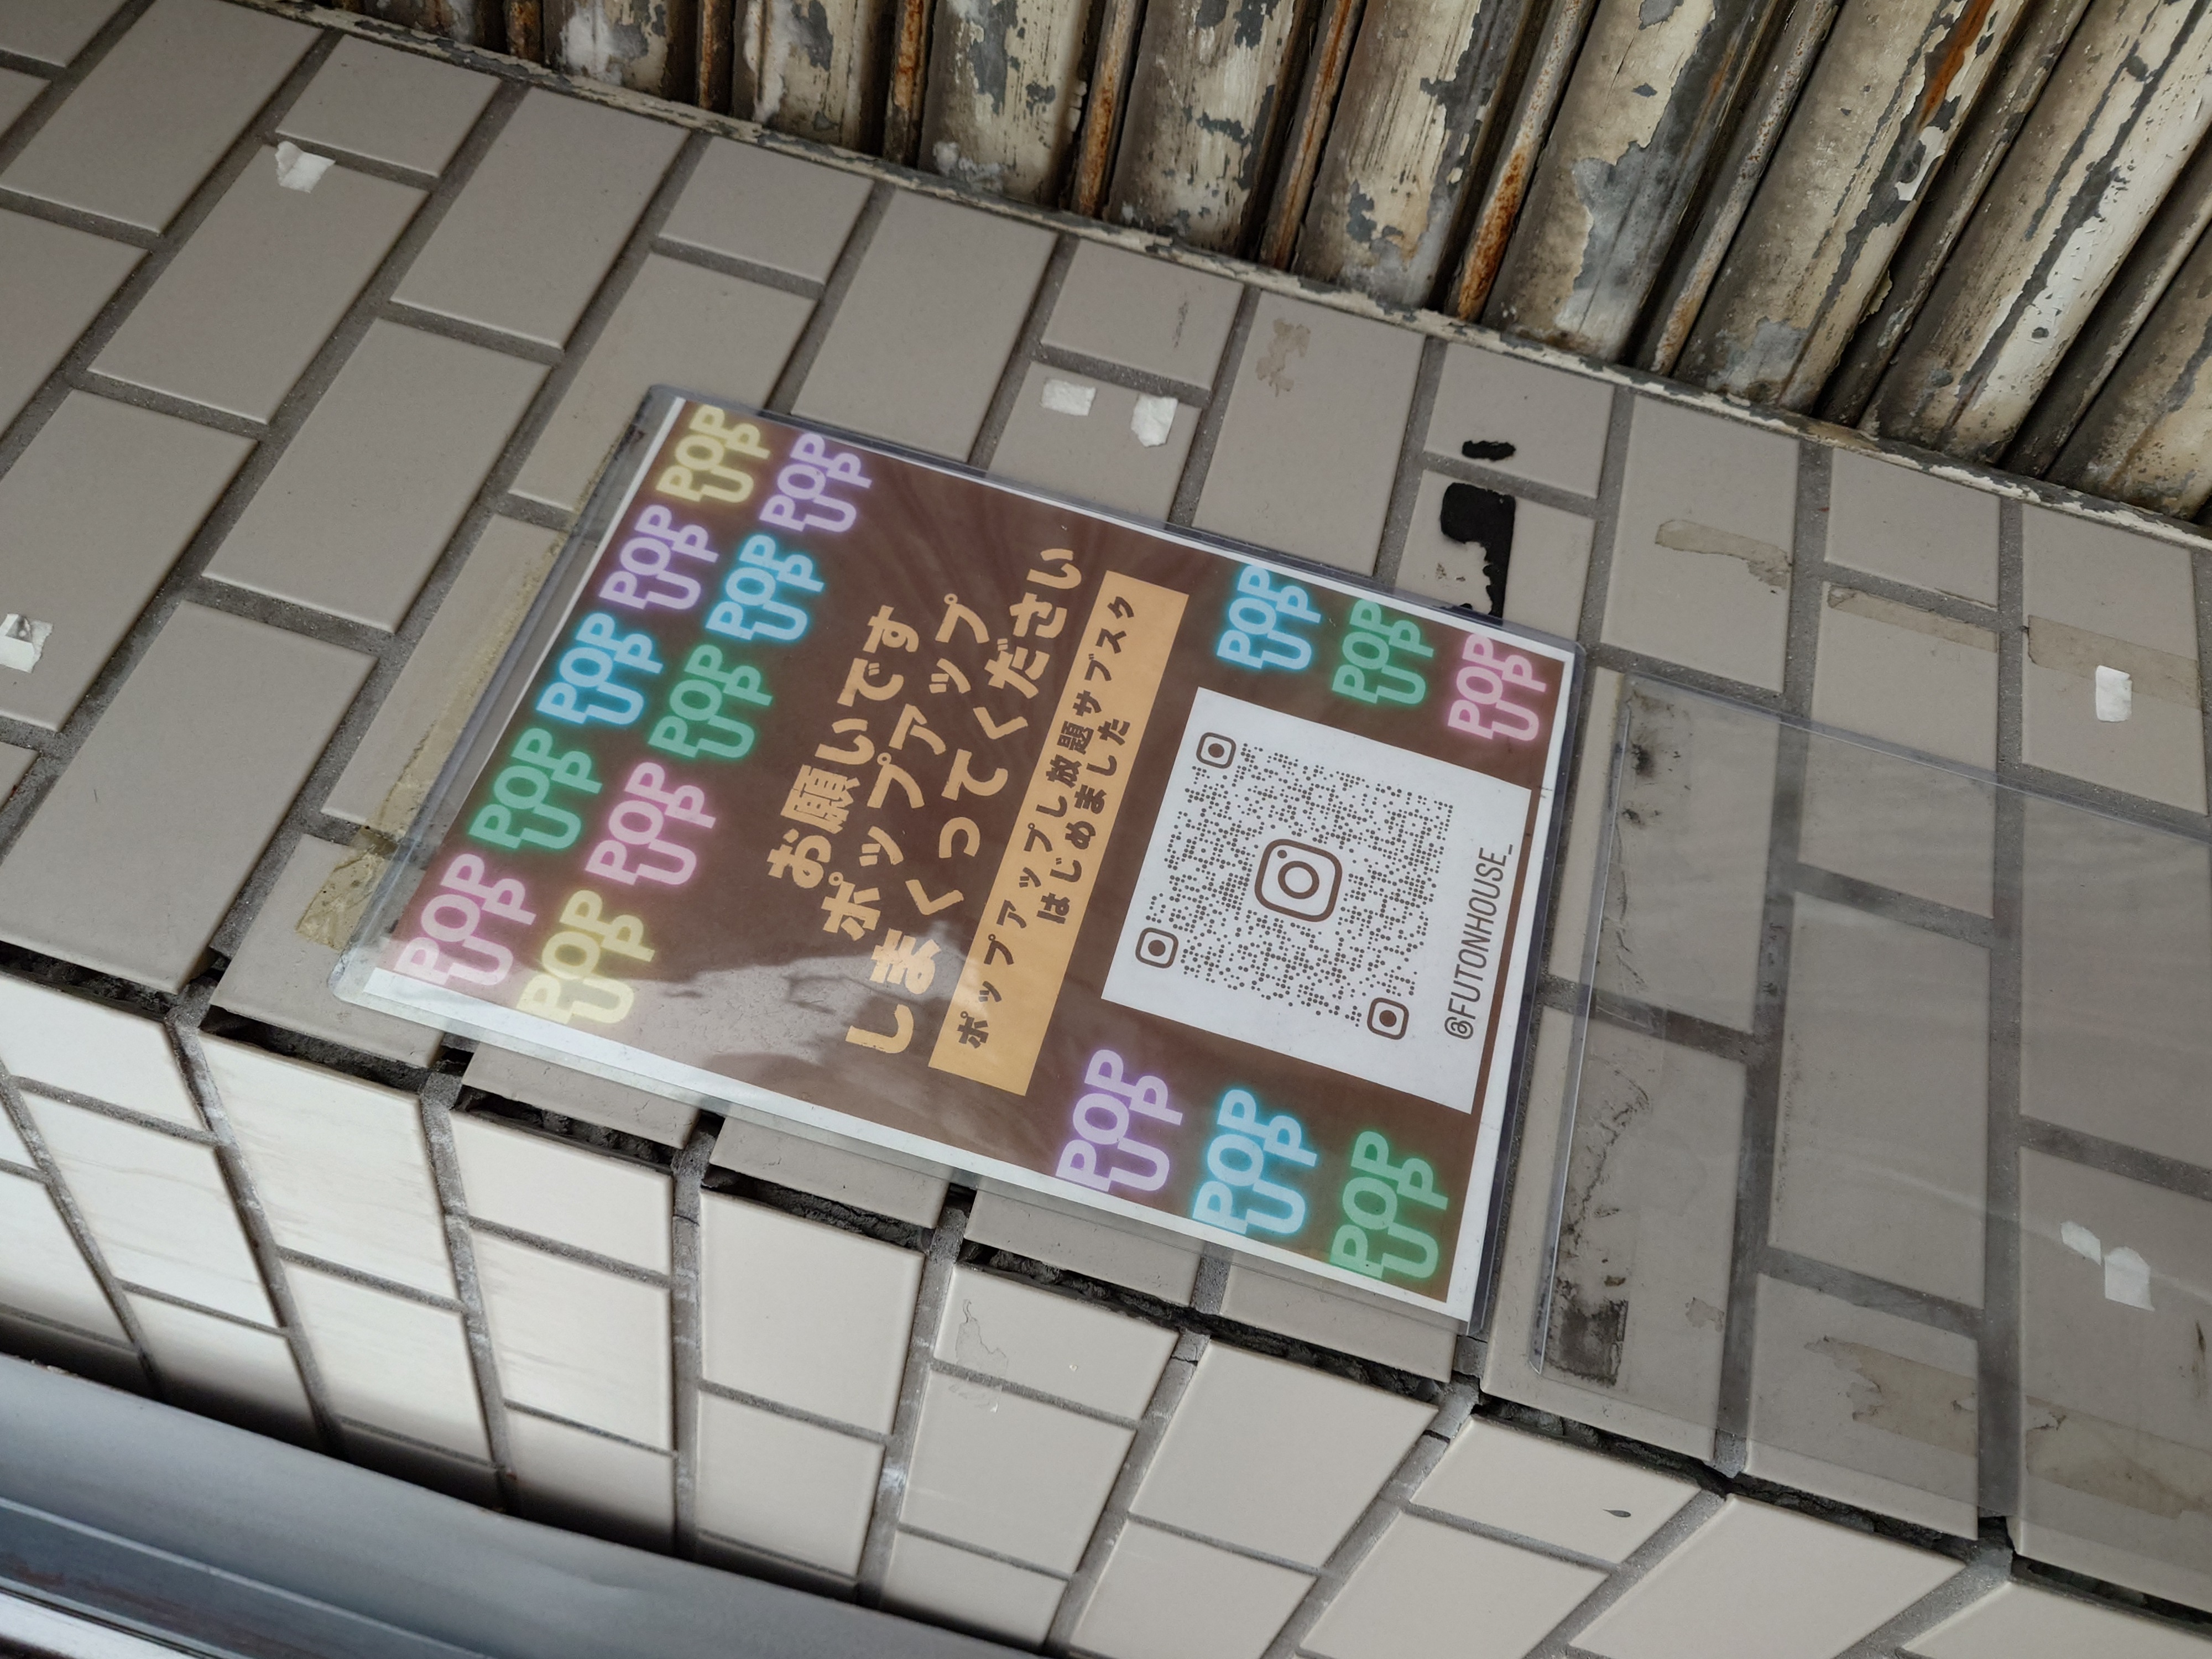
移動中にポップアップしまくってくださいというのを見かけたので、ここでポップアップしまくっておく。
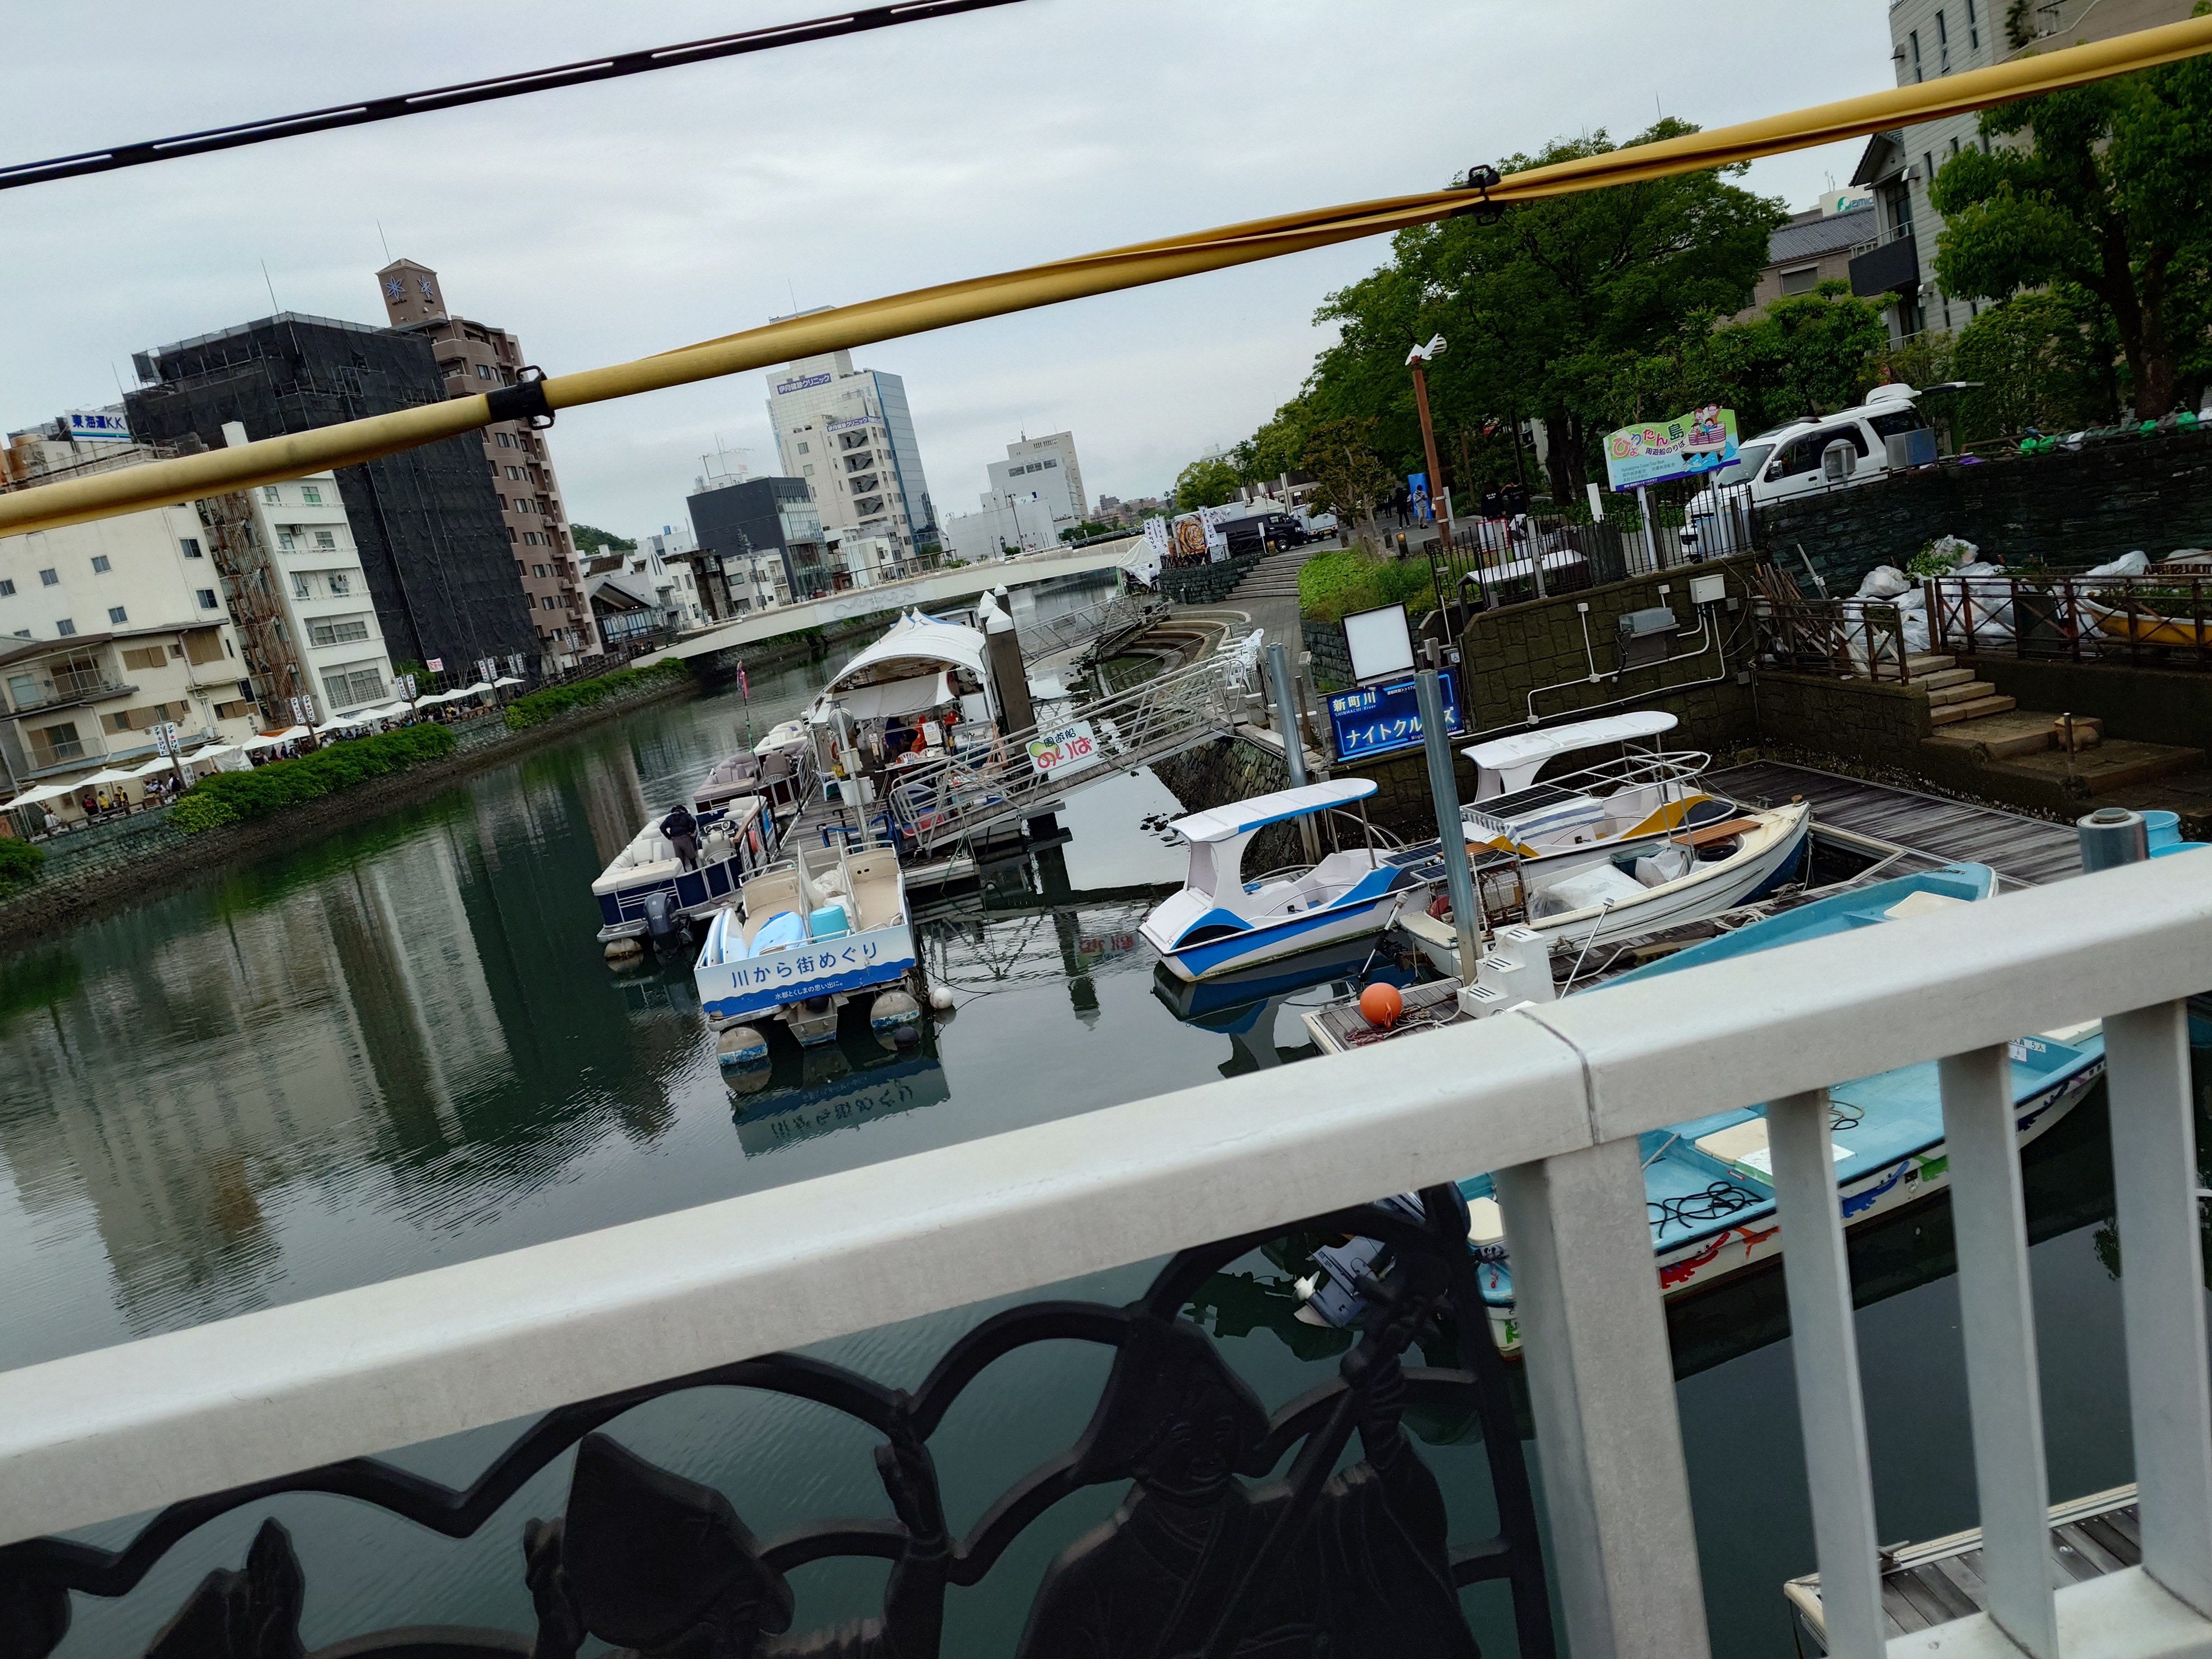
この川のクルーズもよさそうだ。
ボードウォークへ戻る
ボードウォークに戻ってきた。時刻は08:50、正直もう絶望的だが、何か列のようなものが見えるので一縷の望みを持ち向かうことにした。
まだ開幕前だったがステージではライブが行われており、演者は自由に動き回りながら歌っていた。
ボードウォークへ入ると出店もあり、イベントを告知する中々かわいいイラストが掲示されていた。流石アニメの祭典、マチアソビである。
なおチラシの中身を確認したのはこの記事を書いている段階で、この時は写真を撮っただけで中身を見ていなかった。それどころではなかったのだ。私は一刻も早くメイクアガールの整理券を手に入れないといけなかった。人の多さ的に在庫はあるはず、そう信じていた。
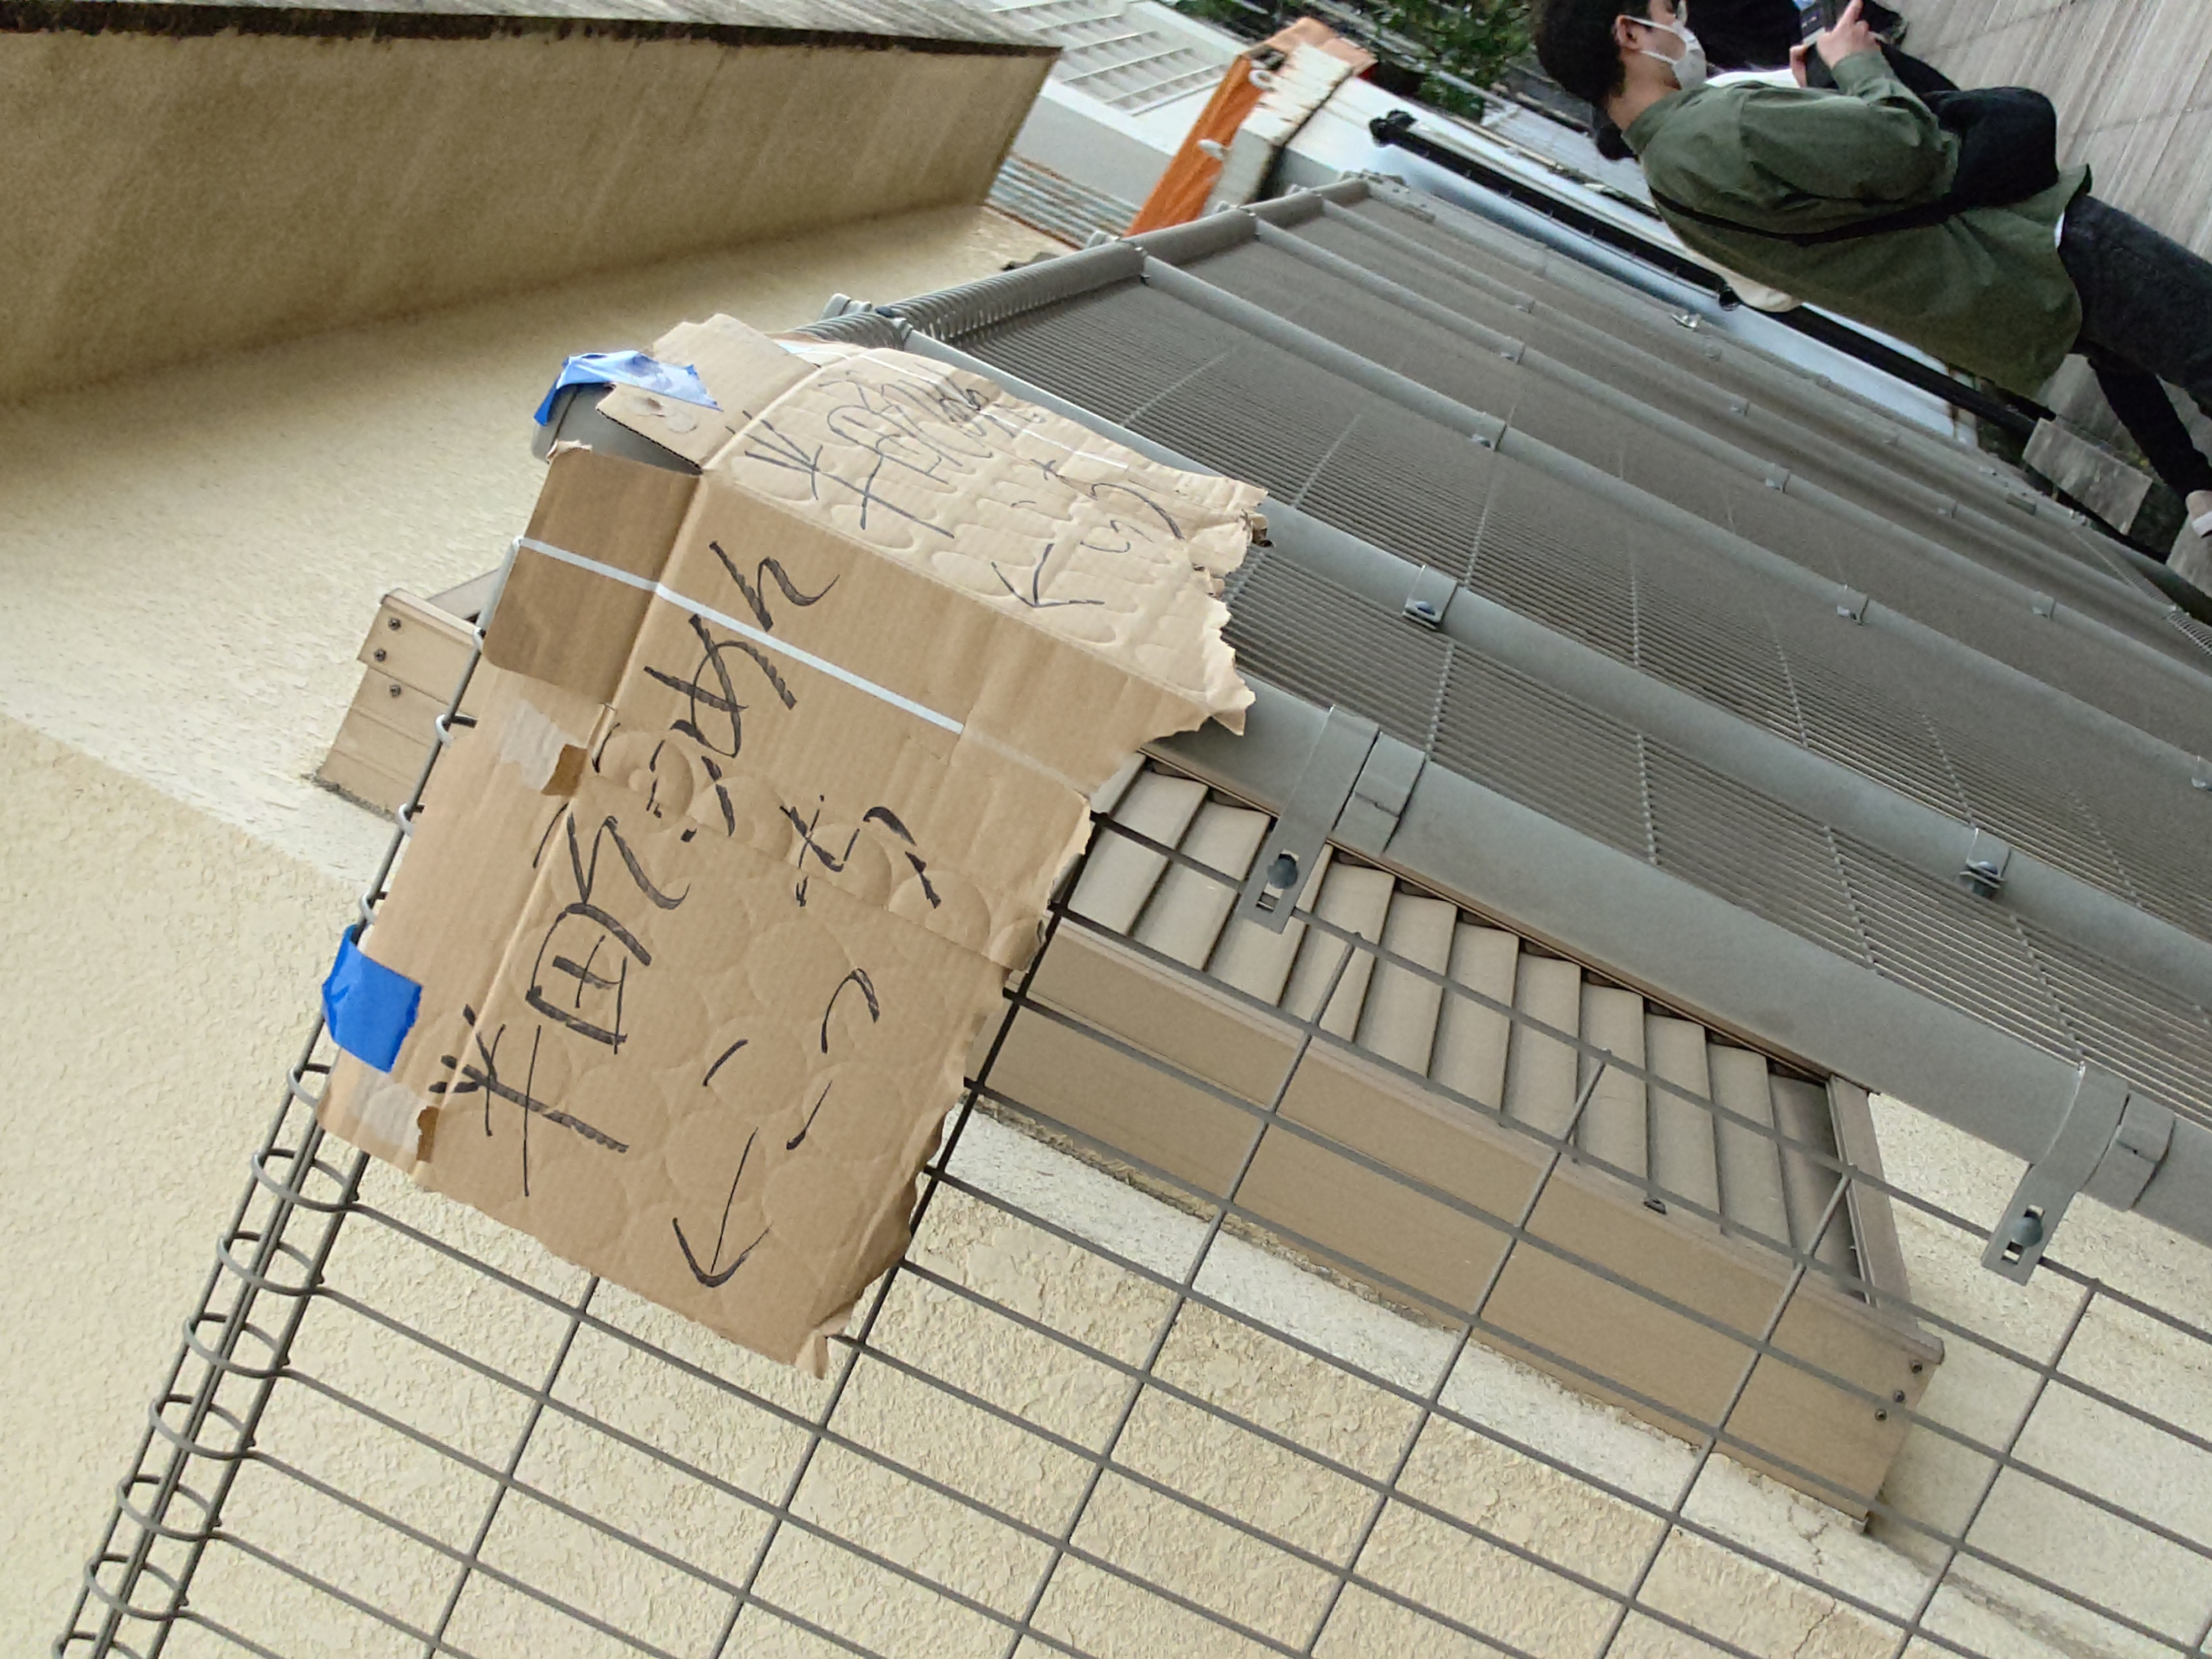
メイクアガールの整理券を探す
私はボードウォークを右往左往していた。どこにも配布していそうな場所がない。
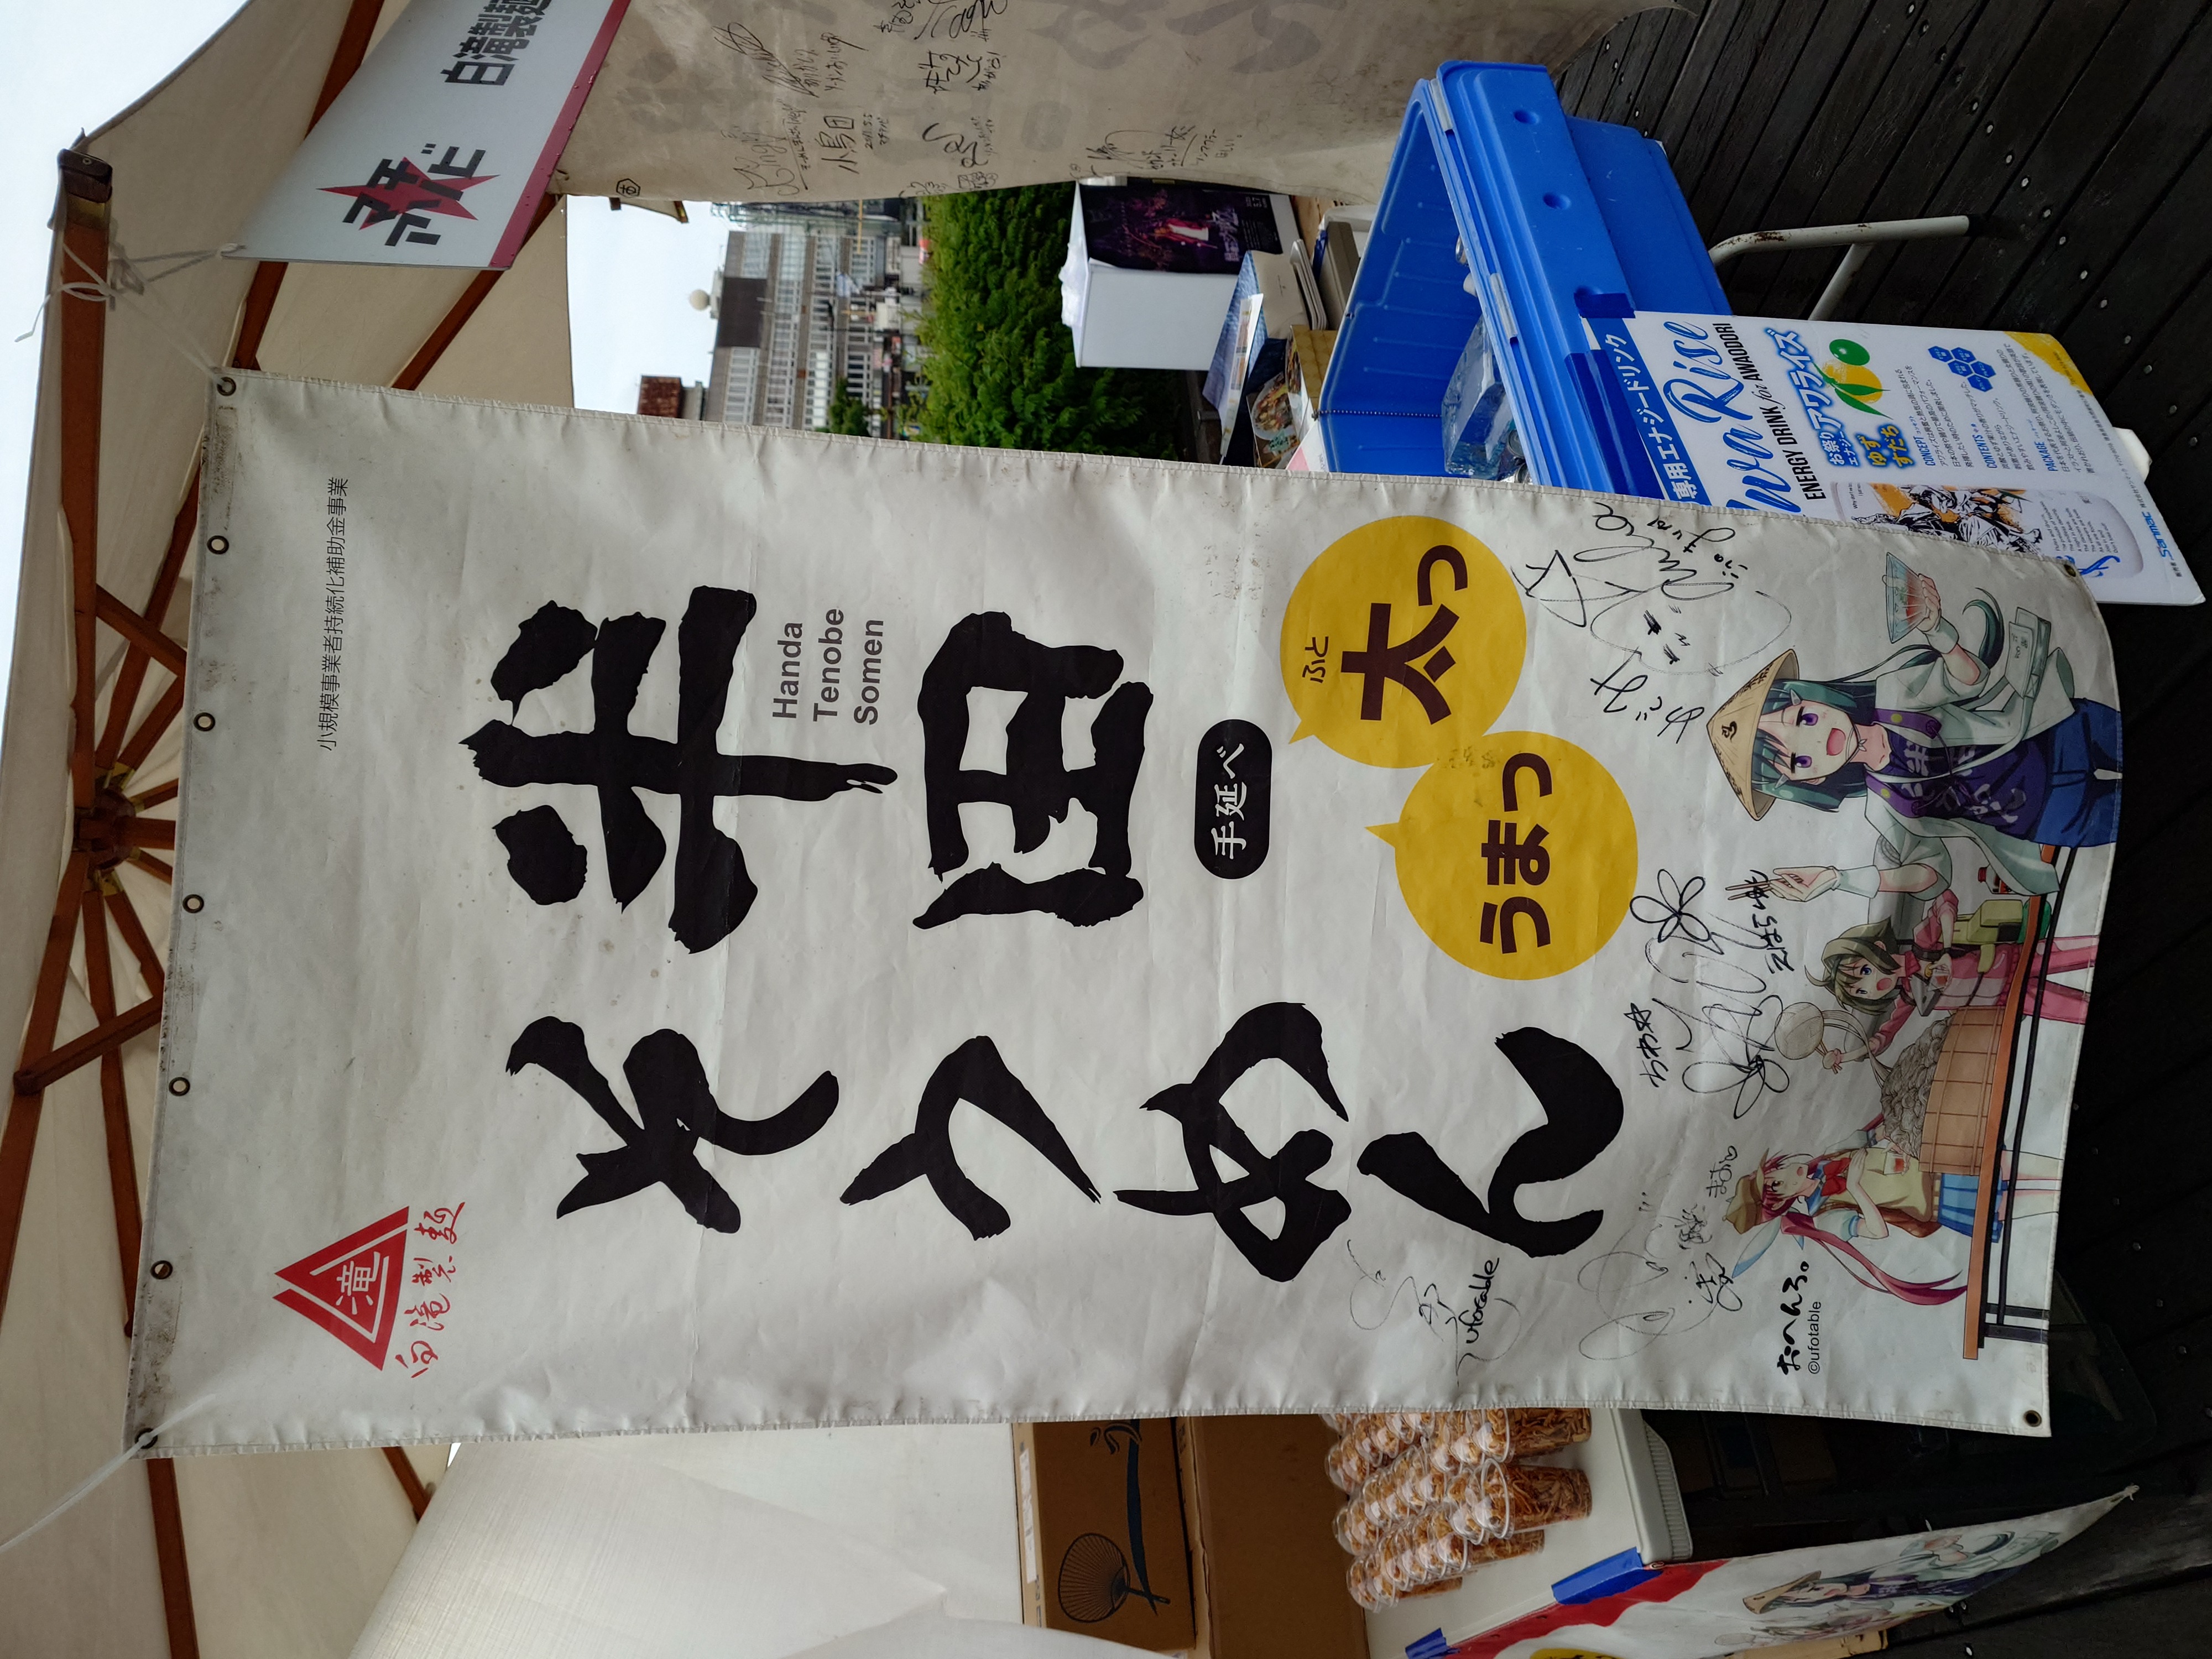
どうも遠めに見えていた行列は土産店で見かけた半田そうめんのものだった。この時はなぜそうめんに行列ができるのかを気にする余裕もなく写真だけ撮って去った。
右往左往しまくっているうちにボードウォークが二区画に分かれていることに気が付く。私は東区画をずっと右往左往していたのだが、西区画に行けば希望があるかもしれない。そう思い西区画へ向かった。
しかし西区画にも行列らしきものはない。西区画の一番端まで行くとXENOTOONと書かれた看板が置かれている机を見かけた。セッティングされているブースはこの画像のように看板がぶら下げられていることを知っていたので、XENOTOONの人はまだ来ていないのだと思った。
この段階で私は普段封印しているXを開き、整理券情報を調べまくった。するとXに上がっている最後の整理券Noは18だったため、絶対に残っているという確信があった。私はボードウォークを4往復ほどしたが、やはり配布は確認できなかった。
恐らくもう配布が終わっているのだろう。そう考えた私は運営本部へ向かい整理券の配布状況を確認することにした。
運営本部によると整理券配布はもう終わっていて、入手は望めないだろうことを告げられたが、可能性はゼロではないと思うので企業側のブースで問い合わせてほしいと案内を受けた。私は本部に来る前にXENOTOONのブースに人がいるのを見たため、向かうことにした。
この時の時刻は09:10を回ったところで、時間的には希望も何もない状態だった。しかし私は一縷の望みに掛けることとした。
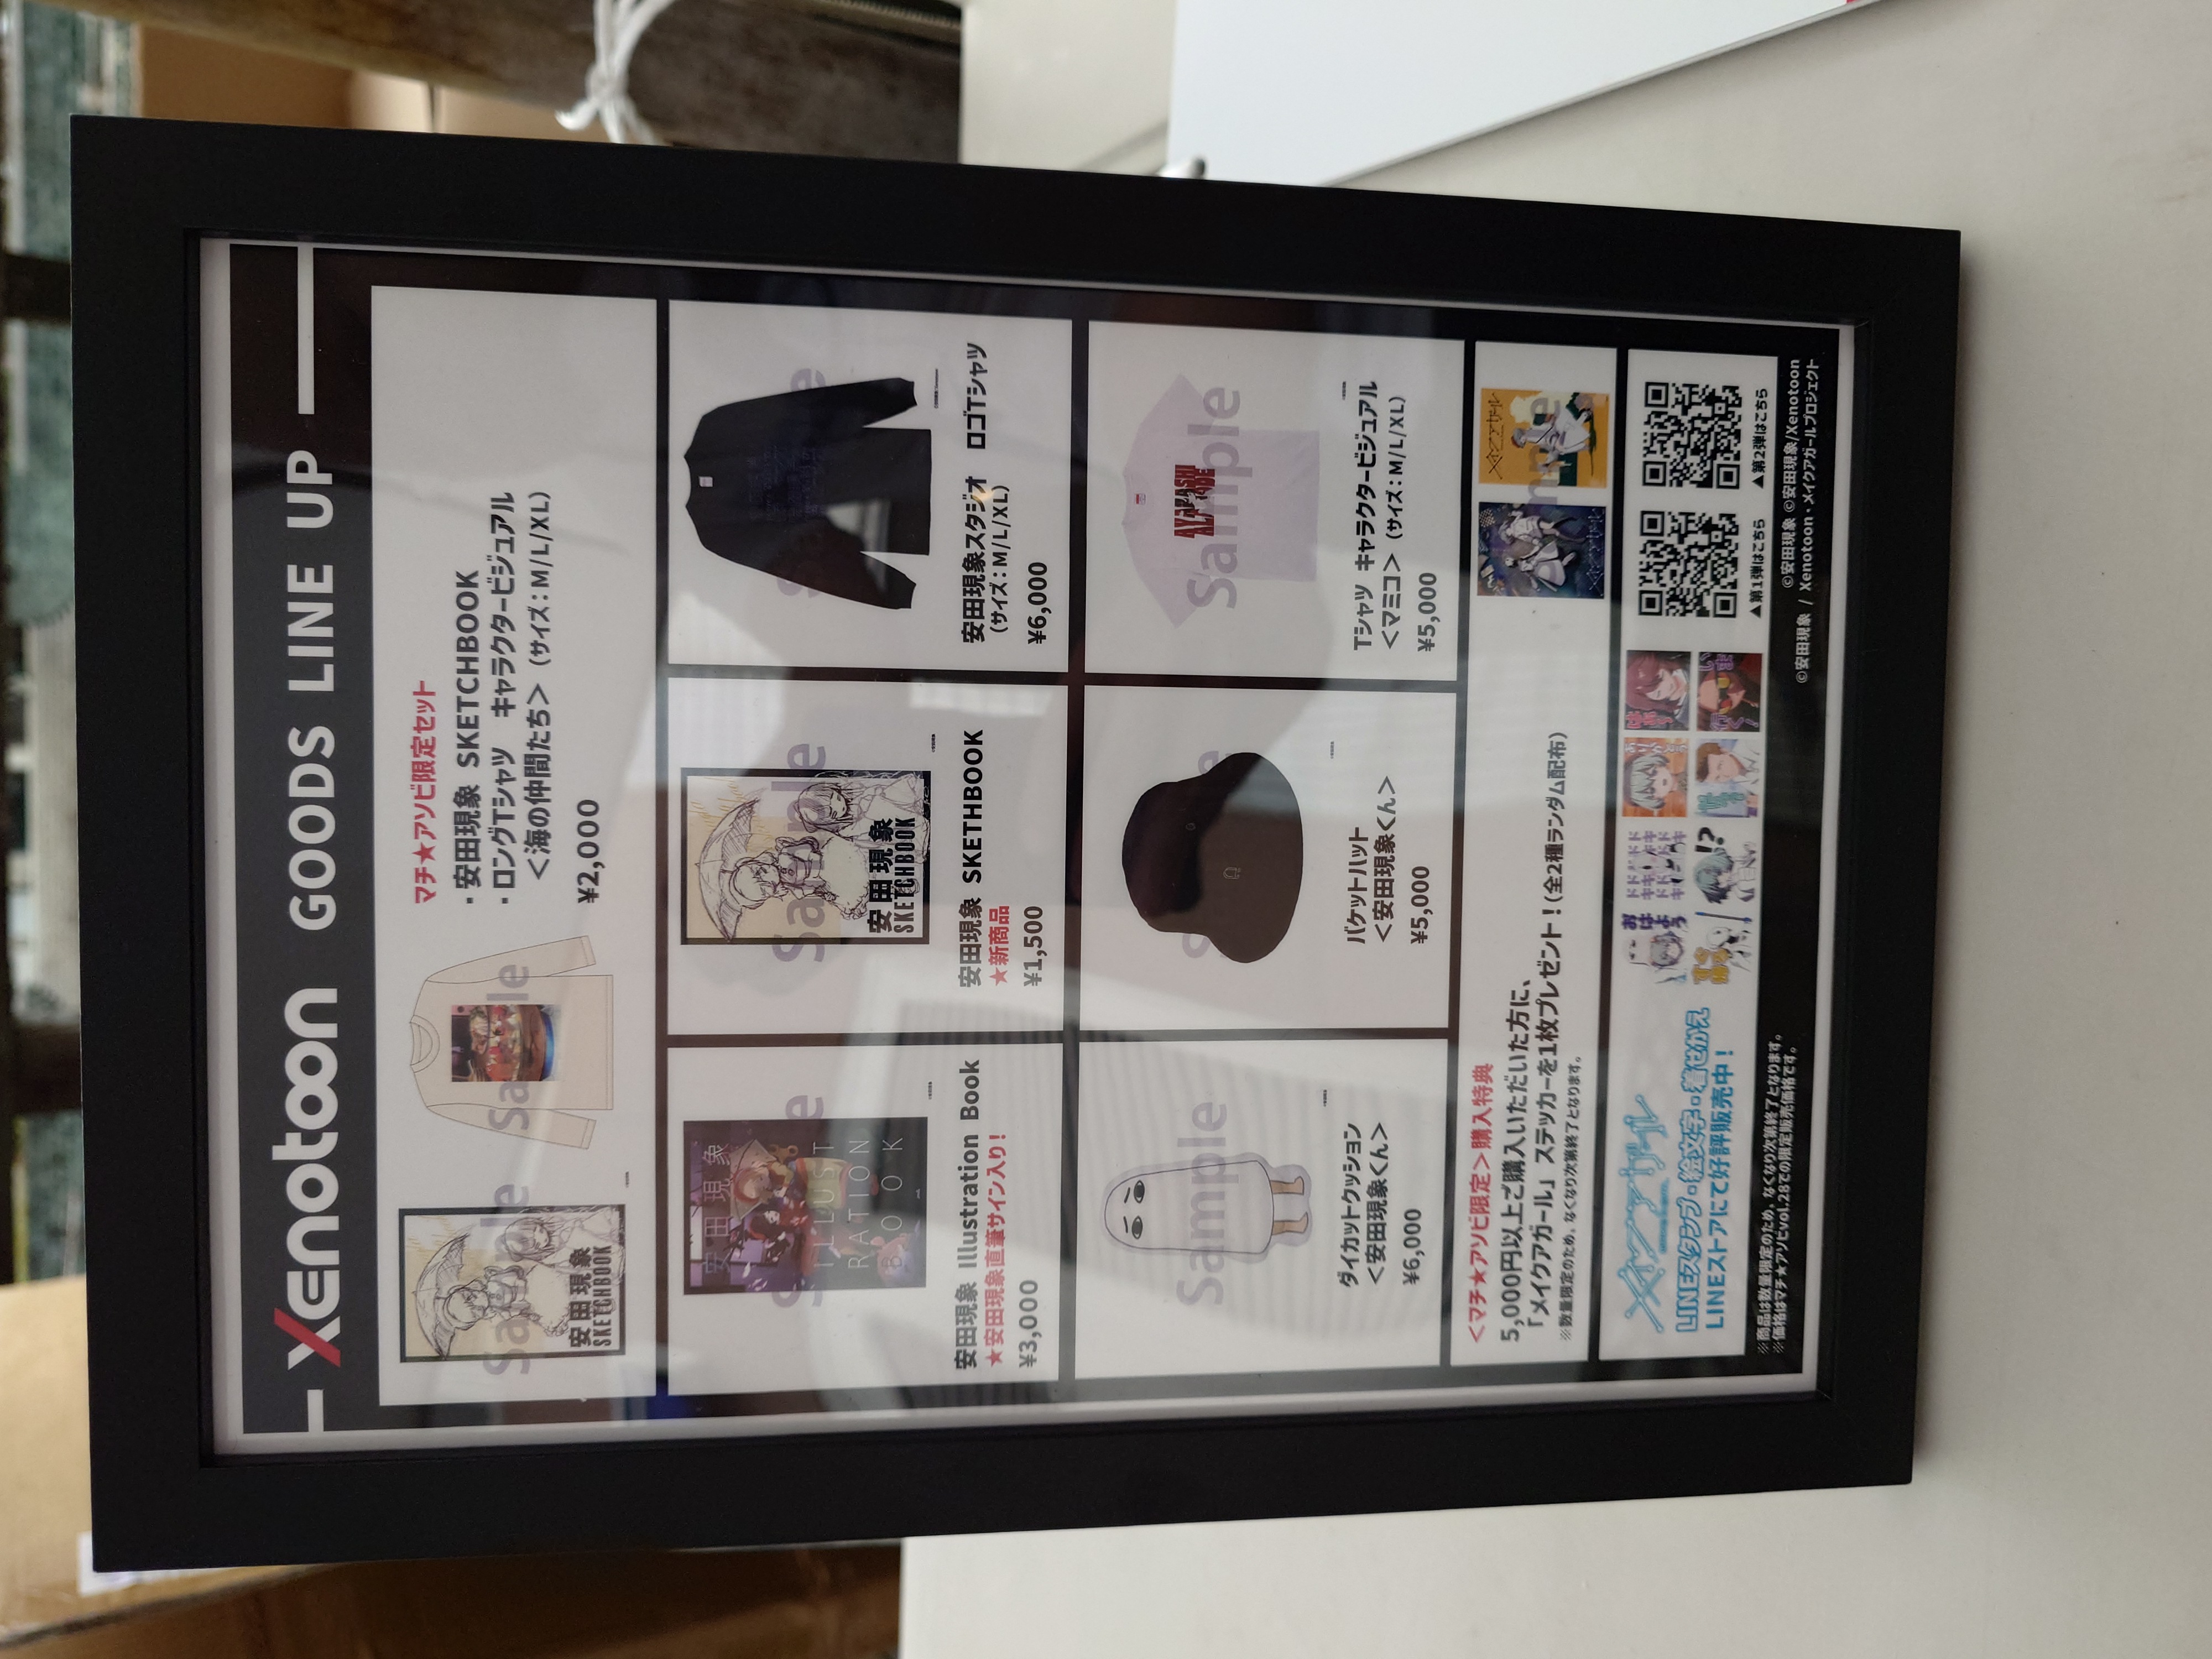

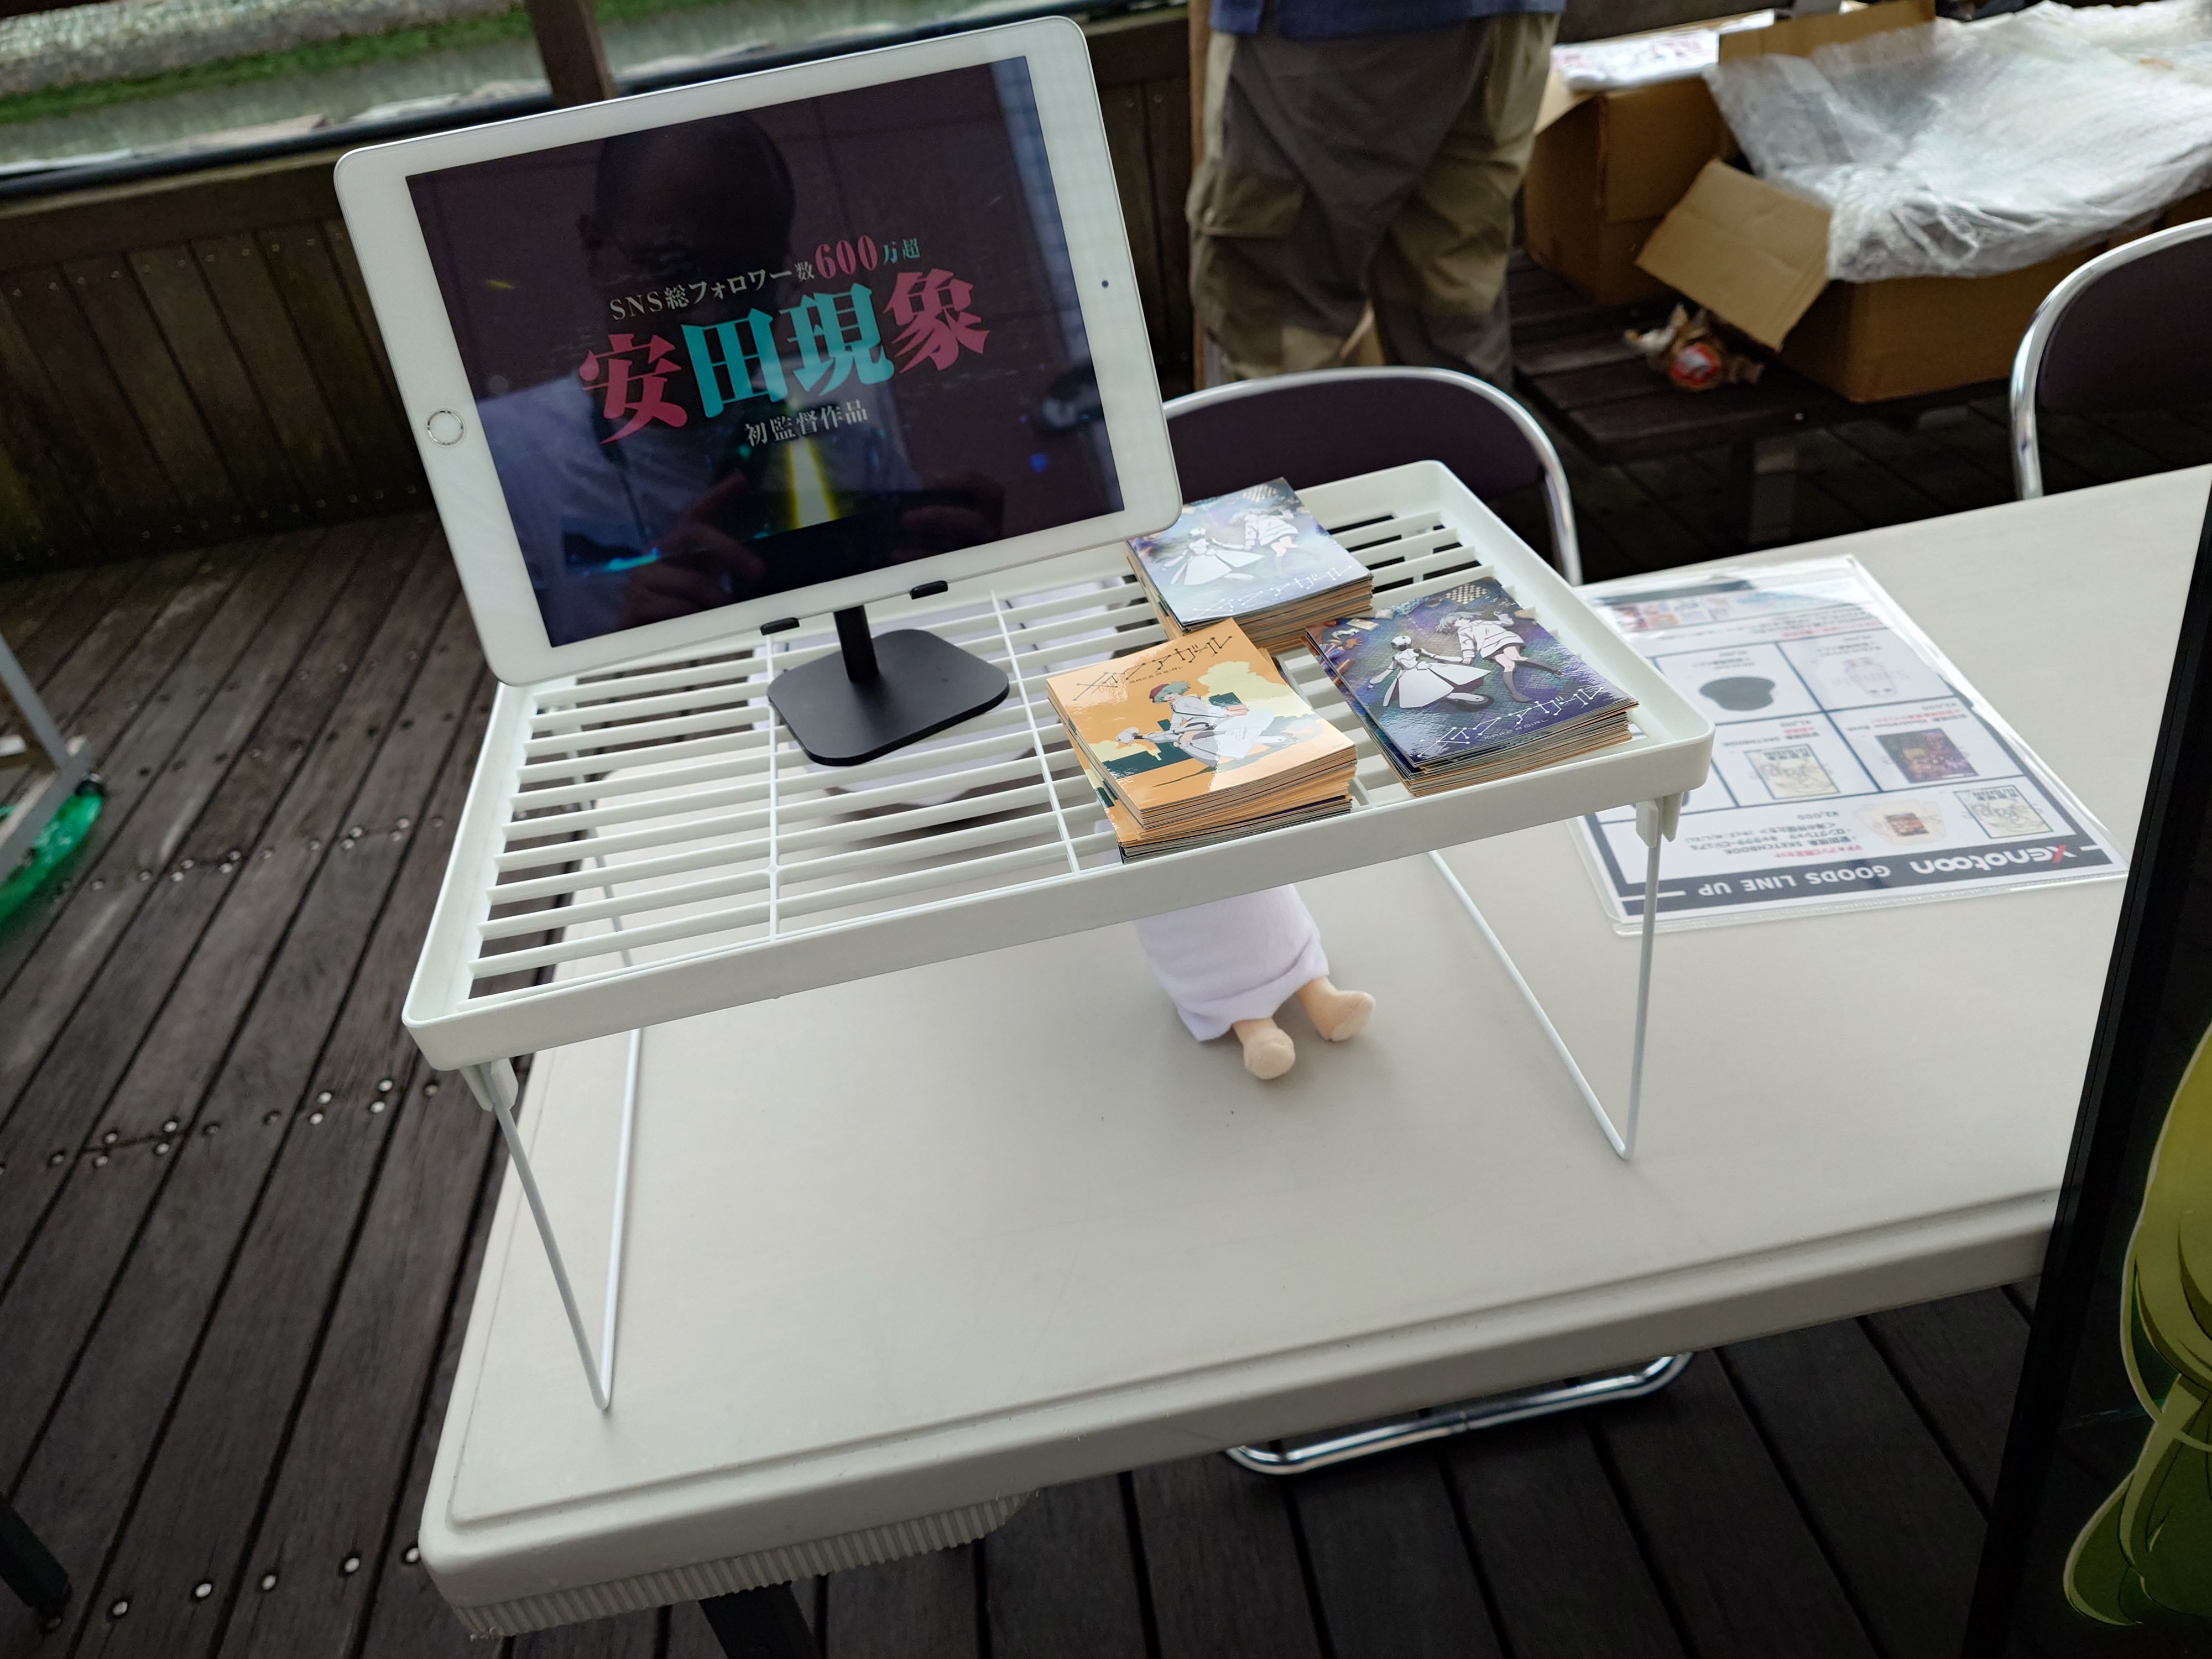
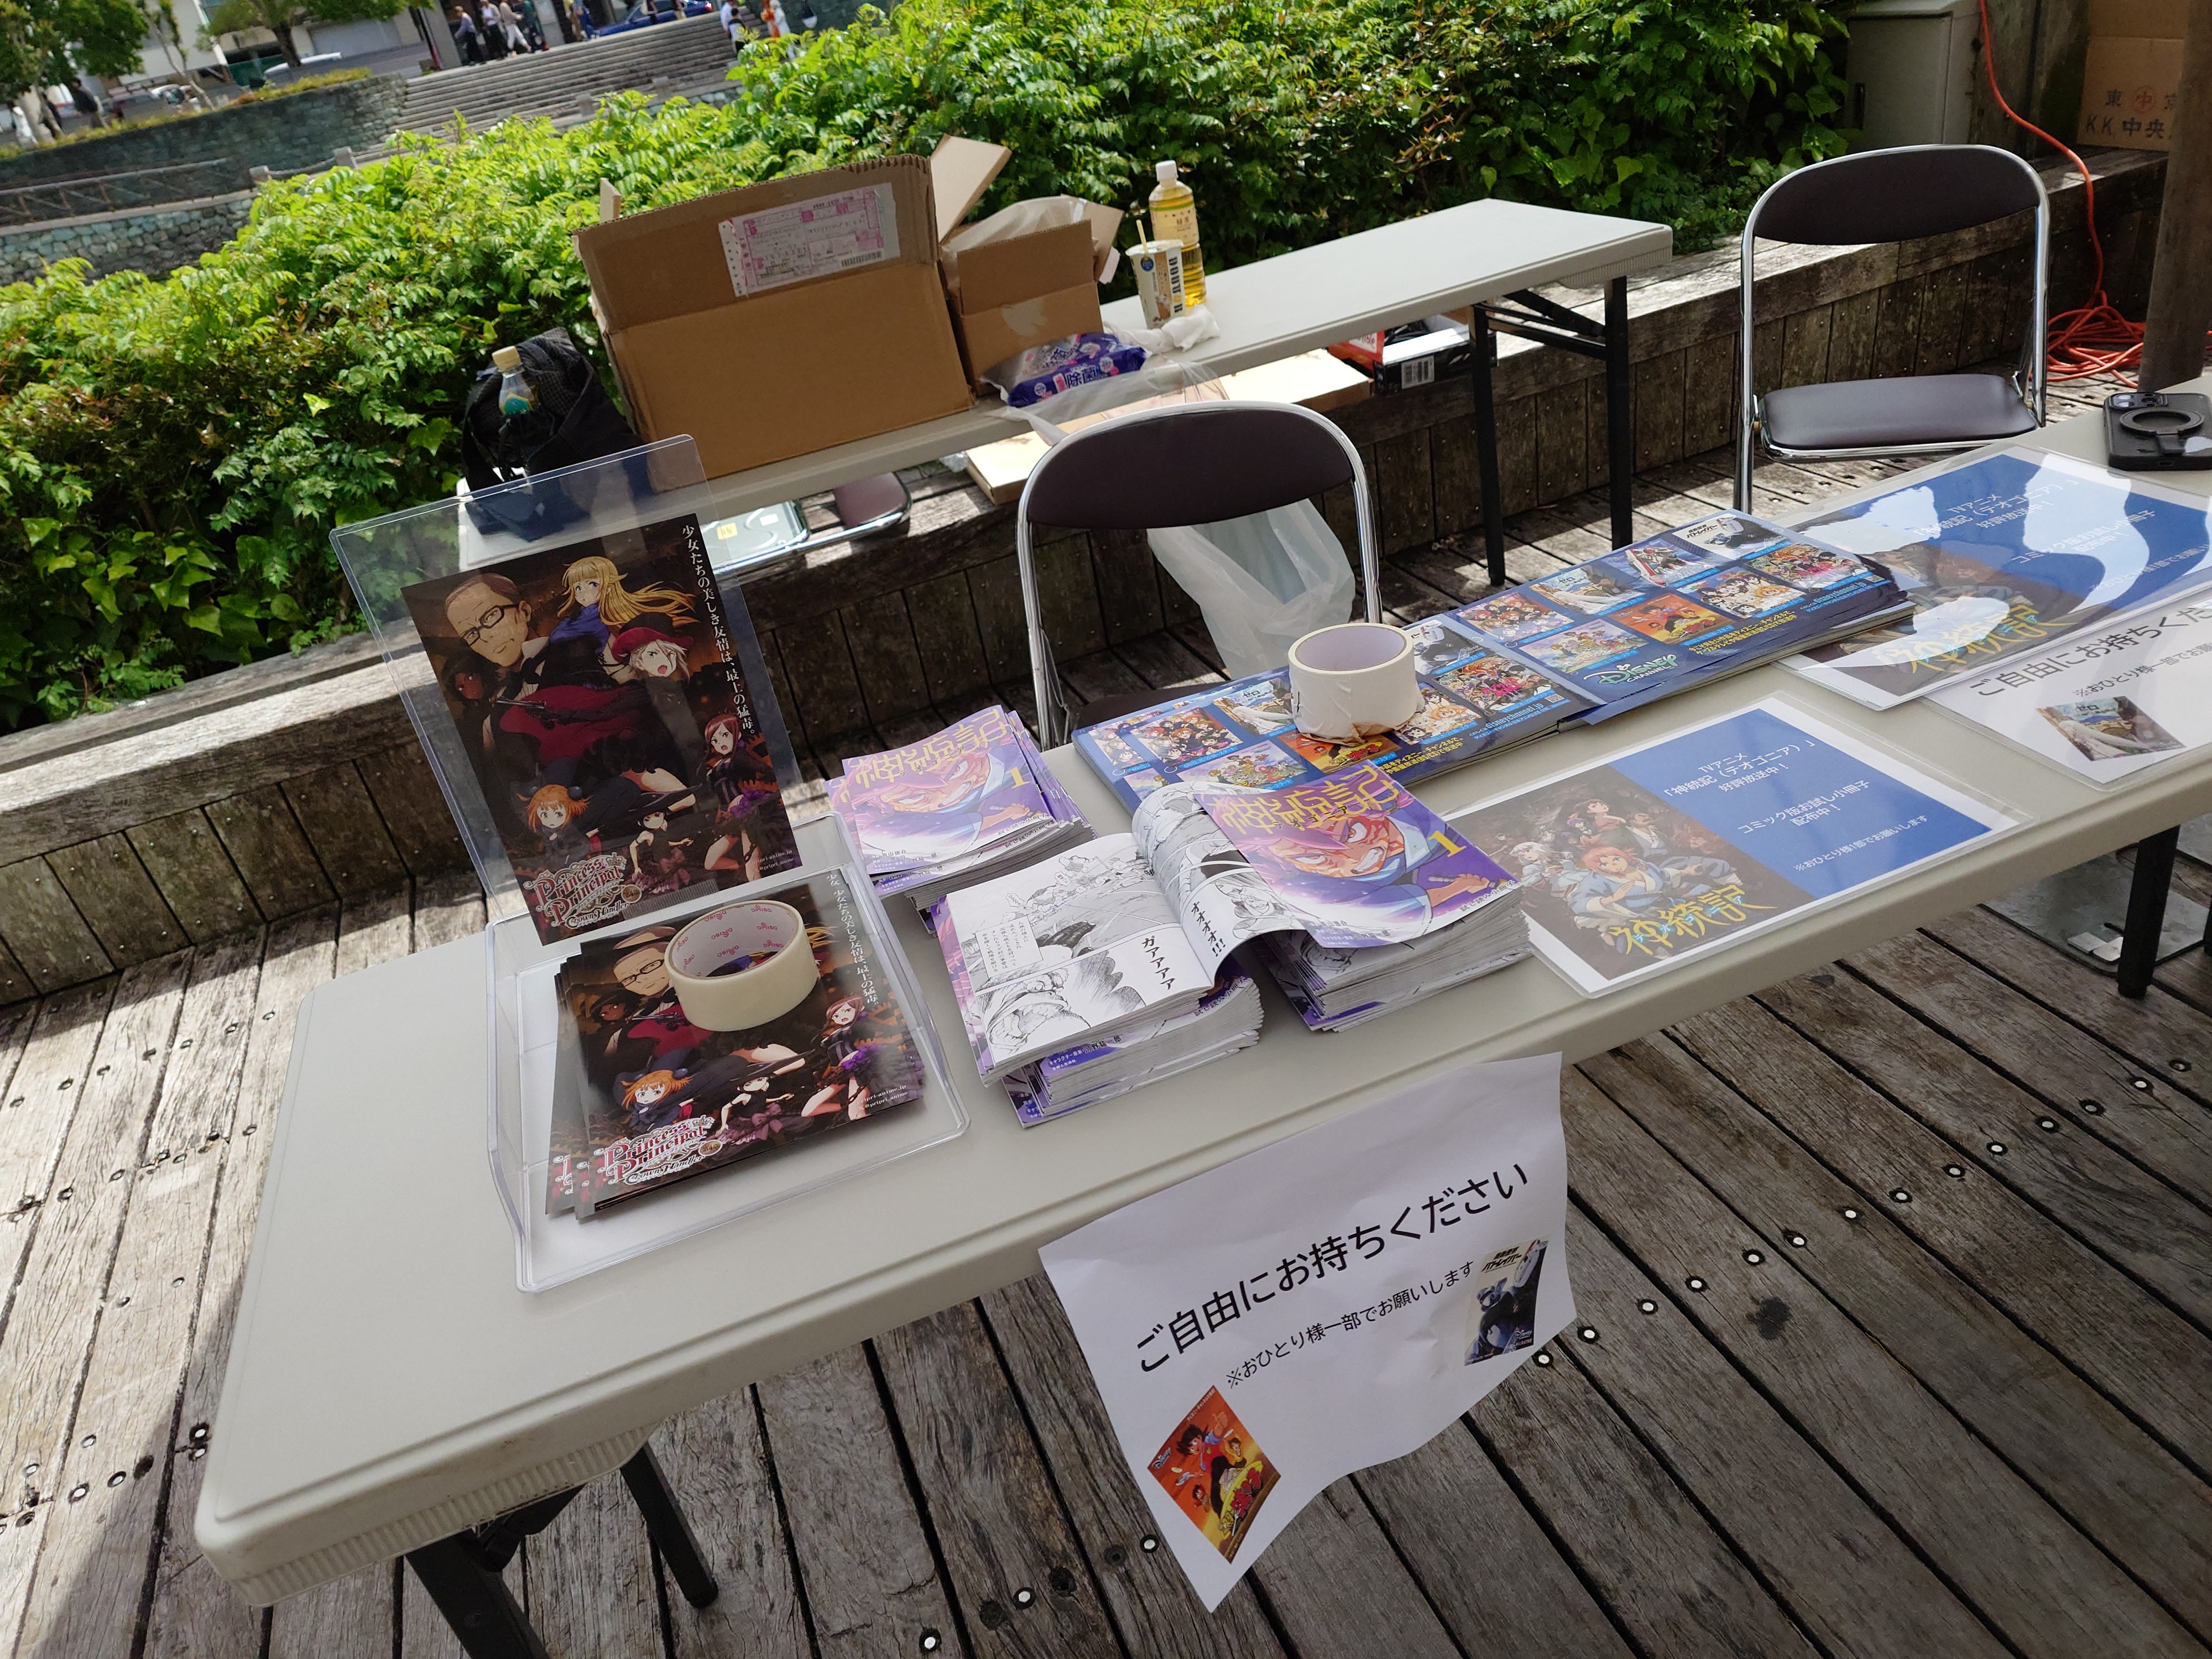
XENOTOONのブースではメイクアガールを中心とした販促品の準備が進んでいた。
私は思い切って整理券のことを聞いてみるものの流石に把握はされていなかったようで、色々確認してもらった結果、まだ余りがあり再配布が可能という情報を得た。
そして結果として再配布のアナウンスが行われた。
メイクアガール鑑賞整理券の入手
私は無事整理券?を手に入れることができた。果たしてこれがufotable CINEMAで通じるのかという一抹の不安はあったものの、何かしら連携はとっているだろうから大丈夫だろうと信じることにした。もちろん無事この後トラブルが起きるのだが、諦めずに粘ったかいがあったというものだ。往生際の悪さは大切だ。
開会式へ
時刻は10:00を回っていたので、急いで開会式へ向かった。メイクアガールを鑑賞できることが決まったのだから、もうあとは野となれ山となれだ。
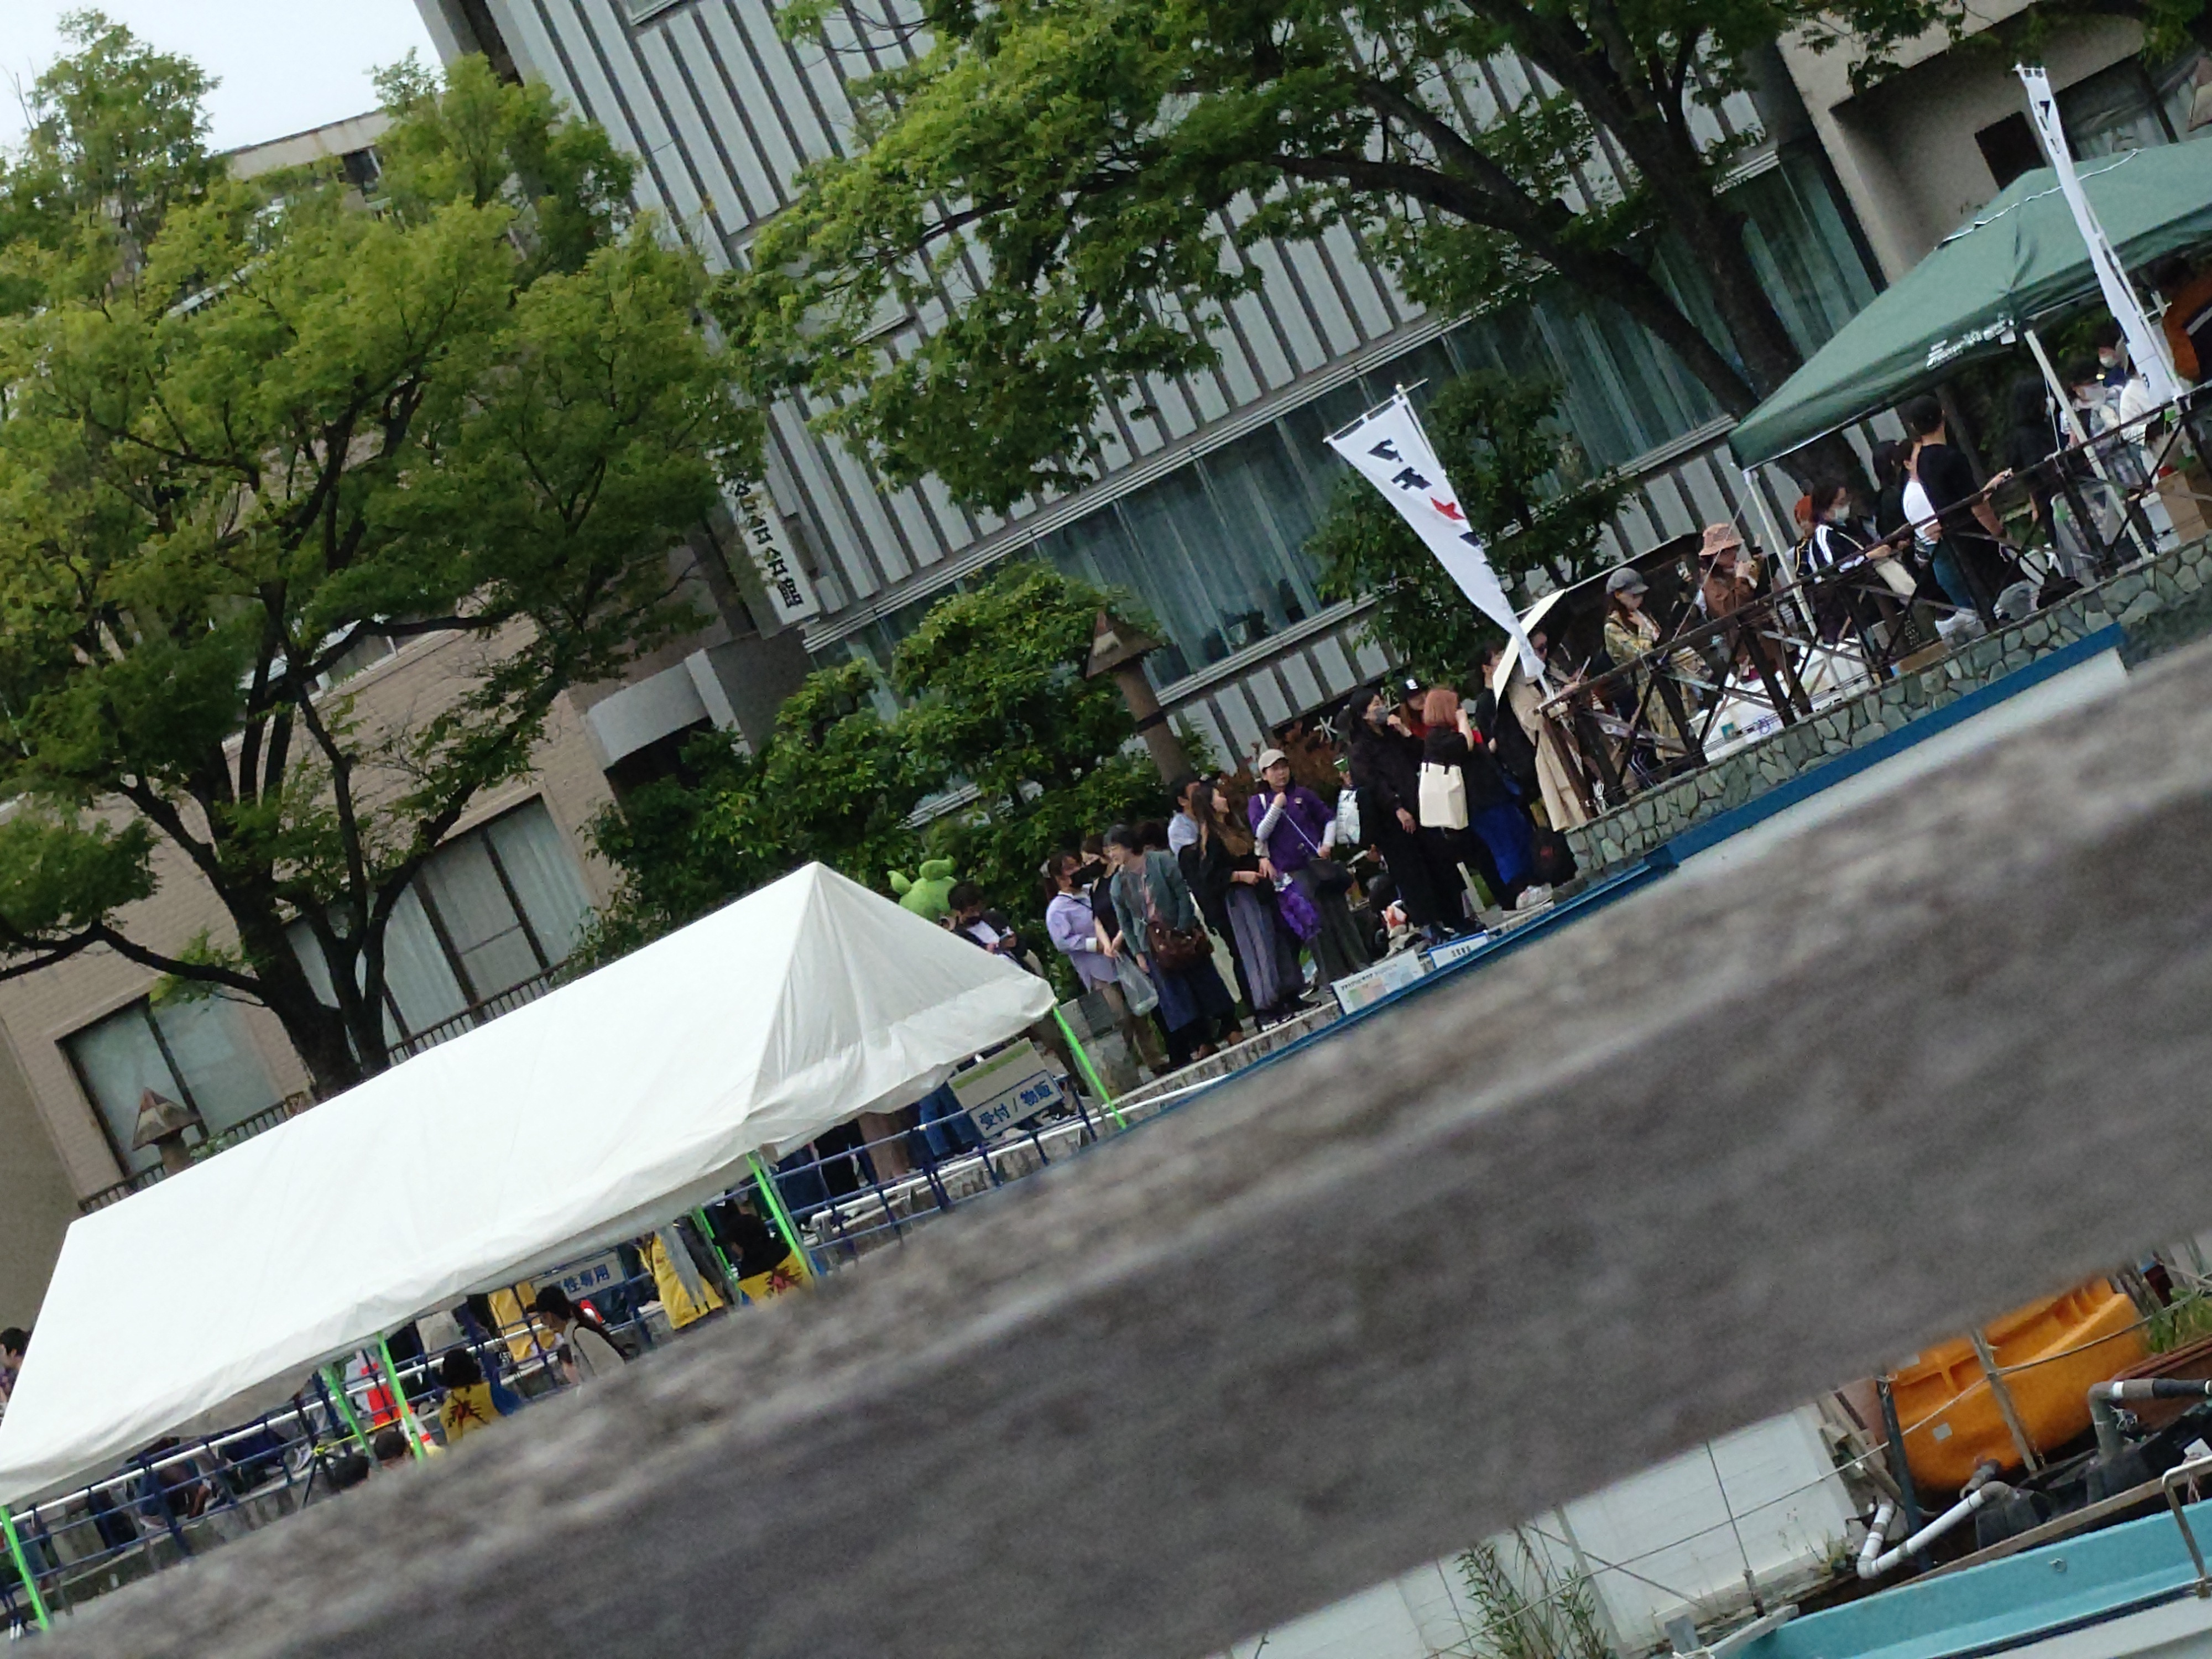
開会式会場の奥のほうには多くの人が見えた。
開会式は撮影禁止だったため写真はないが、漫才に近い掛け合いがされていて賑わいのあるものだった。中でも名物芸人になっている人が自分のジョークグッズを勝手に作られていることを話しているのが面白かった。
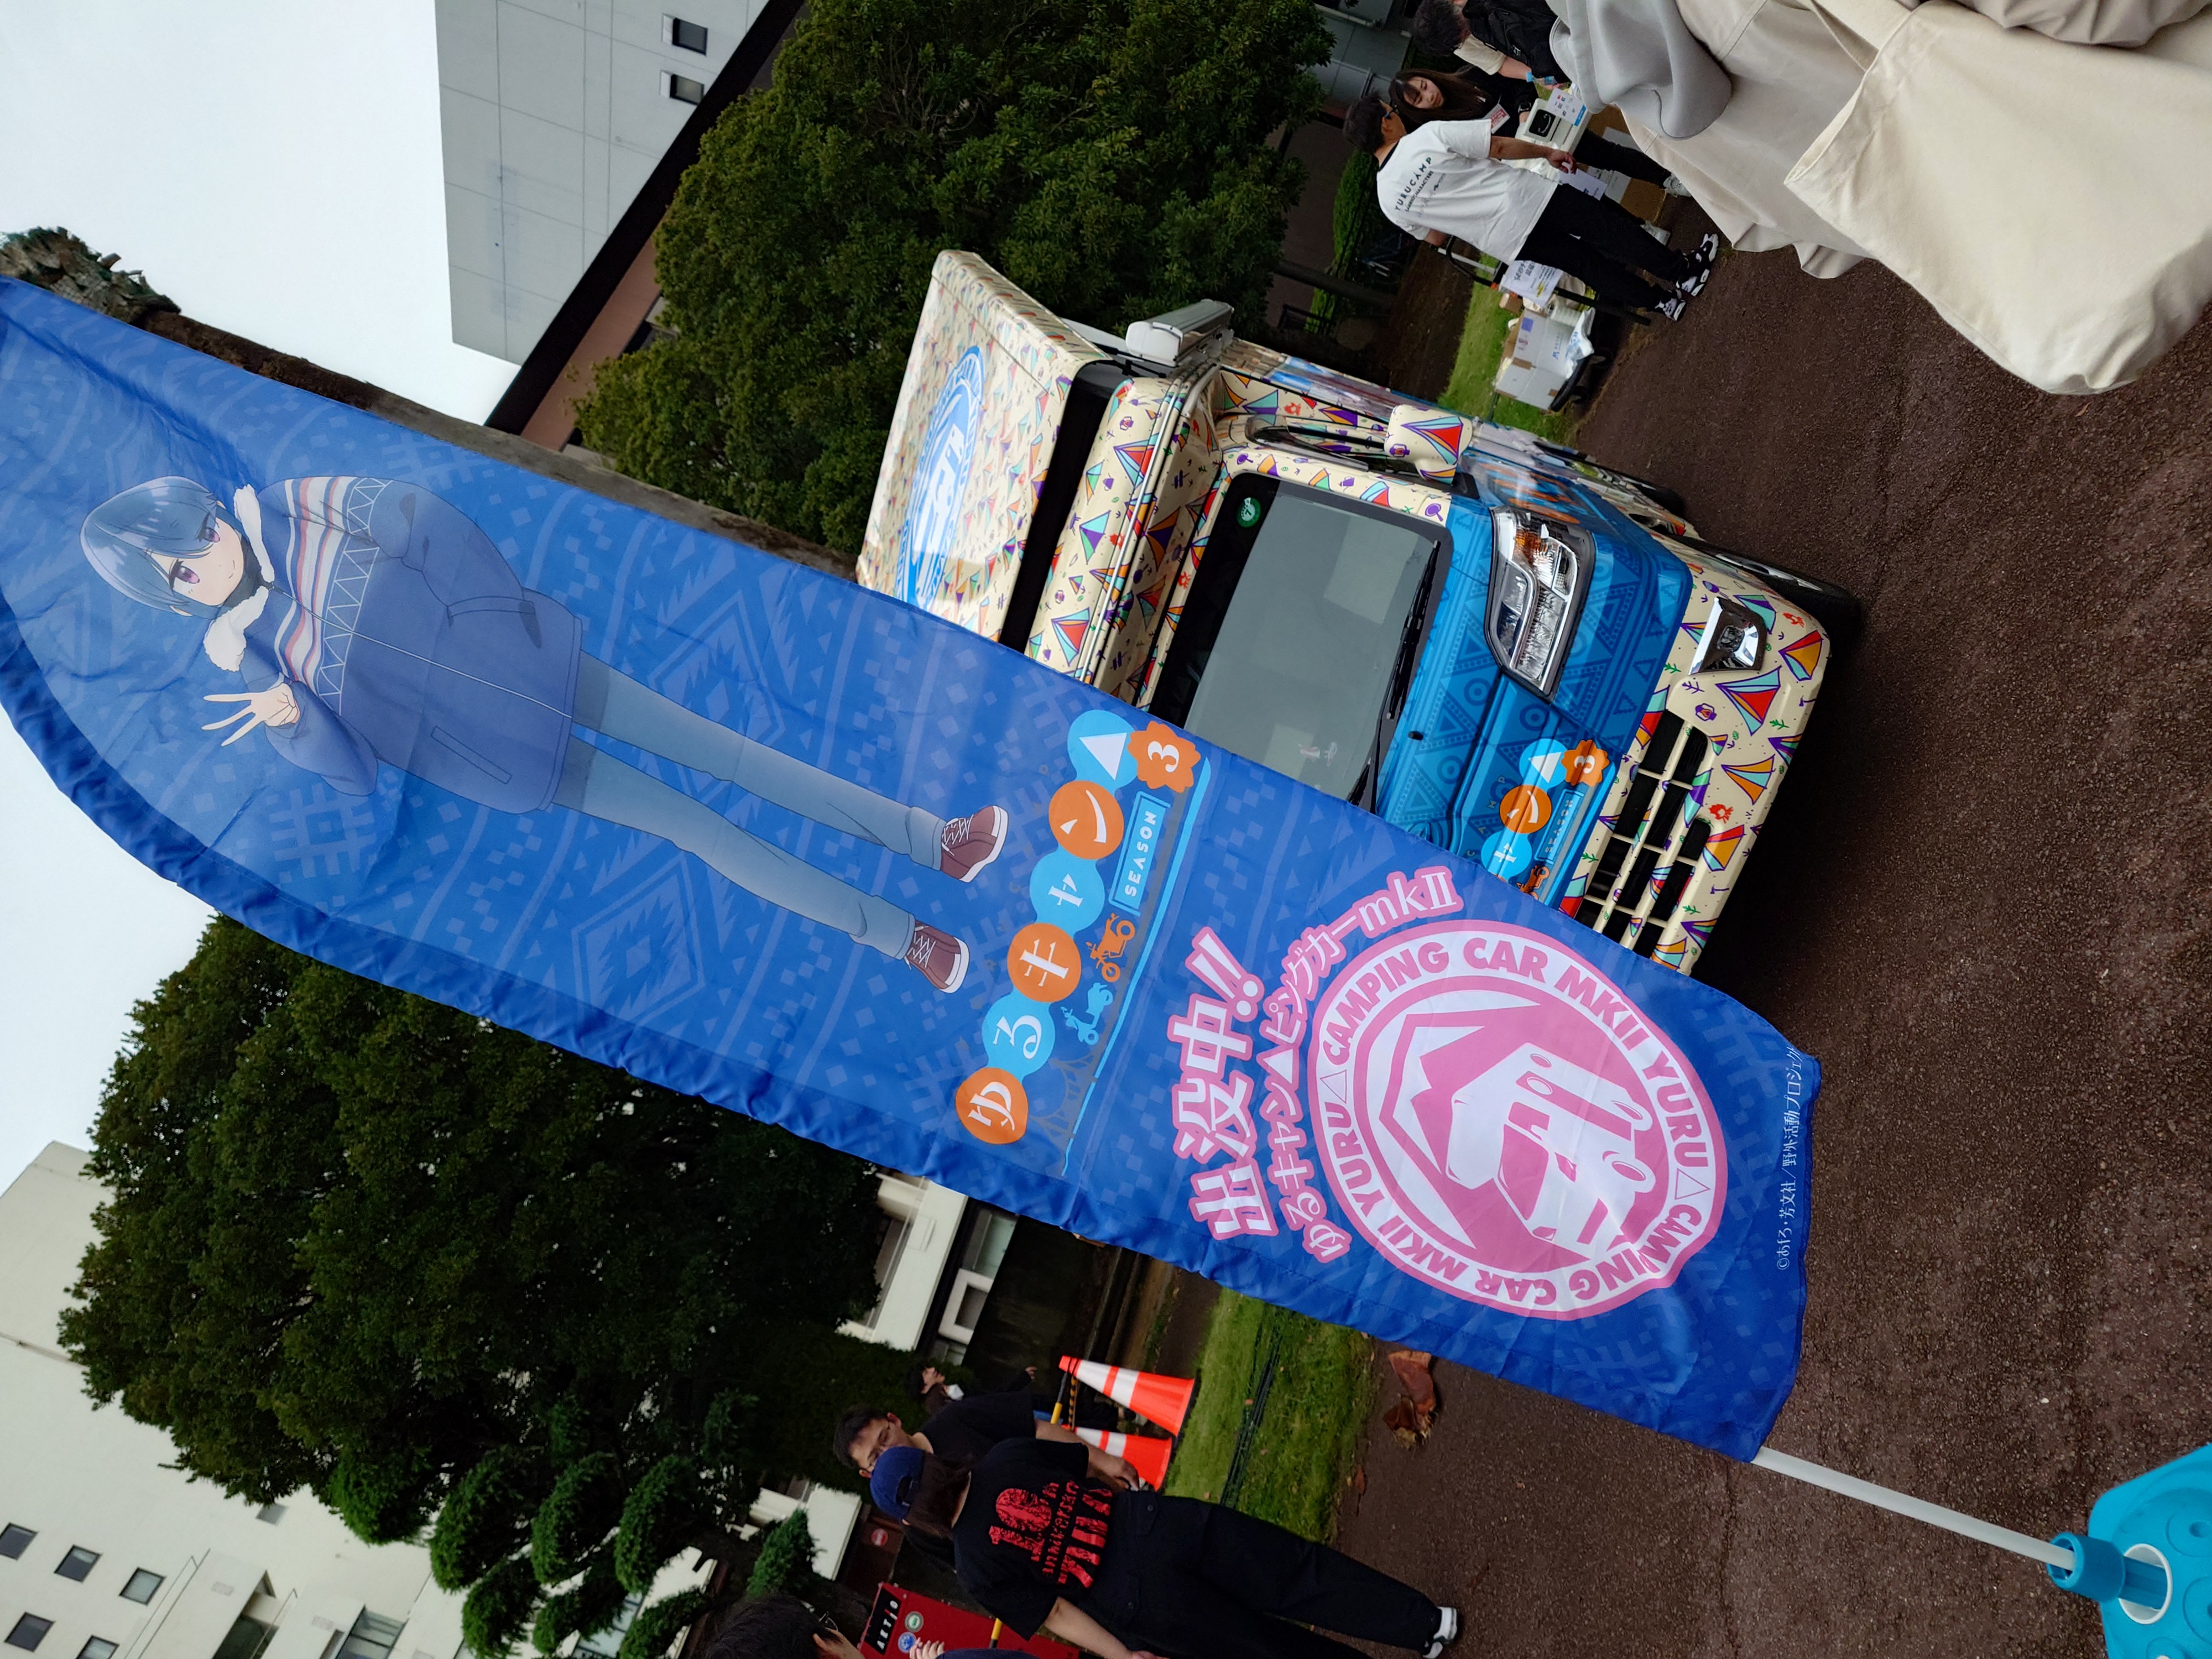
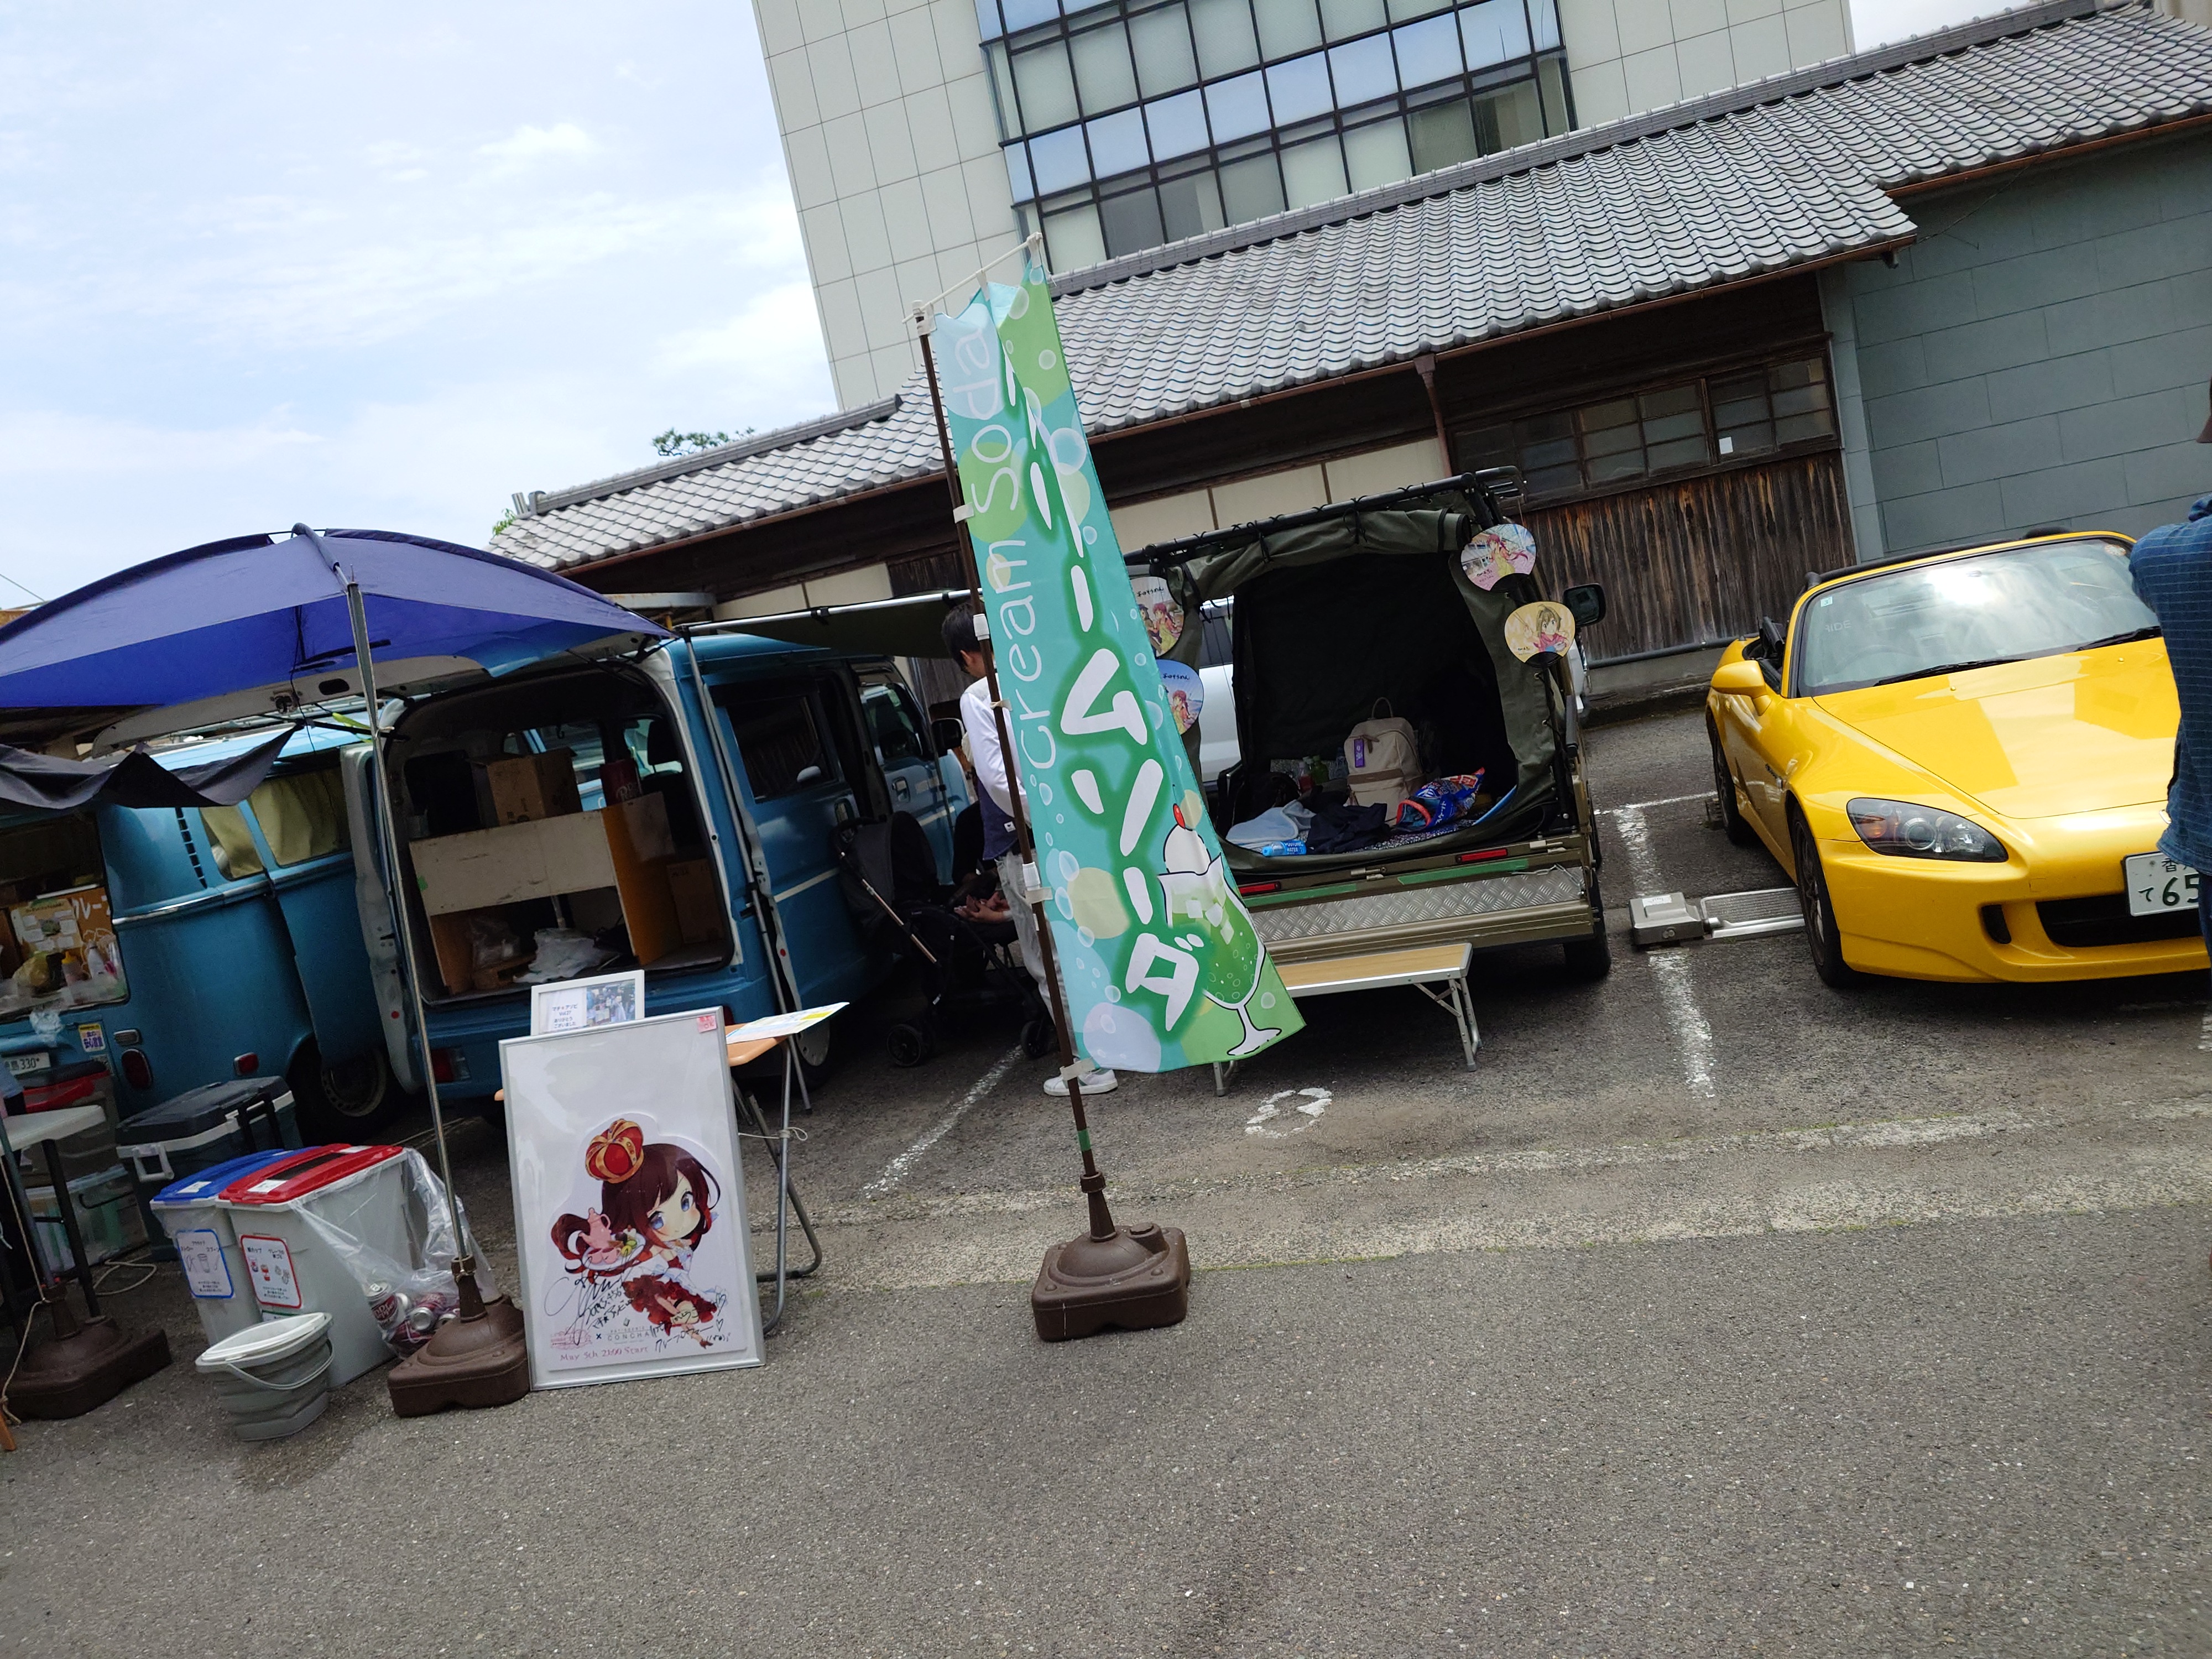
ゆるキャンカー

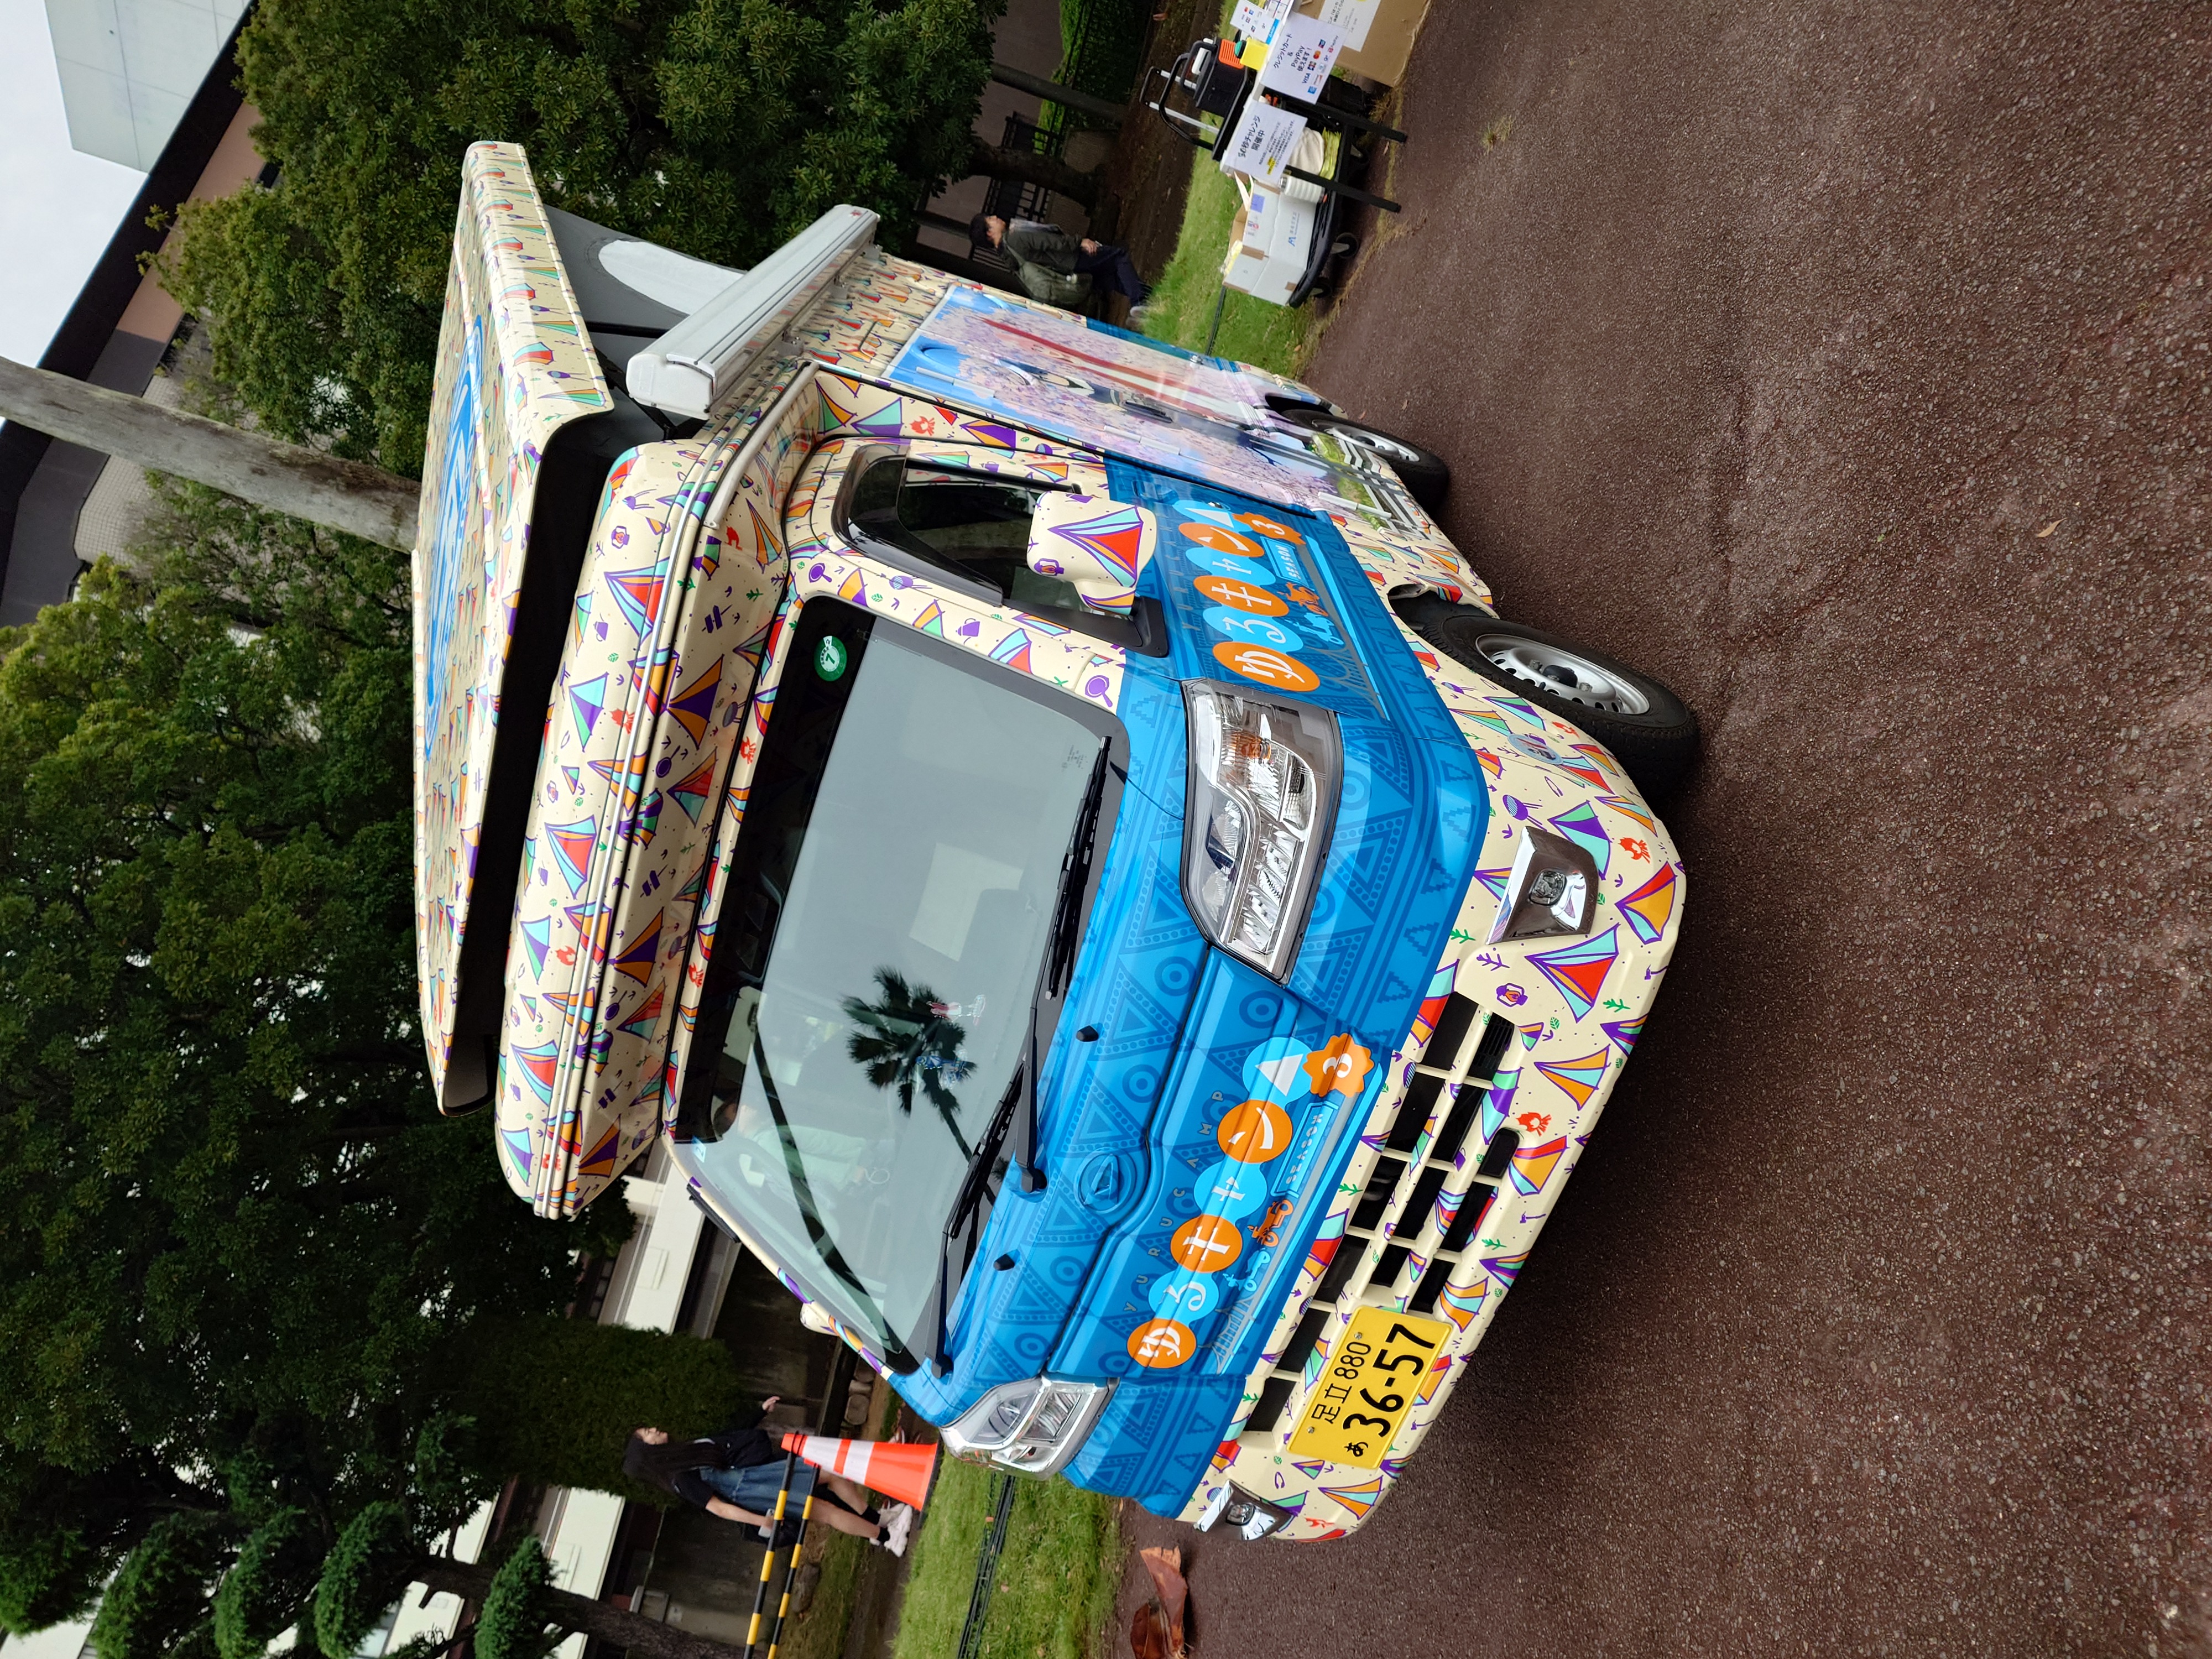
開会式が行われている場所にはゆるキャンカーがいた。ここまで大々的なラッピングはすごい。
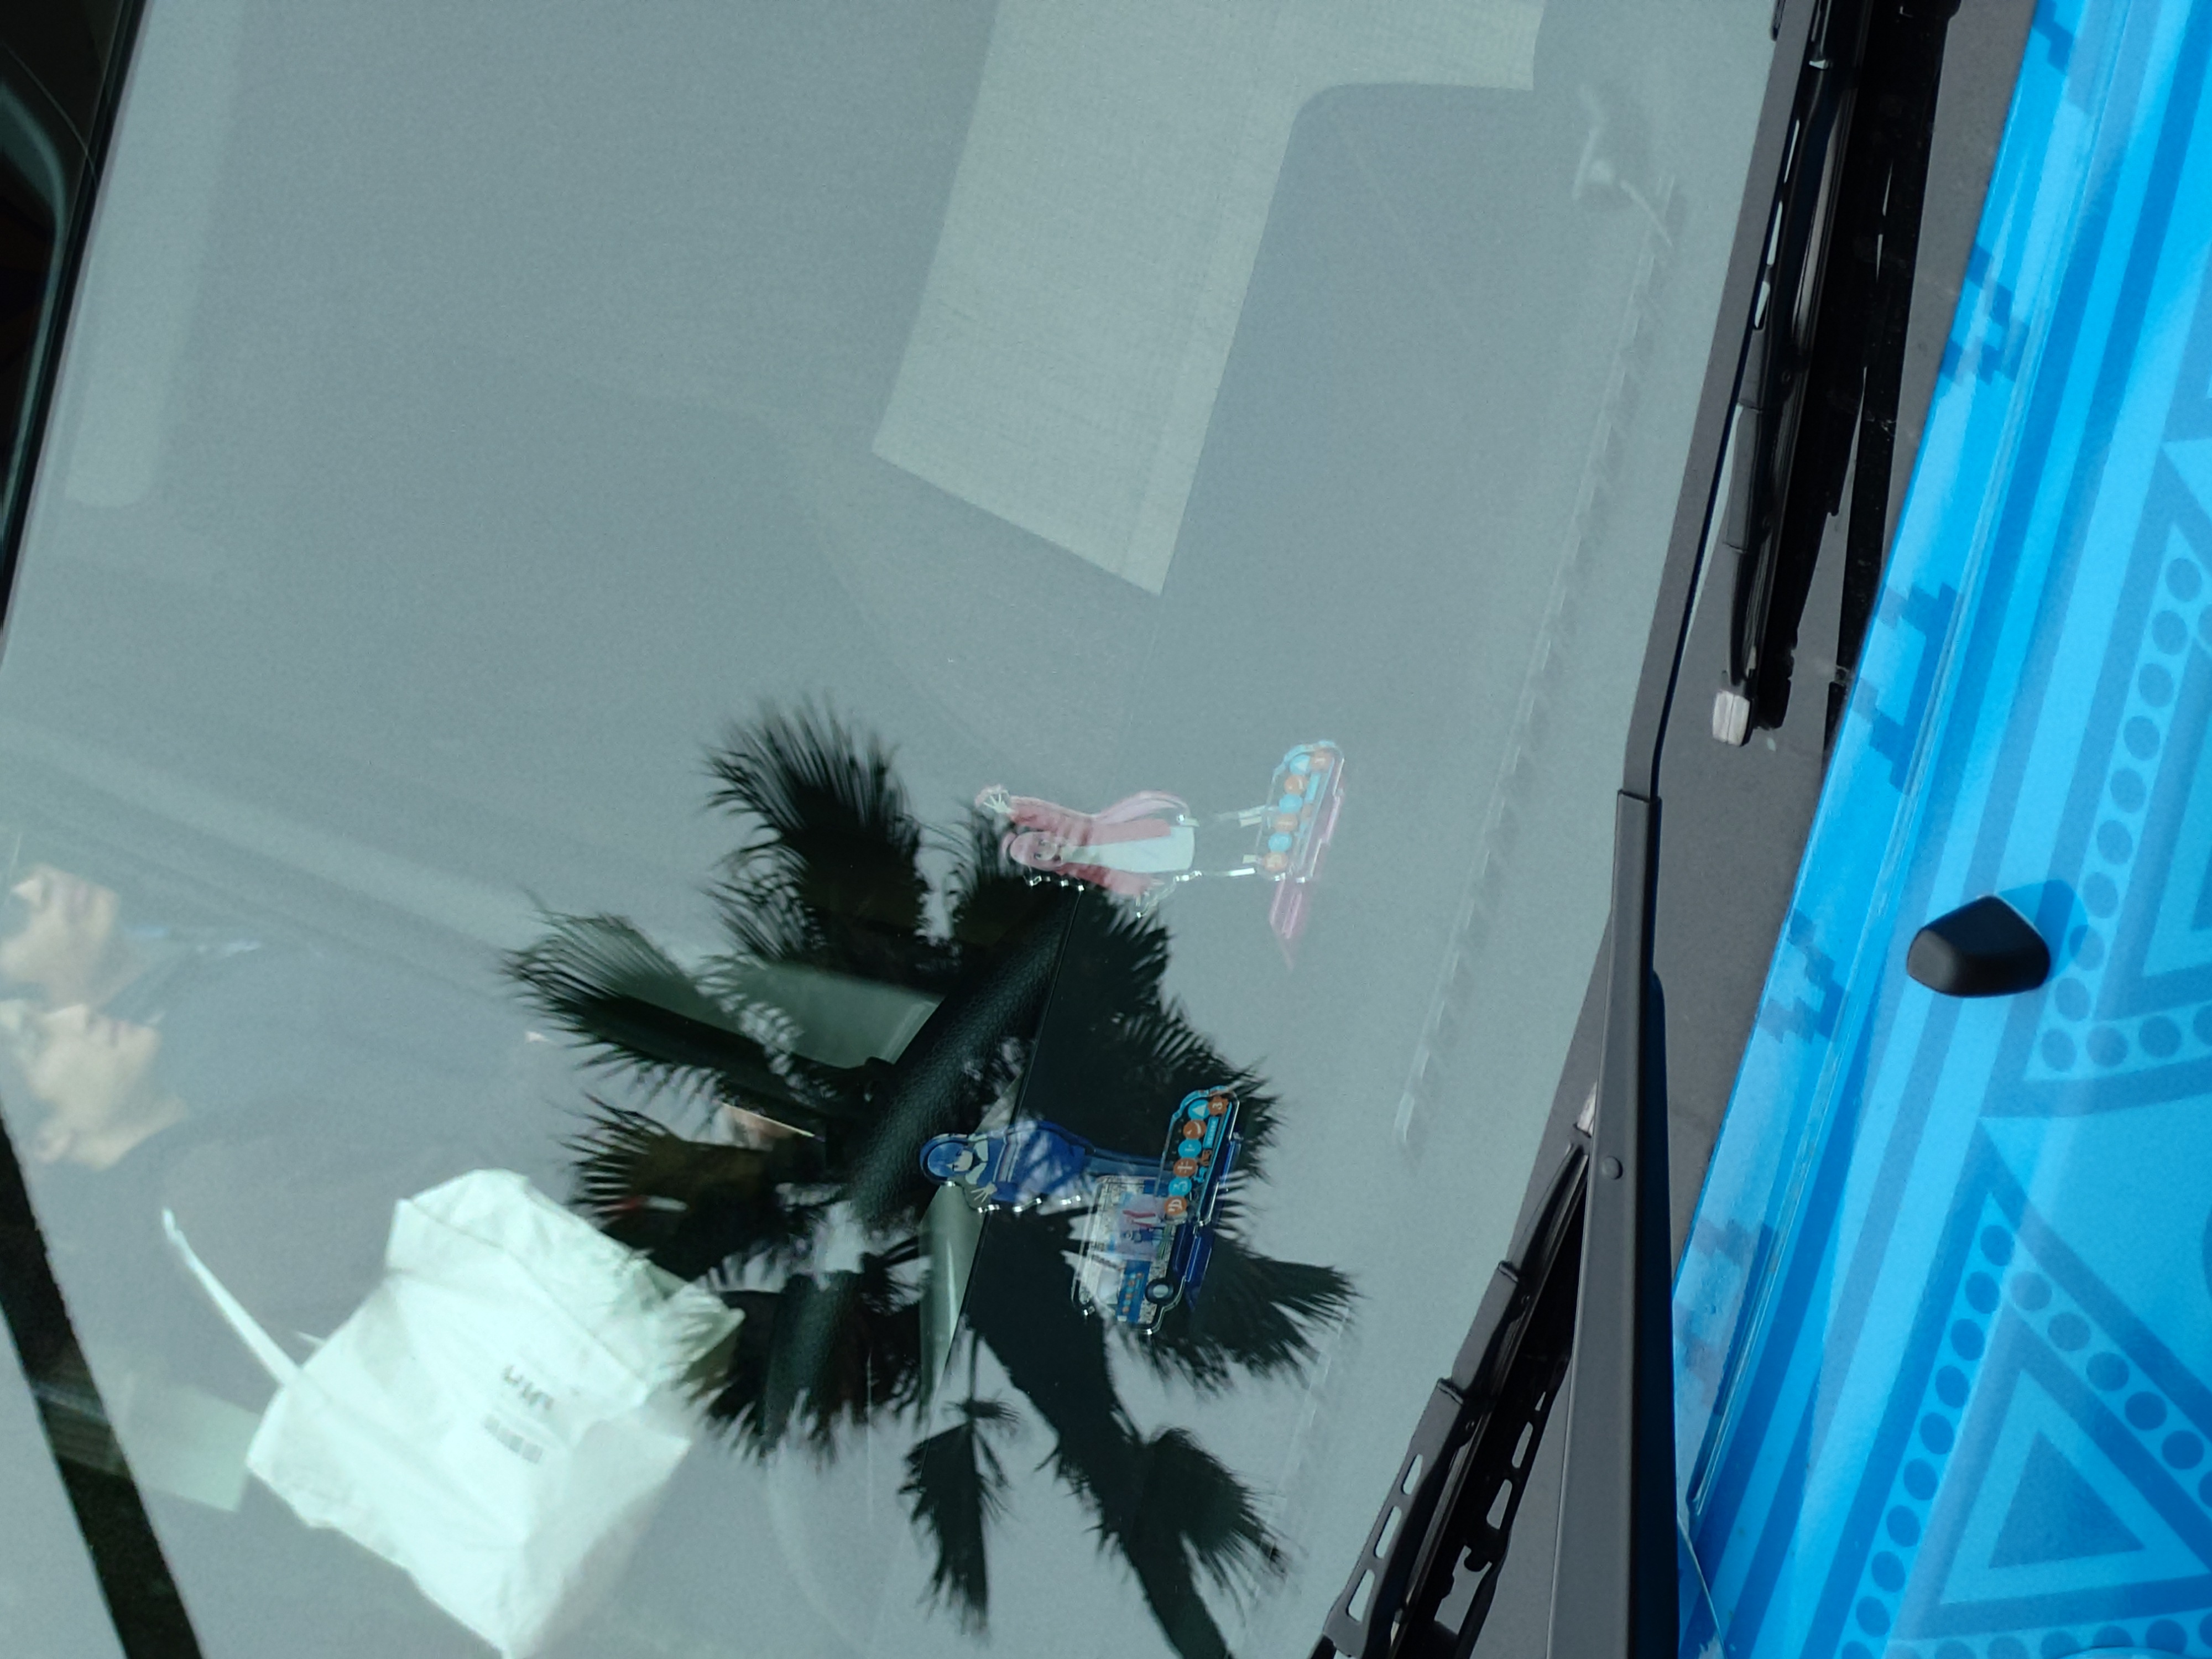
車内にもアクスタがありこだわりを感じた。
撮影していたら軽く人の海になってきたのすぐに退避した。
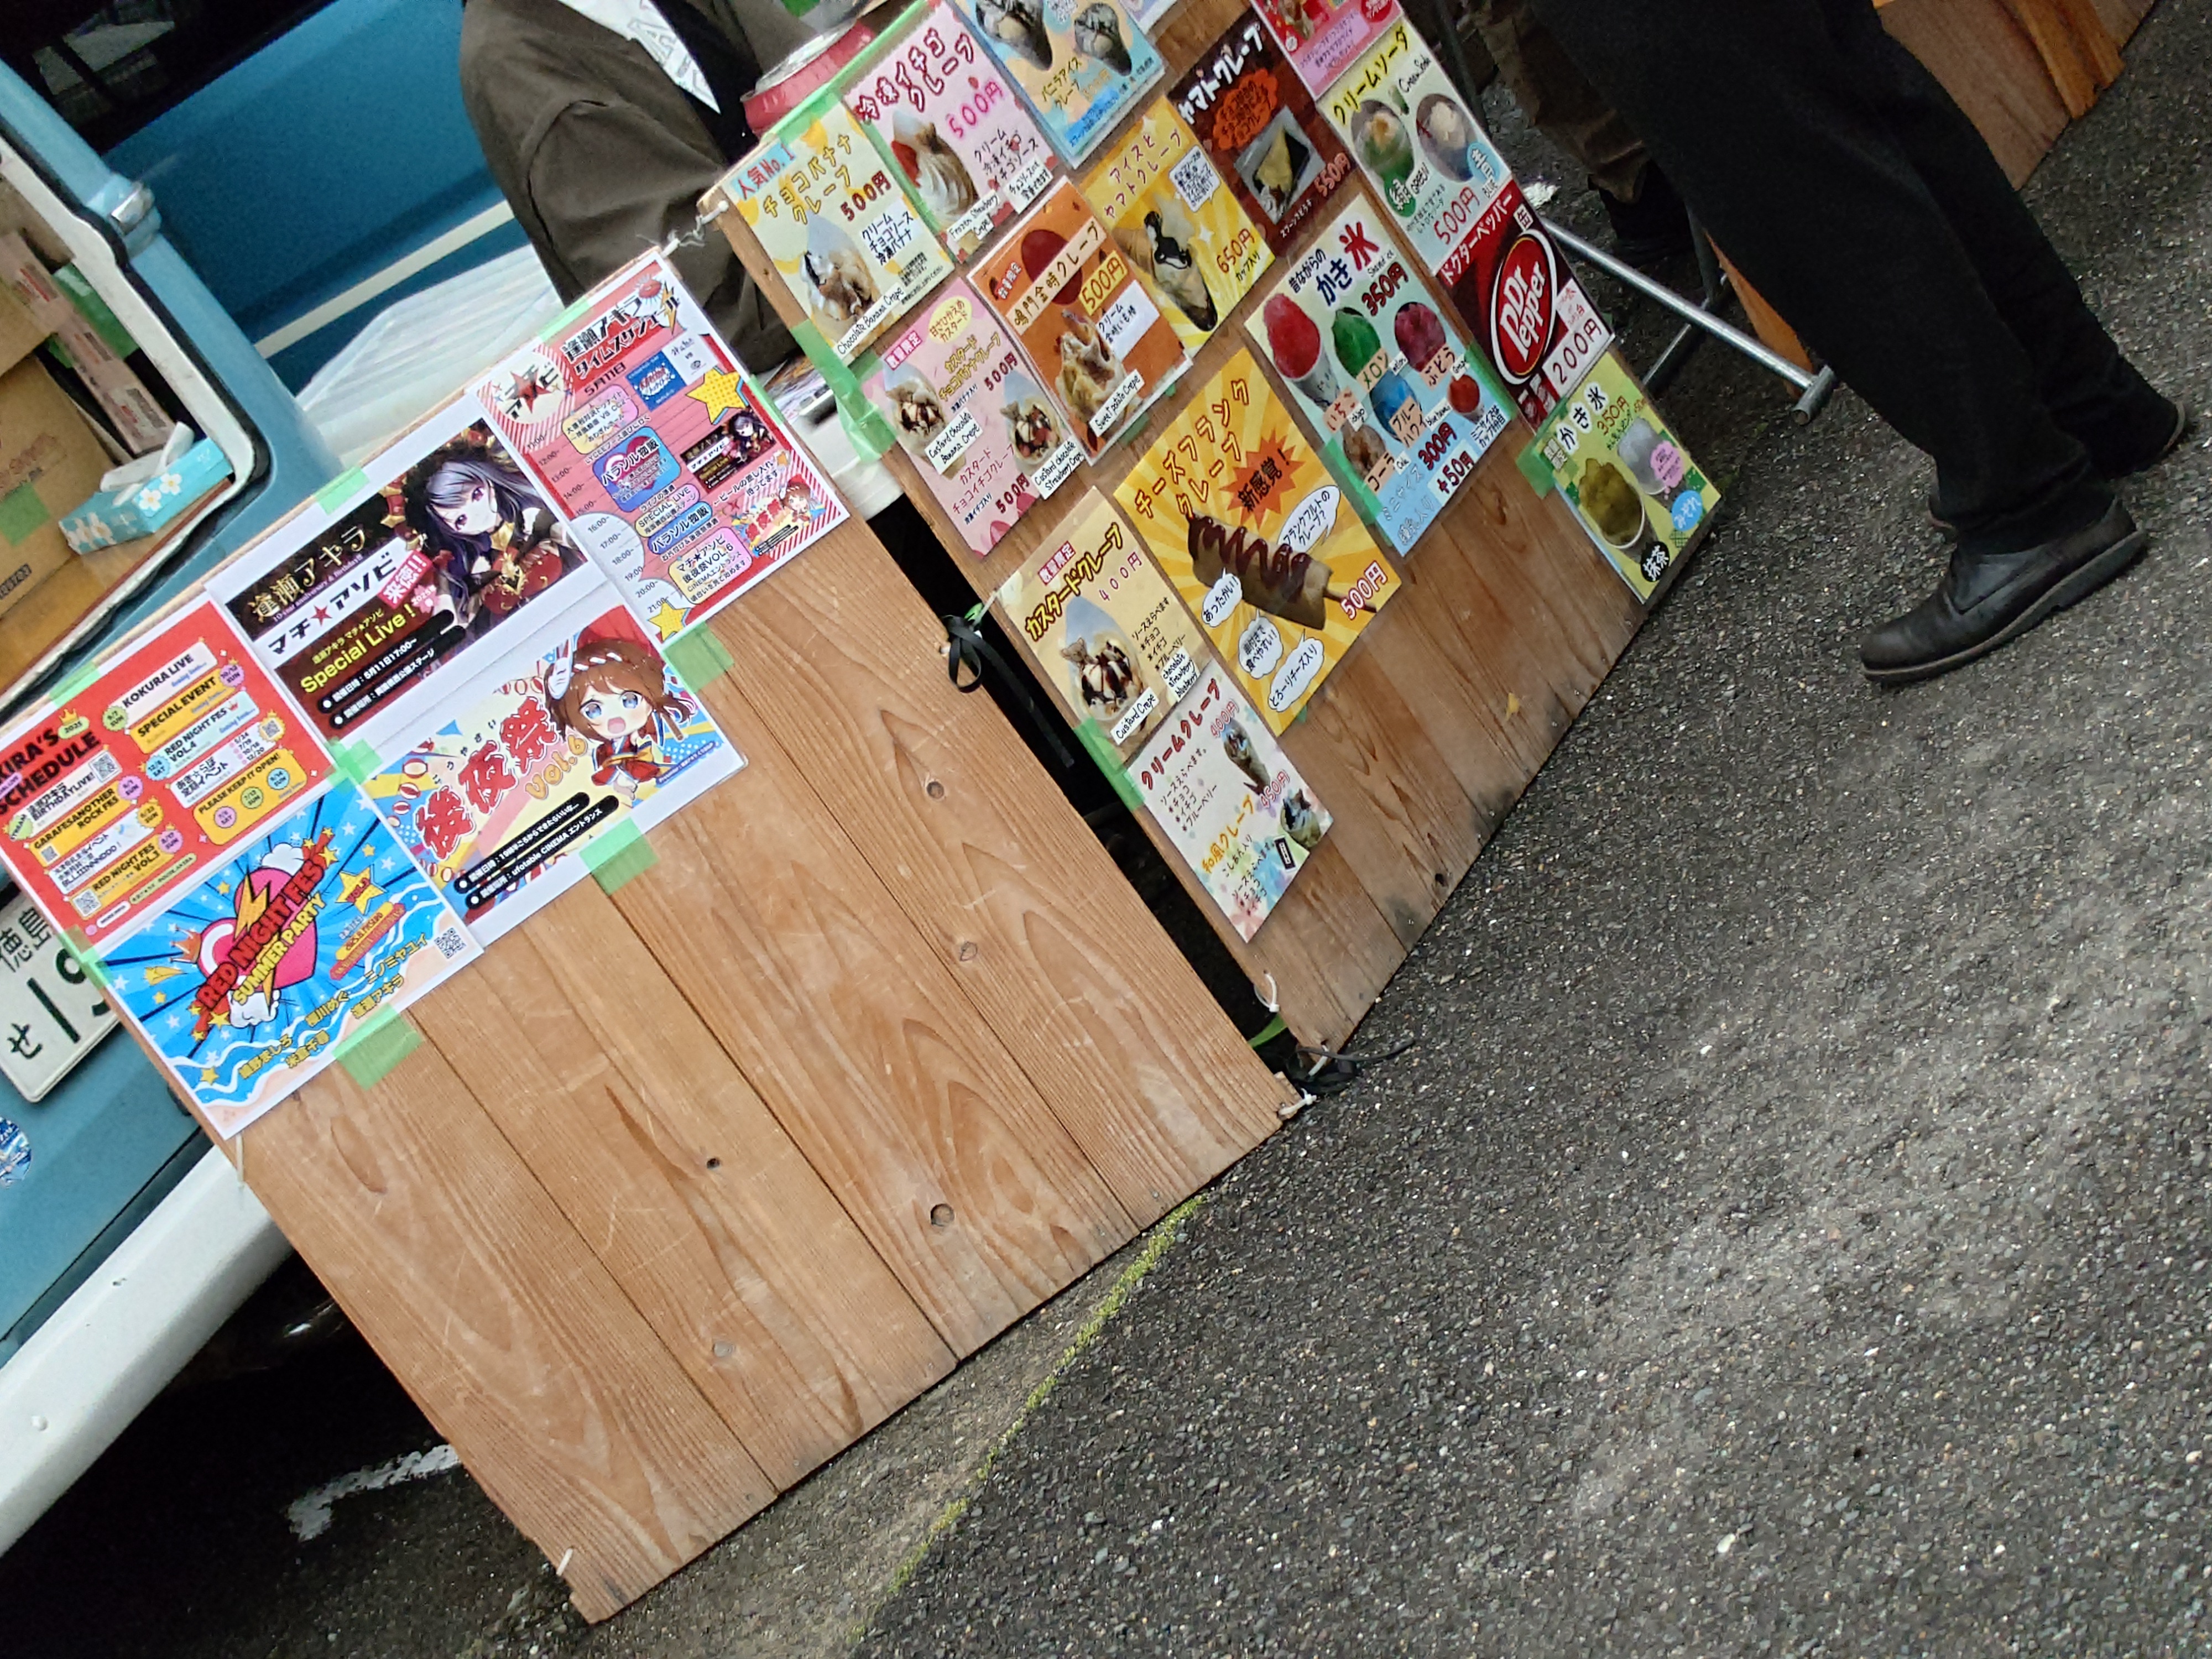
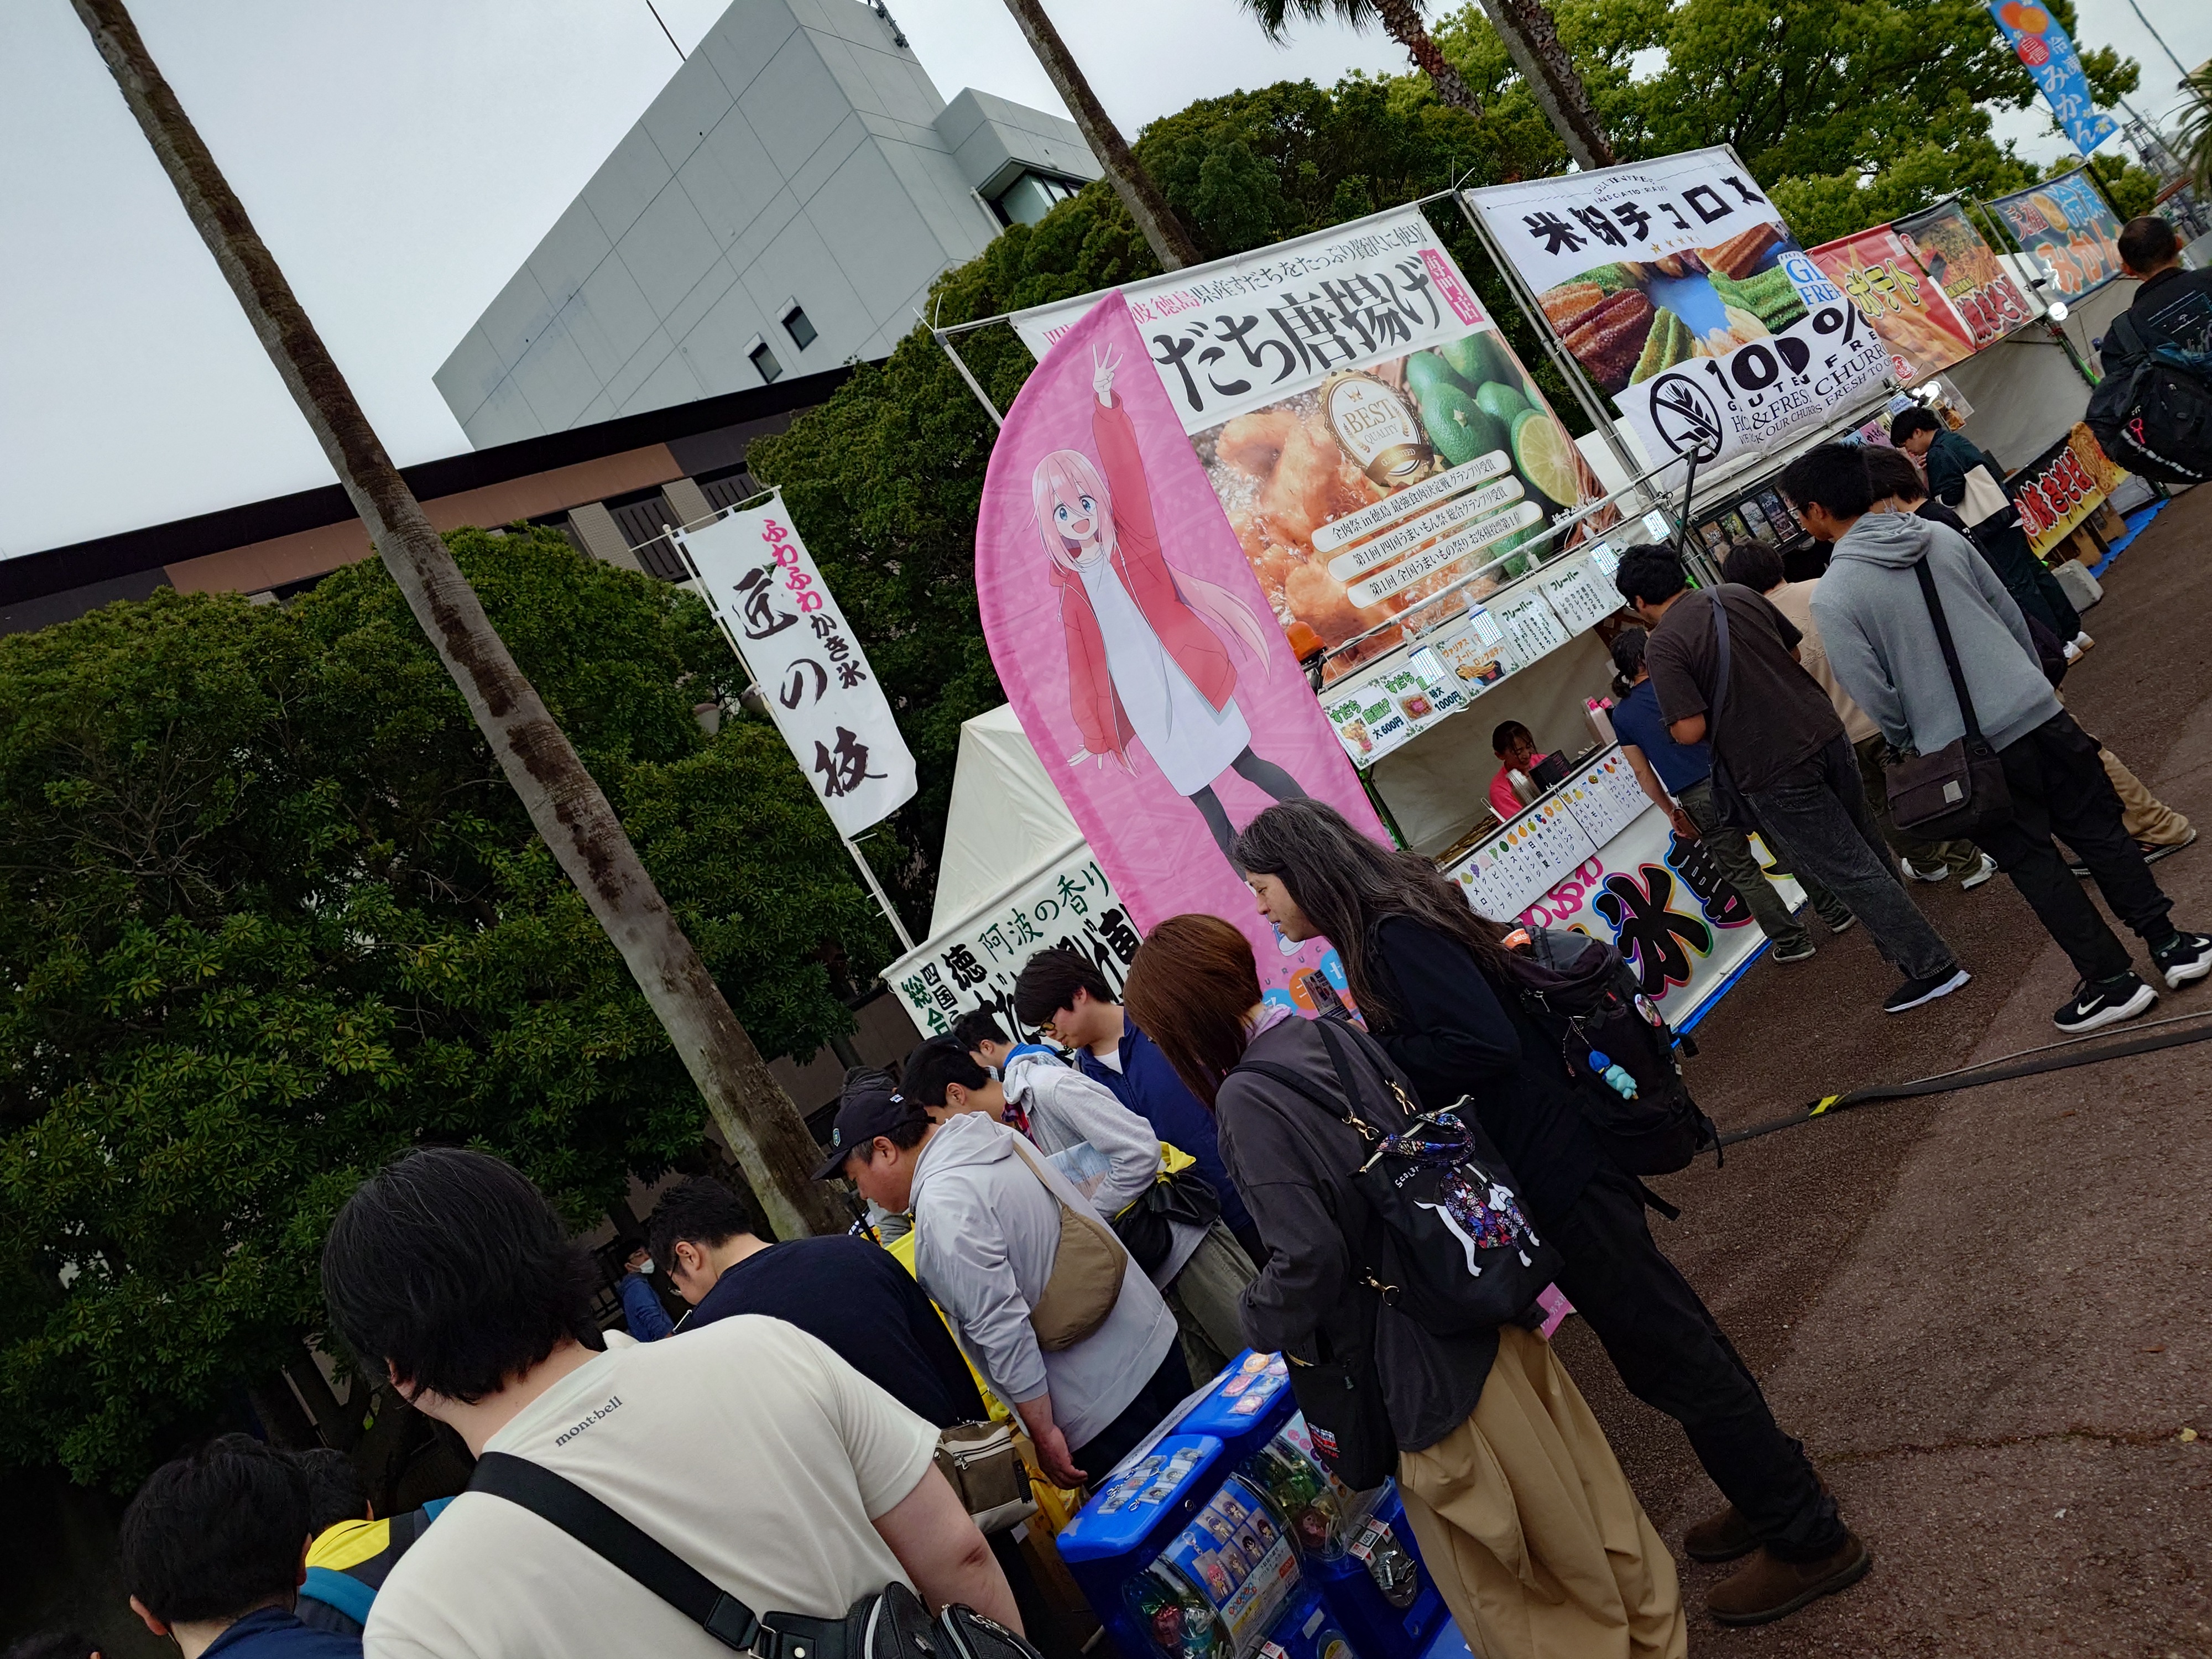
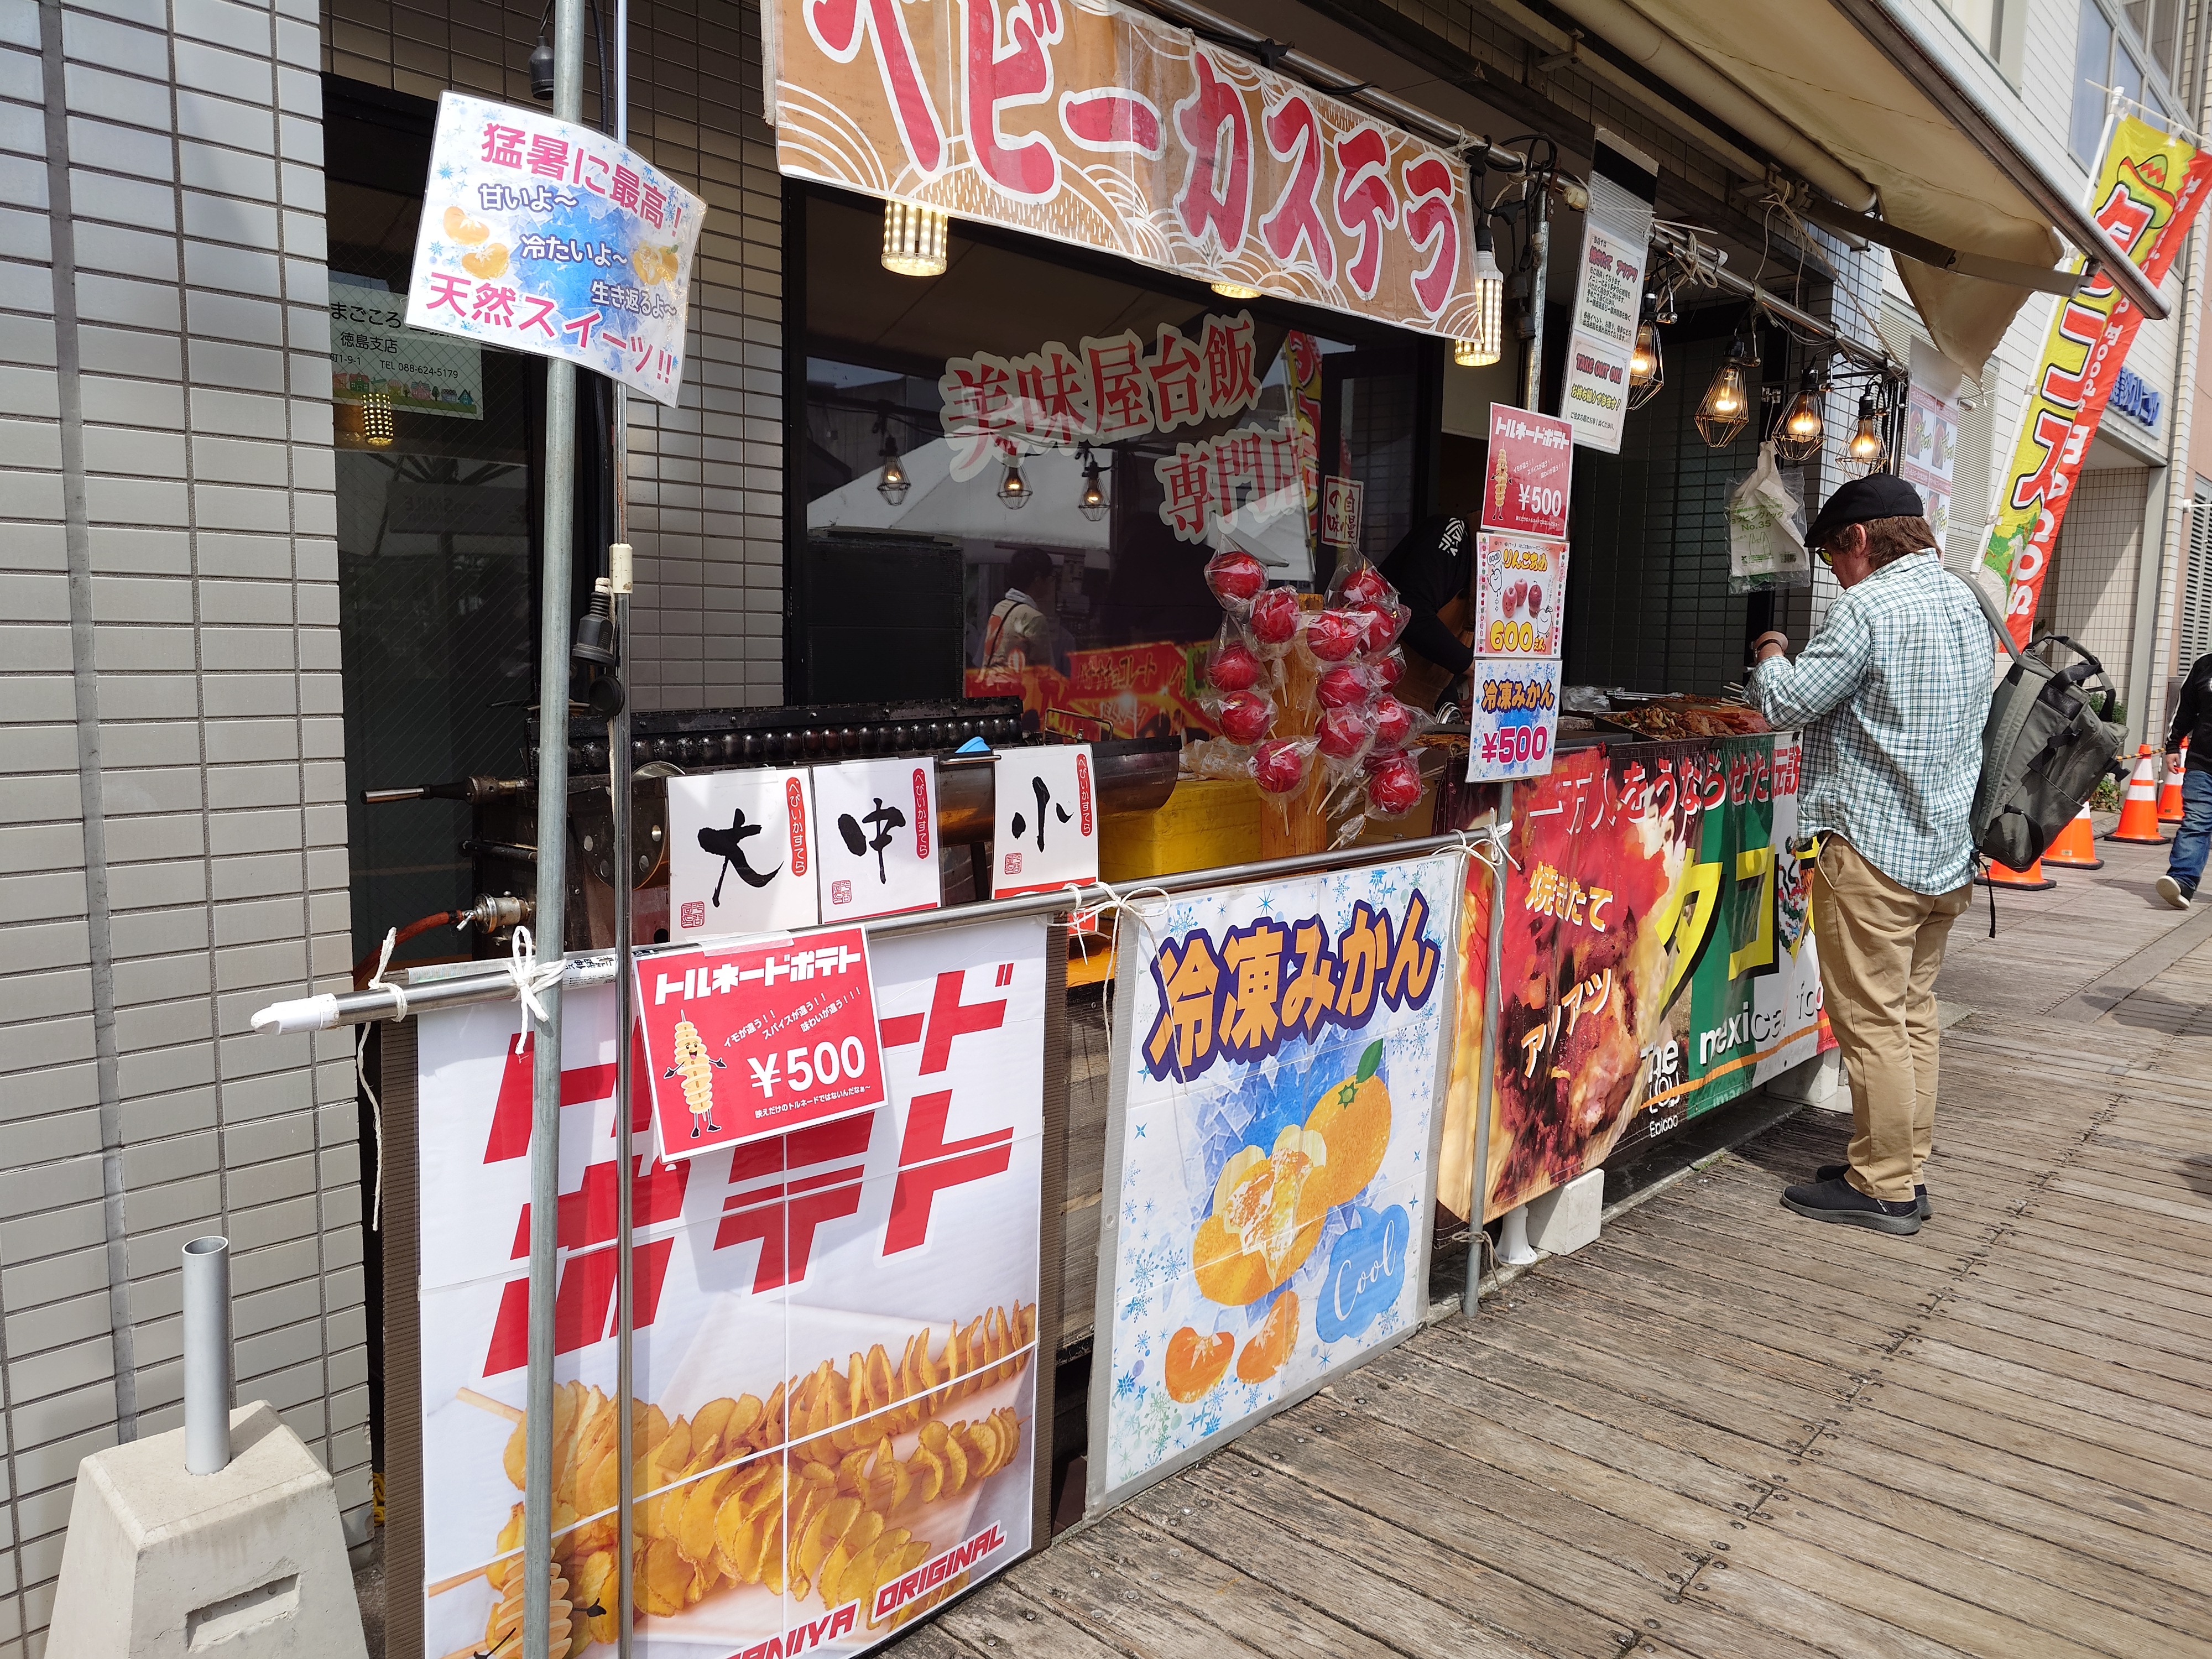
冷凍みかんと出店
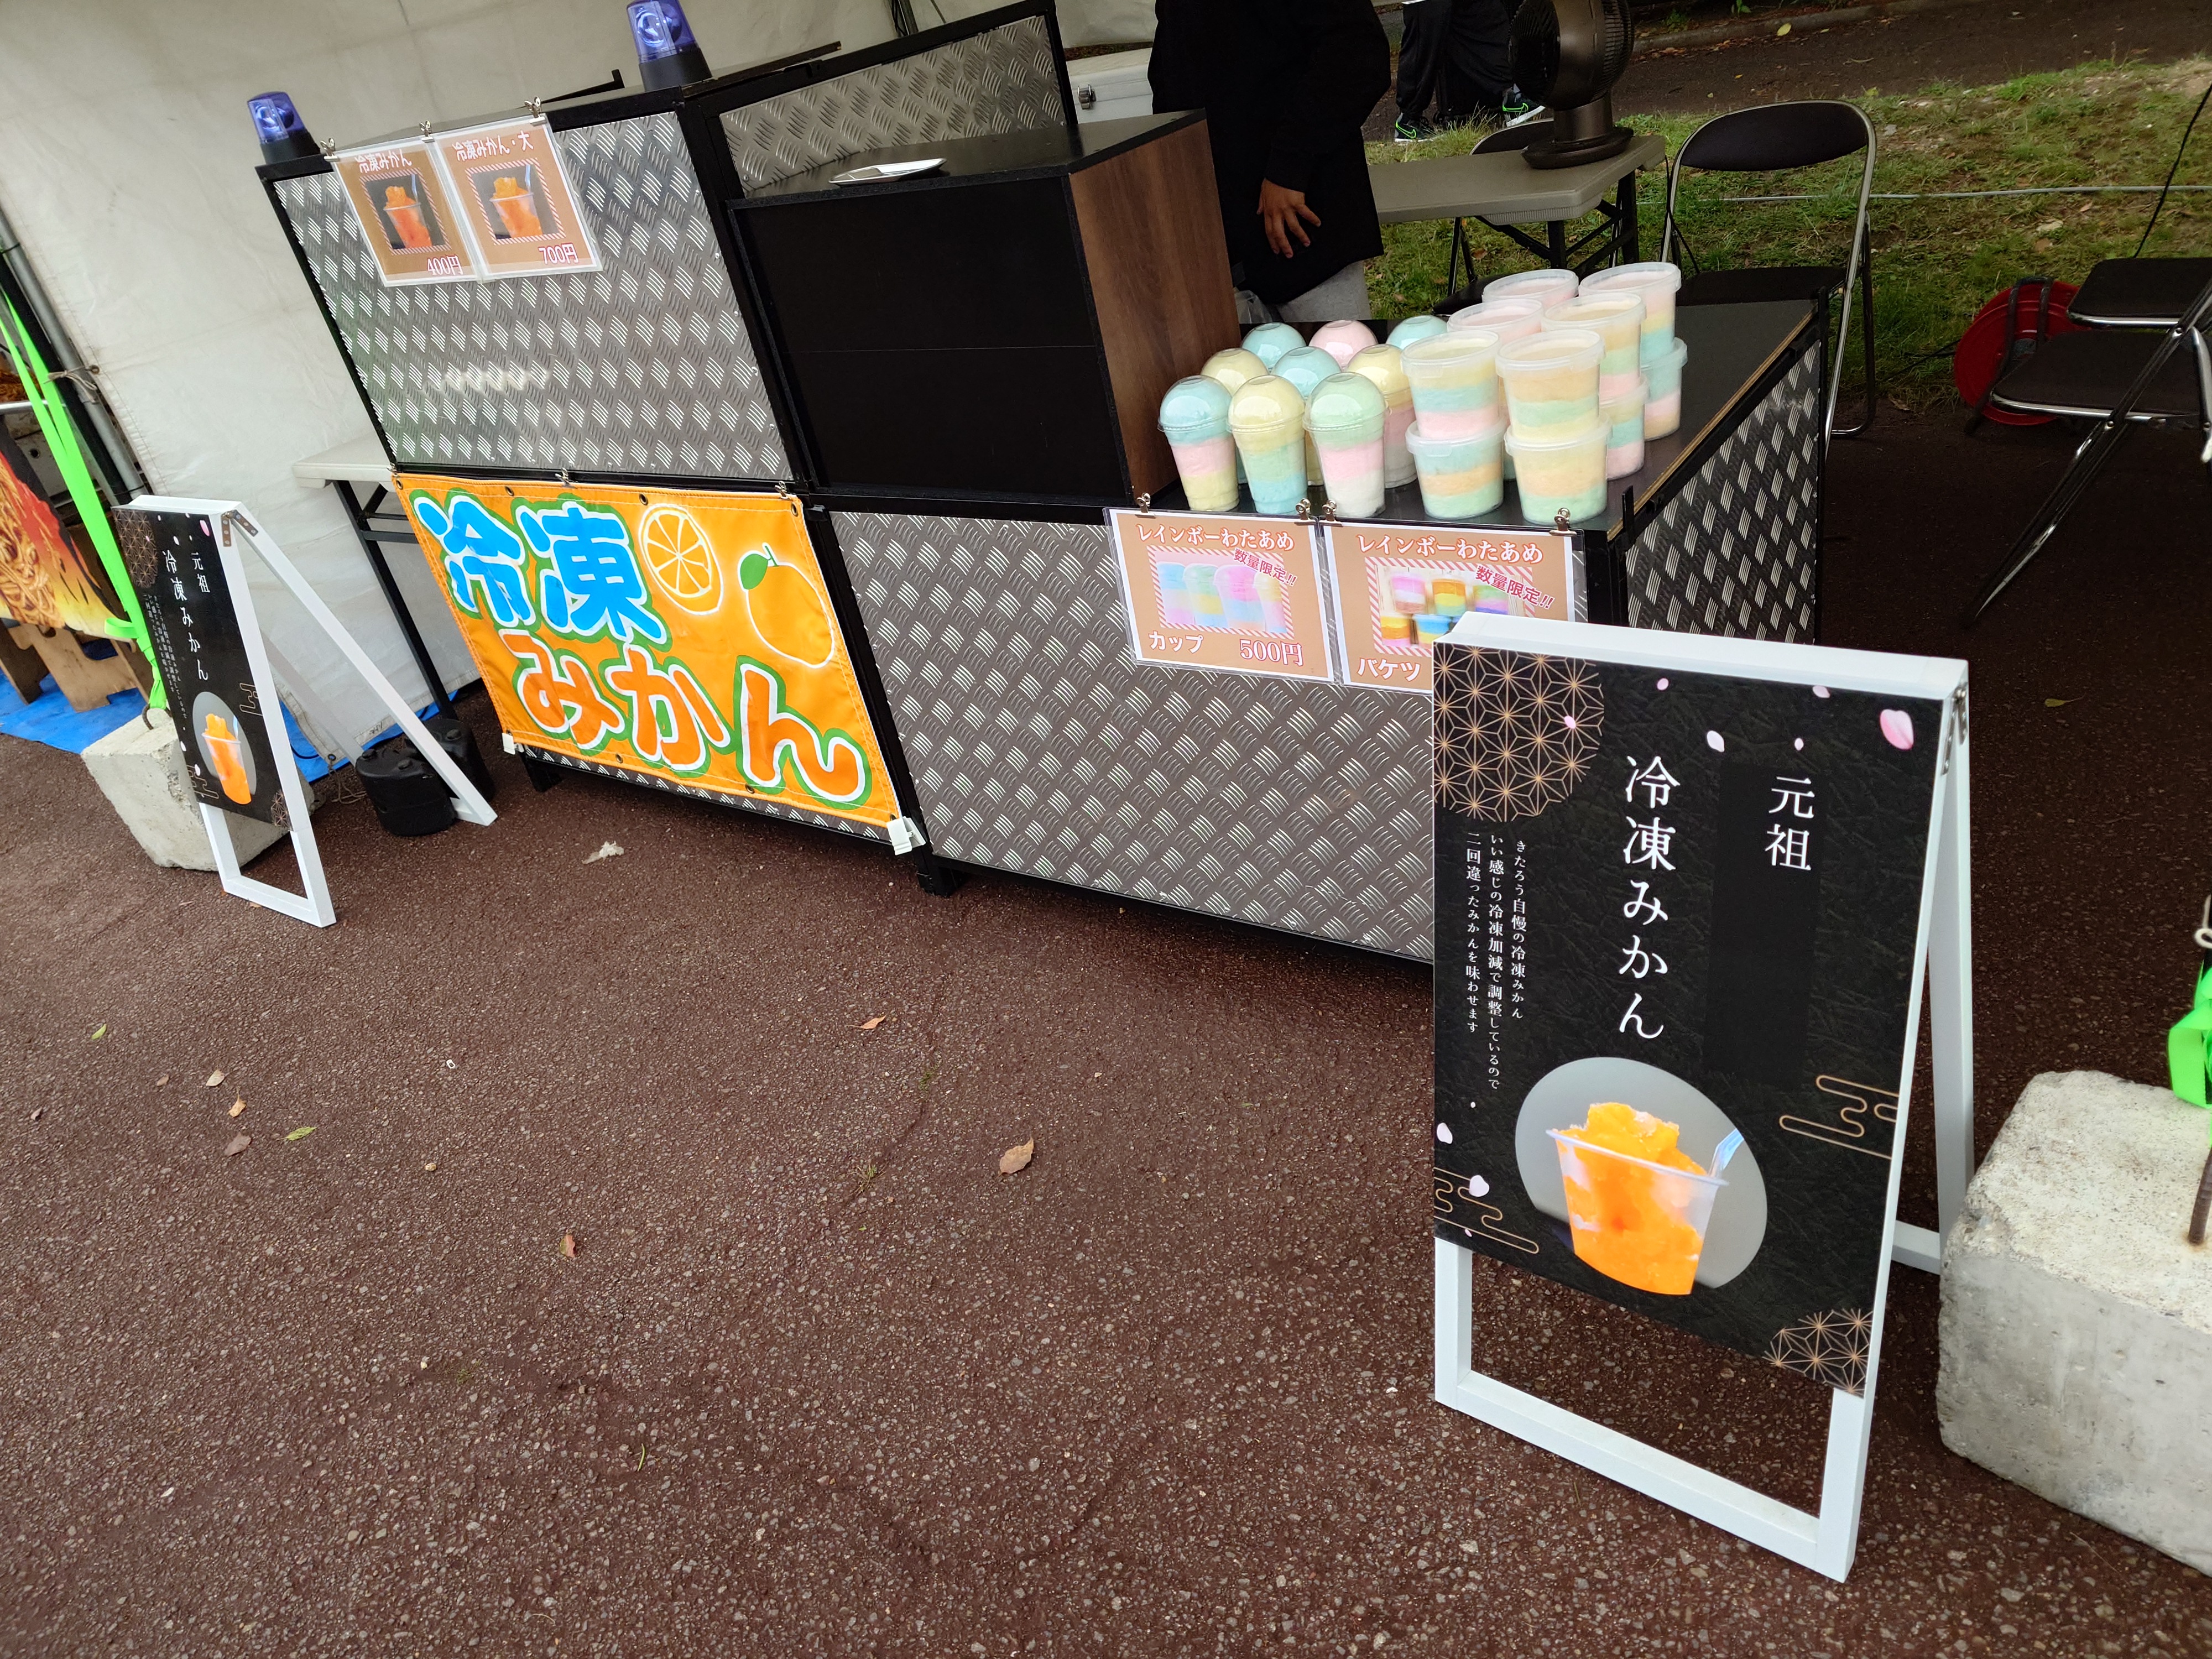
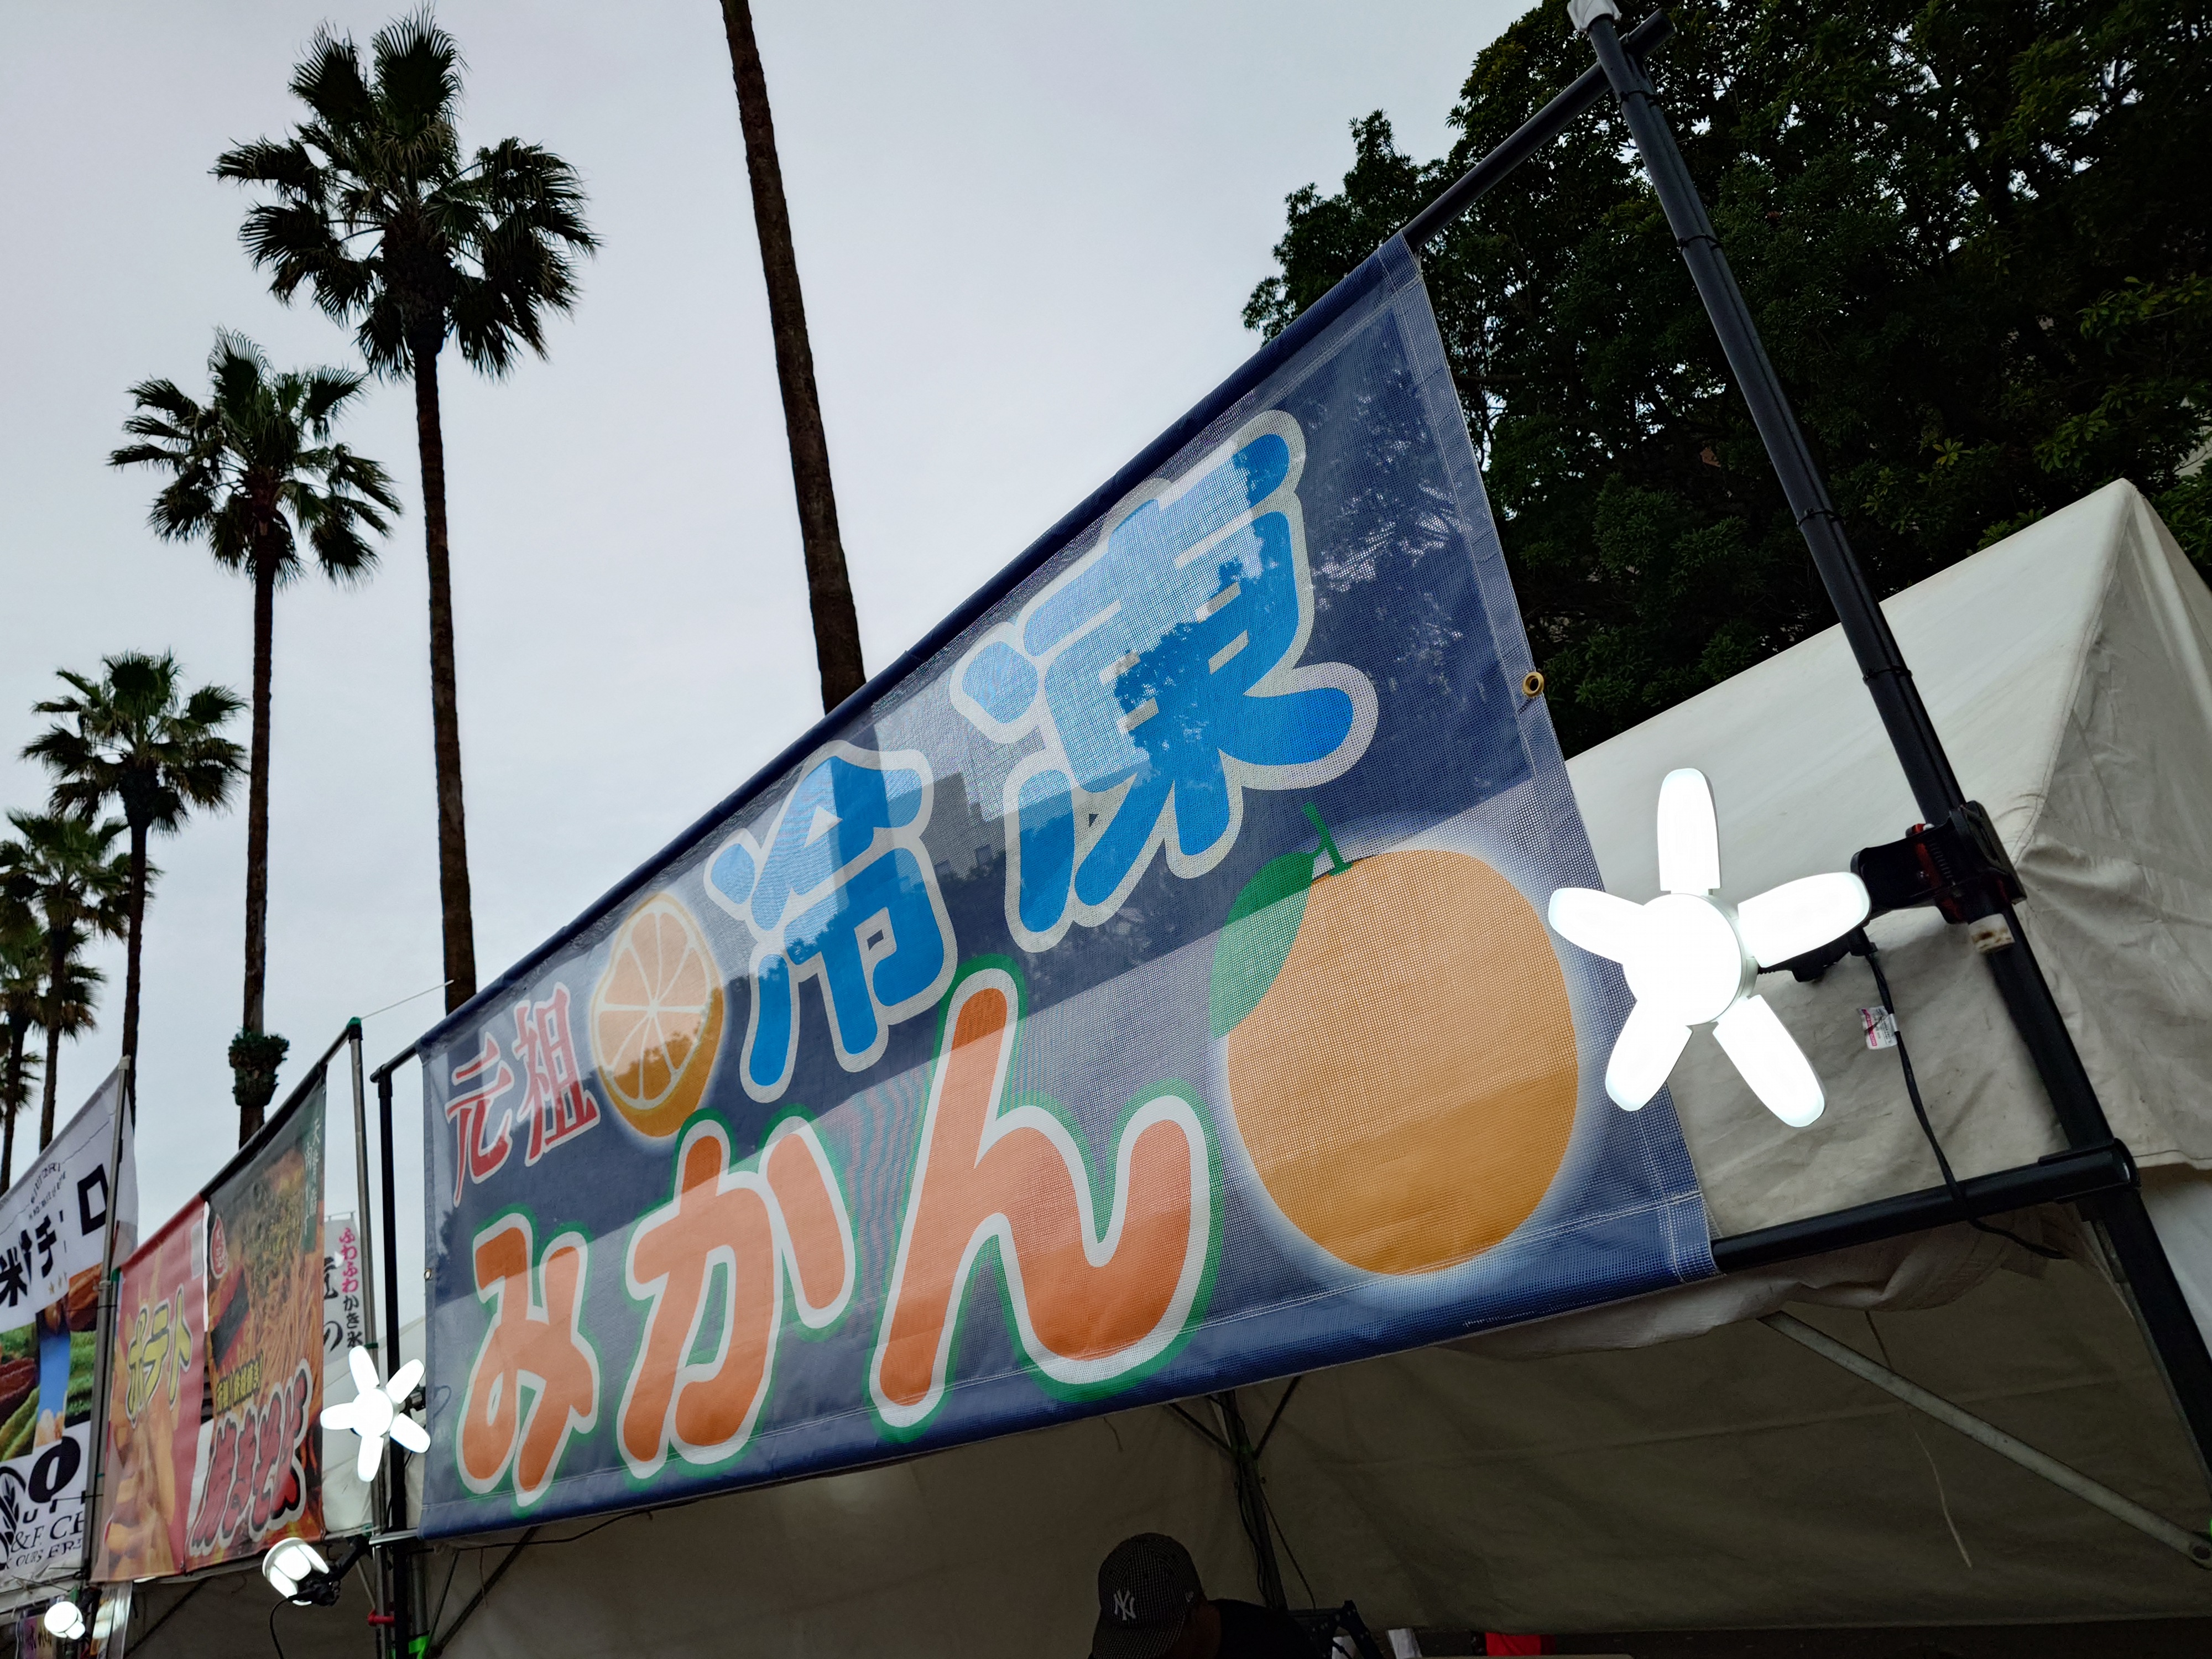
大半の出店はマチアソビを意識したものではなく、ごく普通の出店だった。キッチンカーも多く、徳島駅から会場周辺一帯、商店街の中まで、およそ許可が下りそうな場所全般にいた。
休憩所
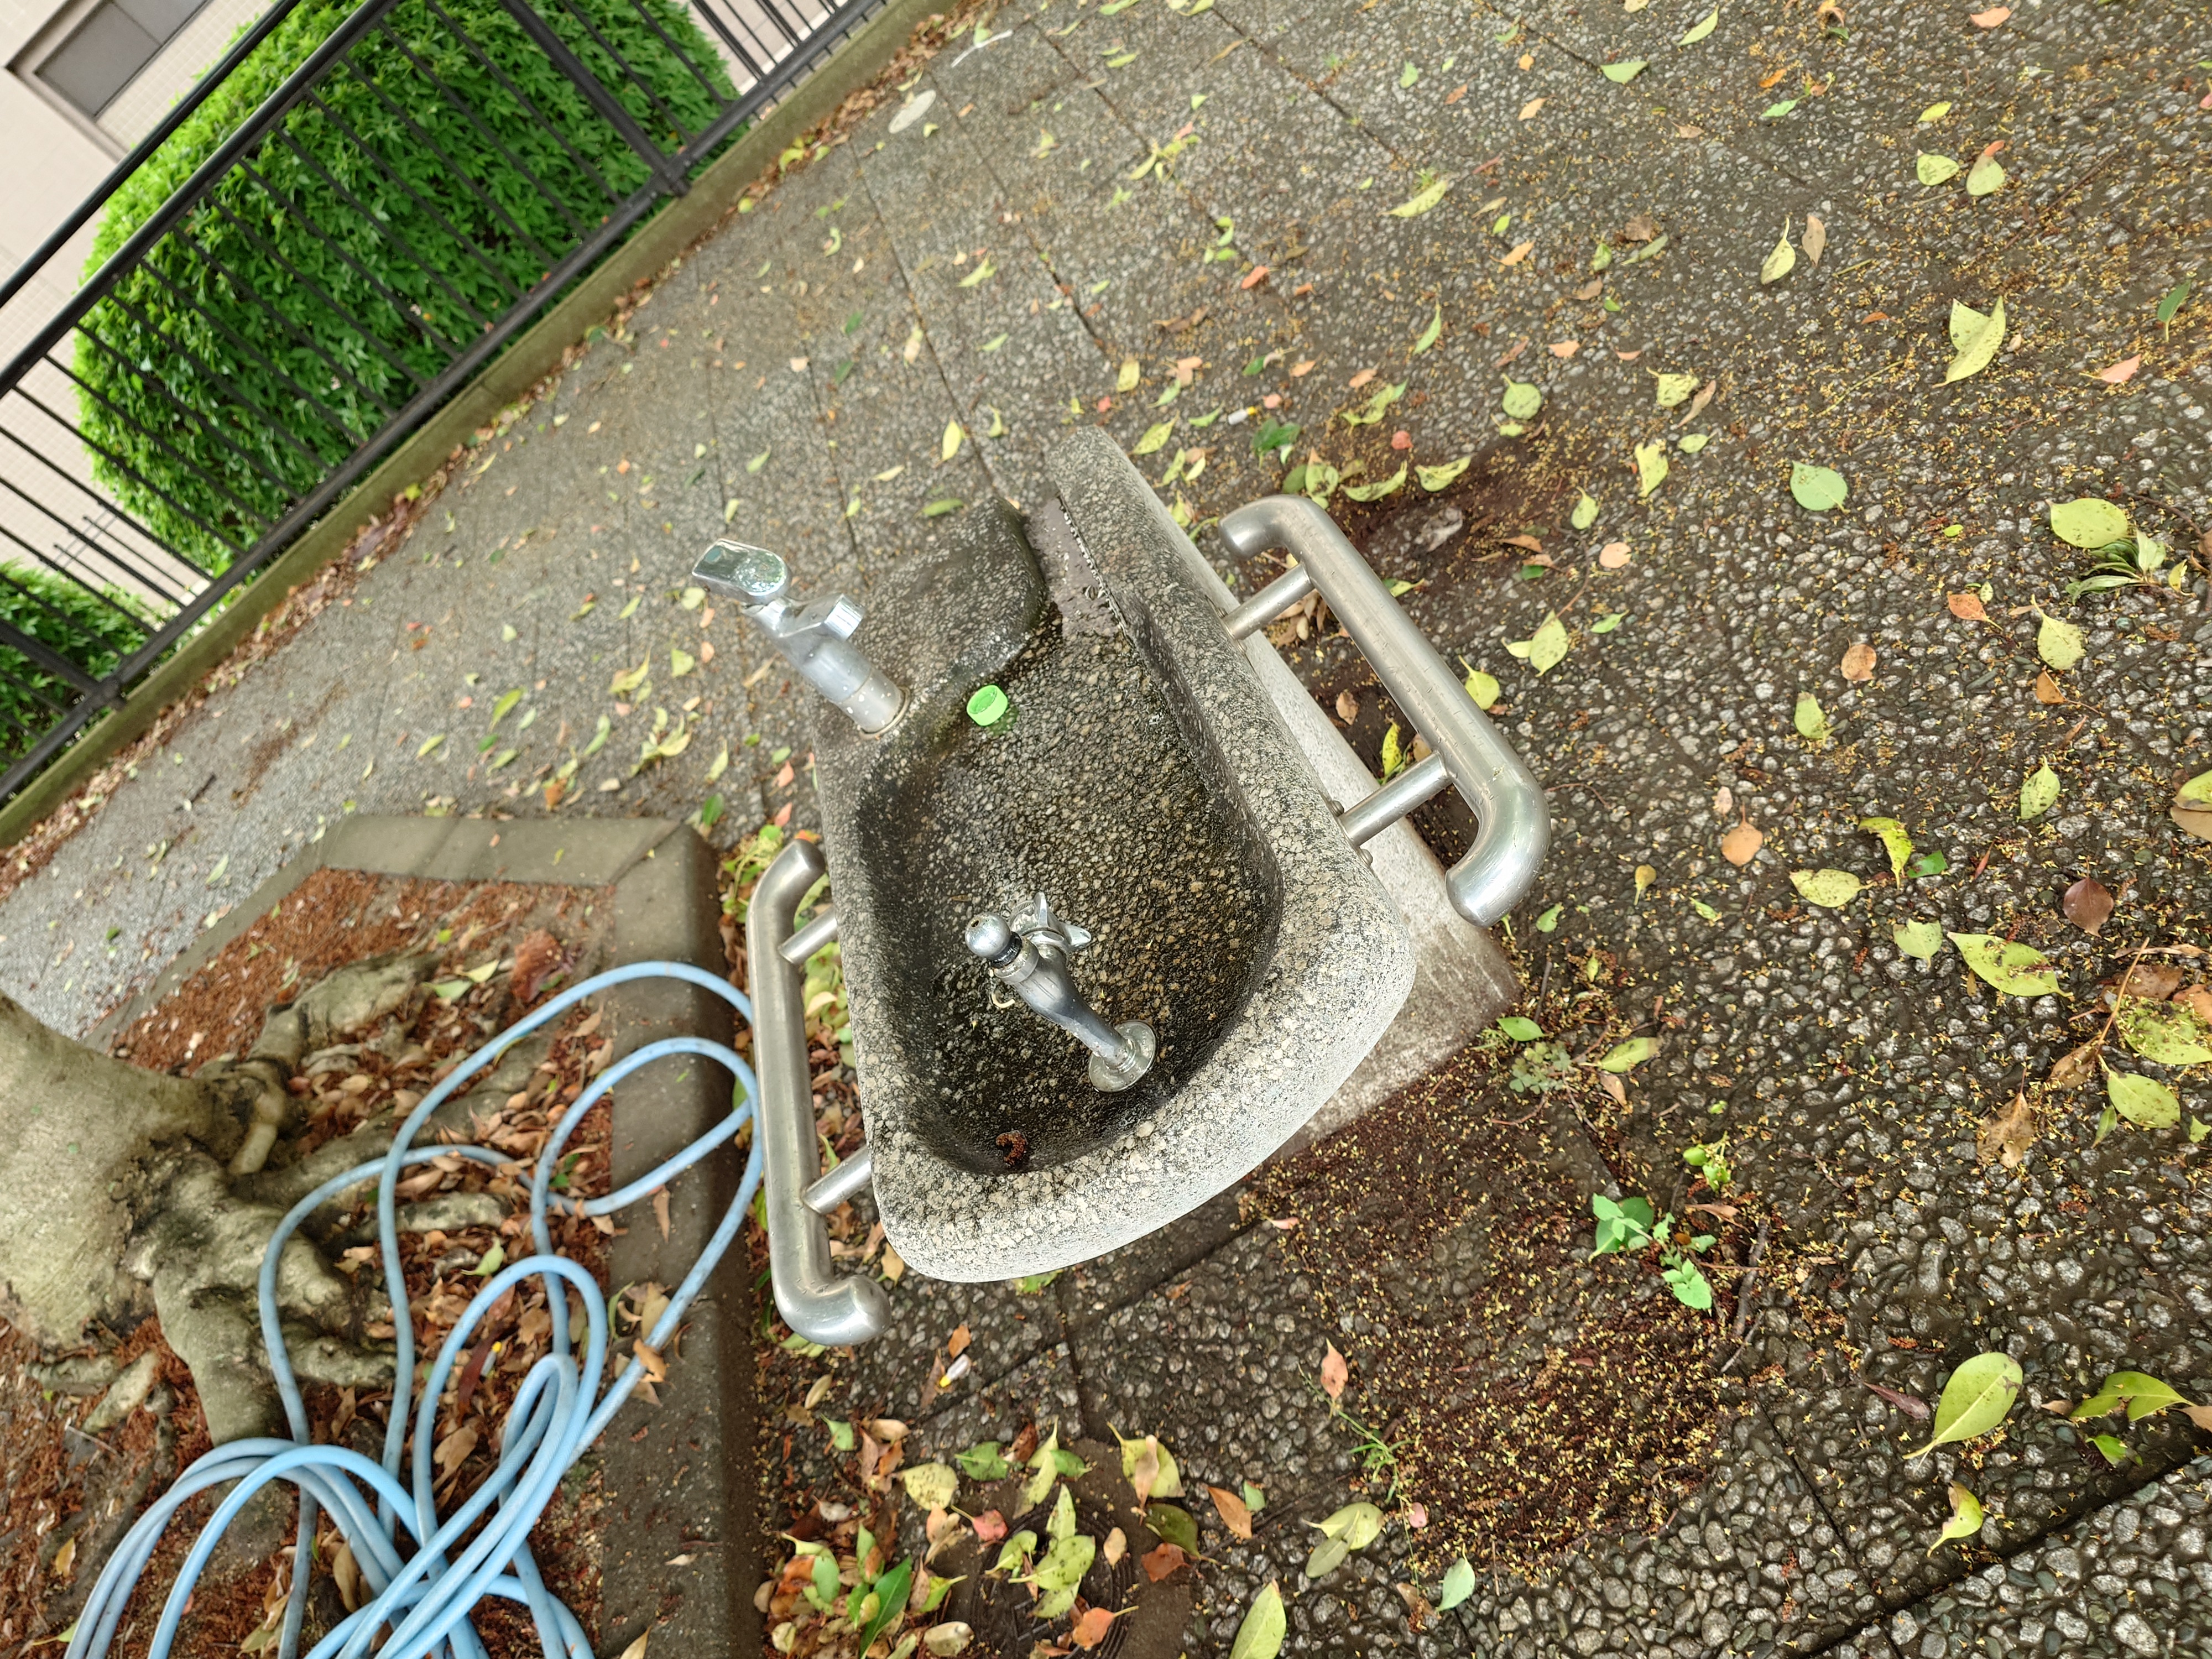

少し下がったところには水飲み場とベンチがあり、休憩するのに都合がよかった。このベンチは憩いの空間といった形で、その場にいる人たちで談笑できるデザインに見えて面白いなと思った。
部屋替えにホテルに戻り、そのままゴロゴロしてしまう
一泊目と二泊目で部屋が違っていたため、部屋替えのためにホテルに戻ることにした。こいつ一体何回ホテルに戻ってるんだ?
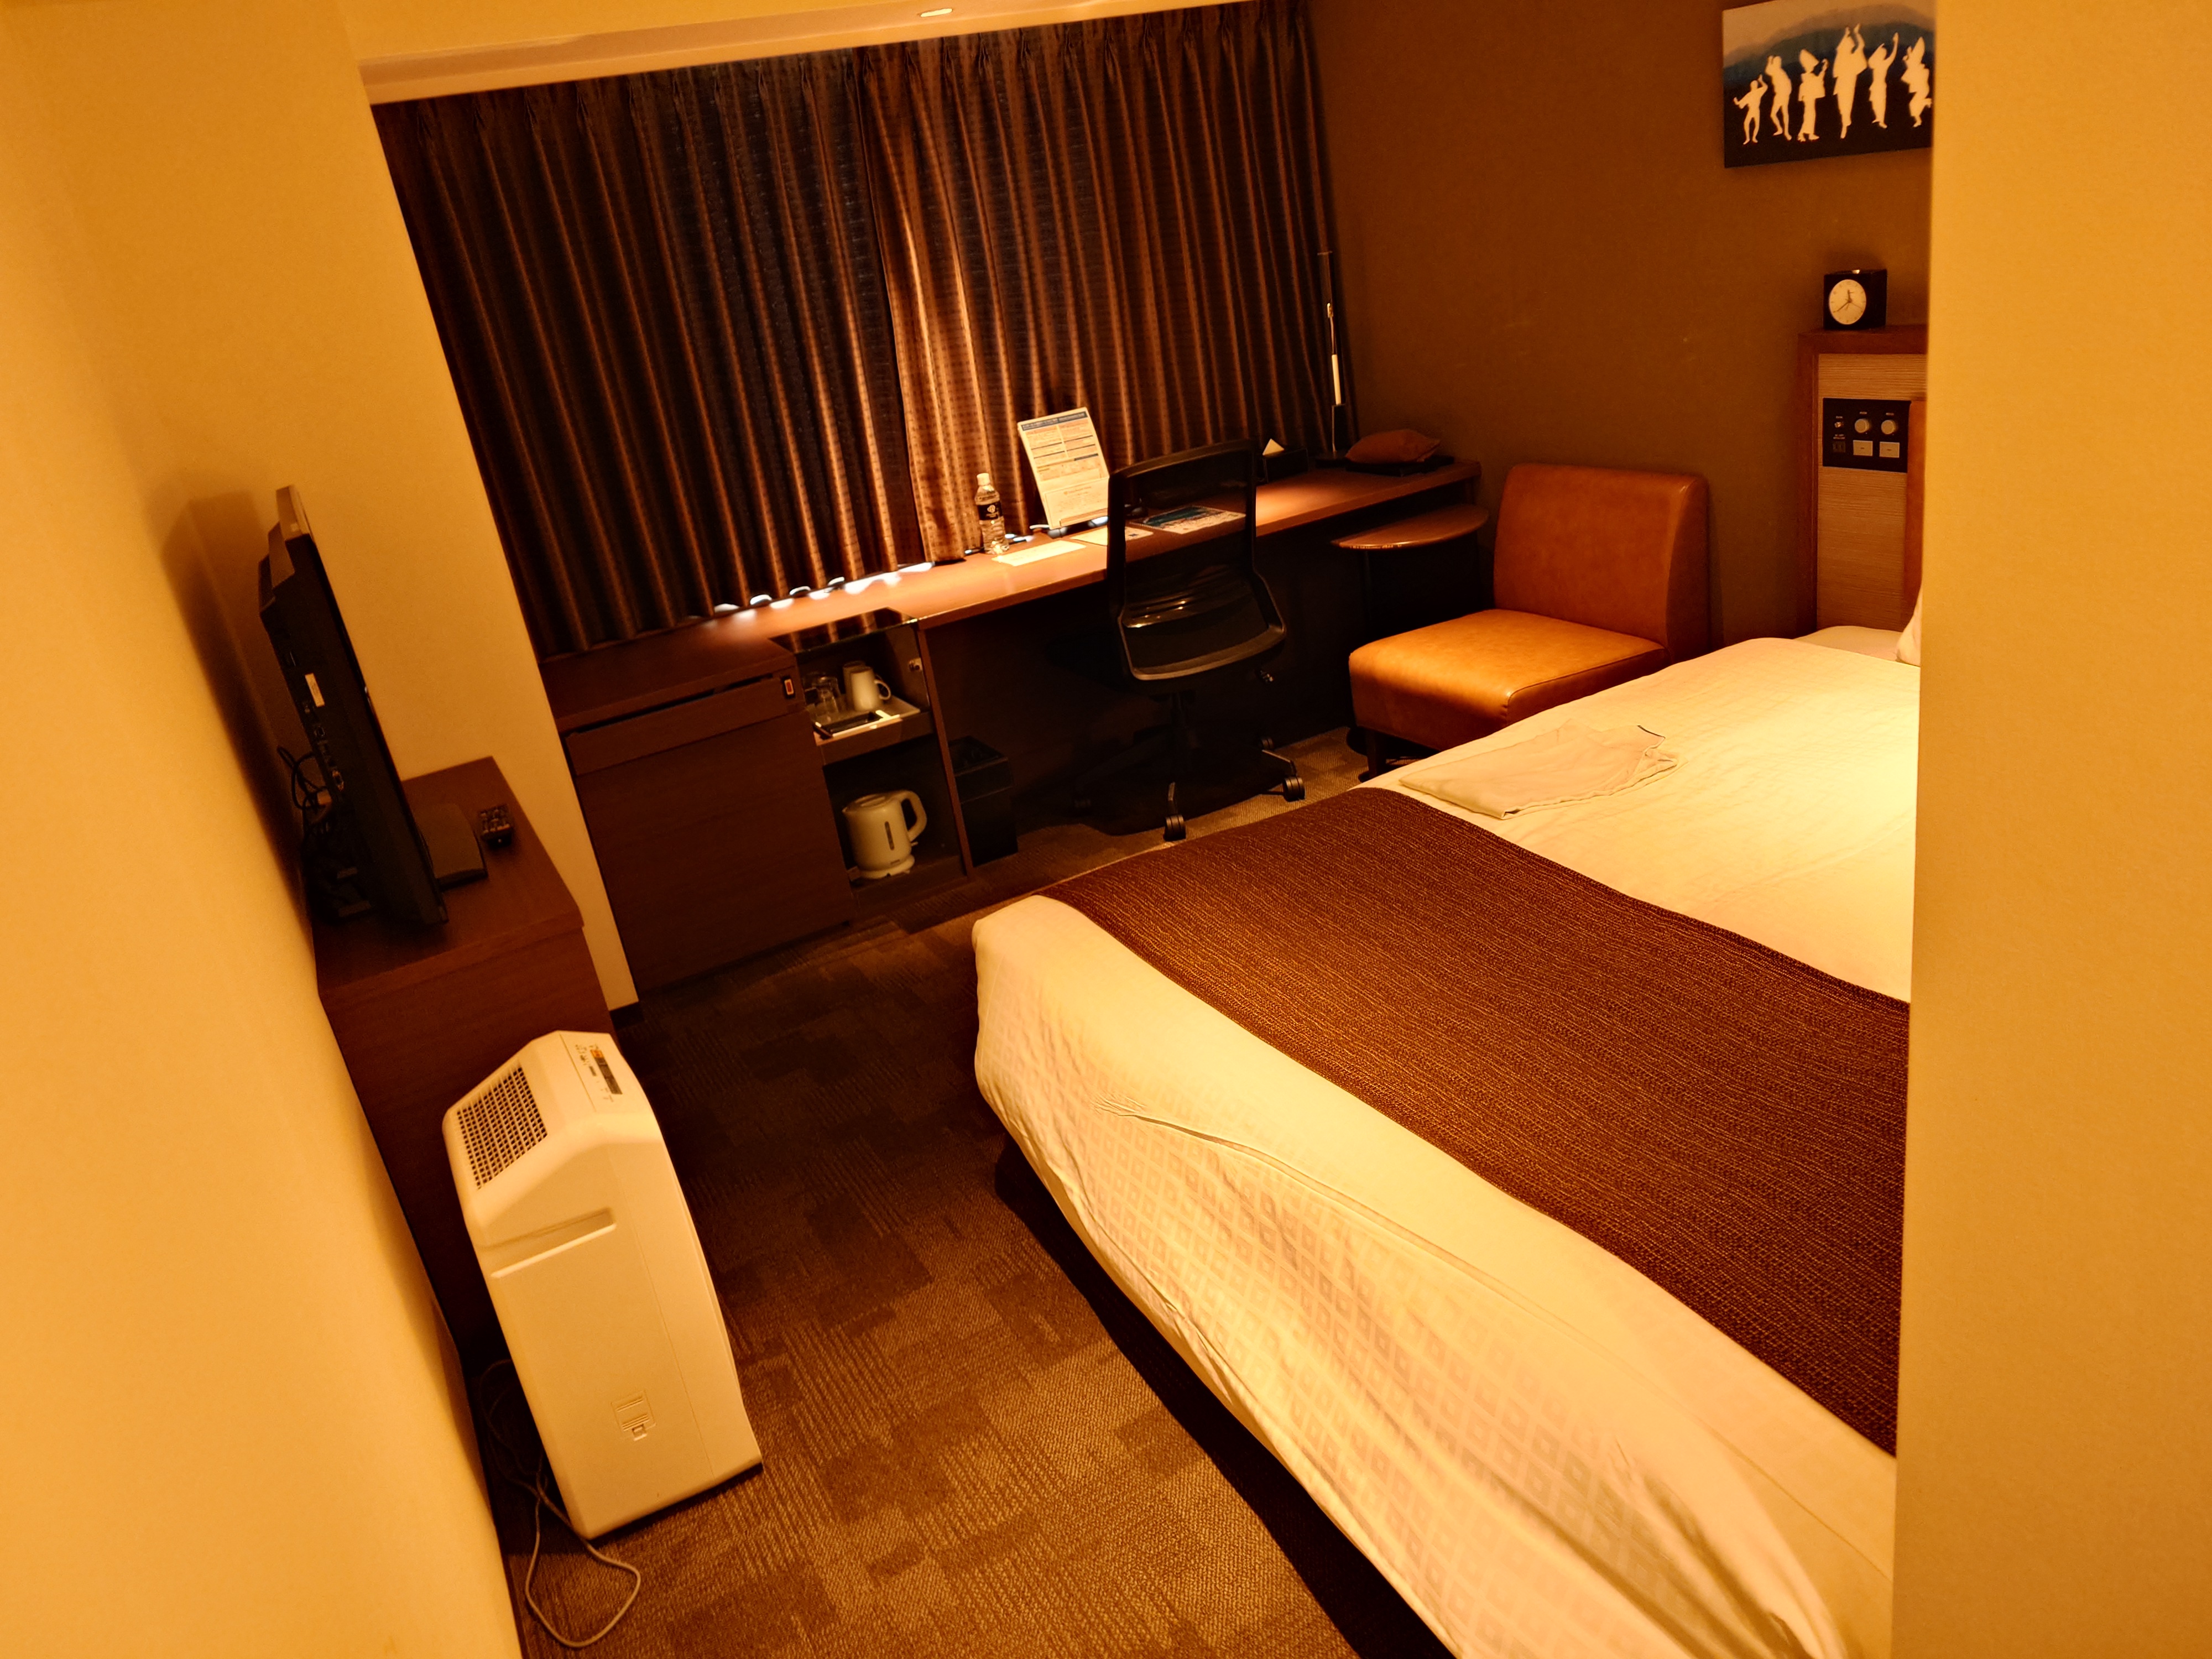
時刻は11:30。ホテルに案内されていた時刻よりやや早かったが部屋替えを行うことができた。初日の部屋より広くてよかった。
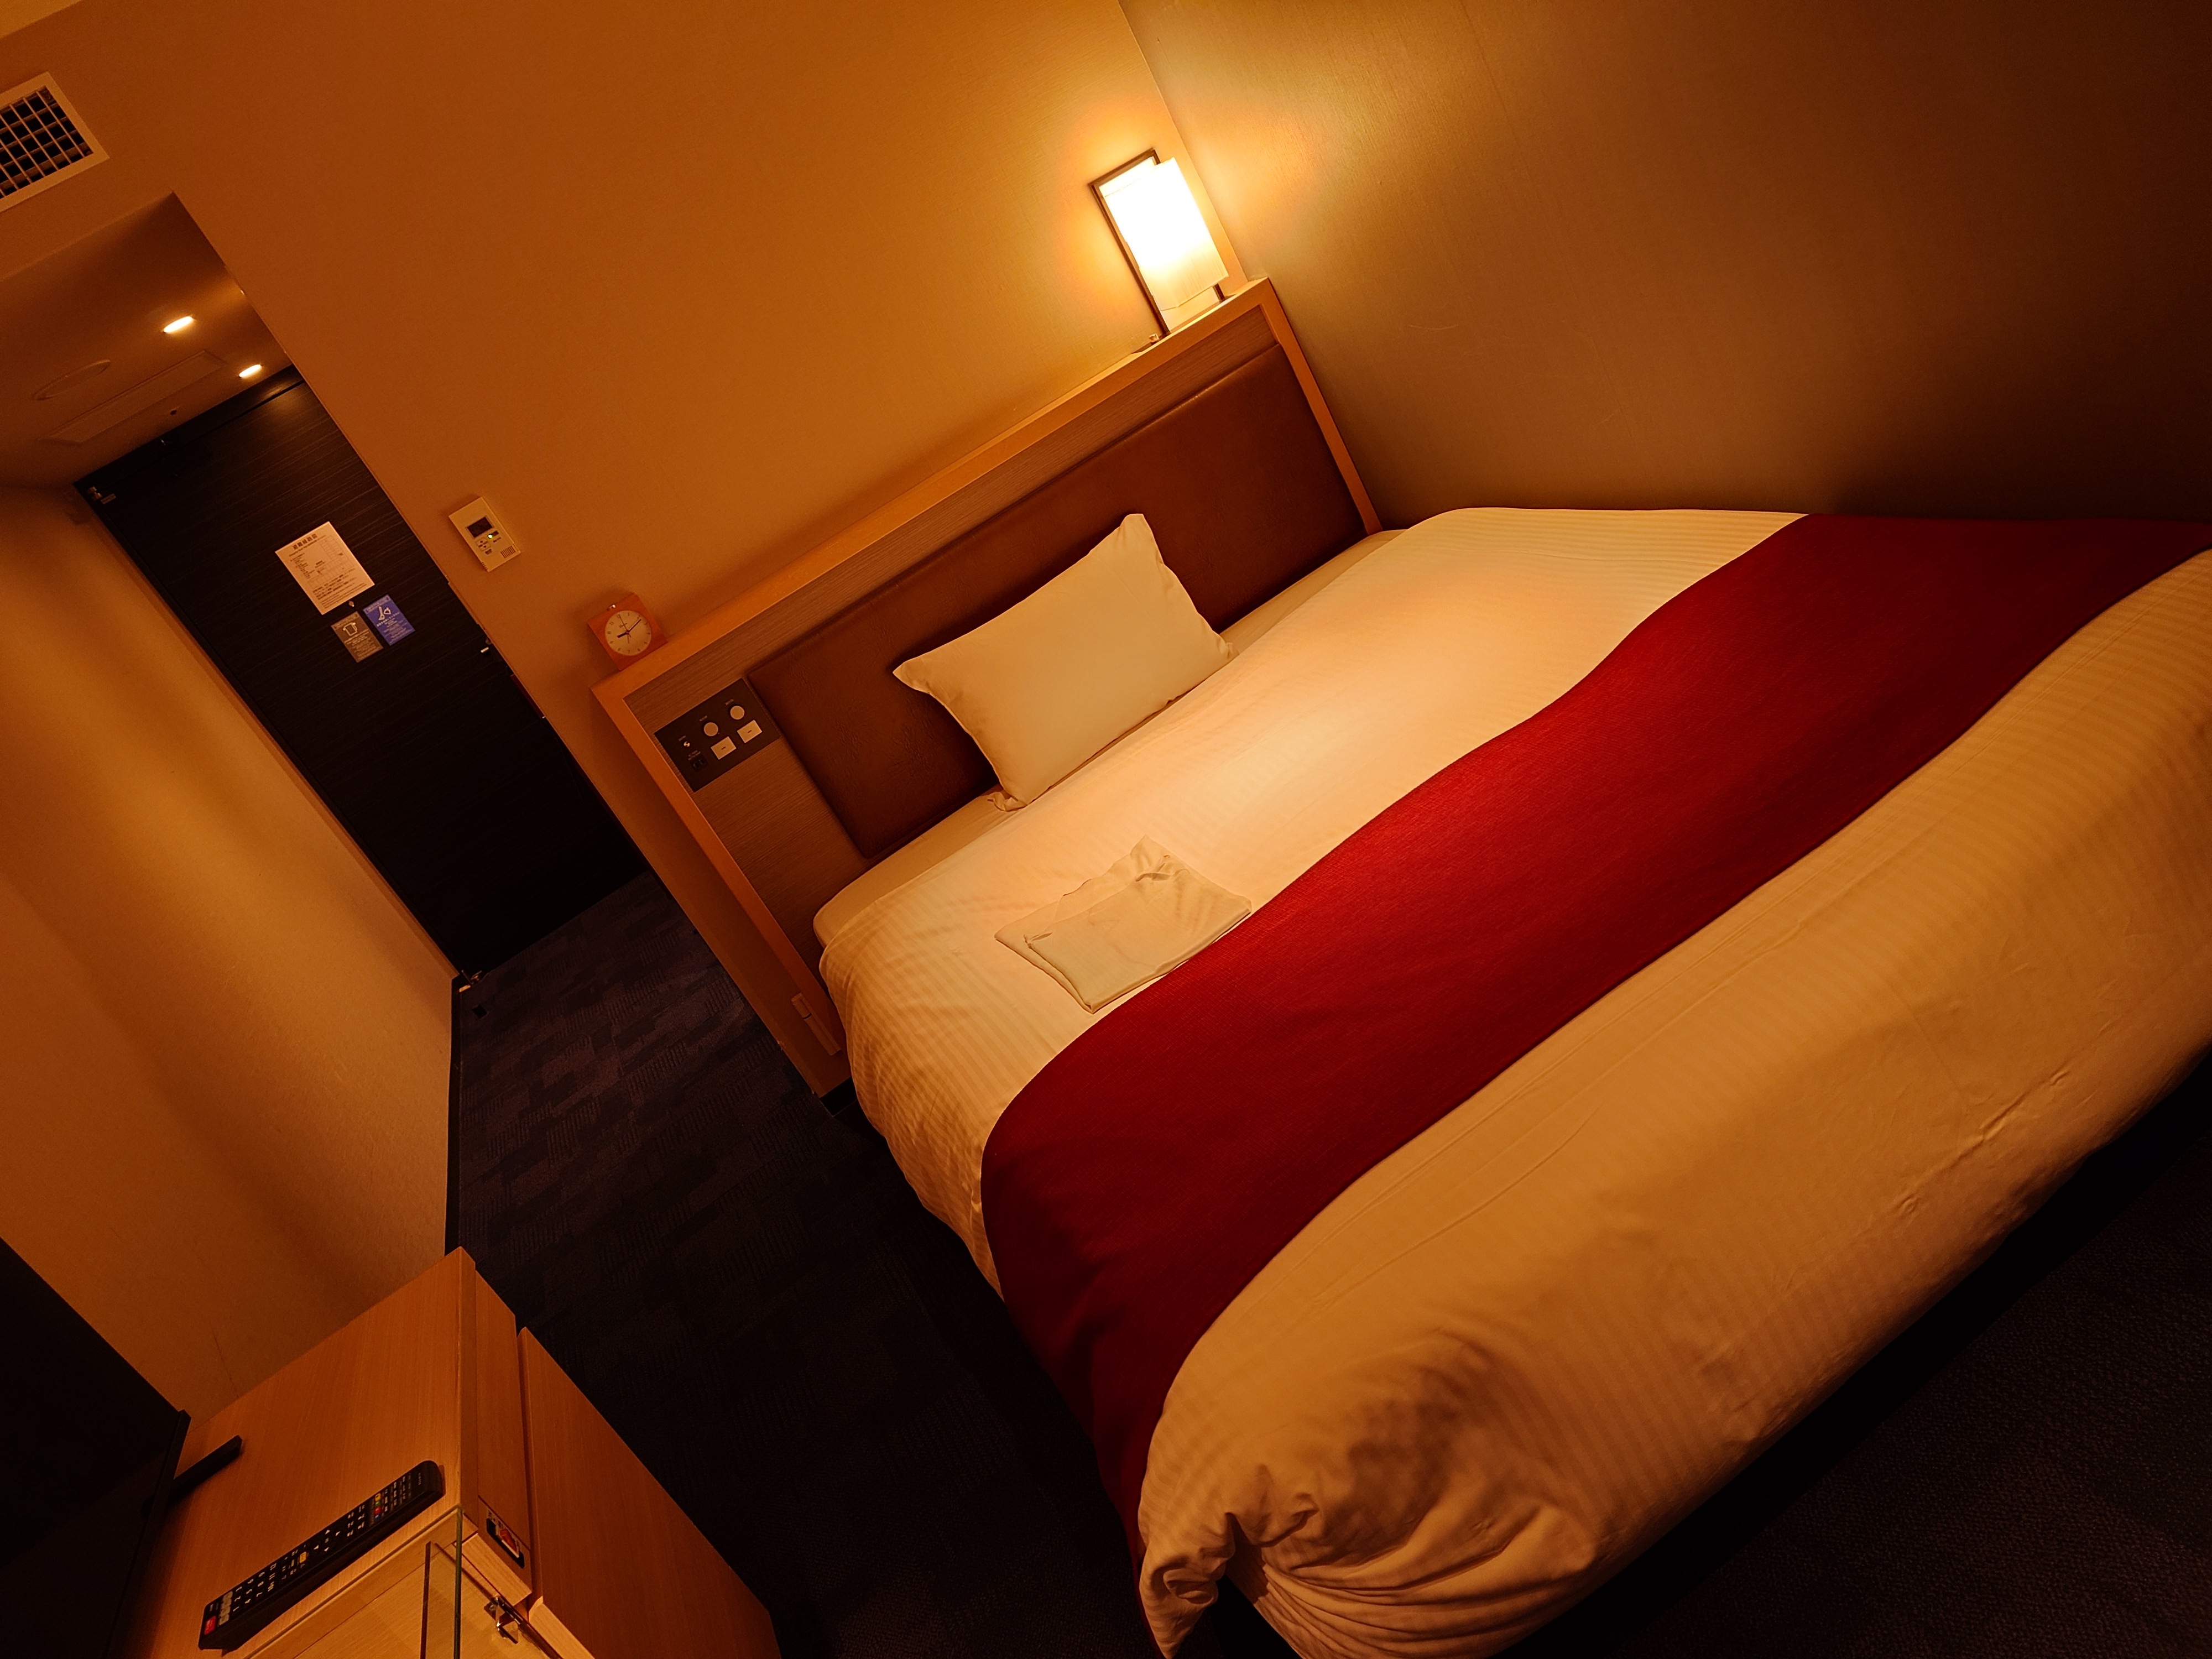
参考までに初日の部屋はこれ。
あまりに部屋が快適だったのと、そこまで見たいイベントもなかったのでついごろごろしてしてしまった。しかも、椅子が合わなかったのか、翌日腰痛になってしまう。
16時過ぎまで結局ごろごろしてしまったが、折角来たのだからちゃんとイベントを見ないと、徳島の街を遊びつくさないとと思い立ち、外に出ることにした。
このときは、正直この時間から回れる範囲は限られているため、時間を無駄にしたとか、明日朝一に帰るから結局徳島にきた意味があまりなく楽しめなかったなという後悔の念に苛まれていた。
ポッポ街見物
ポッポ街は朝とはうって変わって大勢の人でにぎわっていた。
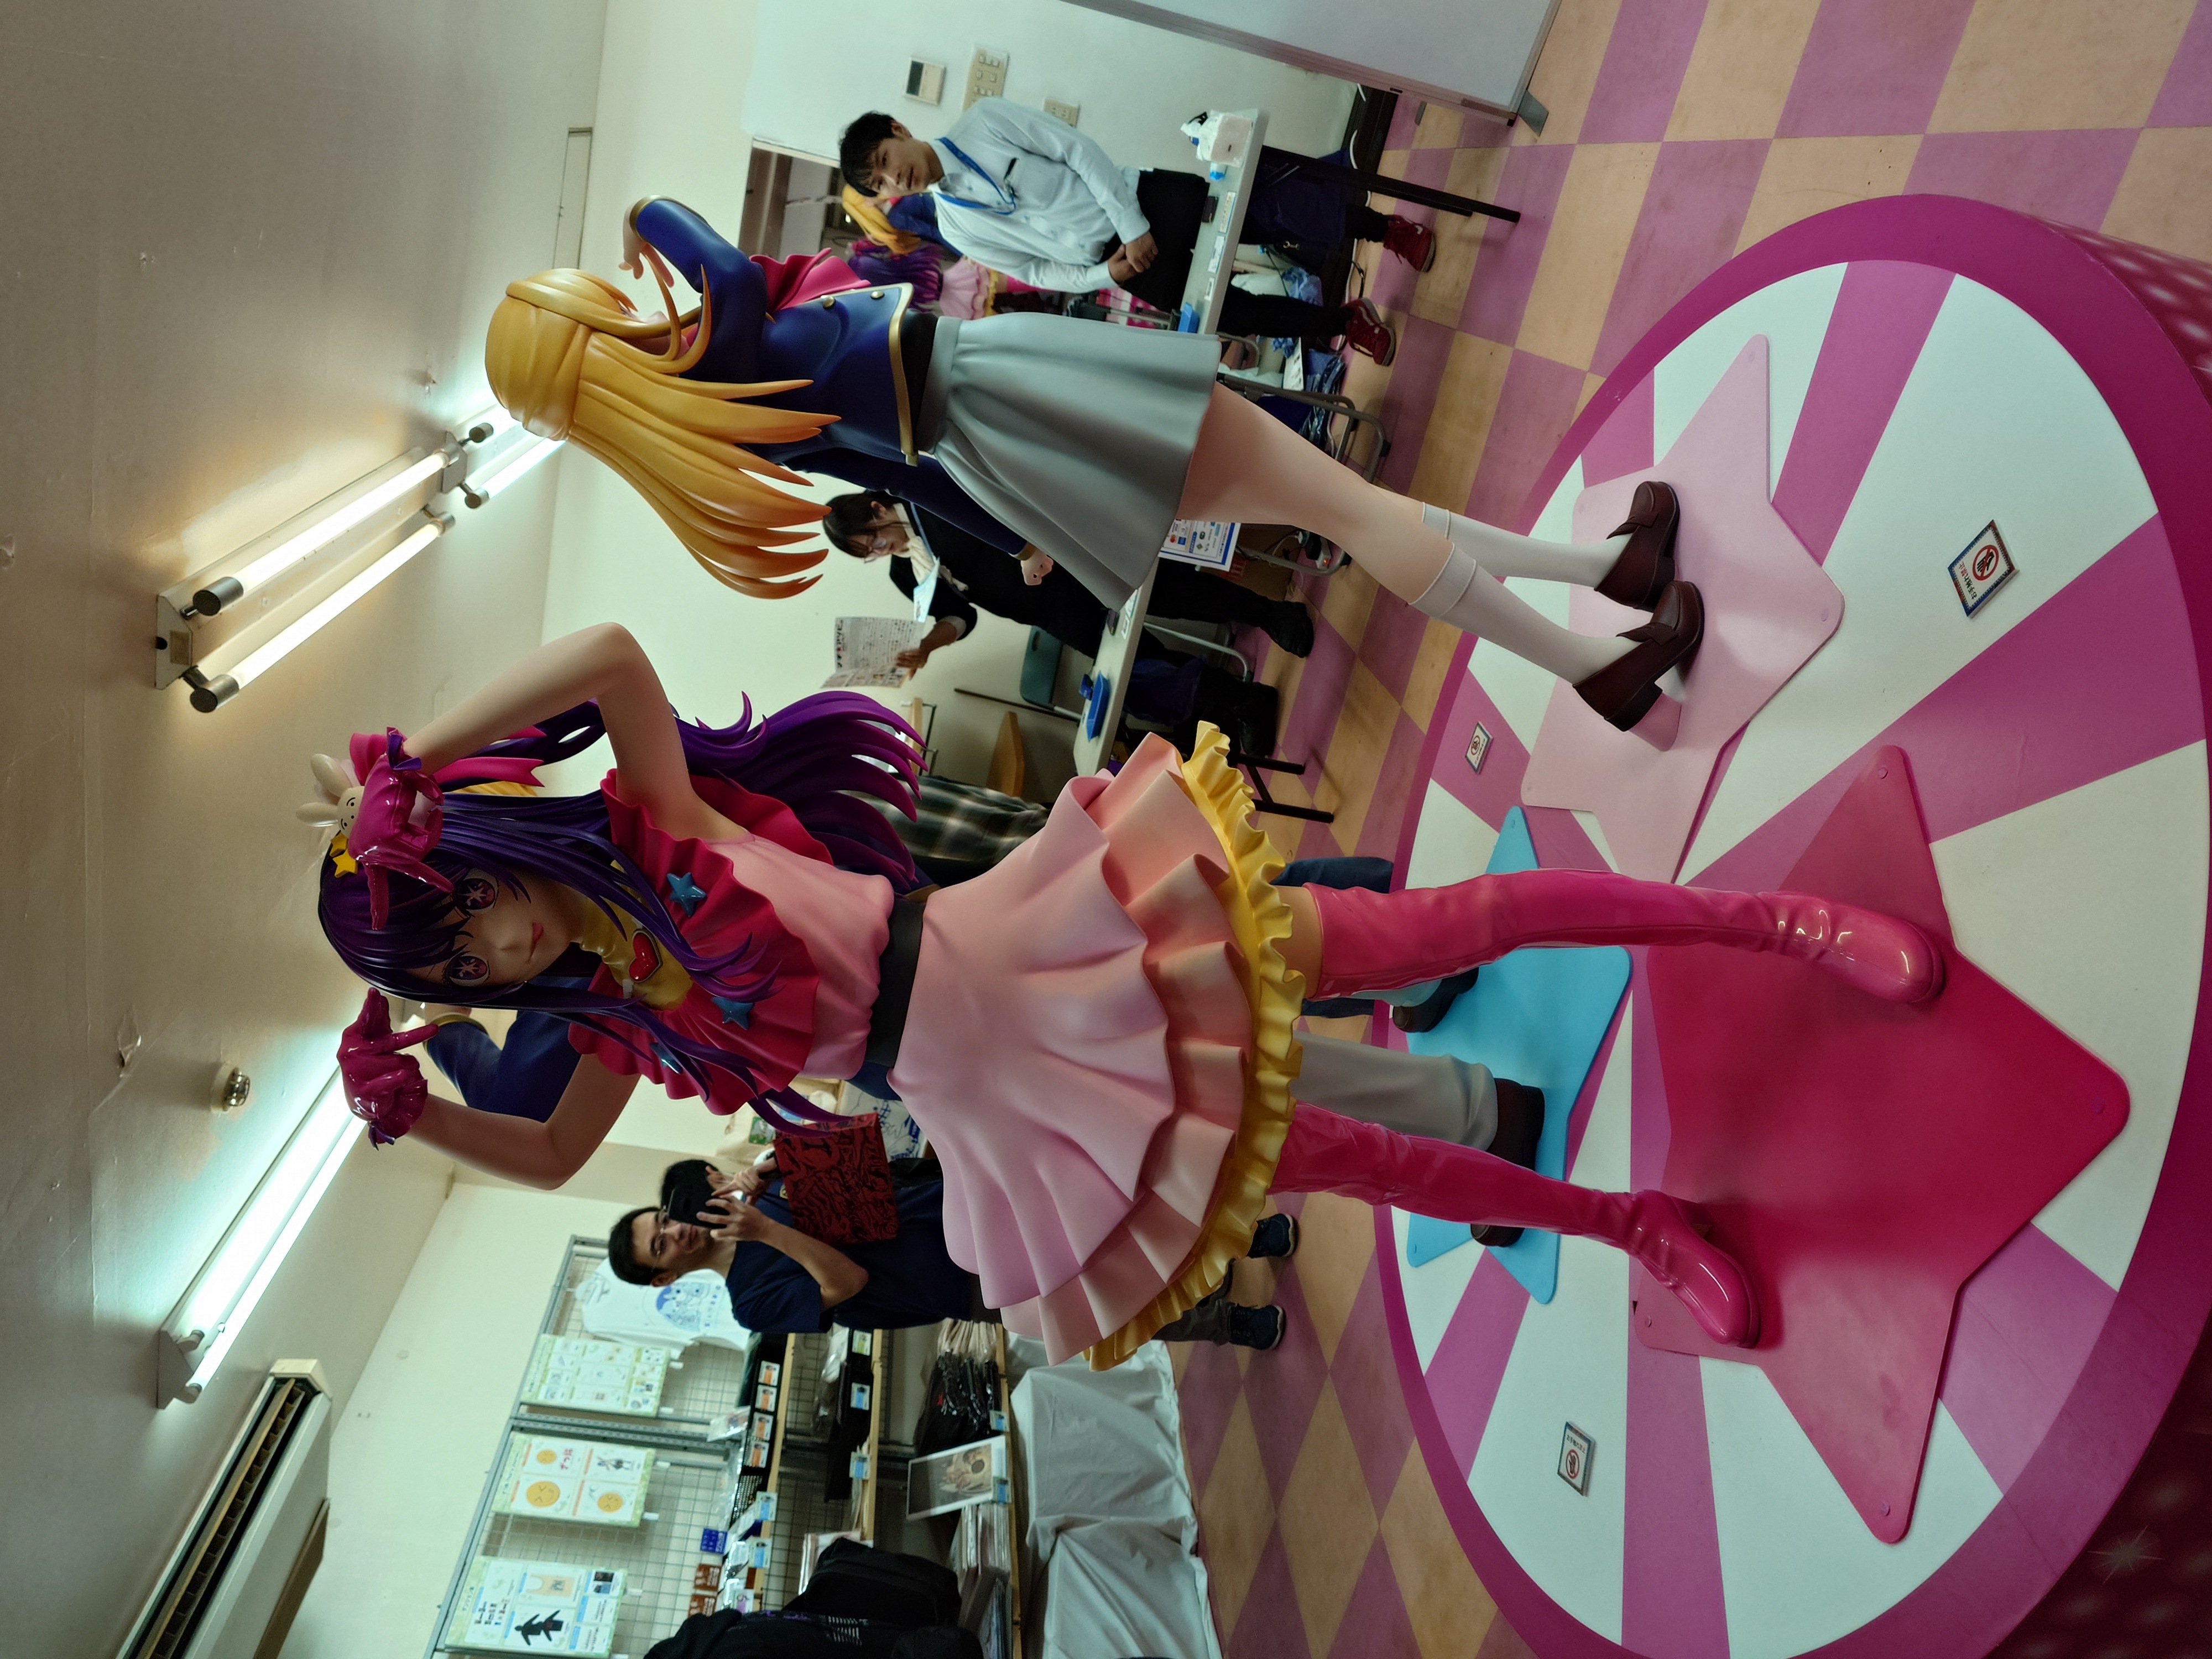
推しの子ブースは等身大フィギュアがあるなど力の入れようがすごかった。
アクリルスタンドもサイズ感がおかしい。
セル画作成を体験できるブースなど、様々なブースがあり、どこも盛り上がっていた。

もちろん唯一目をつけていたゆずソフトのブースにも行った。予想していたが微妙に臭かった。と言ってもかつて大阪日本橋にあったとらのあなよりはずいぶんマシなくらいだ。最近の公衆衛生の進化には驚かされる。
写真をじゃんじゃん撮ってくださいと言われたので撮ったものの、言うほど撮影対象はなく、そもそも私はゆずソフトのファンではあるものの製品も持っていないので特に何も買わずに立ち去った。
むしろ、ゆずソフトのファンというより、むりりん先生とこぶいち先生、こもわた先生が好きなだけというのが正しい。
神椿物語研究開発部の試遊会に参加
神椿物語研究開発部という中二病感がすごいデベロッパーの試遊会に参加した。いろいろなタイトルの試遊があり、ADVやVRからカードゲームまで幅広くあった。
スタンディのキャラがかわいい。
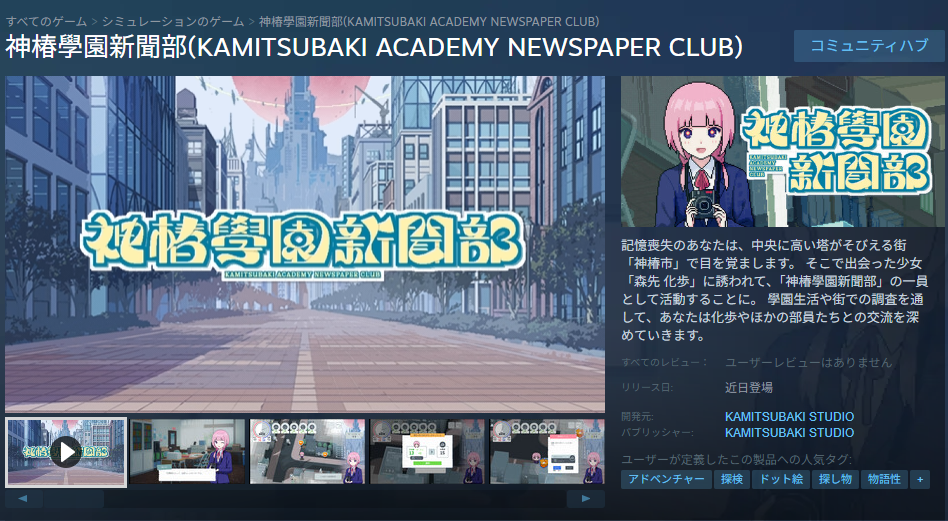
神椿學園新聞部のグラフィックがドット絵調だったのと、雰囲気が平成のゲームという感じで興味を惹かれてプレイすることにした。
最初はただの美少女ノベルゲーかと思ってプレイしていたが、実際には制限時間内にミッションを達成するタイプのアドベンチャーゲームで、アイテムを拾うなど、特定アクションをとると時間が減るなど戦略性も見られて面白く、少しハマってしまった。
今どきのゲームにしてはCVがなかったが、逆にそれが本作を引き立てていると思う。
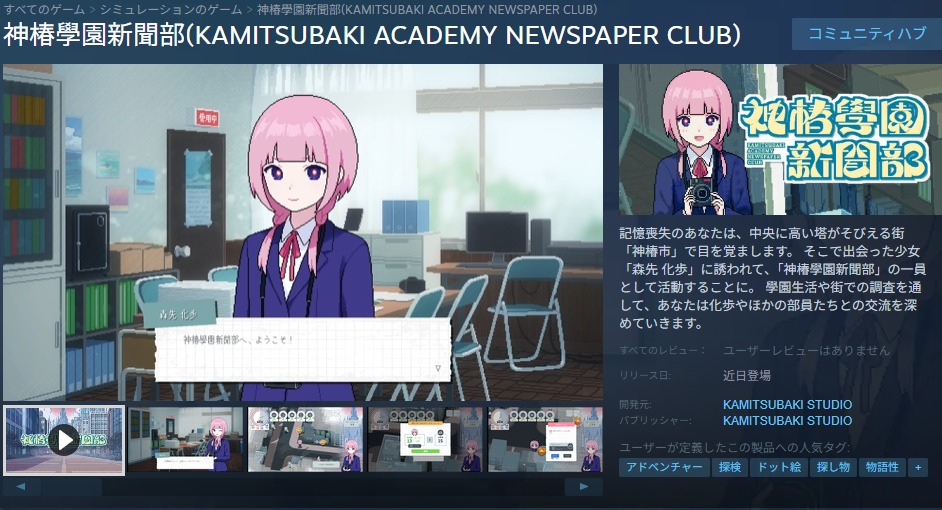
ビジュアルが結構好きなのでリリースされたら買うかもしれない。
ポッポ街を探索する
ポッポ街の周りをぐるぐるしていたらただの商店街ではないことに気が付いたので探索してみた。
ポッポ街の南側の通りから見ると昭和のマンションみたいなのが見えたのがすべての始まりだった。これはただの商店街ではないのでは?私はそう思い、探索を決めた。
2Fまではマチアソビのテナントフロアになっていたが3Fに入ると雰囲気はガラリと変わり、生活臭がムンムンする空間になっていた。掲示物は廃アパート感を感じるが少なくともごみカレンダーの曜日は今年の日付になっていた。
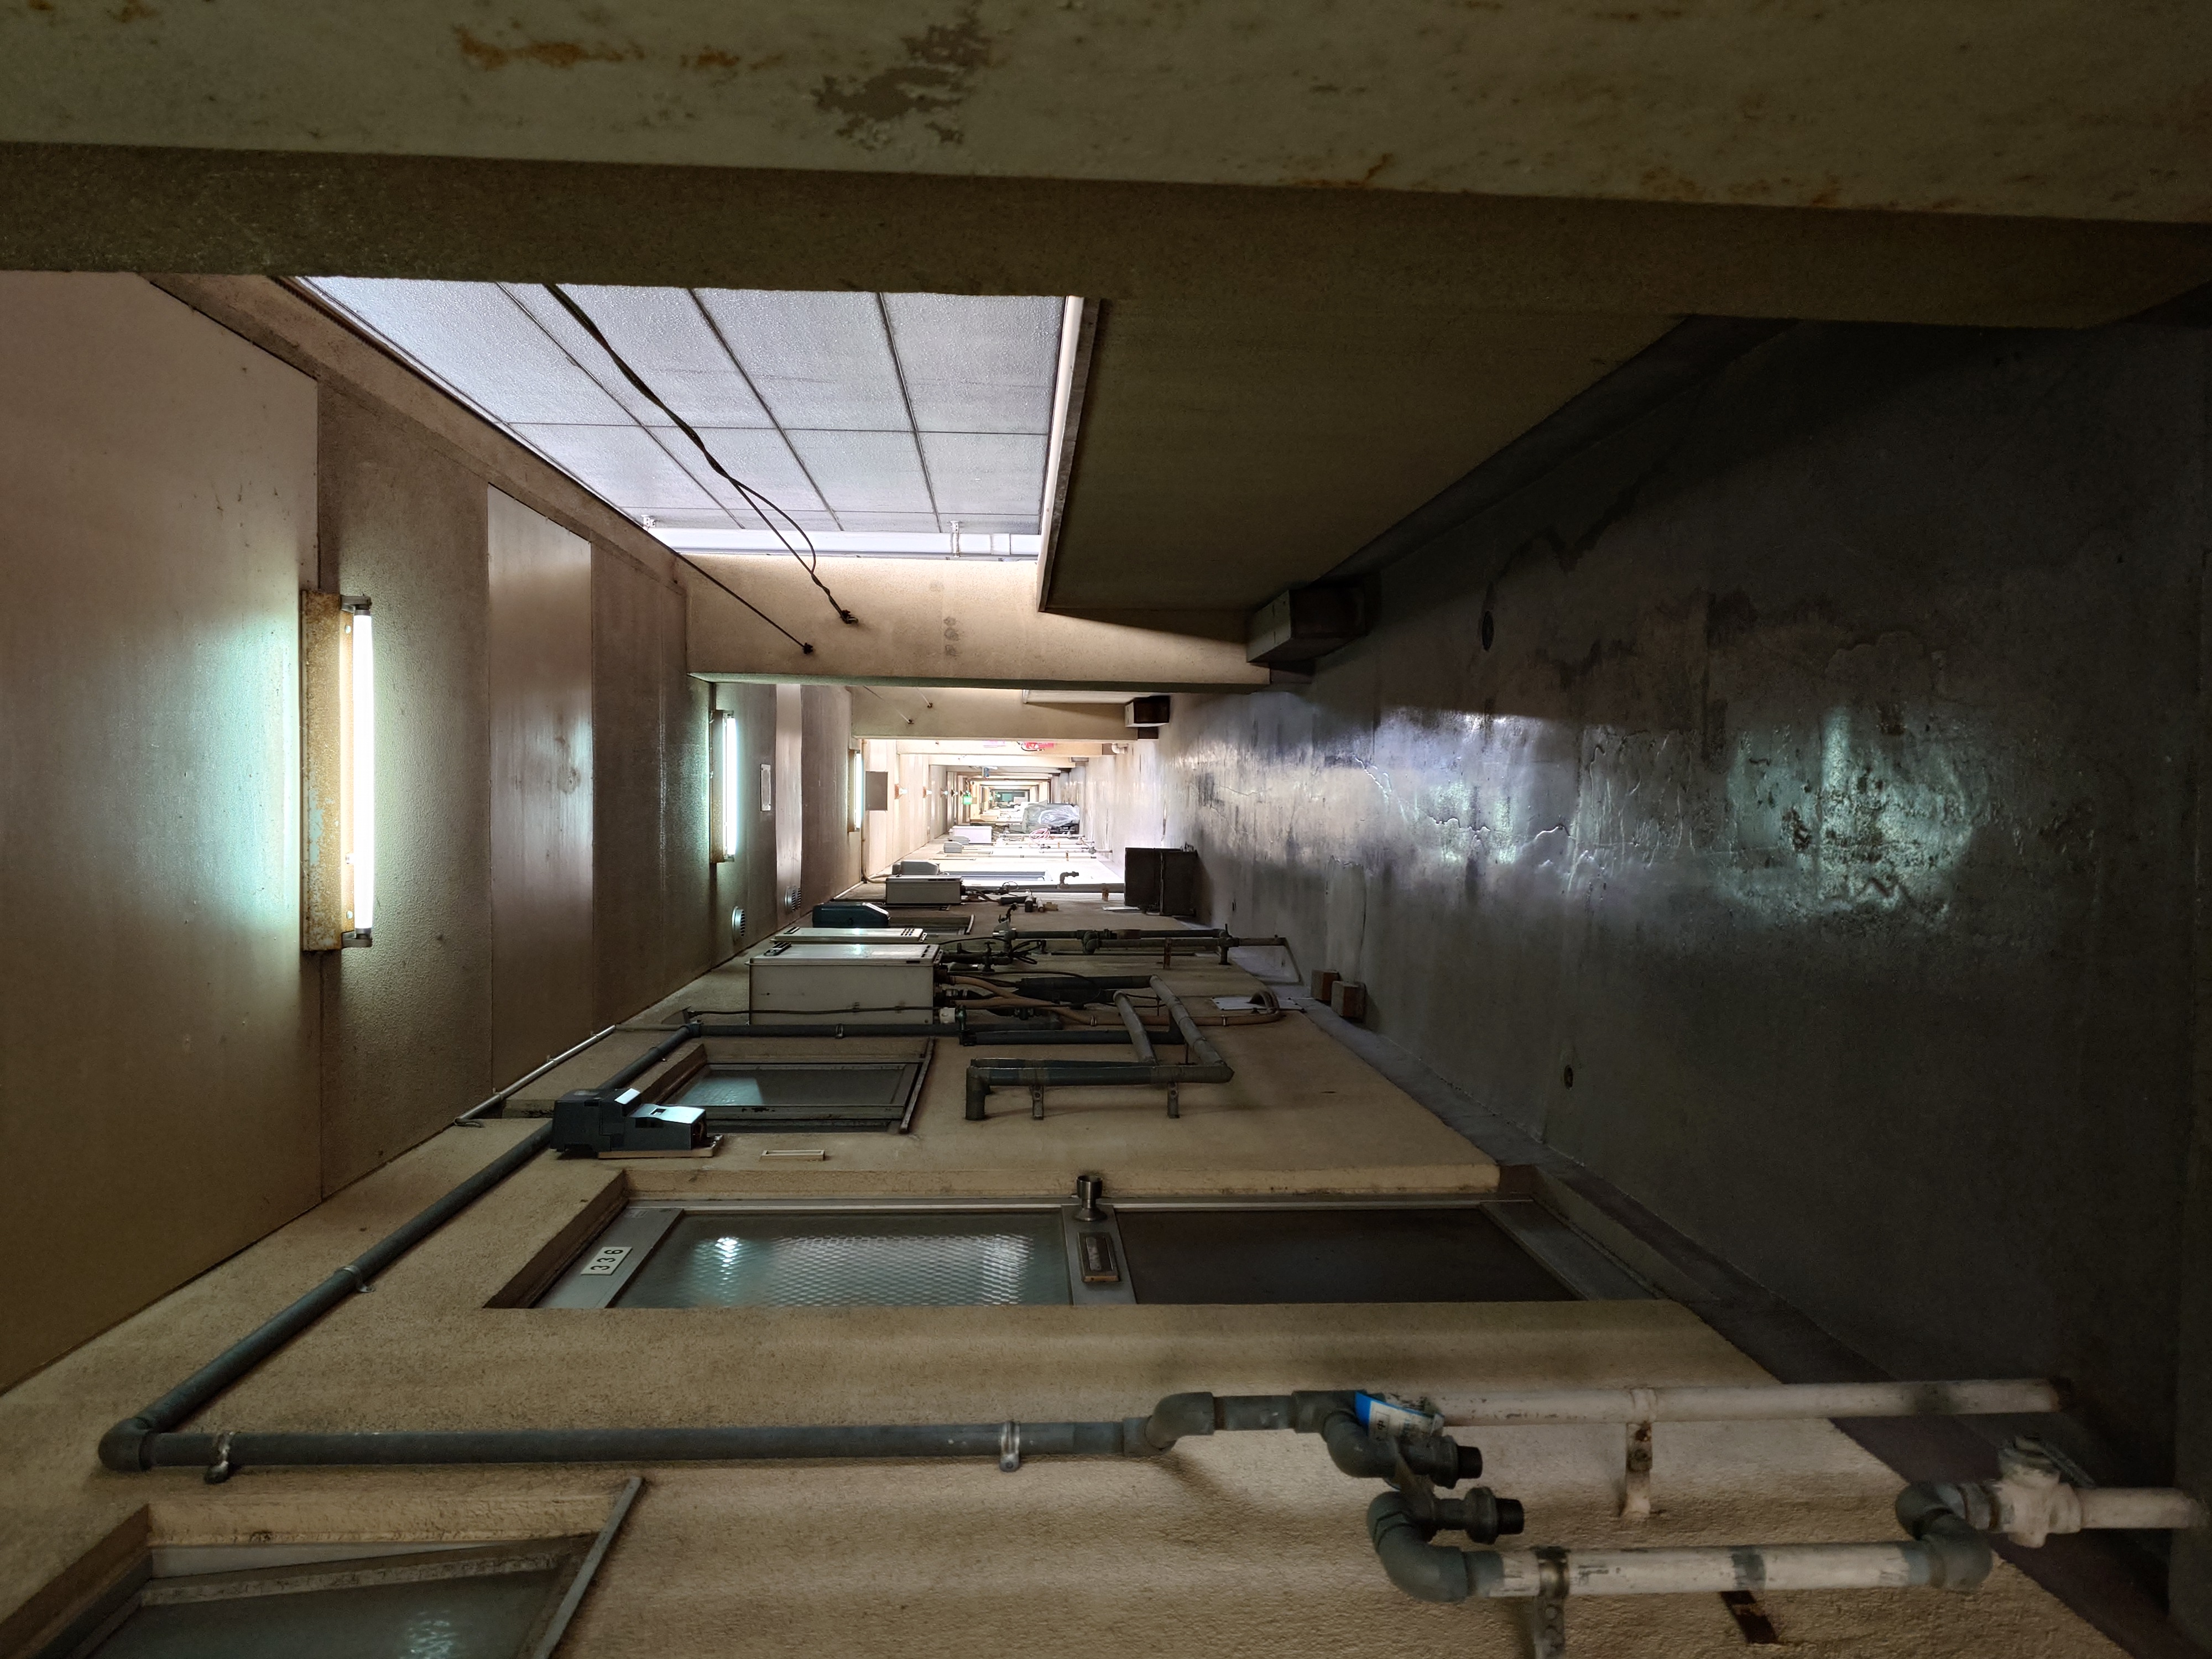
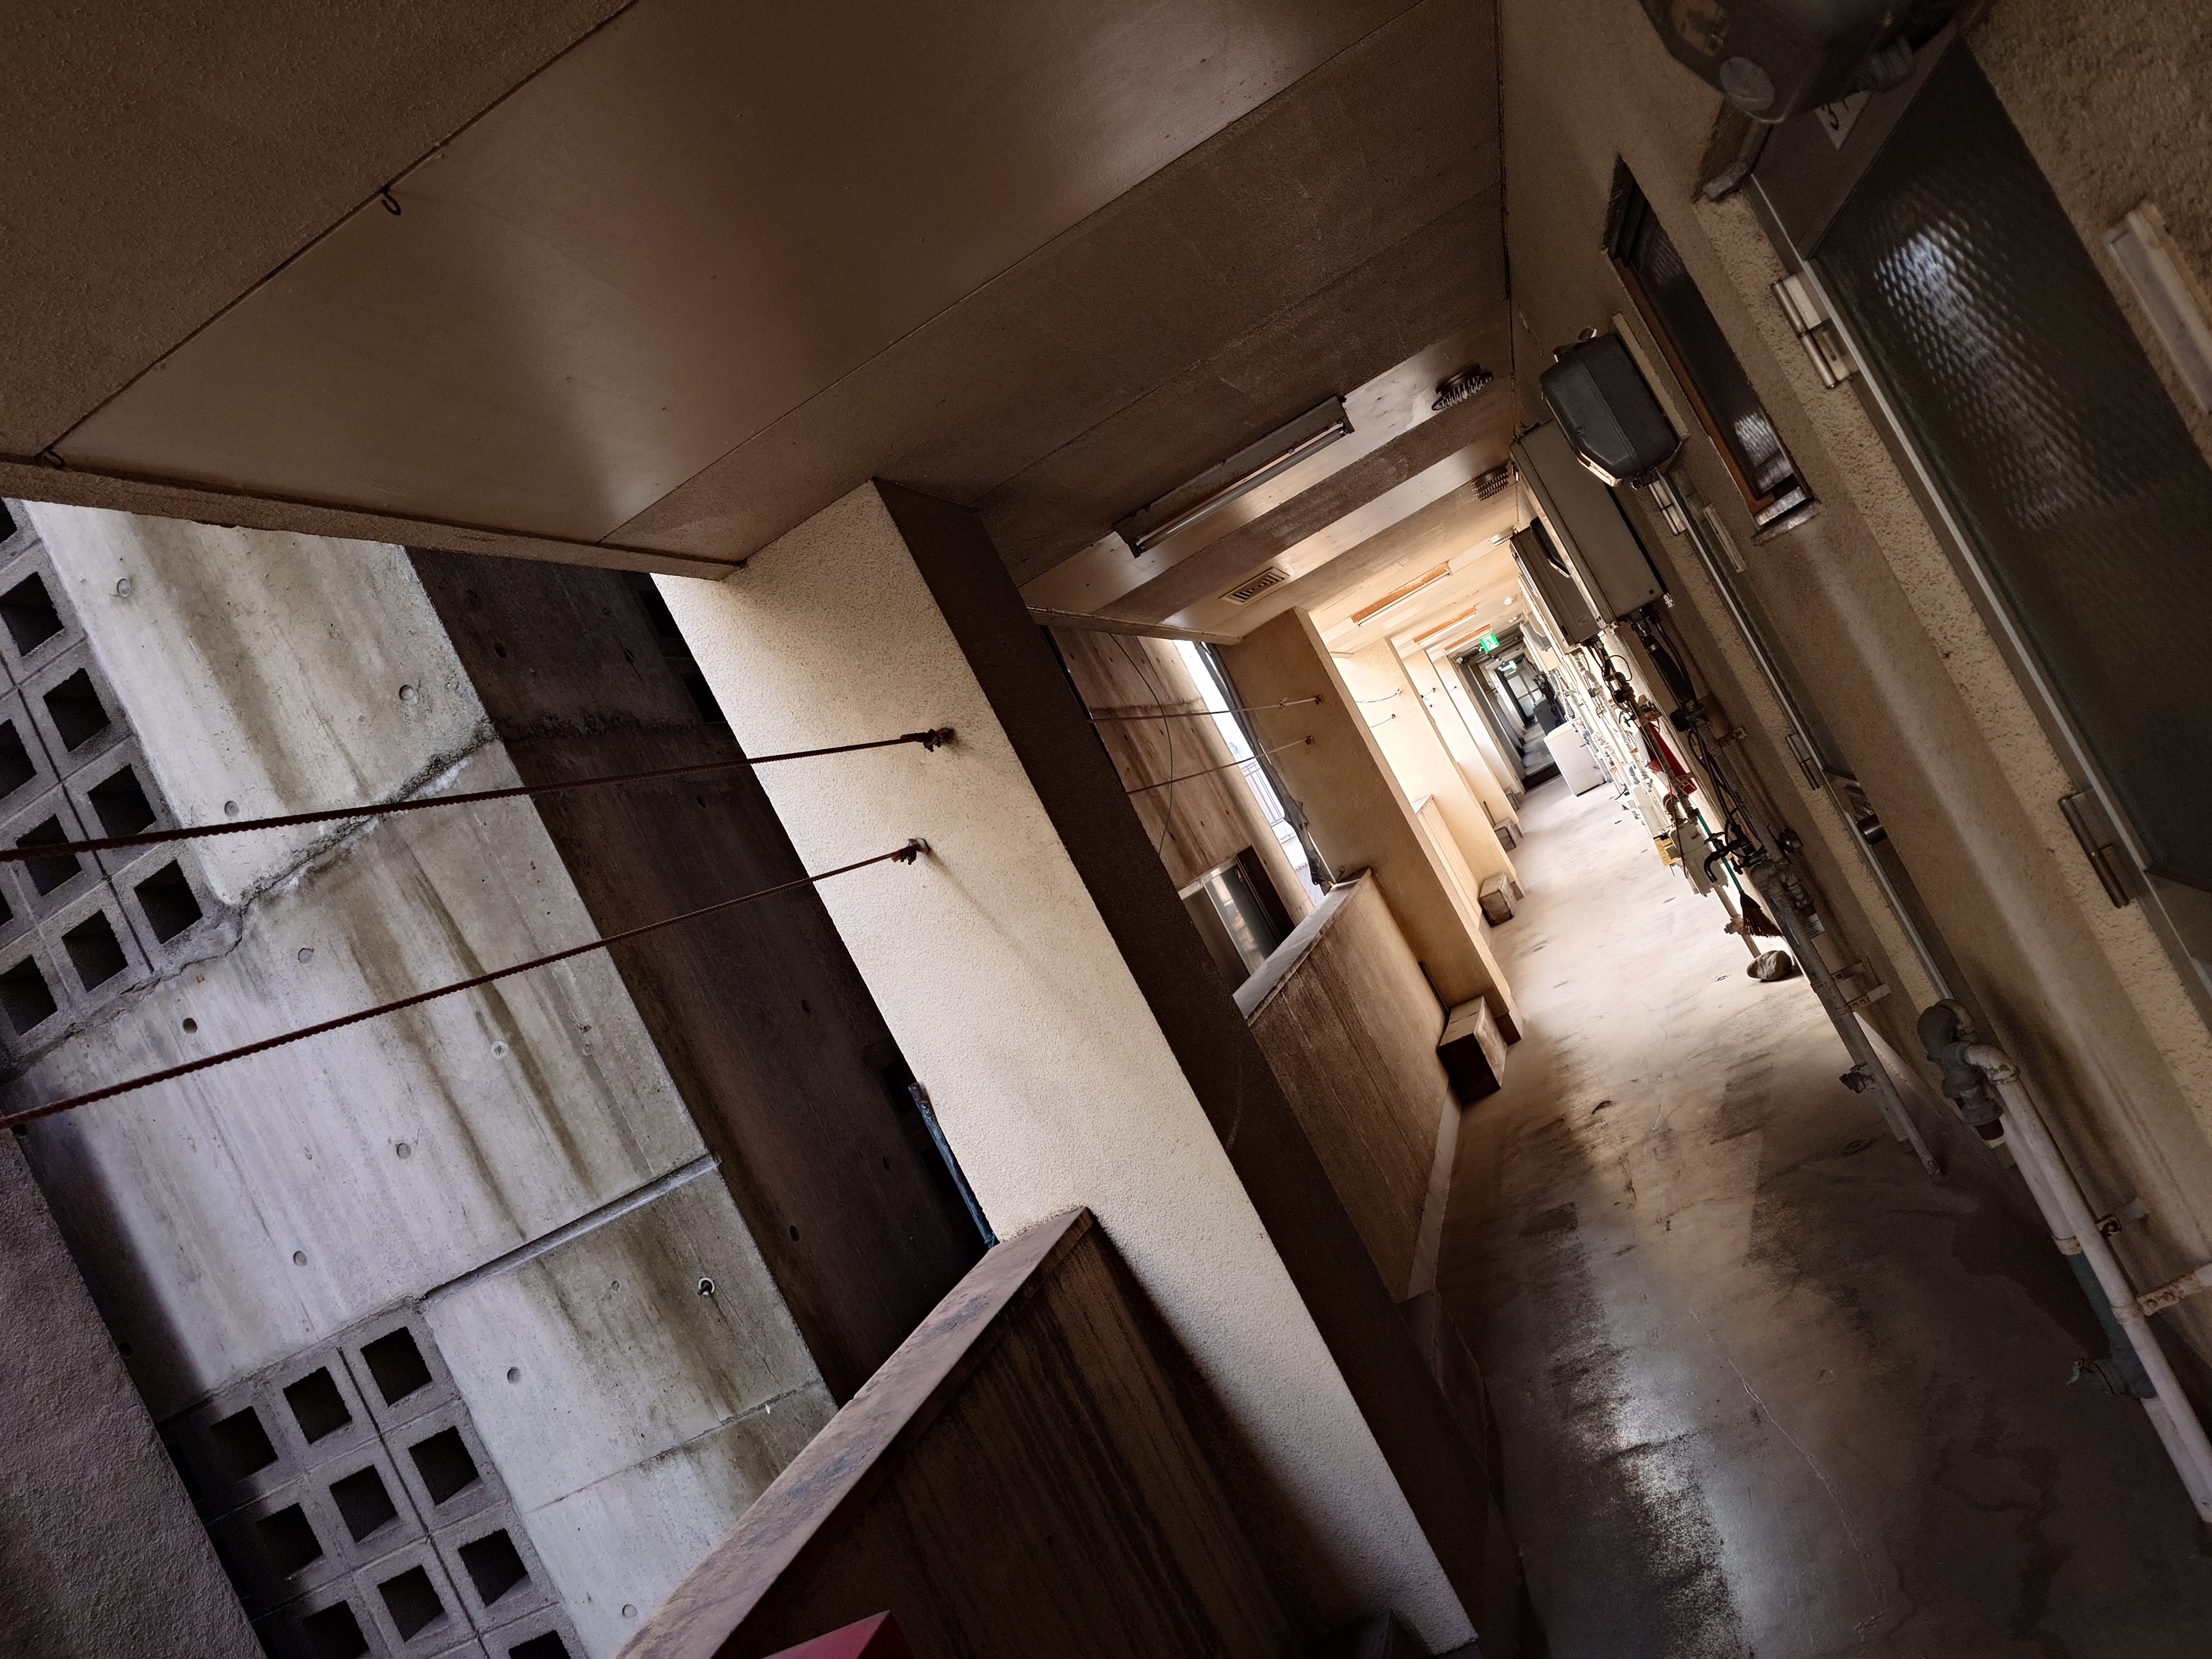
先ほど見た通路に入ってみると洗濯機が置いてあったり、洗濯物が干してあったり、ここに人が住んでいることを確信した。
上記写真左側のロープは洗濯物を干すためのやつだ。文化住宅に行くとよく見られる。
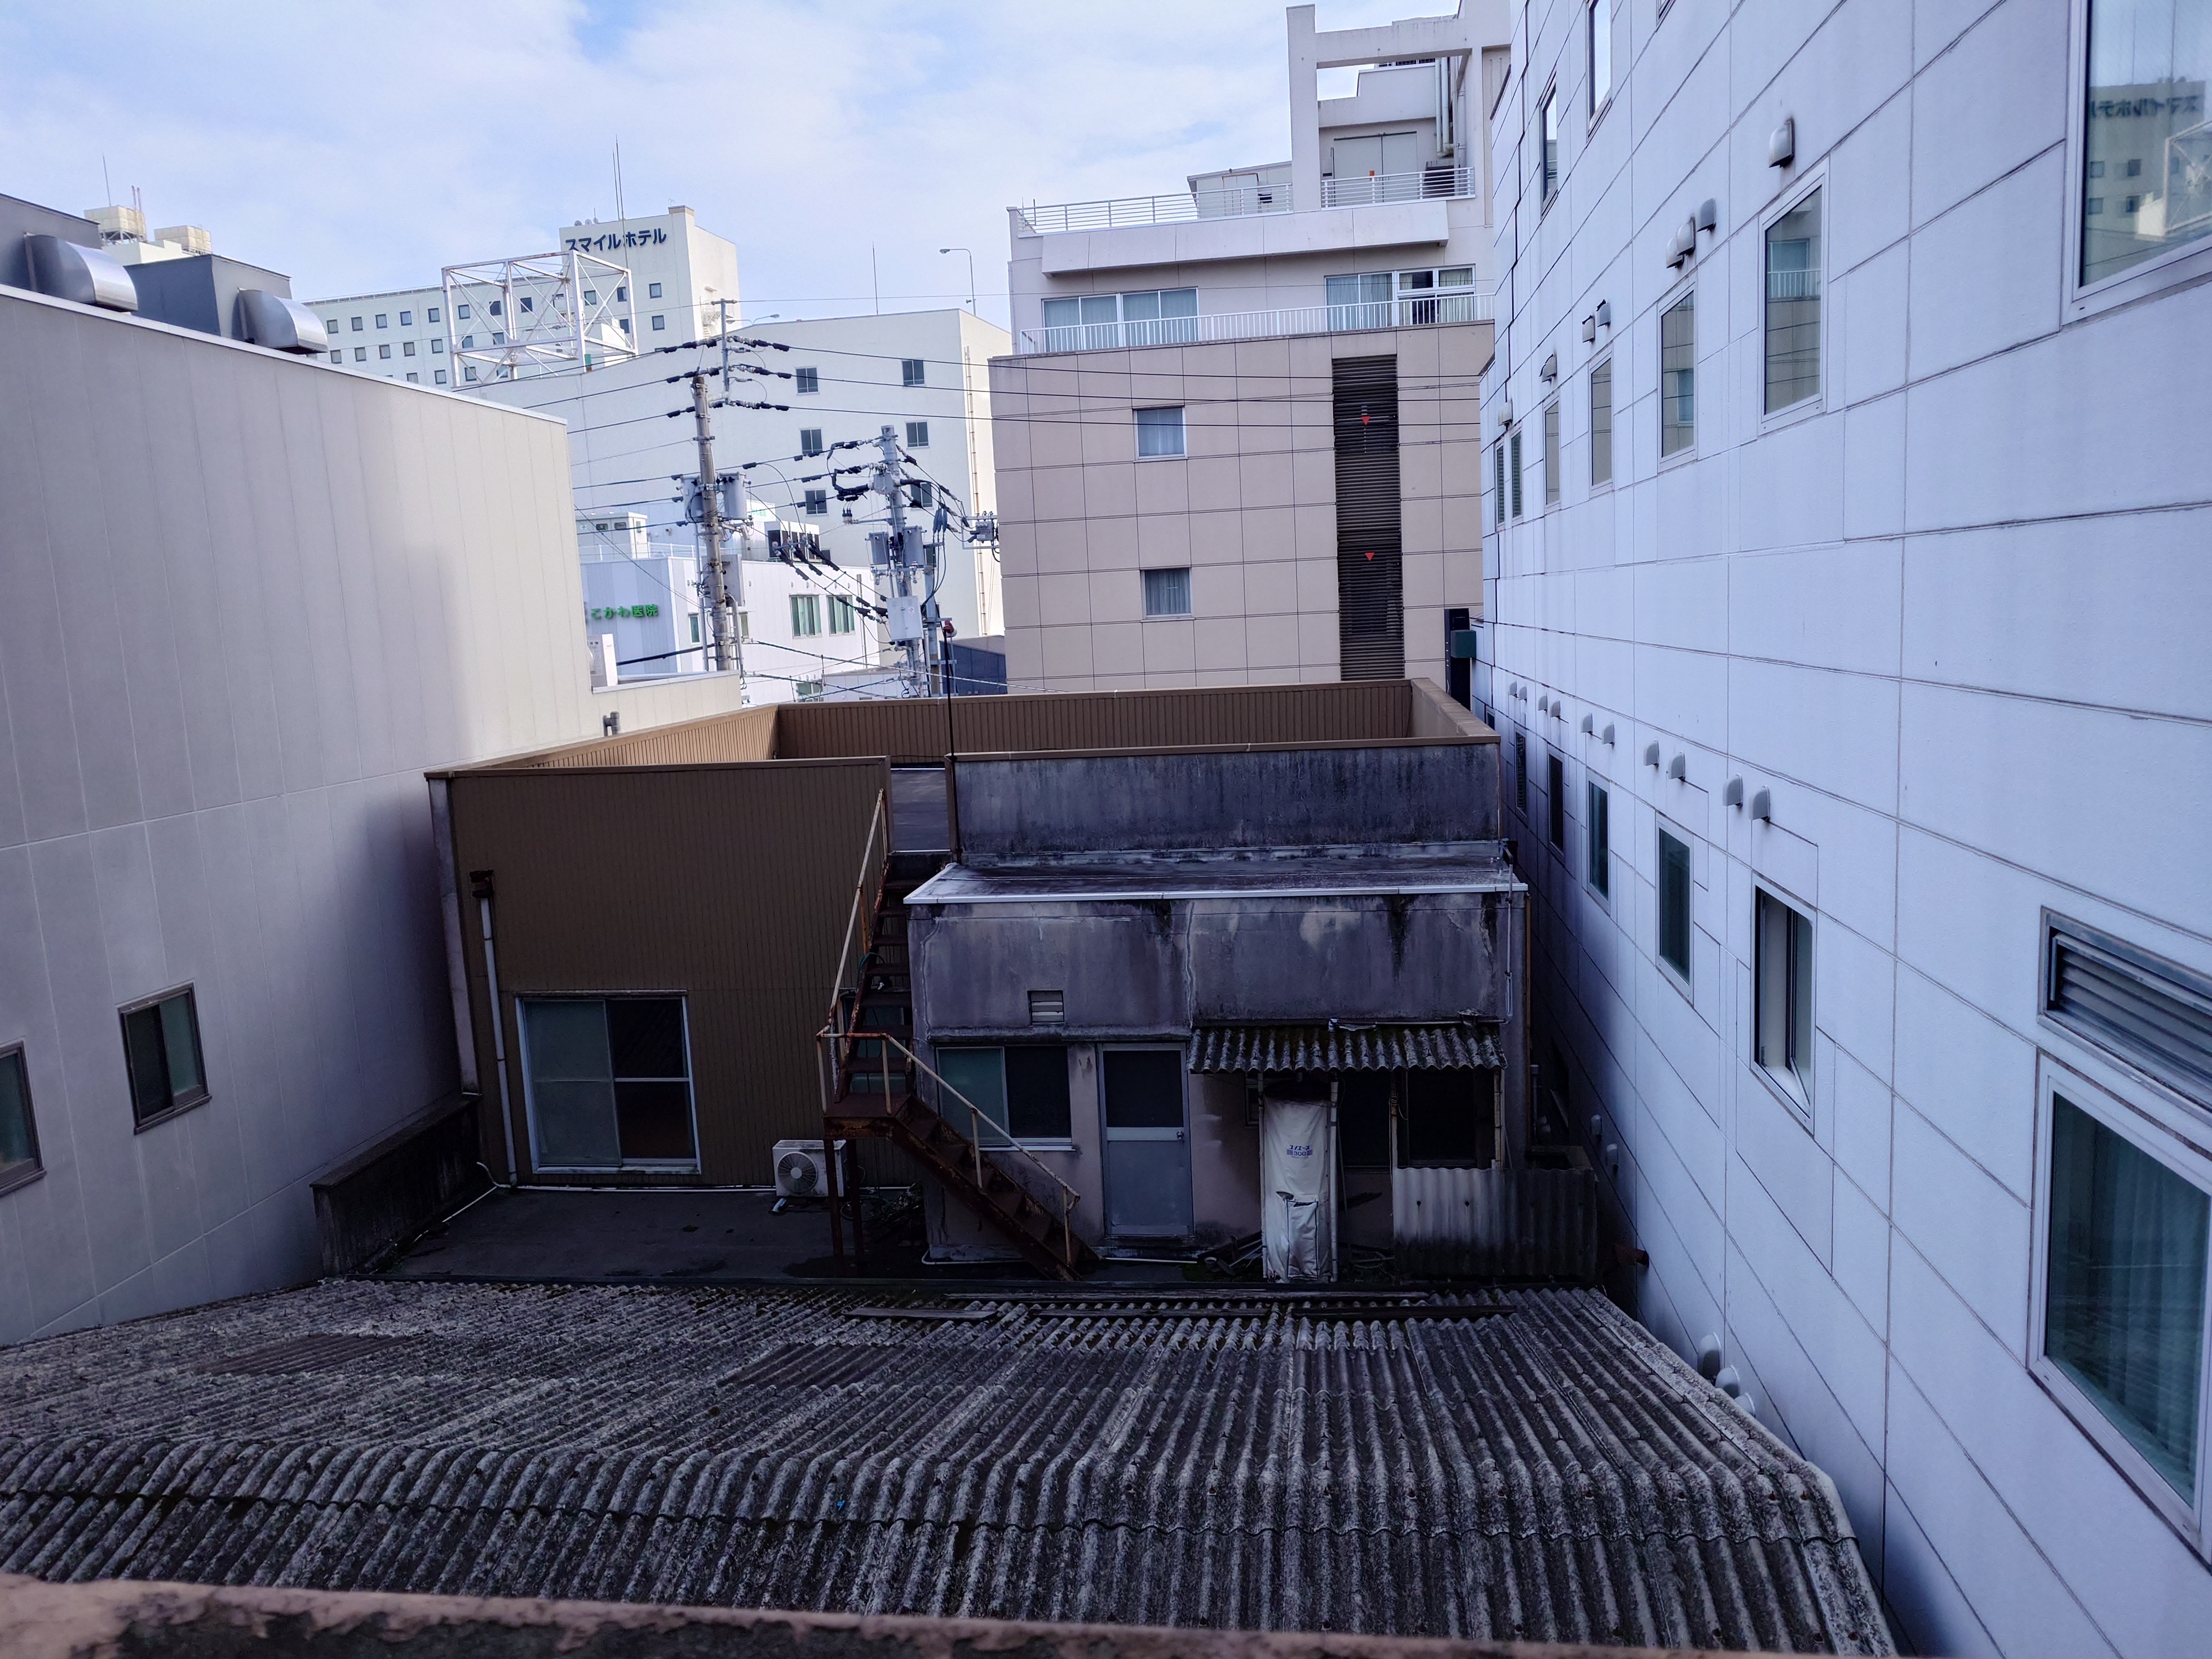
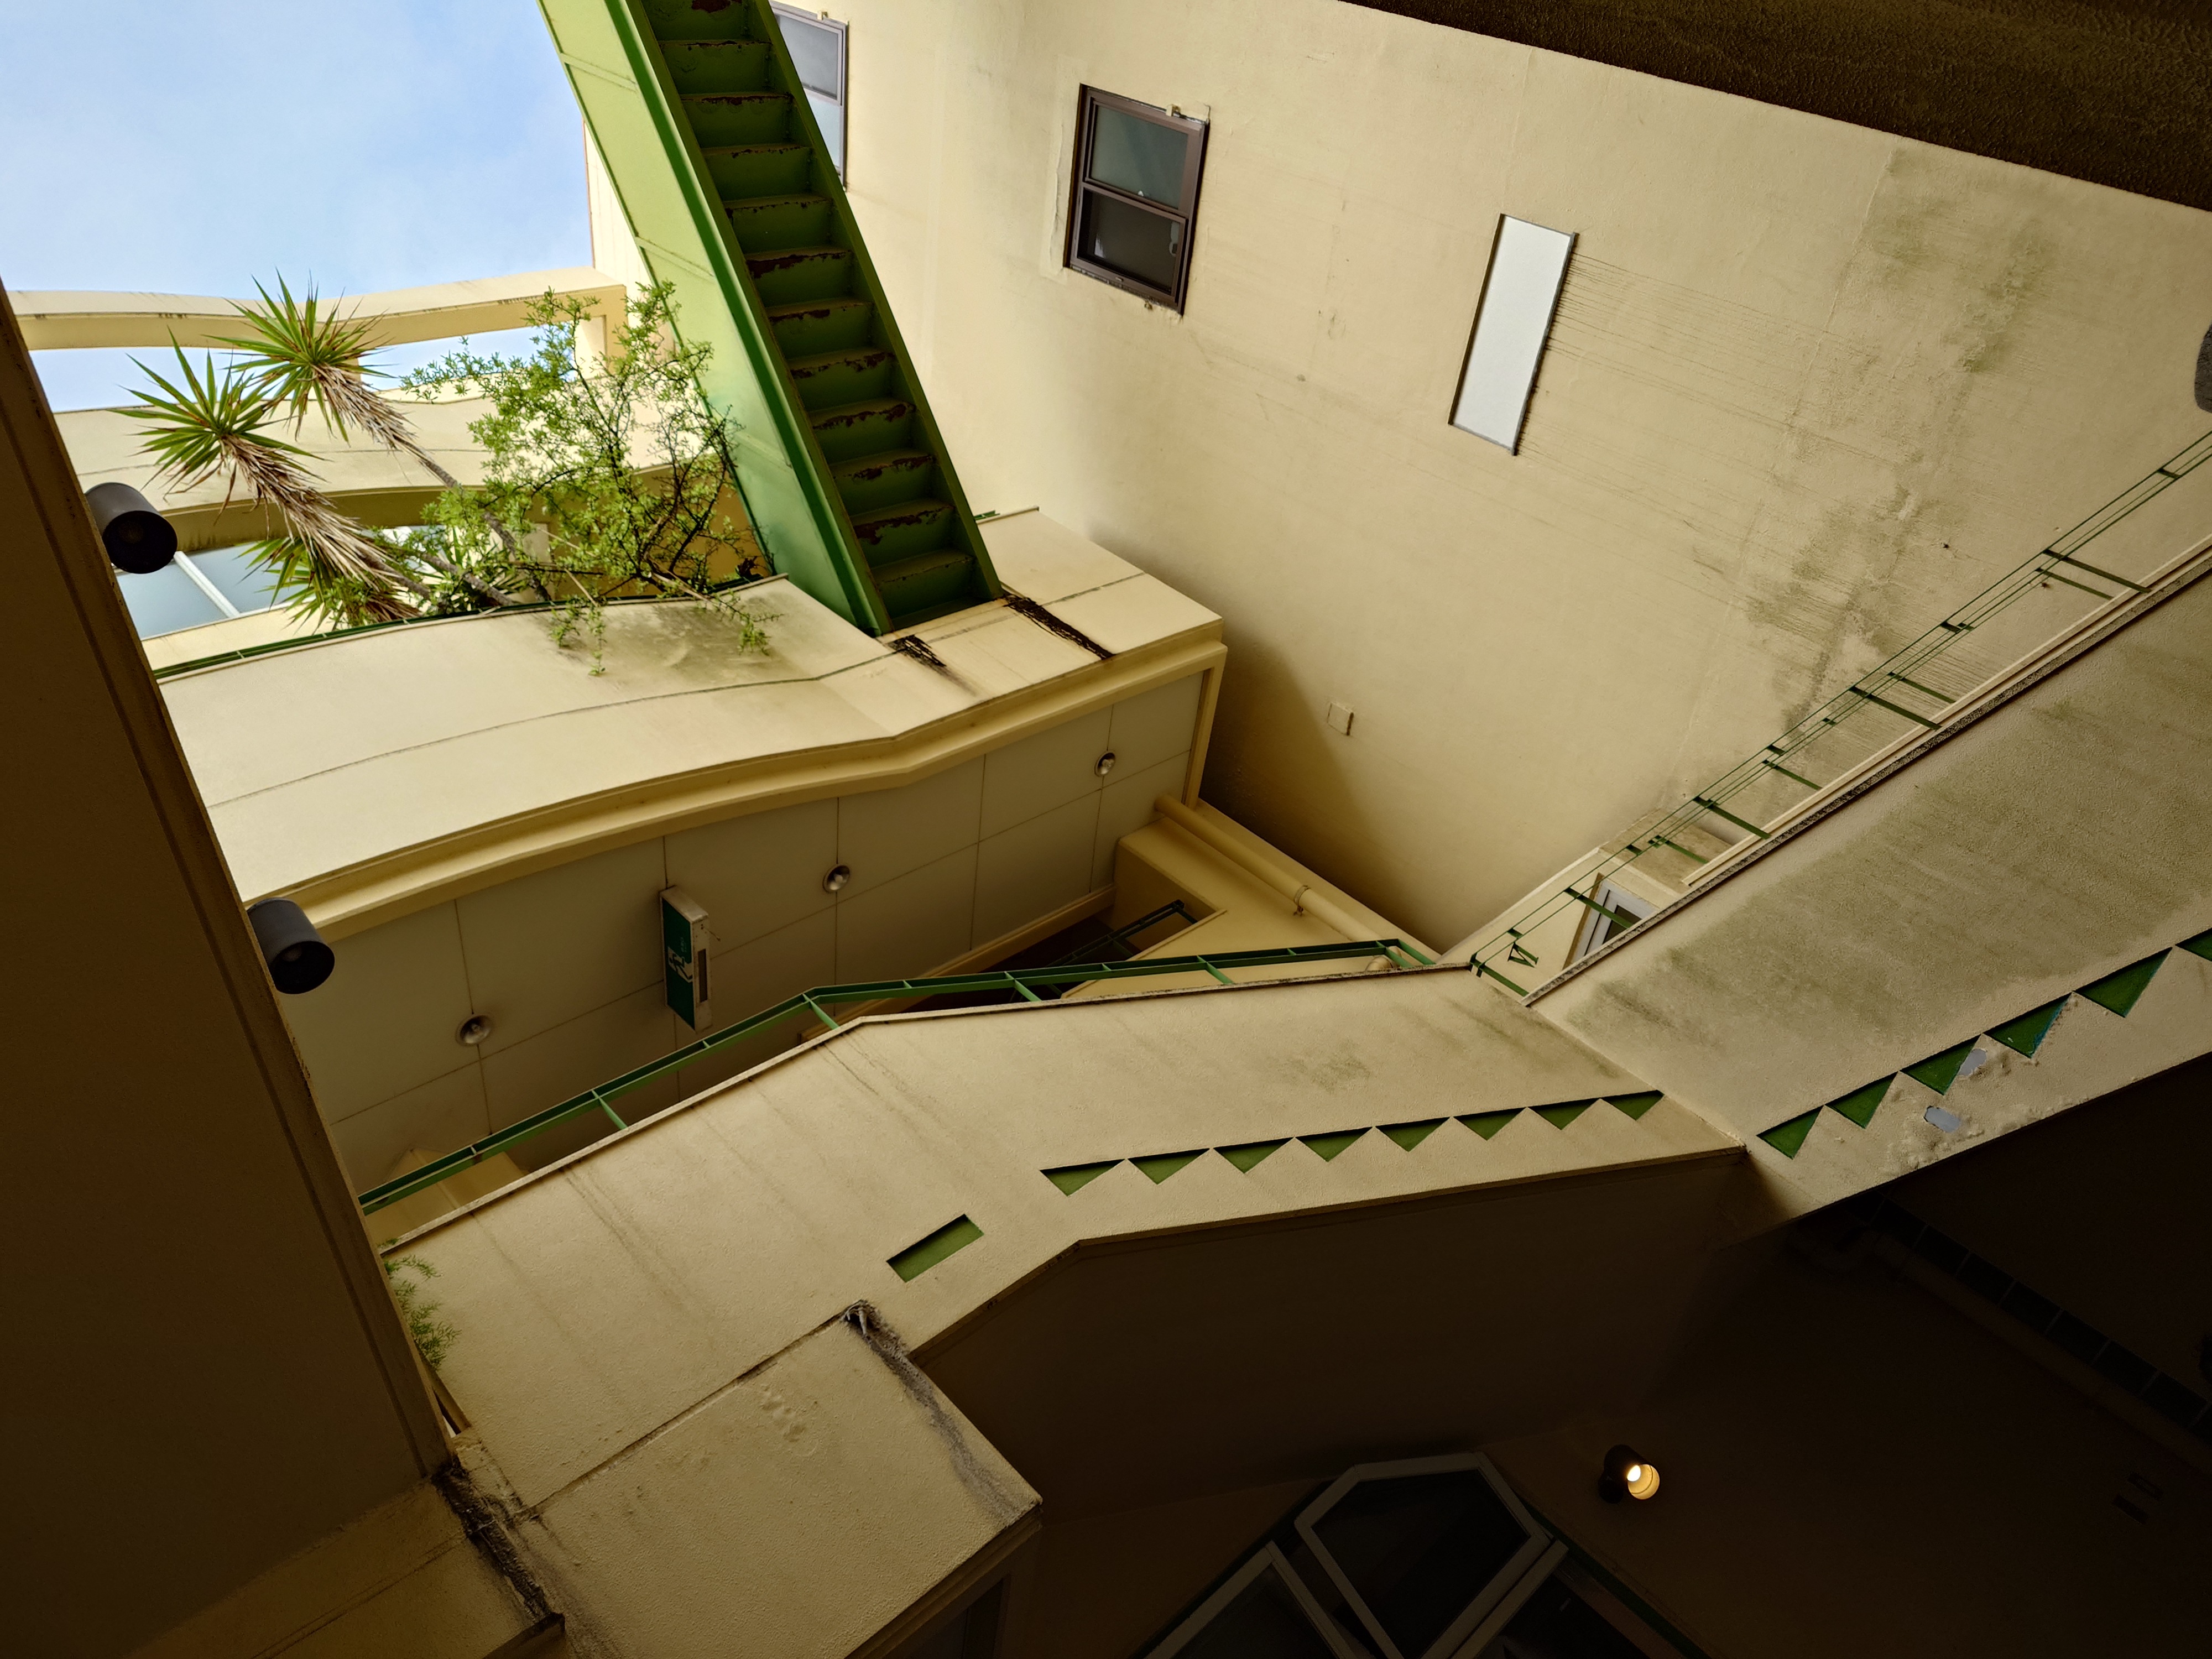
通路のベランダから見た景色は徳島駅前とは打って変わってだいぶノスタルジーを感じるものだった。昭和とは言わないが、平成初期くらいだろう。
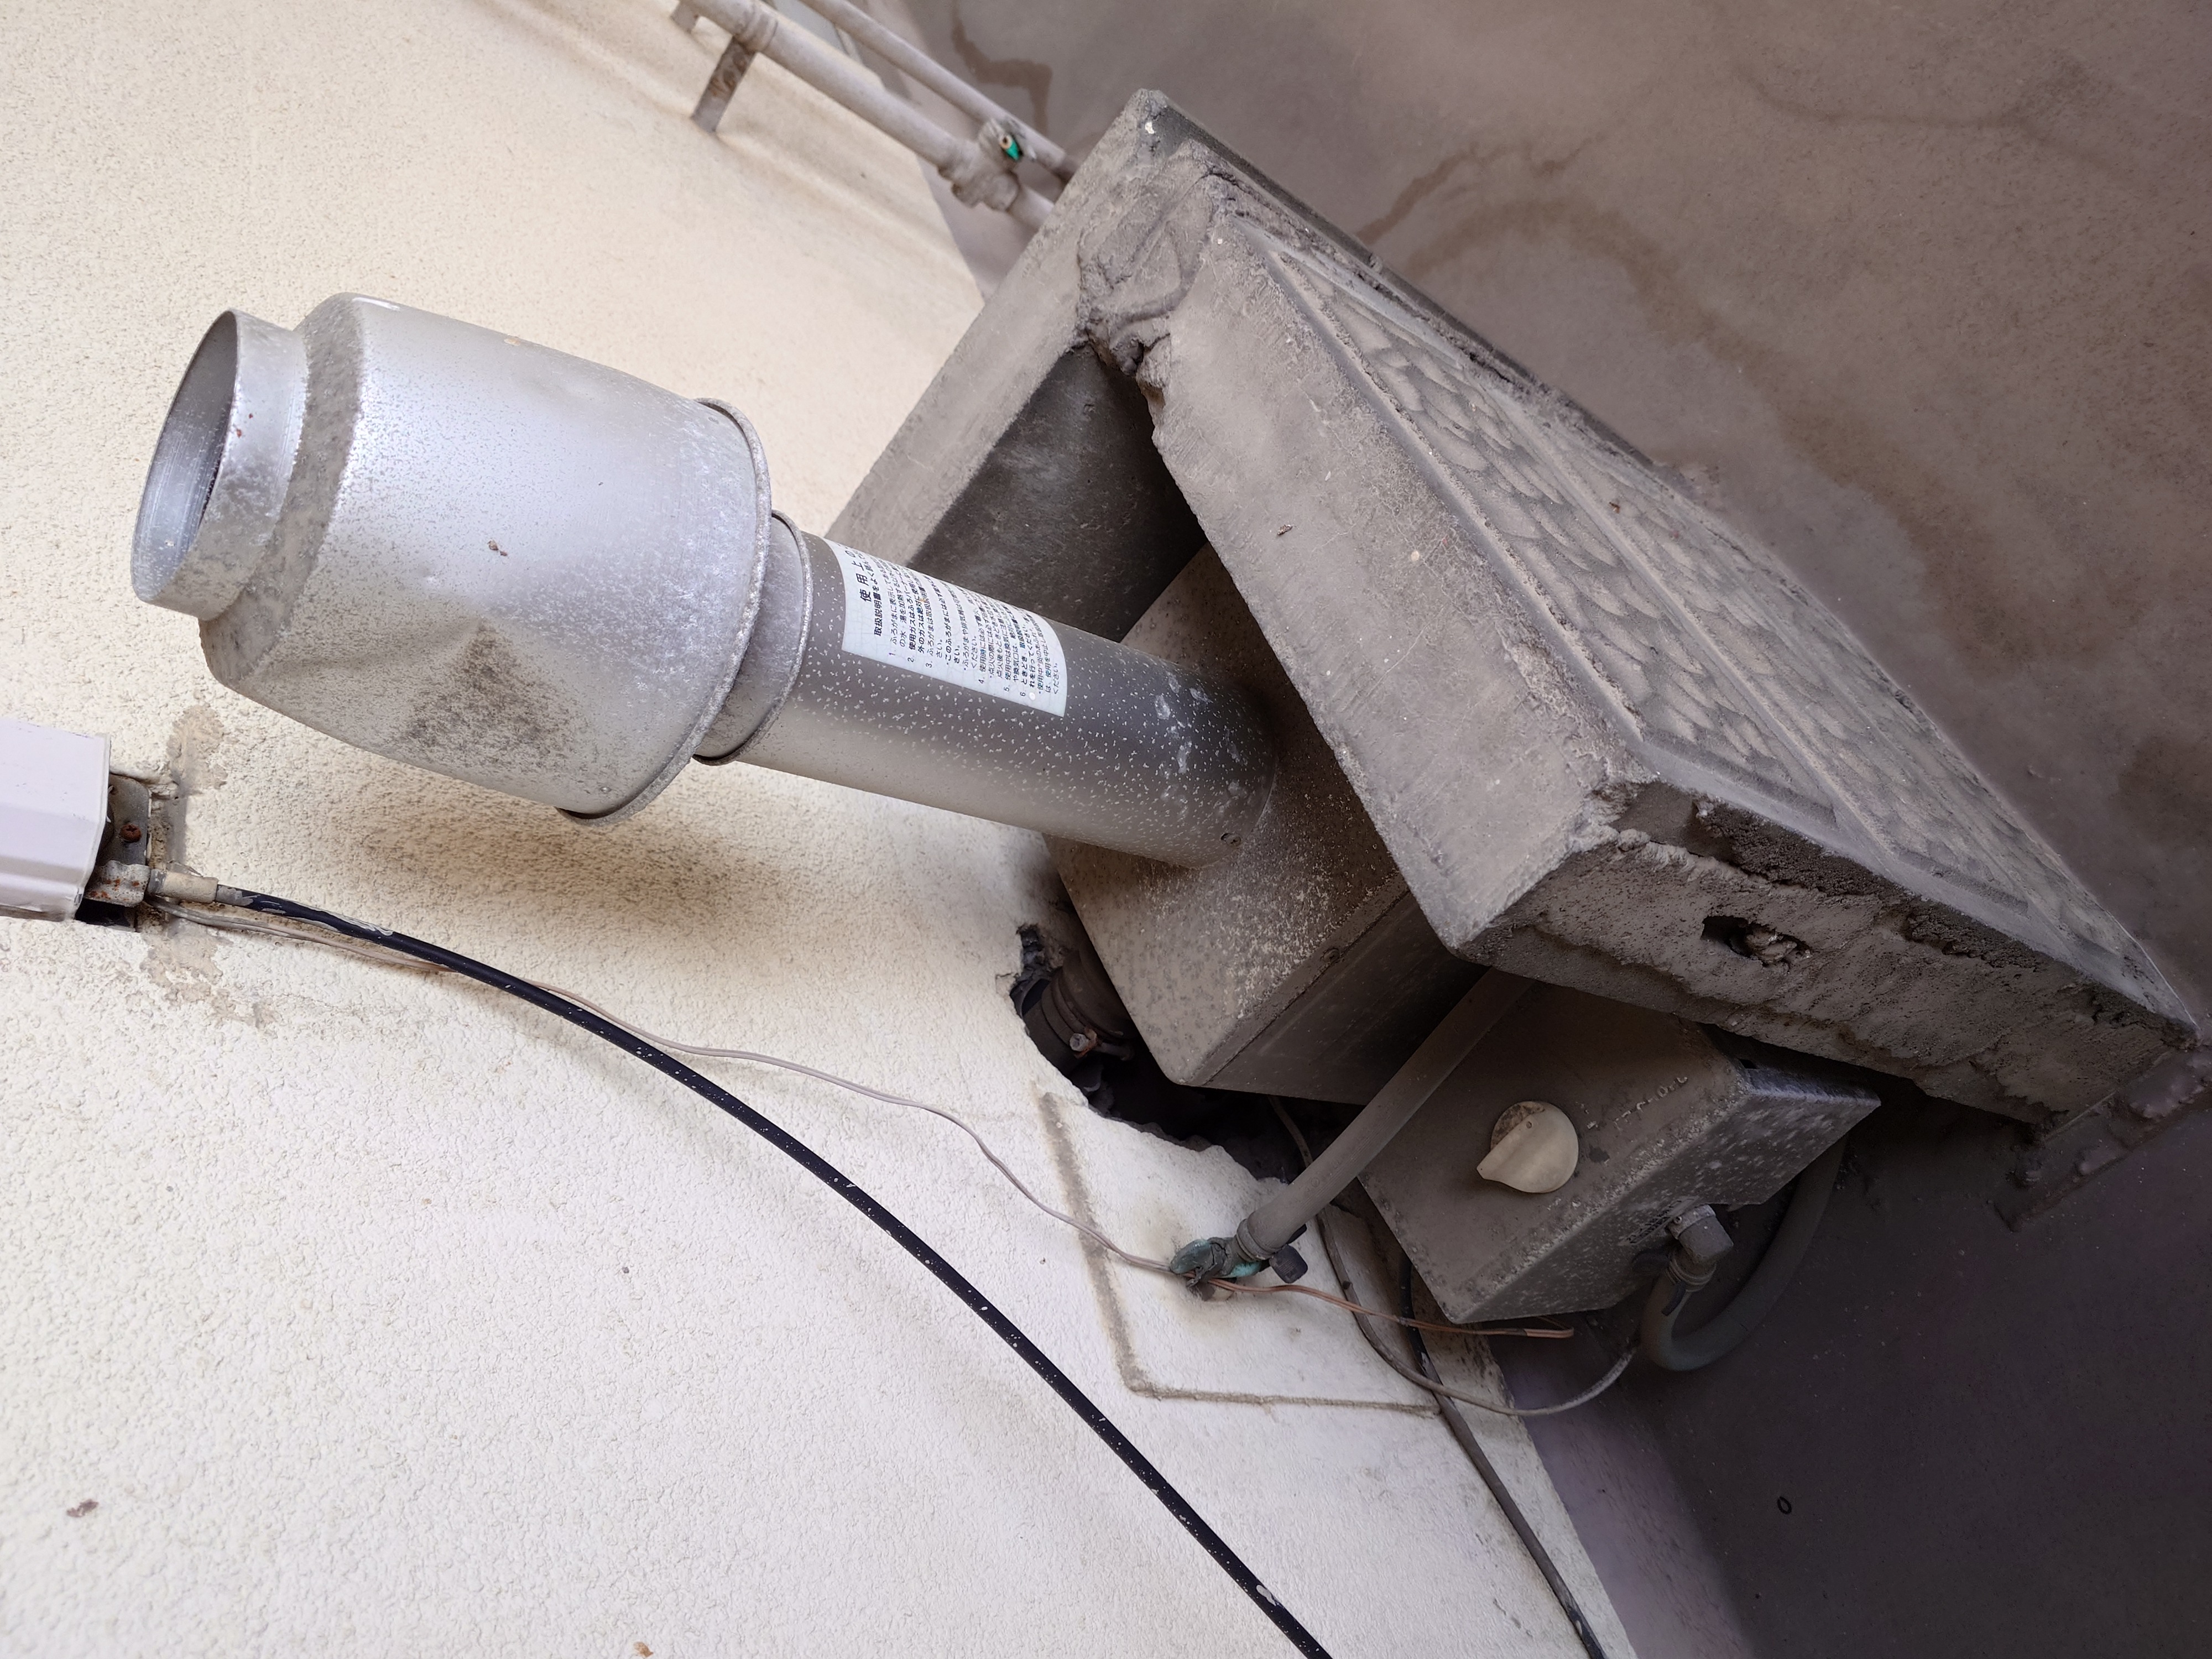

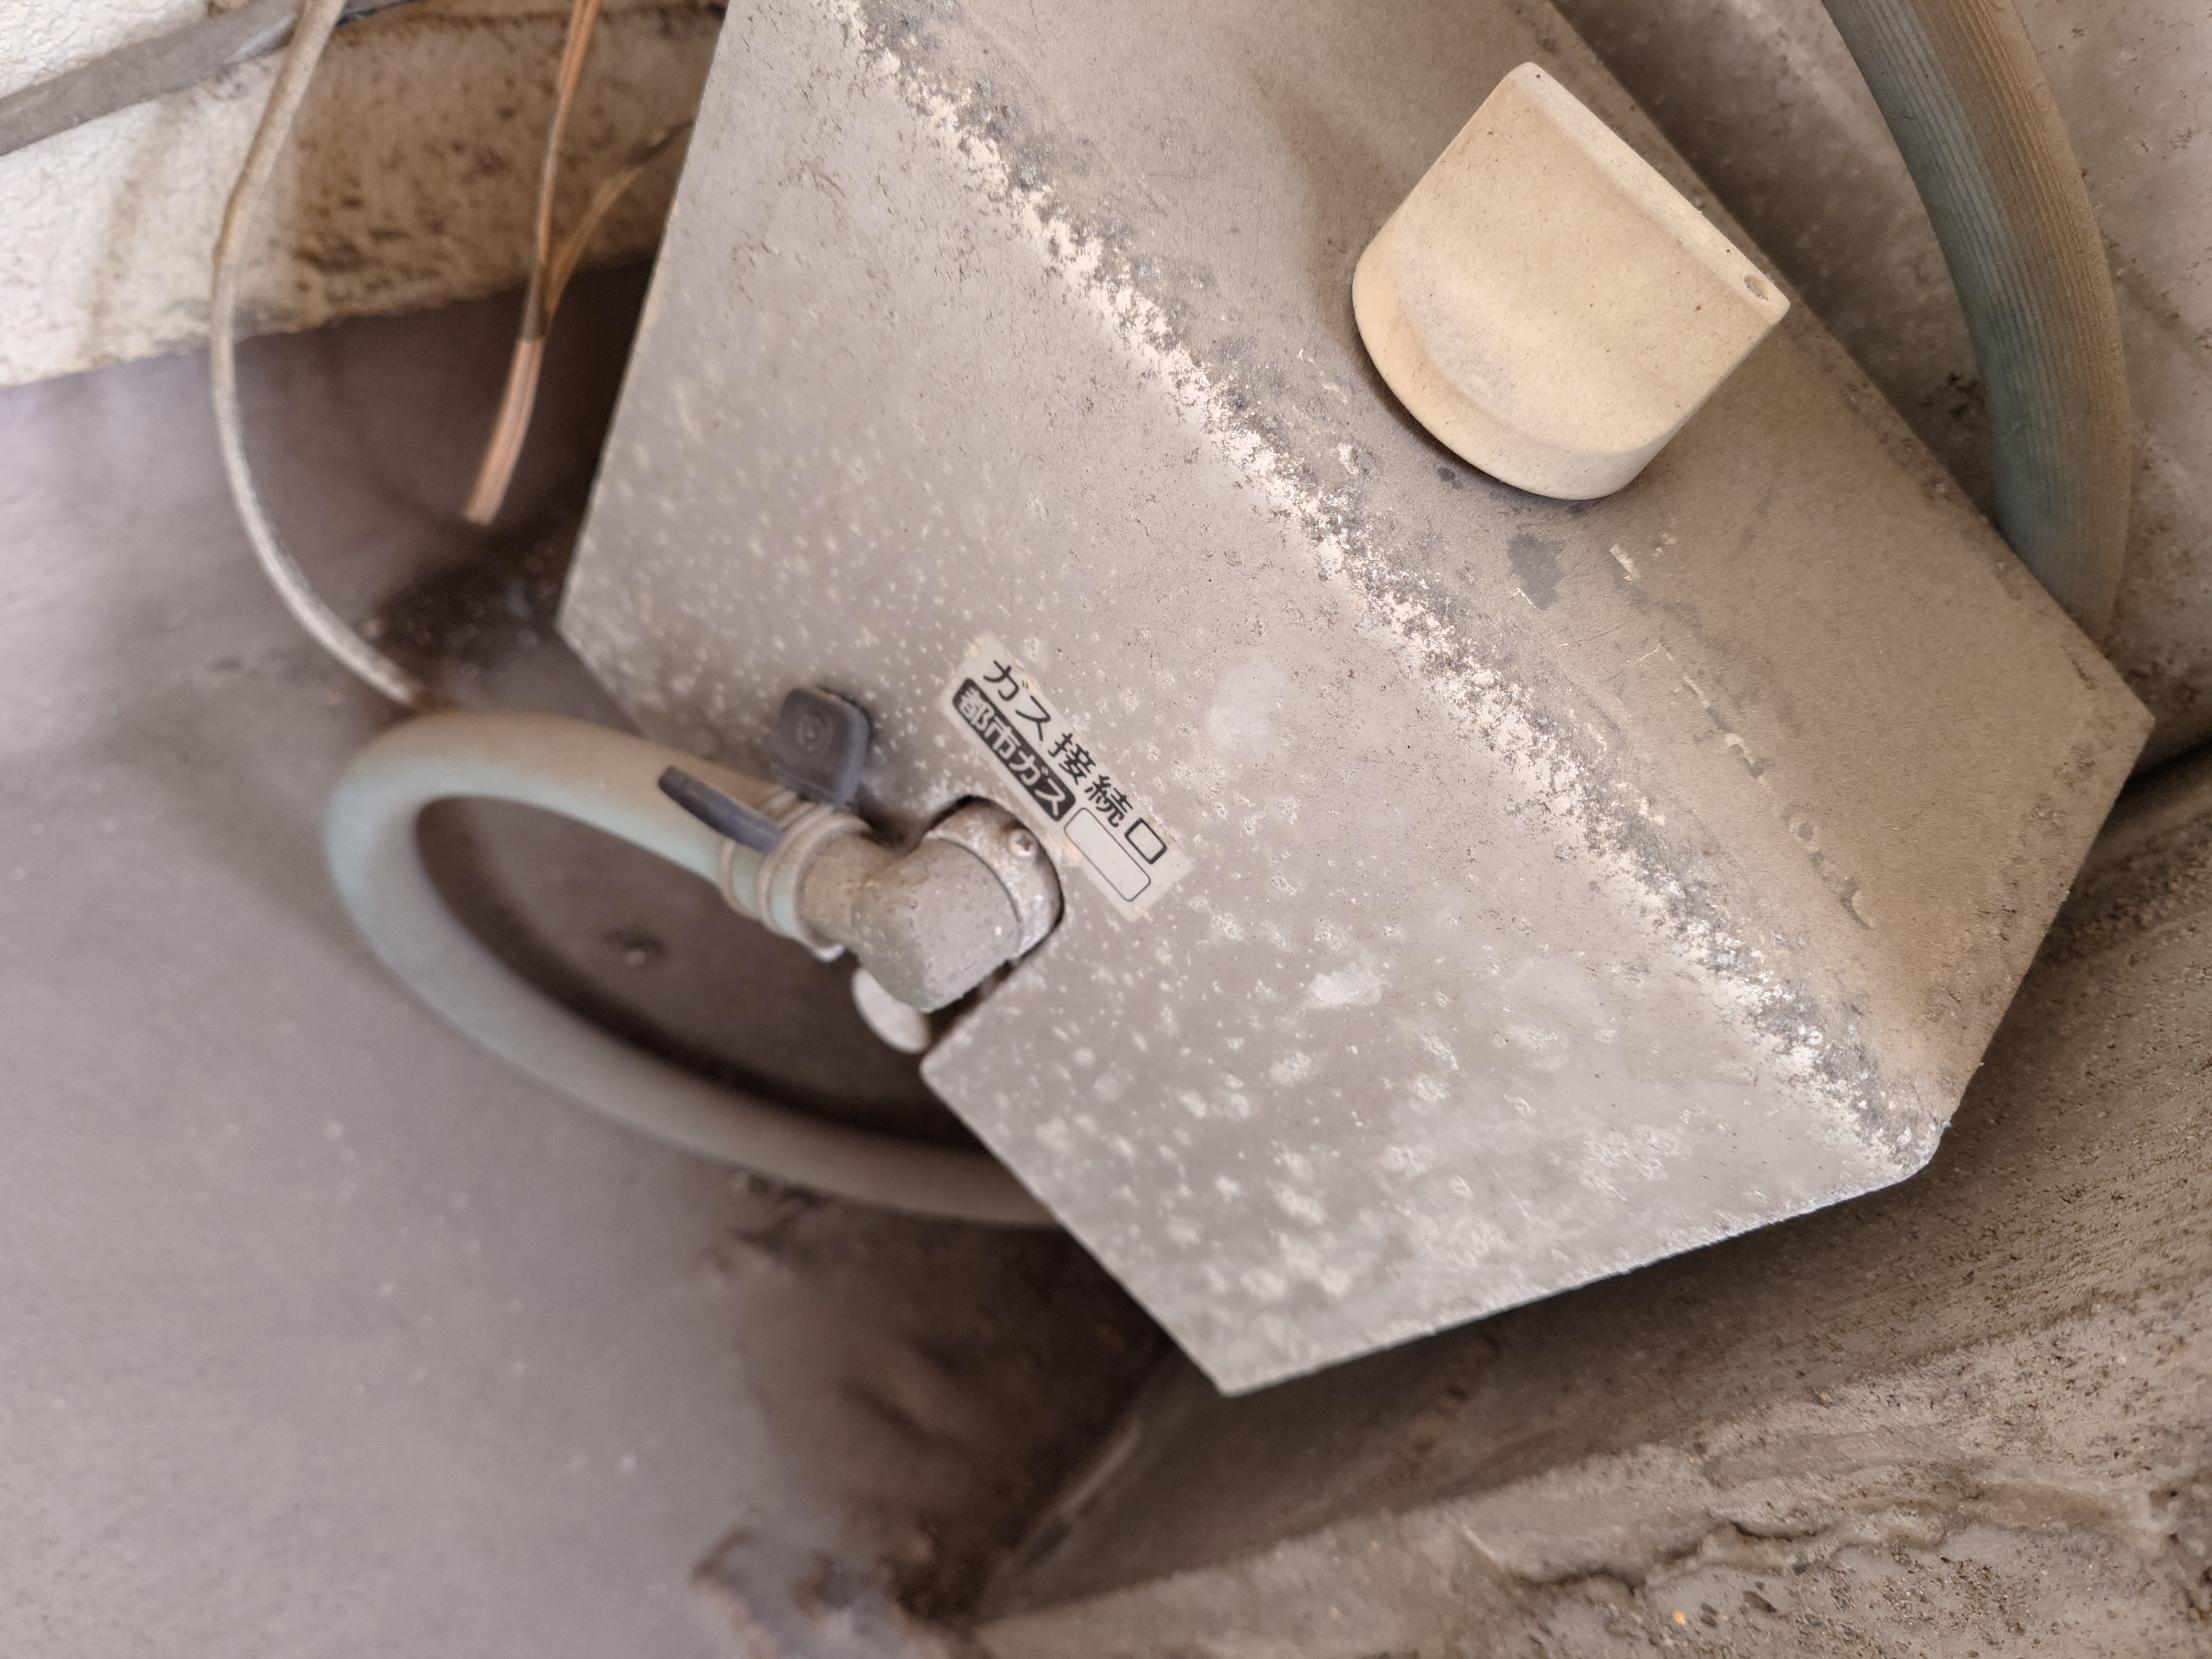
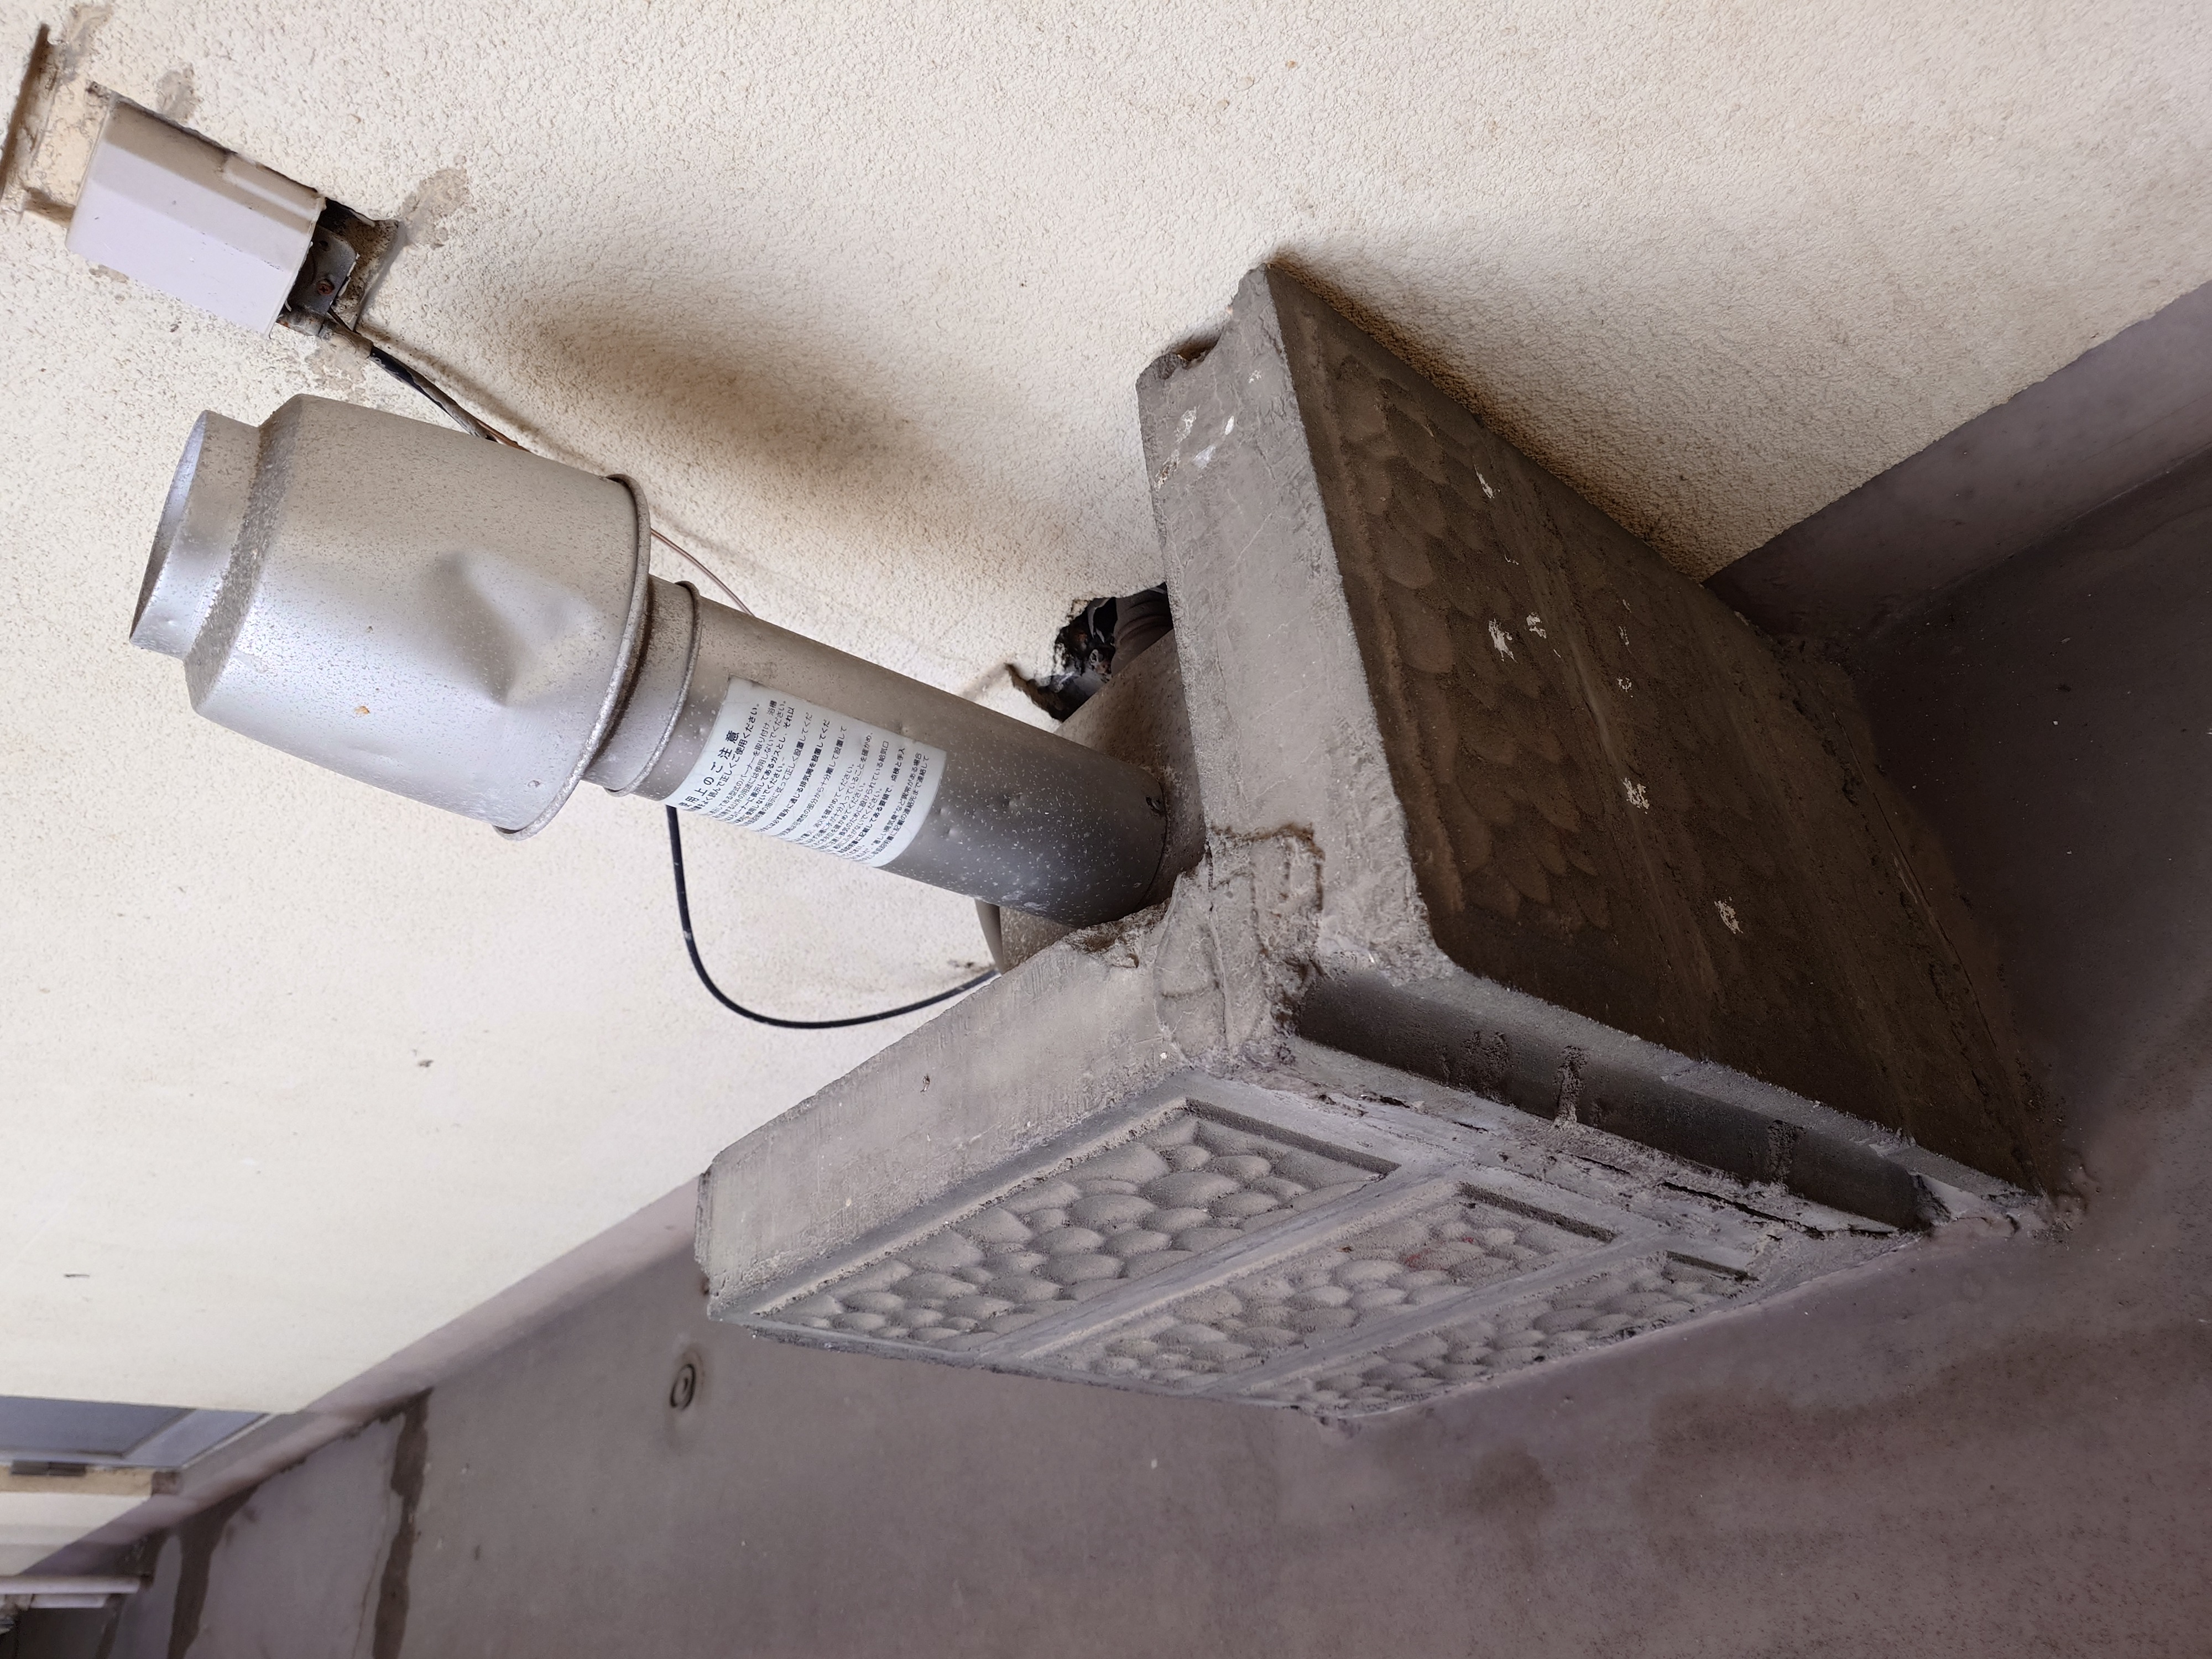
給湯器もかなりの年代物が使われており、物持ちのよさに感心した。これと似たものが廃アパートに設置されているのは見たことがあるが、現在人が居住している物件で見るのは初めてだったので驚いた。というか徳島って都市ガスあるんだ…。都会だ…。
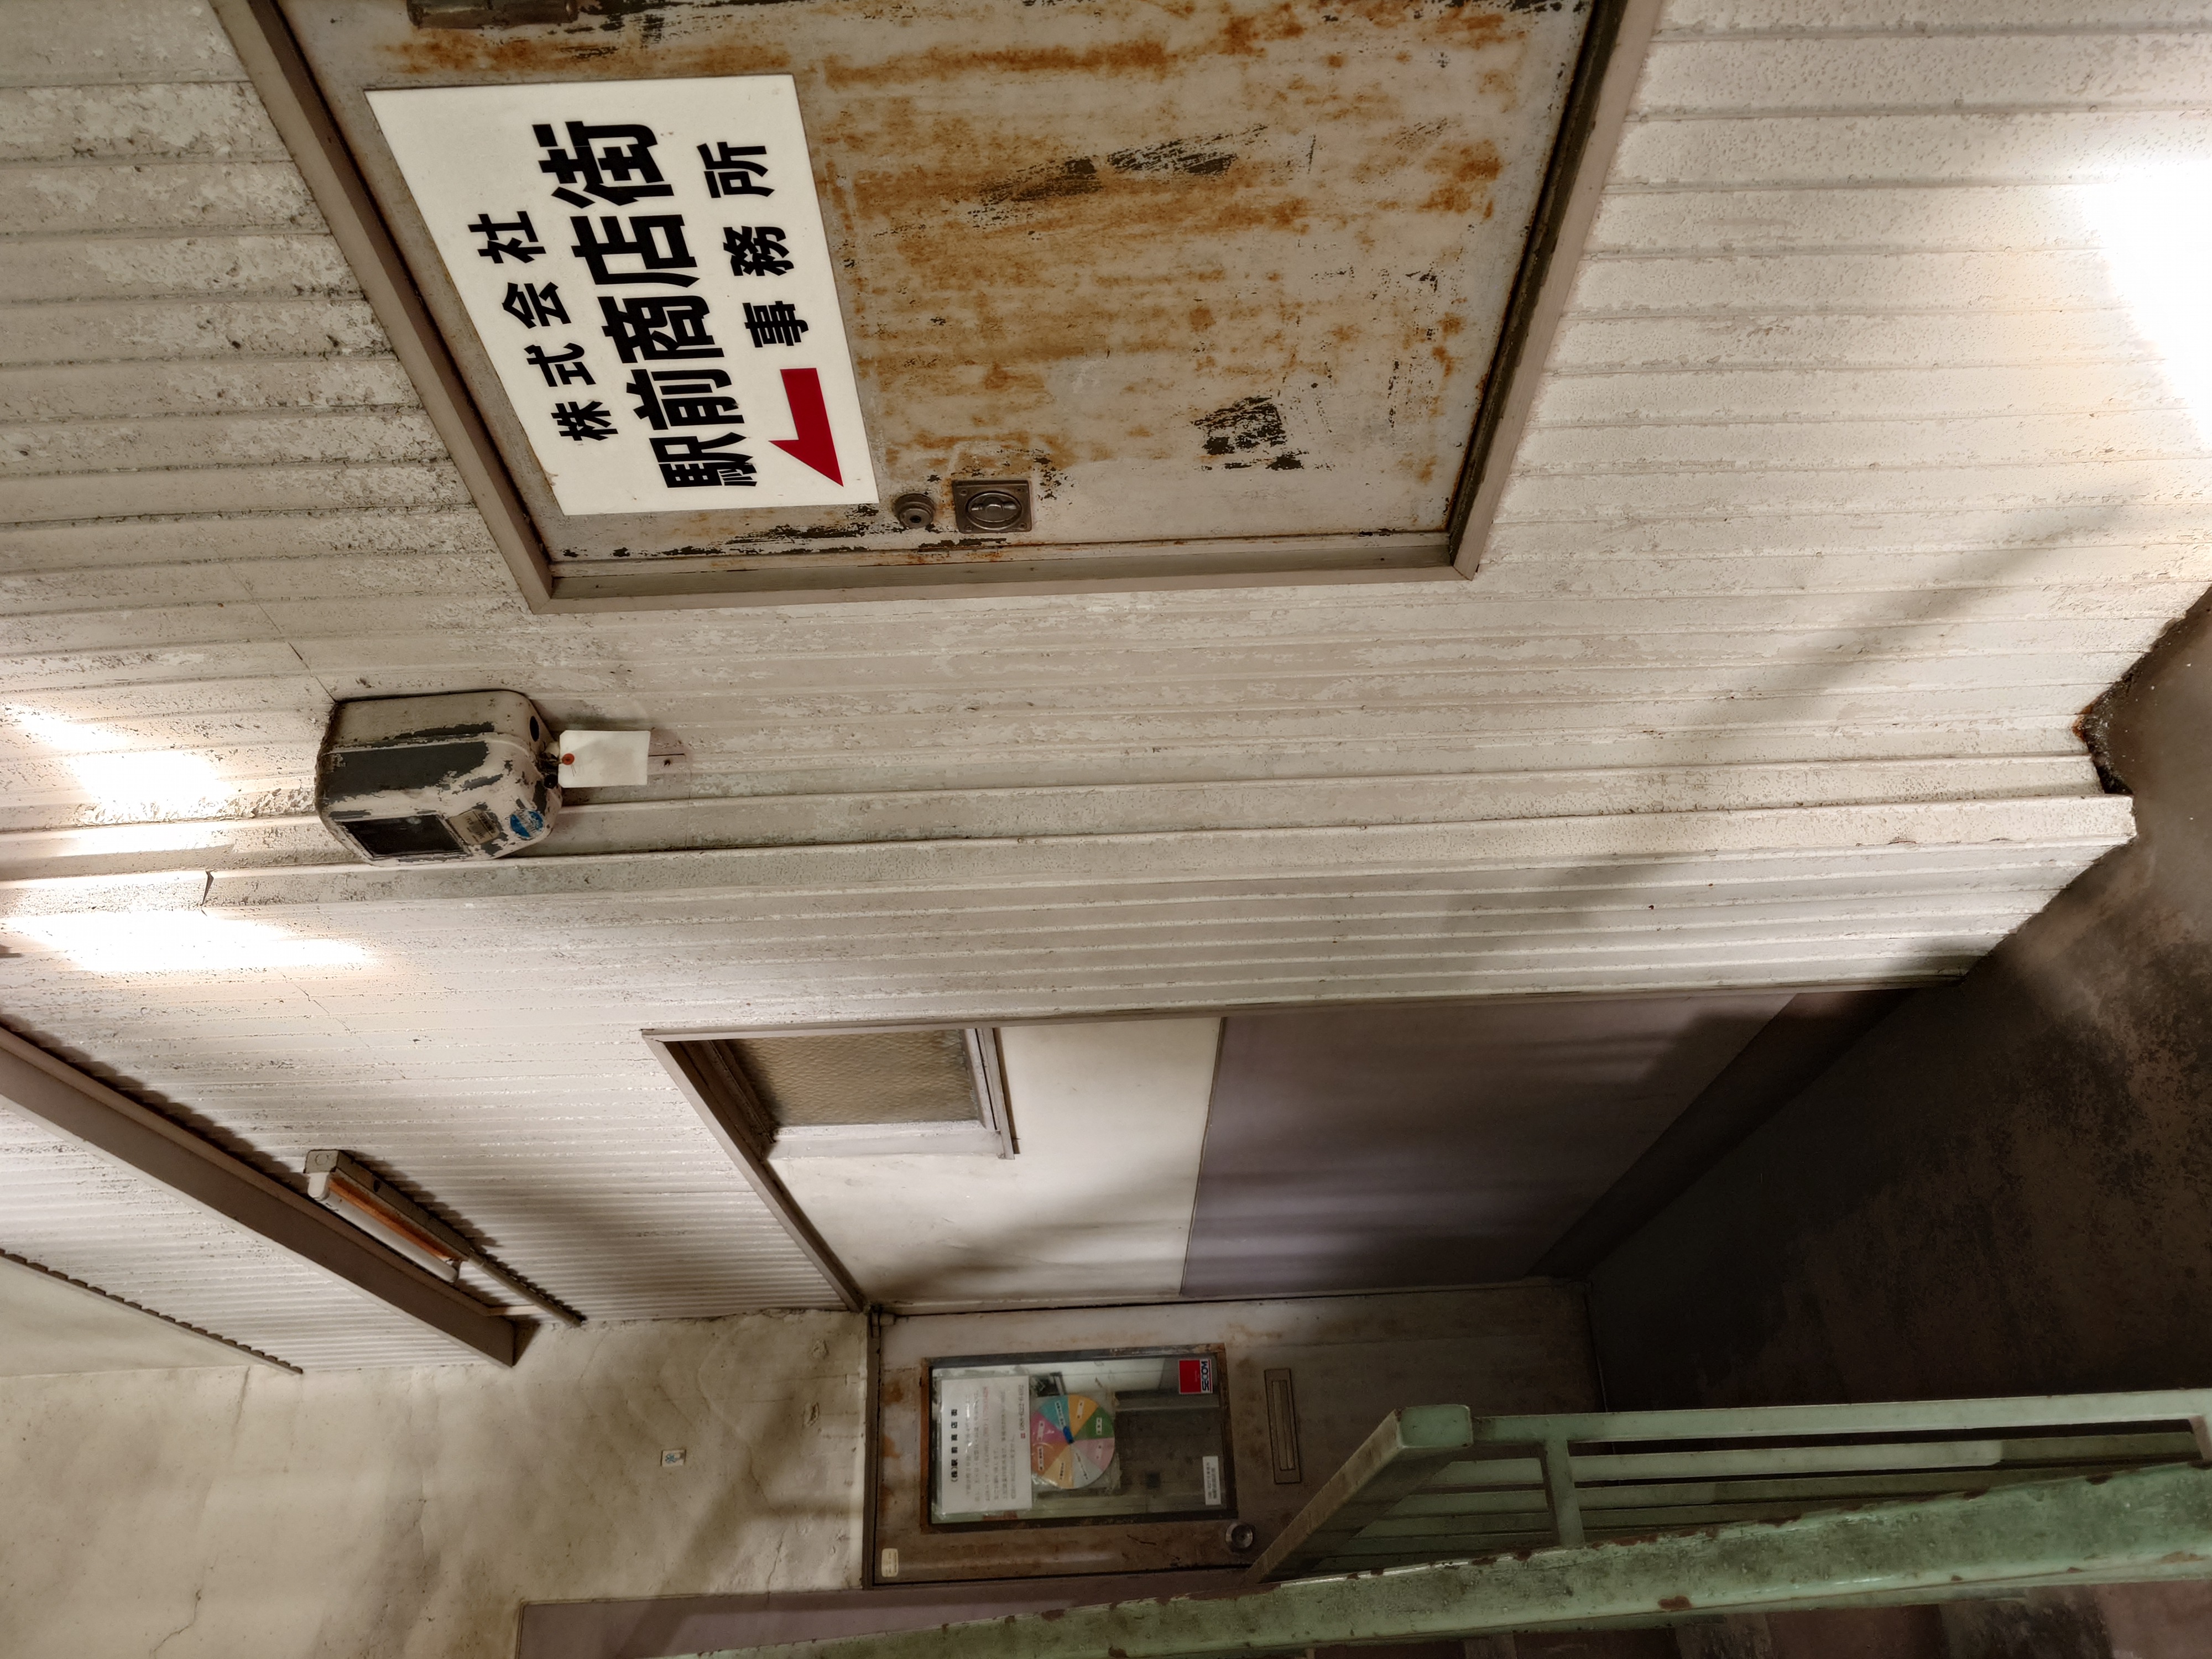
居住区核の一角には商店街の事務所もあった。恐らくマチアソビの打ち合わせなどもここで行われていたのだろう。株式会社駅前商店街という法人名も中々だ。
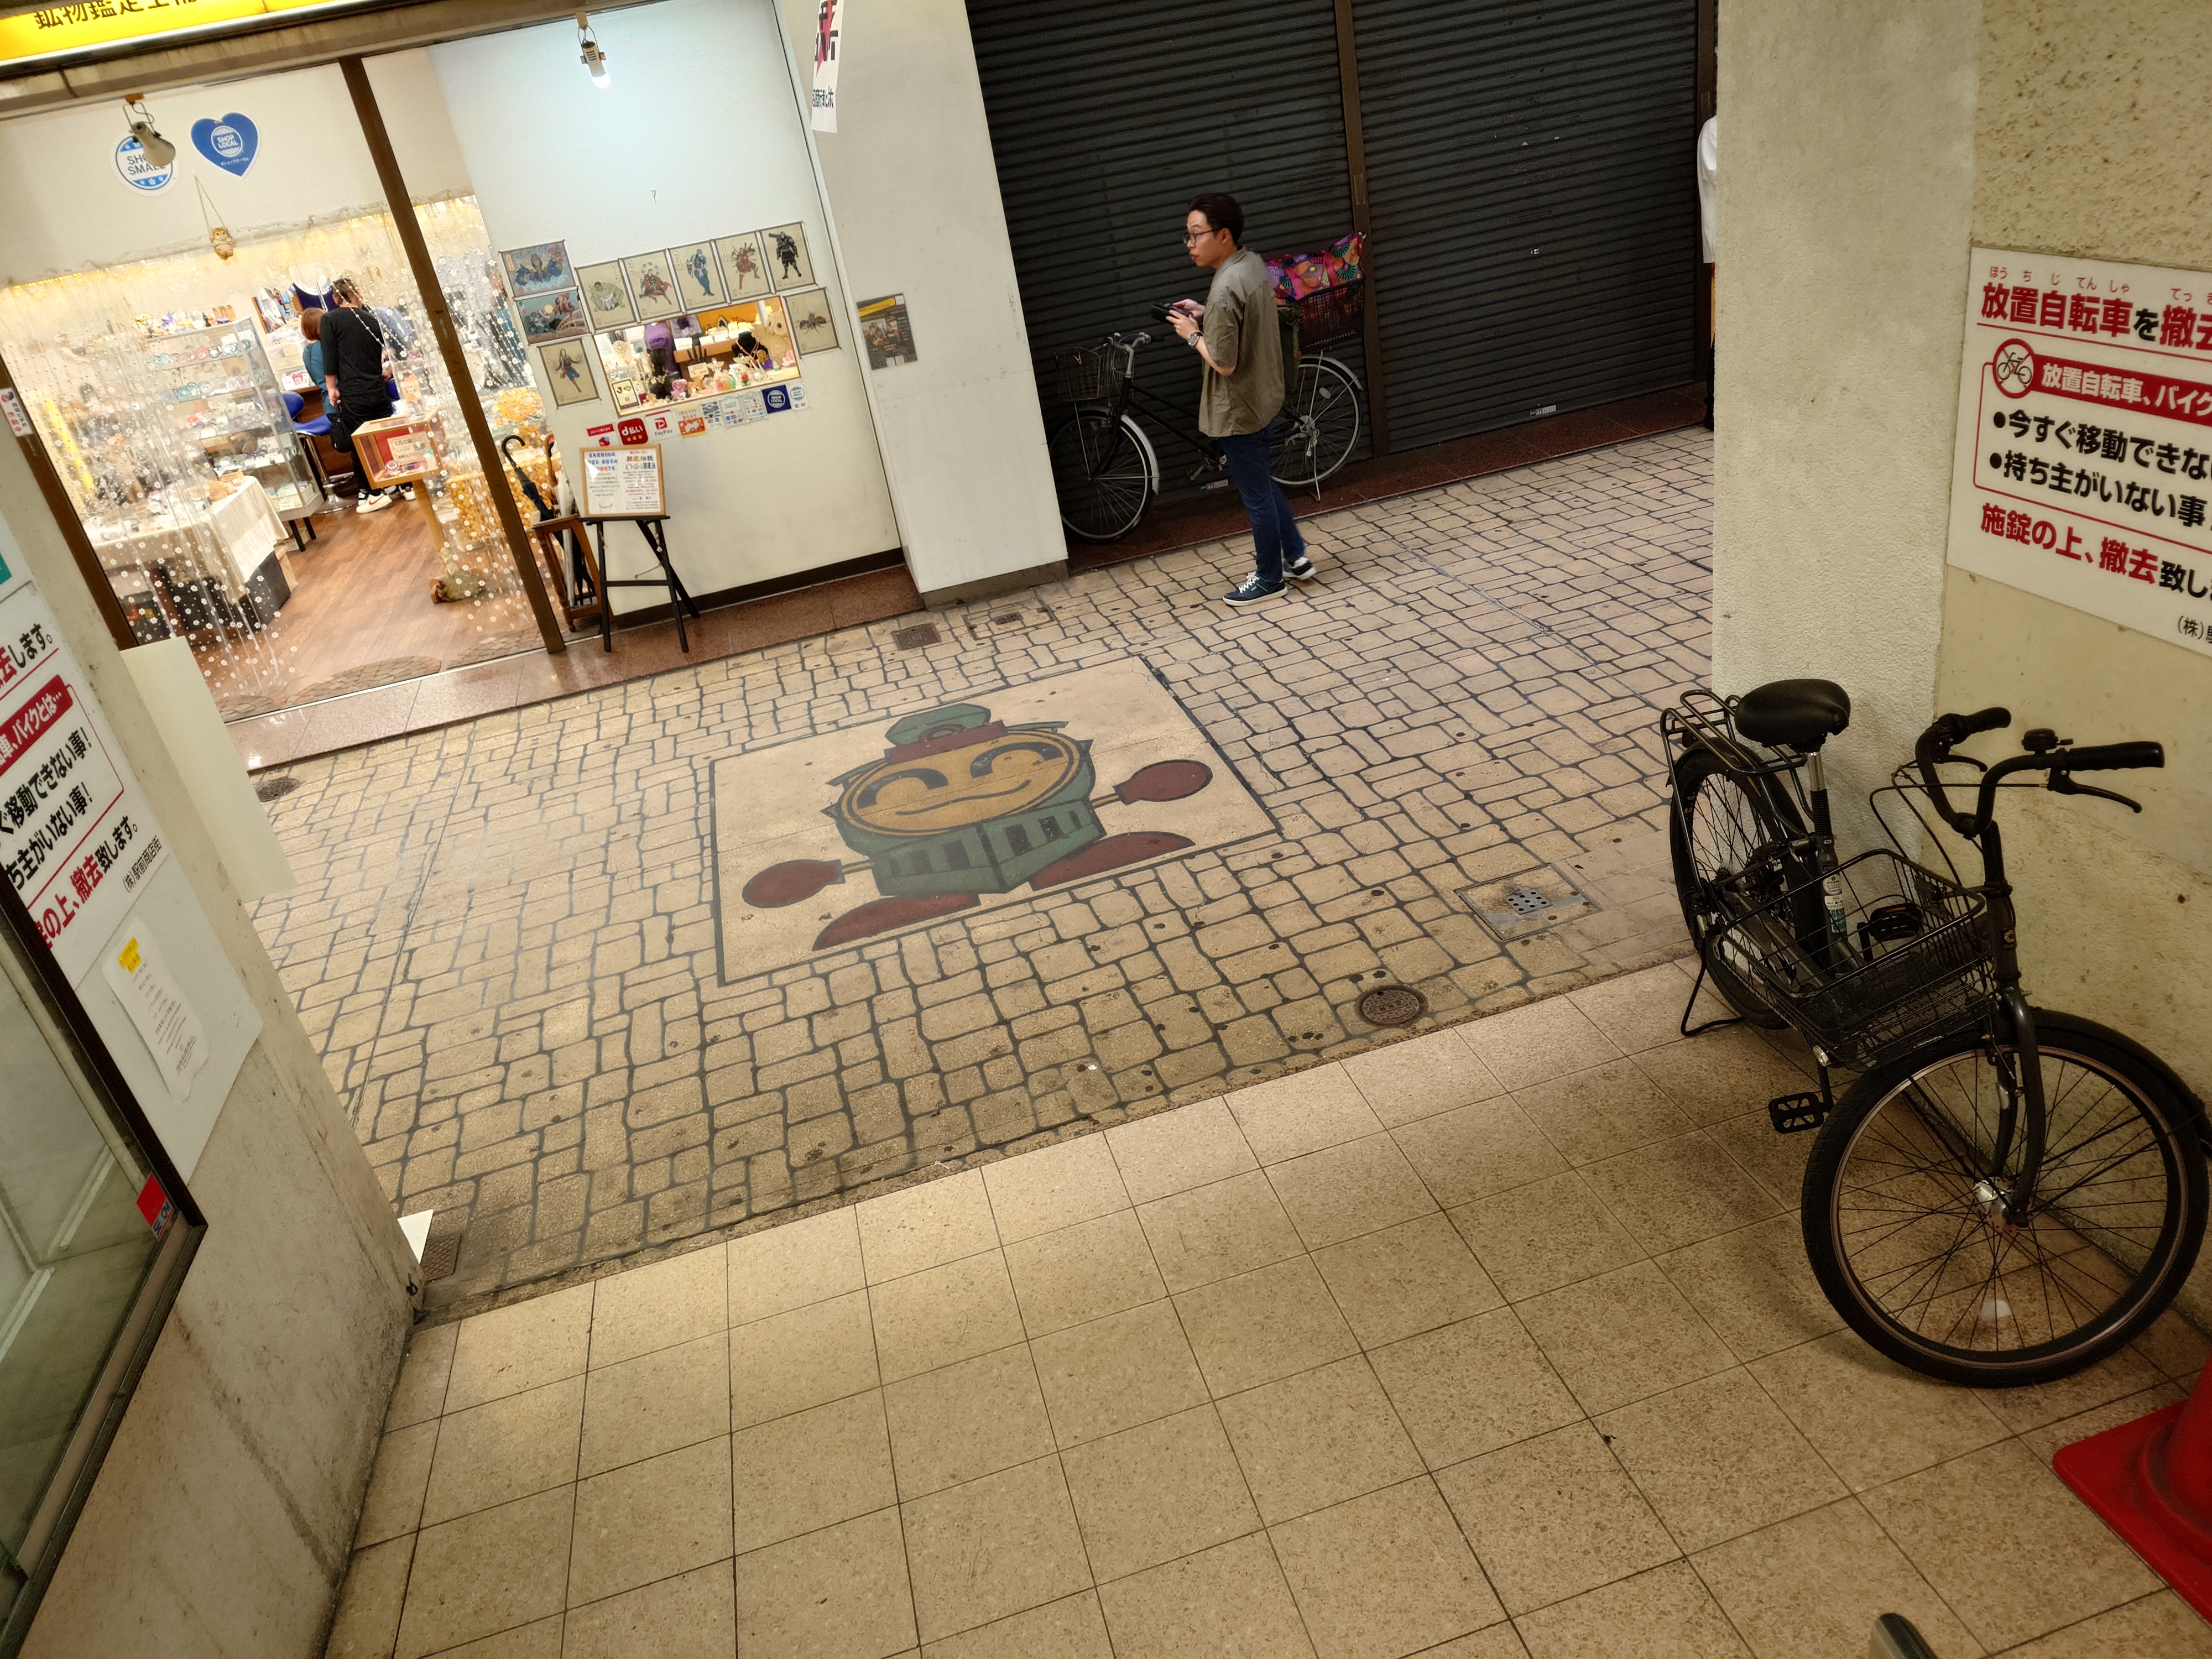
商店街に降りてくると床には大きな蒸気機関車のキャラクターが居た。こういうのはほっこりする。
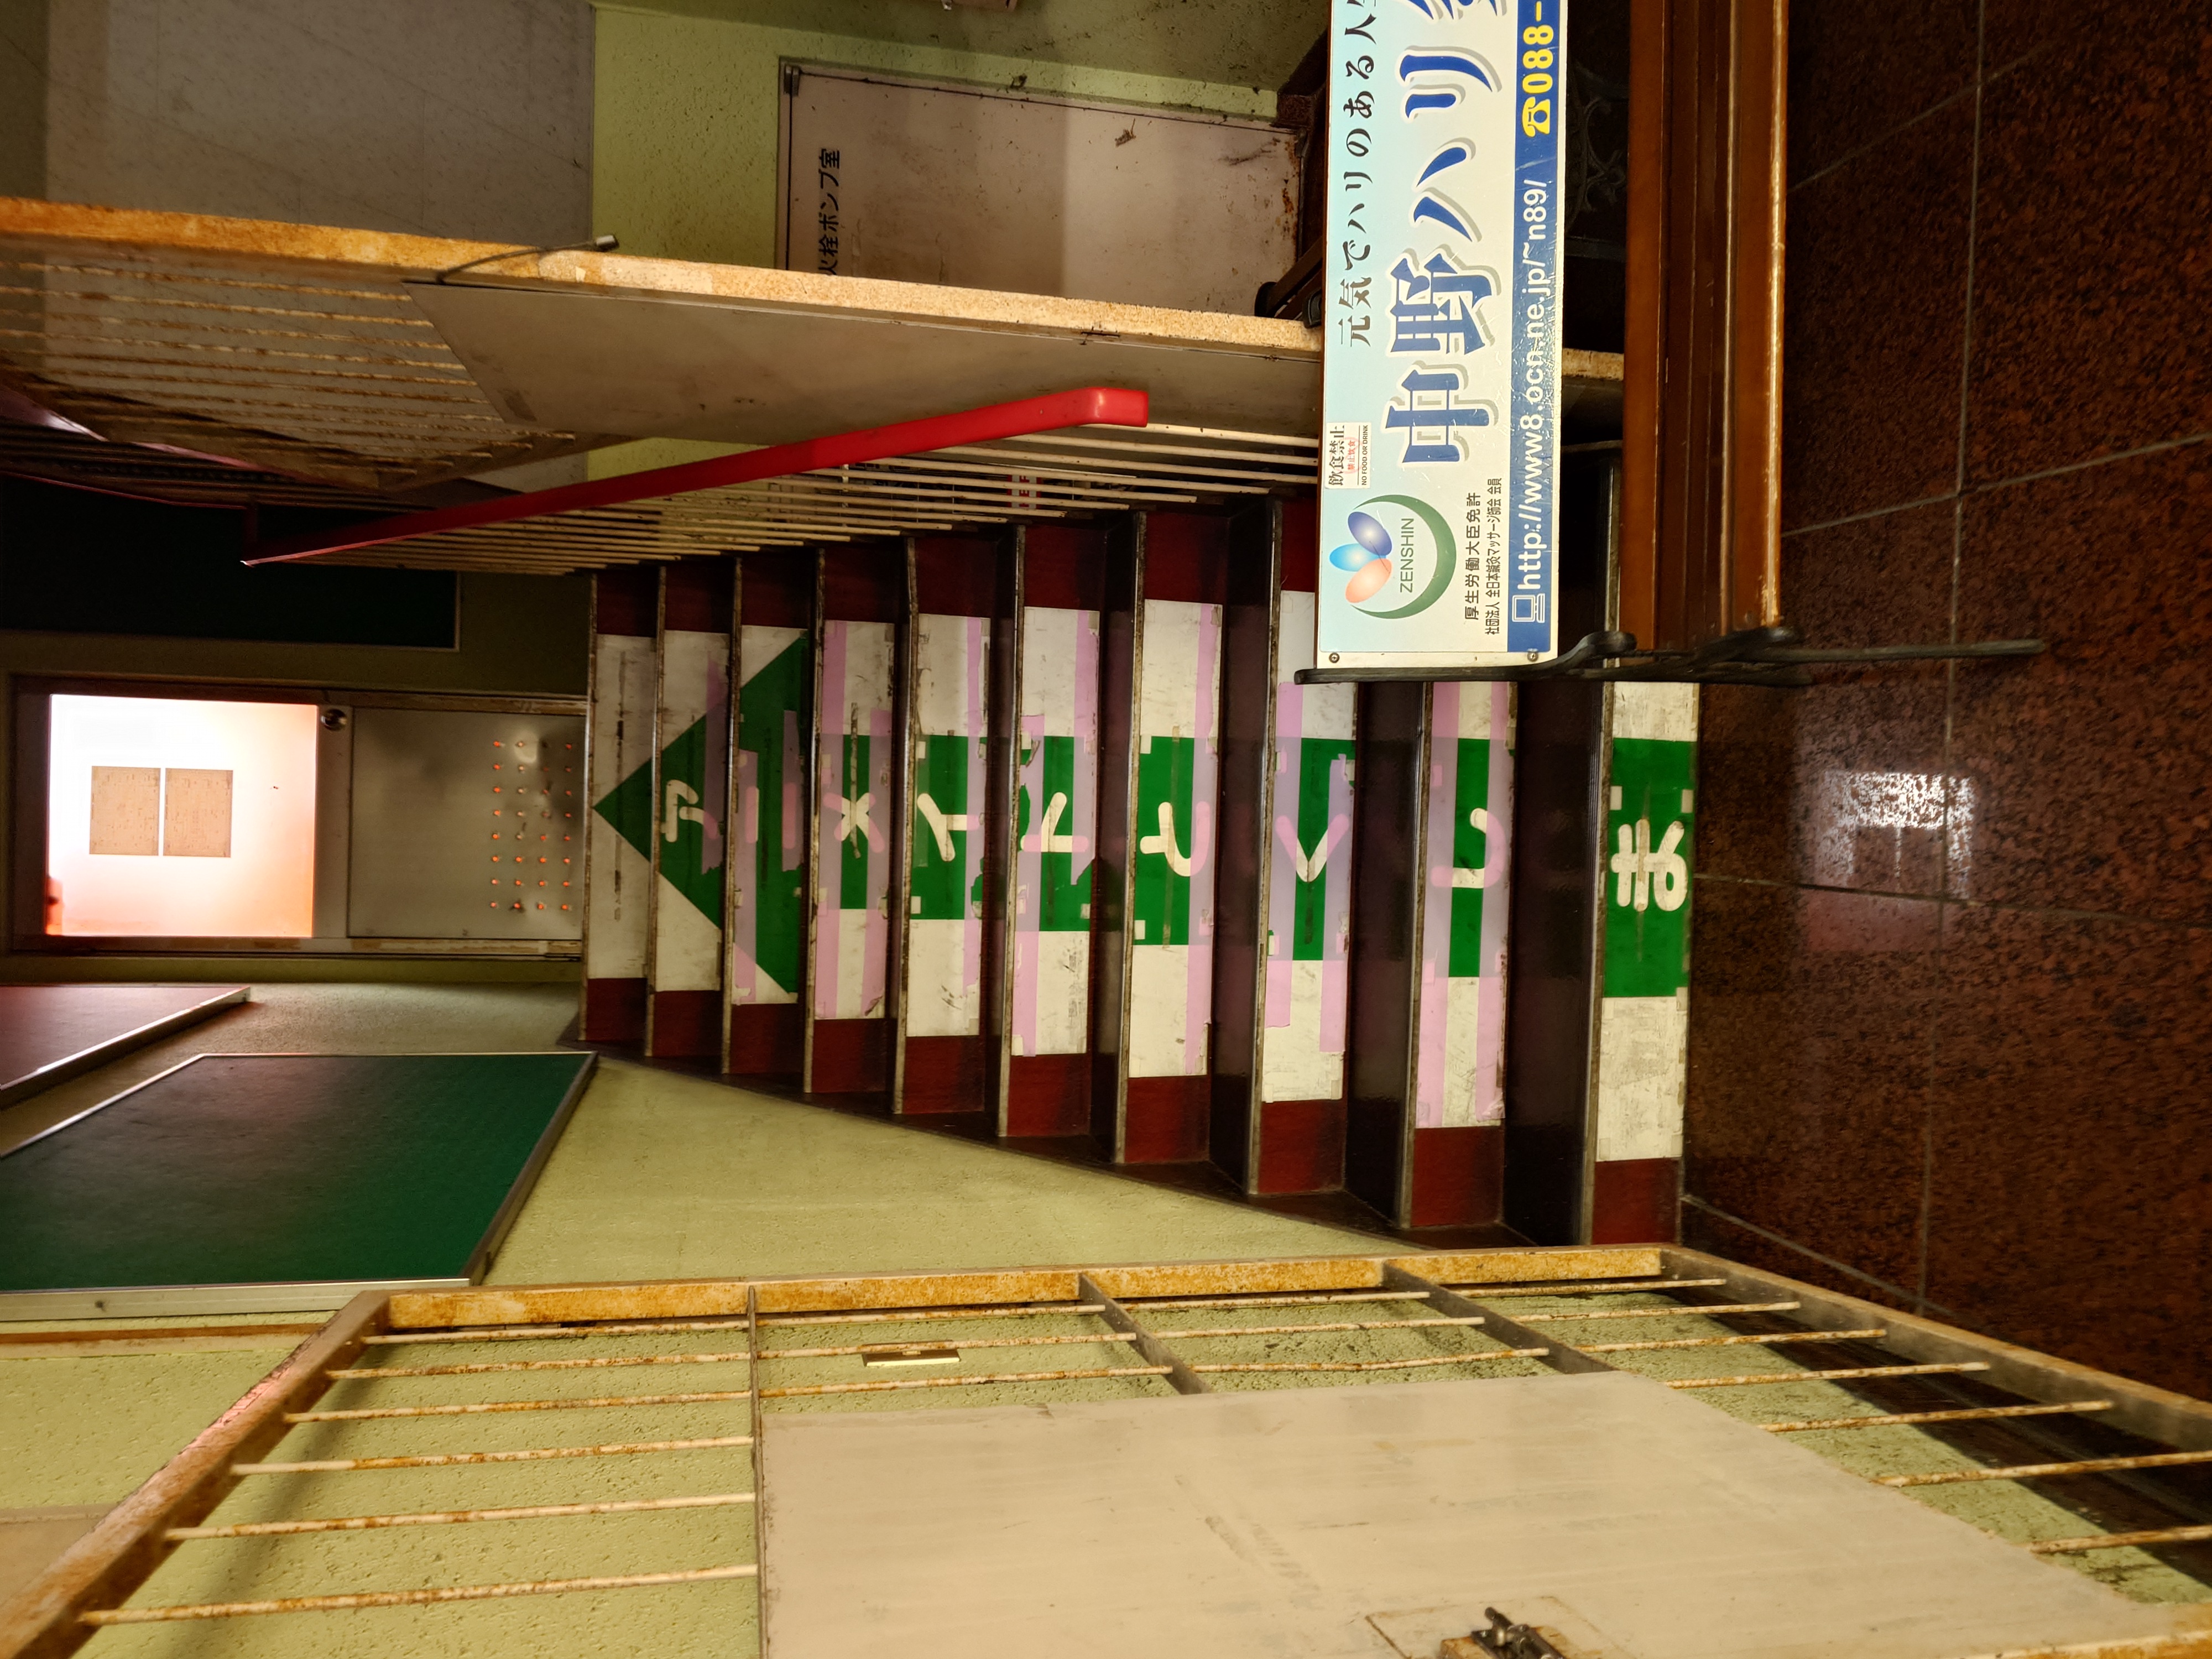
ポッポ街、徳島駅側にはアニメイトとくしまの残骸もあった。現在のアニメイトはufotable CINEMAの地下に移動しているためここにはない。
しかし扉の向こうに見える赤く光る空間が気になる。いったい何があるのだろうか…。
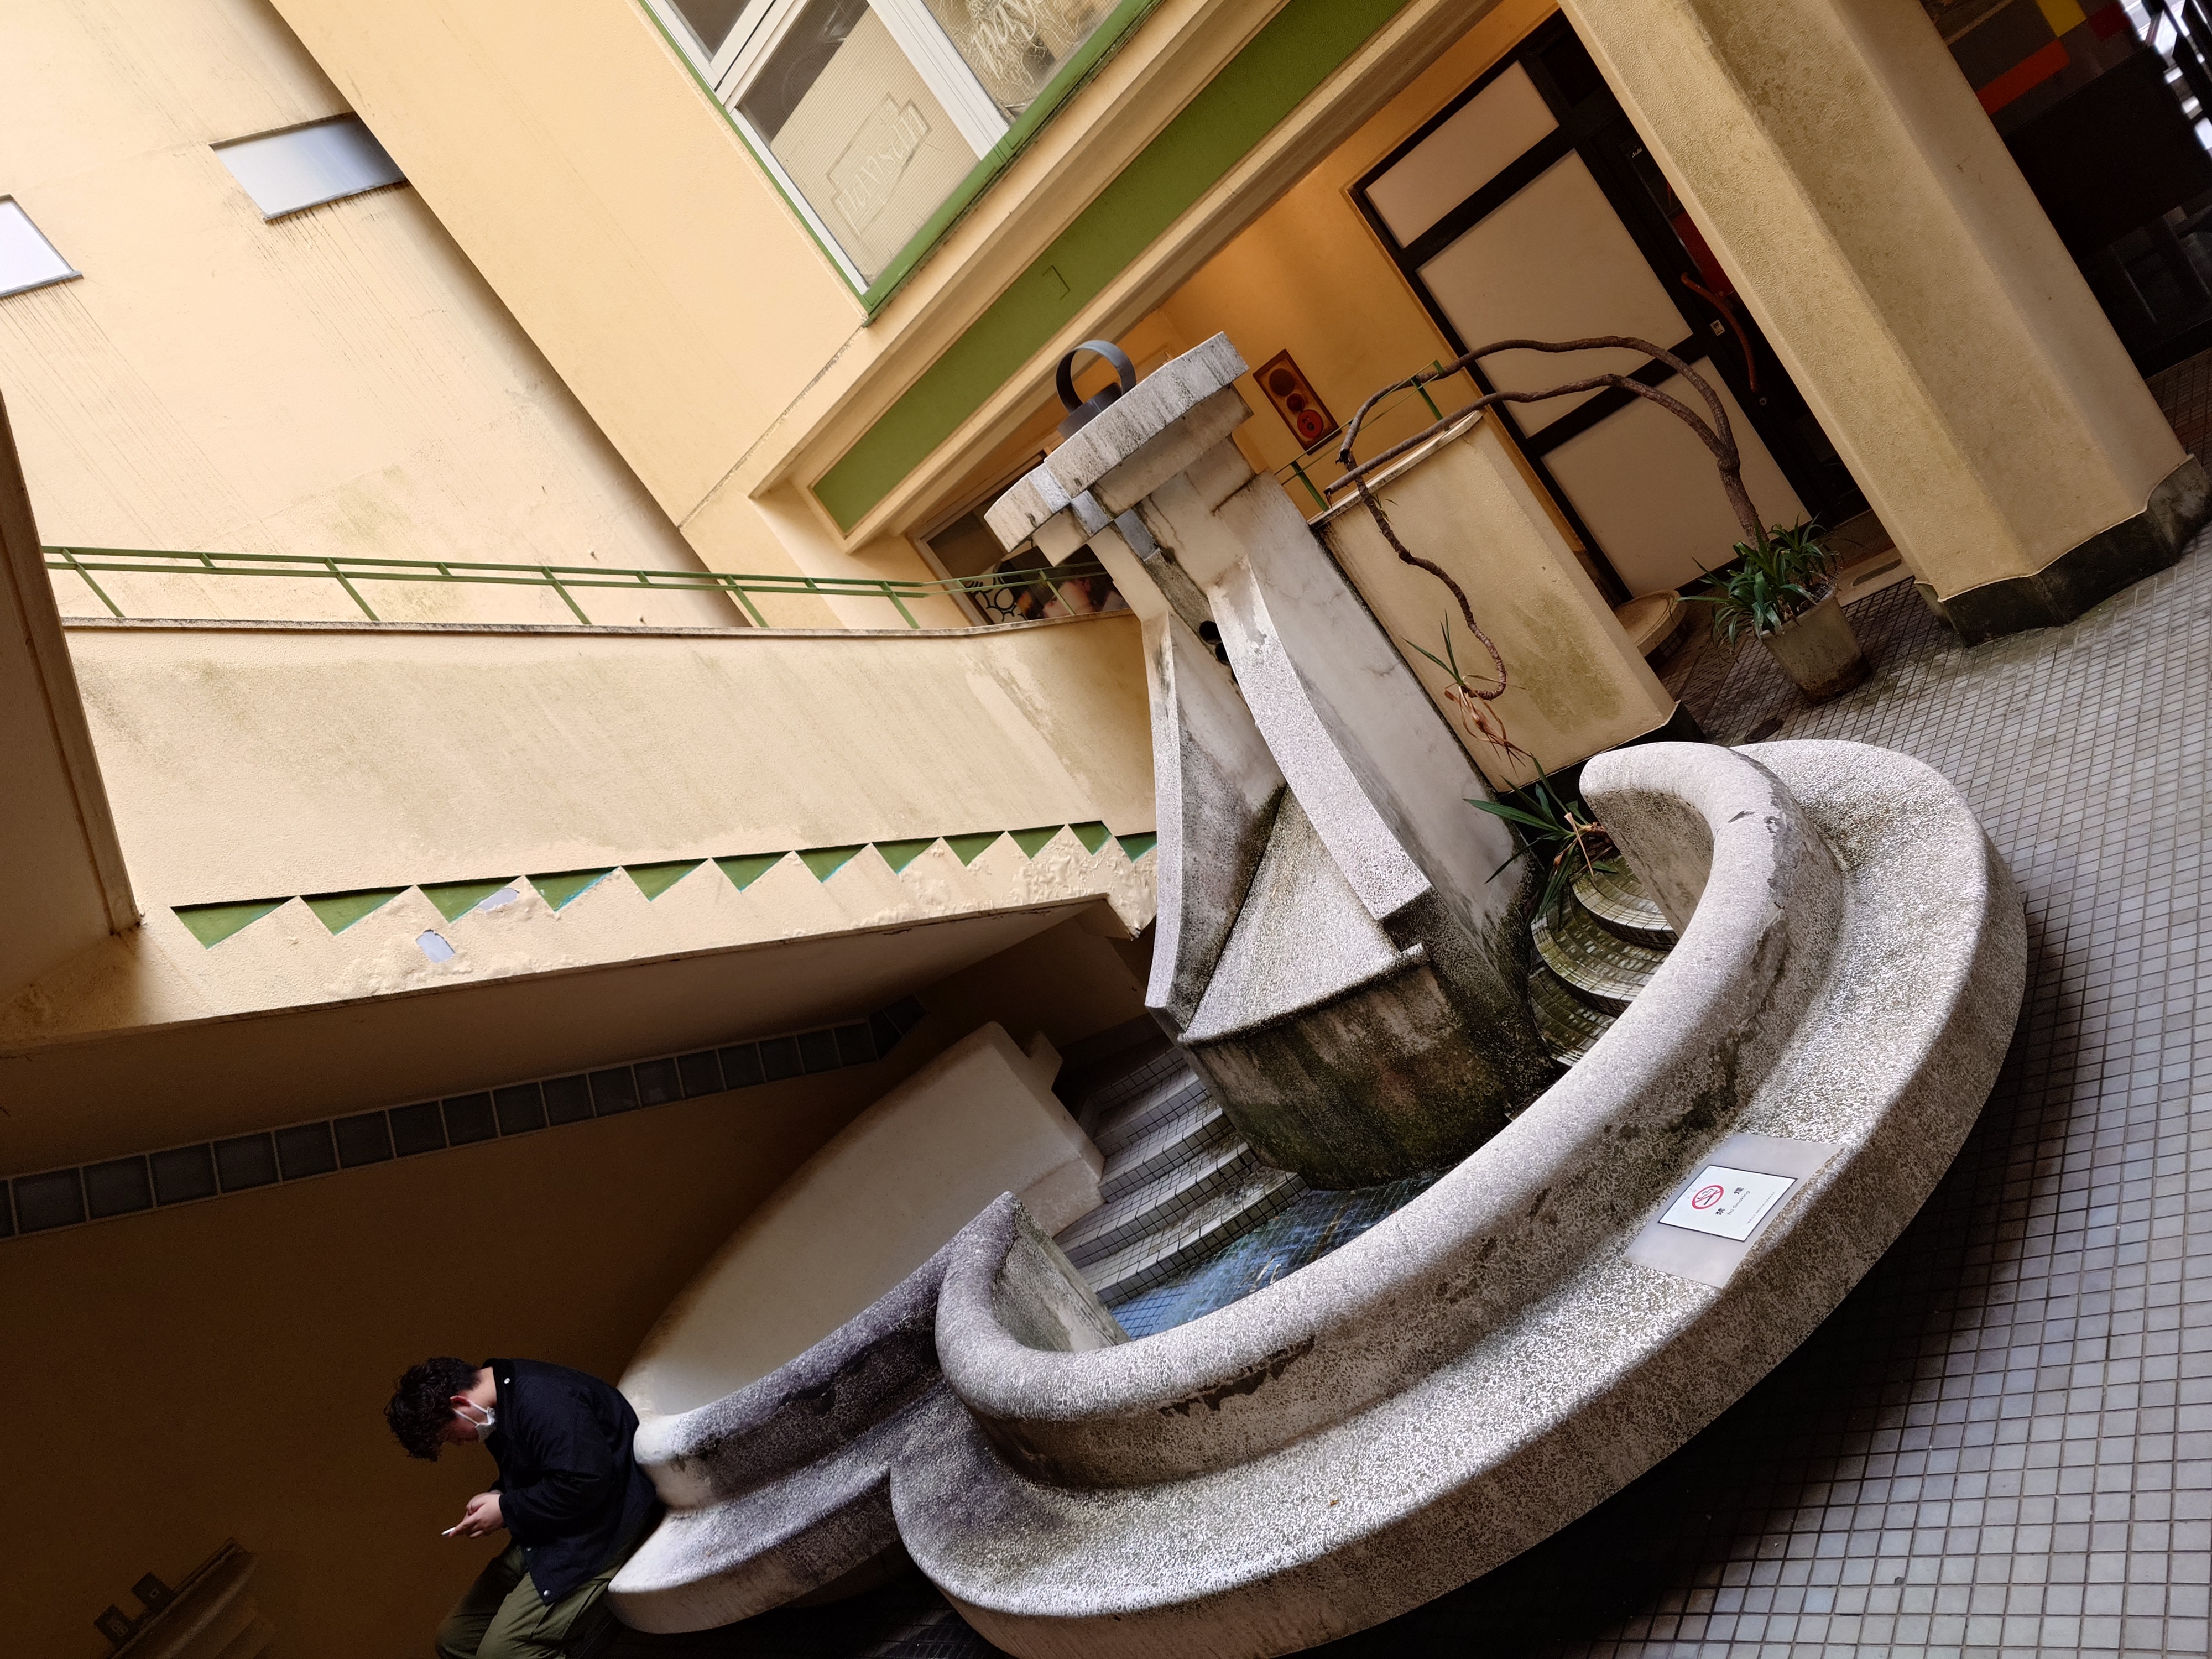
他にも中庭のような場所があり、かつて稼働していた噴水や小池の跡やダイナミックな植木をみることができた。ポッポ街のある建物はとても独特で、これは面白かった。
ボードウォークへ戻る、その2
ひとまず明日朝一に戻るため、見れる限界まで見ようと、再びボードウォークへと足を運んだ。
まずは朝行列になっていた半田そうめんの場所へと向かった。行列は消え去り、すぐに注文することができた。
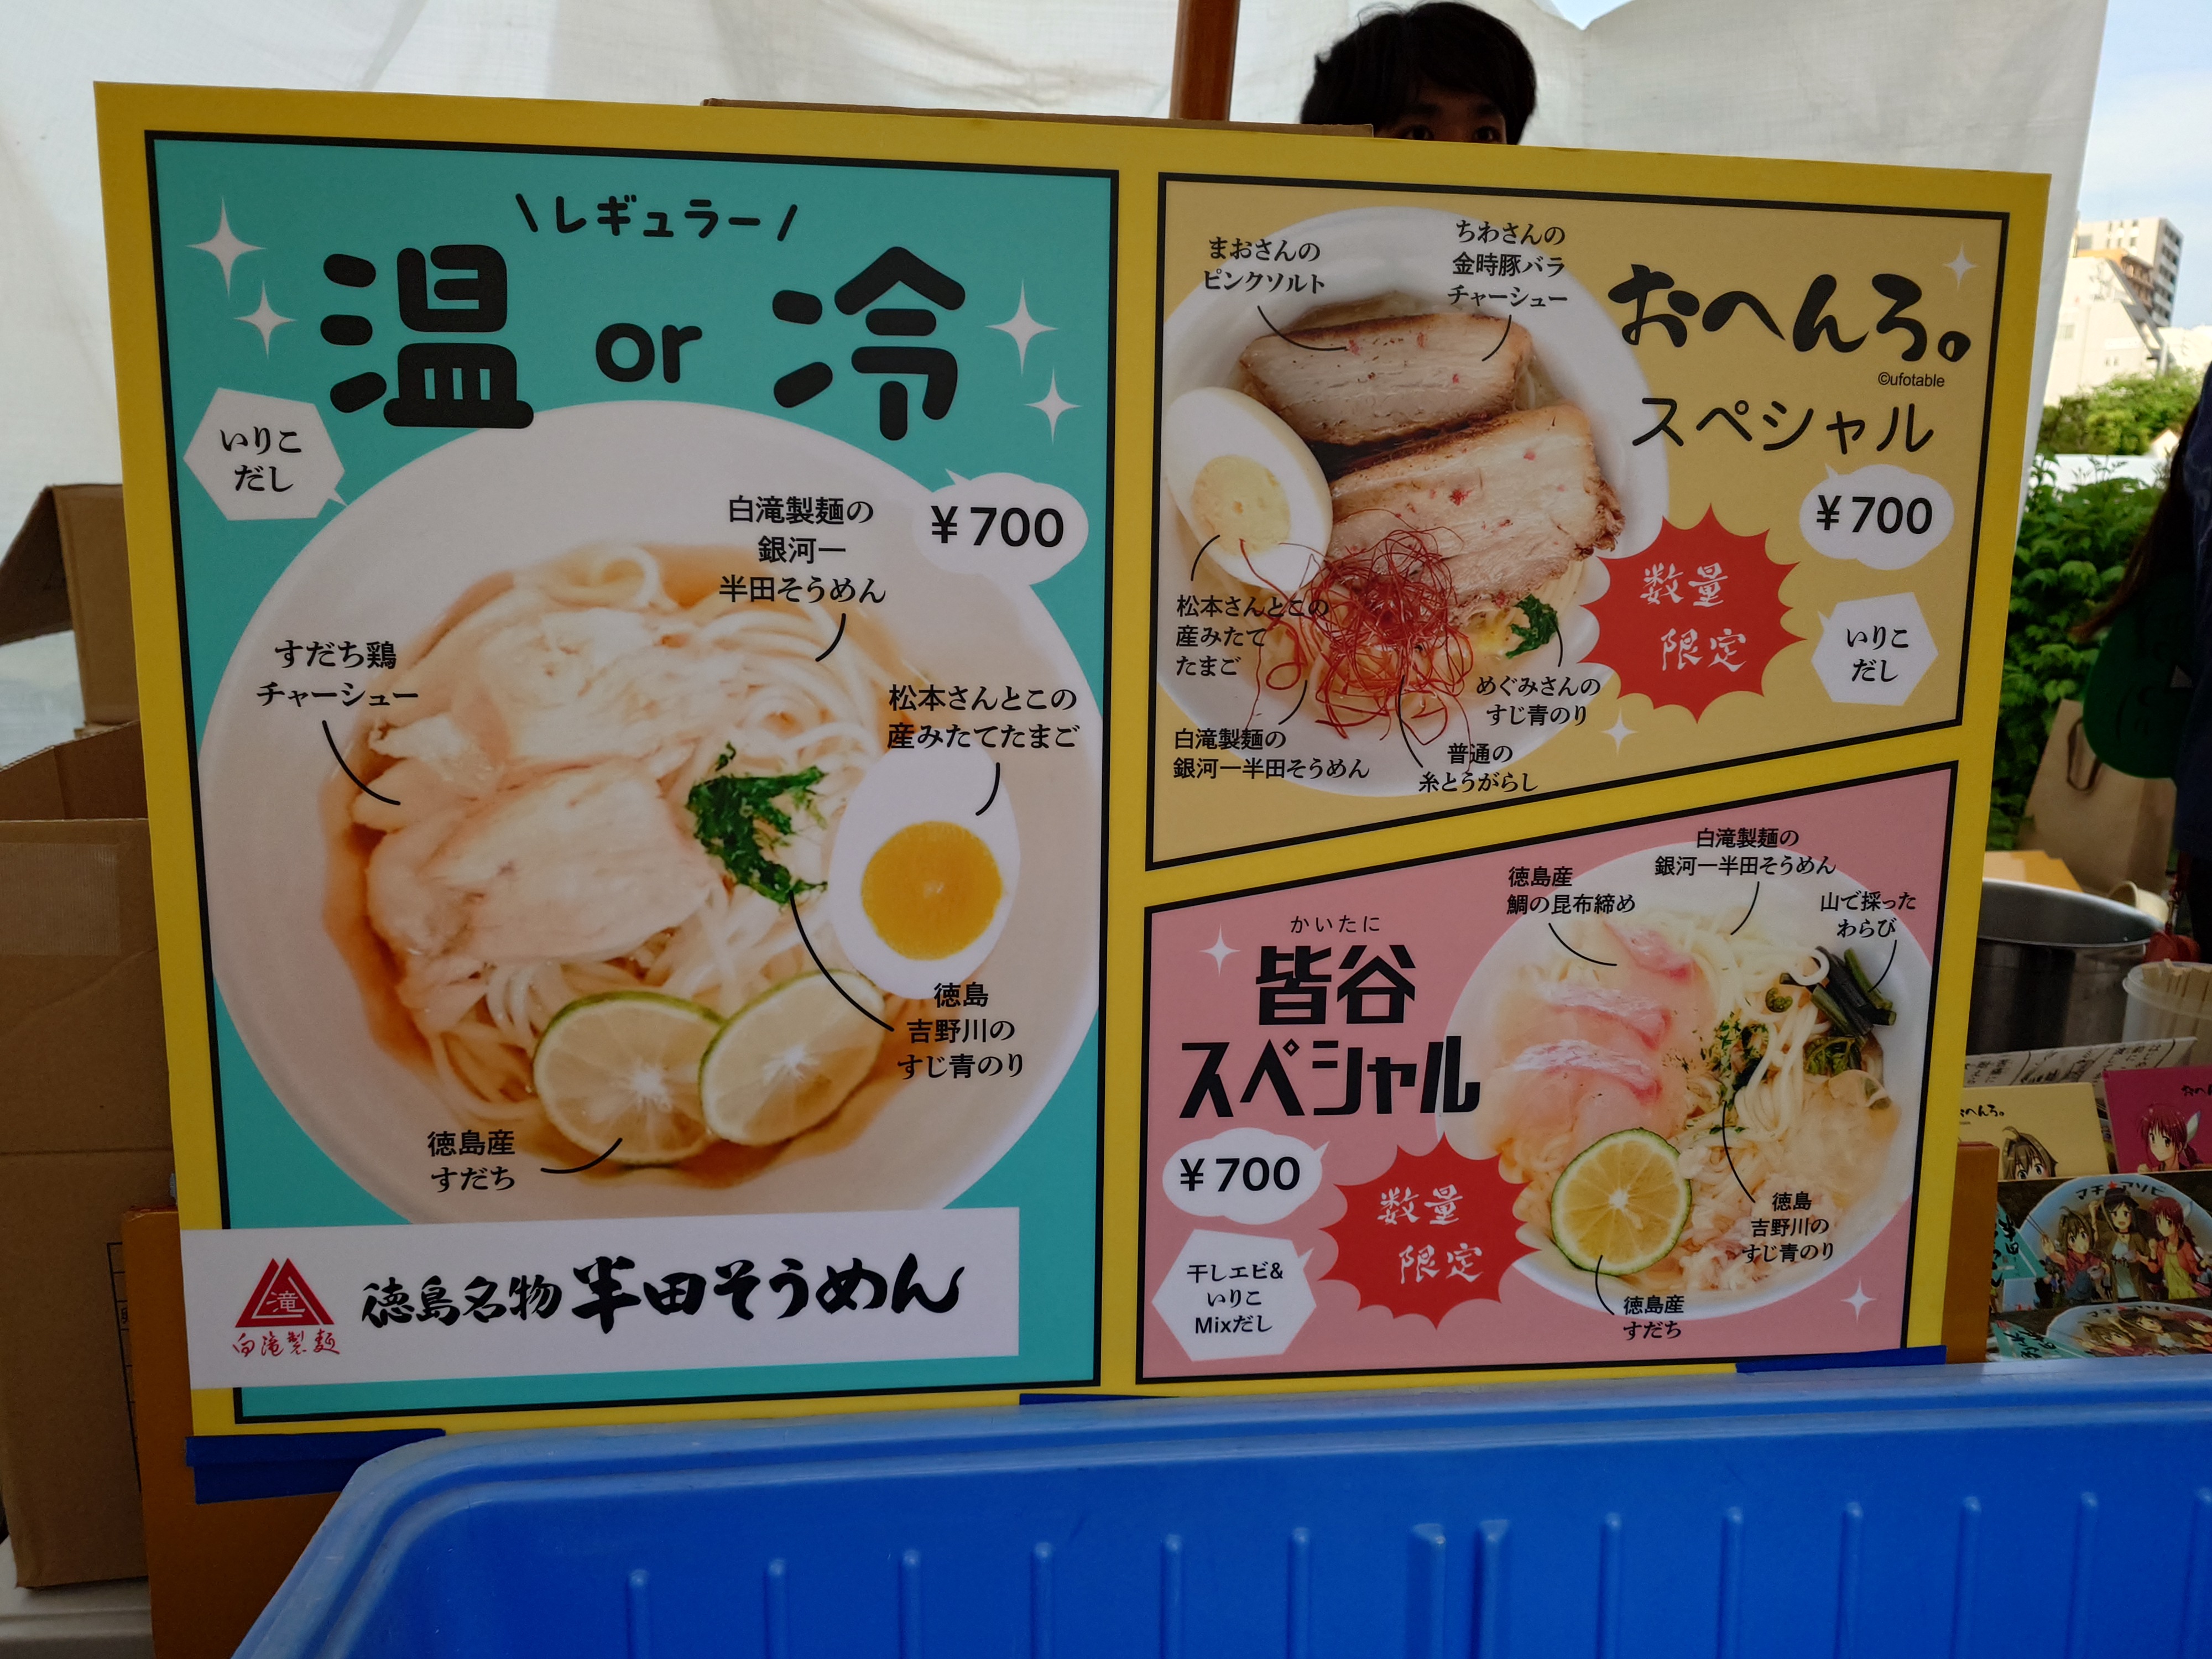
いくつかメニューがあったが、レギュラー以外は売り切れていた。しかし、このメニューの豊富さや内容の豪華さはイベントの出店とは思えない力の入れようだ。
POPのデザインは凝っており、写真のコメントも面白く、銀河一半田そうめんとか、普通の糸とうがらしとか、山で採ったわらびとか、「おへんろ。」にちなんだ内容もあった。
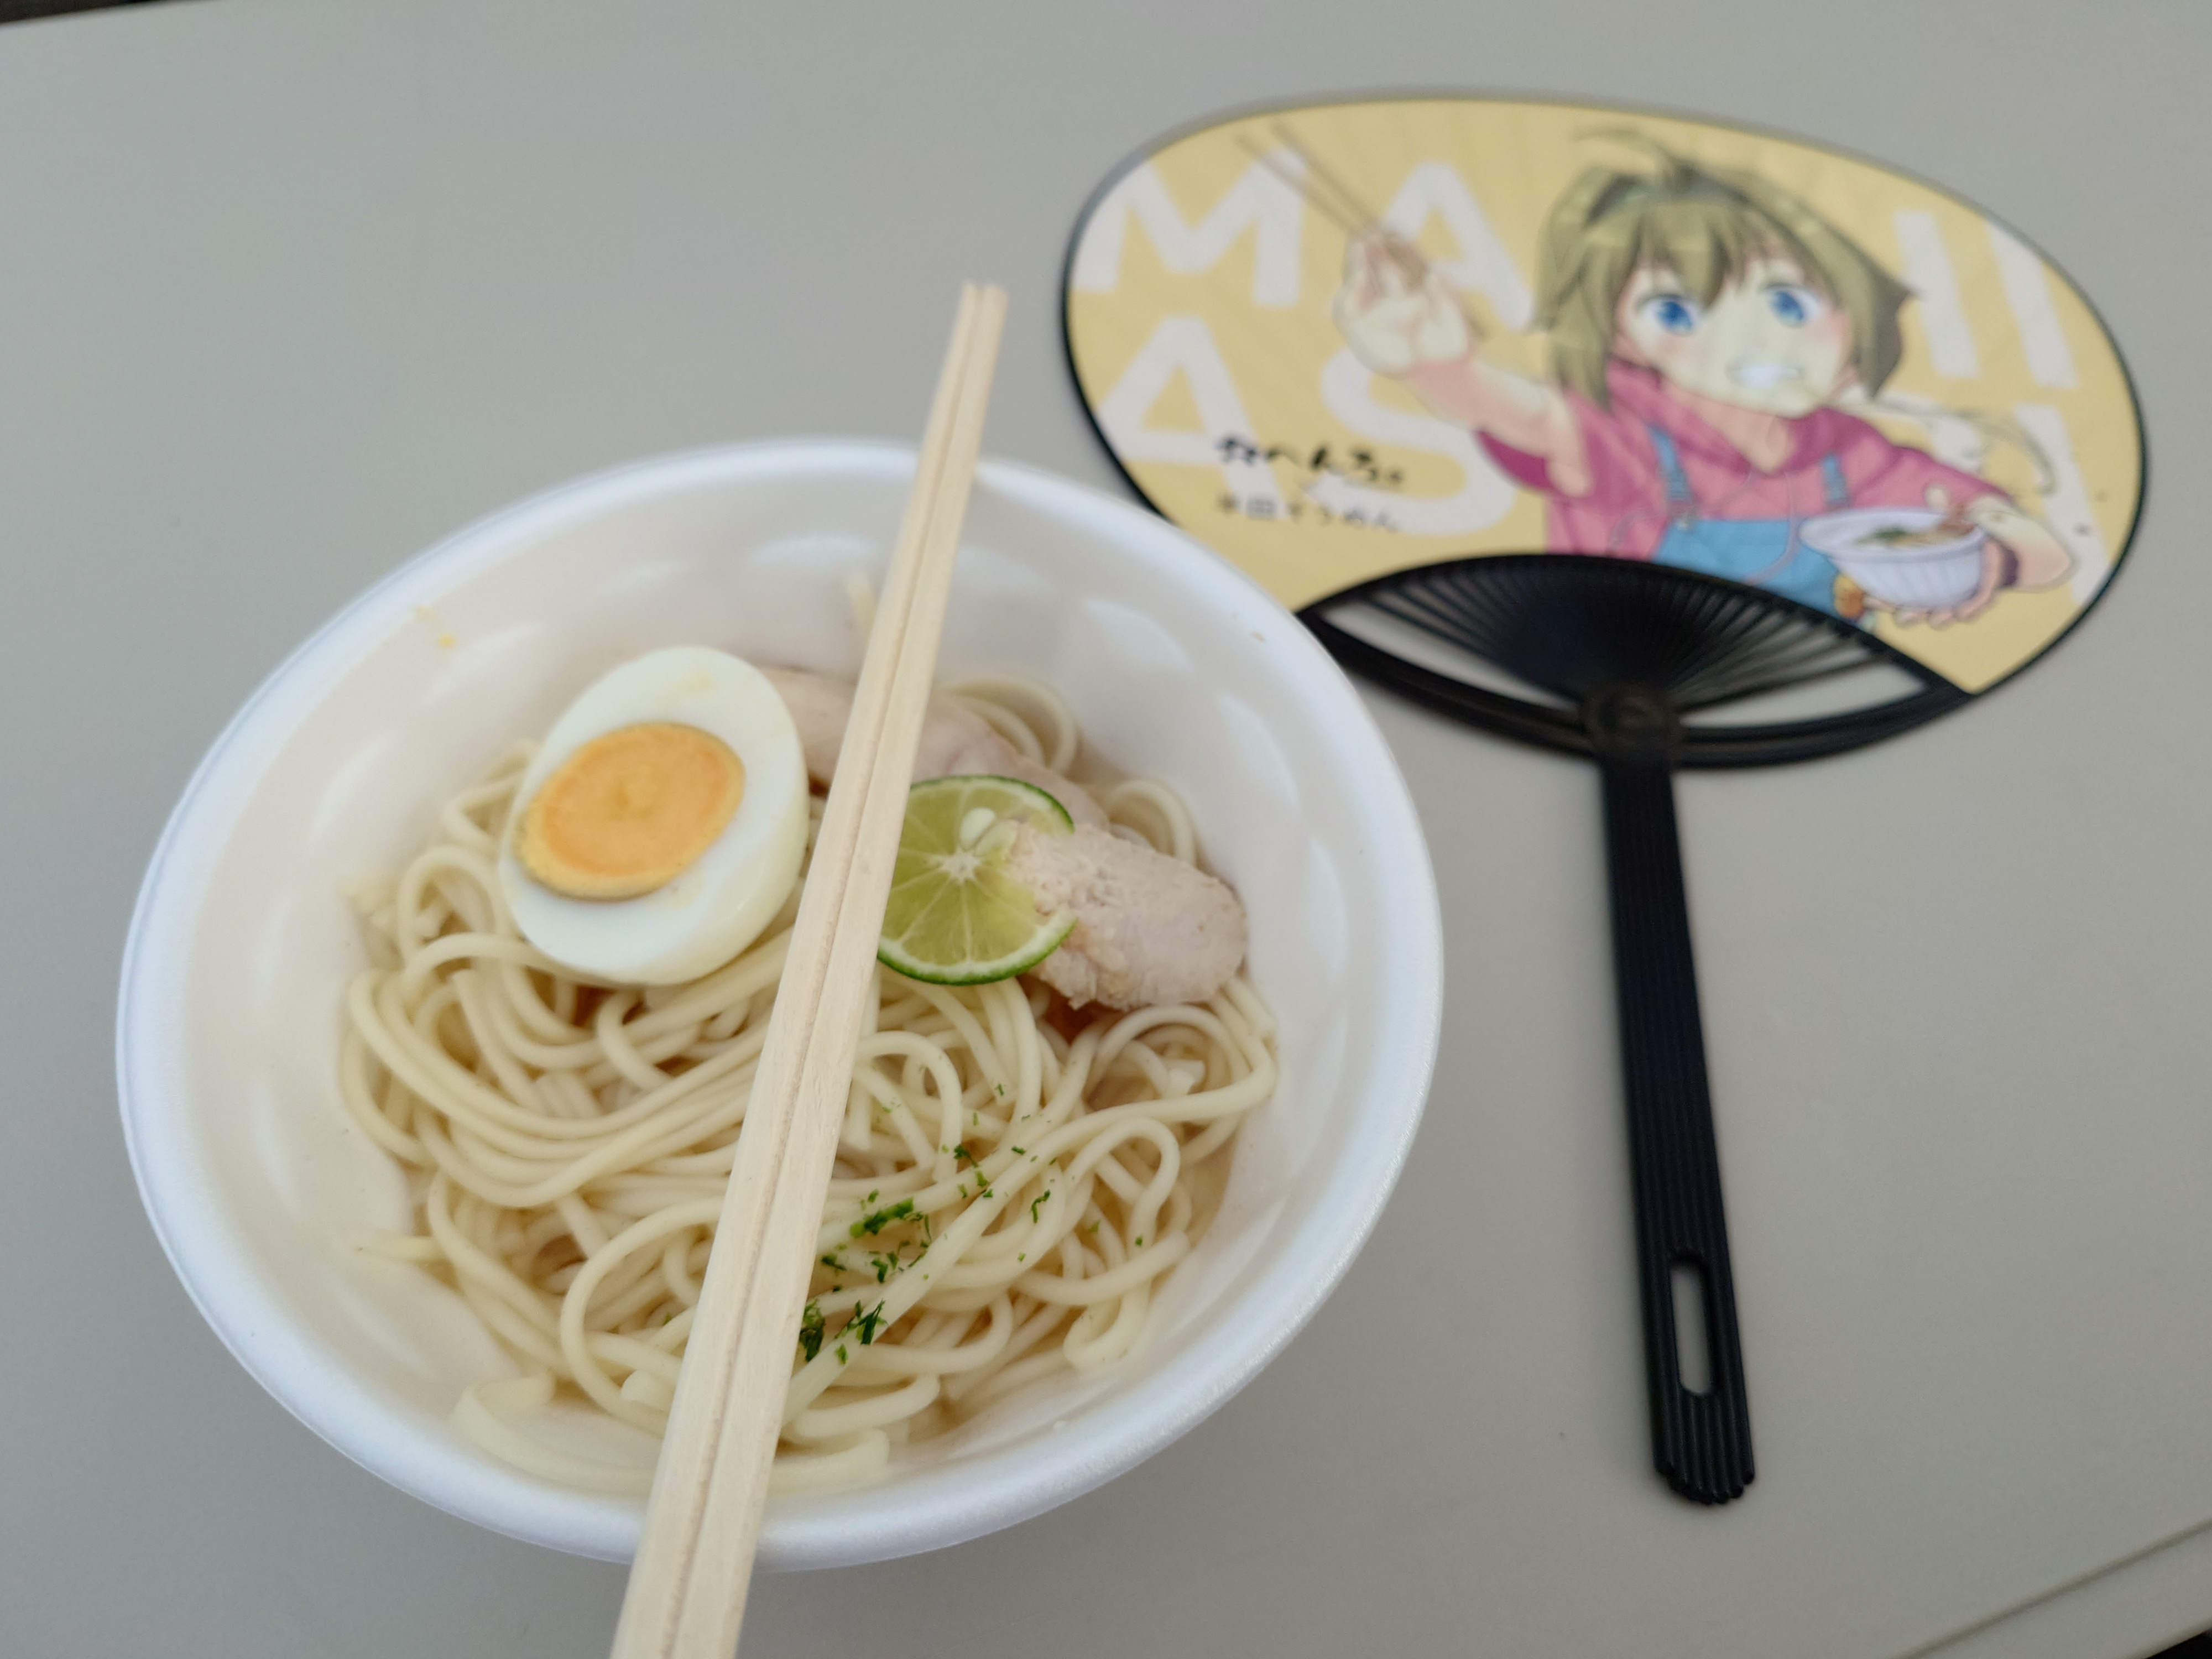
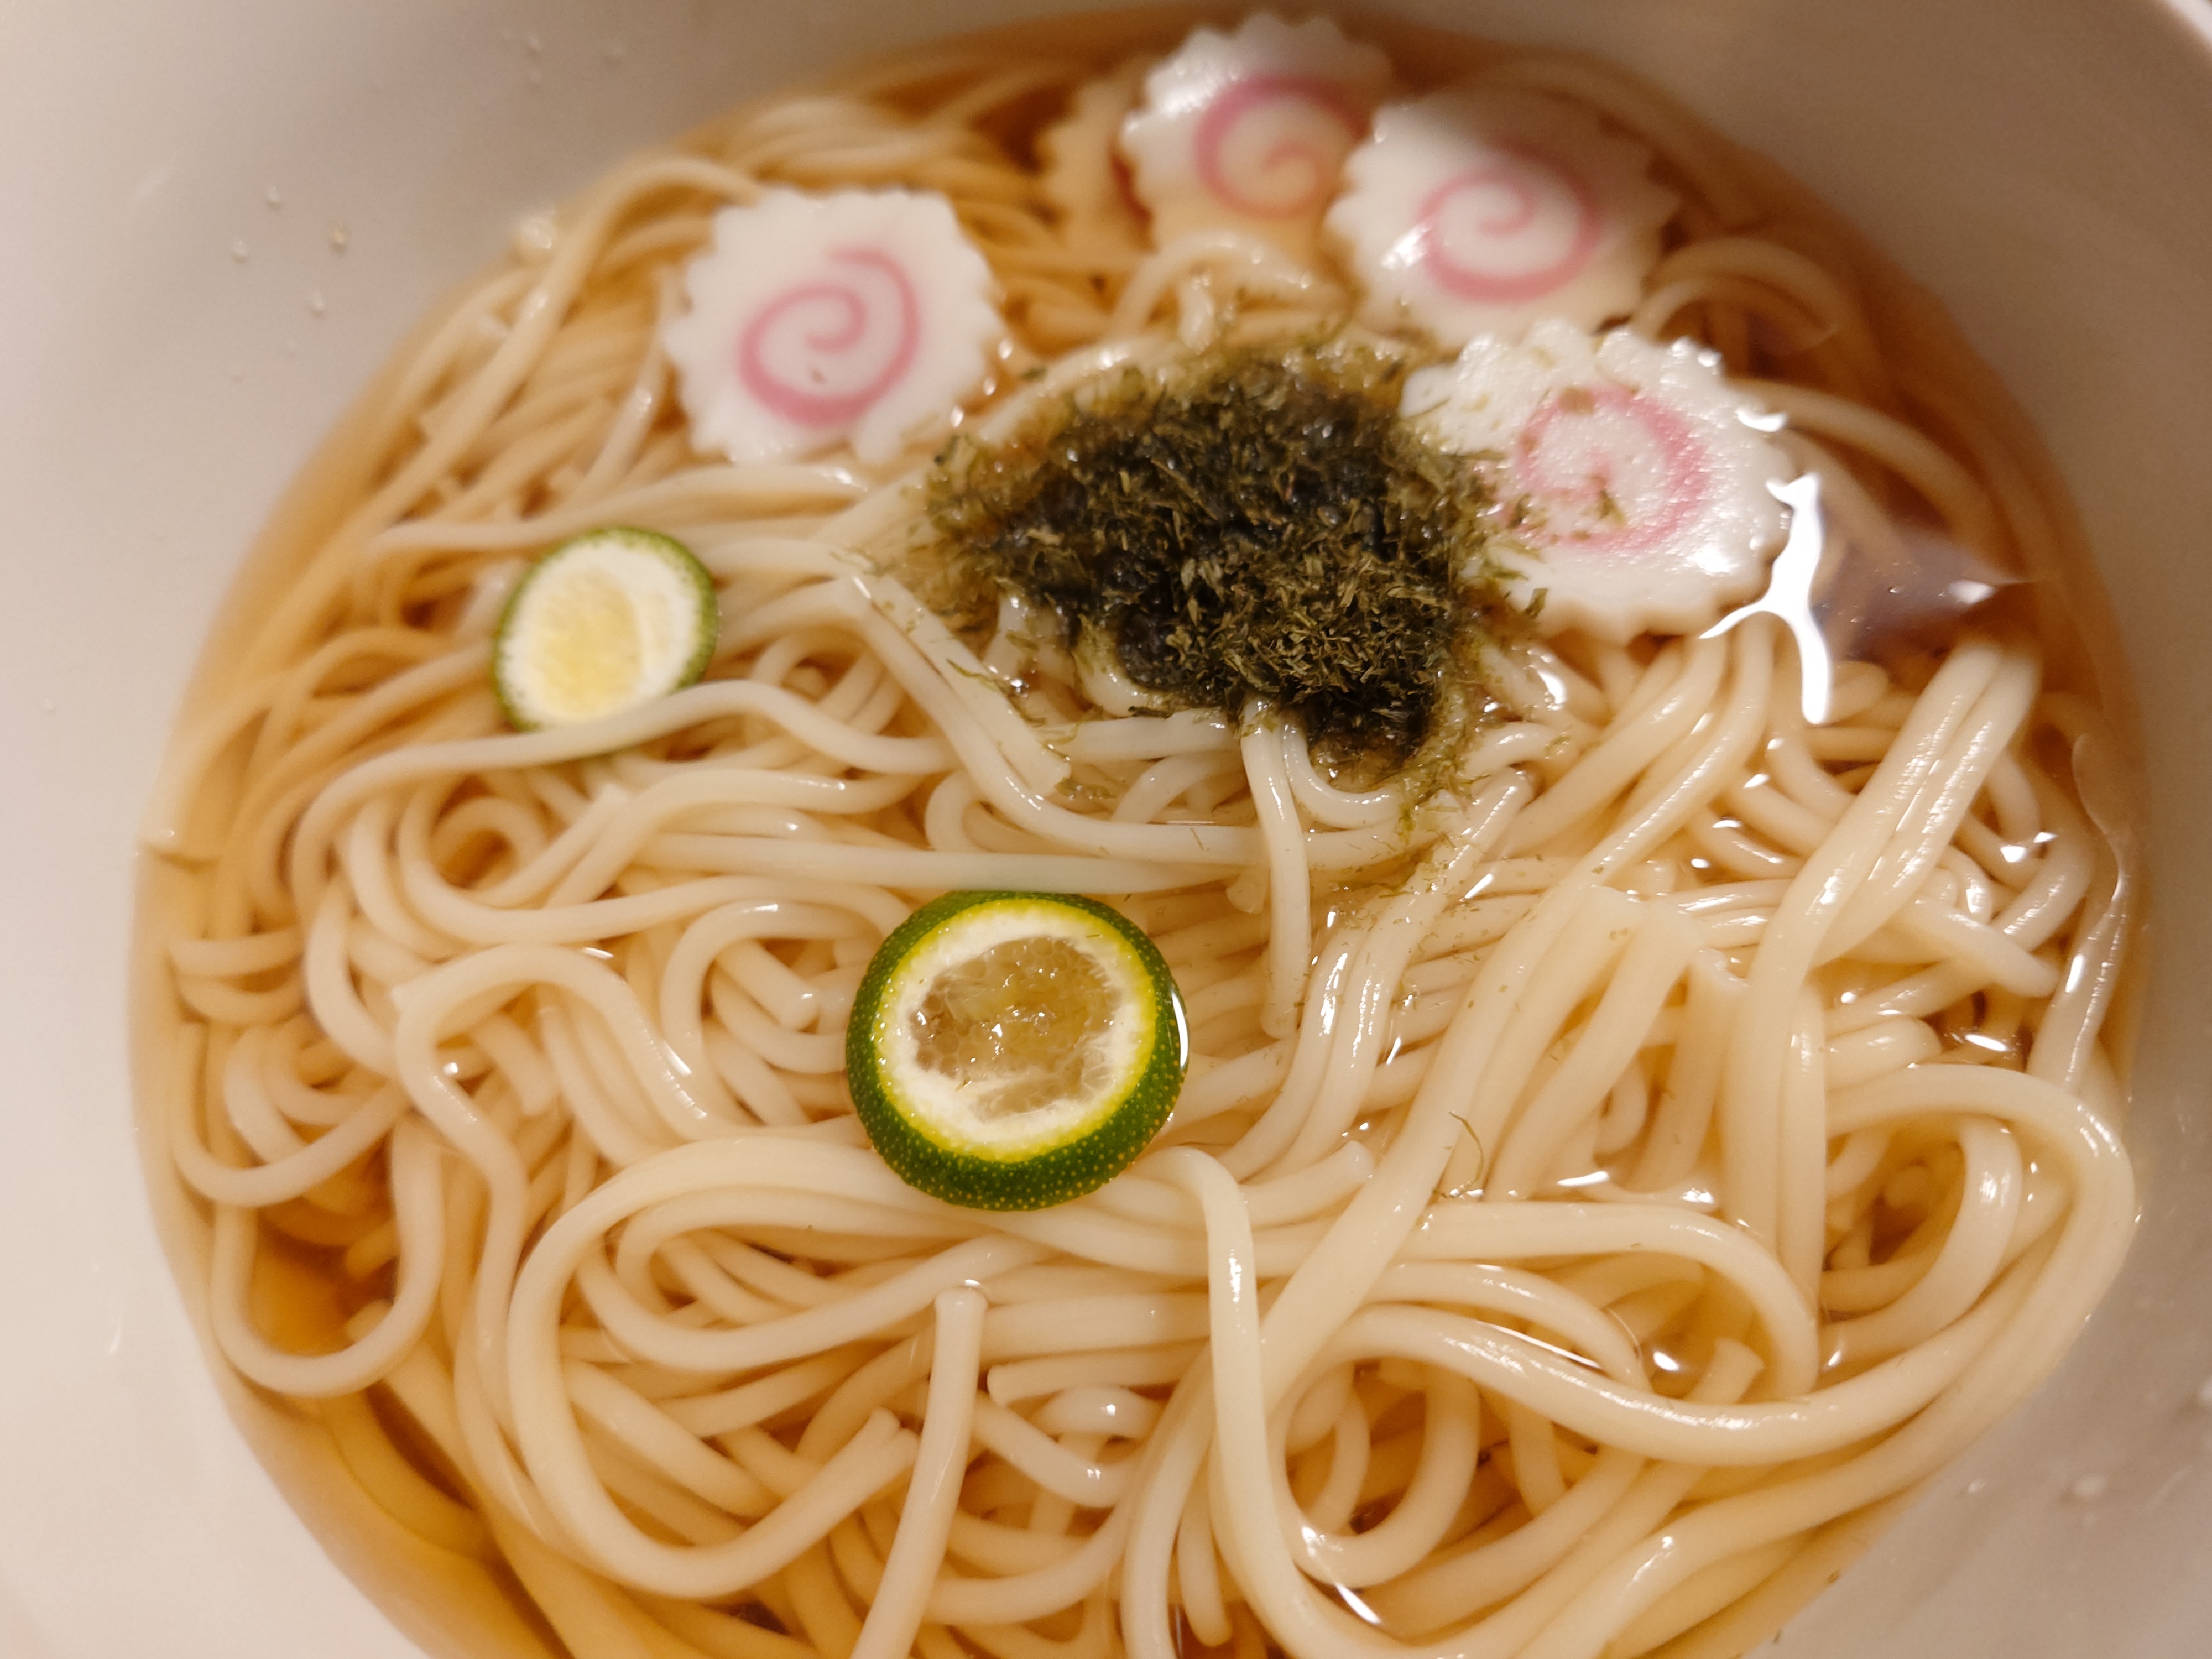
レギュラーの冷そうめん。半田そうめんは太く、細うどんにも近かった。麺はもちもちしてコシがあり、つゆはいりことすだちがよく効いていておいしかった。
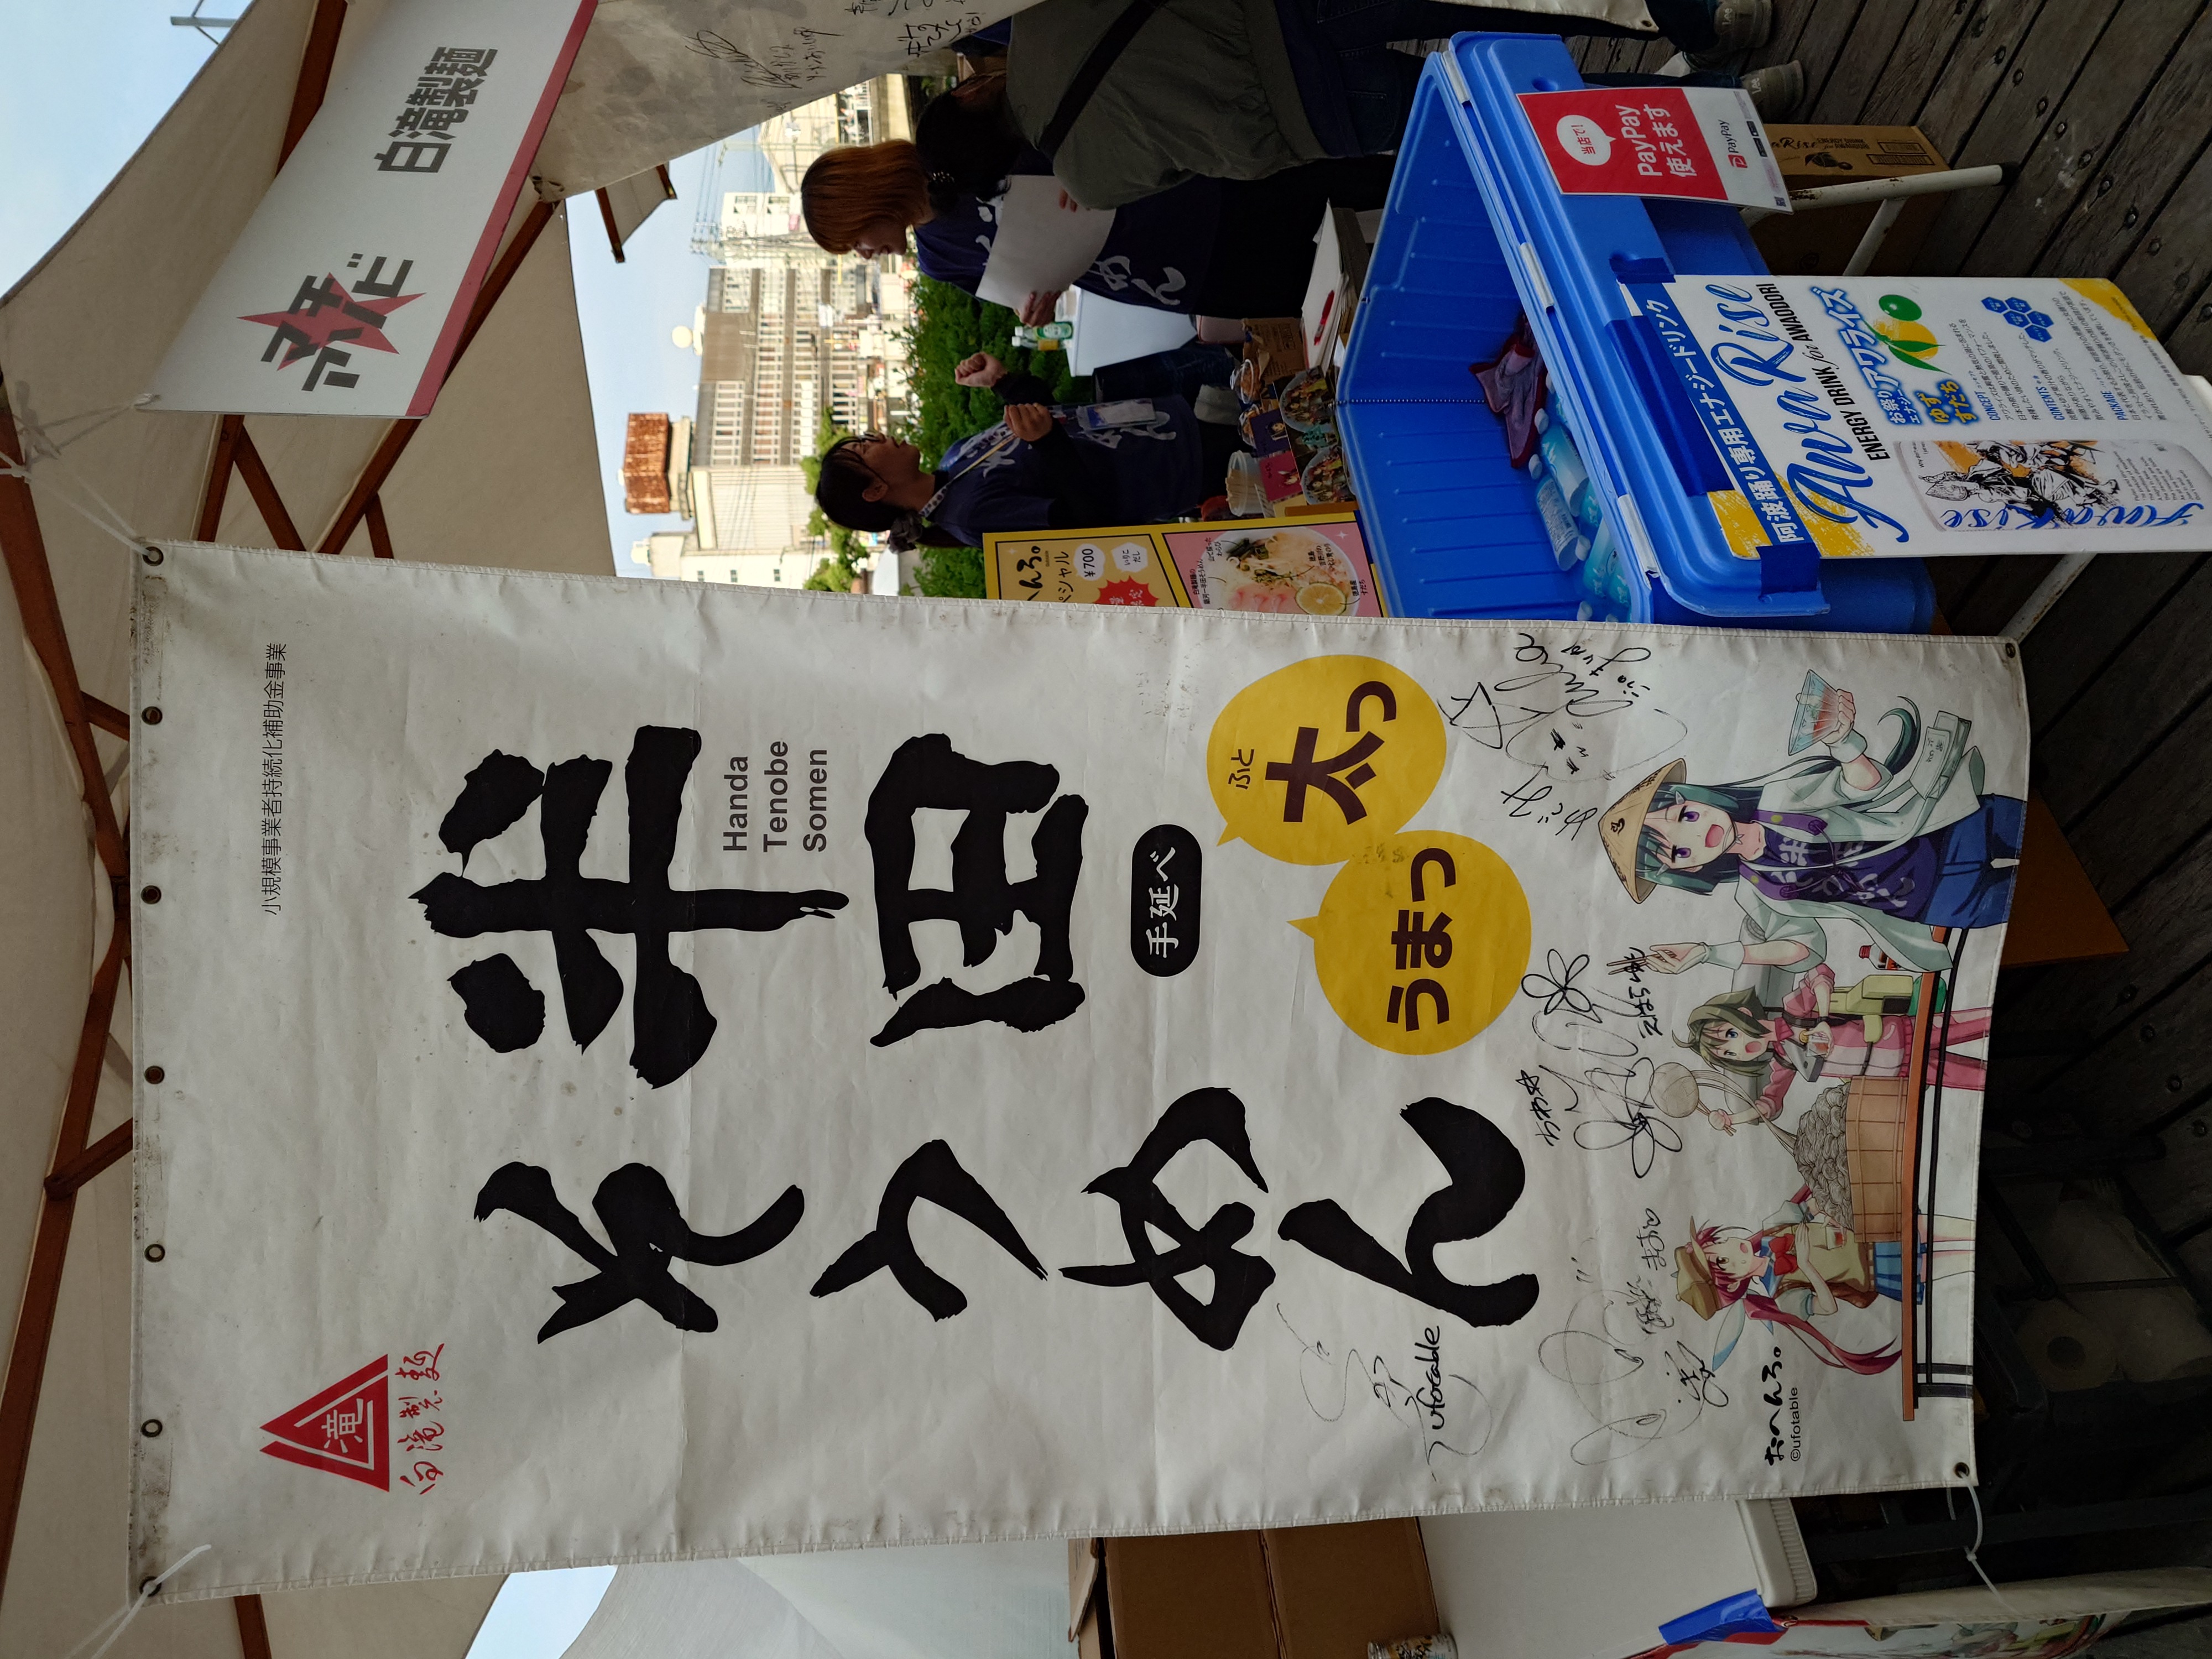
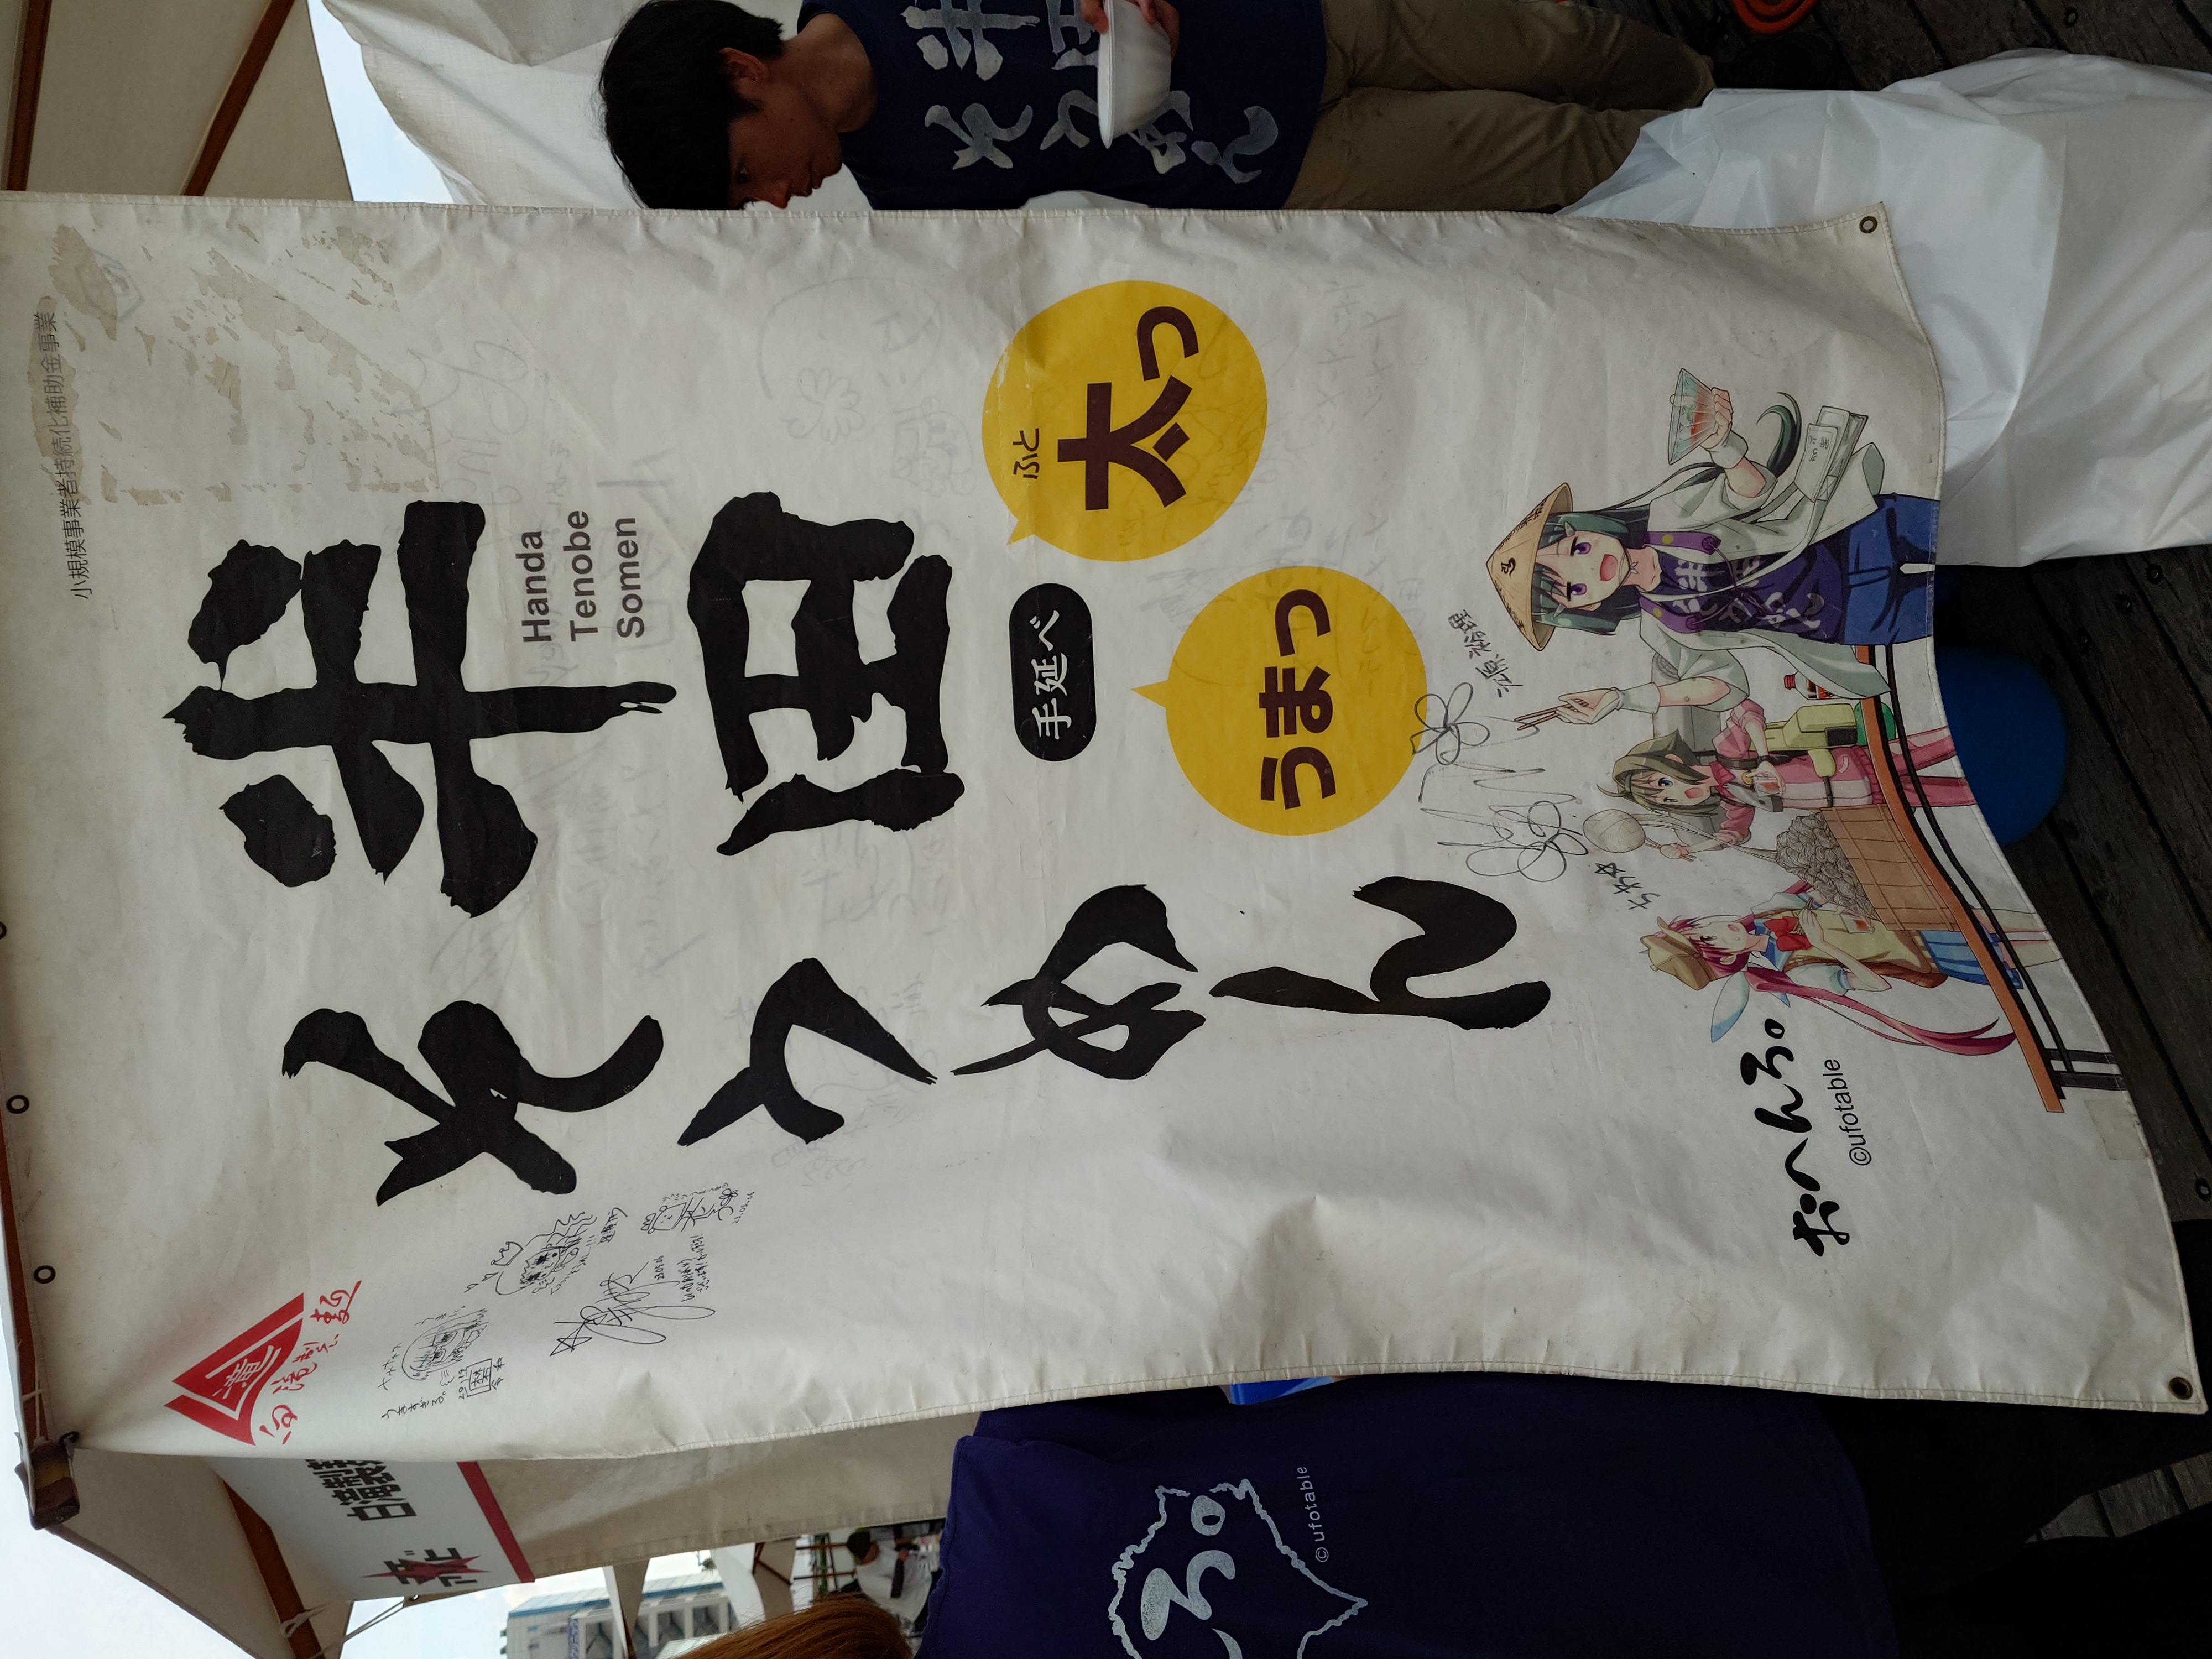
このパラソルは白滝製麺のブースで、社長のXのアカウントにはキレのある投稿が多く、マチアソビがらみの内容もあり面白い。
マチをアソビ尽くす!
時刻は18時を回り、そろそろ今日の残り時間も少なくなってきたが、それでもホテルでゴロゴロしすぎた分、マチをアソビ尽くす為に徳島市内をぶらぶらすることにした。
両国橋を抜けた南側の文具店にはufotableのポスターが色あせるほどに飾ってあり、徳島市中心部のマチアソビと阿波踊りに対する熱気を確認することができた。
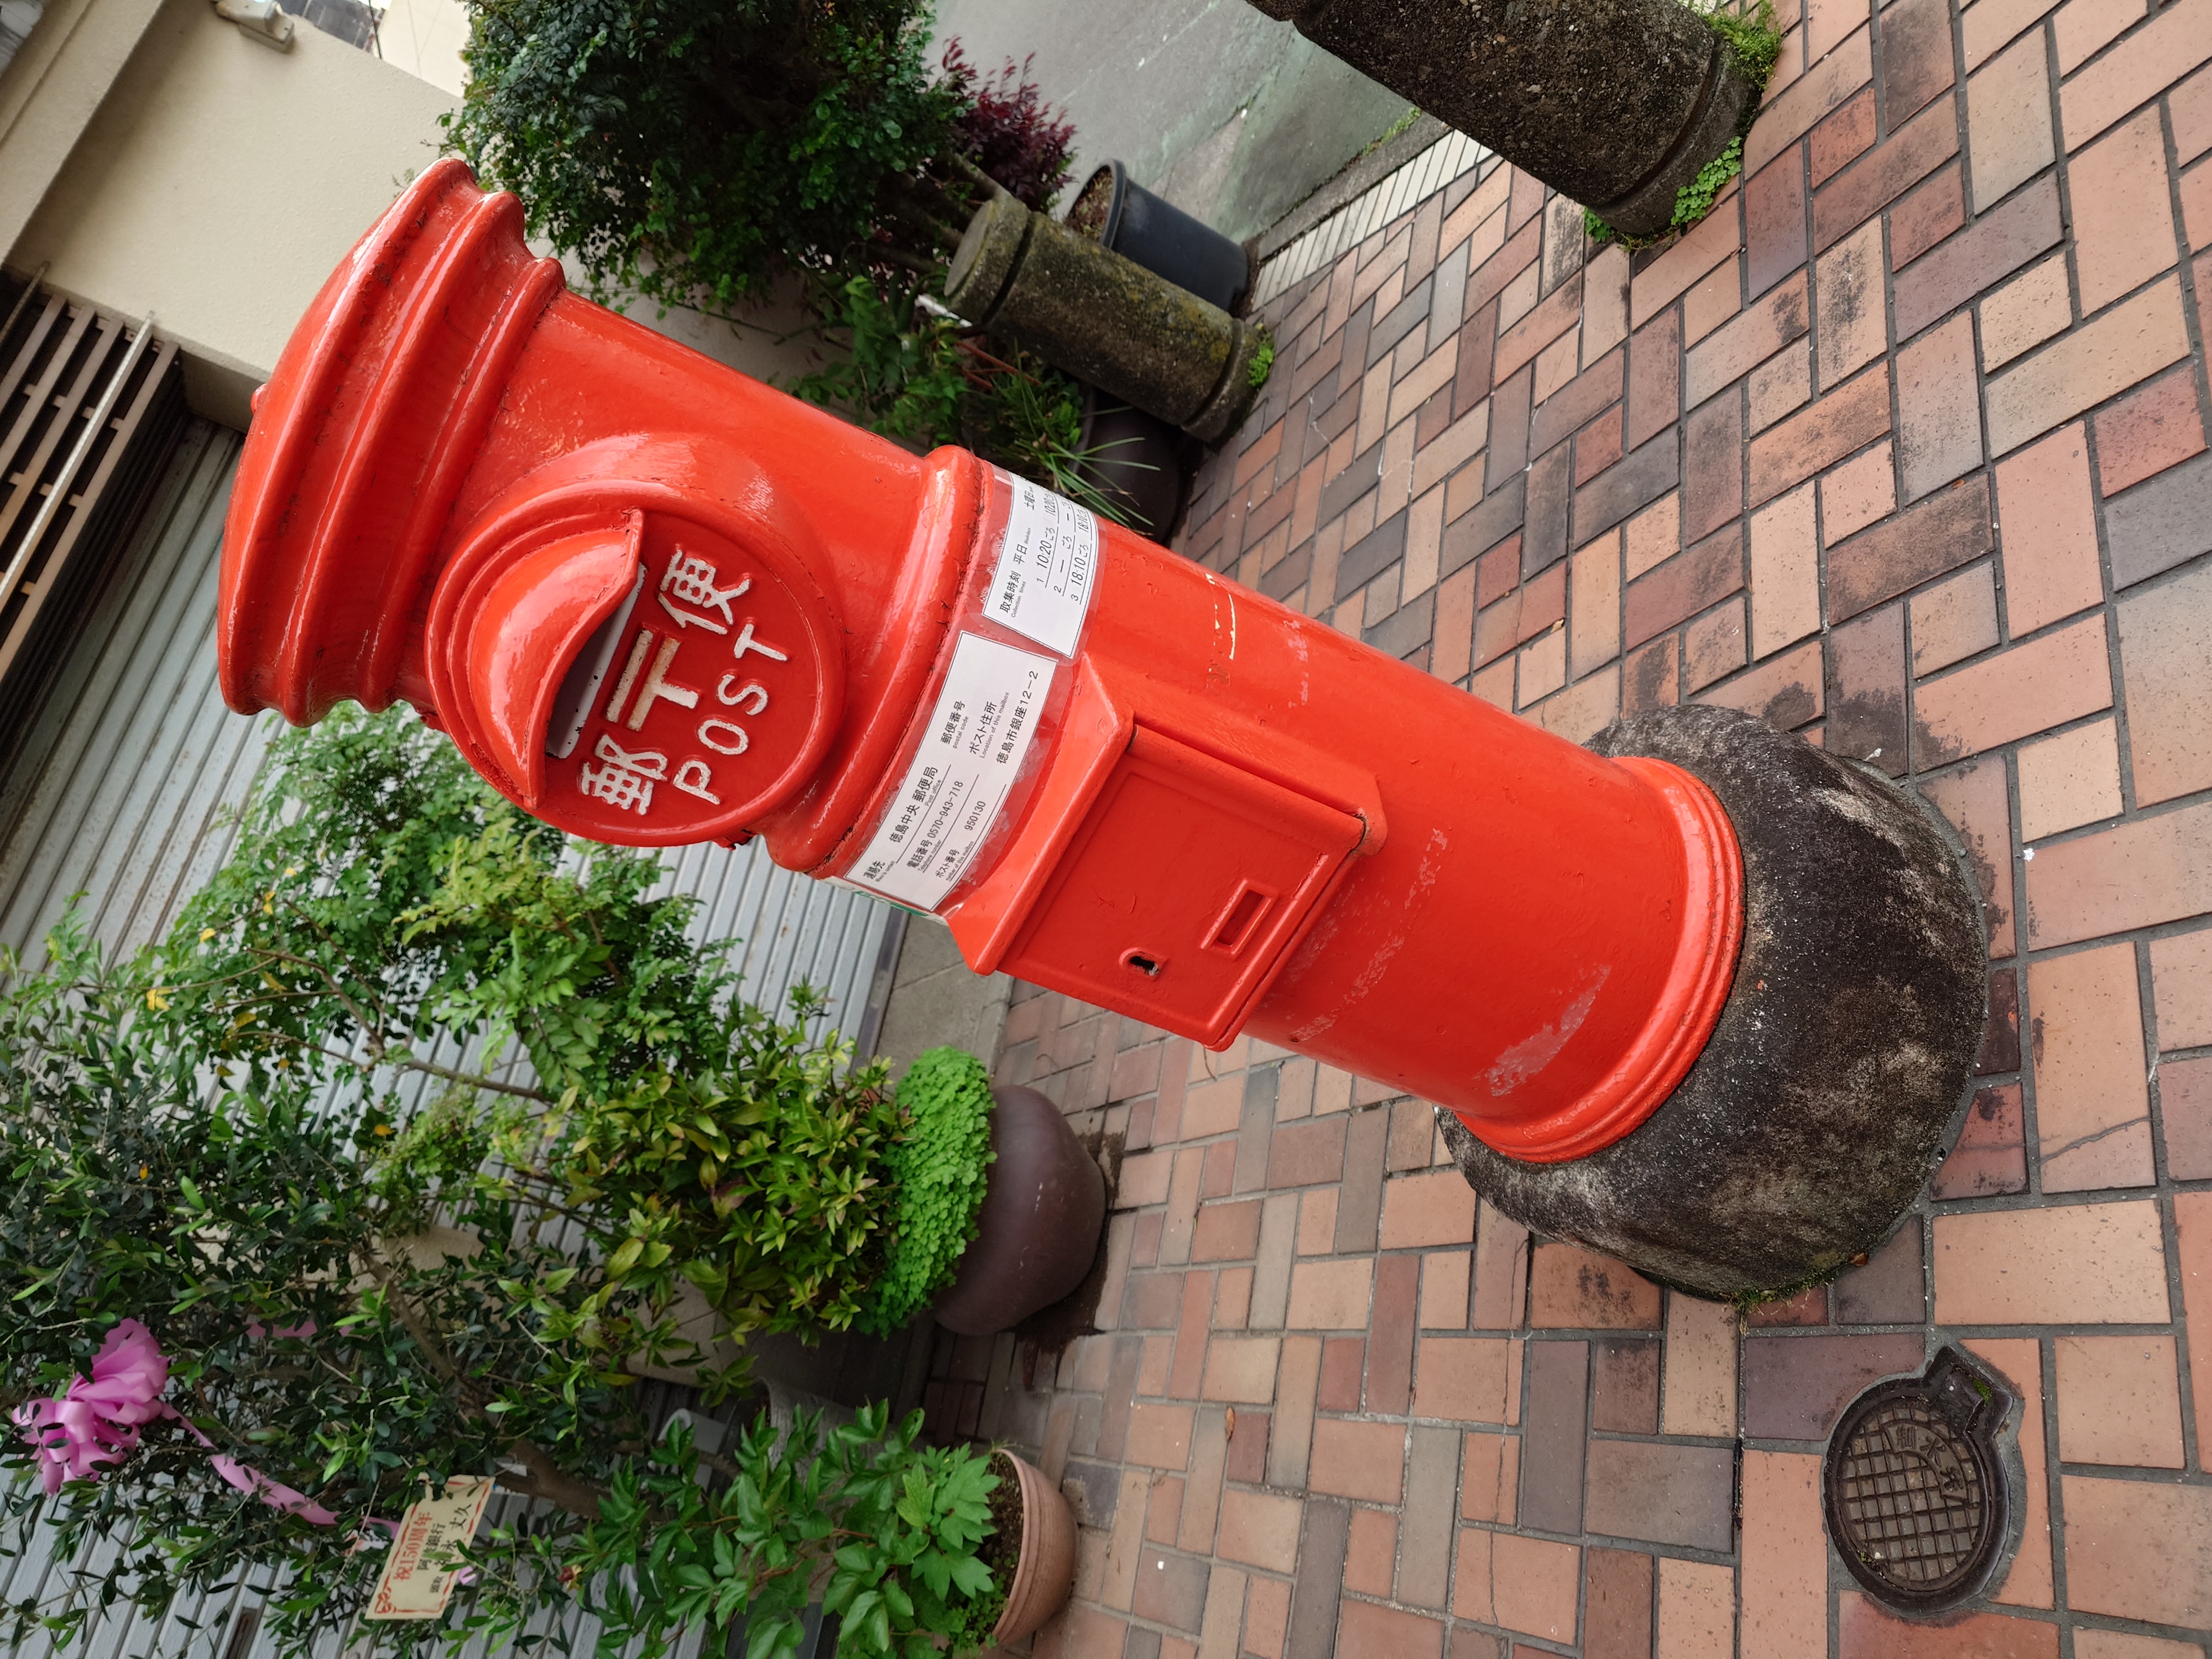
そこから右手を見ると懐かしい陶器製の郵便ポストもあった。
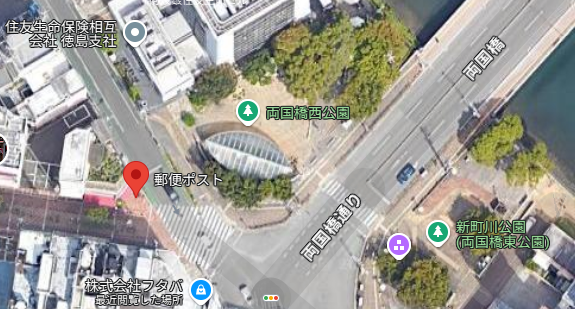
この郵便ポストは今確認したところGoogle Mapsにも掲載されているようだ。
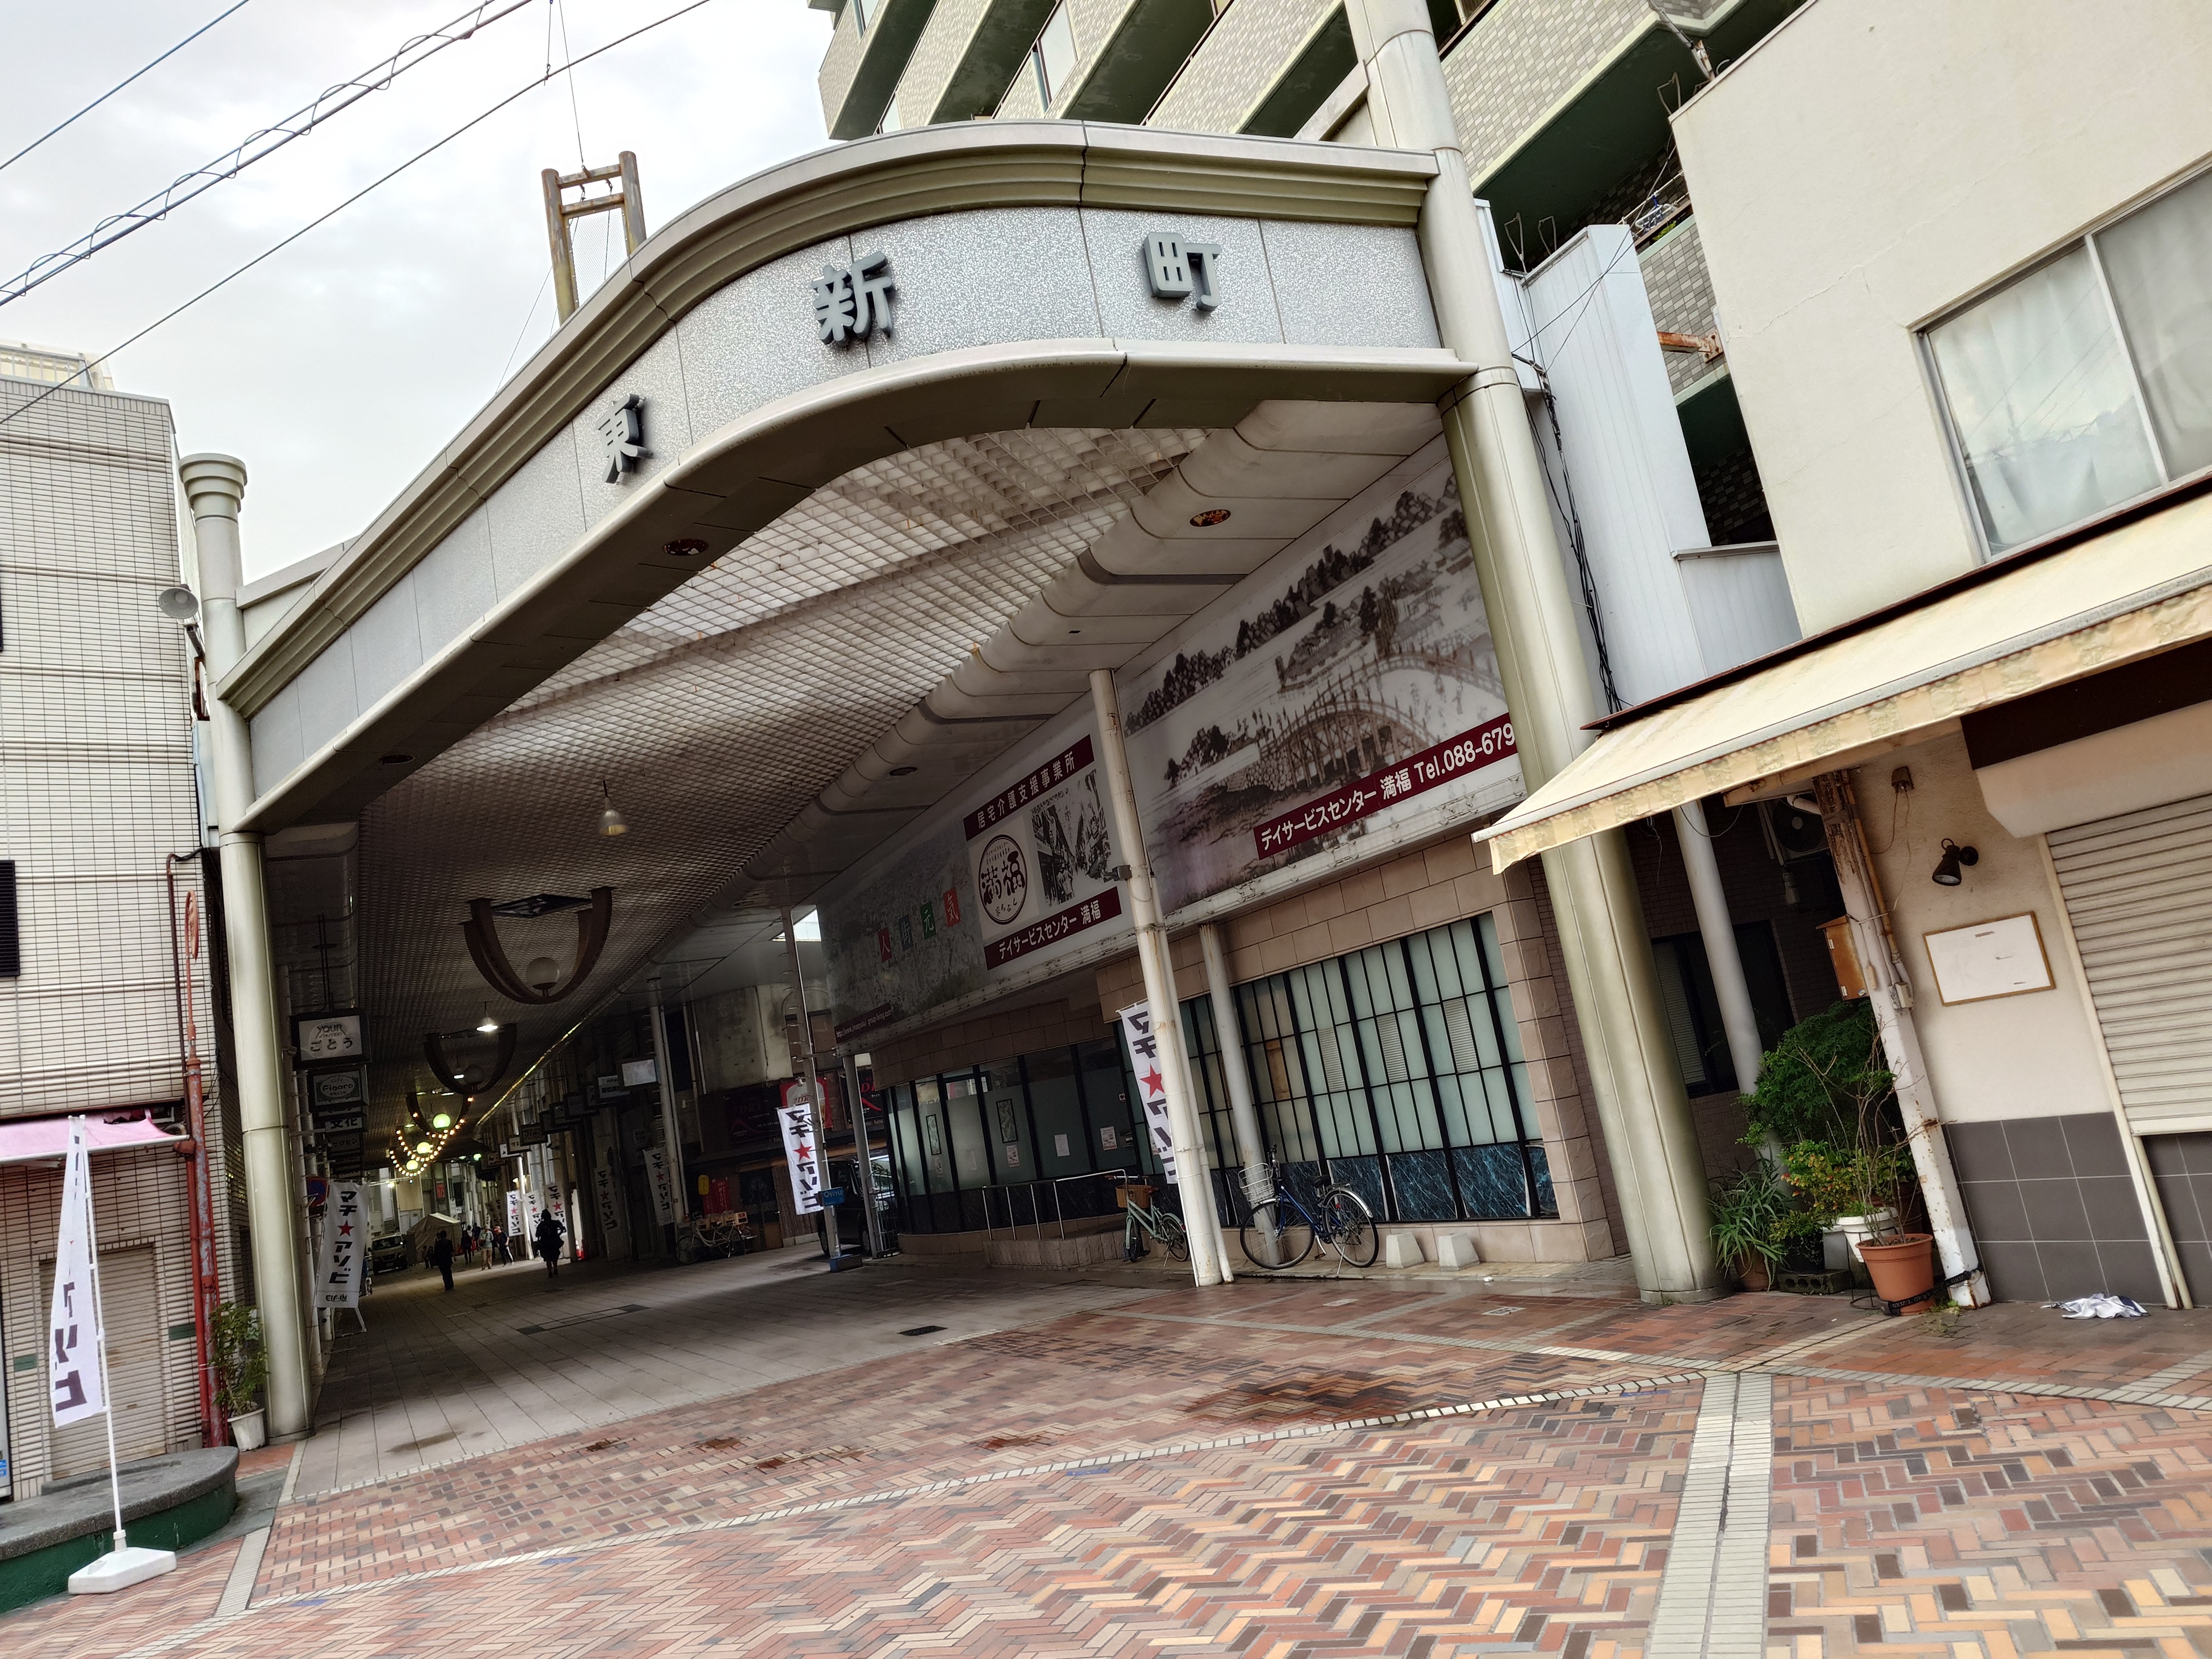
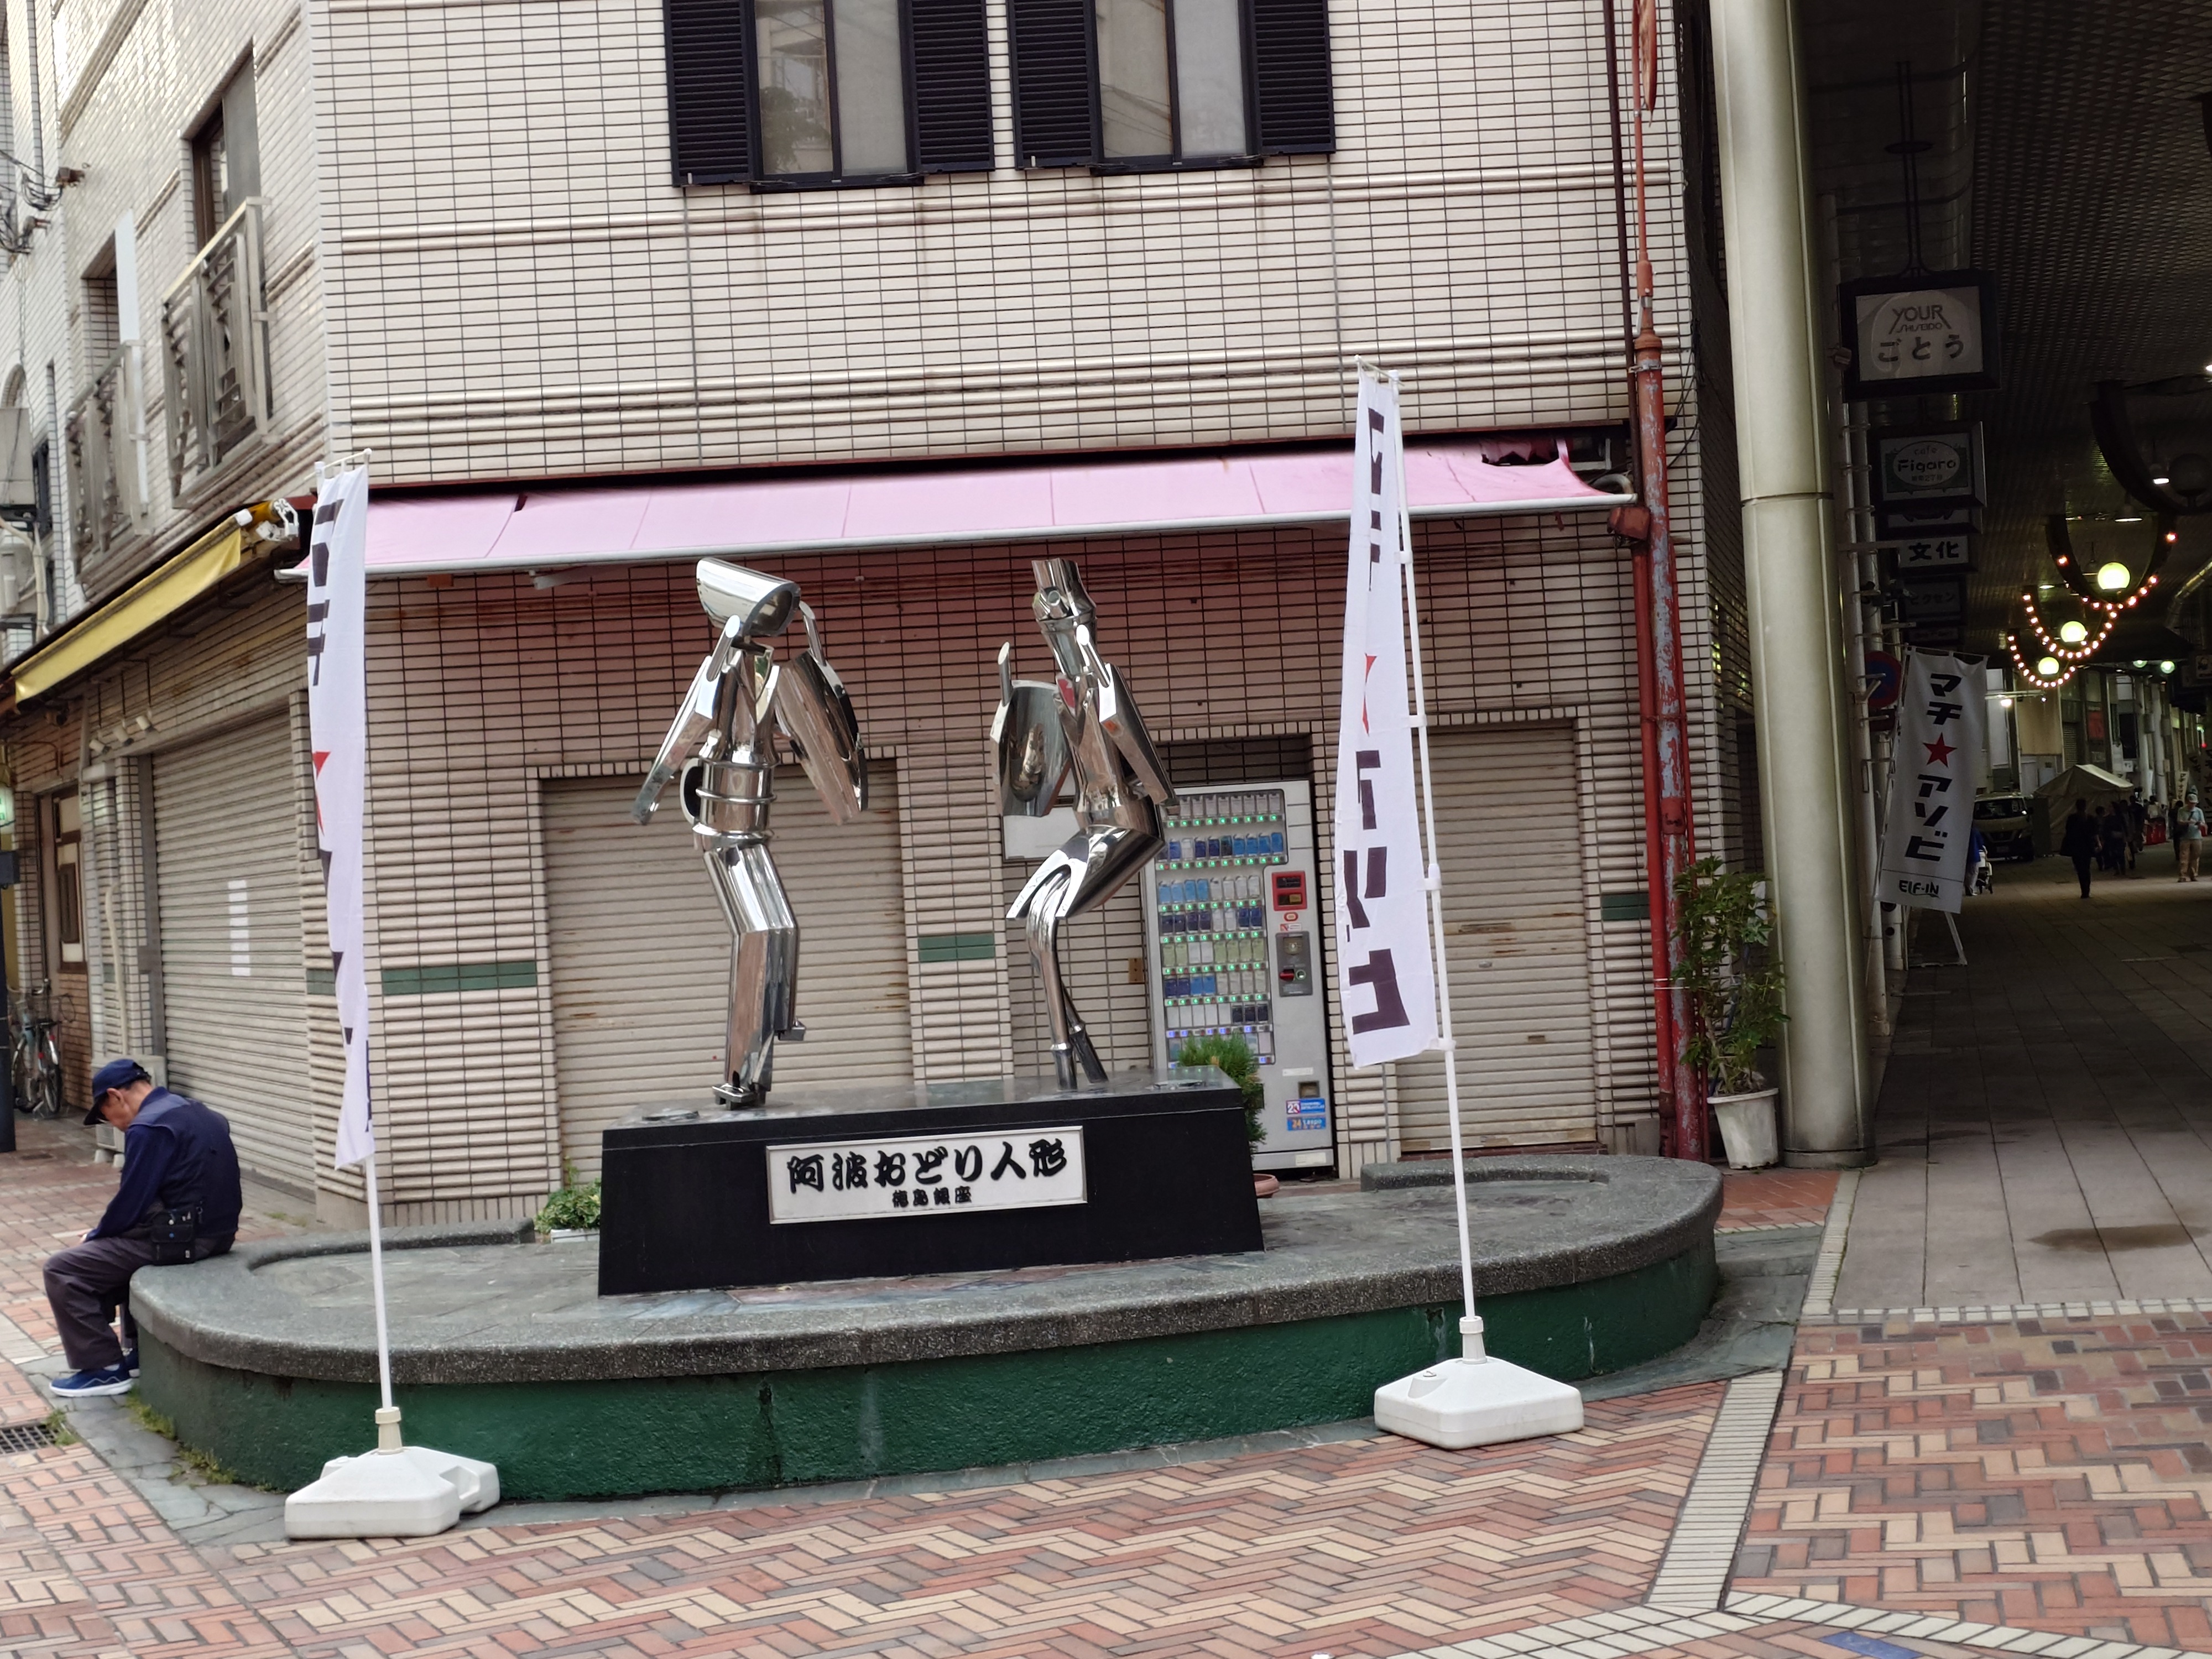
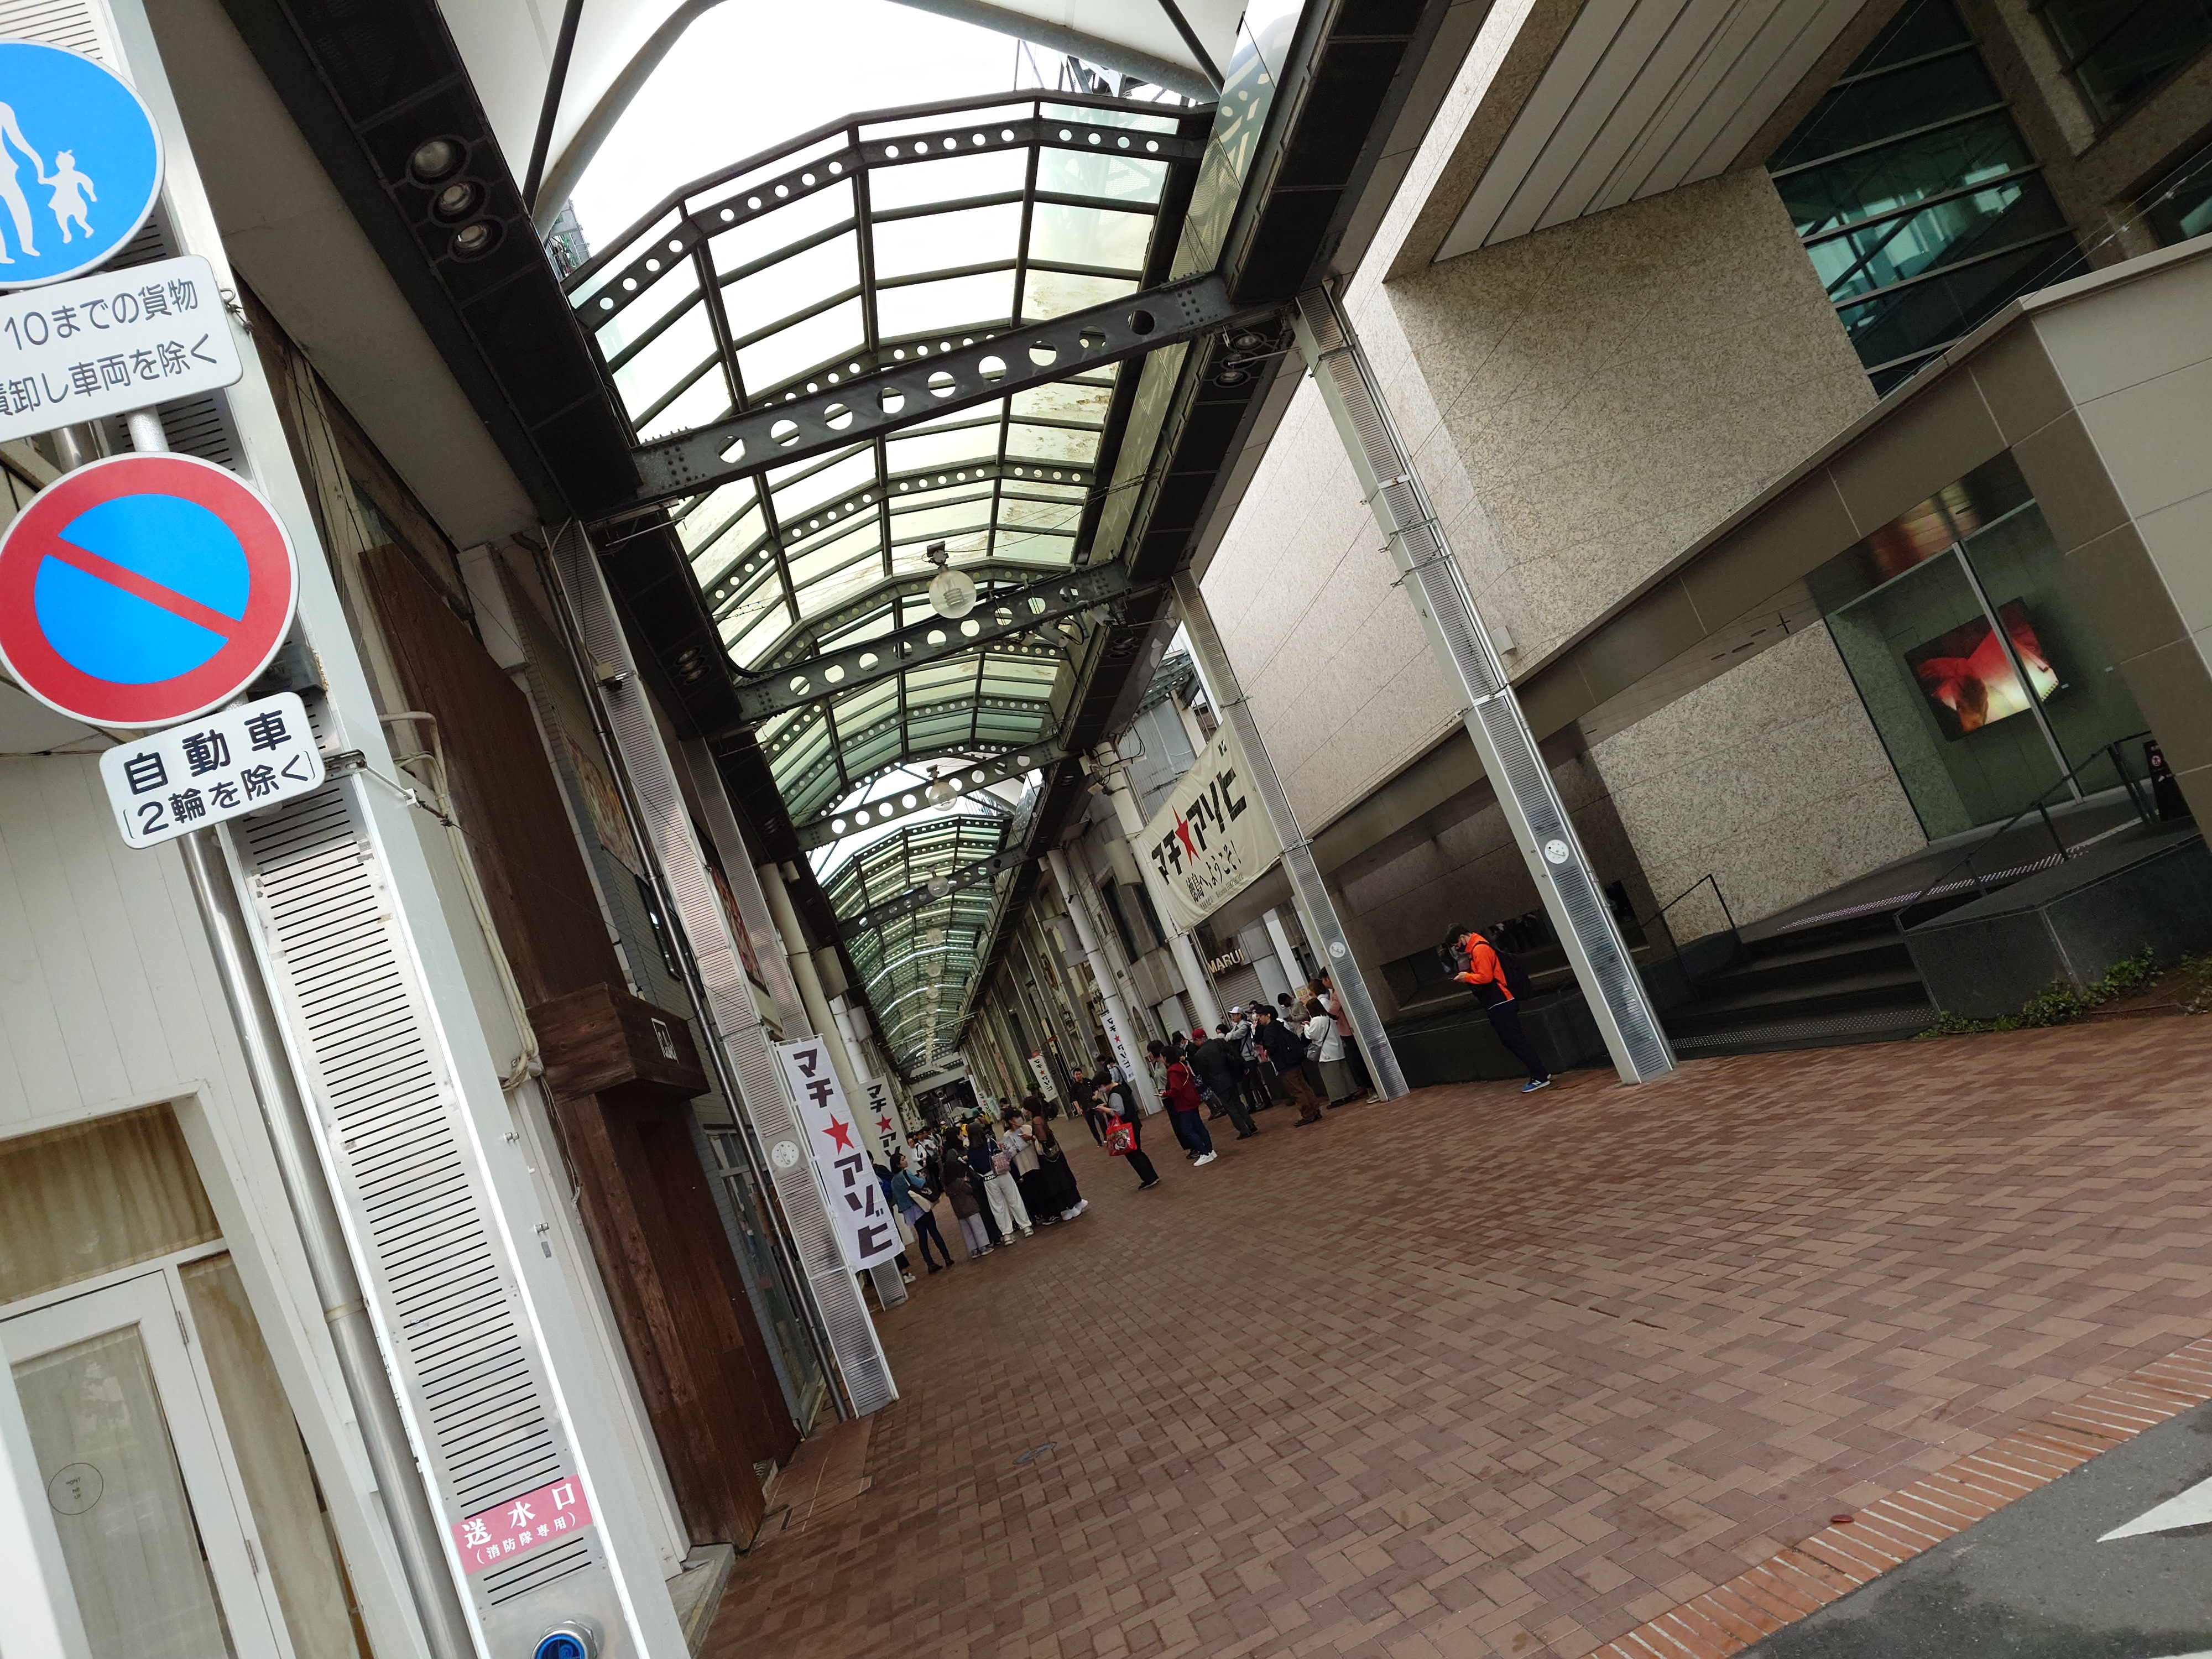
ポストのあった筋を進むと東新町と書かれた立派なアーケードに出会えた。中にはマチアソビののぼりが多数あり、脇には阿波踊りの金属像もあった。ひとまずここに入ることにした。
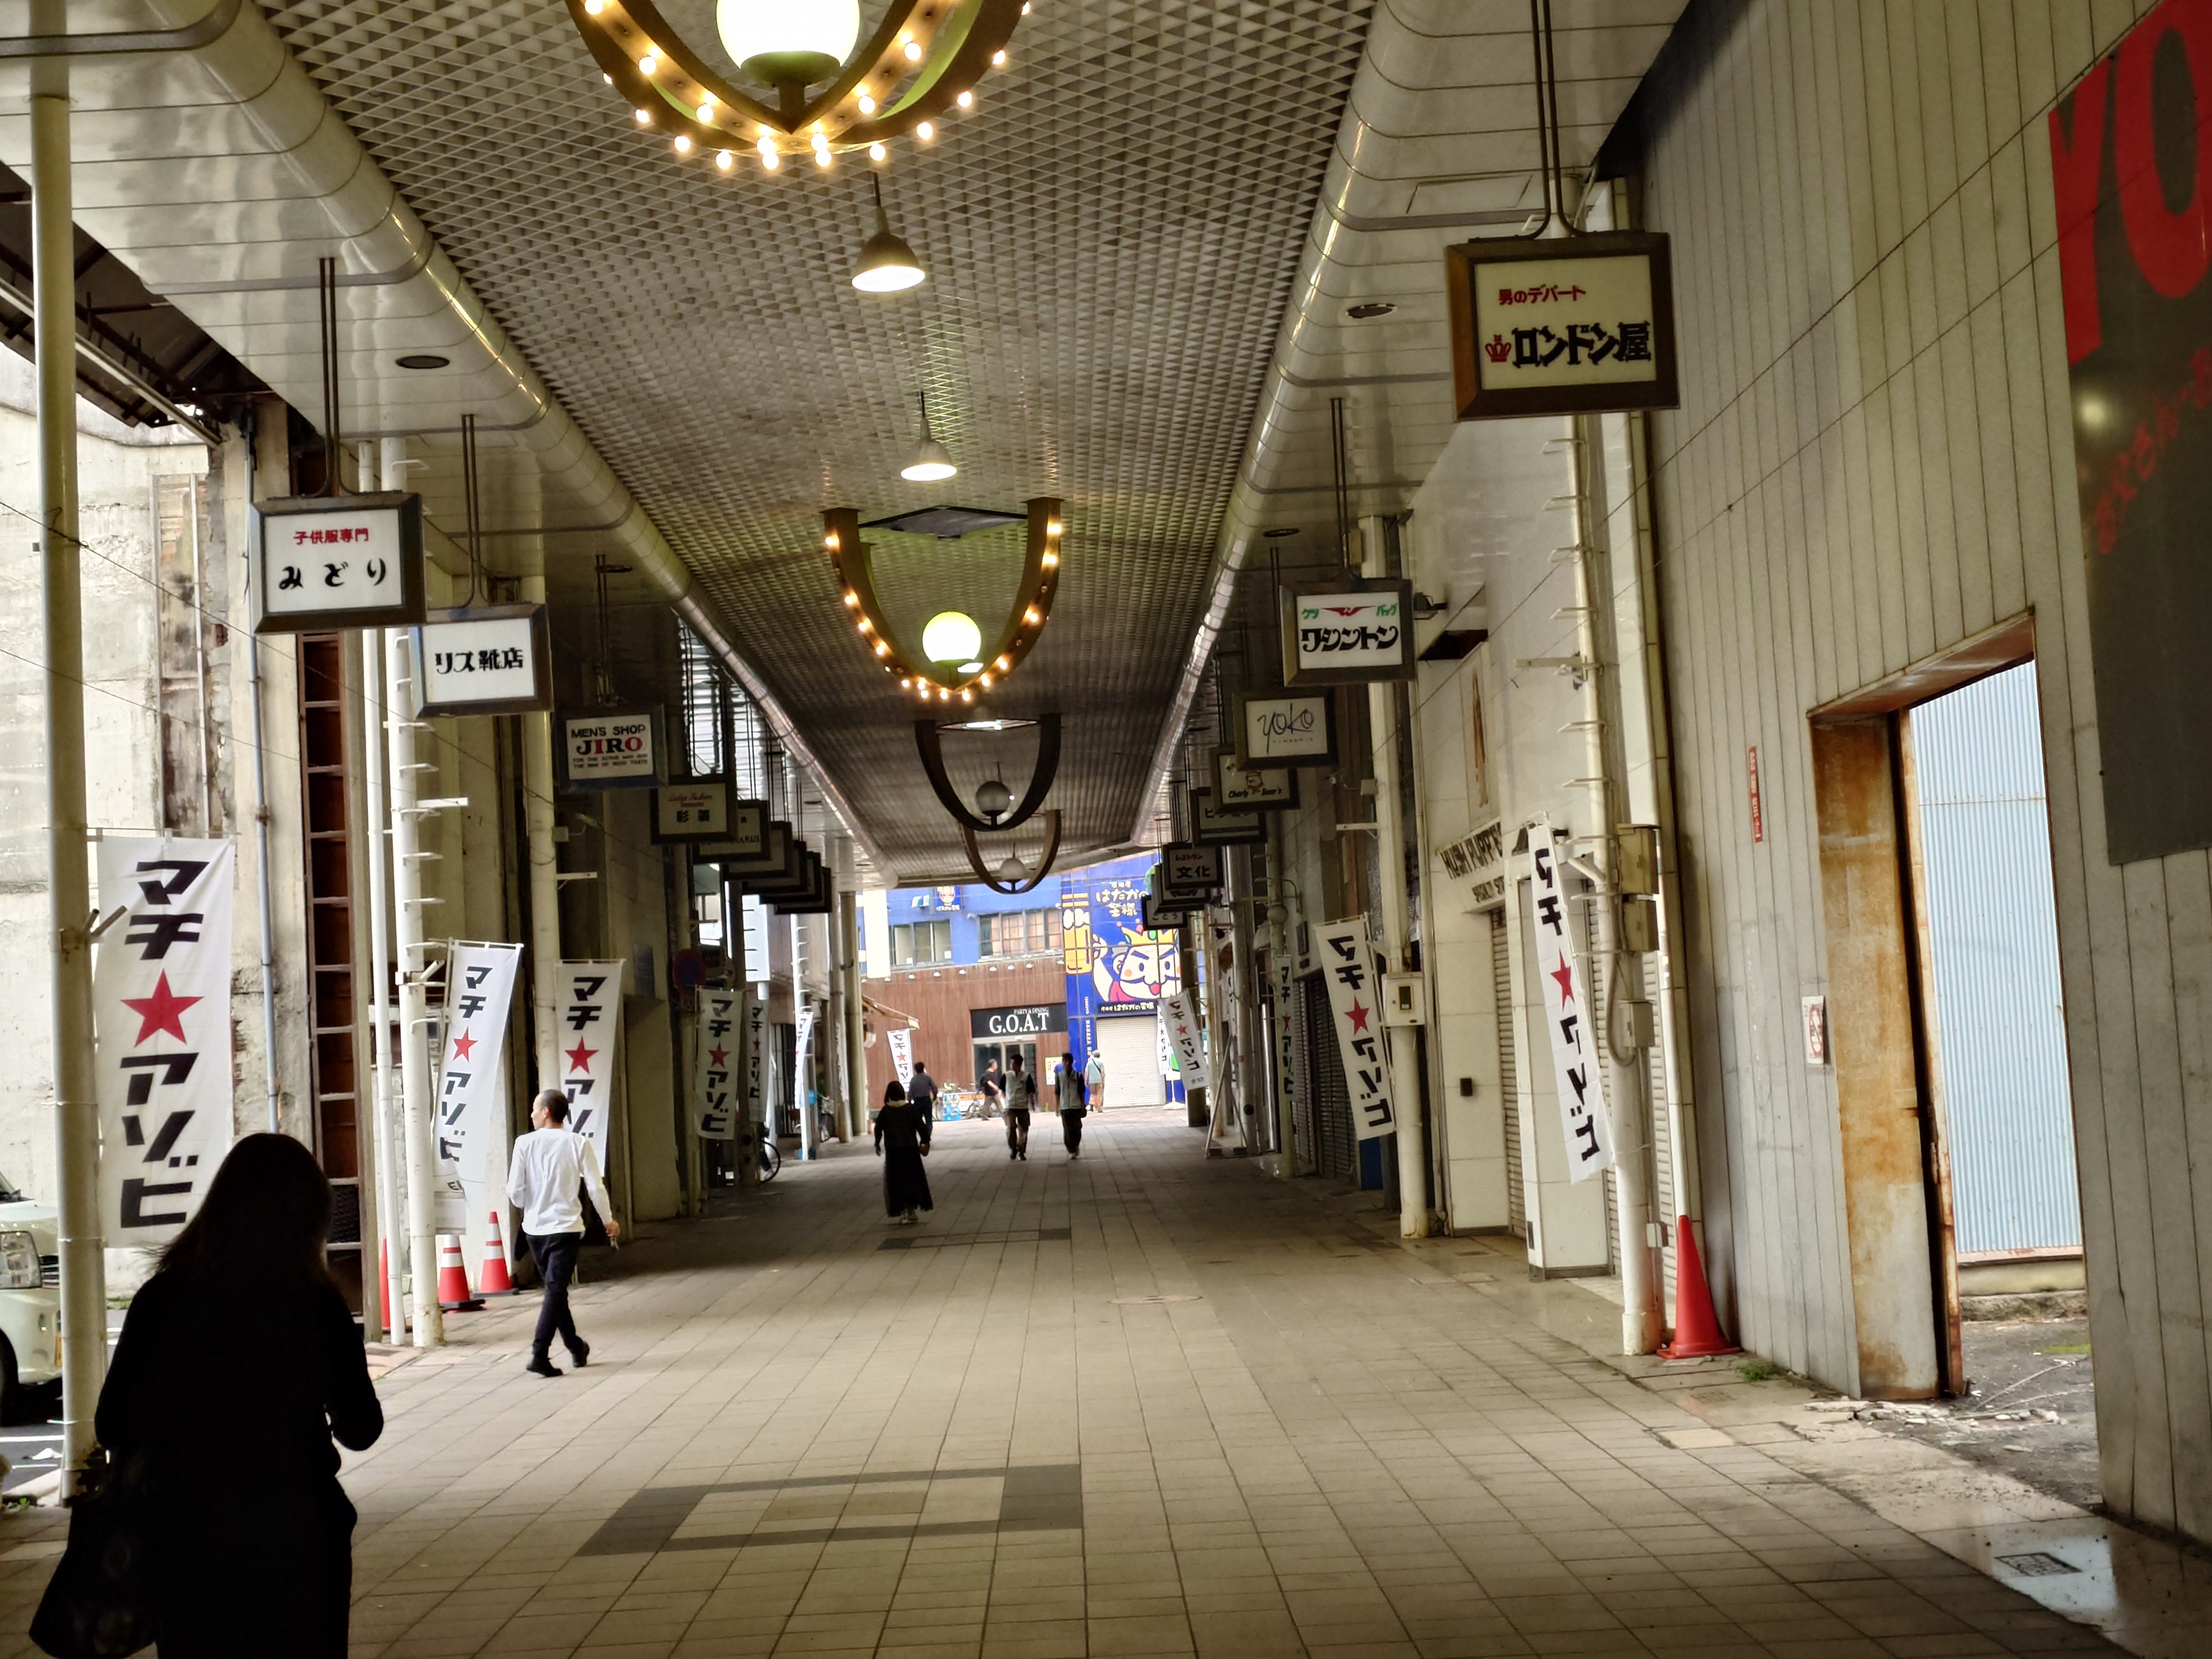
時間の関係か開いている店はなく閑散としていた。
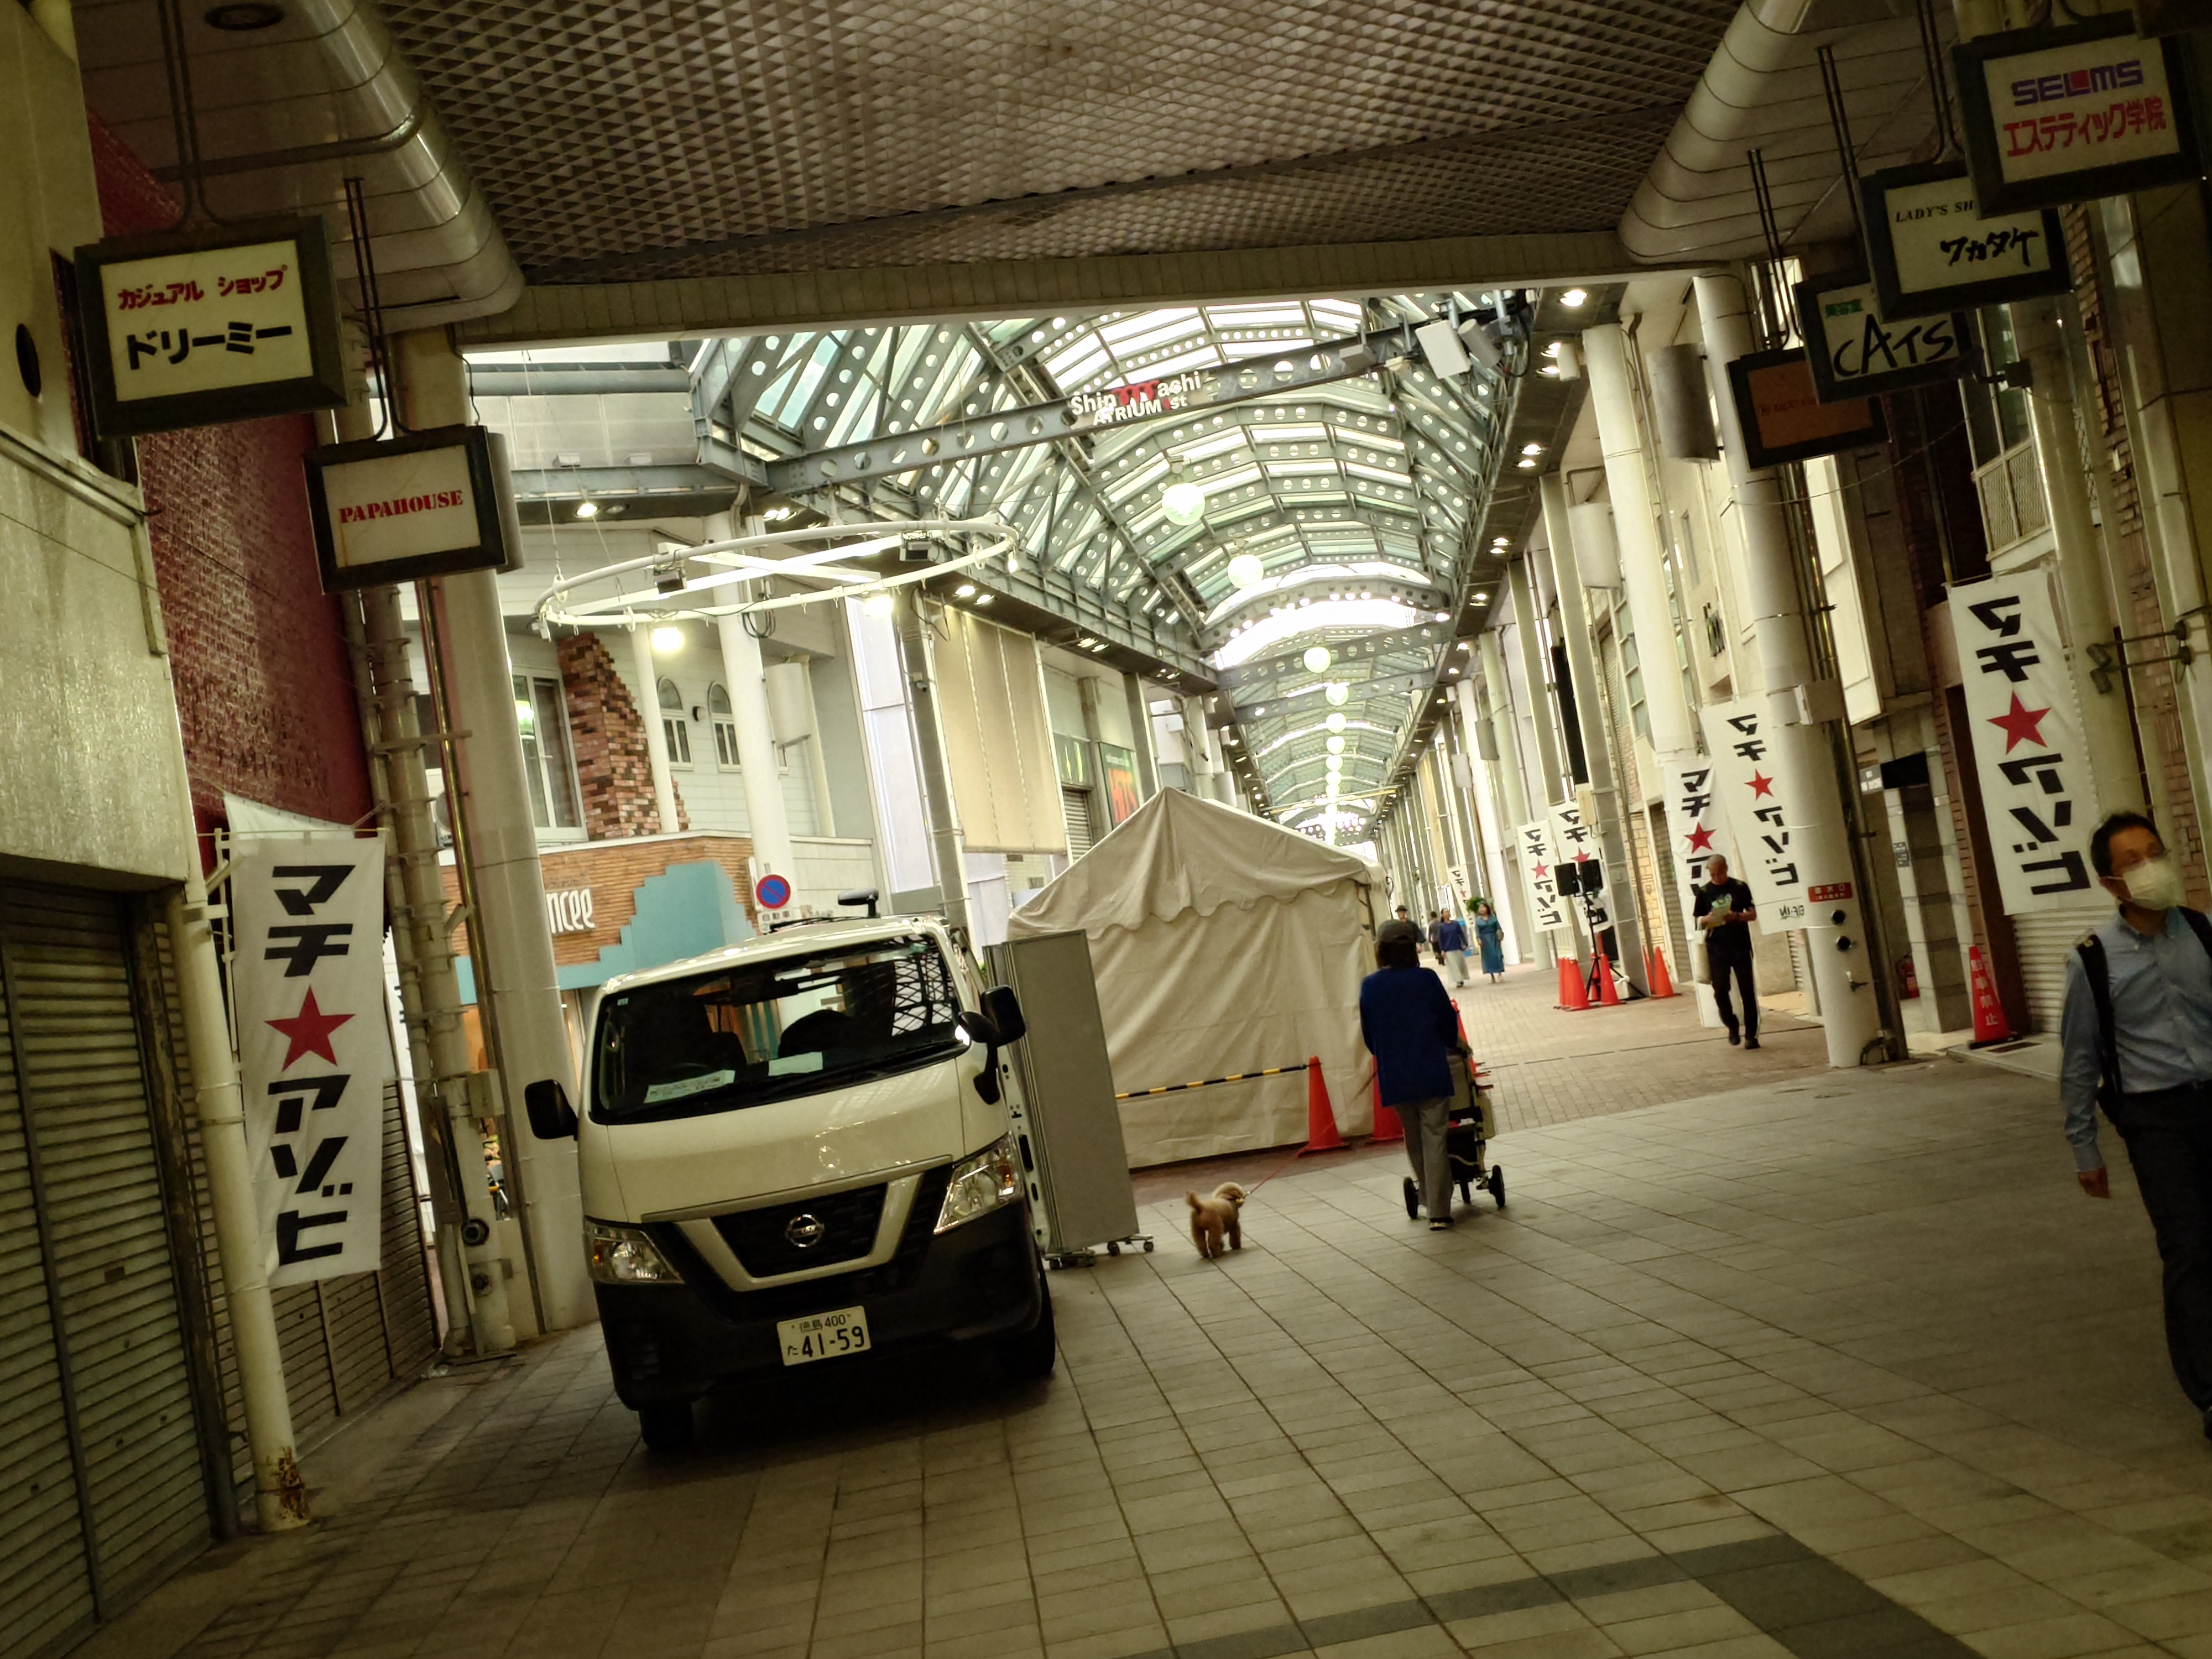
少し進むとコルネの泉広場という、マチアソビのステージに使われている場所に出てきた。ここはトの字型になったアーケードの結節点になっているようだった。
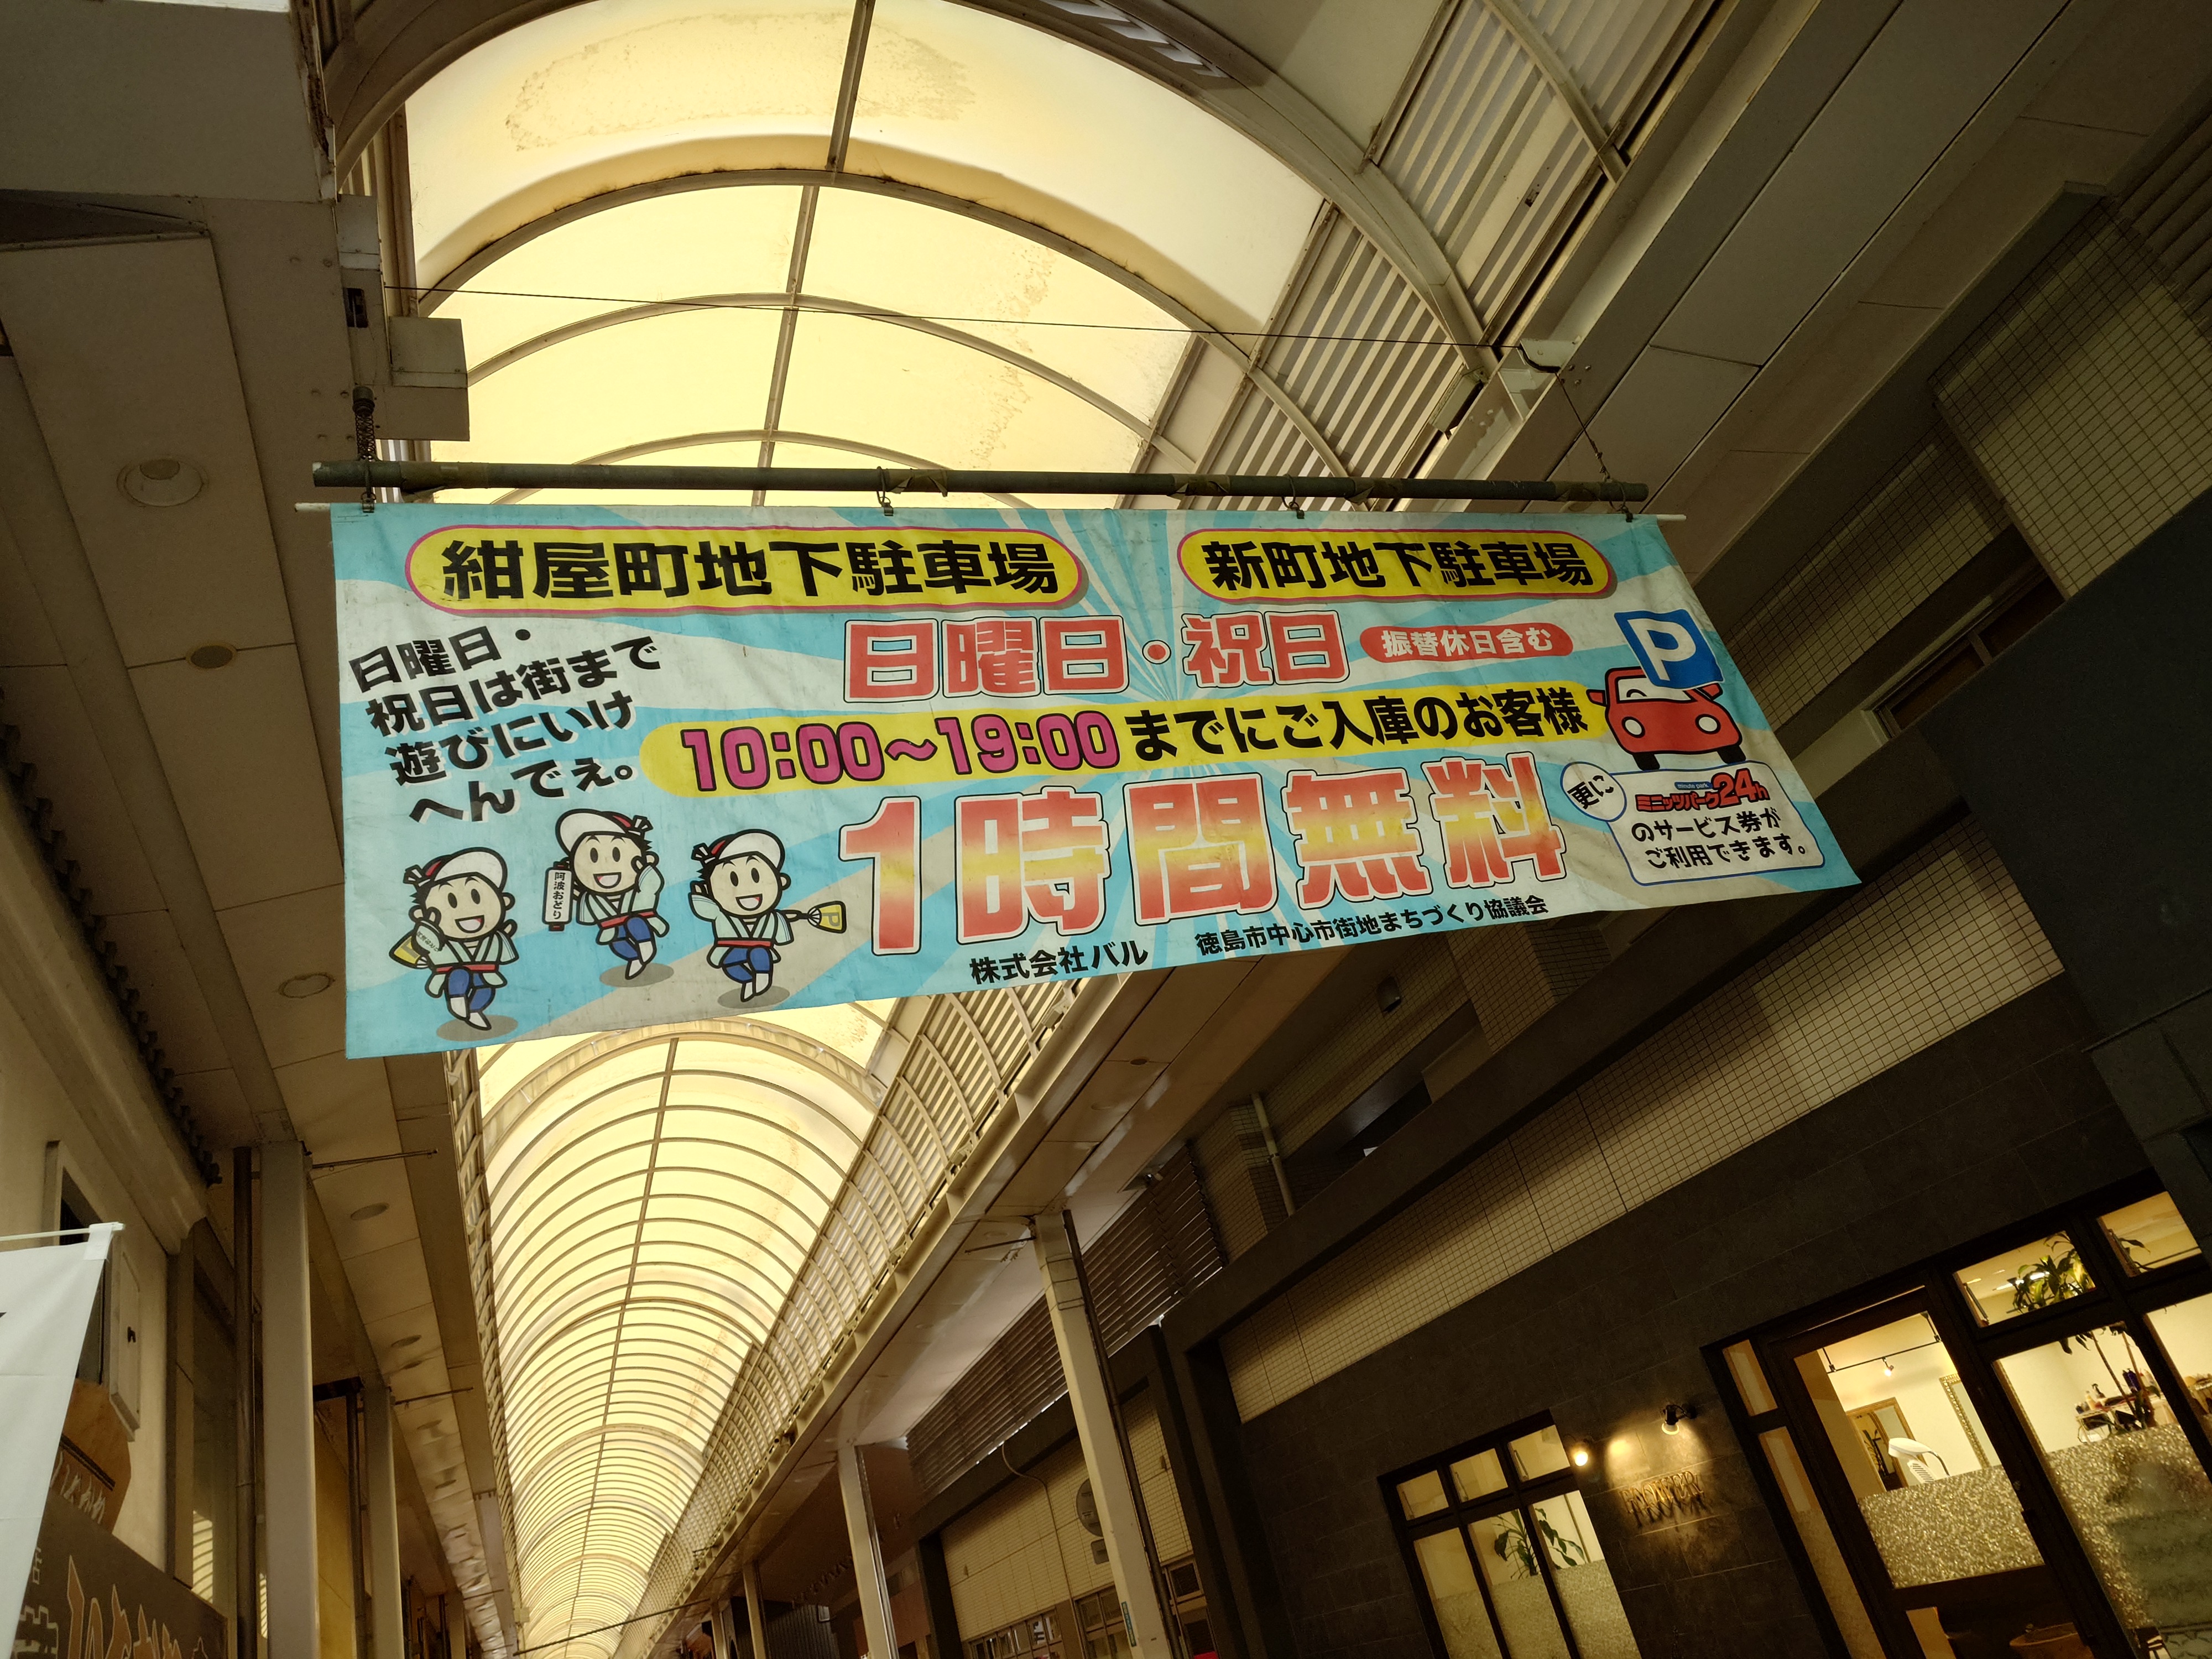
アーケードを歩いていると駐車場経営でおなじみのバルの垂れ幕がぶら下がっていた。商店街付近の駐車場のお得な利用案内だろうか?
徳島のような地方都市では駅前は空洞化しており、地価が安く車でのアクセスに問題がない郊外が発展しがちで、旧来車がなかった時代に流行った中心部の商店街は寂れがちなので、その支援としてやっているのかもしれない。
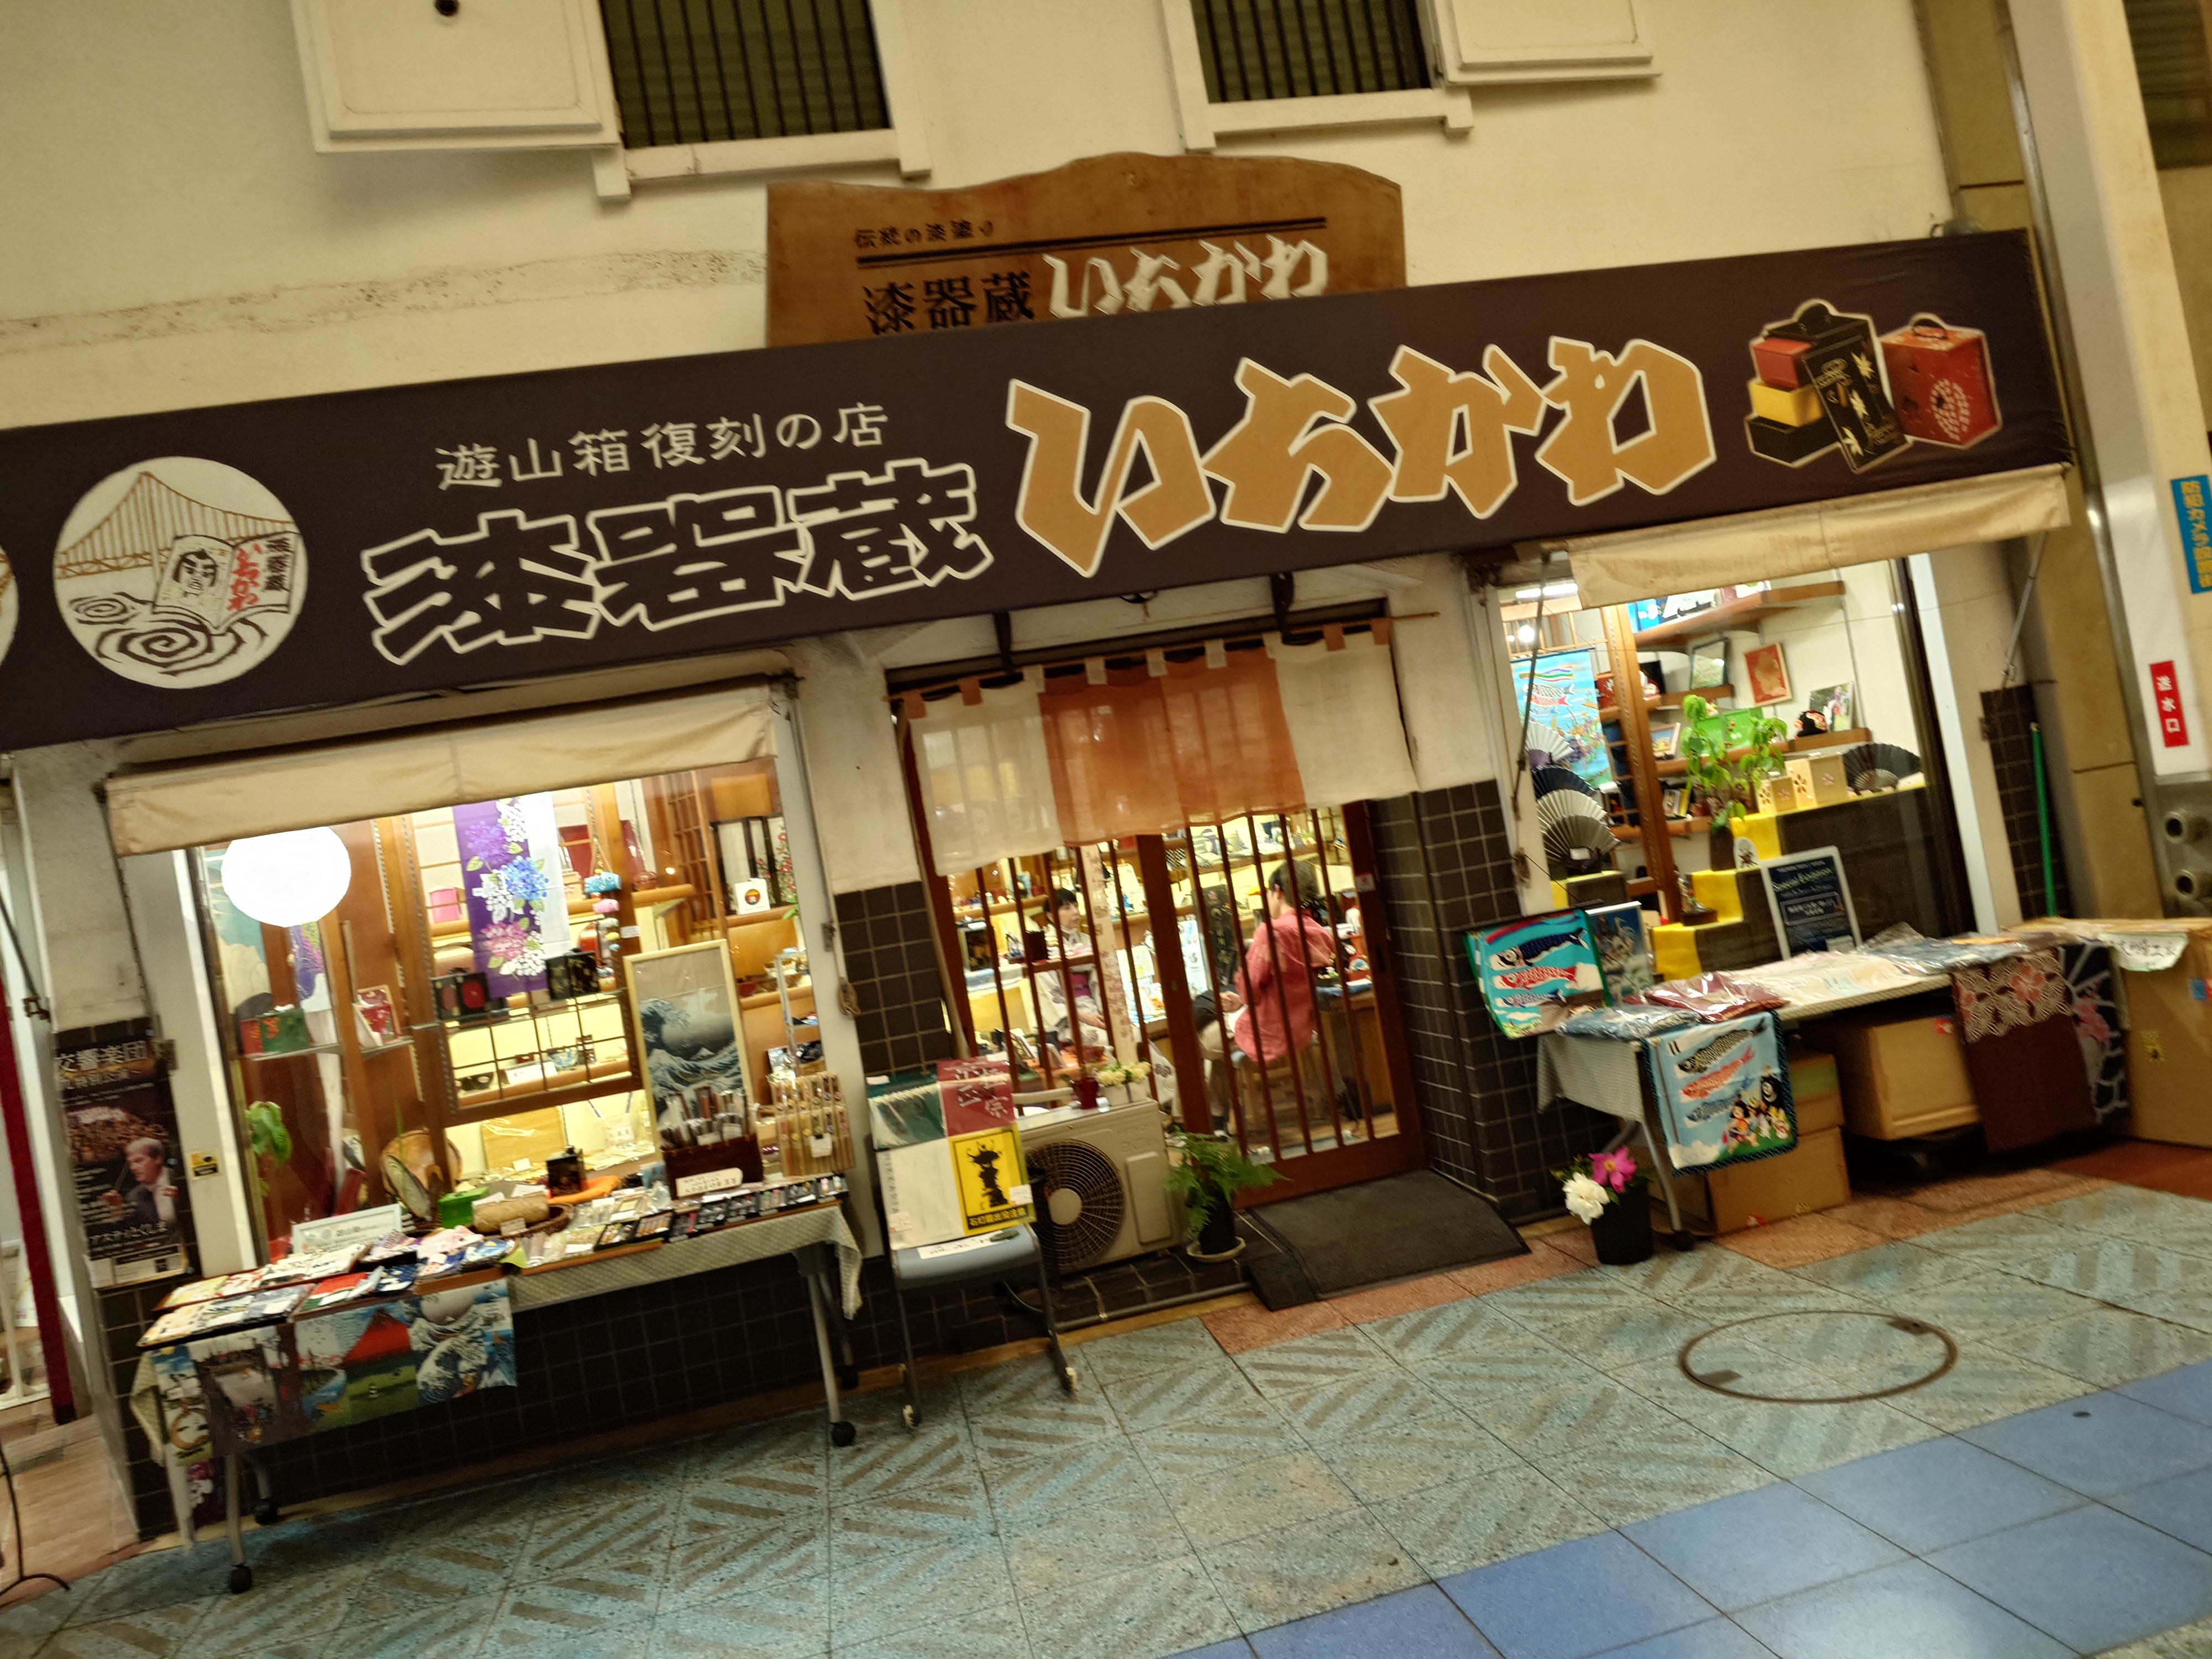
進んでいくと営業している漆器屋さんに当たり、かわいいイラストが飾られていた。
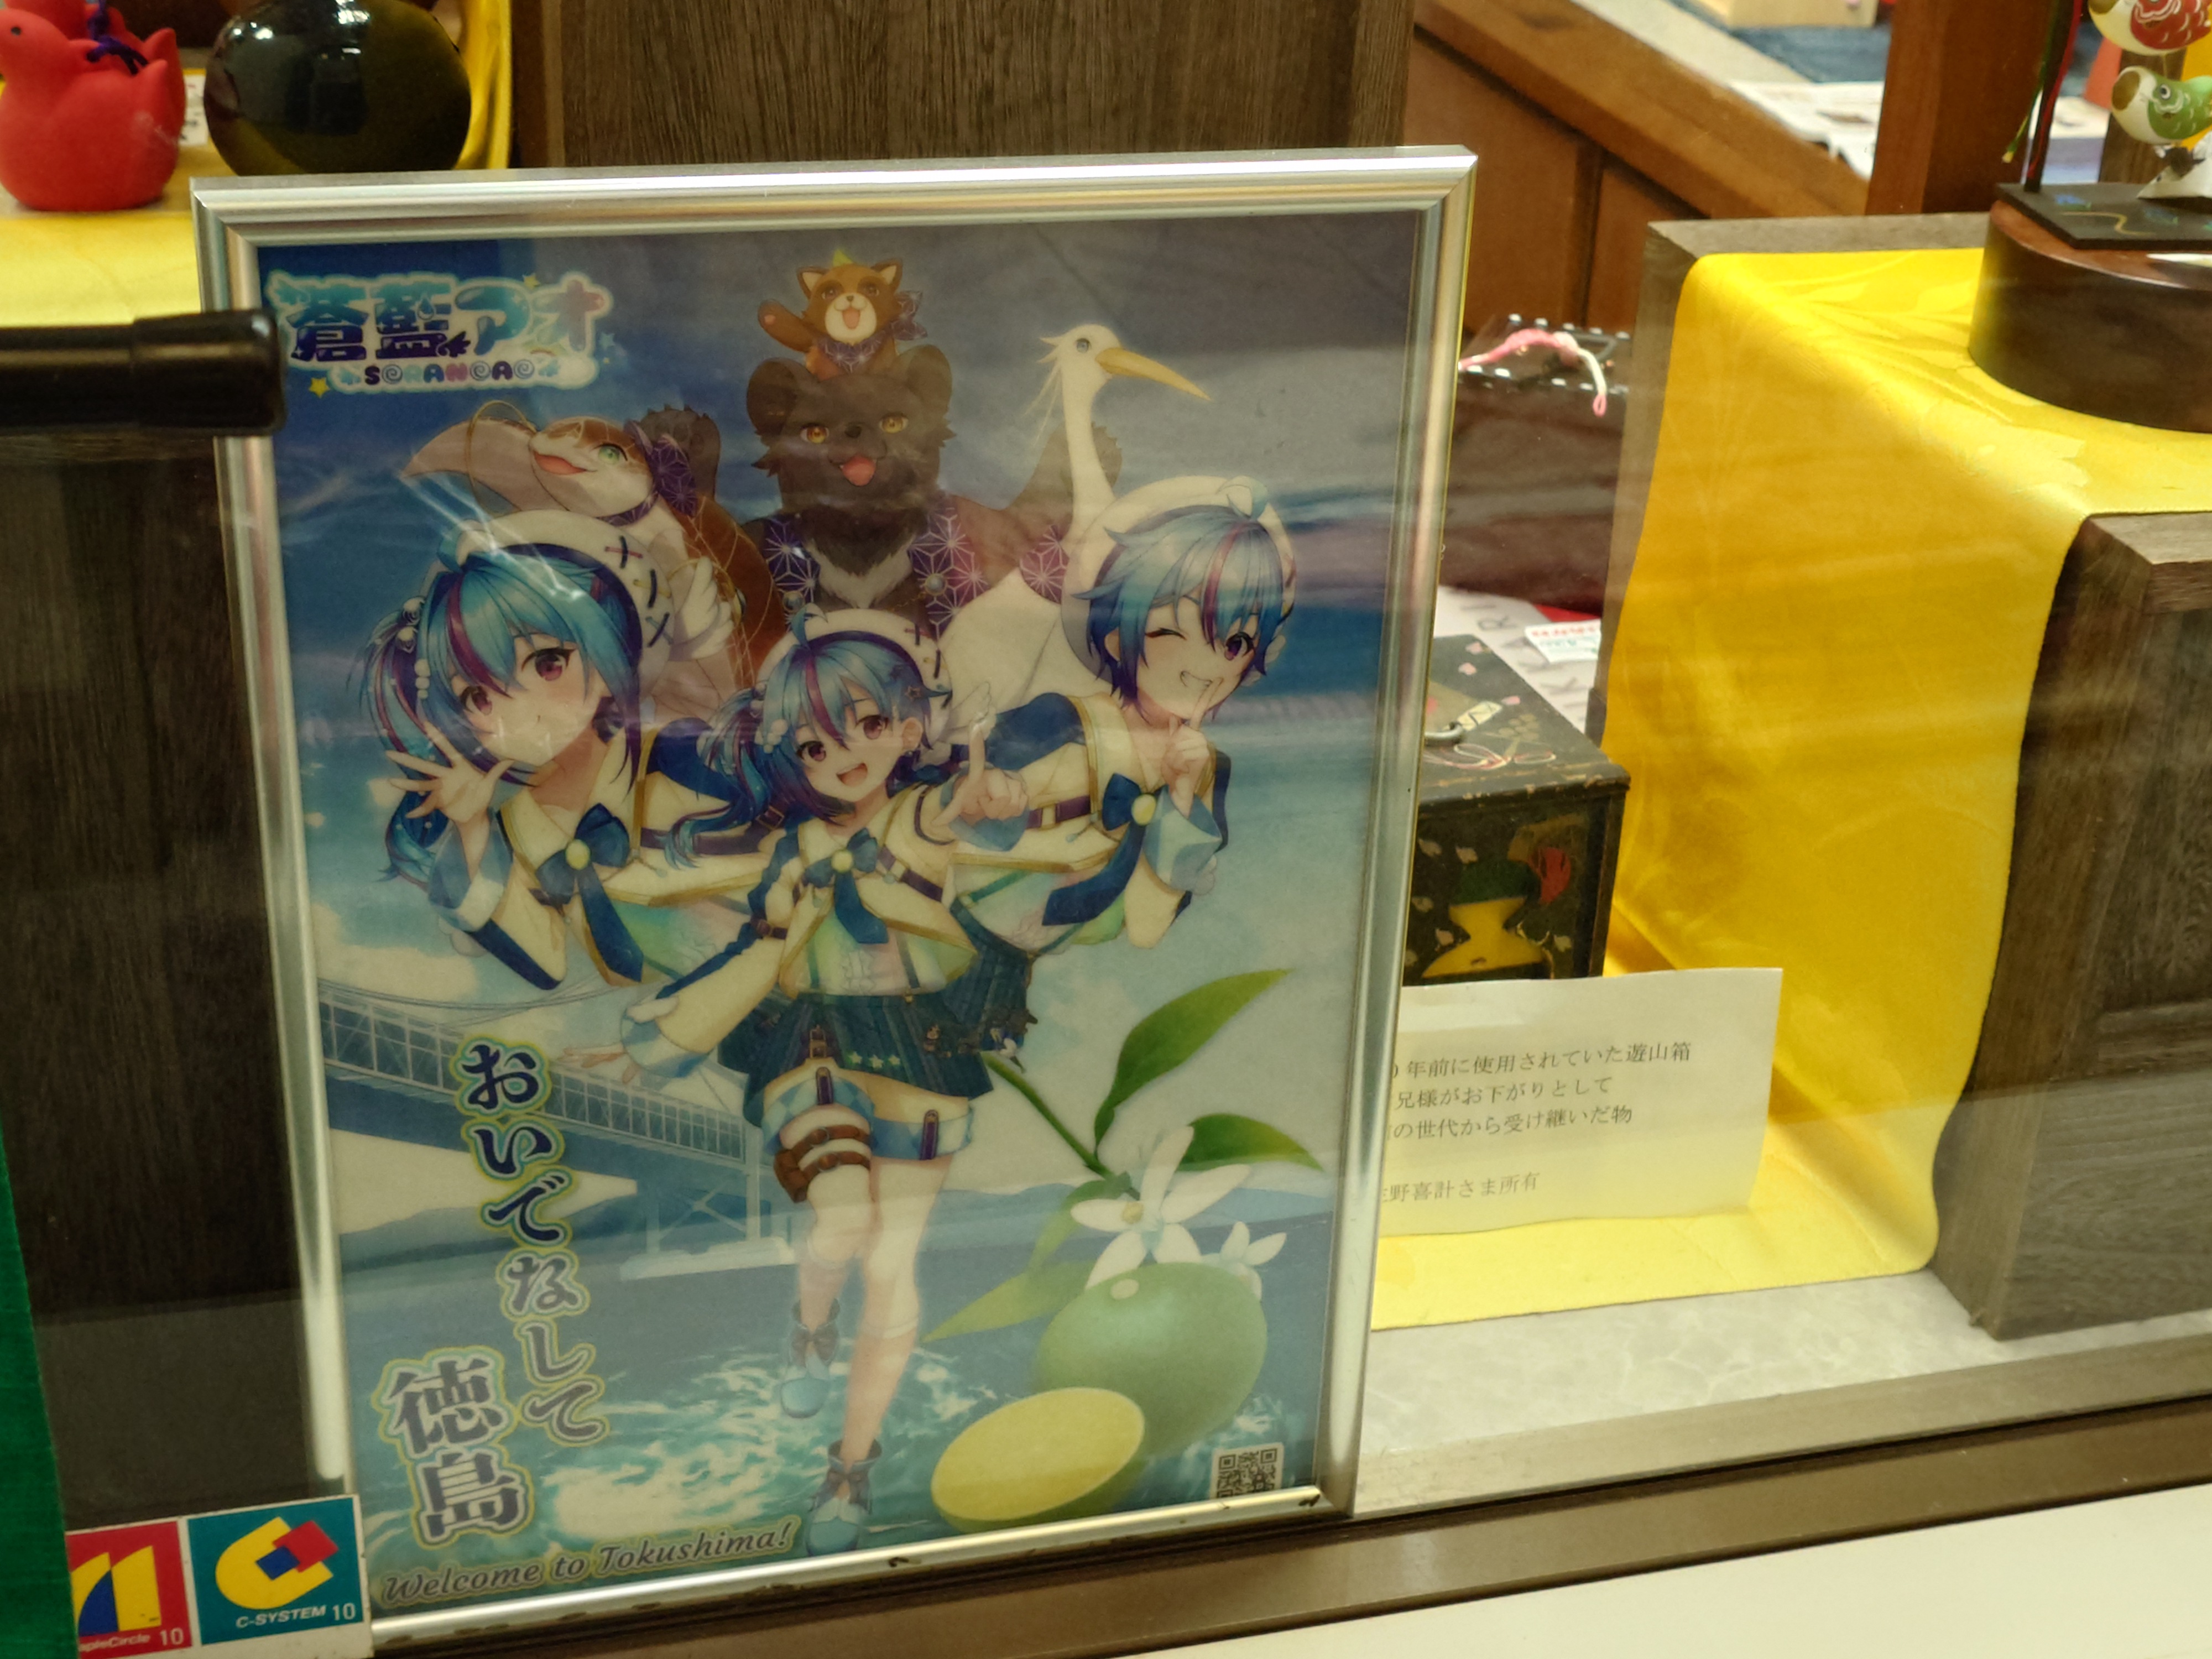
このキャラは昨日吉野川市広報サポーターに指定された、蒼藍アオというライバーだ。
YouTubeチャンネルを軽く見た感じ、方言や軽い訛りも取り入れた、徳島を紹介するVTuberのようだ。4年前から活動しているようだが、動画の本数が少なく再生も少ないので、これからに期待といったところだろうか。
僕っ子だったり、3Dモデルがあったり、live2dモデルやイラストもかわいらしいことから、そこそこキャラが立っているのは良さそうに感じた。
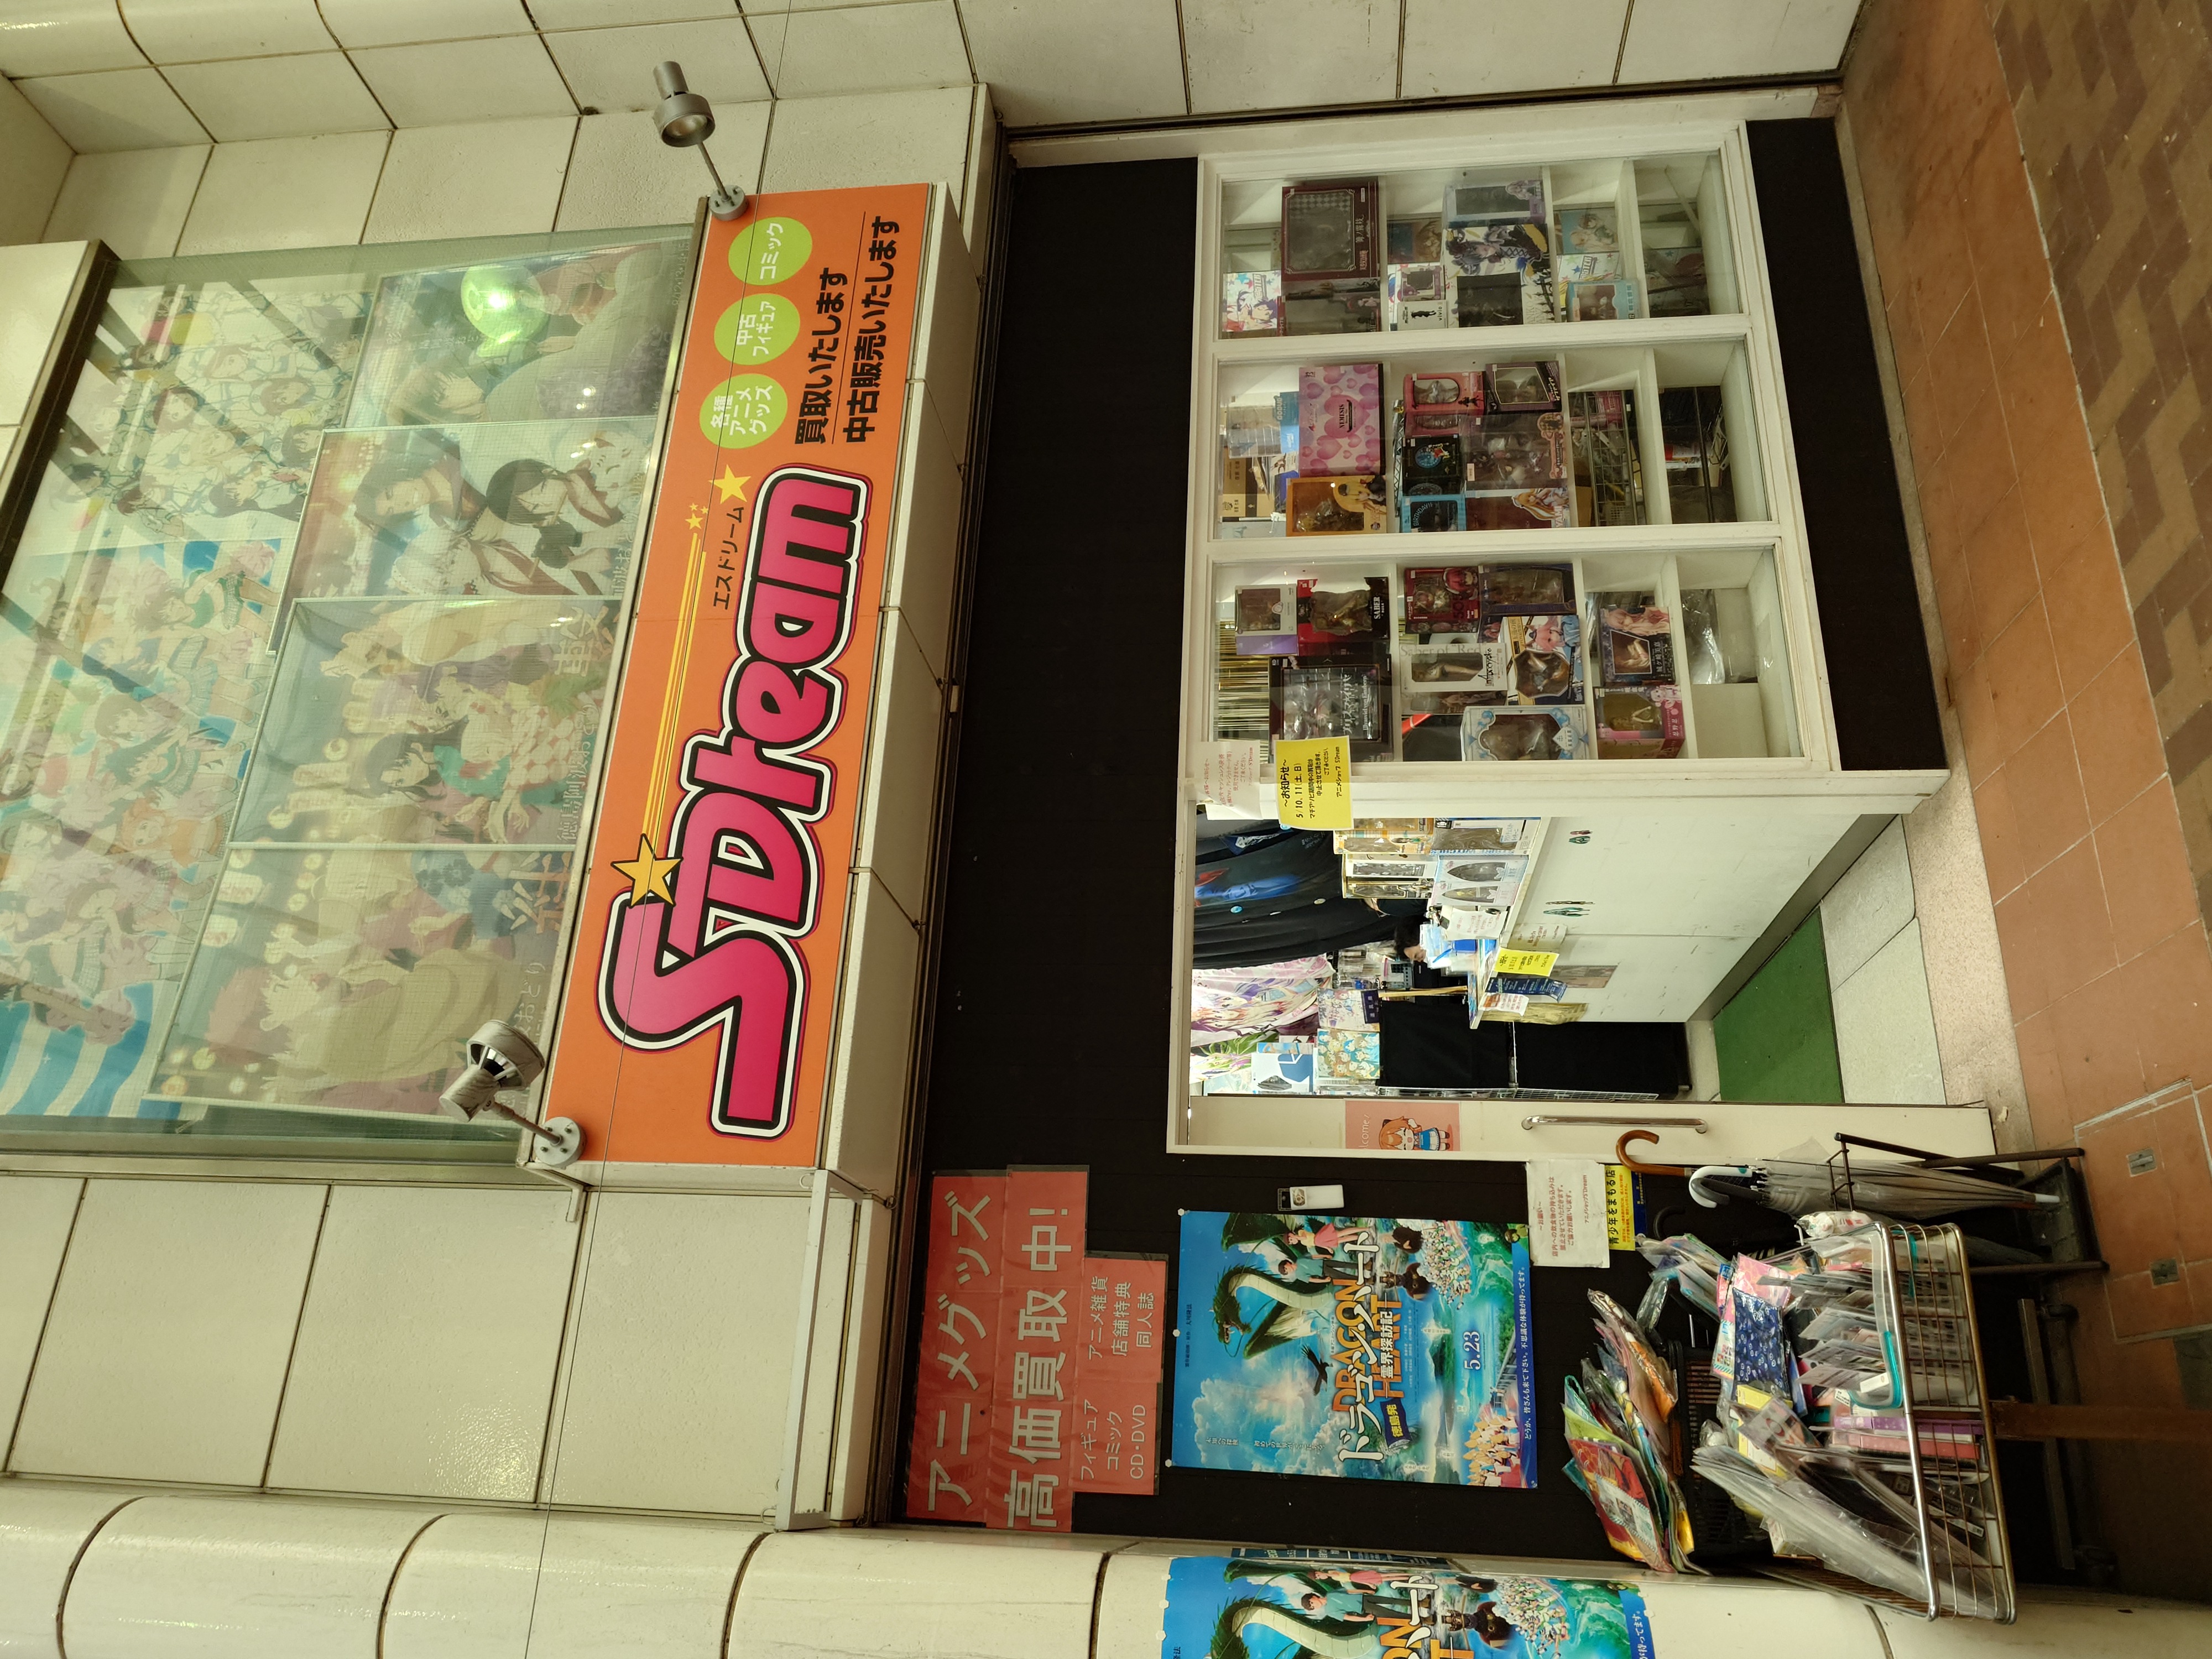
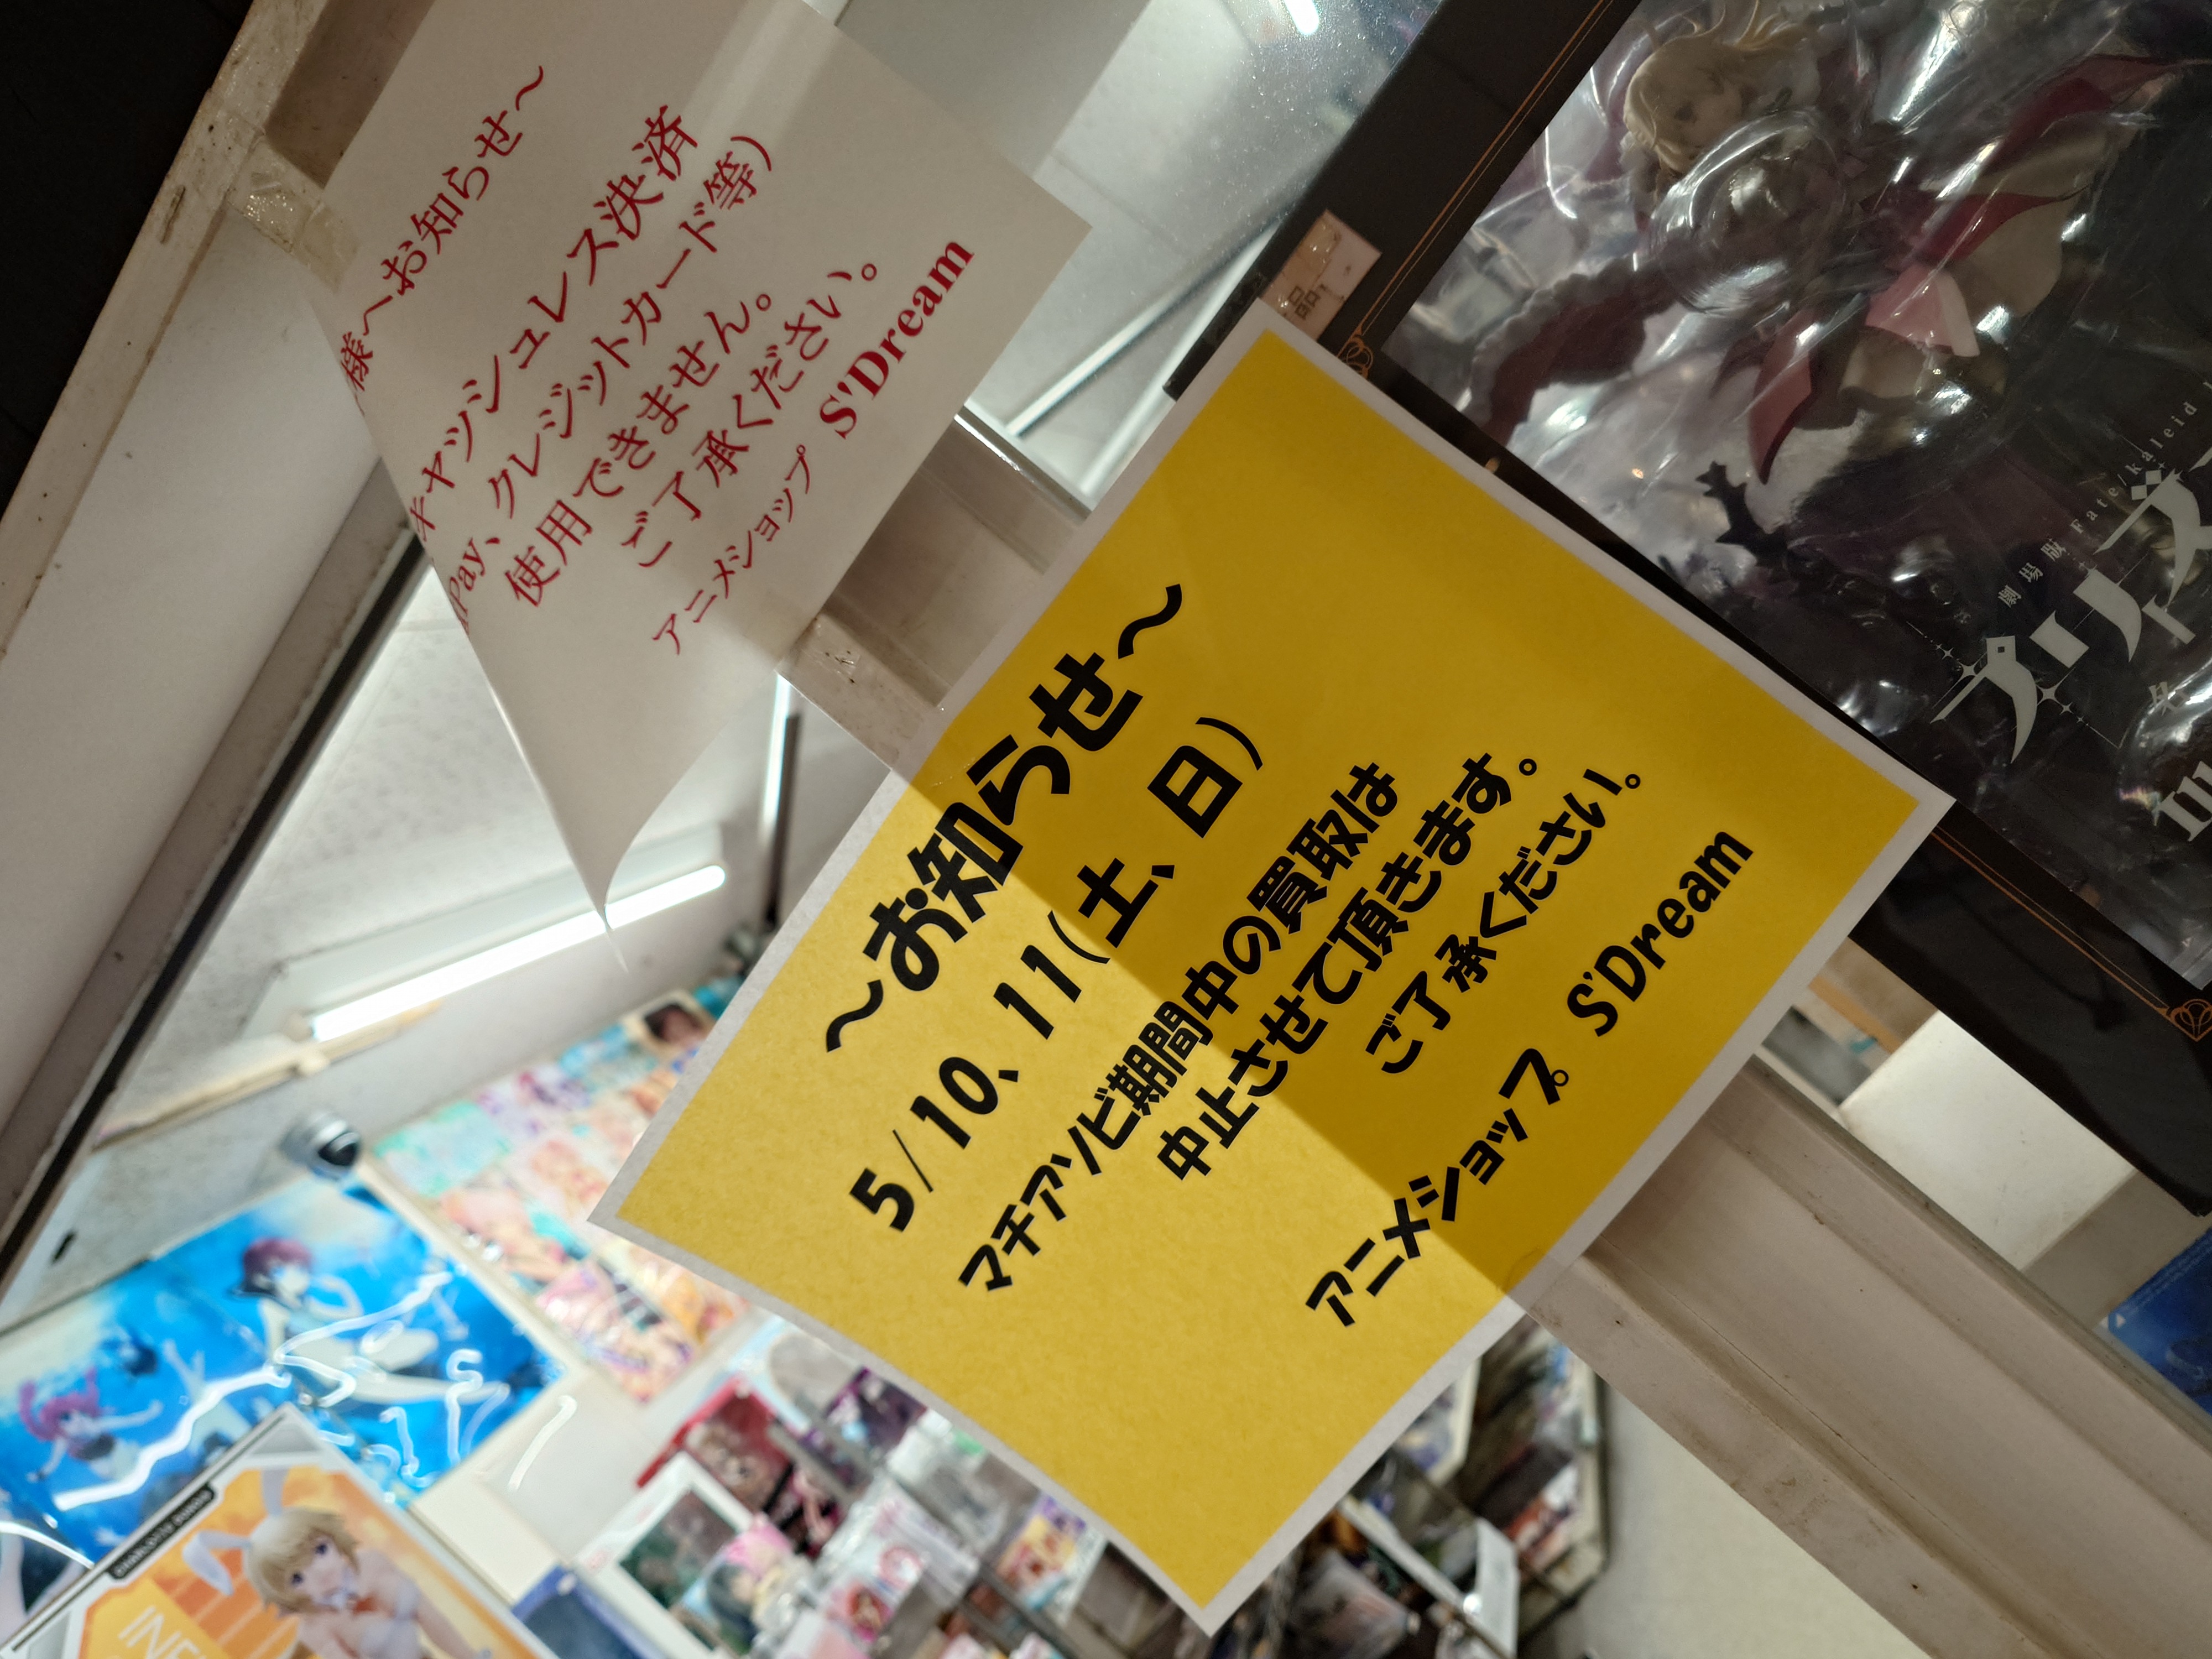
更に進んでいくとなんとS'Dreamというアニメショップを見つけた。マチアソビでの多客対応を見据えており、なかなか面白いお店だと感じたし、徳島という規模の都市にこういうお店があるのが何より驚いた。マチアソビの時期が一番の掻き入れ時だろうか?

店内はヤニ臭かったものの結構充実しており、掘り出し物を見つけるにはよさそうに感じた。何よりこういった雑然とした感じはワクワクする、
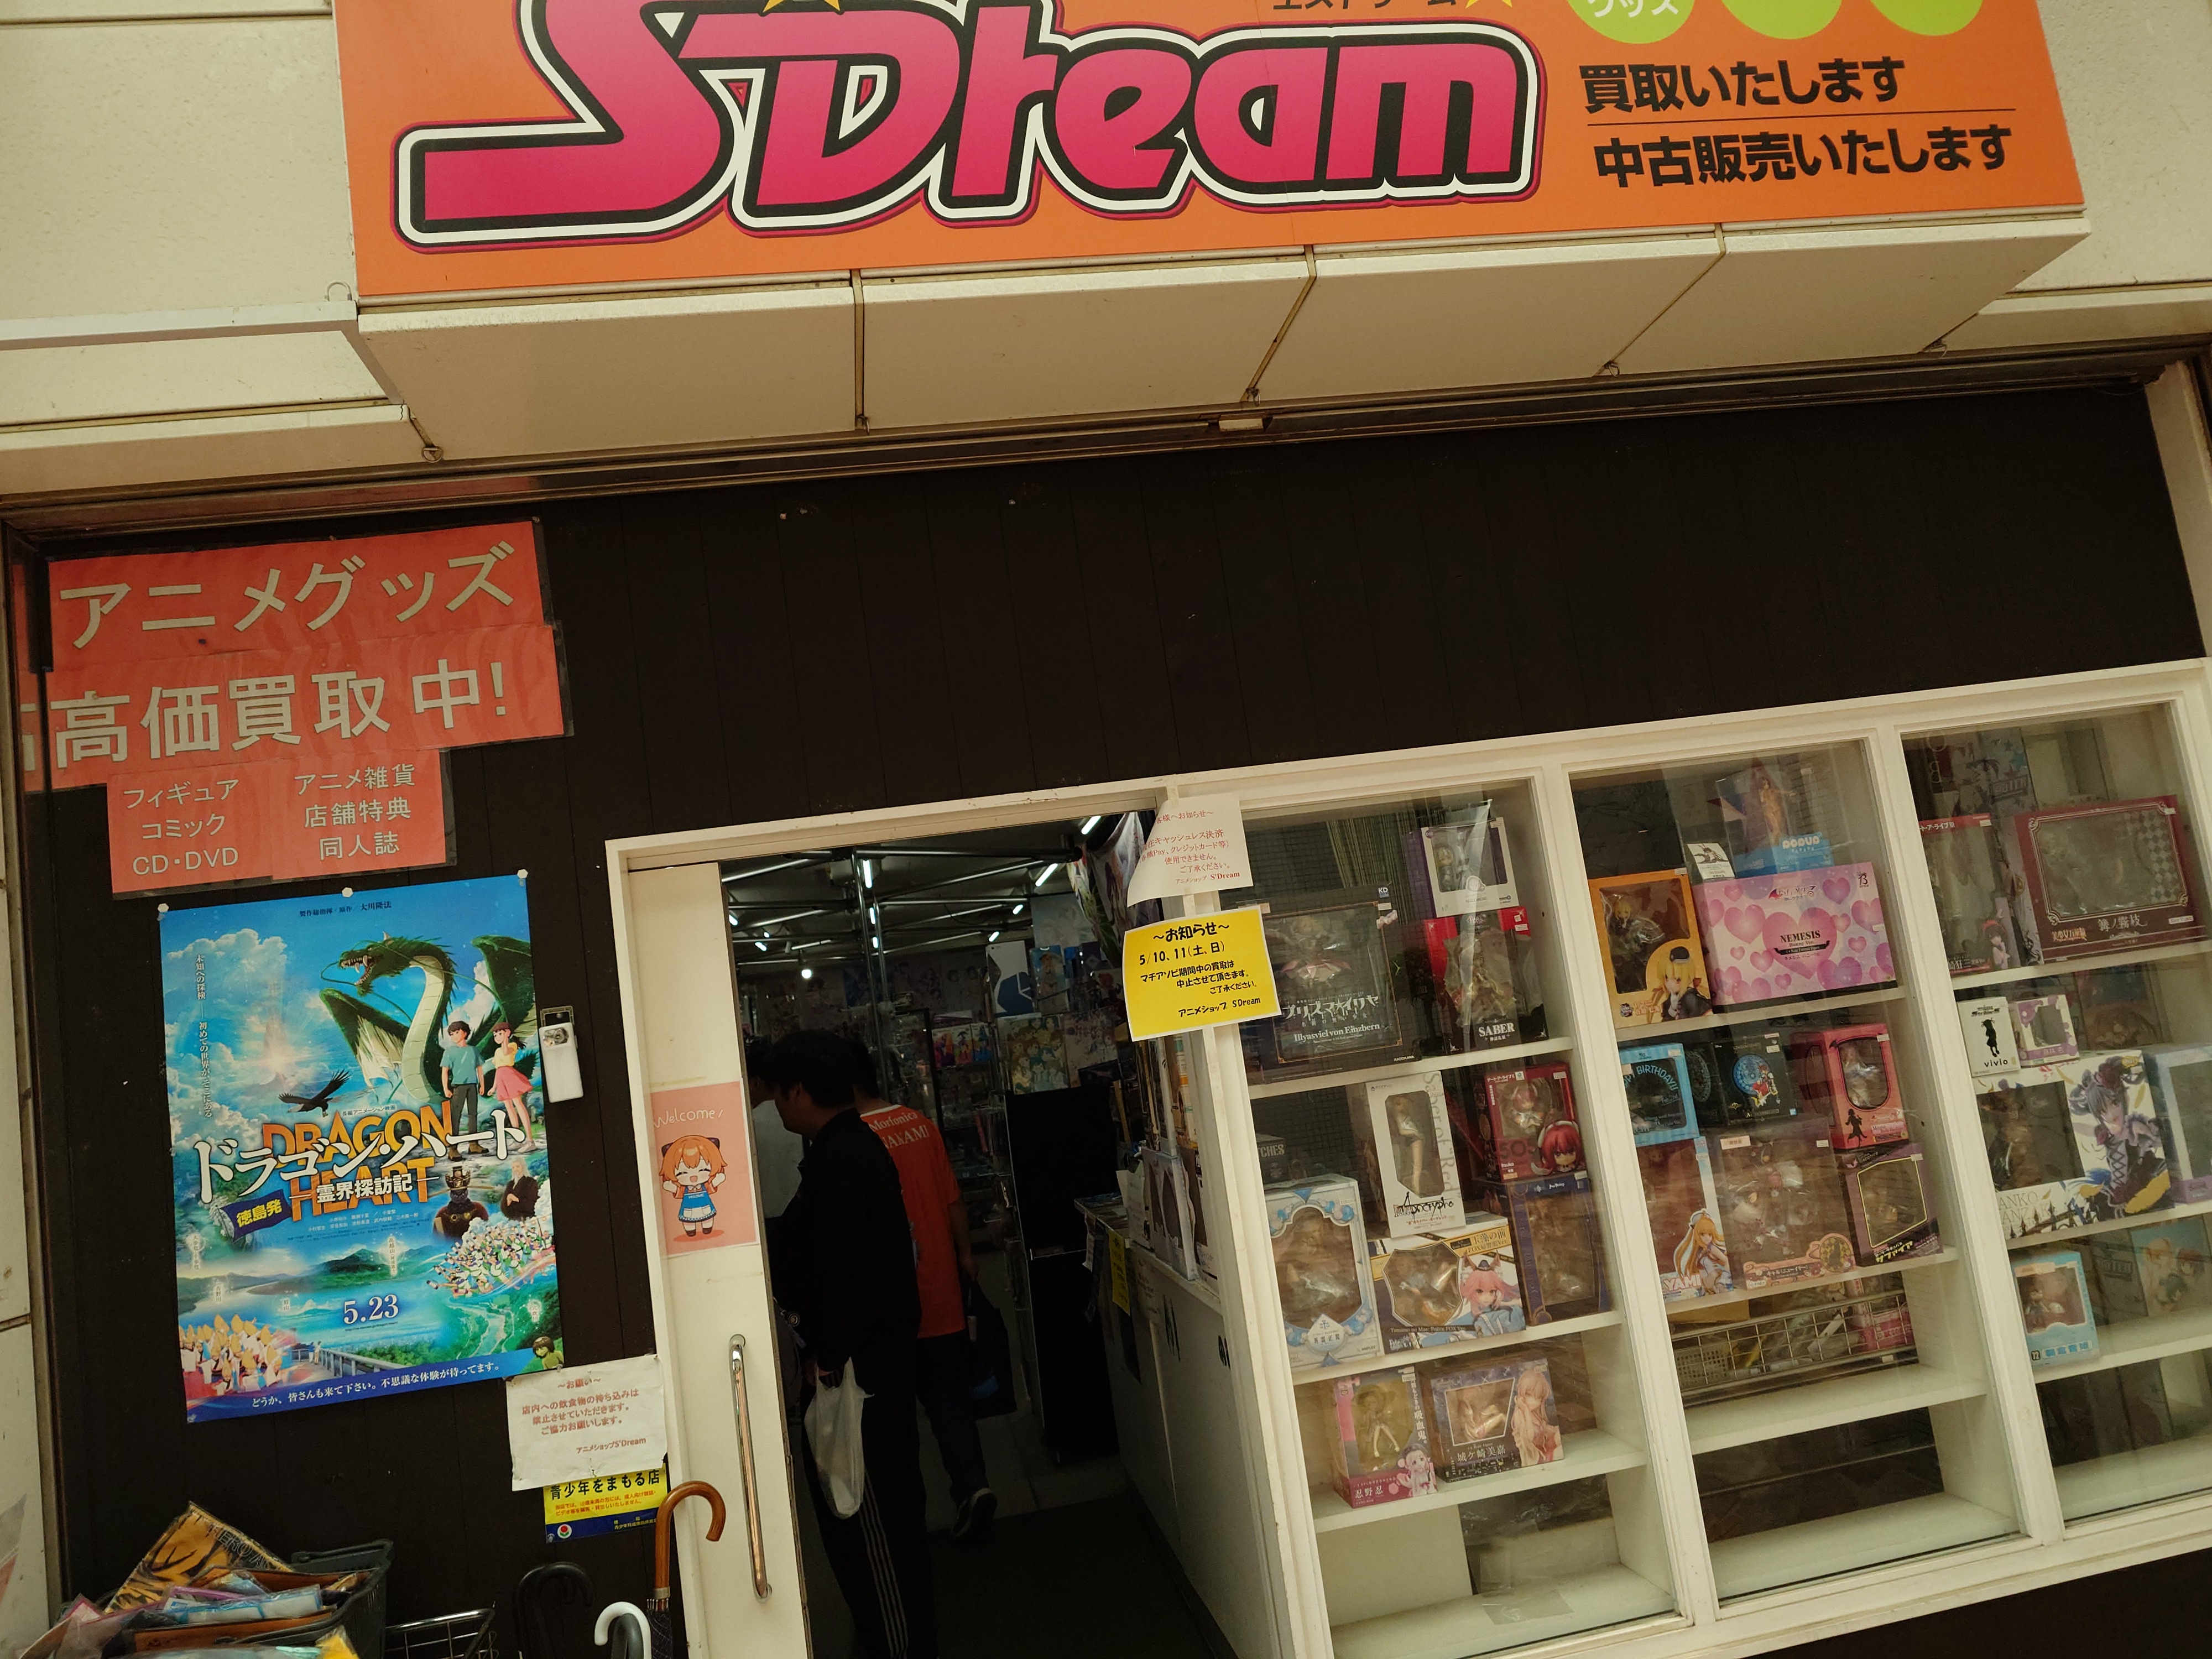

それと入り口のドアにいたいかにもAIが描いたようなキャラがめっぽう可愛く、すごくよかった。これはAIお絵描きの非常に良い活用方法だ。
Xのアカウントのプロフィールには「徳島市東新町、アニメショップ S'Dream(エスドリーム)です!各種アニメグッズ新作商品から中古アニメグッズ全般の買取販売を行っております。 常時買取強化中! フィギュア、アニメ雑貨、同人誌等、アニメに関するものなら何でも買取販売します。真のアニメのマチ目指します!」とあり、「真のアニメのマチ目指します!」の部分がマチアソビ感を出していて凄くいいなと思った。
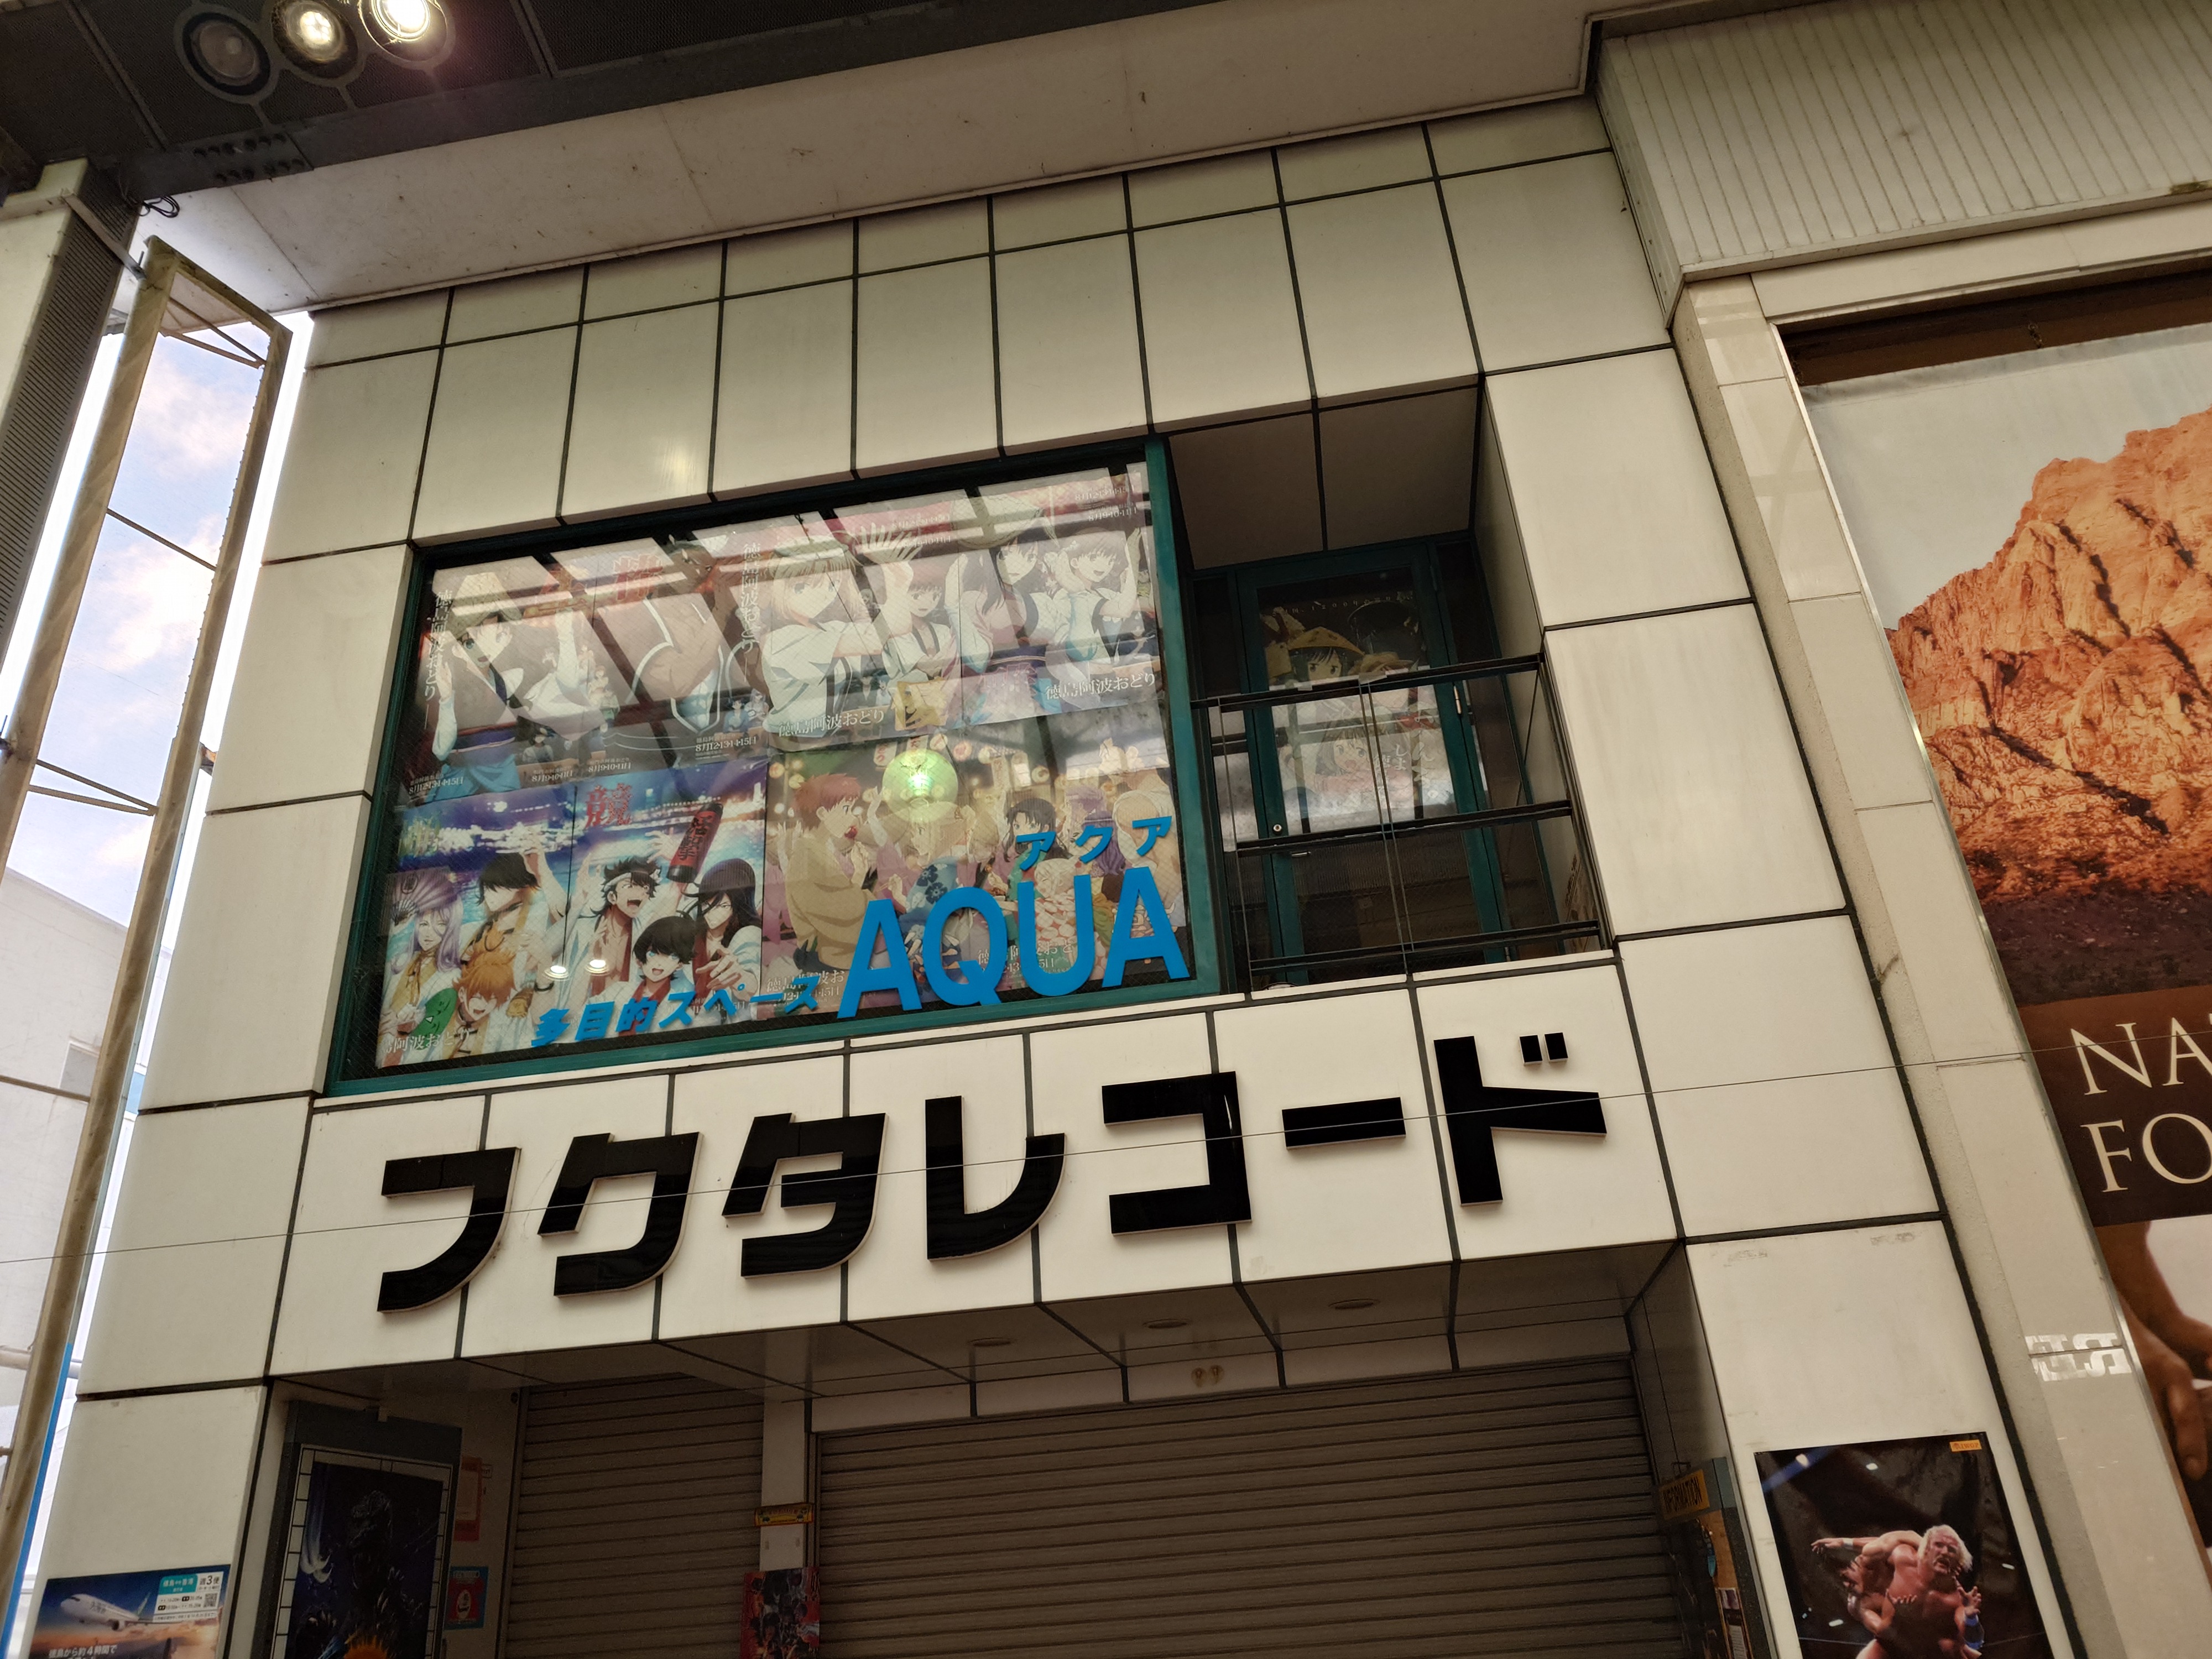
近くのレコードショップにもやはりufotableのイラストが掲示されており、街を挙げて応援していることが窺い知れた。
付近のベンチにもマチアソビ系のステッカーが貼ってあった。
メイクアガール鑑賞にufotable CINEMAへ
そして時刻は18時半を回ったところ、メイクアガールを見るためにufotable CINEMAに戻ってきた。
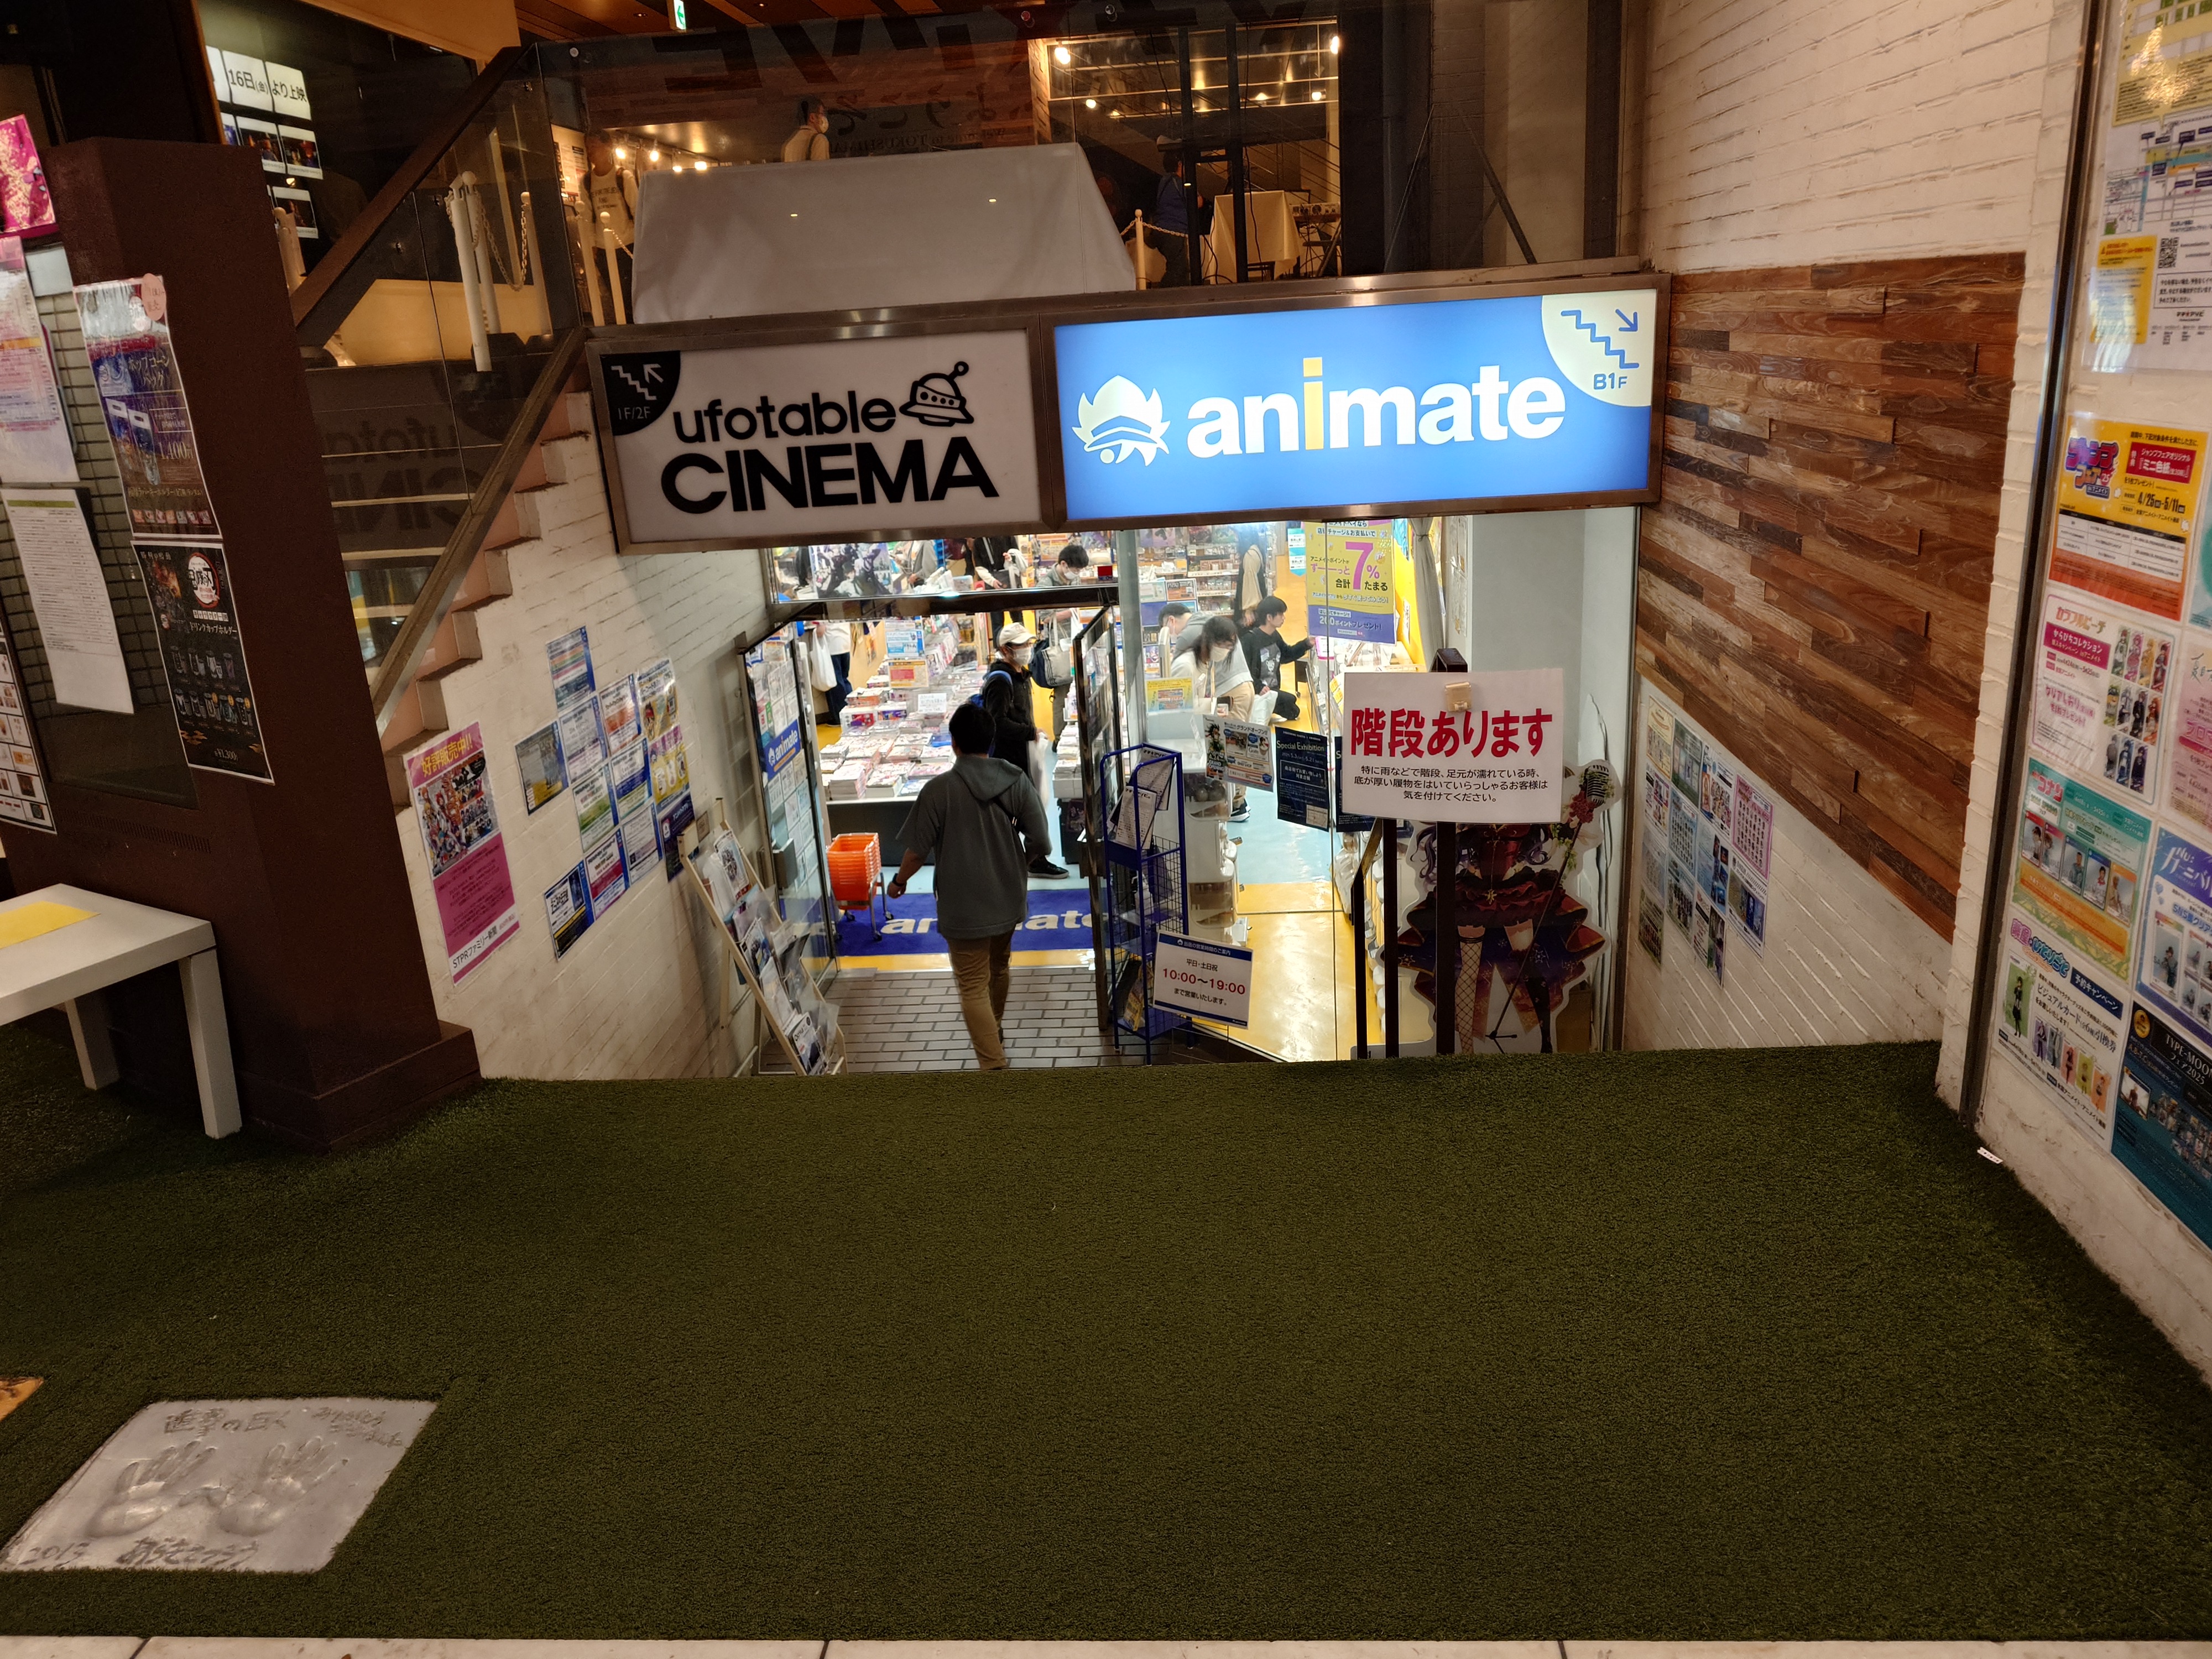
地下にある小さなアニメイトはその規模に見合わない多客で賑わっていた。
私はこの時点で明日朝に帰る予定を後ろに倒し、夕方にずらし込むことにした。これはもっとマチをアソばないといけない、せっかく結構なお金を出して来たのだから。そう感じたのだ。少なくとも今日ホテルで潰した時間だけでも回収したい。失った時間は戻ってこないとはいえ、もう少しだけこの時間を味わいたいと思った。
メイクアガール上映会
さて、いよいよ待ちに待ったメイクアガールの挨拶付き上映会だ。朝に入手した整理券?は明らかに正規チケットの形をしていなかったため、当然の帰結として無効とされてしまう。
しかしXENOTOONで貰ったことや、XにあったXENOTOONの再配布投稿、他にも貰っている人を知っていたため、その存在を示唆するなどで説得し、どうにか入ることができた。最初は「その紙はくじの交換券では?」とか「あなたは恐らく何かを勘違いしている」とか、いろいろ言われたものの何とか通過できたのは行幸だった。
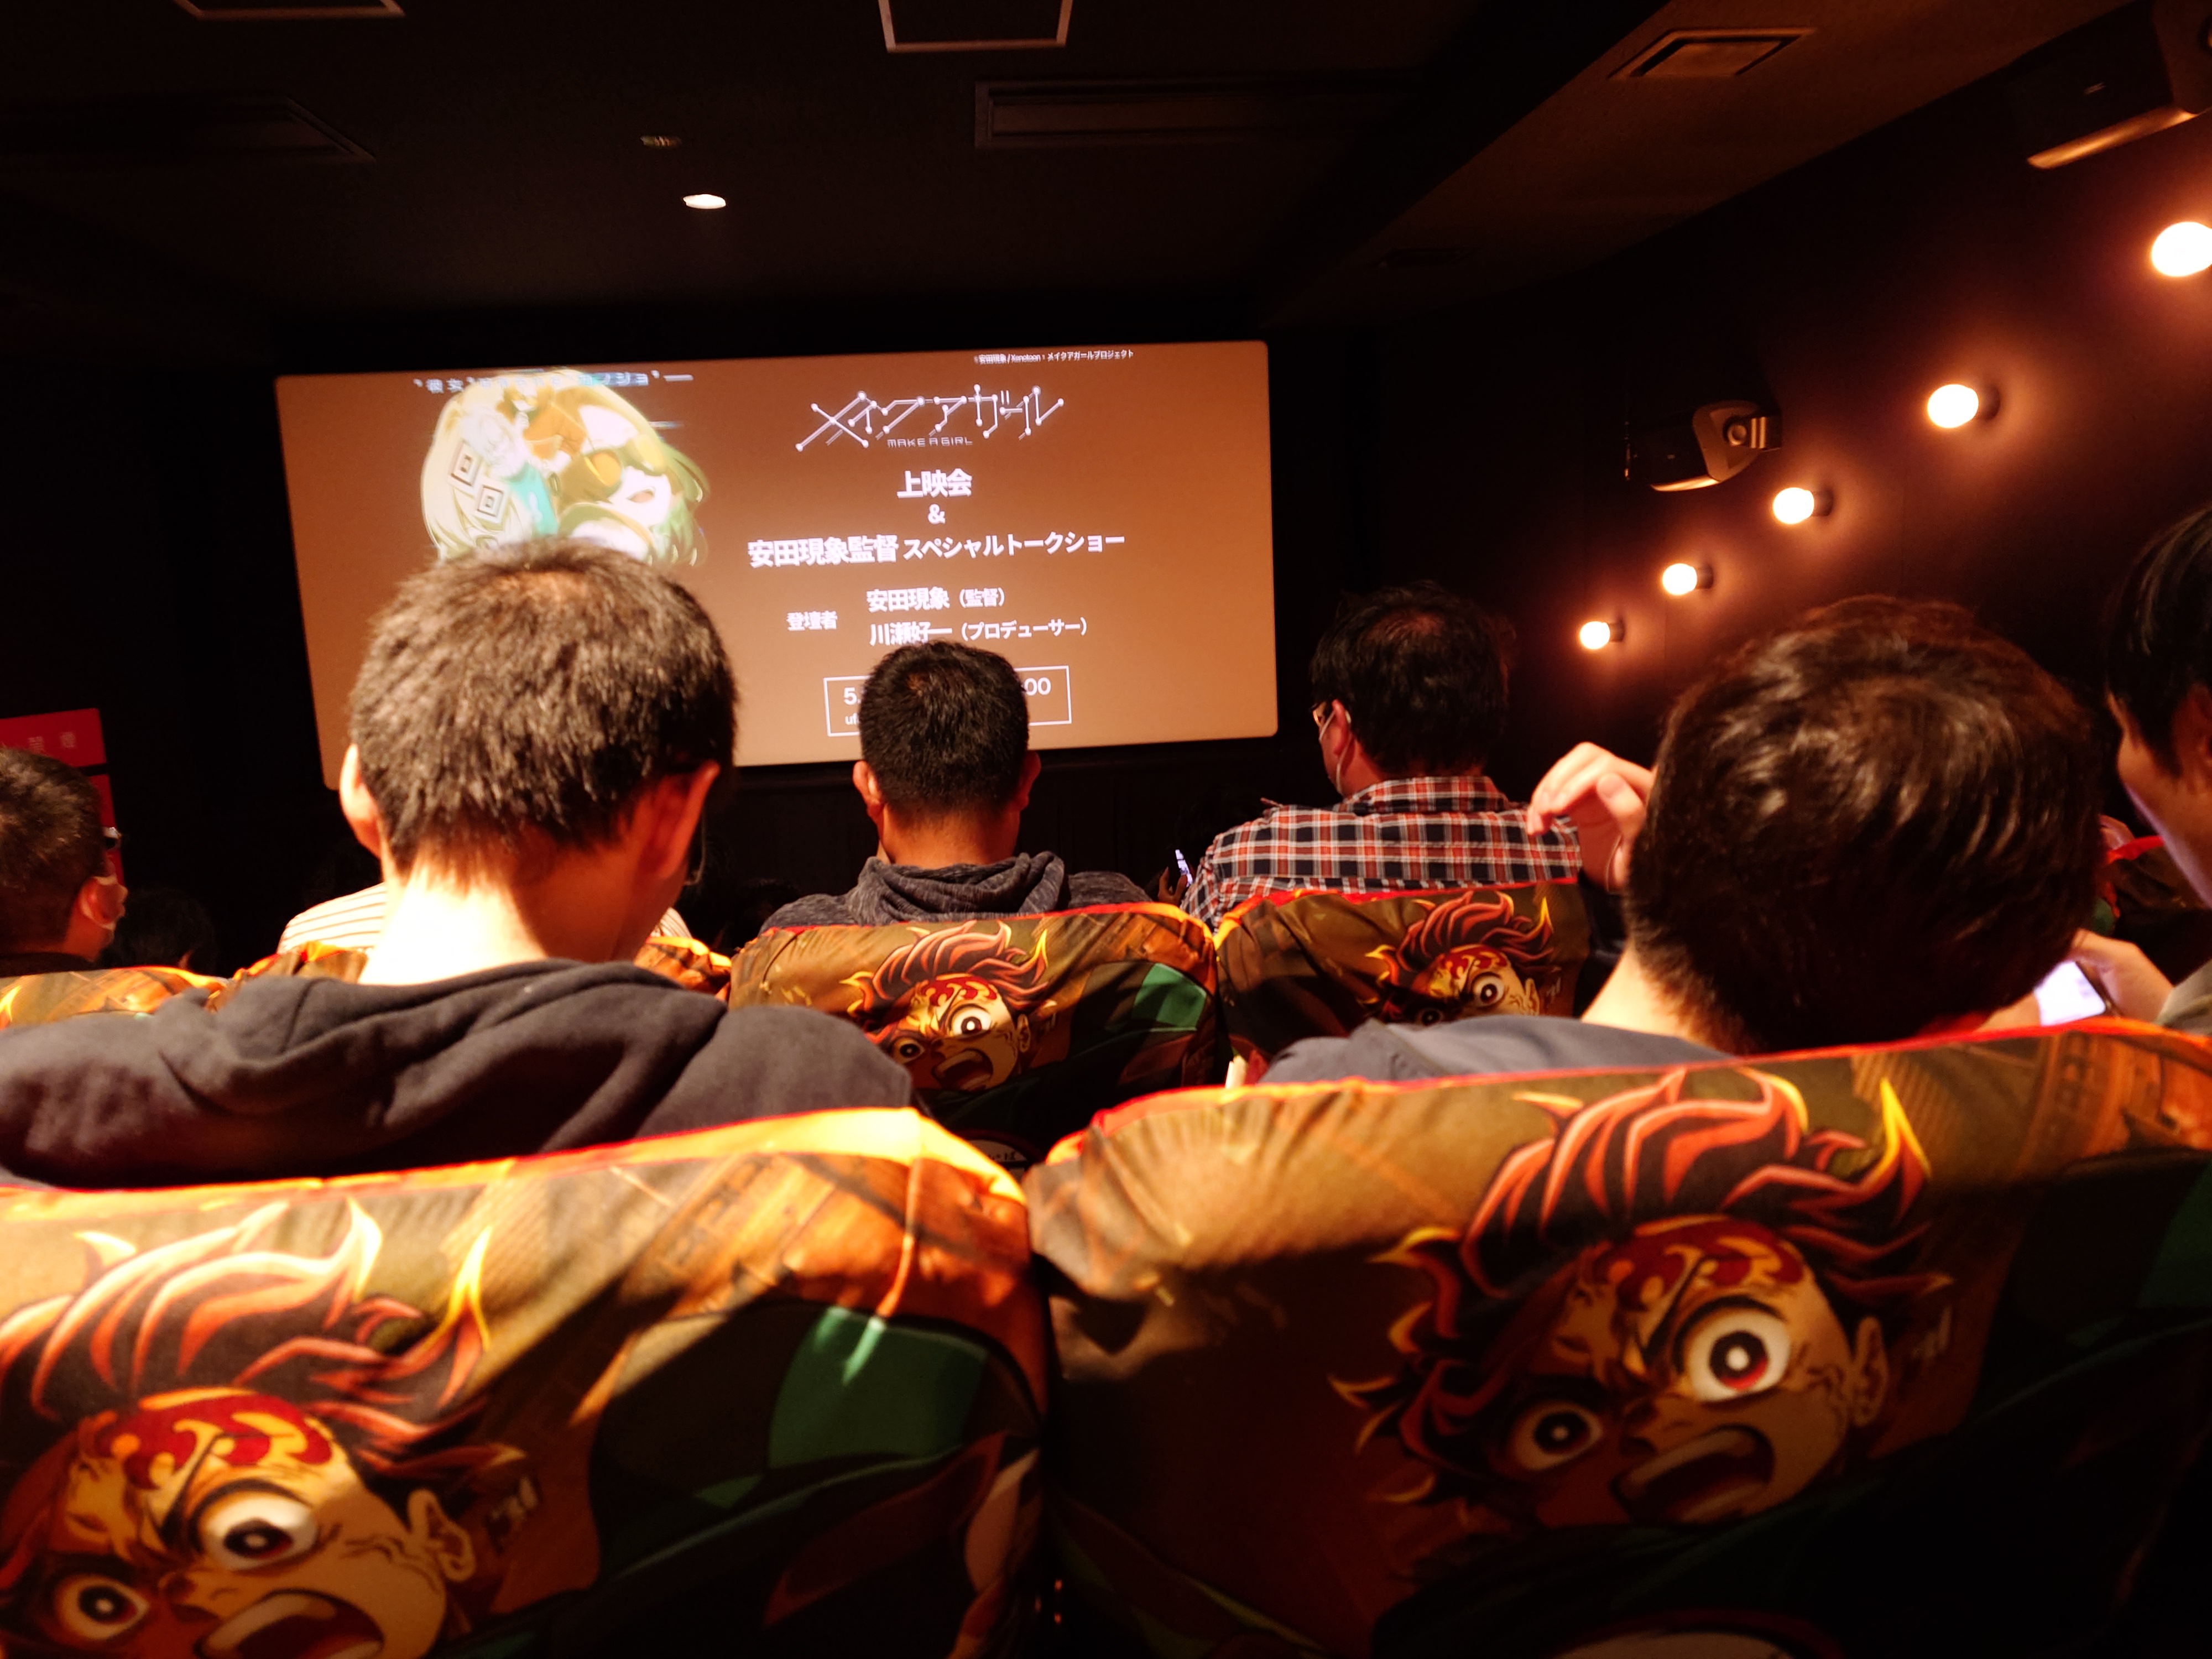
劇場内はほぼ満席で、座席は鬼滅カラーというか、竈門炭治郎に染まっていた。
最後の上映ということや、入場の困難もあり、私は終始、感慨深く鑑賞していた。
ホテルへの帰路
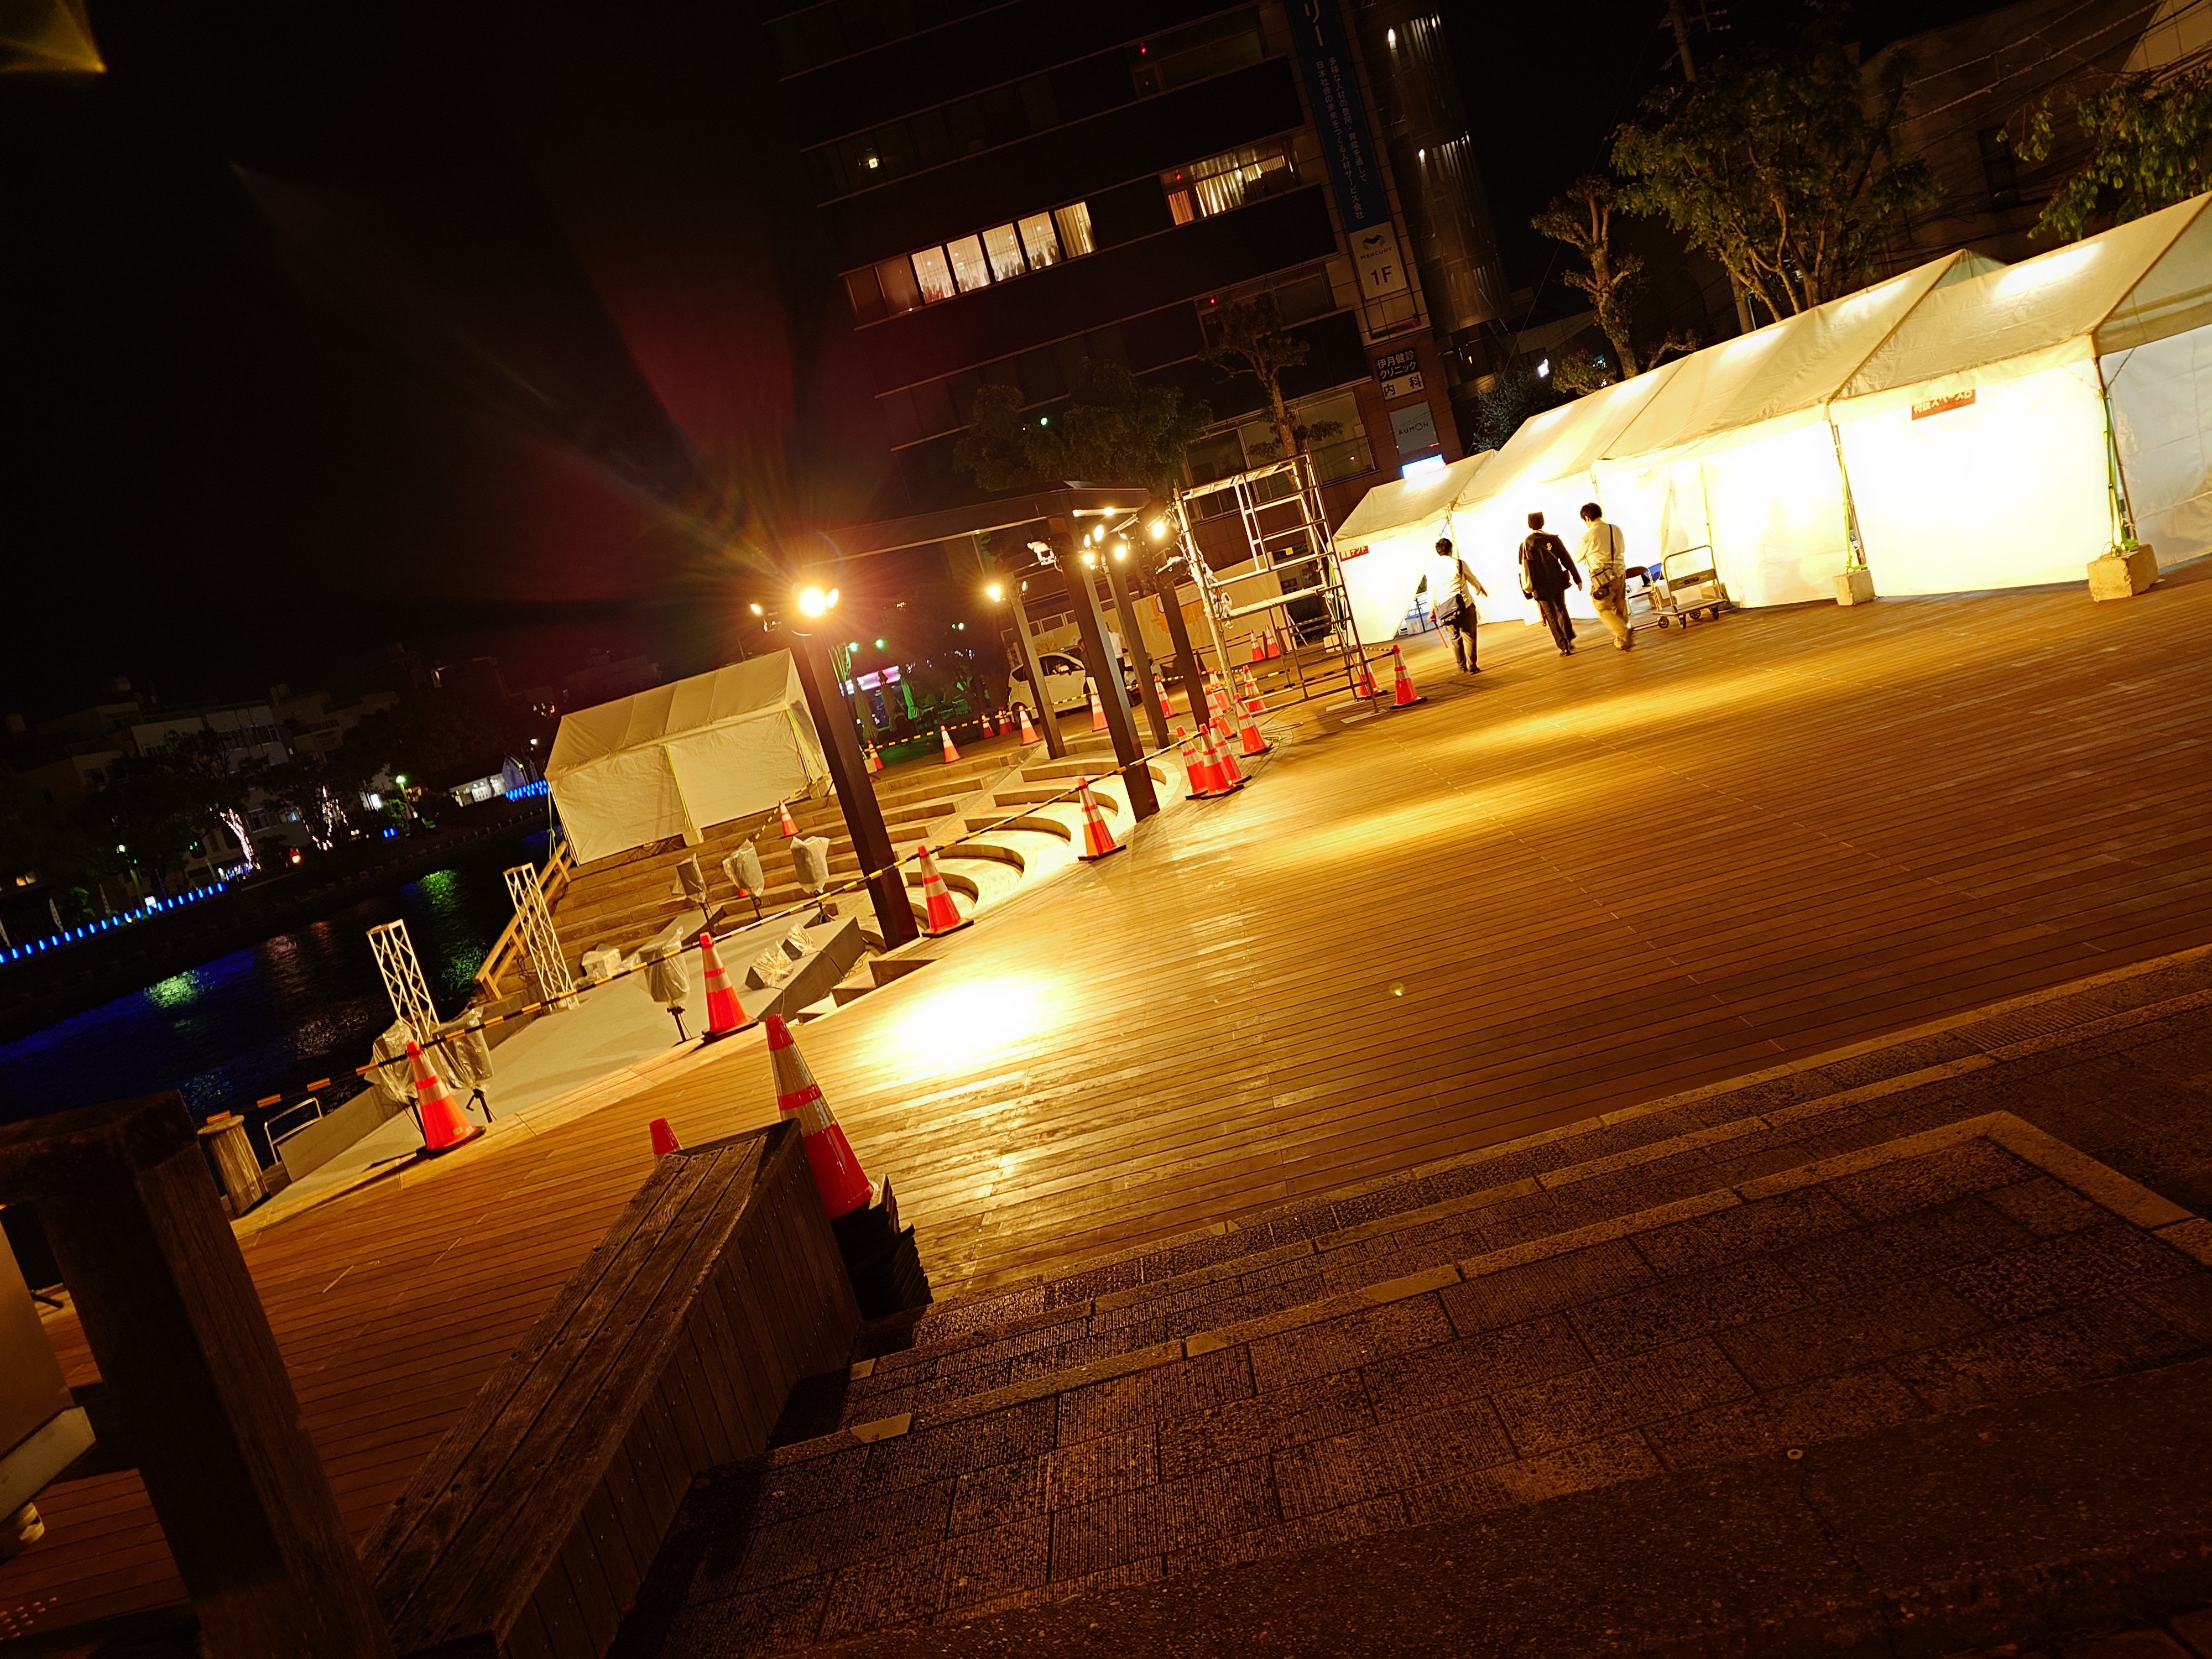
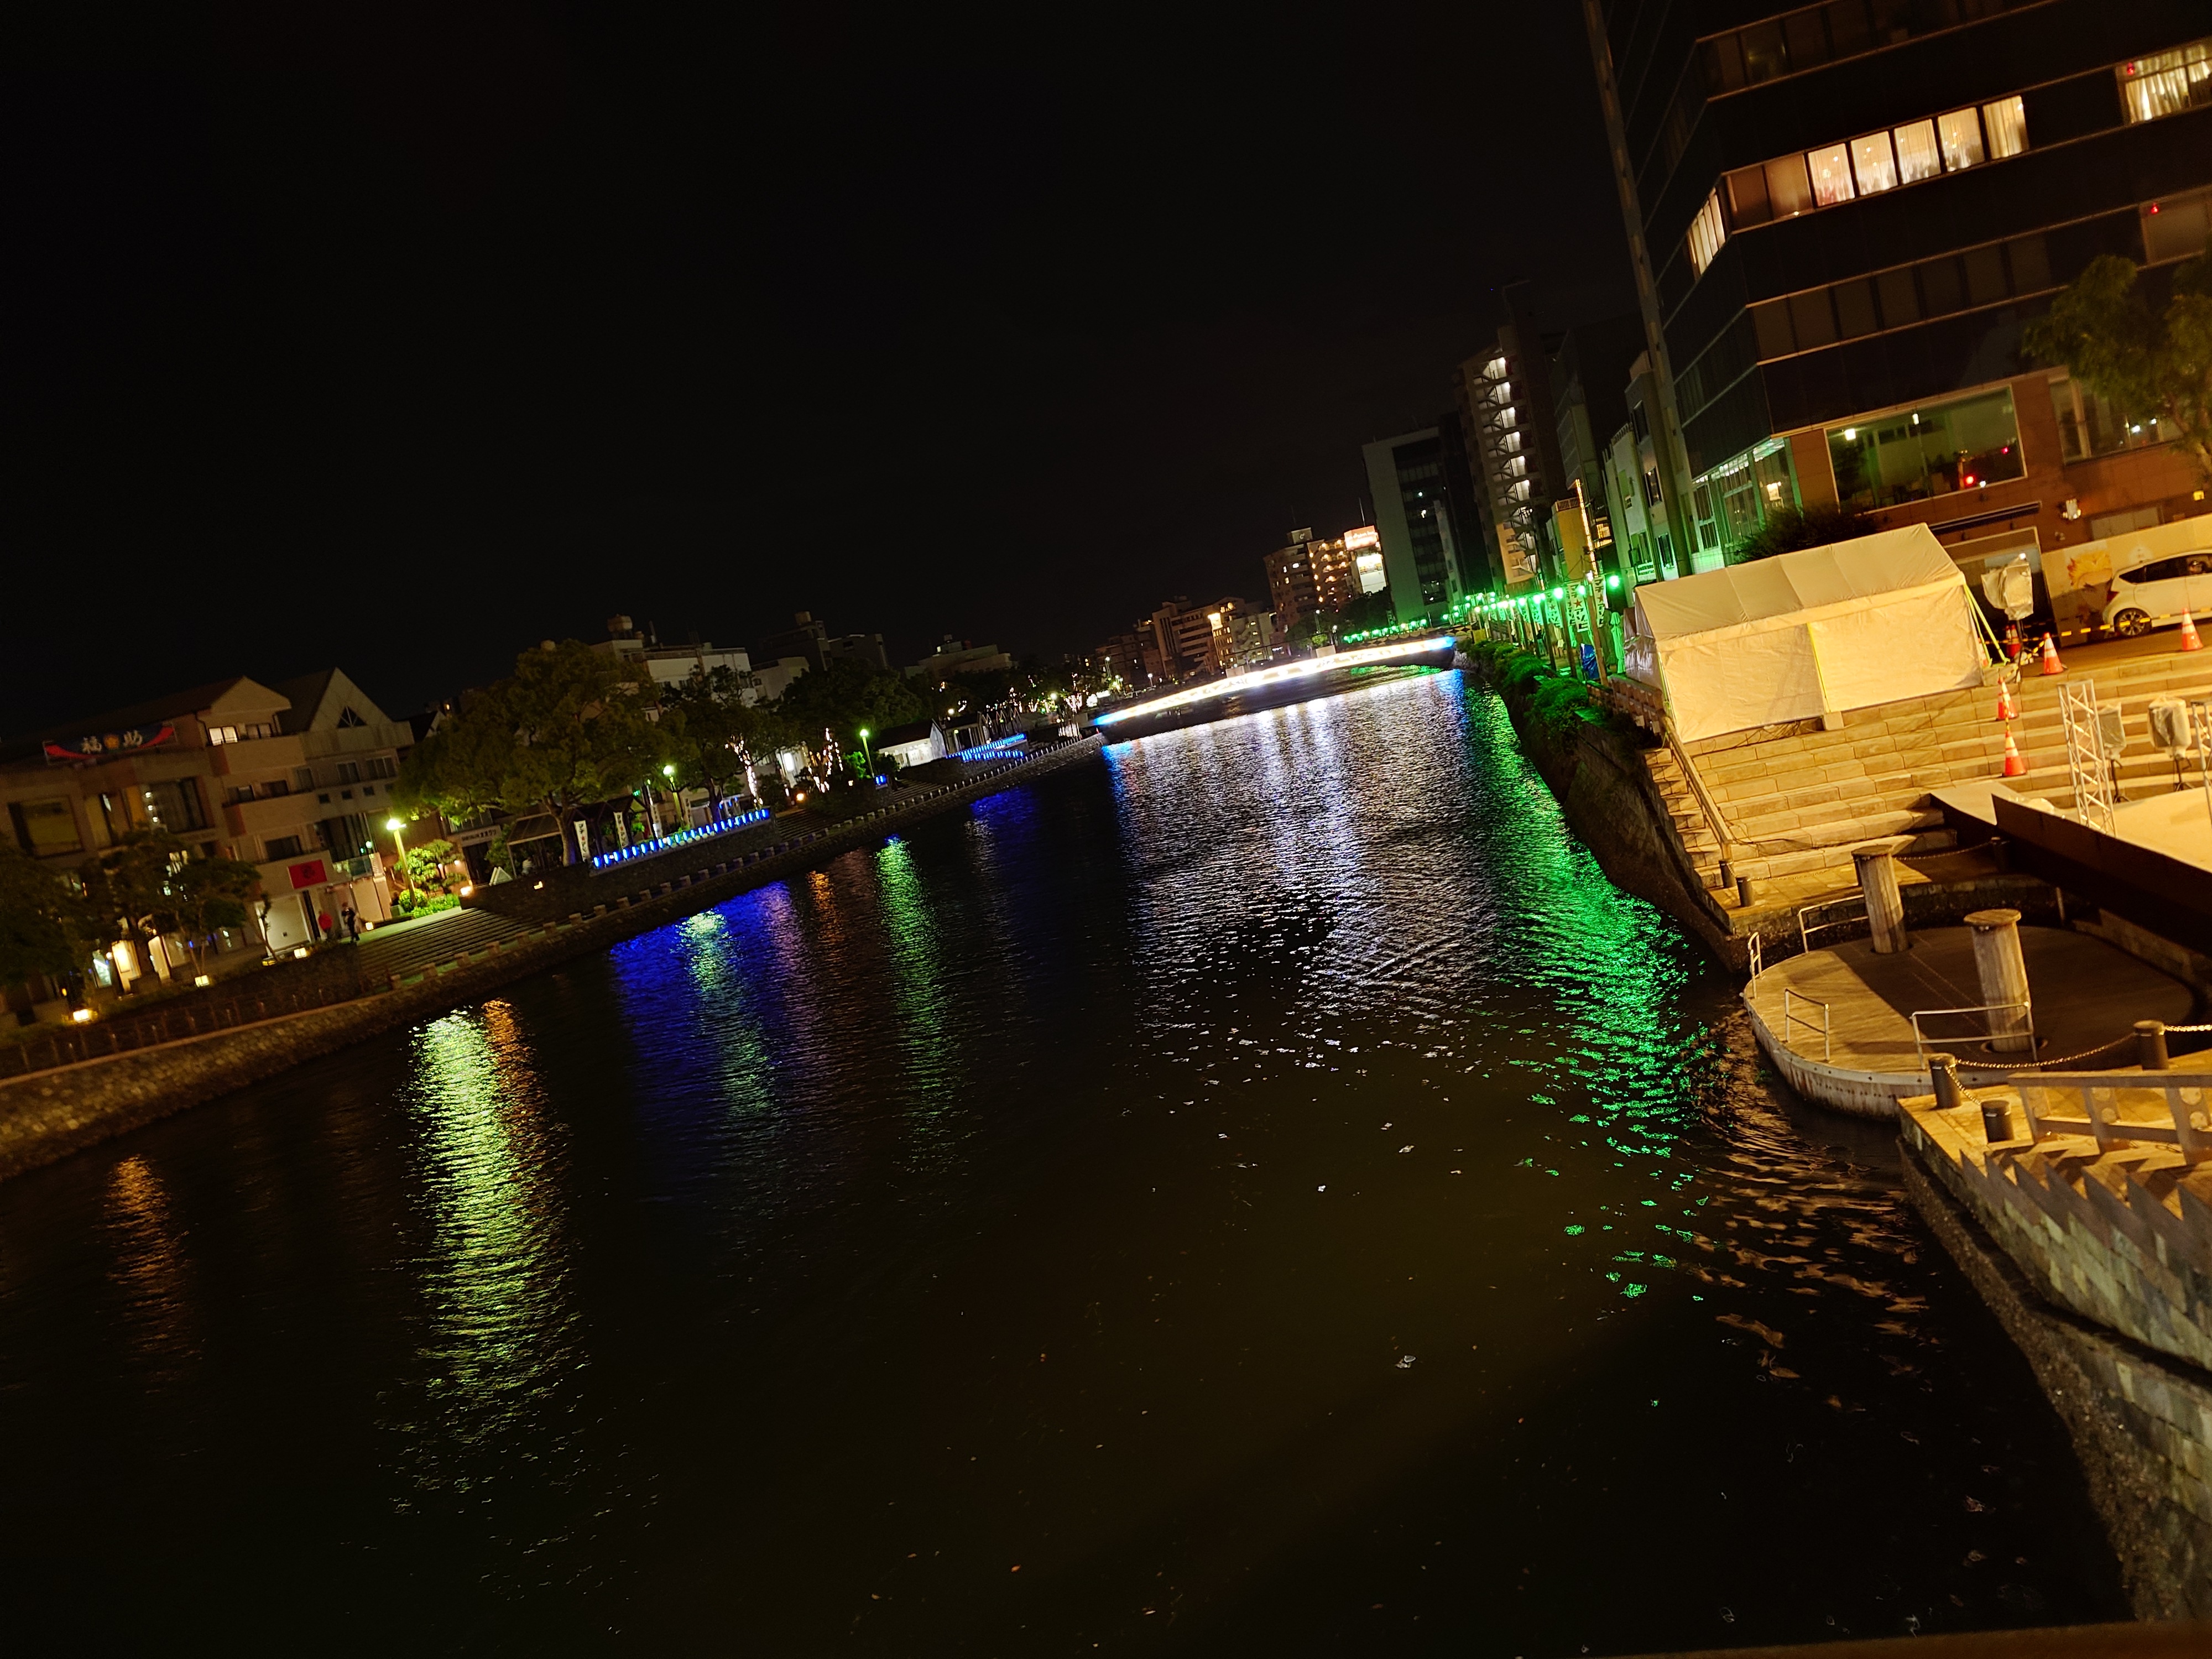
昼間あれだけ賑わっていた会場は夜になると息をひそめ、企業ブースも撤退し、パラソルはたたまれていた。恐らくそのままにしておくと警備上の問題があるからだろう。
しかしパラソルが常設であることにはちょっと驚いた。
付近にあった案内を見る限り、この場所は元からテナント出店するためにあるようだ。
マチアソビ二日目
昨日だらだらした分、今日は活動していこうと誓った日だった。結果として、この日はかなり充実していた。
行き交う痛車
そういうイベントだけあり、道路には痛車の走行風景も見られた。ボードウォーク付近の駐車場にも一定数いたと思う。
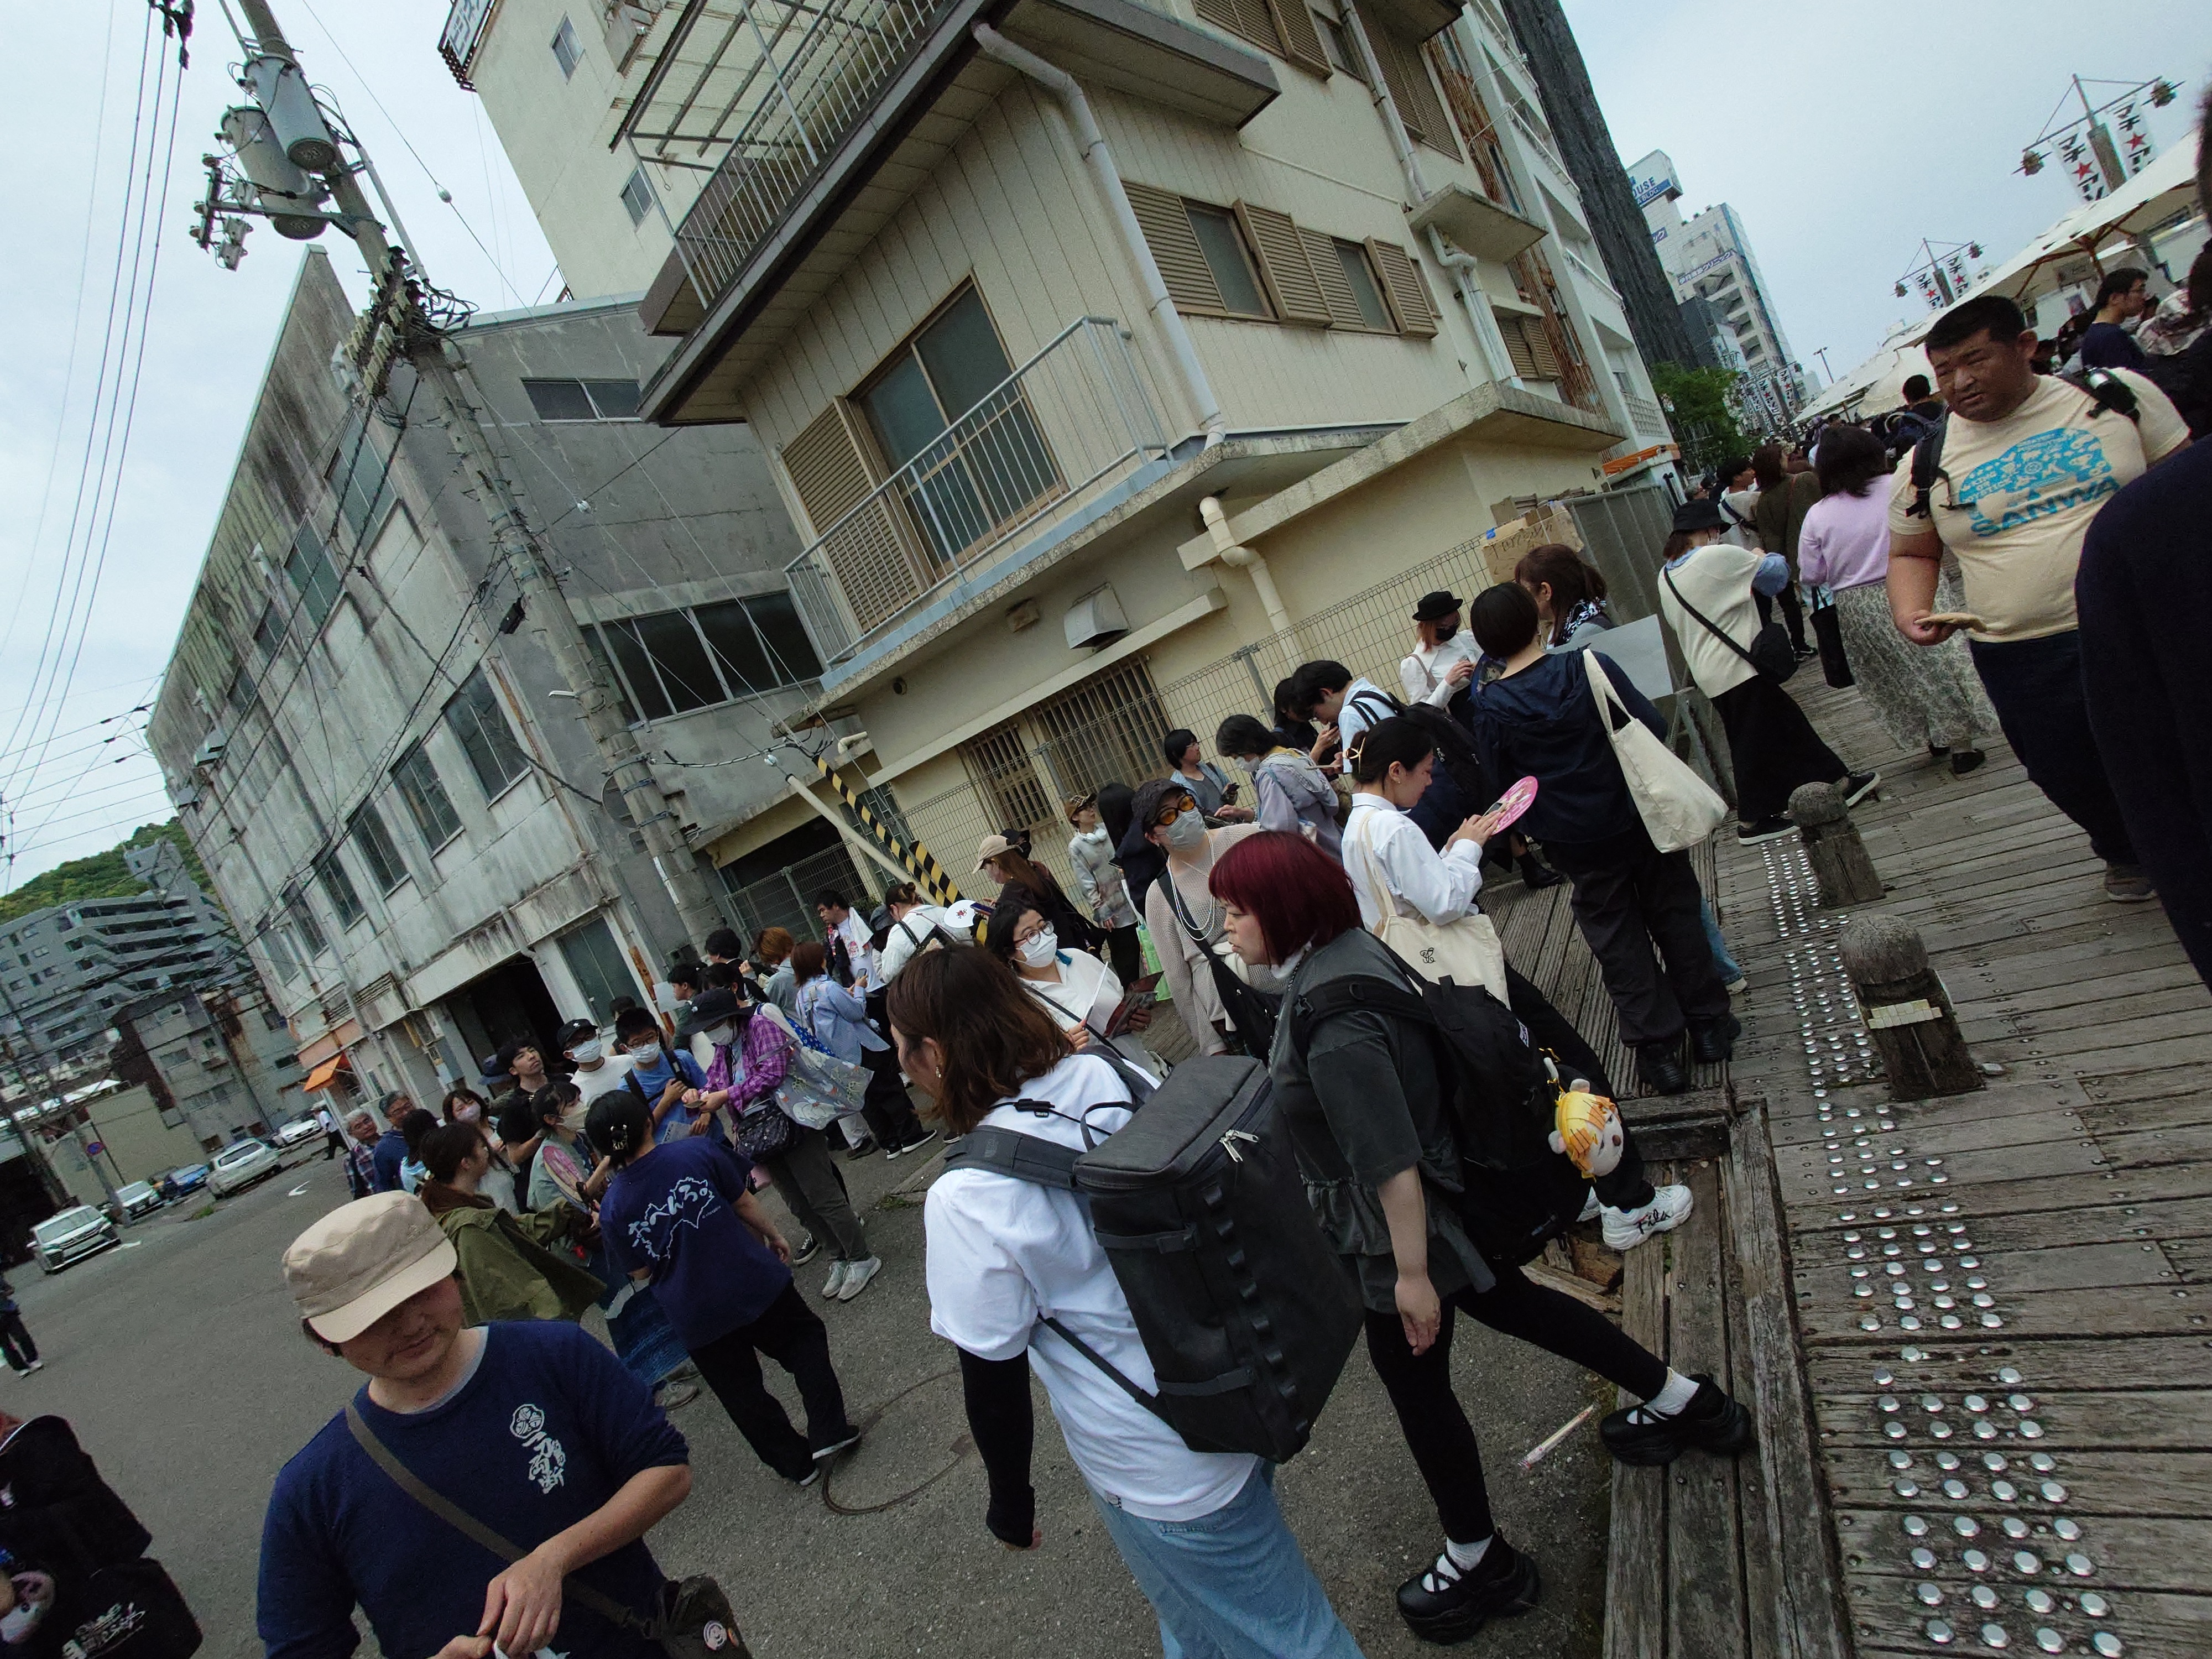
賑わうメイン会場
二日目は初日よりより一層メイン会場がにぎわっていた。神戸まつりでもここまで人口密度は高くないだろう。
夏の知らせ
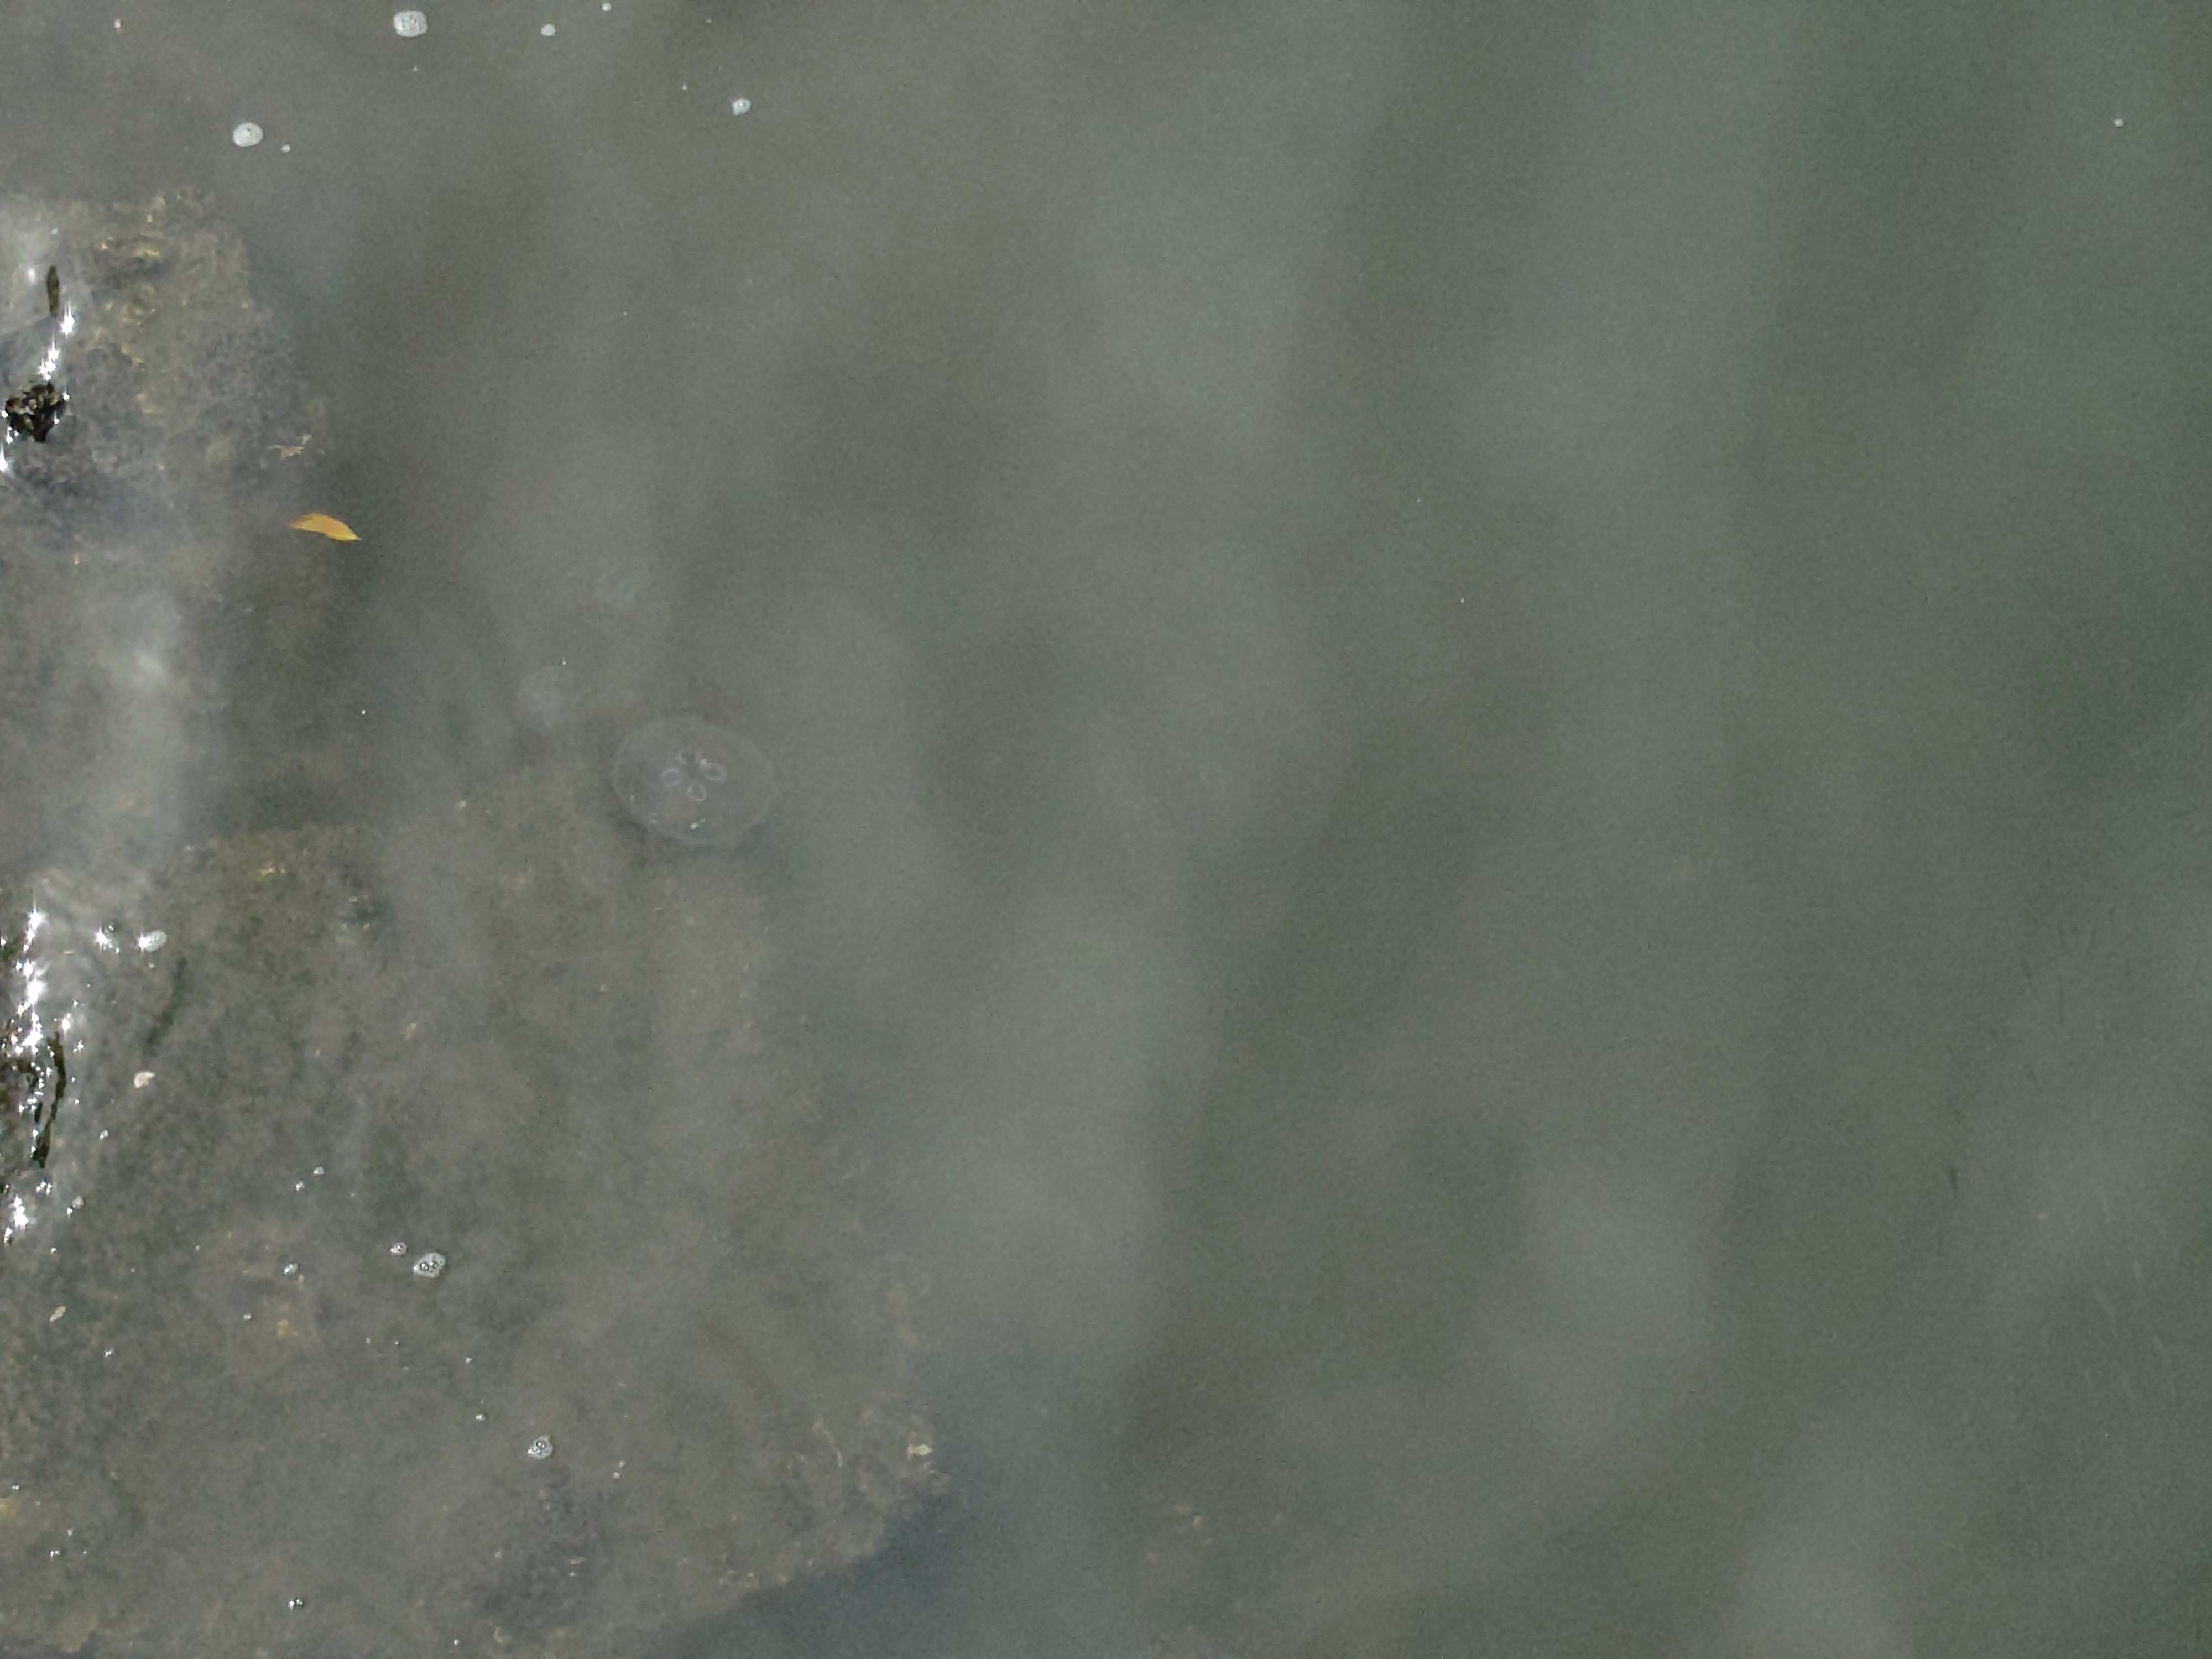
川を覗くとミズクラゲが漂っていた。5月11日にして、もはや夏ということだろうか。
ボードウォーク再見
今日もまたボードウォークにやってきた。ここは見るものが多い。
博報堂のパラソルにはプリプリのフライヤーが置かれていたので一枚頂戴した。よく考えたら映画館で見た記憶がない。
ボードウォークには、このために作られたような建物があり、飲食の出店をやっていた。この構造はなかなか面白いと思う。
マチアソビを想定した作りなのか、あるいは元の構造を活かしているのか、興味深い。
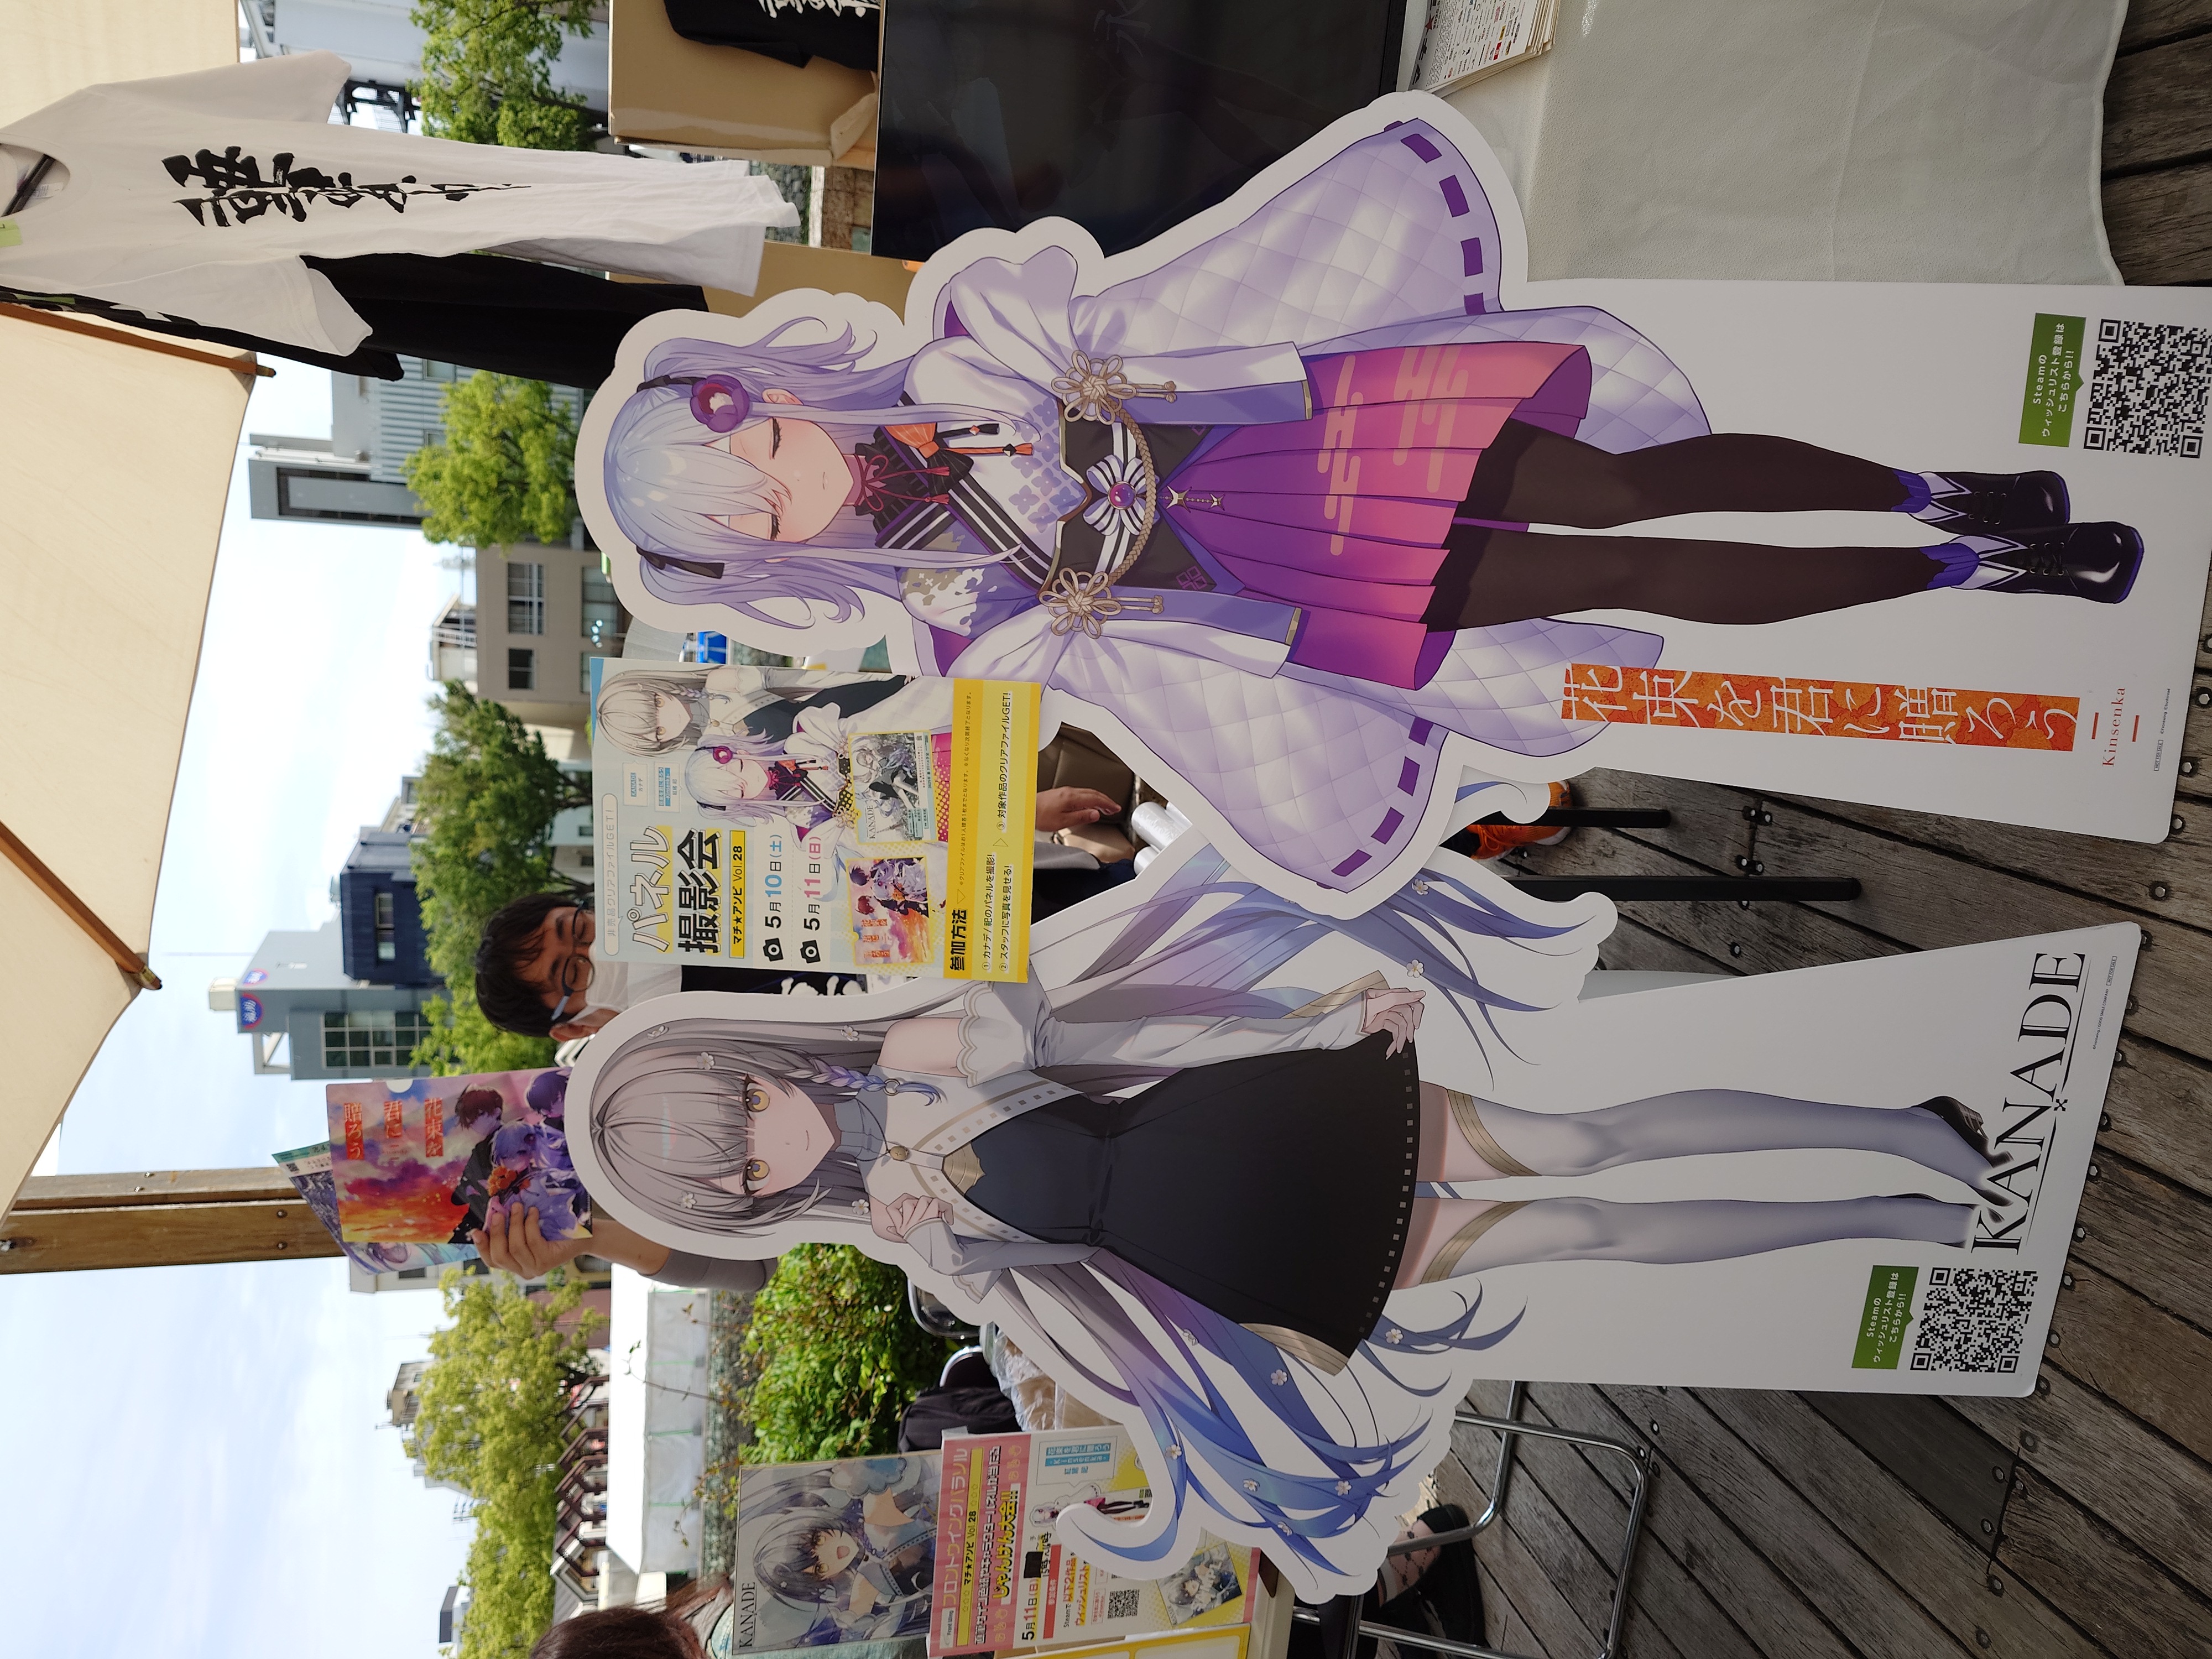
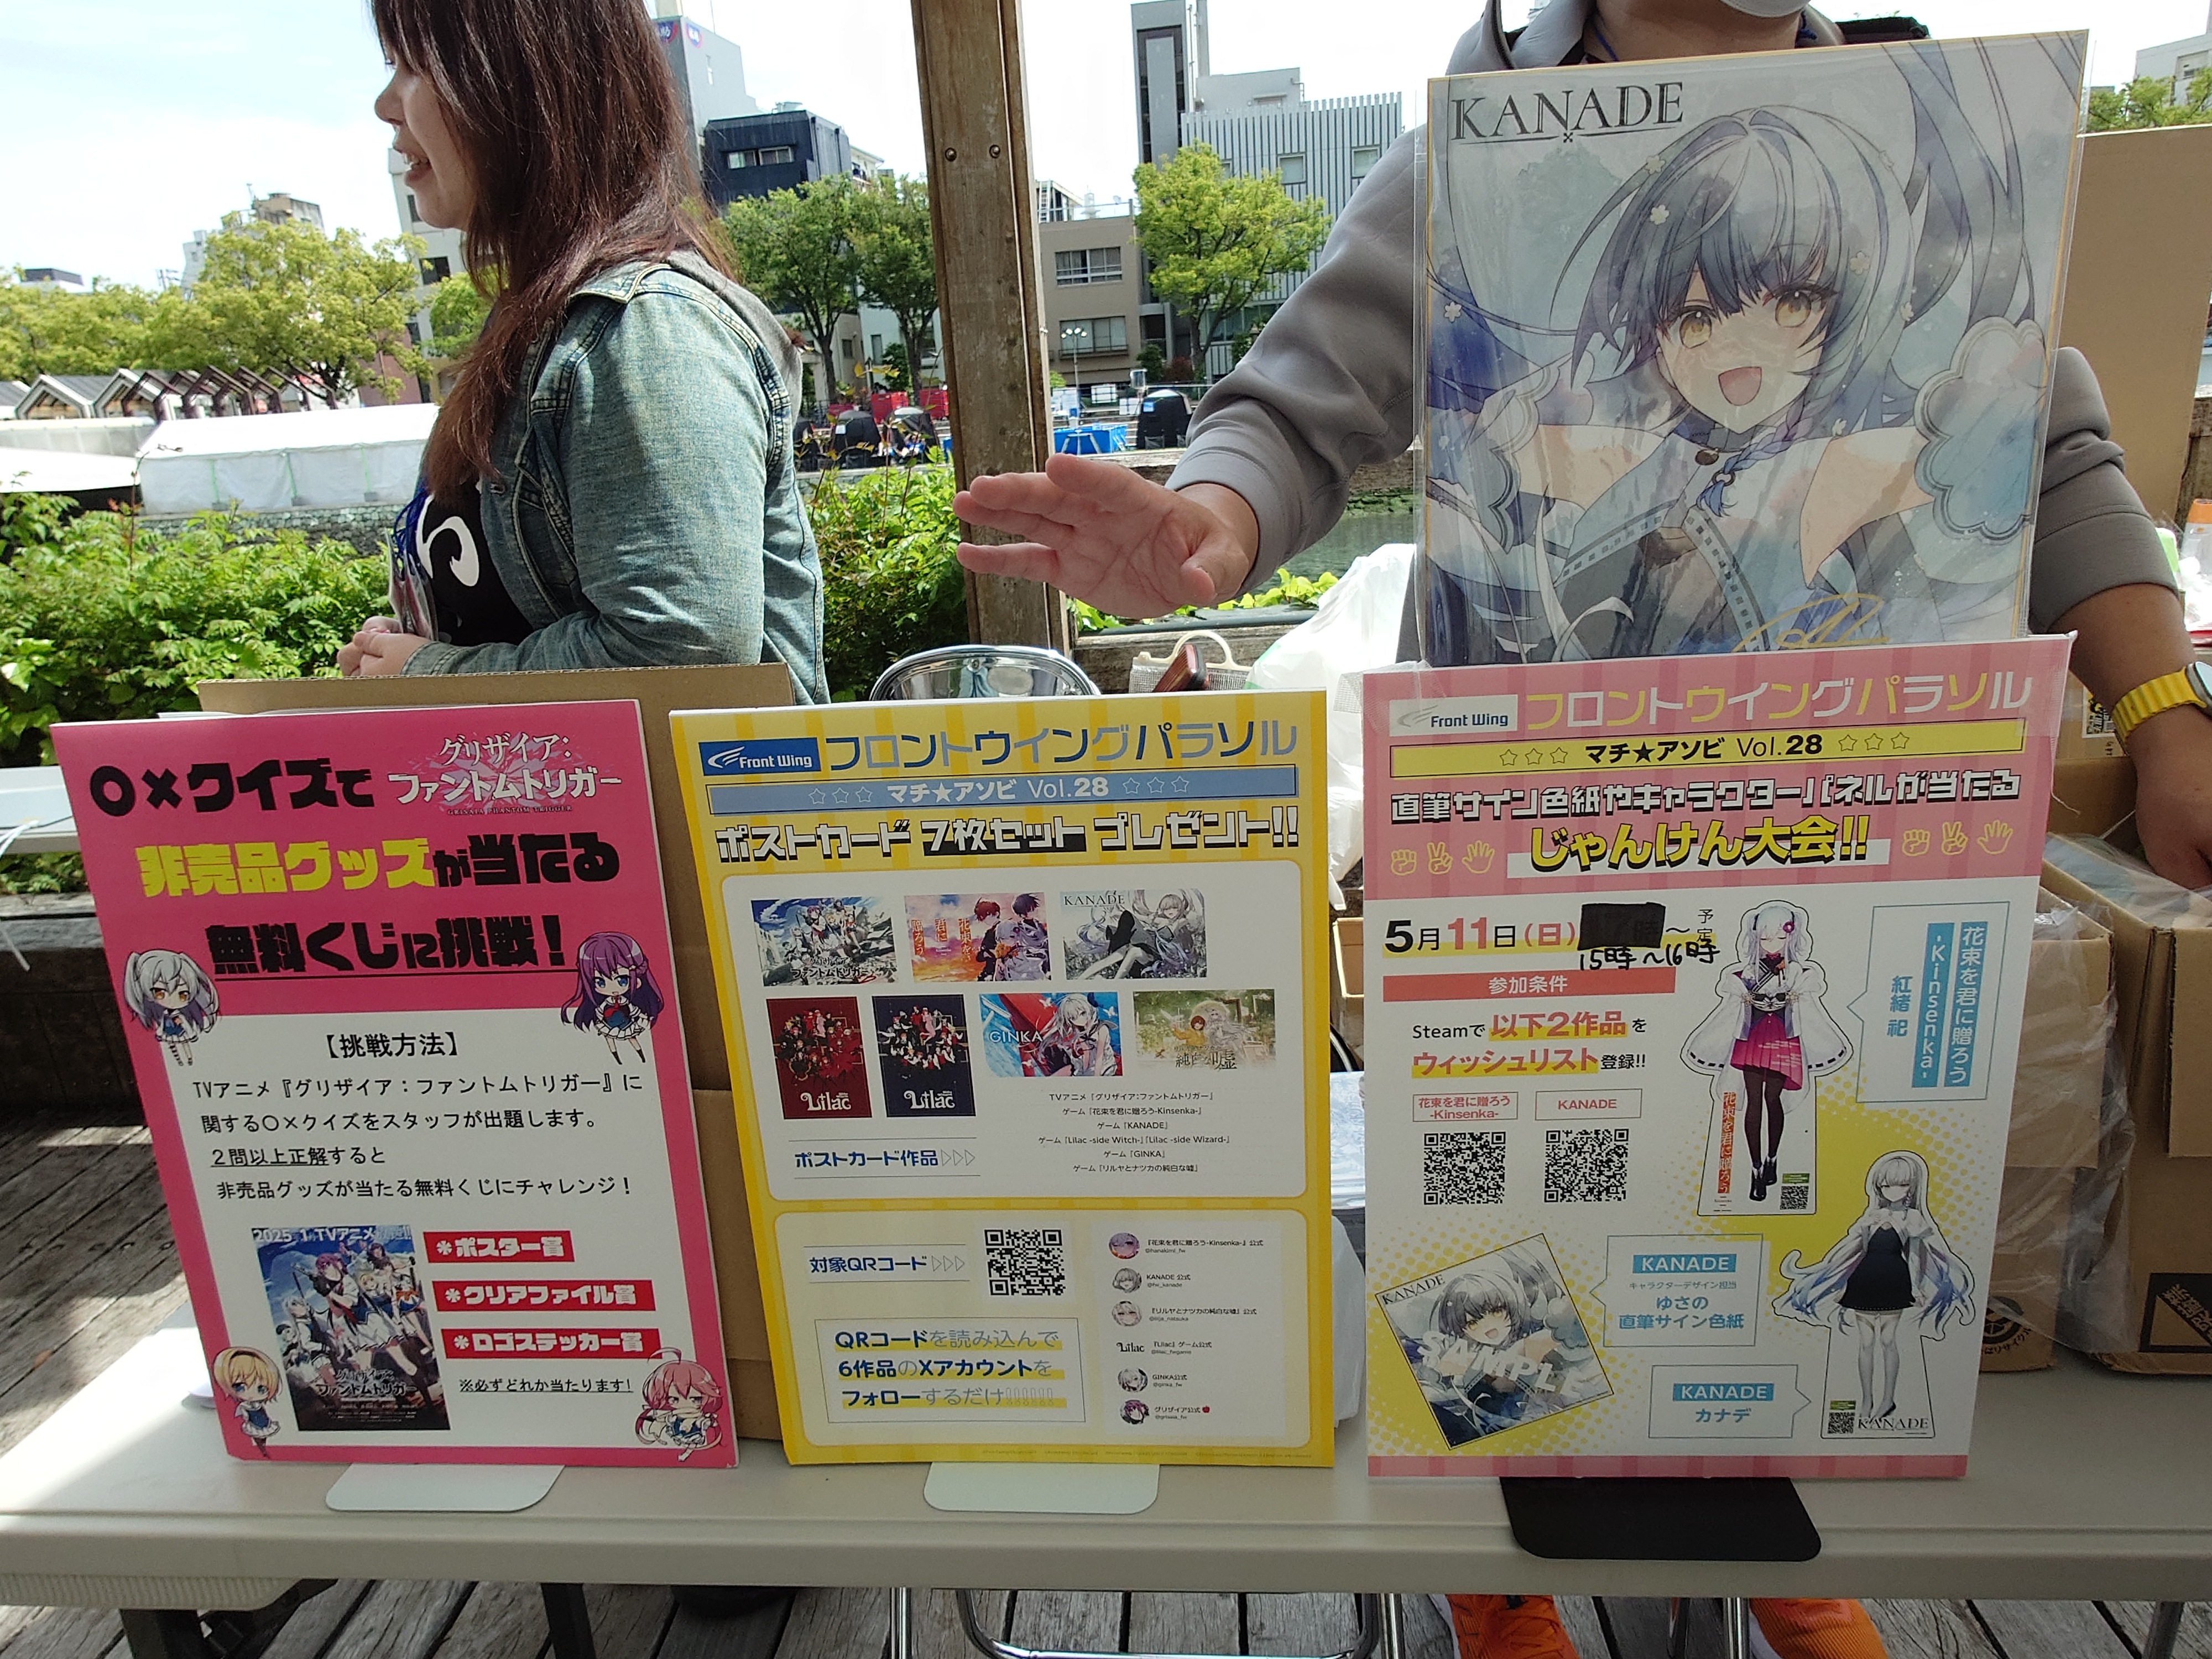
フロントウィングなどのパラソルでは美少女キャラクターがおり、とりあえずかわいいので撮った。
軽く調べた感じKANADEも花束を君に贈ろうもGINKAもエロゲーではないようだ。
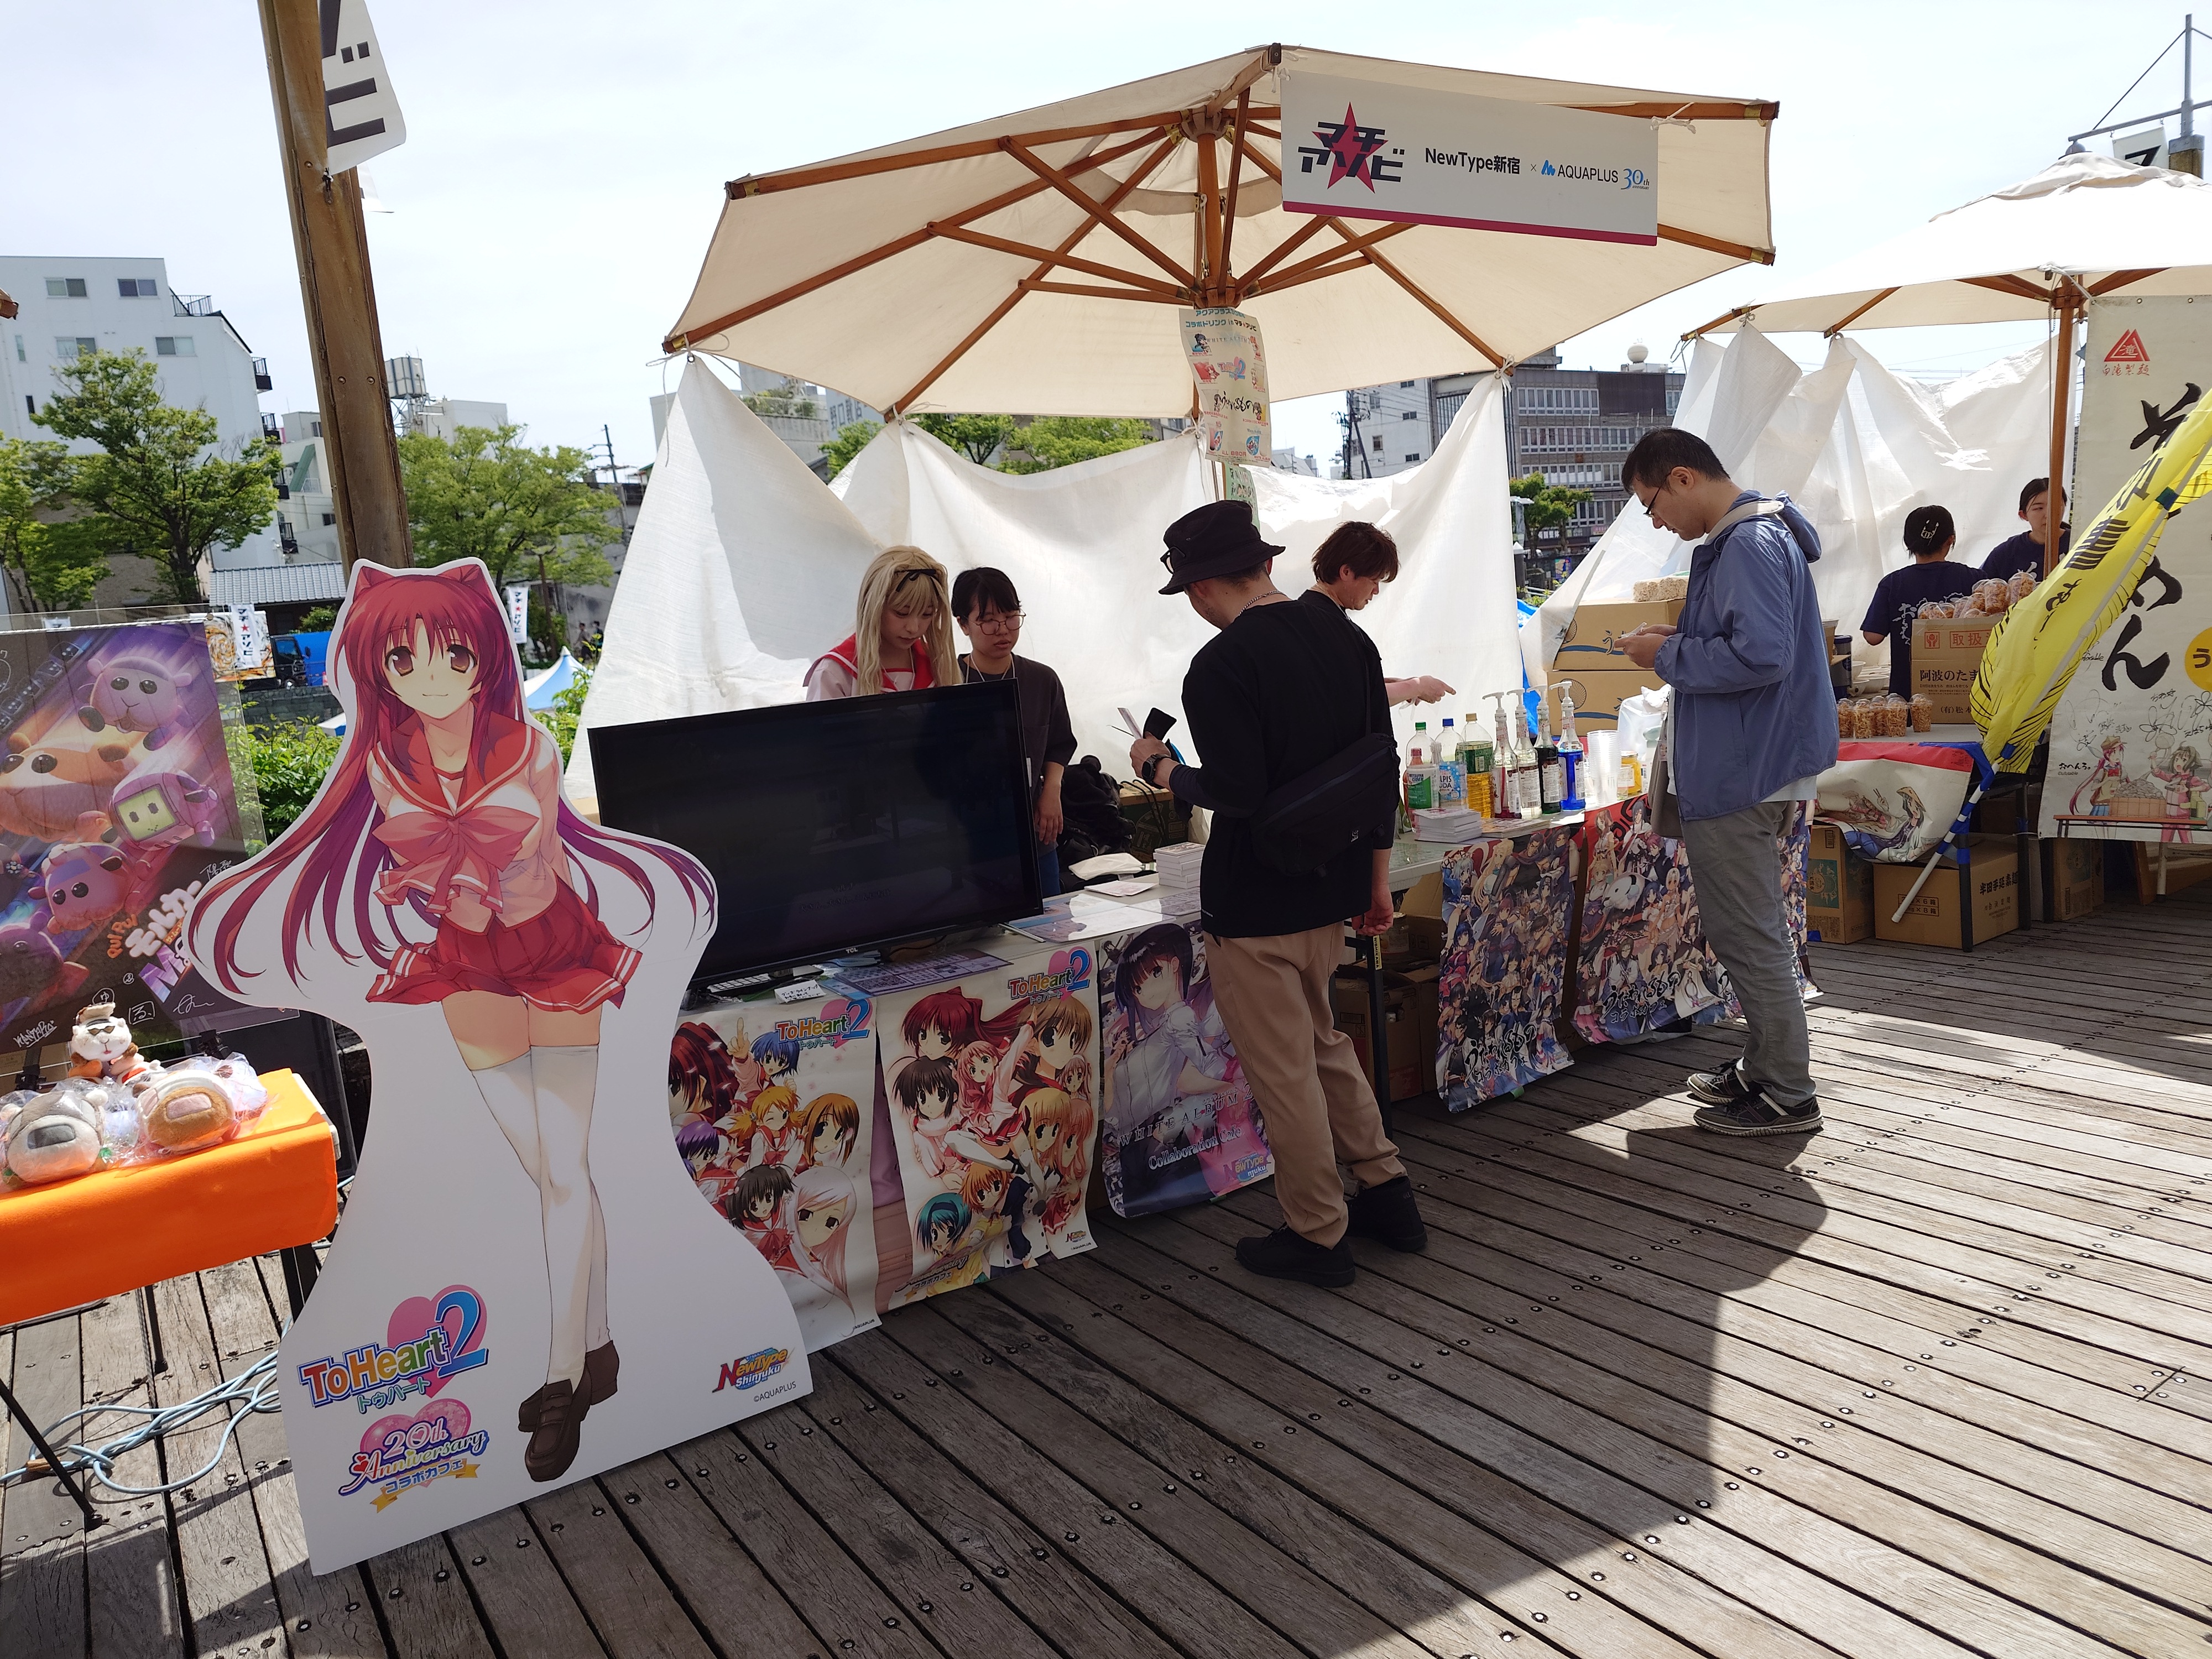
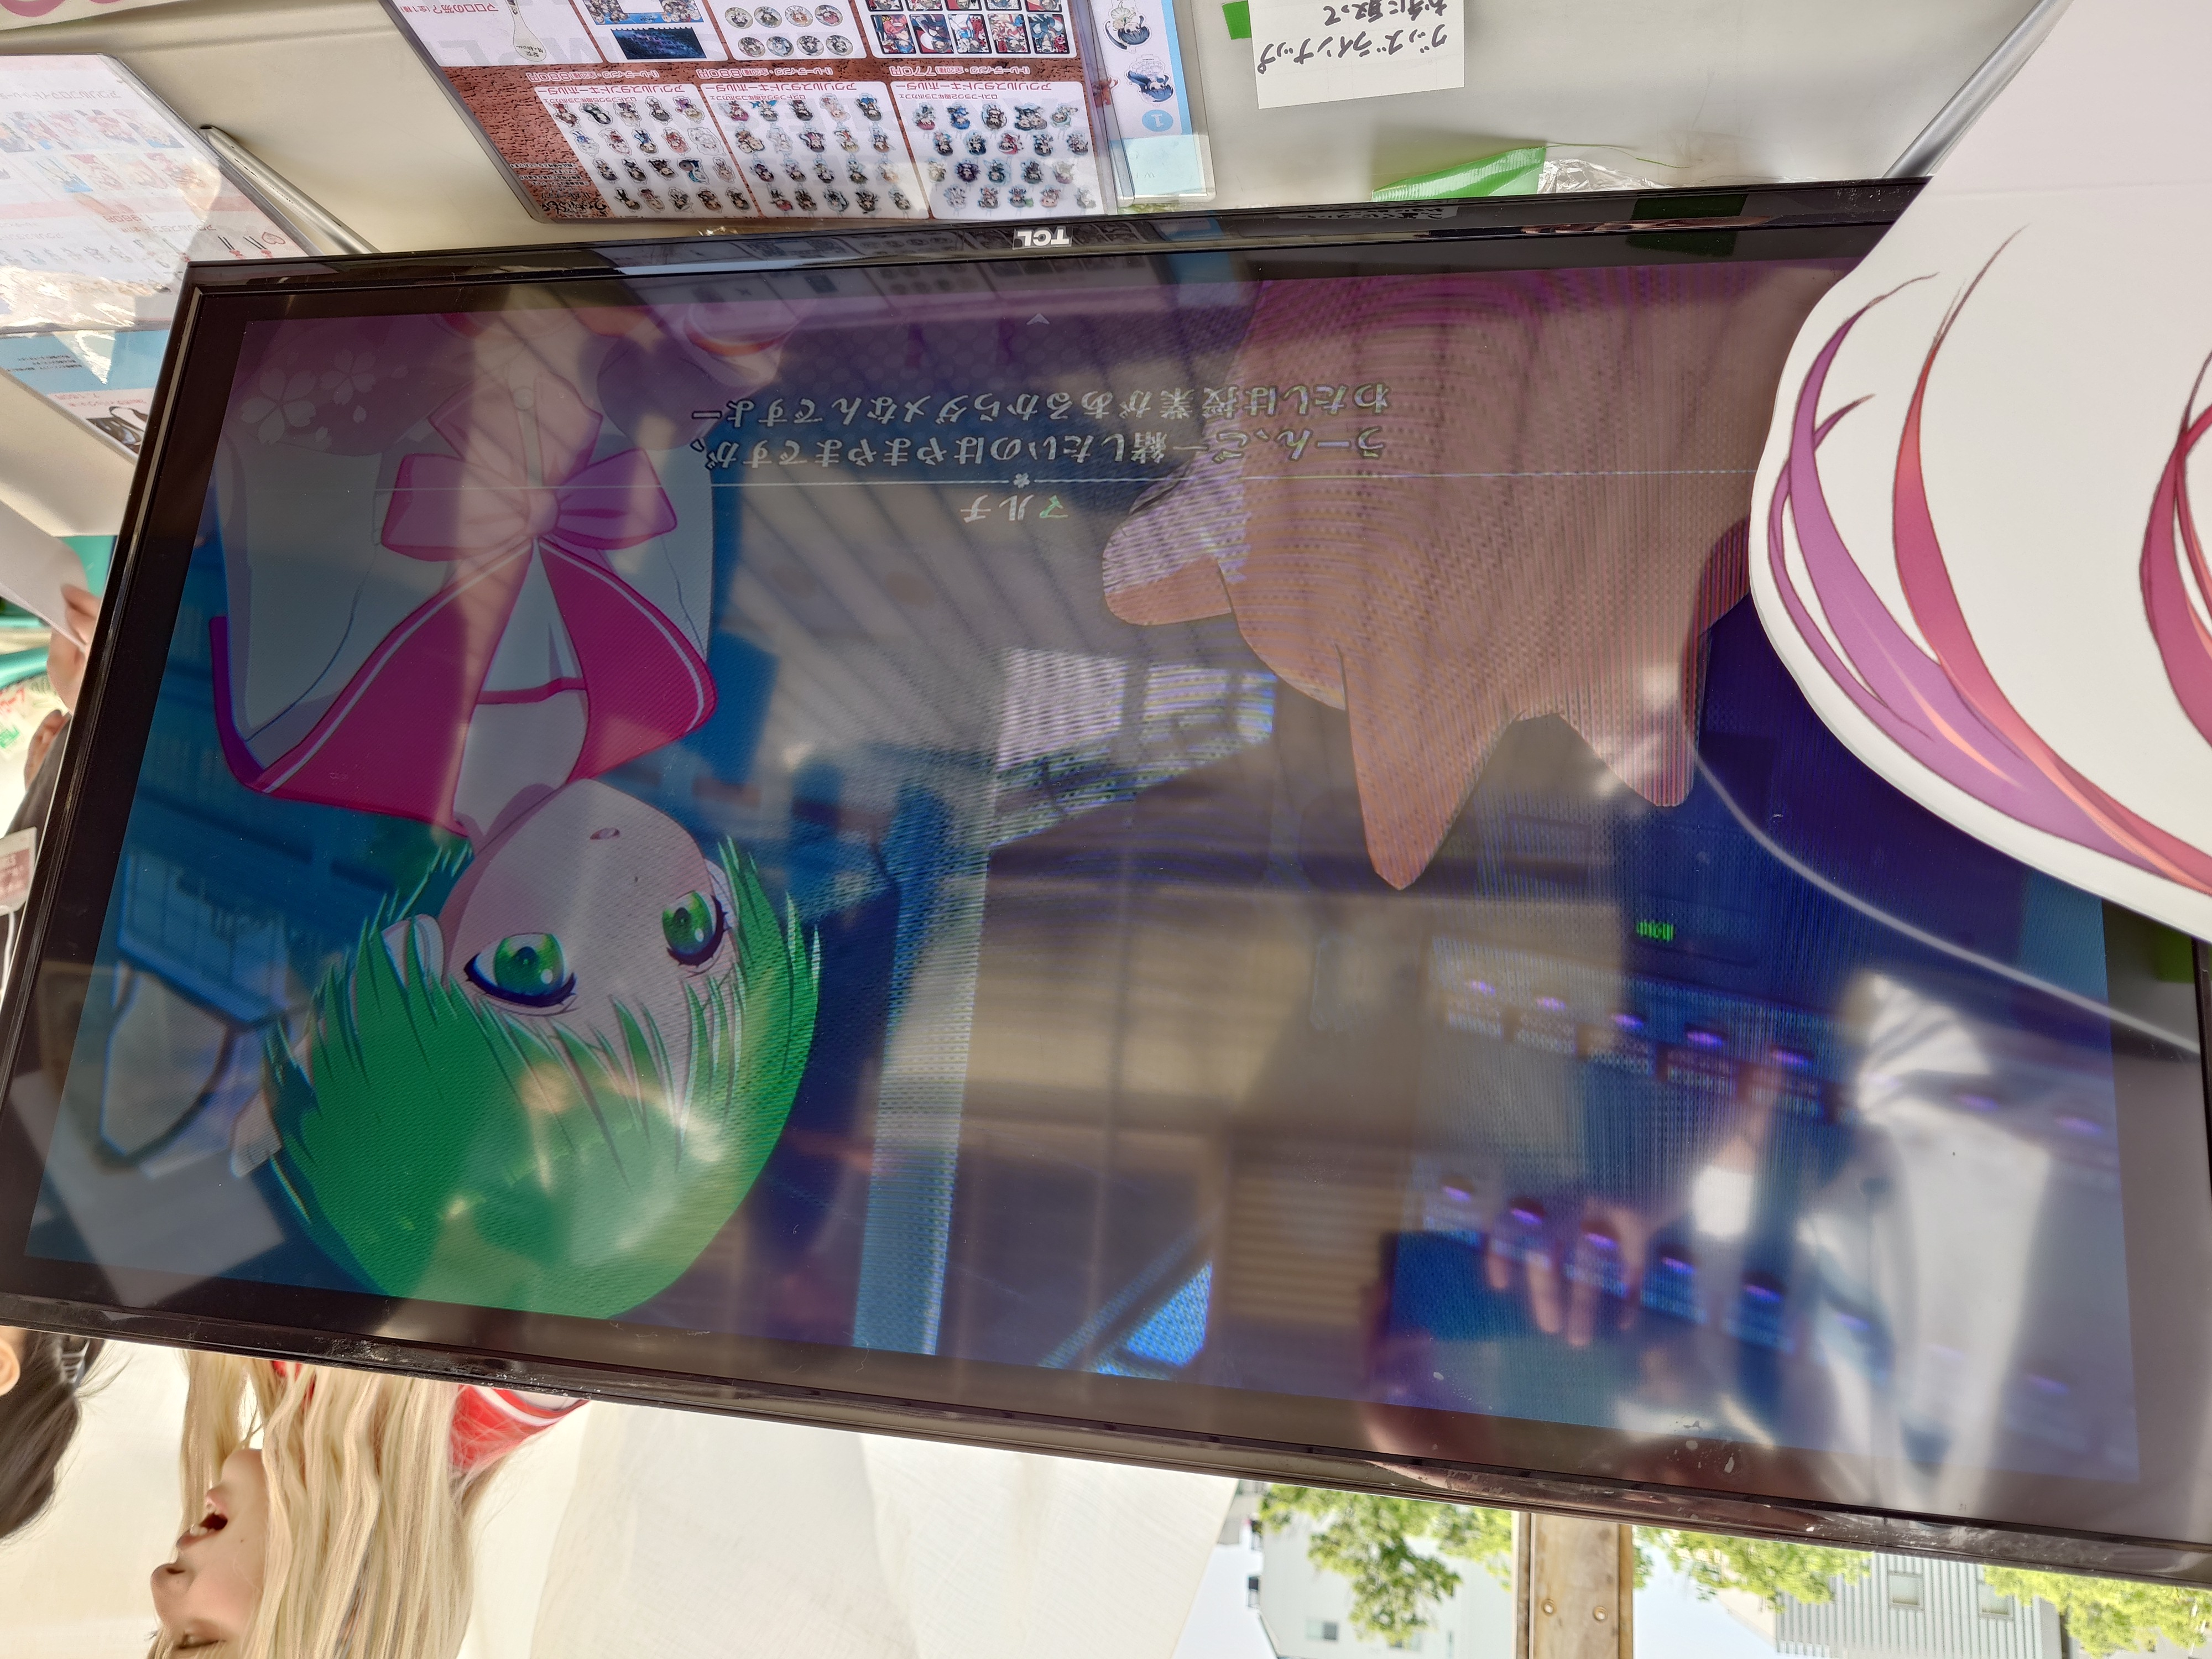
アクアプラスブースではマルチが3Dになっていて驚いた。ToHeartに終わりはないのかもしれない。
マチへ繰り出す
ボードウォークを軽く見たので、次はマチへ繰り出すことにした。マチアソビなのだから、見るべきはマチだろう。きっと。そして、この読みは大方外れておらず、図らずもマチアソビの核心と邂逅することになる。
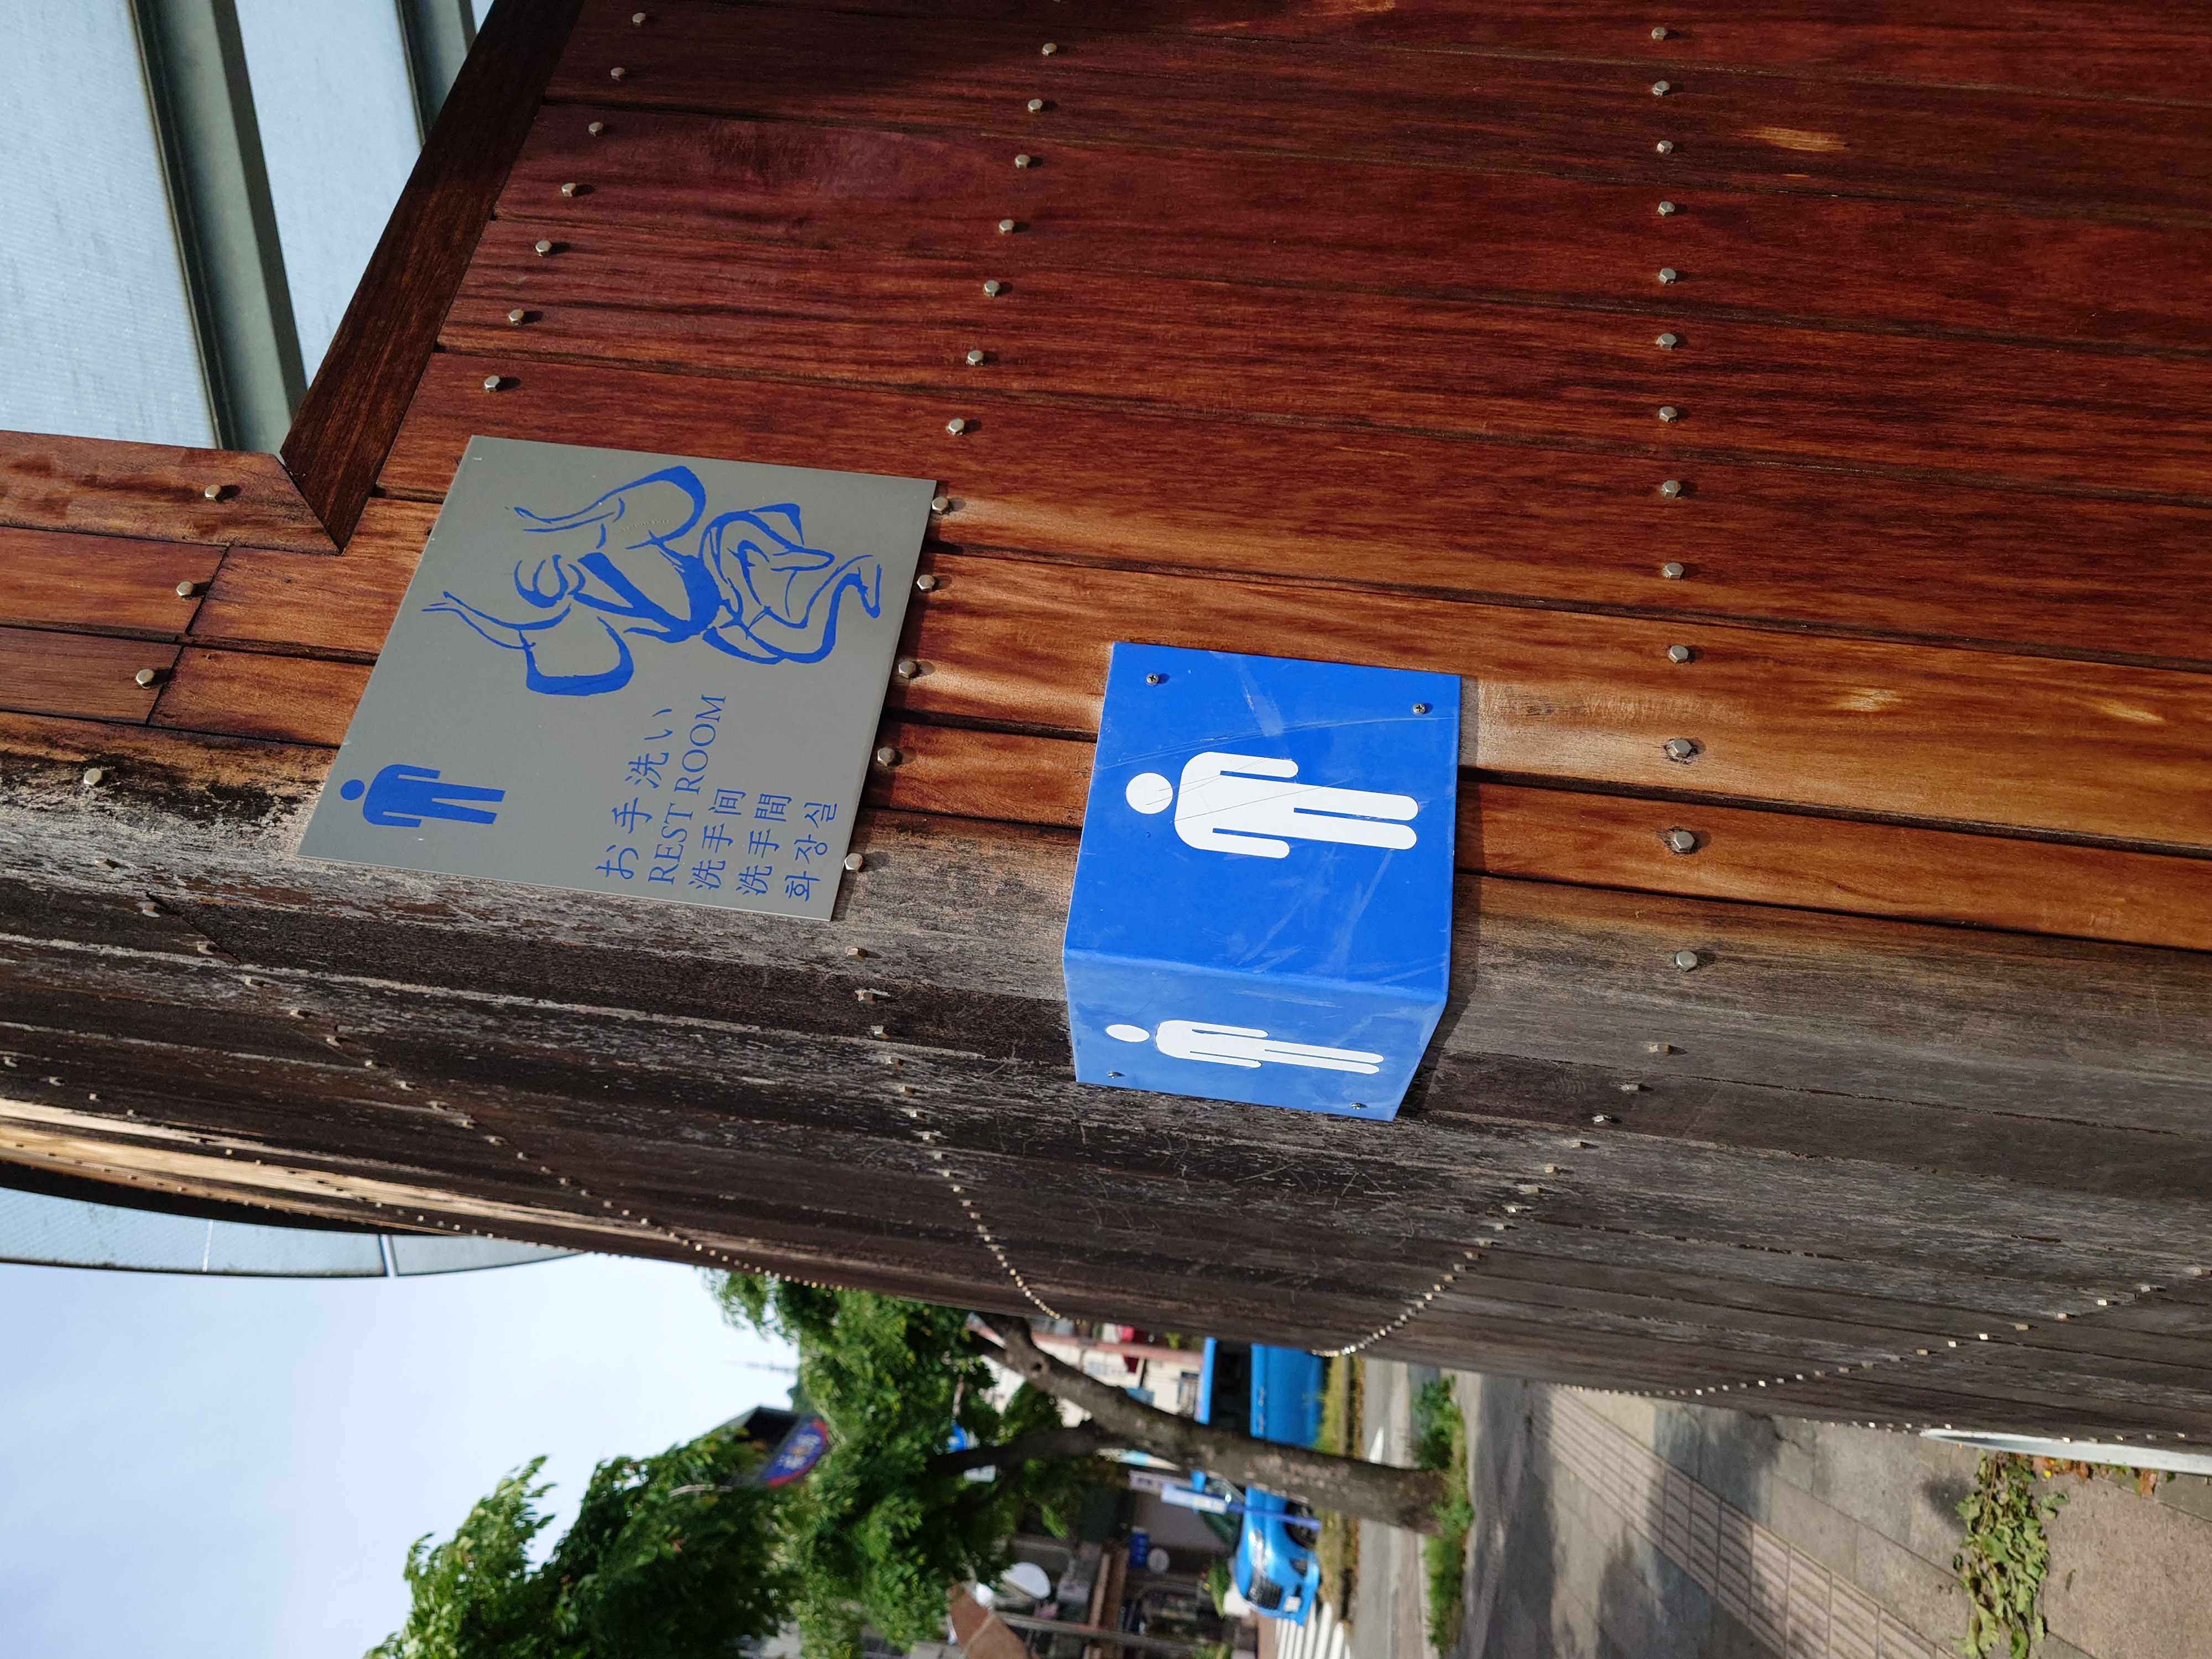

両国橋のトイレには阿波踊りのイラストが描かれていた。しかも男女しっかり描き分けられている。
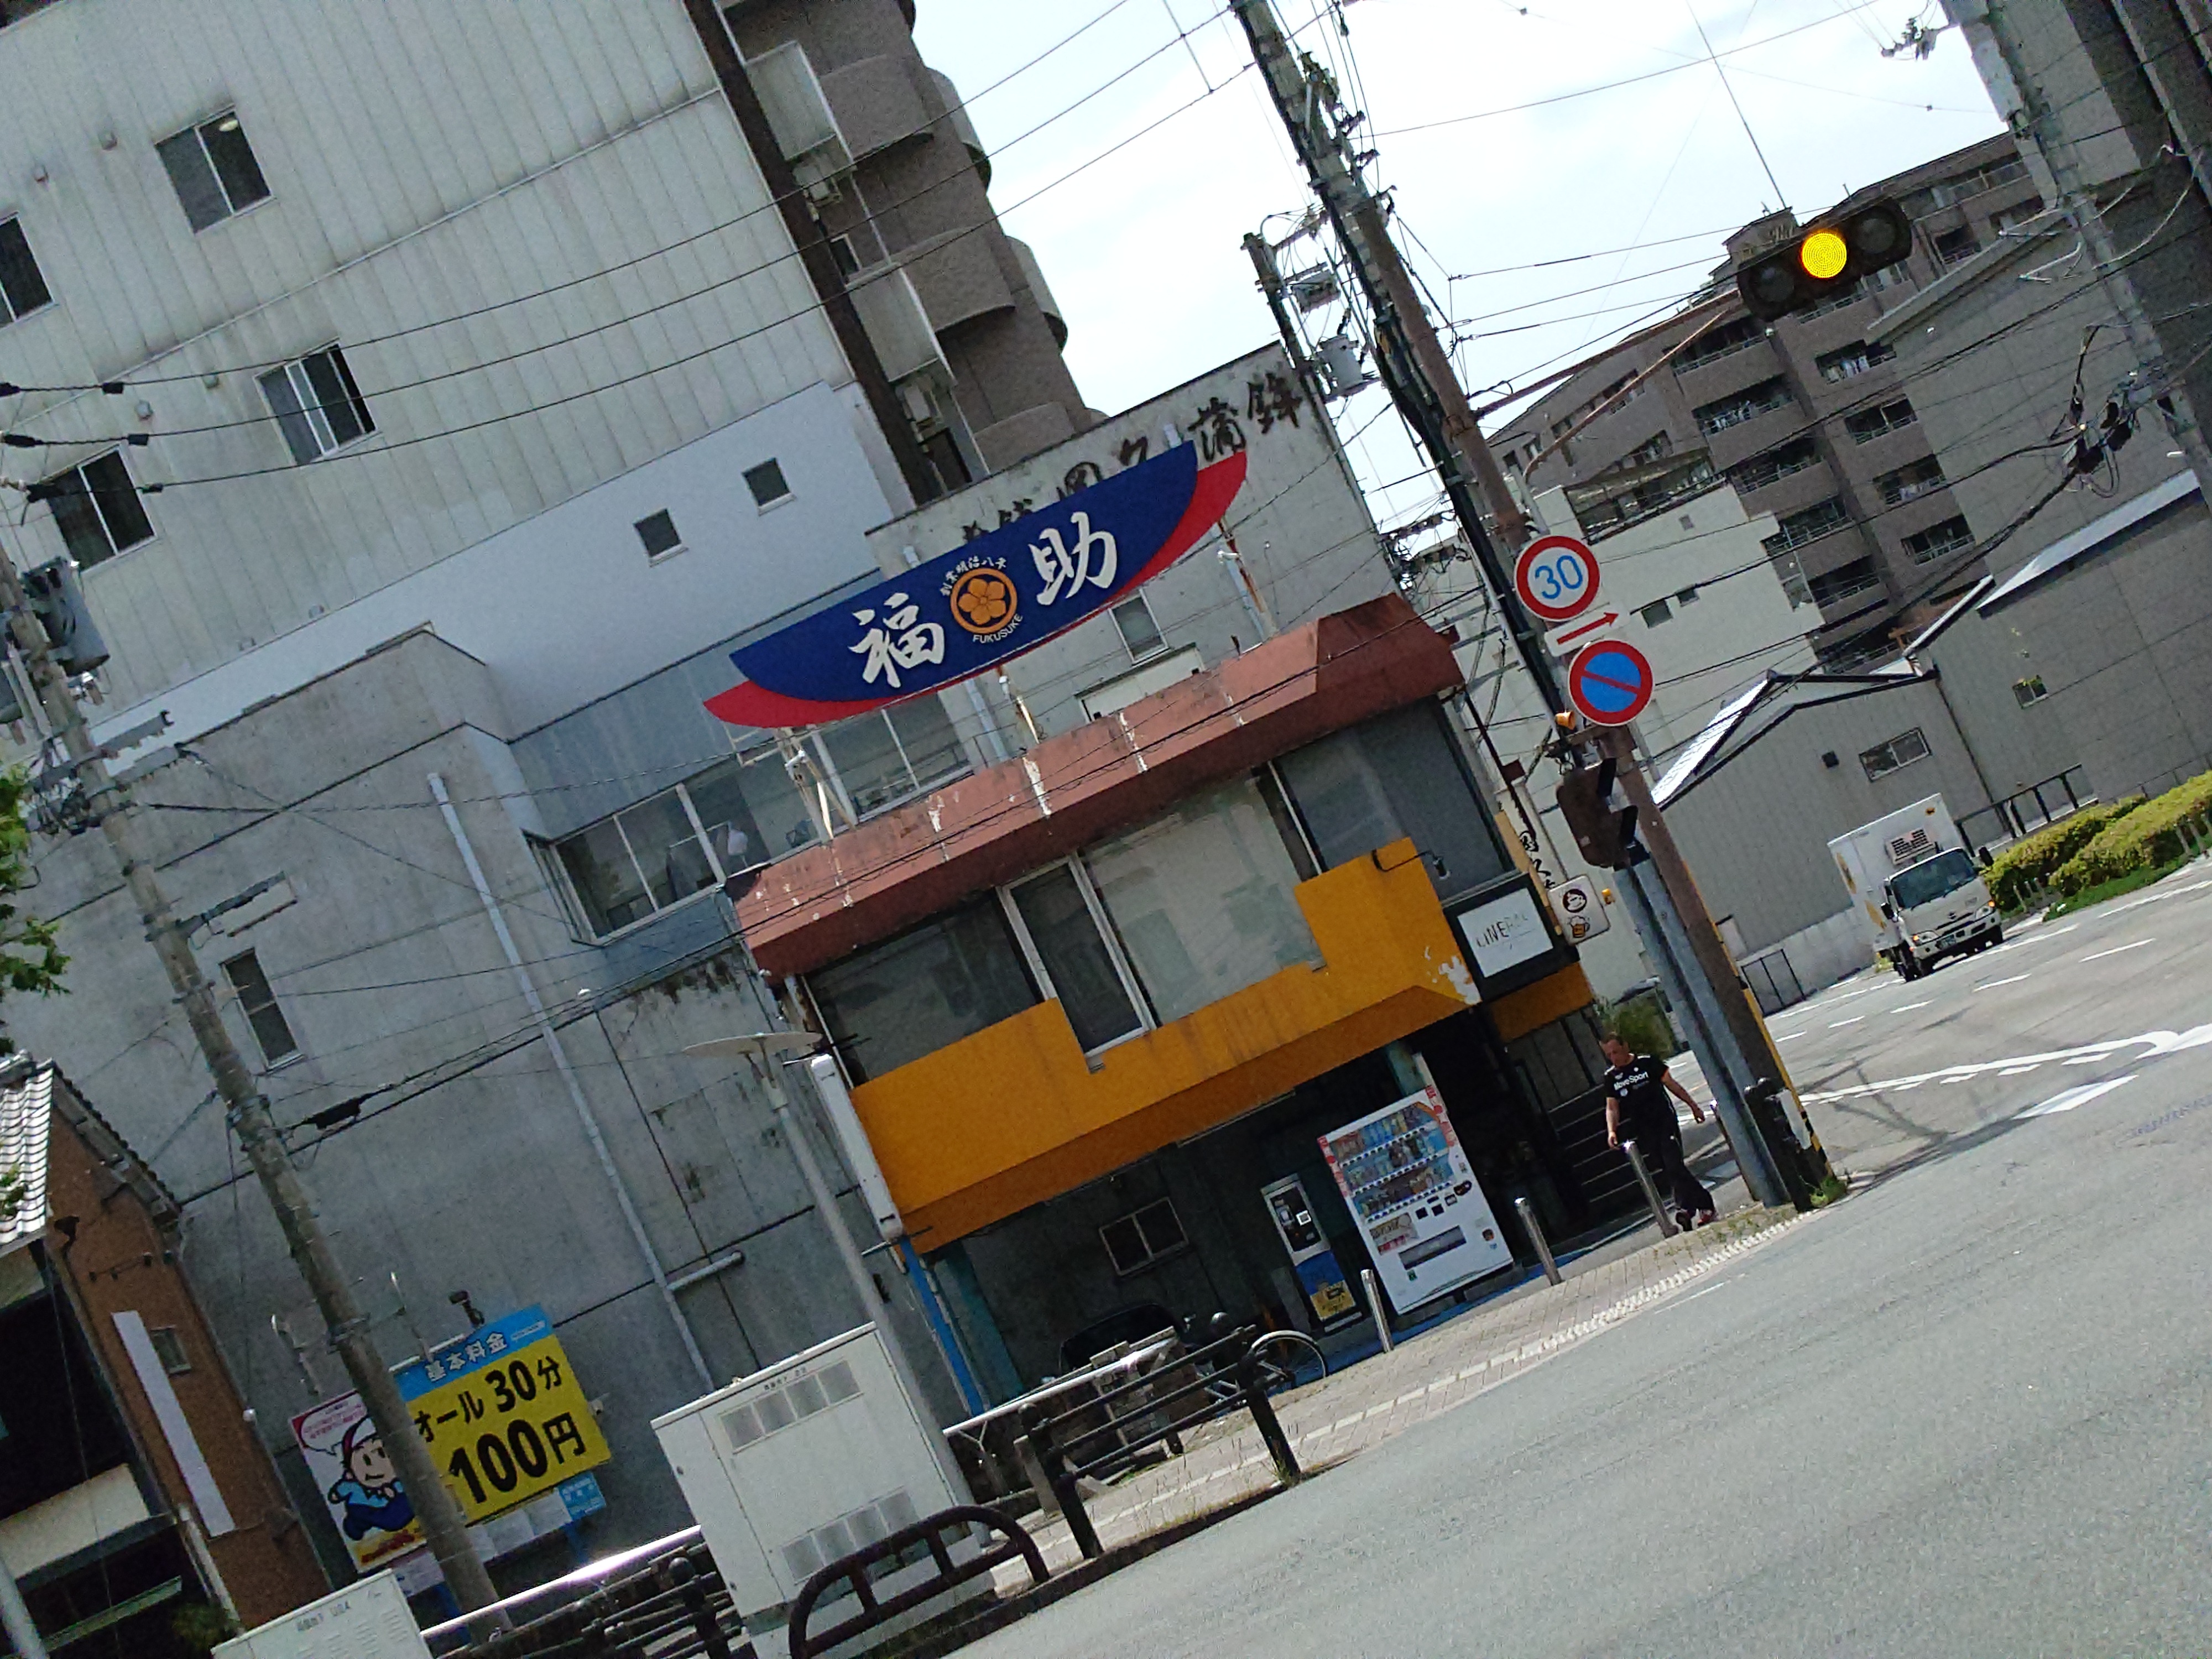
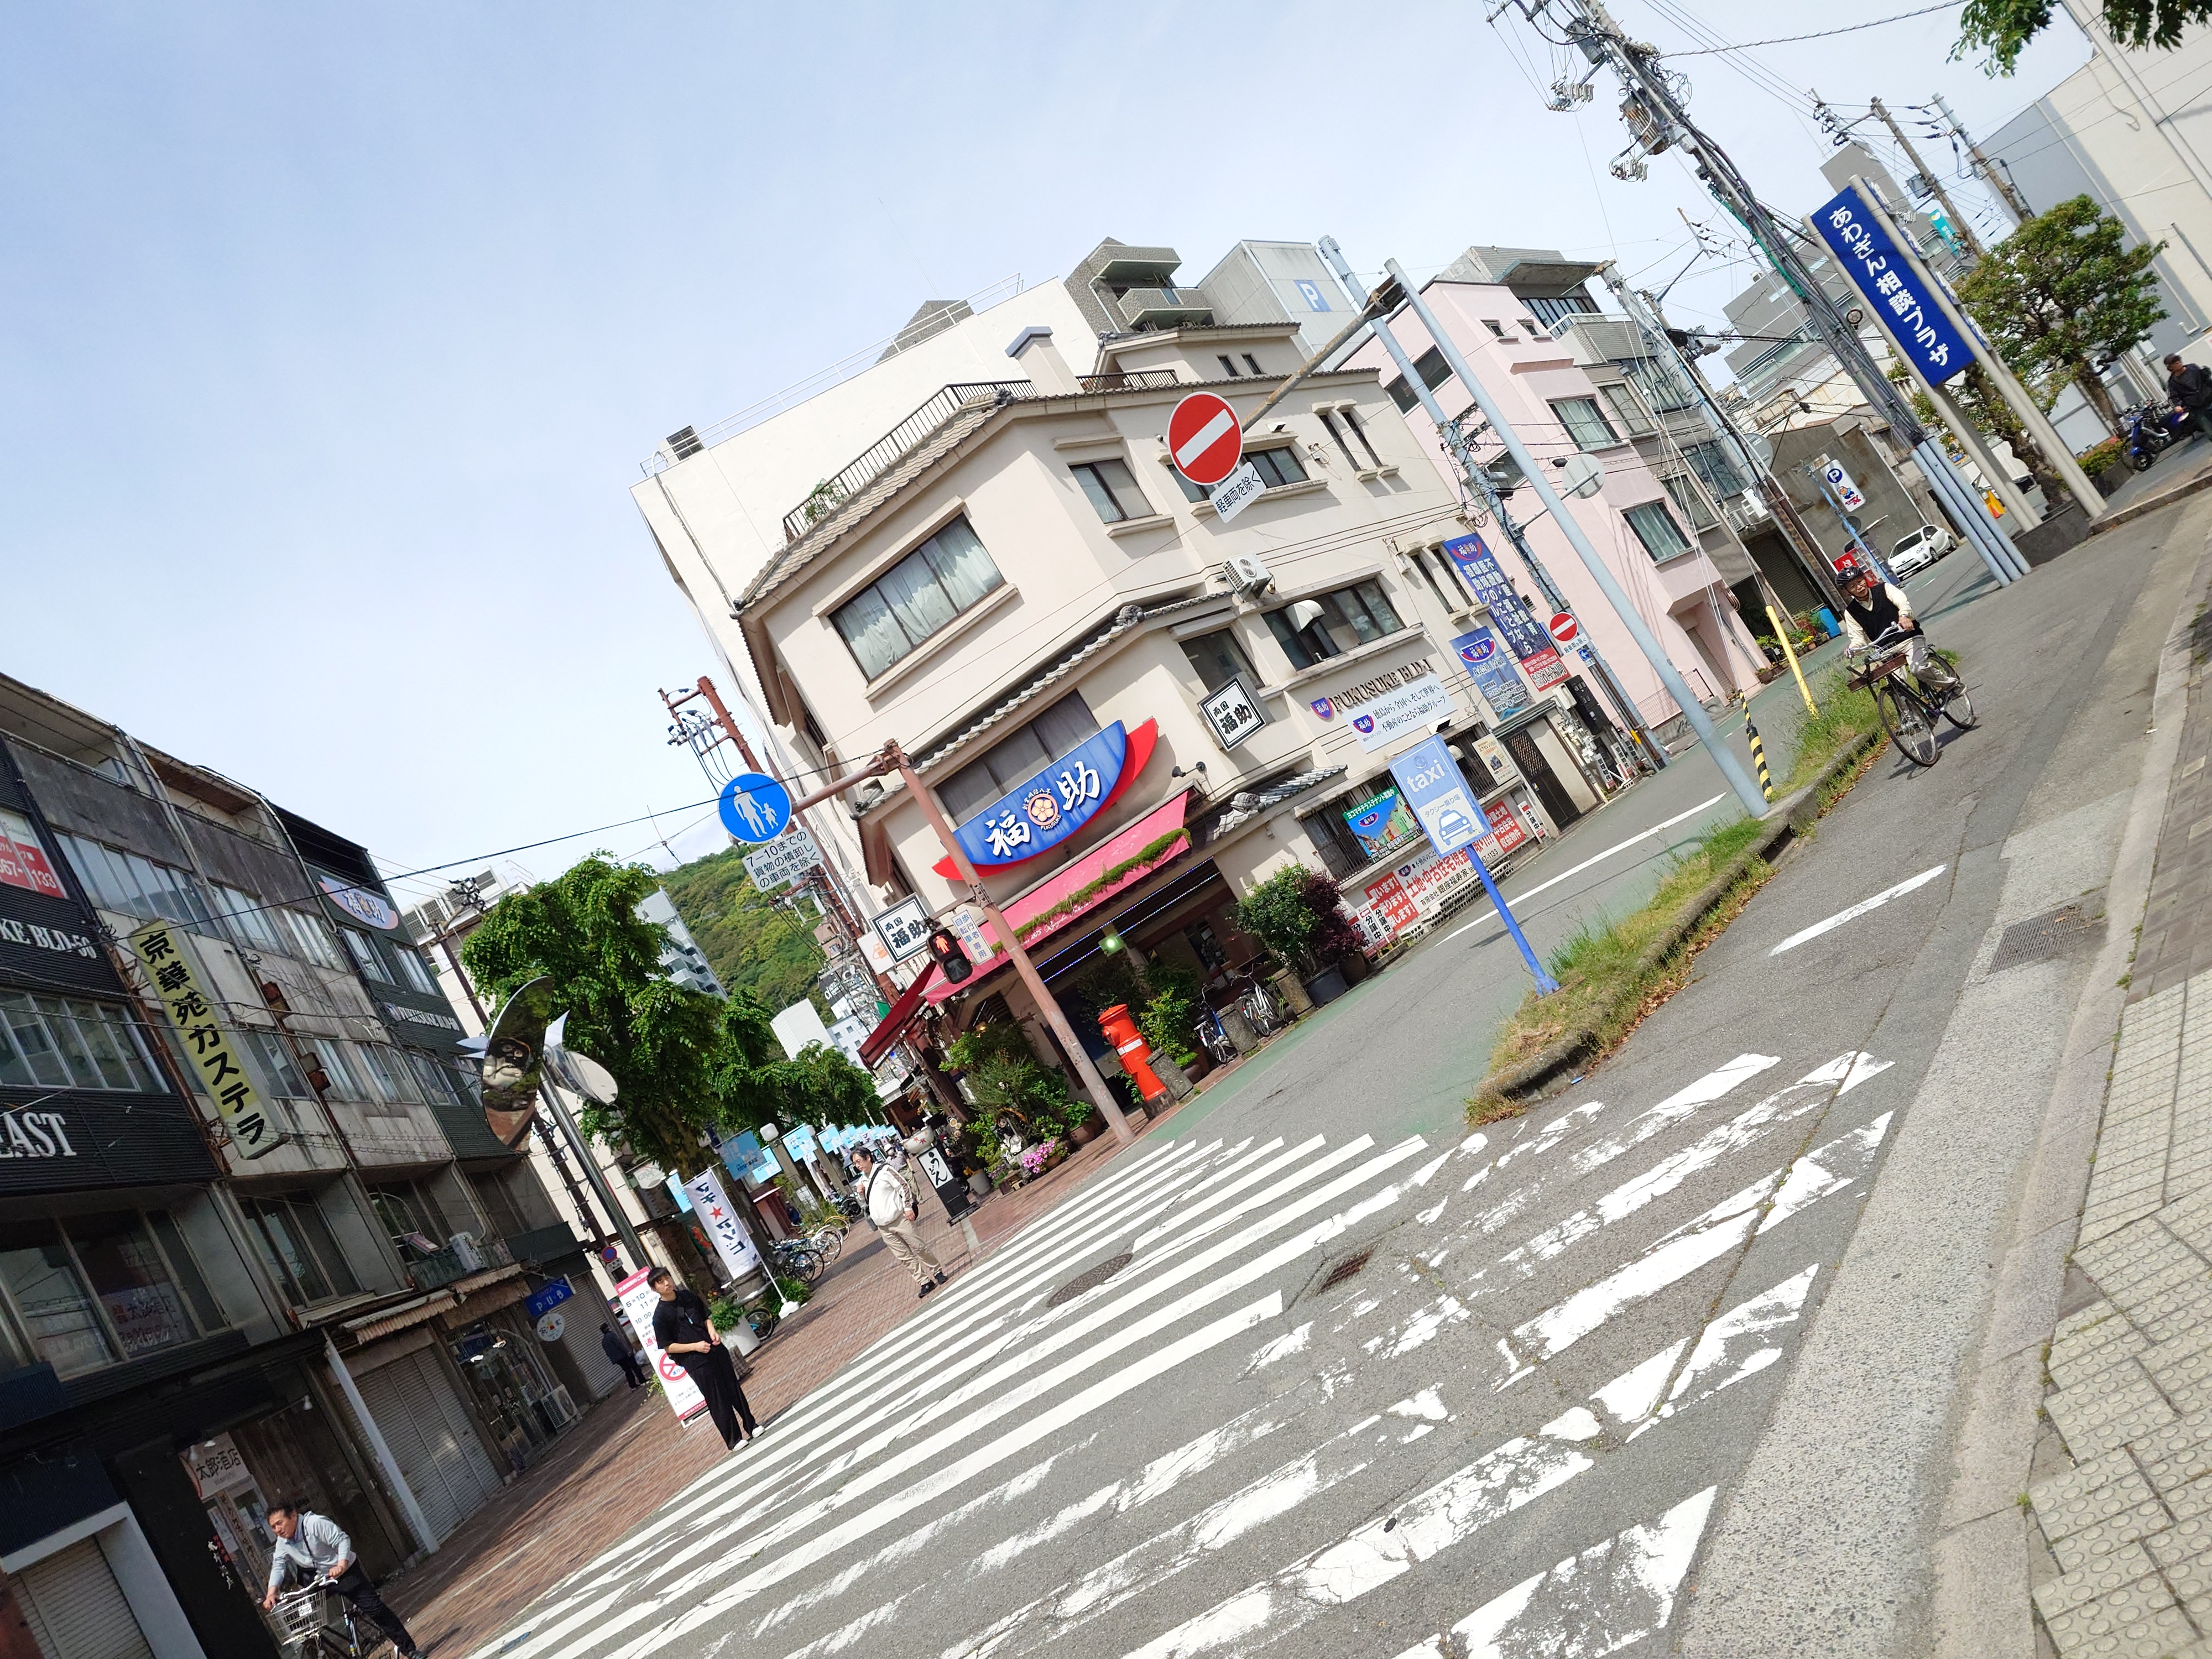
徳島市内を歩いていると福助と書かれた立派な看板がついた建物をよく見かける。不動産事業者のようだが、自社保有ビルにここまで目立つものを掲げている会社は珍しいと思った。

道を歩いていると最近見なくなったお祝いの花看板的なのが置いてあった。こういうのが見れるのはよい。
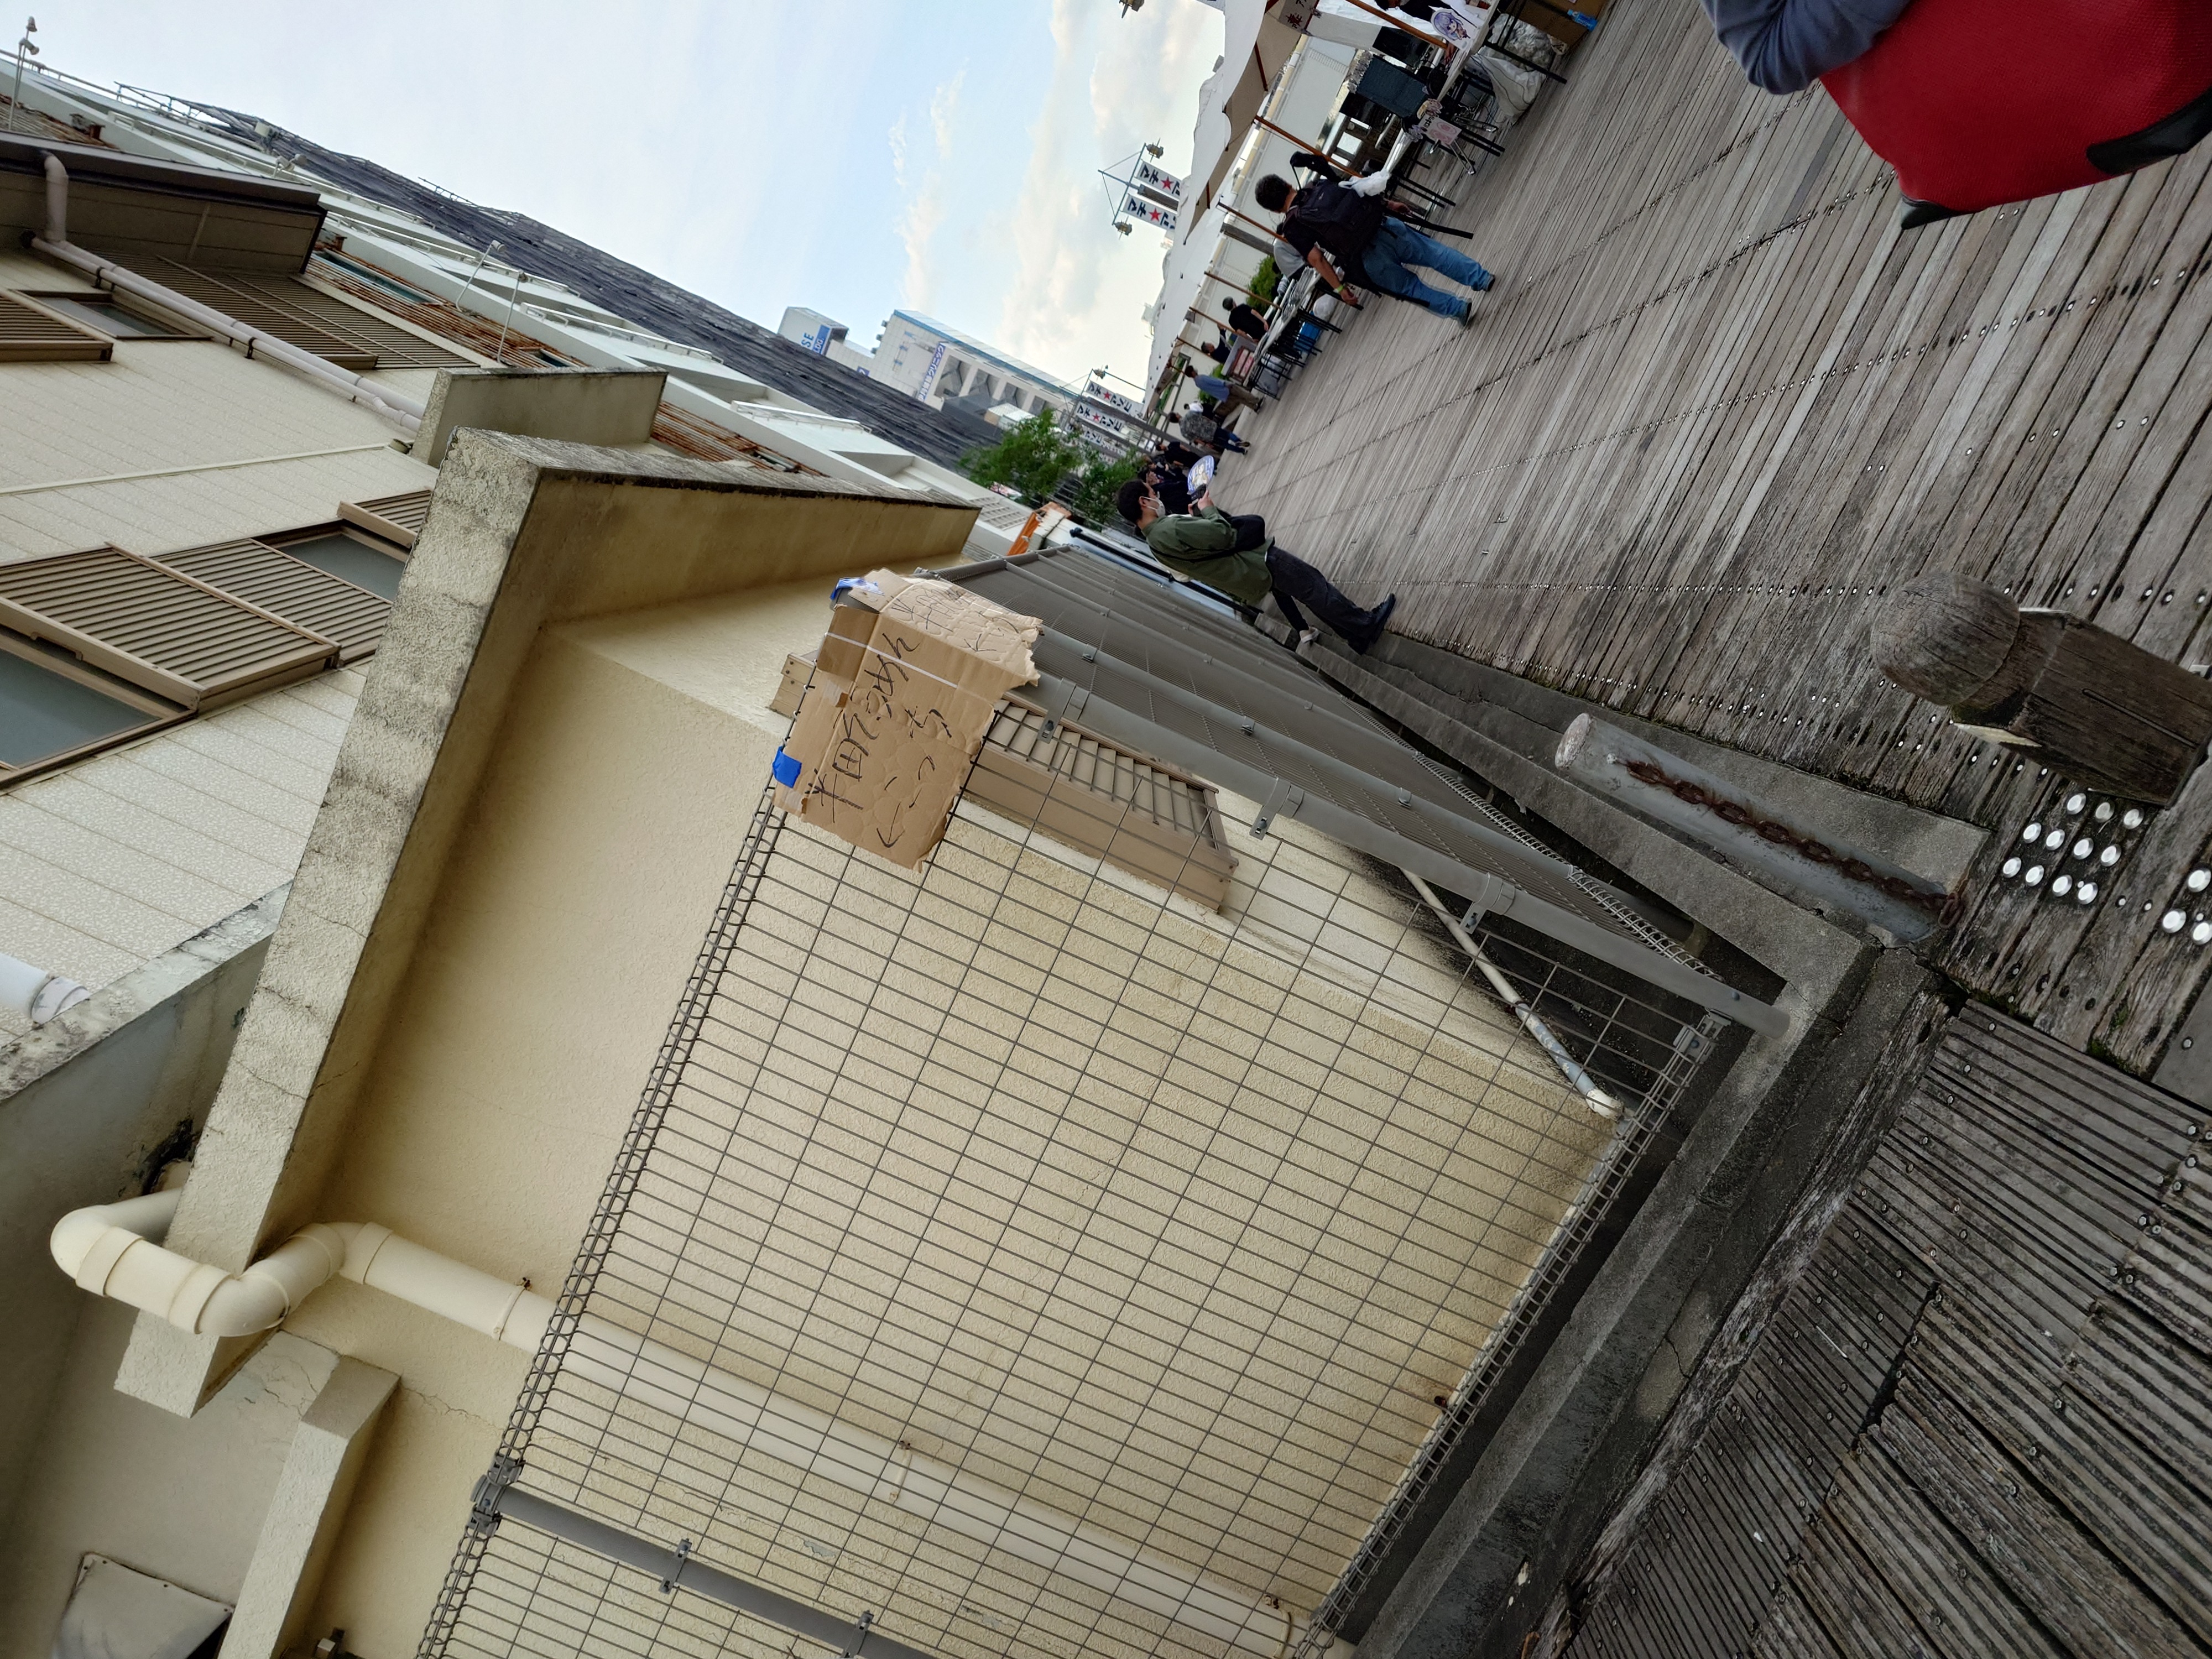
商店街に入っていくといかにもな看板を見かけたので接近。公式のマップには載っていない存在だが、こういうのを見つけていくのがきっとマチをアソビ尽くすということなのだろう。
マチアソビの核心との出会い
今回マチアソビに来た中で、個人的にここが核心だろうという場所に巡り会えたので、ここを核心とする。
商店街をぶらぶらしていると前日入りした時に見かけた半田そうめんや、ダイワロイネットホテル、そして白滝製麺のパラソルにも描かれていた「おへんろ。」の片鱗を見た。
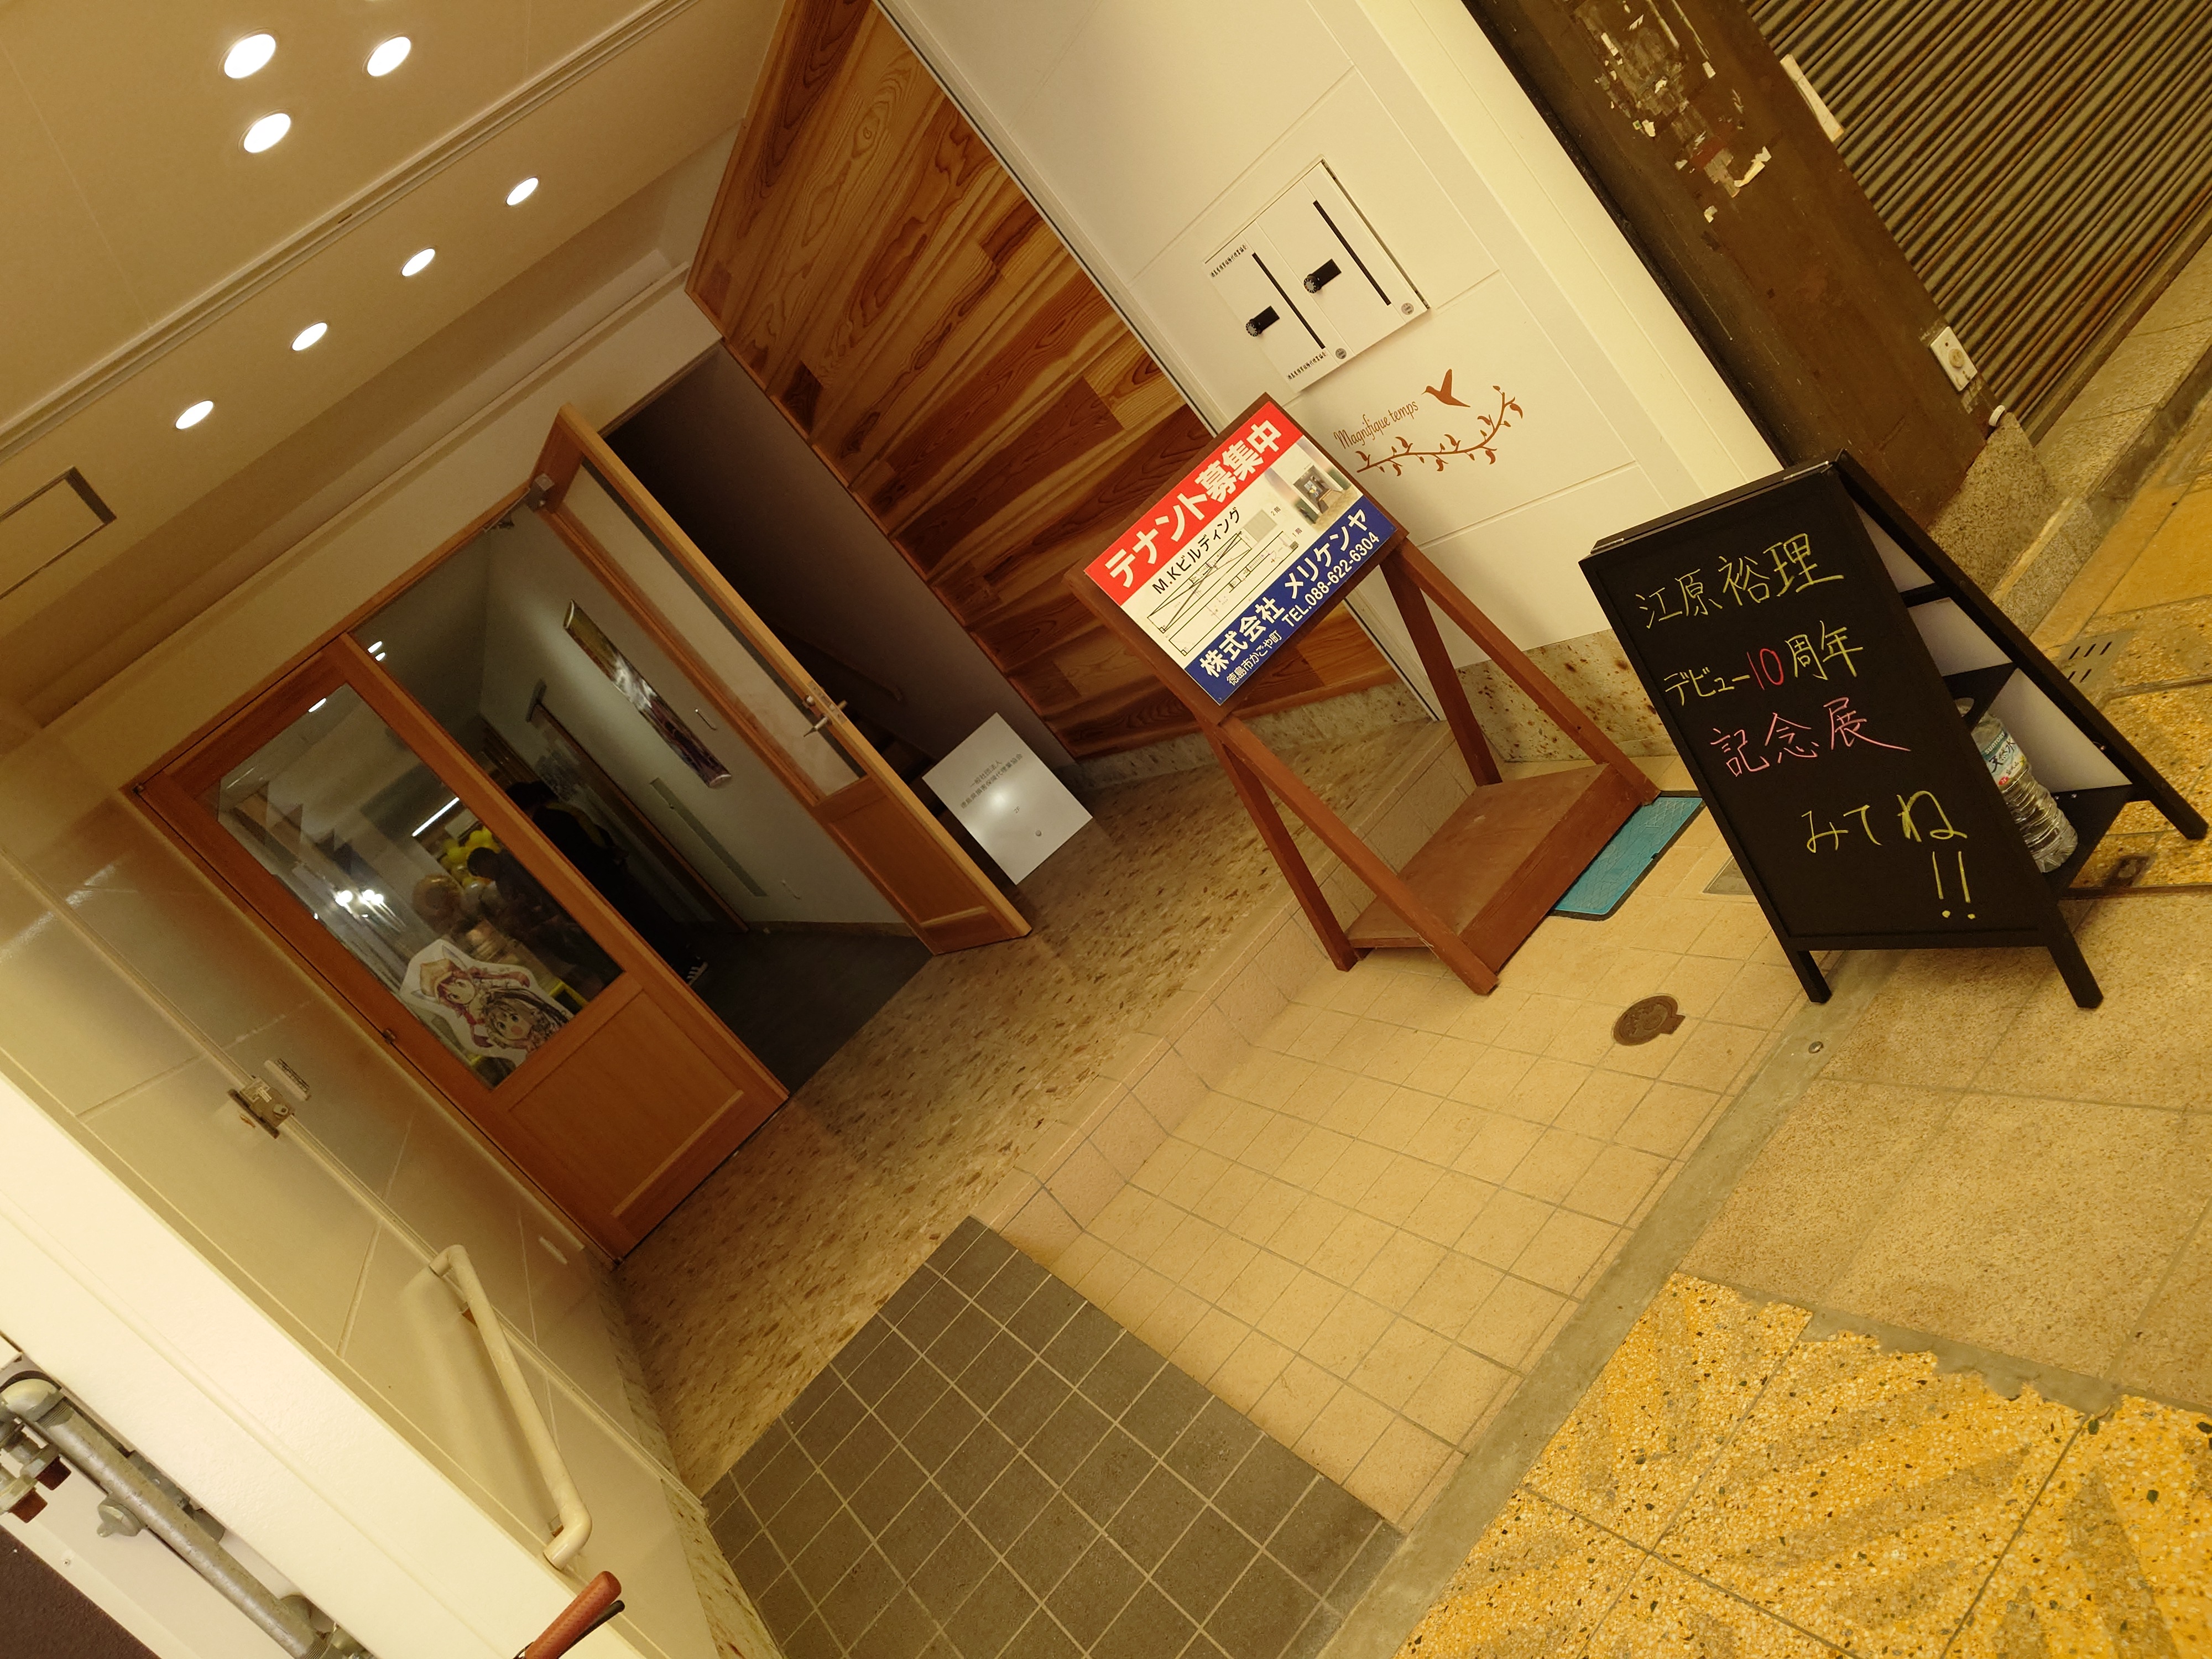
最初はよくわからず、こんなところあったっけな…と困惑しつつも中を覗こうとしていると中から誘われたので、私はそのまま誘引されていった。
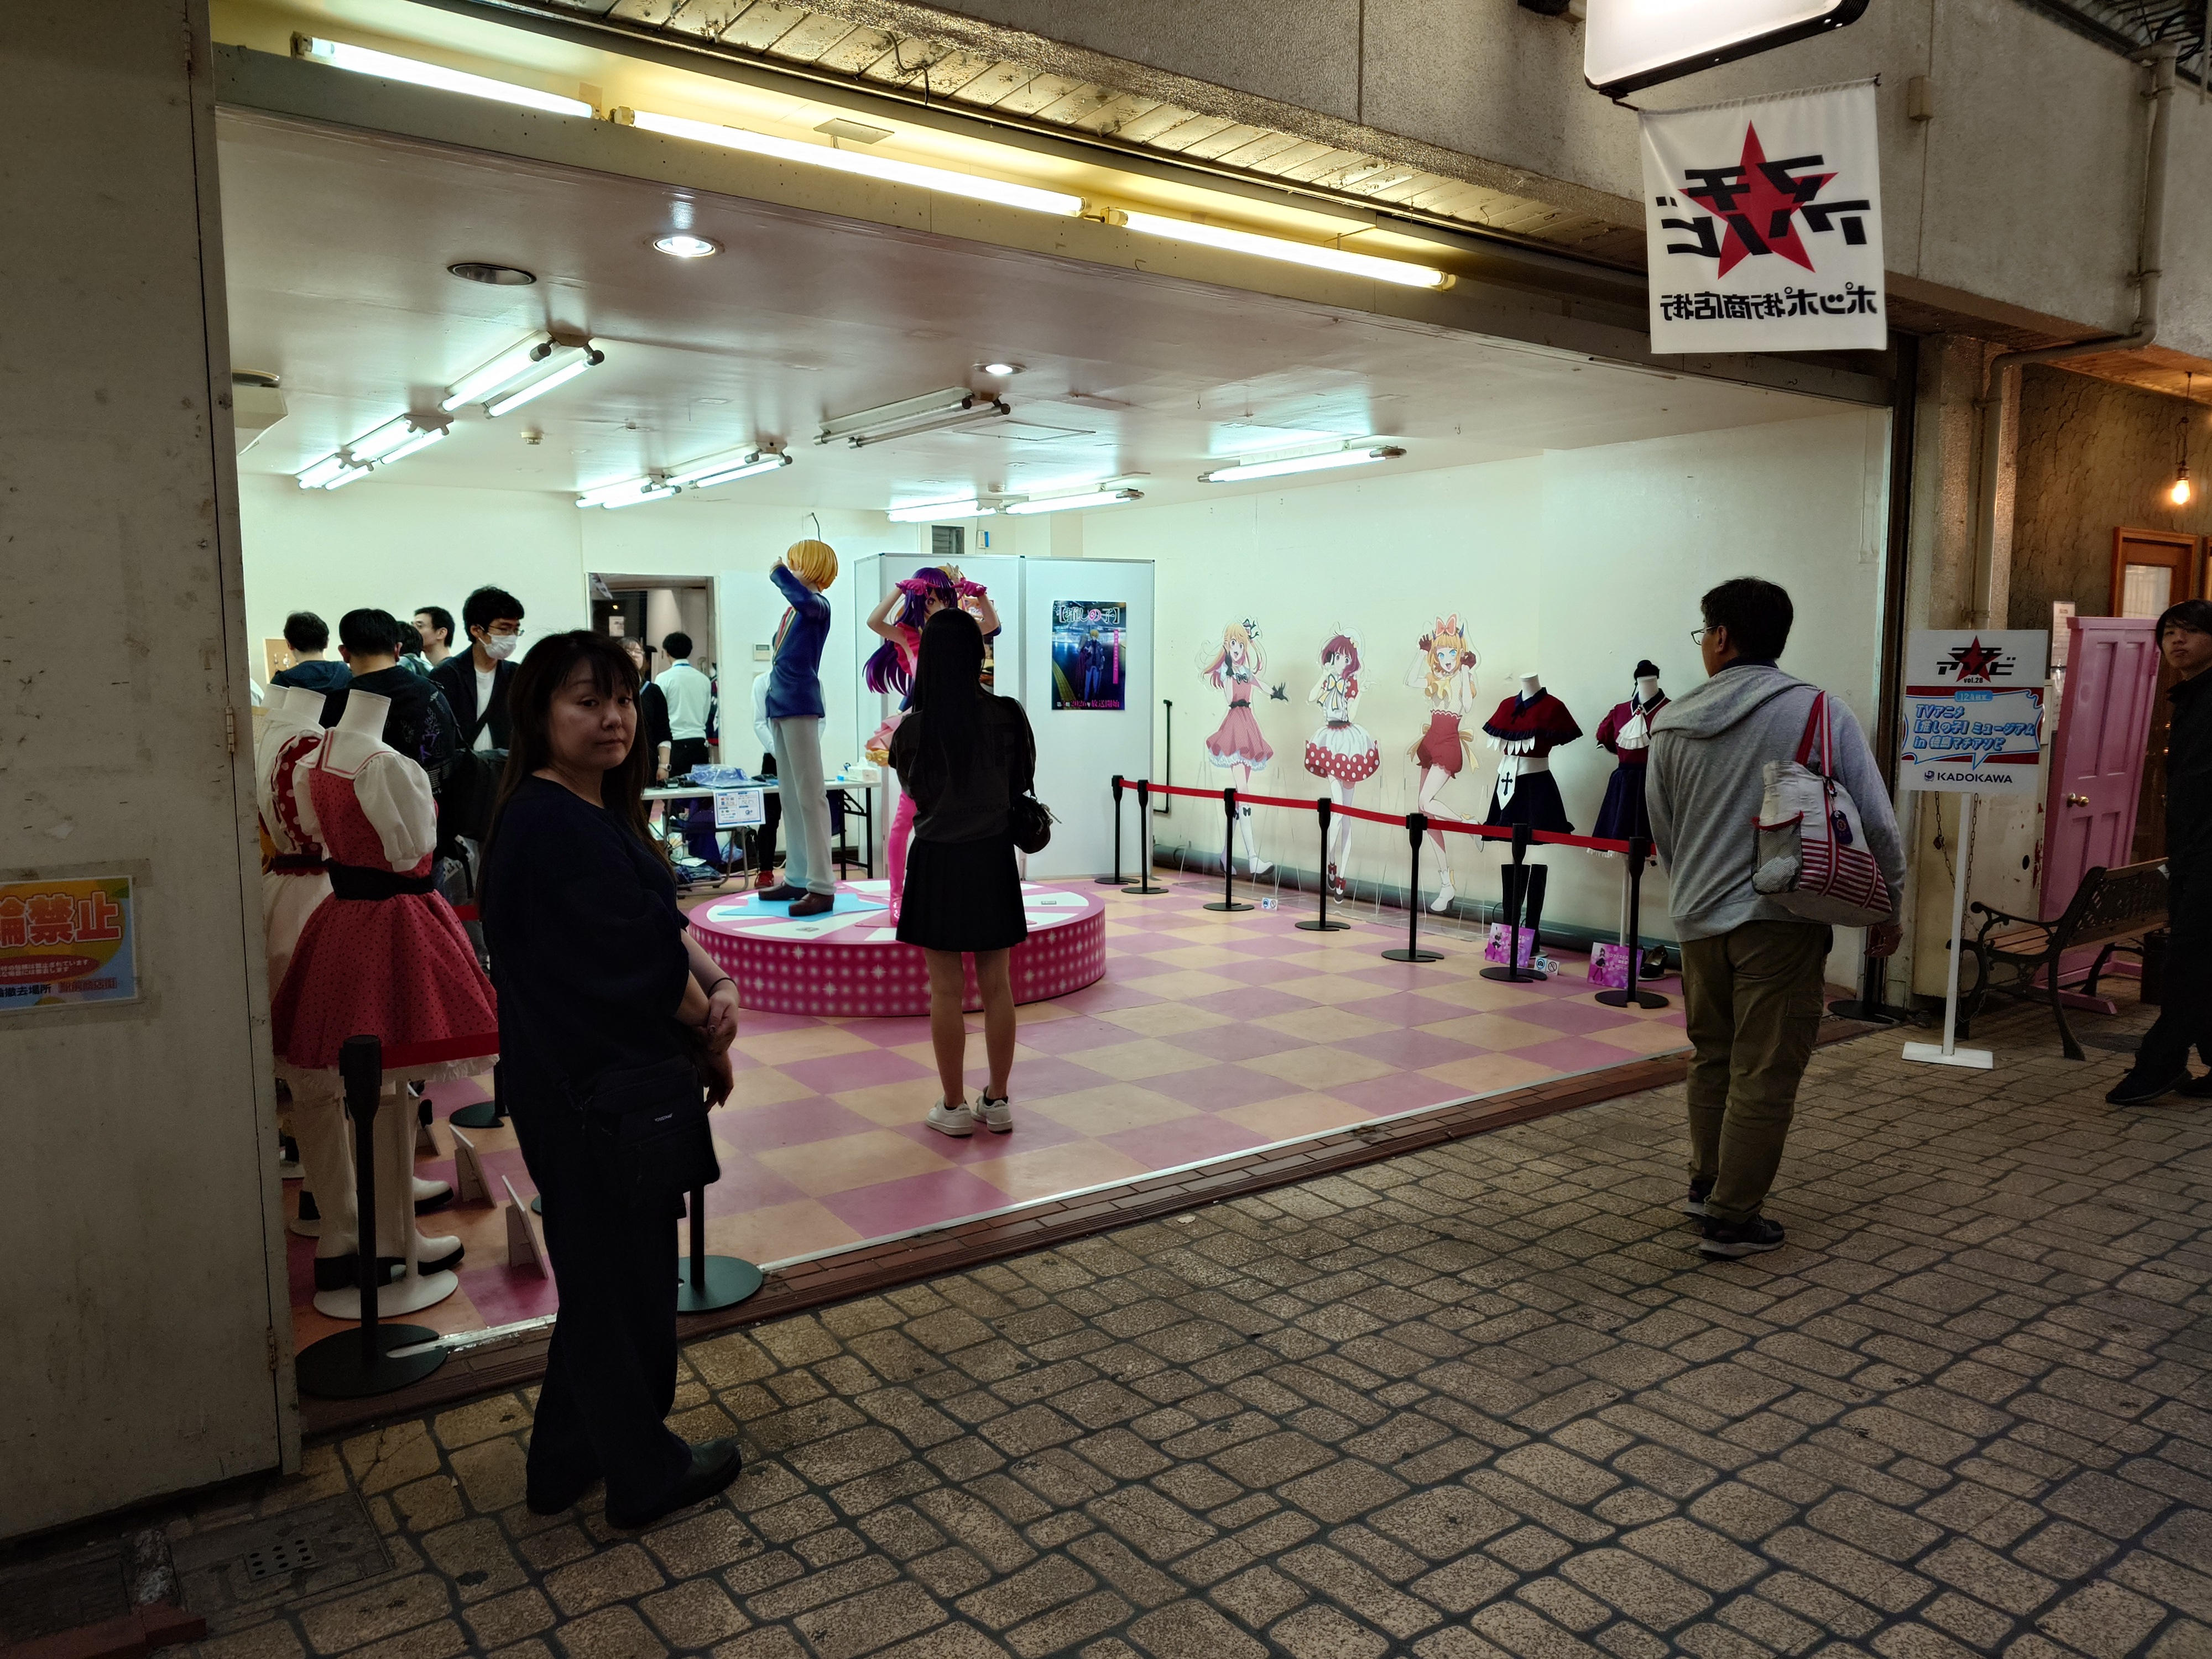
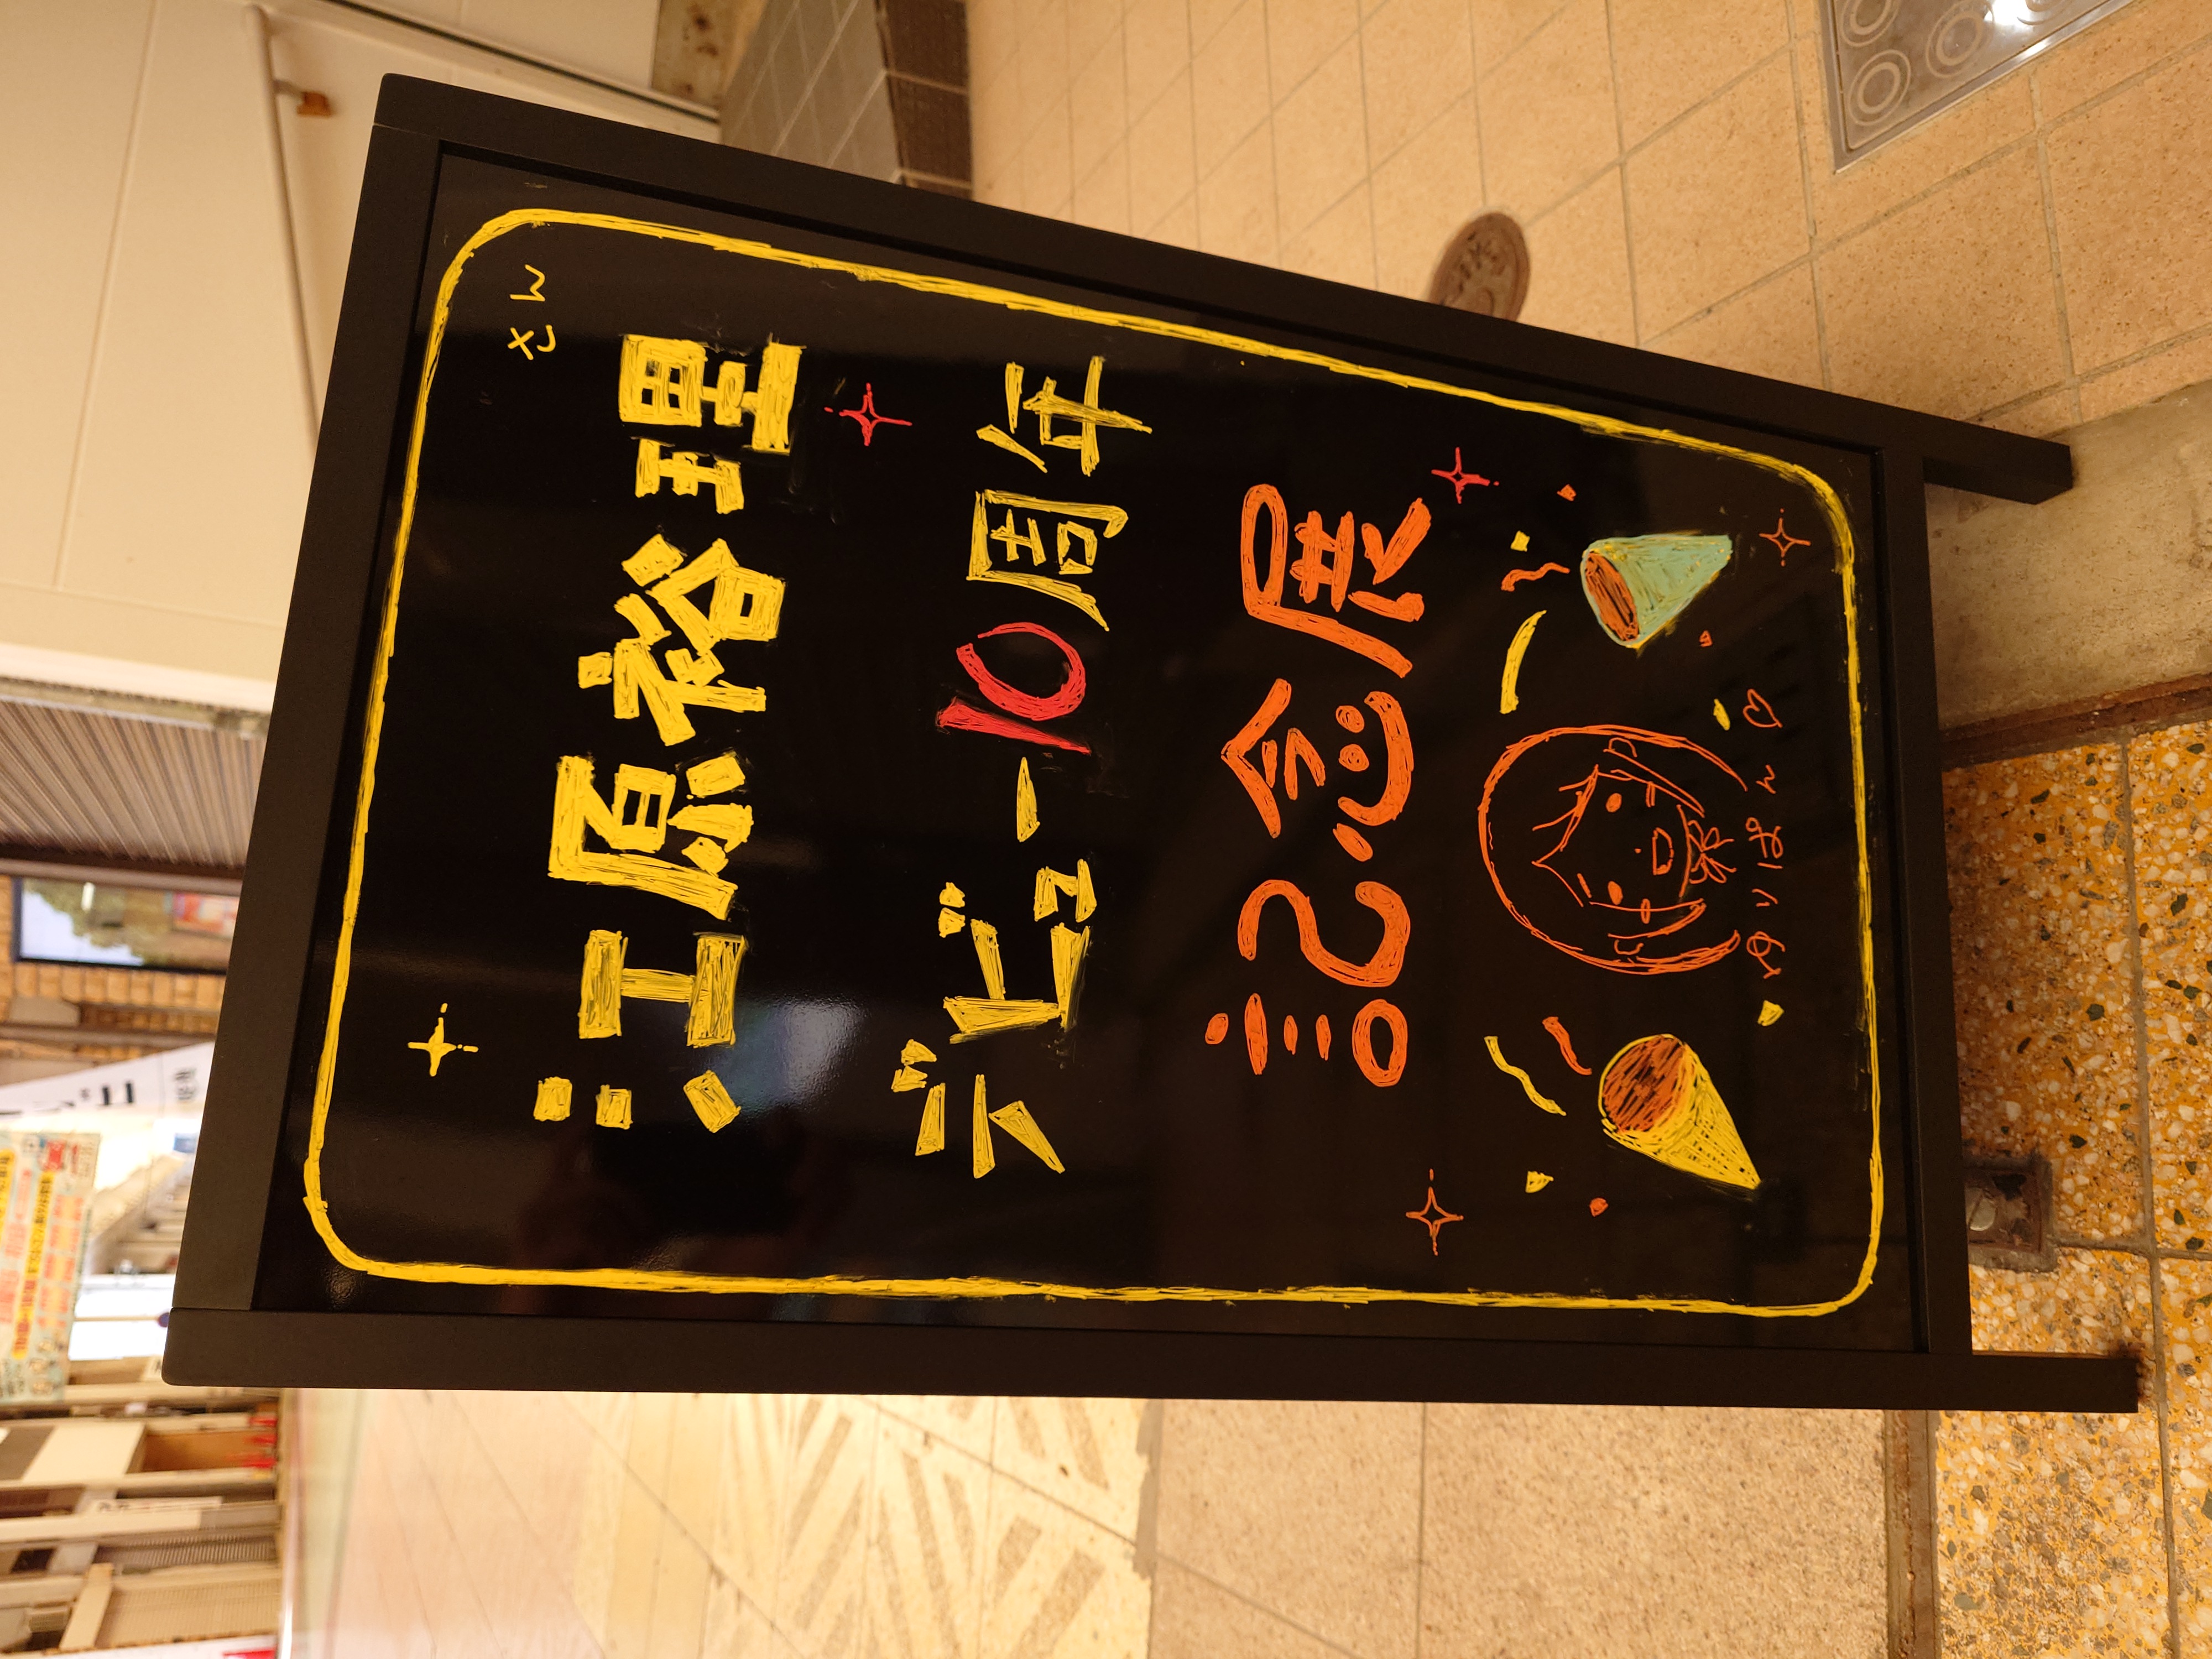
おへんろ。とゆりぱん
この会場ではマチアソビから生まれたufotable所属の声優、ゆりぱんこと、江原裕理さんと、ゆりぱんのデビュー作である「おへんろ。」についての展示が行われていた。
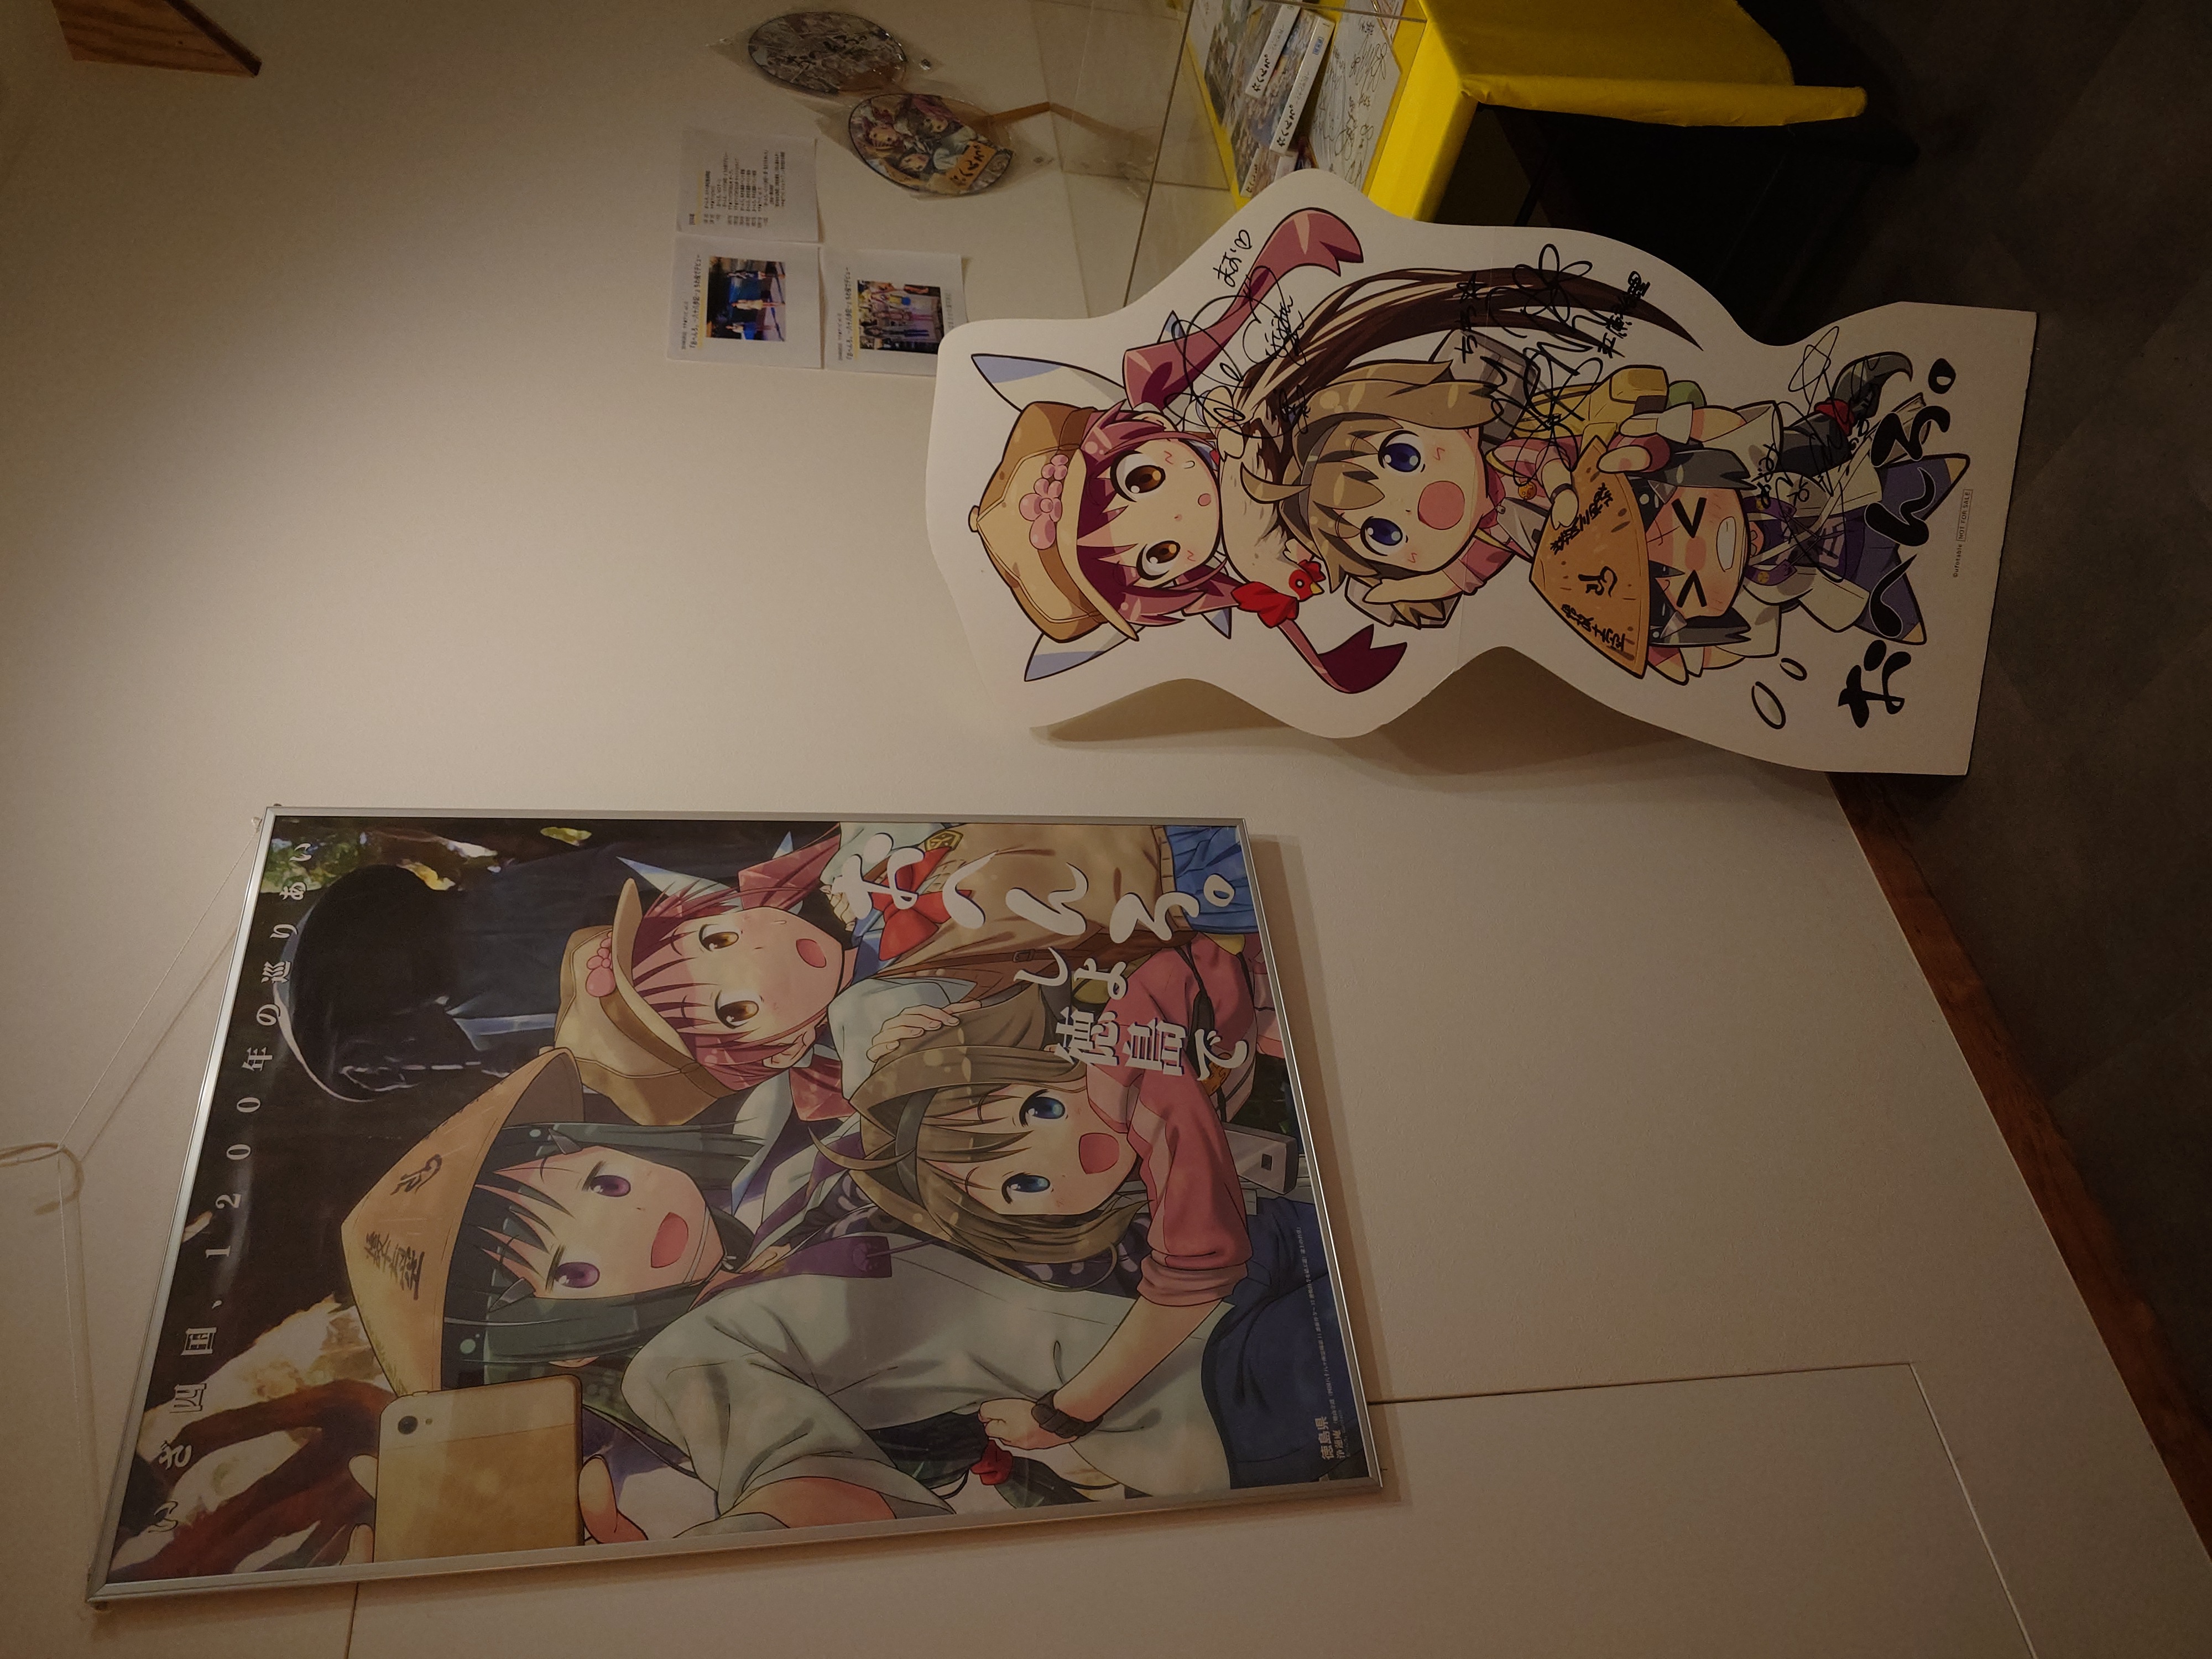
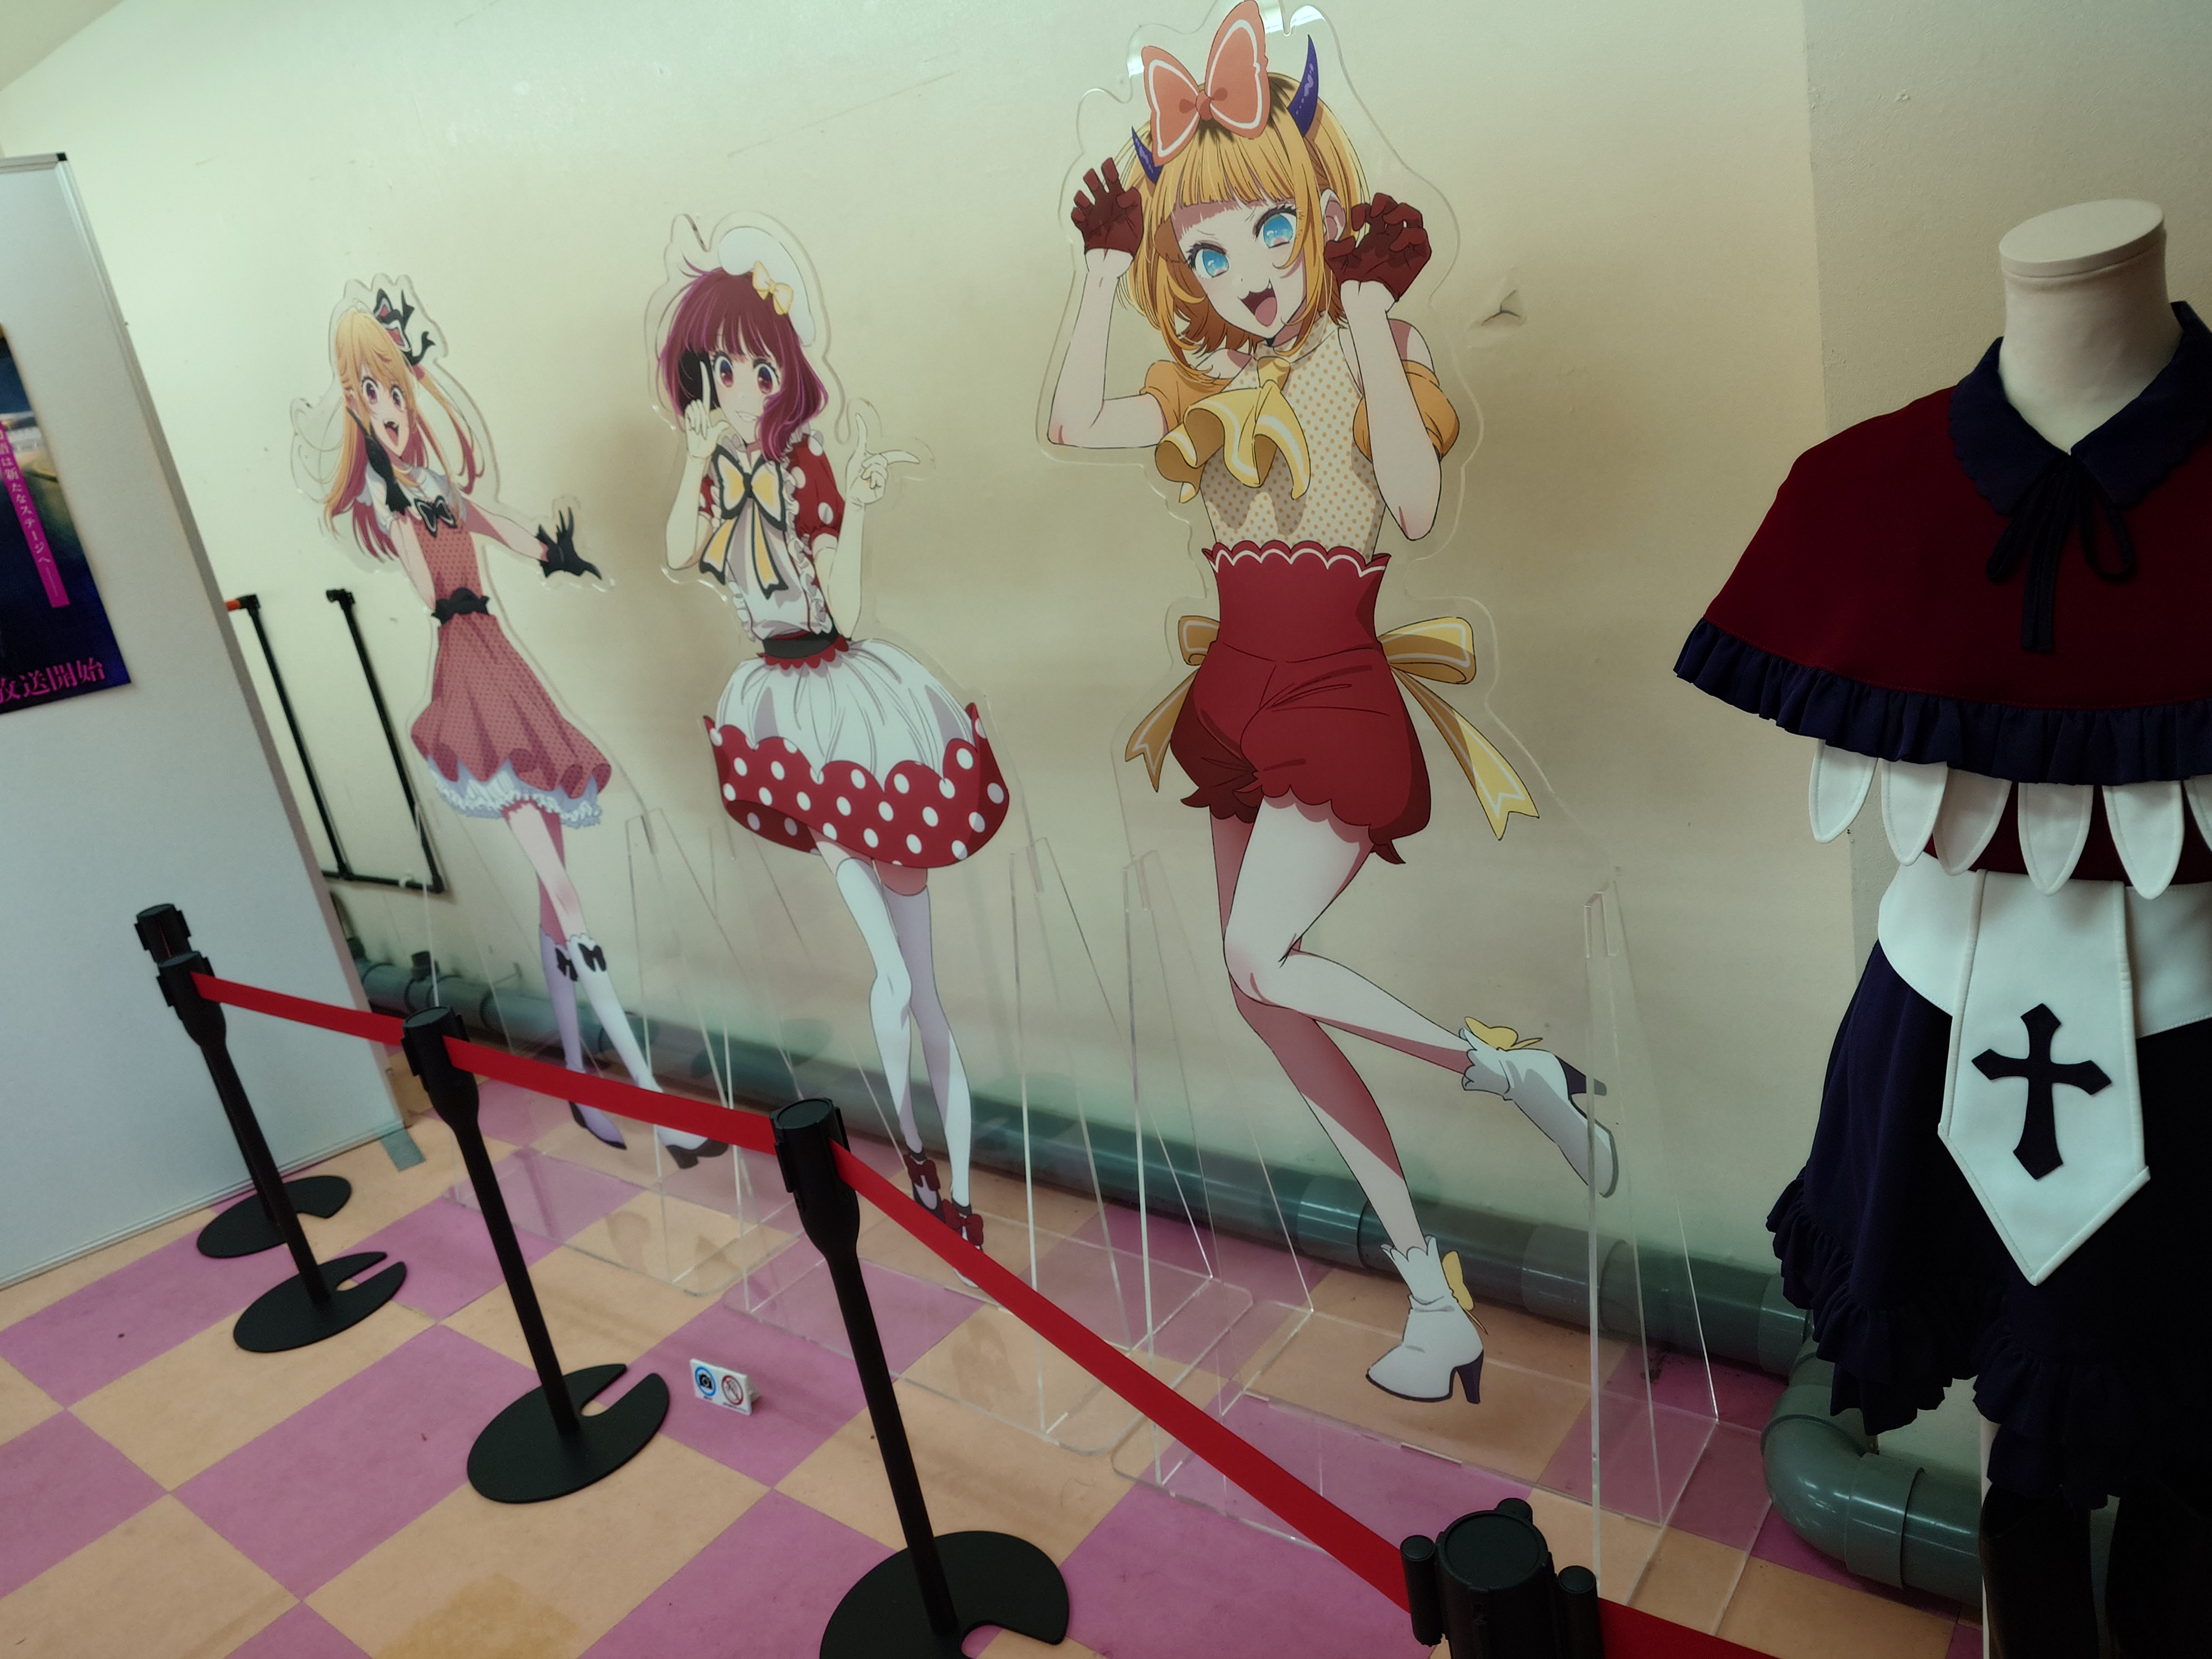
中に入ると「おへんろ。」一色の空間が広がっていた。ジャンジャン撮ってくださいと言われたのもあり、ここはかなり厚めに写真を残している。
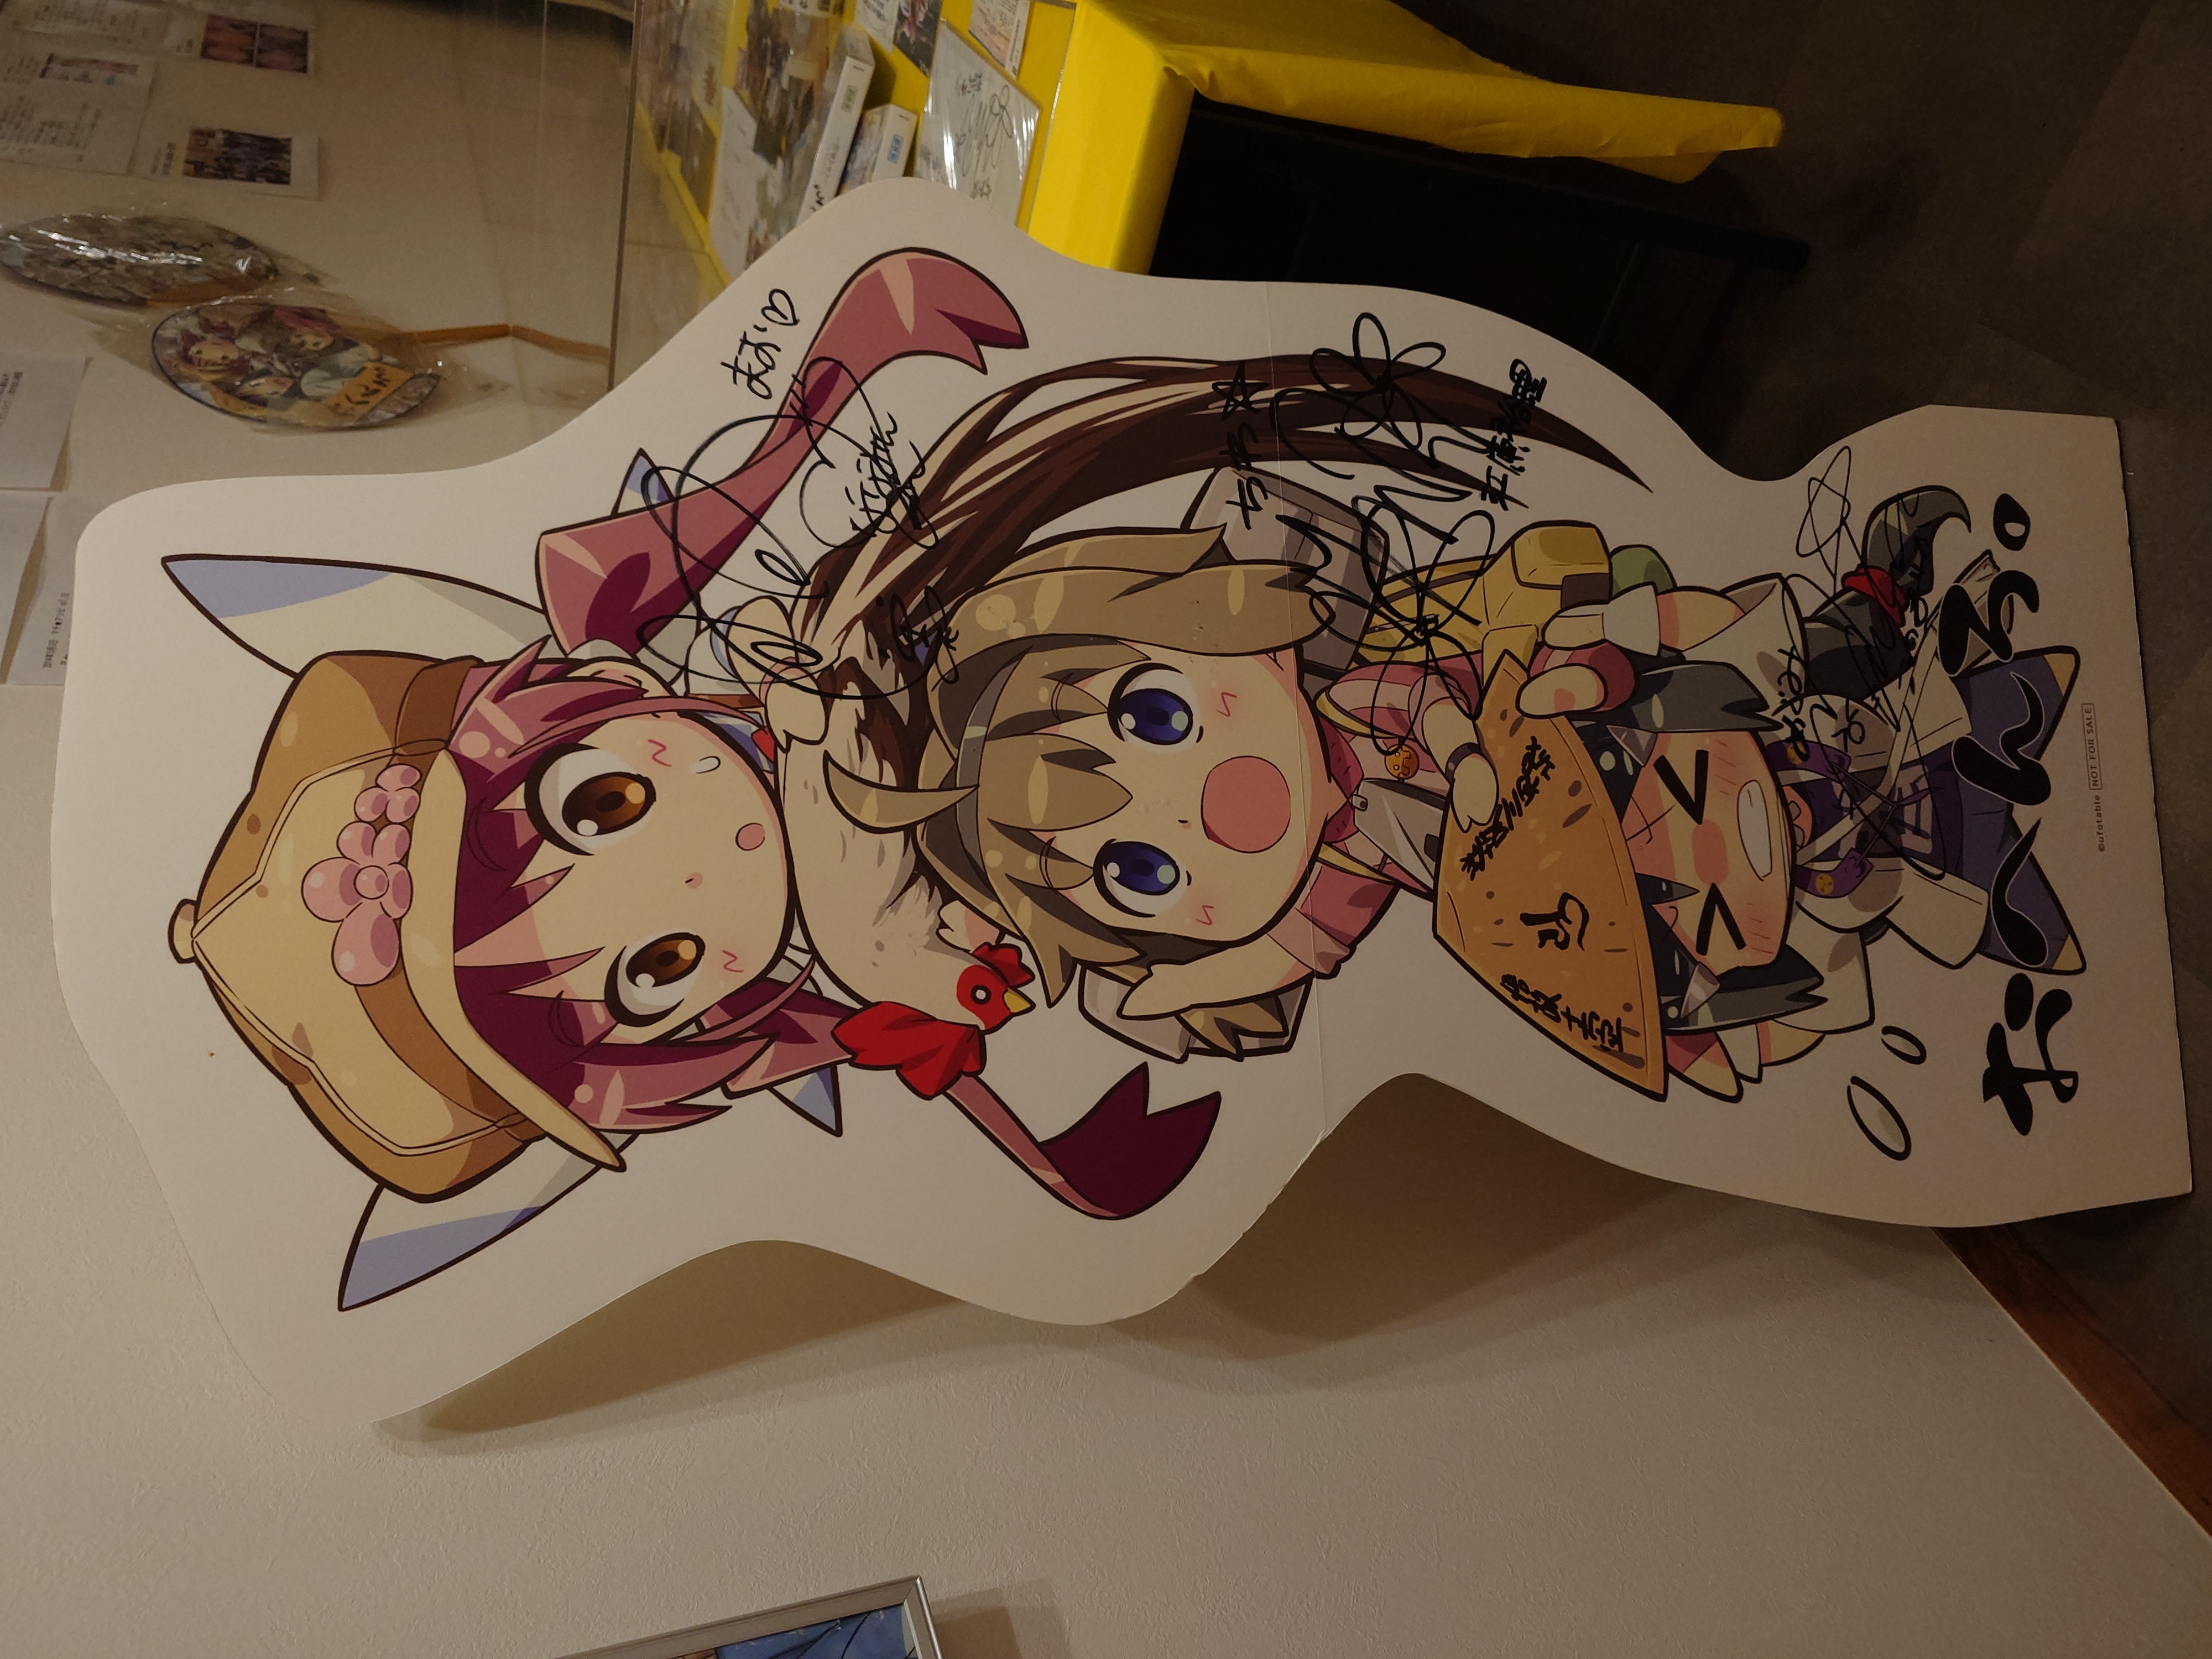
まず入り口の三段重ねになったSDキャラの表情がかわいいし、お遍路中とみられるポスターもかわいい。
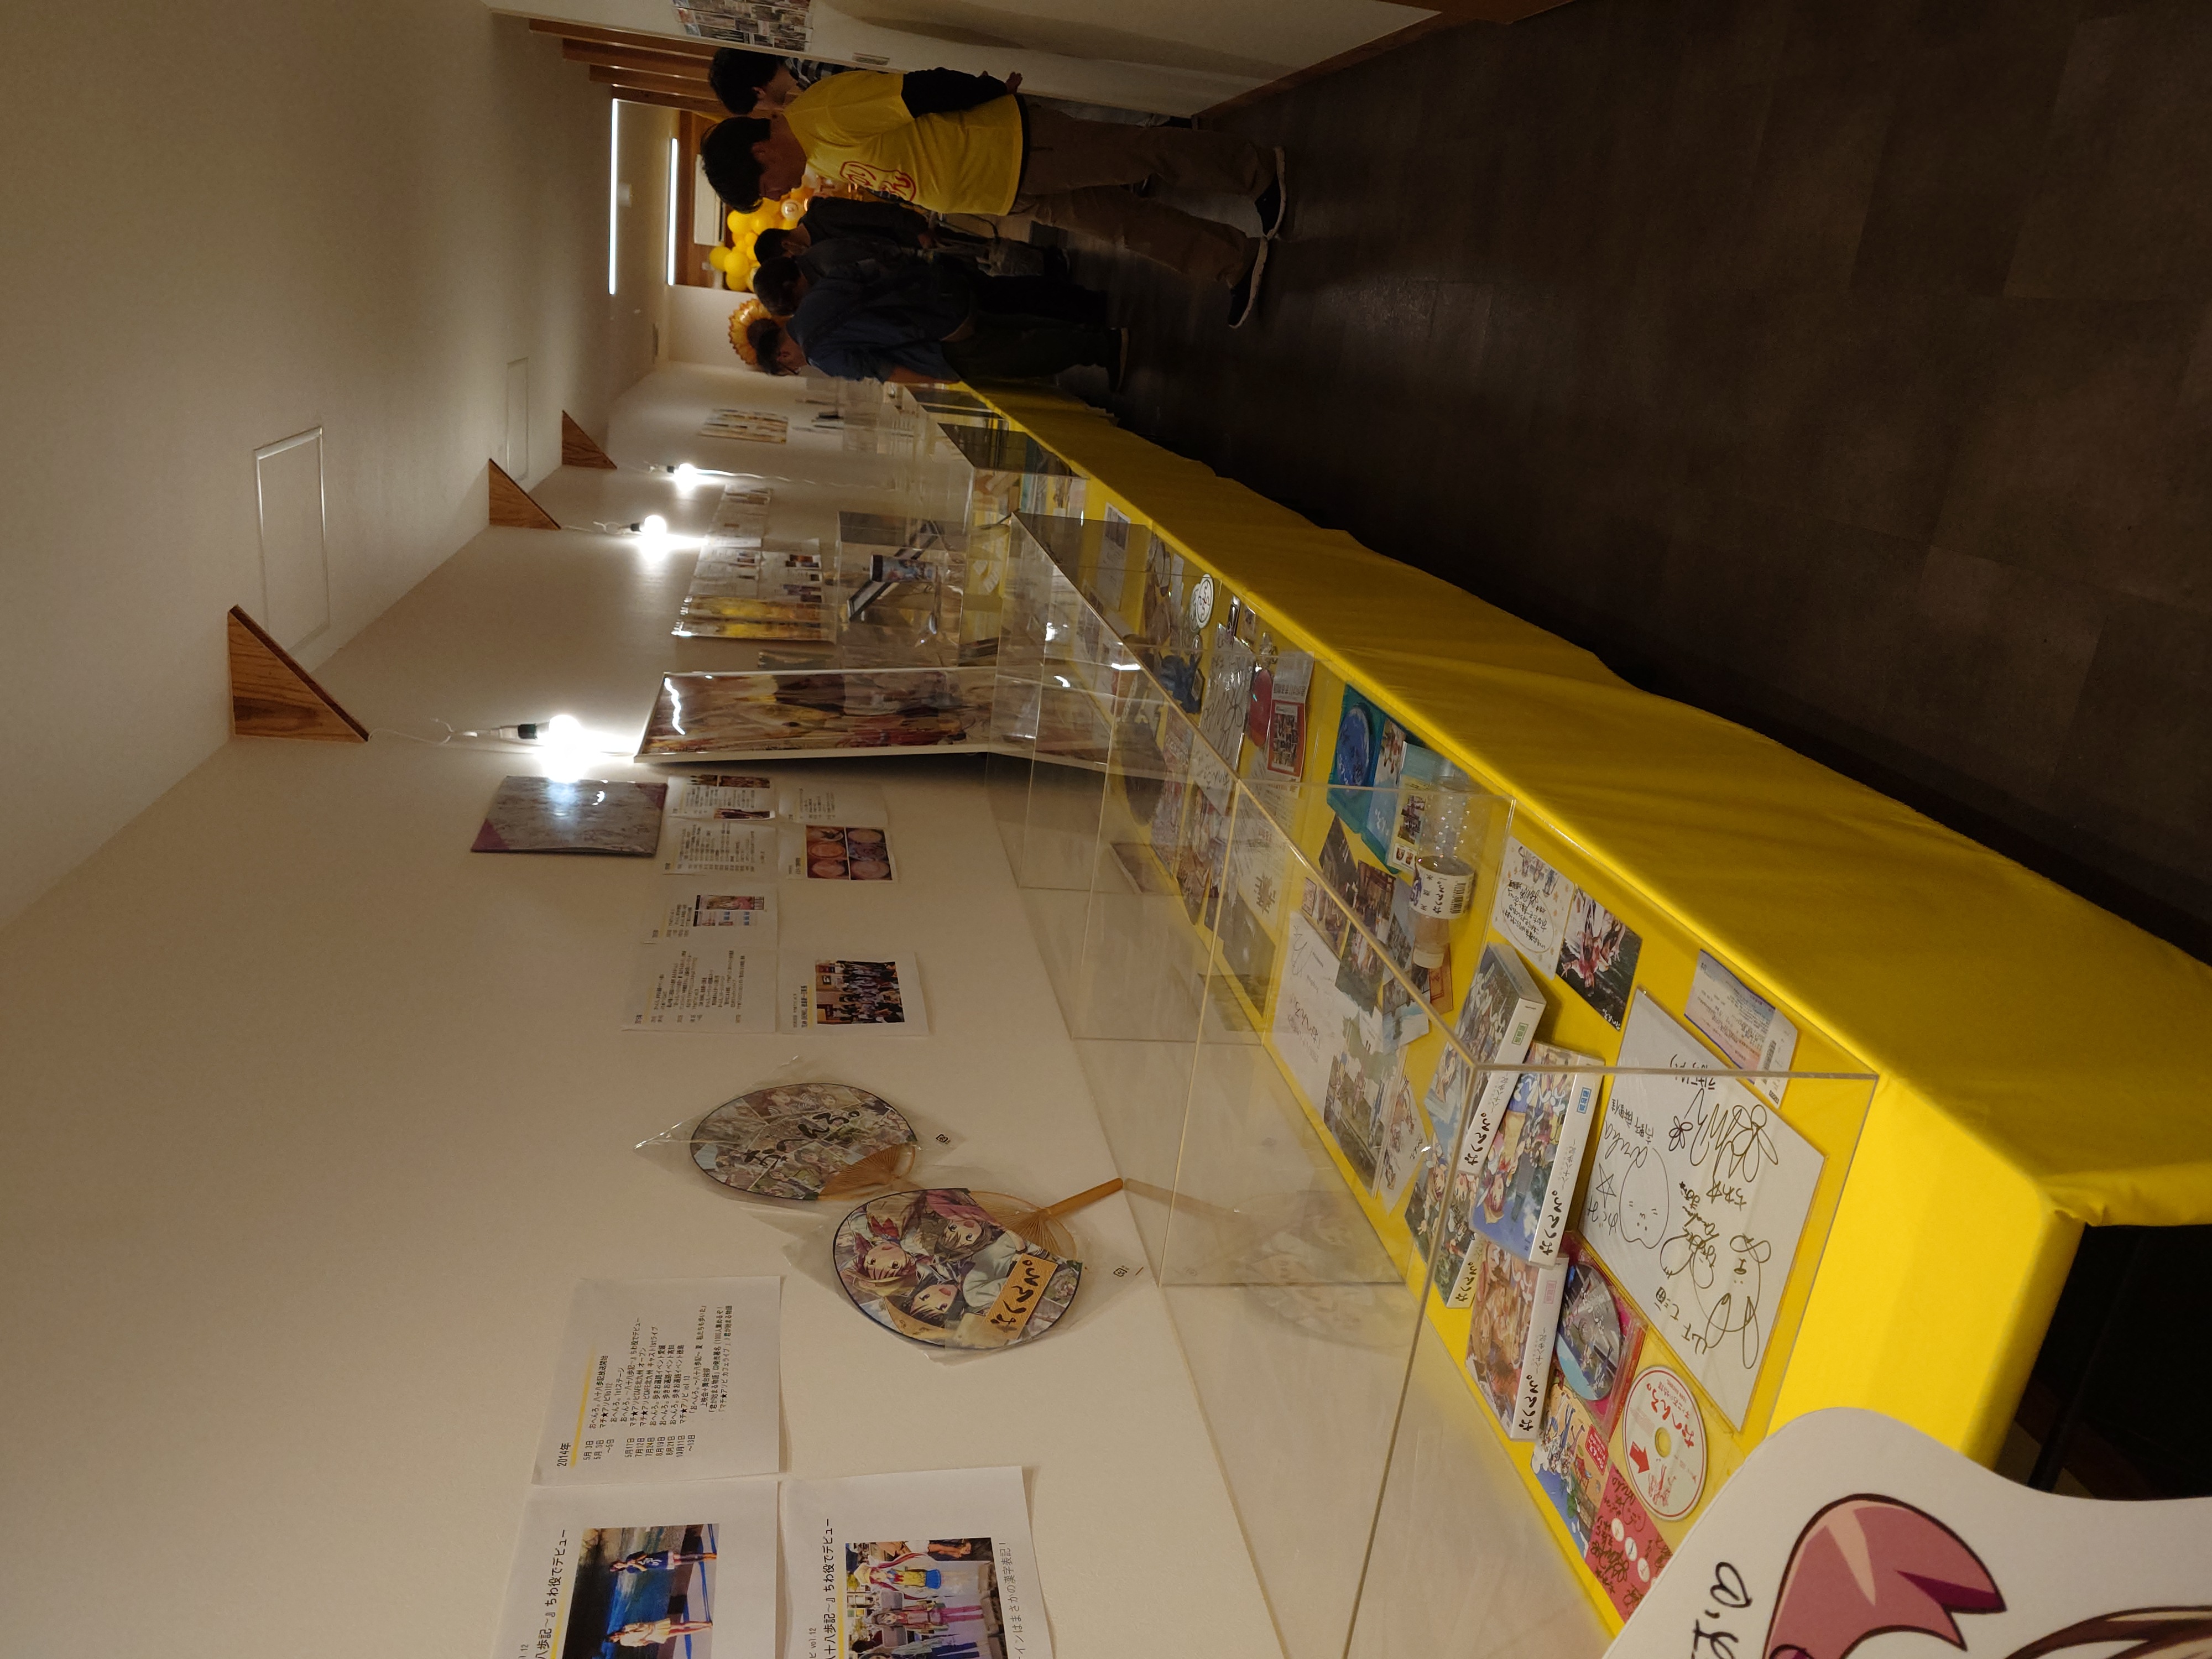
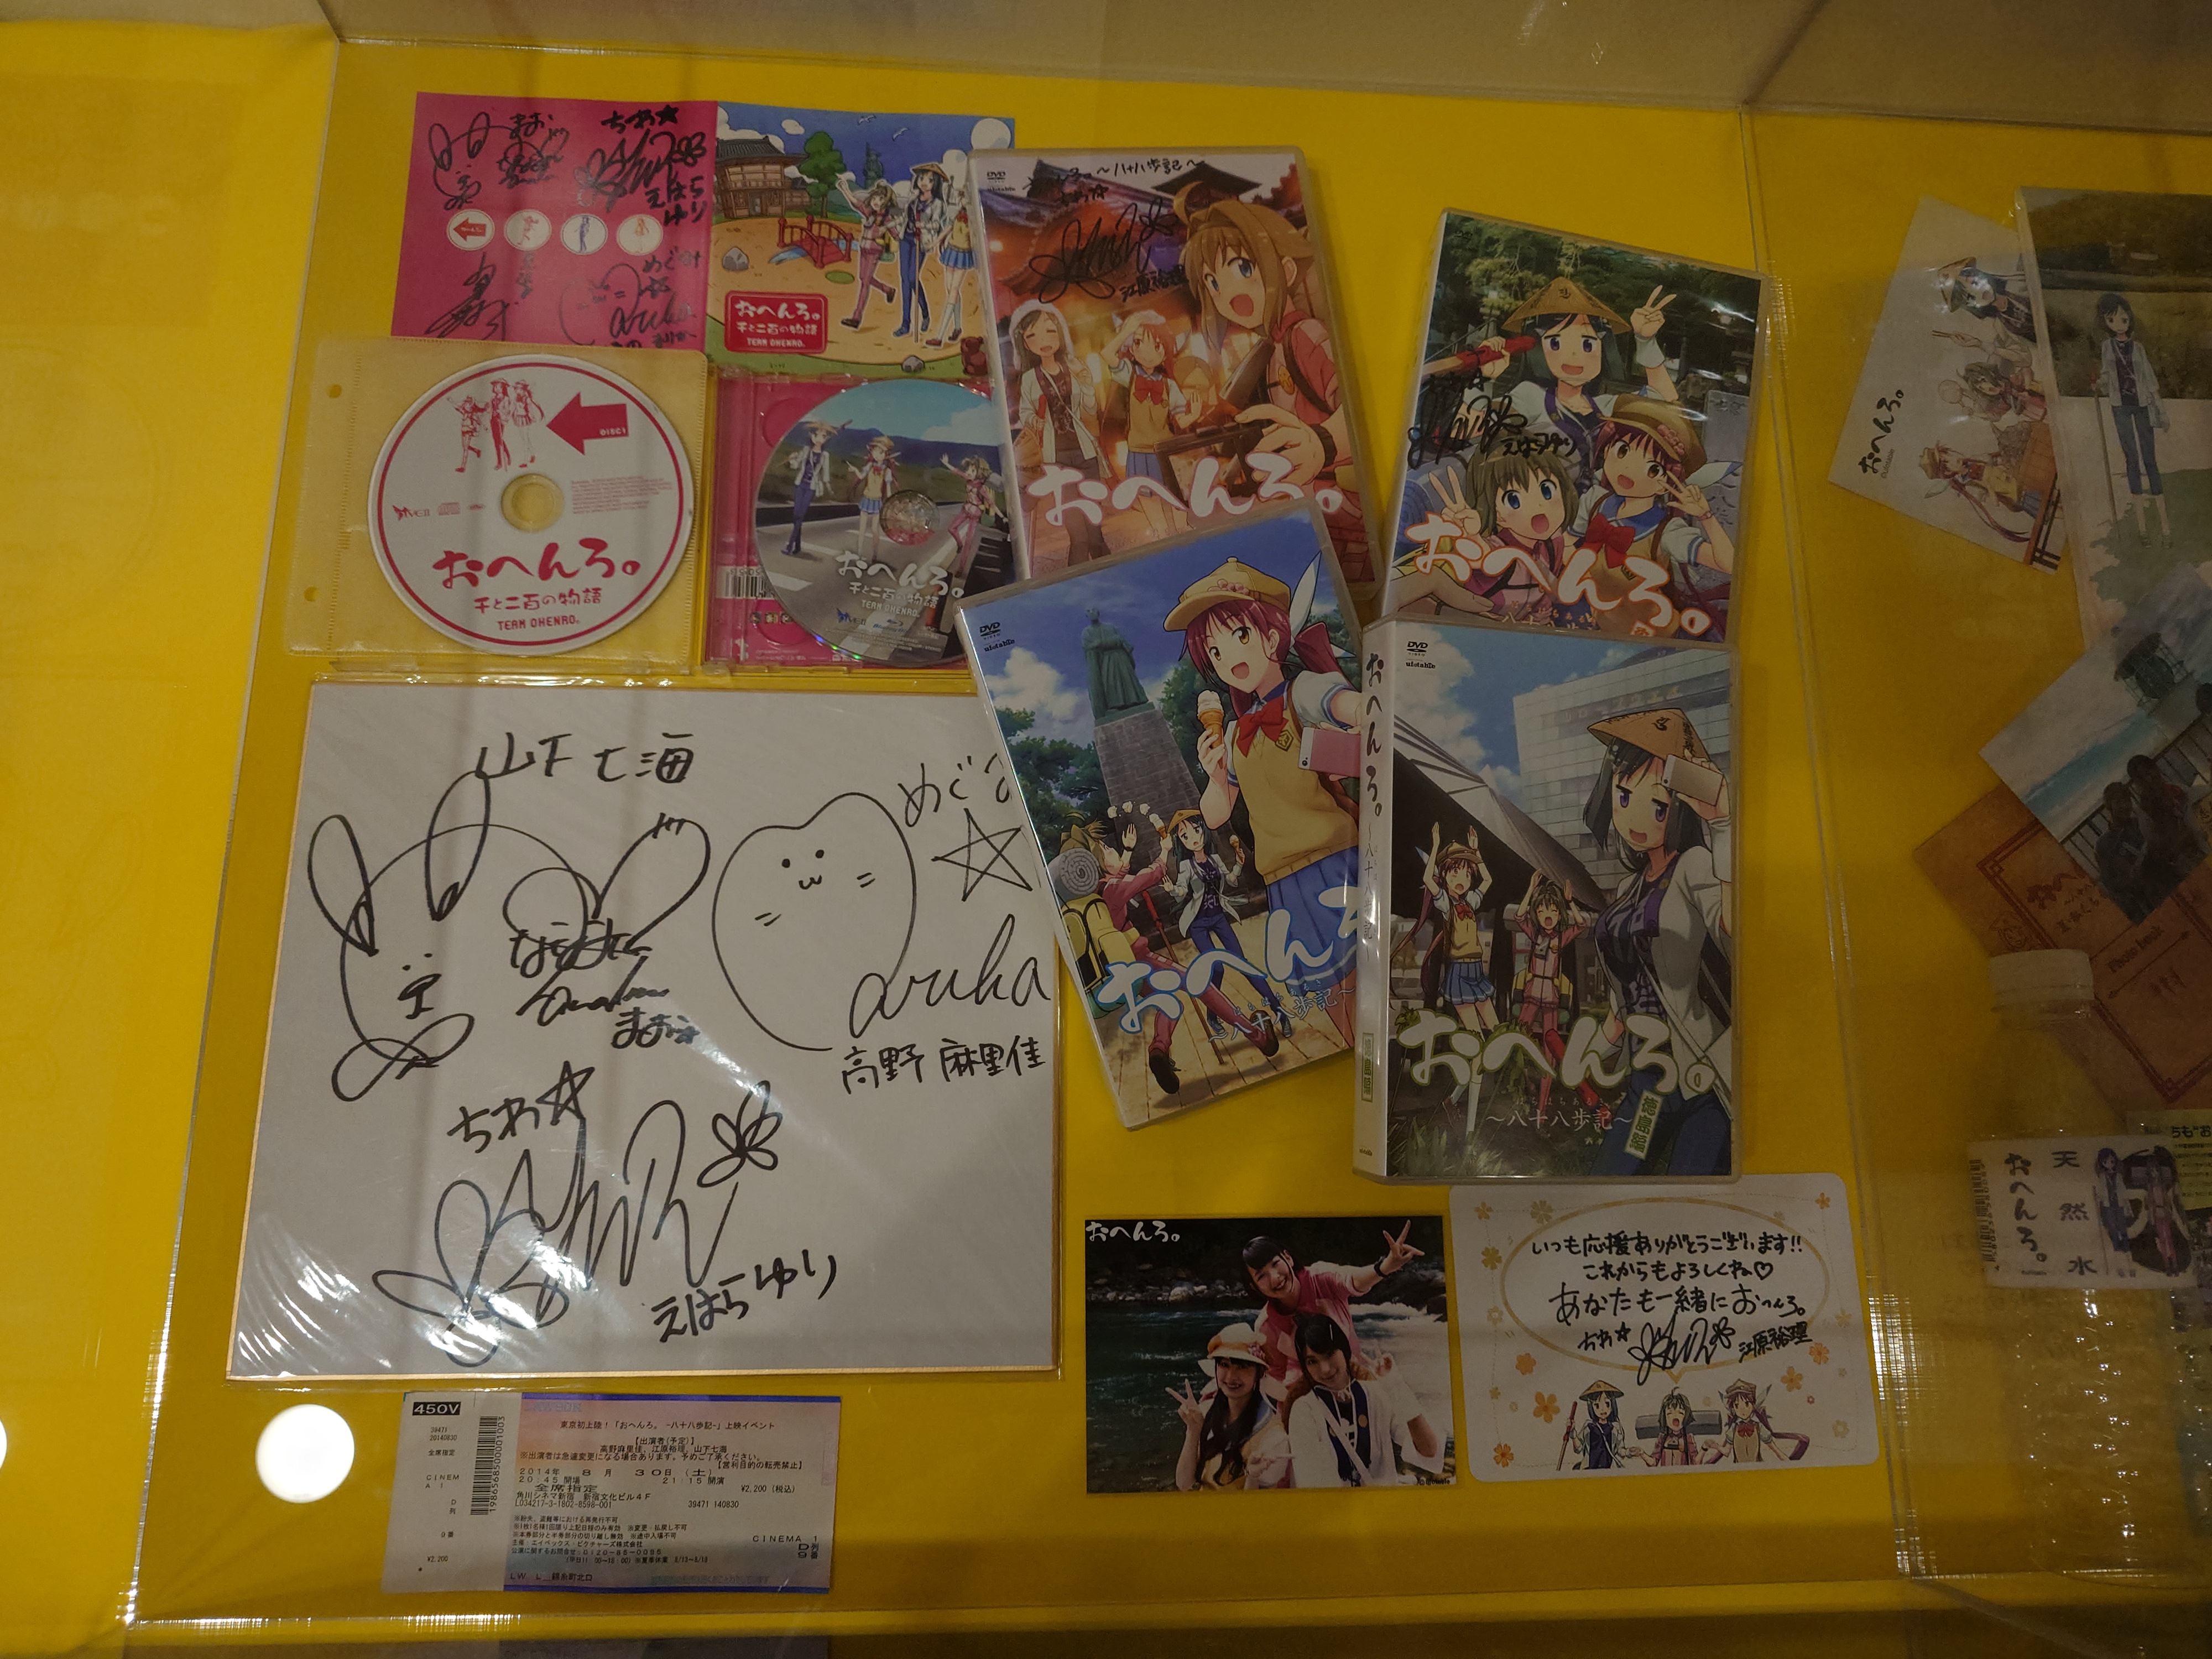
ここではufotable所属で、マチアソビから声優にデビューした江原裕理さん関連の展示が行われており、特にデビュー作である「おへんろ。」にまつわる展示が多かった。なんでも当時の資料を保管していたり、盗難されて散逸したものもメルカリなどで集めたというすごい展示だ。
「おへんろ。」はその名の通り、四国八十八箇所巡りをテーマにした作品で、新聞掲載の漫画や、OVA、実際にお遍路してみた実写解説動画など、様々なシリーズがあるらしい。すでにDVDは絶盤のようだった。
この展示はかつて江原裕理さんの熱烈なファンだった方や、スタッフだった人、放送局関係者などの有志が募って開かれた会のようで、もともと一般公開するつもりはなかったとのことだが、結果的には一般公開になったらしい。
ここでは「おへんろ。」や江原裕理さんのことをお聞きしたり、江原裕理さん本人にお会いできたり、マチアソビの極め方を知ることができるなど、かなりマチアソビの核心に迫る体験ができたので、思い出深いところだった。
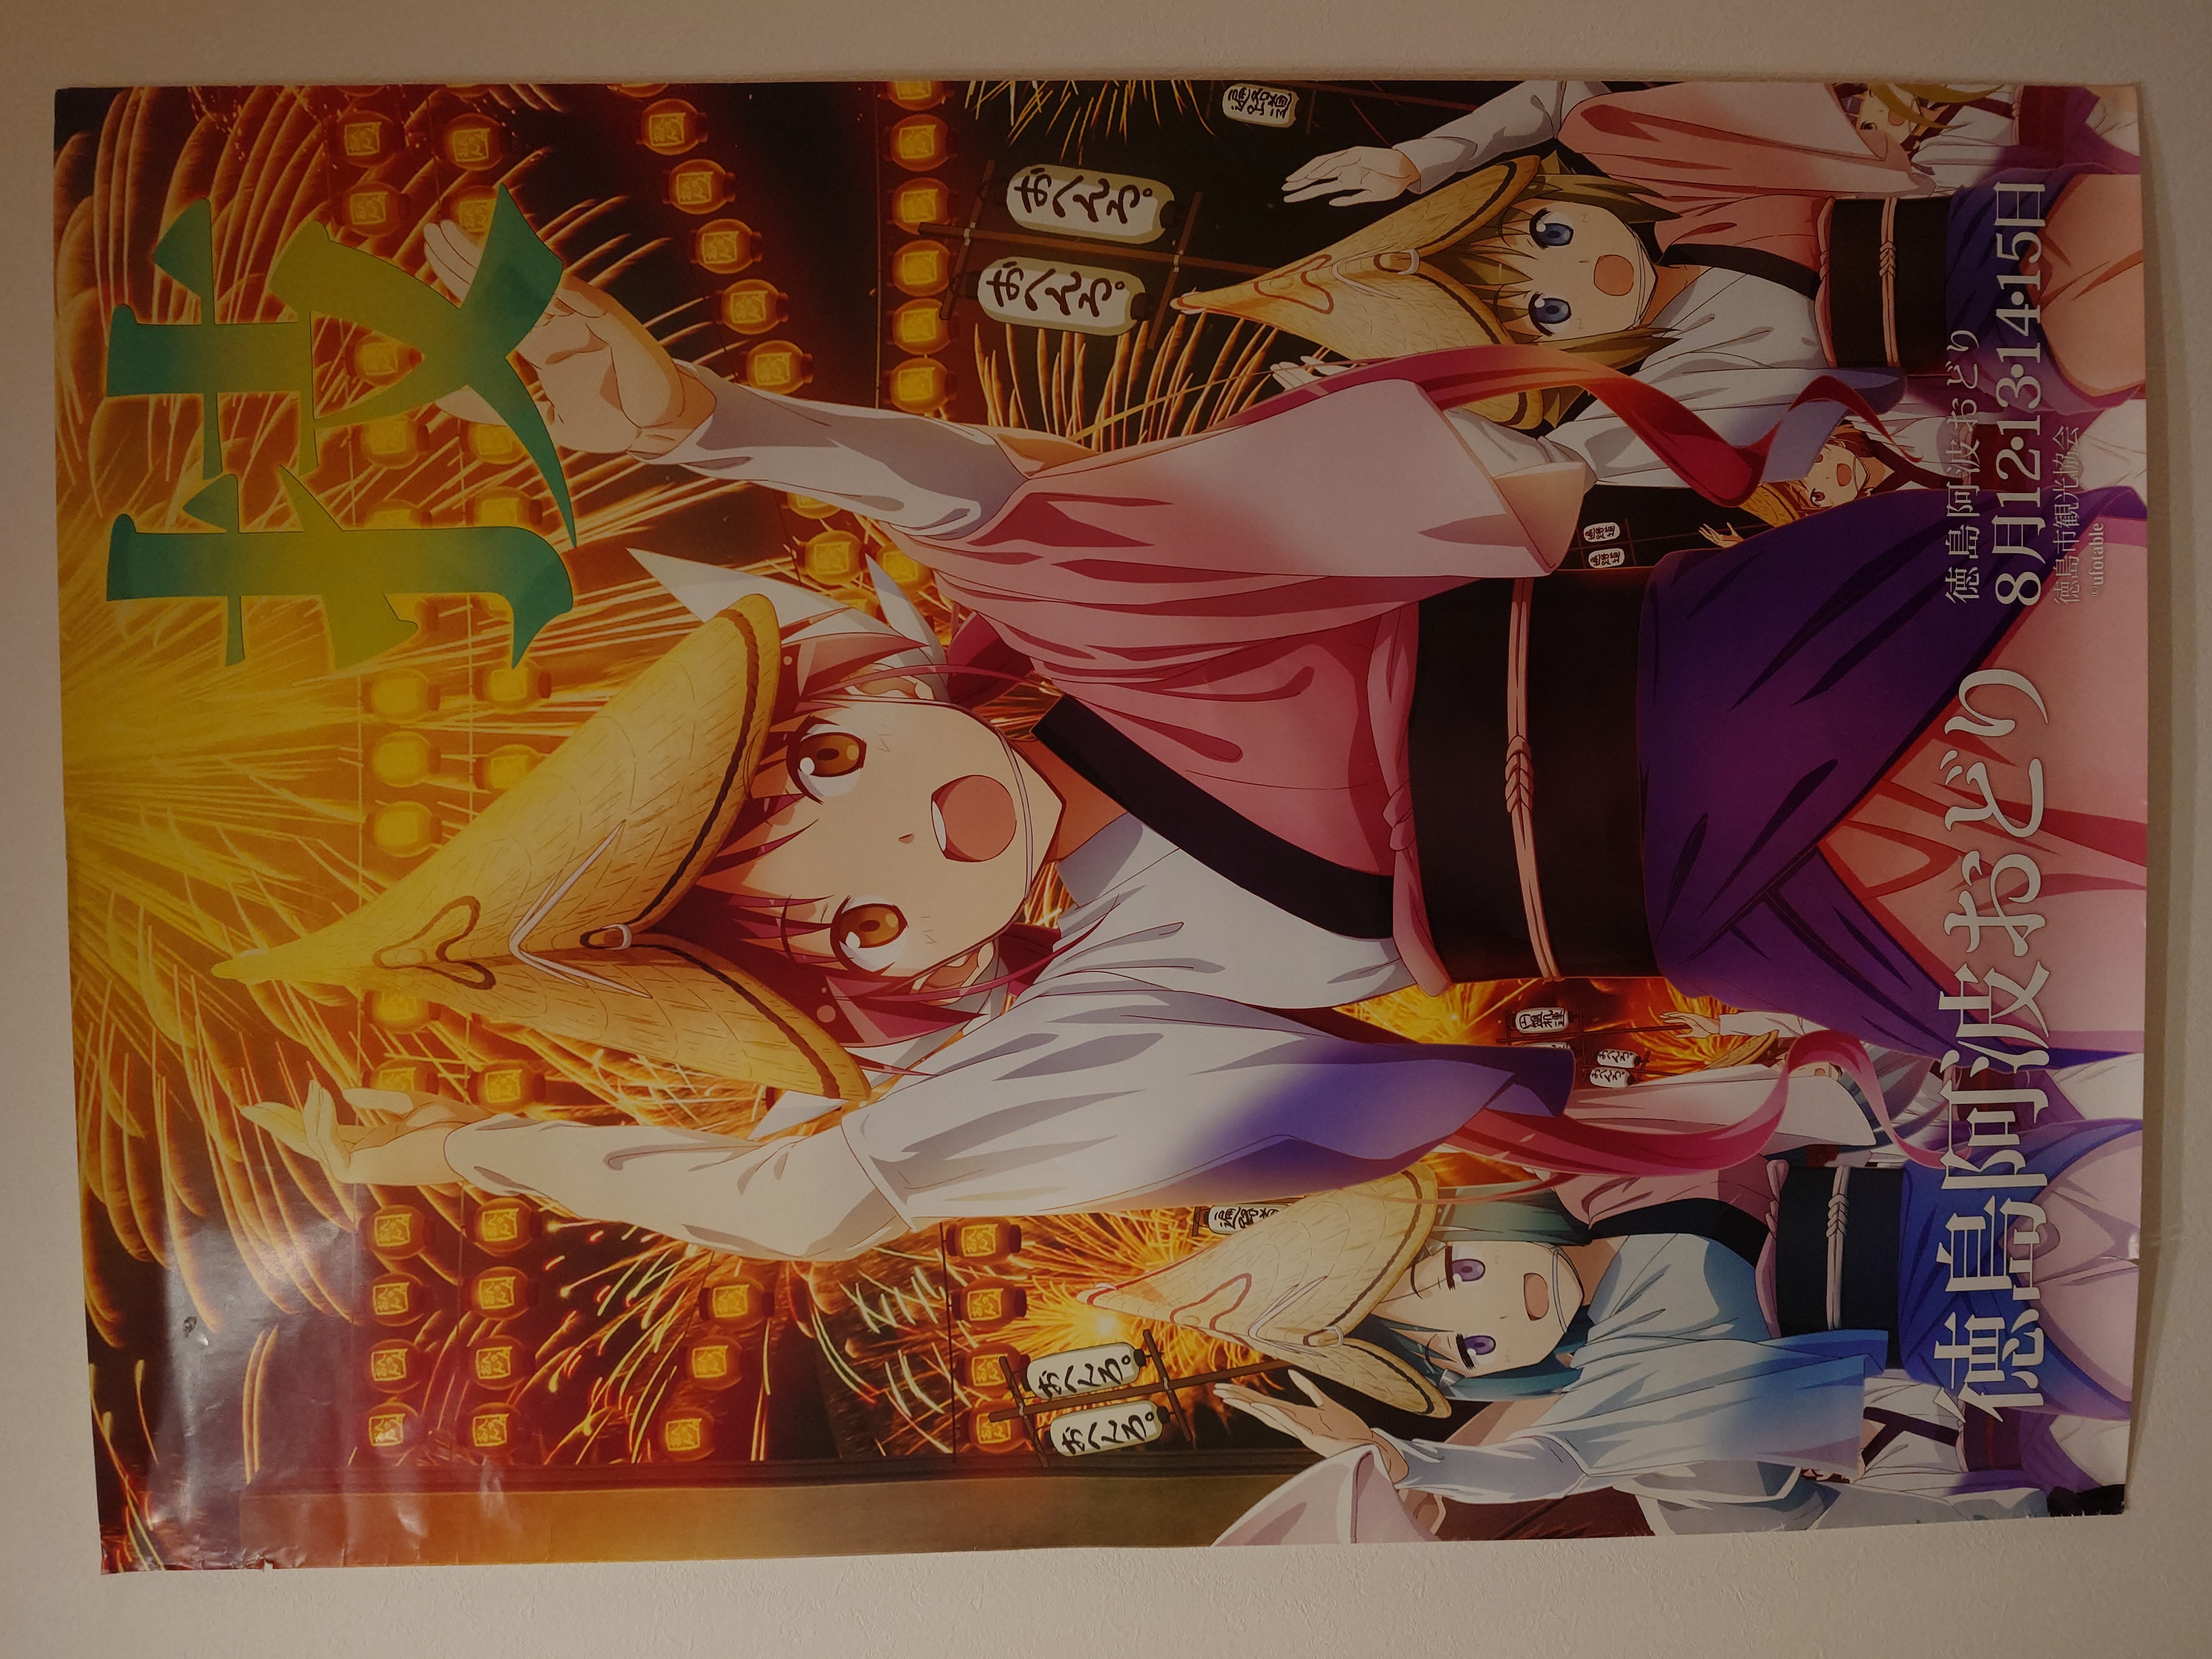
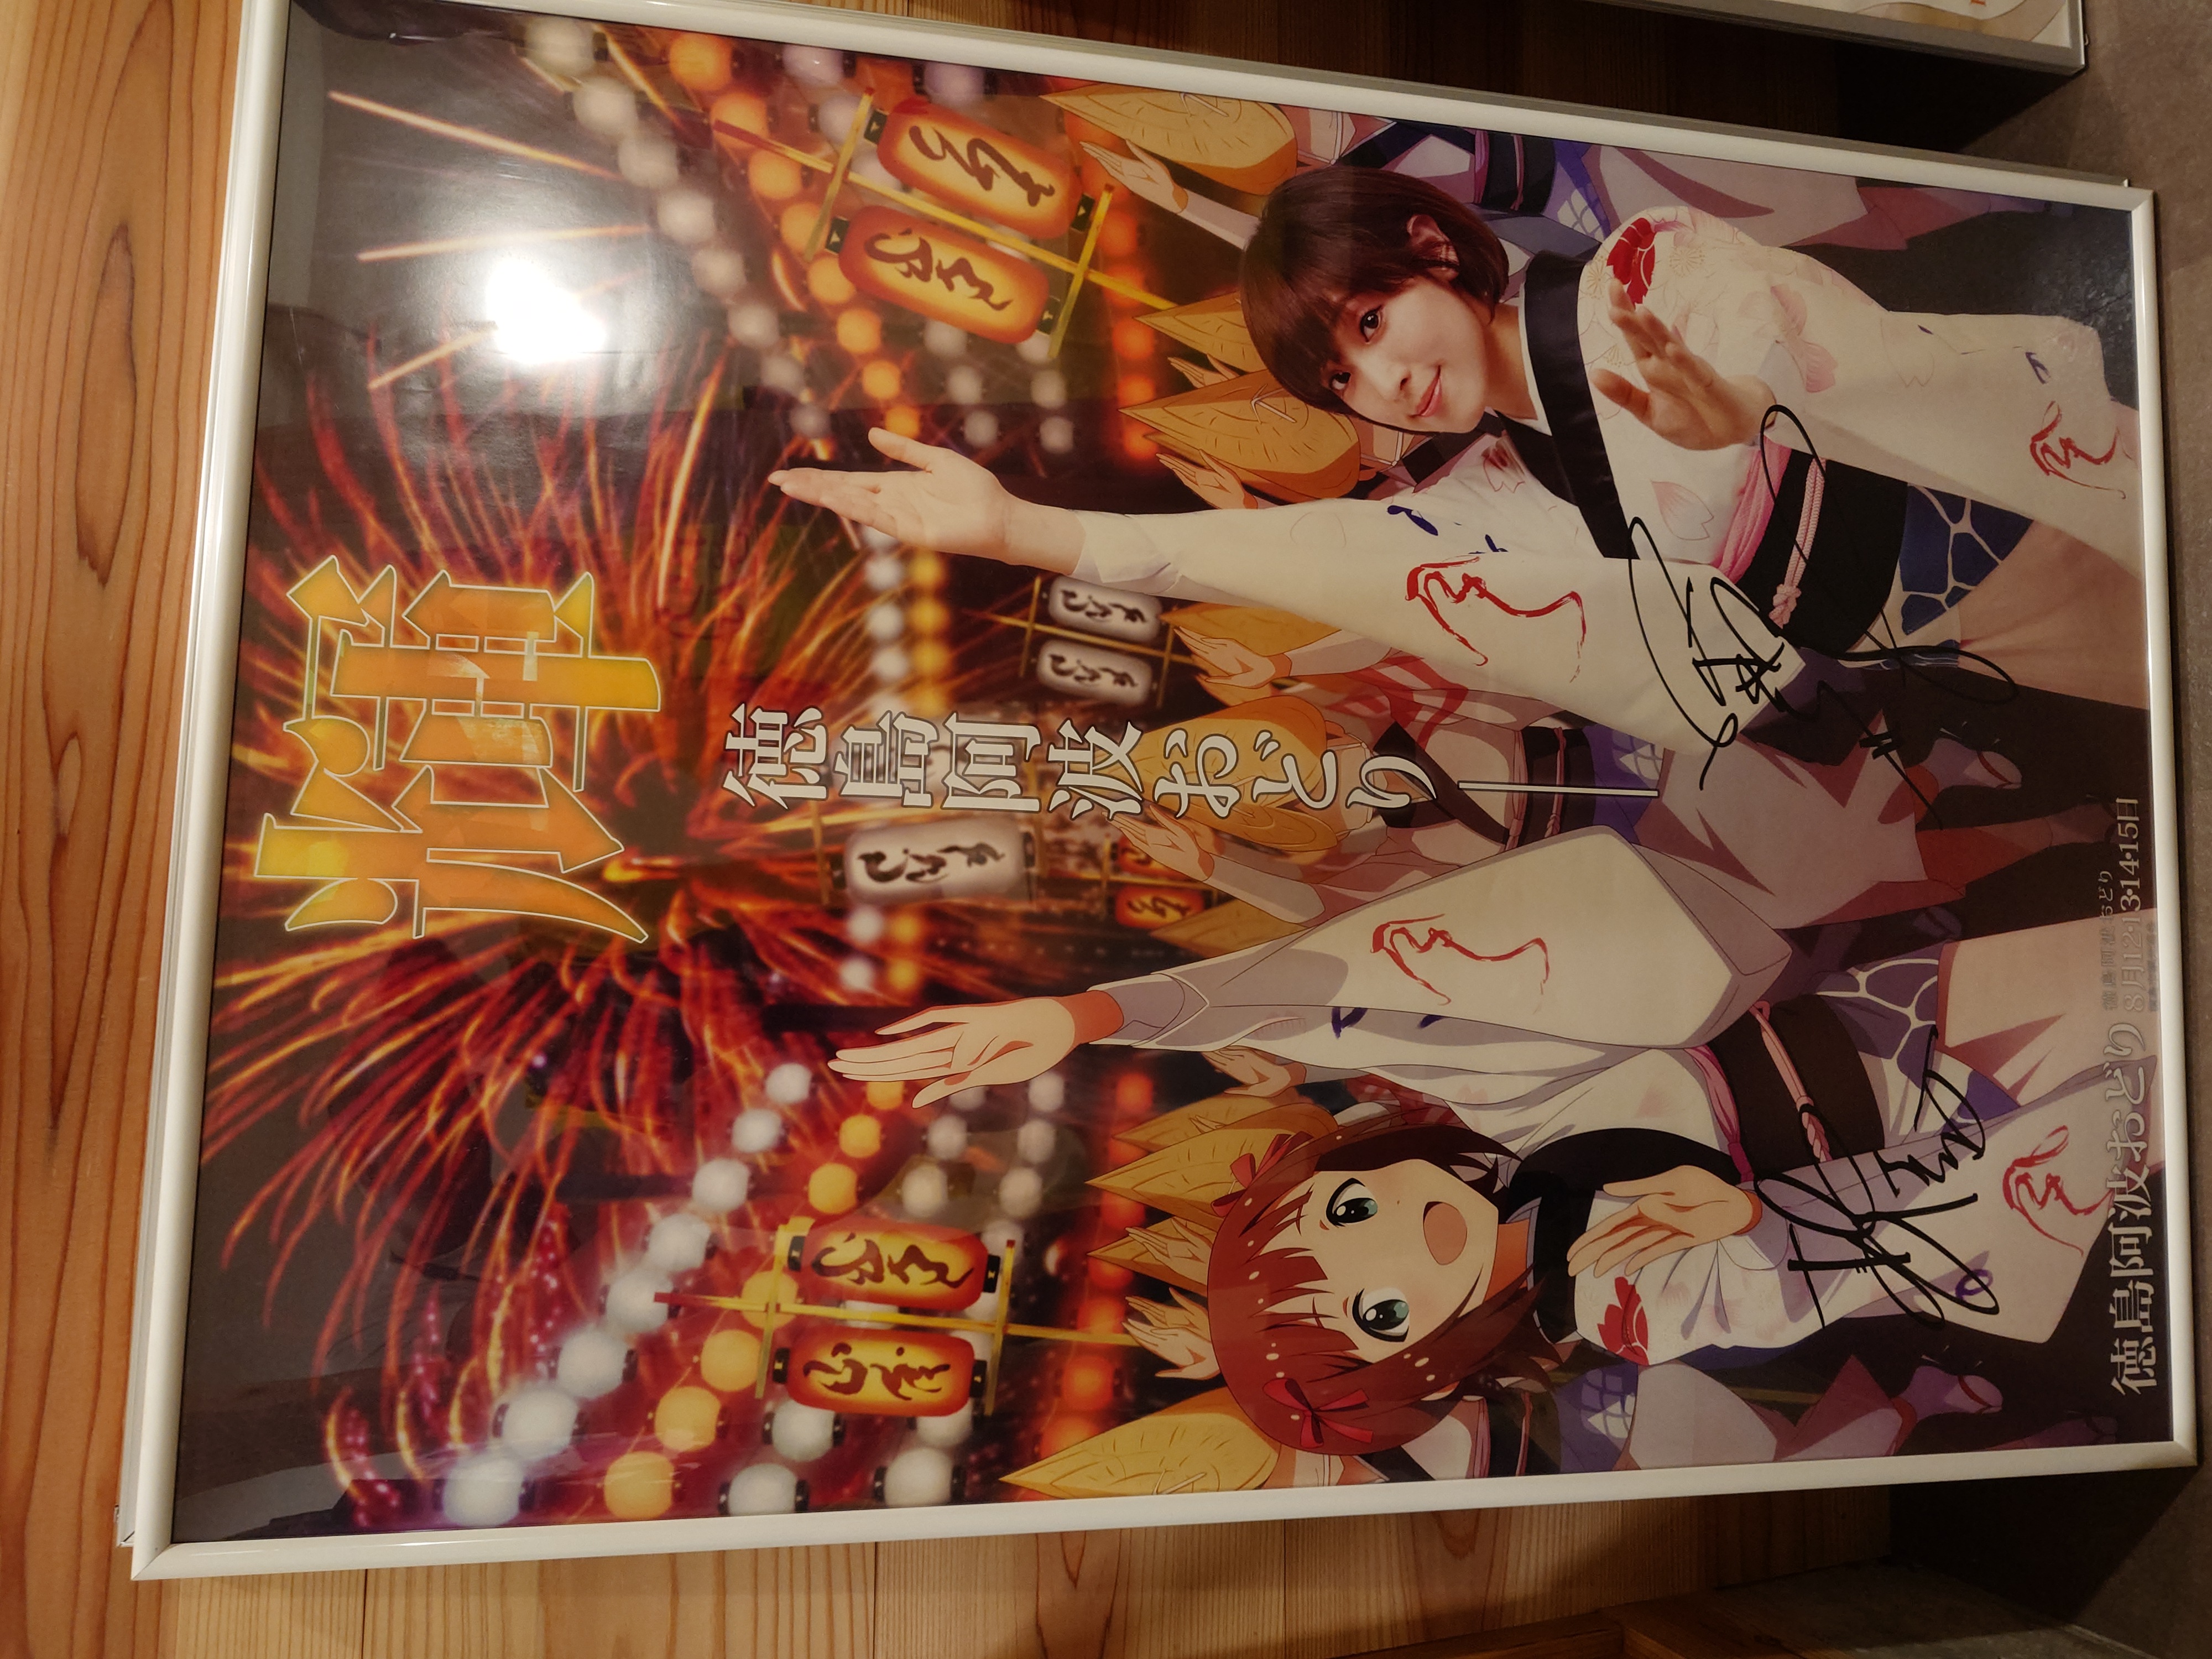
阿波踊りとのコラボポスターがあるのはマチアソビらしい特色だ。
かつて出た媒体の展示もあった。
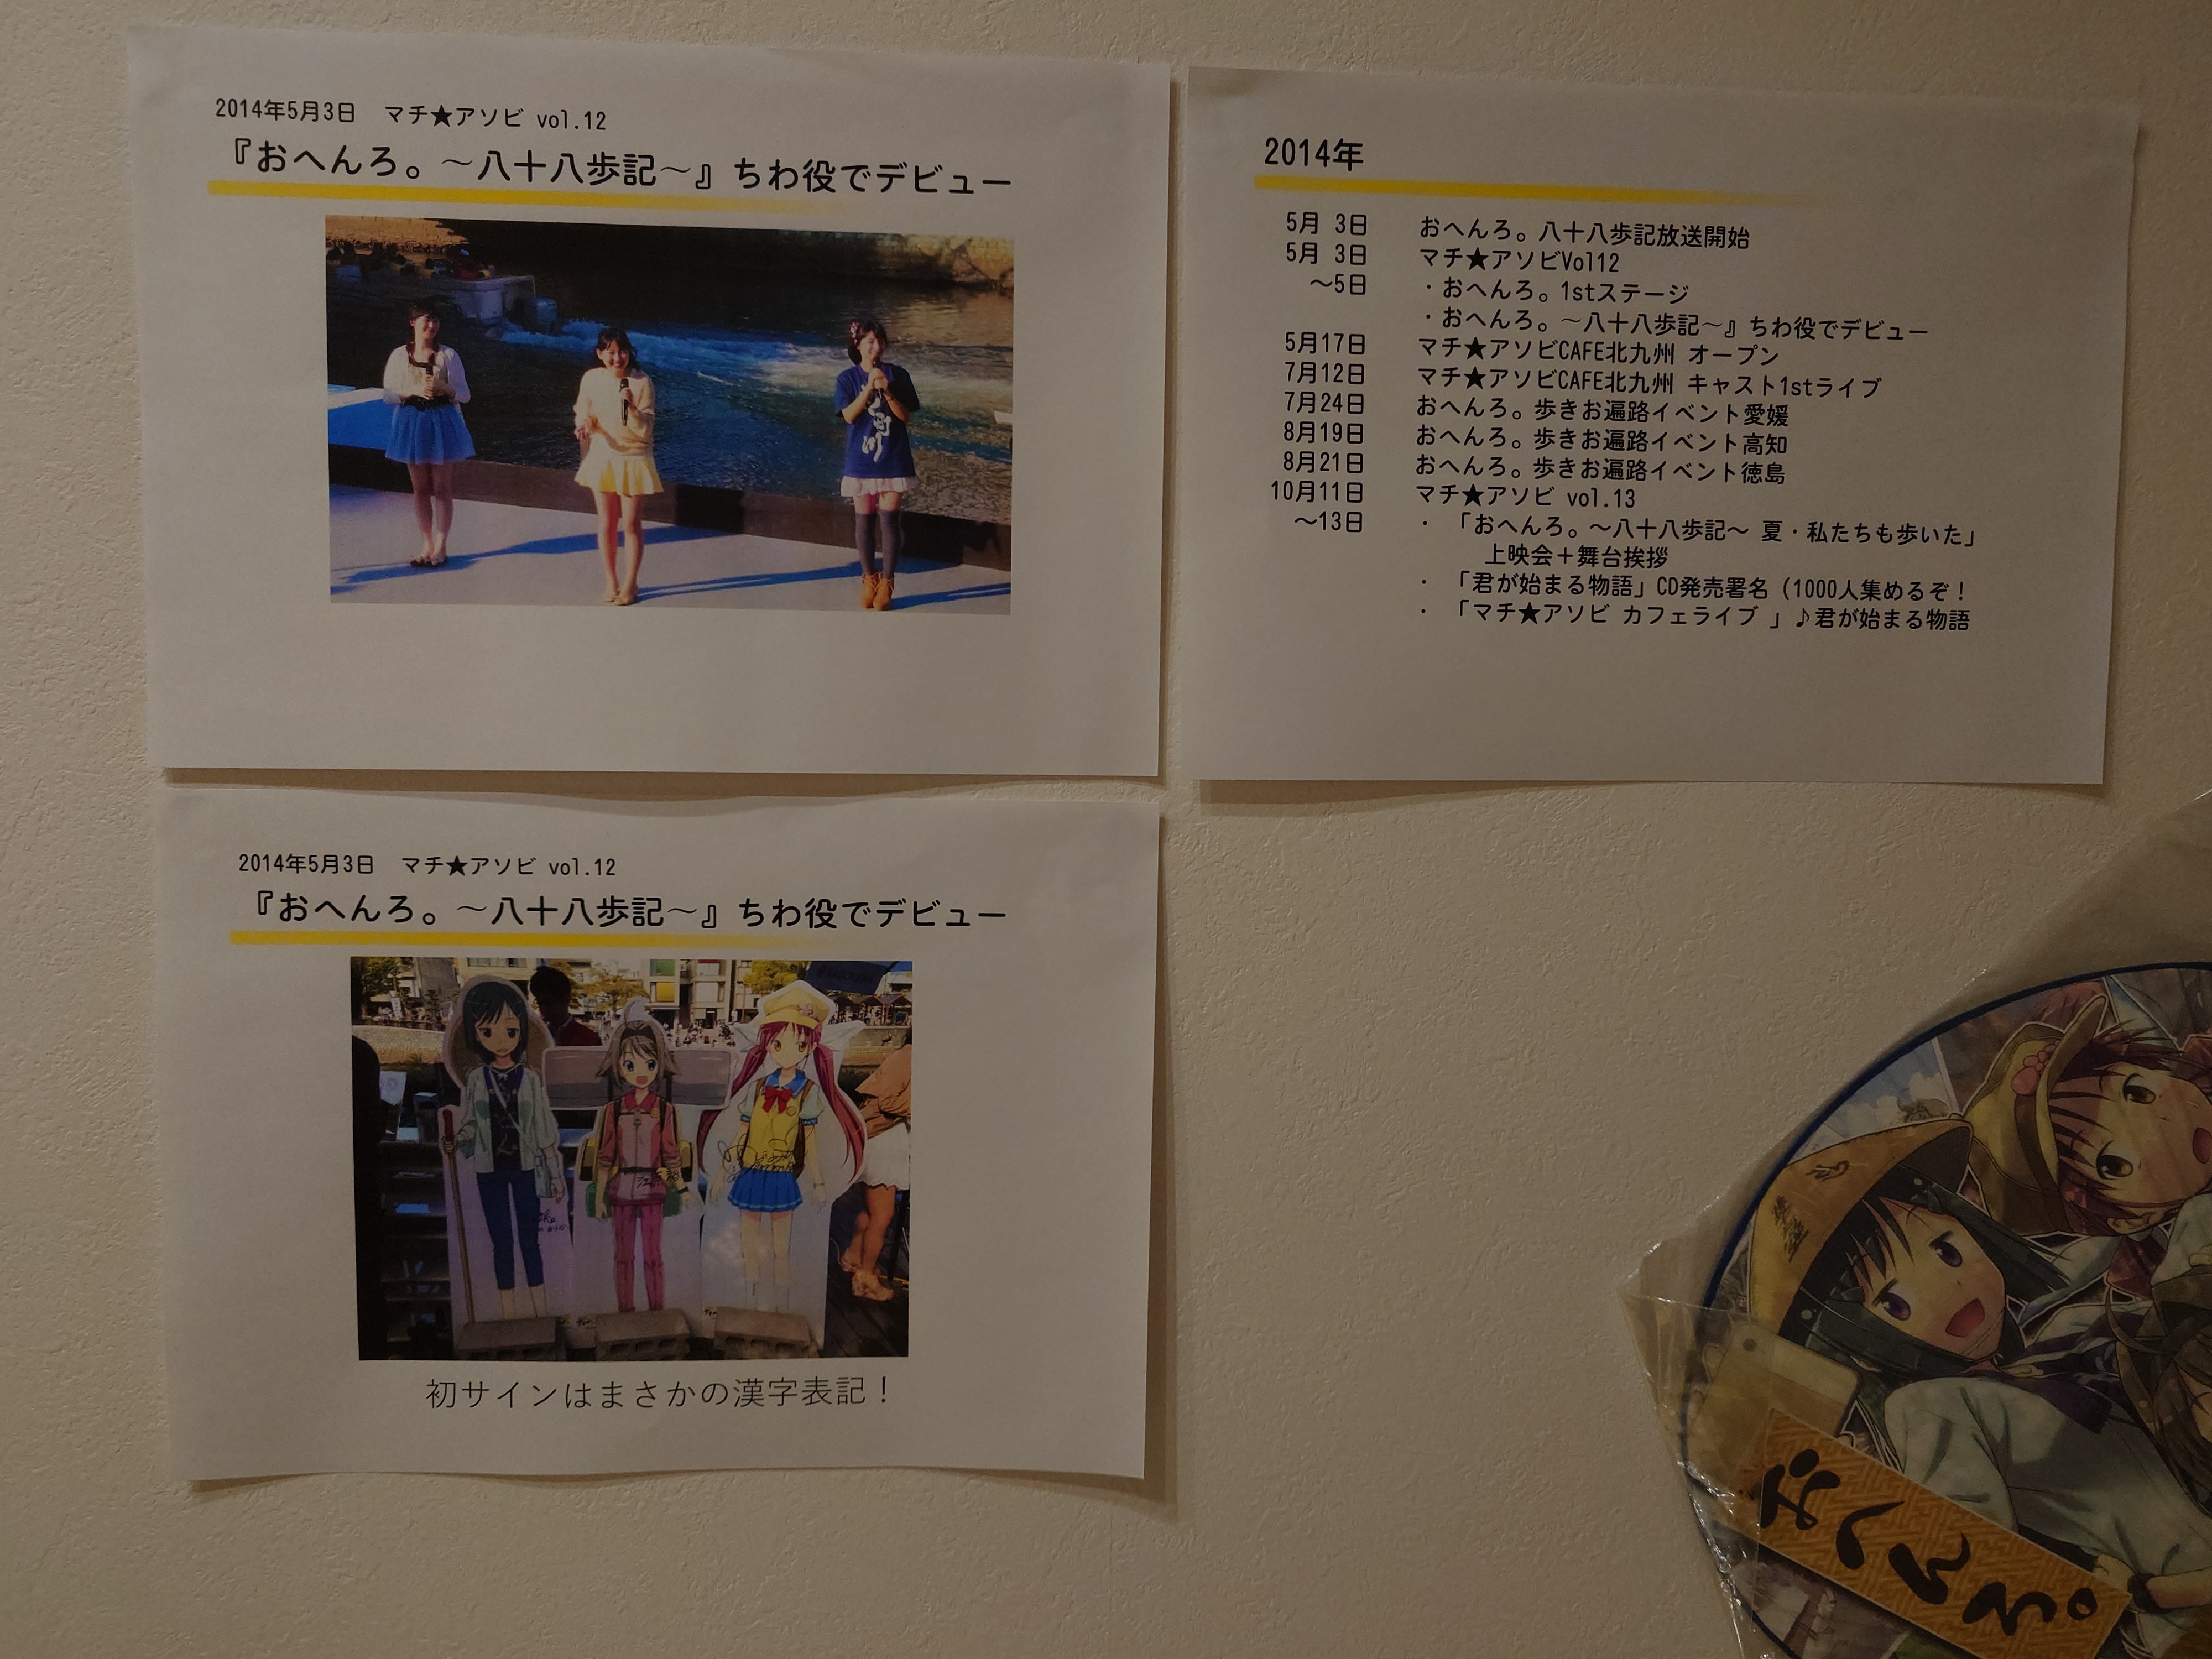
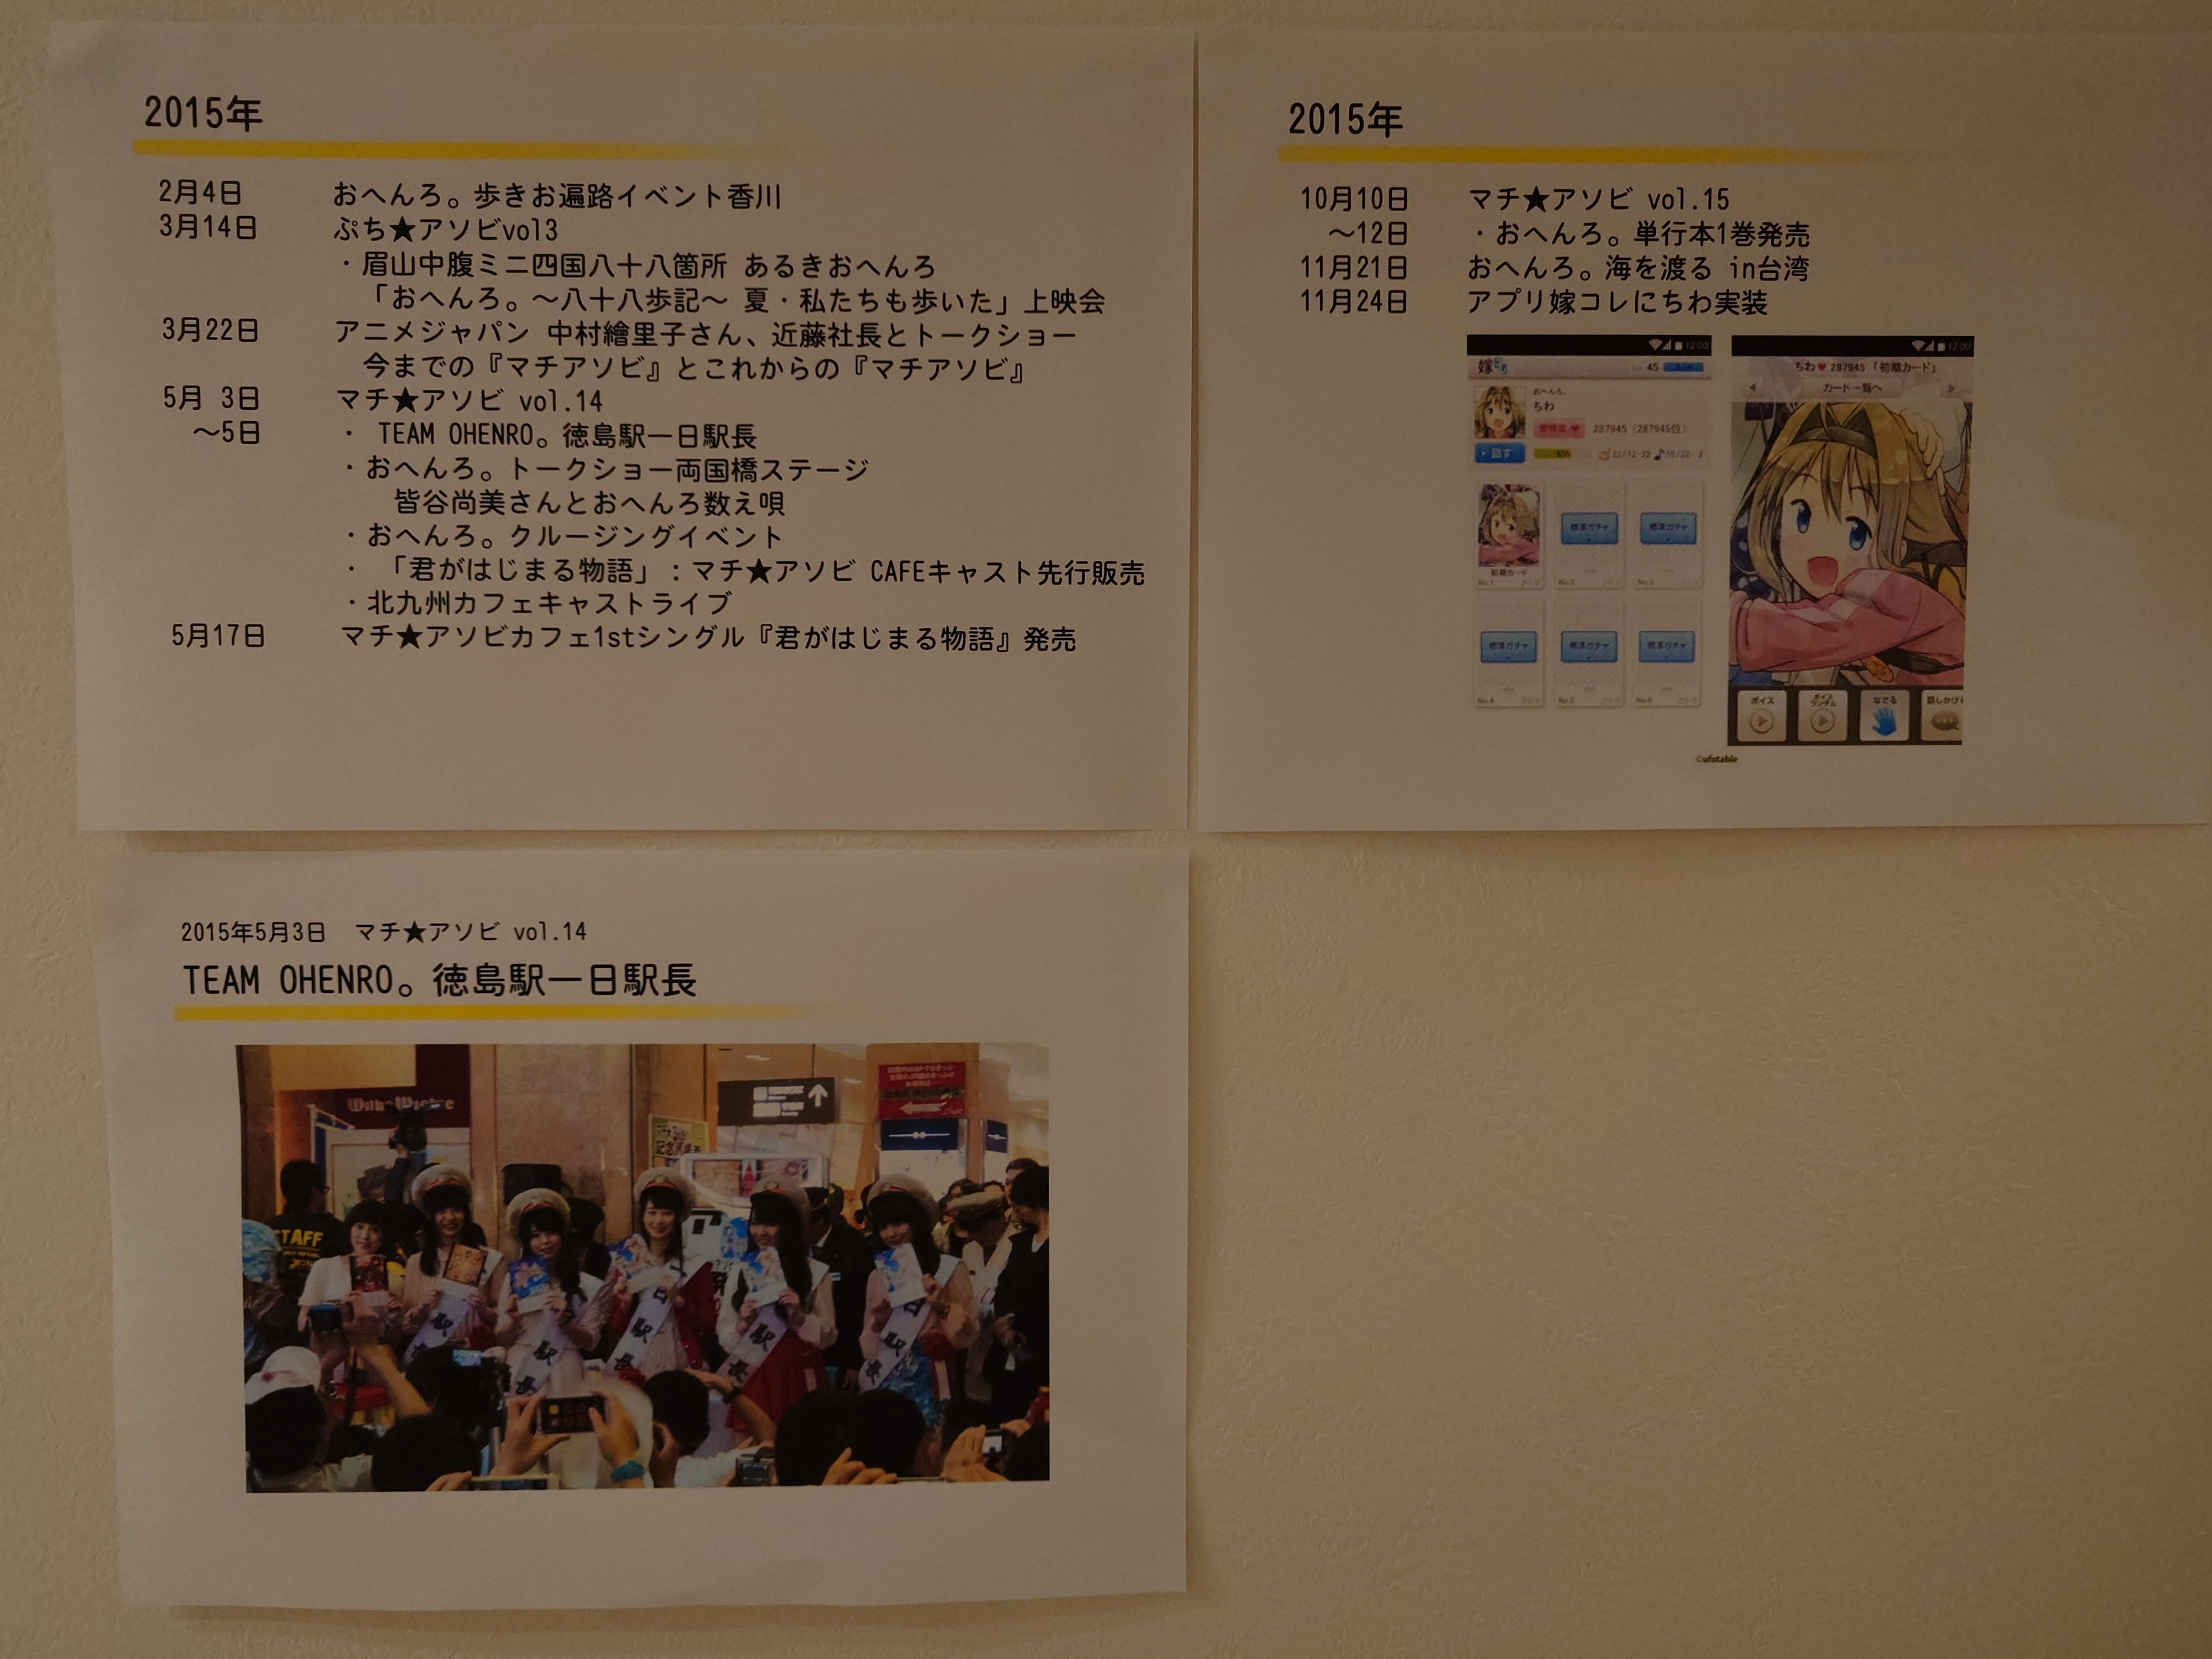
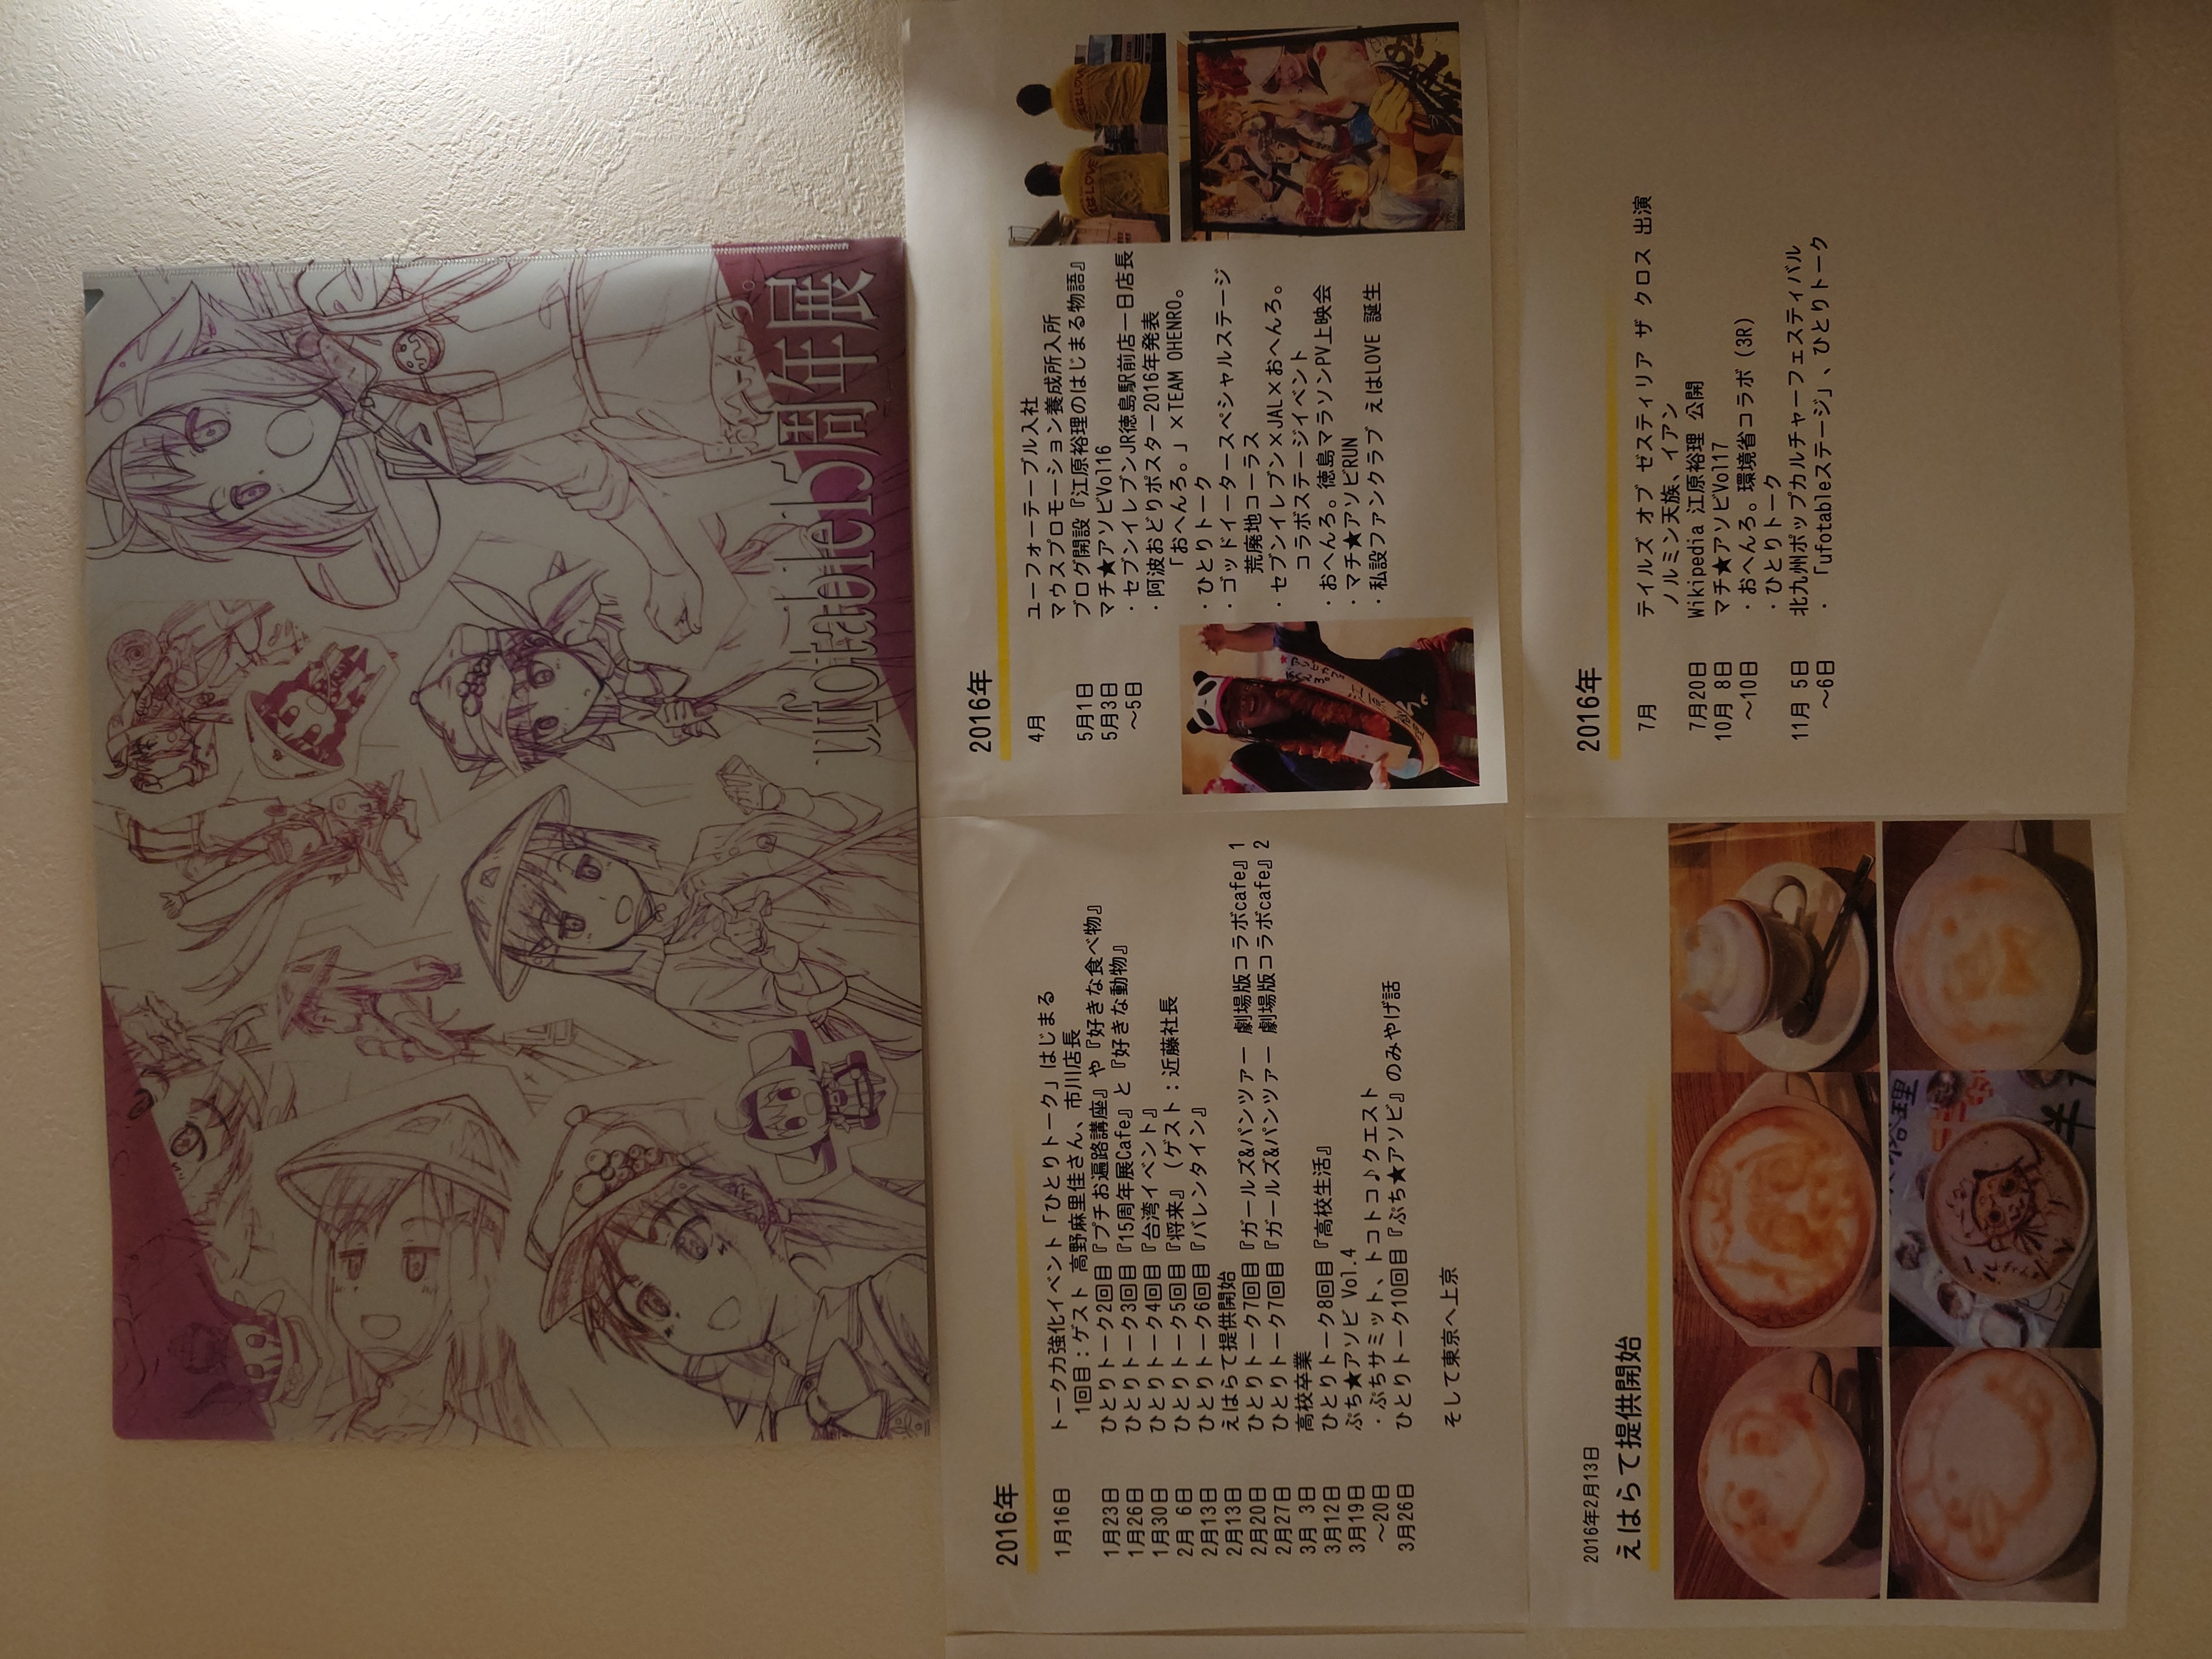
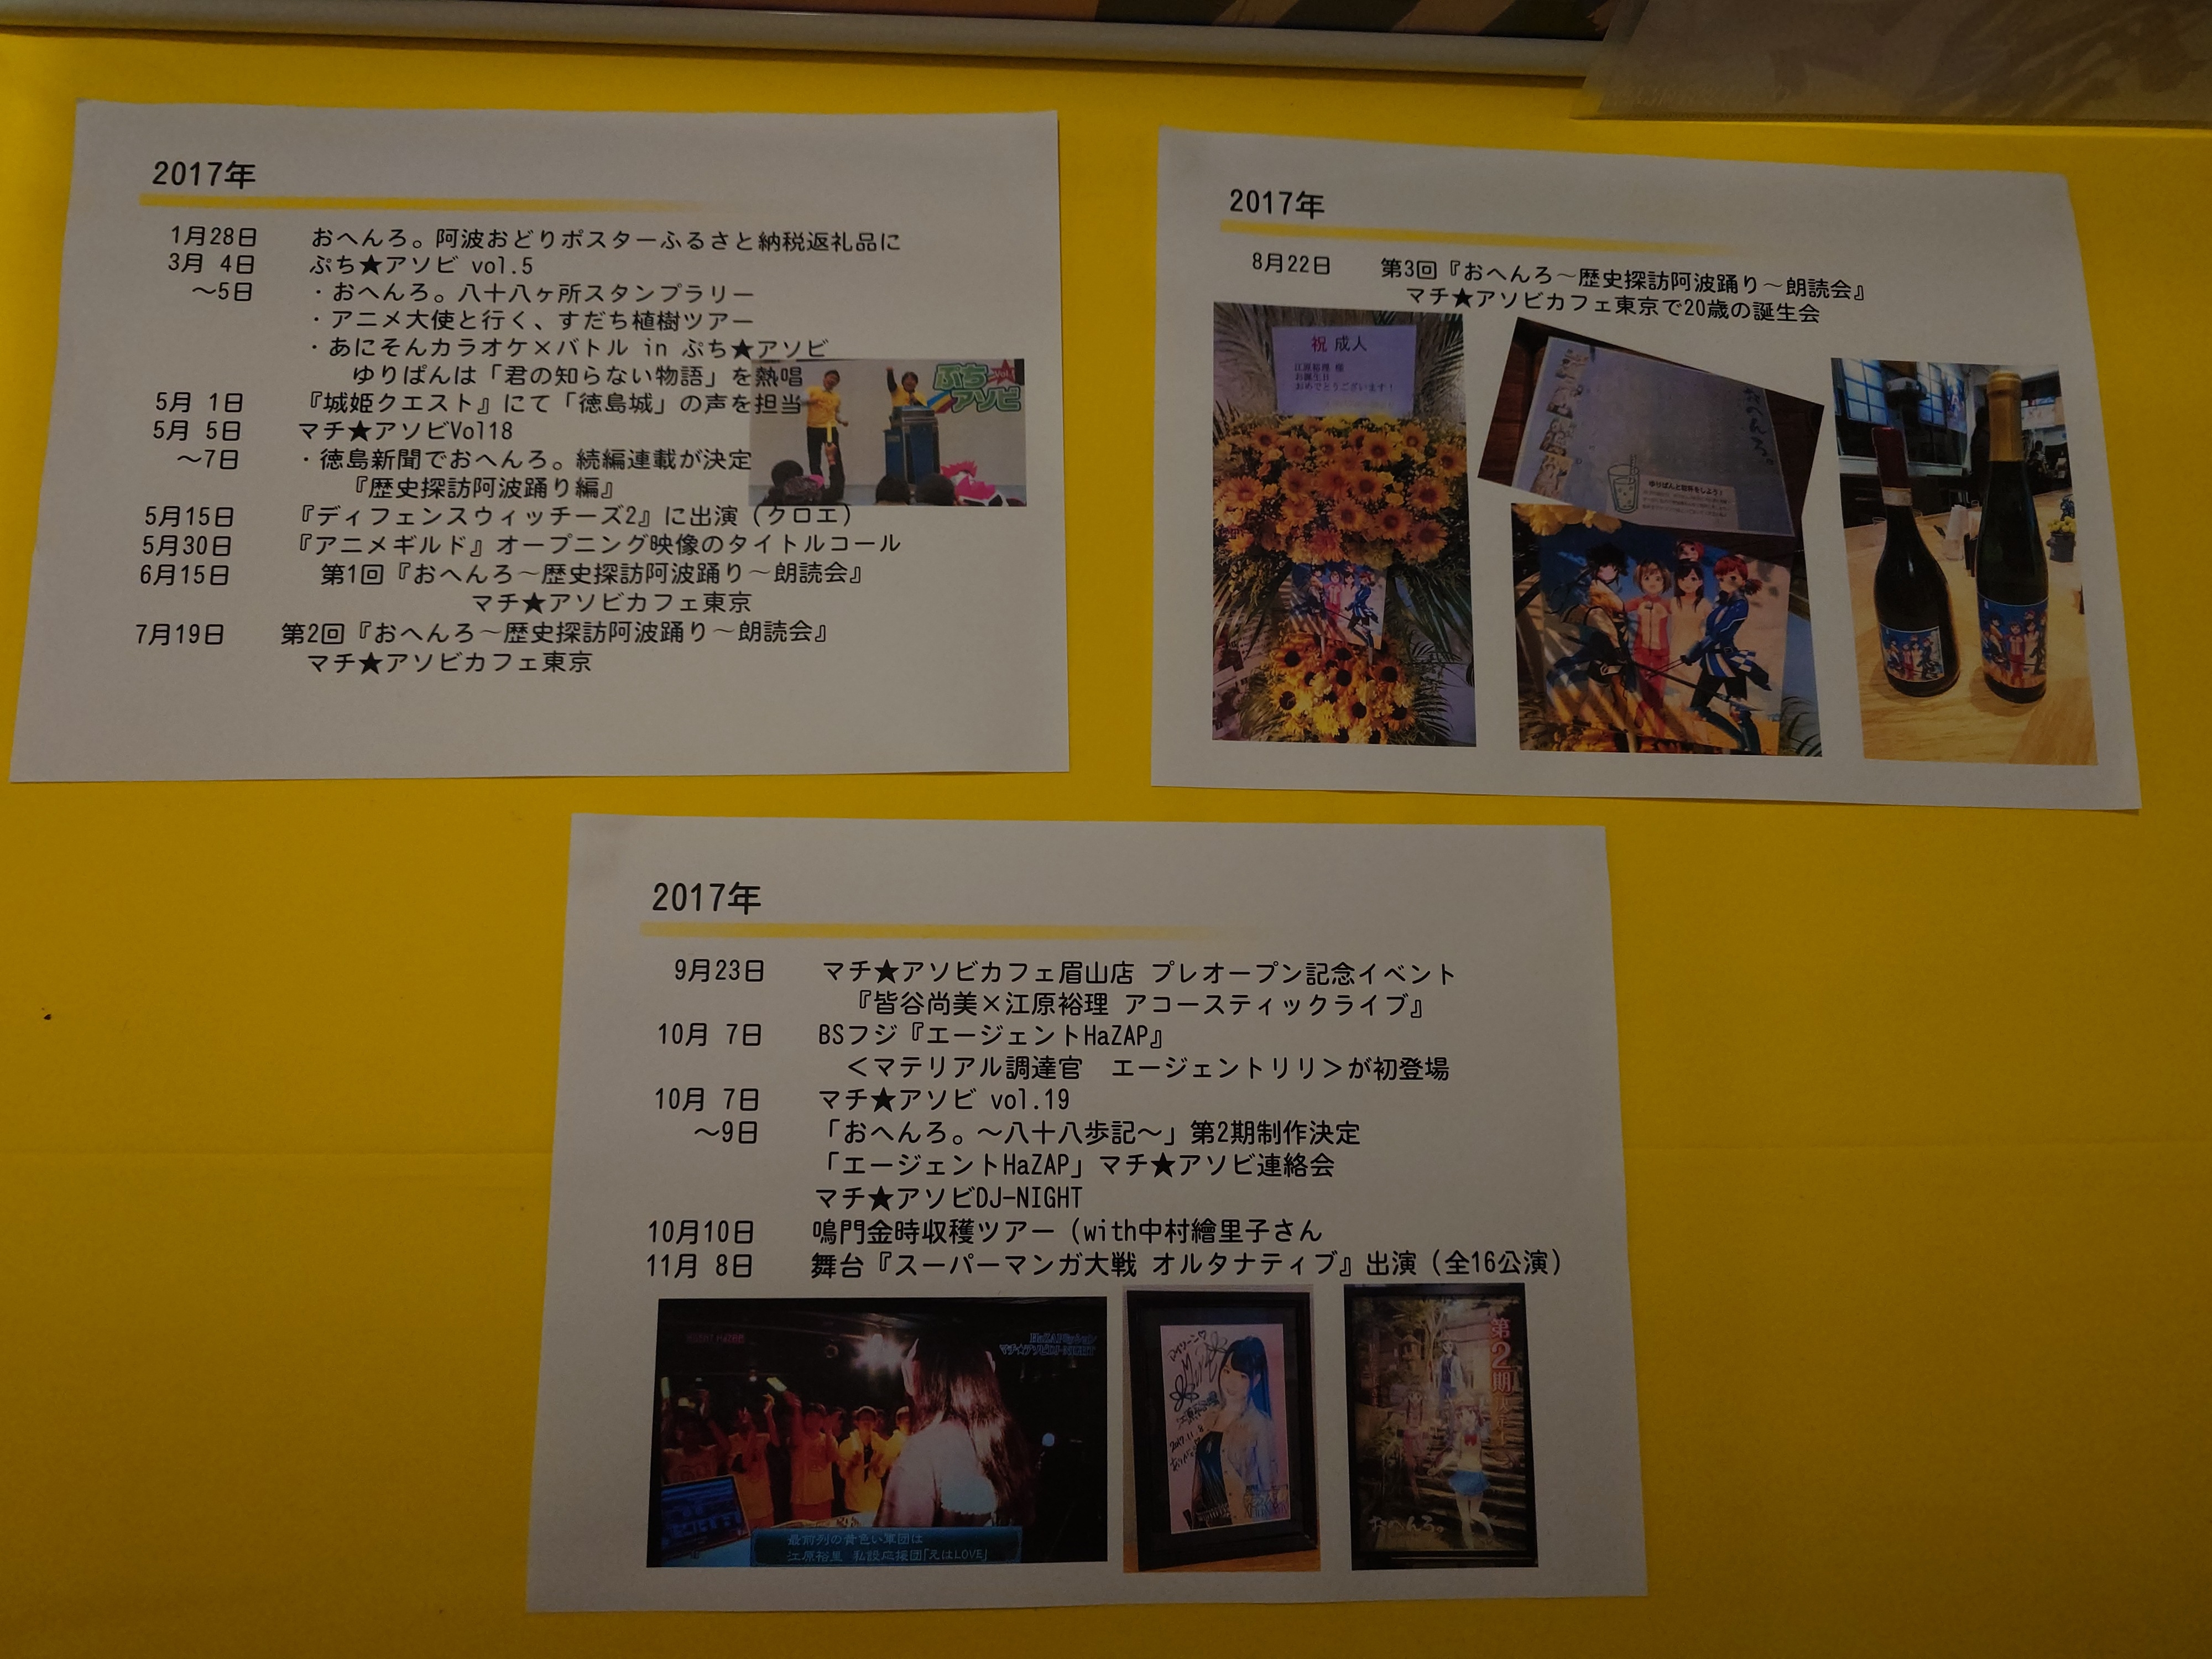
江原裕理さんのデビューからの年表もあった。
この写真の内容がそれであるかはわからないが、当時は八十八箇所巡りを聖地巡礼と紐づけてGPS連携でチェックインする聖地巡礼アプリもあったそうだ。残念ながら今はもうないらしい。
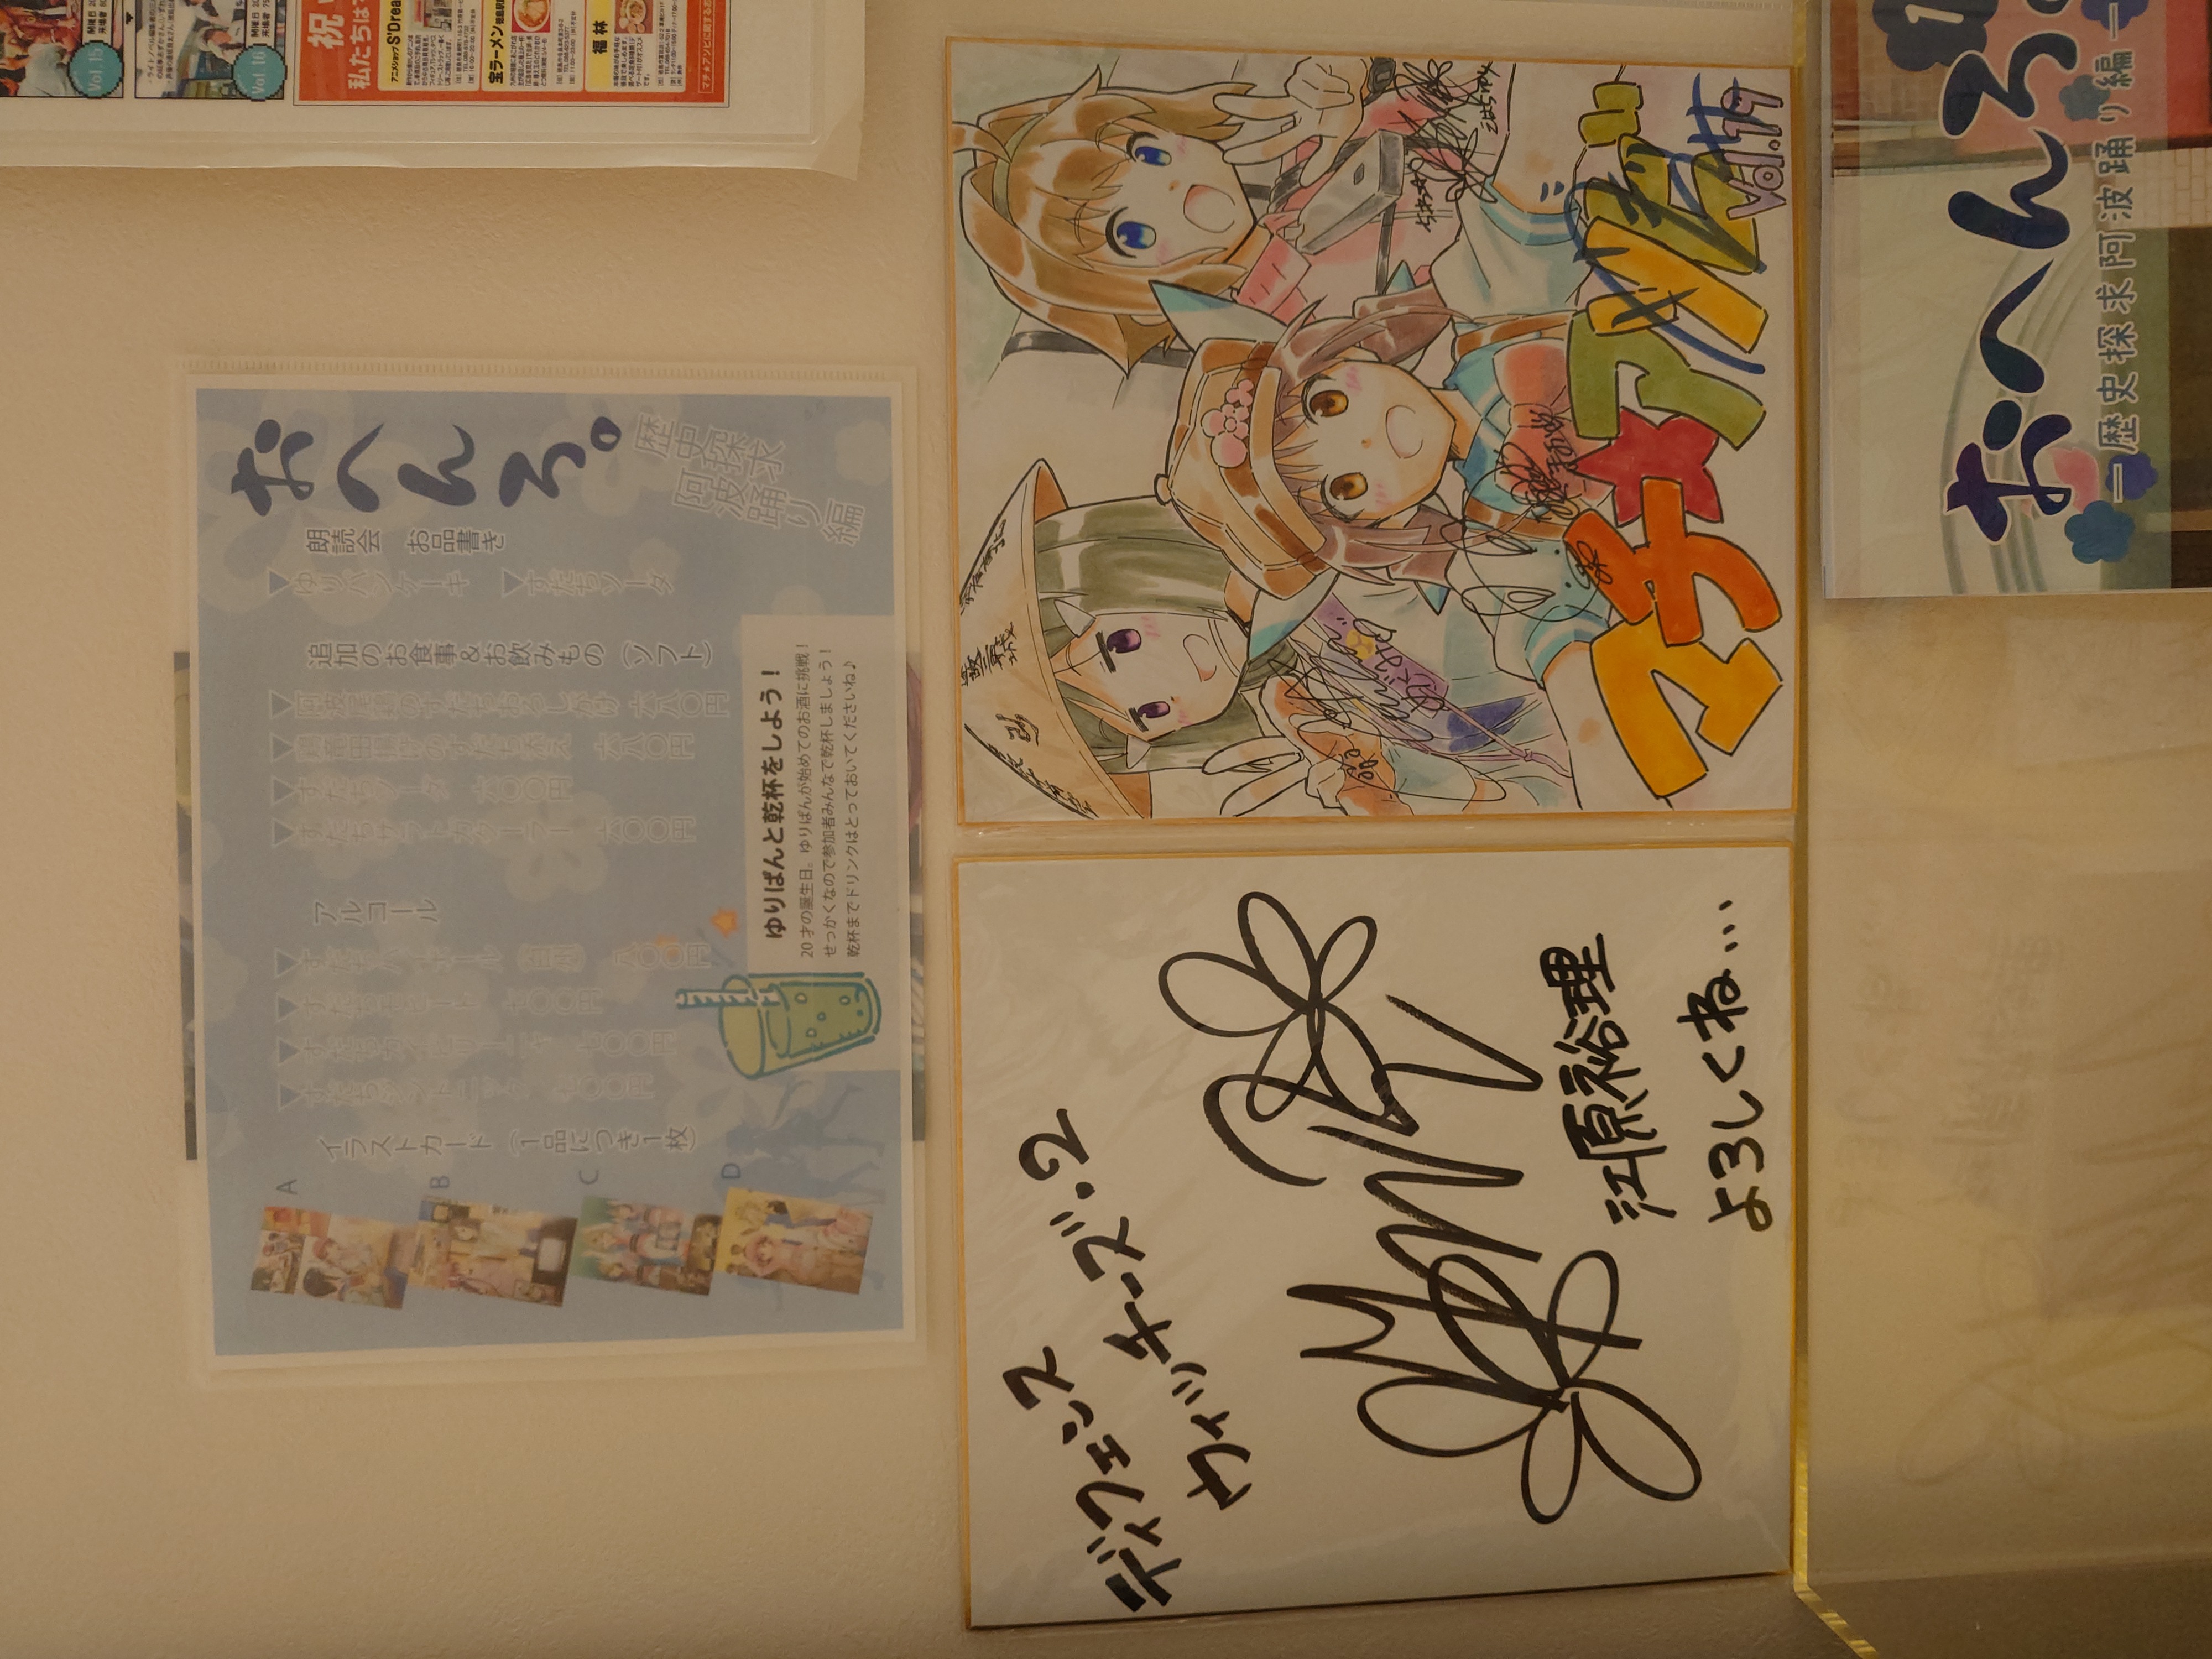
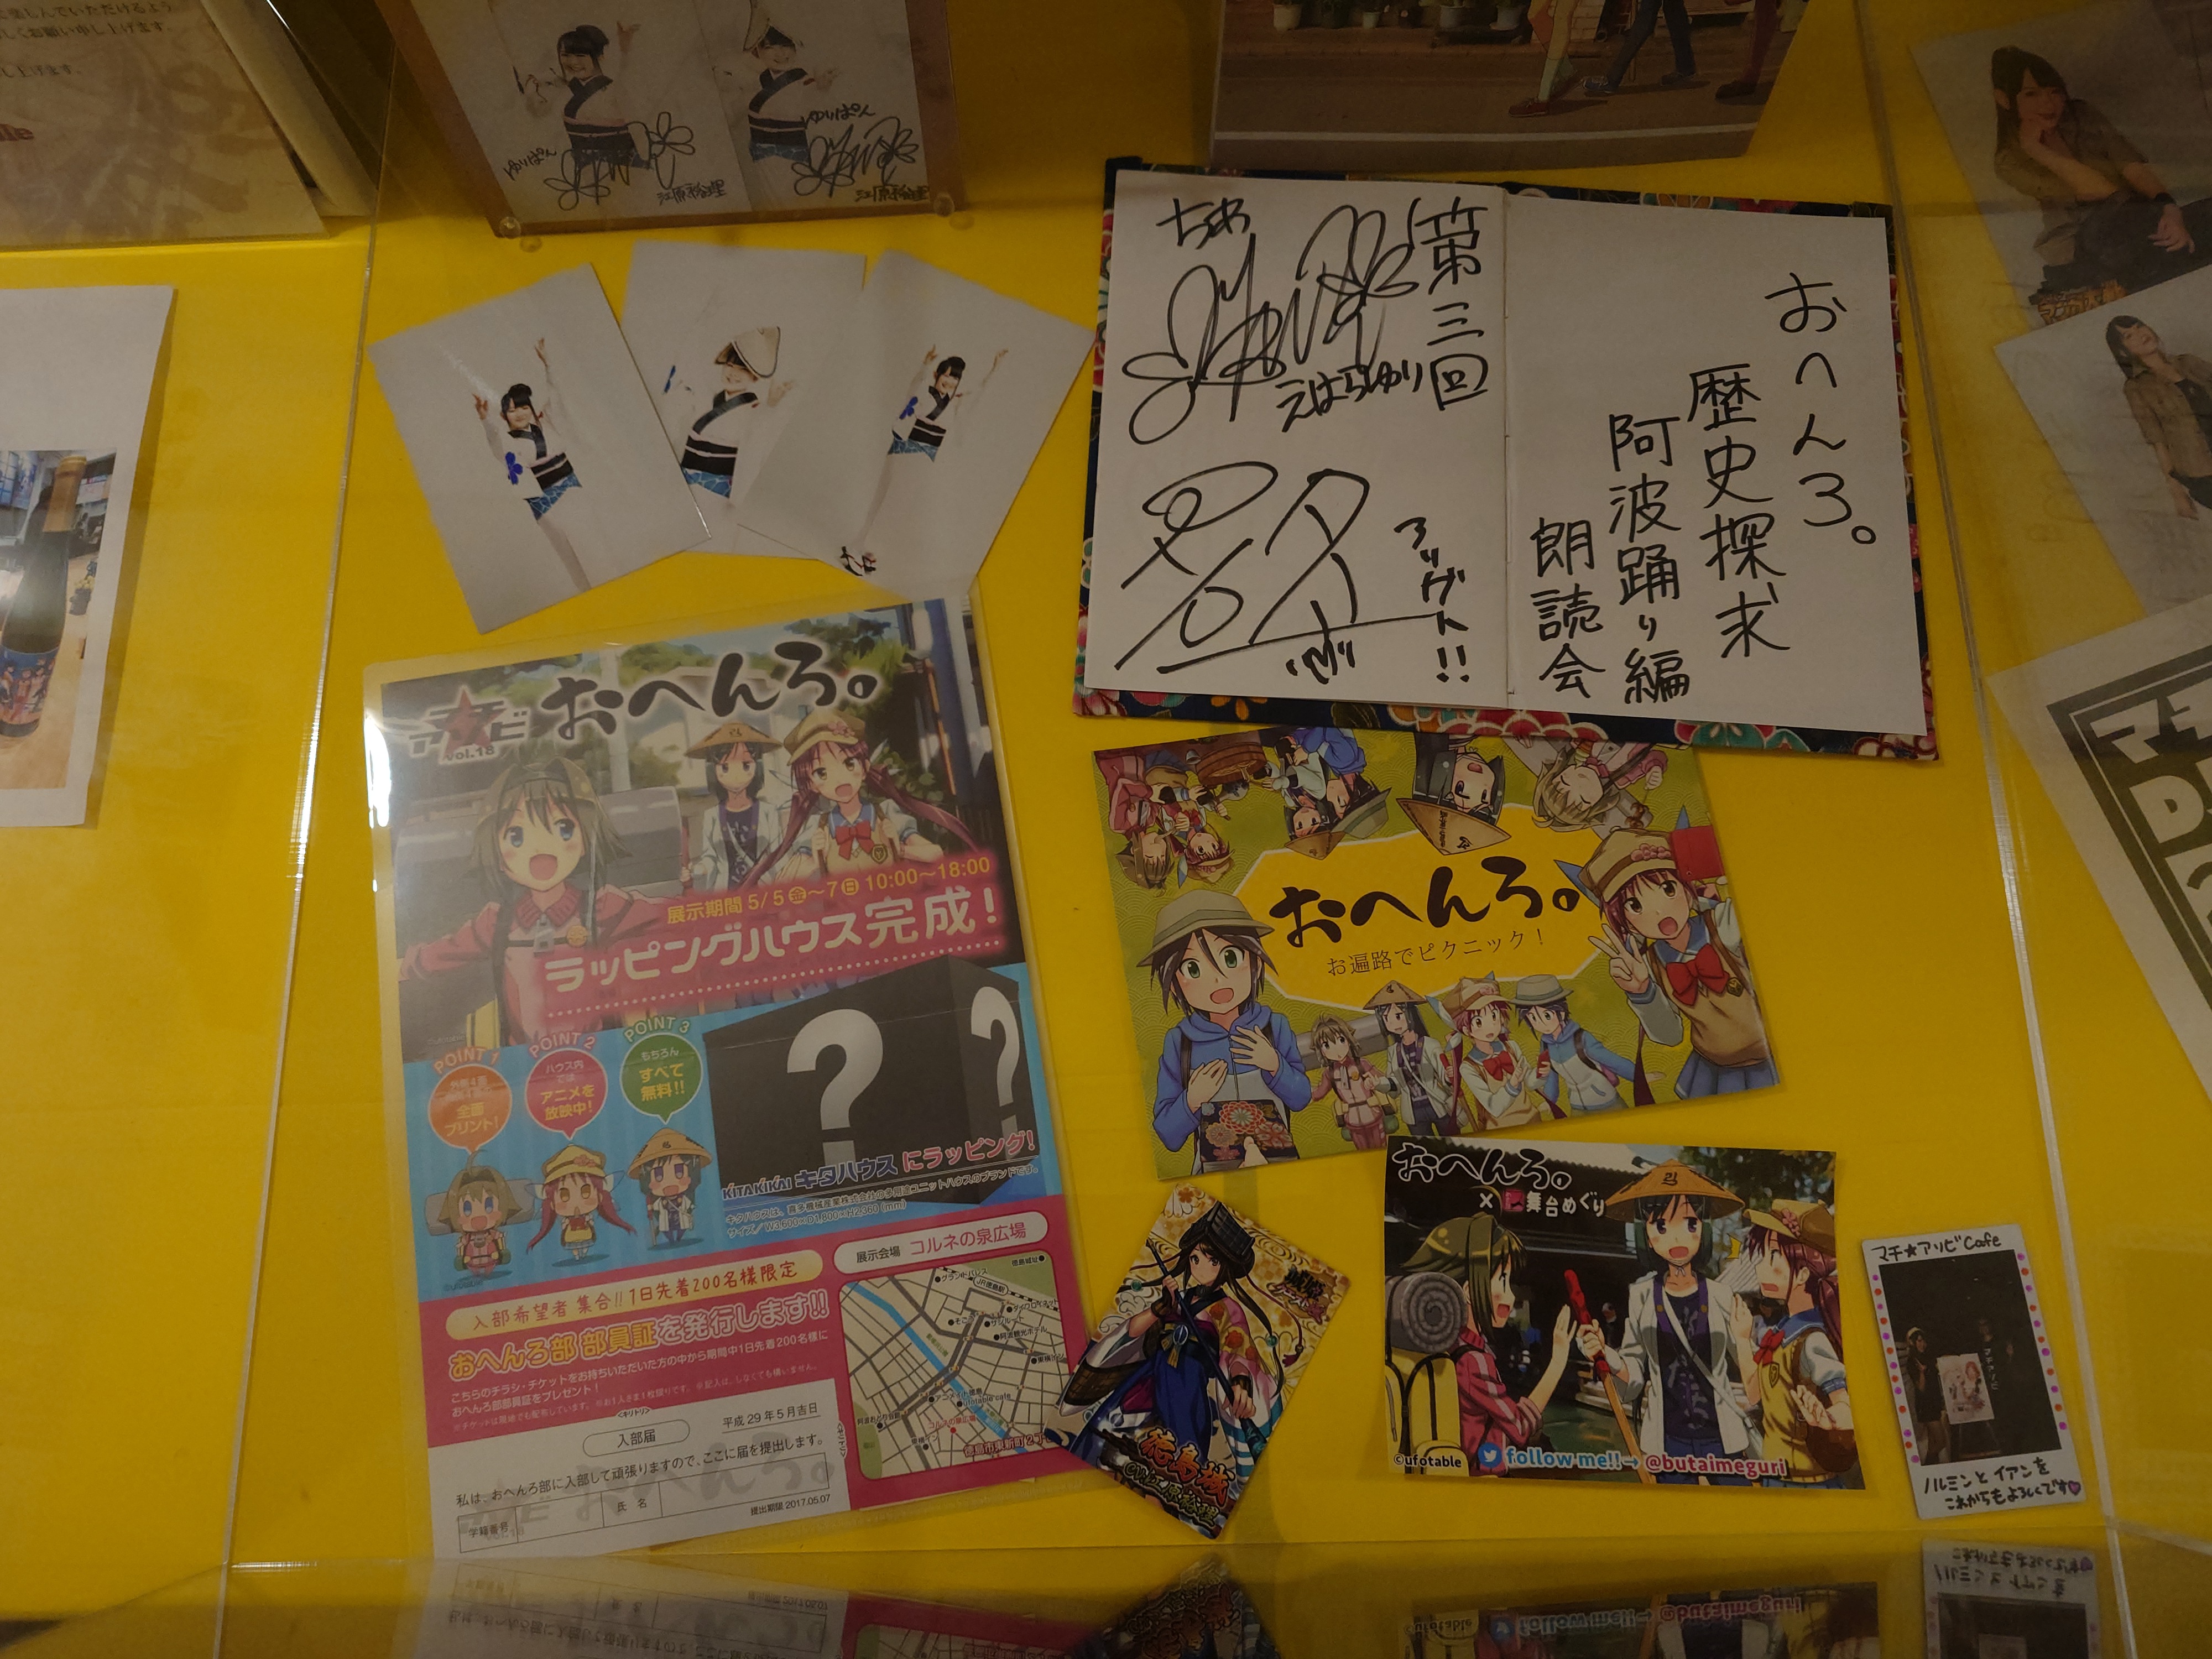
マチアソビでの色紙や、おへんろ。のイベントフライヤーもあった。こういうのを見ていると、にぎやかに乾杯している当時の情景が浮かぶ。
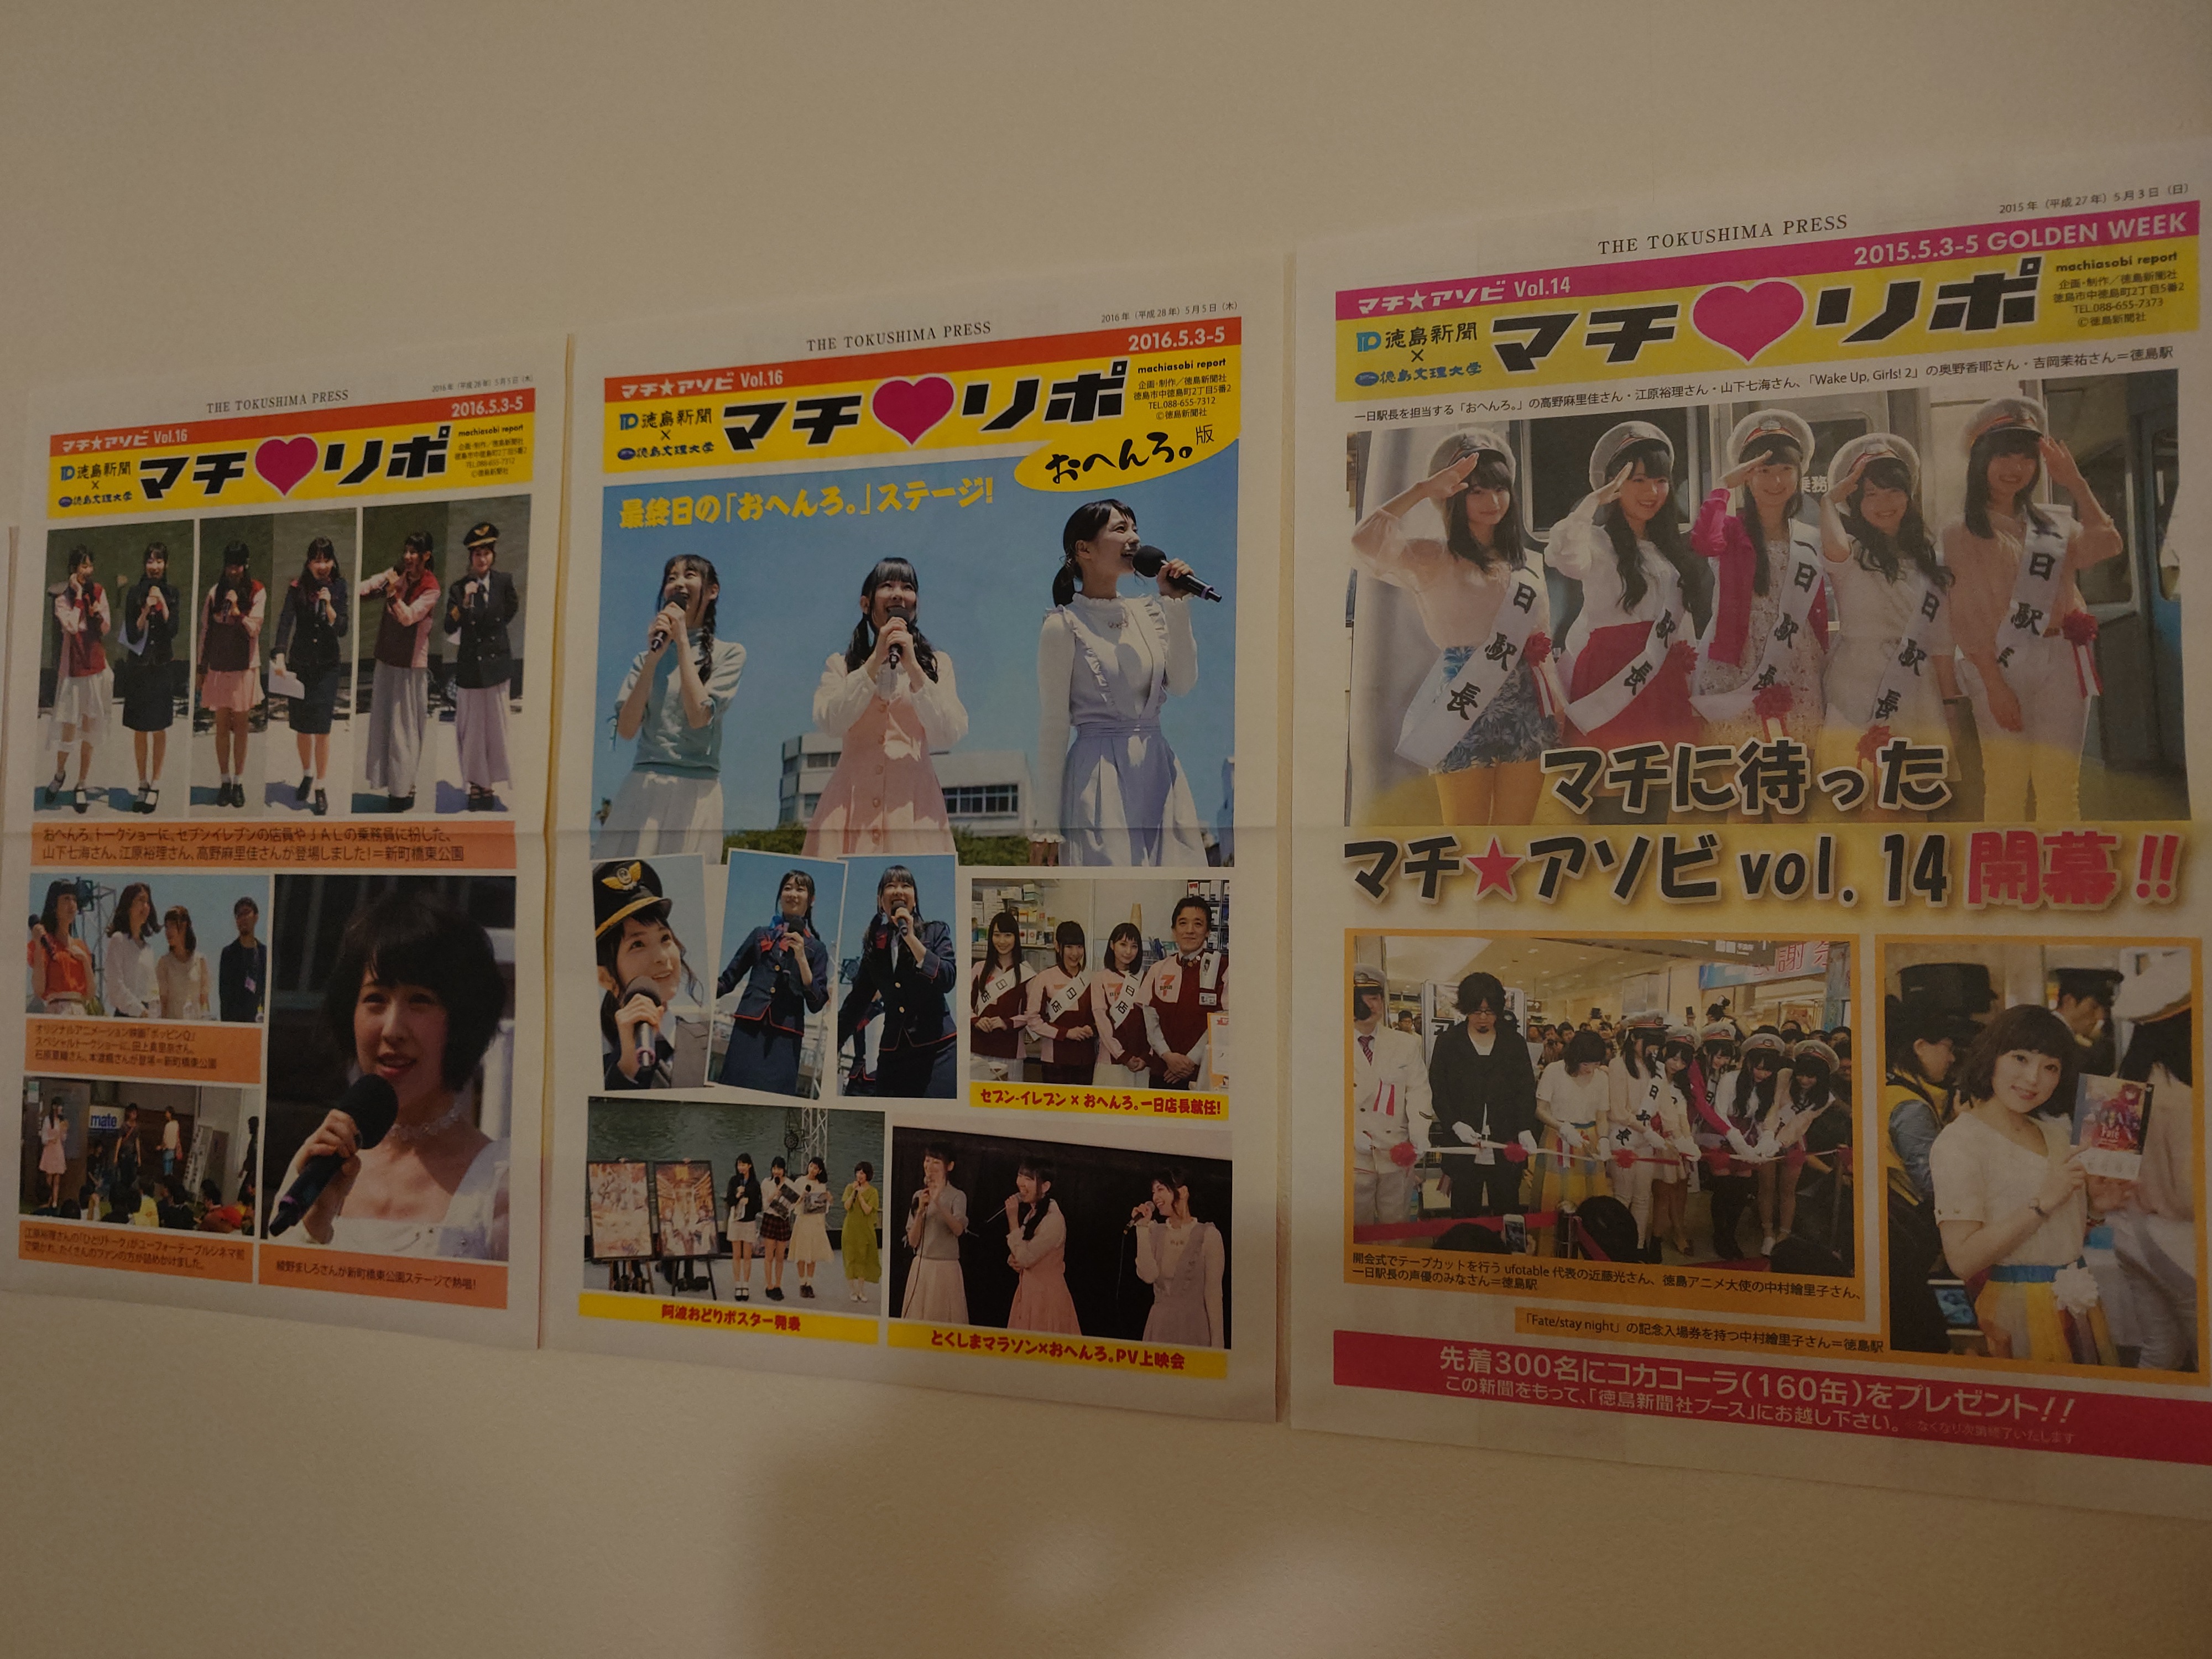
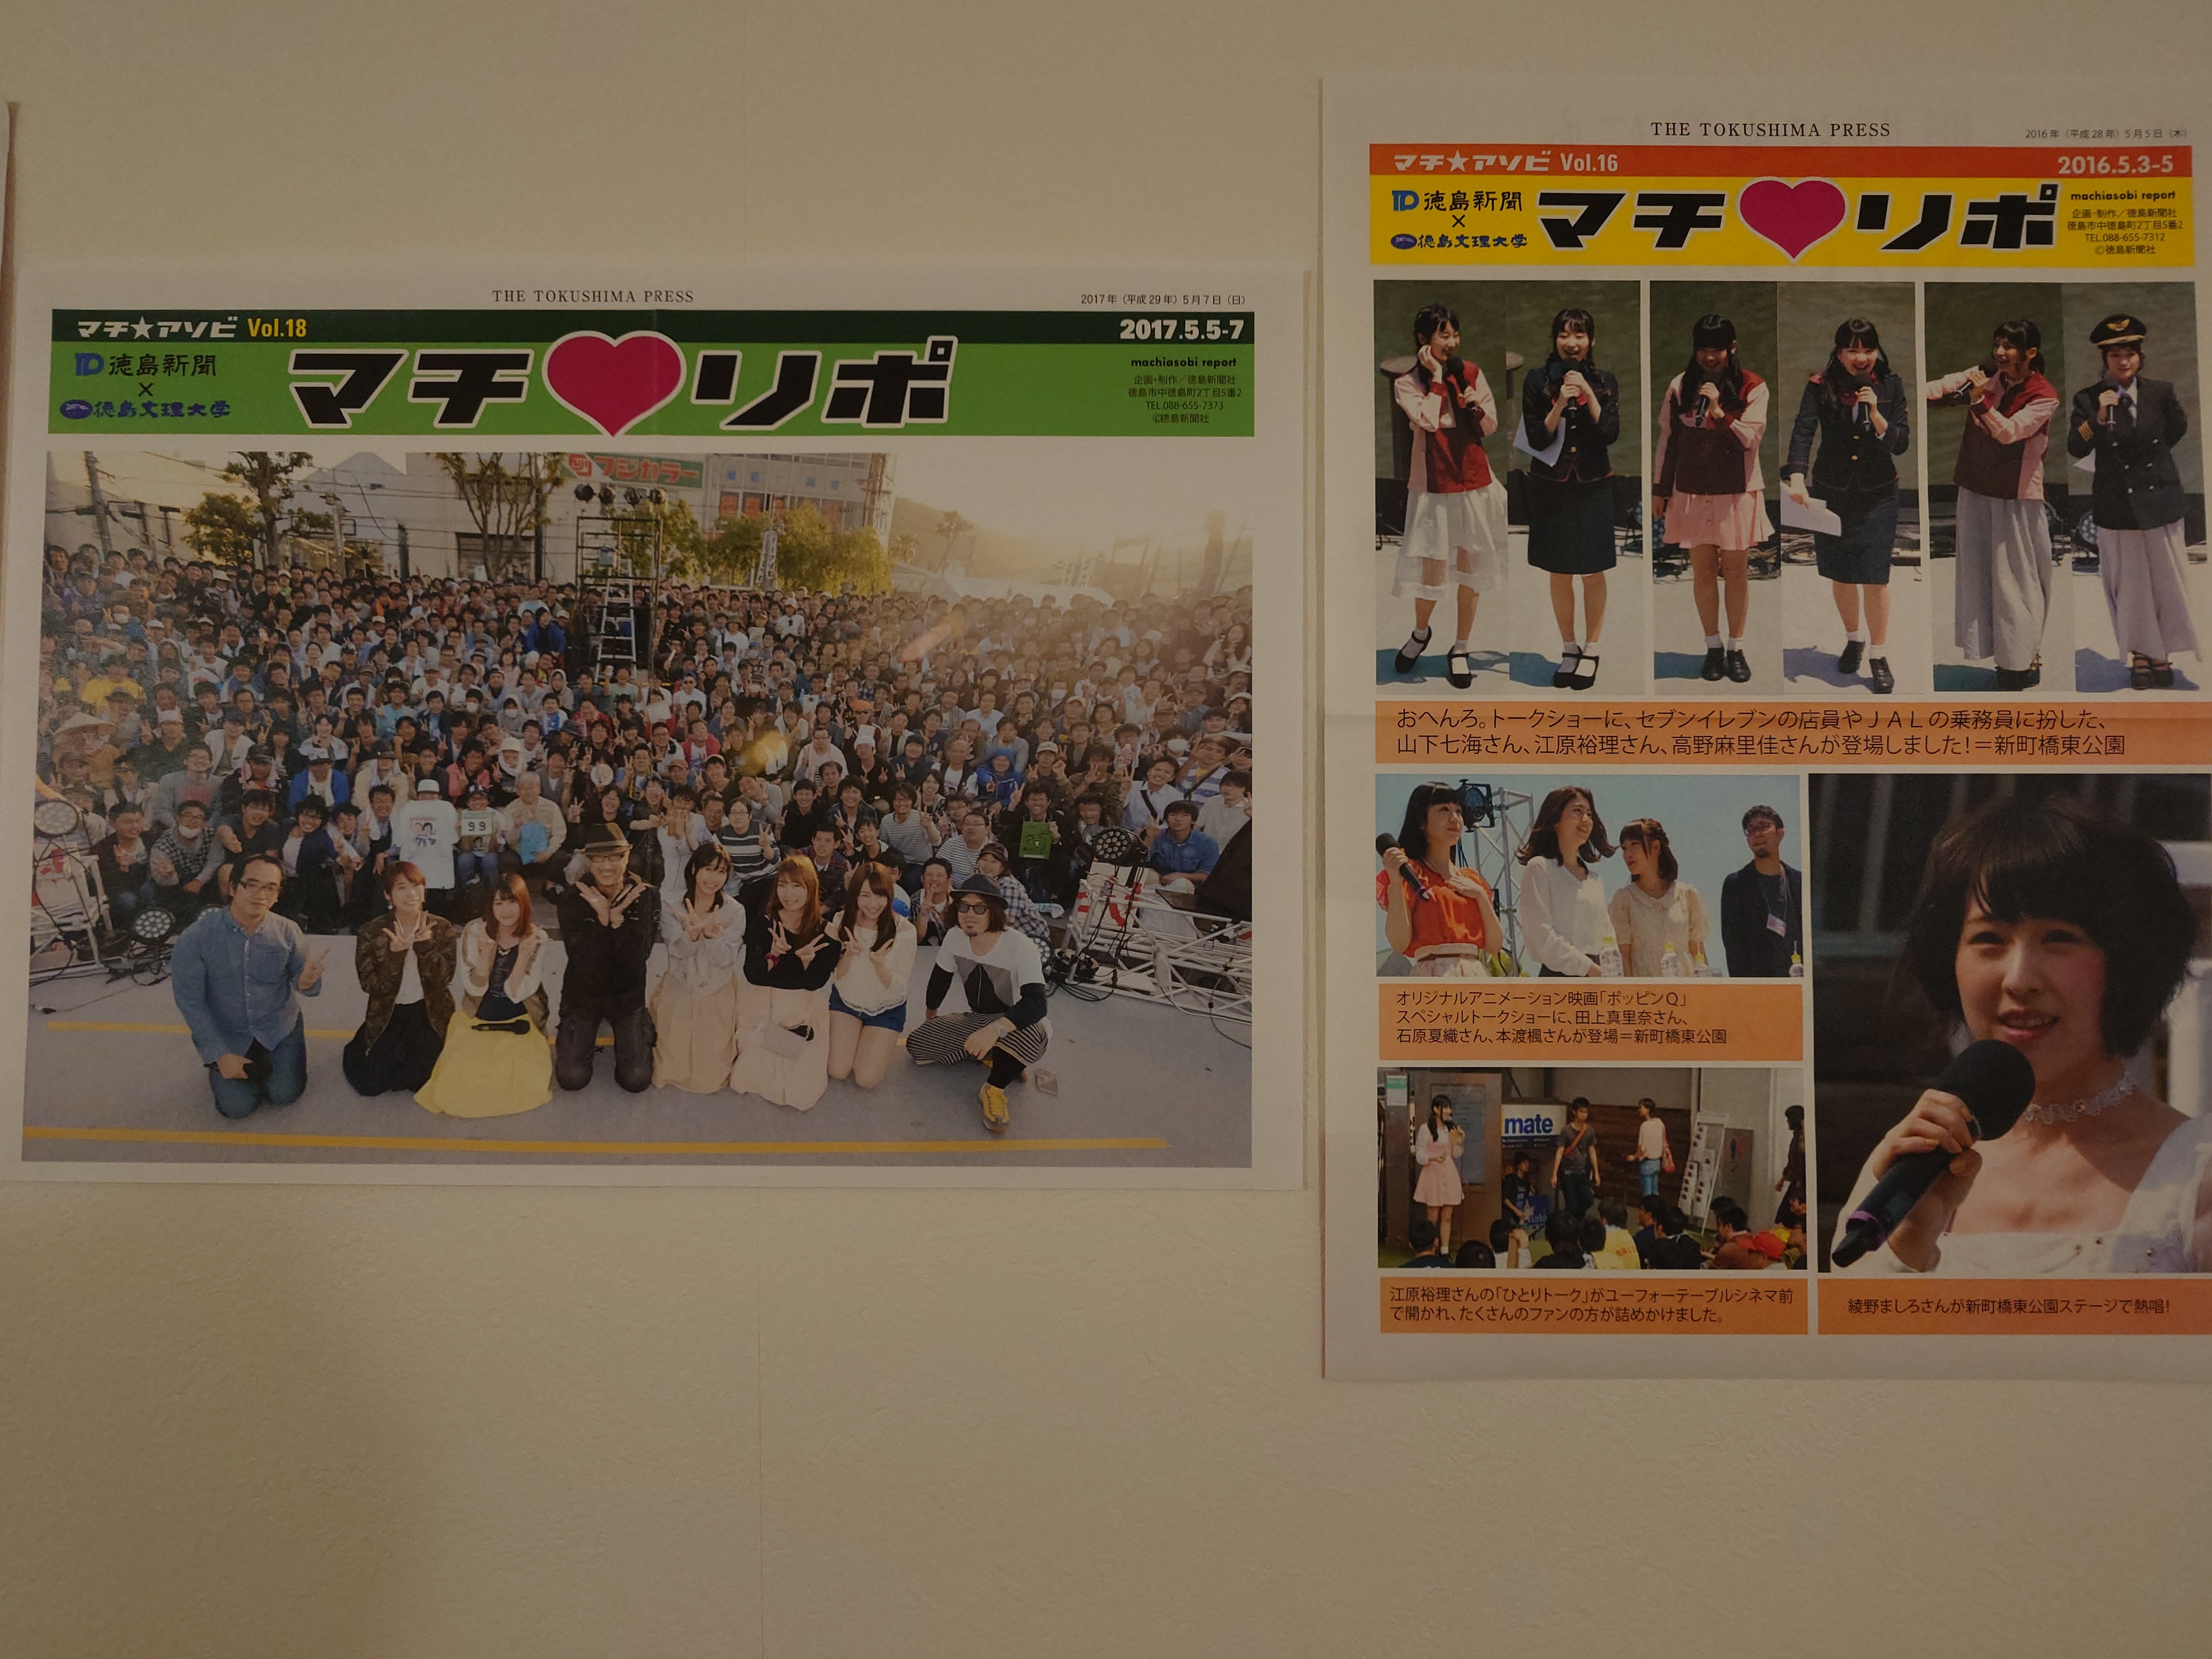
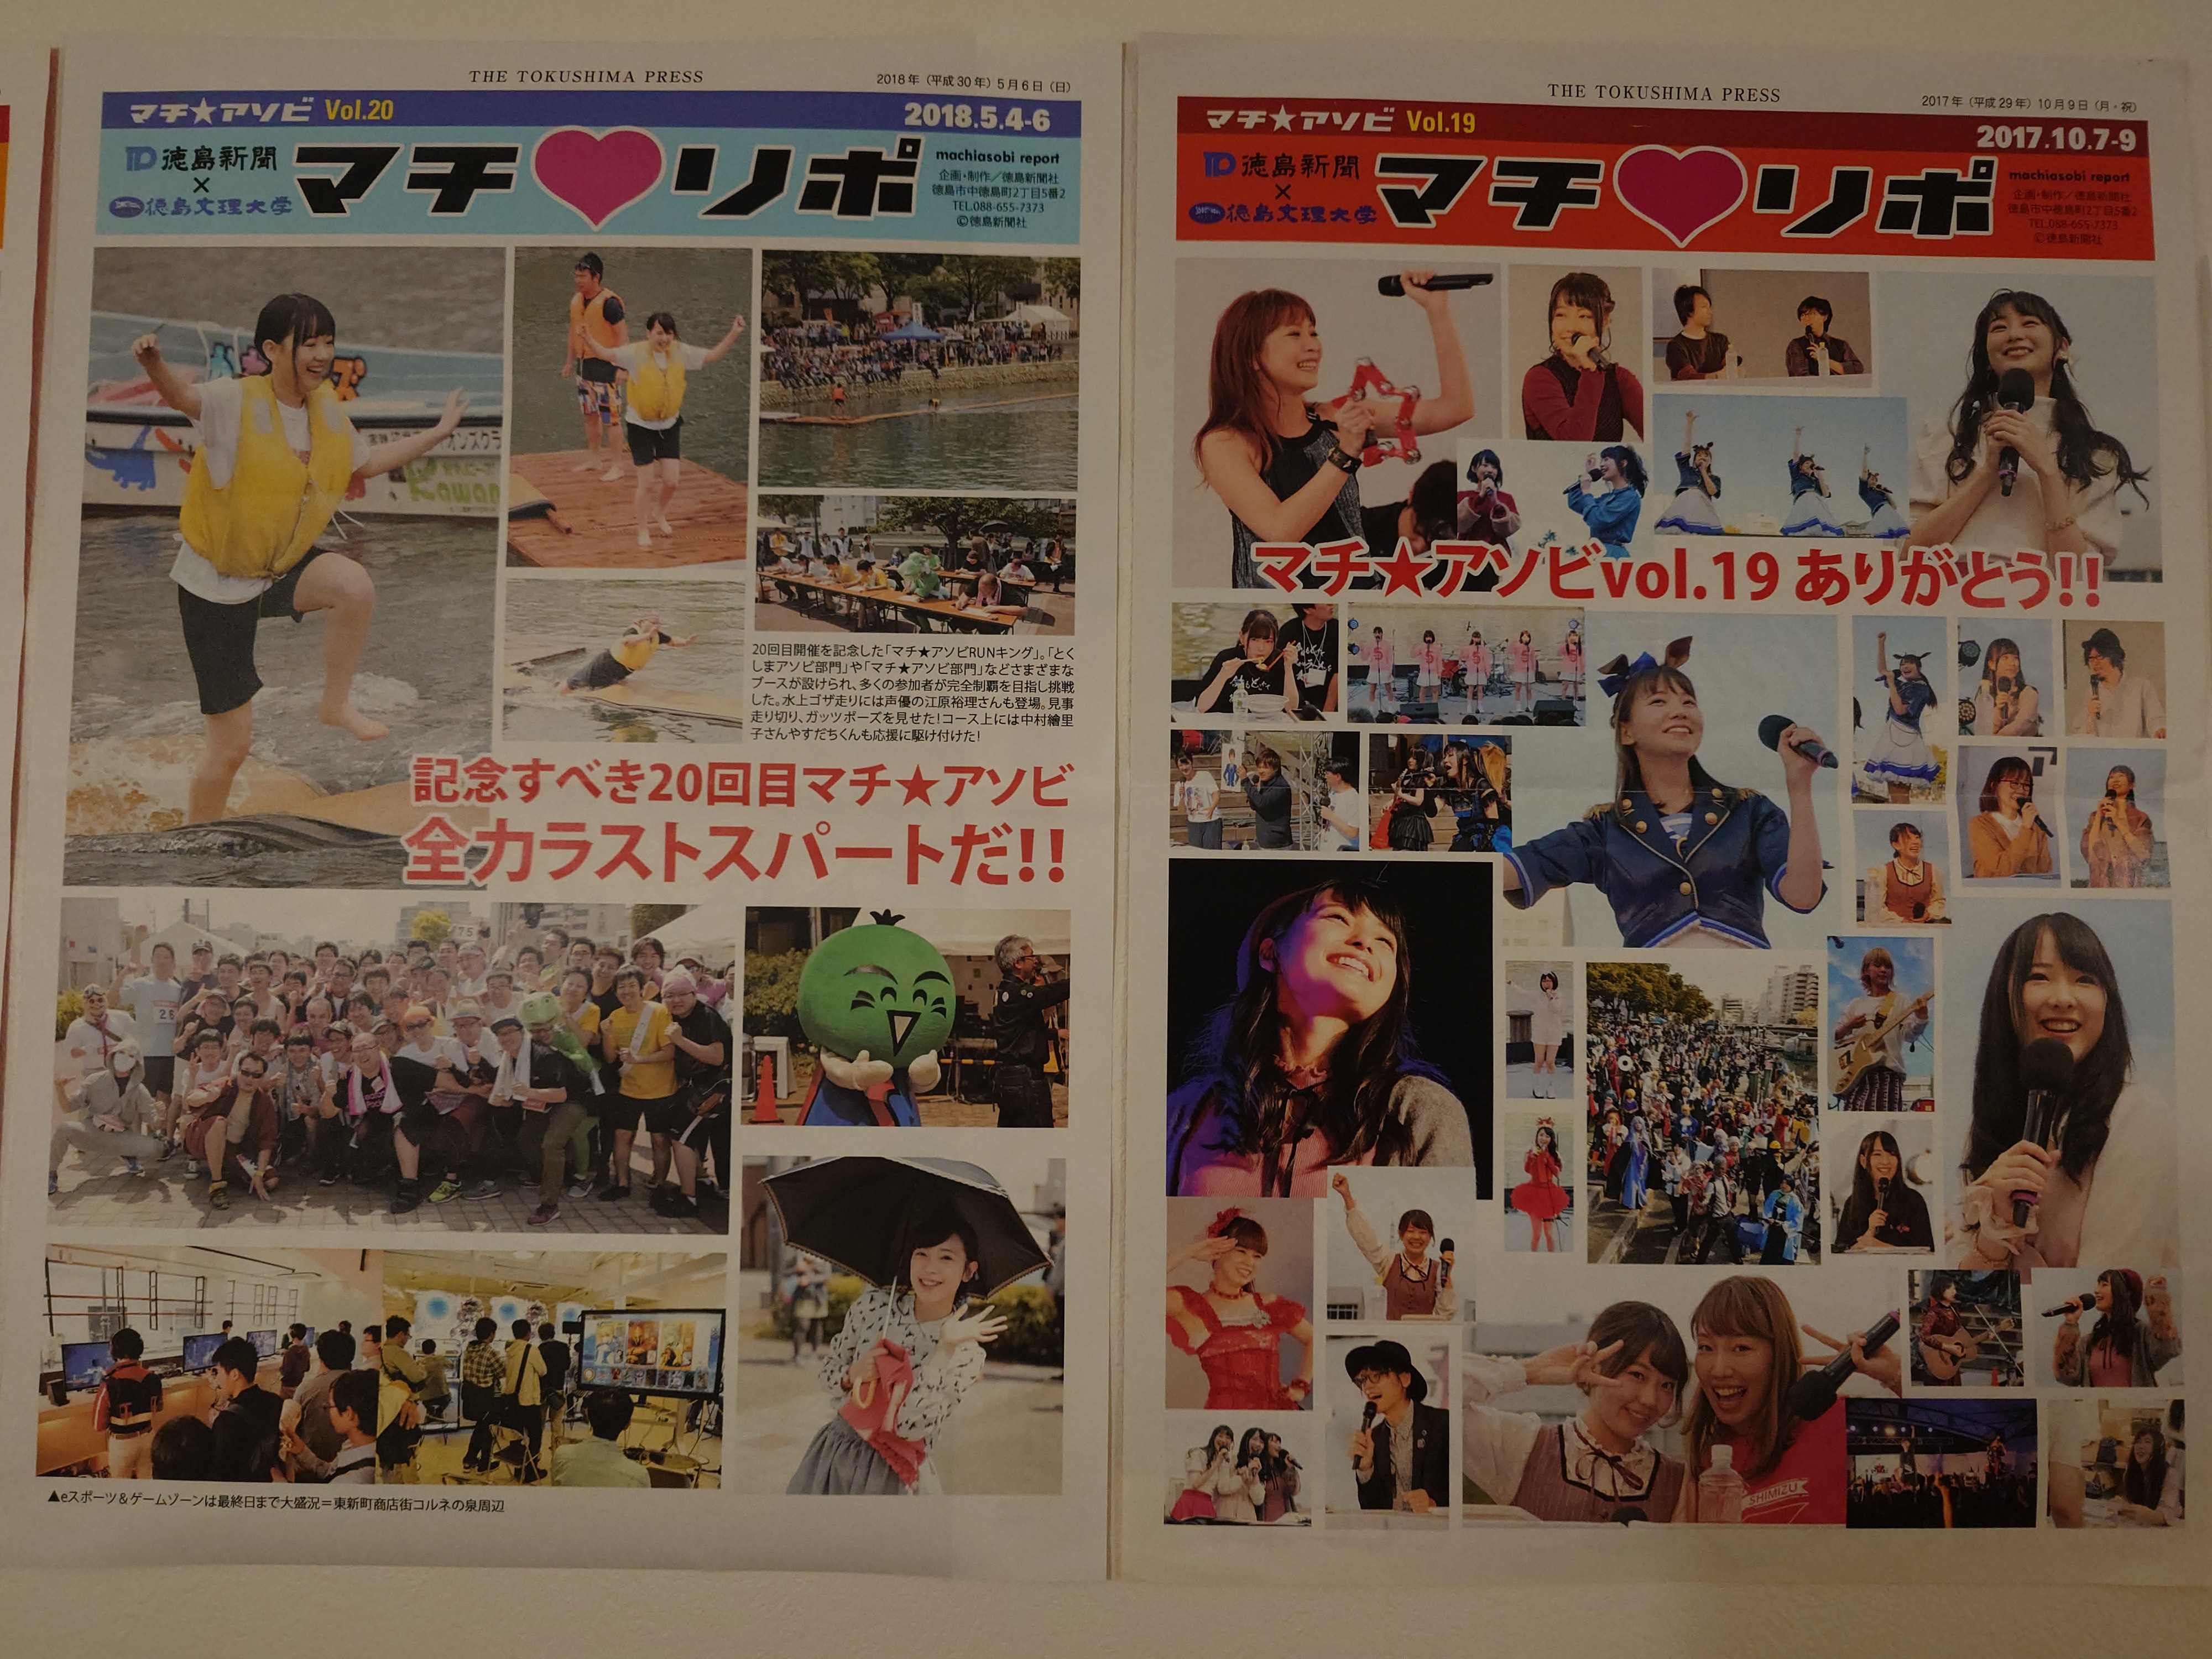
当時の徳島新聞の特集記事のようなものも飾られていた。本当に何でもある。
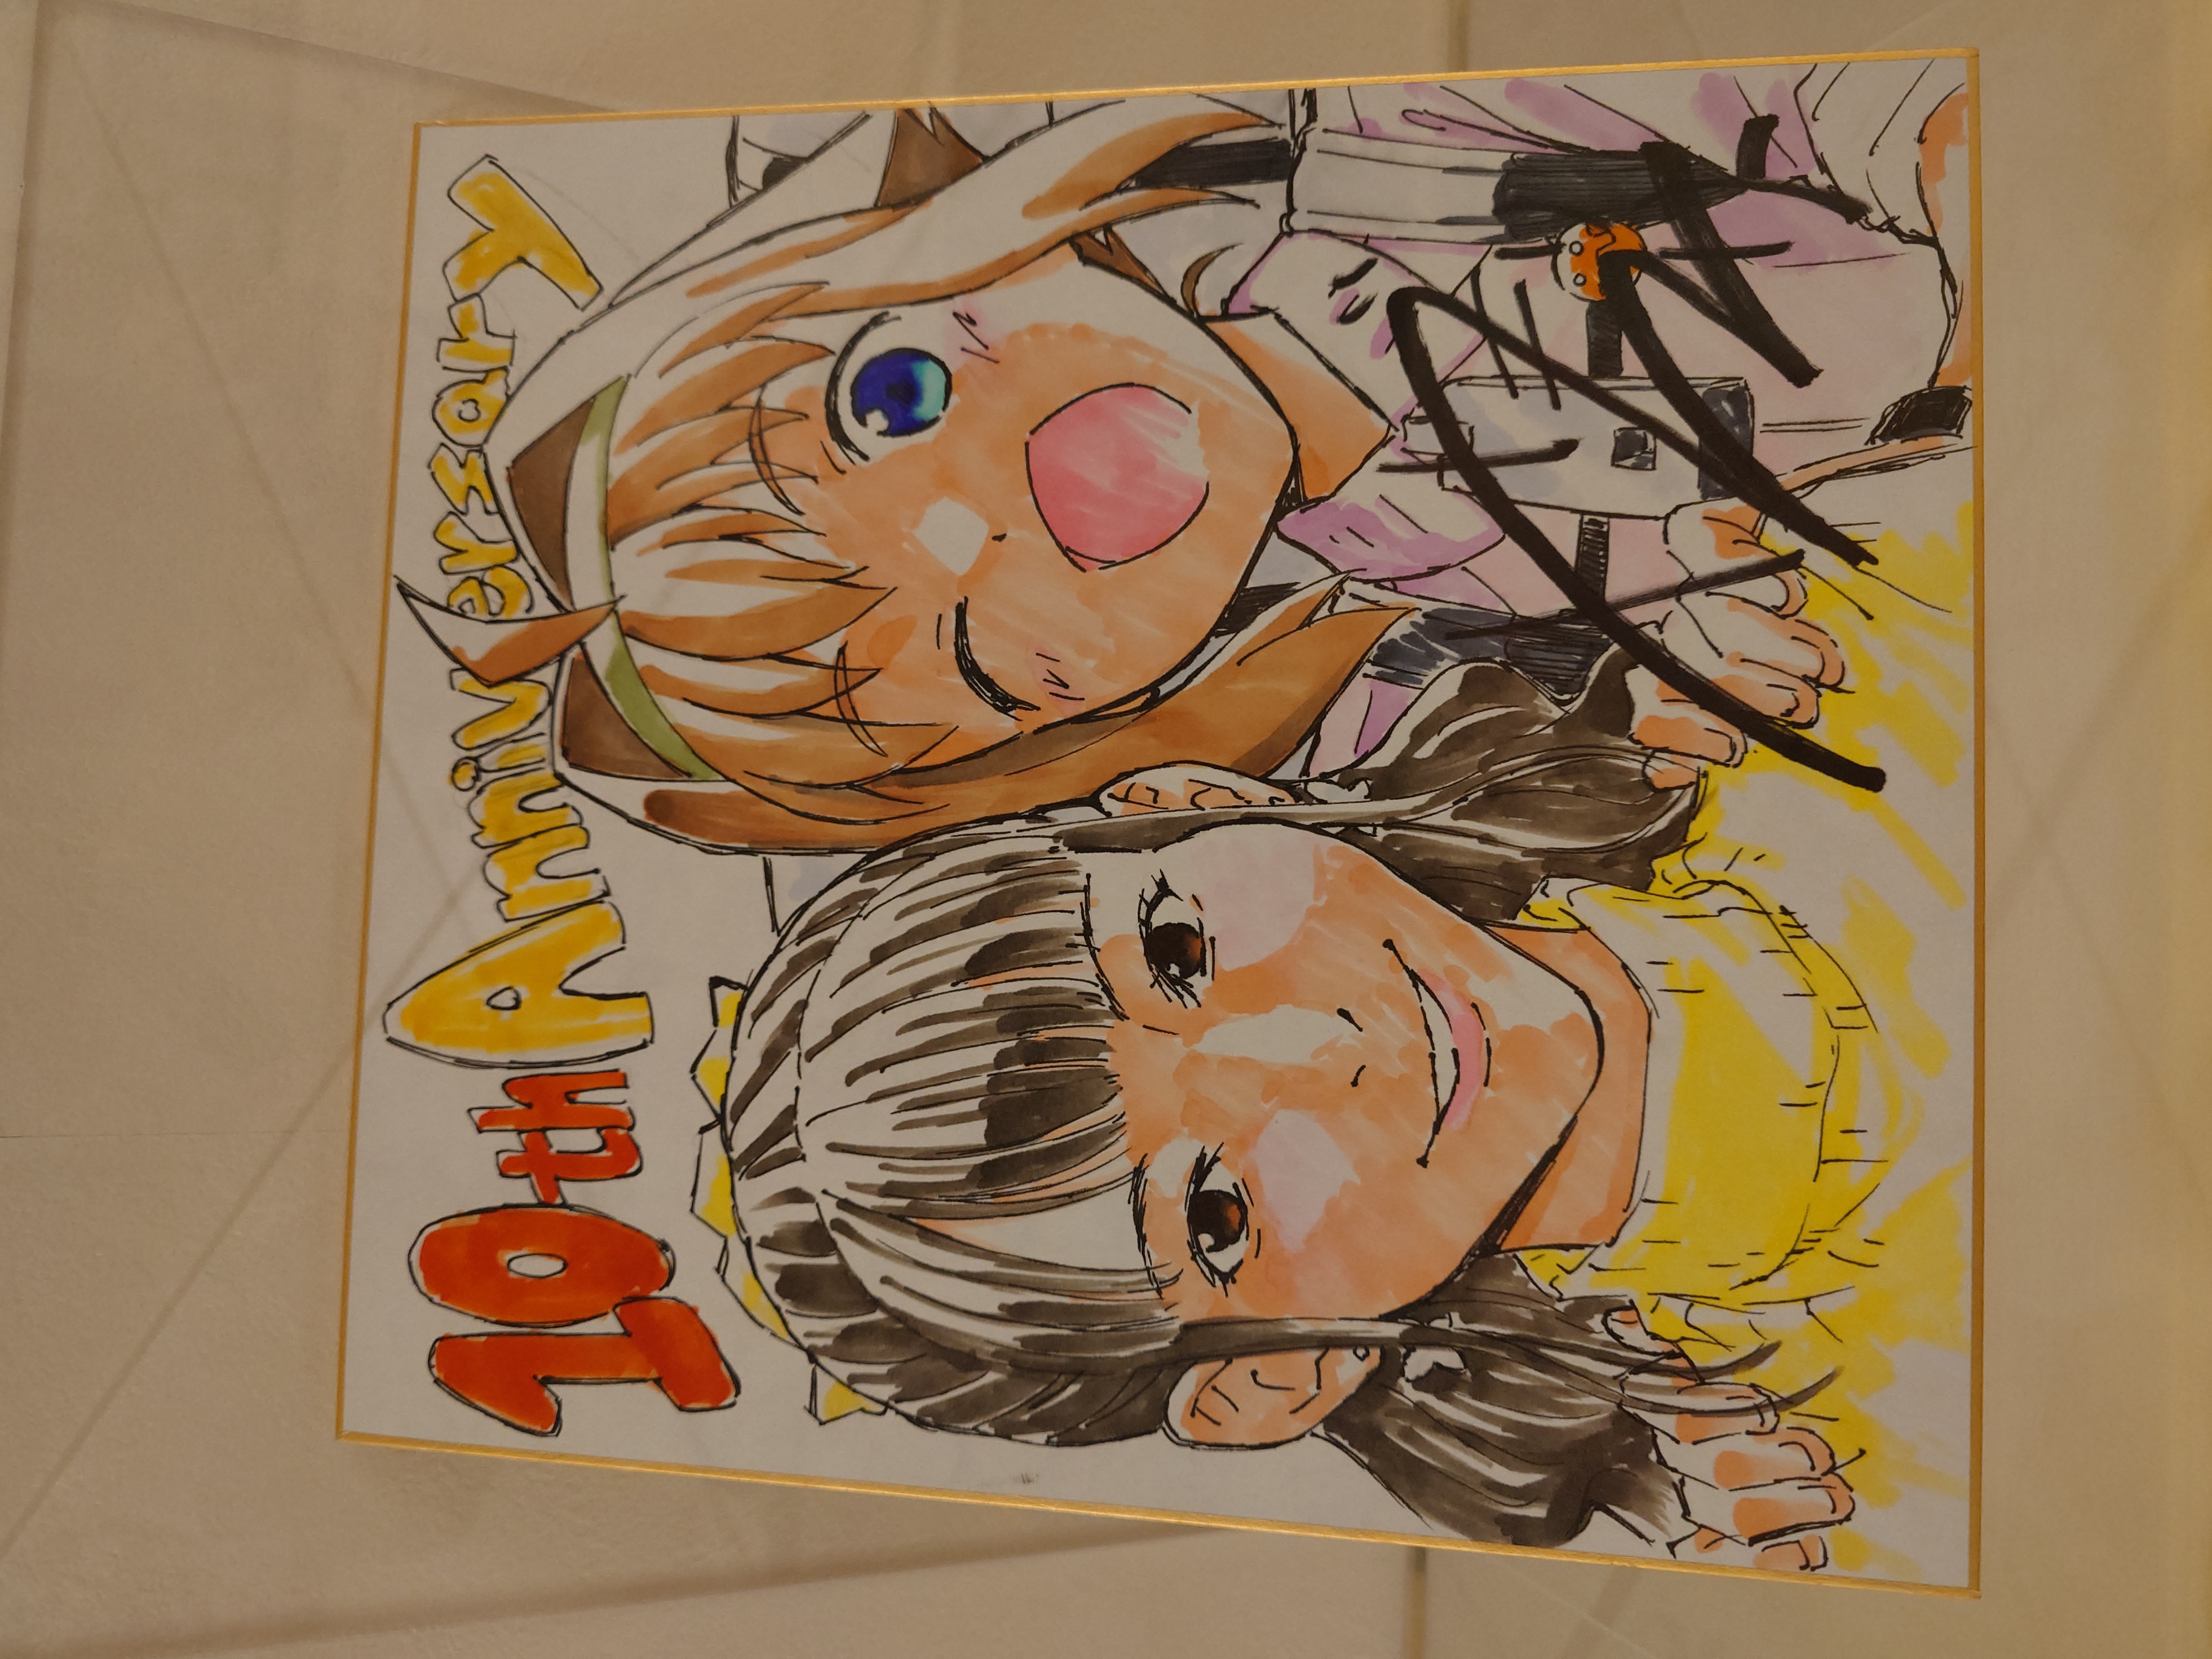
おへんろ。のちわちゃんとゆりぱんのイラスト色紙もあった。
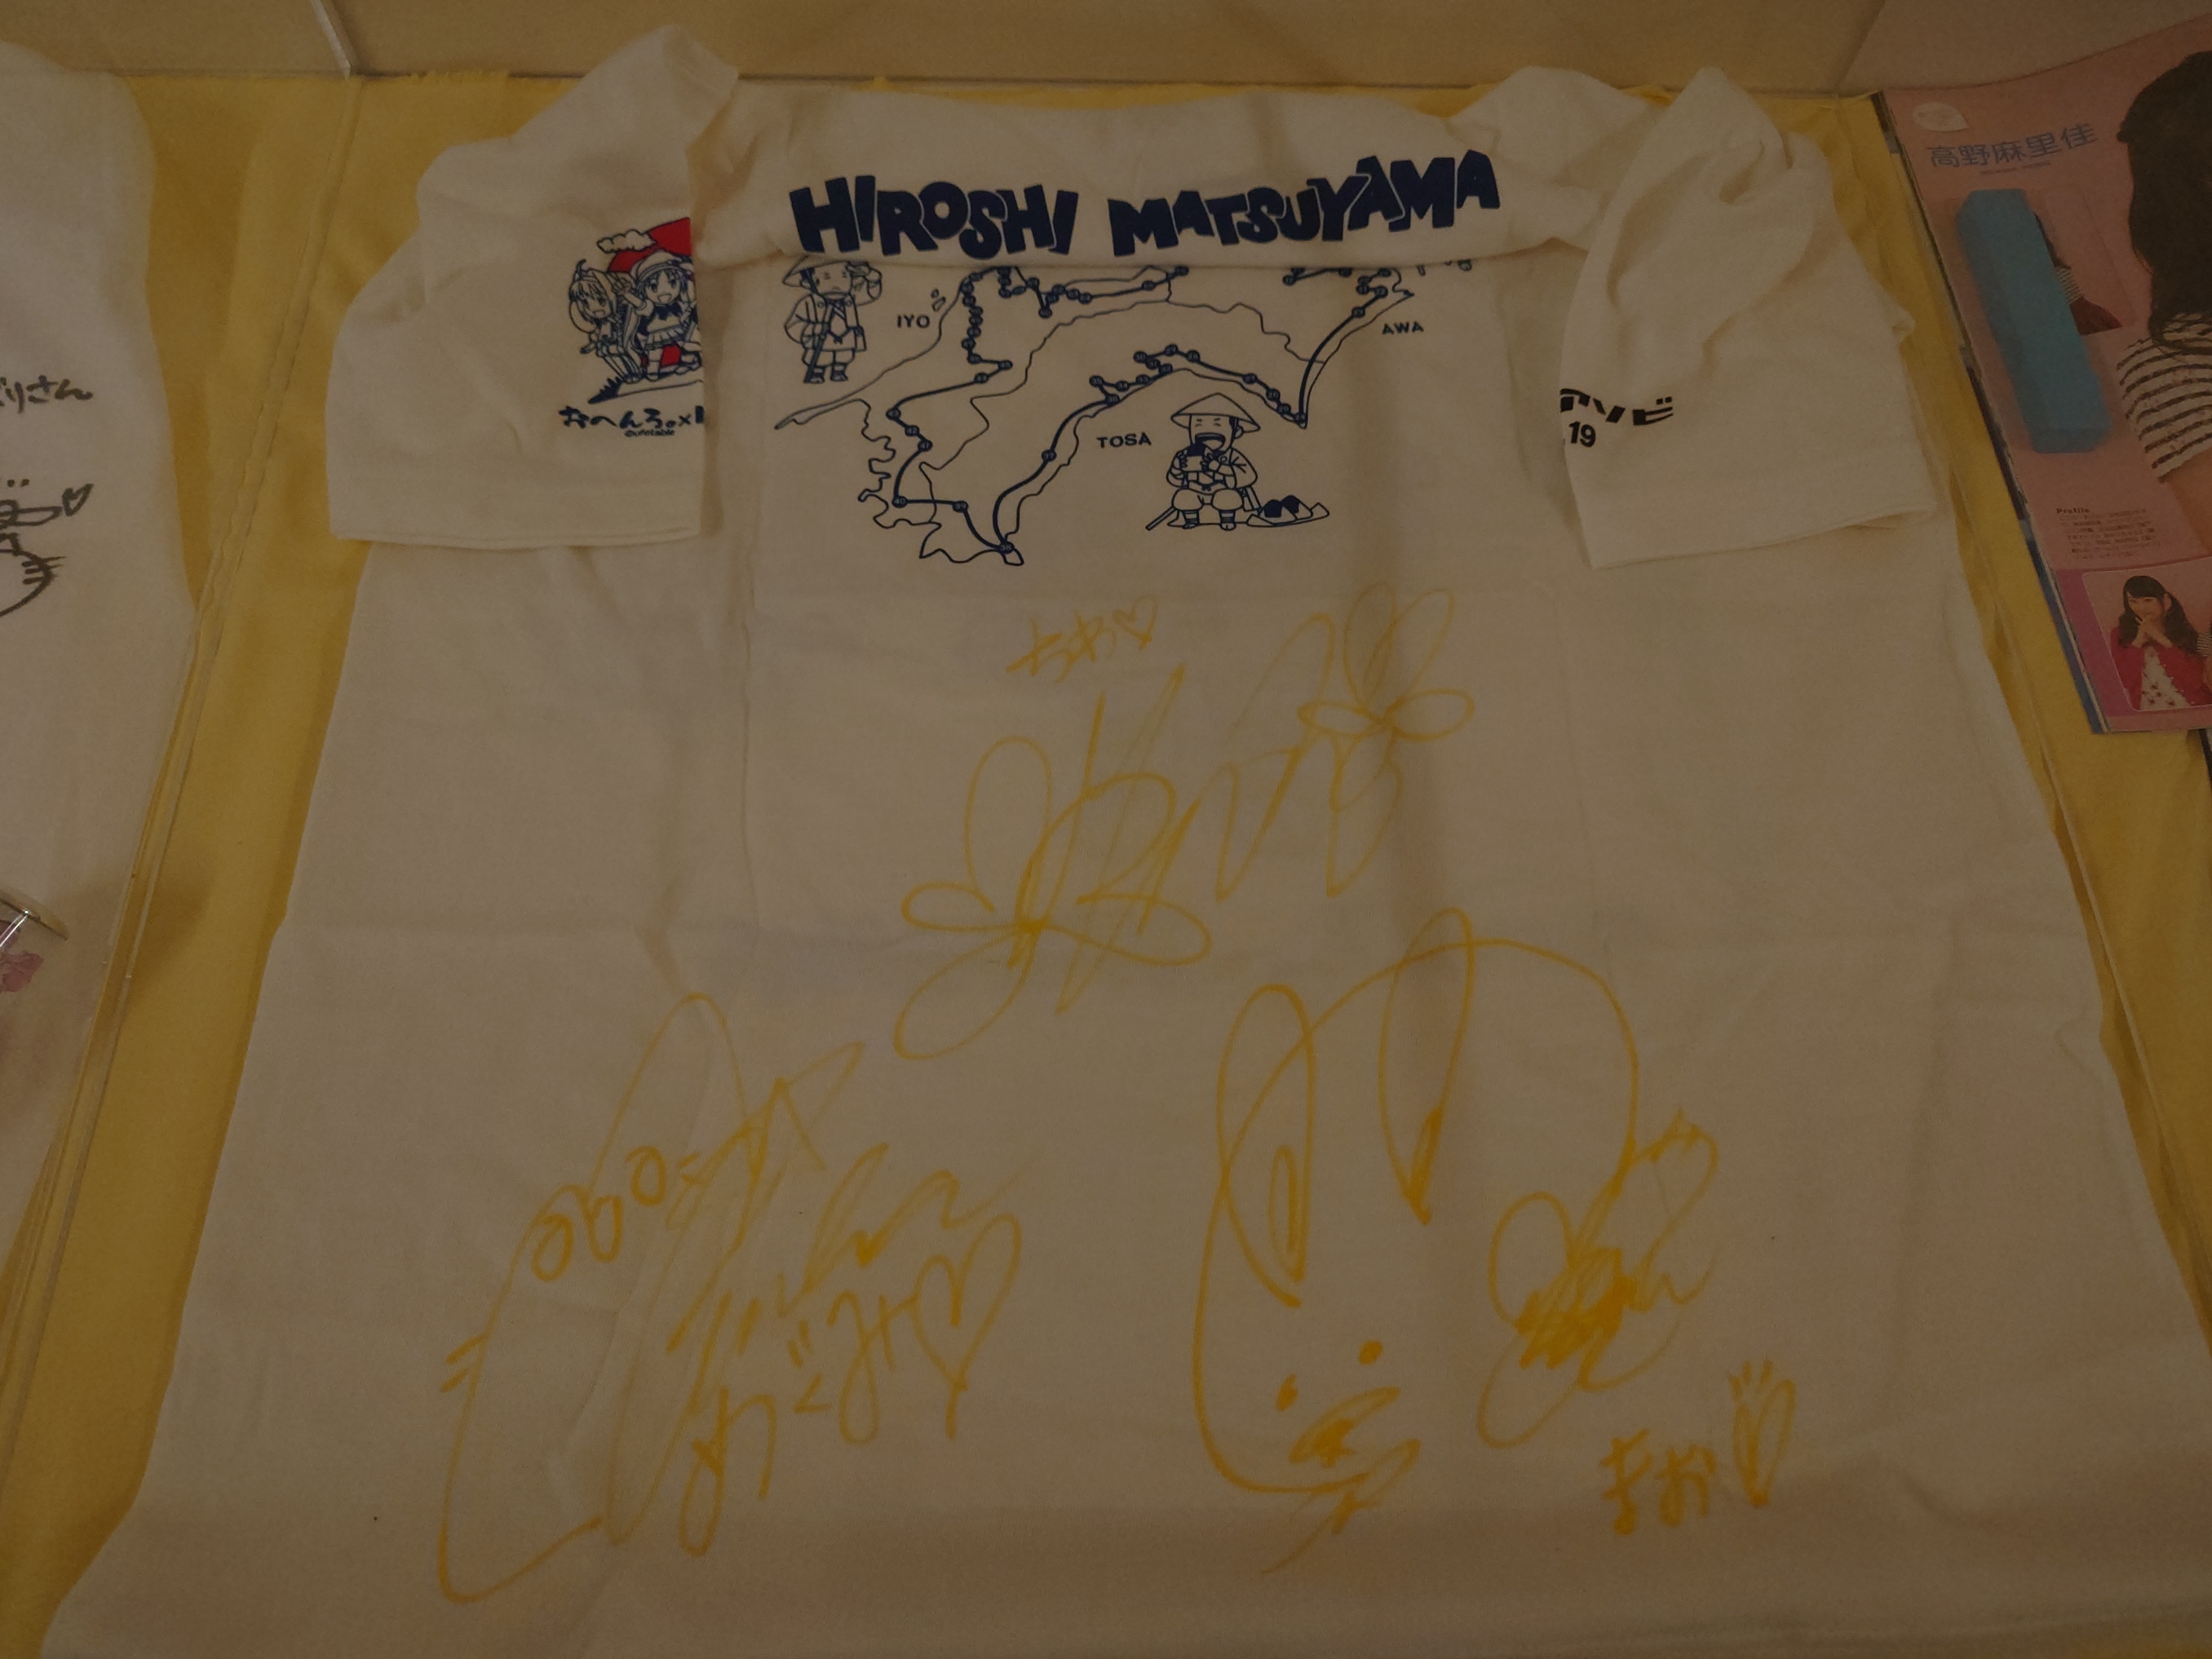
四国八十八箇所が描かれたTシャツもあったようだ。恐らくマチアソビVol. 19のものだろうか?
自転車のホイールカバーまであったが、これは非売品で、イベント用に作ったものらしい。
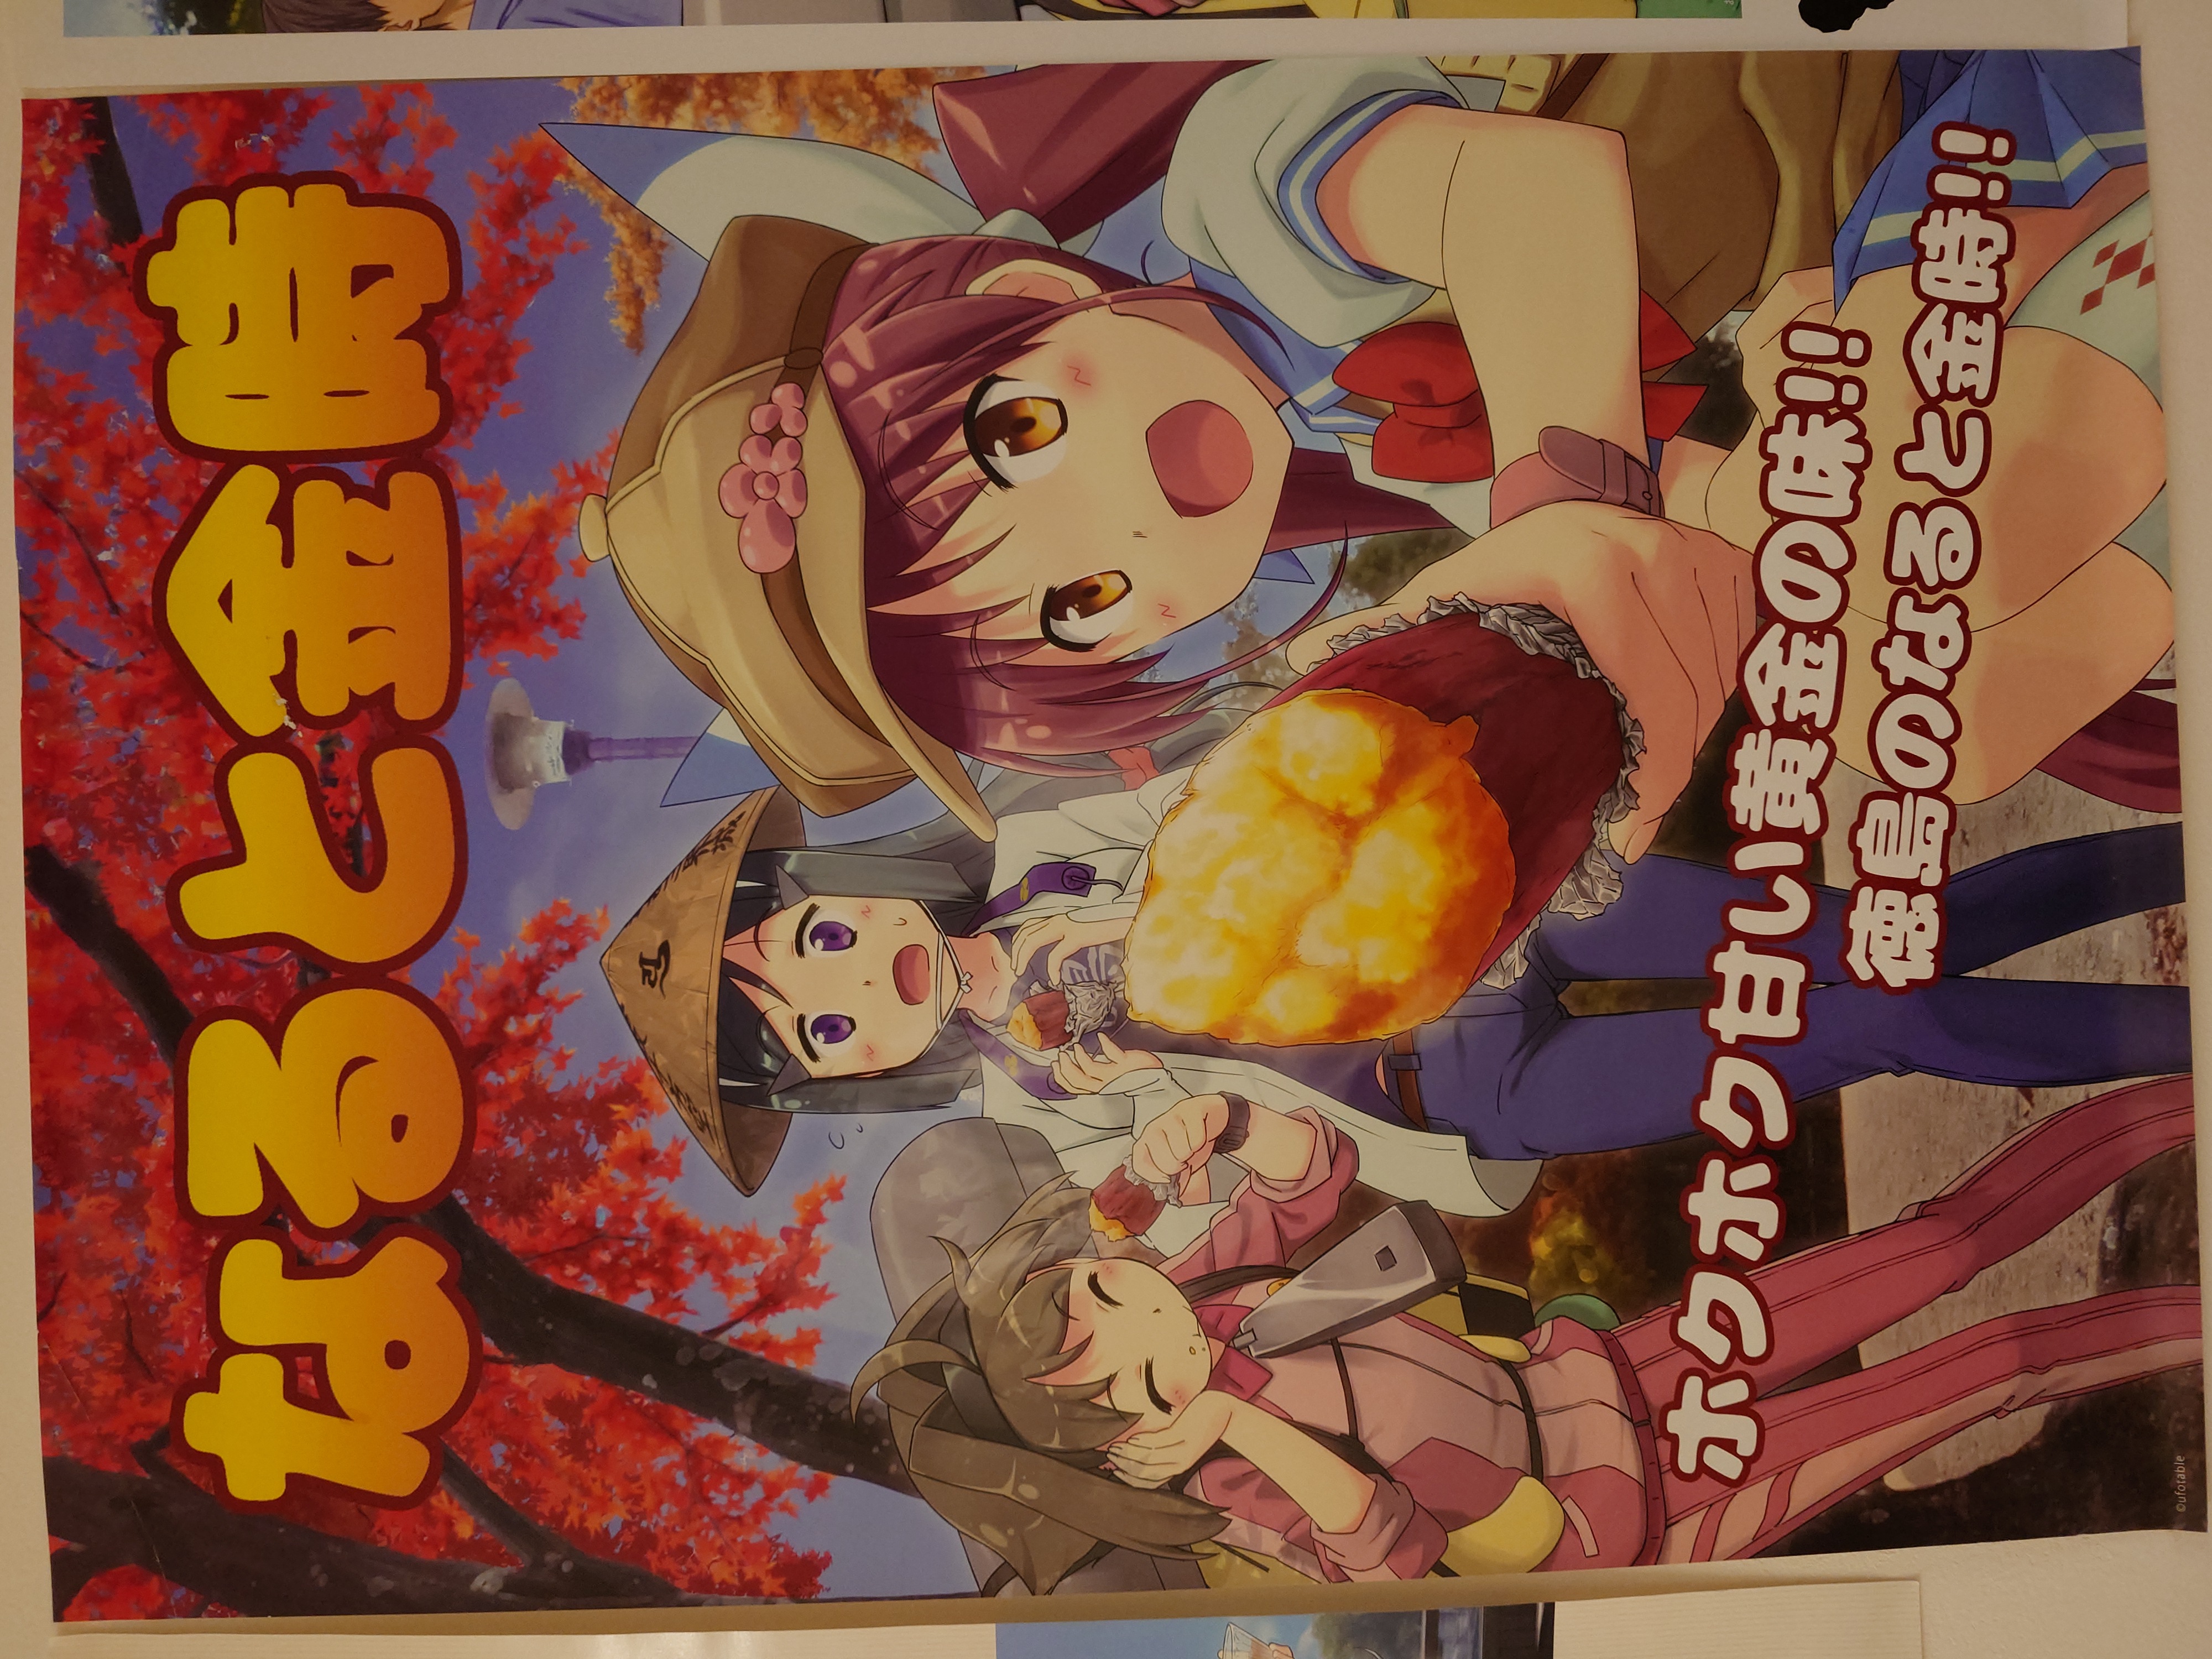
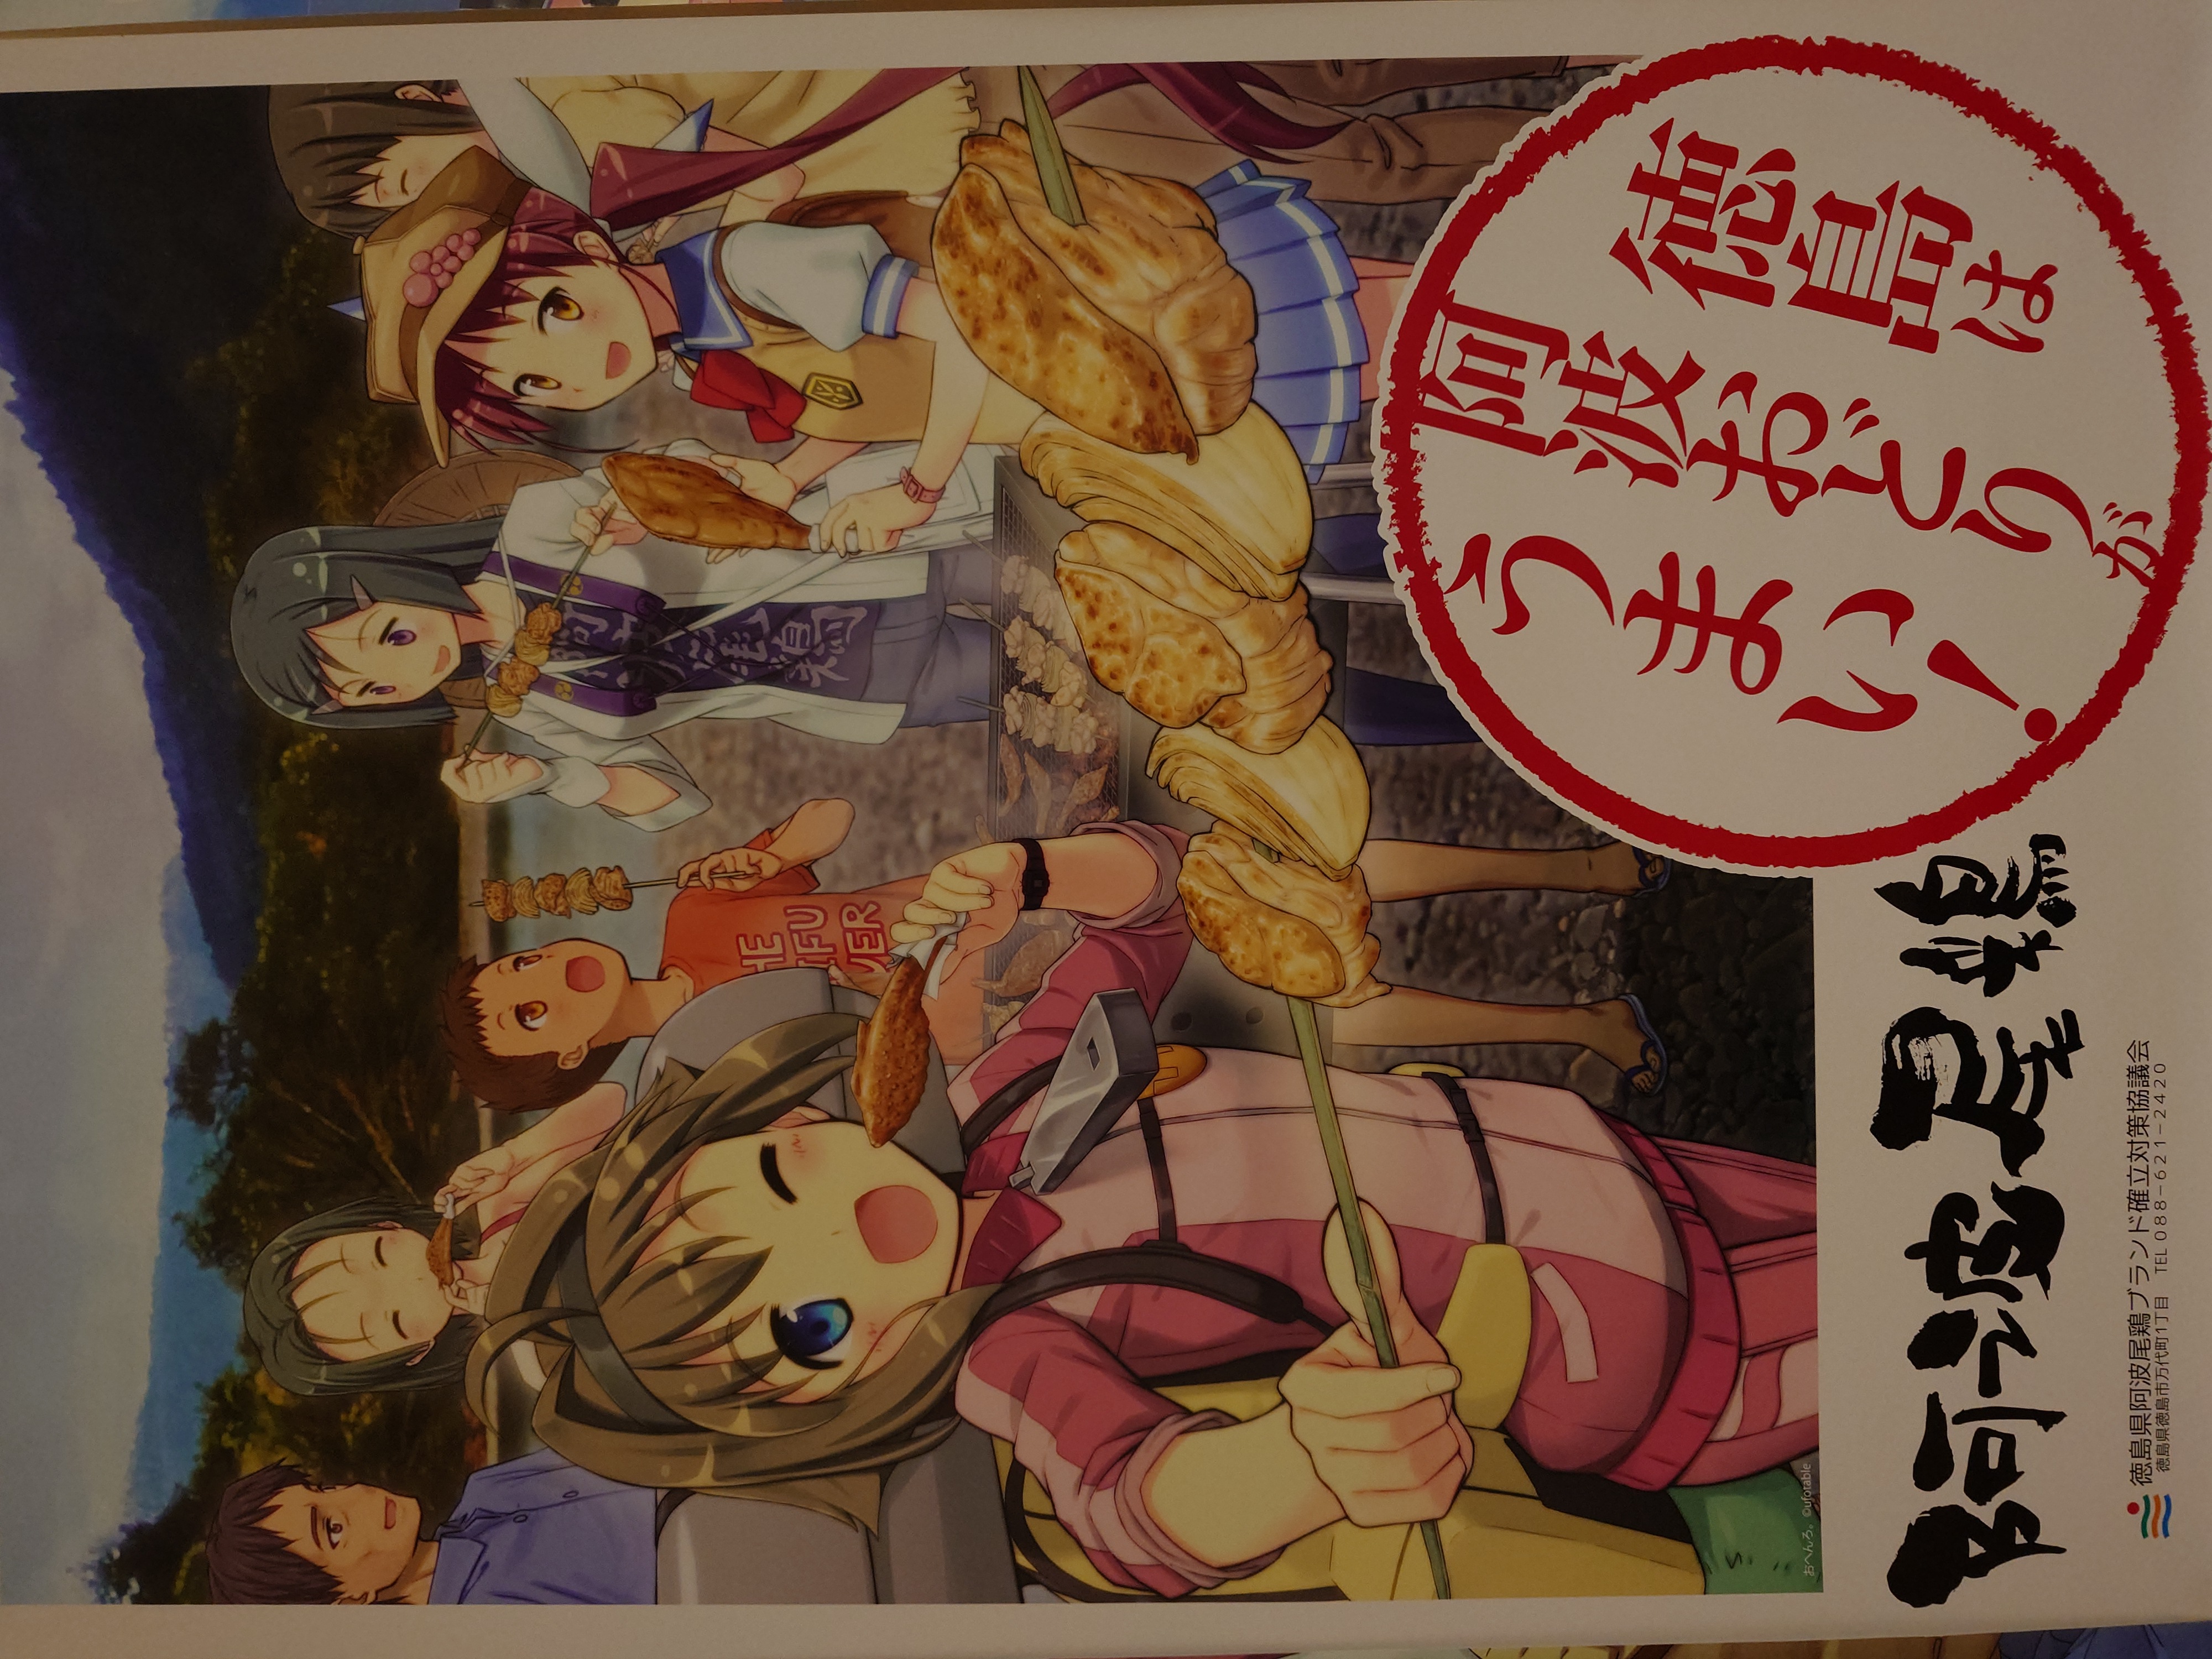
他にも徳島の名産品のポスターもあった。二枚目は阿波尾鳥公式のもののようだ。
鳴門金時は焼き芋にするとホクホクしておいしいので個人的に好きなやつだ。
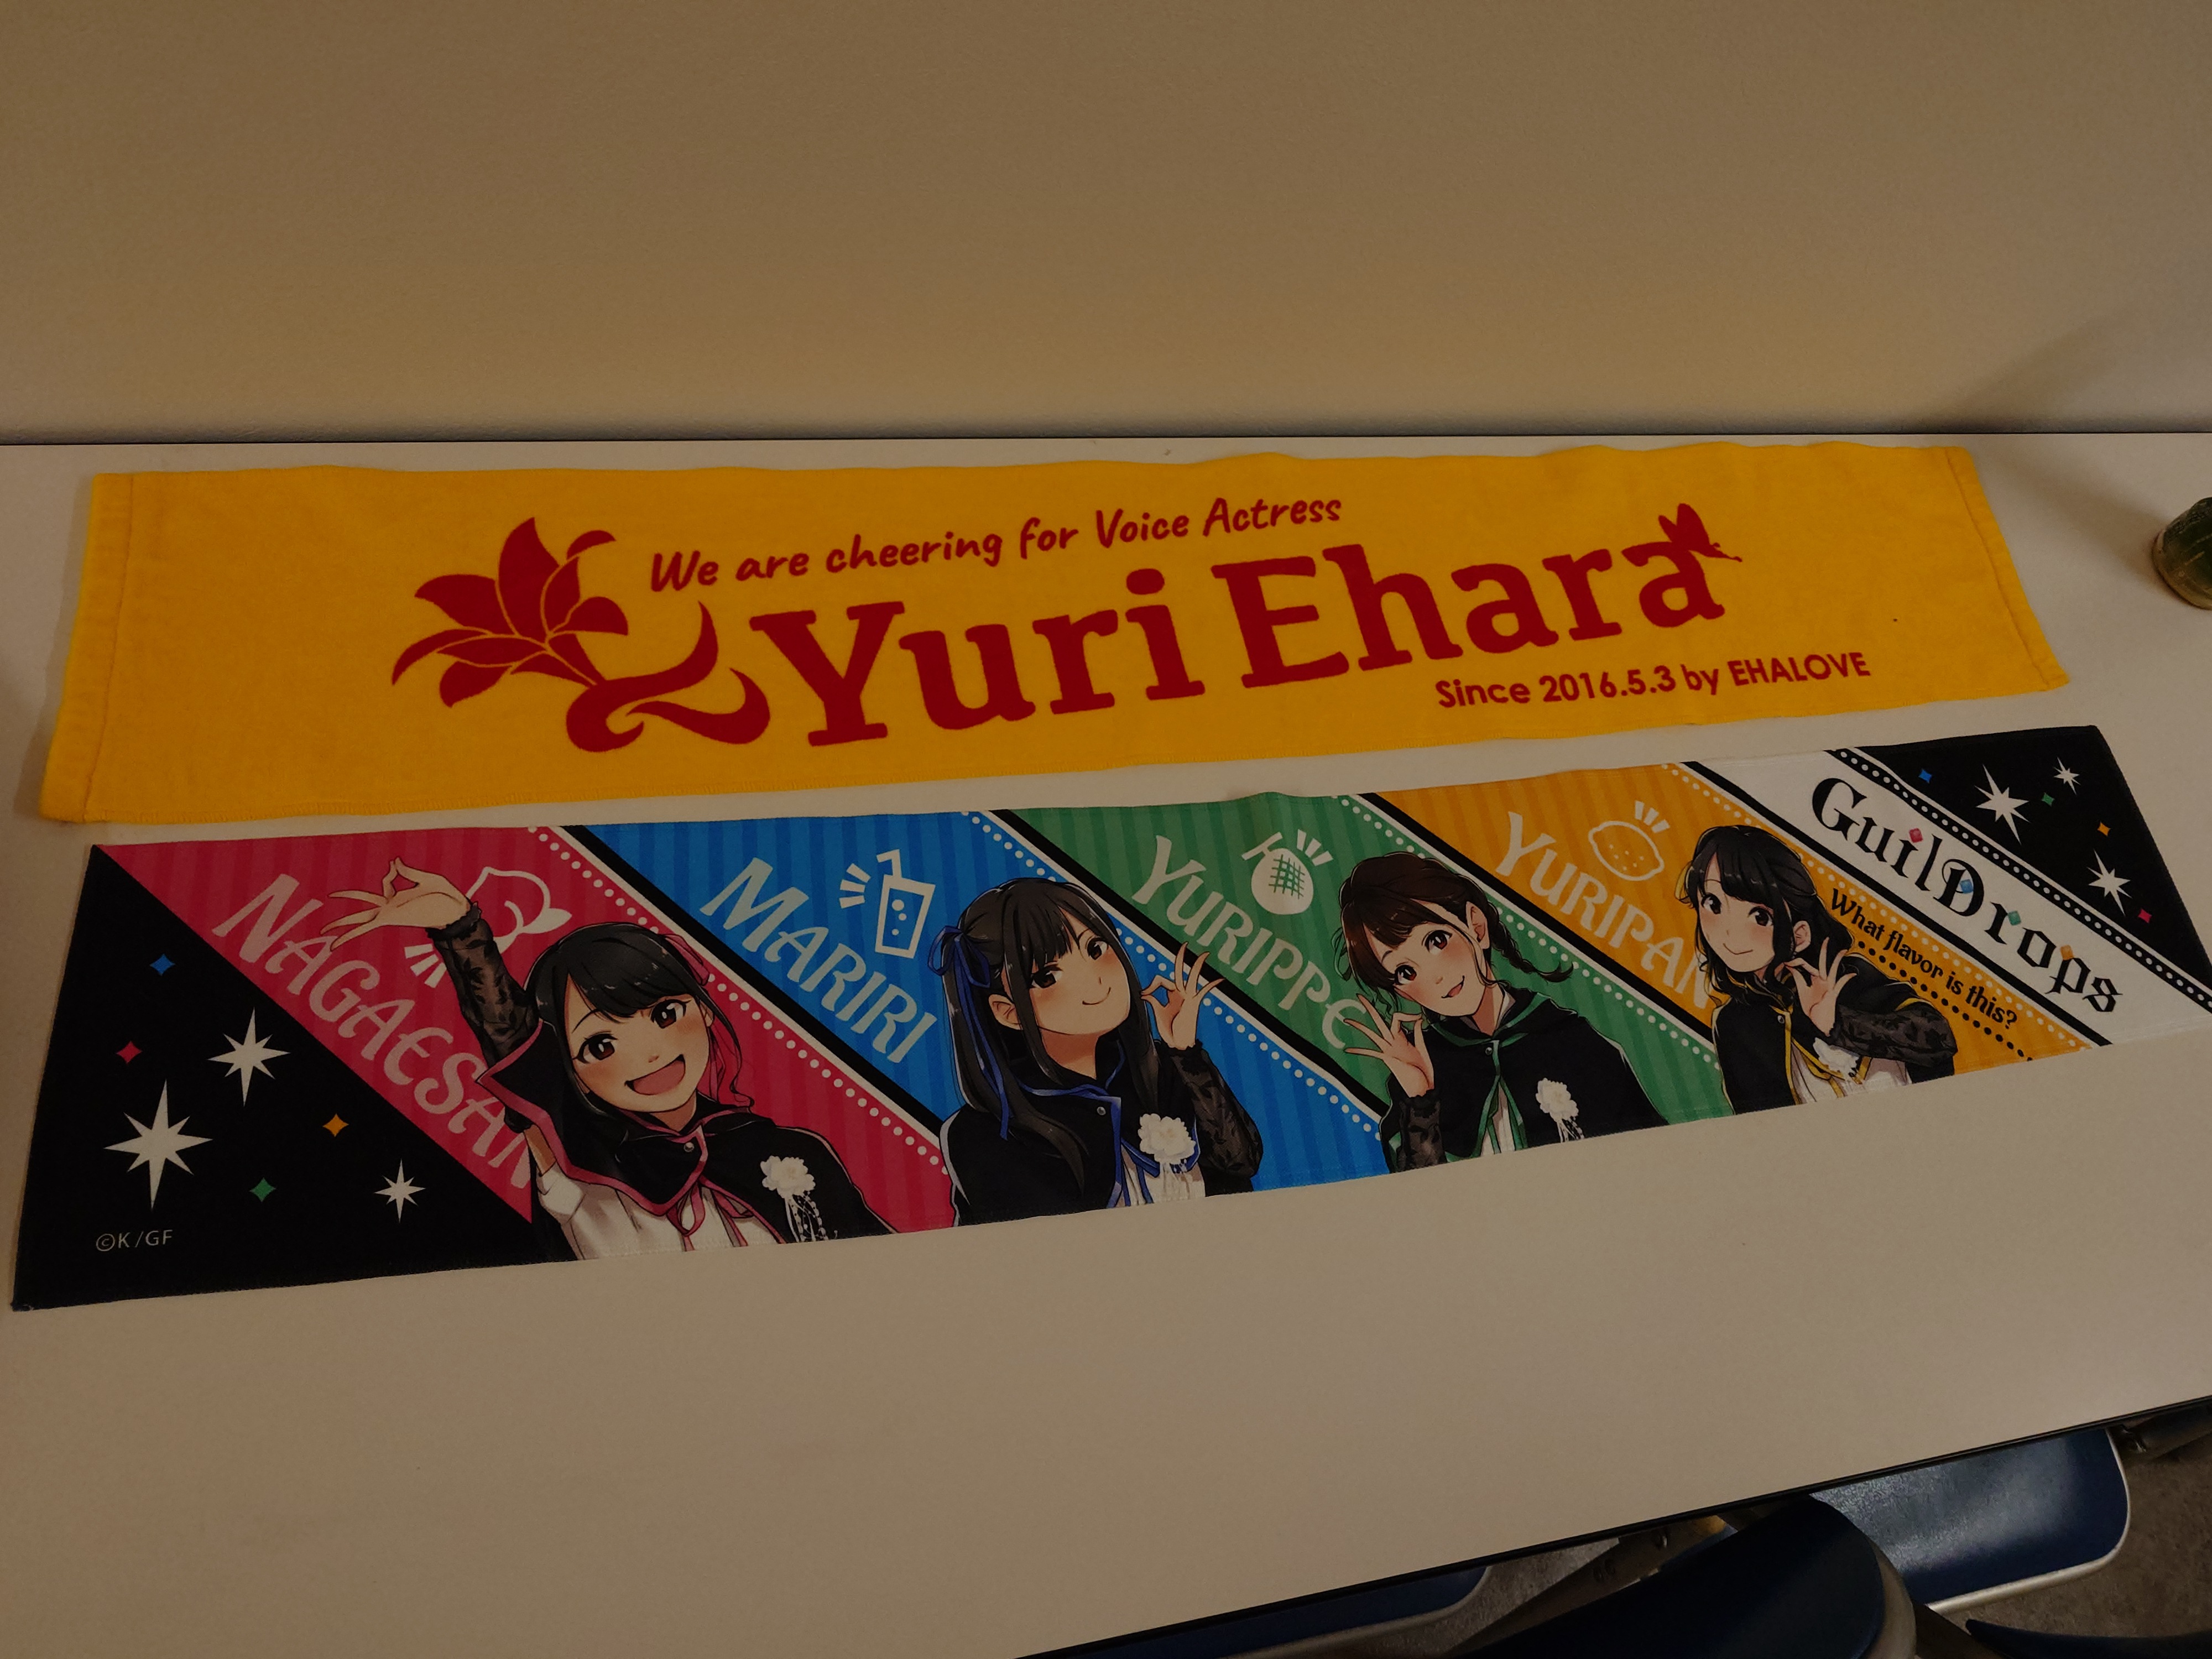
ギルドロップスのロングタオルもかわいいし、江原裕理銘のタオルもあった。
とくしまマラソンやnanacoとのコラボ

とくしまマラソンやnanacoとのコラボカードもあり、当時どれだけ熱気に包まれていたかを窺い知ることができる資料だ。
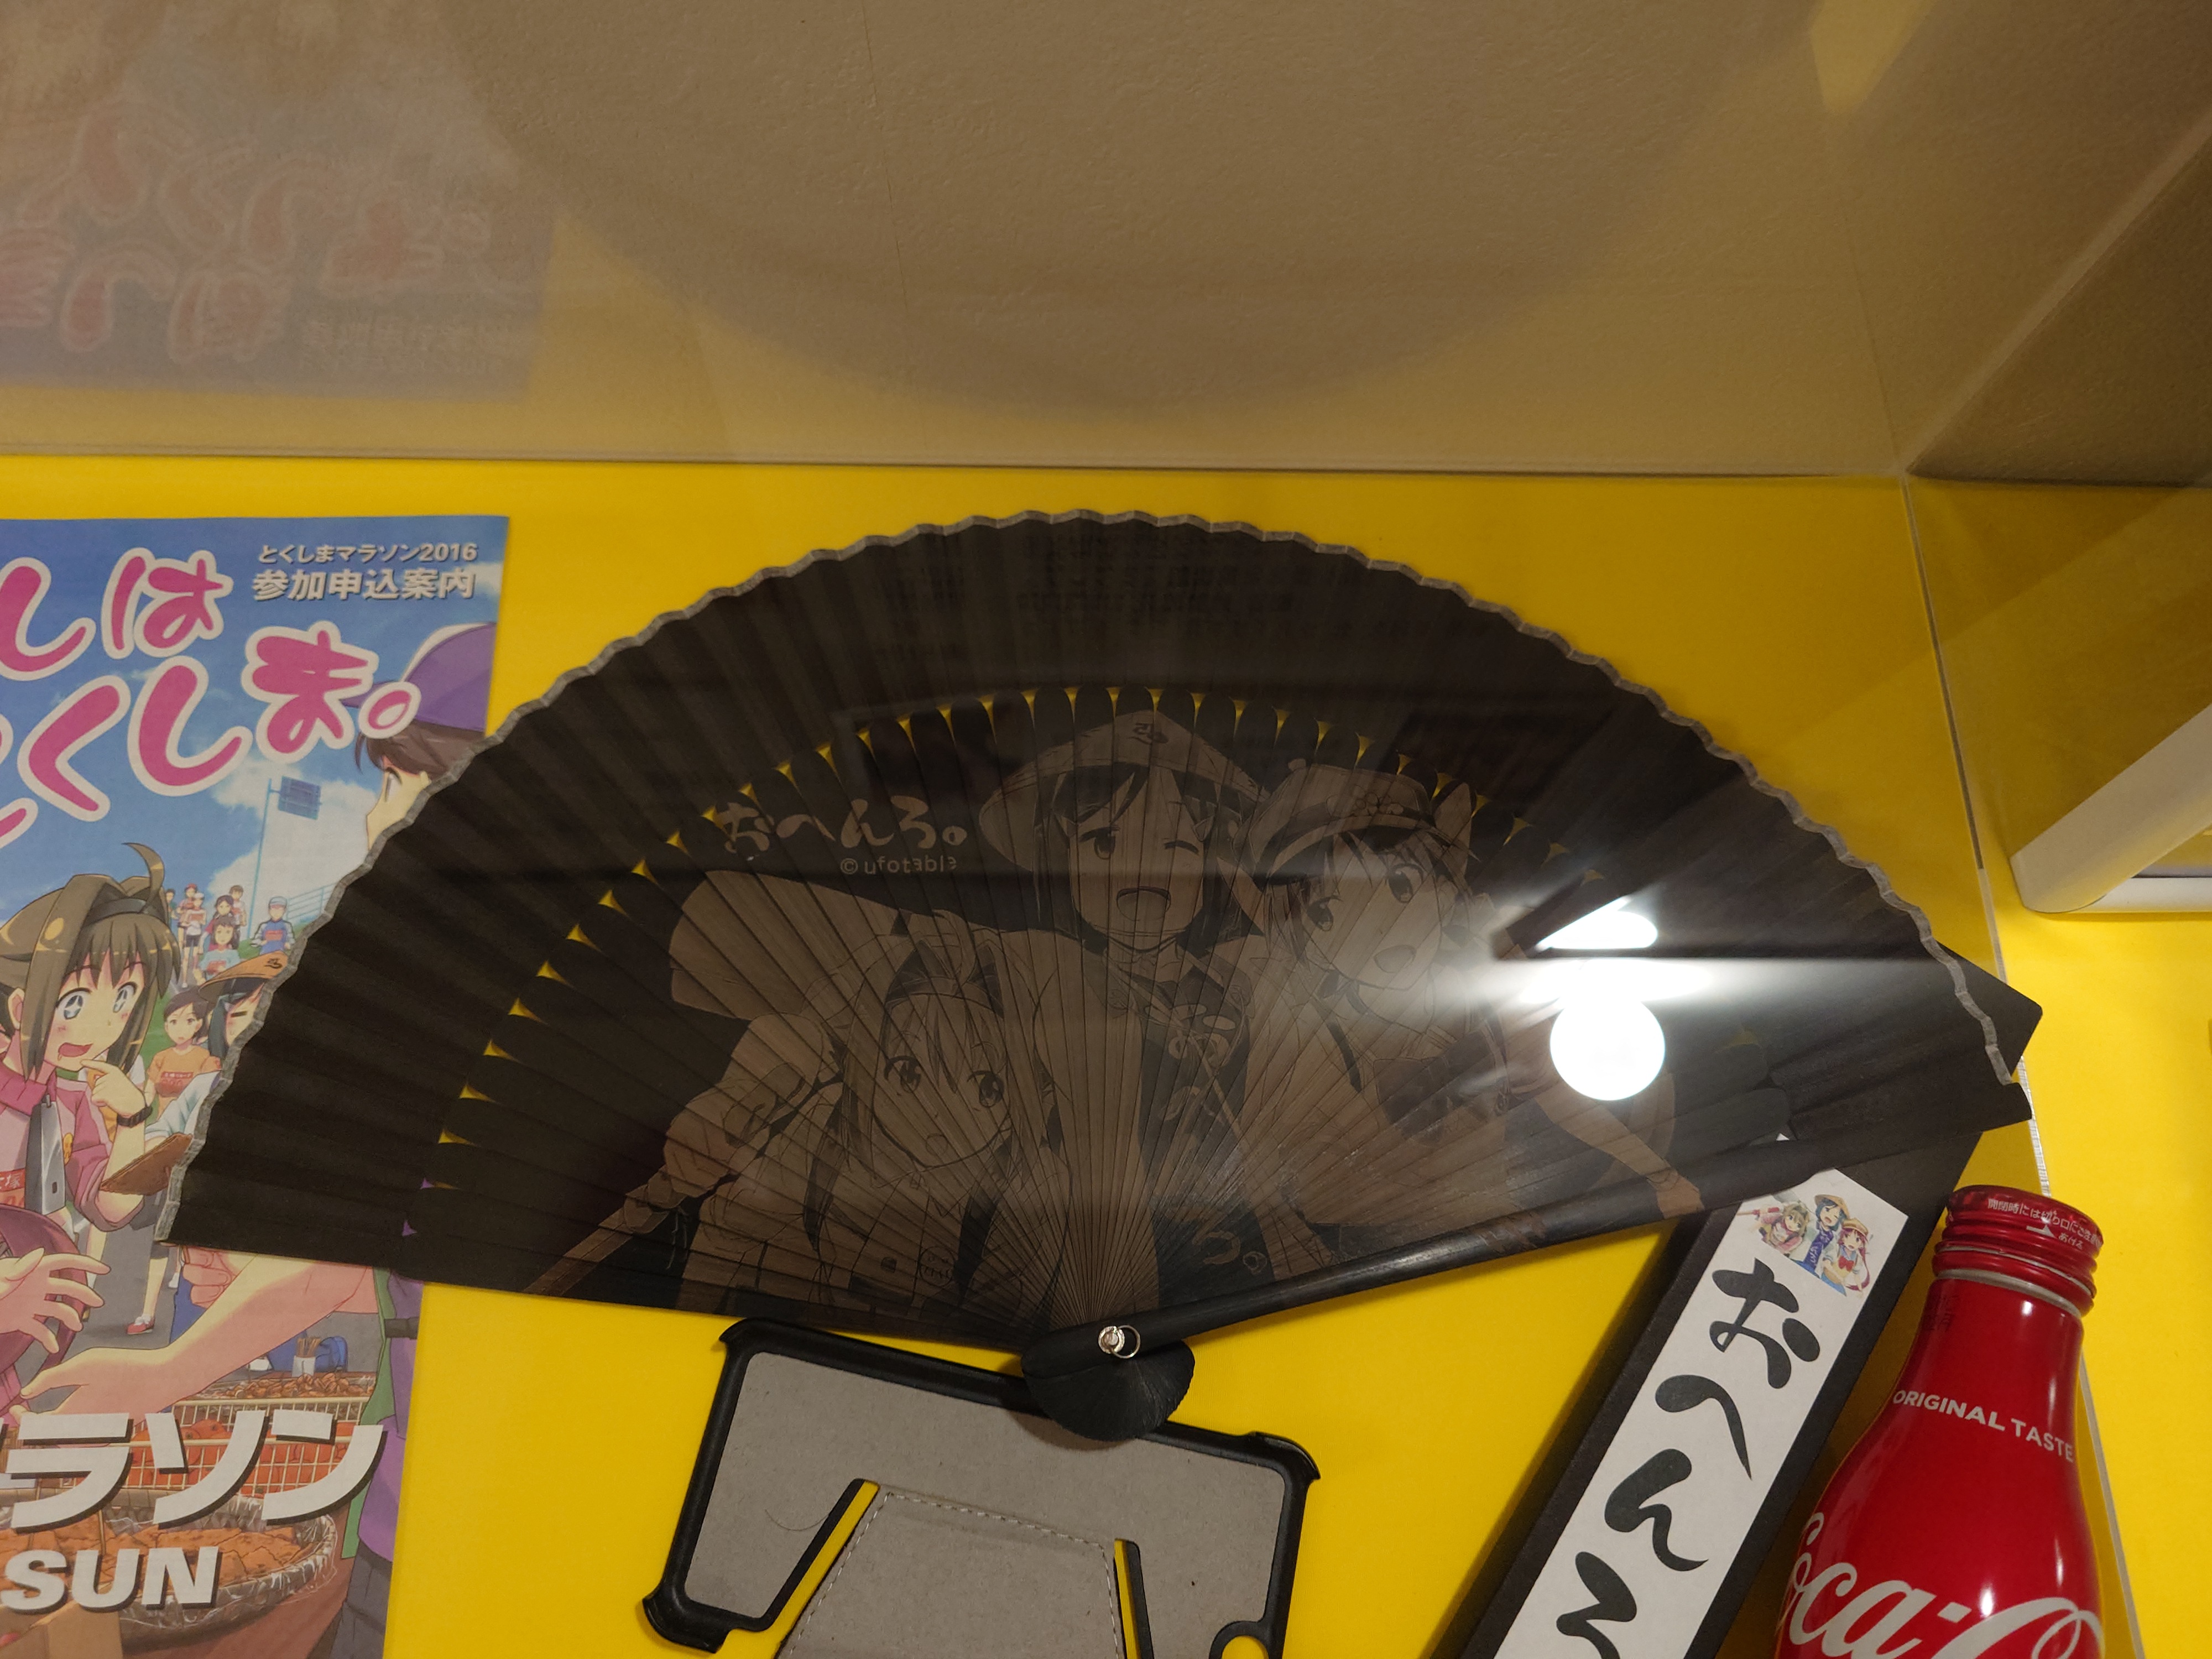
一緒に飾ってあった扇子もすごくいい。
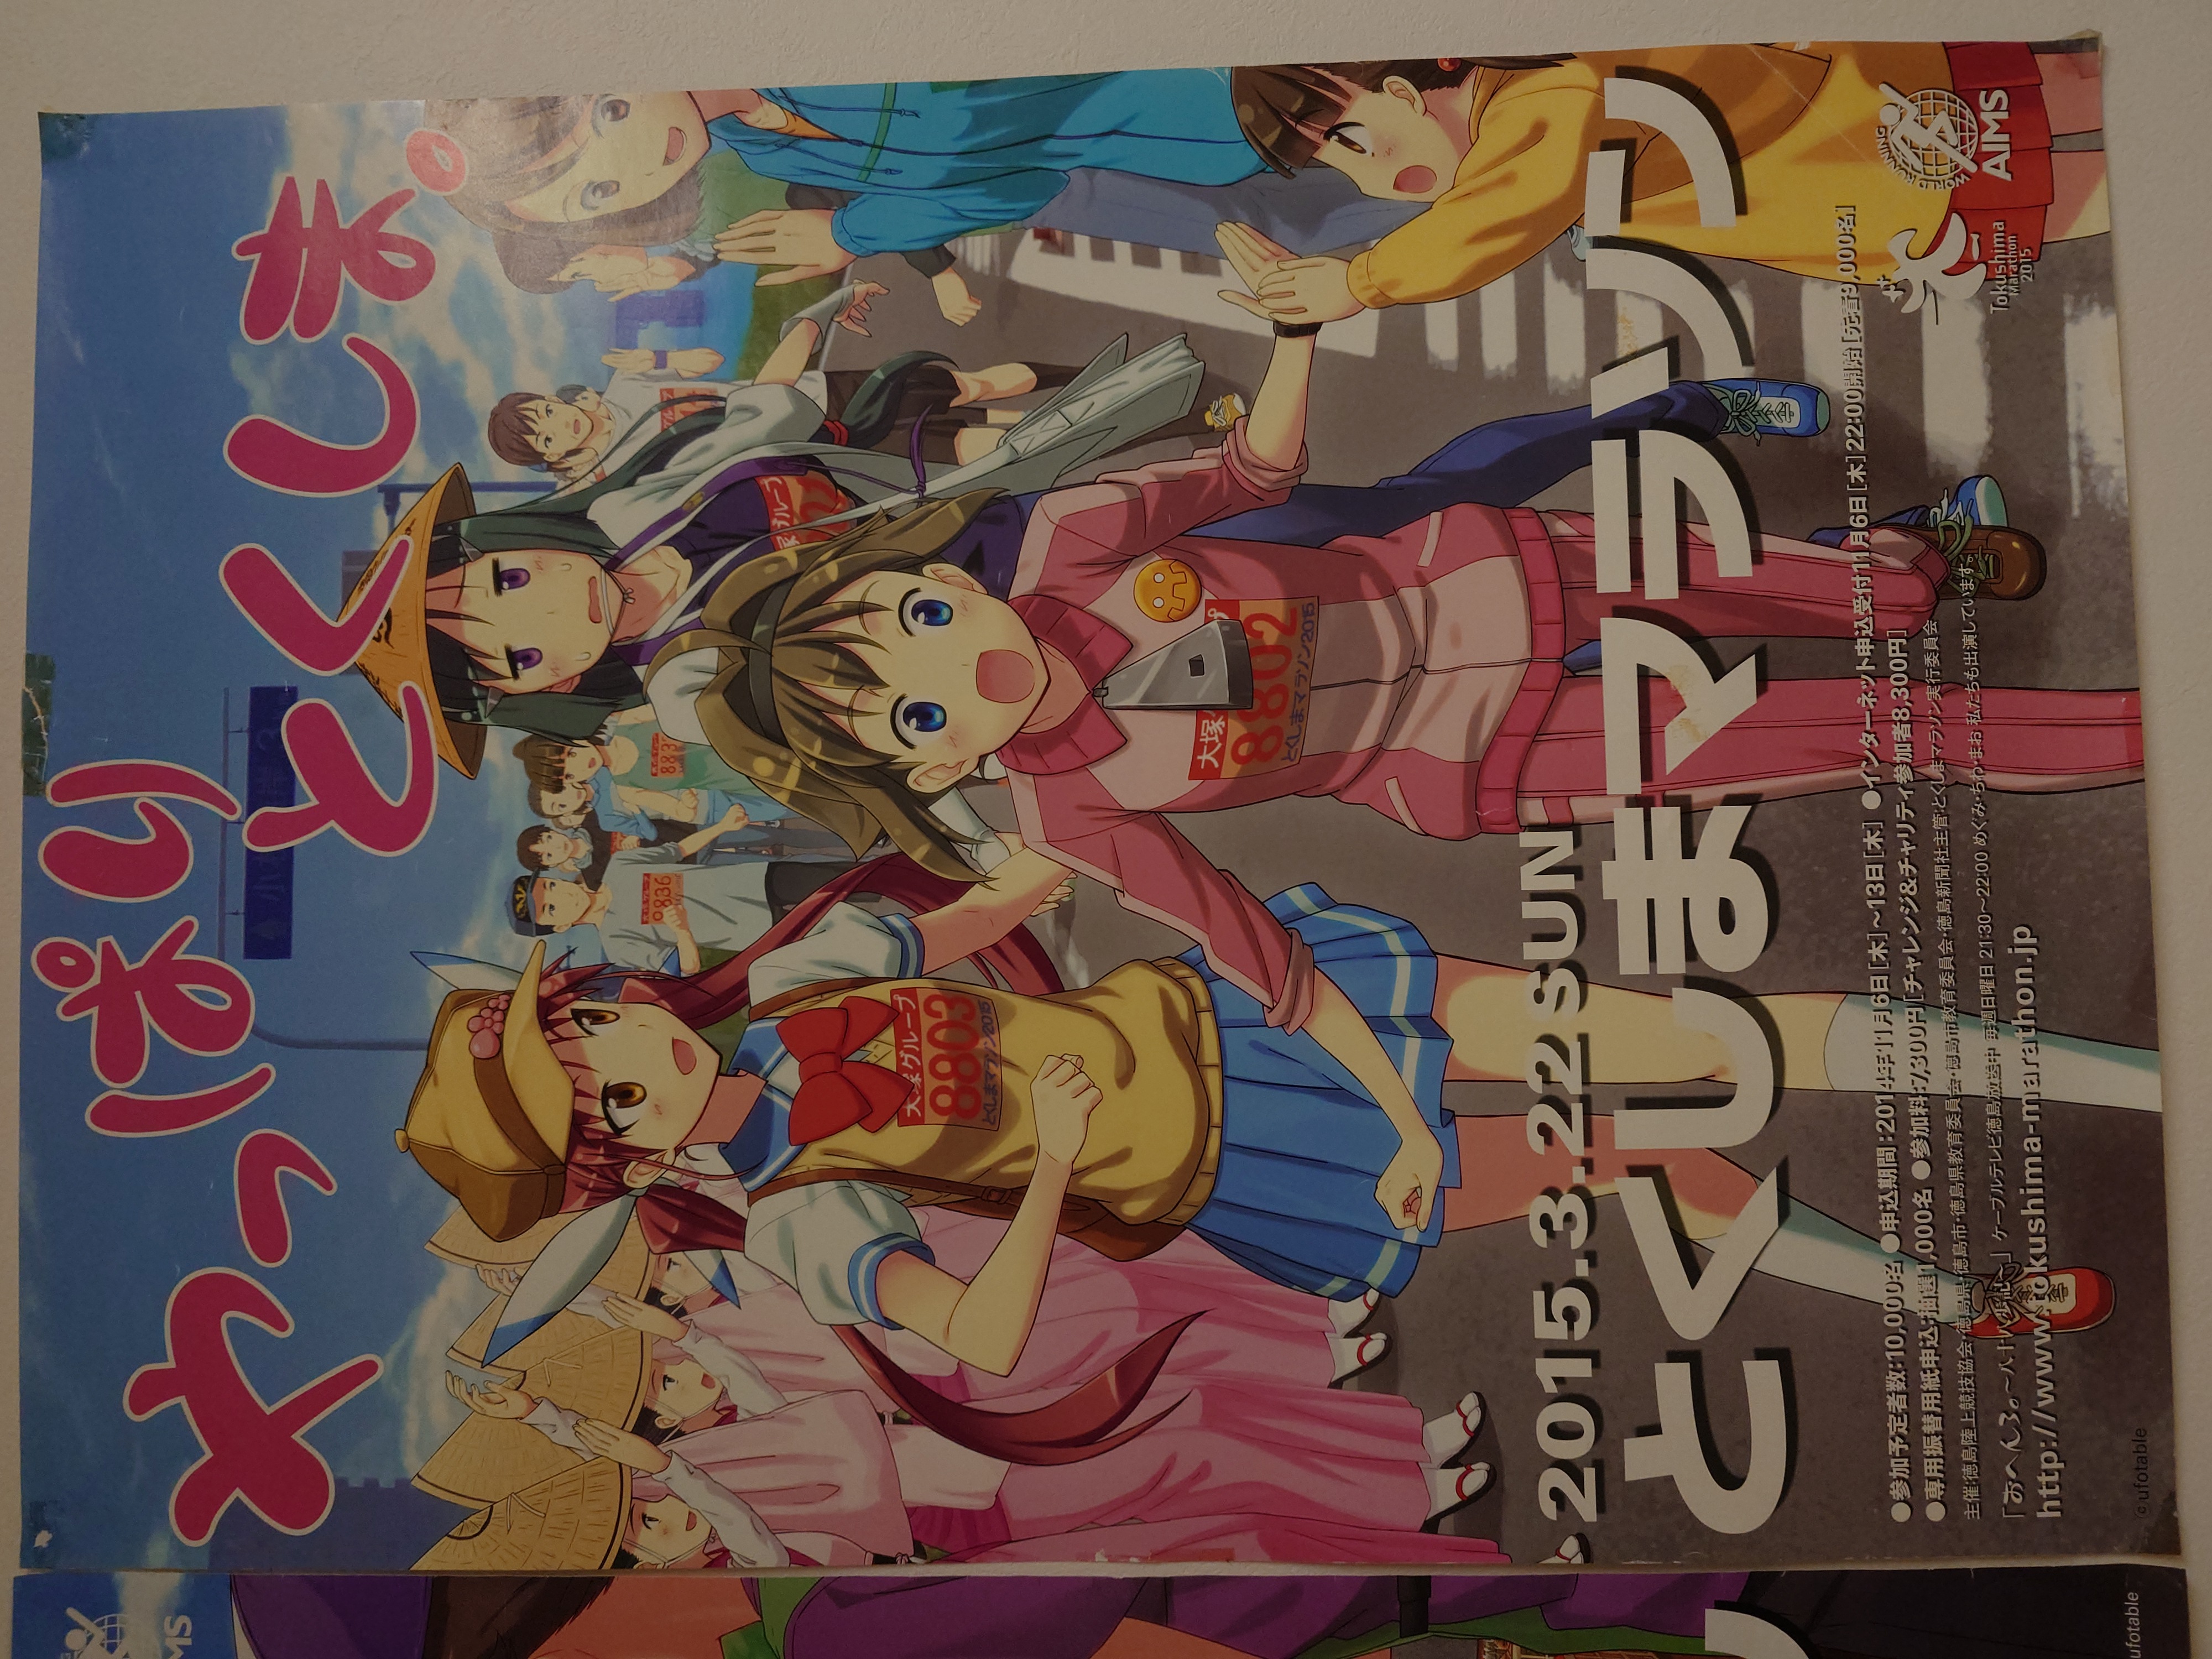
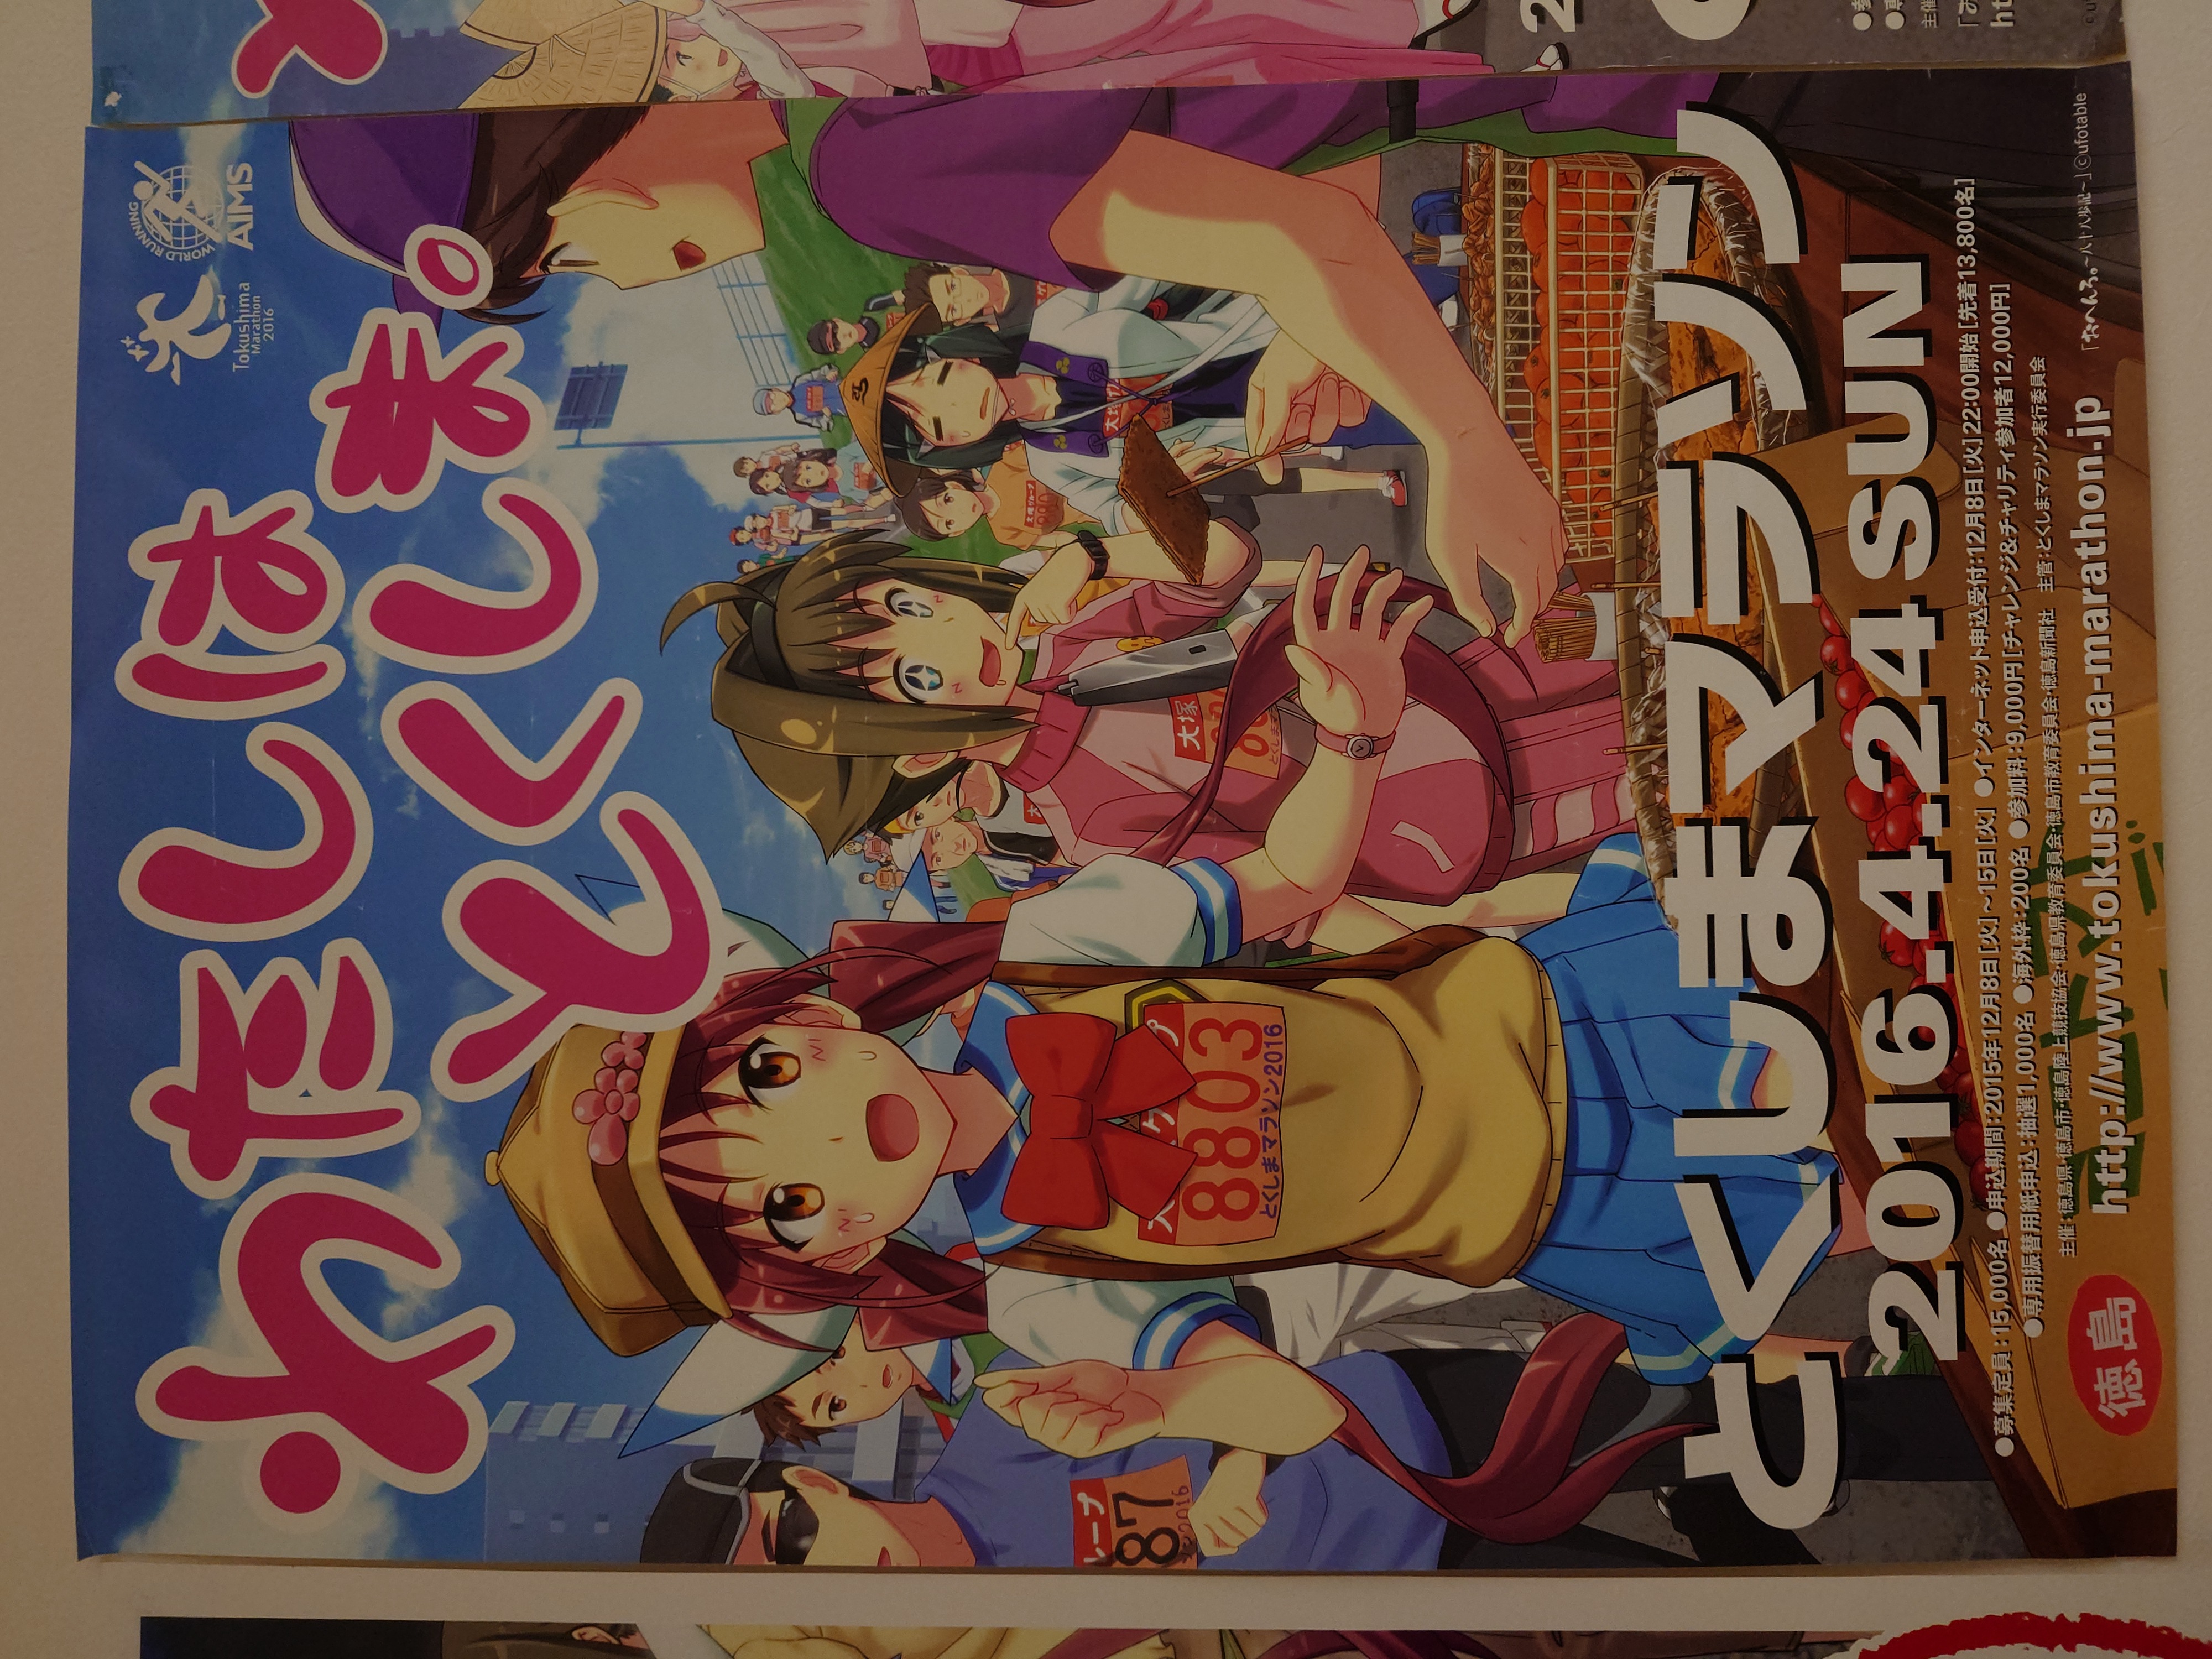
また、とくしまマラソンとは複数回コラボしているようだ。
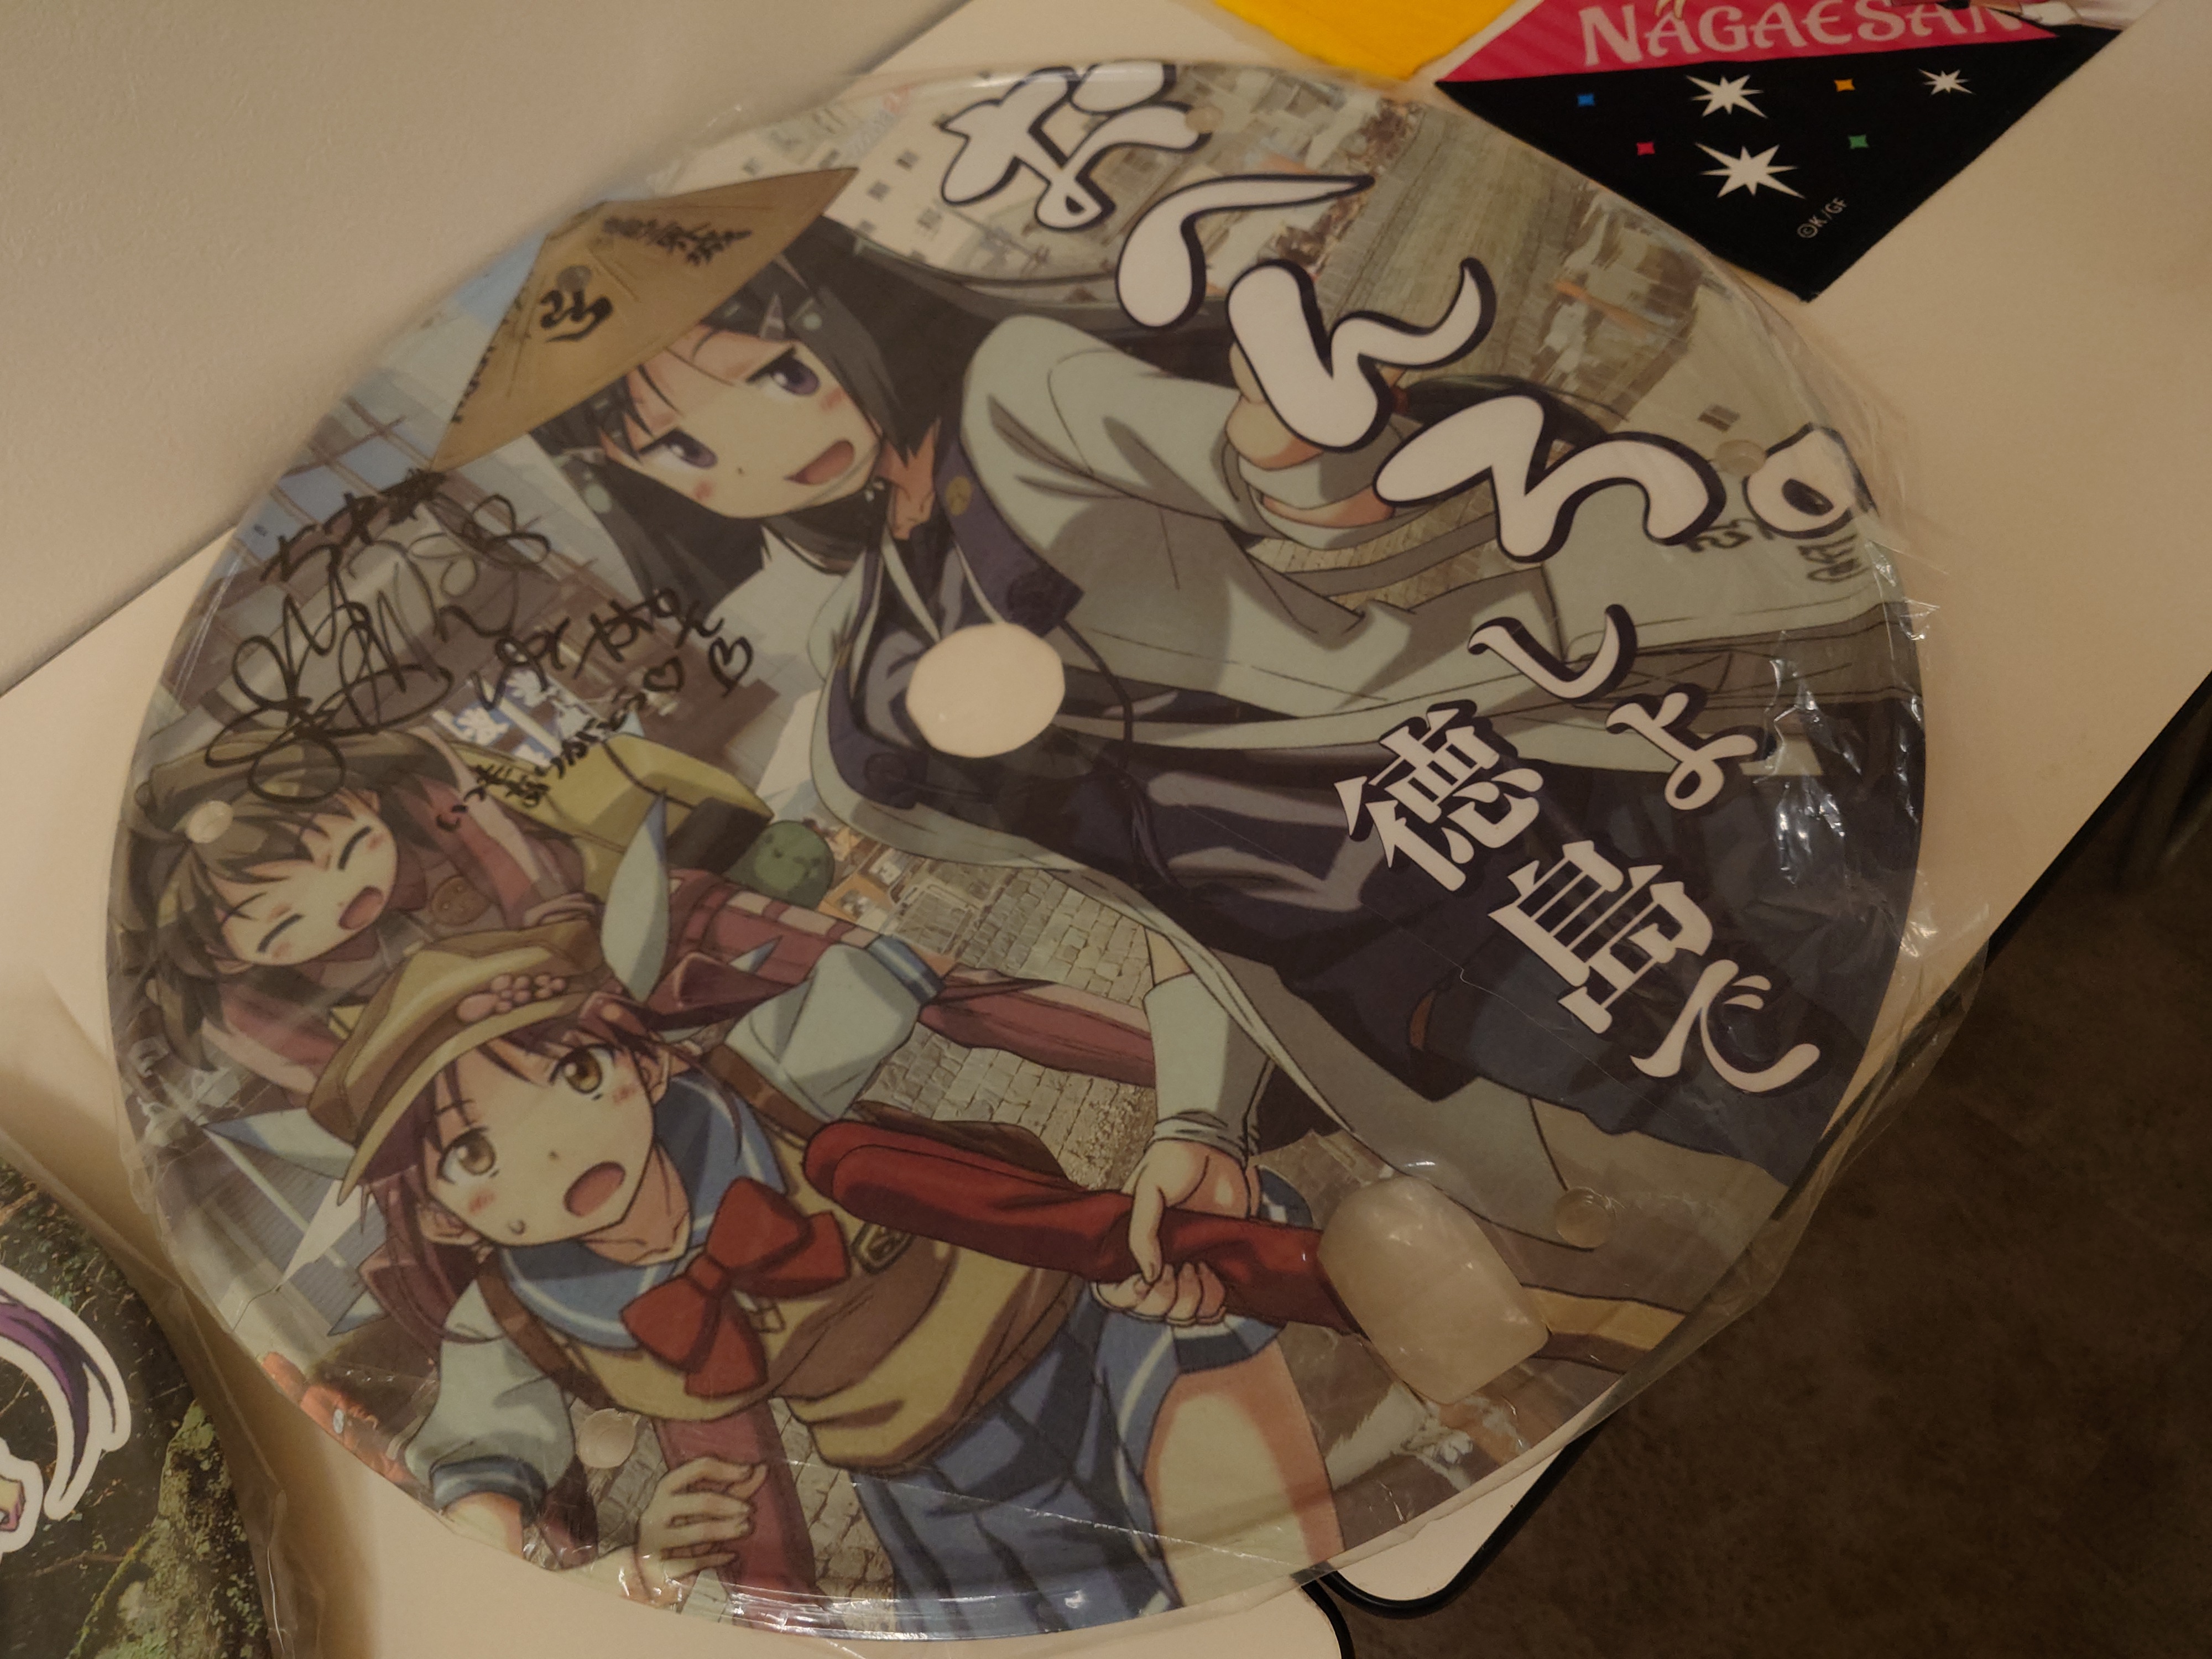
竹団扇(四国団扇コラボ?)
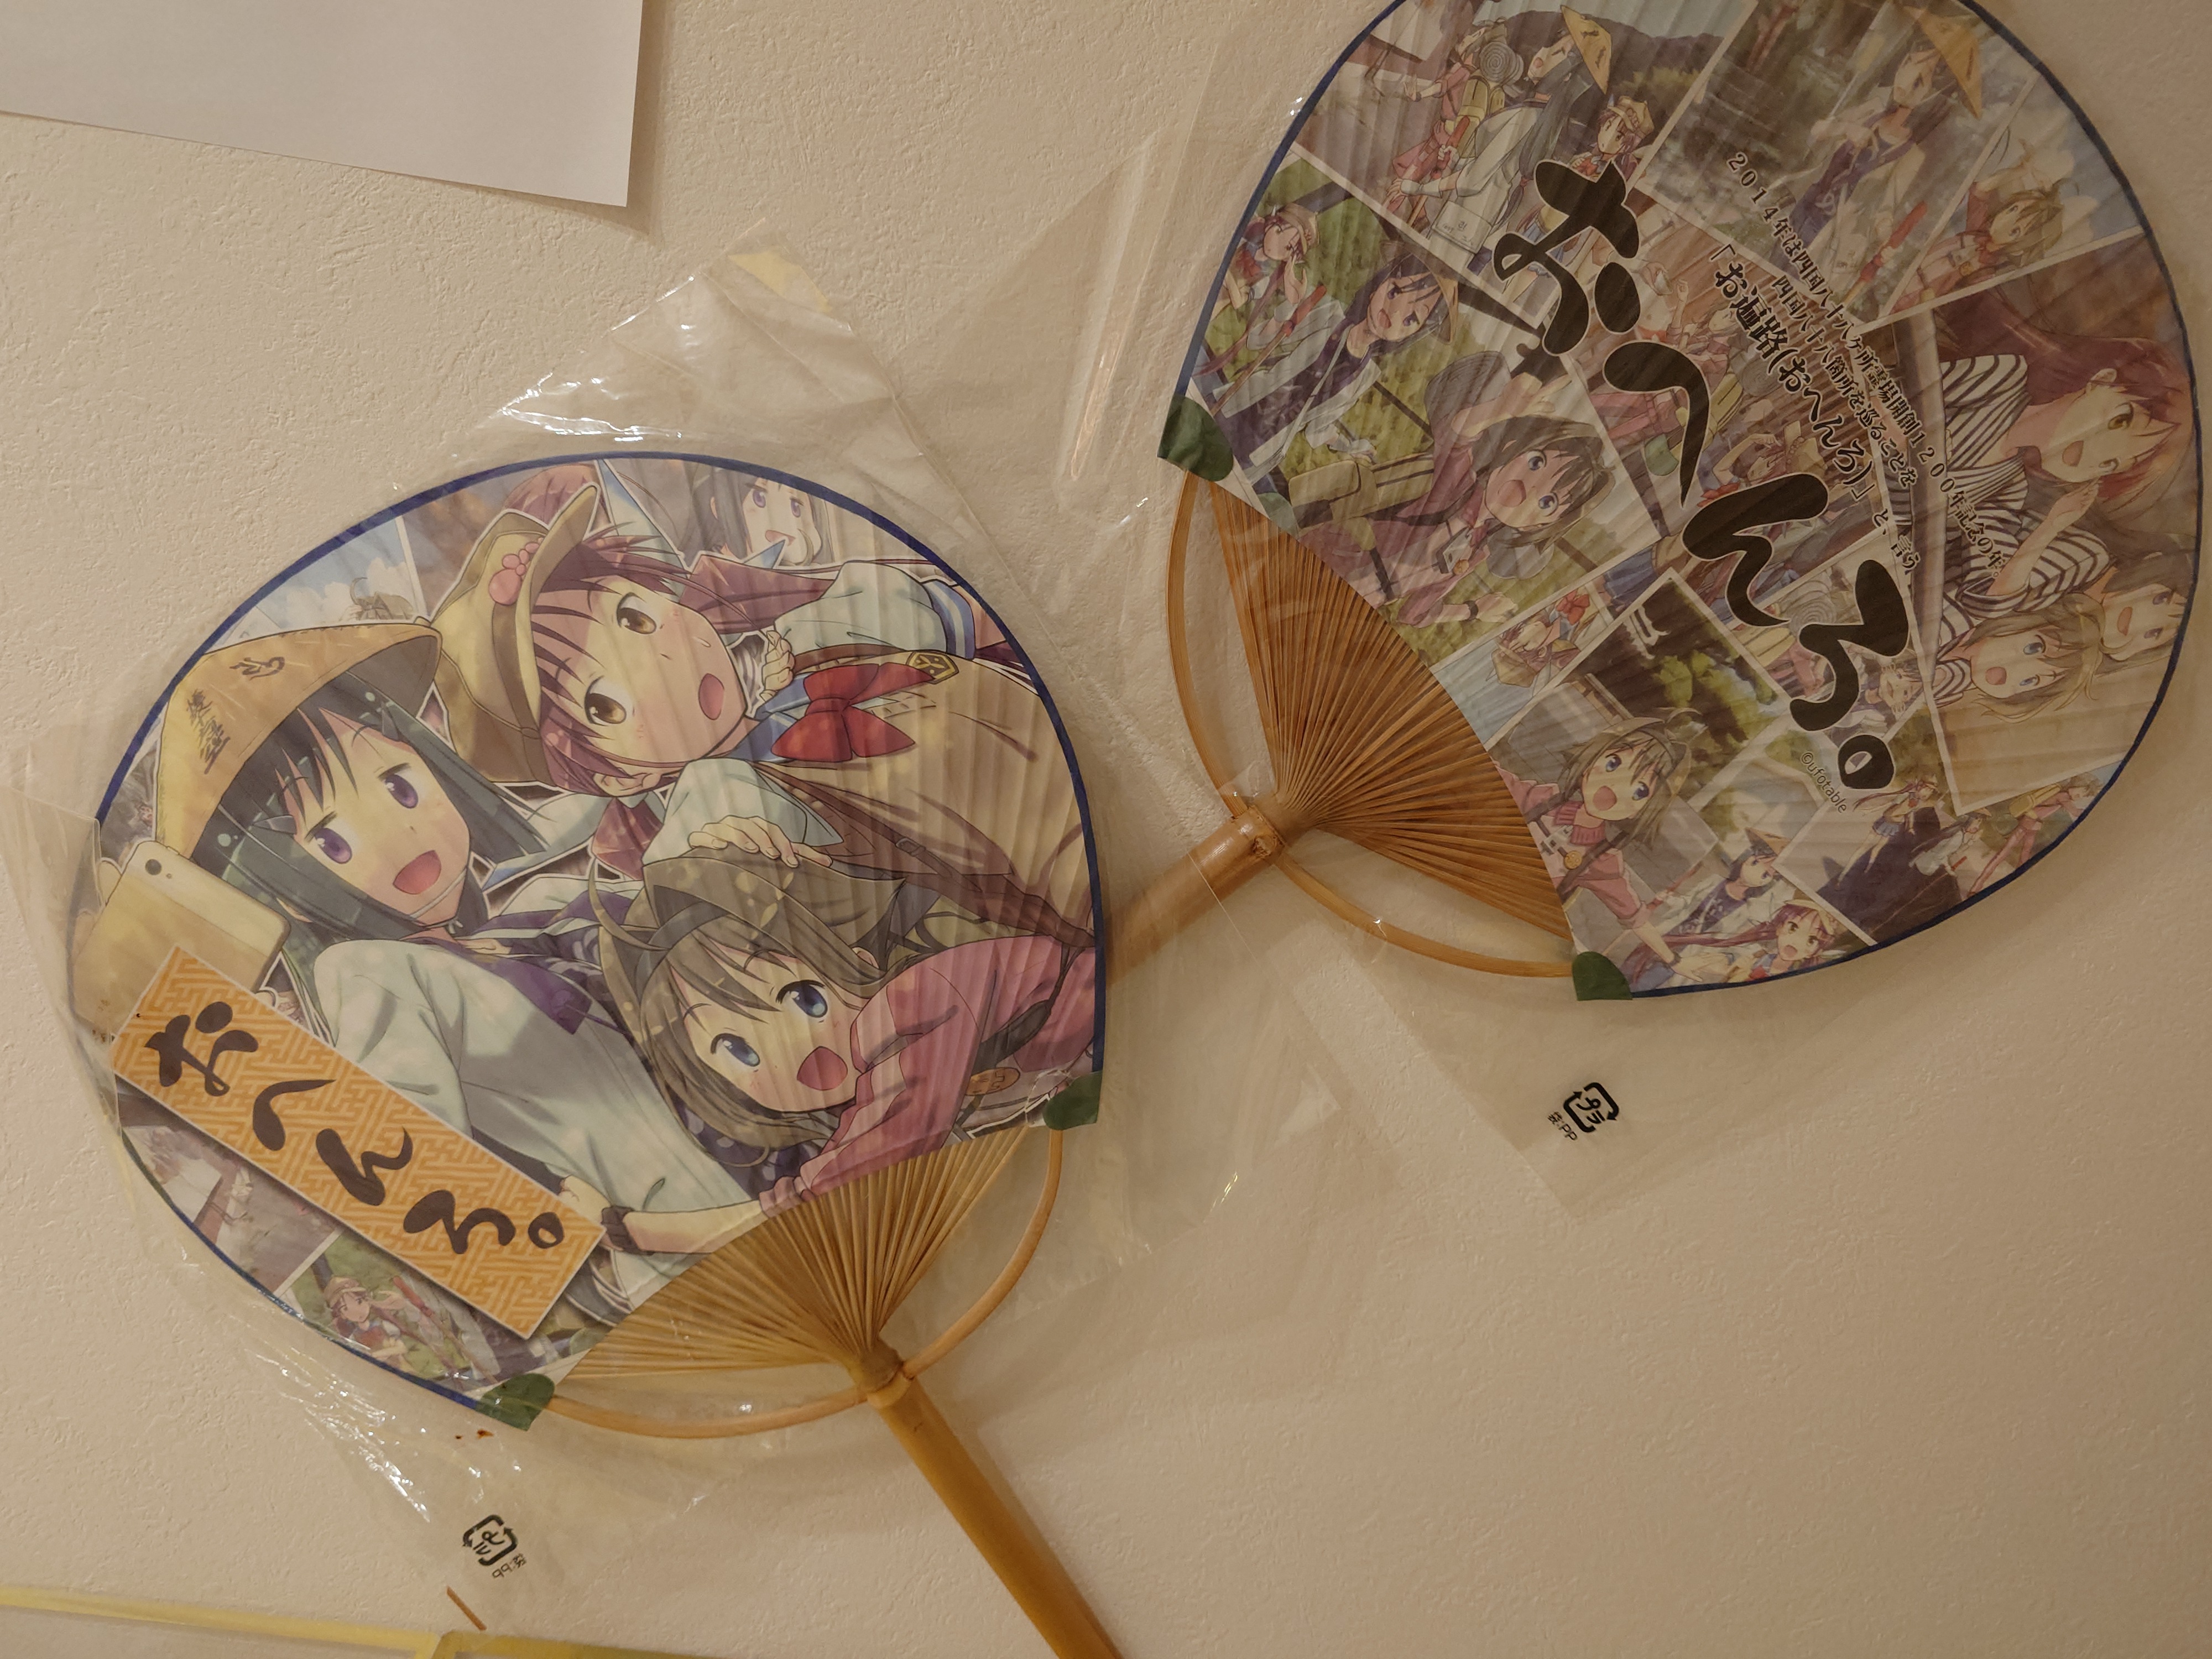
こちらは作り的に四国団扇とのコラボ商品だろう。プラスチック団扇ではなく、竹団扇が選ばれるのは珍しい。
環境省コラボ
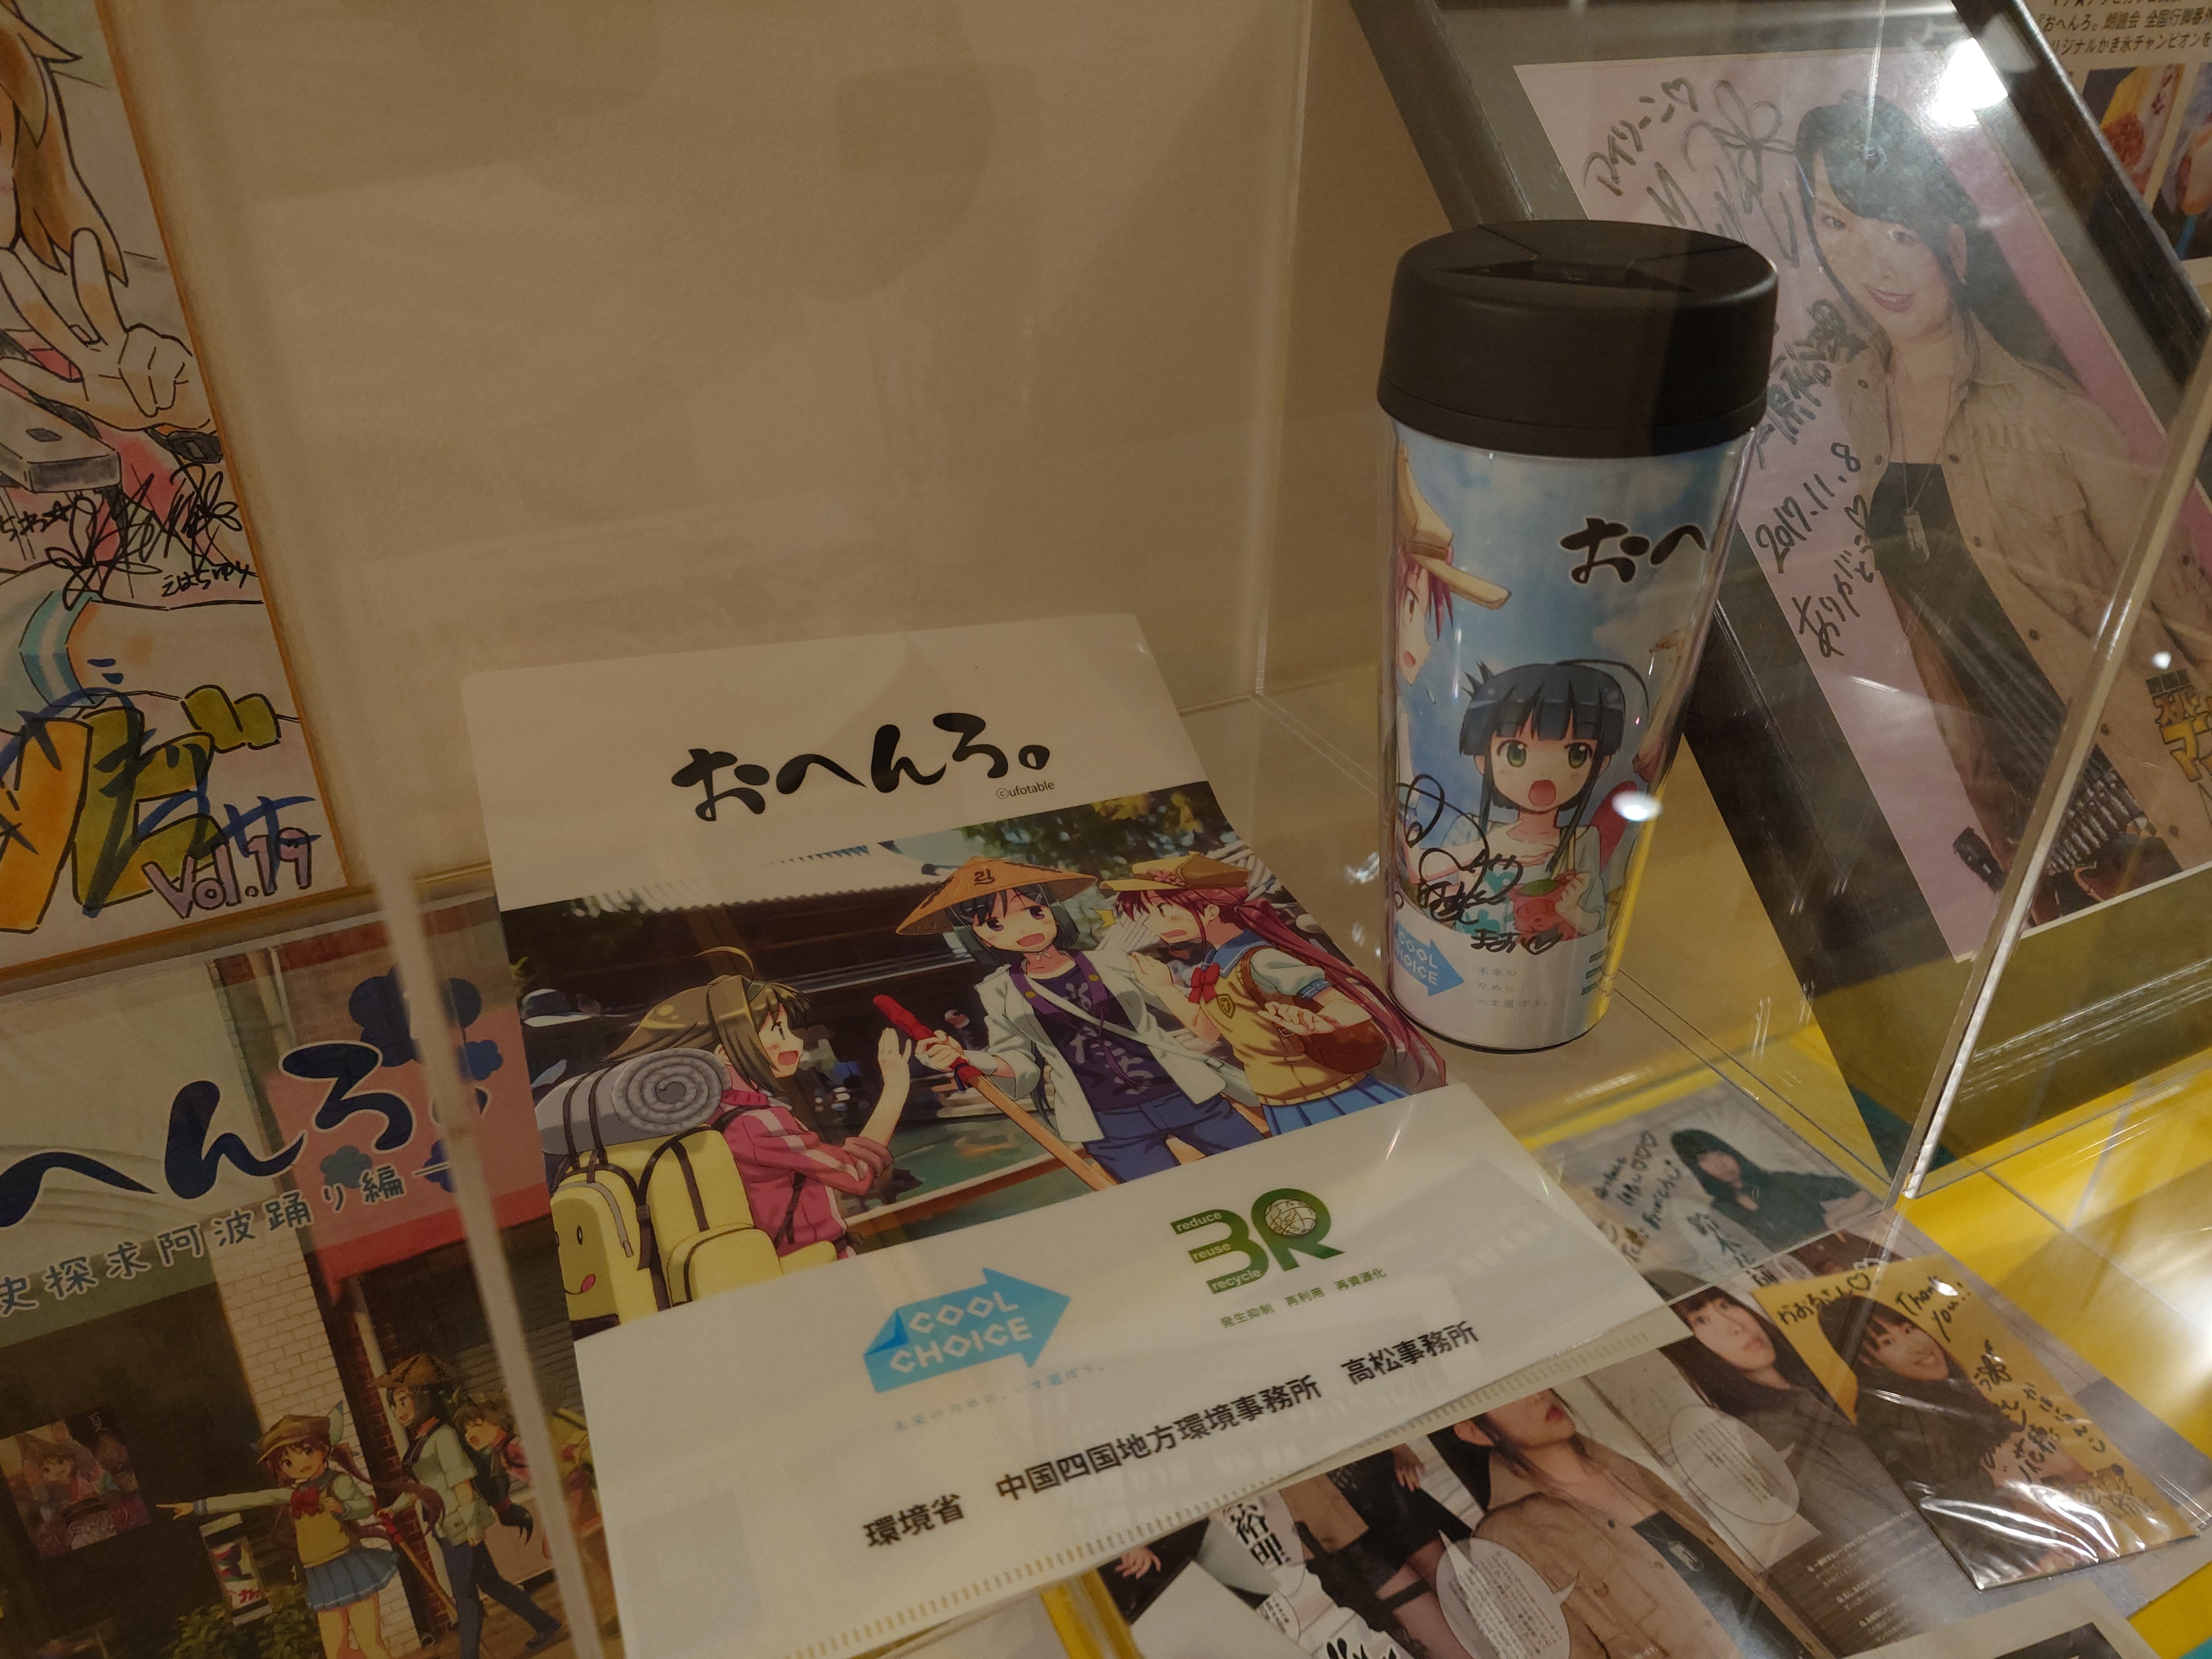
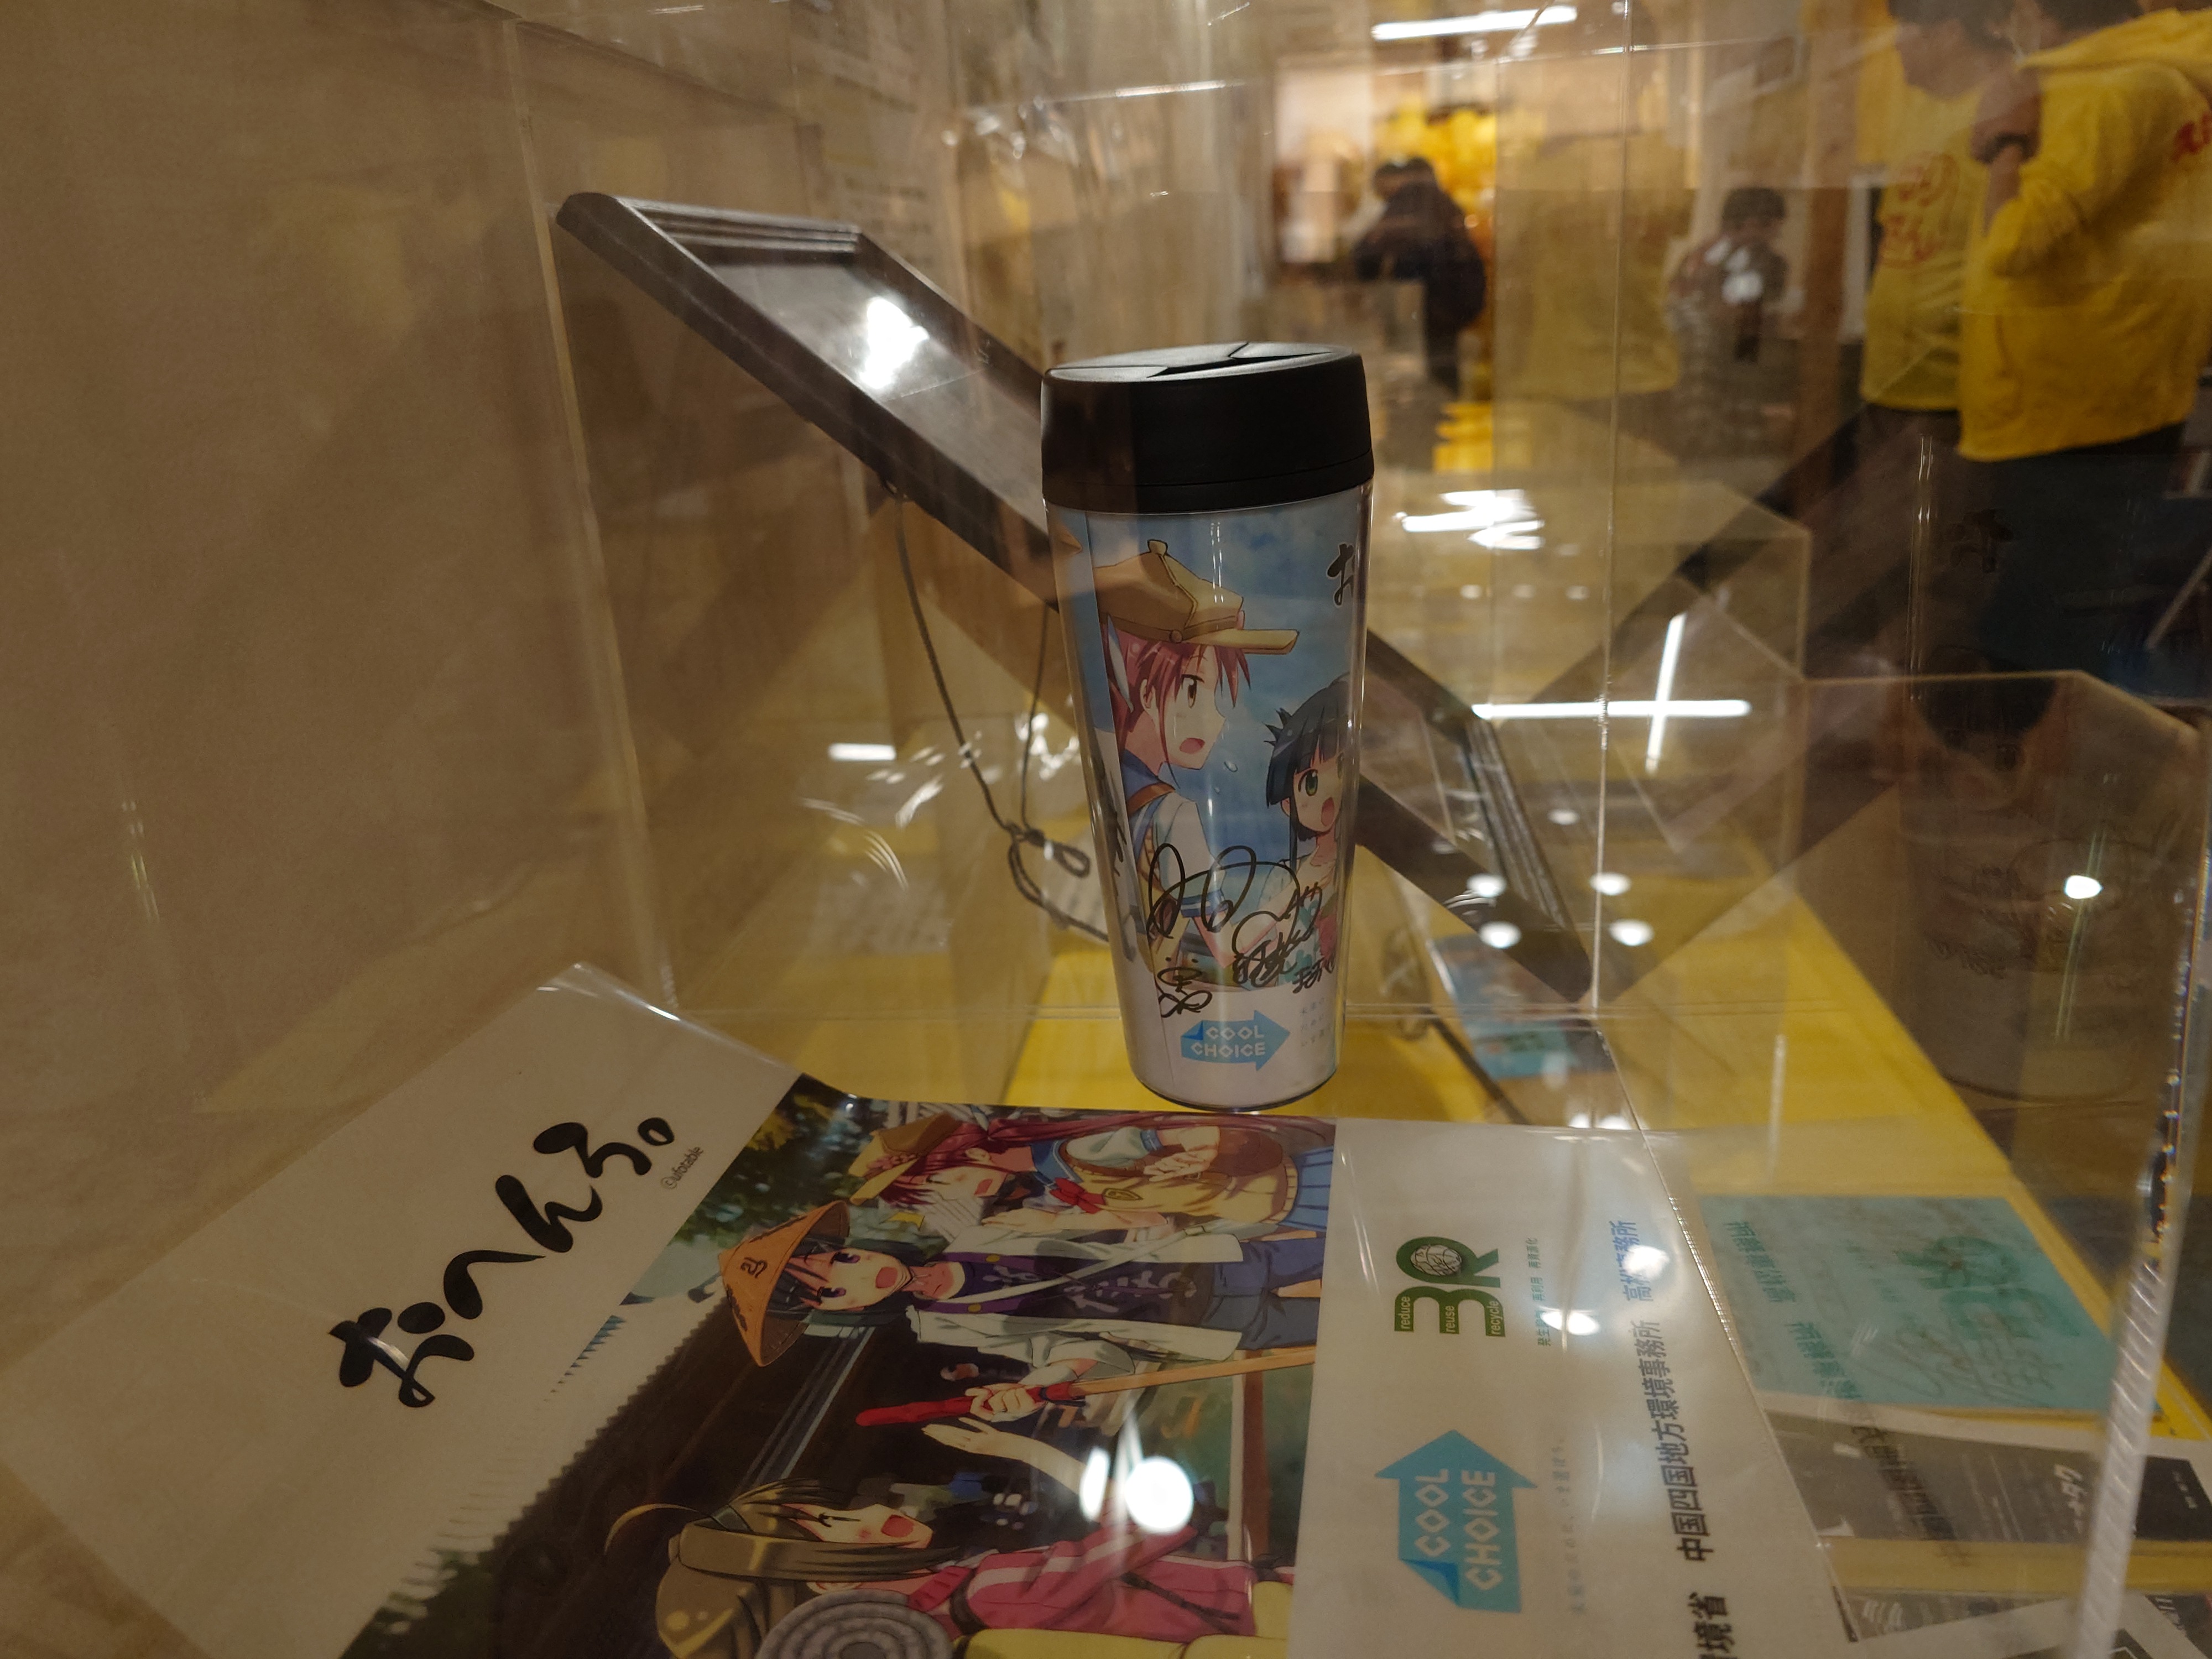
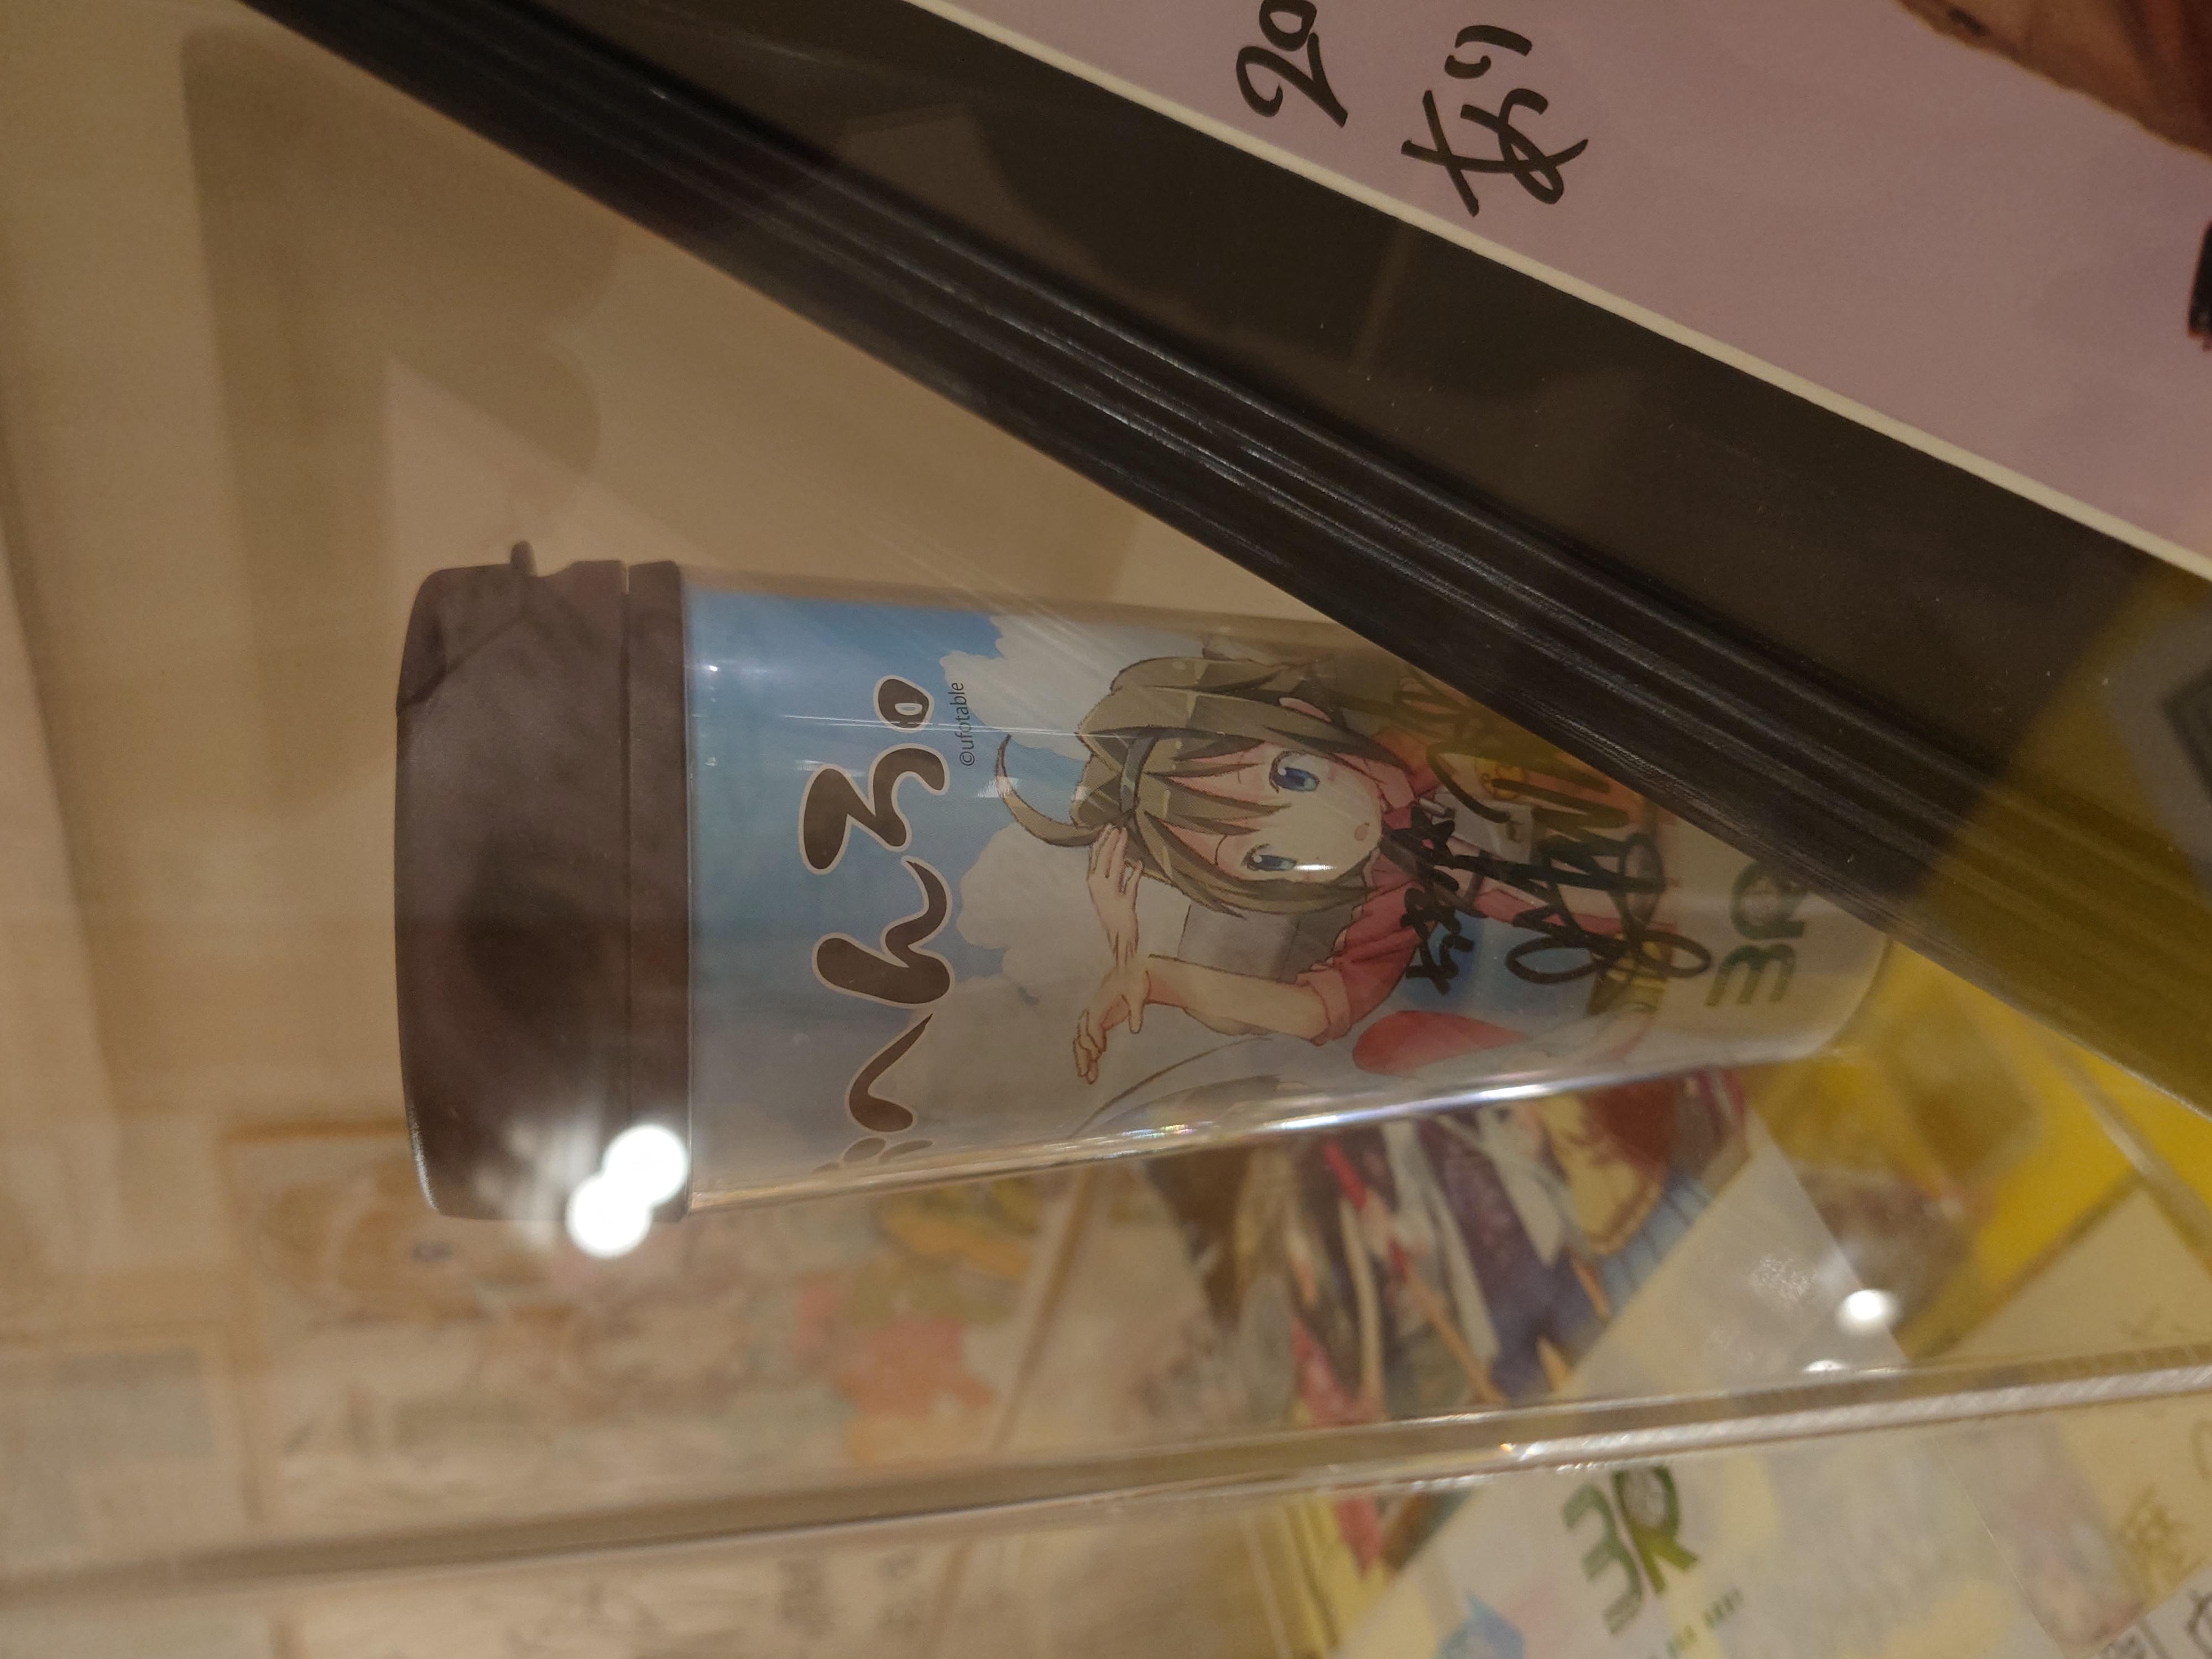
環境省のクリアファイルに採用されていたり、タンブラーもあったり、展開の幅広さにただただ感心した。
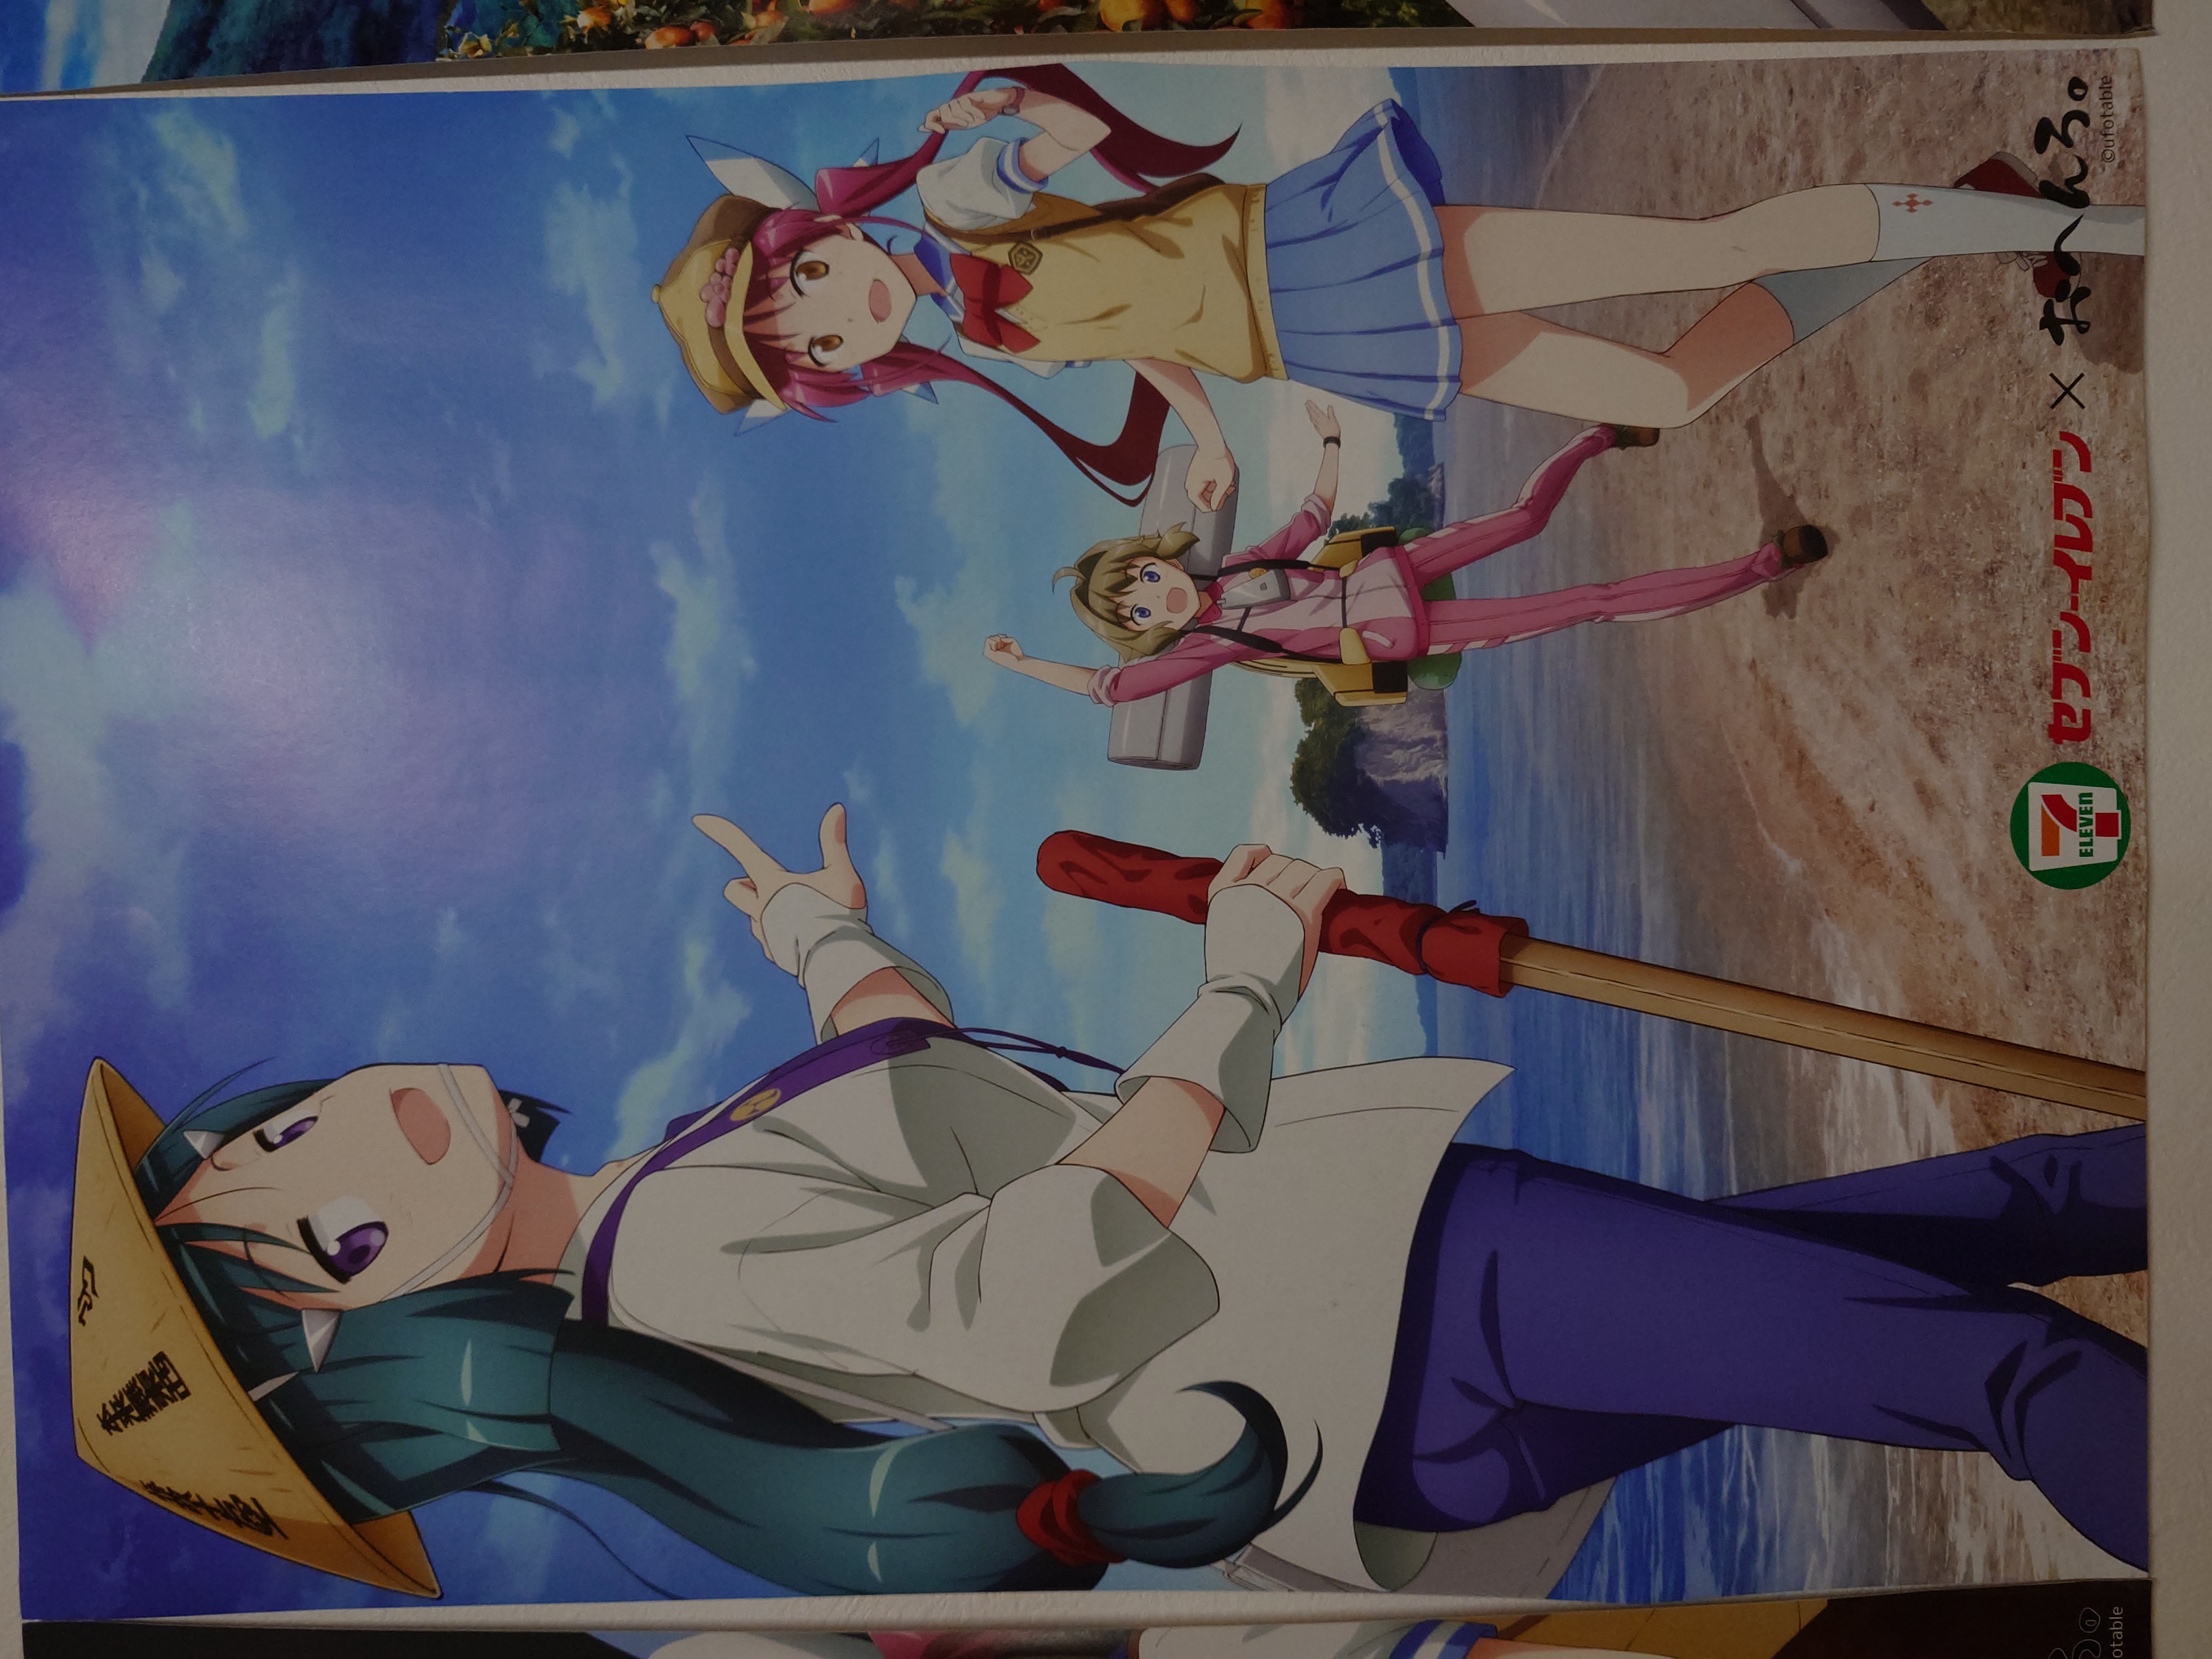
セブンイレブンコラボ
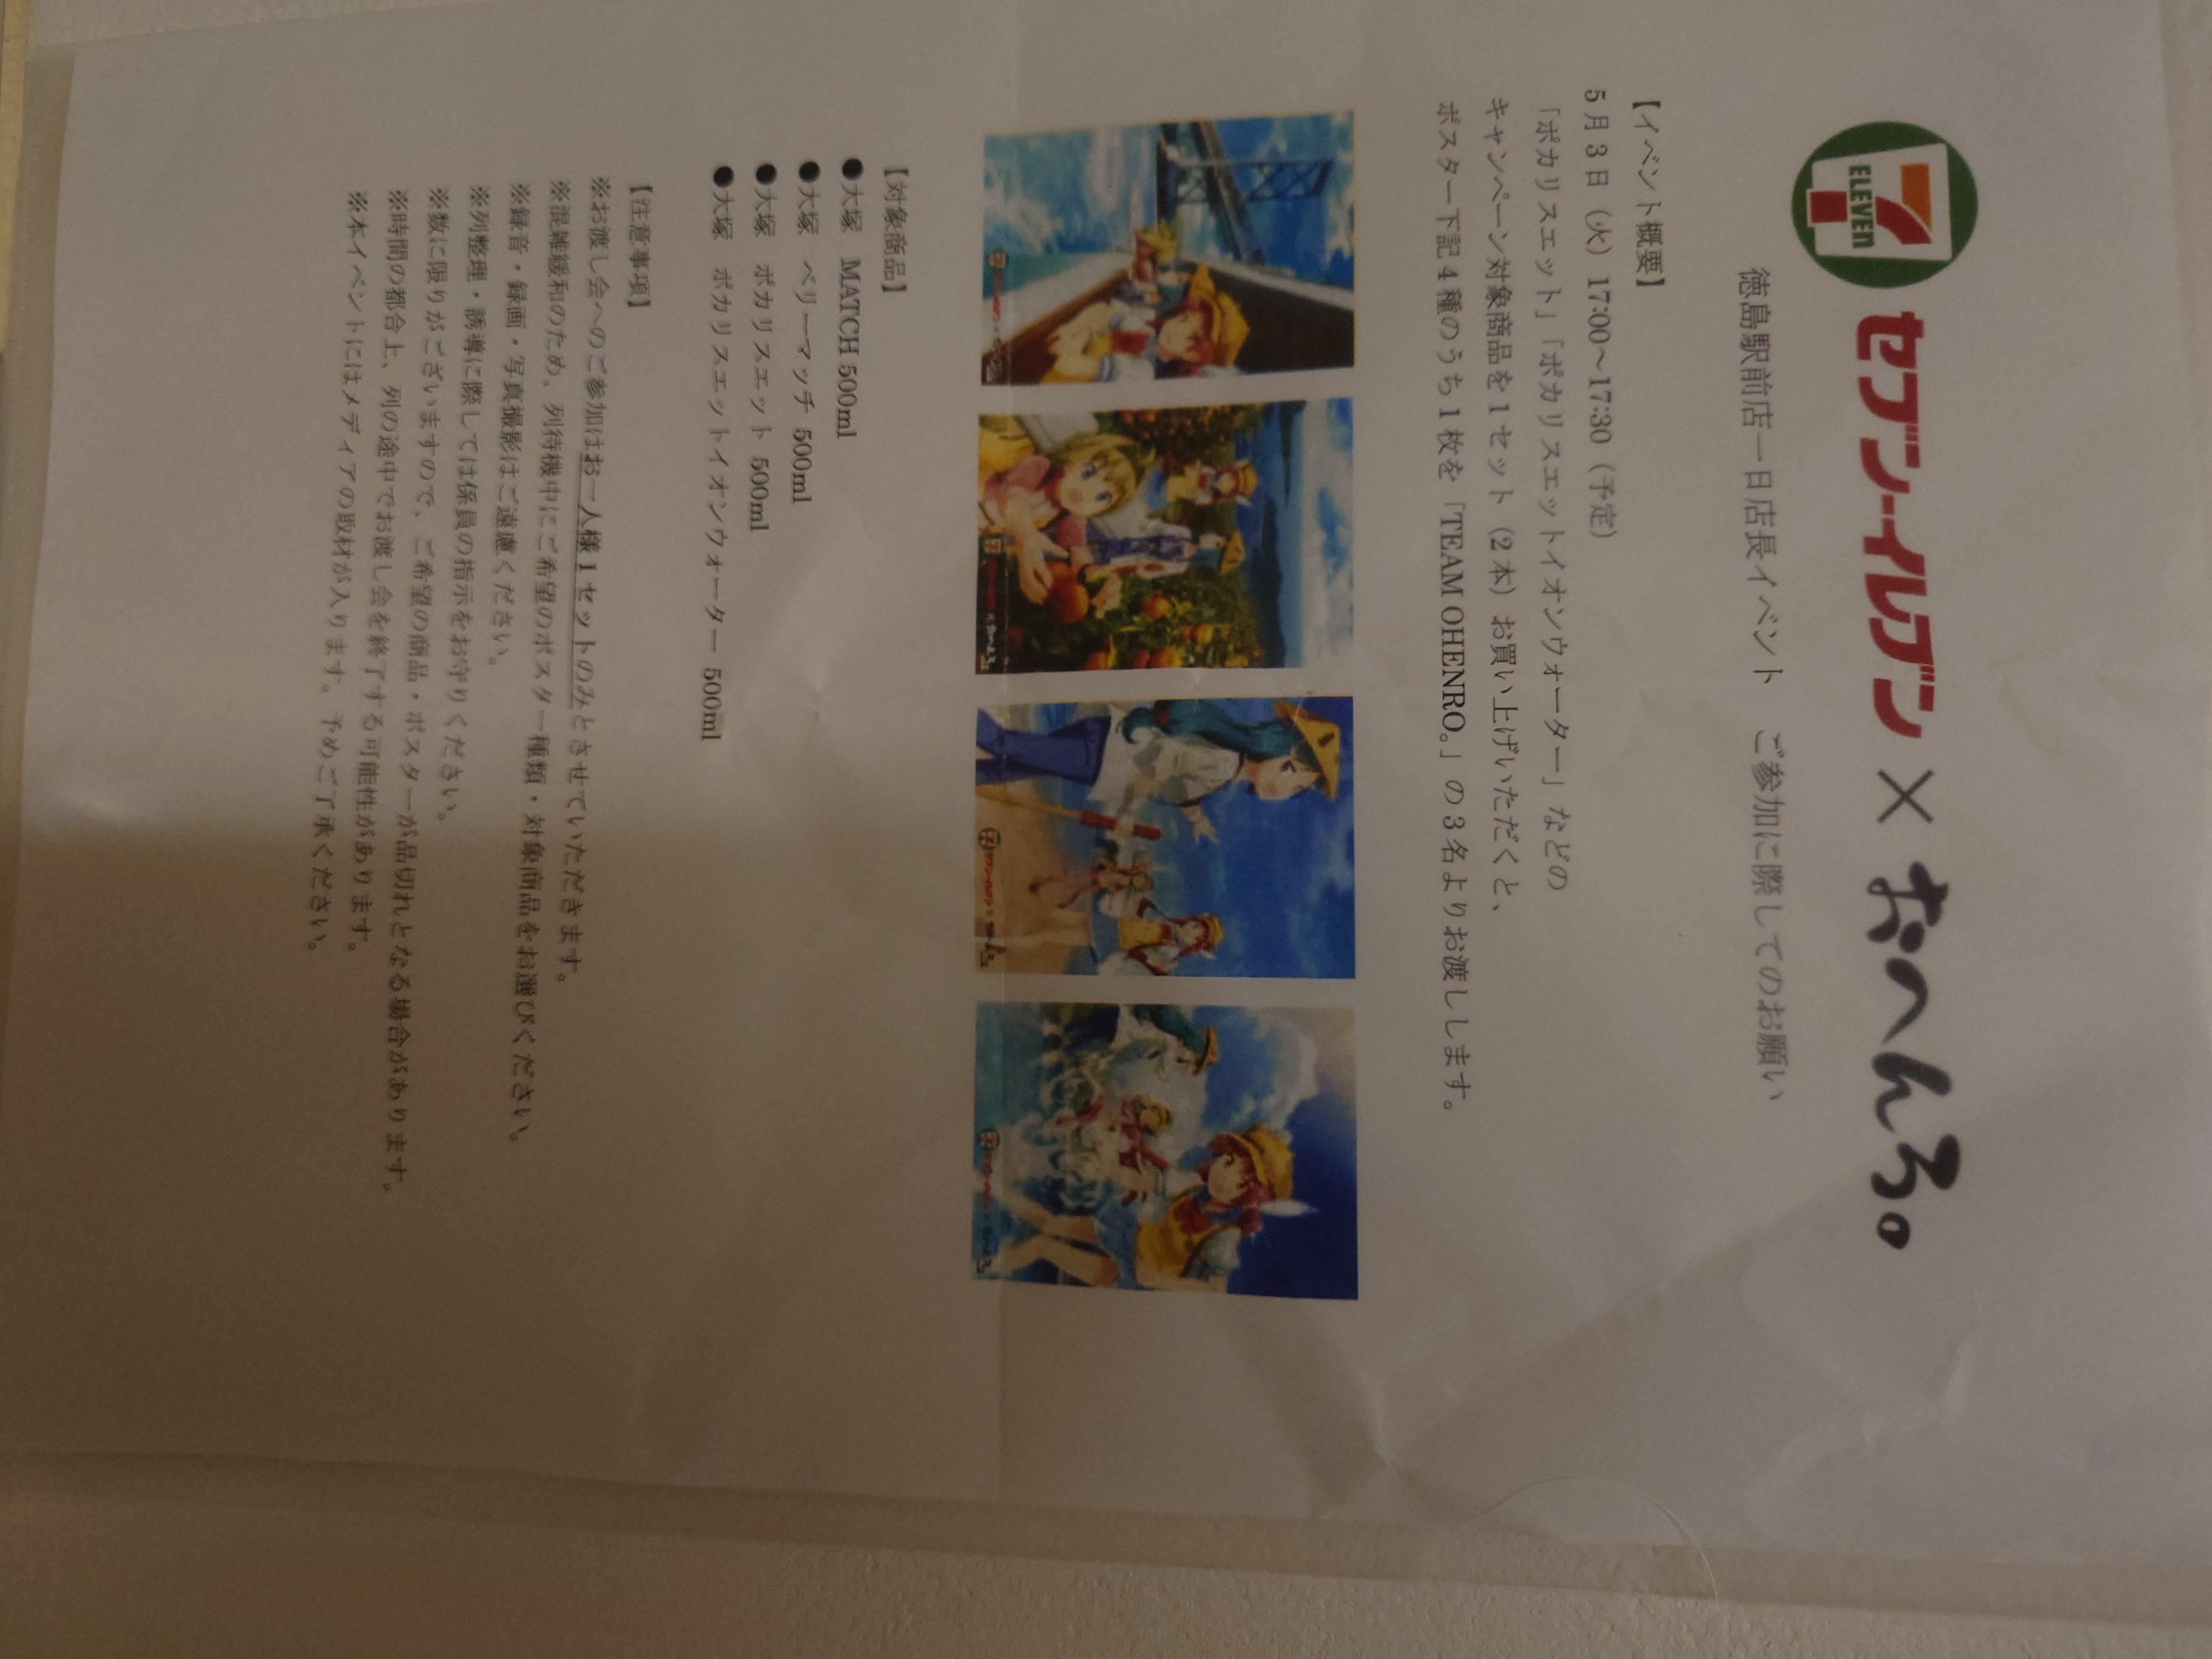
先ほどnanacoとのコラボカードがあったが、コラボ商品を買うとポスターが当たるキャンペーンもあったらしい。お遍路だけあって四国四県がテーマとして描かれていて面白い。
スタッフの人が絵の並びがめちゃくちゃと嘆いておられた。確かに徳島→愛媛→香川→高知となっているので繋がりがない。
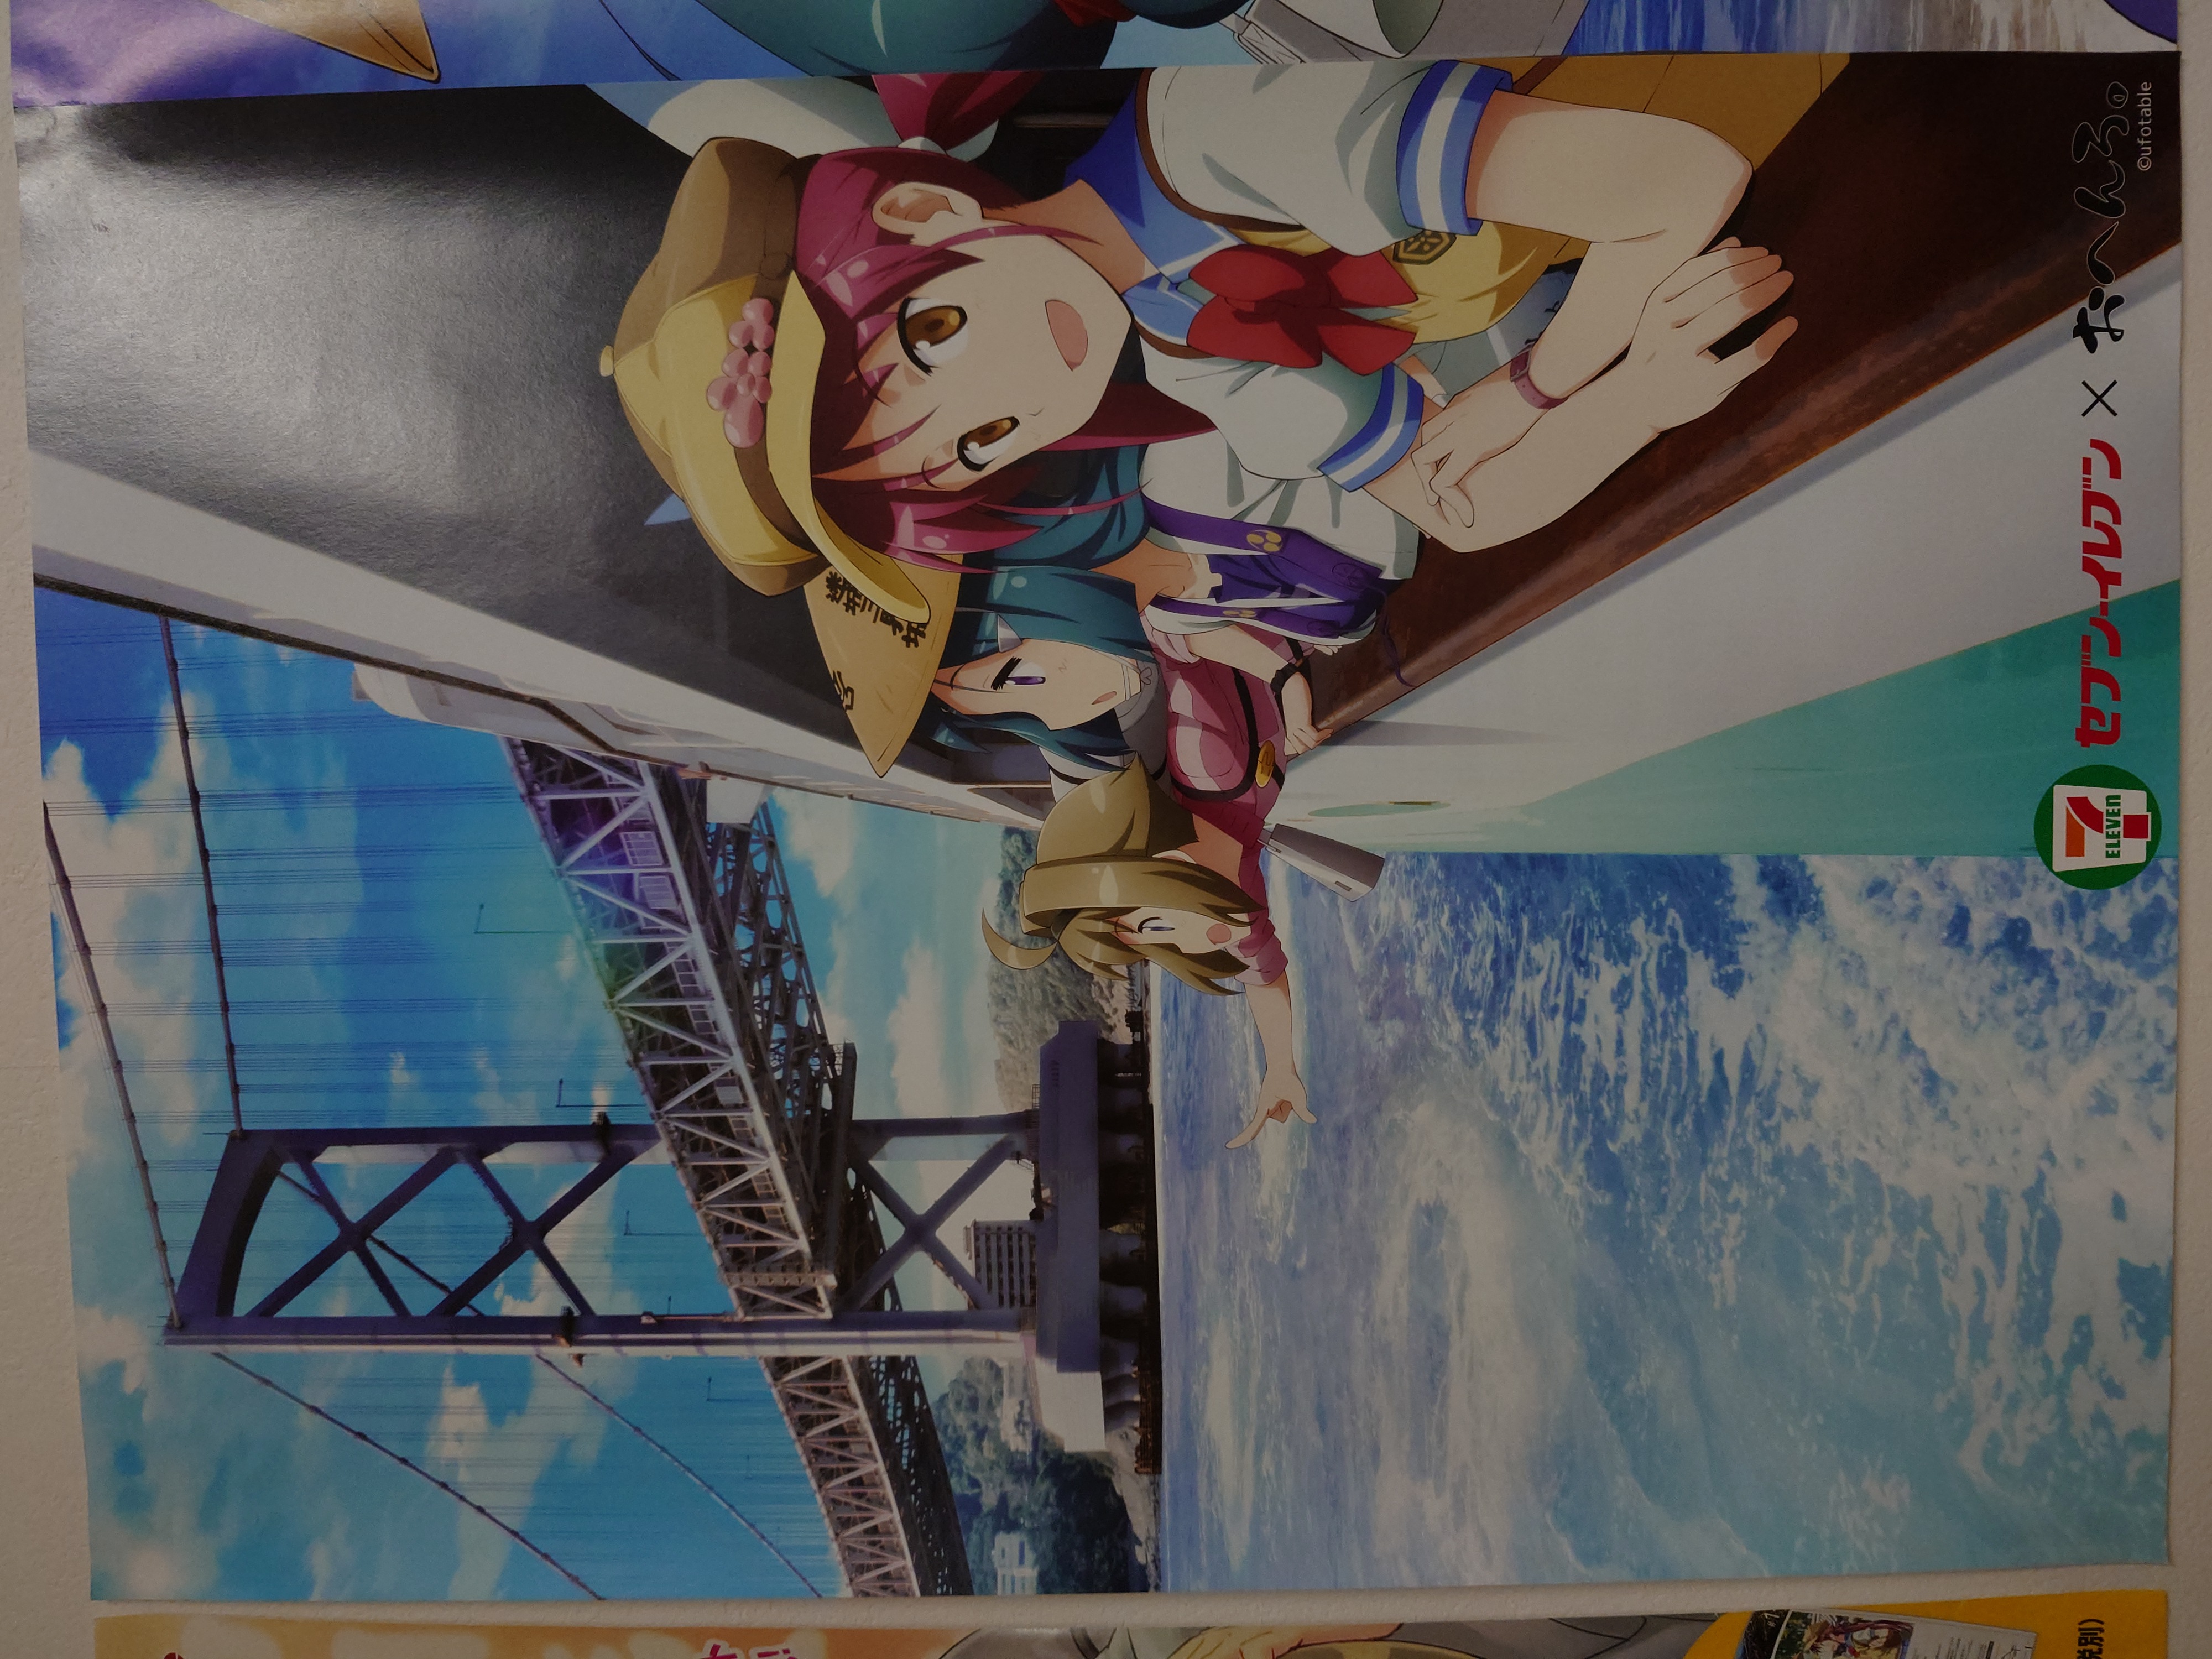
まずは徳島。鳴門の渦潮だ。遊覧船から身を乗り出しているちわちゃんがかわいい。
次は香川。小豆島のエンジェルロードだ。このイラストでのみ三人の並びが異なっており、真ん中にまおちゃんがいる。

次は愛媛。恐らく忽那諸島とみかんだろう。このイラストでのみ、めぐちゃんの服に「みかん」の文字が見られる。みかんを手にするちわちゃんがかわいい。
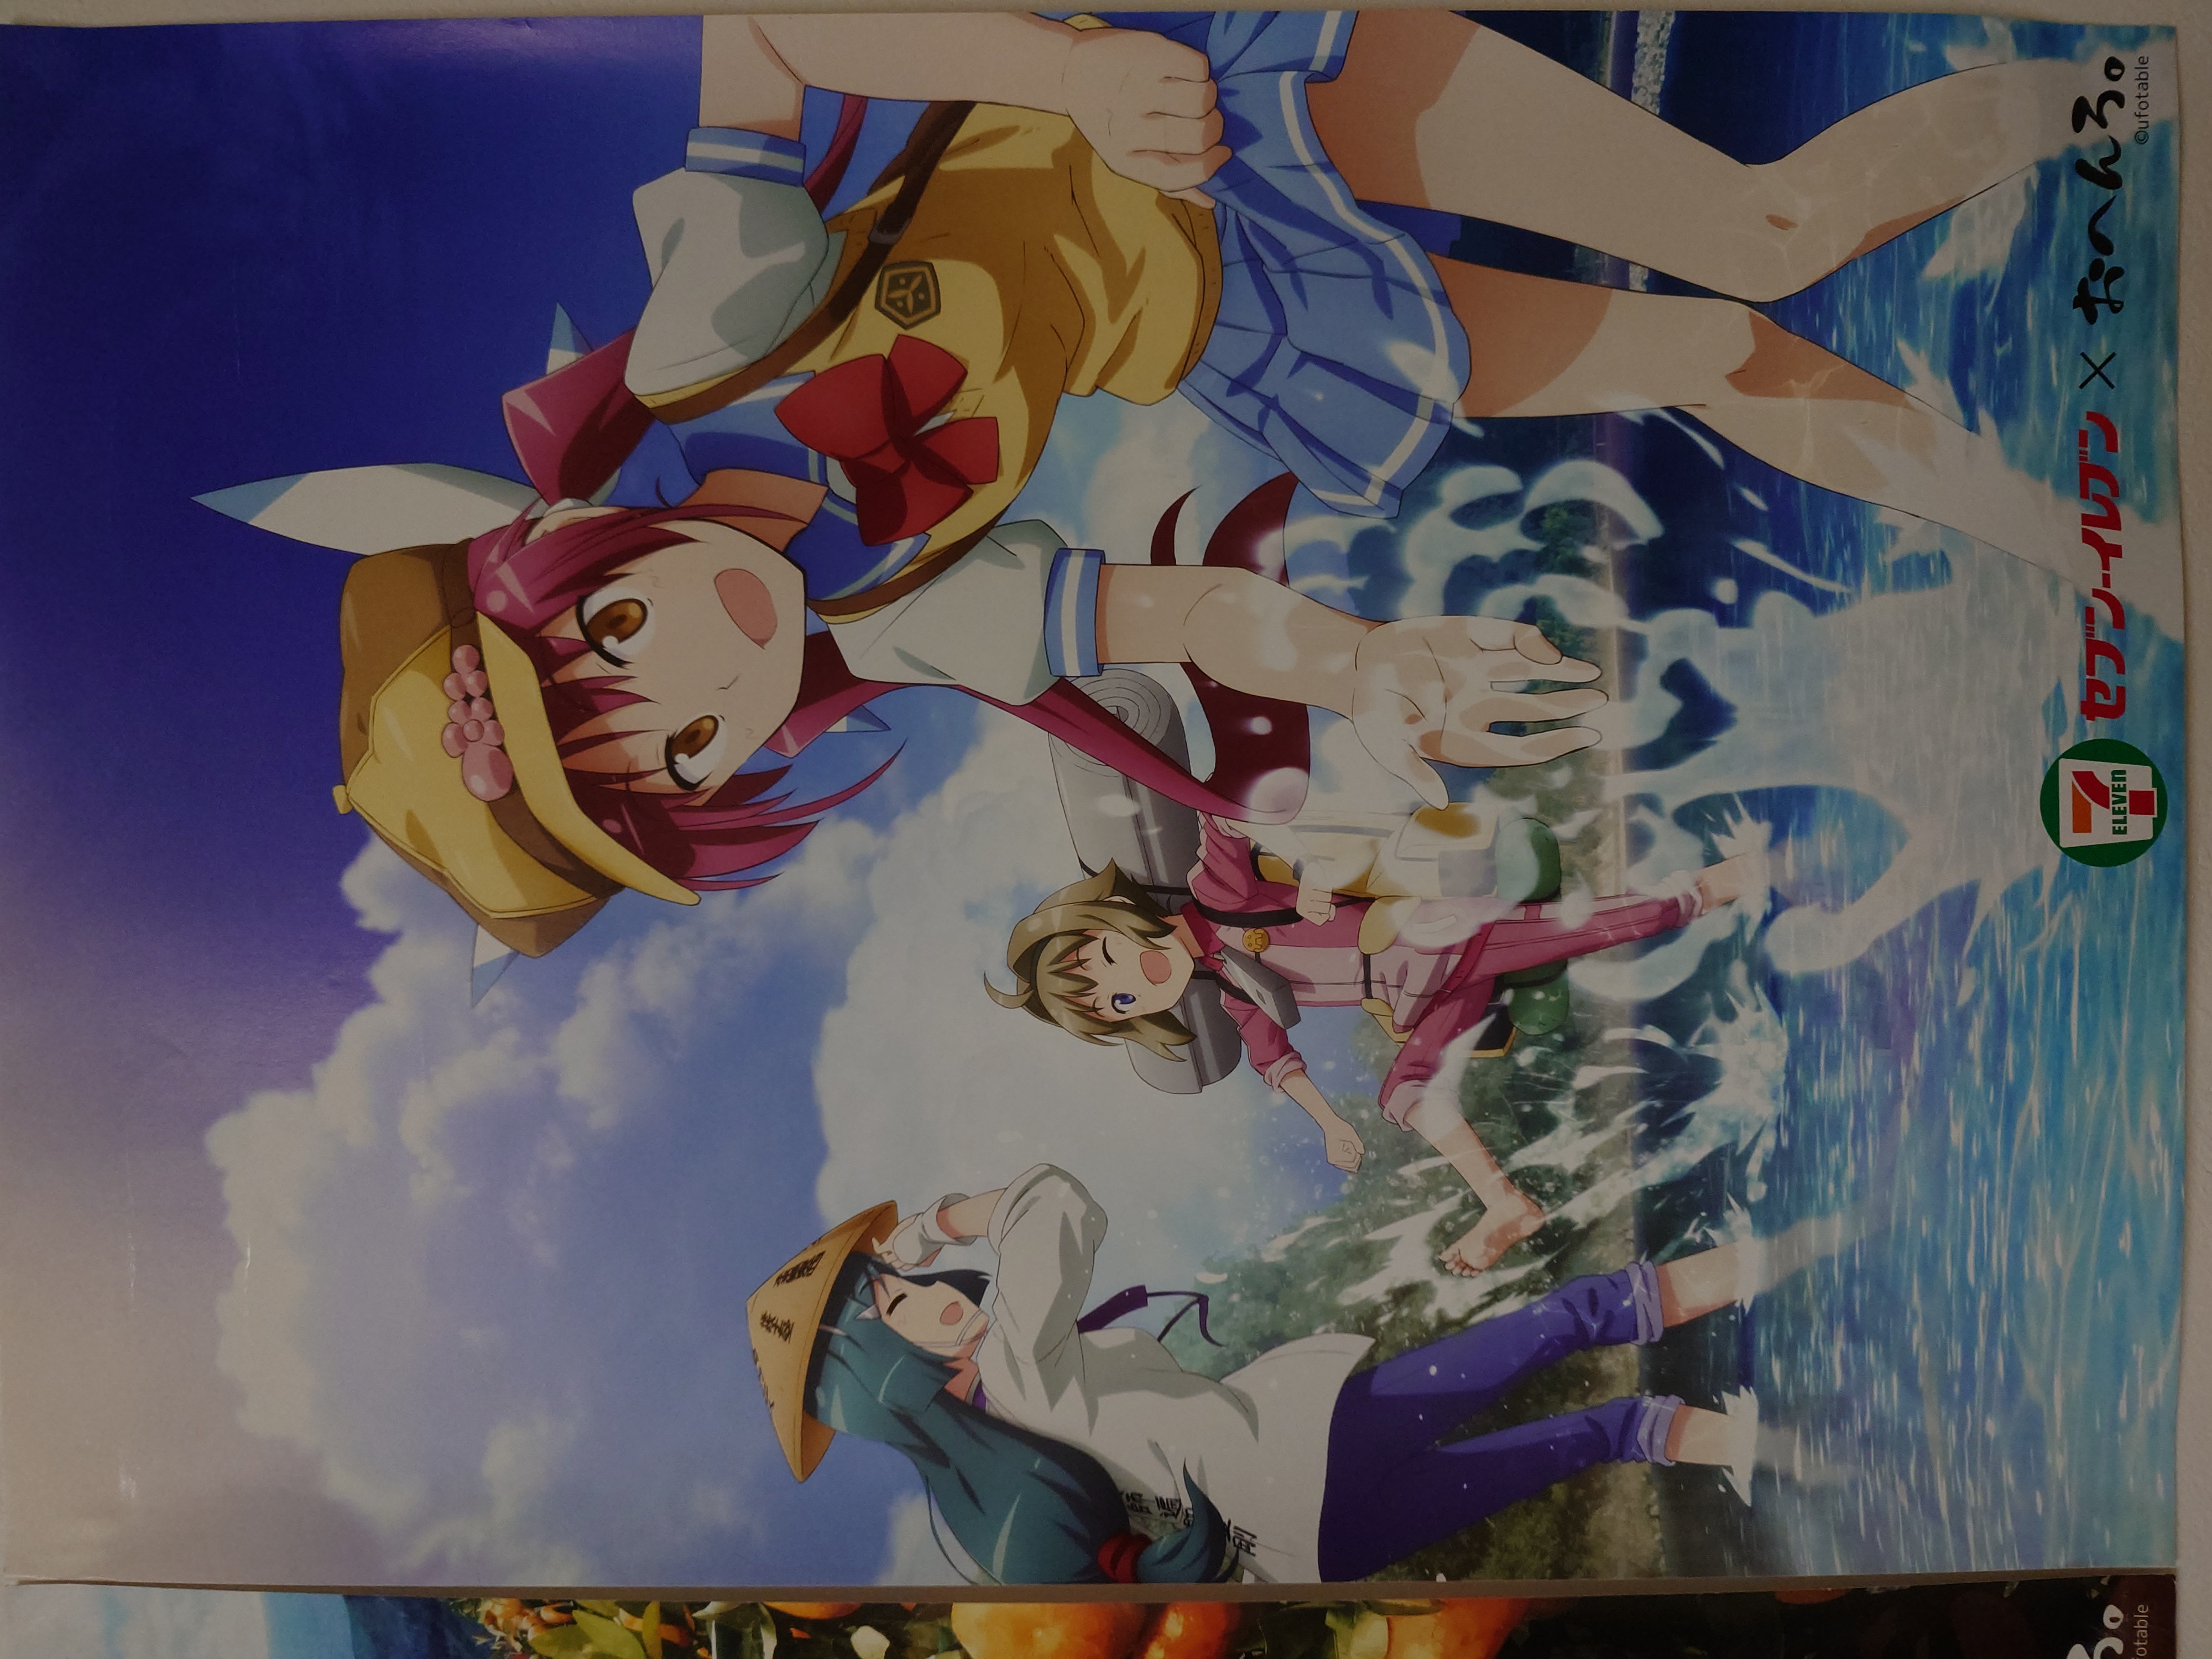
最後は高知。四万十川で水遊びしているシーンだ。ちわちゃんはここまでの流れで元気っこであることがよくわかるし、このイラストのまおちゃんはかわいい。
こうやって徳島発のコンテンツが四国四県に波及するのはすごいことだと思う。
八十八箇所の一番札所は徳島にあるそうなので、徳島発となったのは、ひょっとするとこれが関係しているのかもしれない。
白滝製麺コラボ
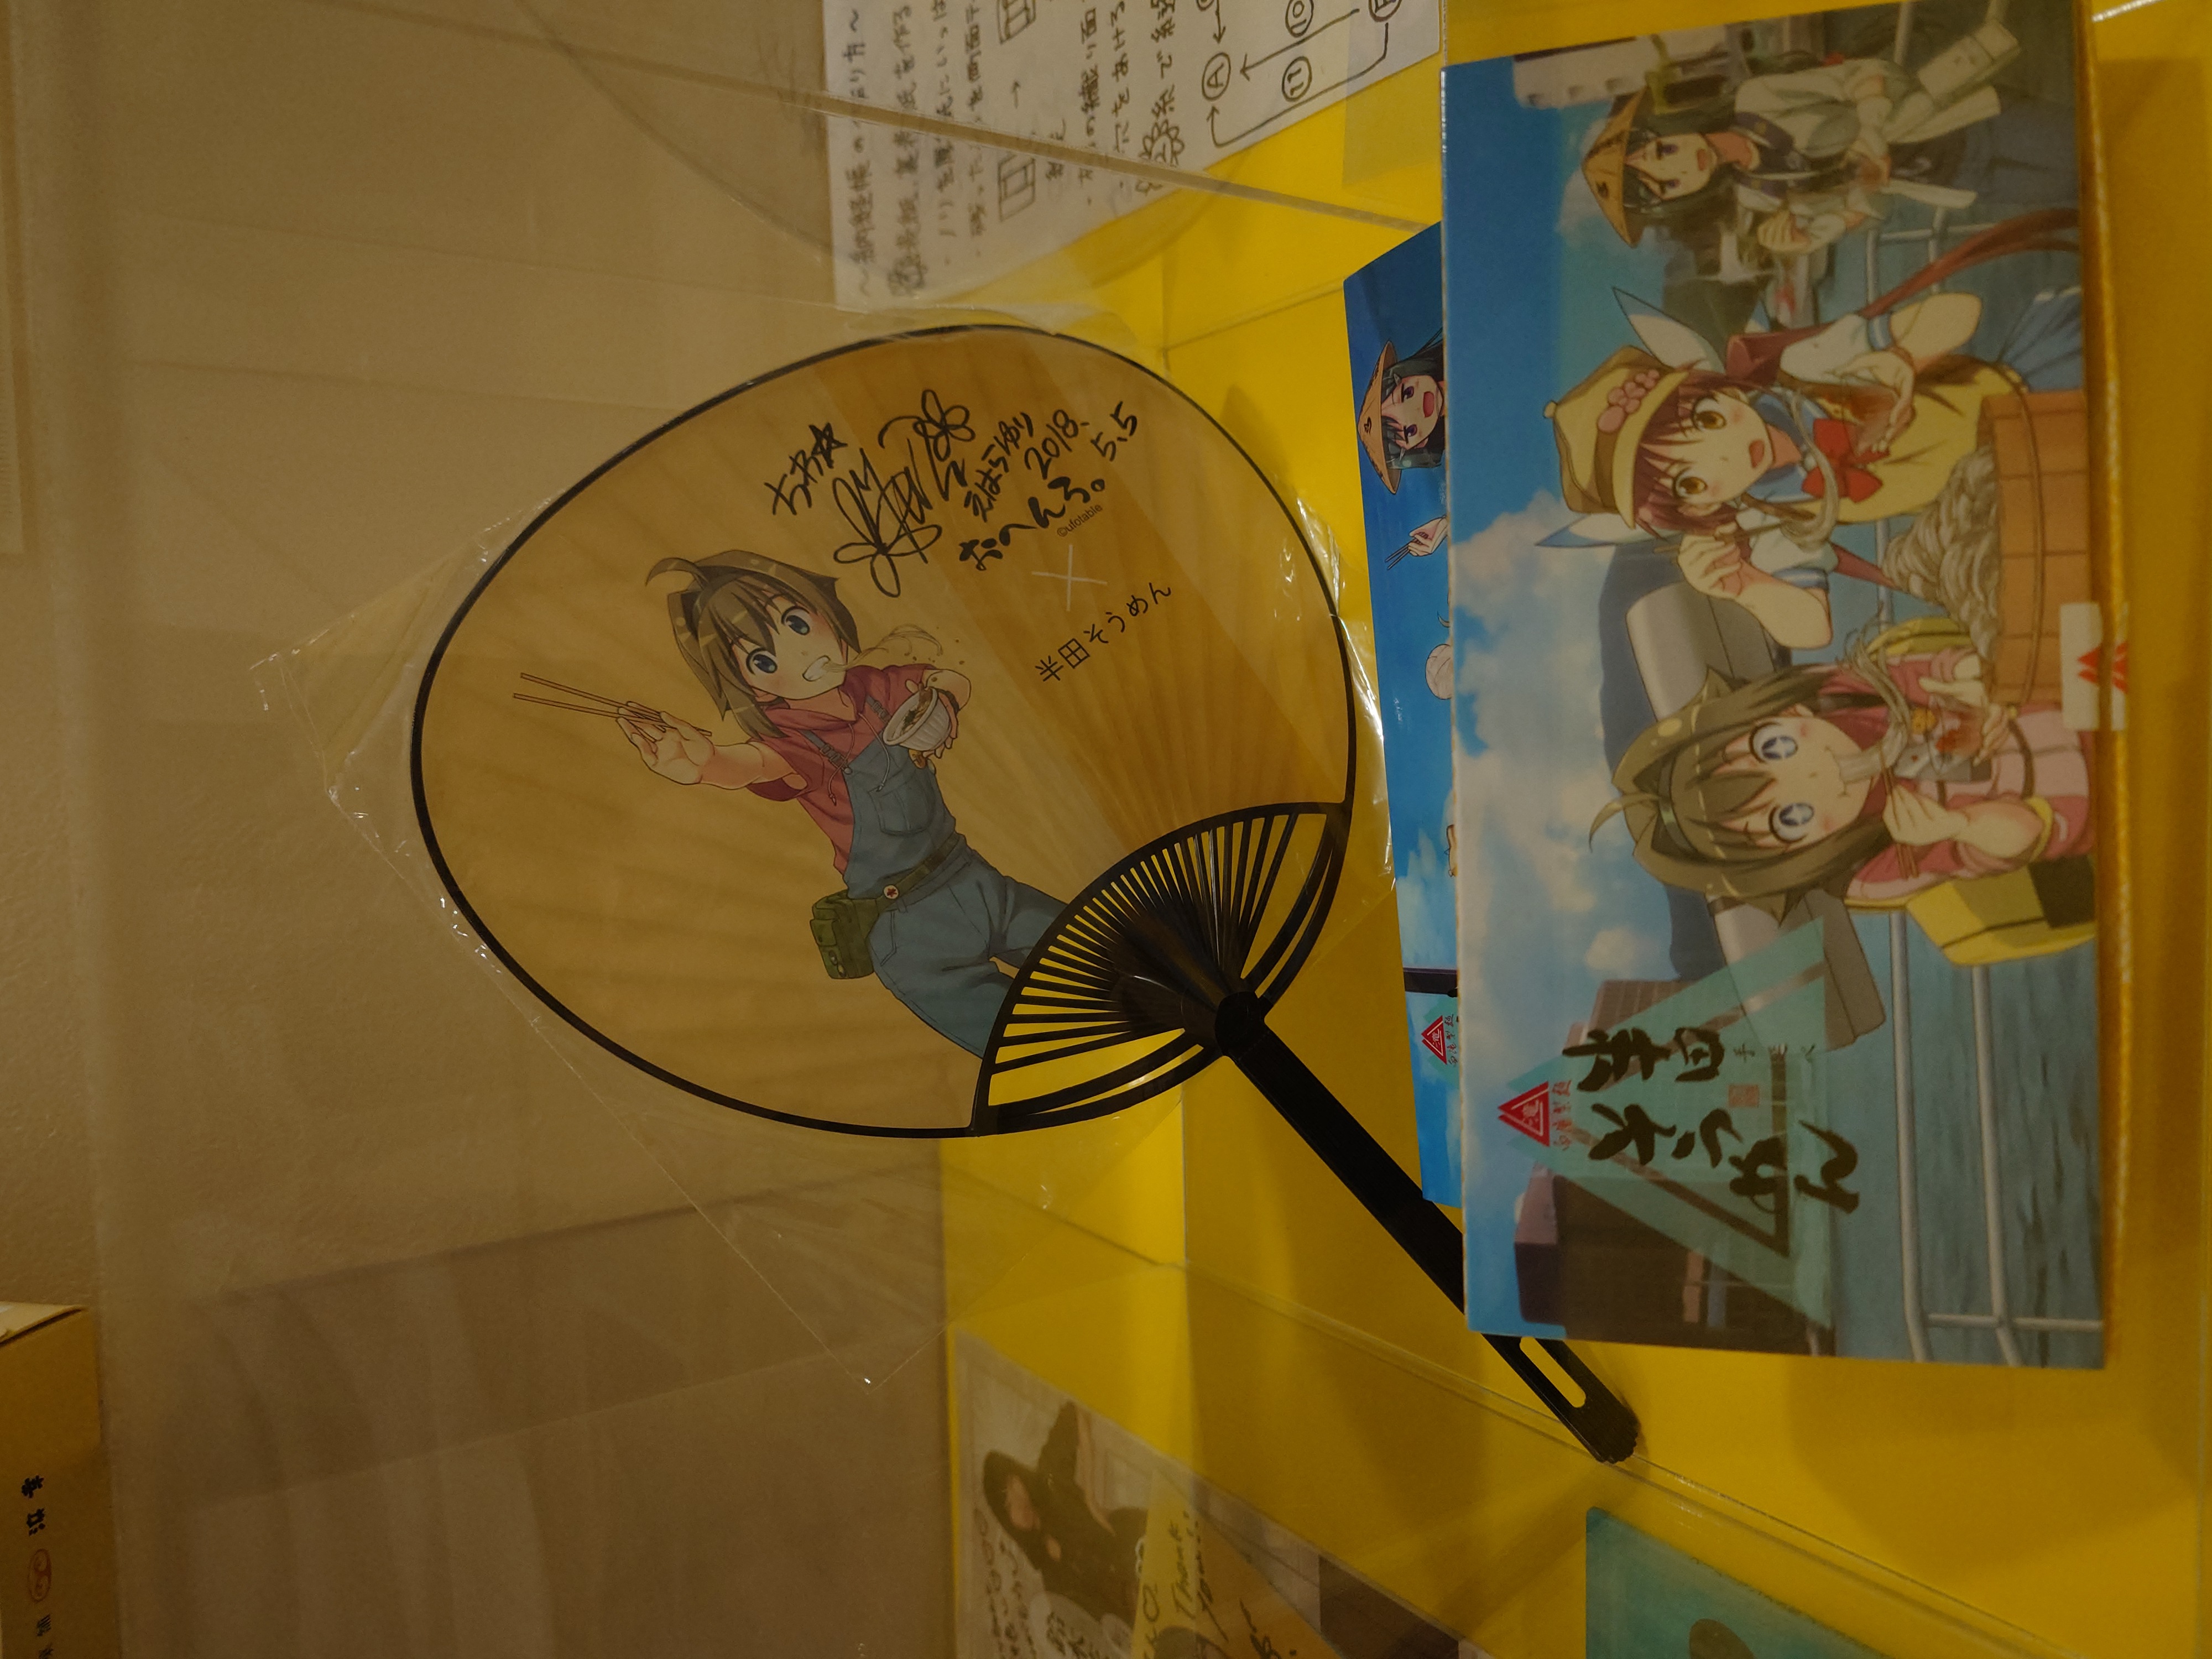
白滝製麺のパッケージもあった。今回見たパッケージとは別物であるため過去のパッケージなのだろう。
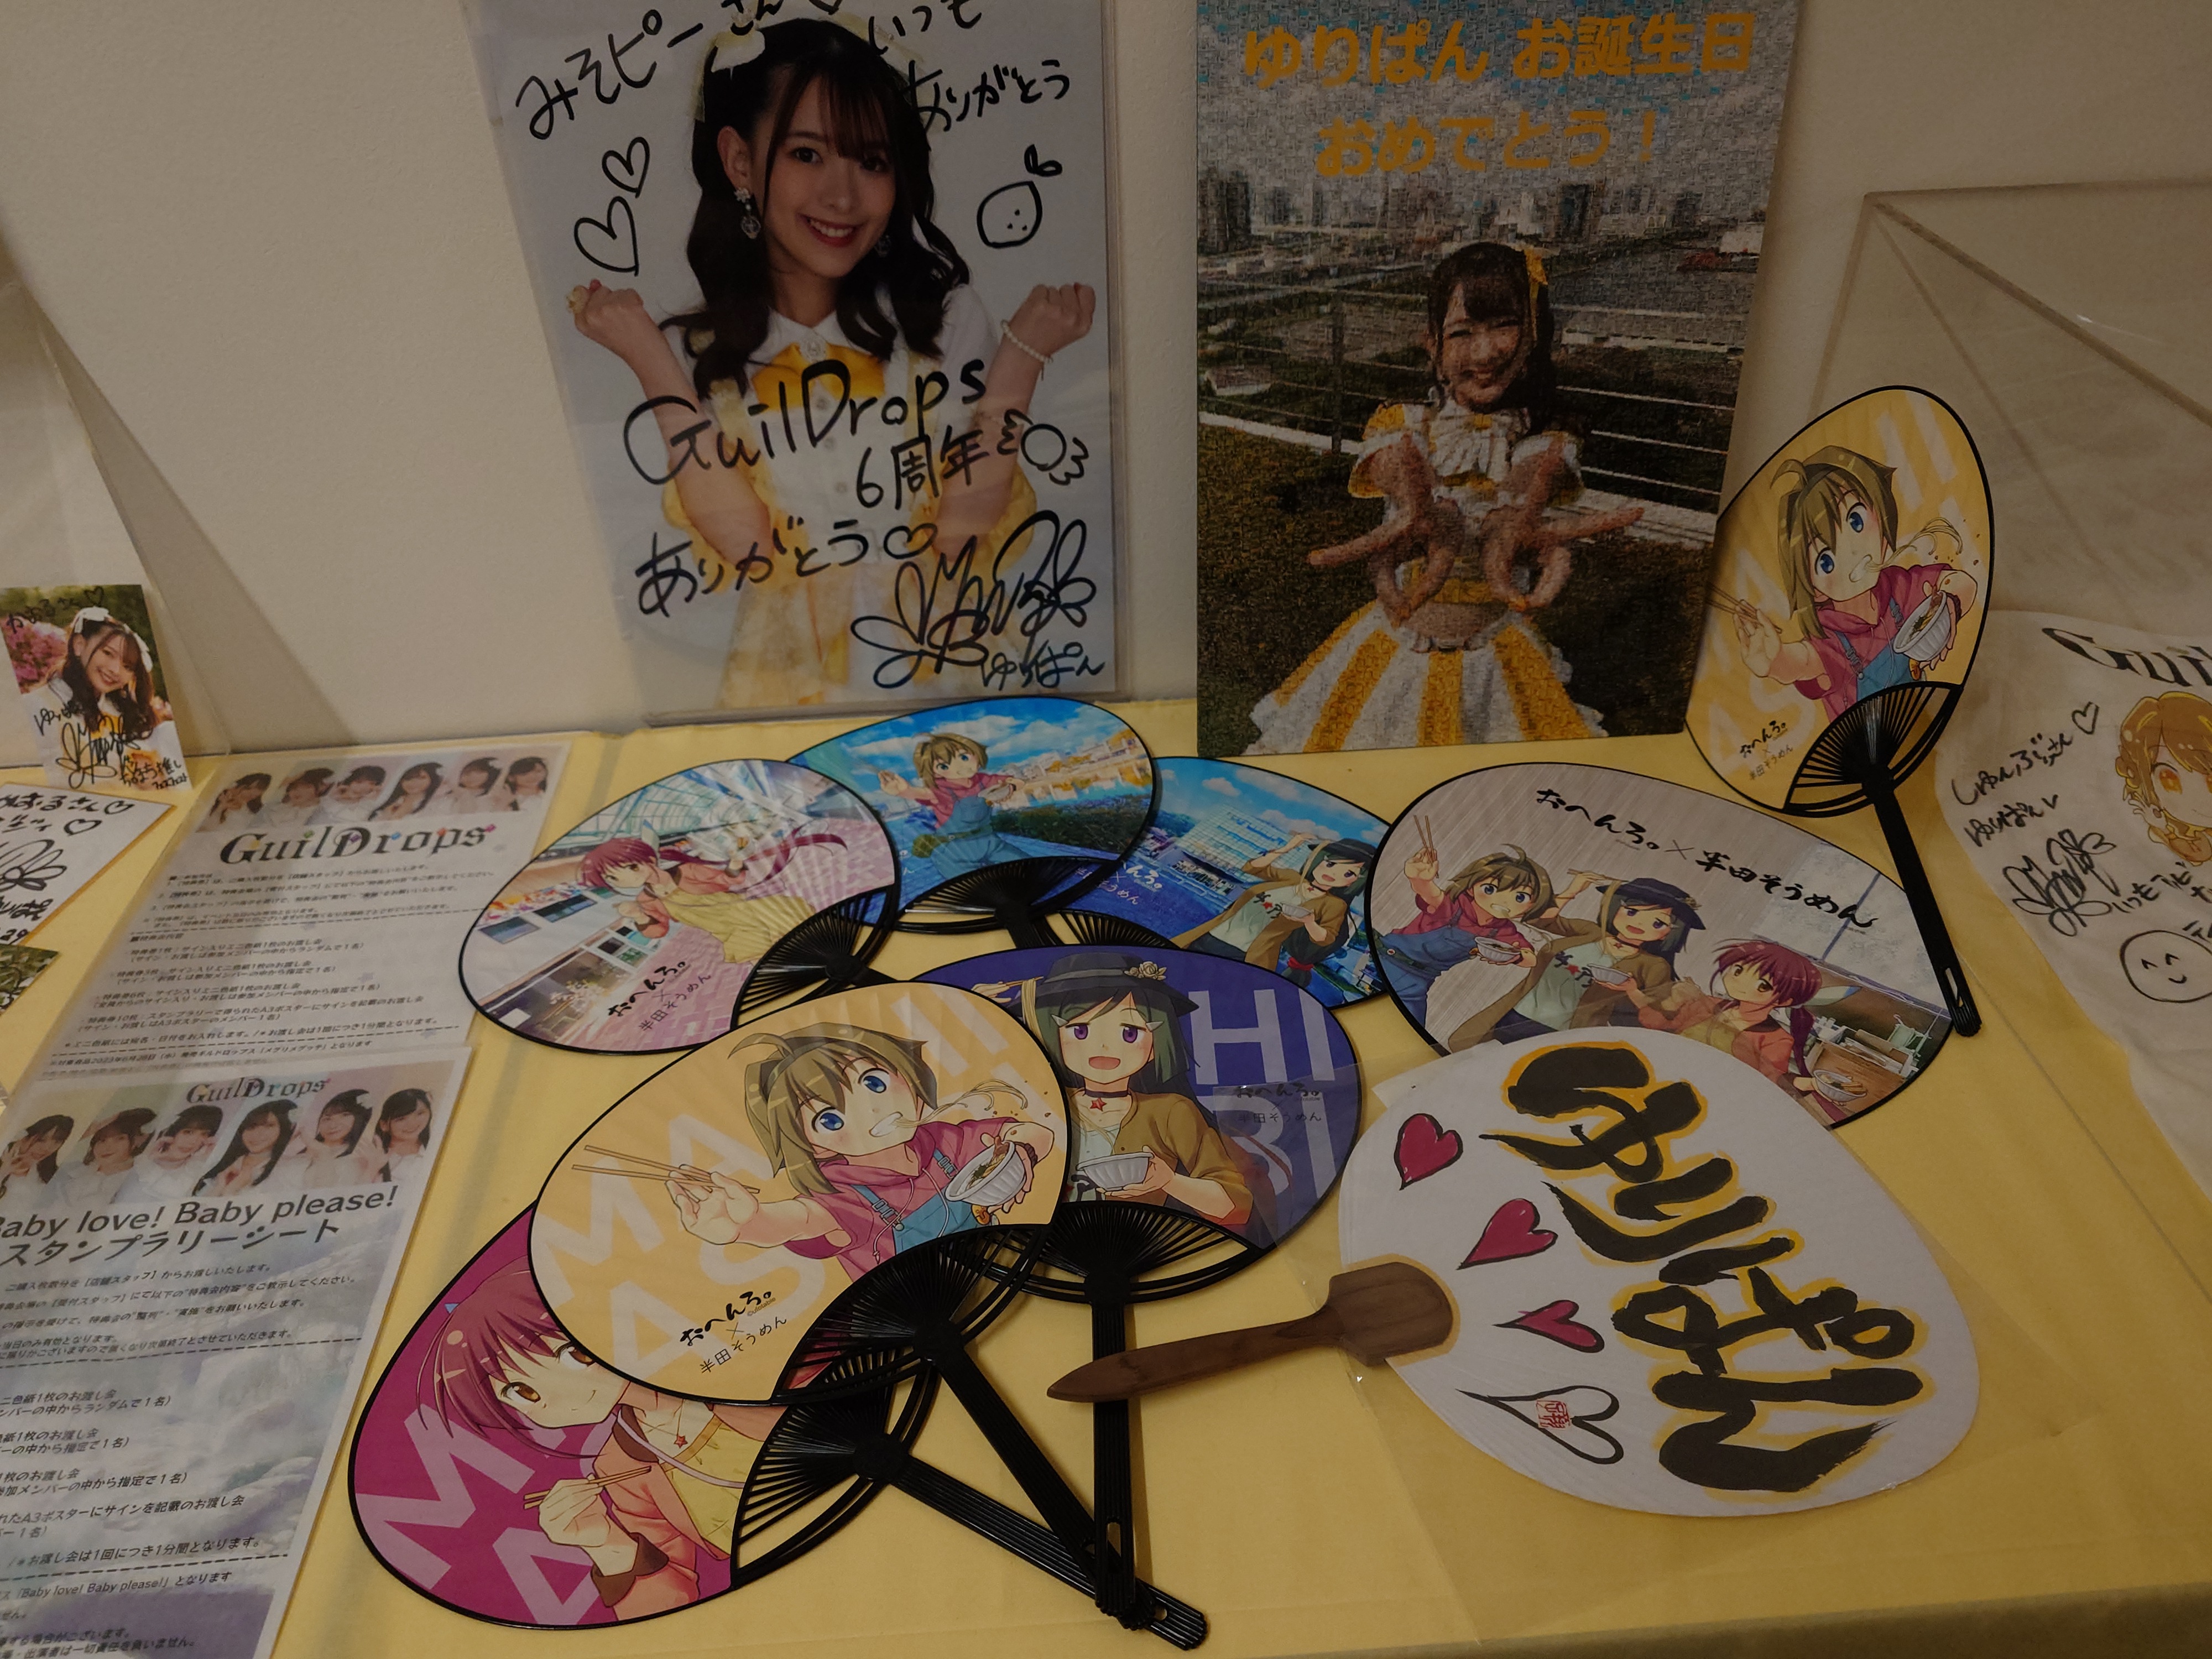
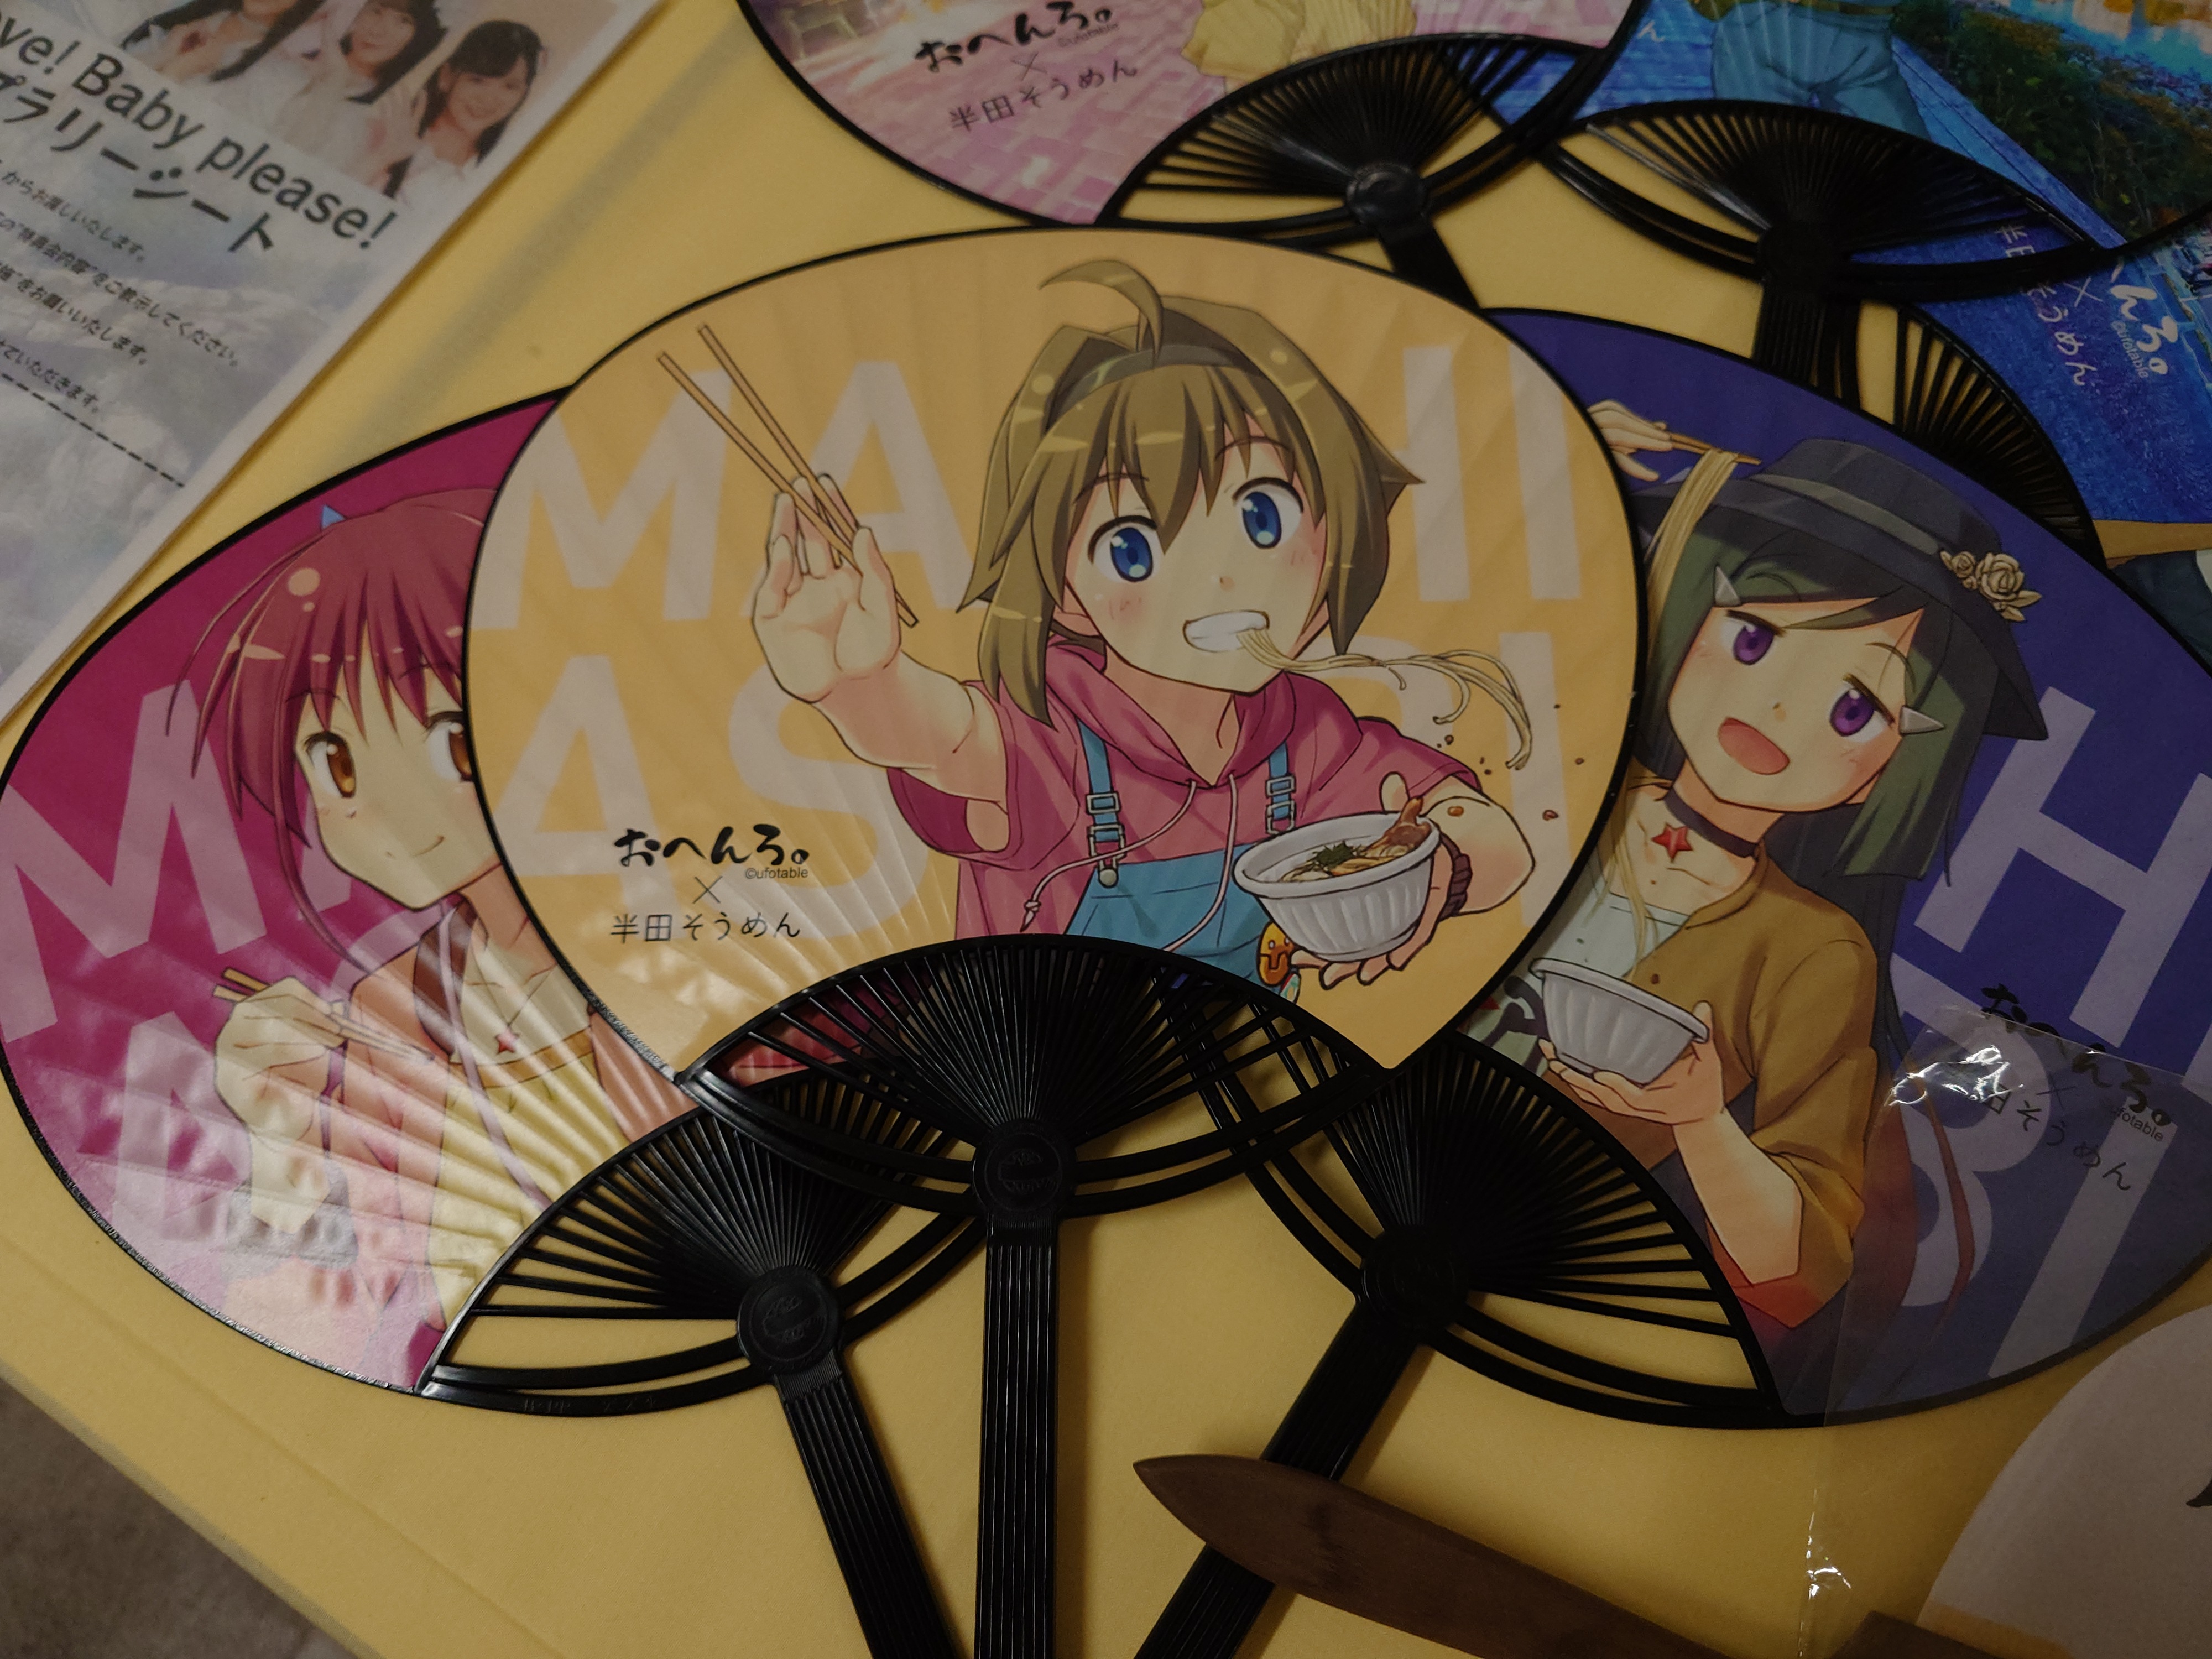
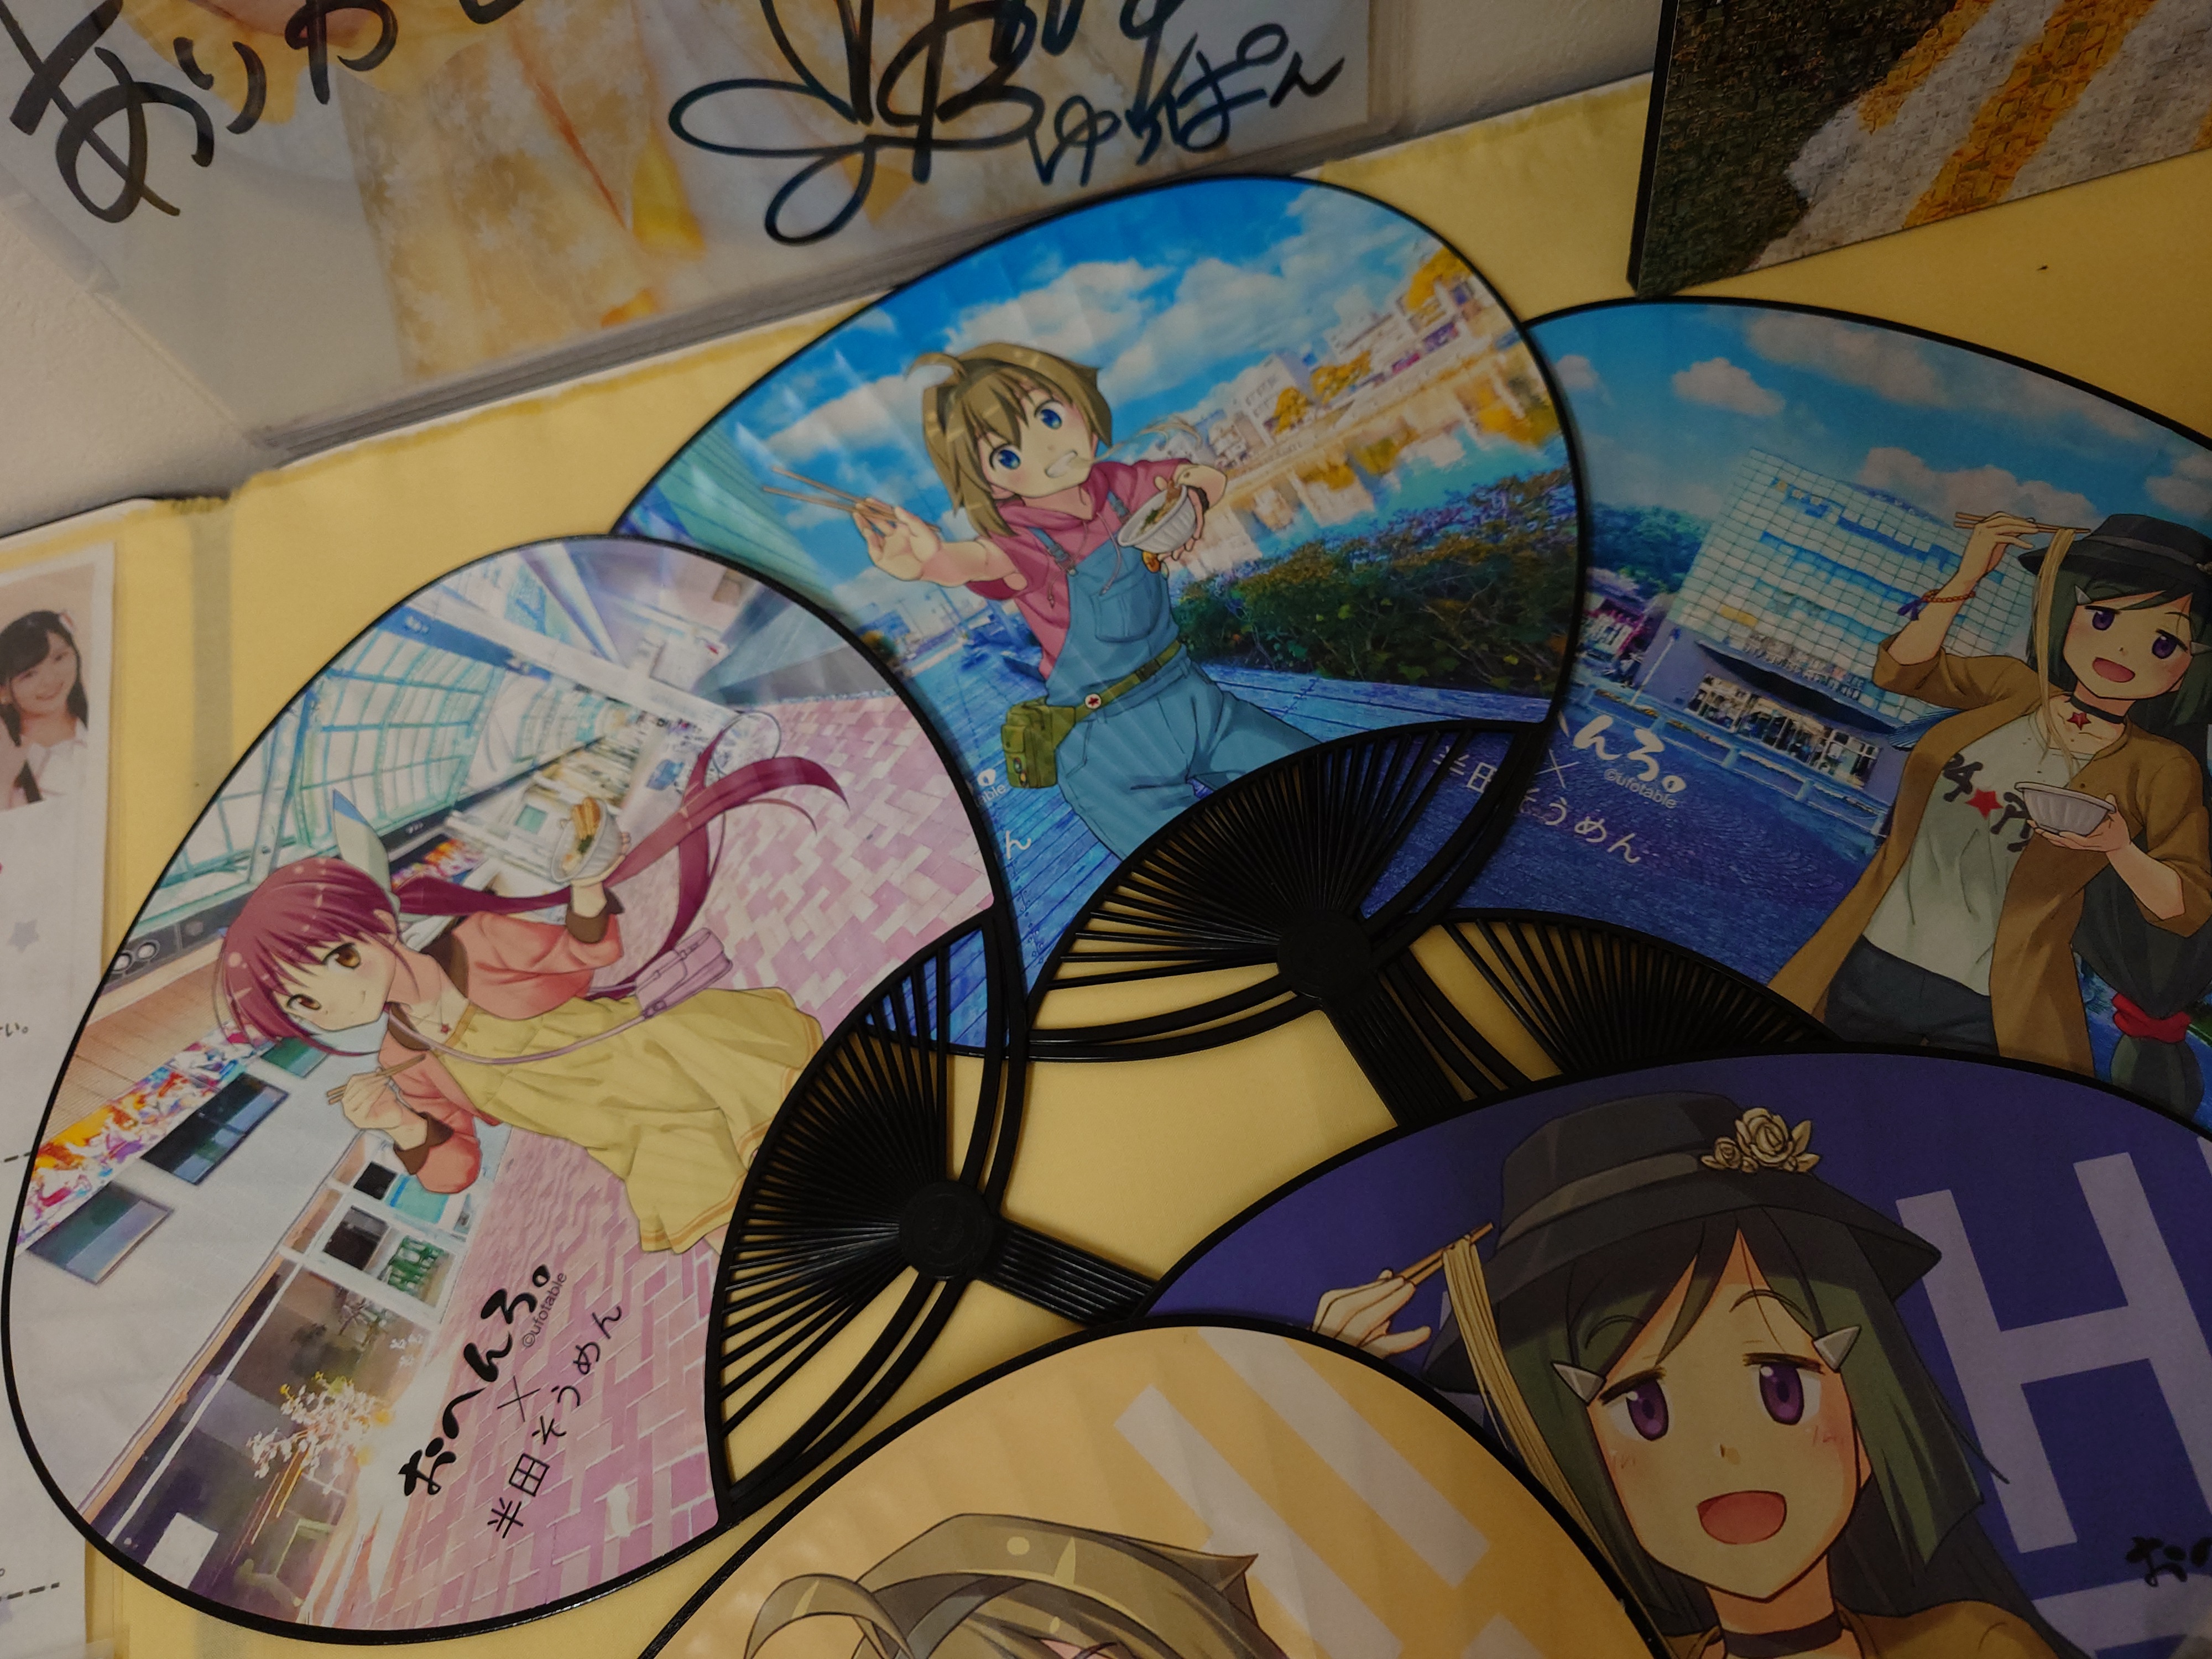
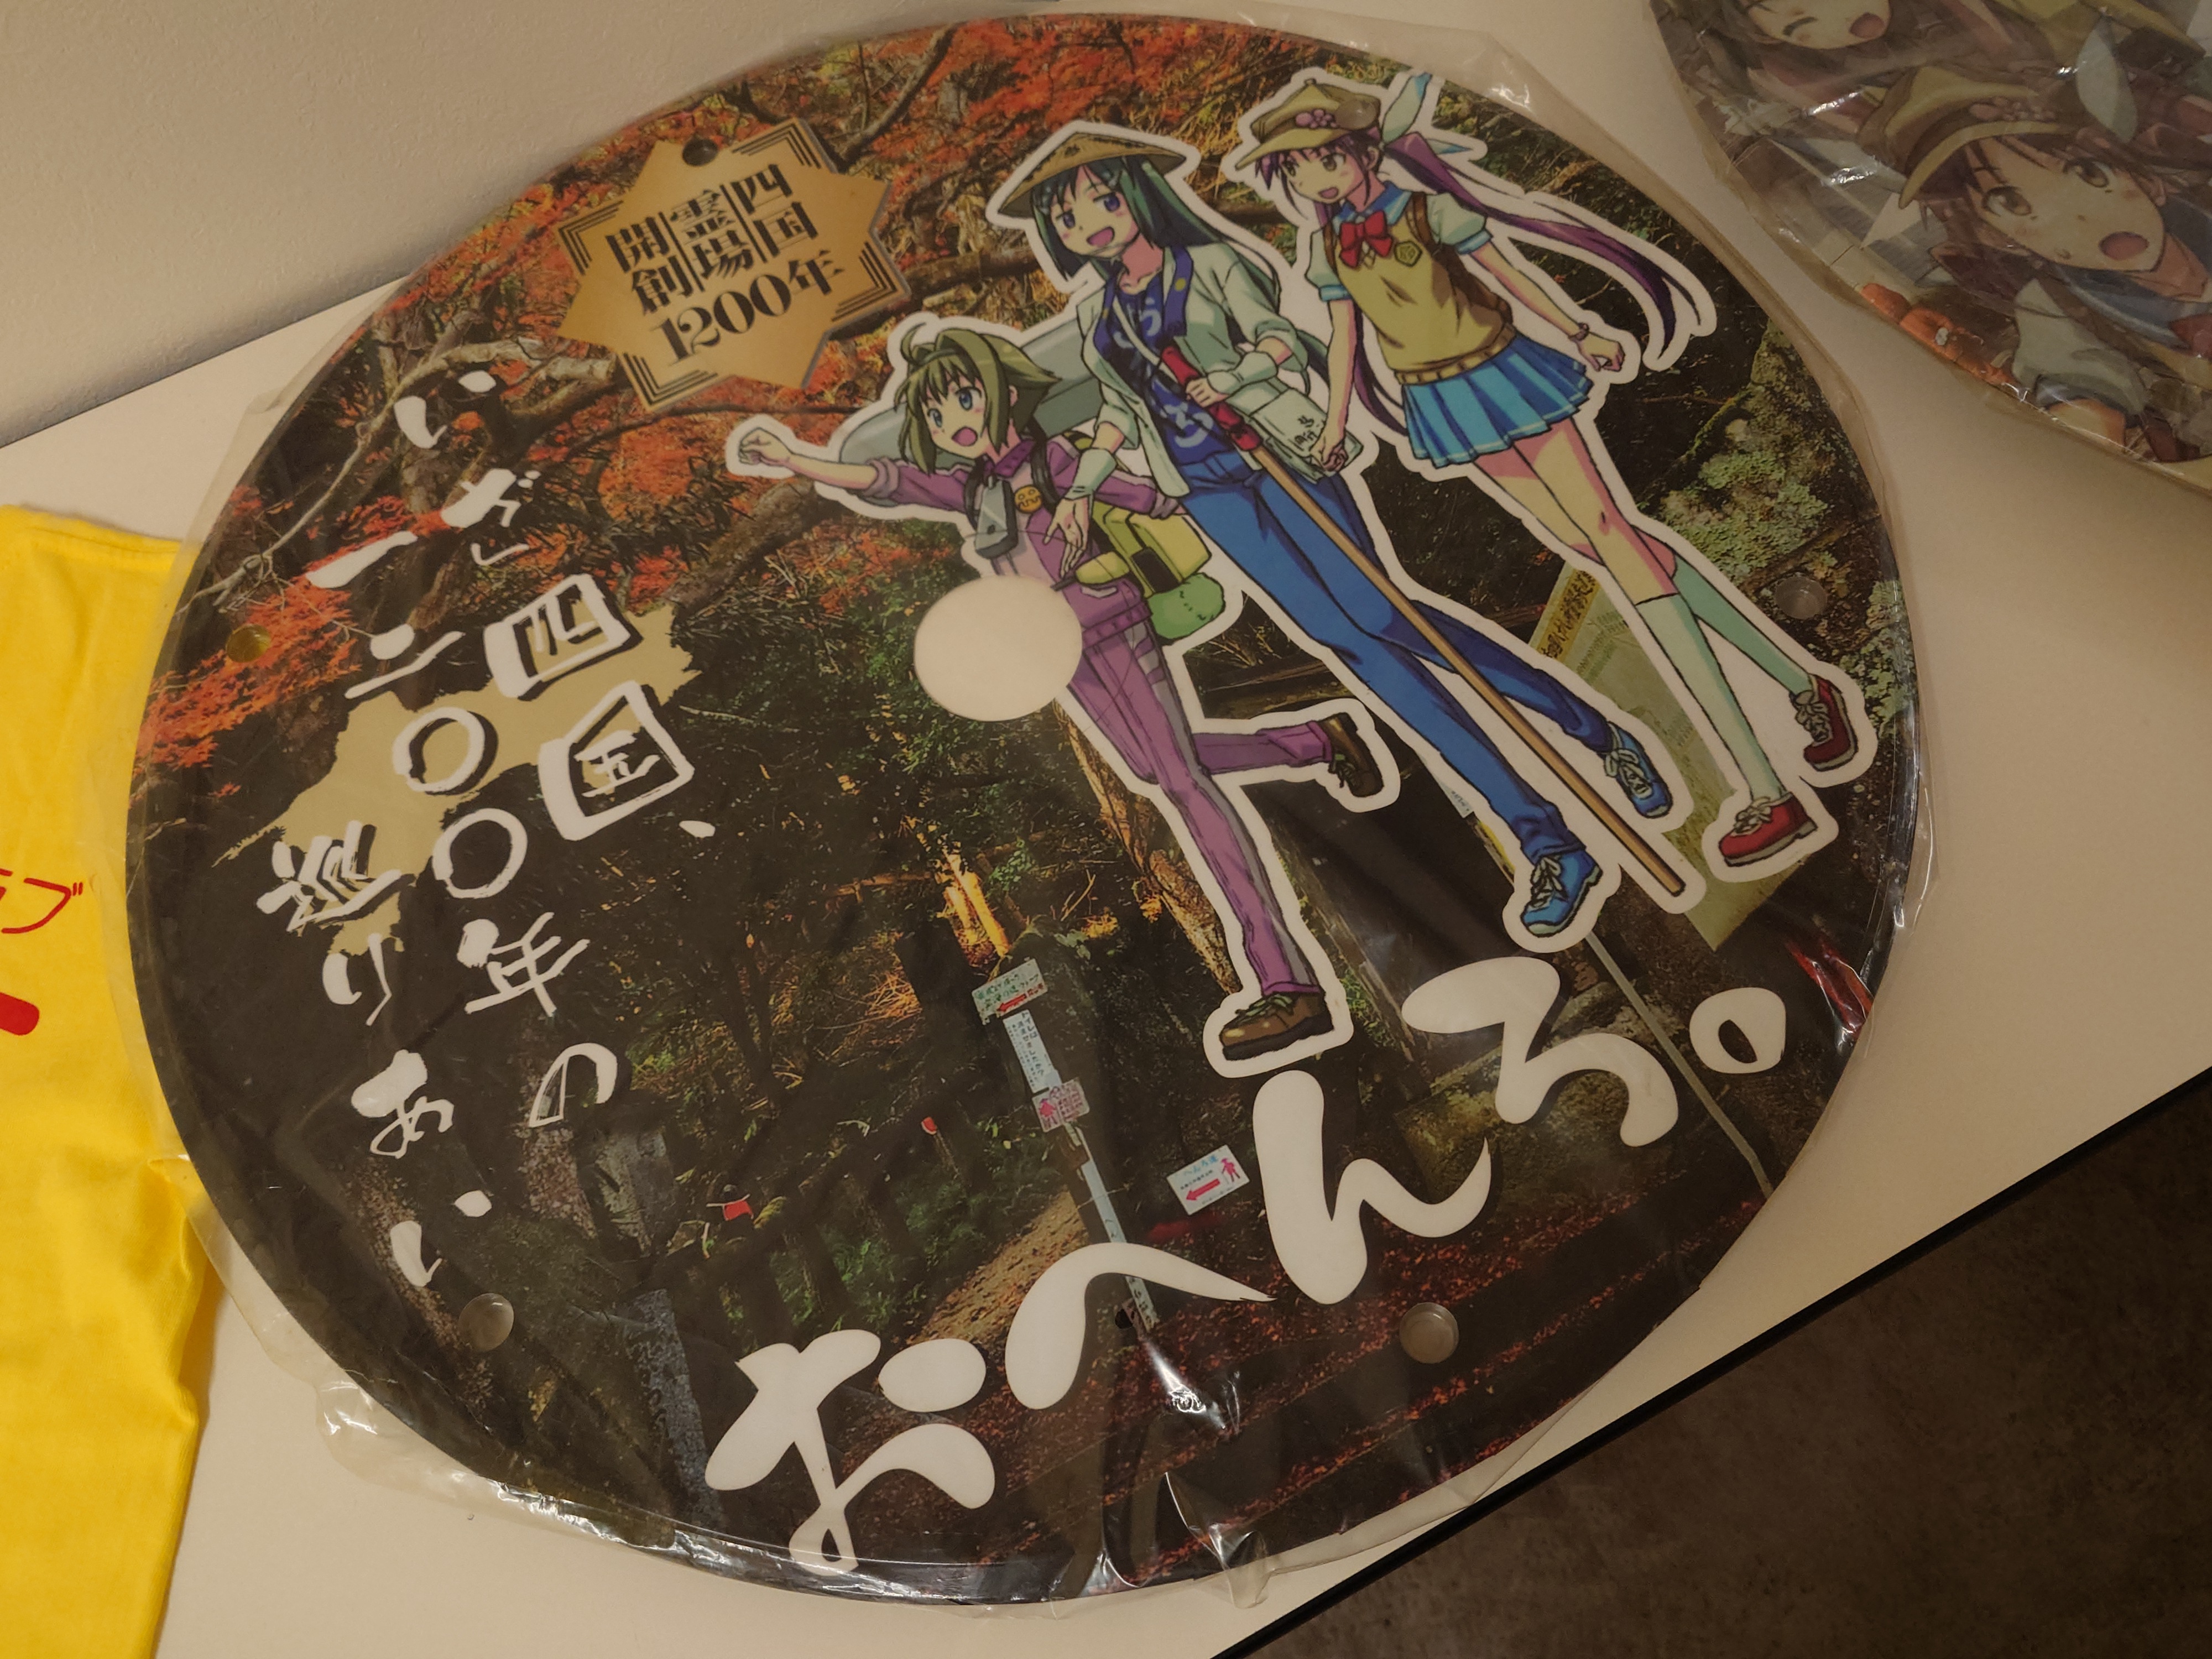
マチアソビでそうめんを買うともらえる団扇もあった。手前のキャラがアップで描かれているものが今回の配布品だ。引き気味に徳島の風景とともに描かれているものは過去のものだろう。ゆりぱんと書かれた団扇は白滝製麺と関係ないと思われる。
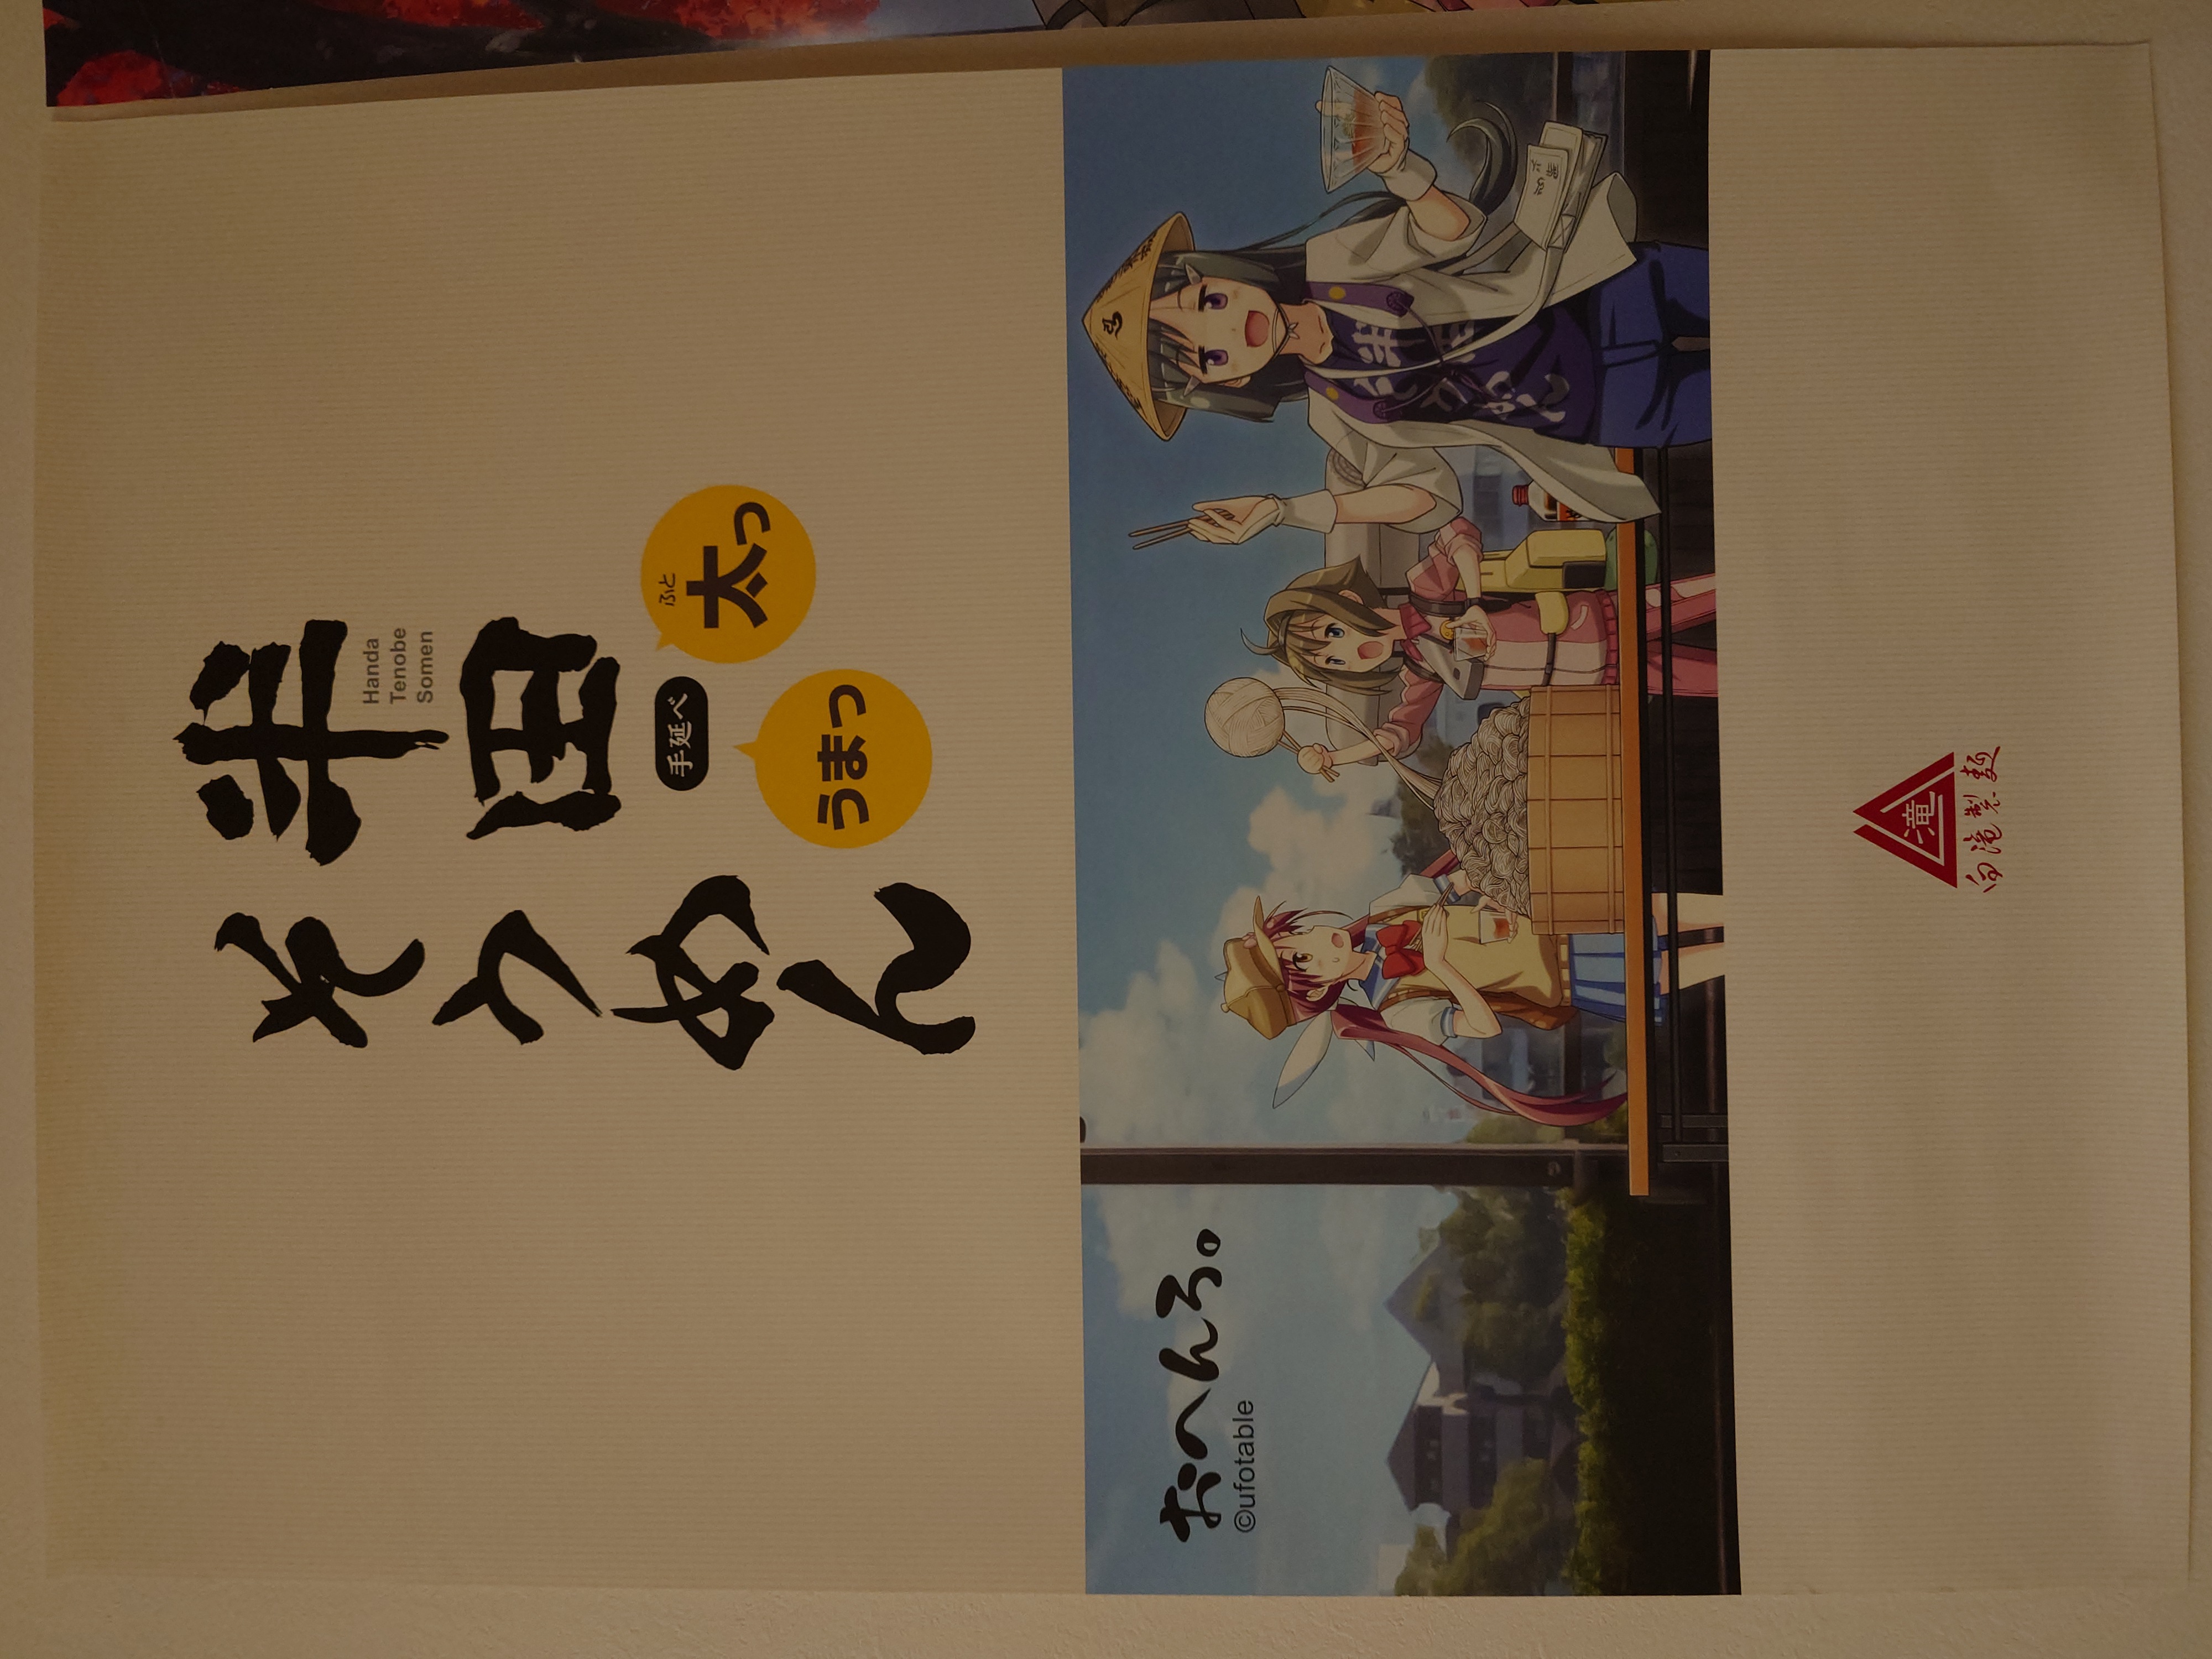
白滝製麵は「おへんろ。」のよきスポンサーなのだろう。
過去のマチアソビ来場者数
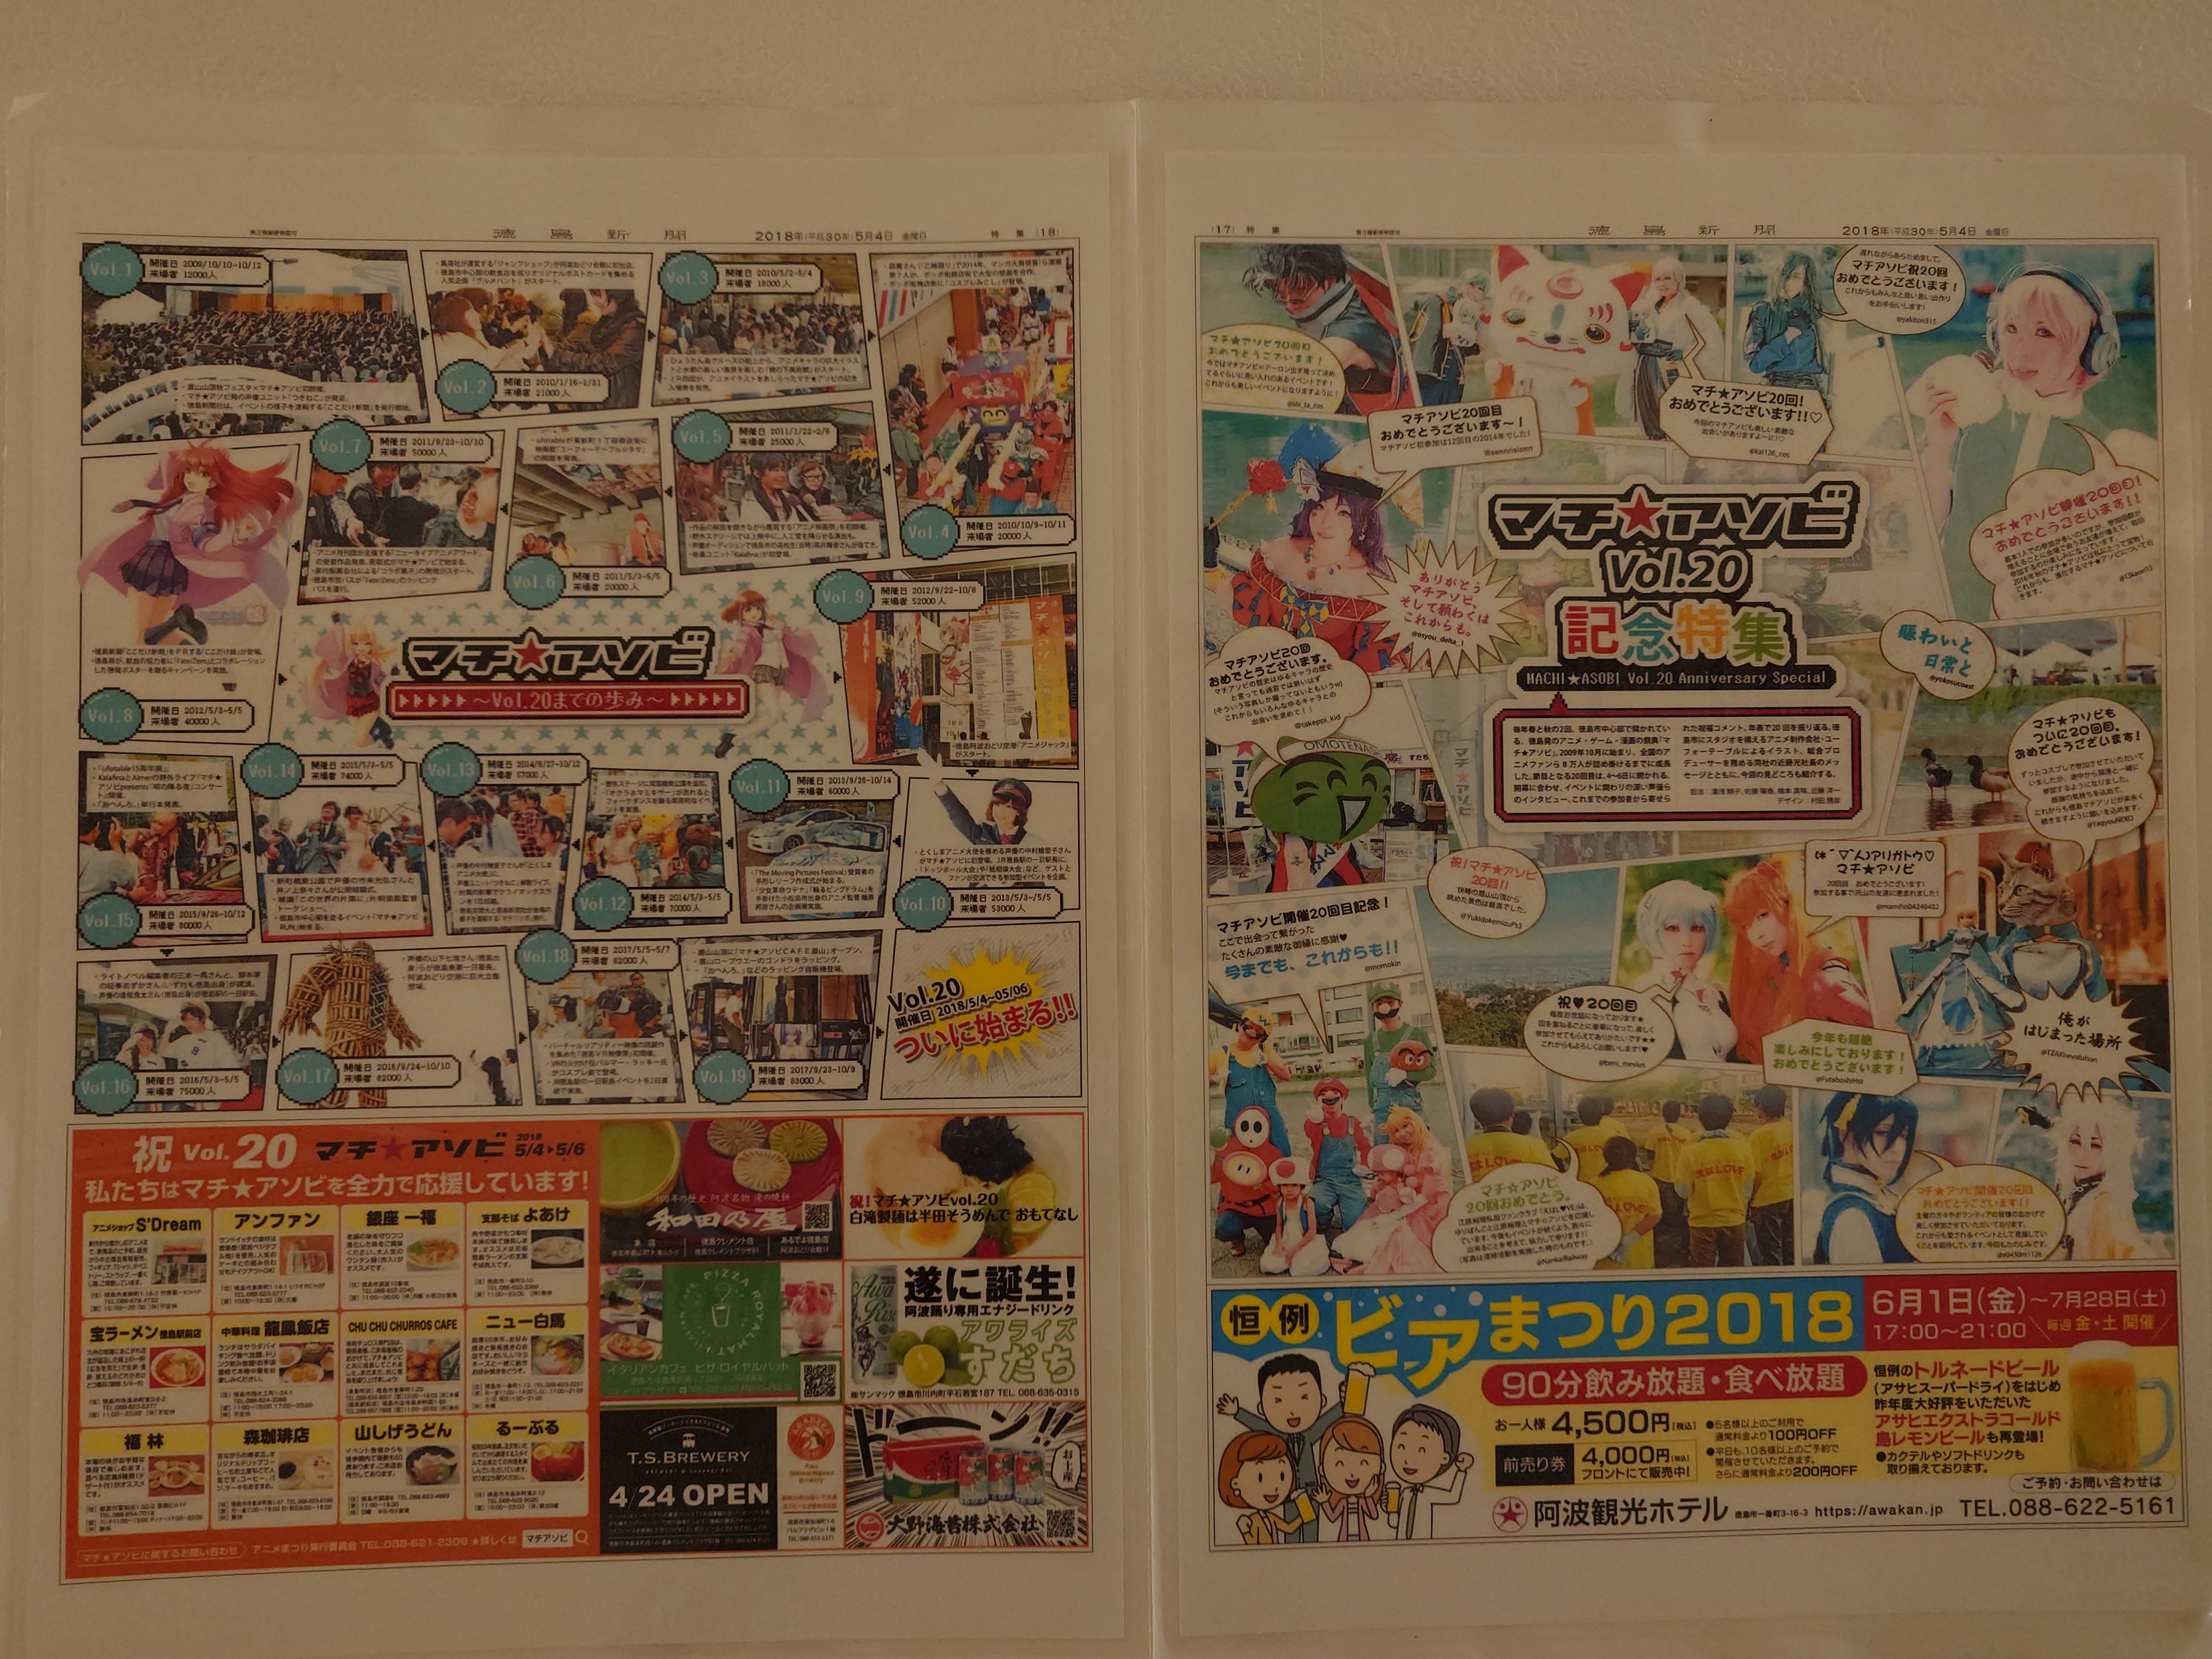
過去のマチアソビの来場者数もあったので、以下にまとめてみた。
| Vol | 来場者数 | 会期 |
|---|---|---|
| Vol. 1 | 12,000人 | 2日 |
| Vol. 2 | 21,000人 | 15日 |
| Vol. 3 | 18,000人 | 2日 |
| Vol. 4 | 20,000人 | 2日 |
| Vol. 5 | 25,000人 | 15日 |
| Vol. 6 | 20,000人 | 2日 |
| Vol. 7 | 50,000人 | 17日 |
| Vol. 8 | 40,000人 | 2日 |
| Vol. 9 | 52,000人 | 16日 |
| Vol. 10 | 53,000人 | 2日 |
| Vol. 11 | 60,000人 | 16日 |
| Vol. 12 | 70,000人 | 2日 |
| Vol. 13 | 57,000人 | 15日 |
| Vol. 14 | 74,000人 | 2日 |
| Vol. 15 | 80,000人 | 18日 |
| Vol. 16 | 75,000人 | 2日 |
| Vol. 17 | 82,000人 | 16日 |
| Vol. 18 | 82,000人 | 2日 |
| Vol. 19 | 83,000人 | 16日 |
1月と9月始まりのものは会期が長くなる傾向にあるようだが会期と来場者数に相関関係はなさそうなので、二日くらいがちょうどいいのかもしれない。マチアソビは現県知事により税金の浪費が問題視されていたというが、意図はそういうところにあったのかもしれない。
私が今回参加したVol. 28は会期二日で58,000人の来場があったそうだ。やや少なめなのは現知事のもと前回の開催が見送られたことや、コロナ禍で中断が続いたなどの影響もあるのだろう。
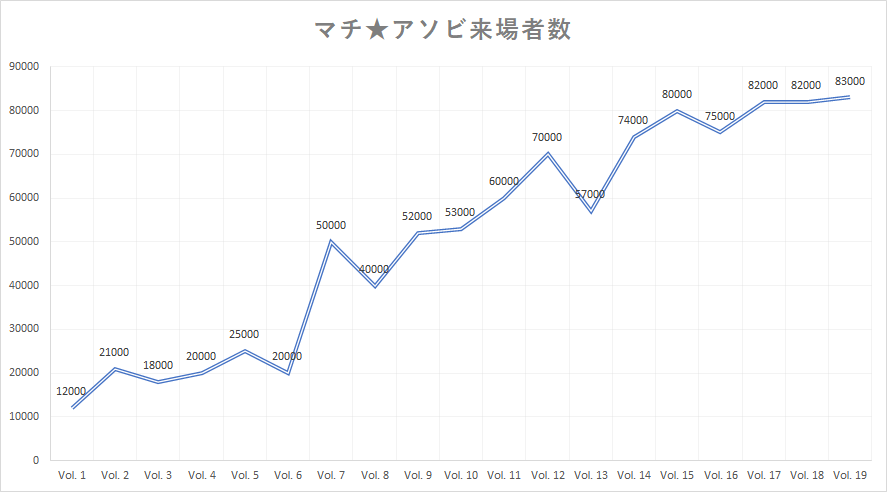
ついでにグラフにしてみた。こうしてみると58,000人はVol. 11くらいの水準なので多くはない。
ゆりぱん 10th Anniversary
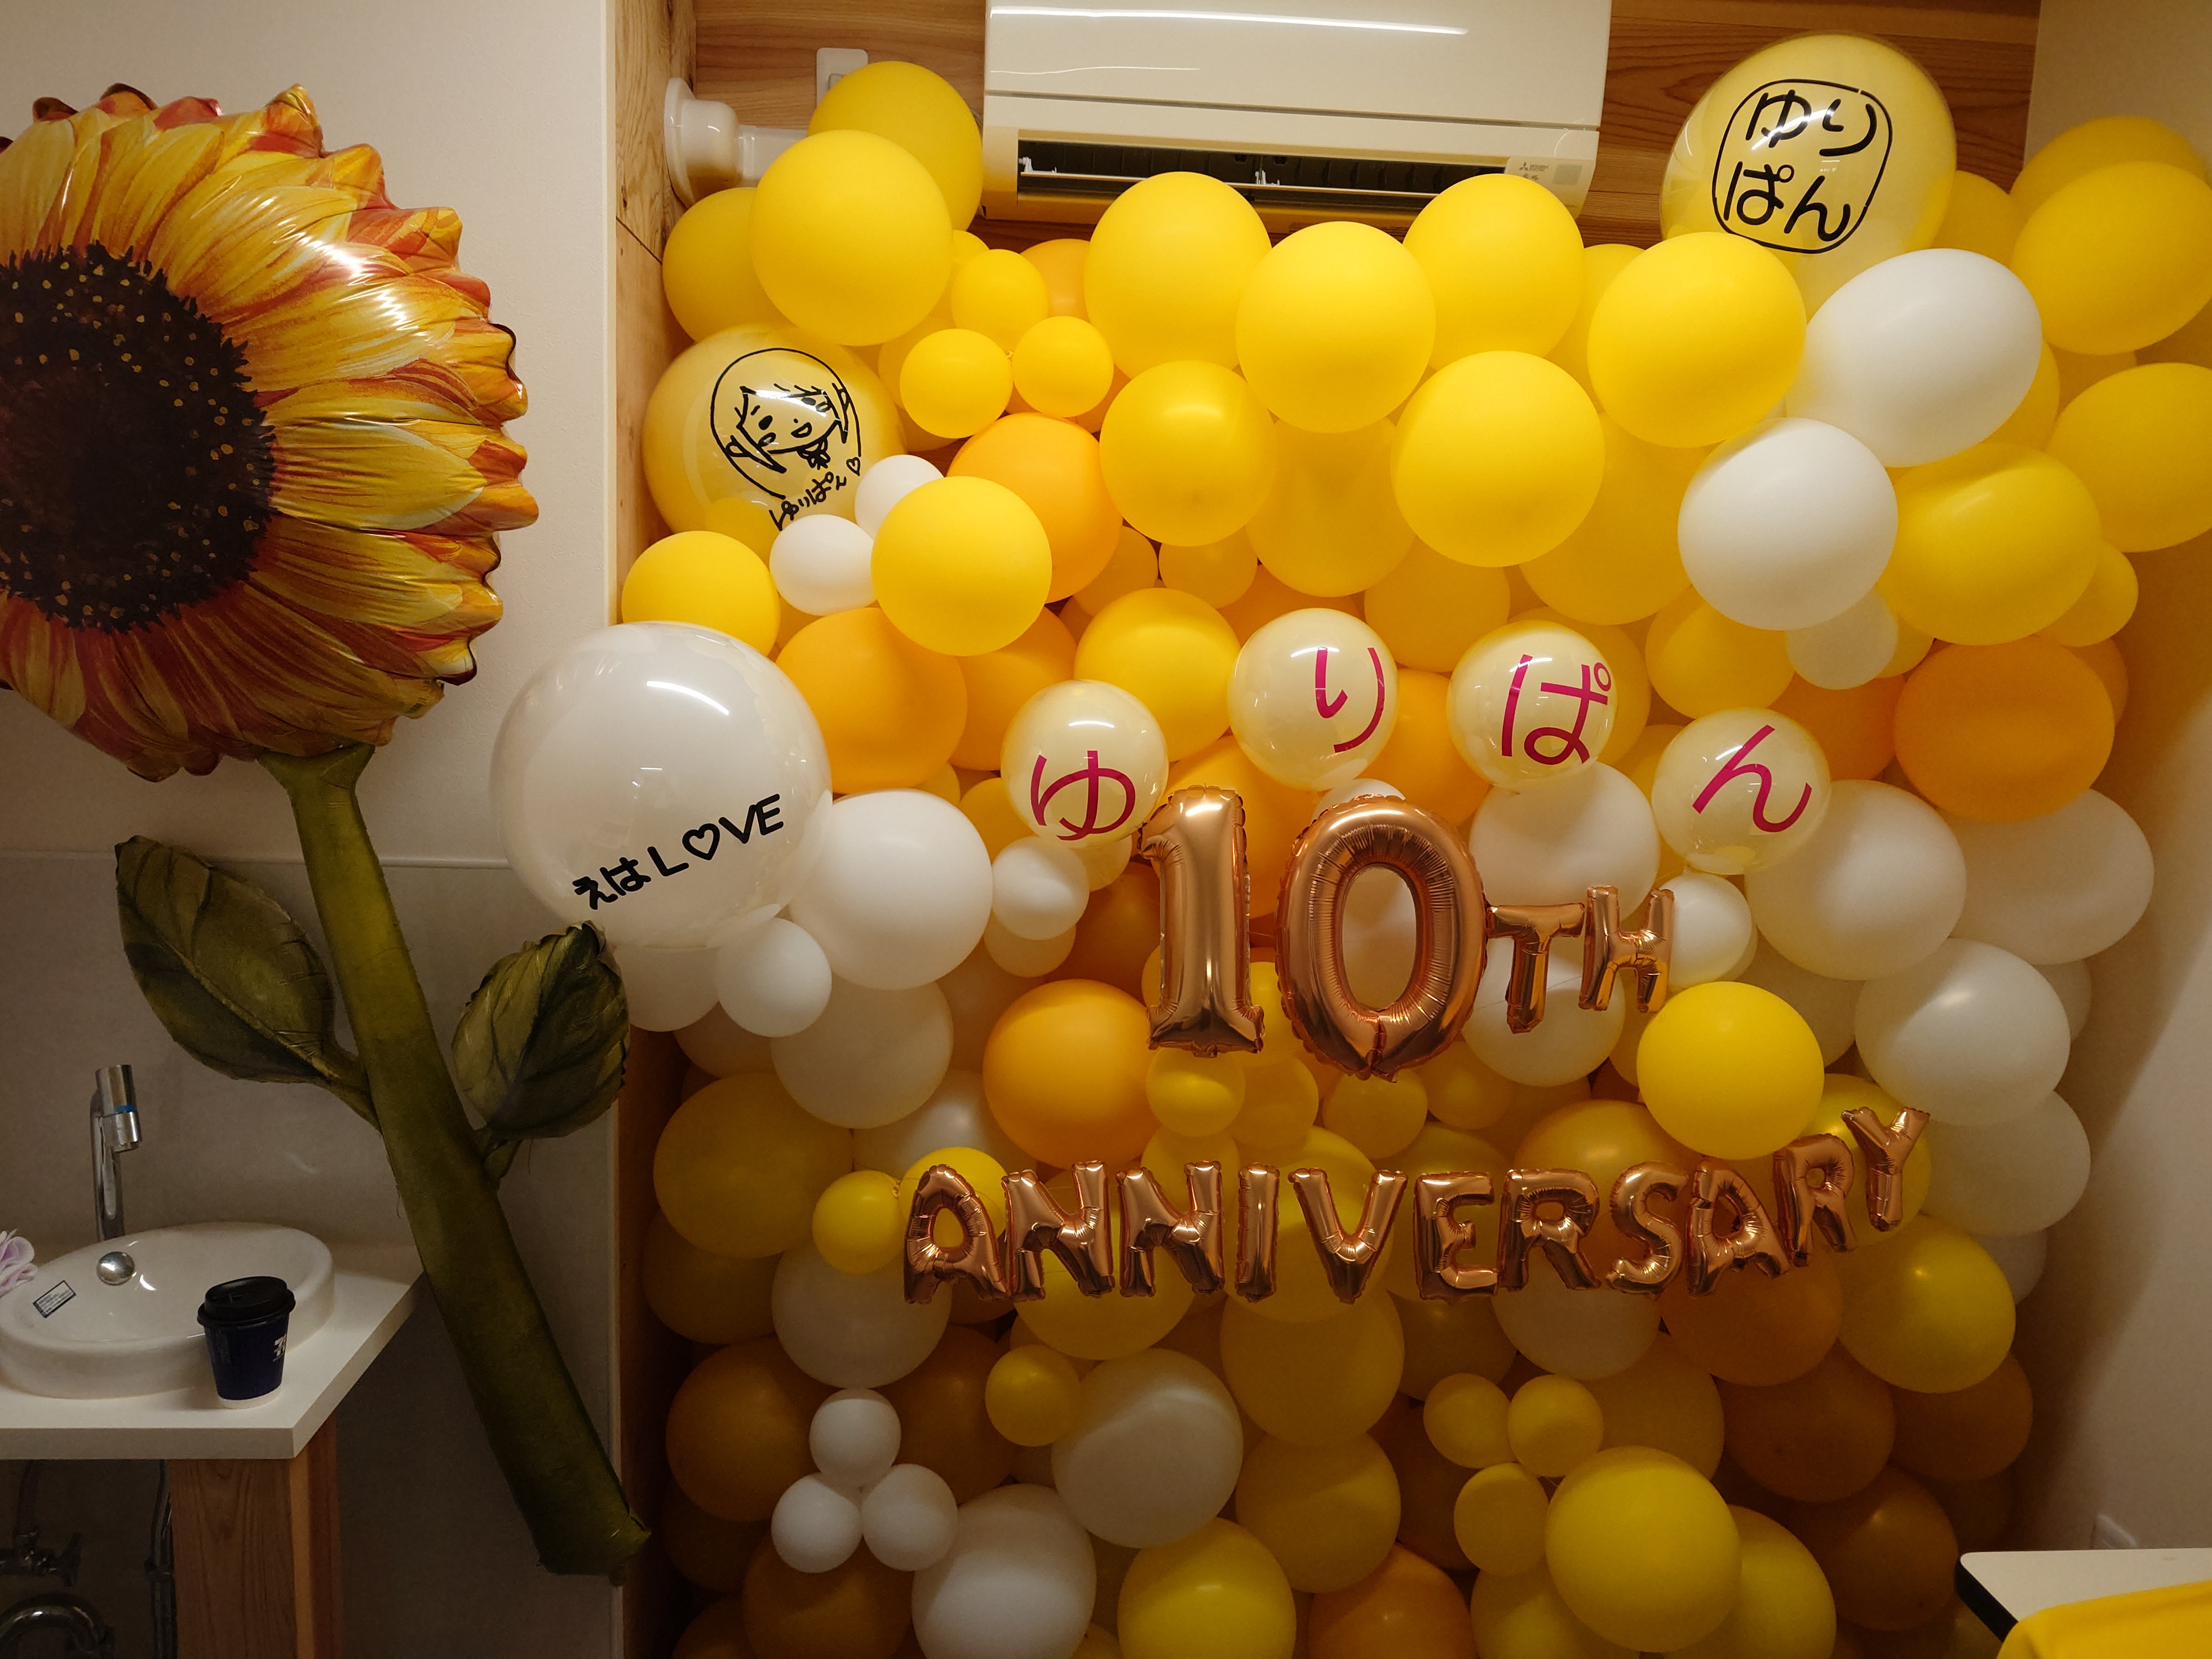

本会場の趣旨であるゆりぱんデビュー10周年を祝った飾りが会場の一番奥にあり、スタッフらが着ているTシャツも飾られていた。
このTシャツは目立ちすぎないように意図的にダサ目に作っているという話を聞いた気がする。
謎のアイマスポスター
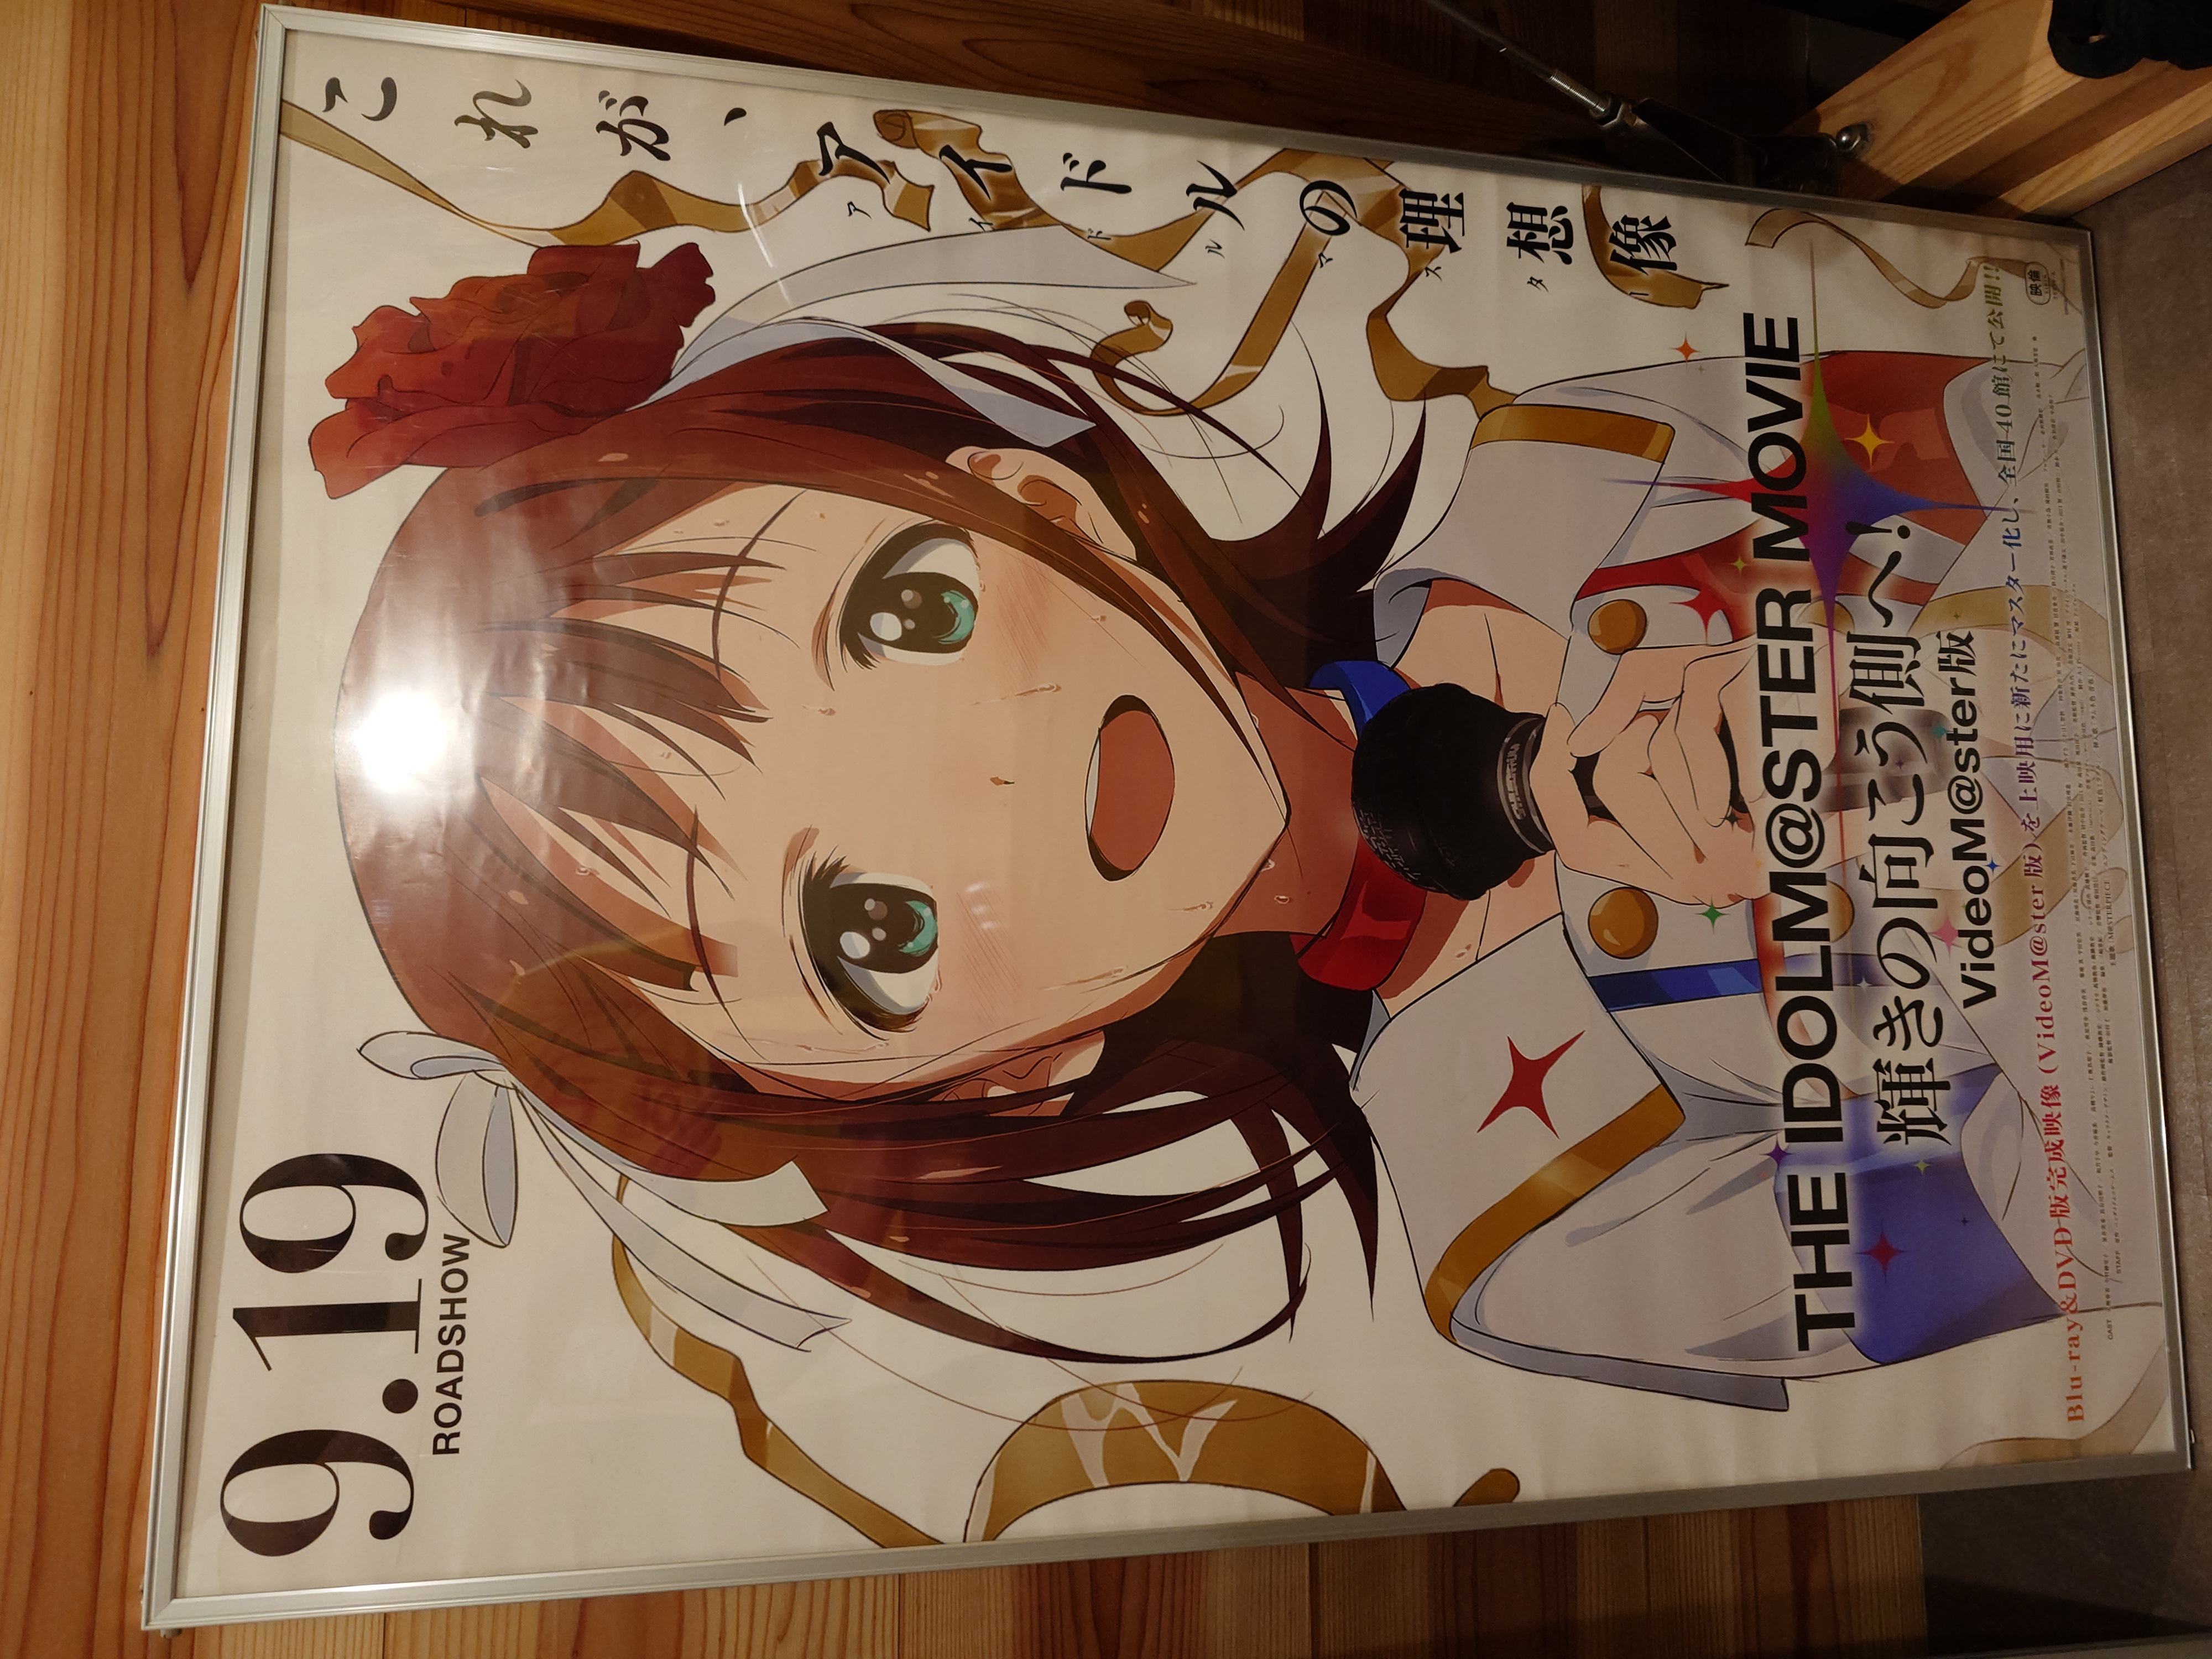
理由は不明だが掲示されていた謎の天海春香。なぜ飾られているのかはよくわからなかったがオマケだと伺った(オマケとは…?)
おへんろ。上映
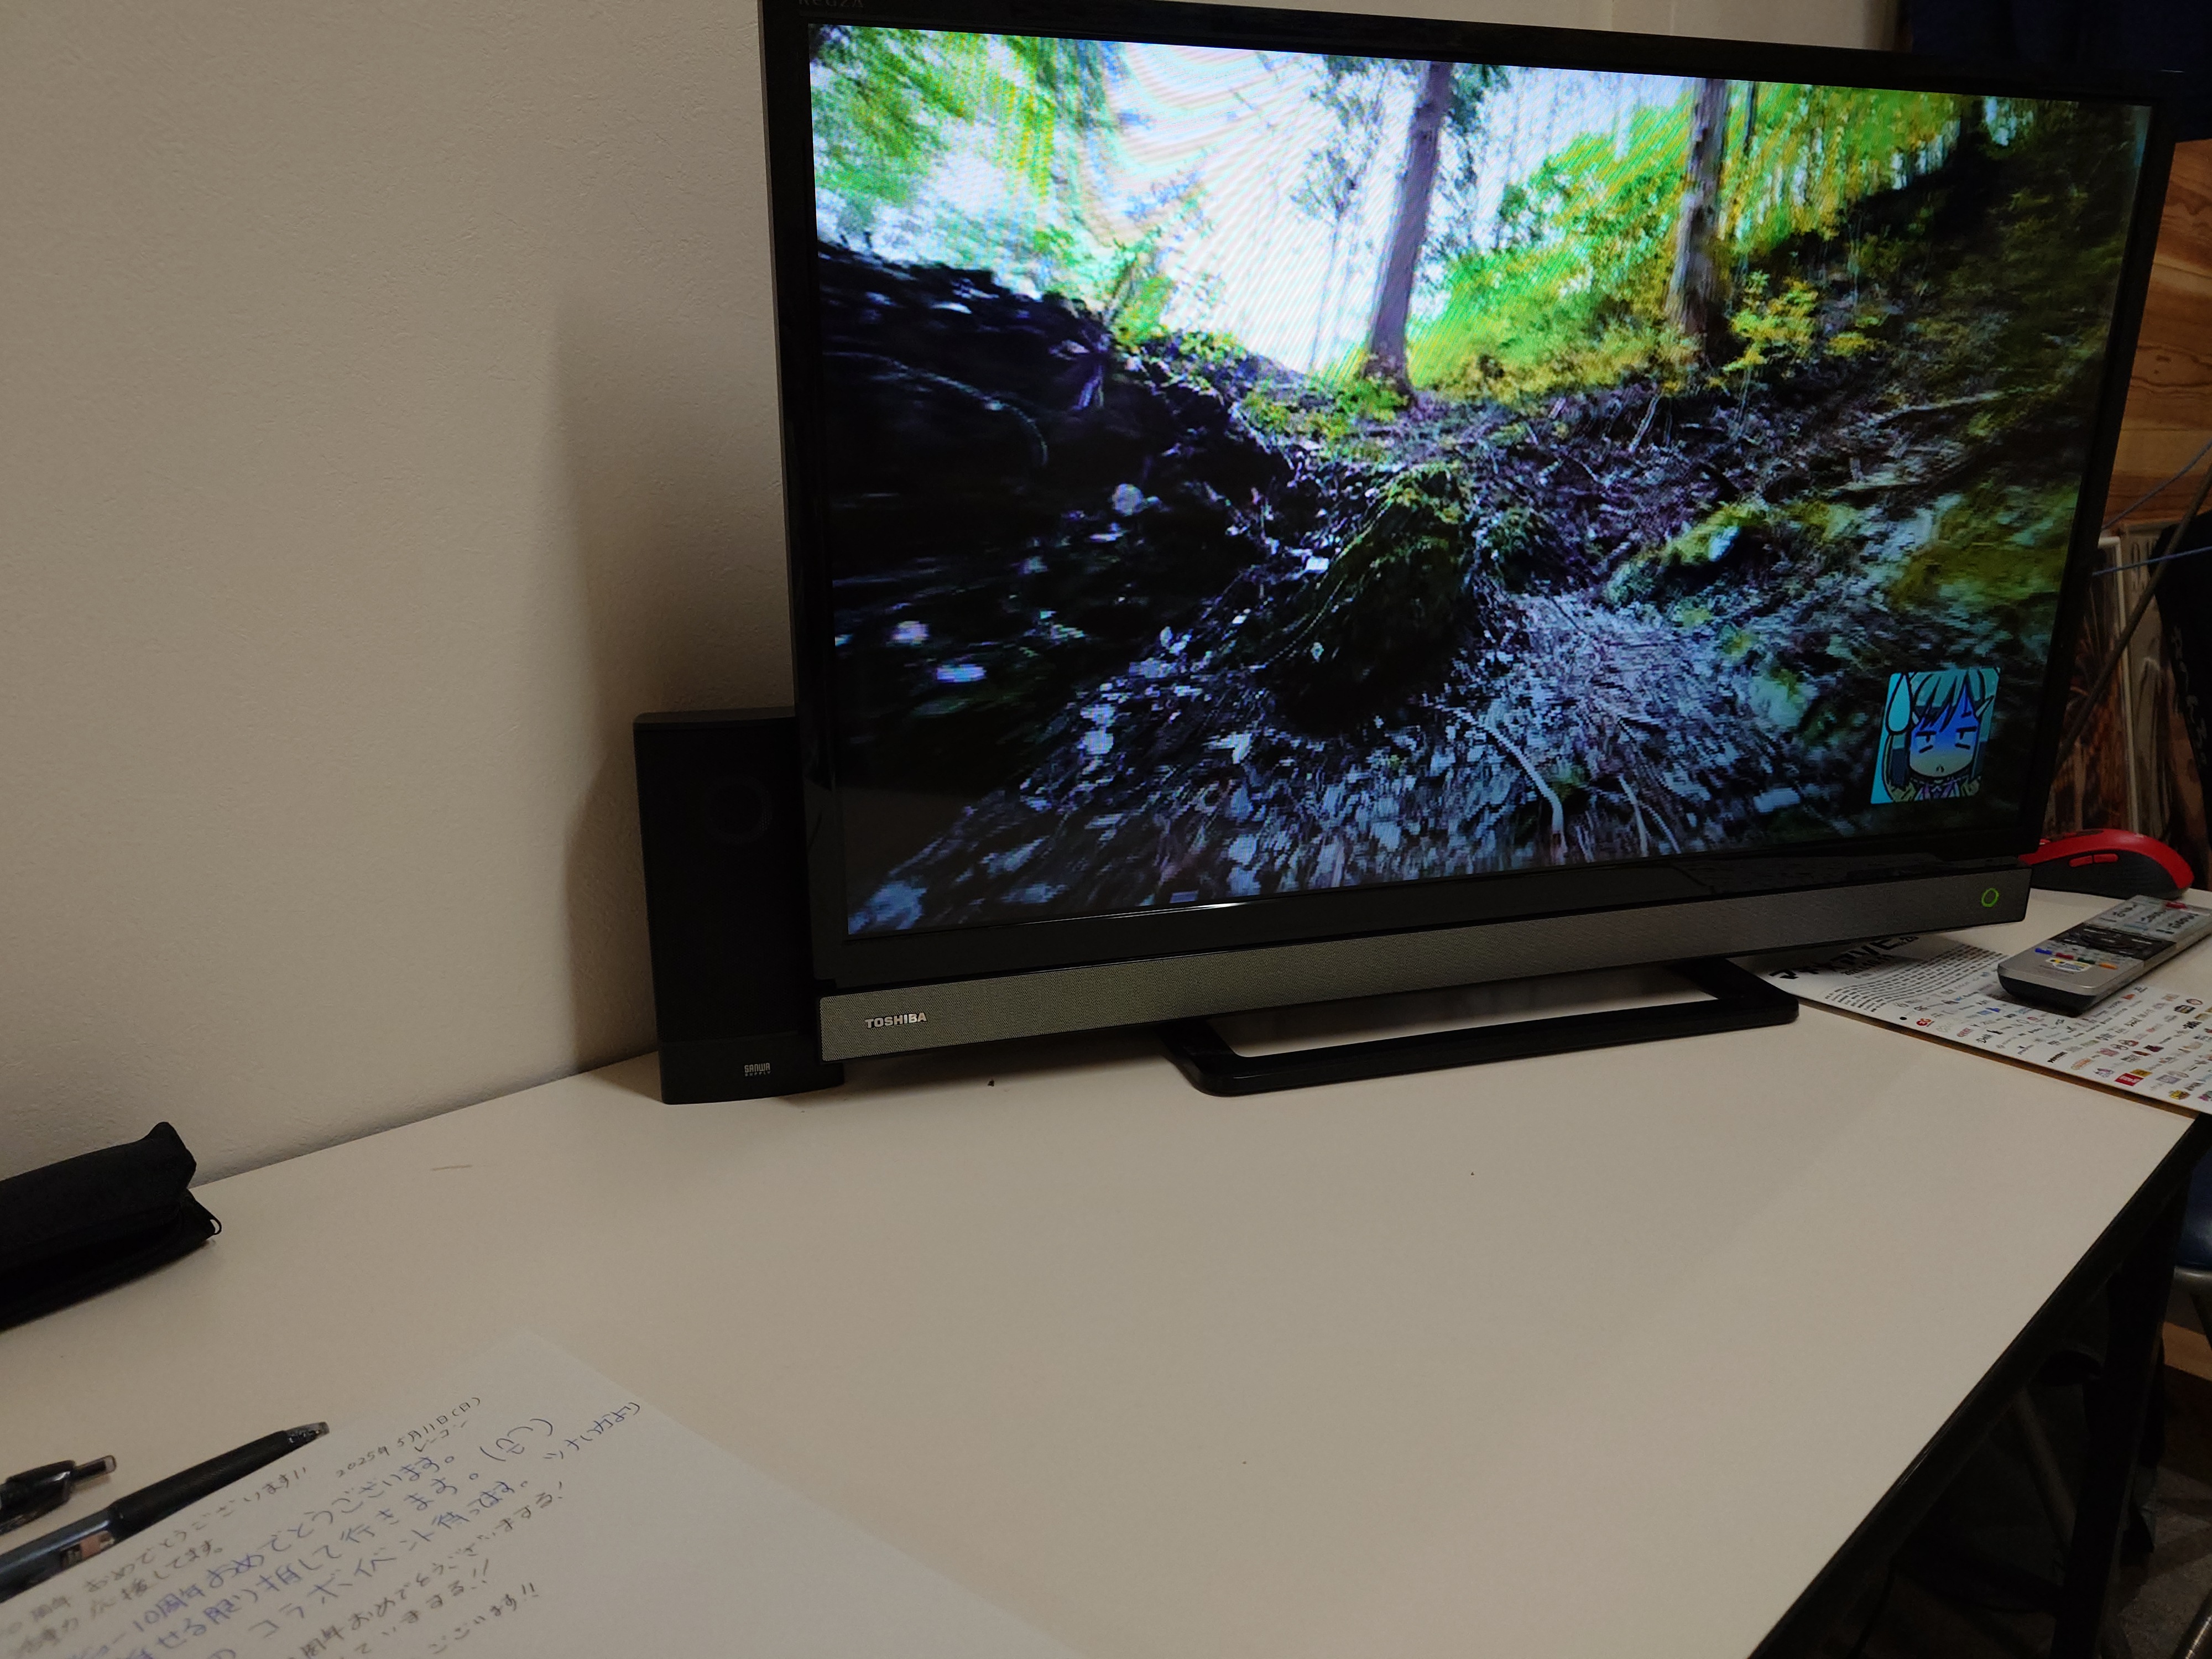
会場の片隅では実際にDVDとして販売されていた「おへんろ。」が流されていた。全てではないもののゆりぱんも幾つかの札所を訪問したらしい。
最後に

本会場でのスタッフの方々は熱心なゆりぱんのファンというだけではなく、アットホームな感じで来訪者を歓迎し、ゆりぱんやおへんろ。について語りつくしてくれ、更にマチアソビの楽しみ方、裏コンテンツに至るまで教えていただけるなど、話が盛り上がりに盛り上がり尽くし、非常に有意義な時間となった。
ゆりぱん絡みでは本人の許可を取らずに勝手に競馬の記念レースを二回もやり本人を驚かせたとか、普通の芸能活動ではなかなかなさそうな、ファンと演者が密になっているからこそのサプライズなども聞け、とても面白かった。
おへんろ。絡みのことだと八十八箇所巡りと聖地巡礼の相性の良さを聞き、そもそもこれ自体が聖地巡礼ではないか…?という気付きを得るなど、ここにこれただけでも帰る時刻を後ろに倒した甲斐があった、とてもいい話が聞けたという感じがした。
特にあわぎんホールで開かれる録音禁止他言無用の業界ぶっちゃけトークみたいなのや、徳島駅前にある森珈琲店が集めたアツすぎる収蔵品の情報は非常に興味深く、この後森珈琲店に行ったときに、再展示をリクエストしてしまったほどだ。
また、公式の案内にない施設に来訪するのは普通は5年目くらいの経験者が至る境地で、初来訪でそこに達するのは見ごたえがあるなど、お褒めの言葉を頂いたりもした。
マチアソビは参加を重ねるうちにイベントに出演する演者より、演者を眺めるオタクを眺めるほうが楽しくなるなど、非常に楽しい話をさせていただき、ここでは本当に重ね重ね良い時間を過ごせた。
なんというかここで思ったのは積極的に人と話すことの大切さみたいなやつだ。普段であれば引っ込み思案で、あまり人と話さない私だが、勇気をもってこちらから話してみると広がる世界があり、もう少し積極的にいろんな人と話してみるのもいいんじゃないかな?と思った。
これはスタッフから話しかけられるだけより、更にこちらからも話しかけることで新しい情報を得られたり、より楽しめたからだ。
斬られた灯篭
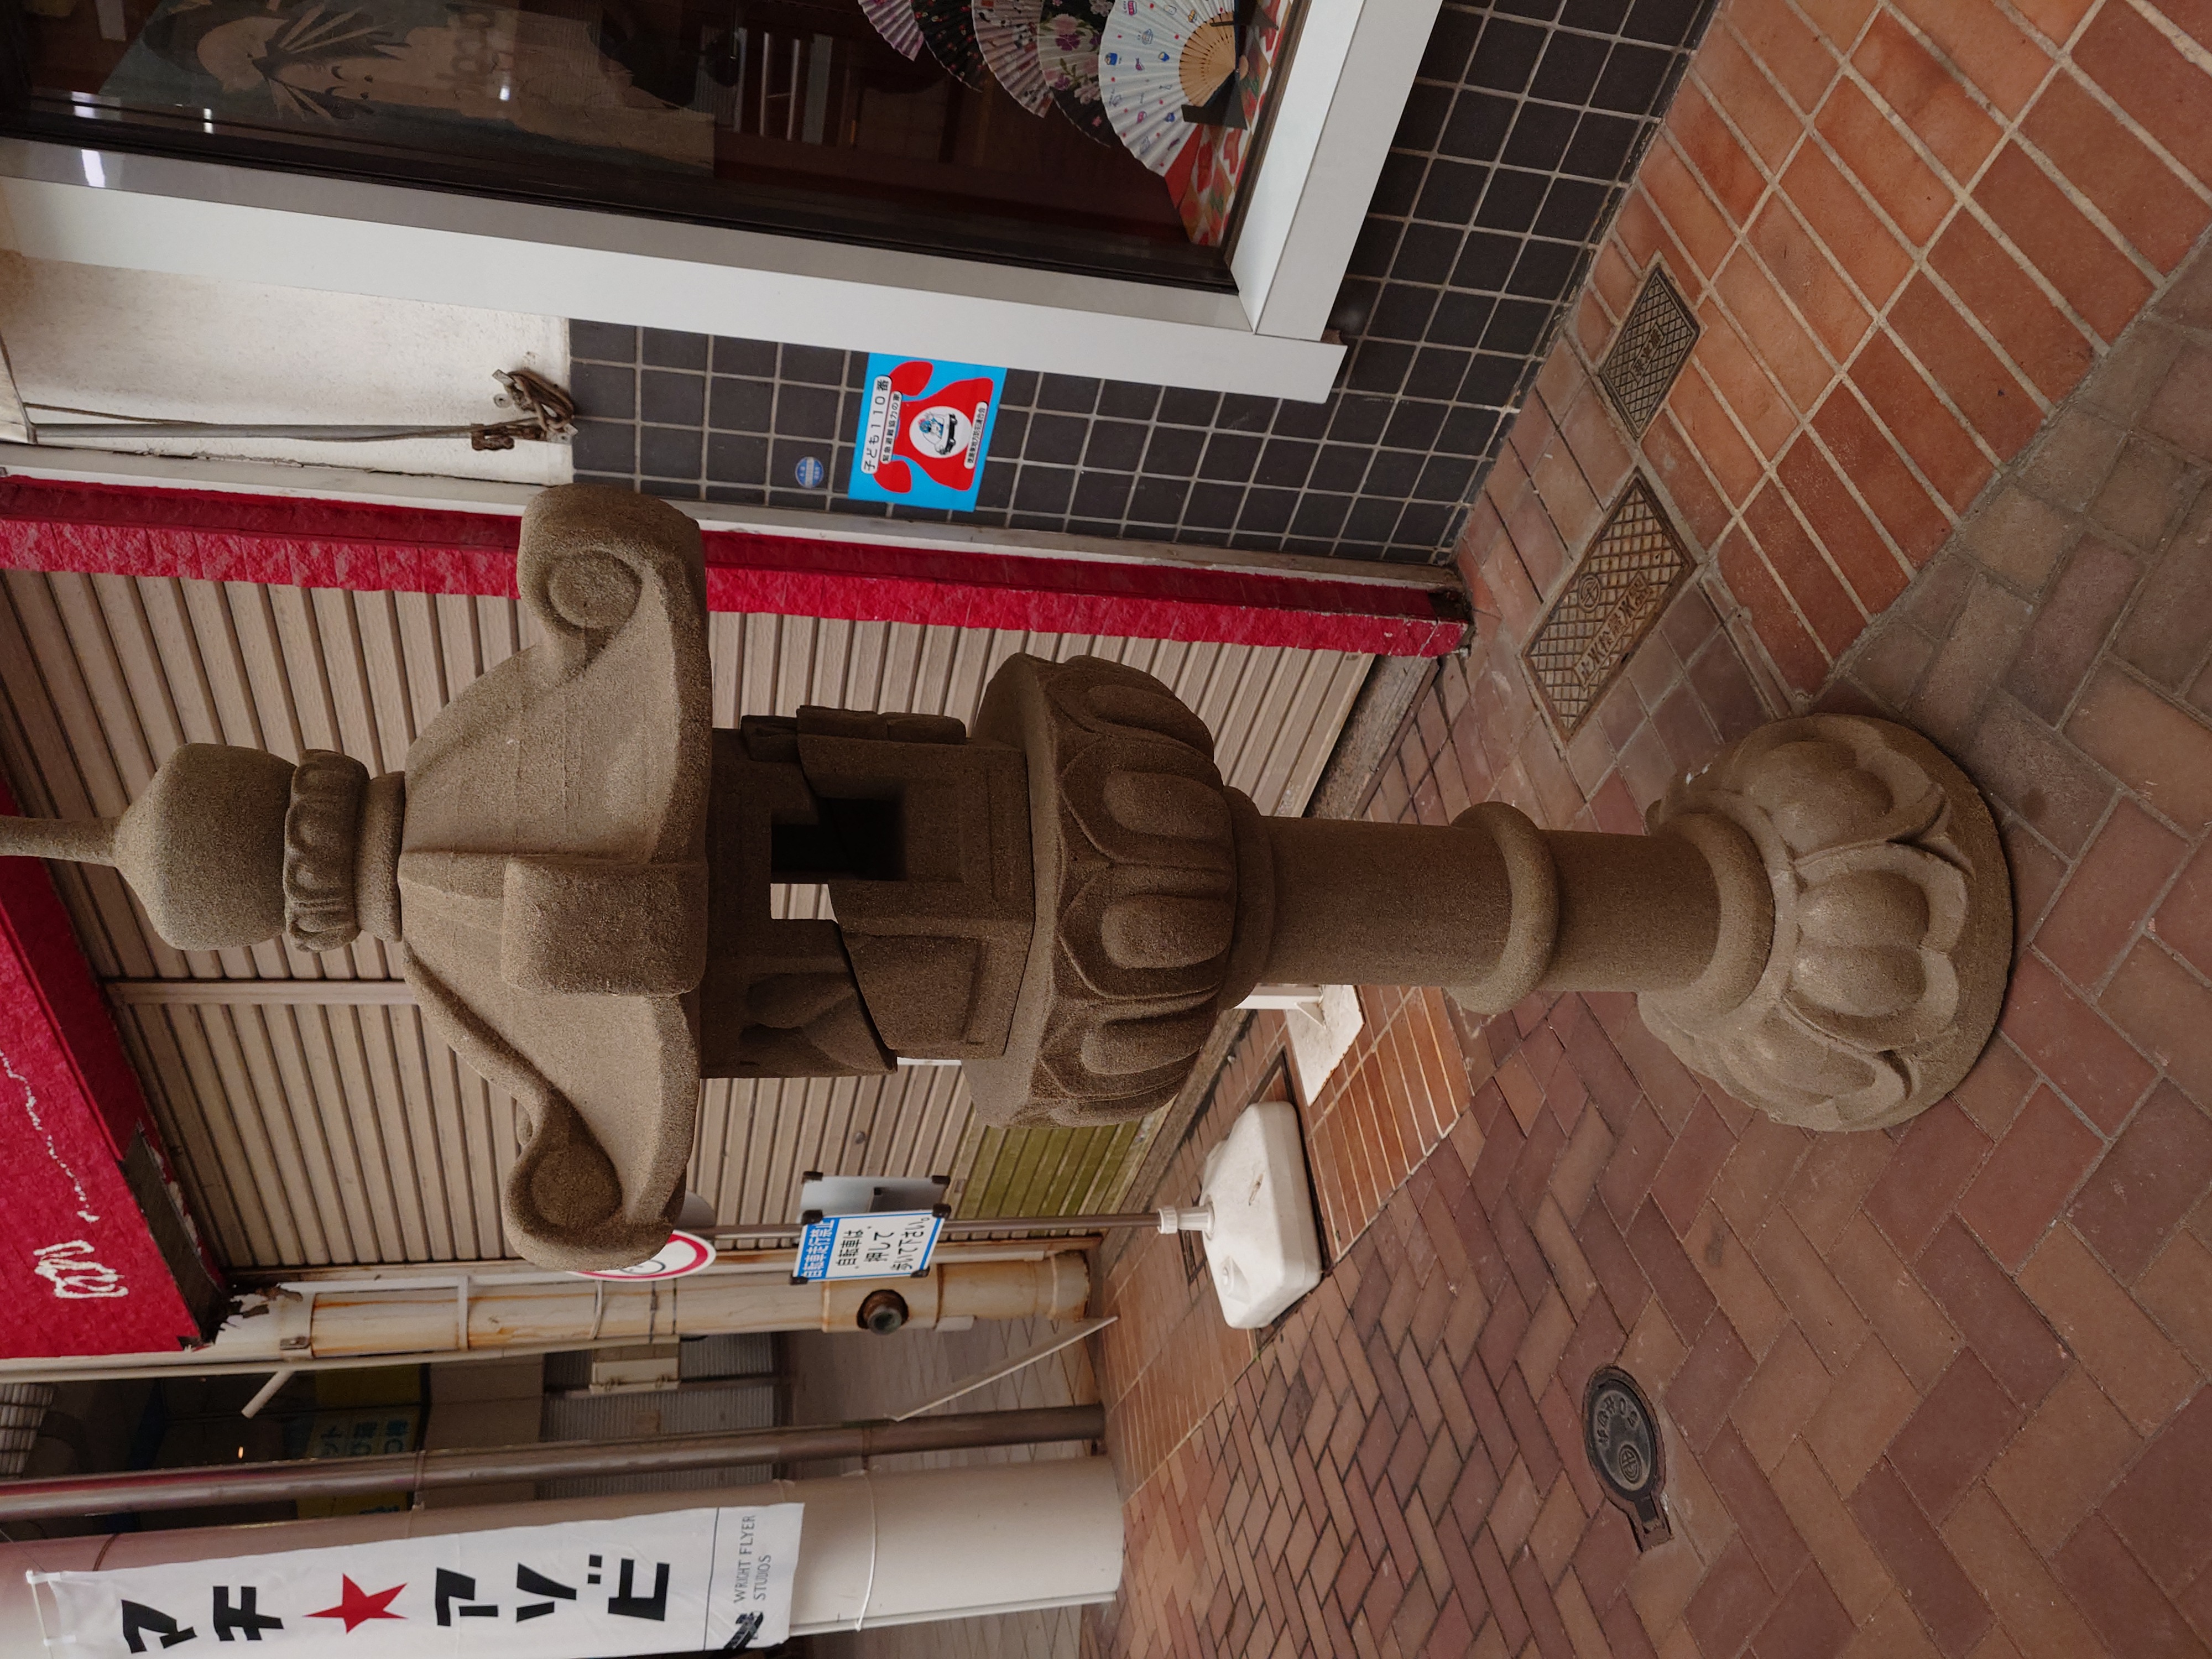

いったい何なのかよくわからないが斬鉄剣で斬られたような灯篭があった。中をよく見ると鉄筋で繋げられていたので、こういうデザインのようだ。
東新町商店街の出店
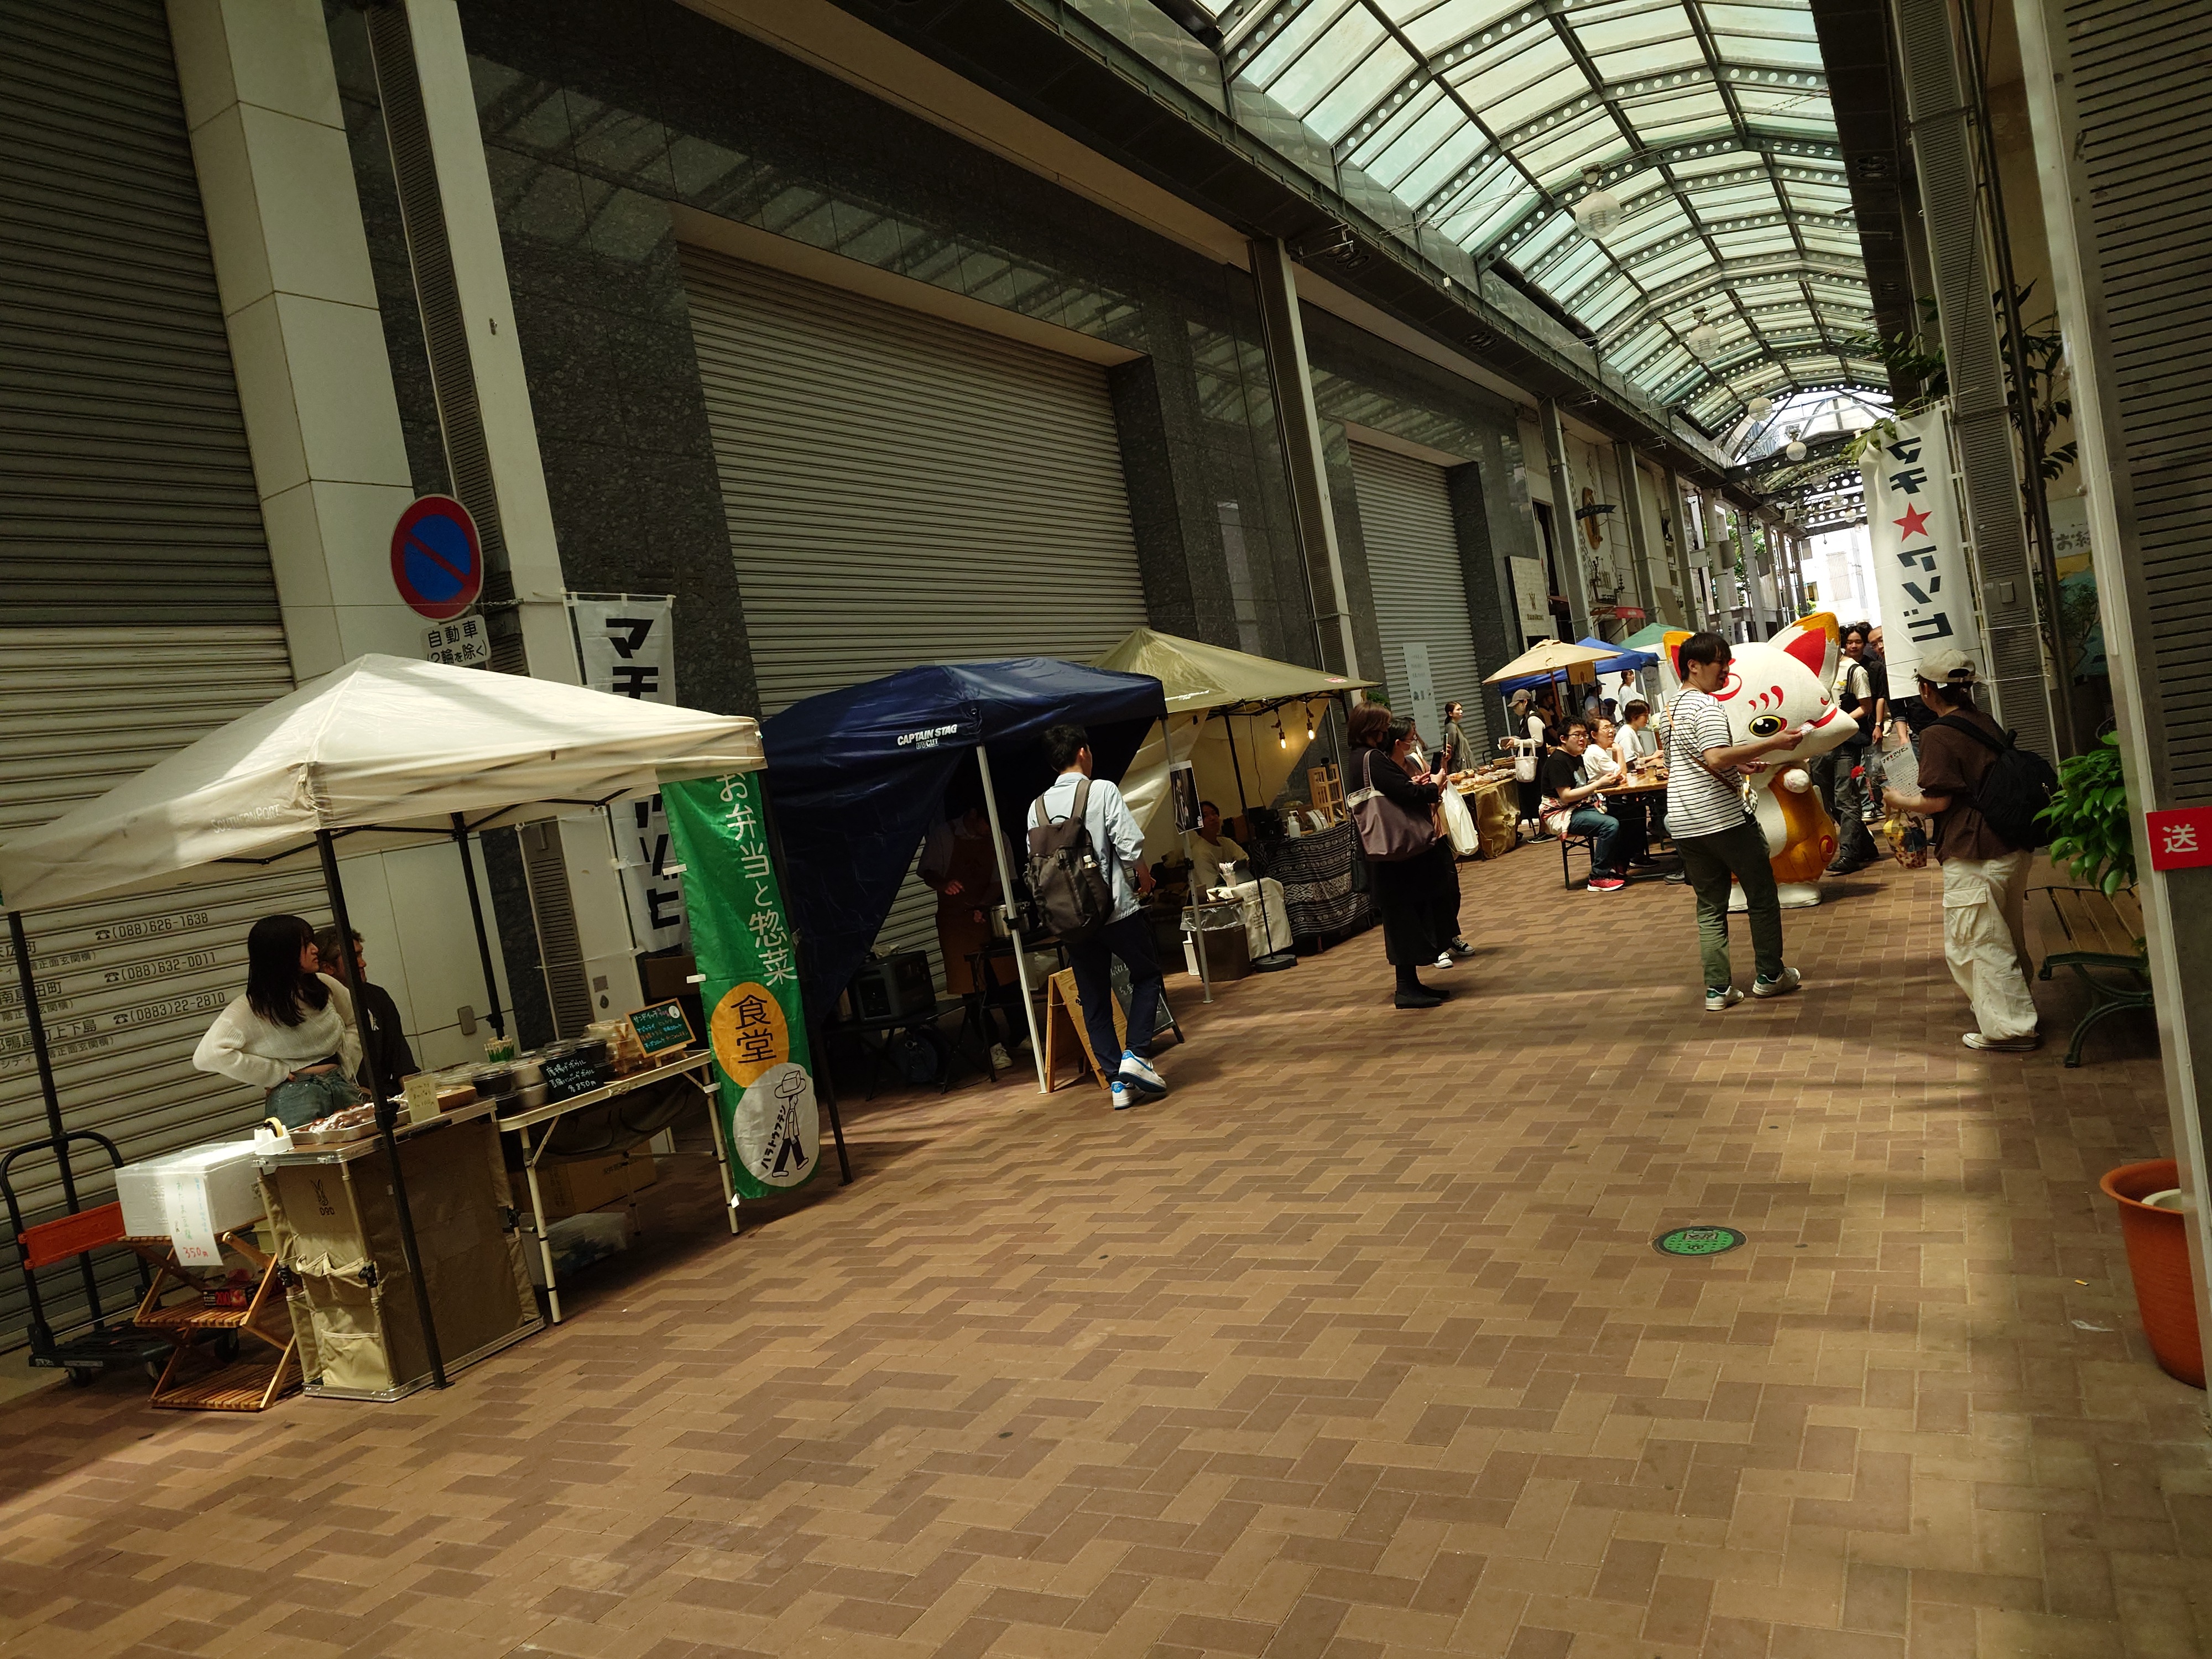

ufotable CINEMAから斜め前当たりの空き地に出店が多く見られた。マチアソビ関連ではなく、恐らく商店街おこしみたいな活動とみられるが、マチアソビを意識した出店もあり面白かった。
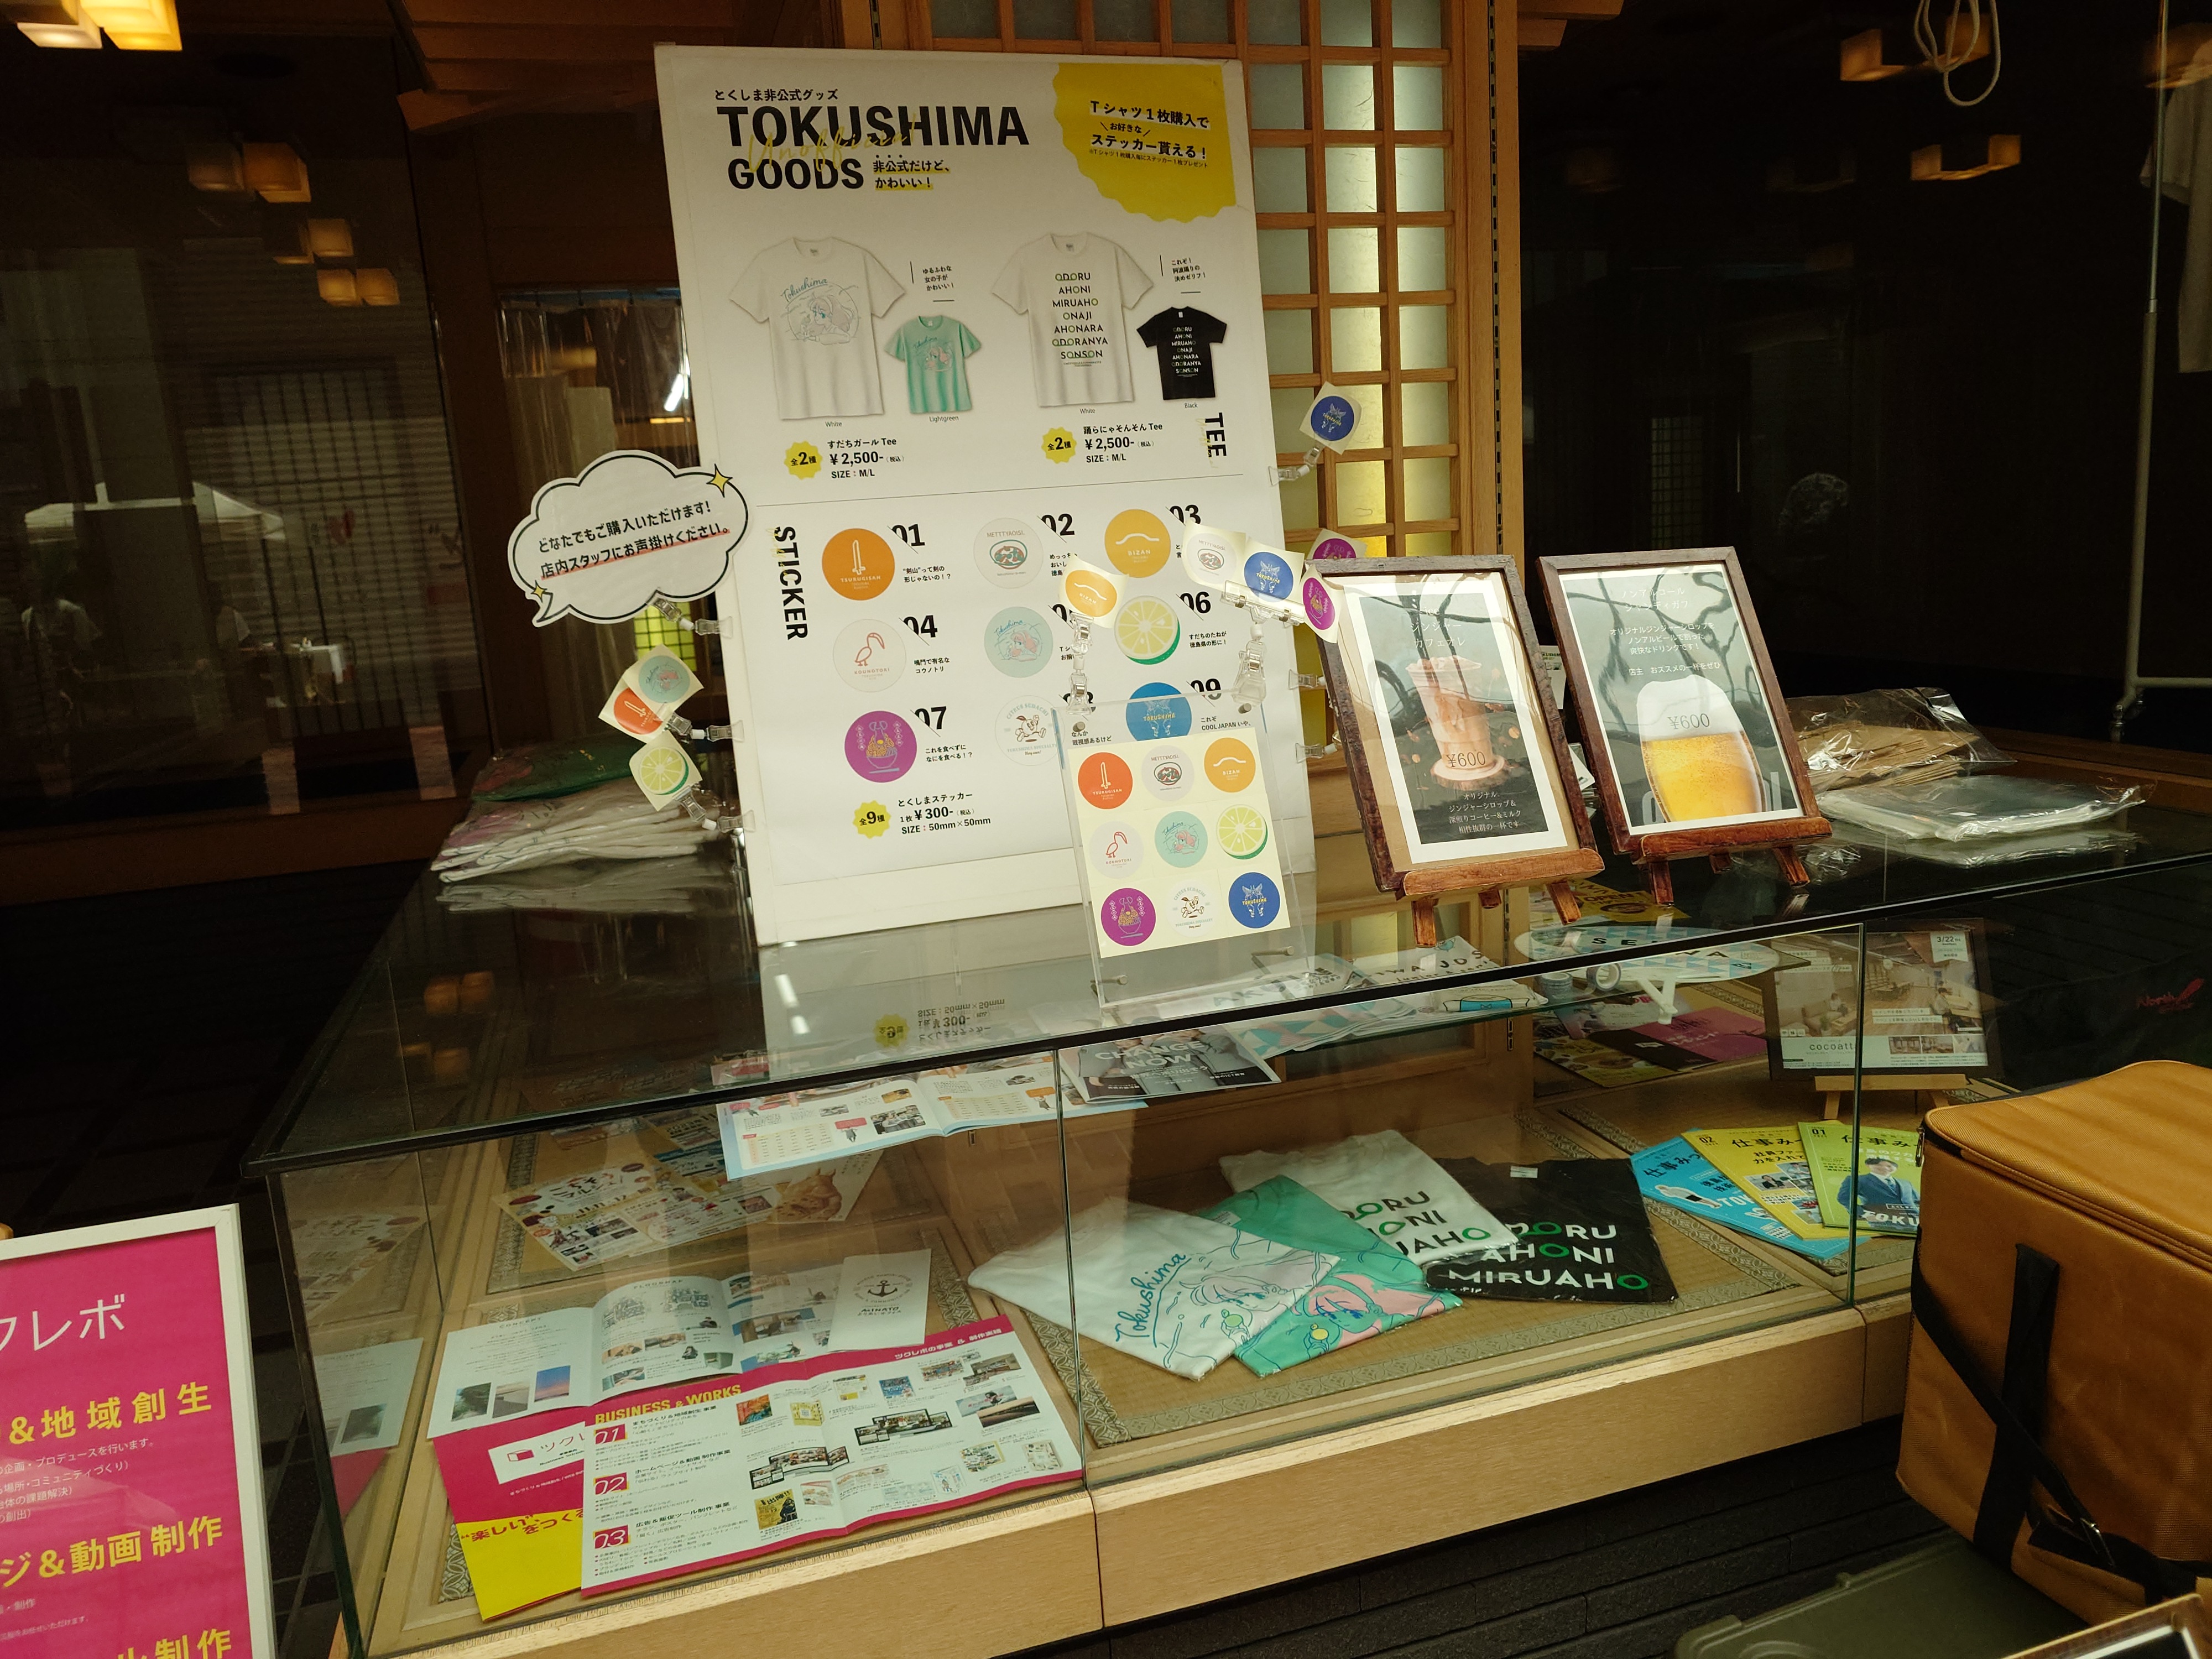

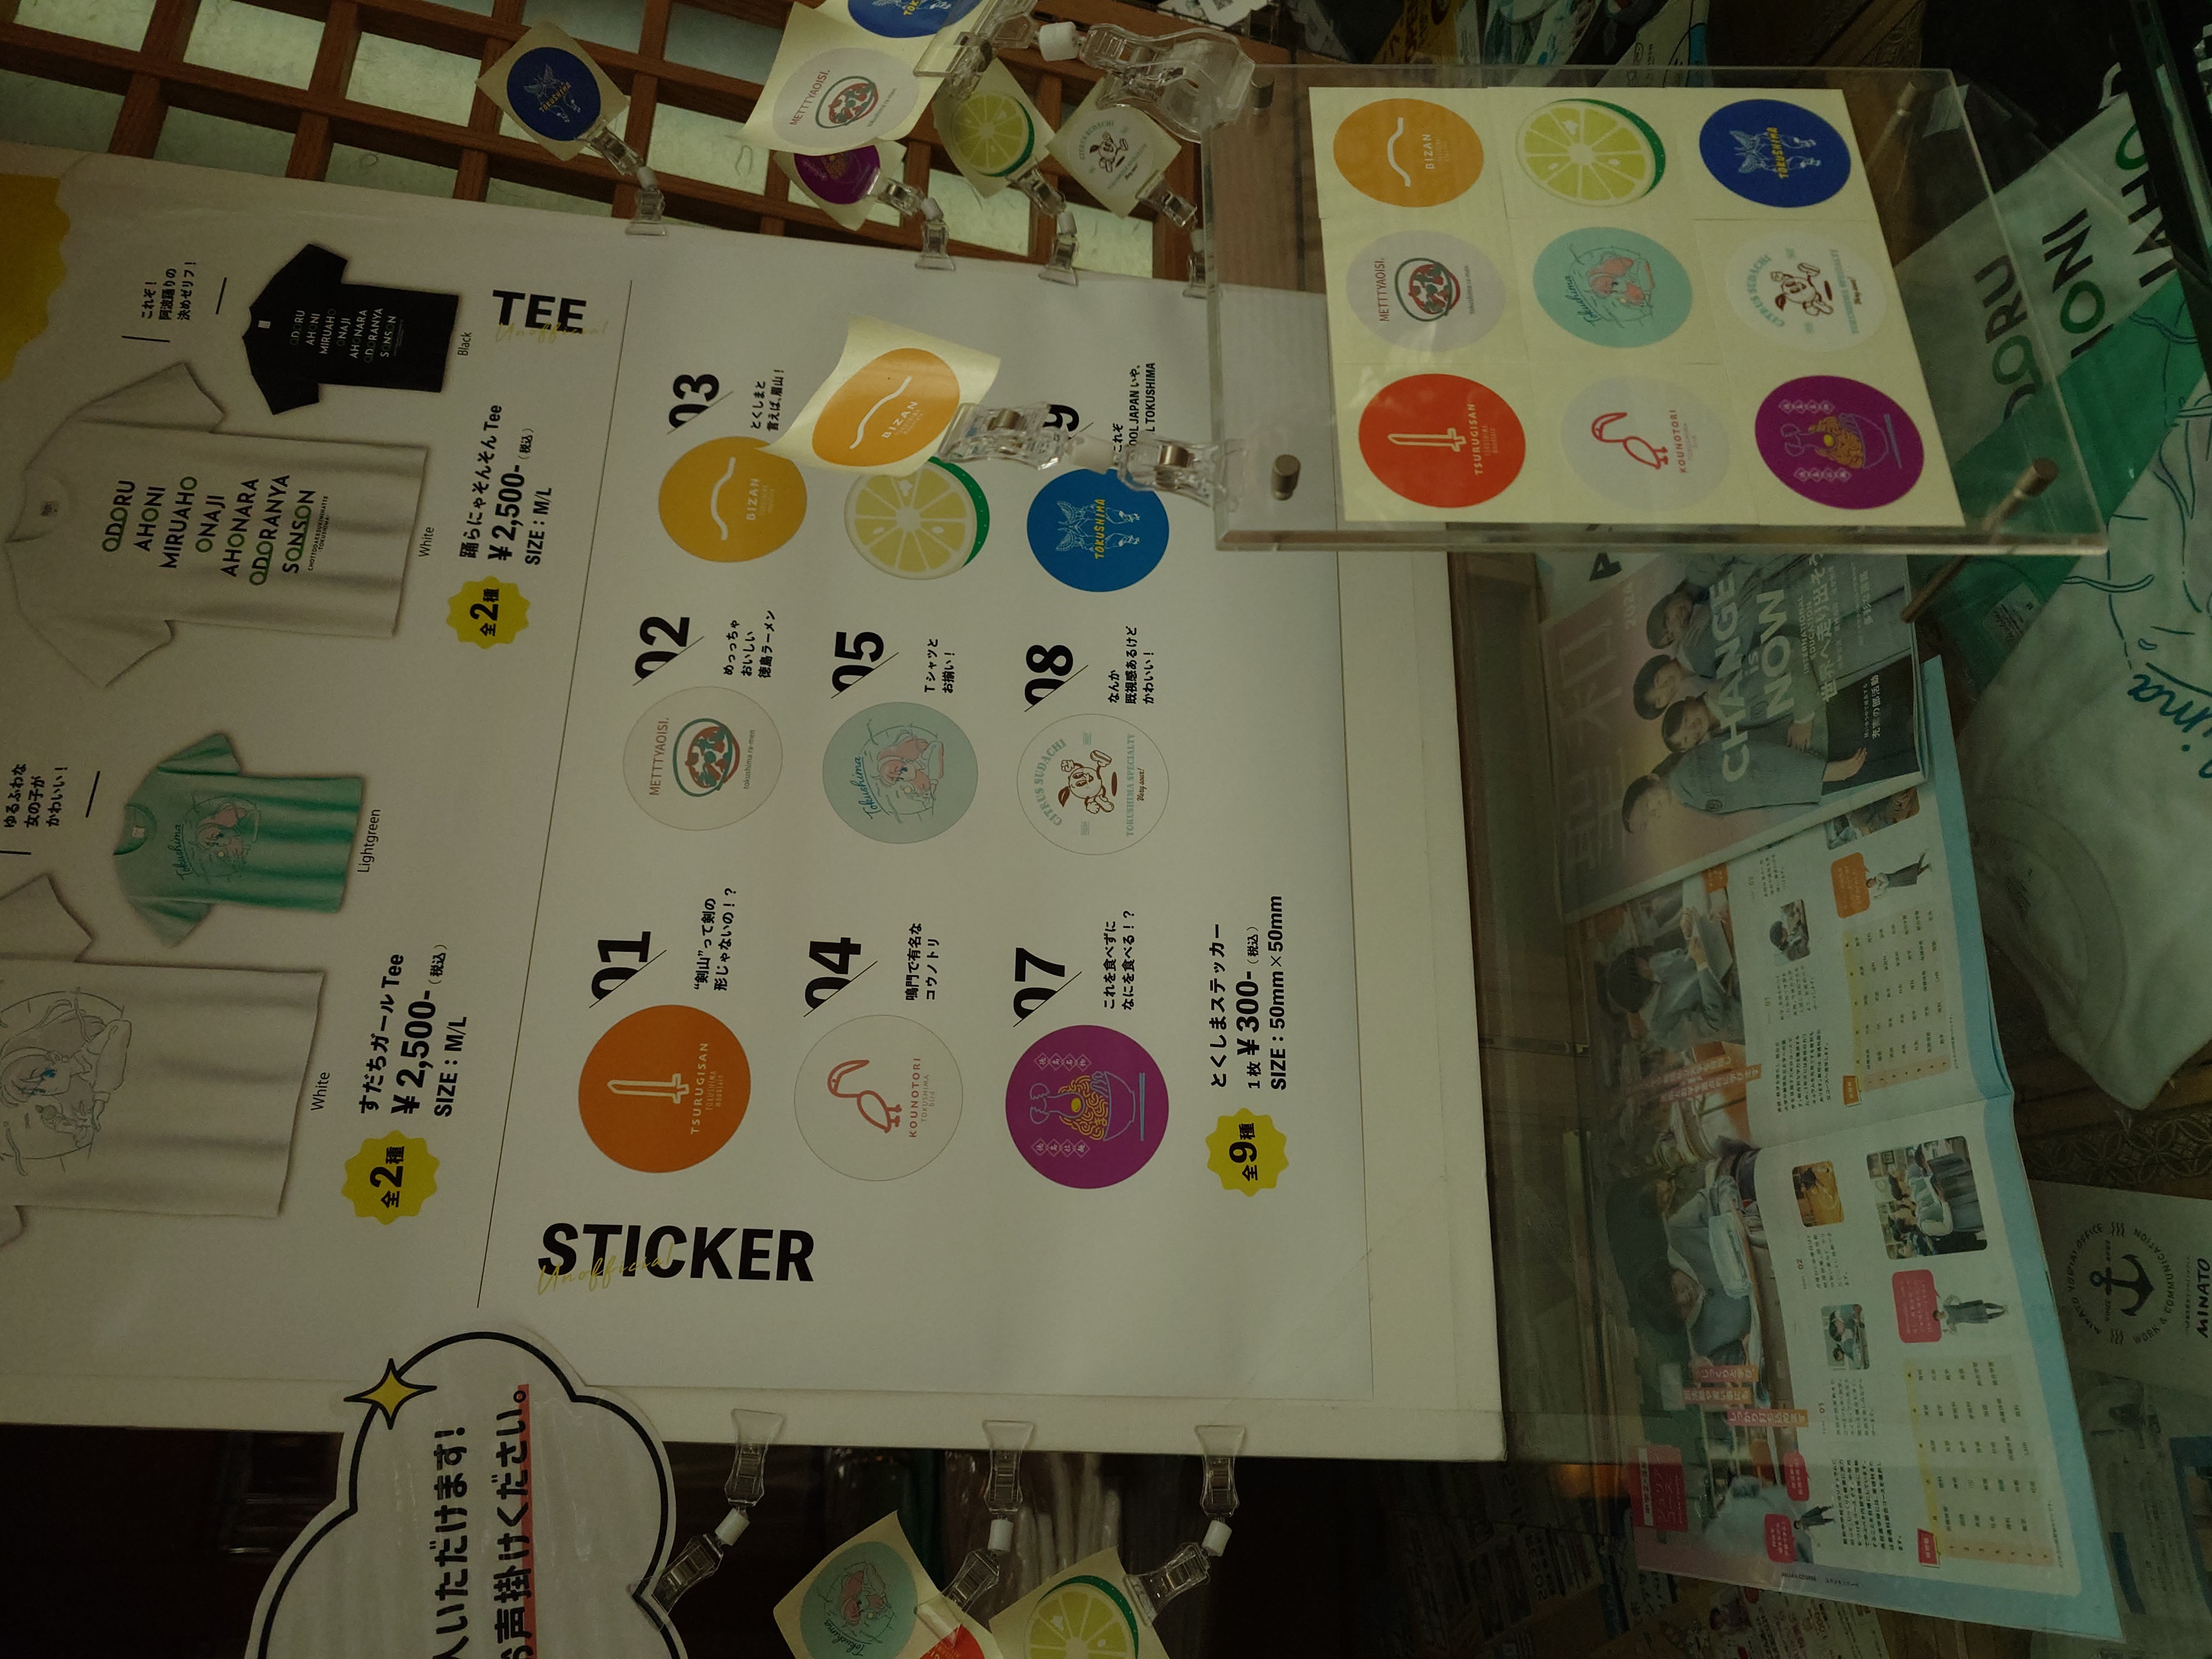
出店に便乗するような形で、近くの呉服店が徳島らしいTシャツを売っていたのでつい買ってしまった。ステッカーももらえていい感じだ。
道路沿いの商店
道沿いの昔ながらの商店でもマチアソビに乗っかる形で商売をしていてよさみを感じた。こういうのにちゃんと乗ってくれるお店は分かってくれると感じるし、徳島全体がマチでアソべるようになっている仕組みの一つになっていて、とてもいいと思う。
白滝製麺周辺
初日ほどではないが、二日目もなかなかの混雑が見られた。昼食を取るのに利用し、昨日に続き二枚目の団扇を頂いた。
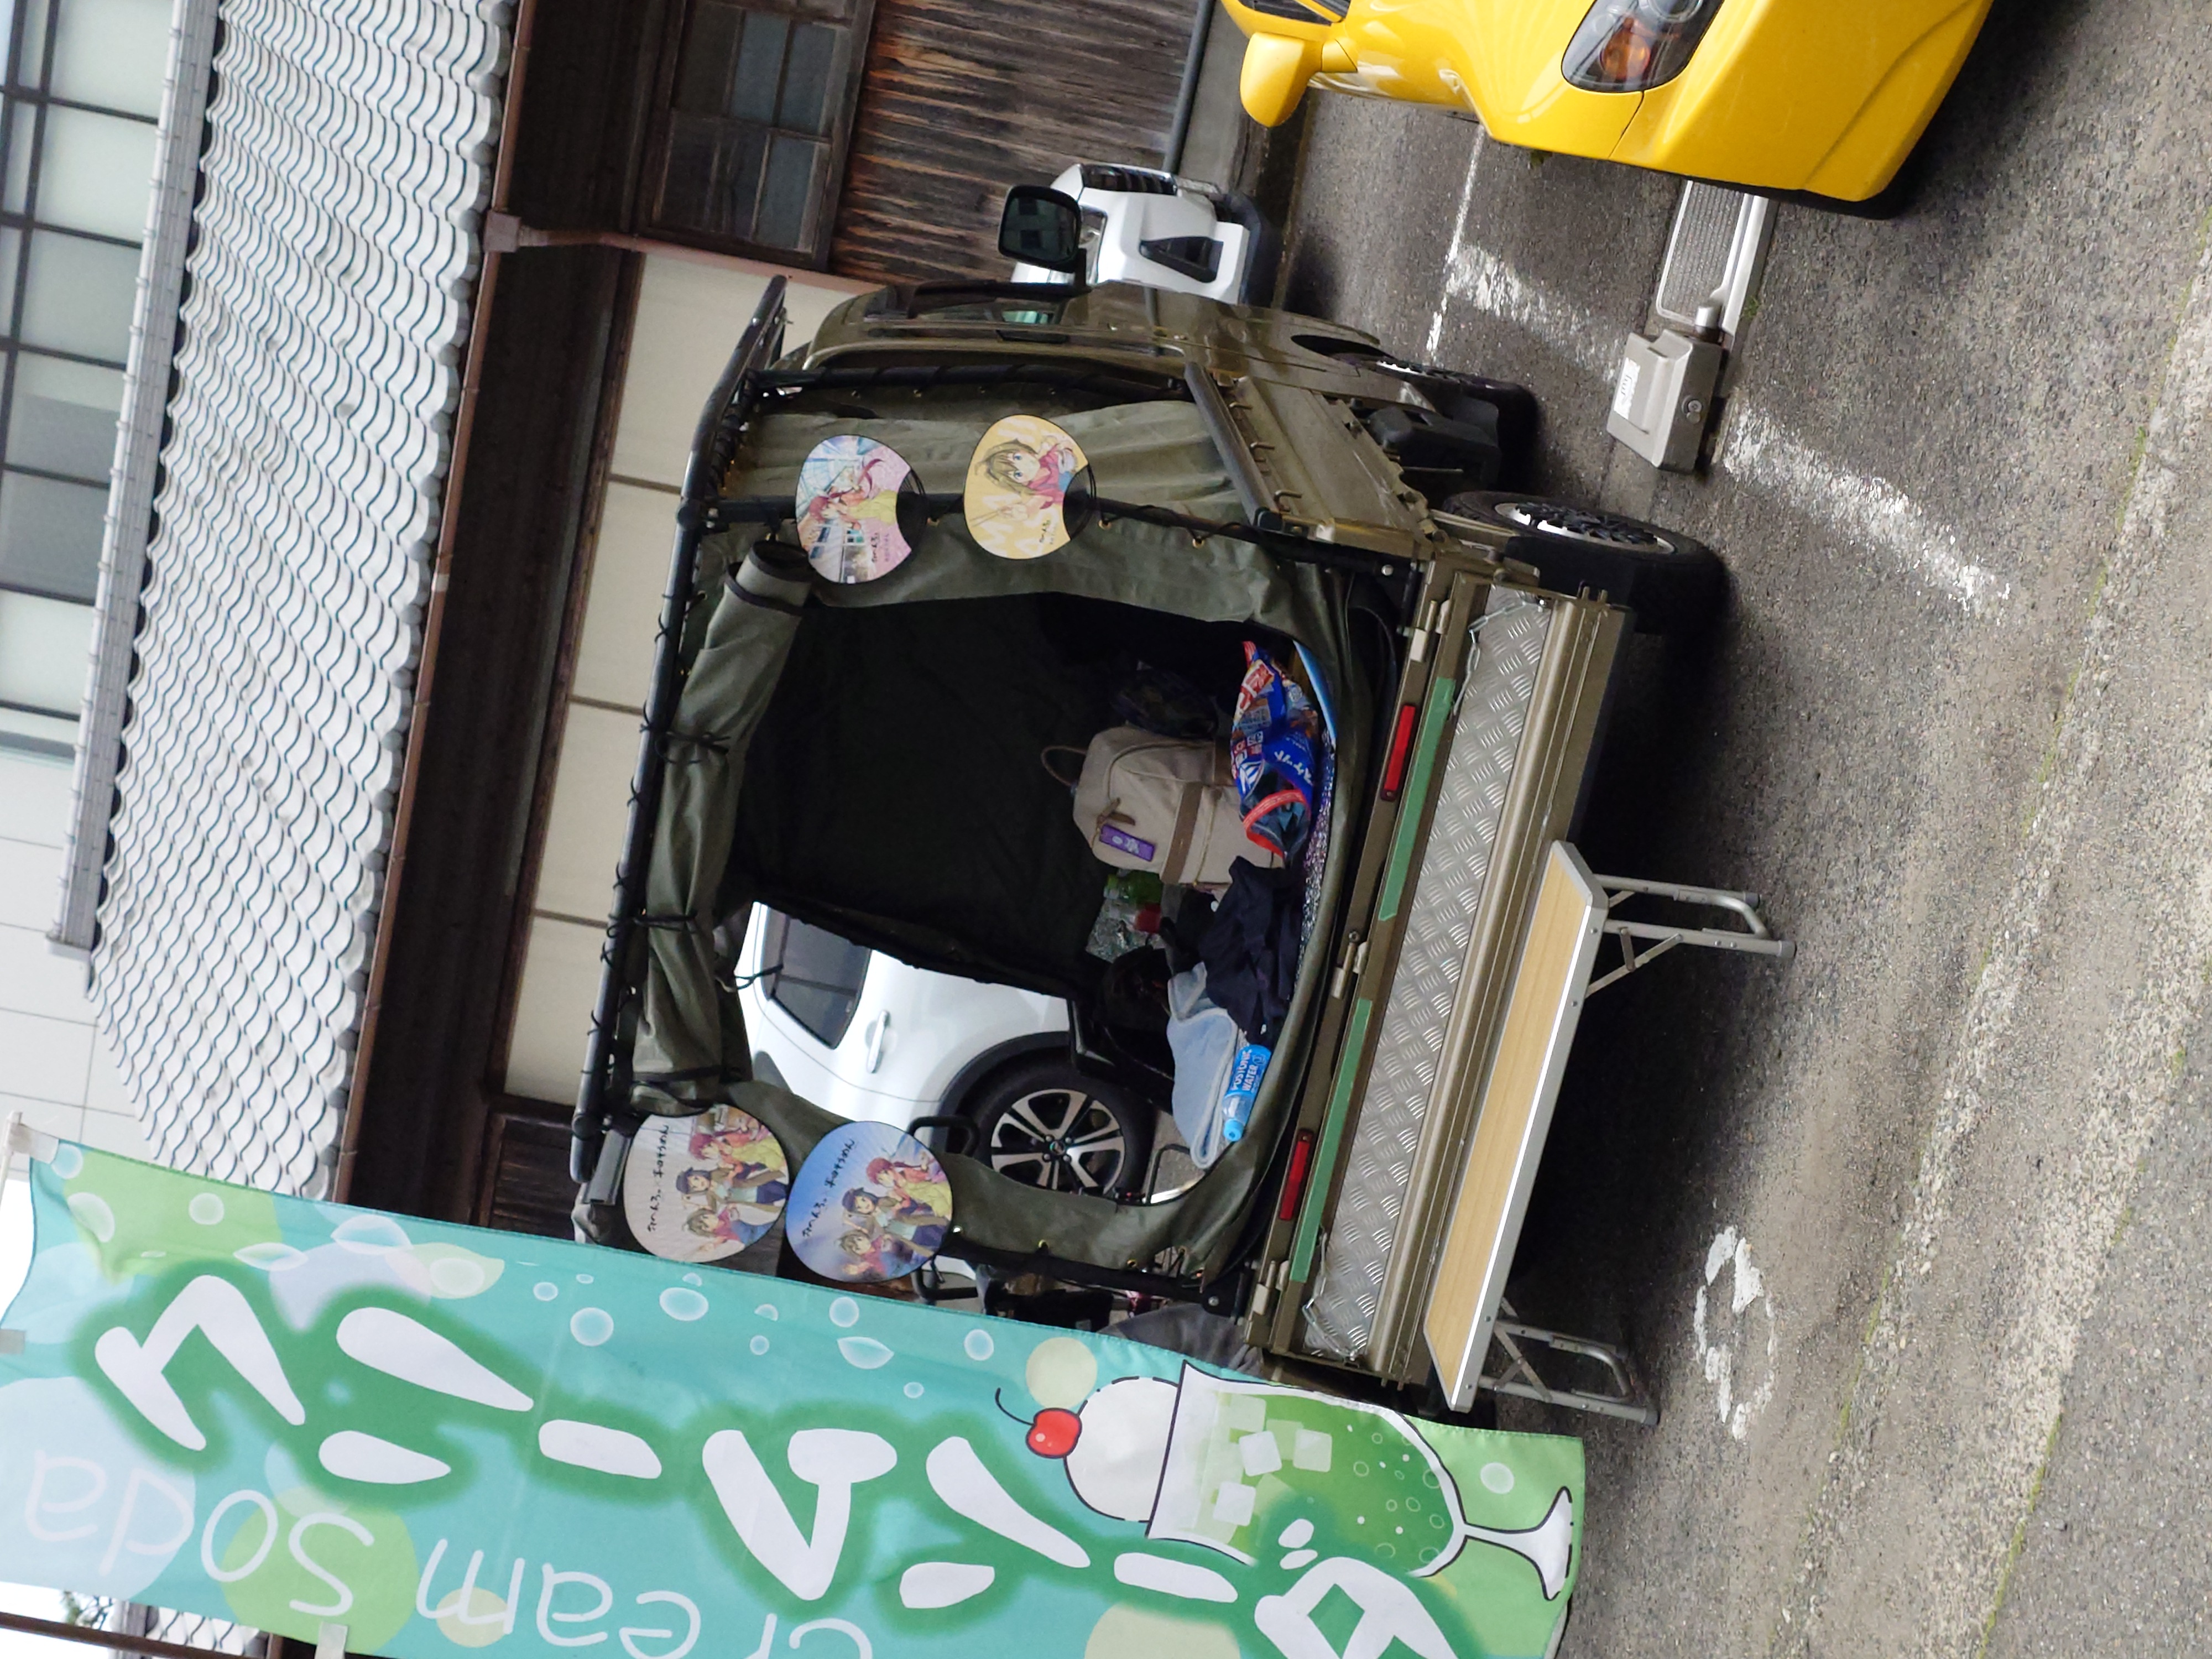

向かいにはクレームショップさんや、白滝製麺の車?もあり、それぞれ可愛らしくあしらわれていた。
白滝製麺の車の中にミレービスケットの超特大袋があるのは笑ってしまったが、やはり四国では愛されているのだろう。
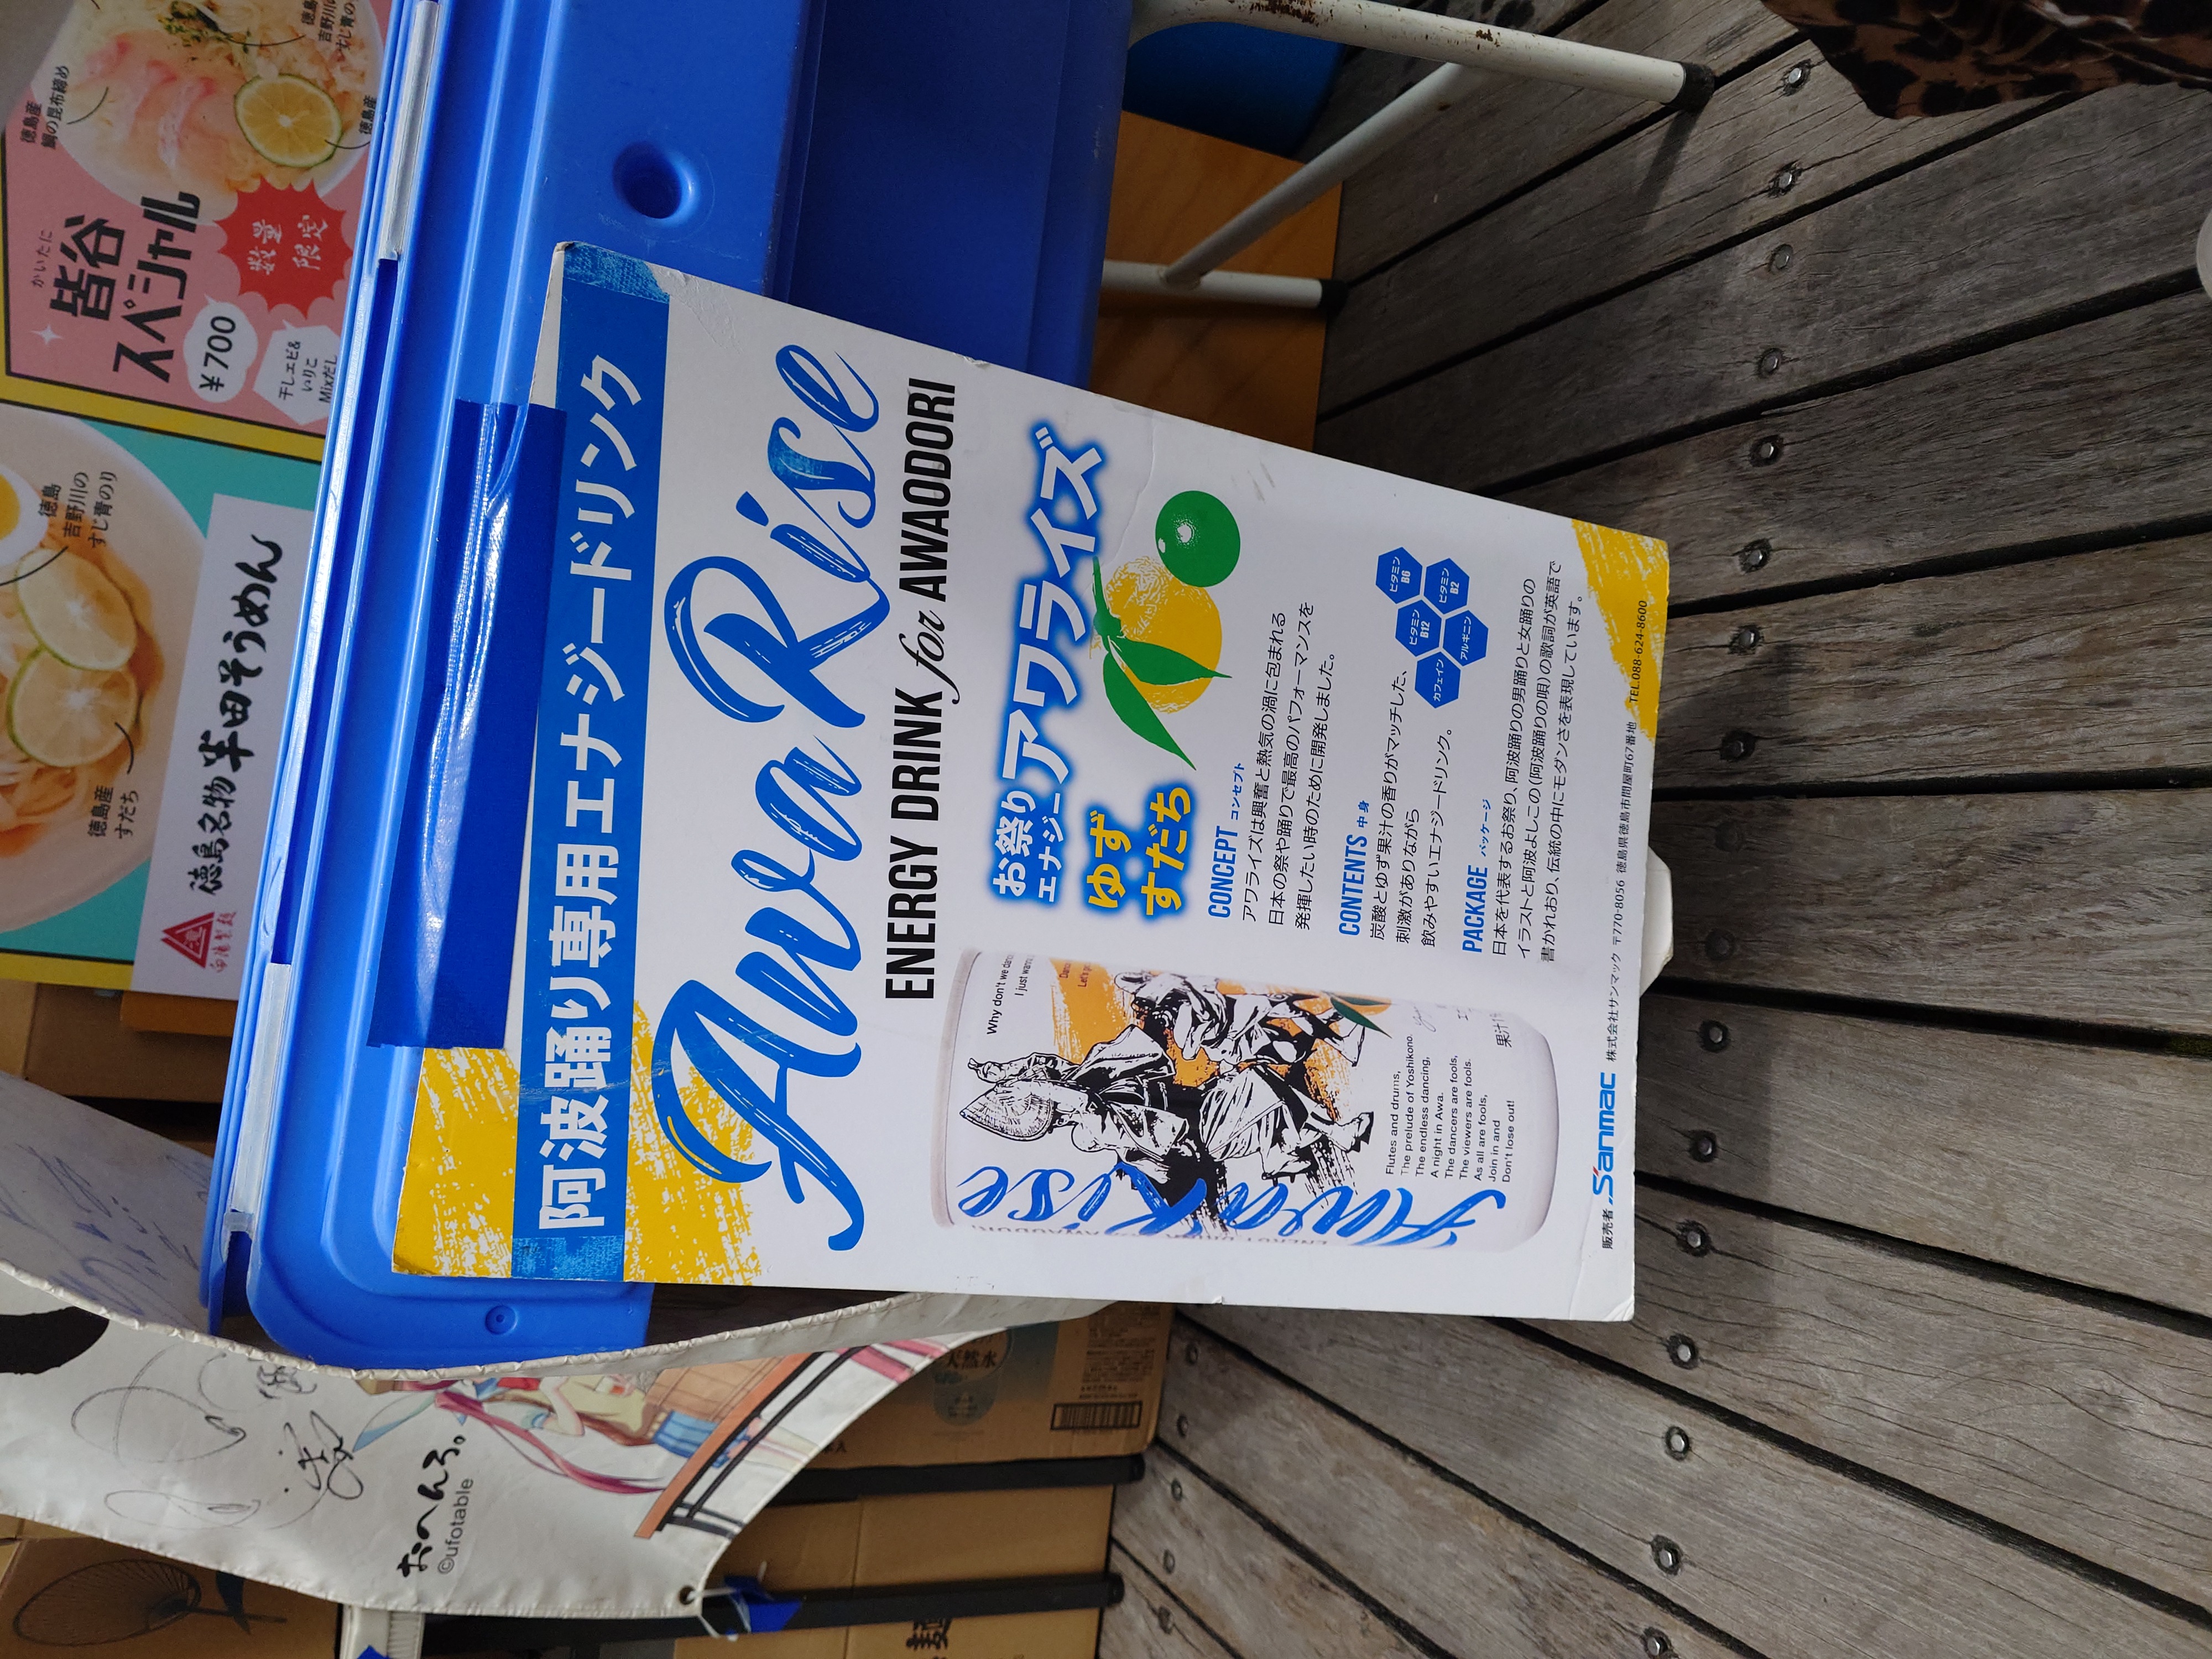
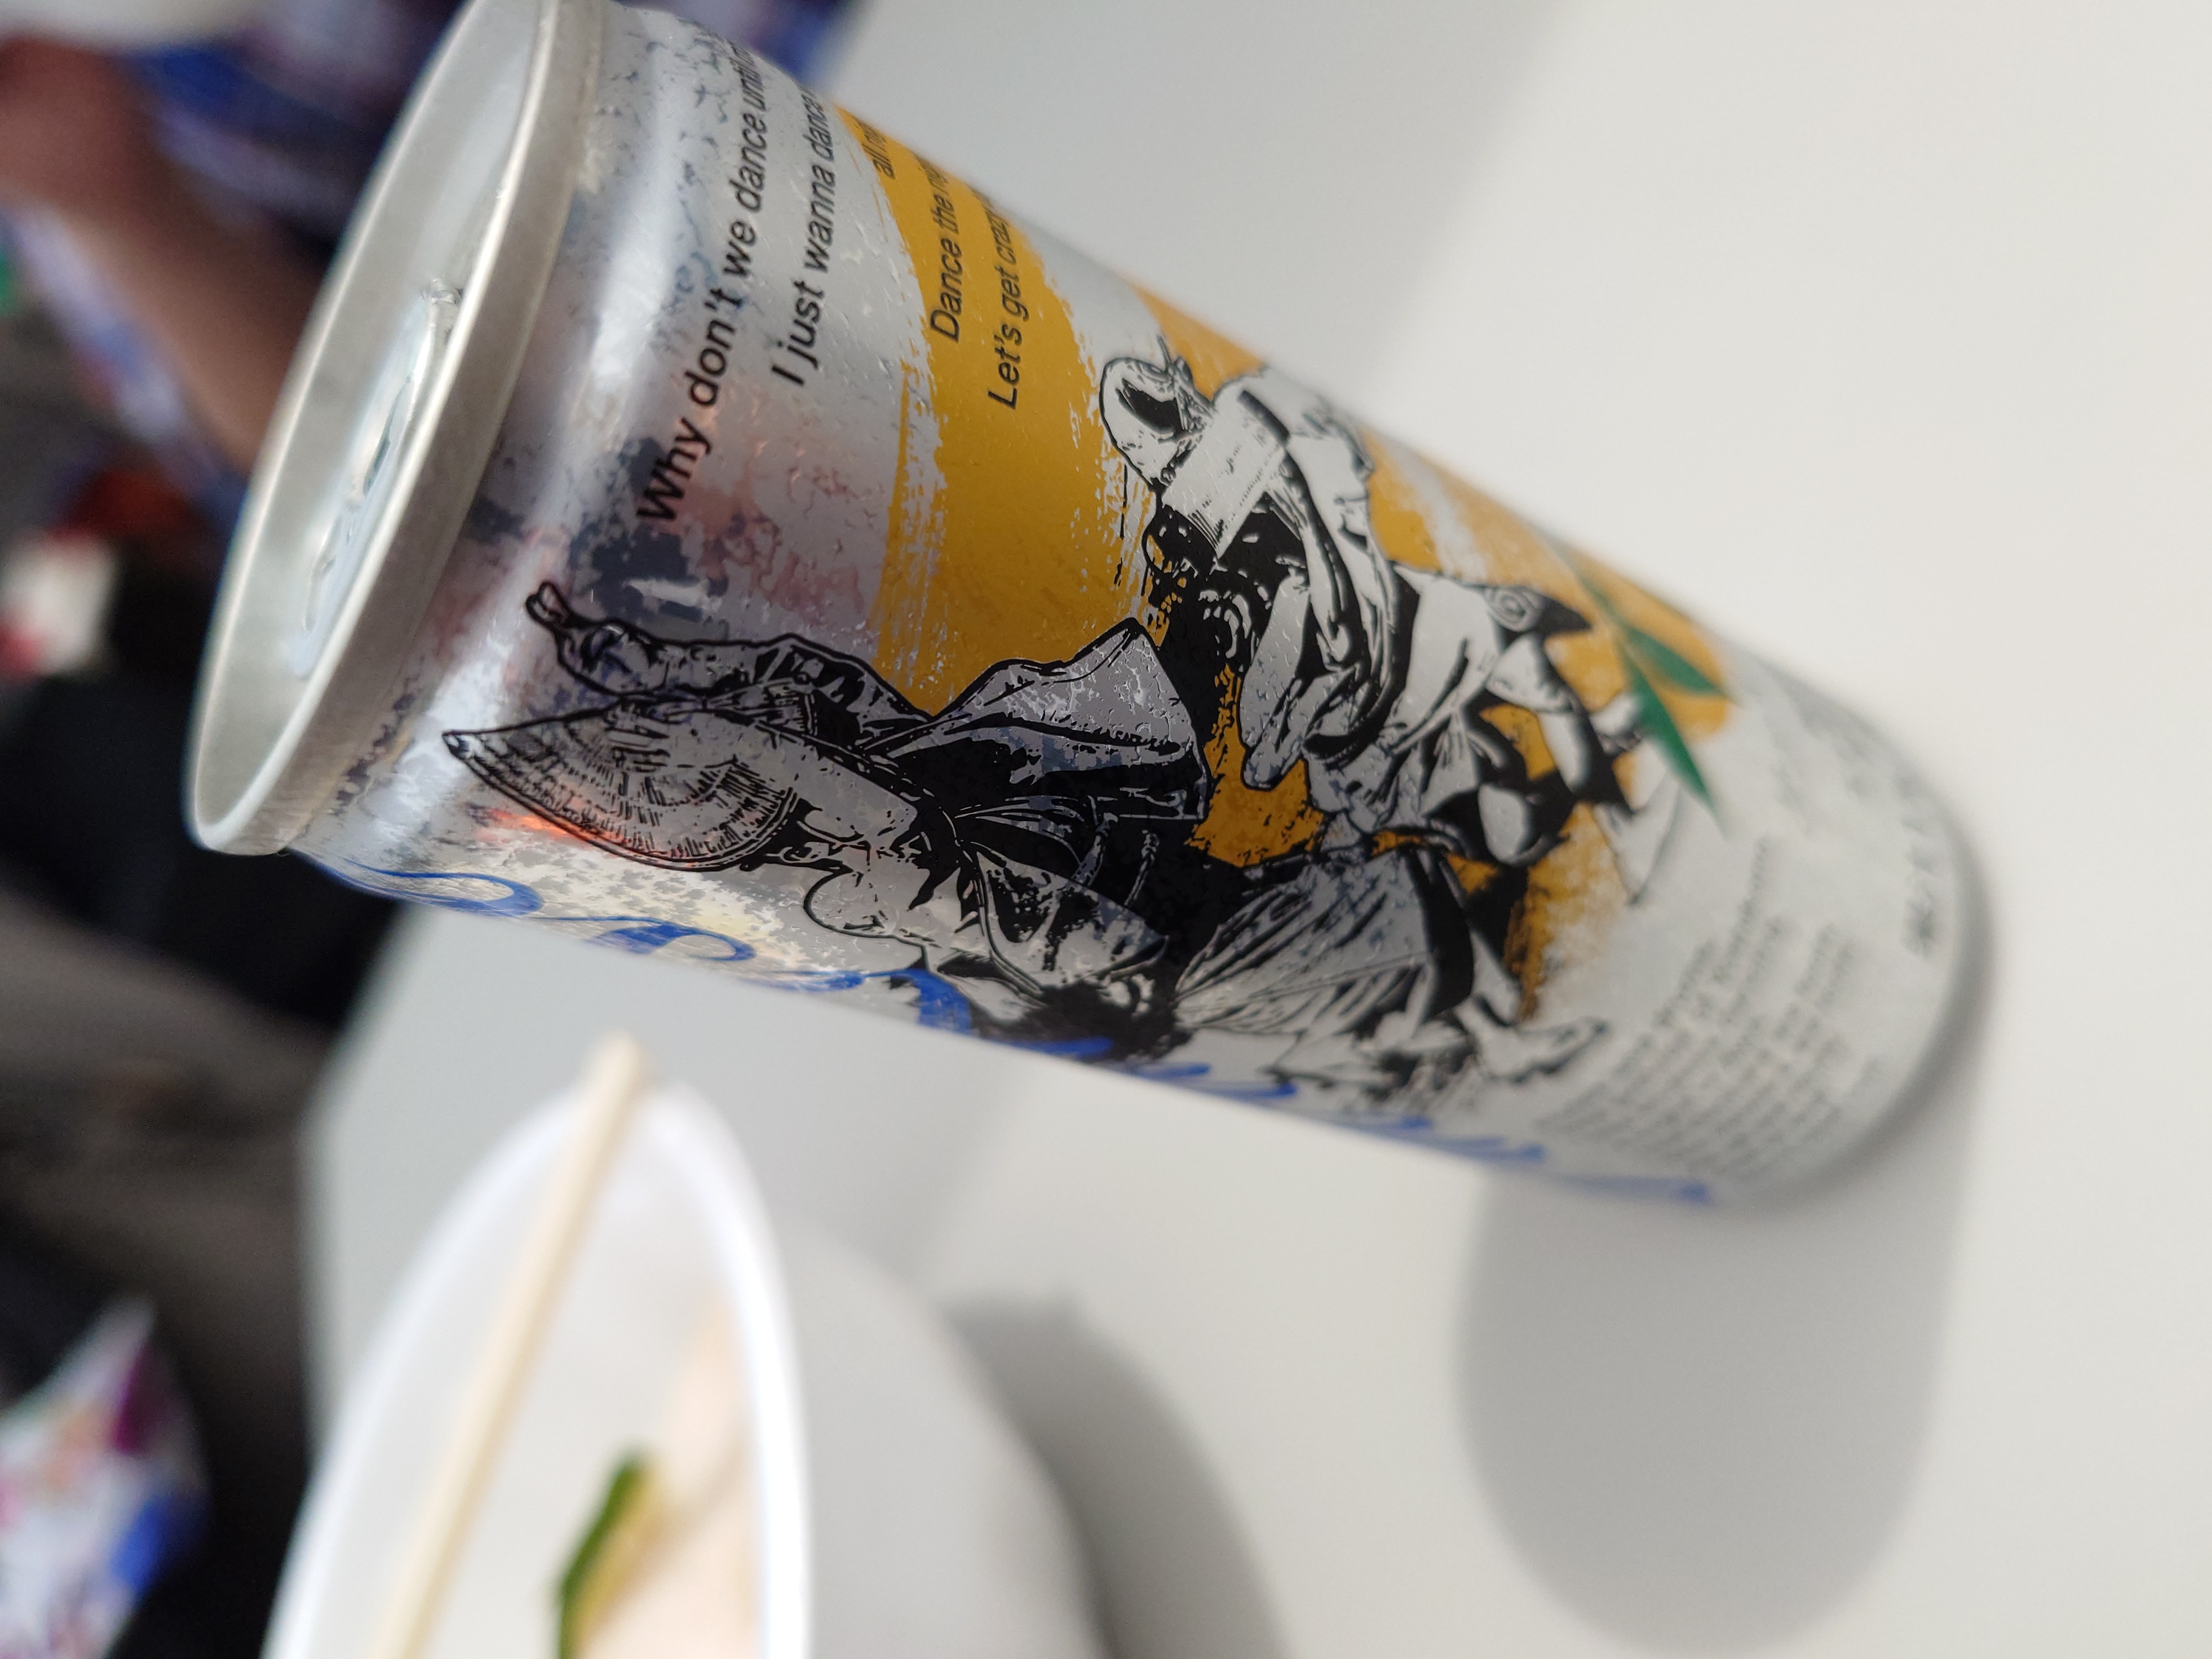
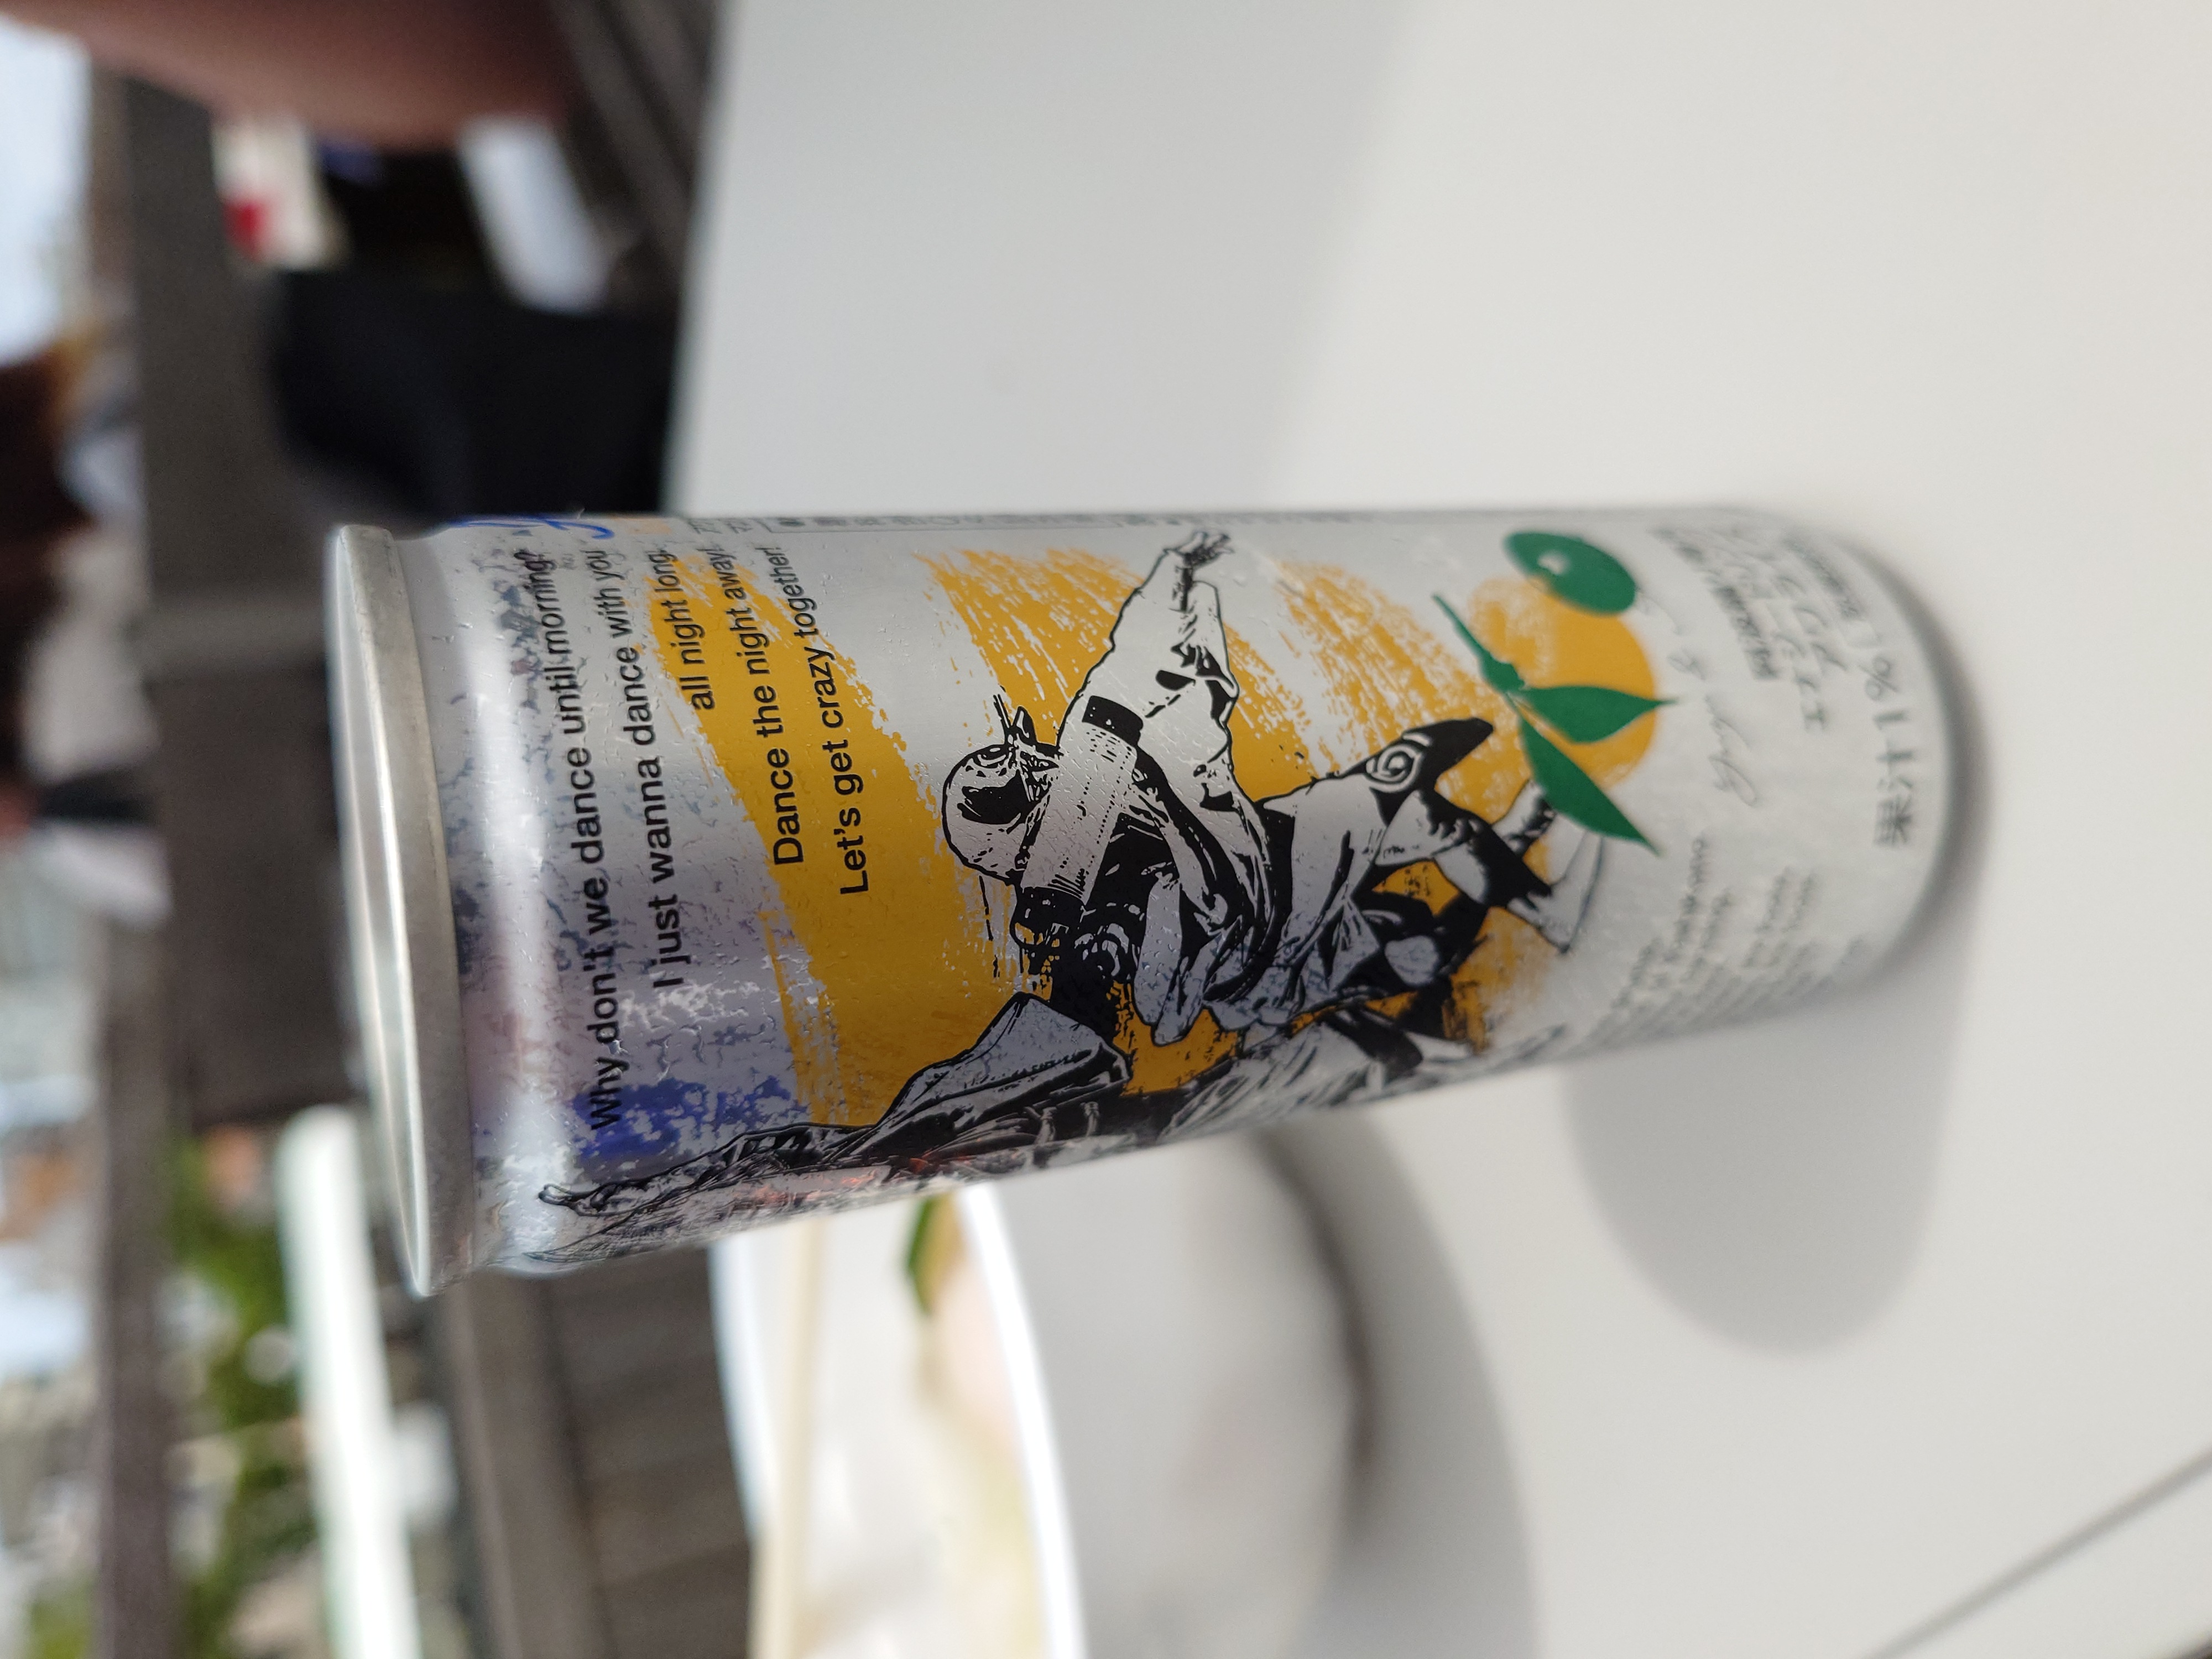
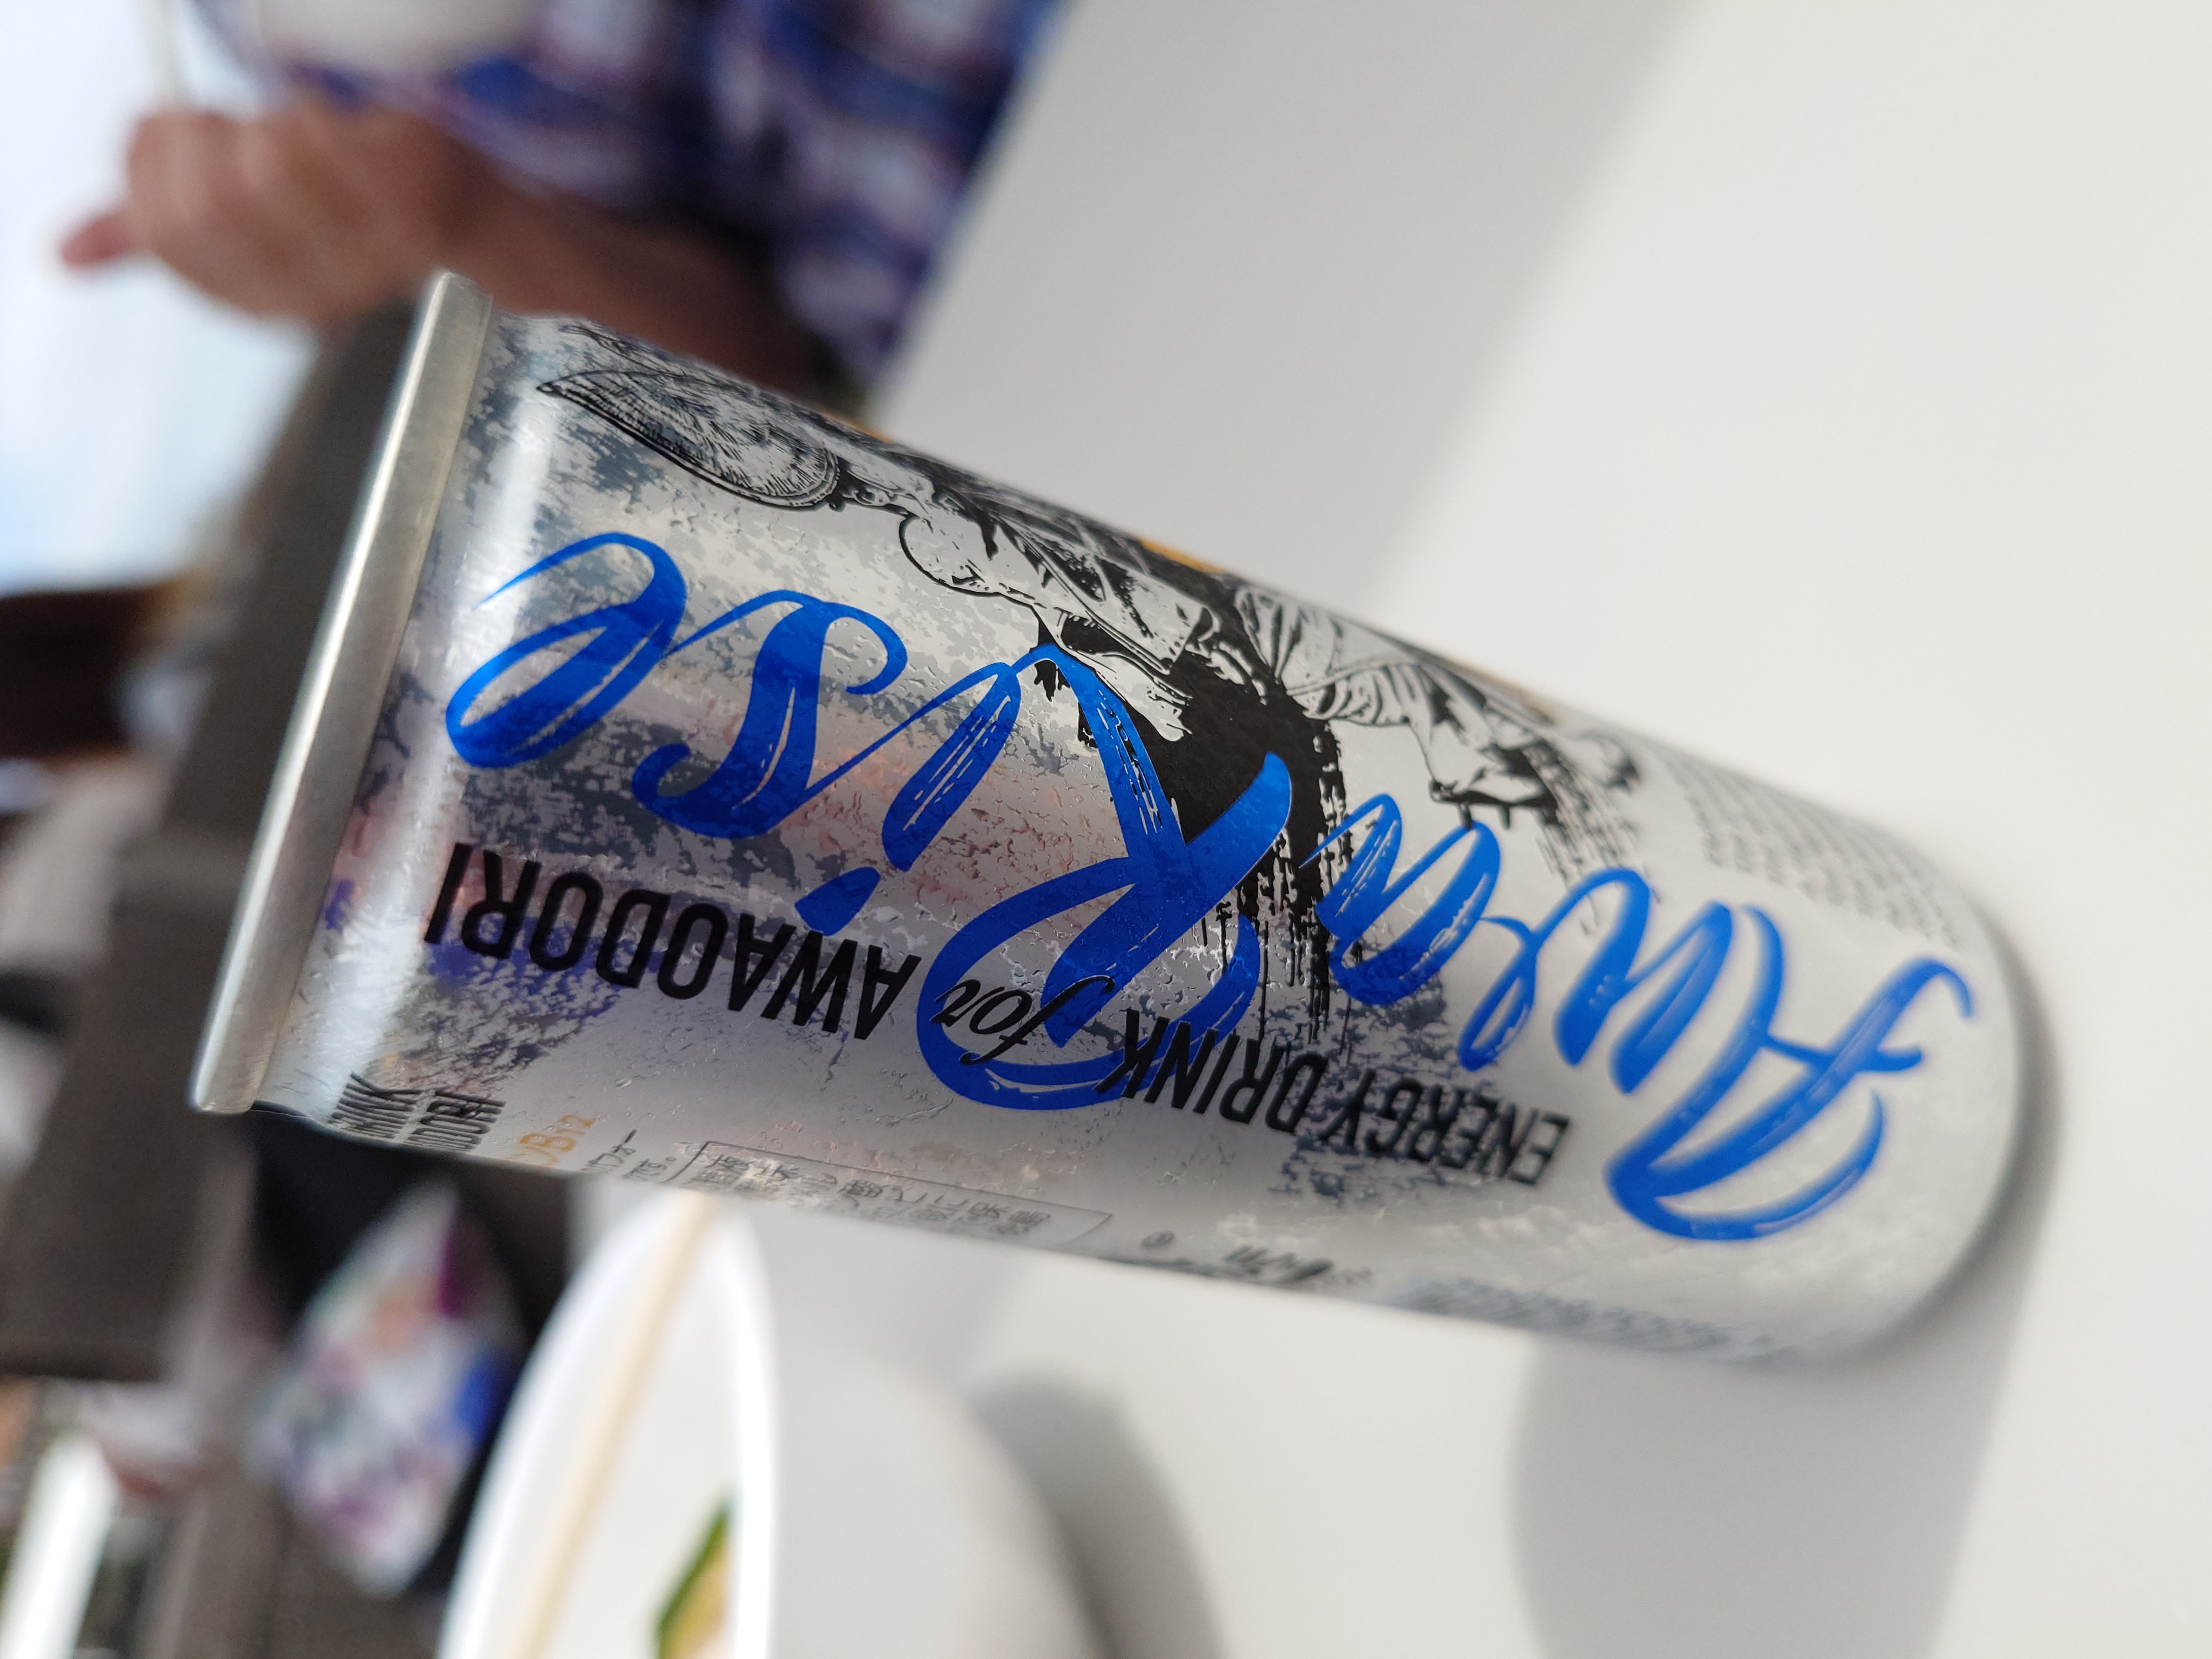

アワライズという飲み物も売られており、阿波踊り専用エナジードリンクという触れ込みがよかった。徳島市内の自販機でも見かけたのでこれ自体は通年手に入るようだ。
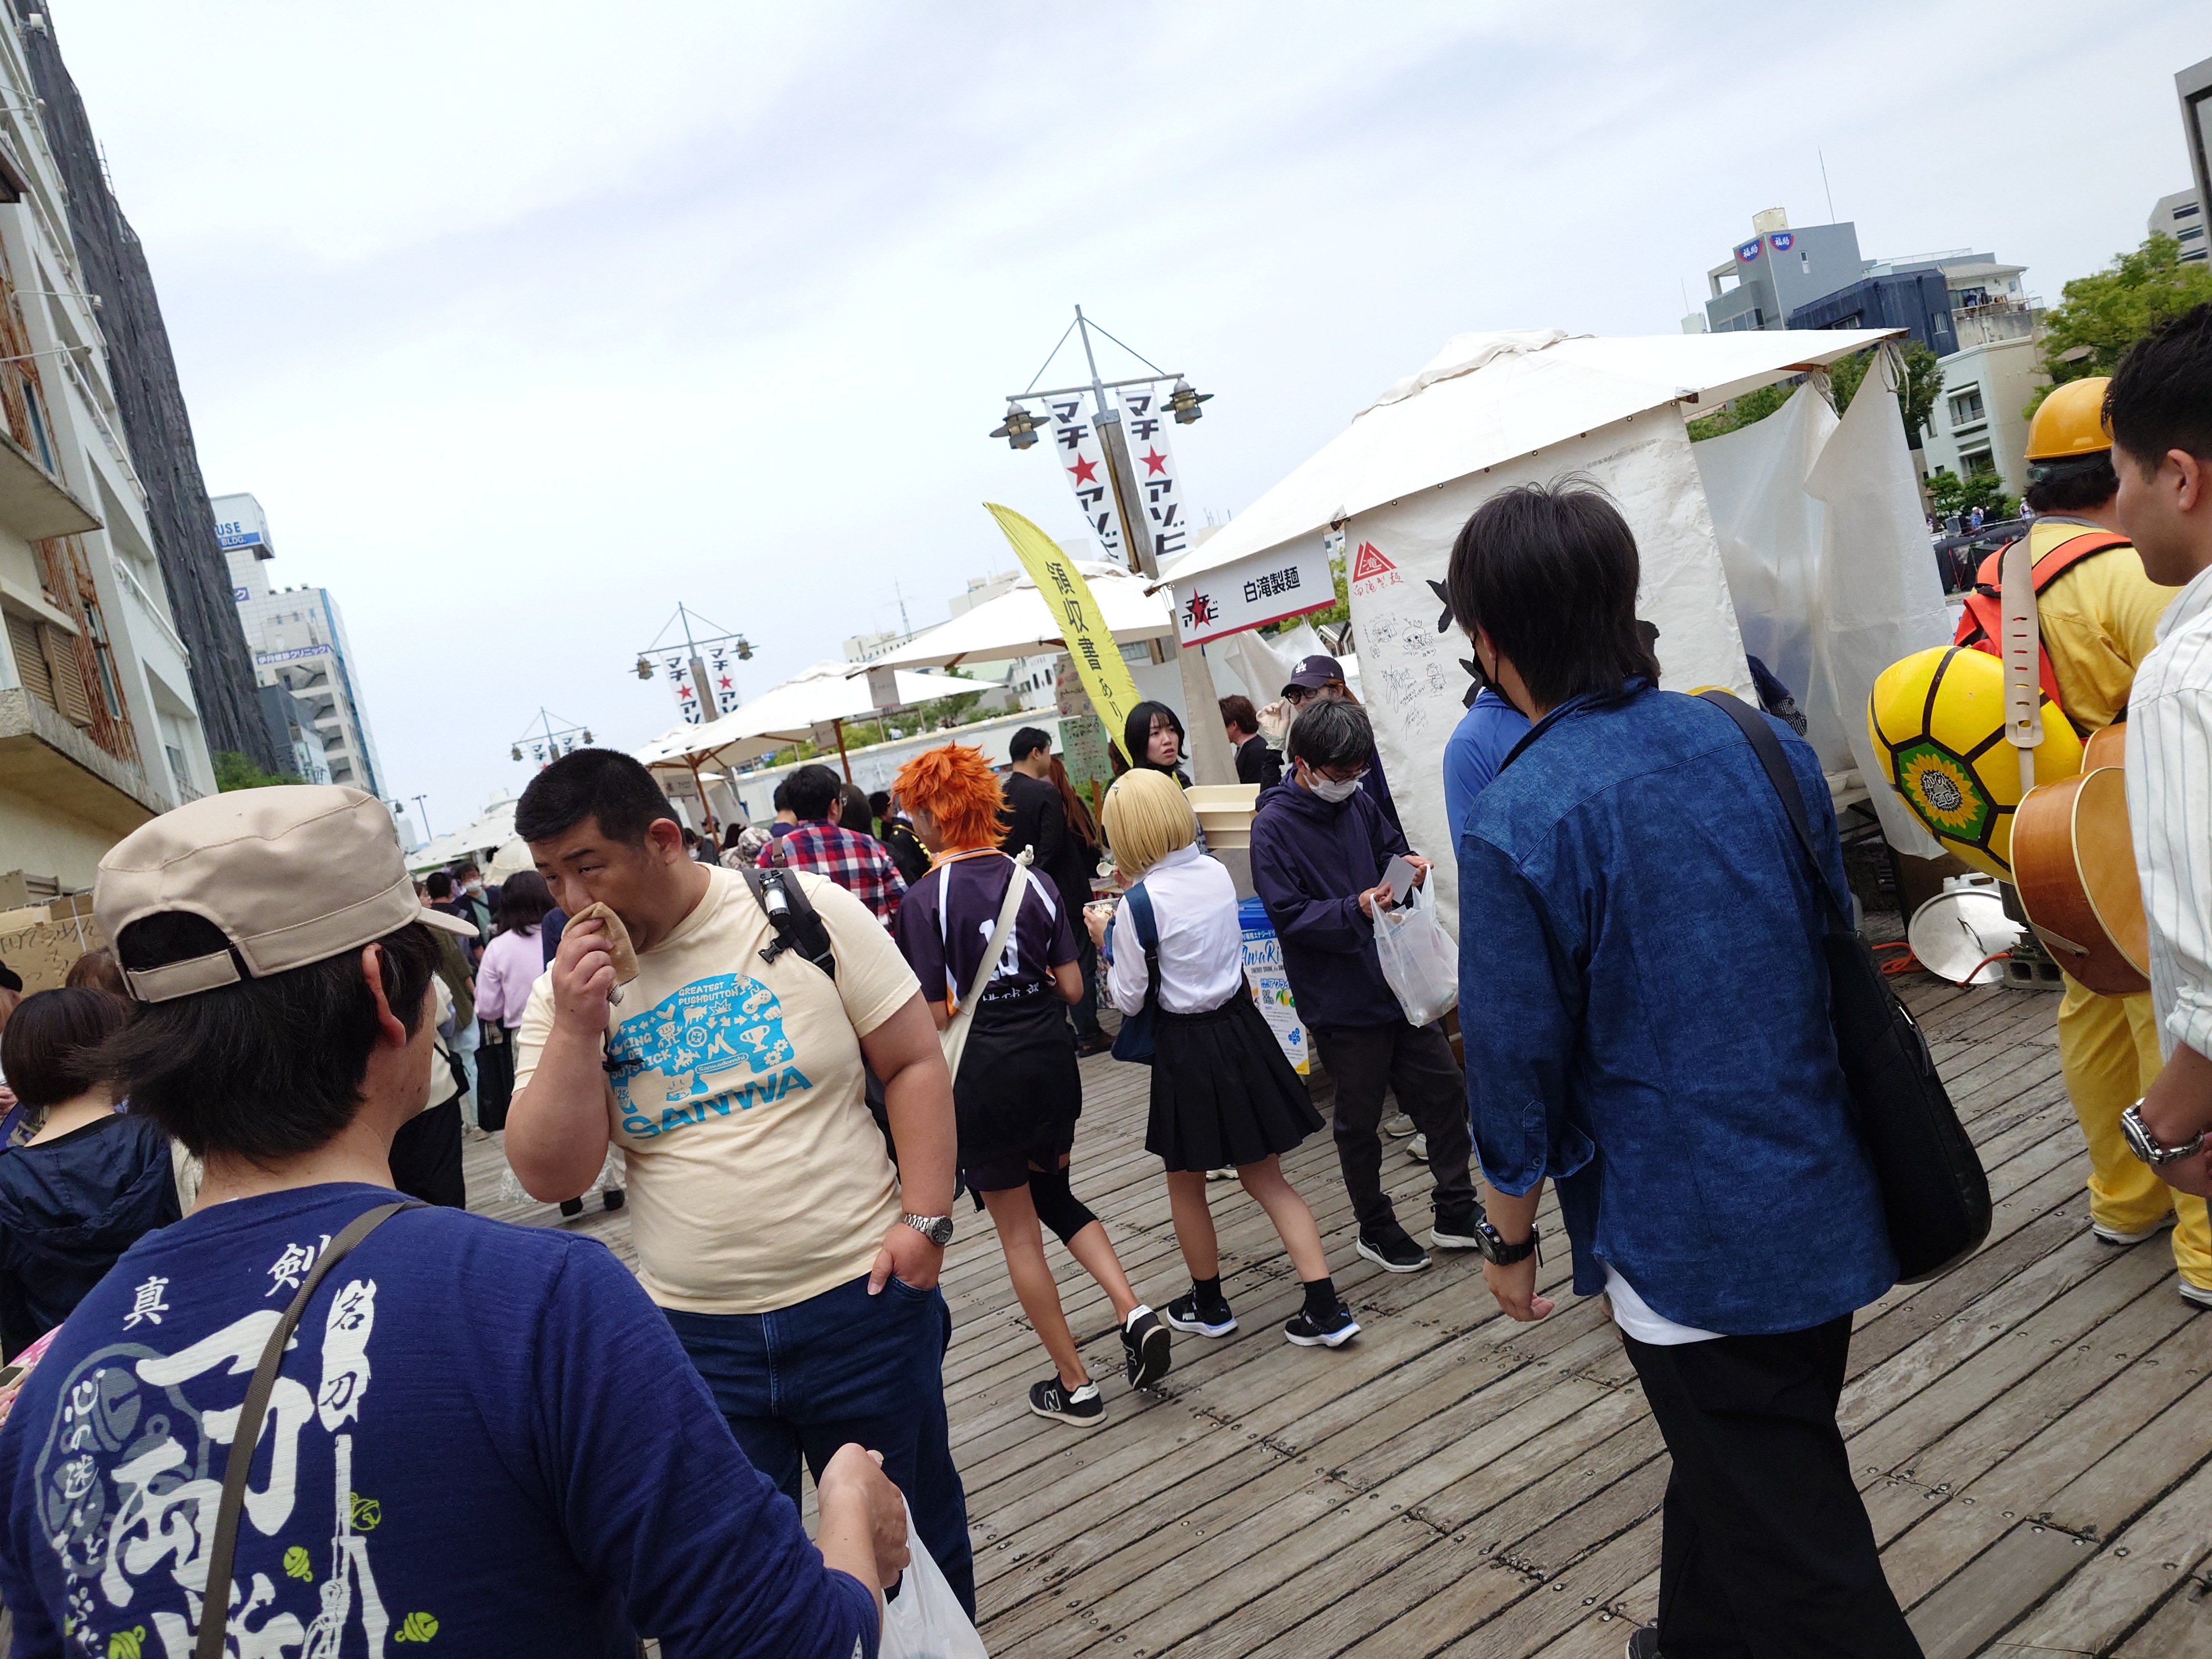
大人気だったフリー素材ずんだもん
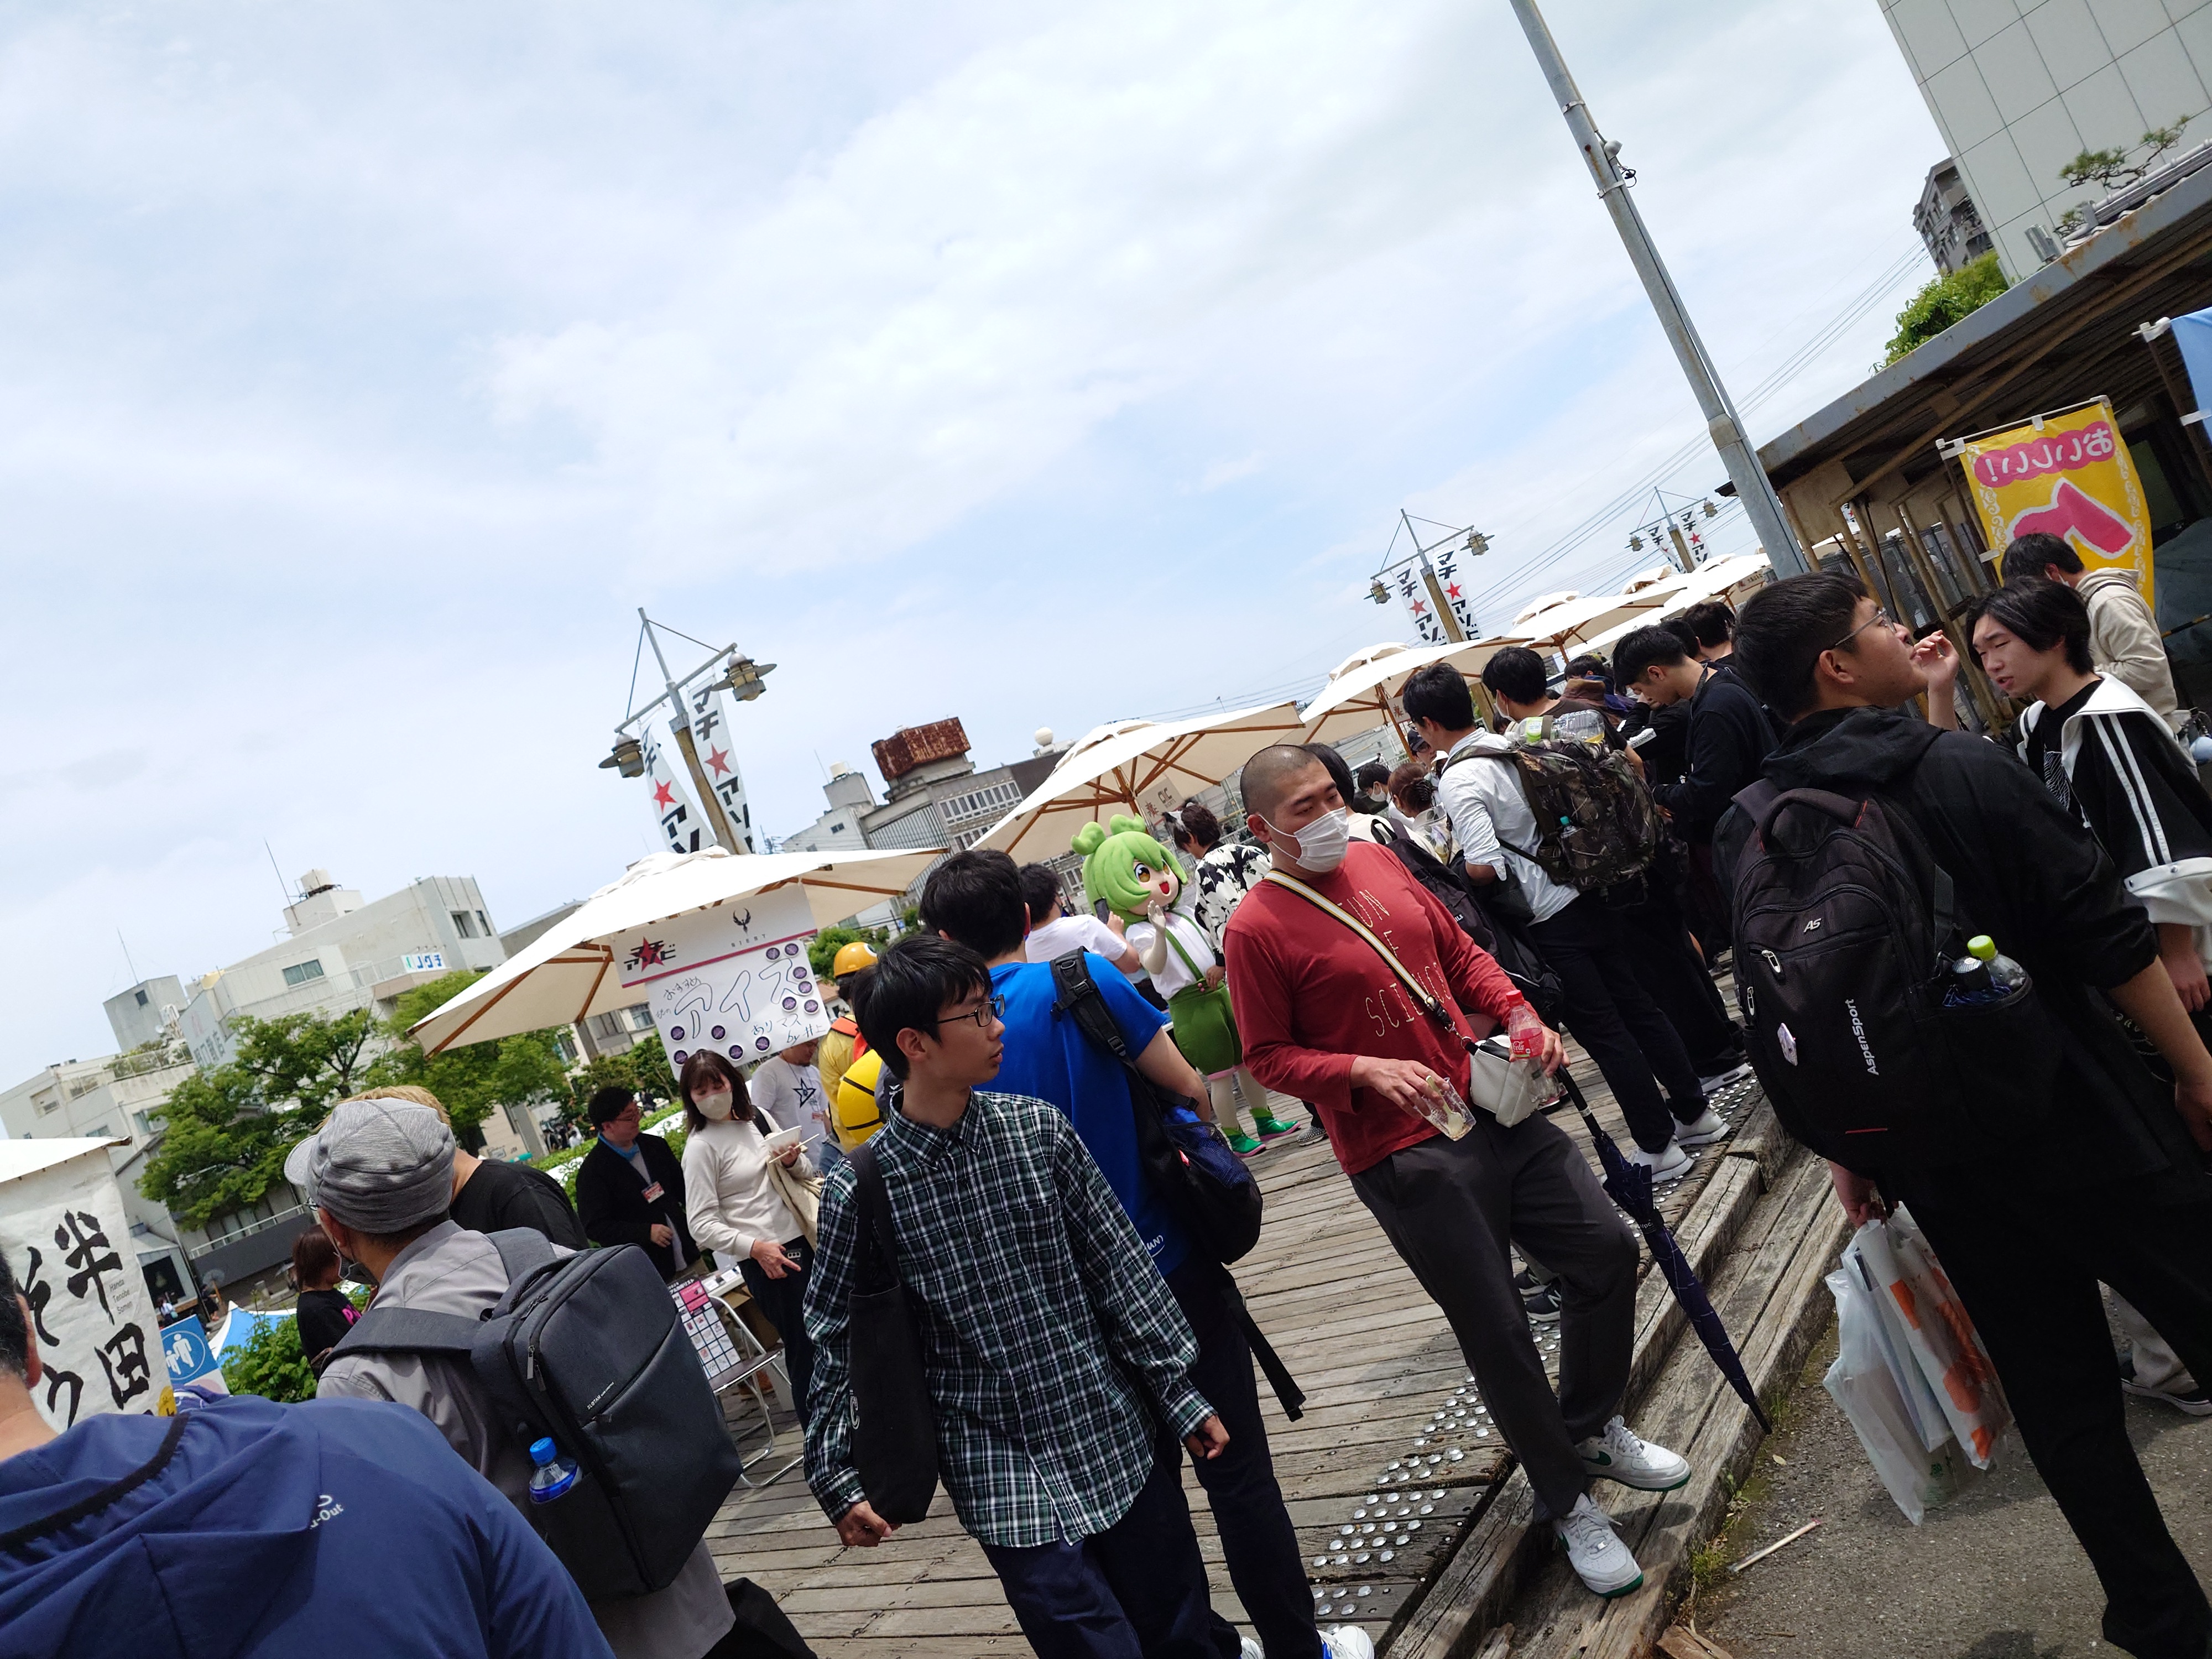
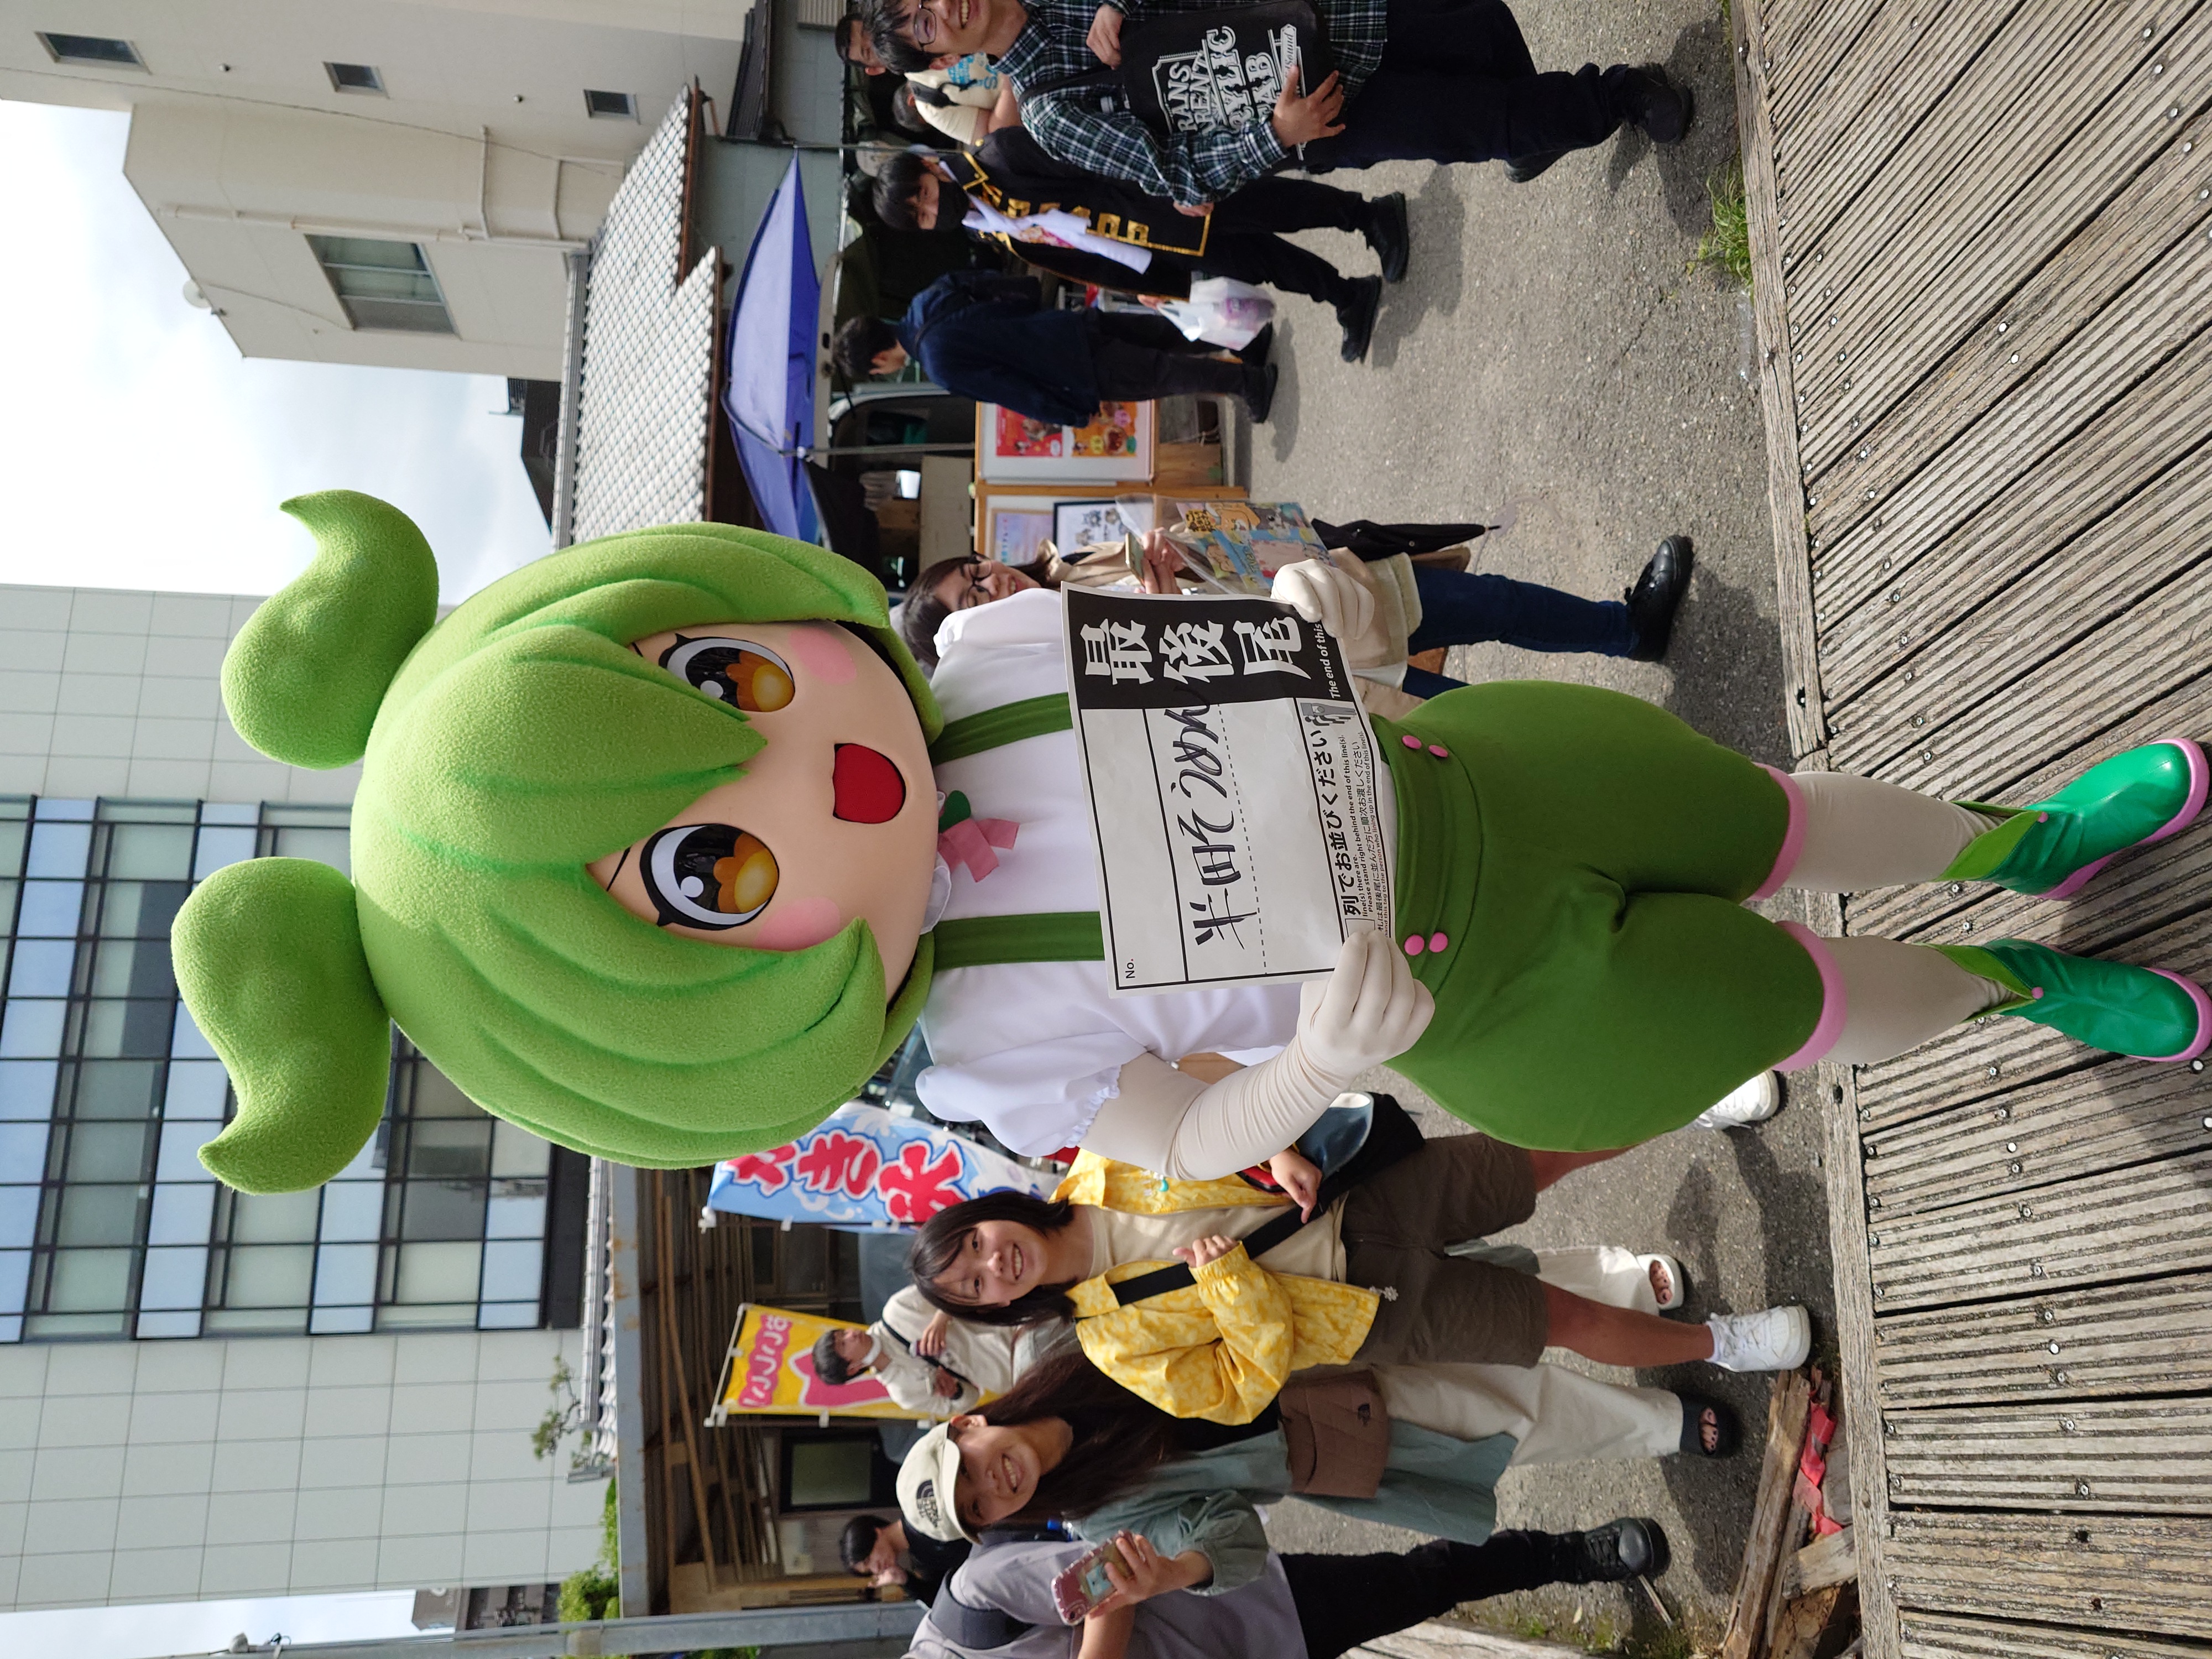
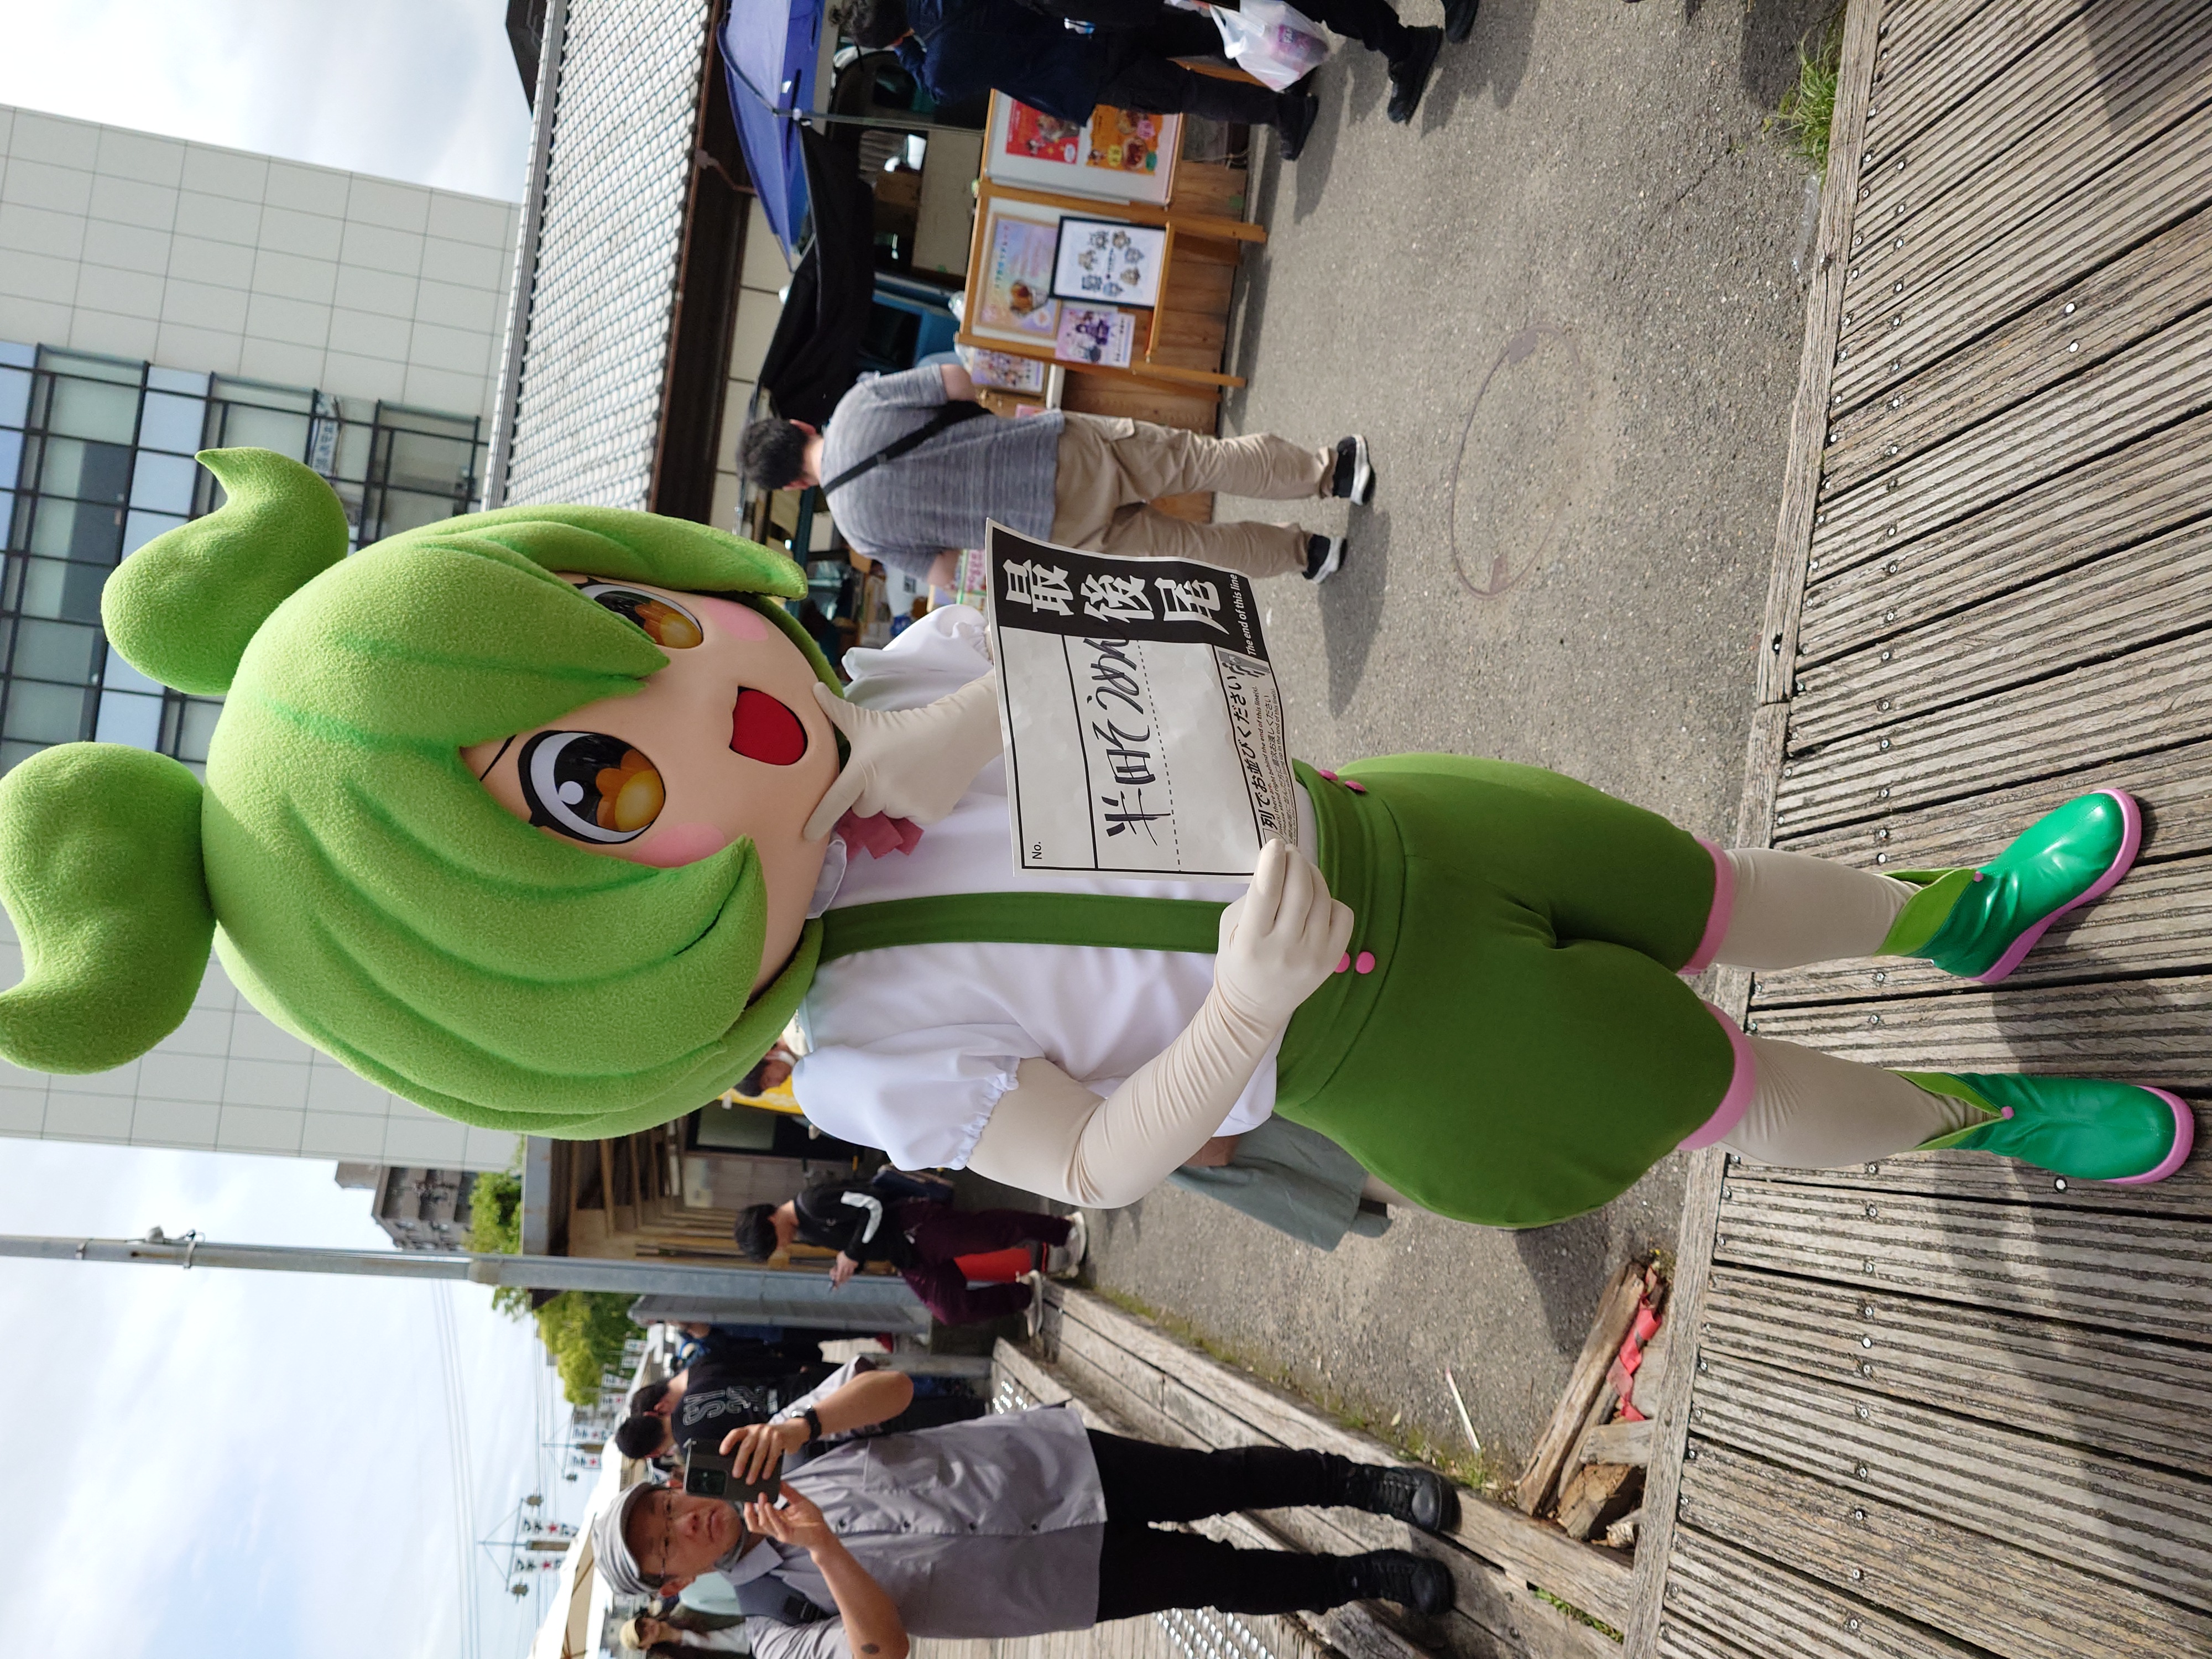
半田そうめんの列に並んでいるとずんだもんがPOPした。ファンサービス精神が旺盛で半田そうめん最後尾の札を持ってくれたり、ポーズをとって周囲の撮影に応えてくれたり、身振り手振りもどこか抜けたようなかわいい演出が多く、かなり良かった。
ずんだもんは人気者で、行く先々でもてはやされ、遠くから見えるだけでも賑わいをもたらしていた。
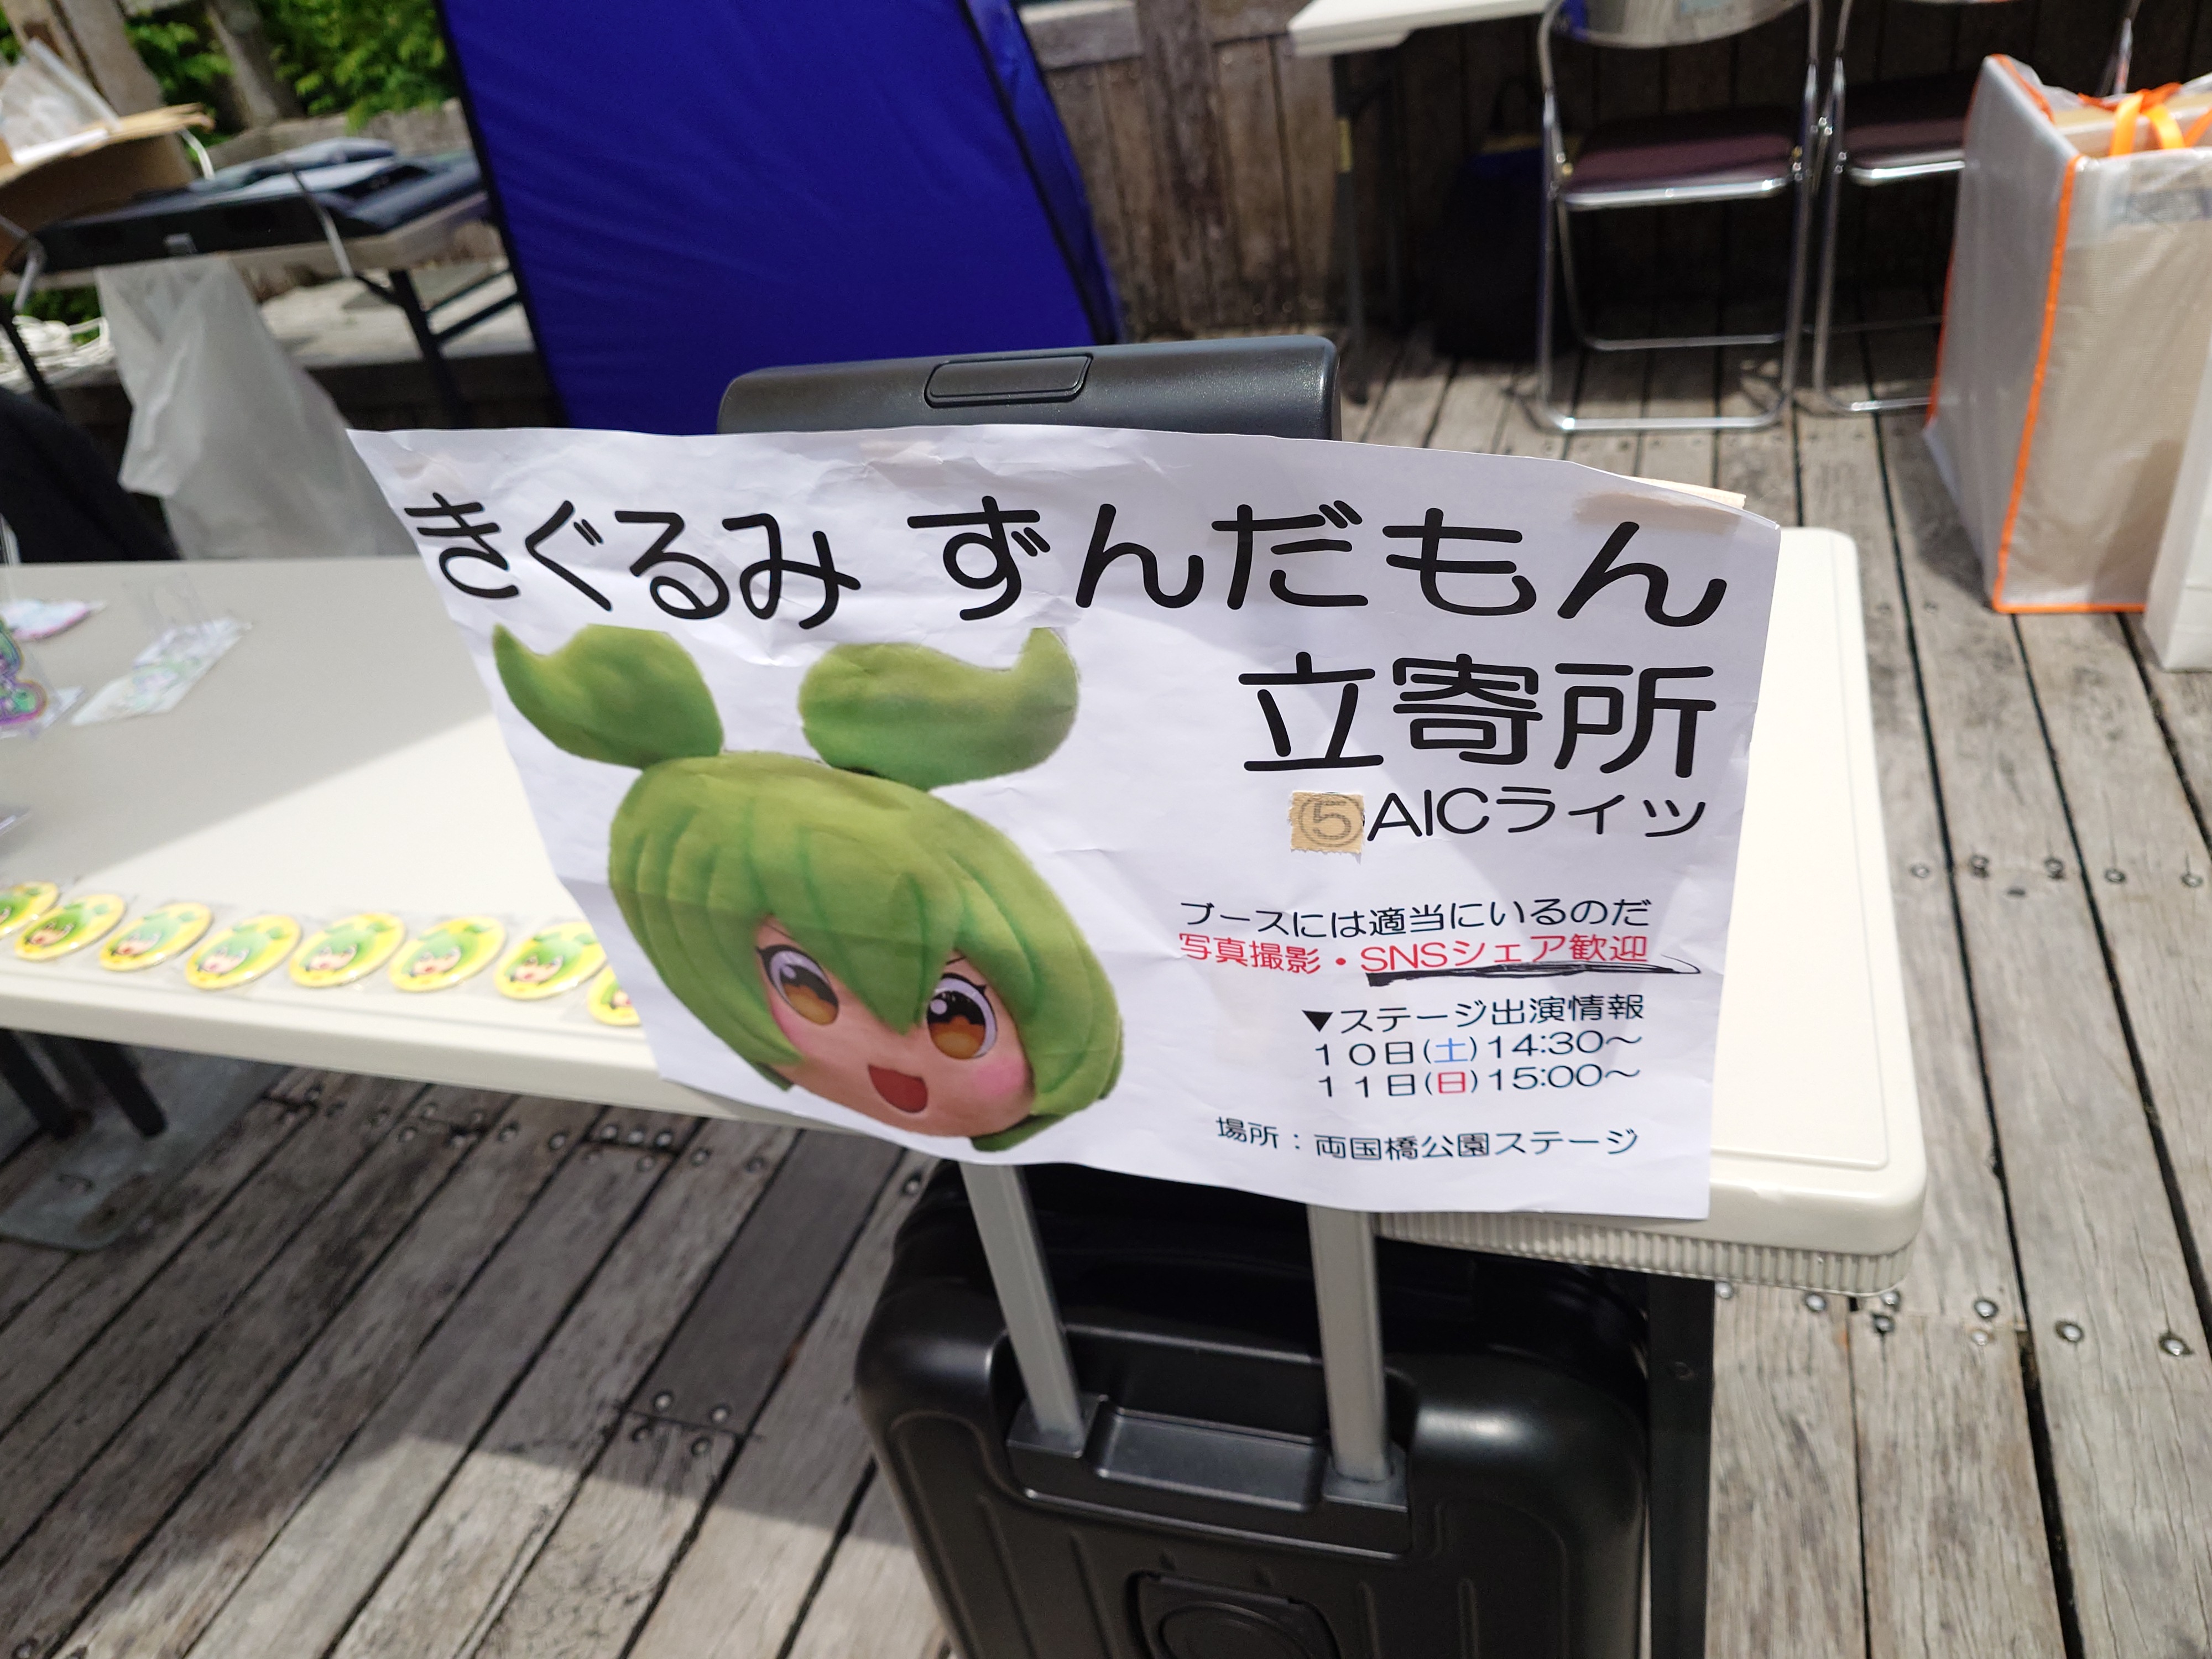
写真撮影・SNS共有歓迎という歩くフリー素材みたいな扱いだった。
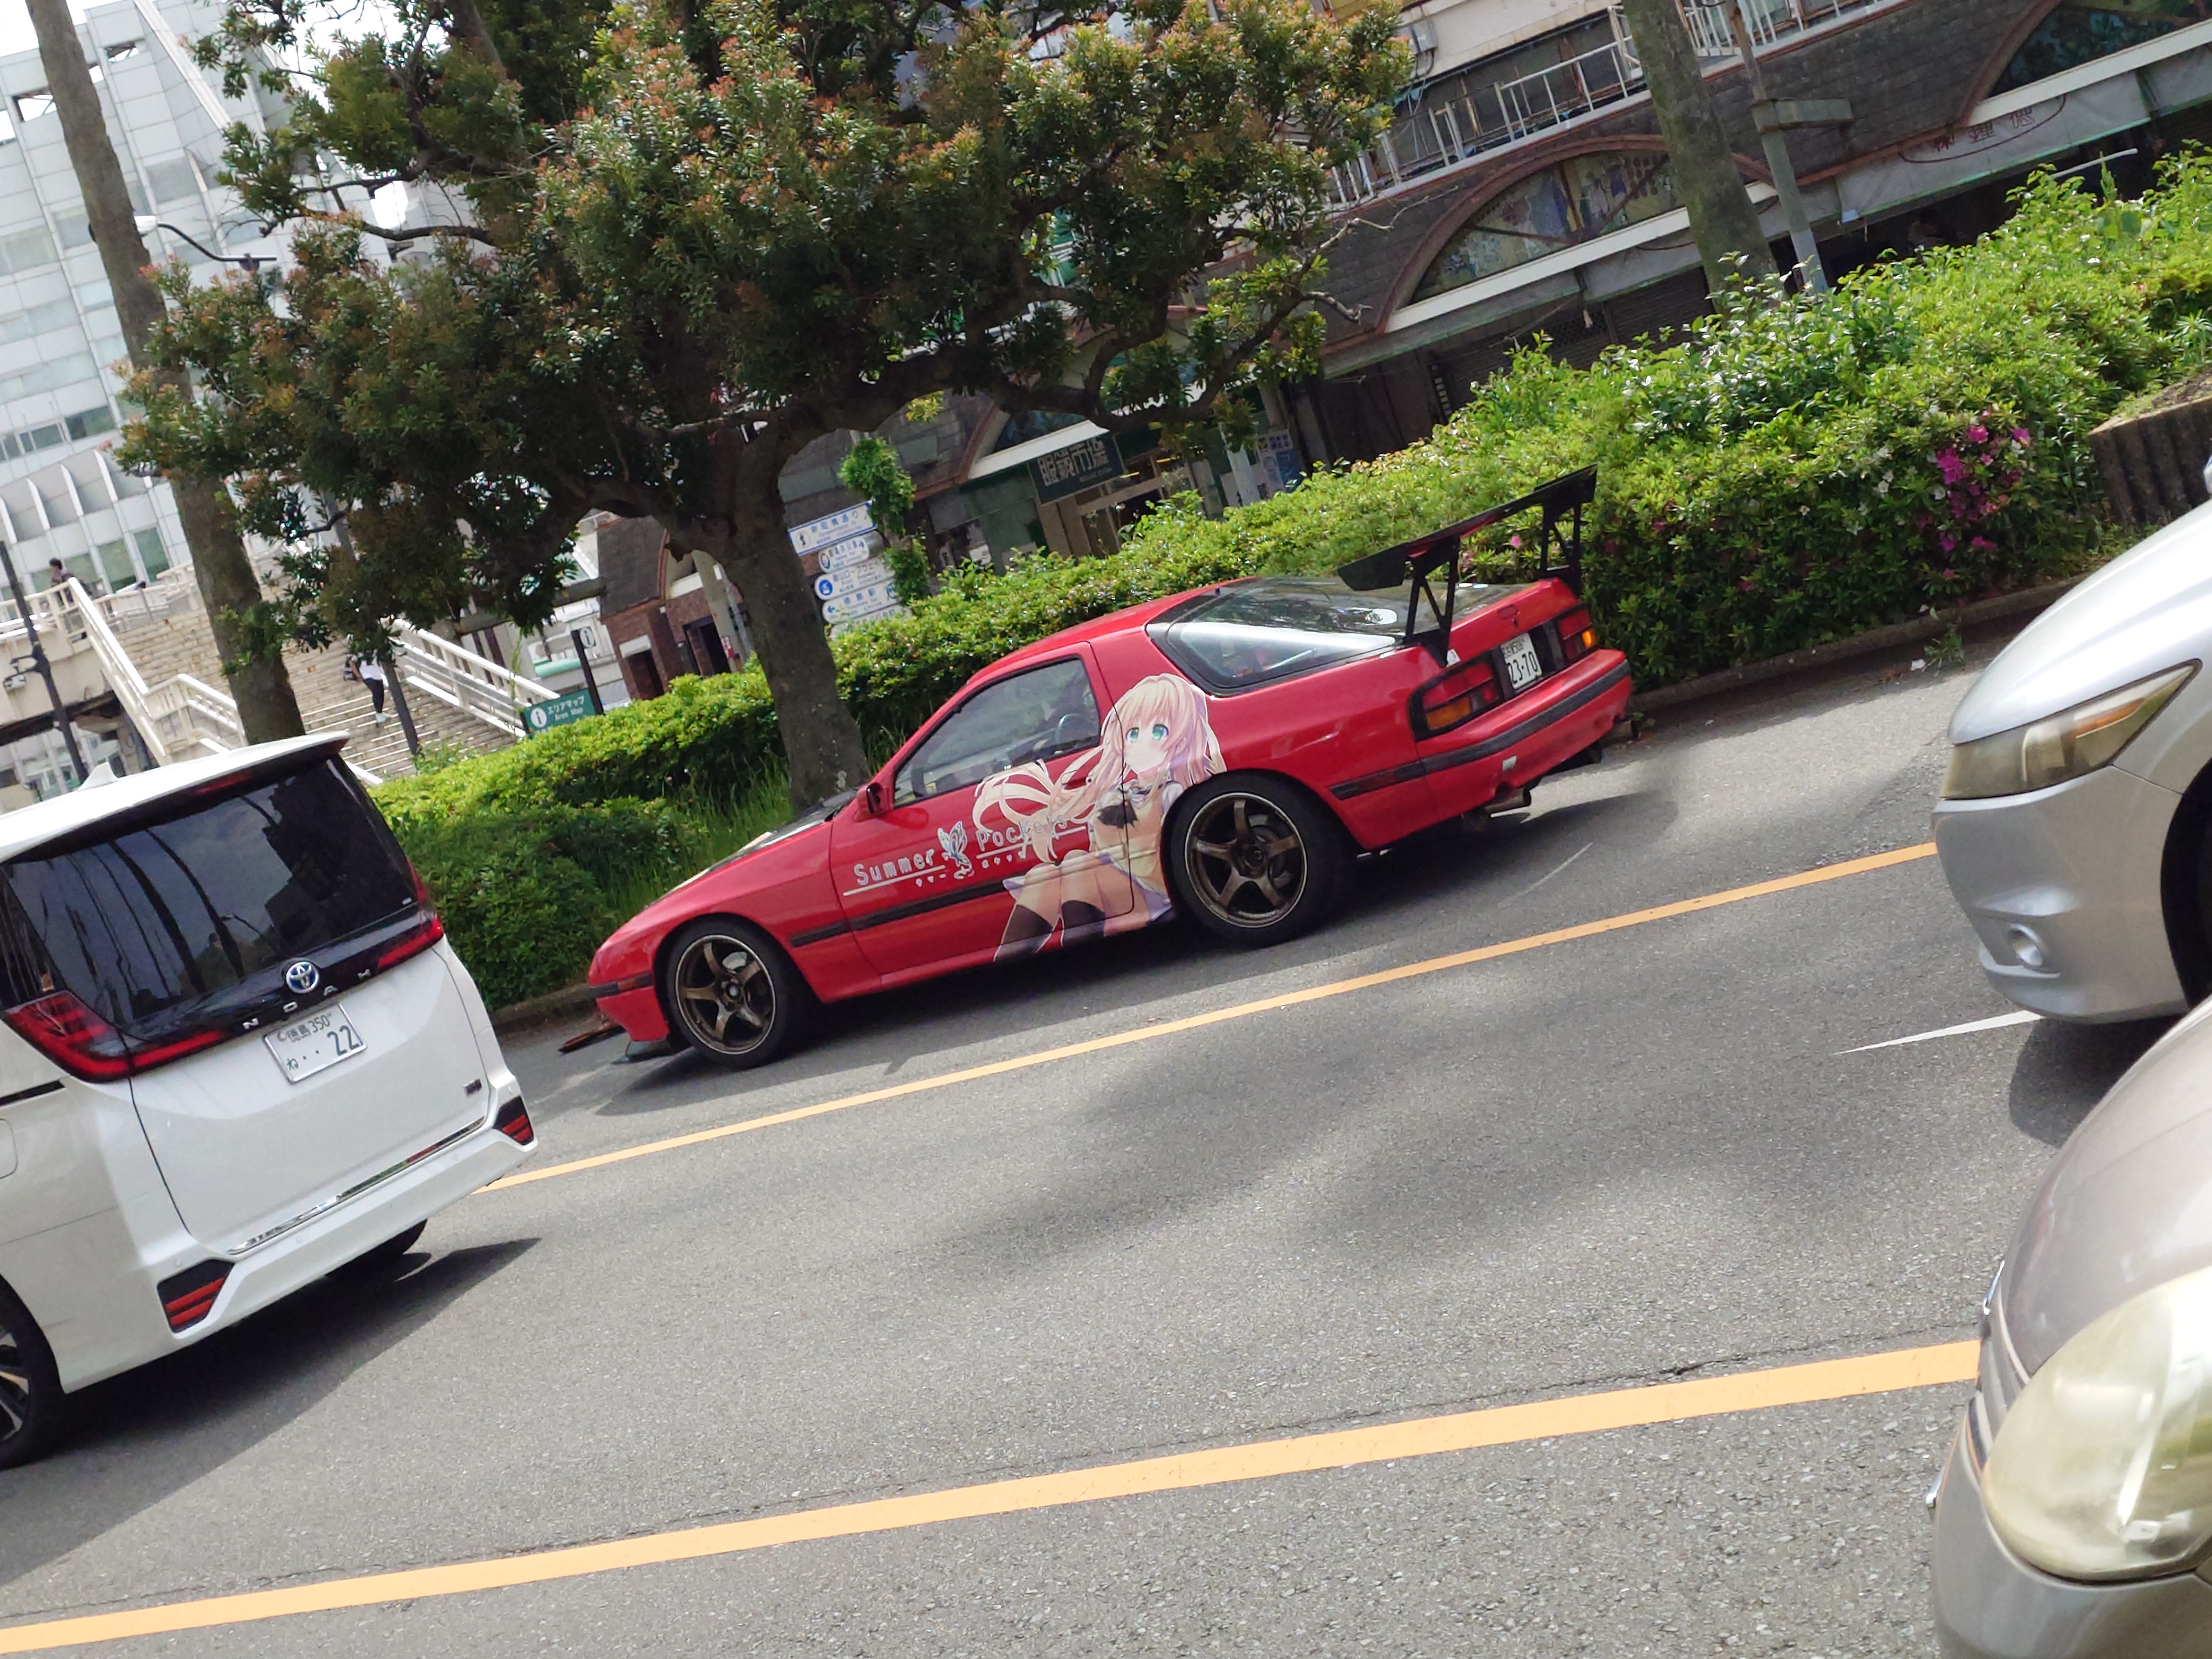
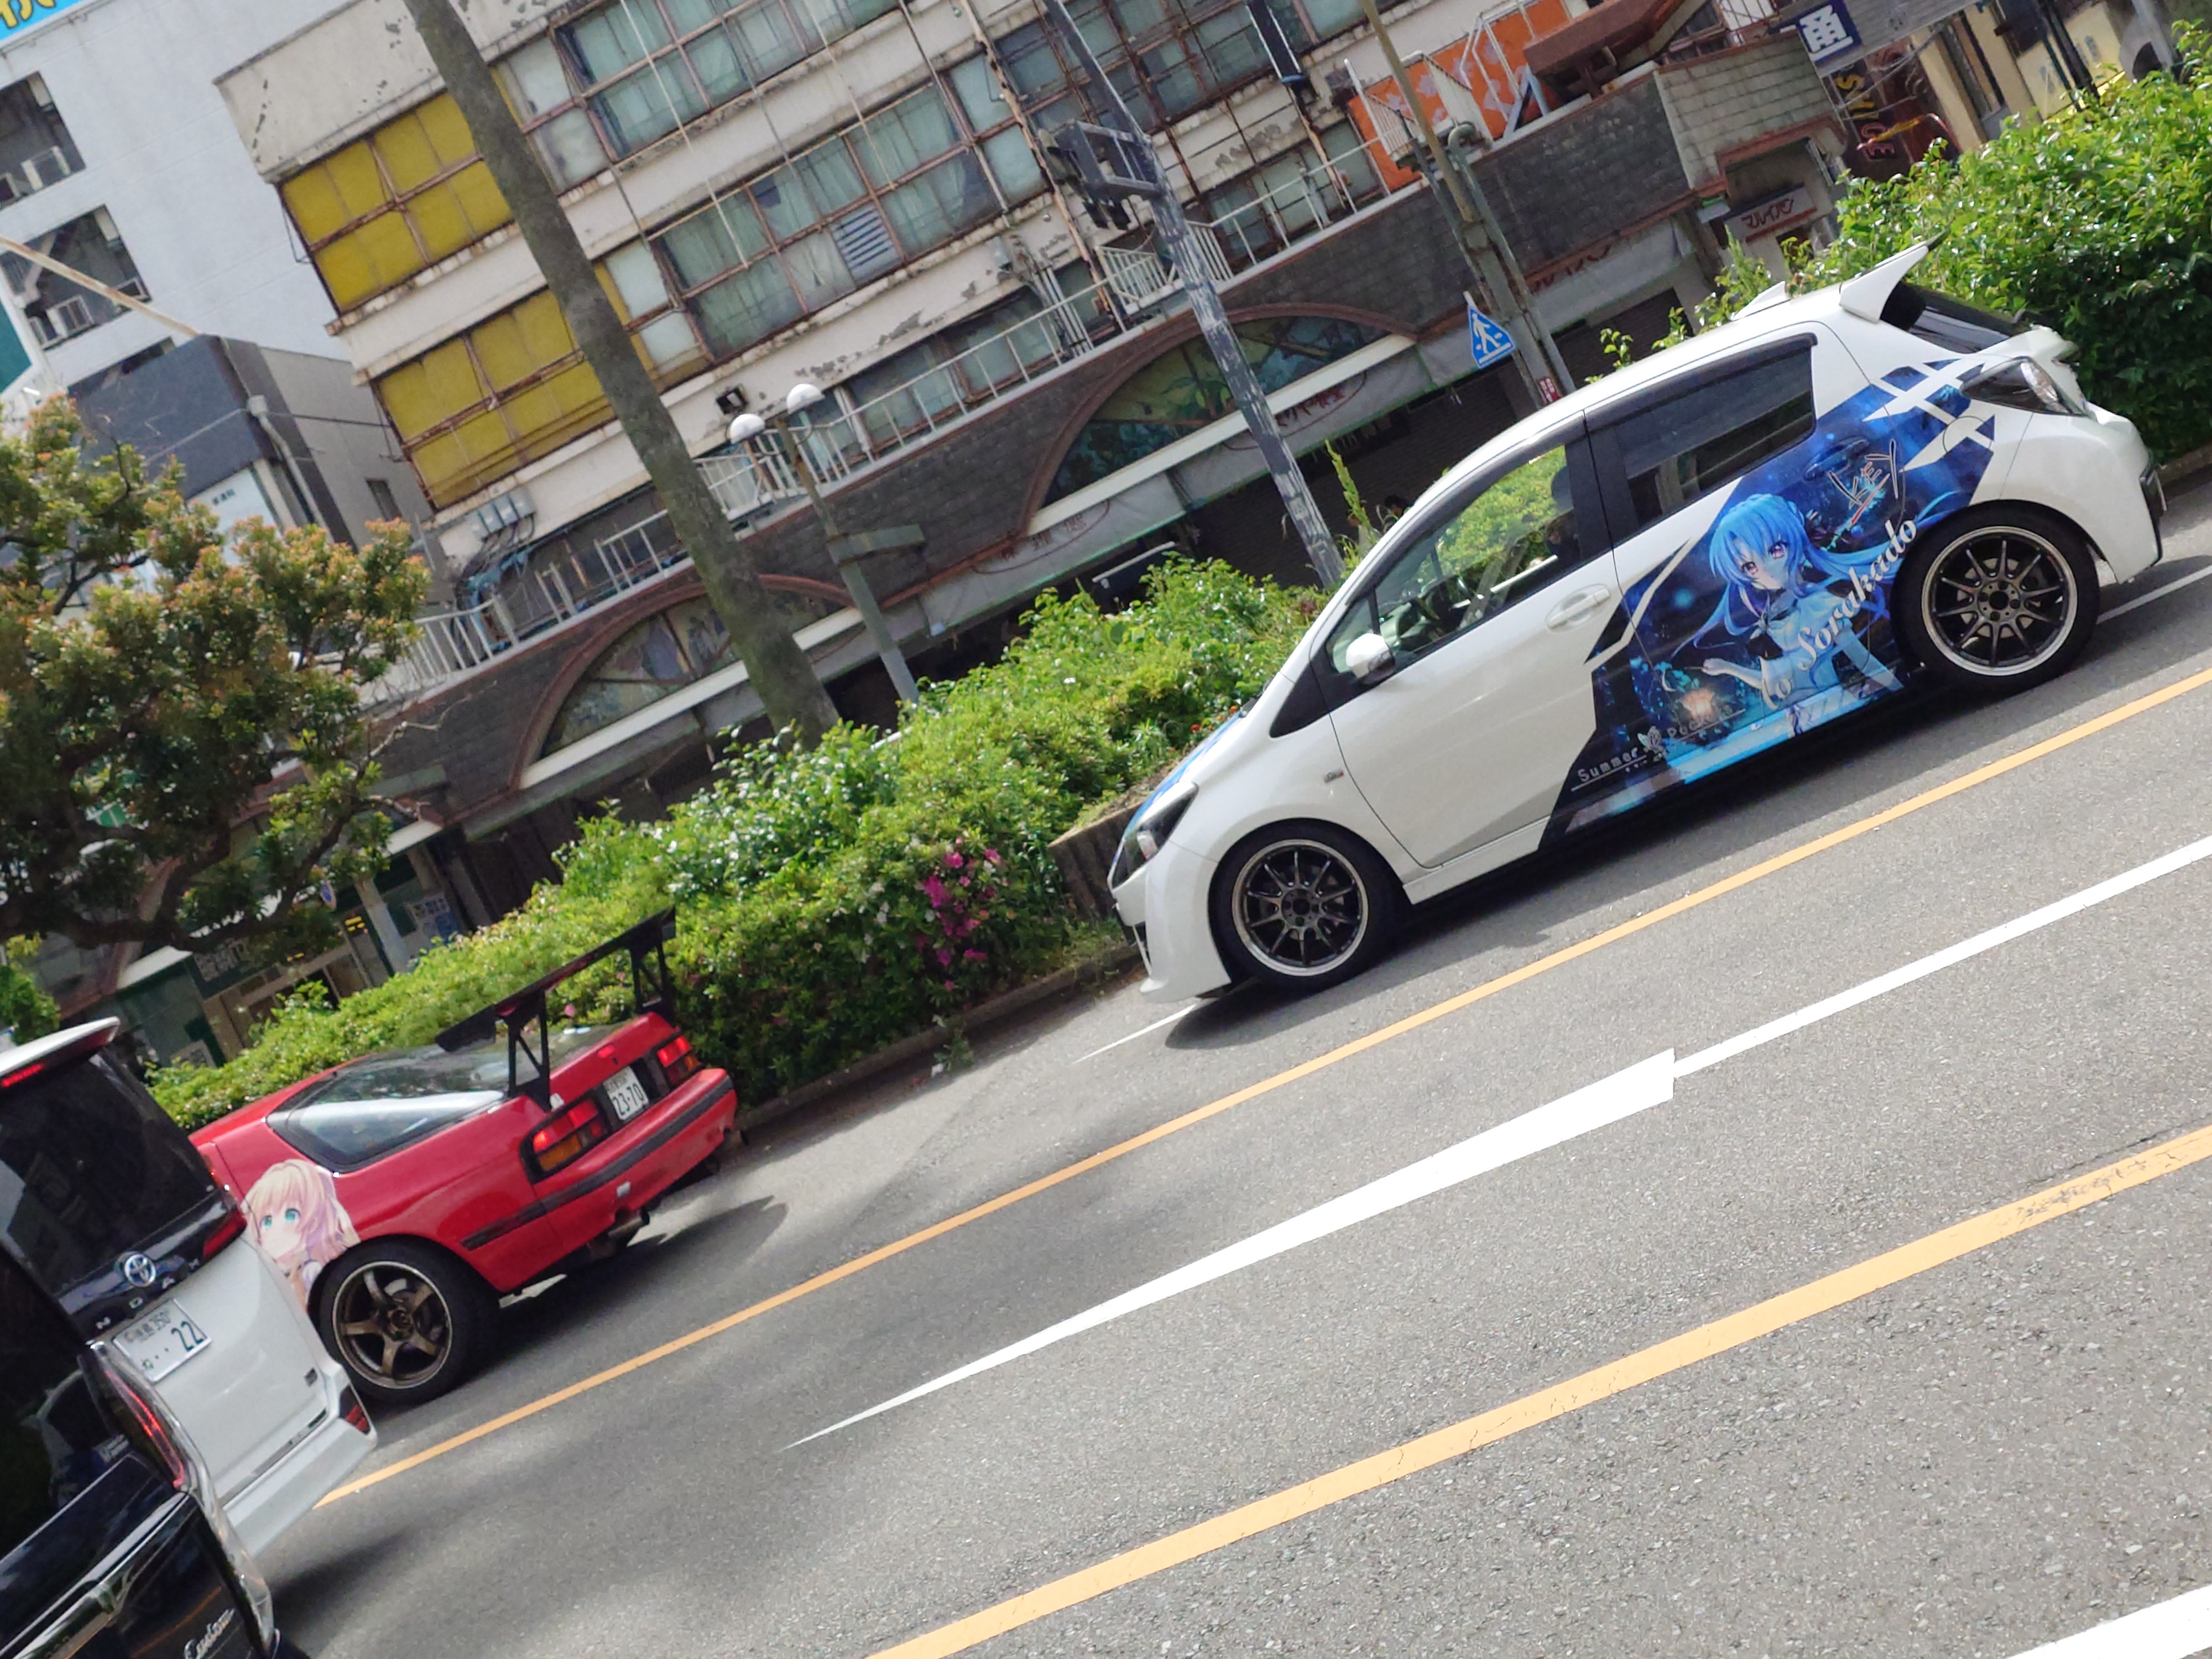
駐車場にいた痛車

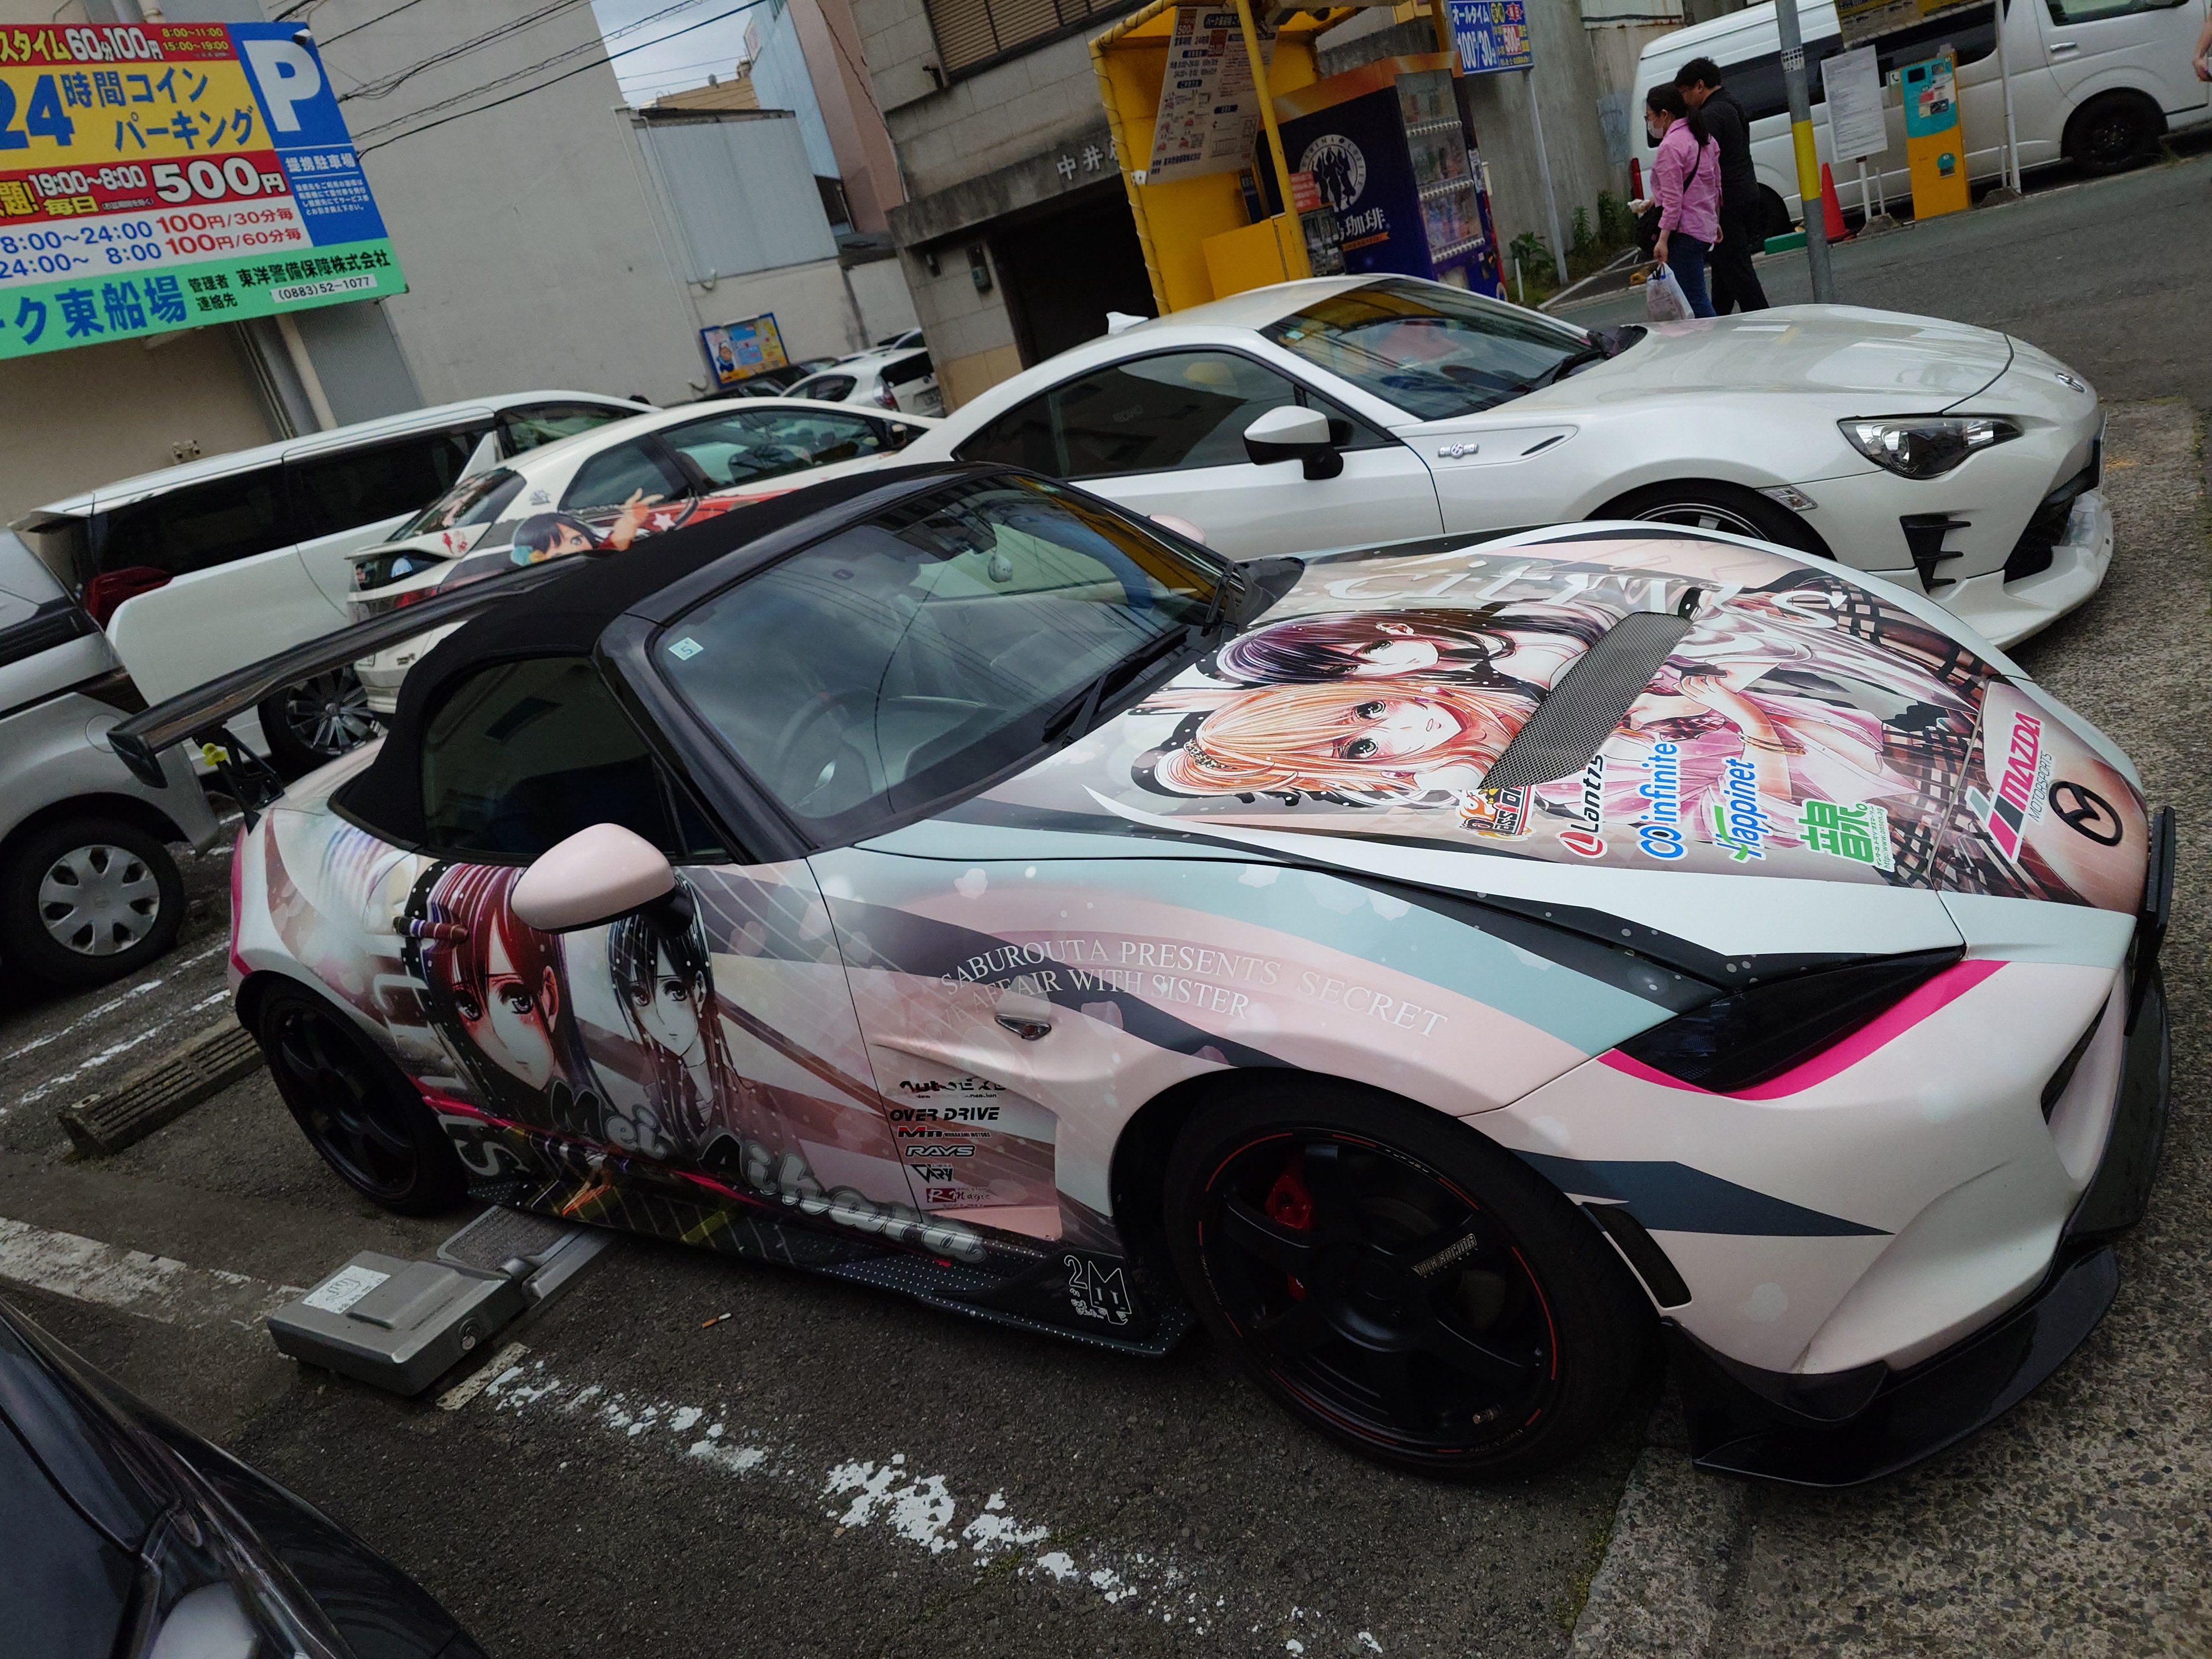
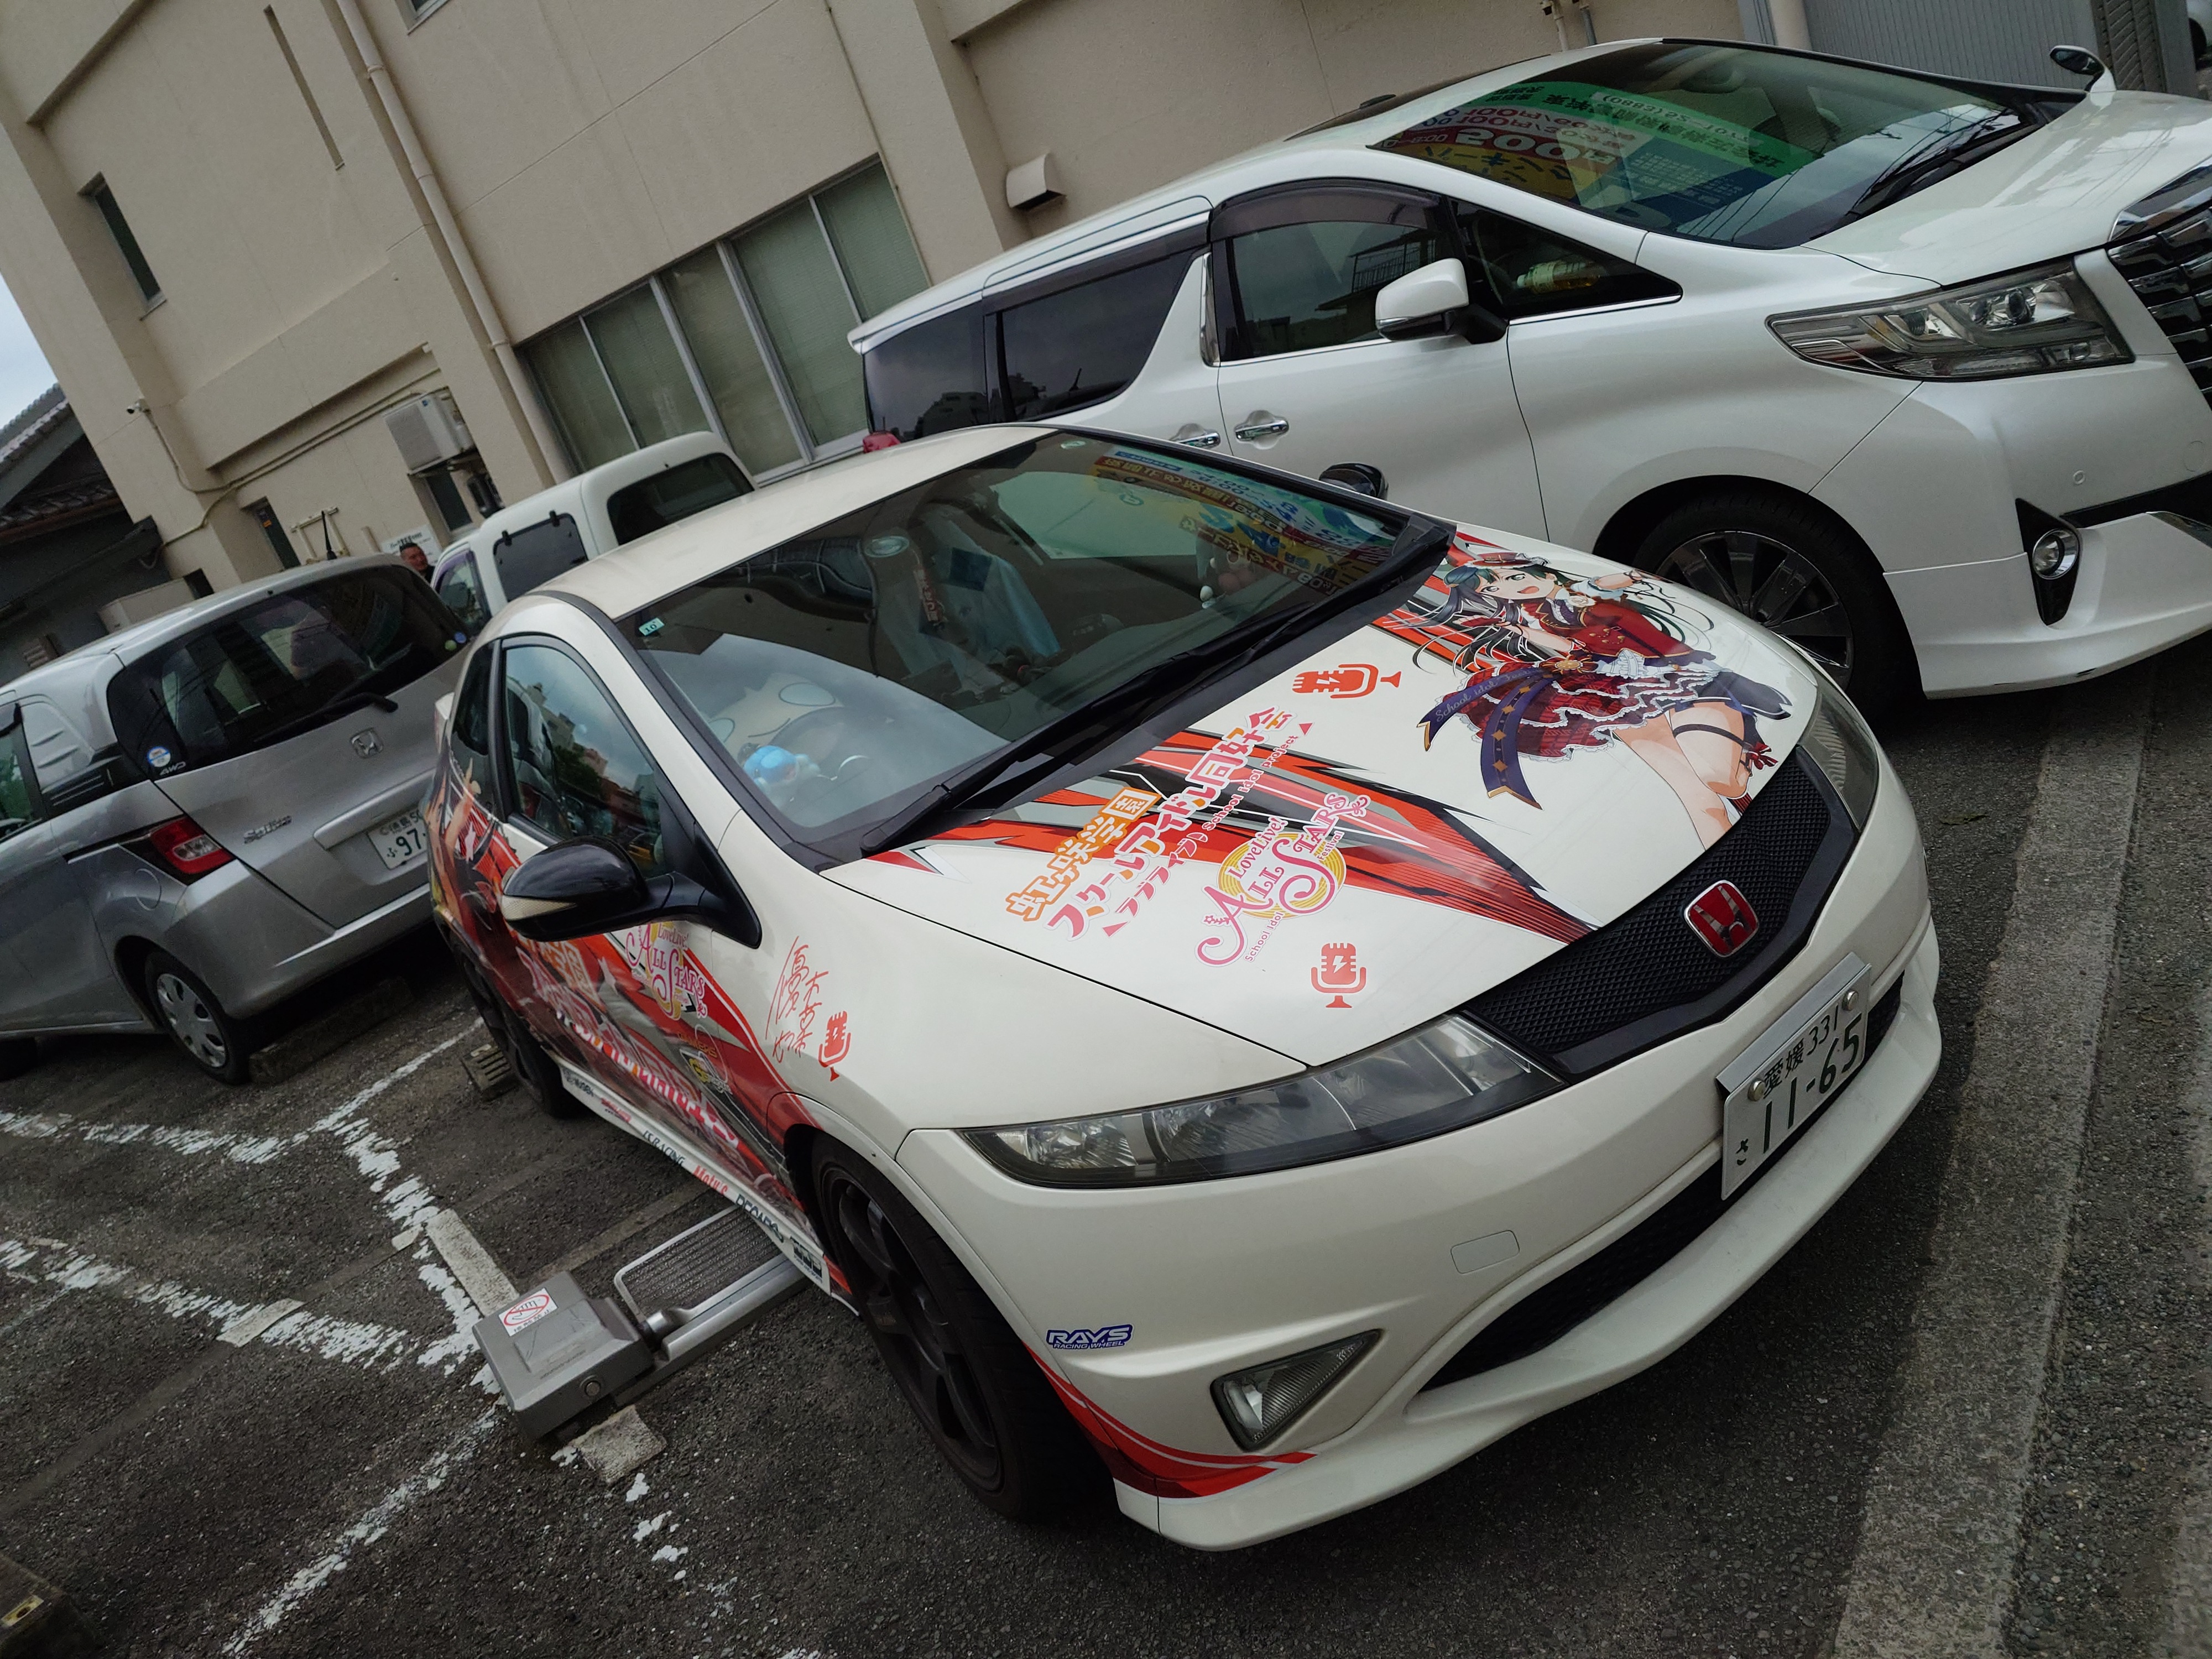
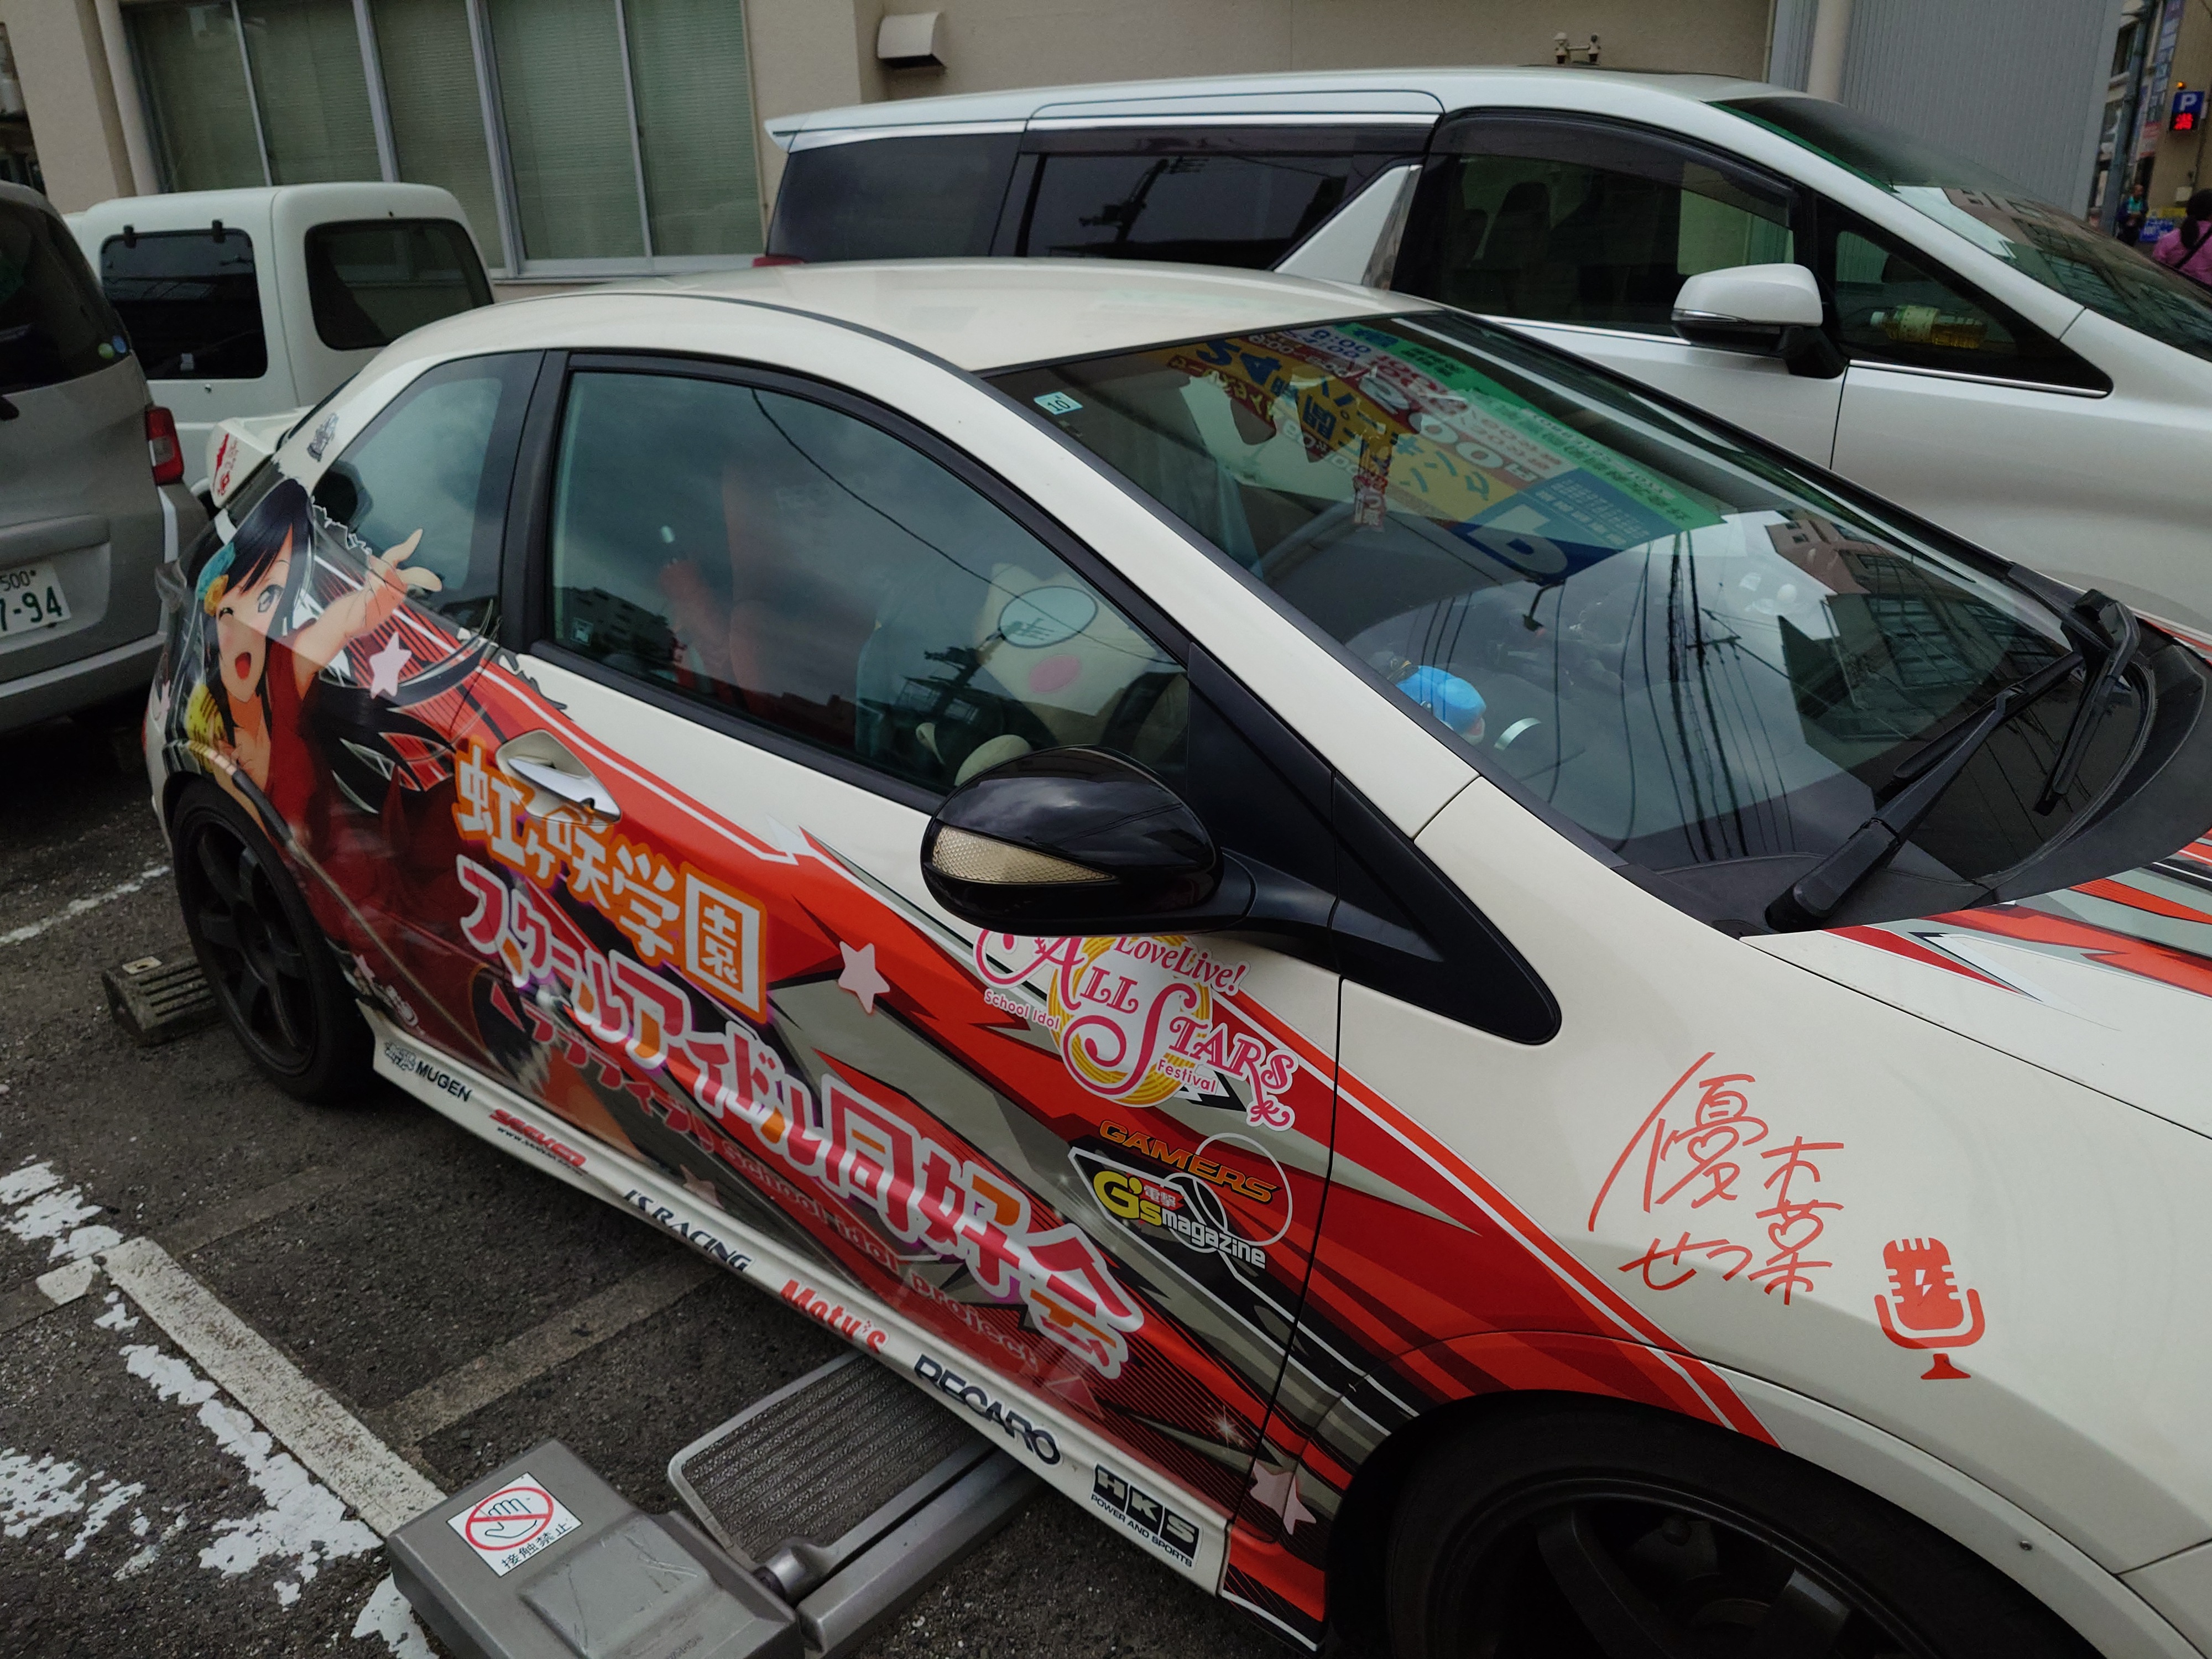
四国の痛車オーナーが集っているのはいいなと思った。前者はcitrusというコミック百合姫掲載の漫画らしく、絵柄が好きだった。そして後者も安定のラブライブ感があってまた良い。車内のでかいぬいぐるみもよい。
路肩にいた関係車両
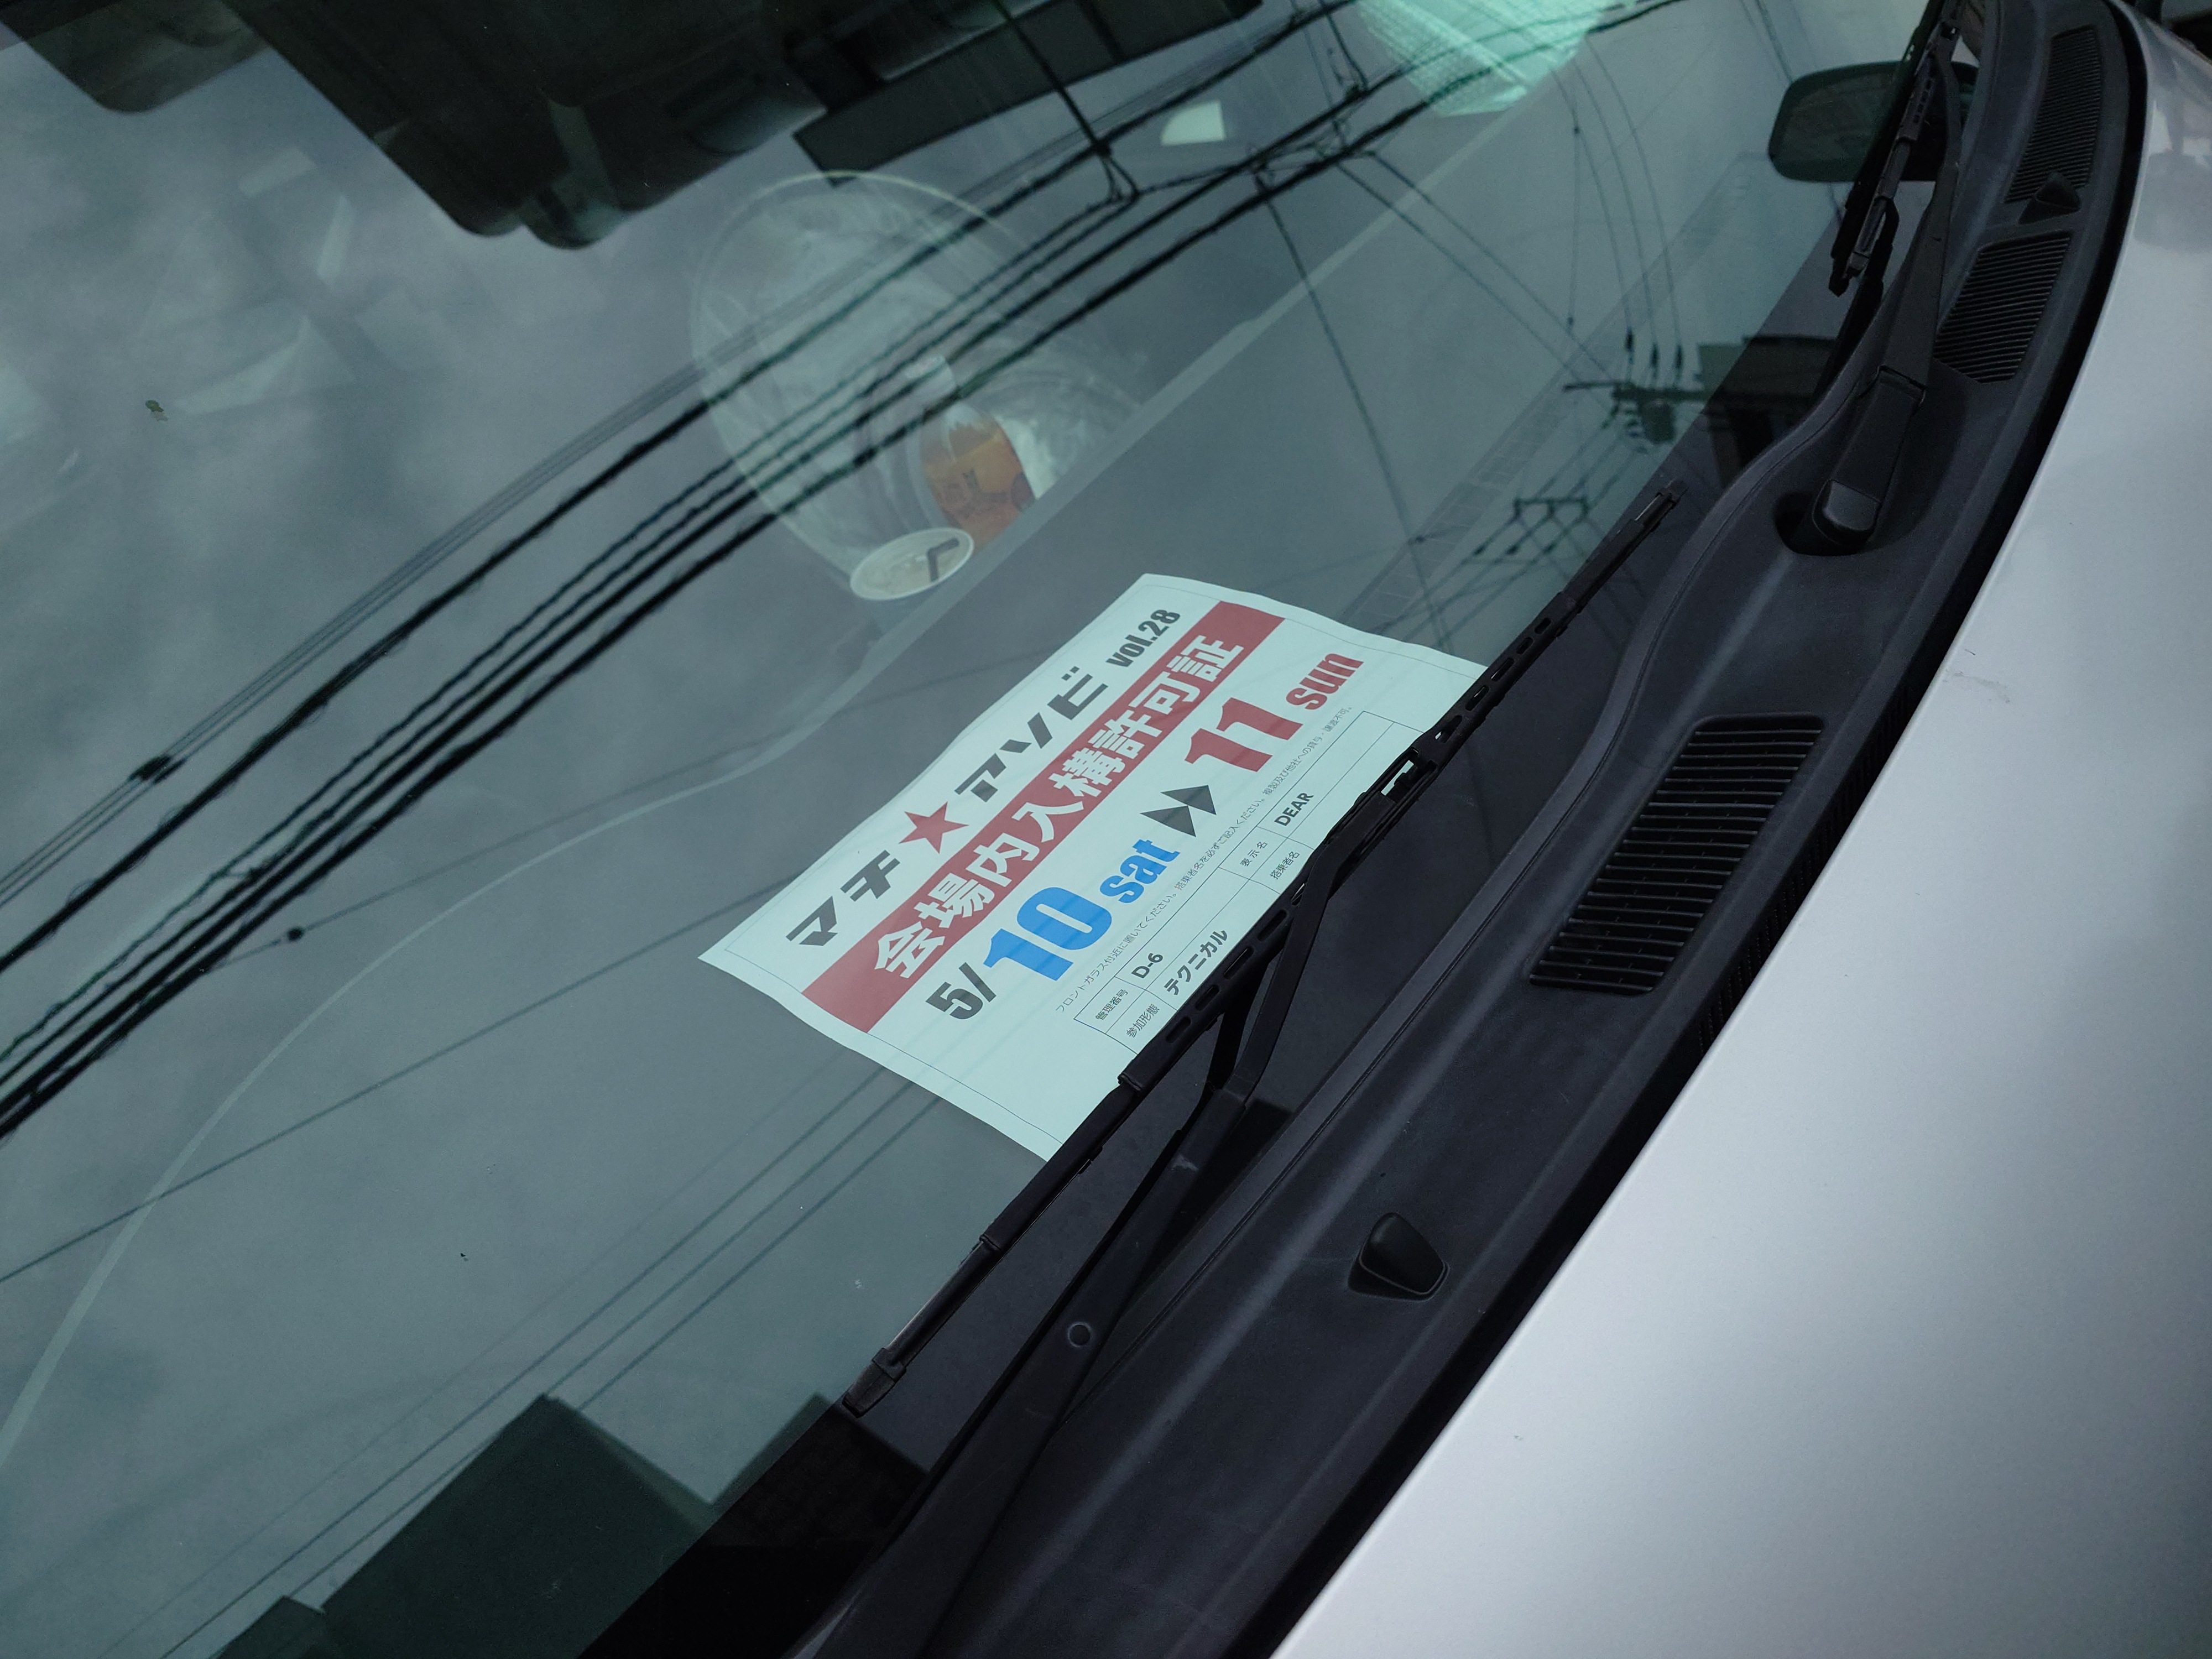
関係車両には社内に参加証を置くルールがあるようで、そういうのがある車を見かけた。
銀座福助とバル
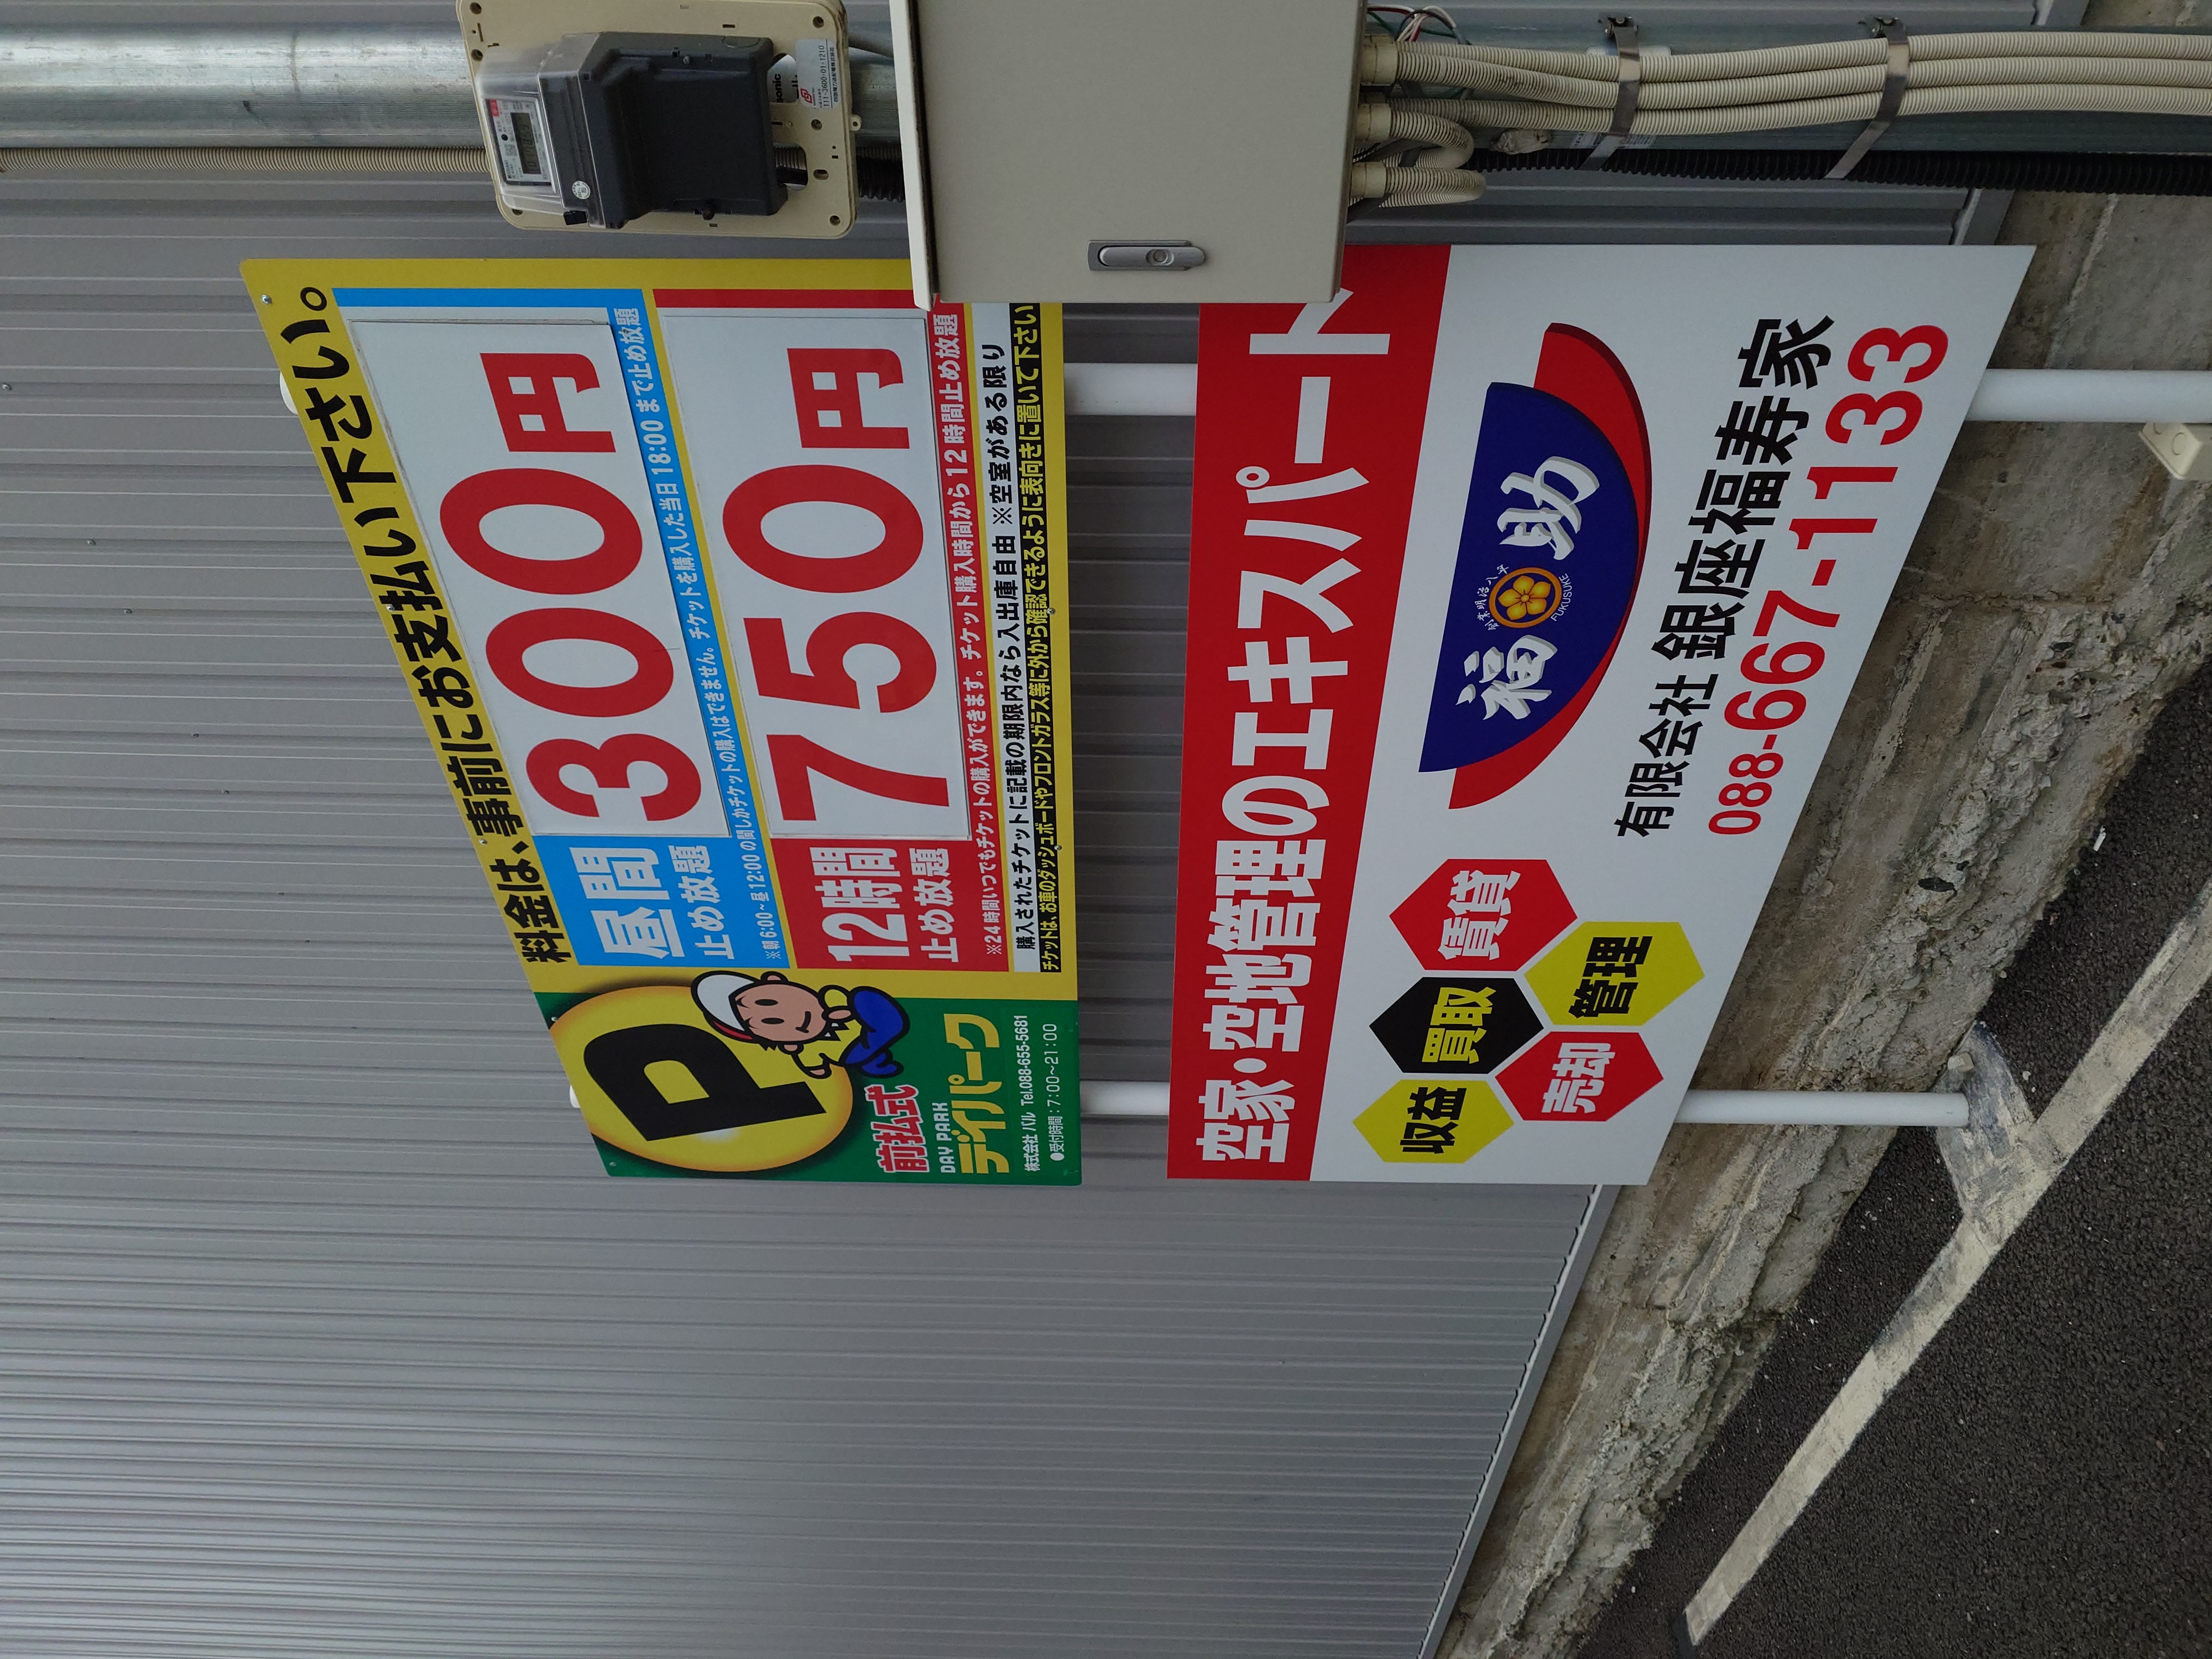
今回出くわしたバルの駐車場はミニッツパークの亜種でデイパークだった。恐らく分単位とか日単位で料金が変わるとかいうやつなのだろう。また同じ不動産業の福助の広告が出ているのも面白いなと思った。もしかすると何かしら提携しているのかもしれない。また福助の正式名称が銀座福助であることもここで知れた。
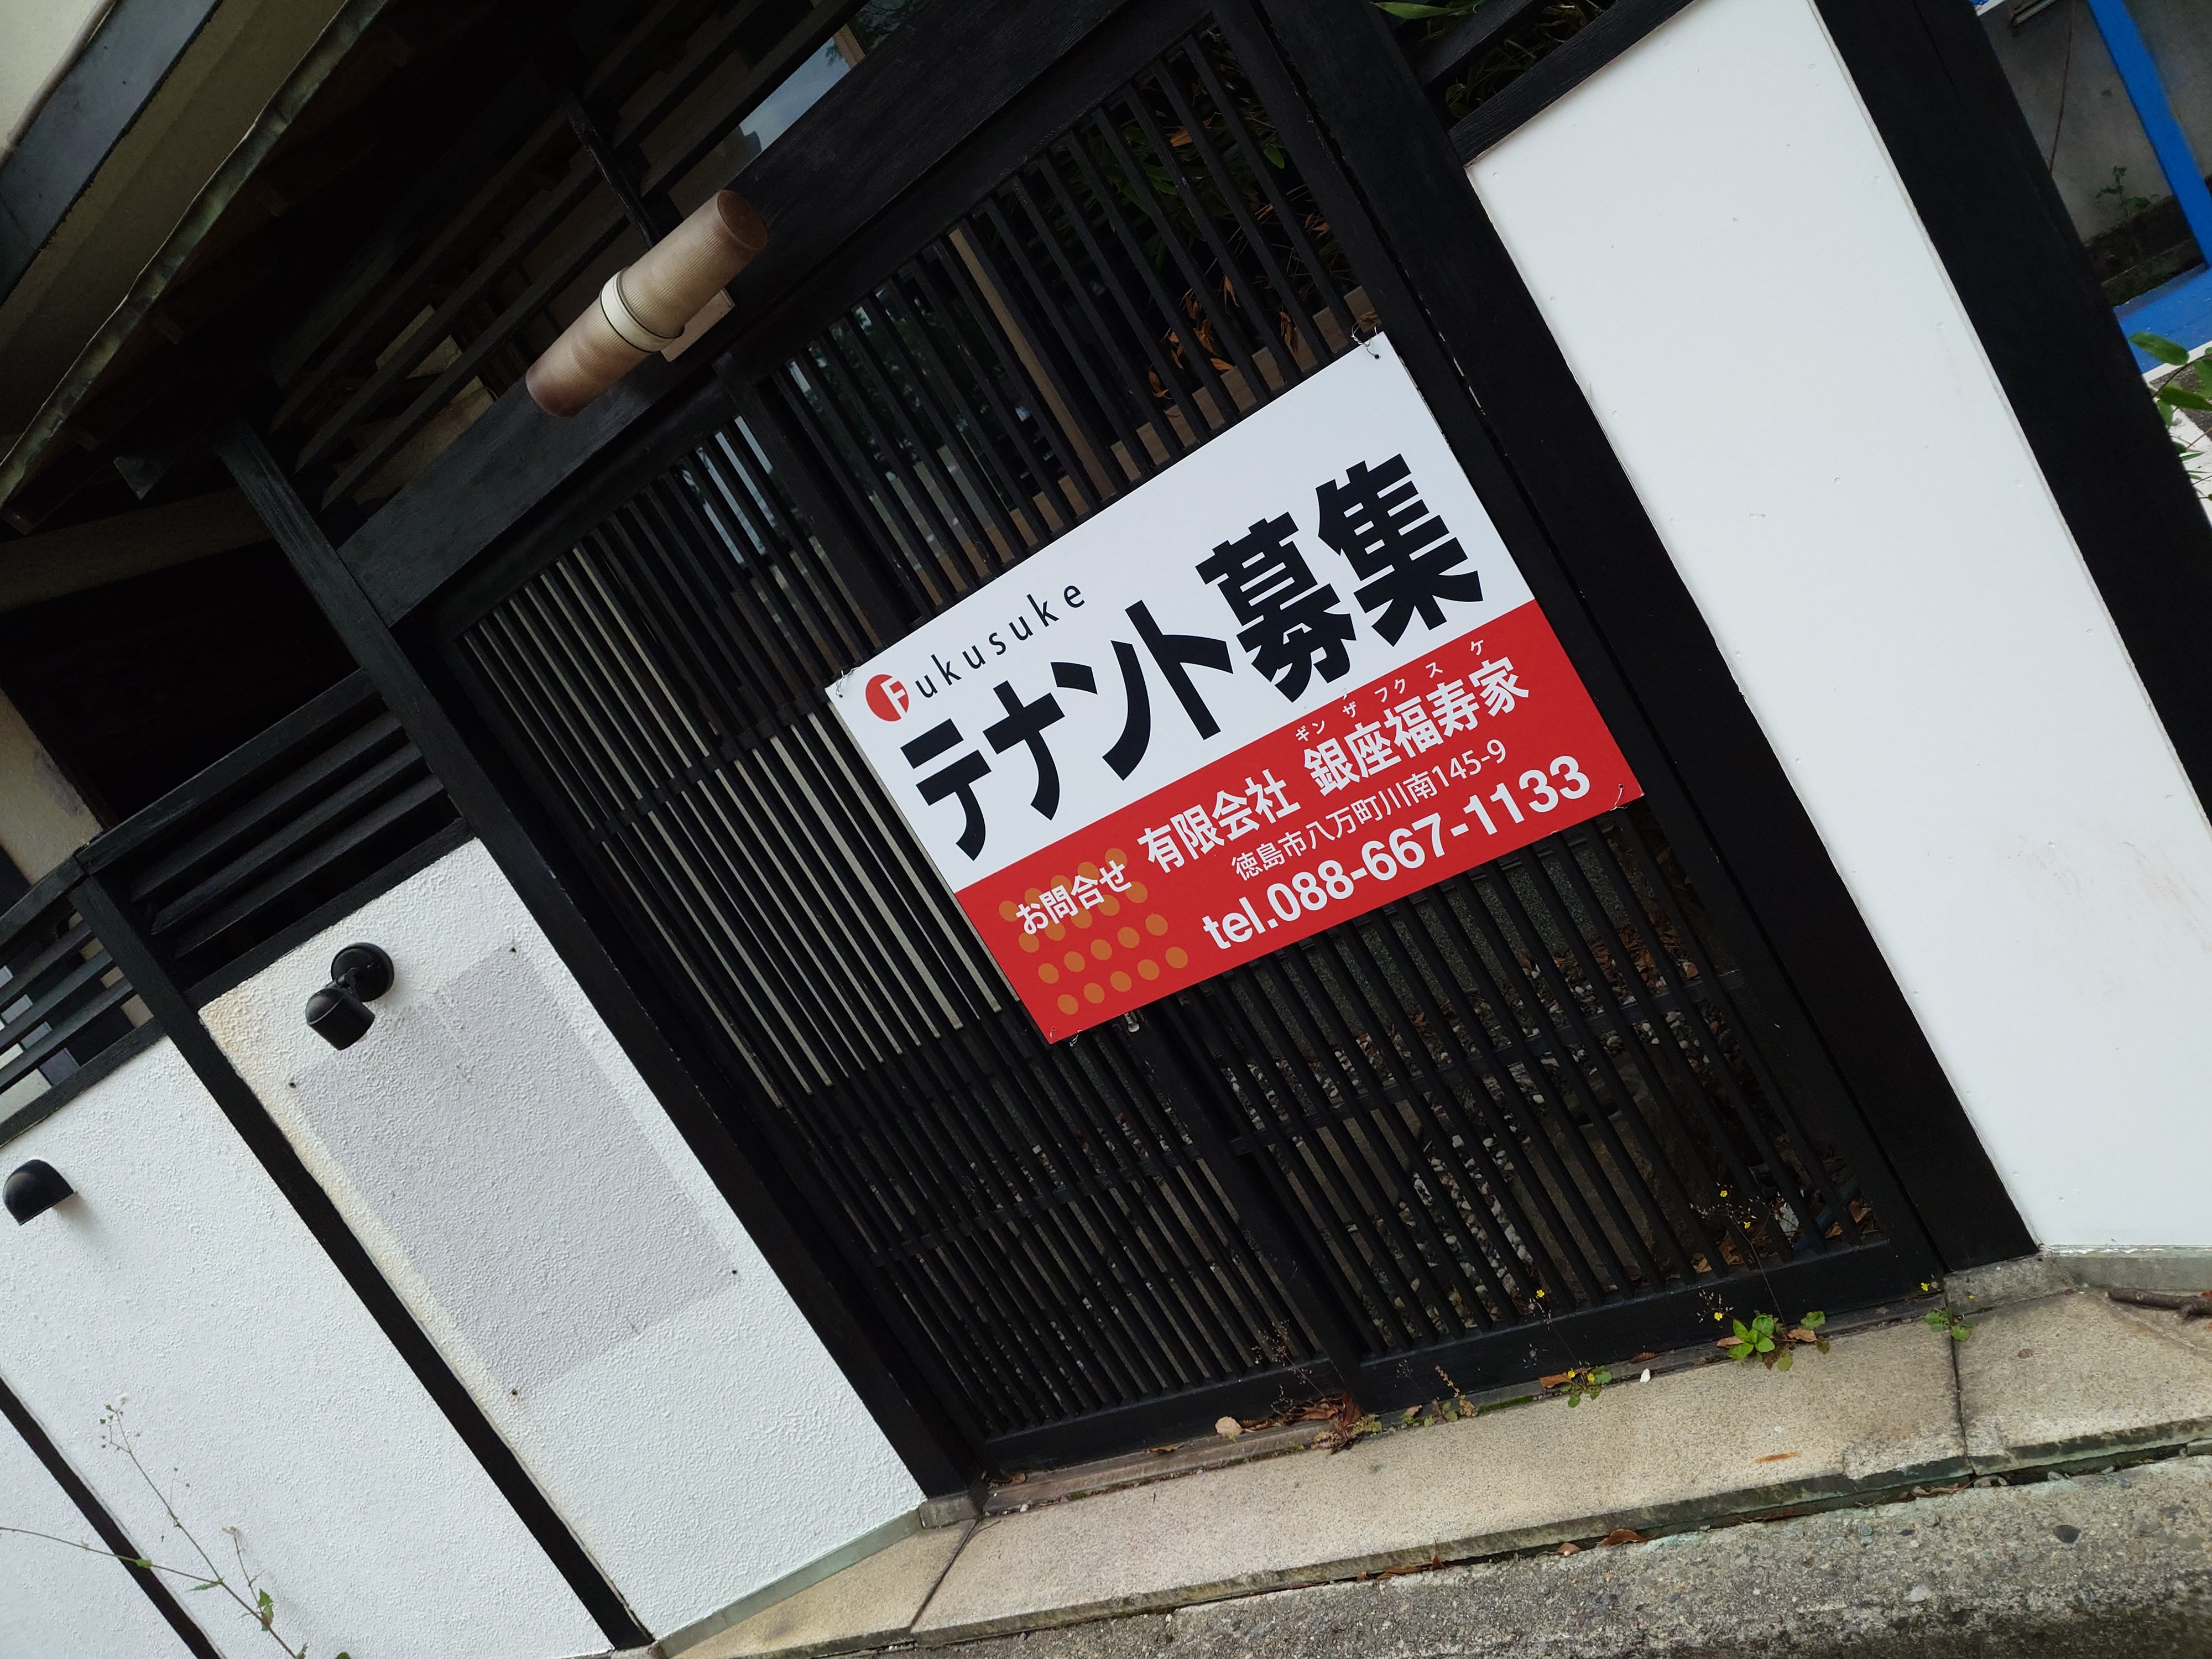
福助はだいぶ前に書いたように仰々しい看板を掲げているビルが多いのだが、中にはモダンな普通の看板のところもあった。
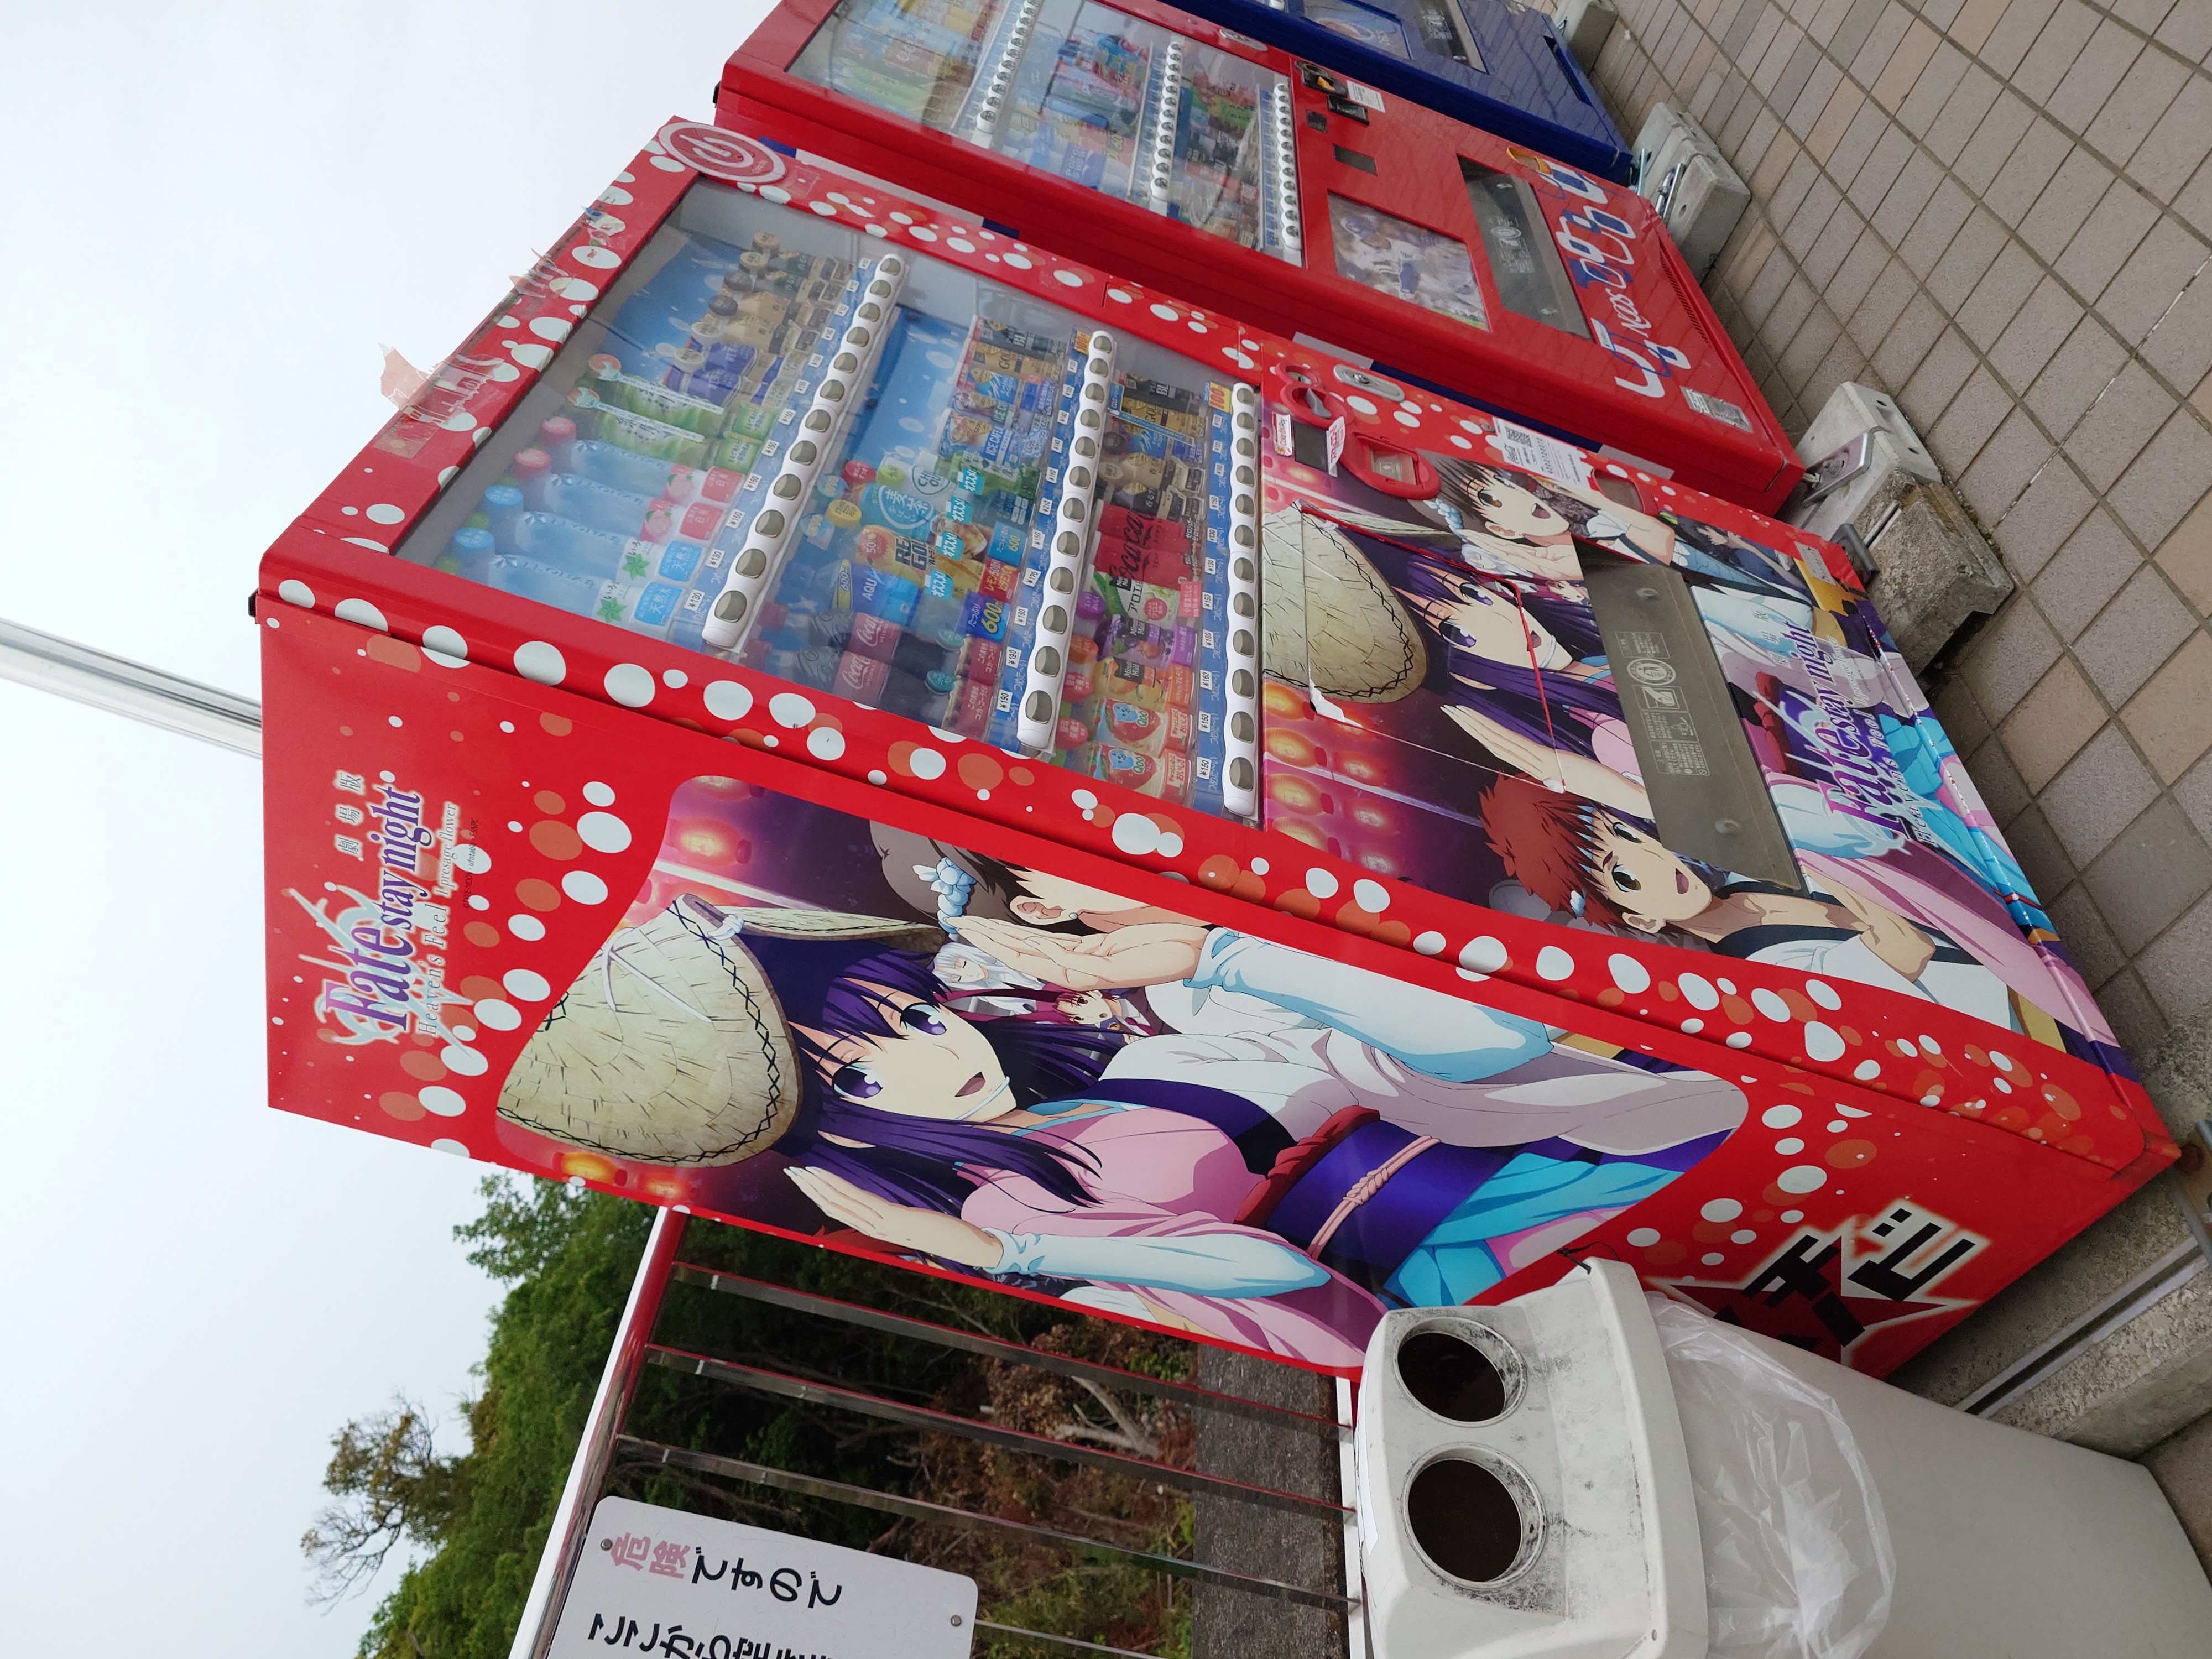
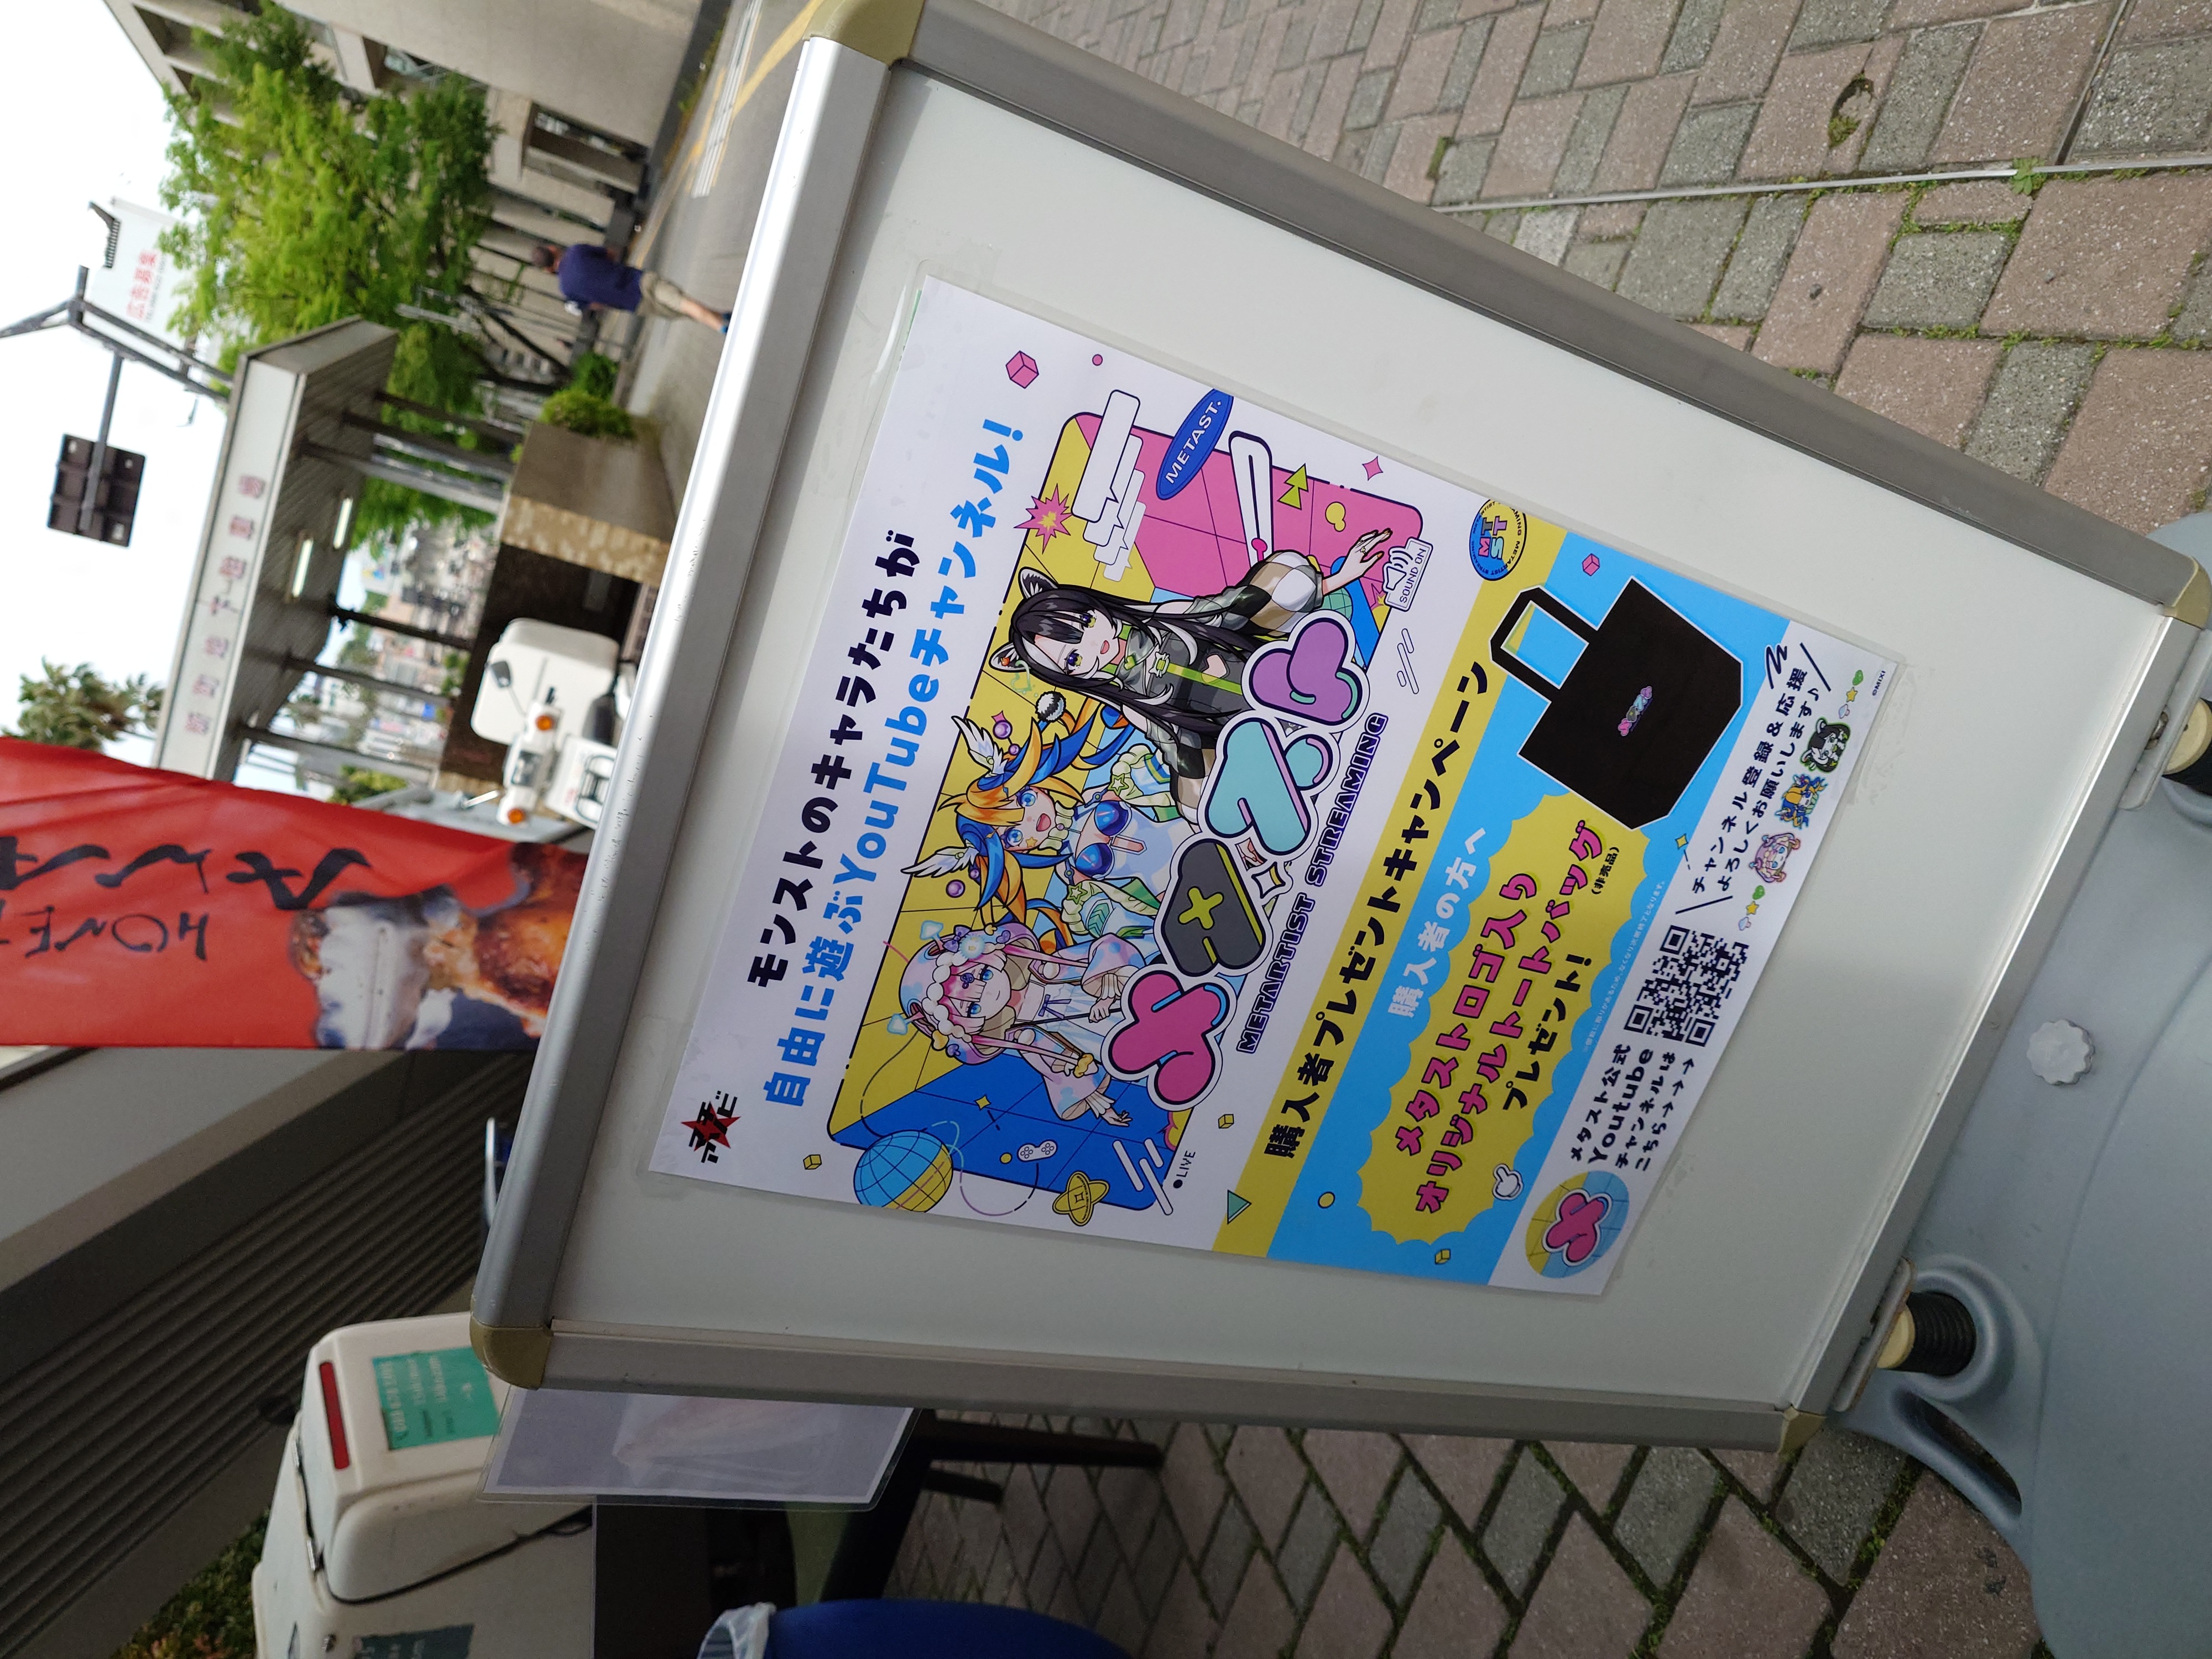
徳島仕様の自販機
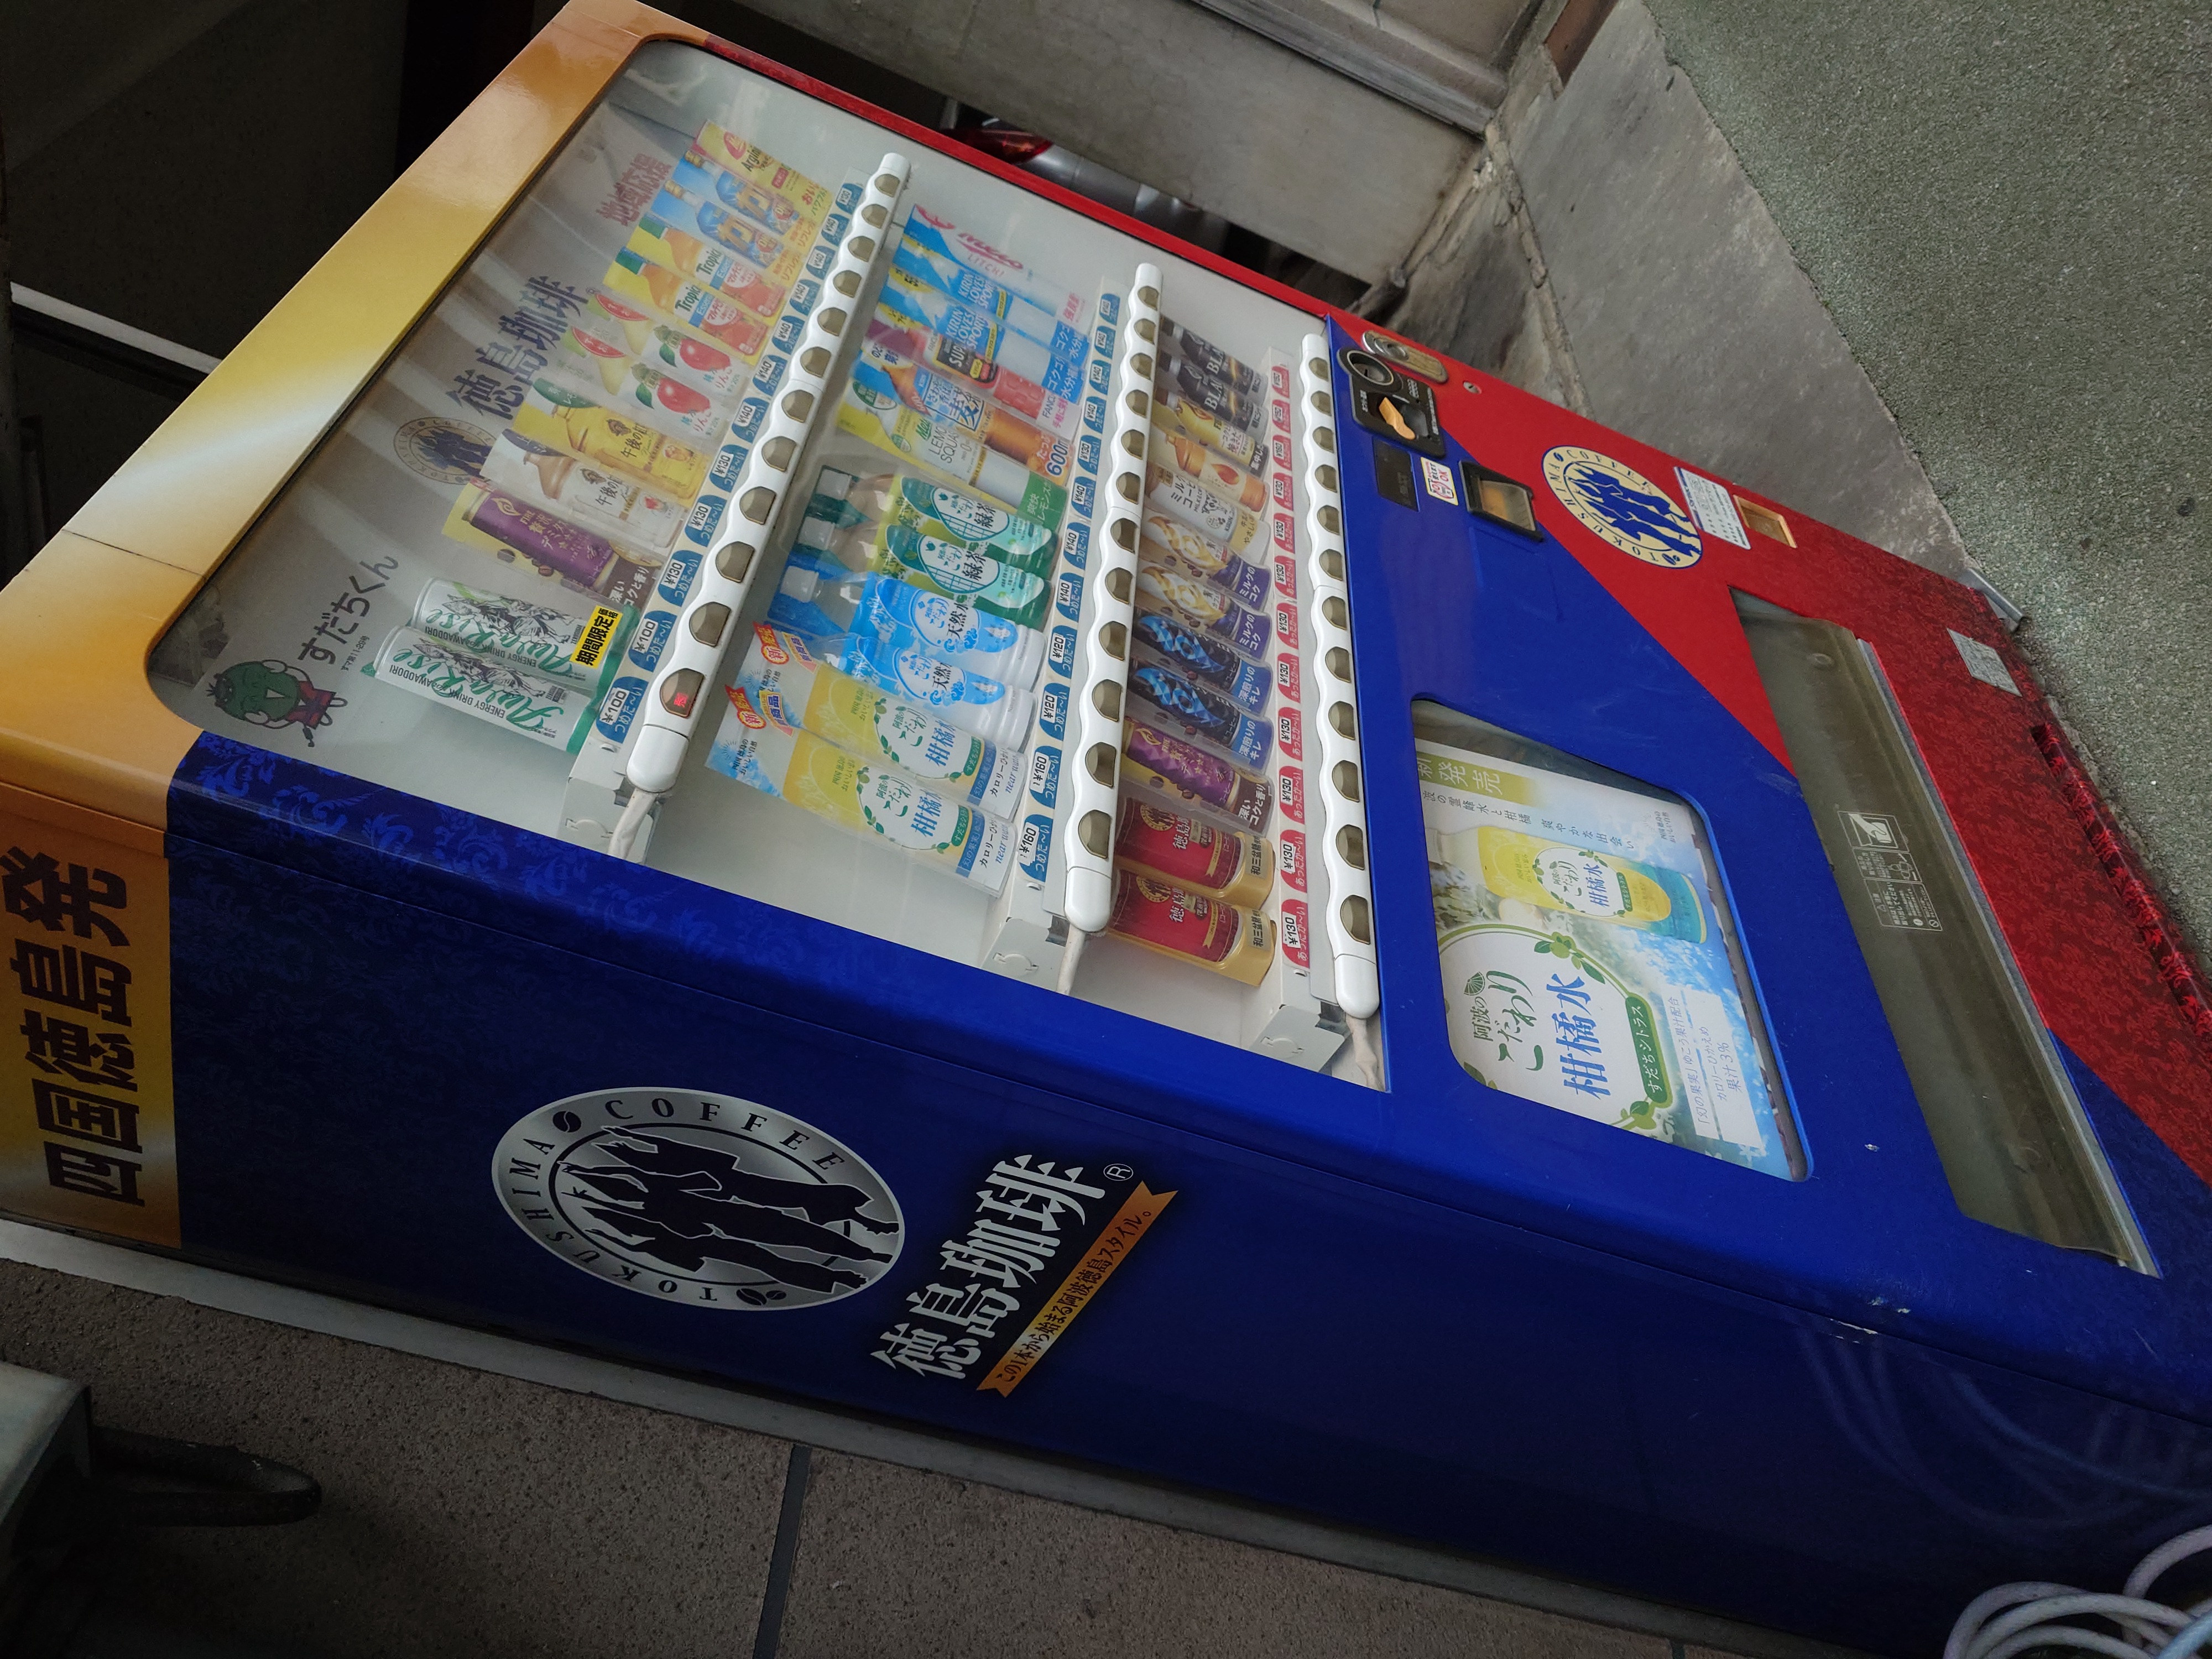
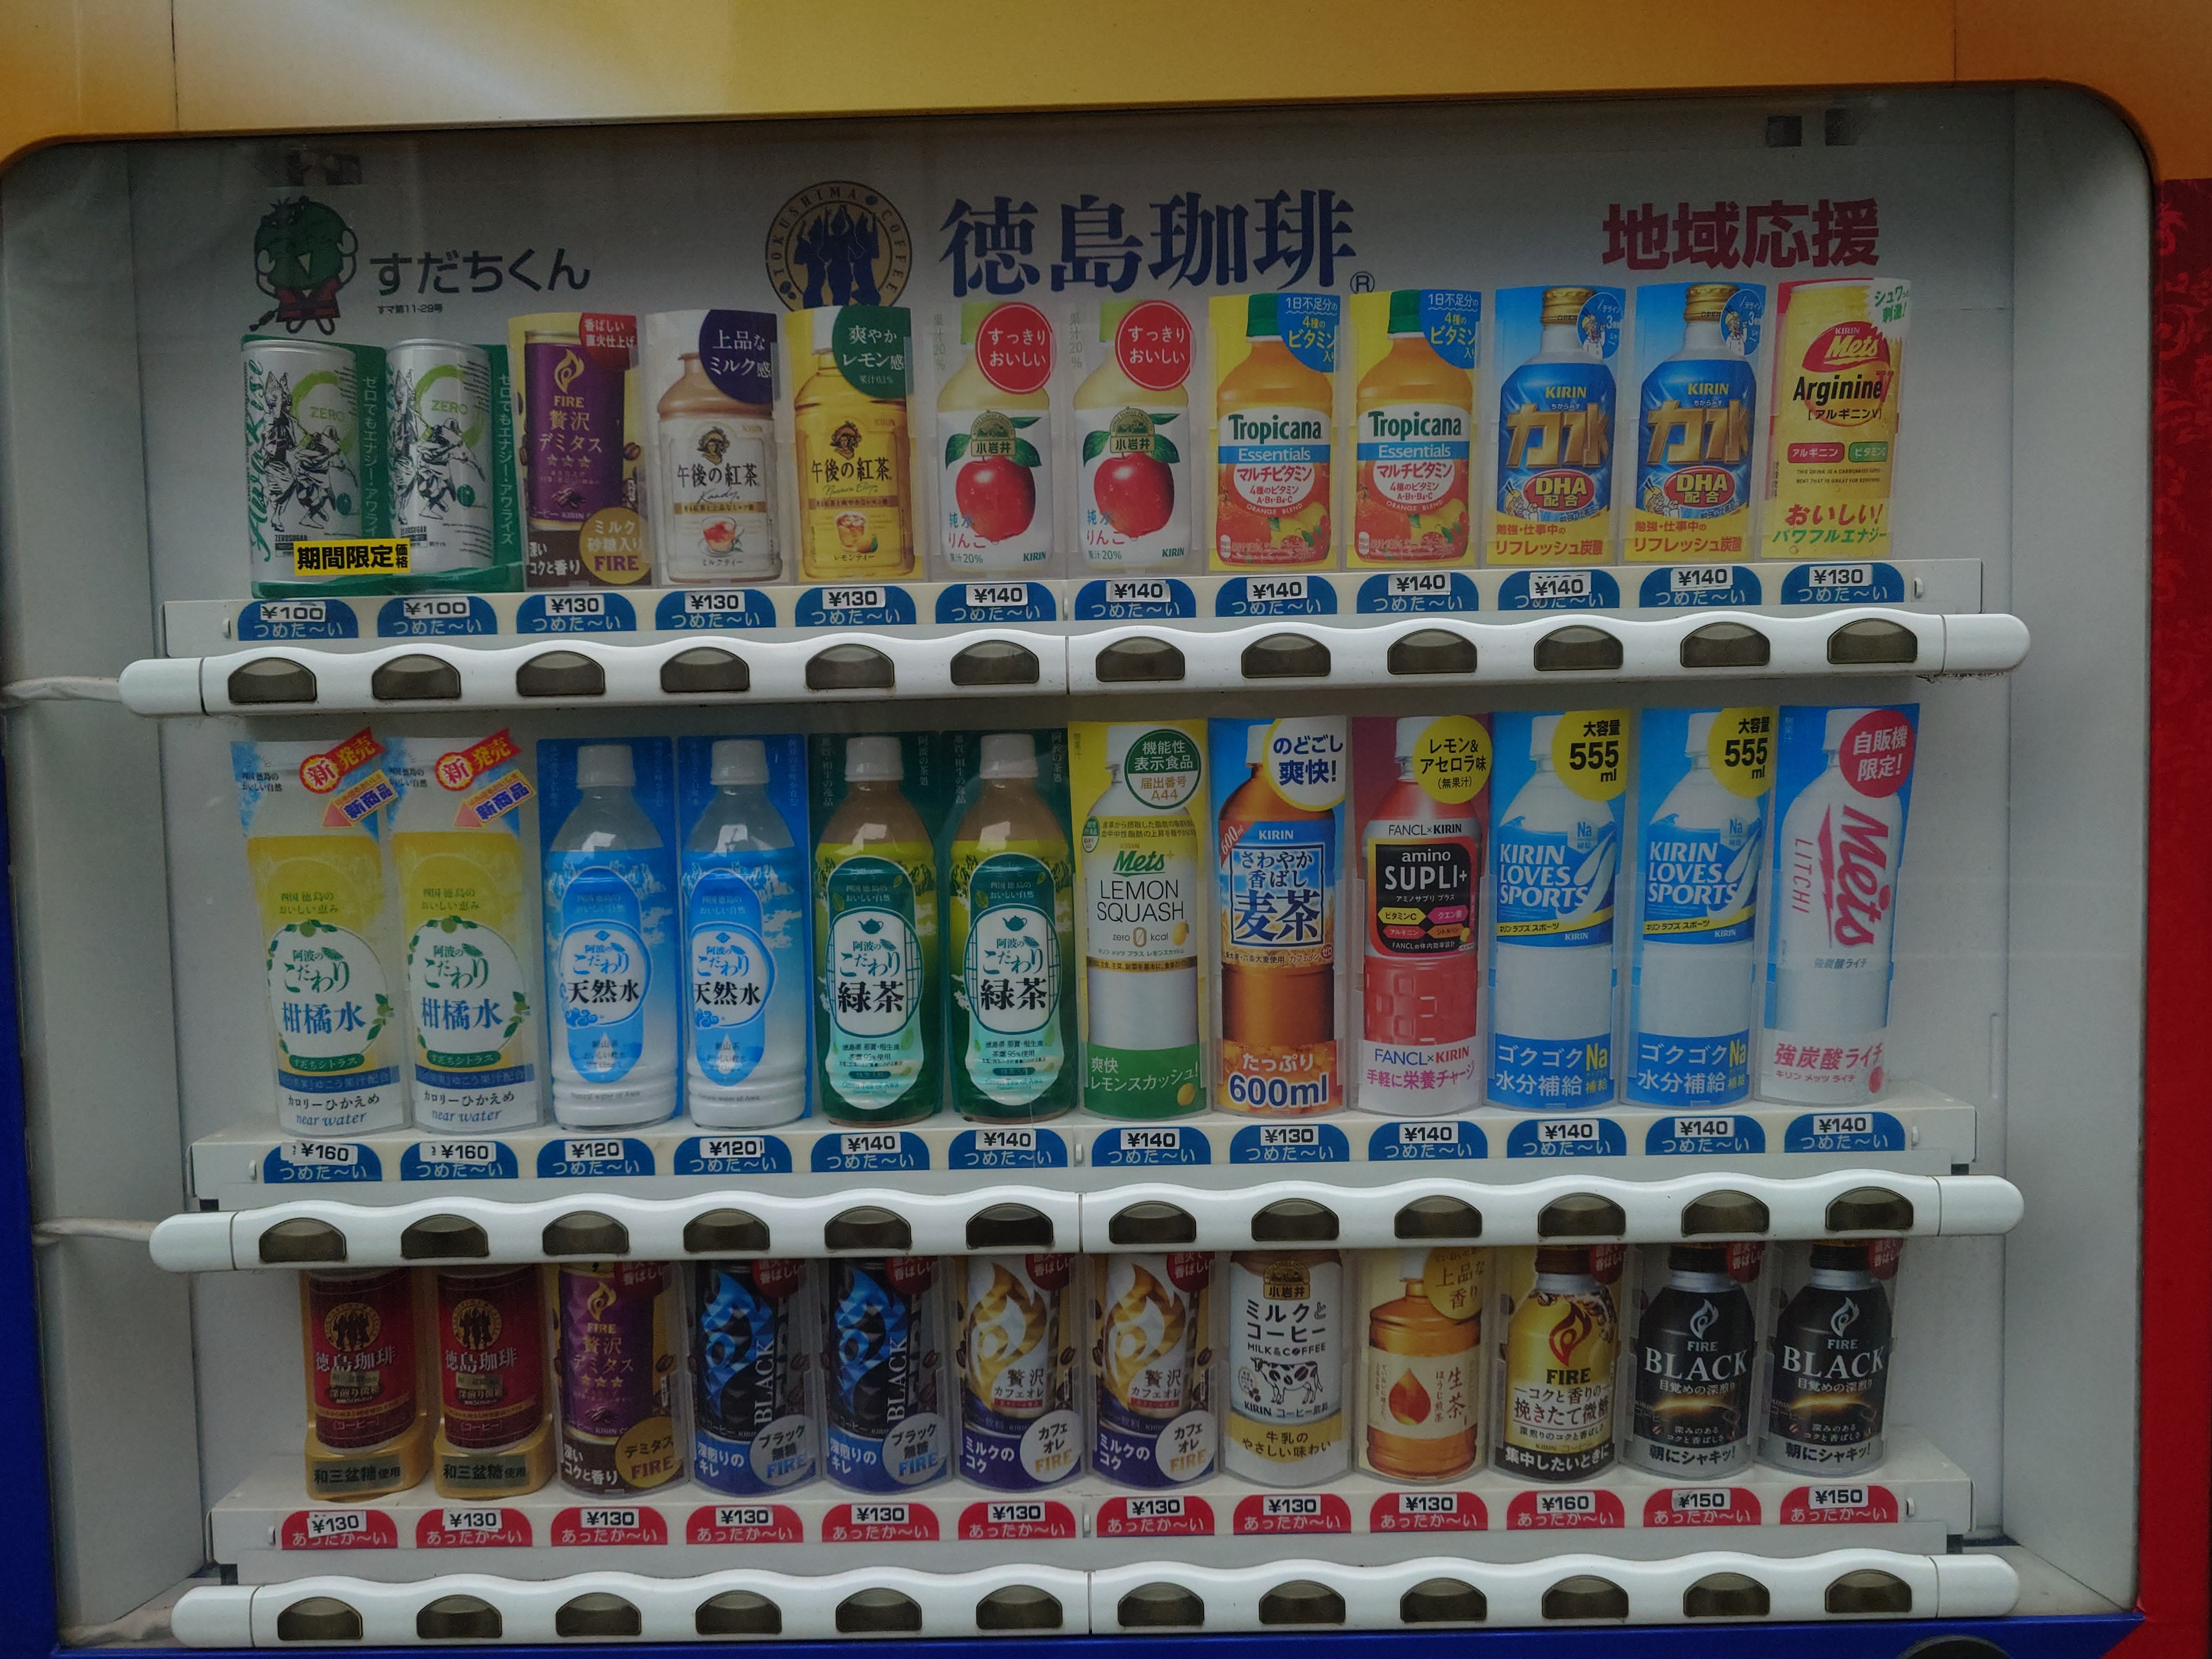
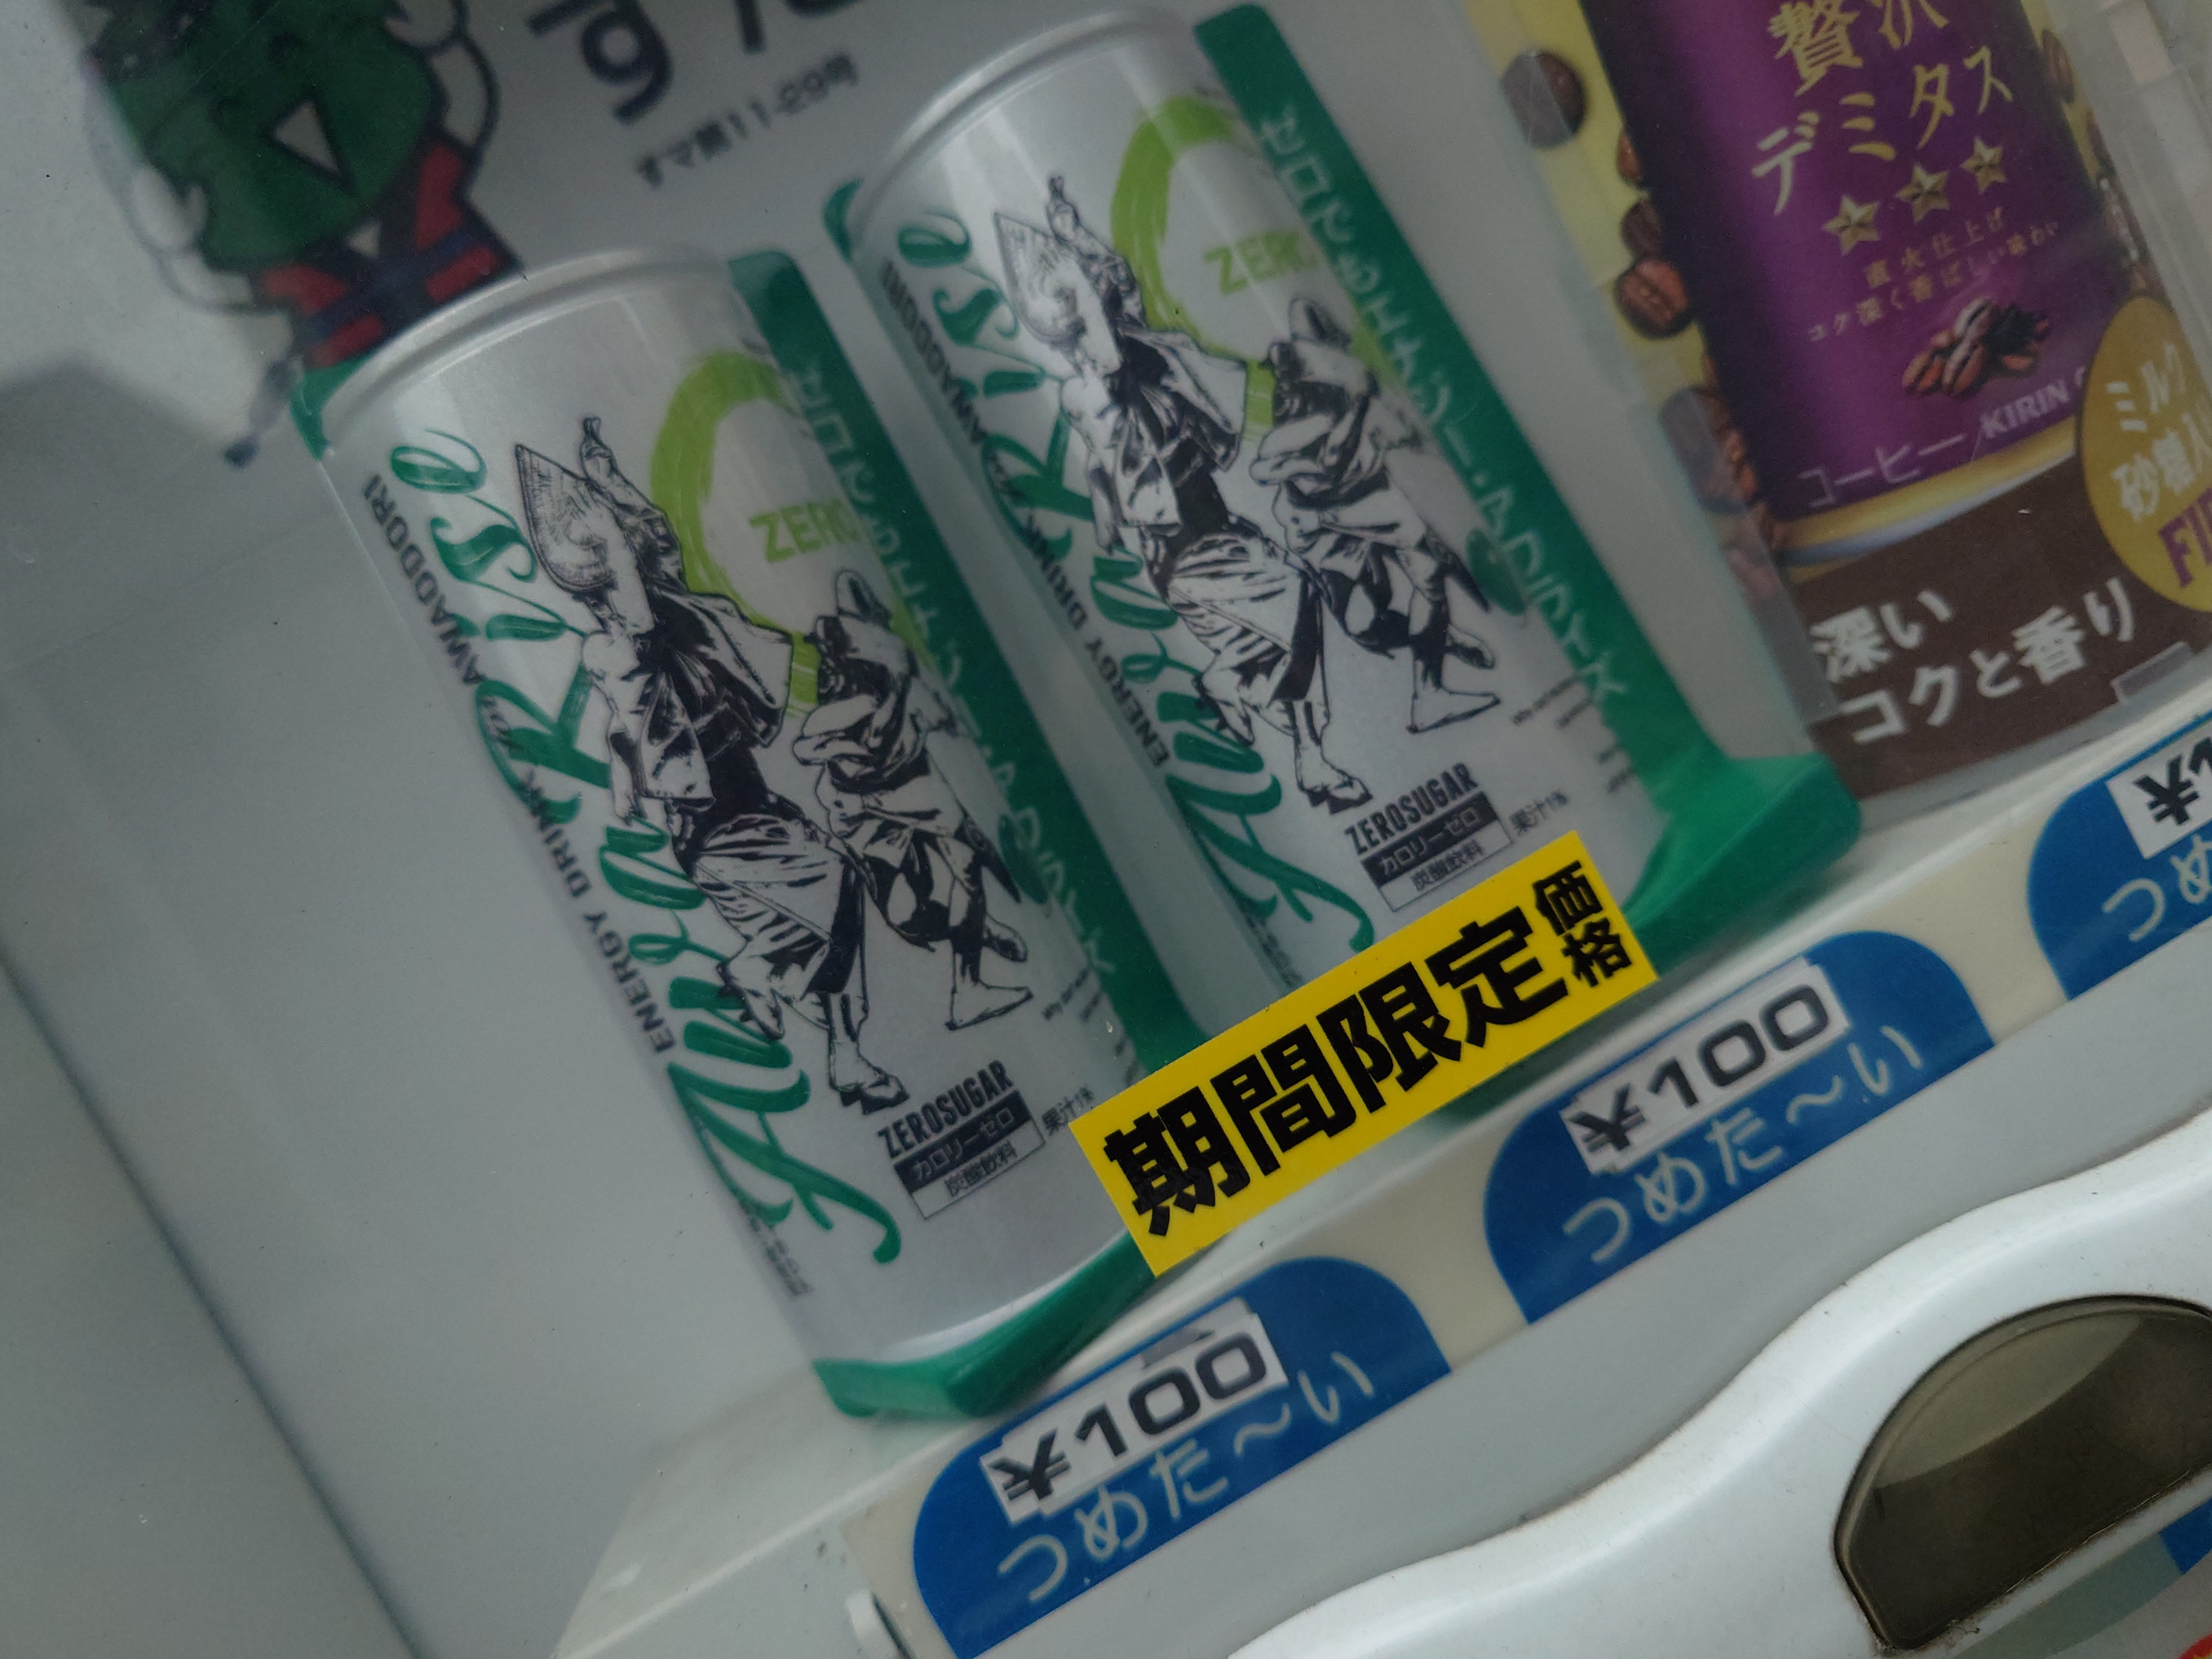
阿波踊りが描かれた自販機の中には徳島珈琲やアワライズといった、徳島独自の飲料が販売されていて、ほかの地域では中々なさそうな光景に驚いた。他にも阿波のこだわり天然水や阿波のこだわり緑茶など徳島的飲料が置かれていた。
阿波踊り会館
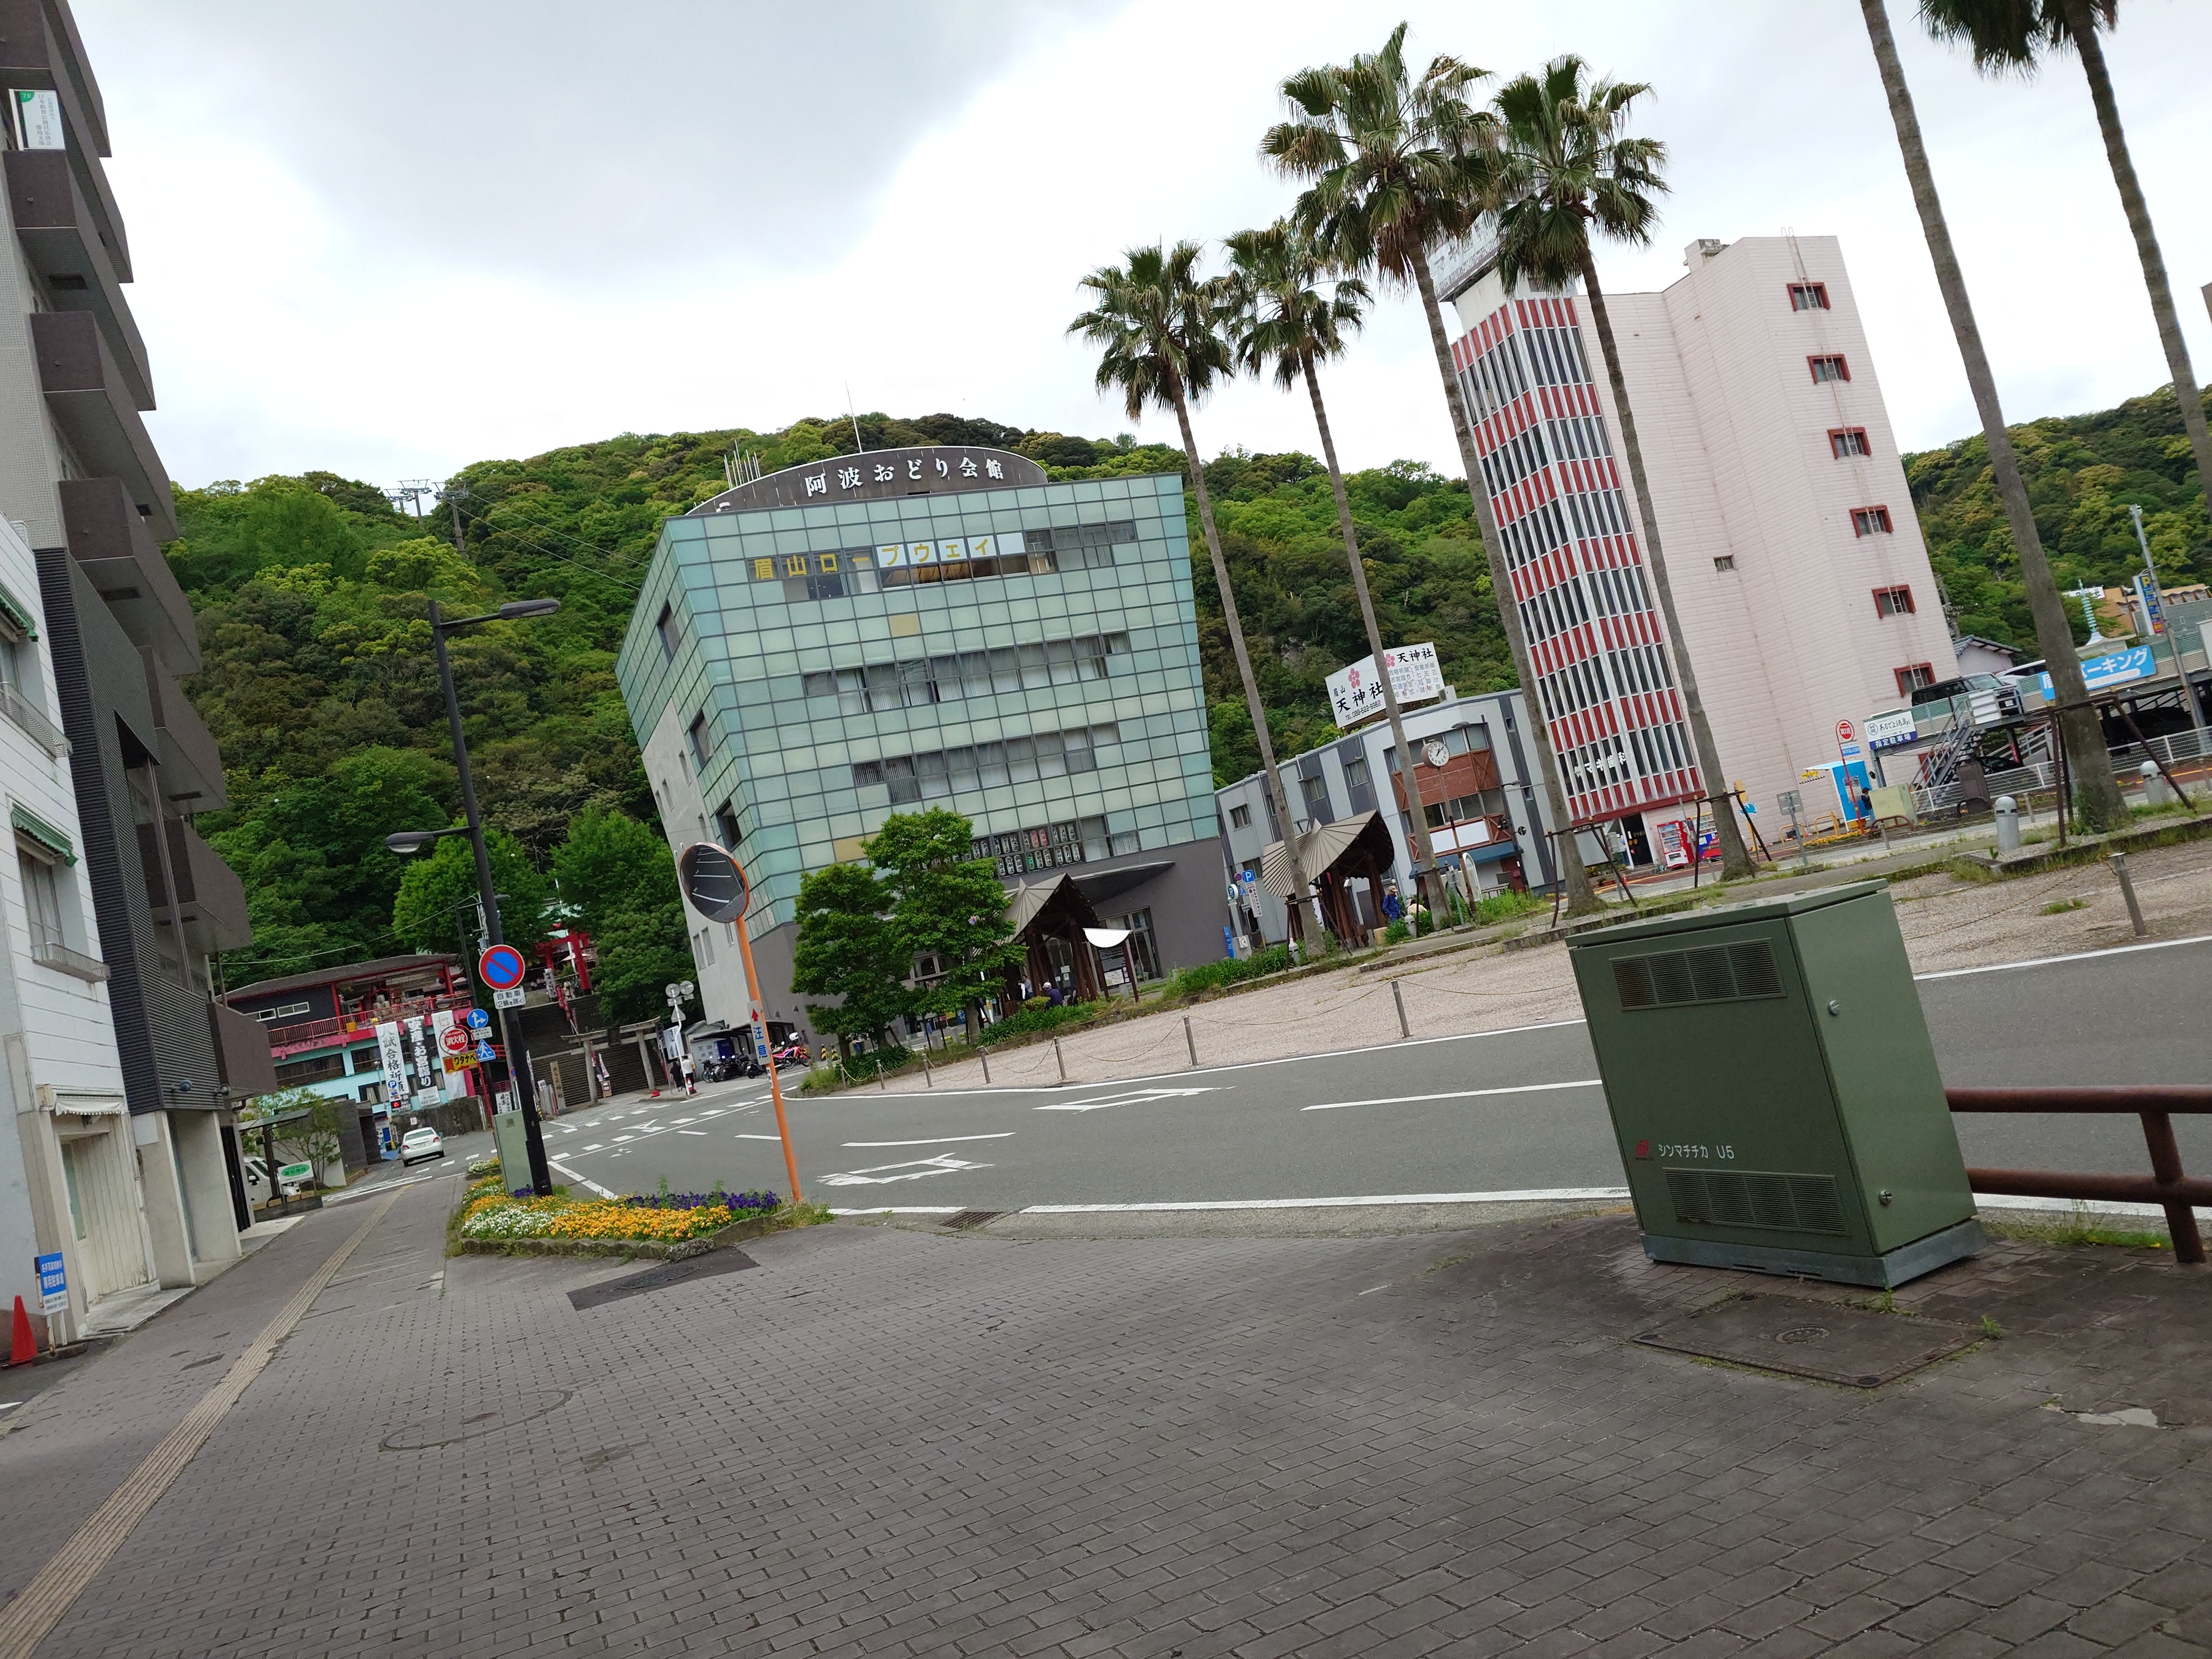
最後に眉山に上ろうということで、阿波踊り会館へ向かった。相変わらずこの通りにはヤシの木が目立つ。
阿波踊り会館の手前は公園になっており、阿波踊りの笠に見立てた東屋があり面白かった。中にはベンチがあり休憩を取っている人が見られた。
徳島眉山天神社
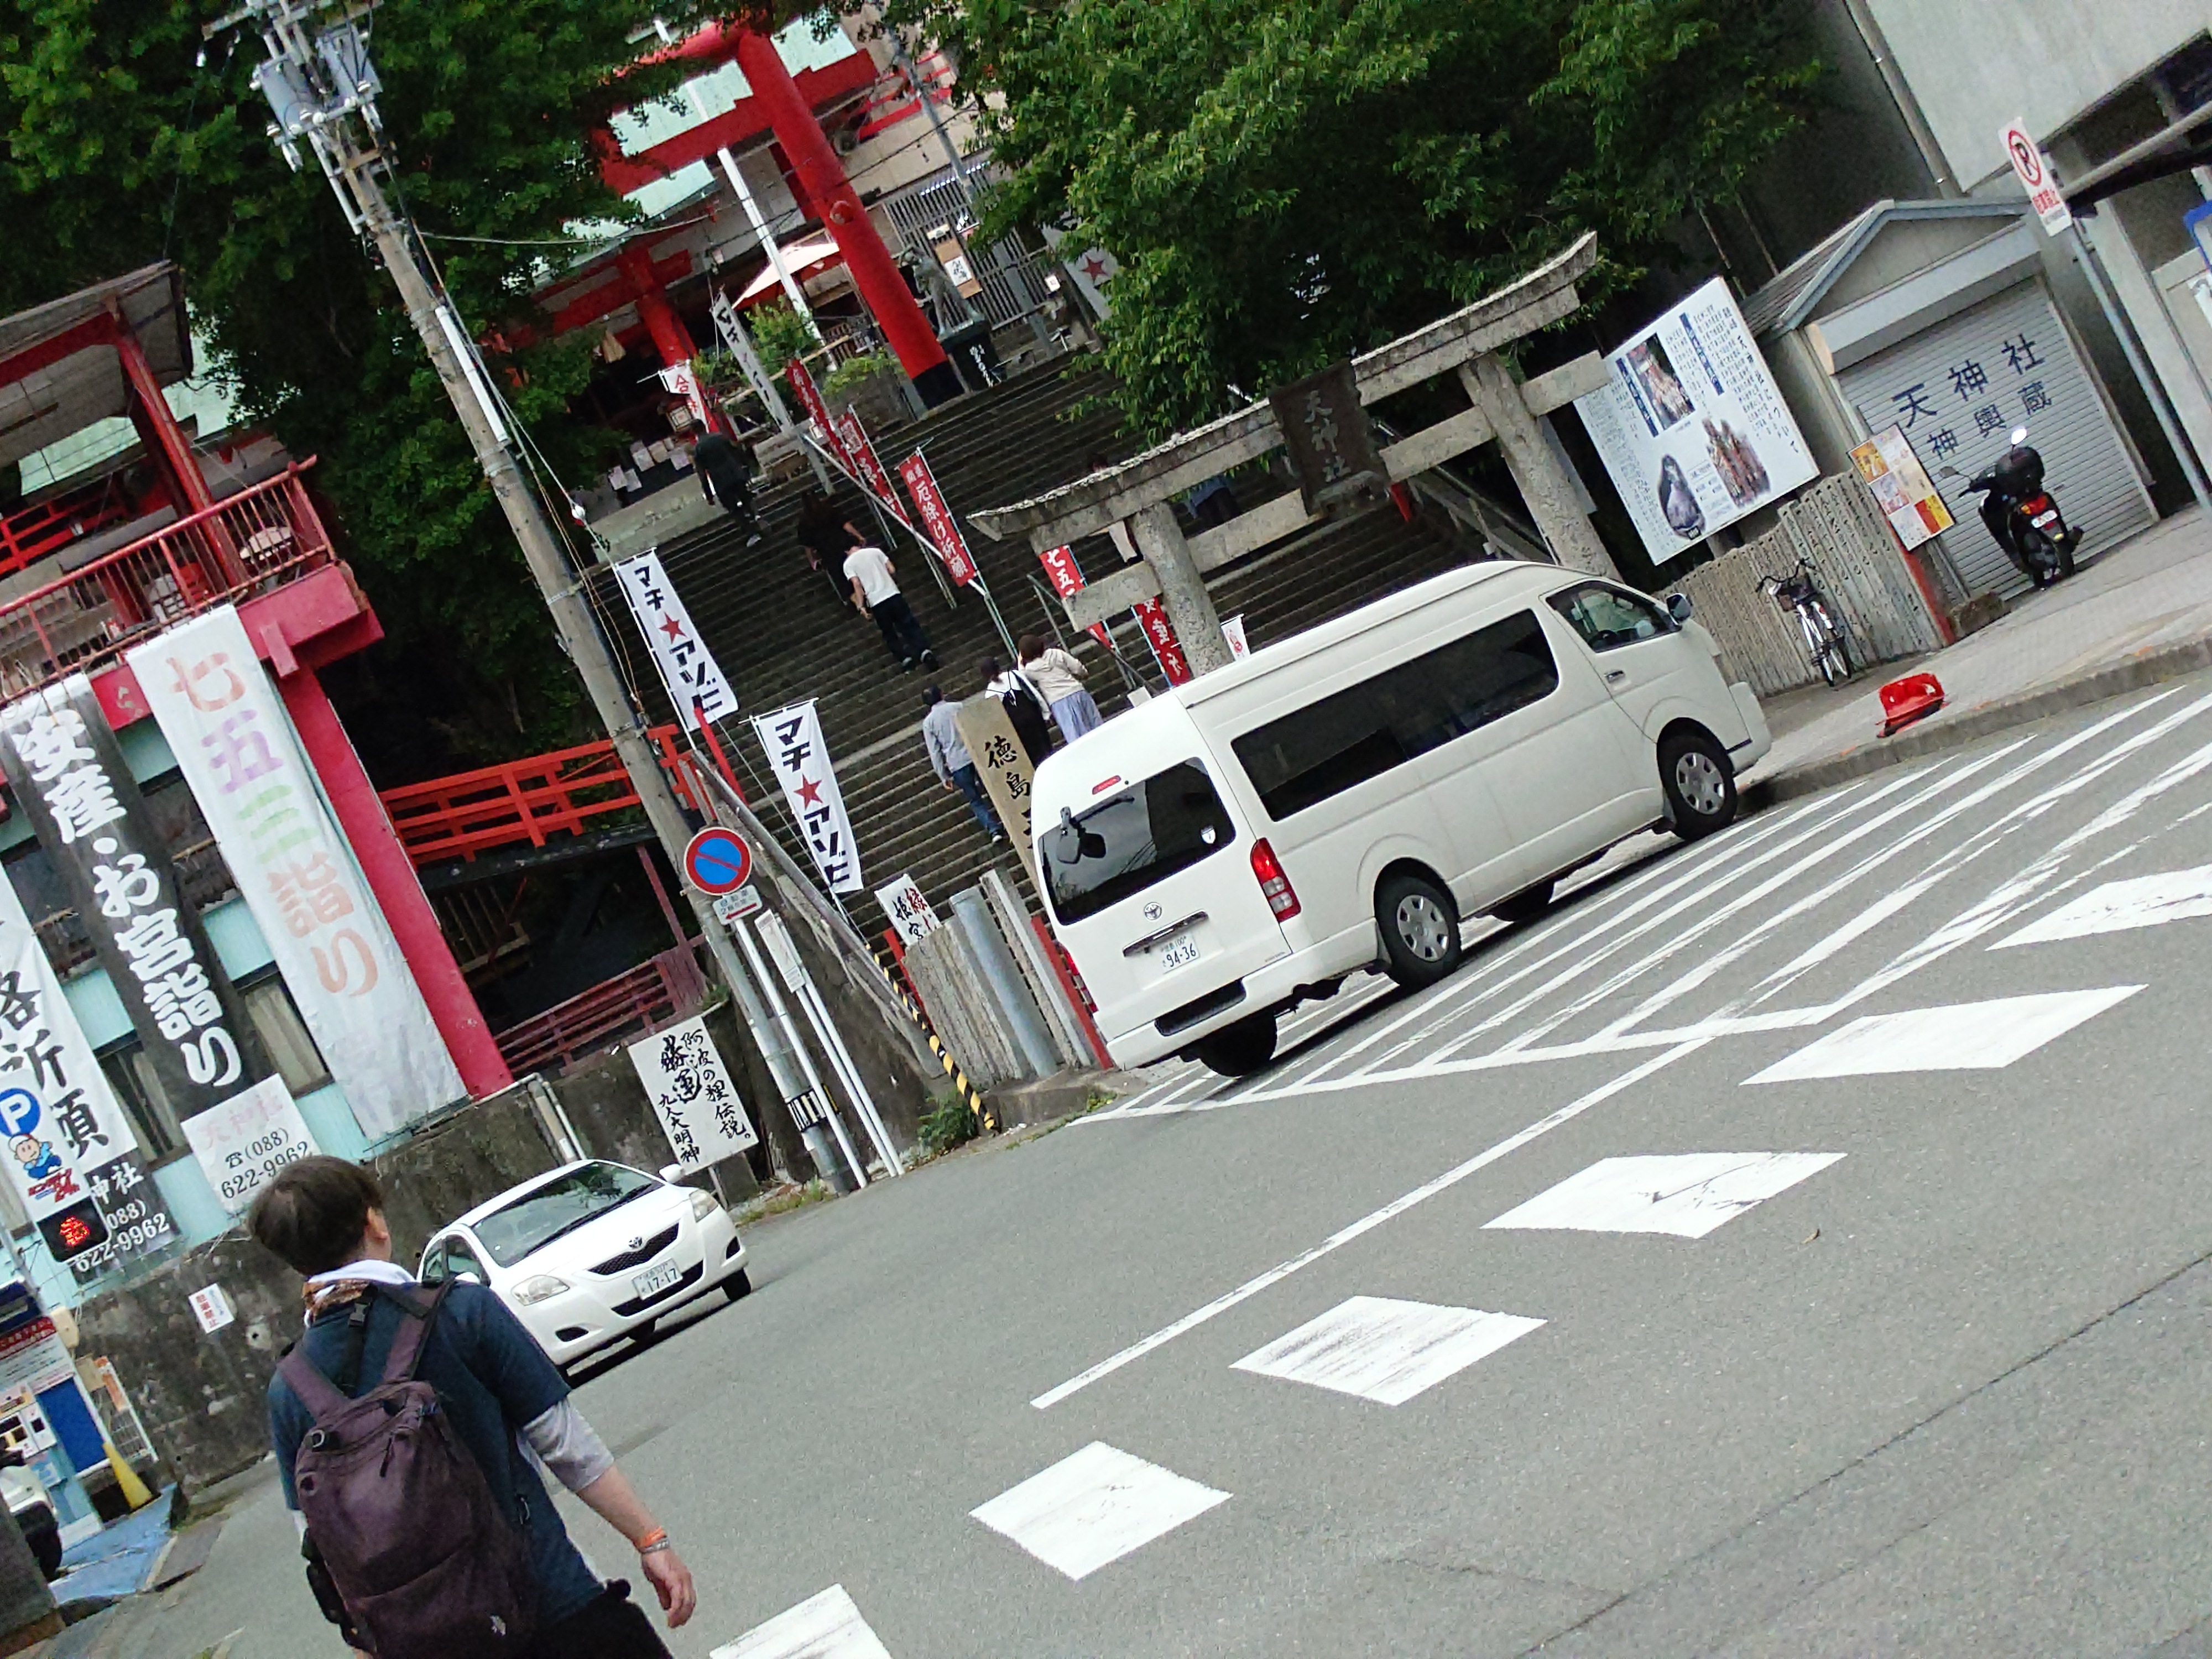

阿波踊り会館横の神社にもマチアソビののぼりが見えたため、先にこちらに上ることにした。
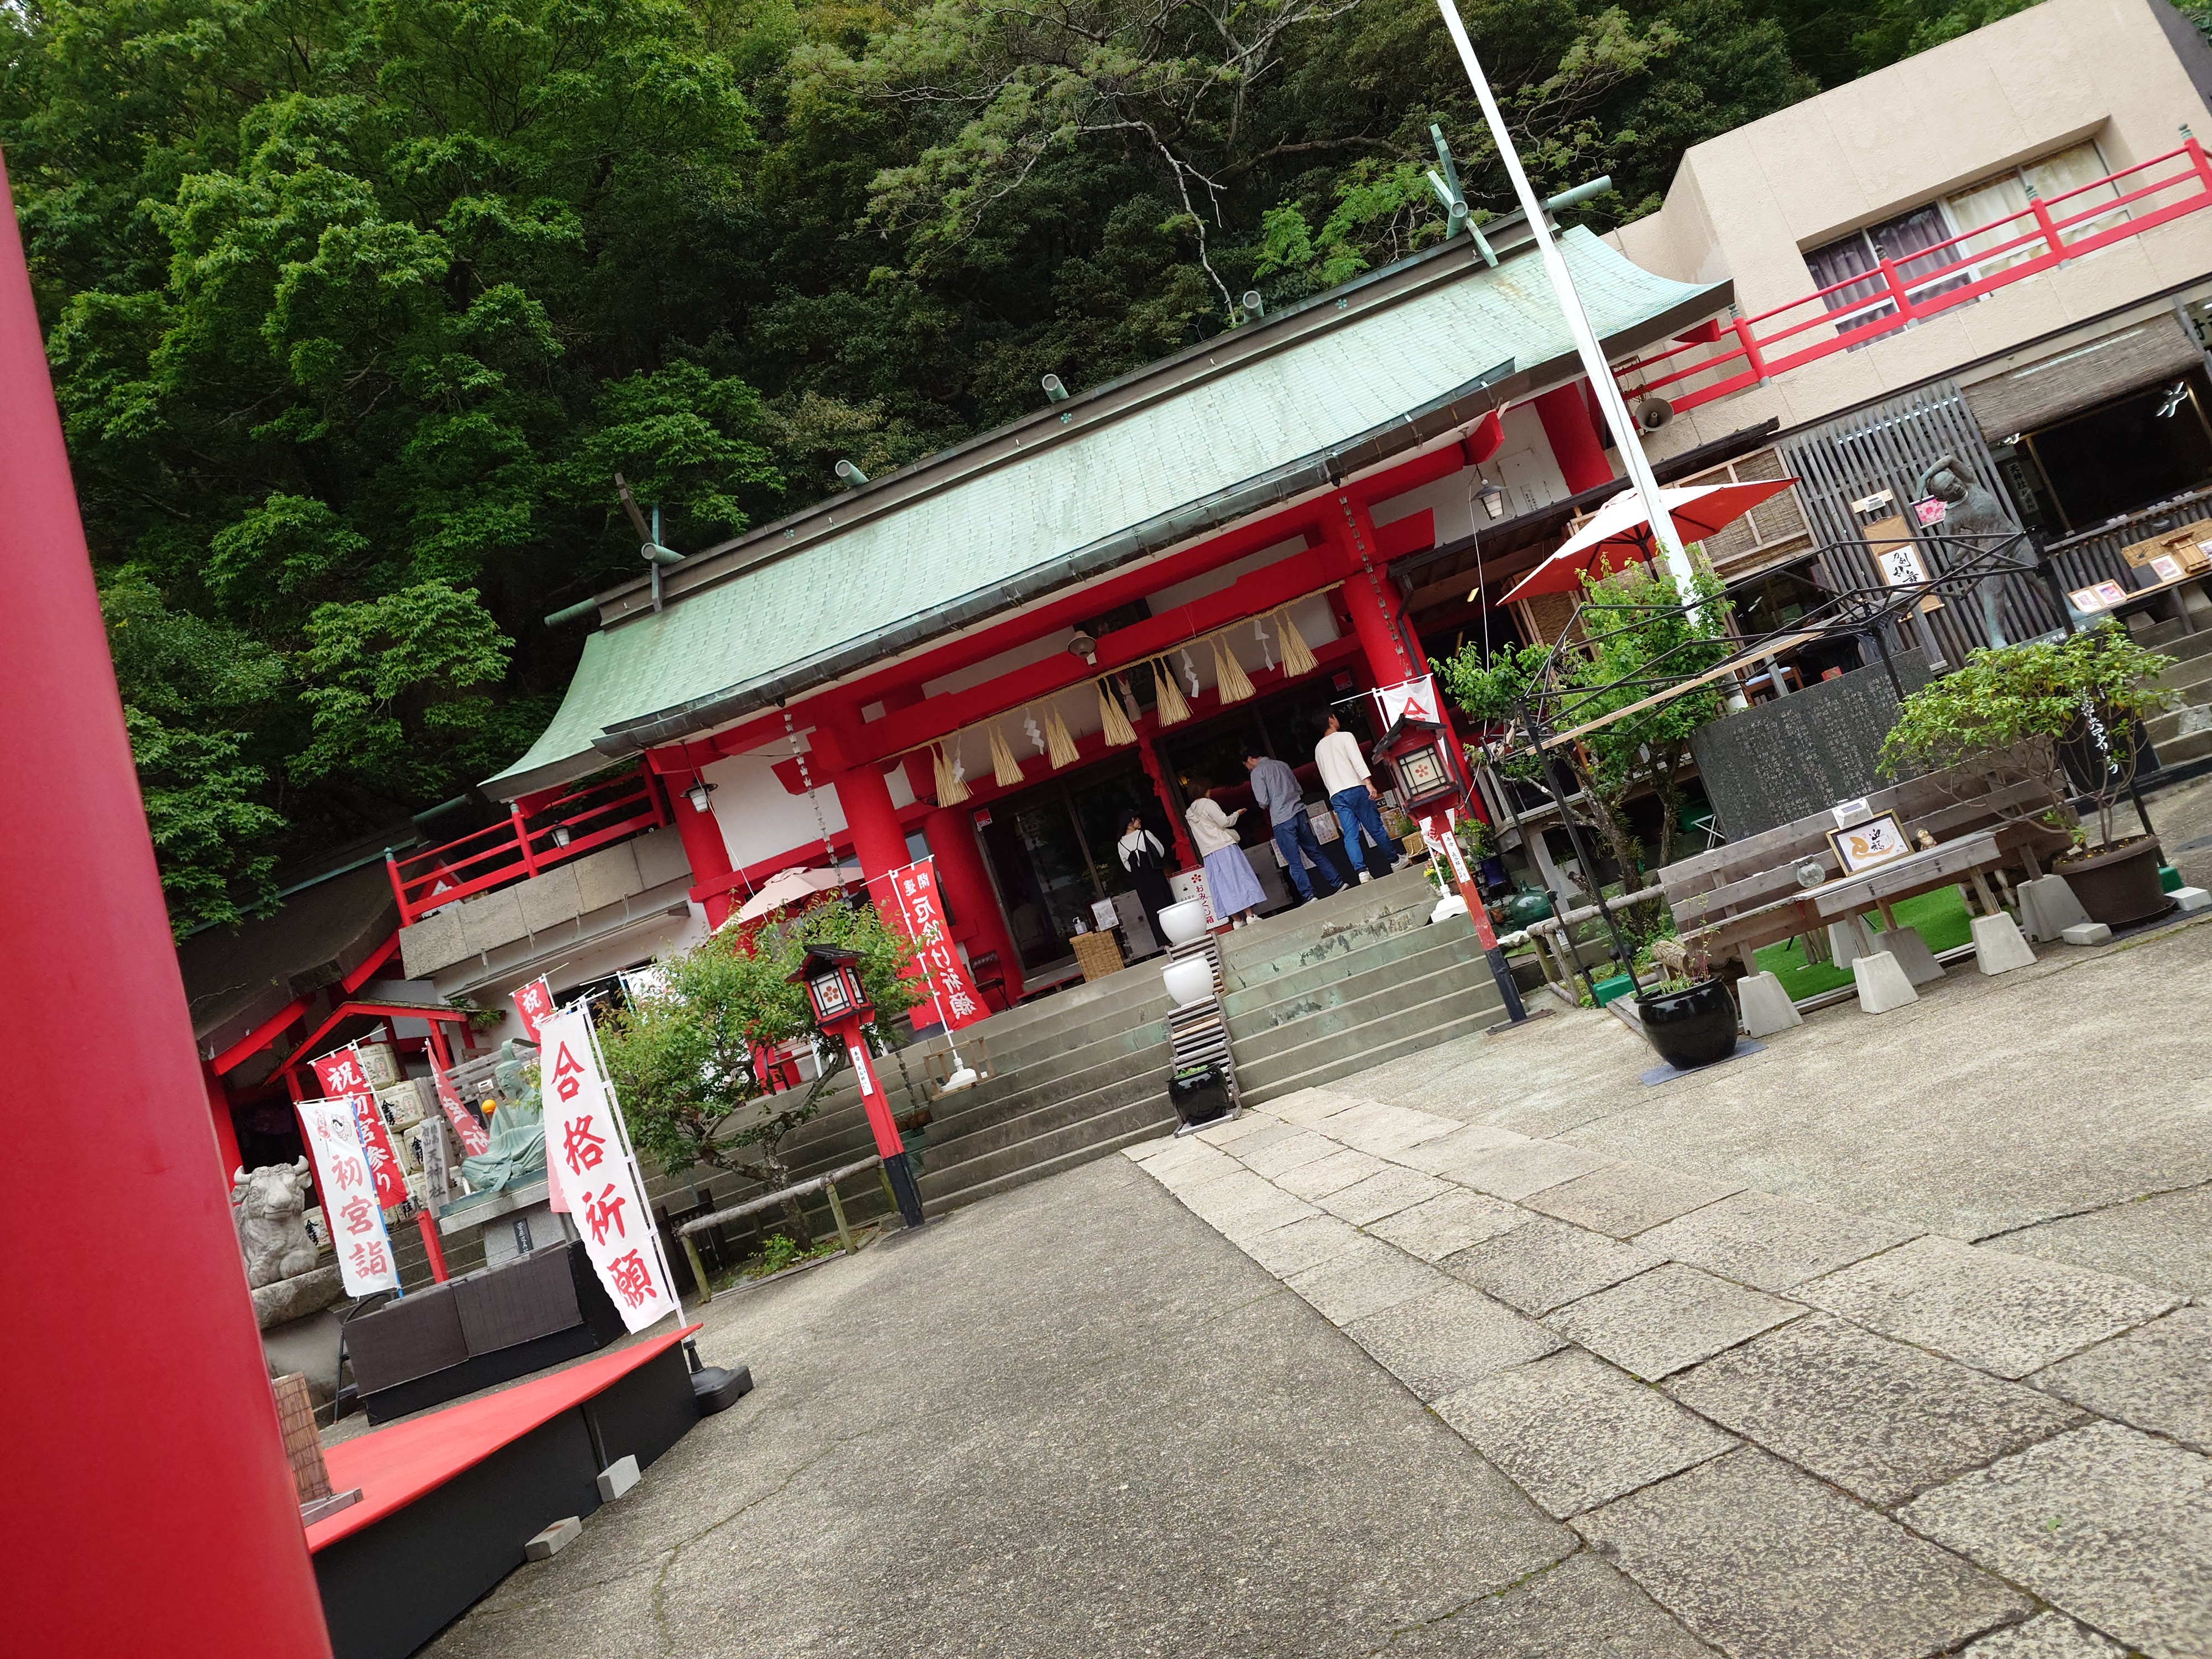
階段を登りきると一見普通の神社のようだが…少し目線をずらすと確かにマチアソビ要素が存在した。
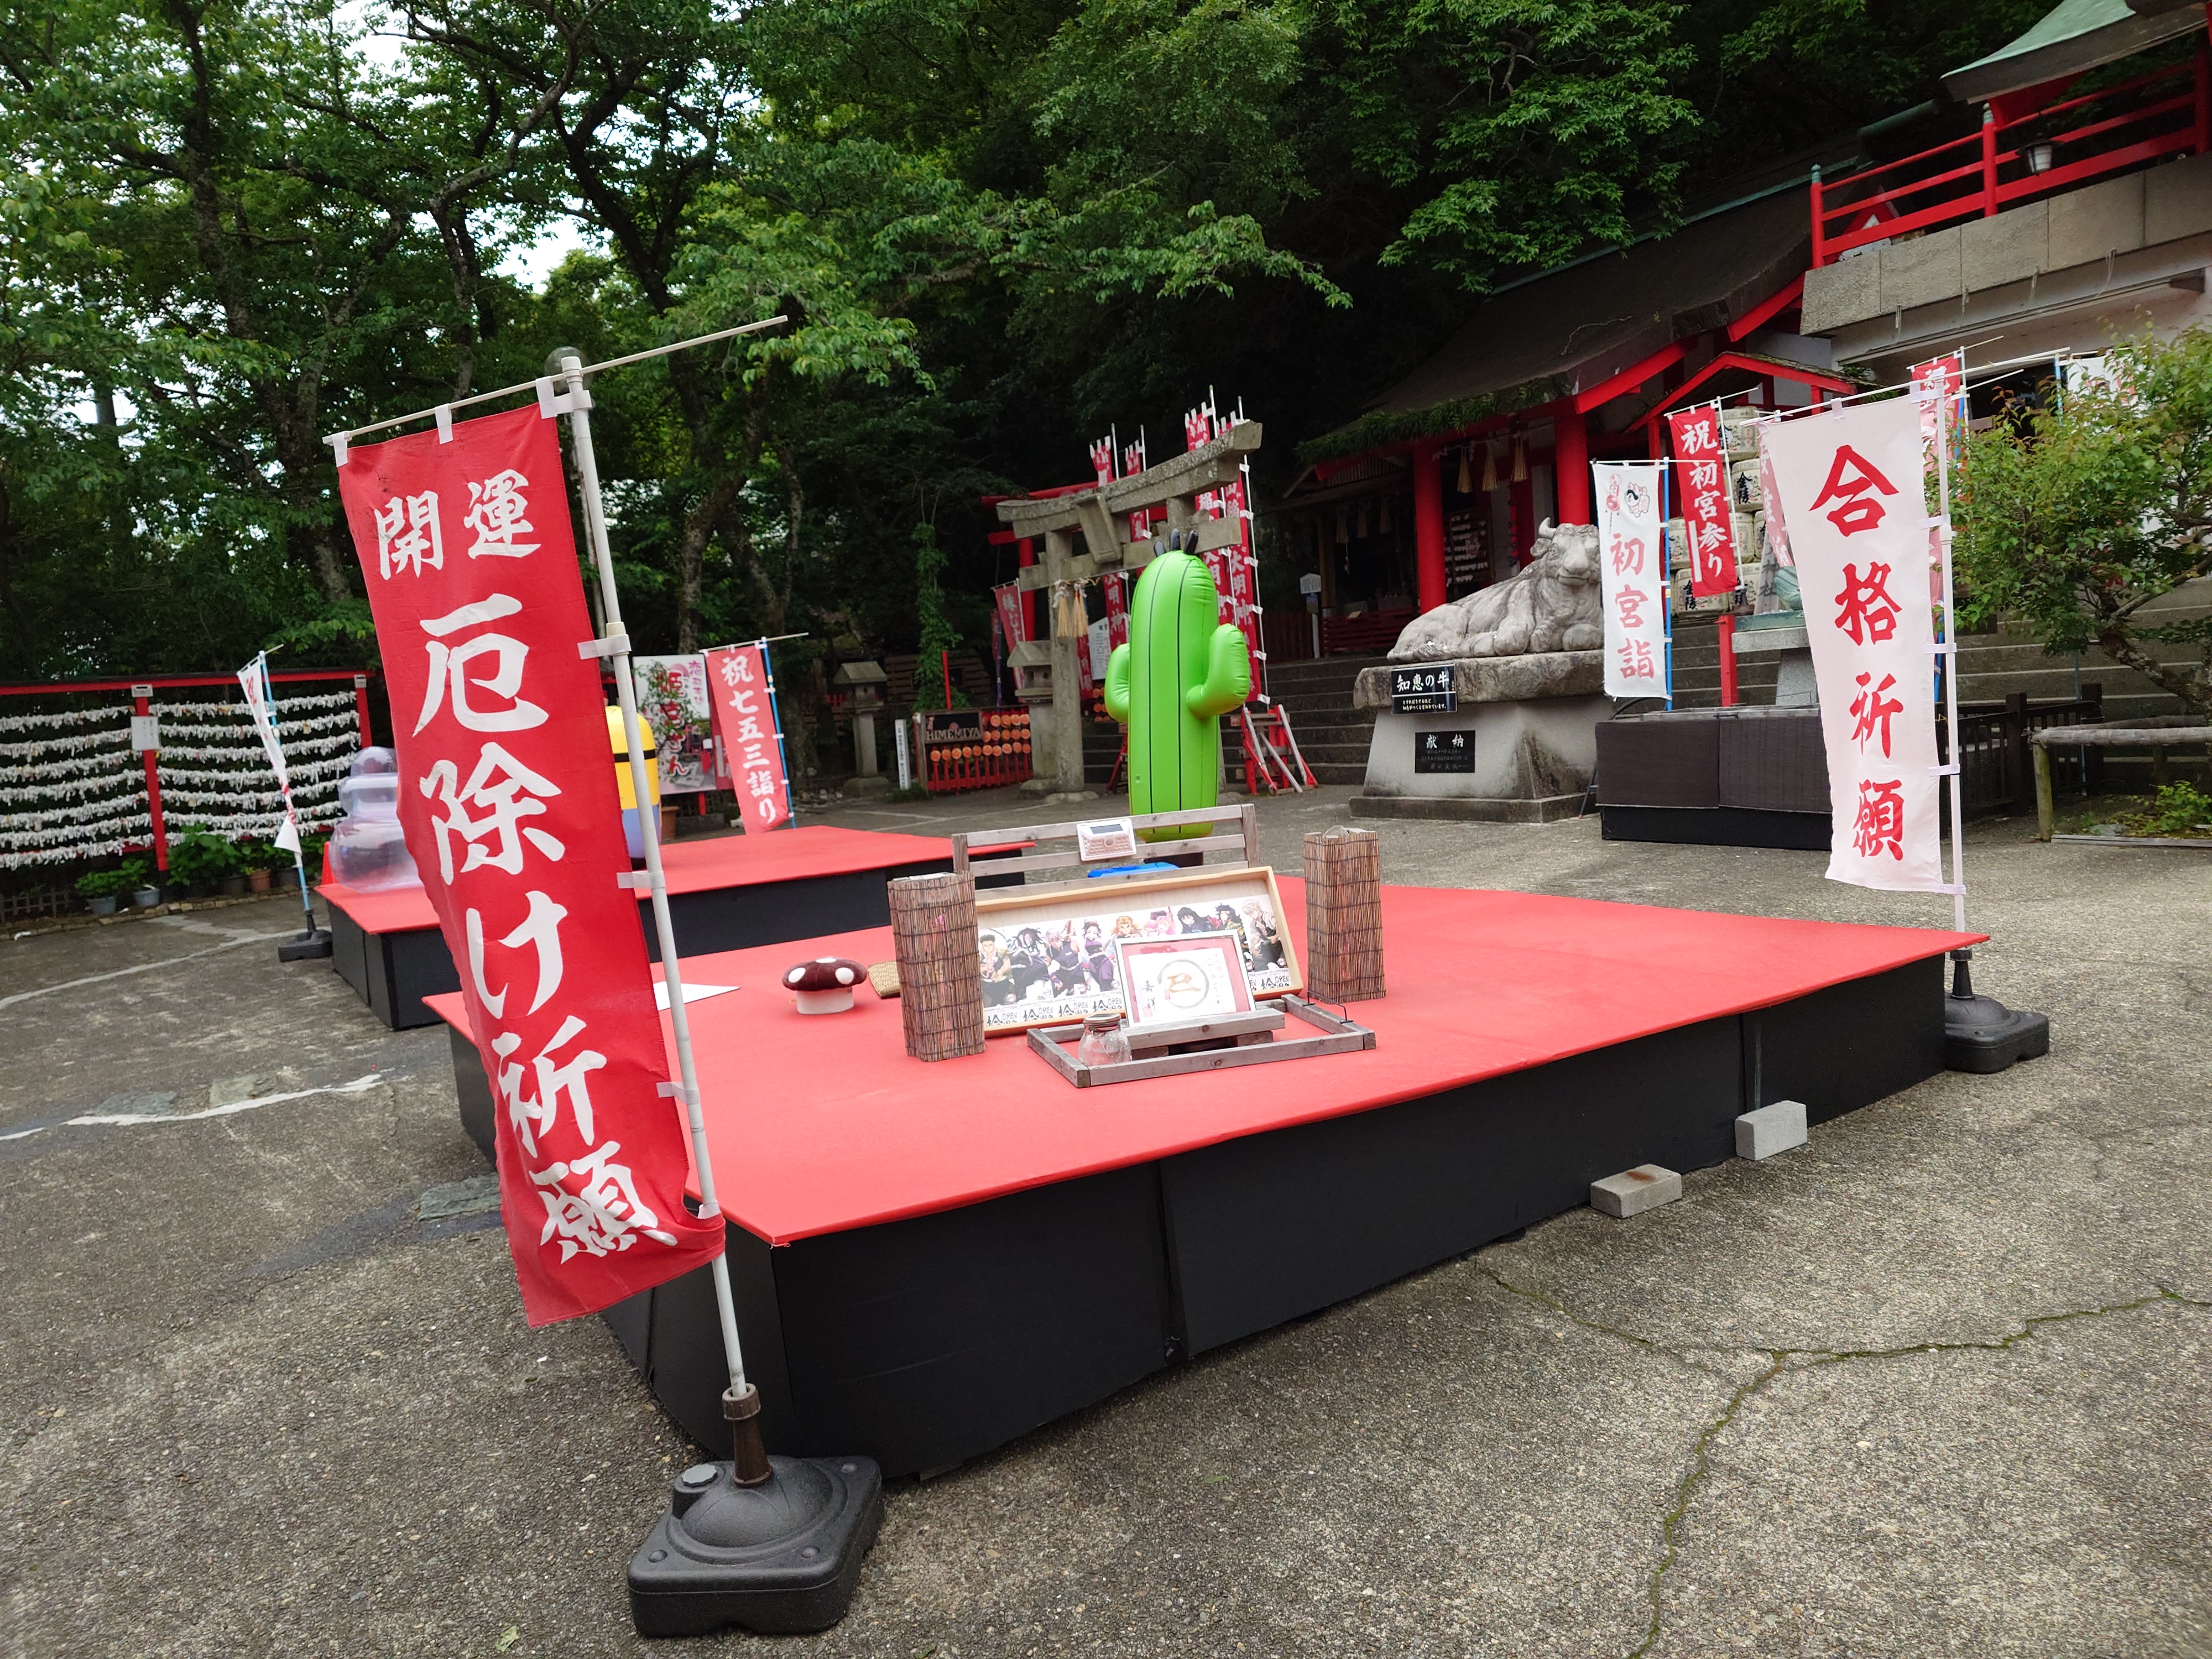
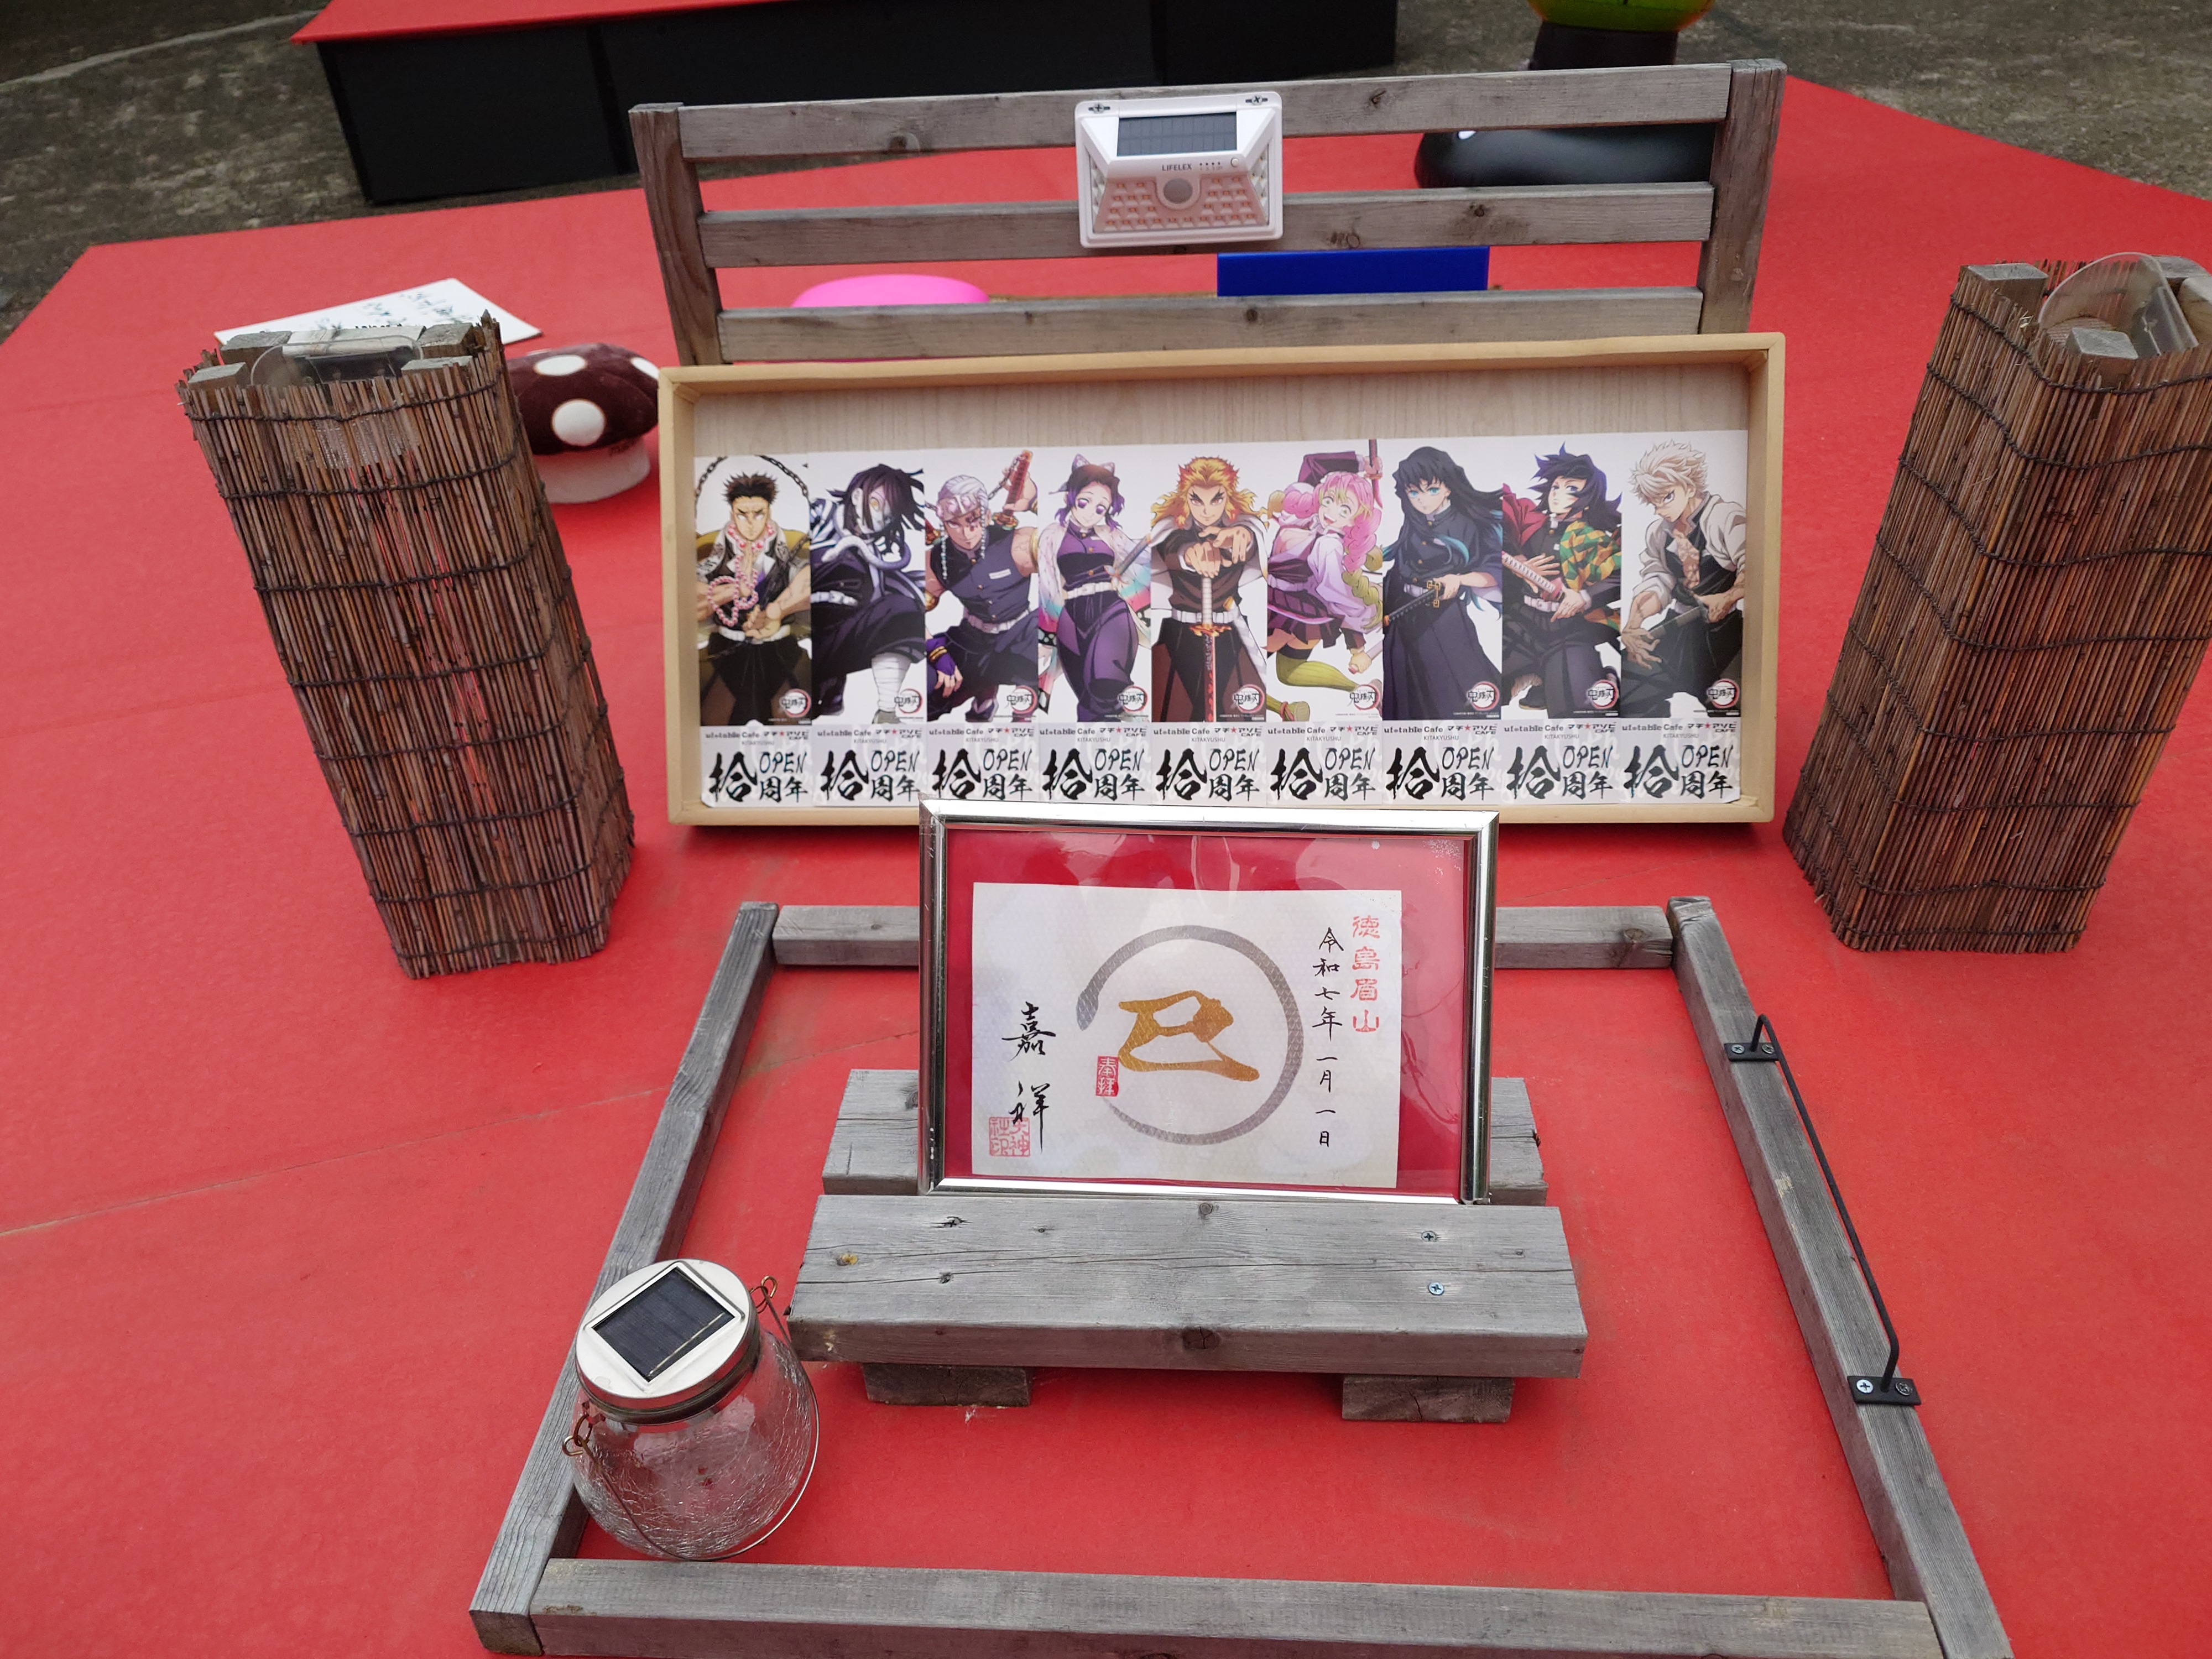
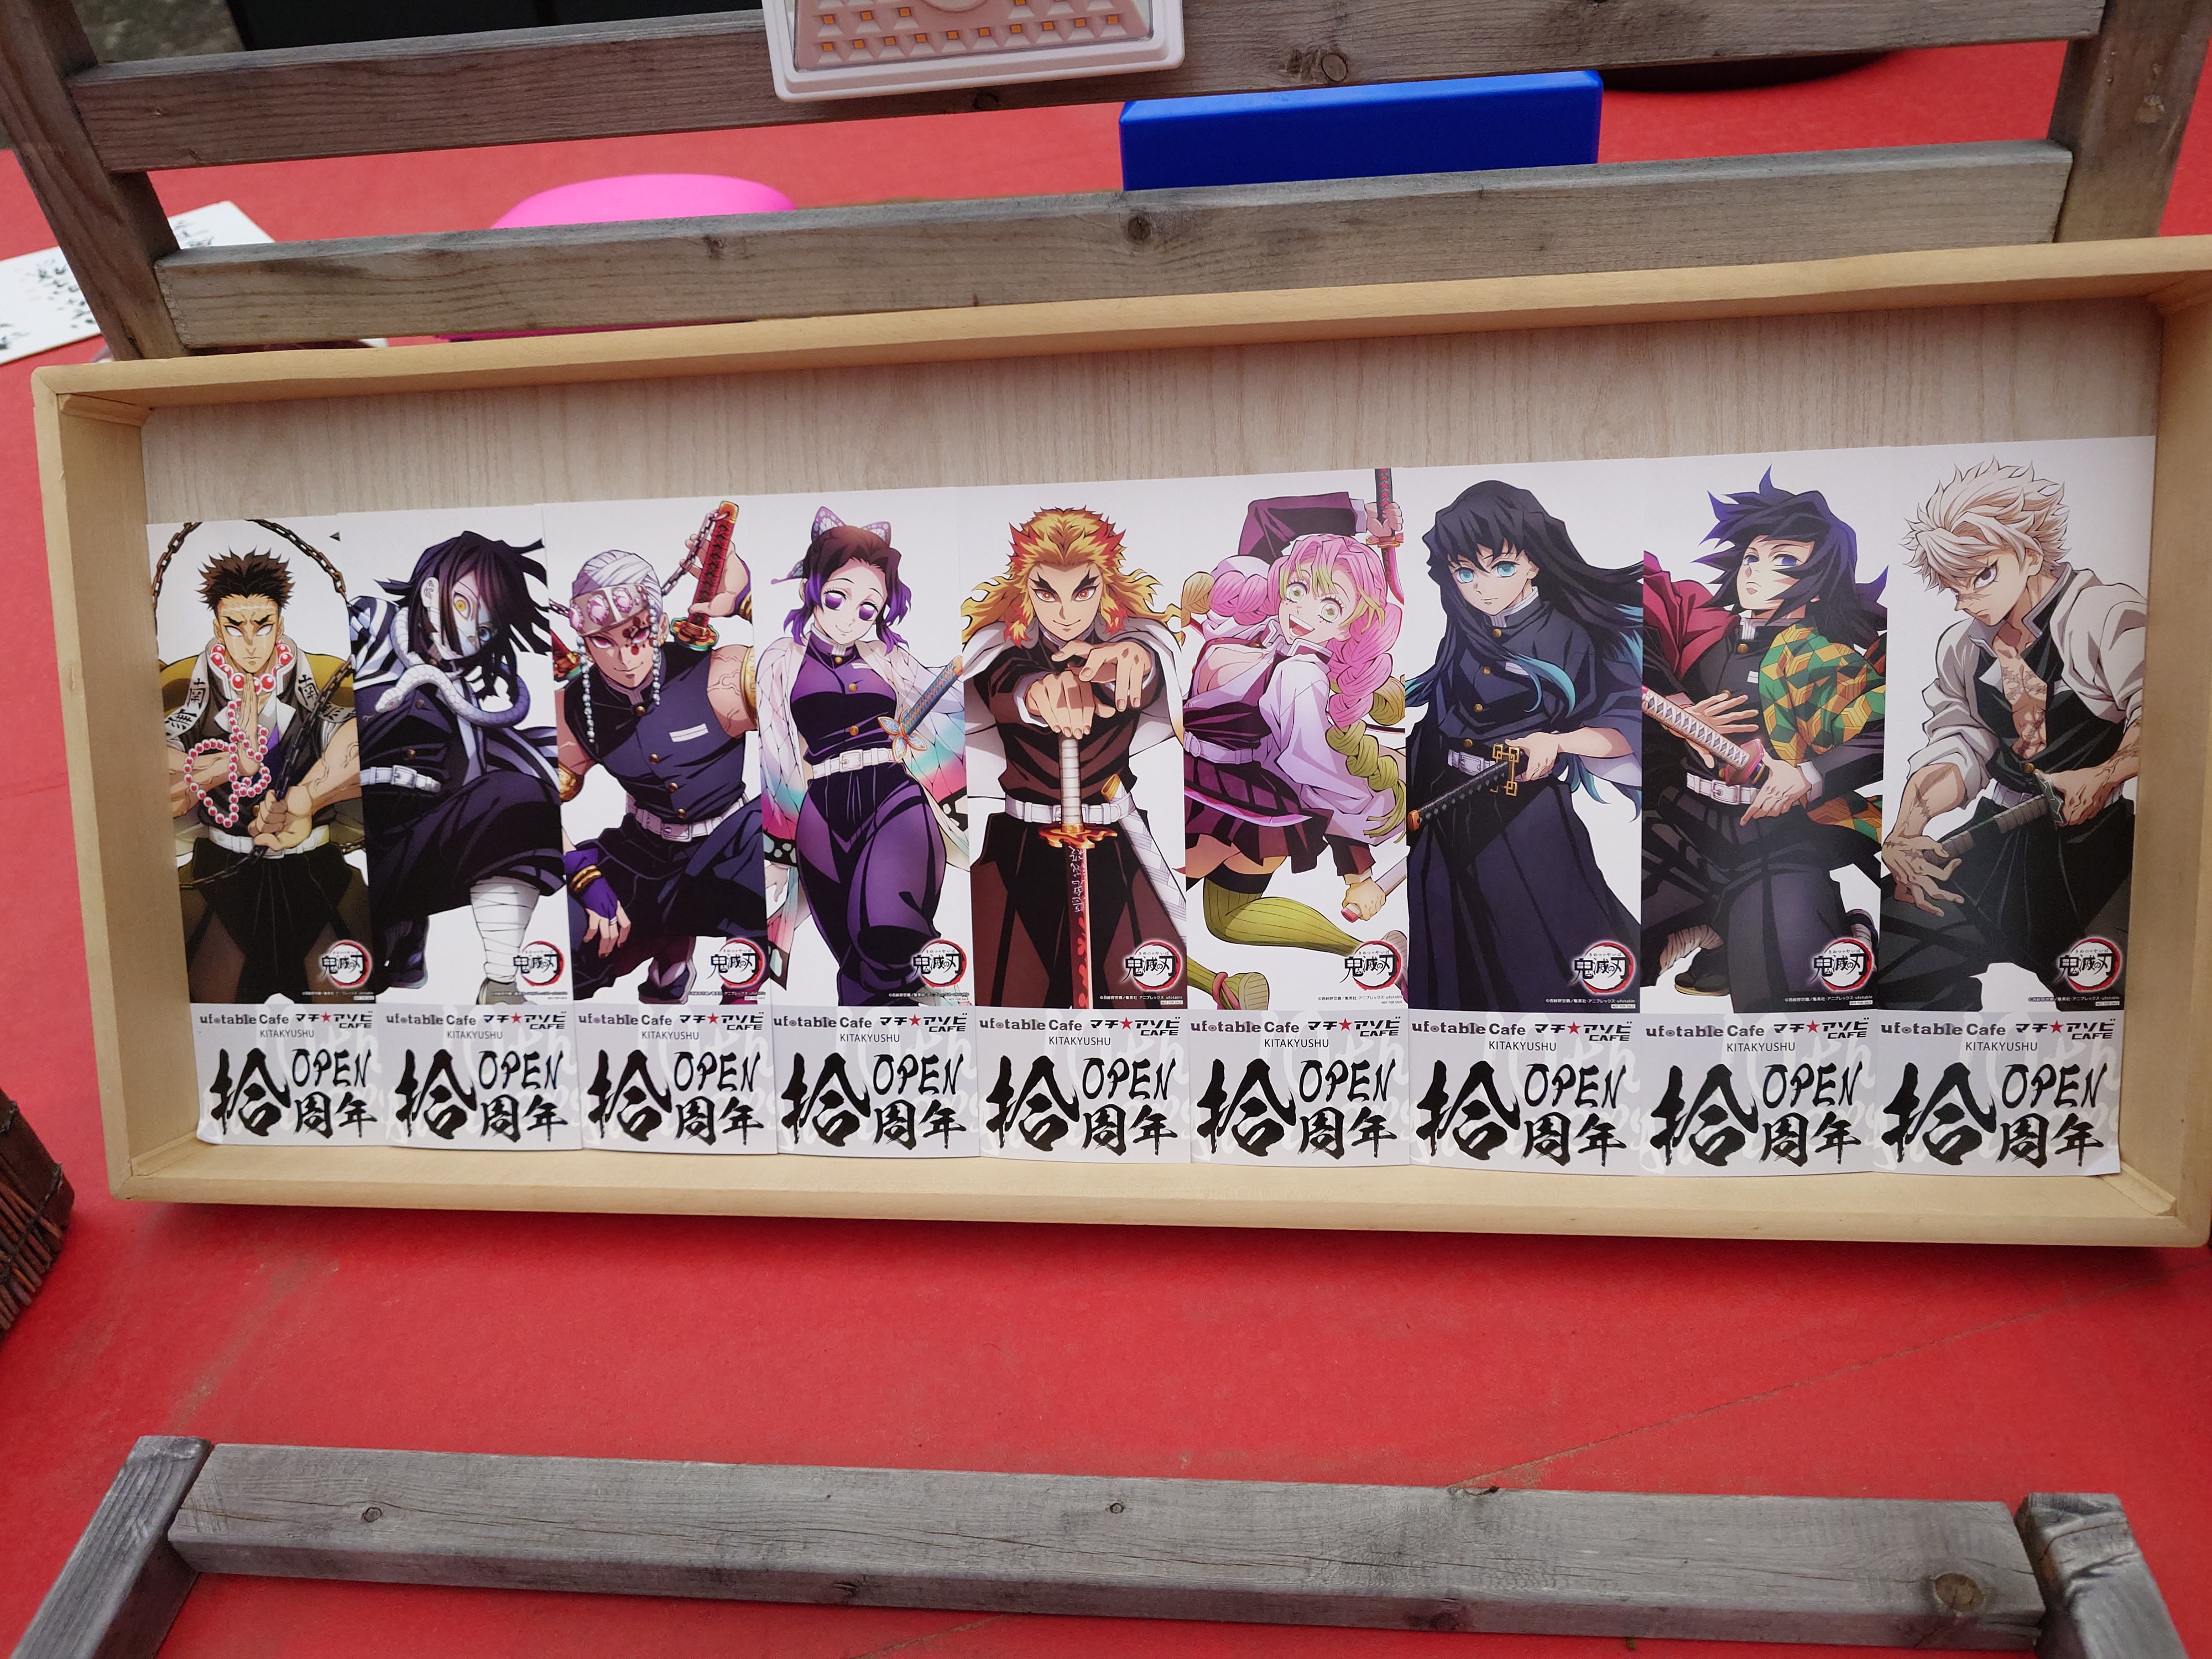
境内には鬼滅の刃の展示があった。こういうところでufotable絡みのものを置いてくれるのはやはりうれしい。

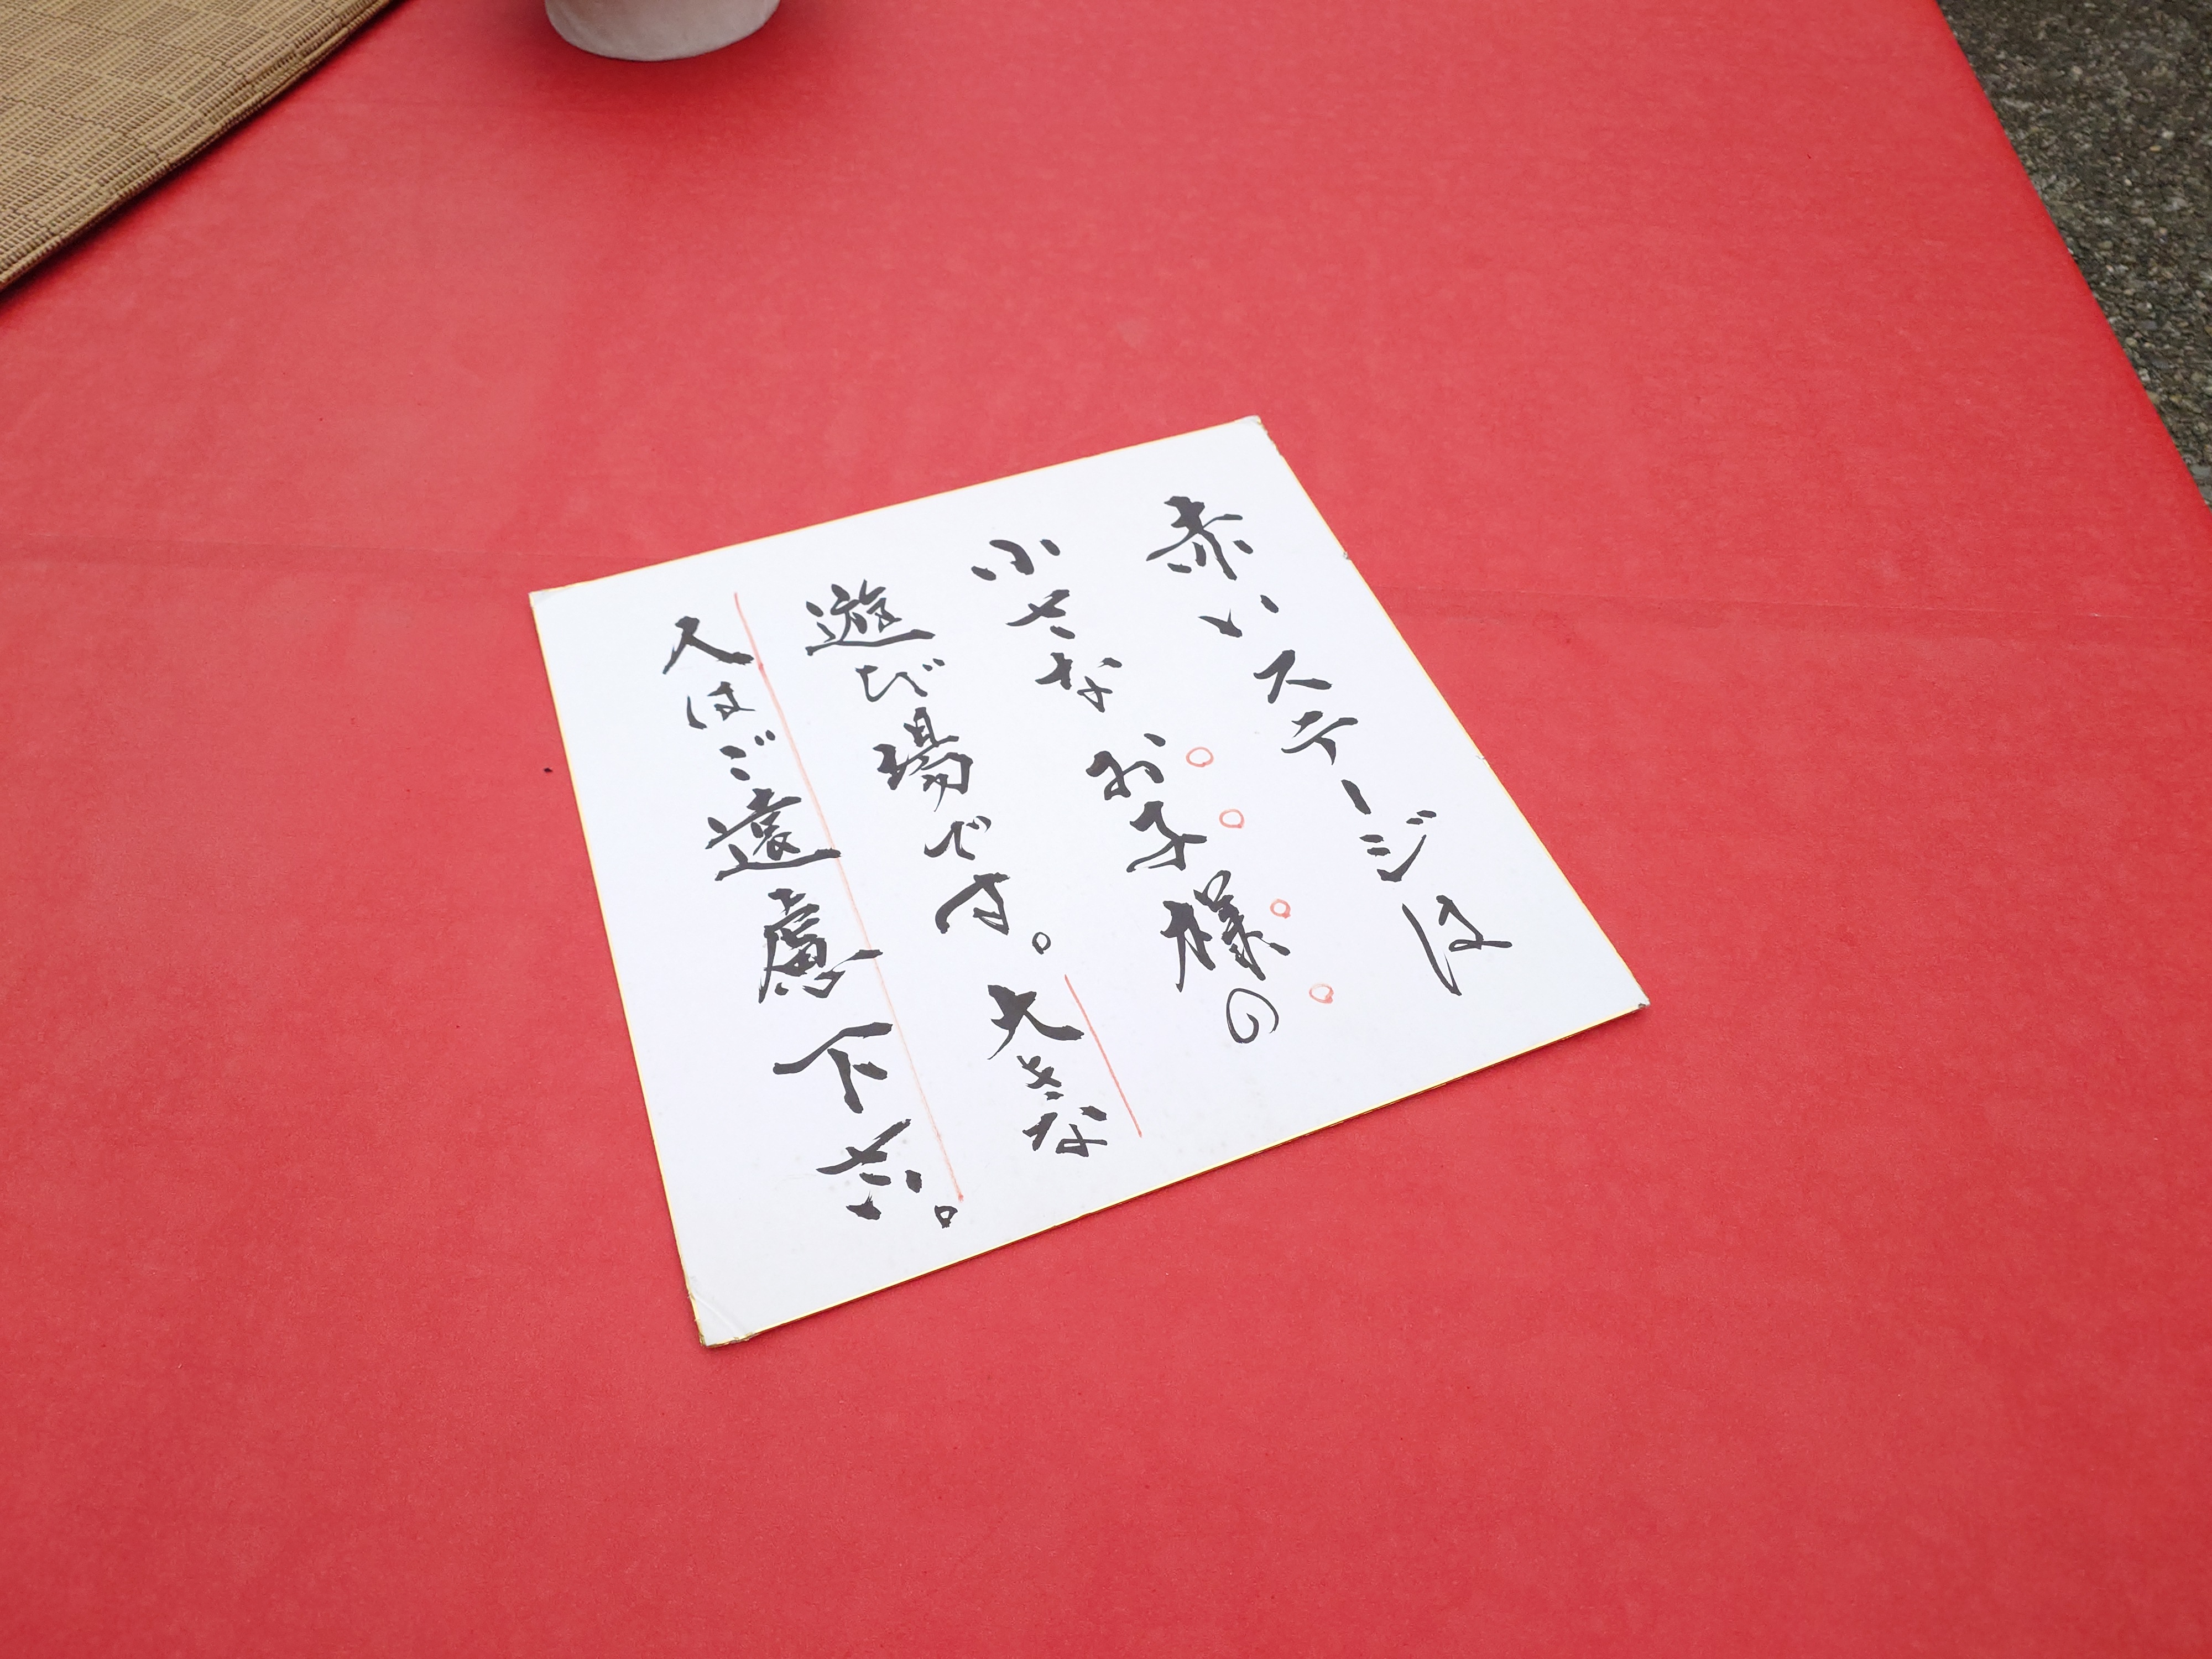
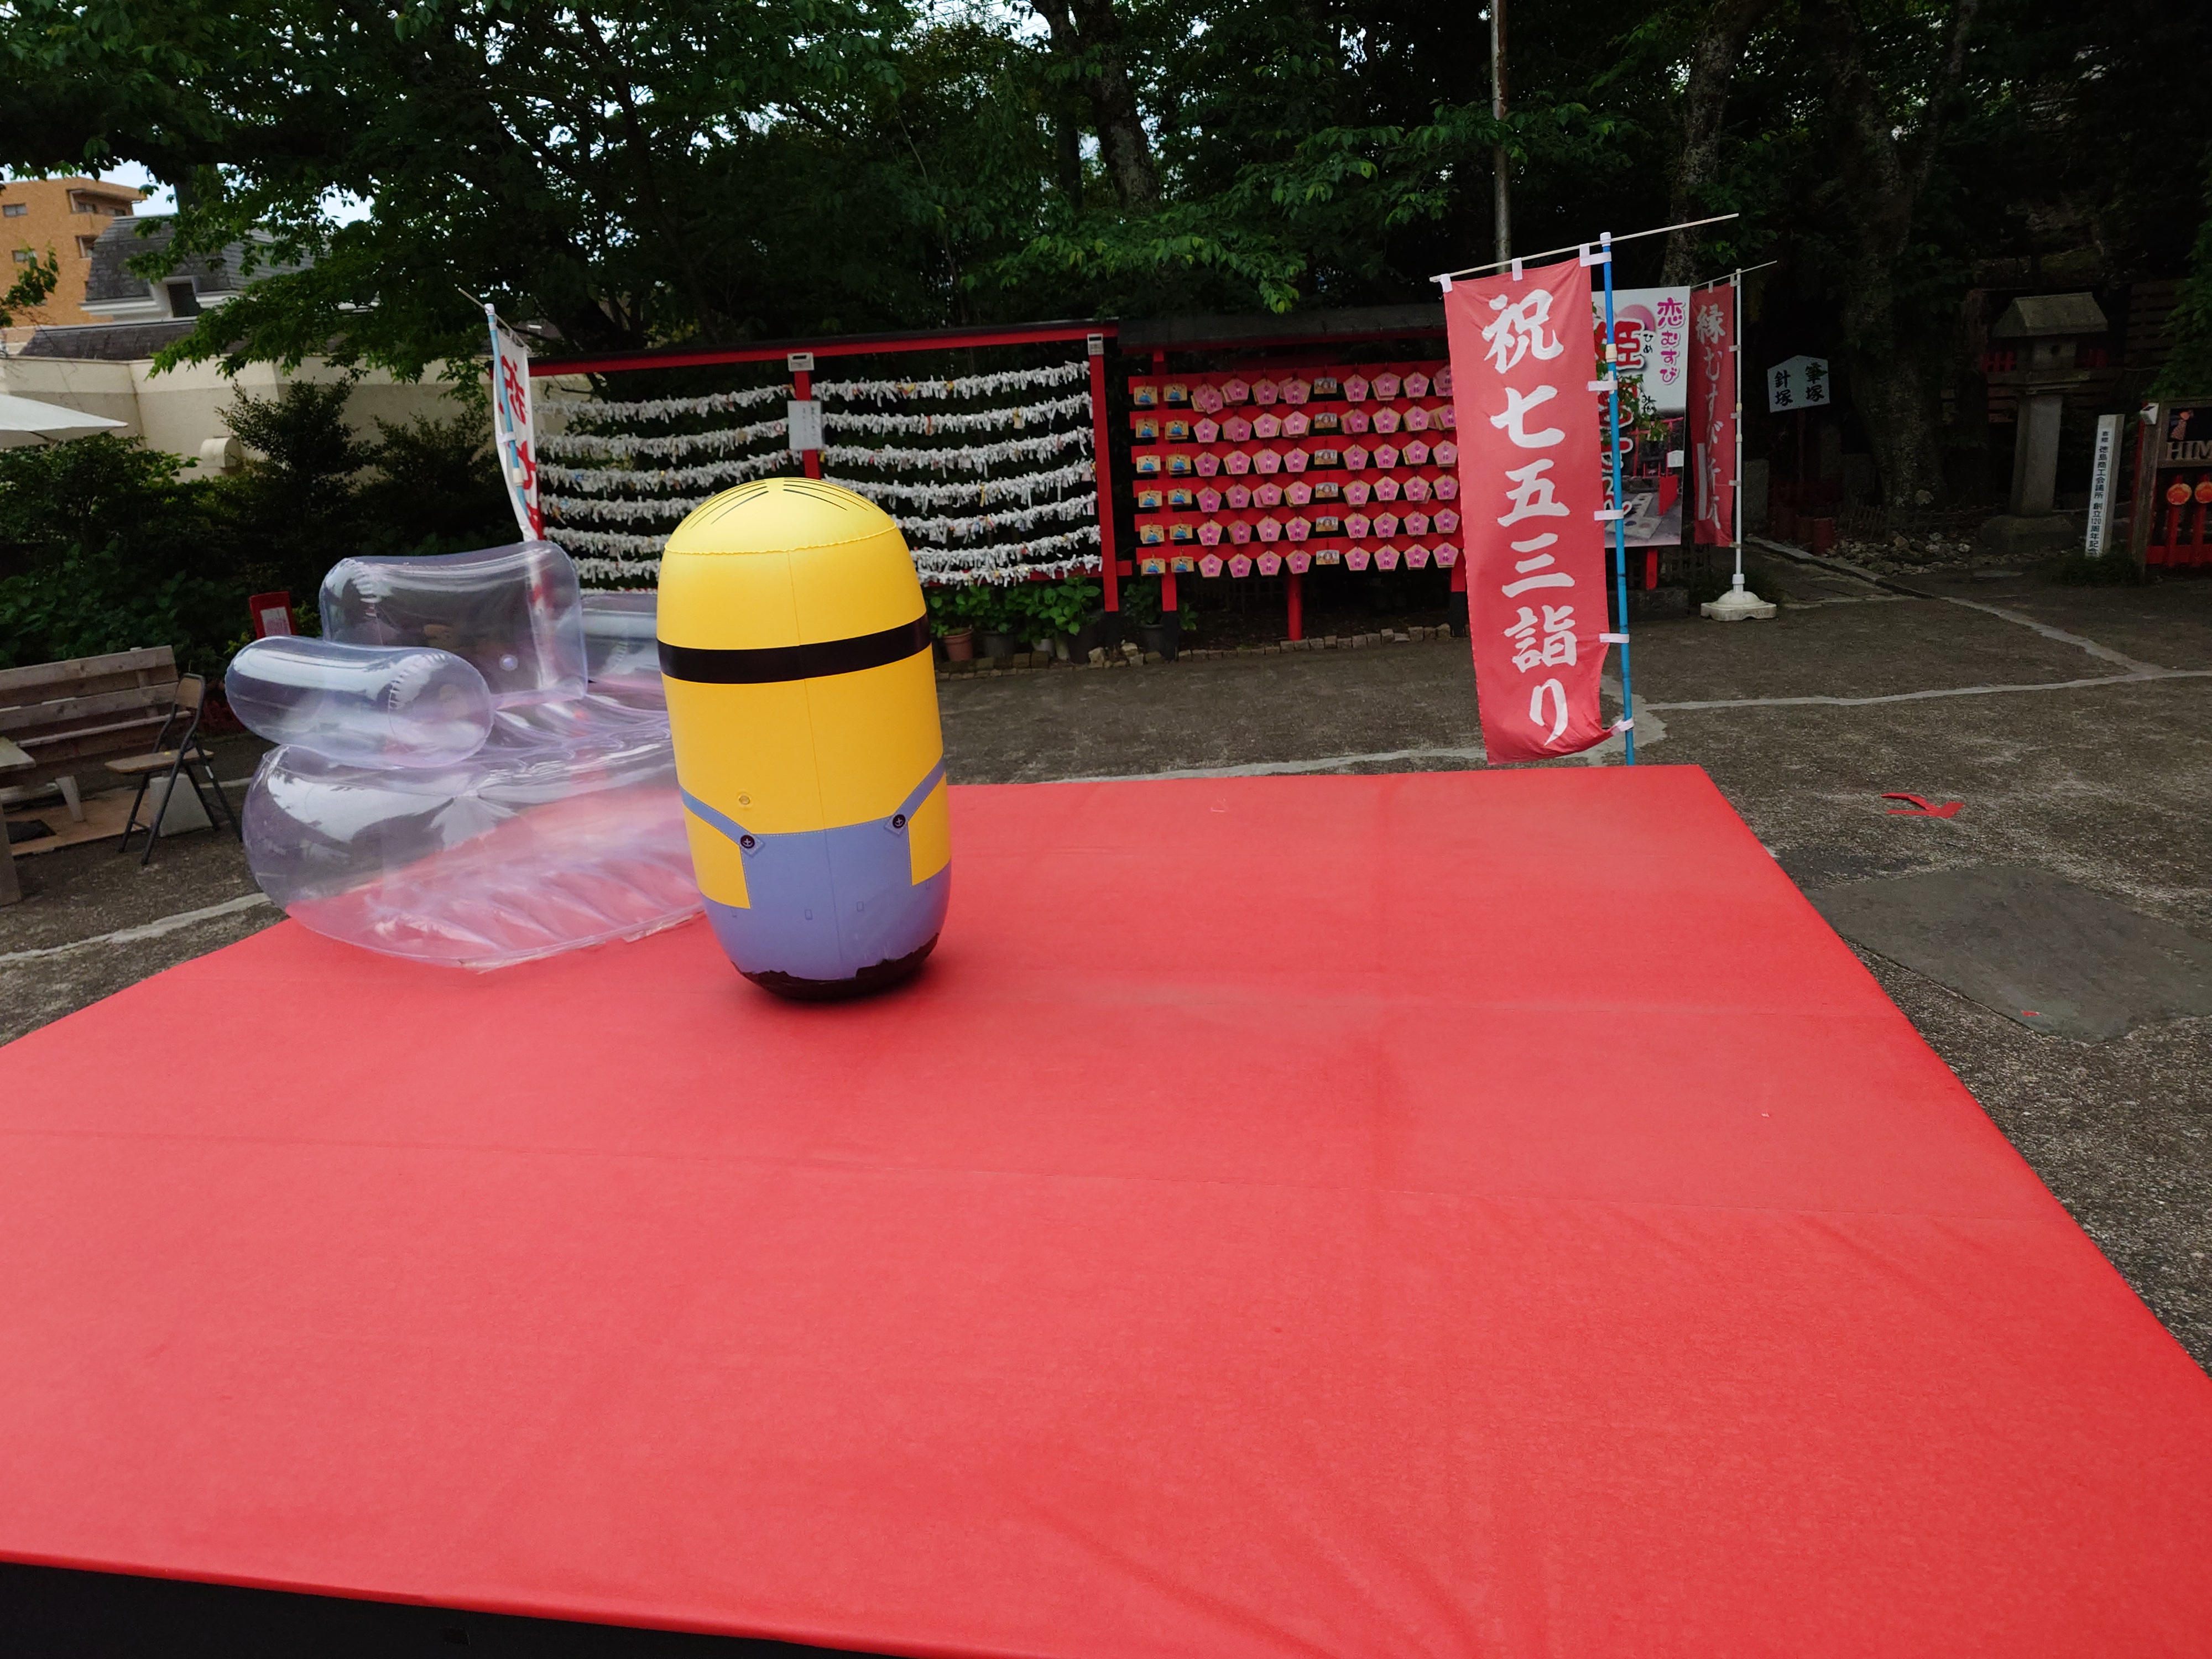
キッズコーナーもあり、なかなかユニークな神社だった。大人への配慮があるのも立派だ。
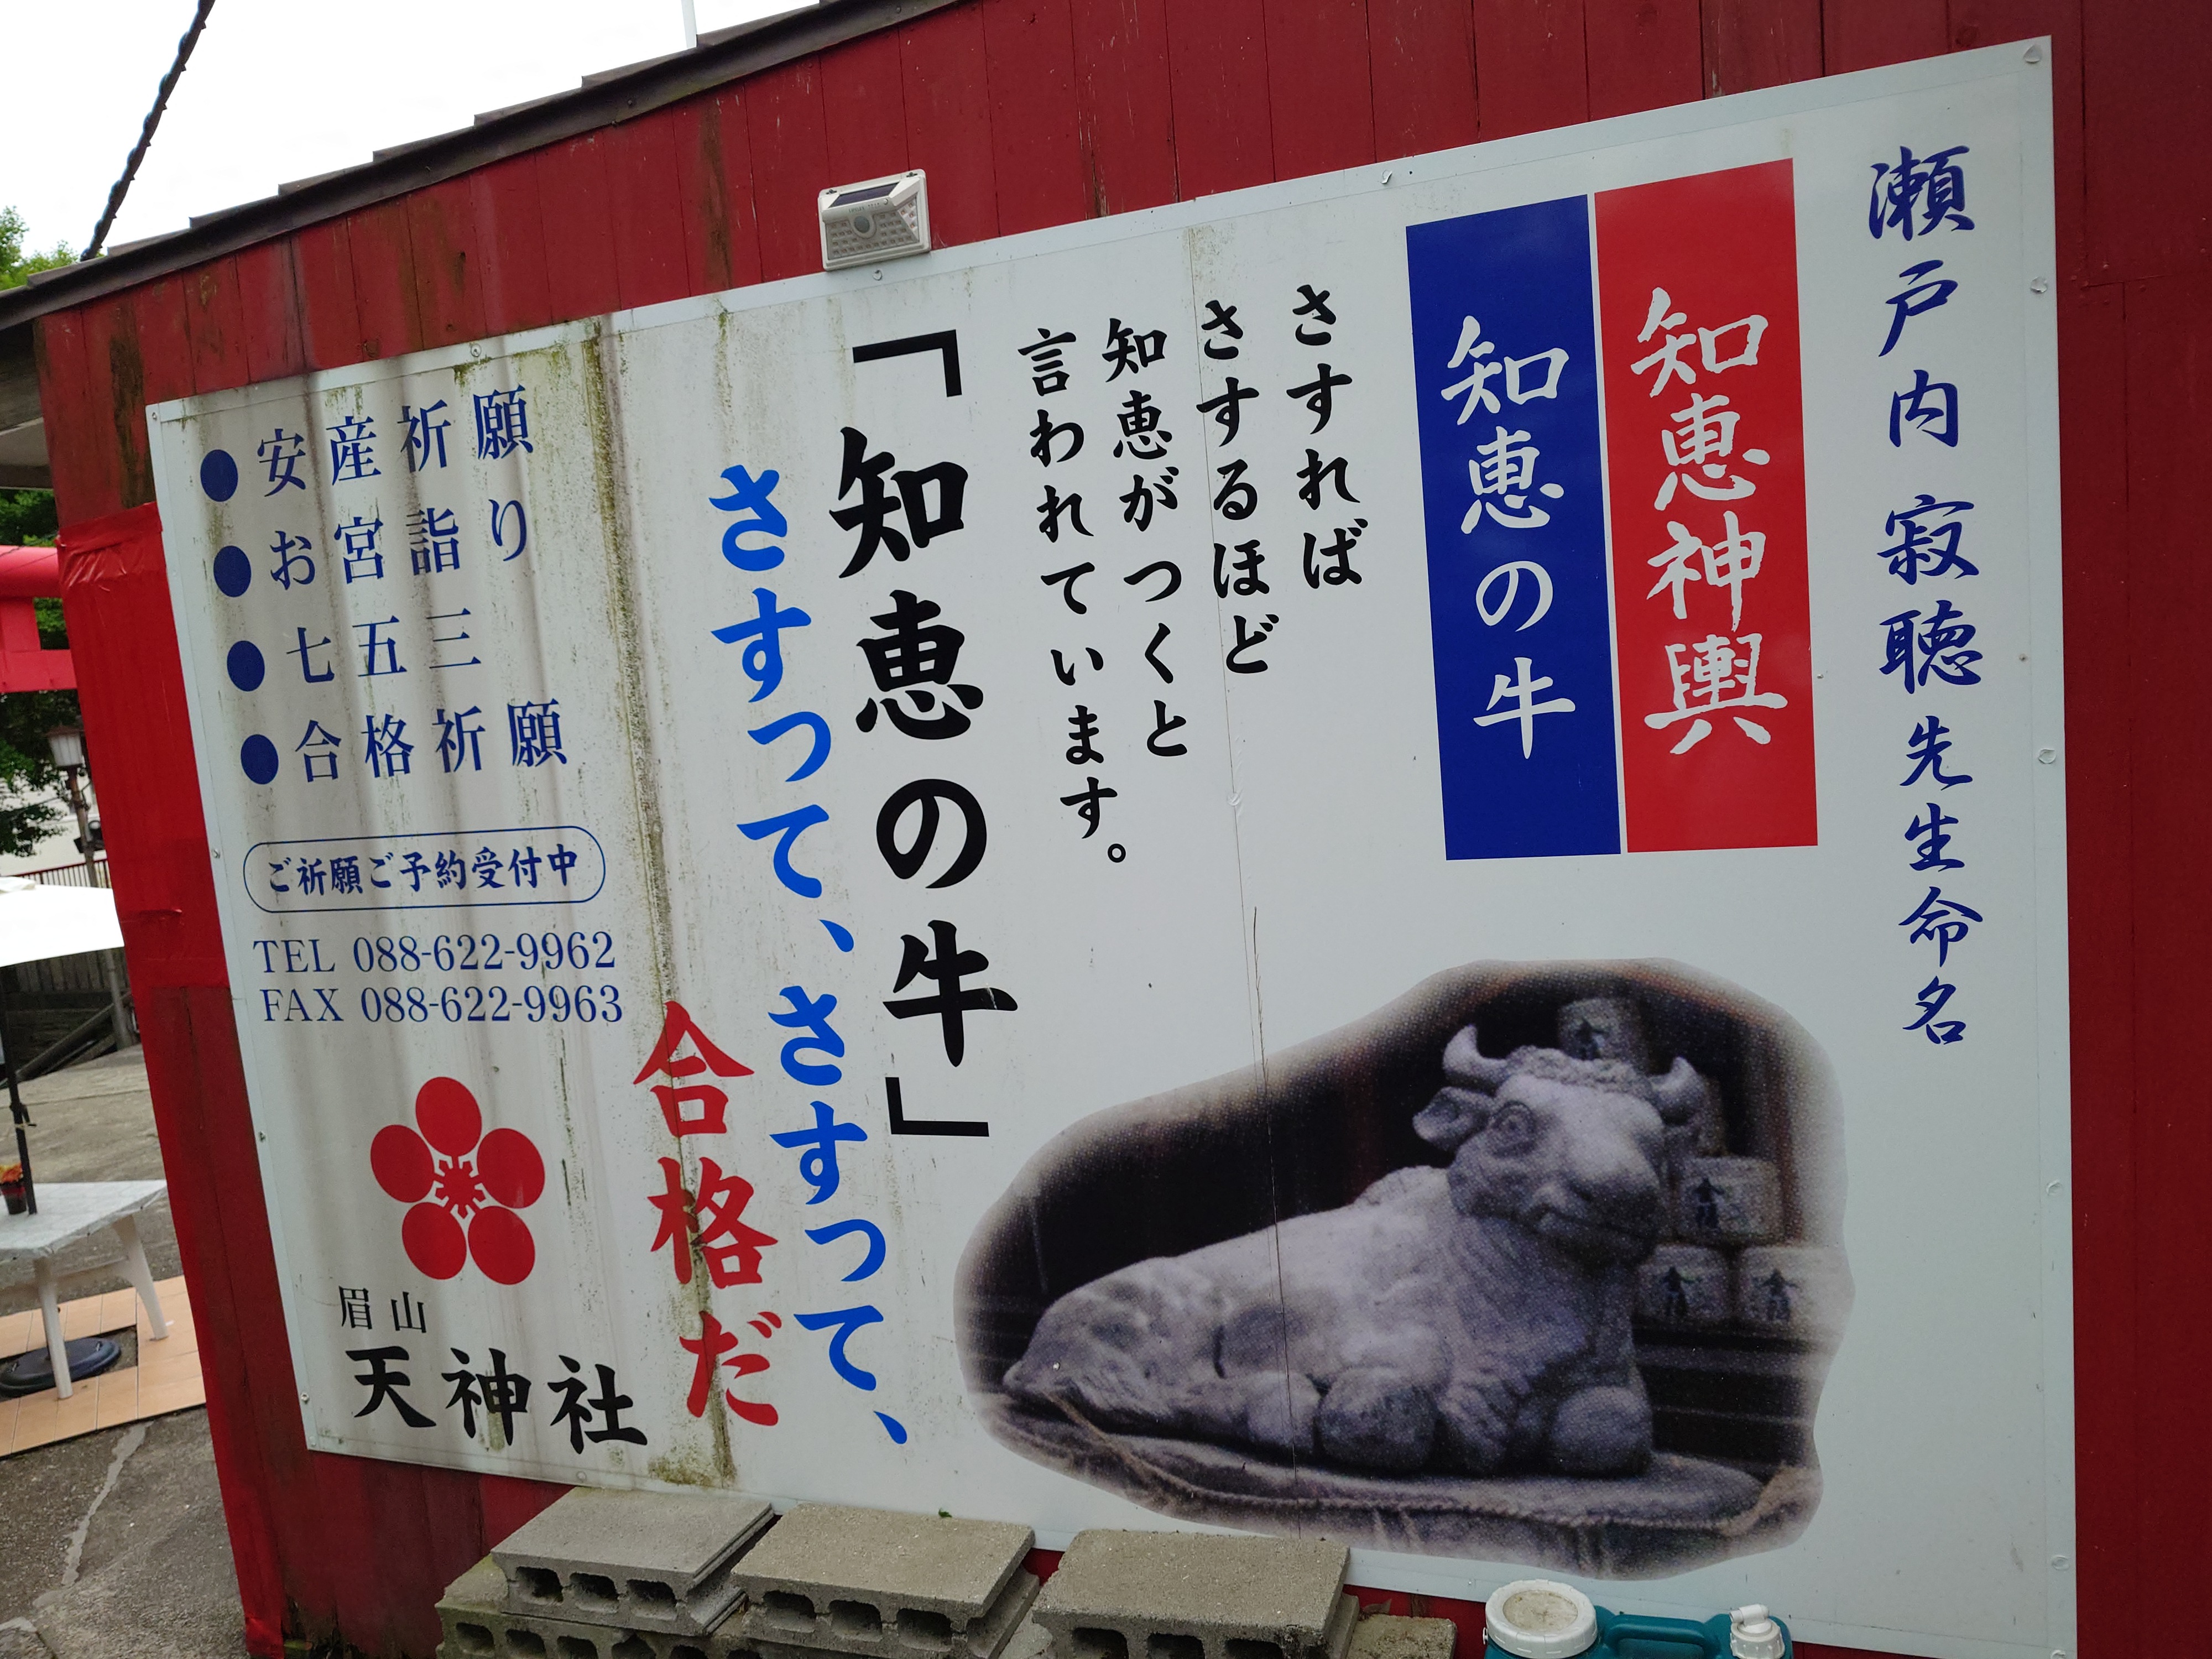
瀬戸内寂聴が命名したという知恵の牛なるものもあった。調べたところ瀬戸内寂聴は徳島の出身らしい。
阿波踊り会館内部へ
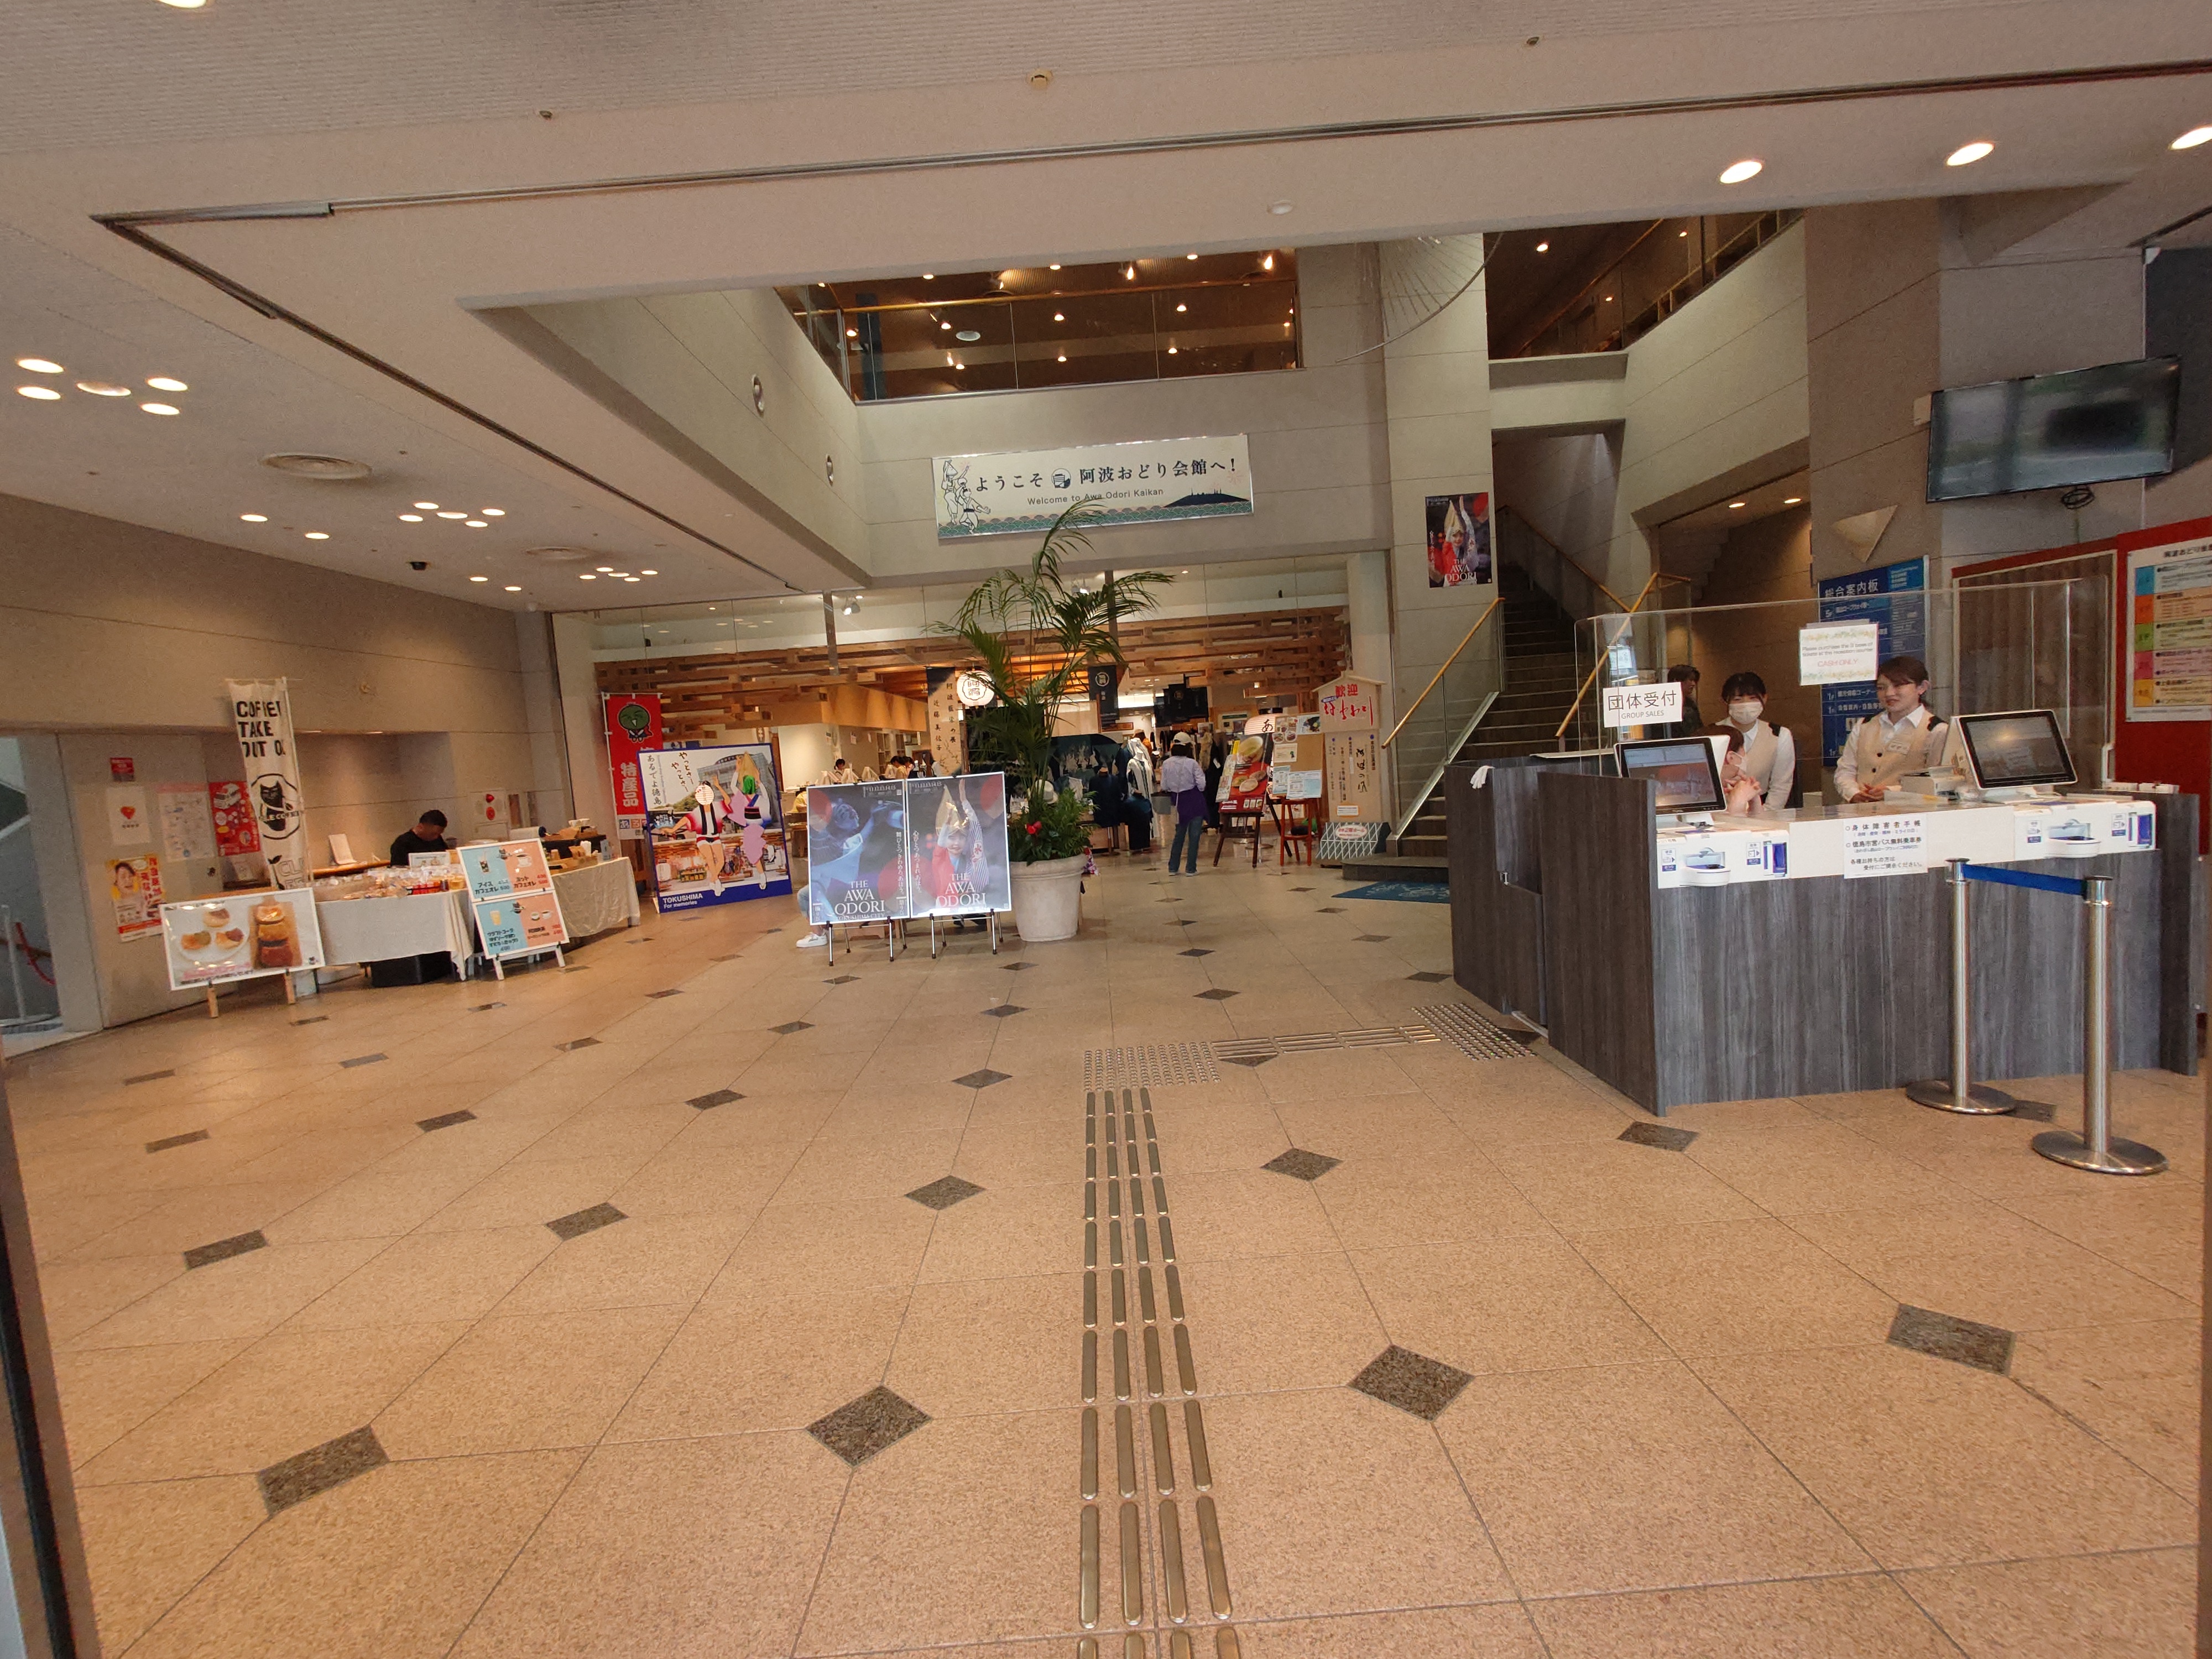
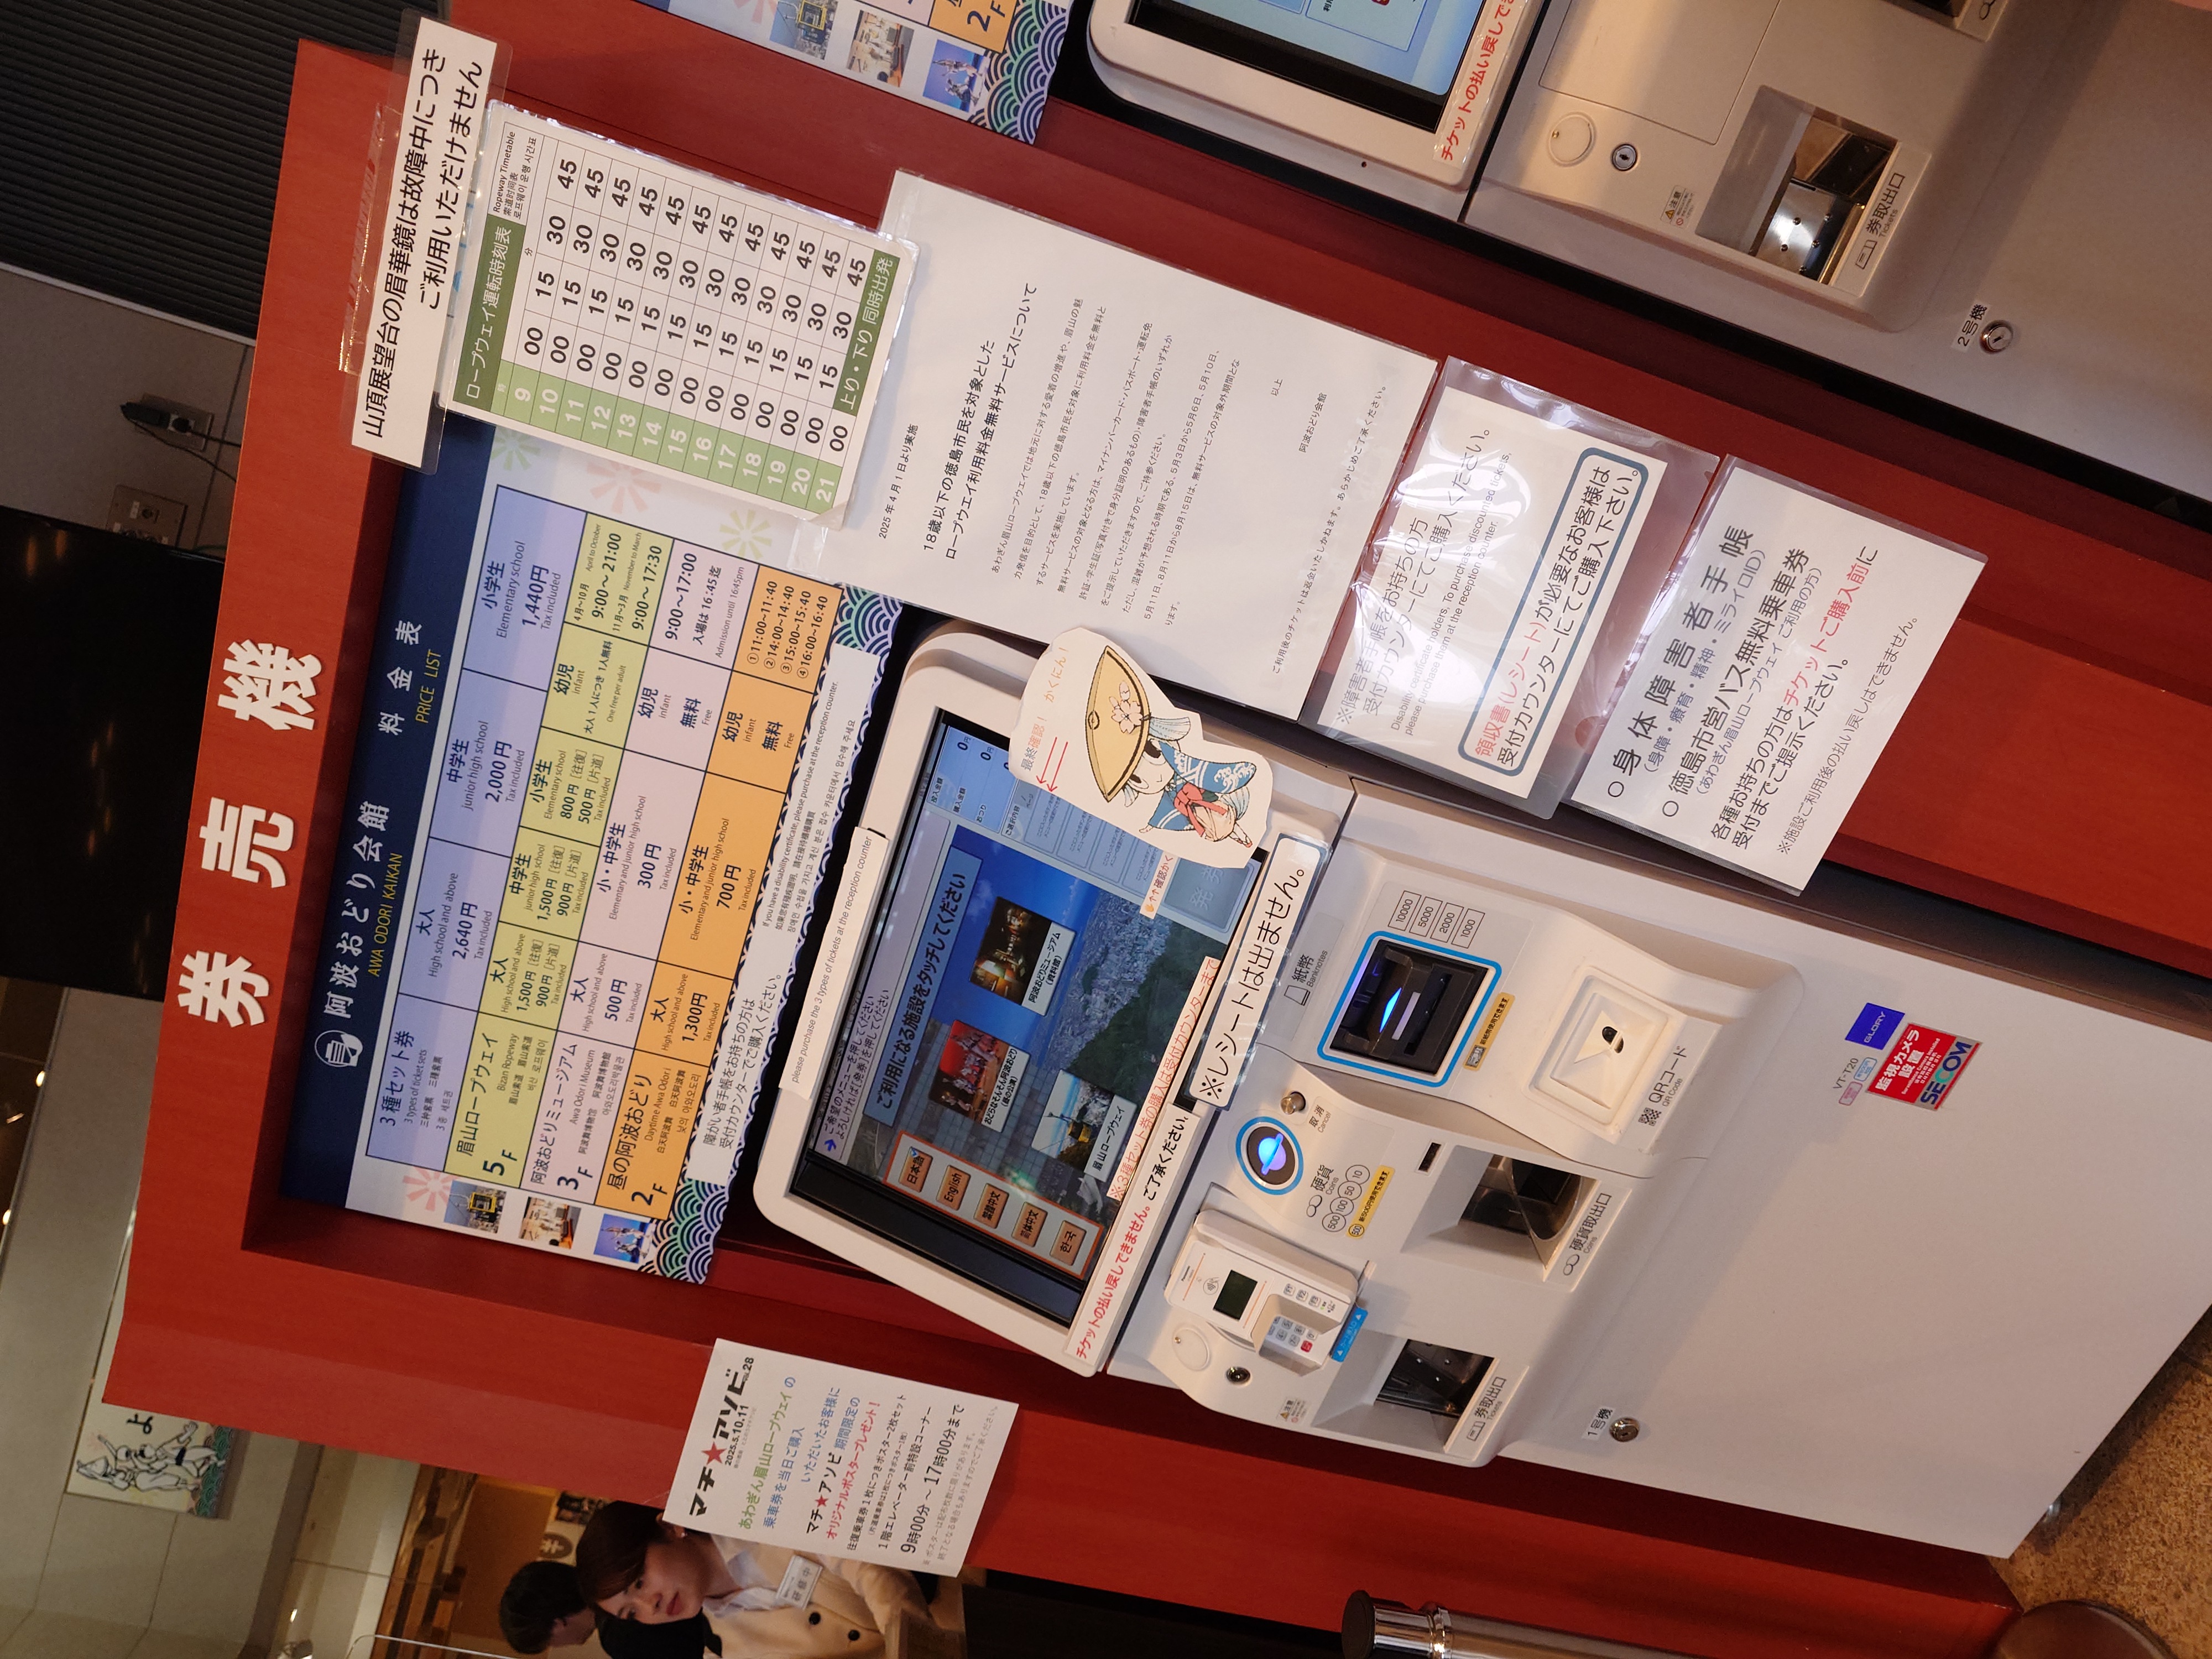
中は奥の土産コーナーを除き閑散としていた。また眉山ロープウェイの切符はここで買うことができた。
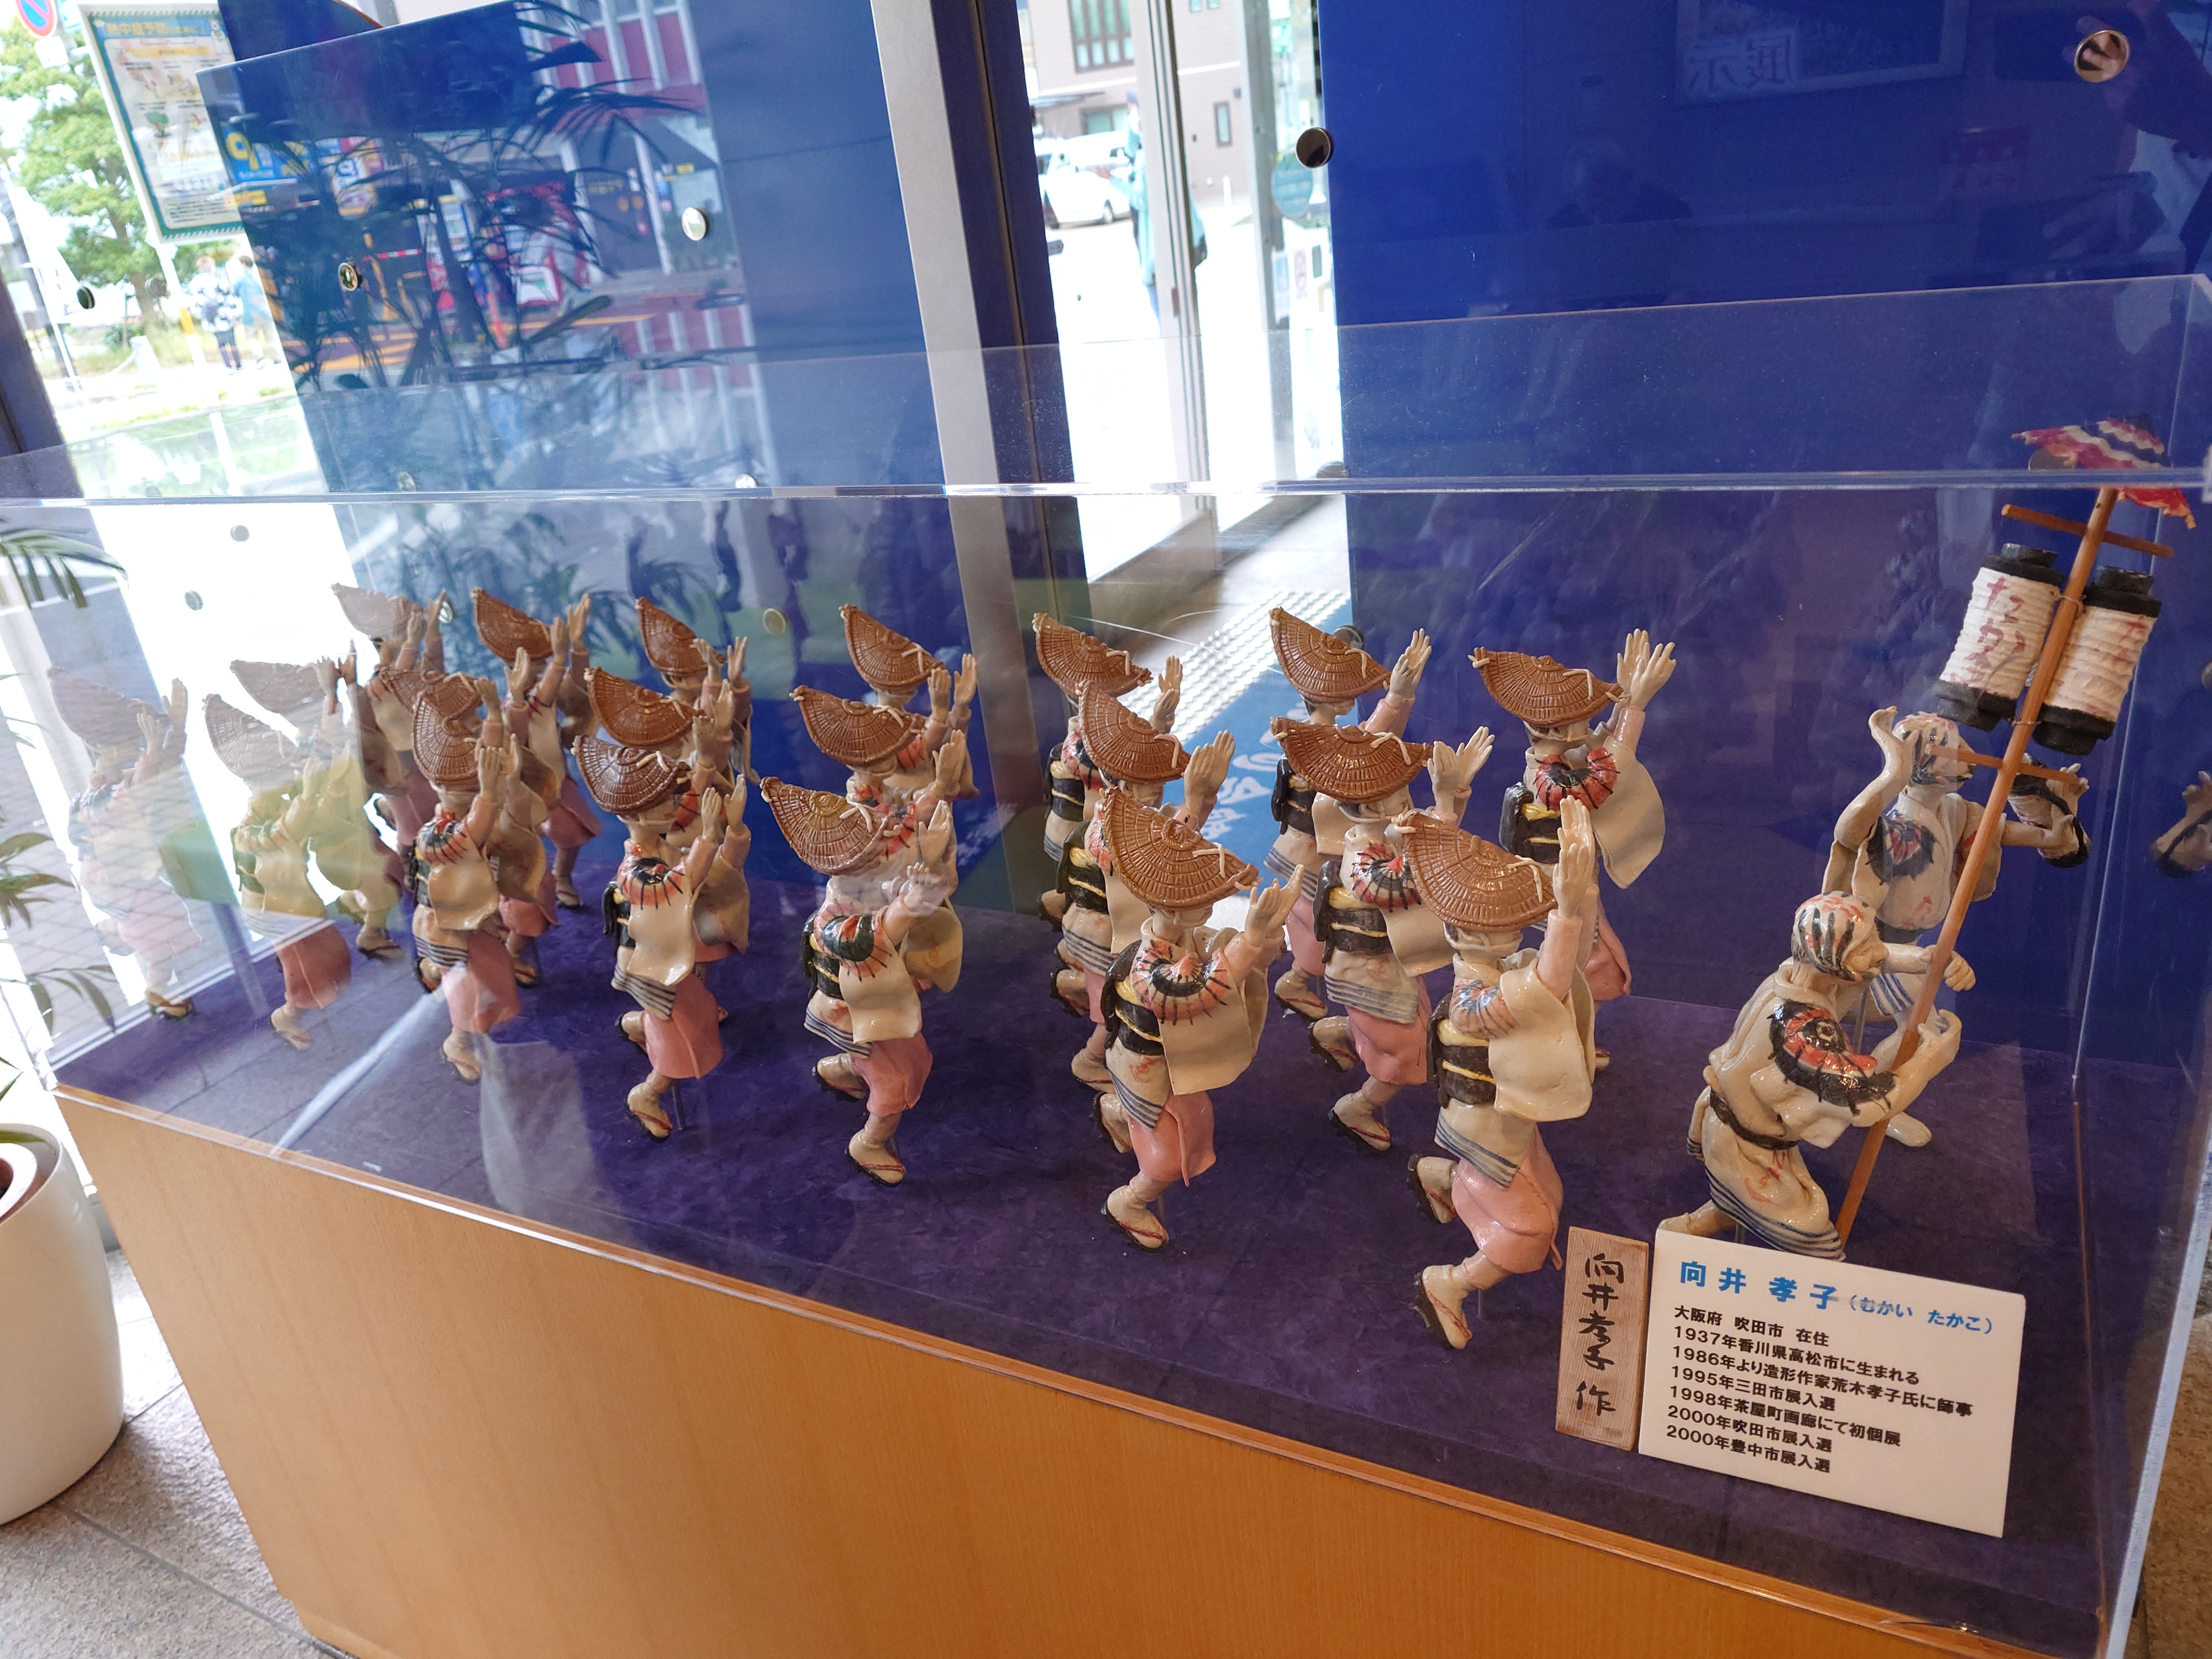


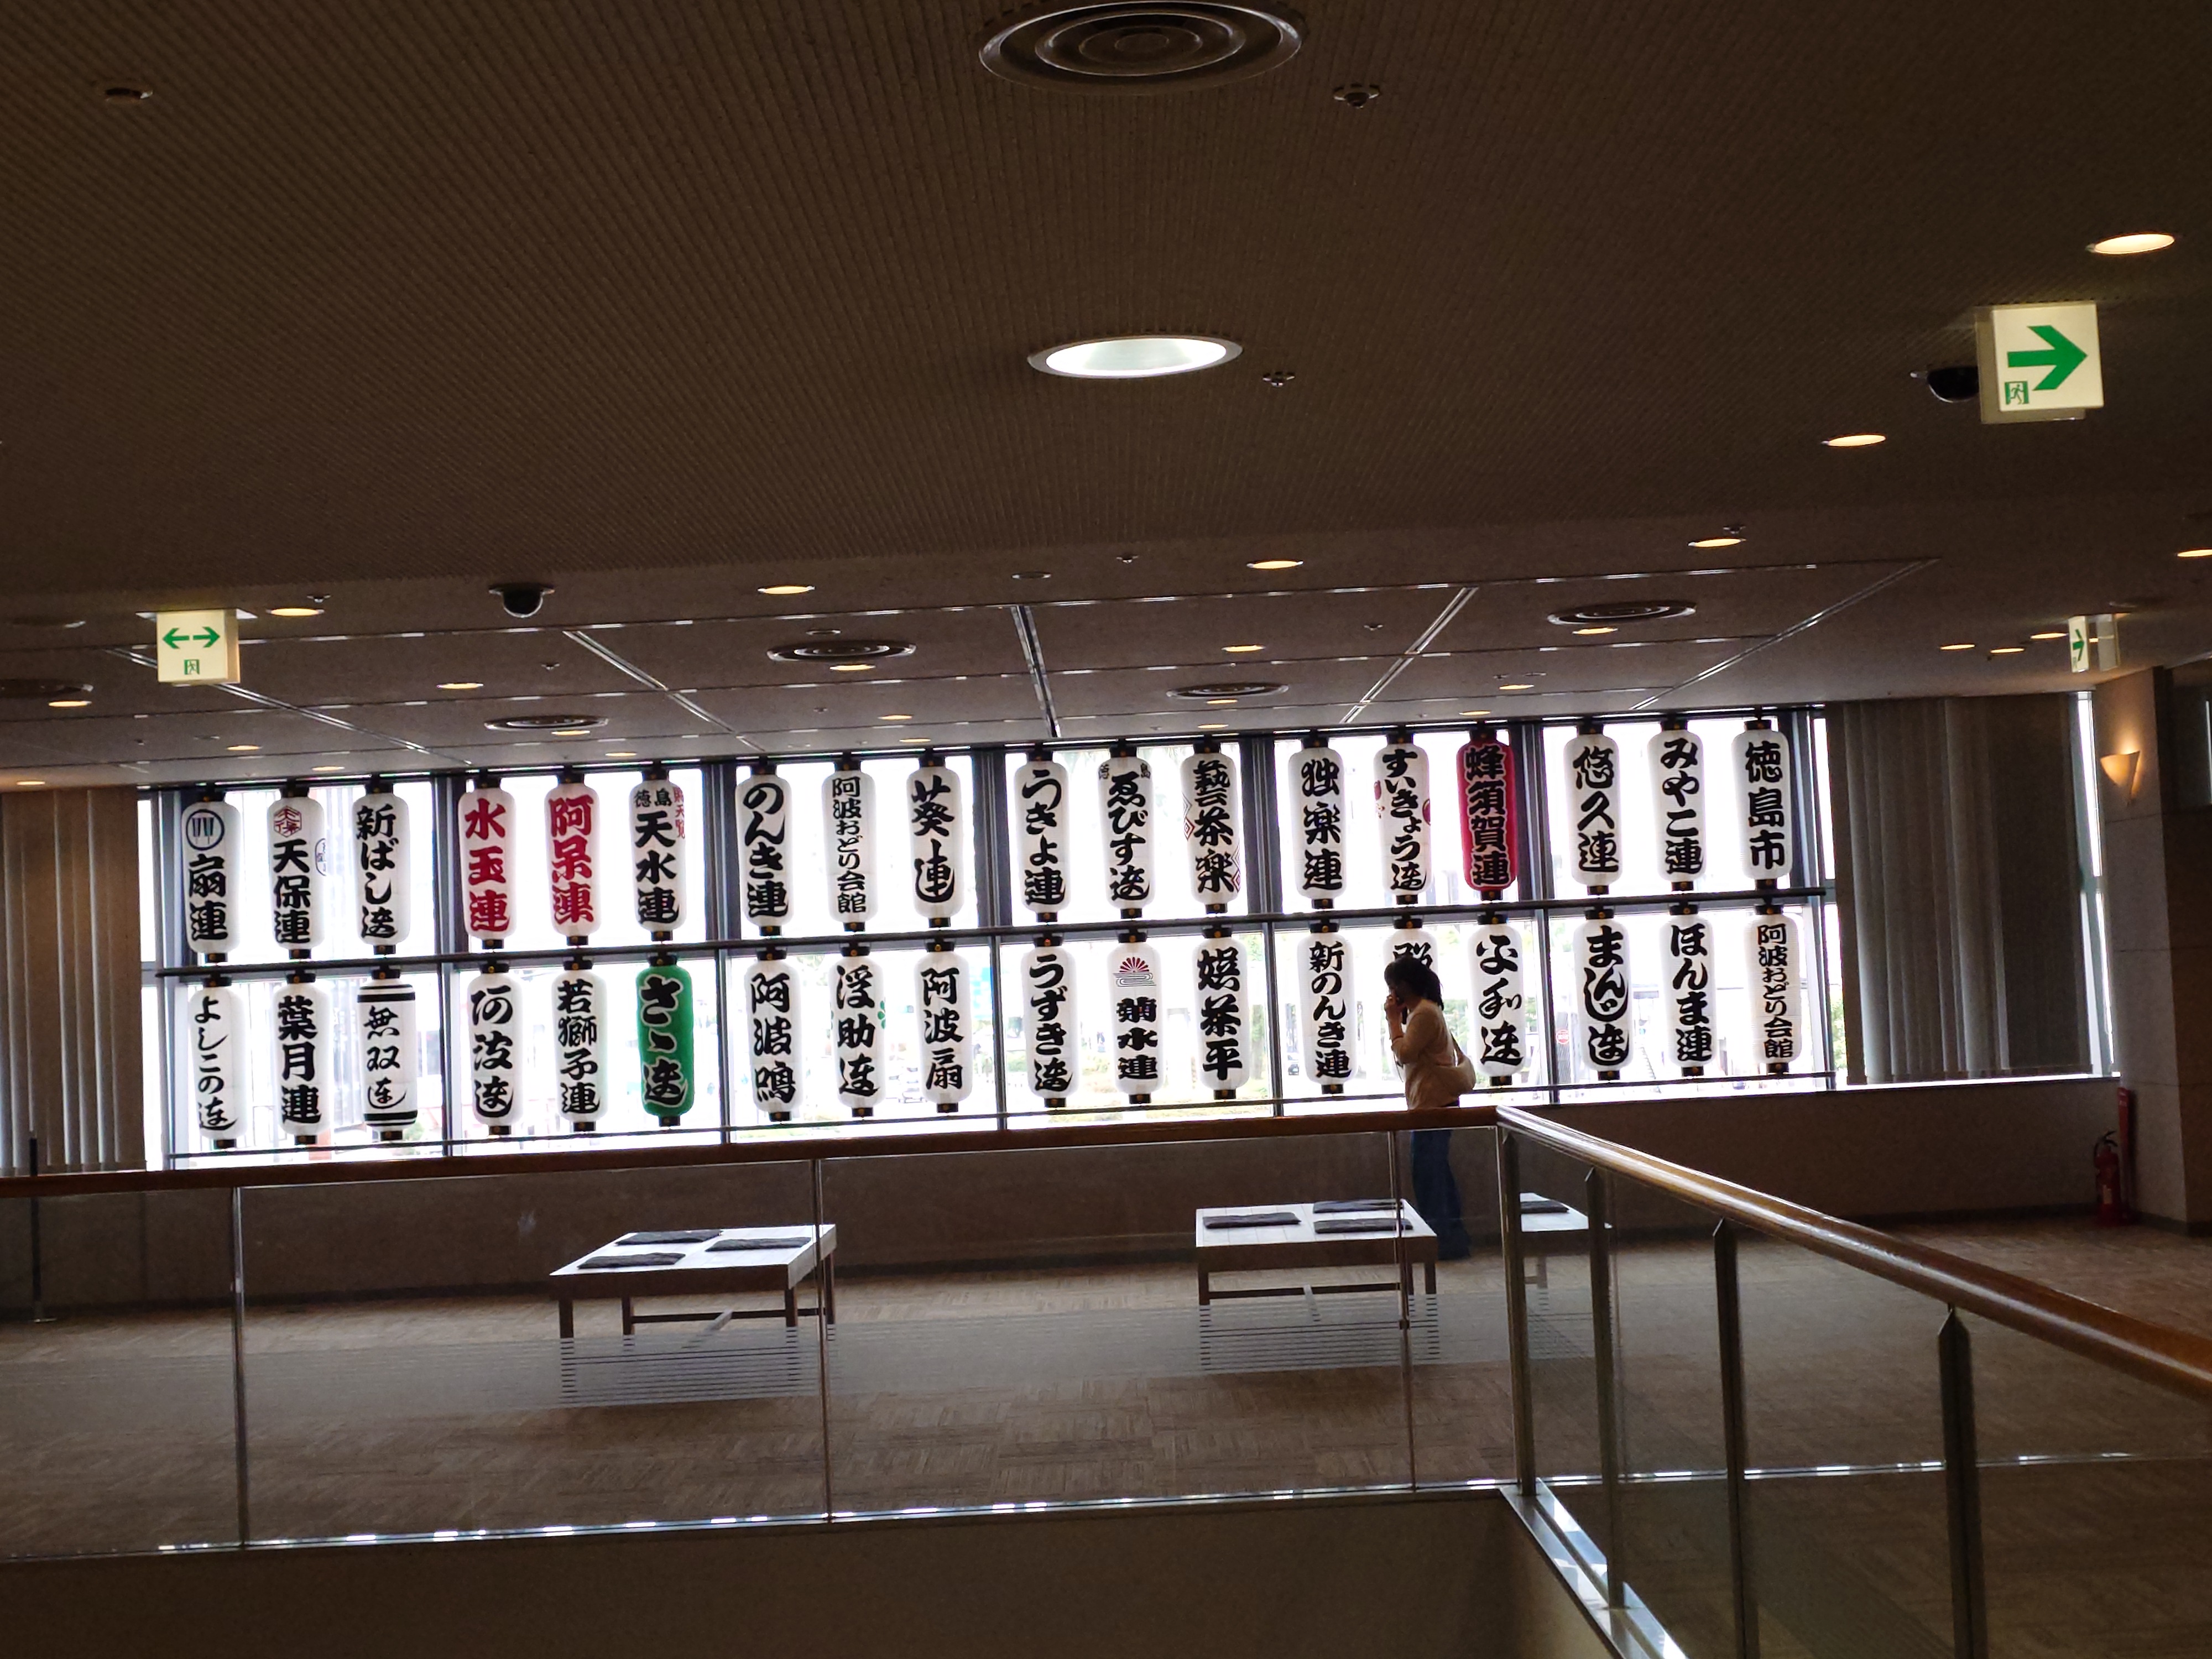
会館内は阿波踊り関連の展示も多く、阿波踊り人形や阿波踊りの連(阿波踊りを演舞する地域ごとのグループらしい)の提灯も置いてあった。
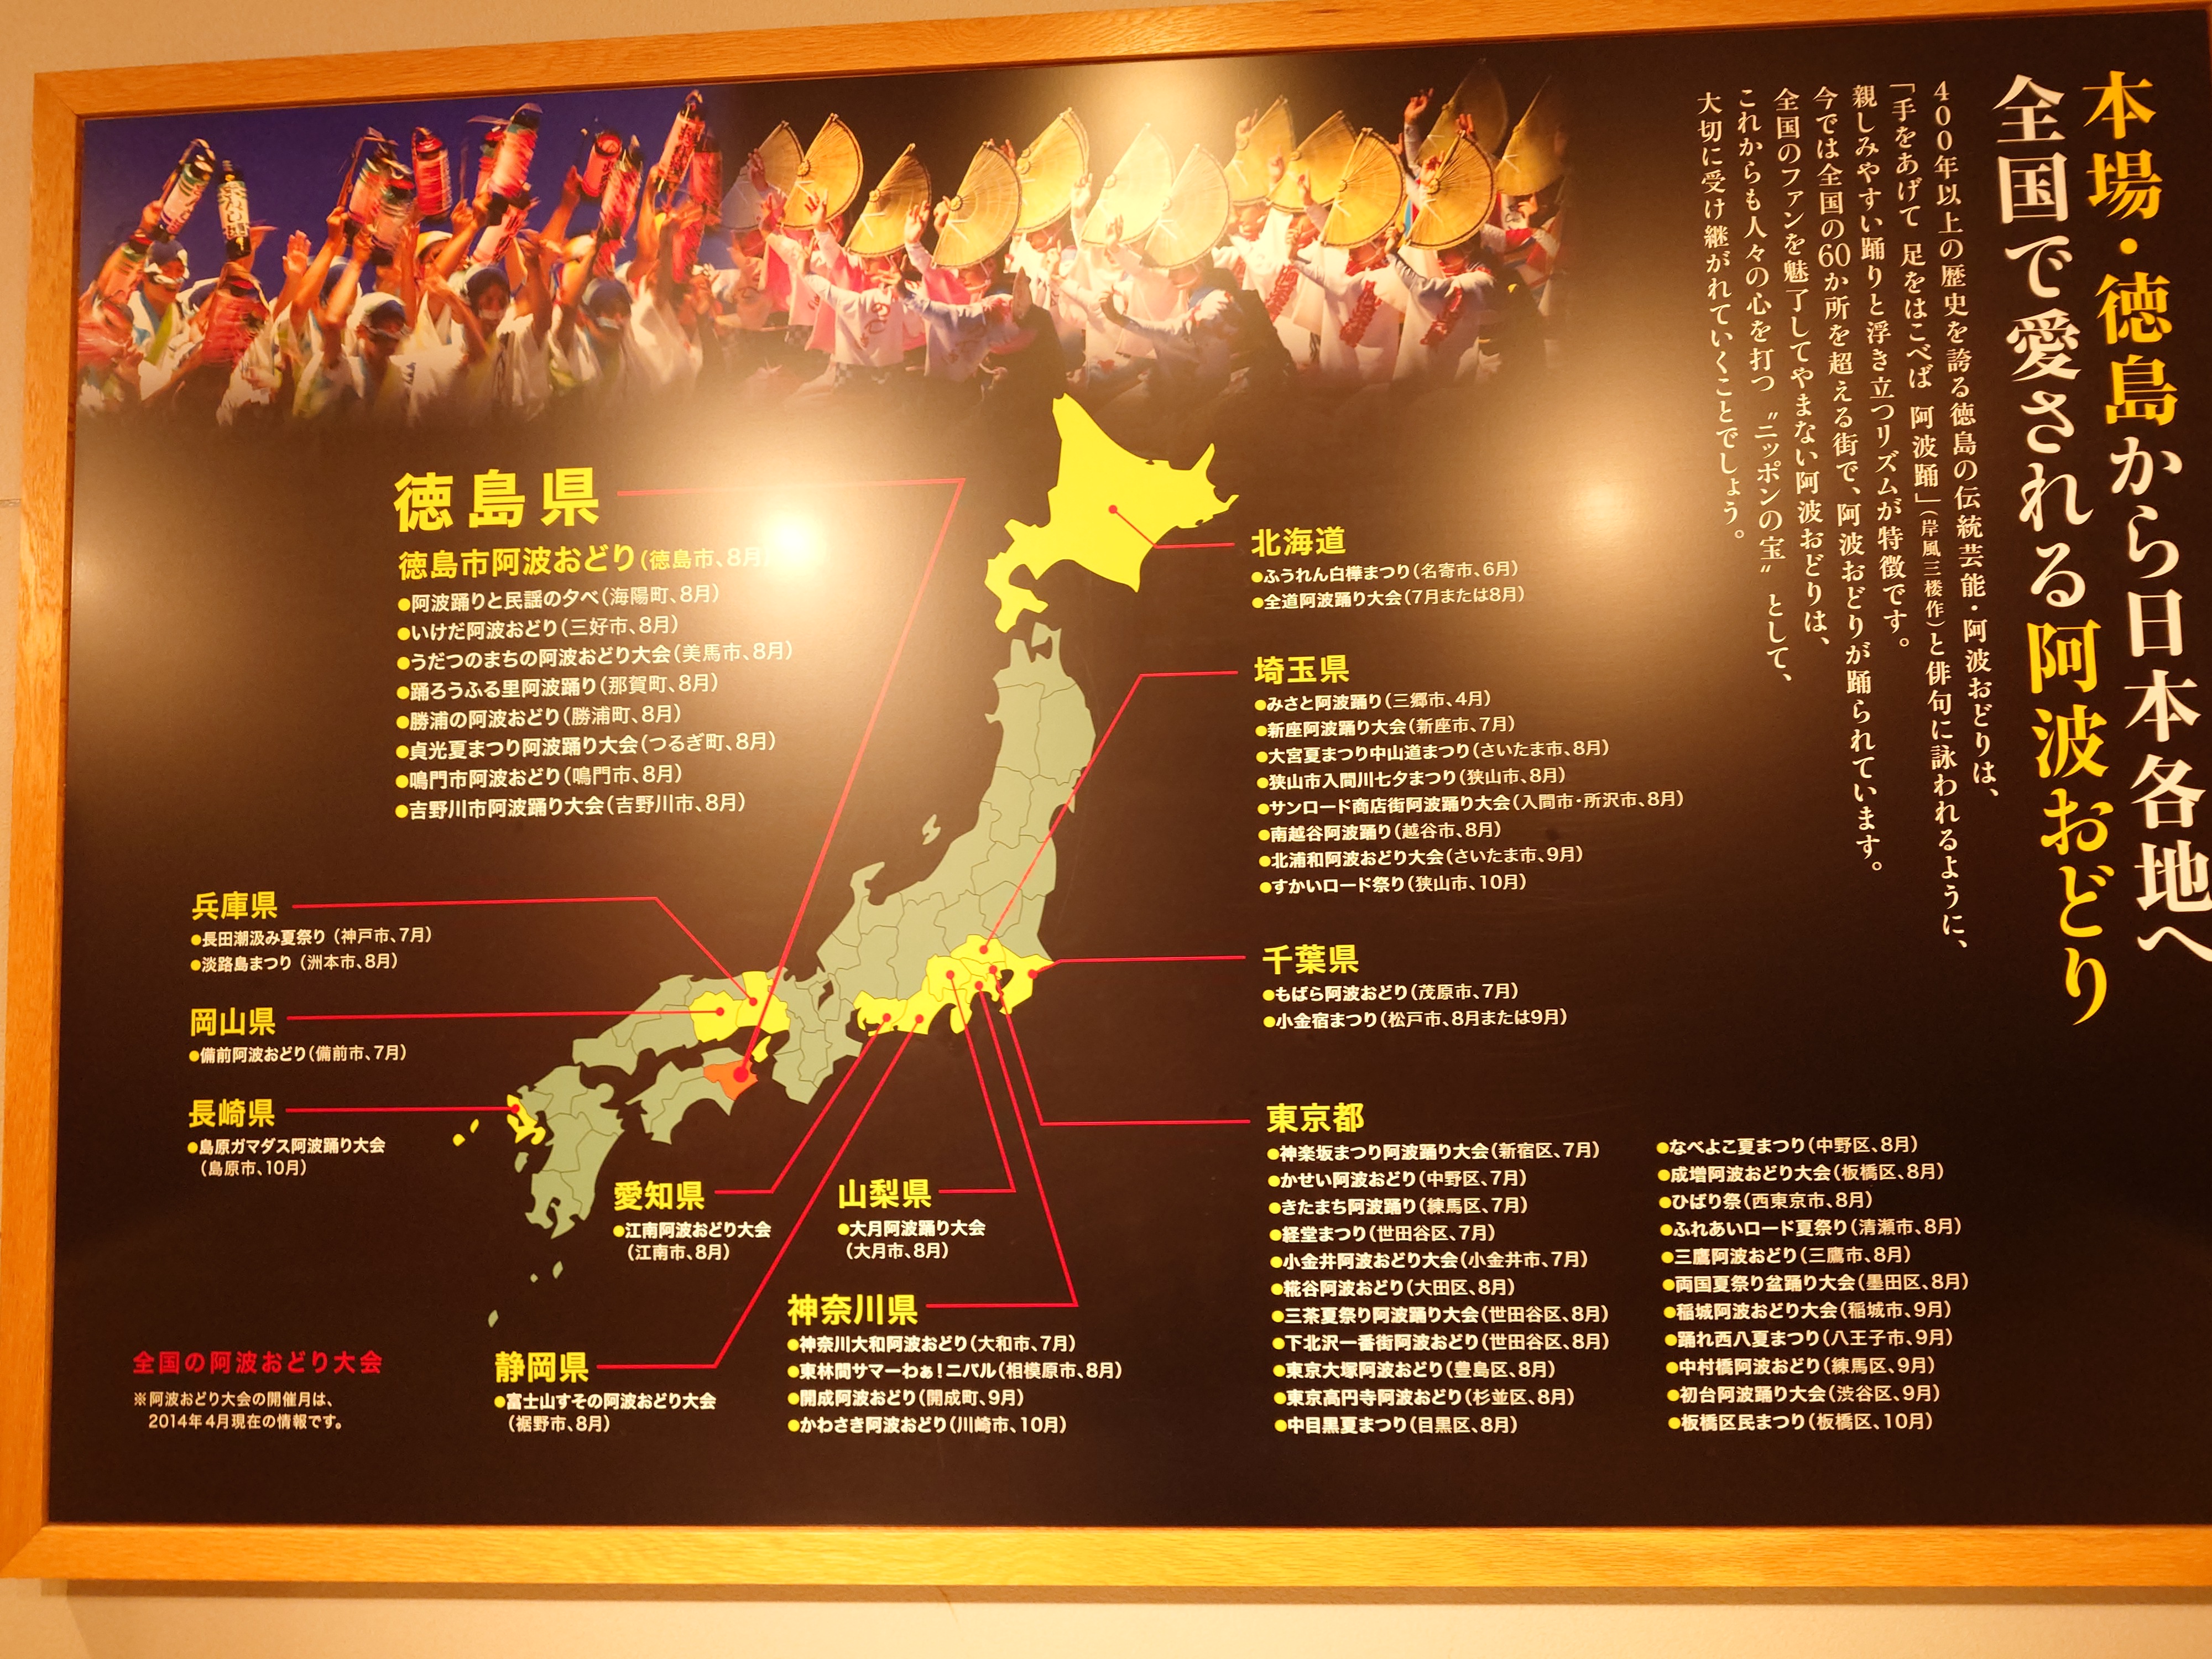
阿波踊りは全国に広まっているらしい。
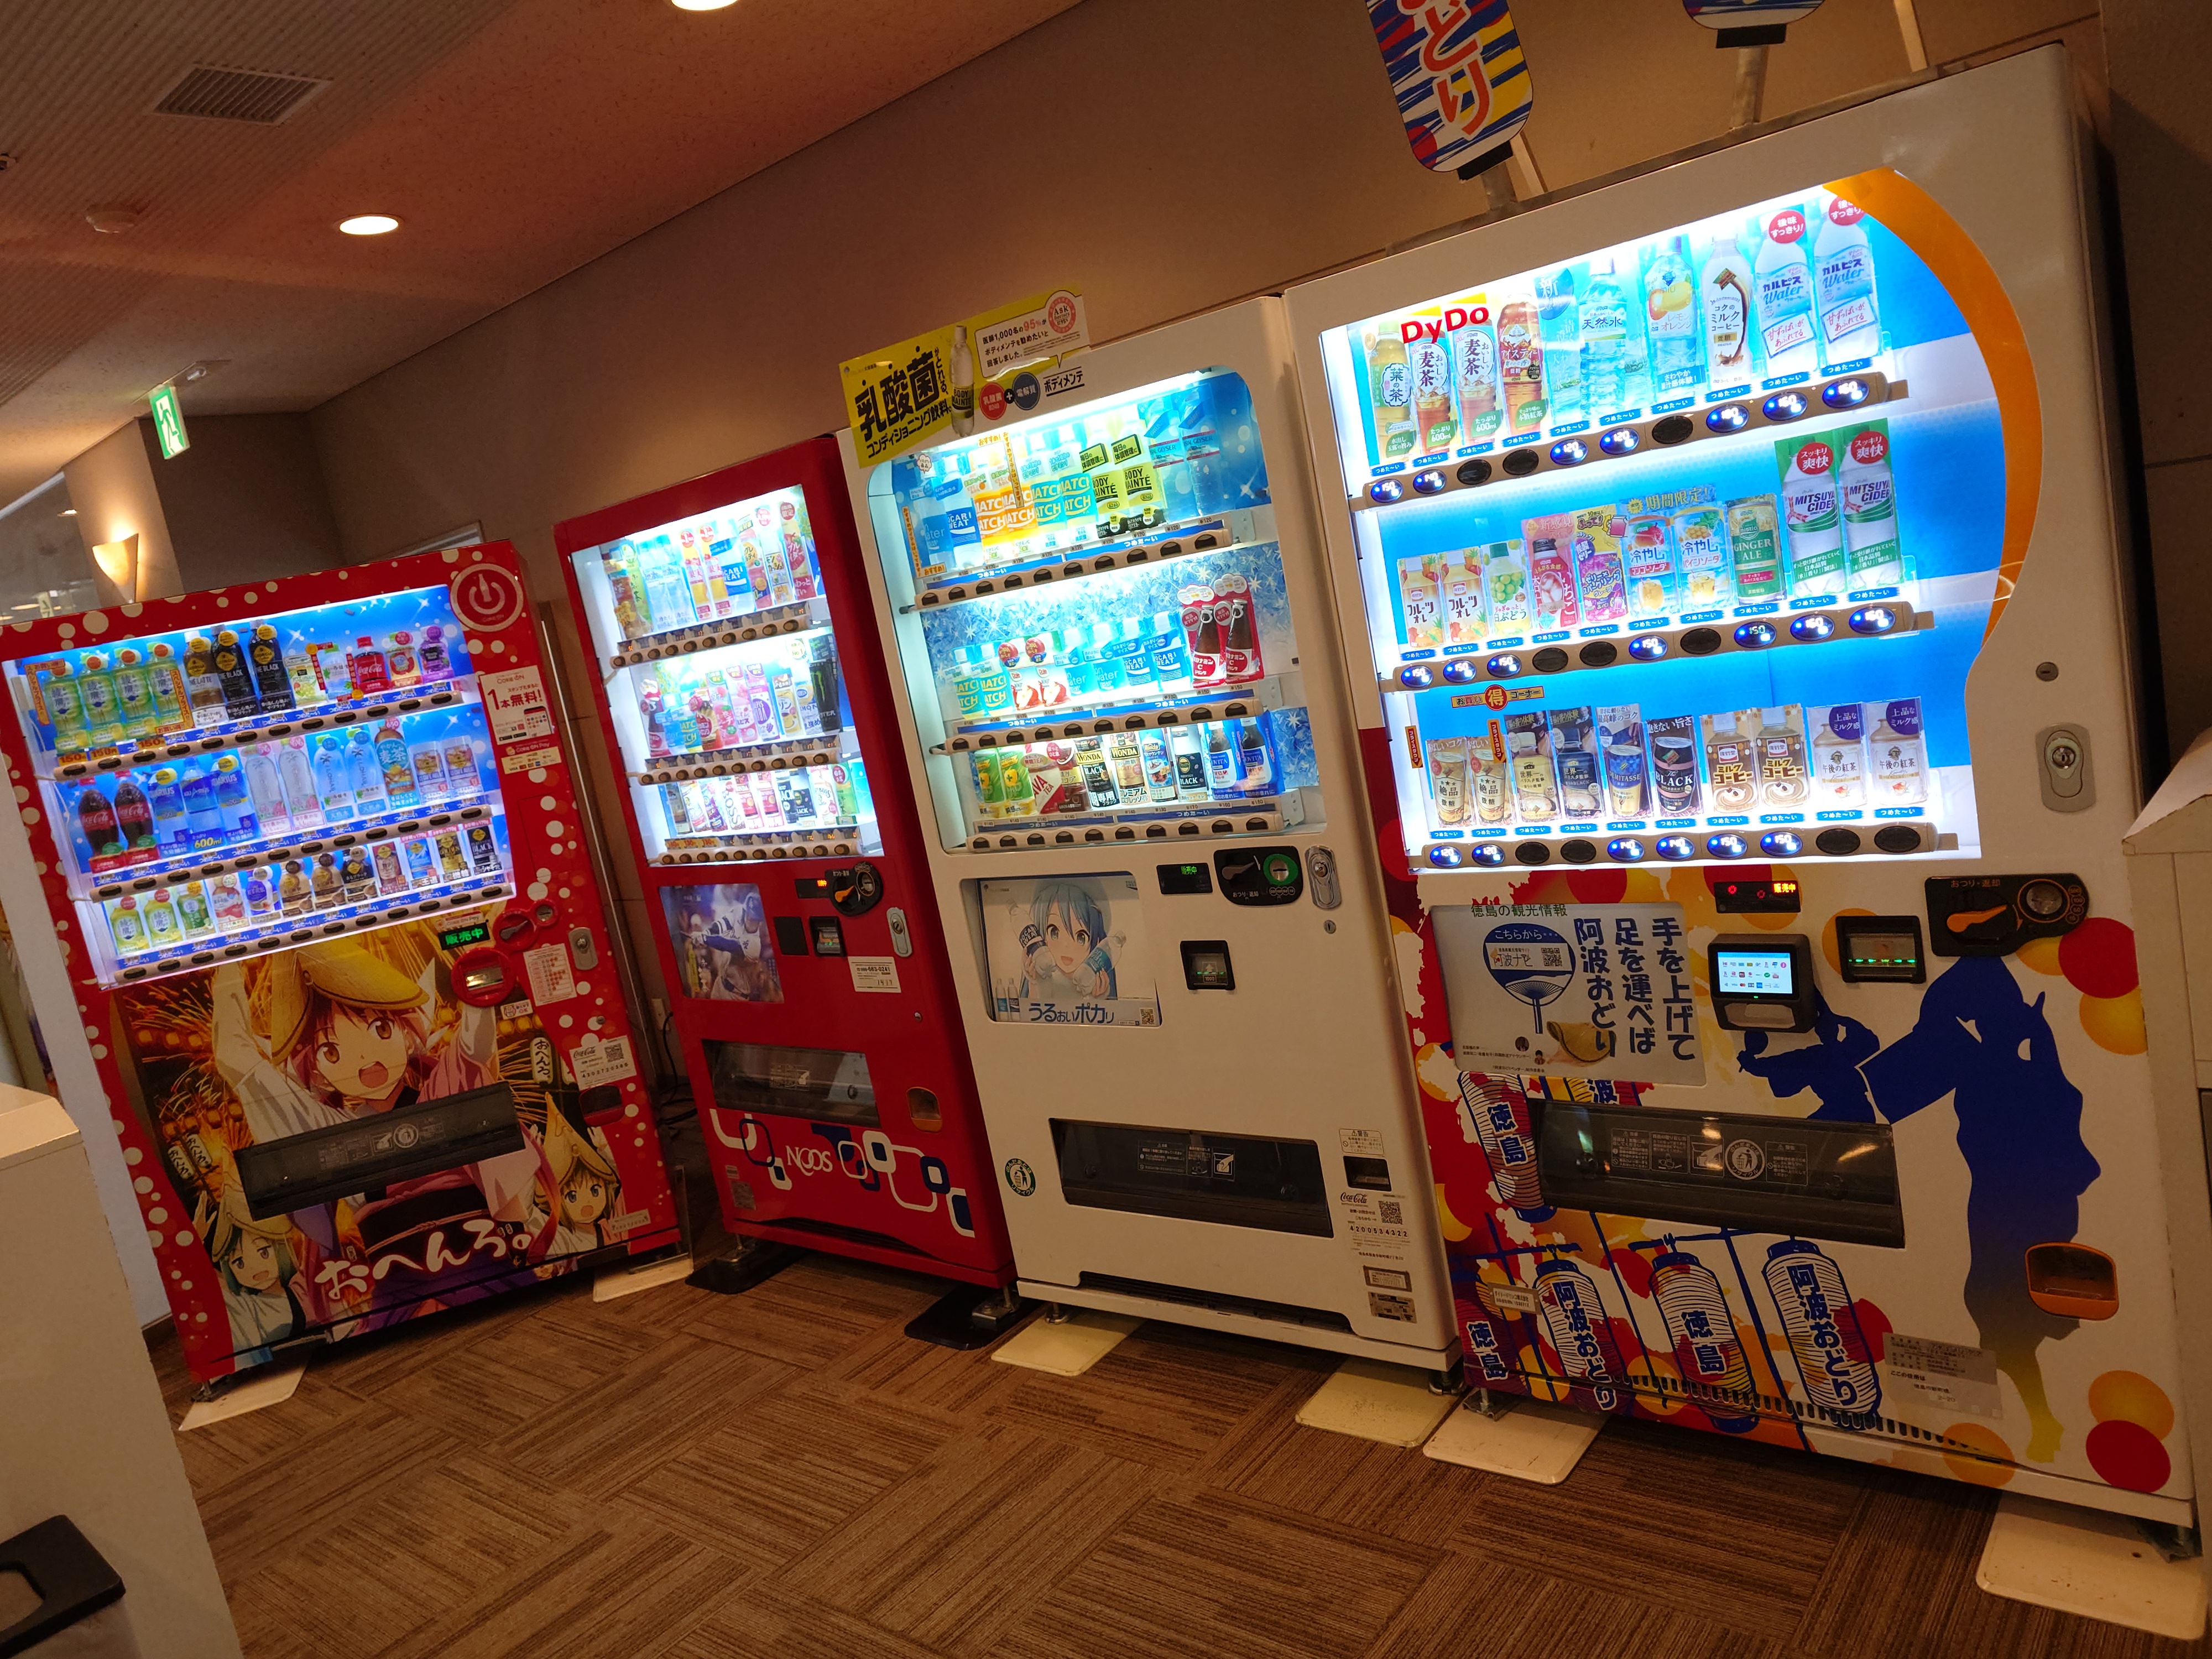
自販機コーナーも阿波踊り。おへんろ。の阿波踊り仕様もあった。
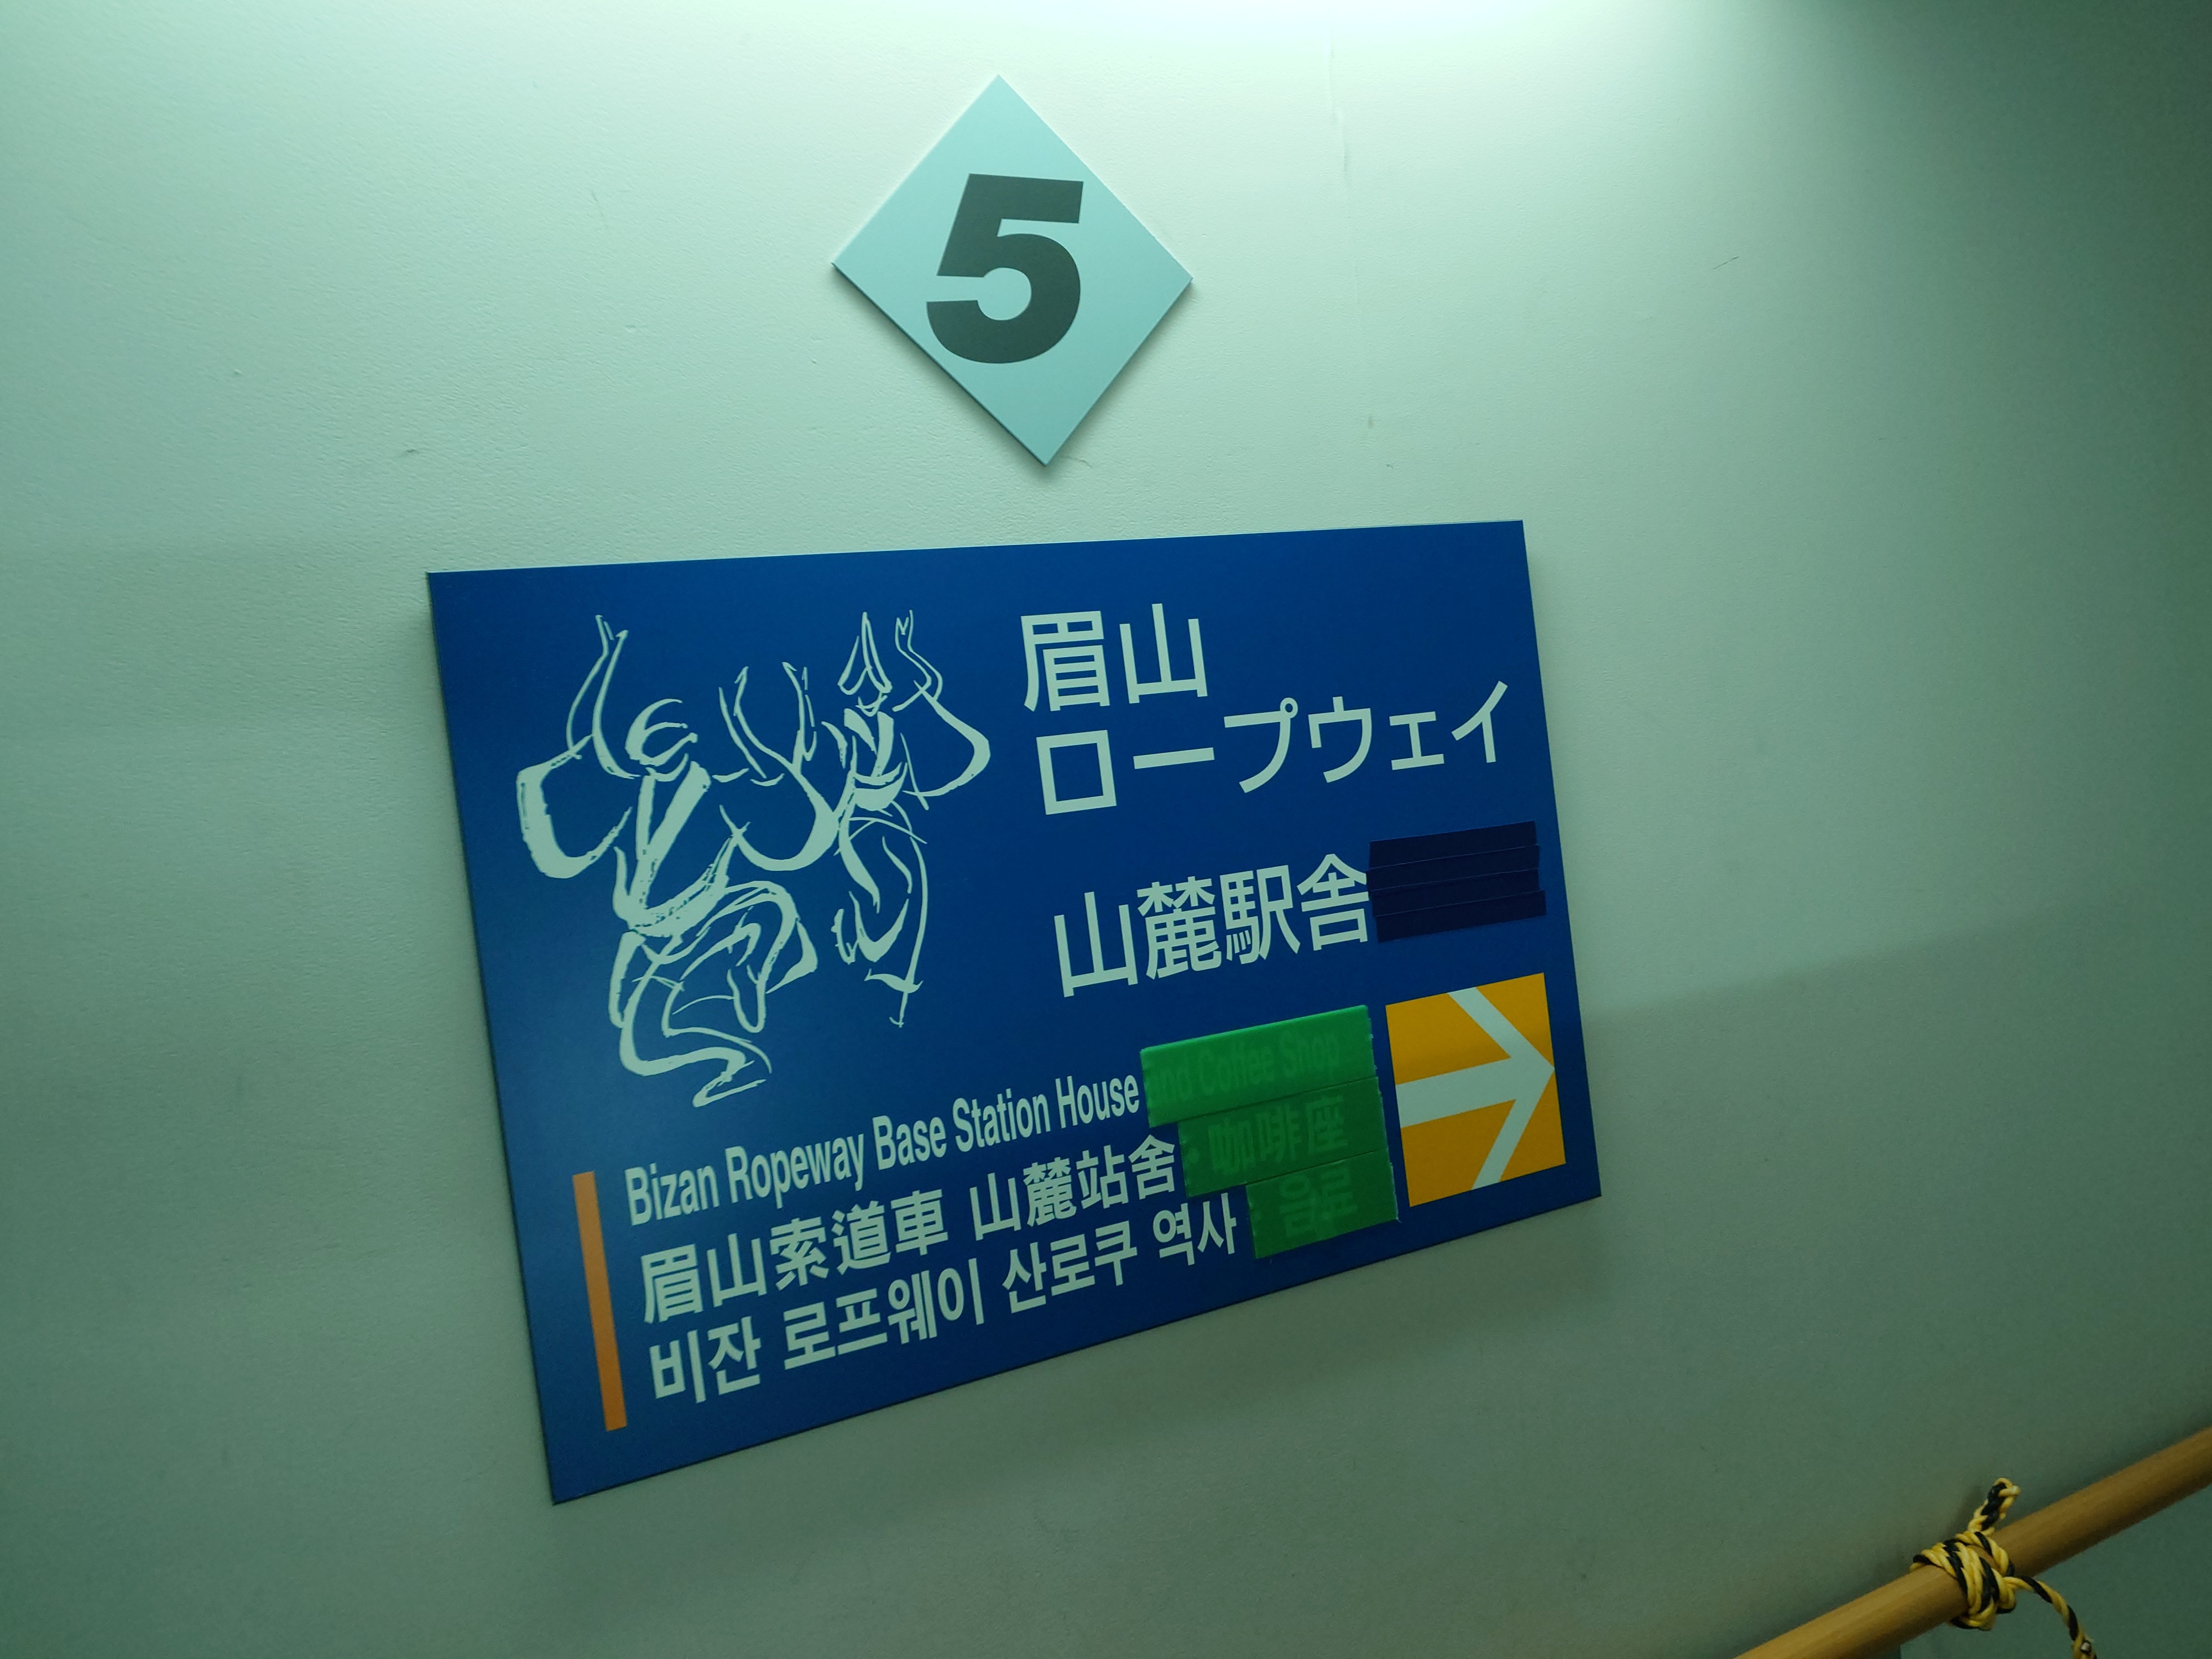
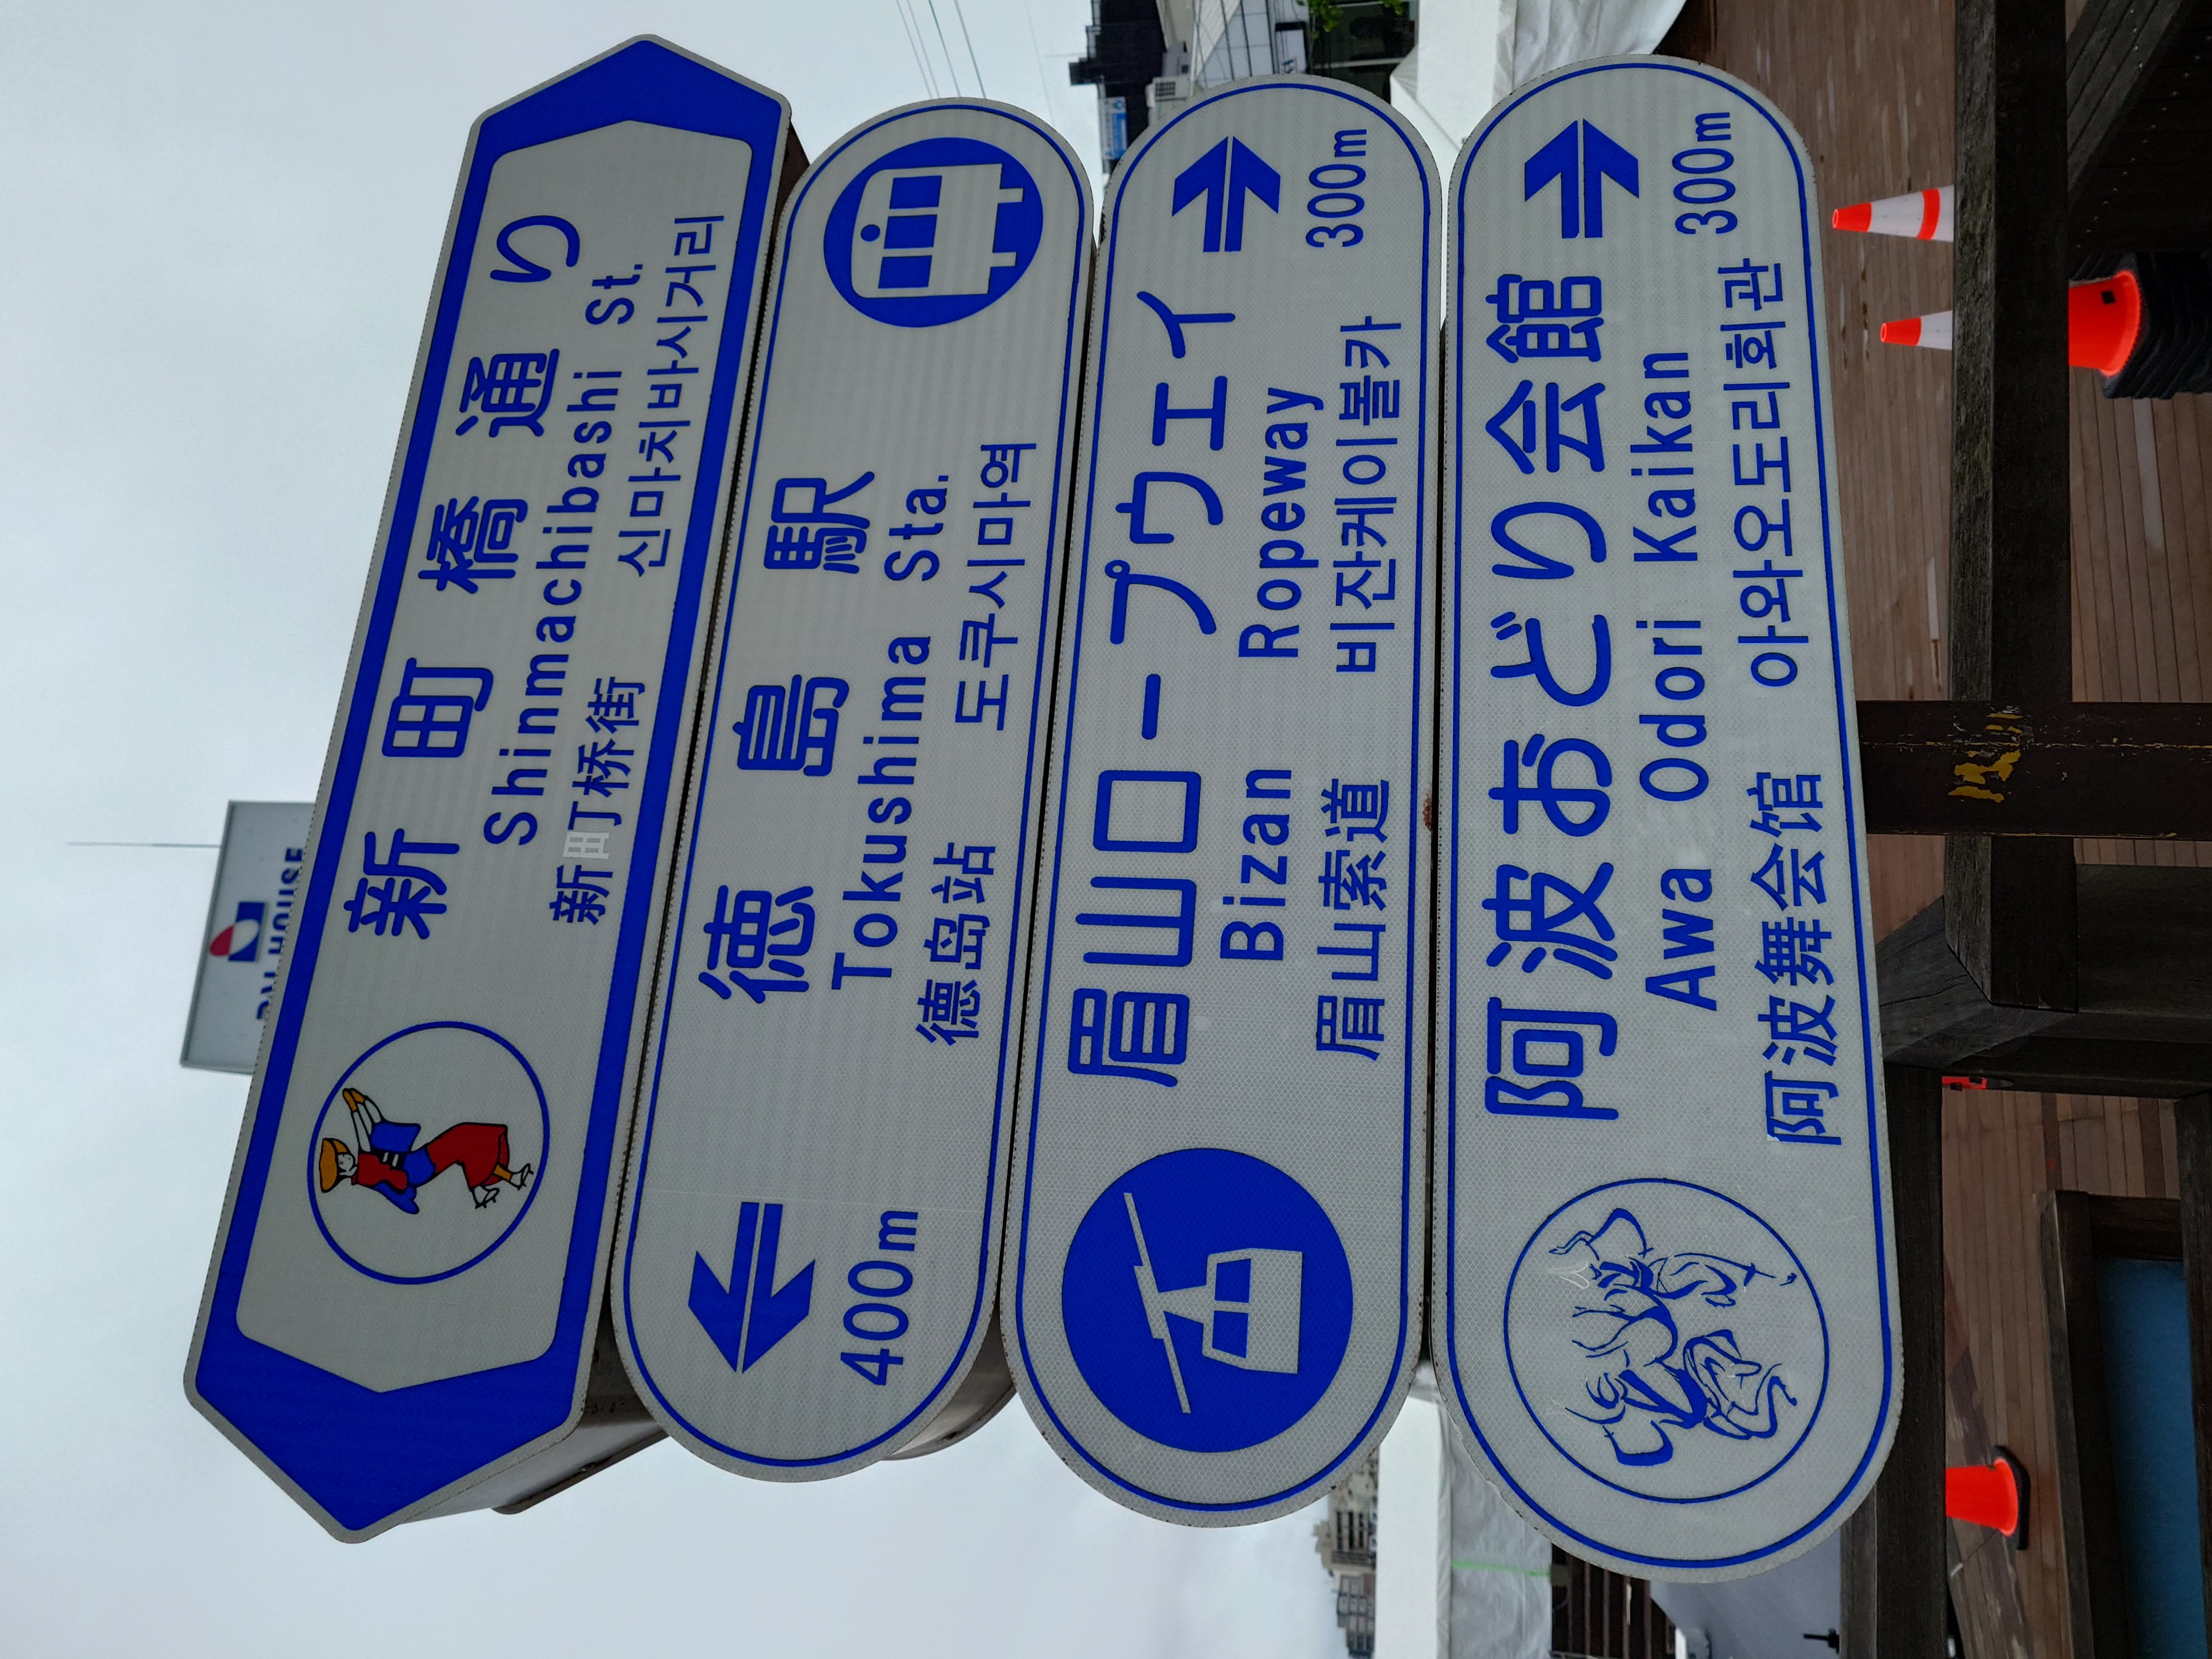
眉山ロープウェイの案内板には阿波踊りのマークが描かれていた。このマークはだいぶ前に書いたトイレにもいたやつで、阿波踊り会館を示す道路標識にもいたりするのでピクトグラムの一種なのかもしれない。
二連結ゴンドラの眉山ロープウェイ
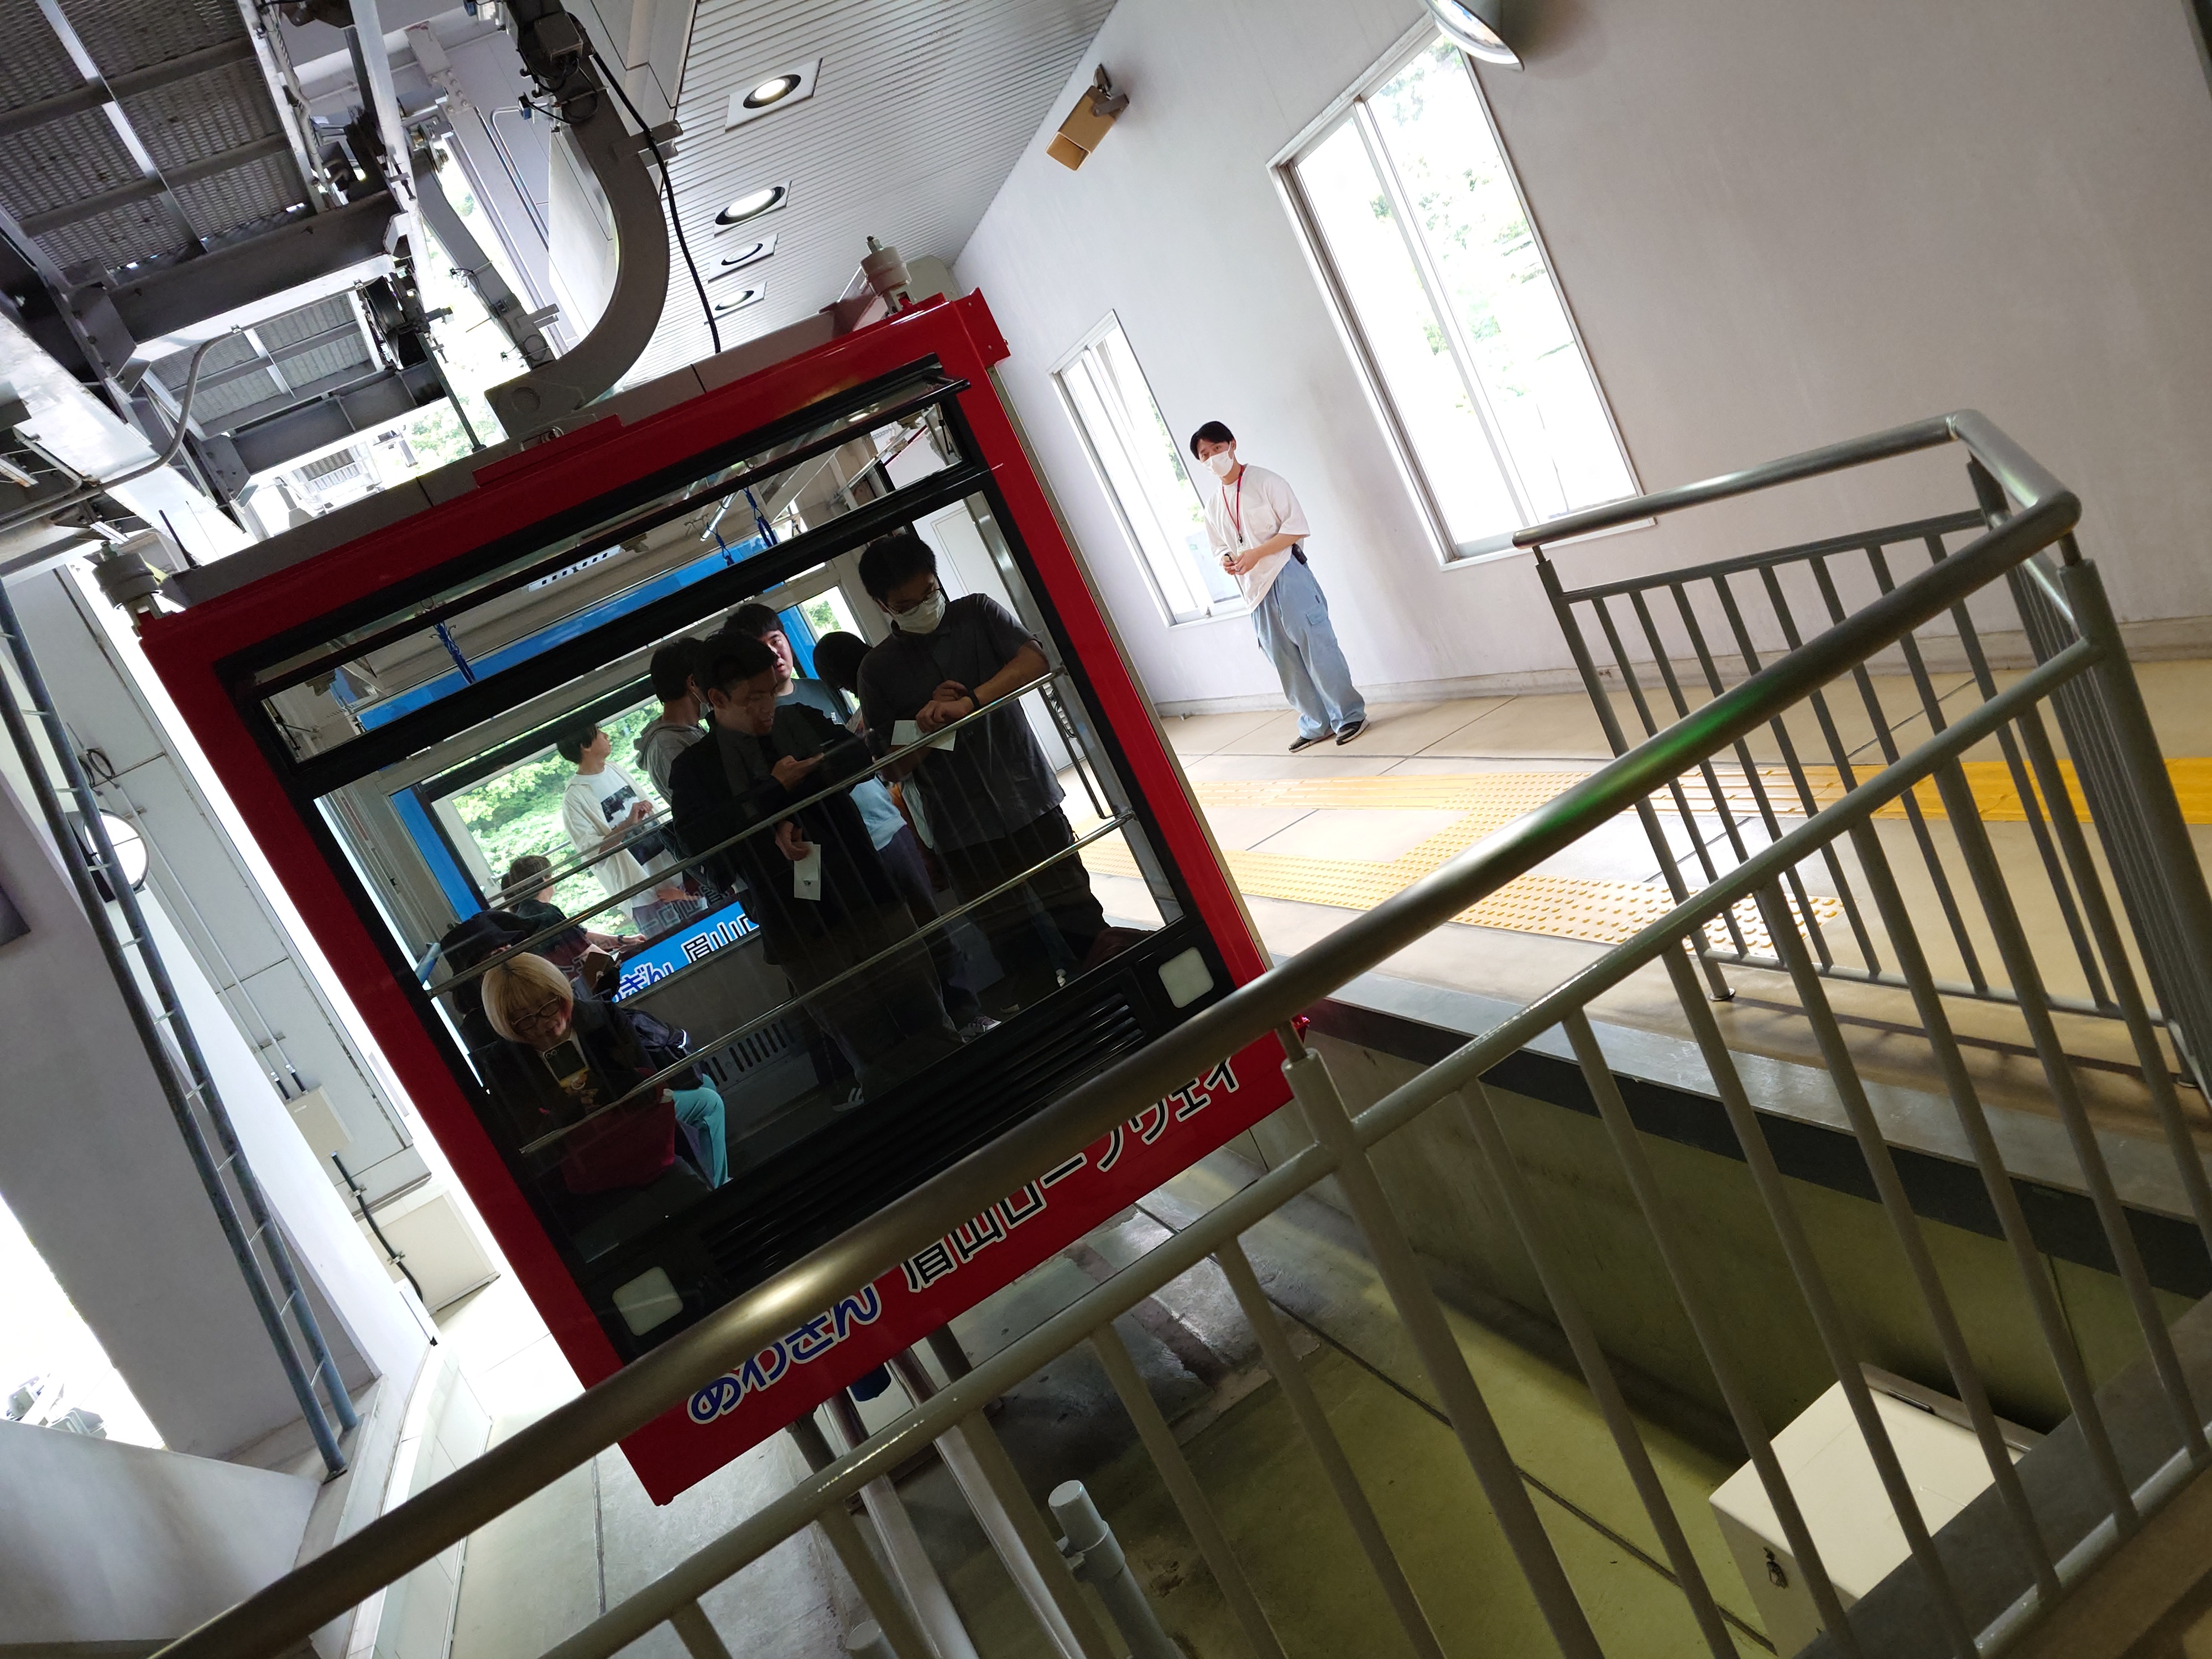
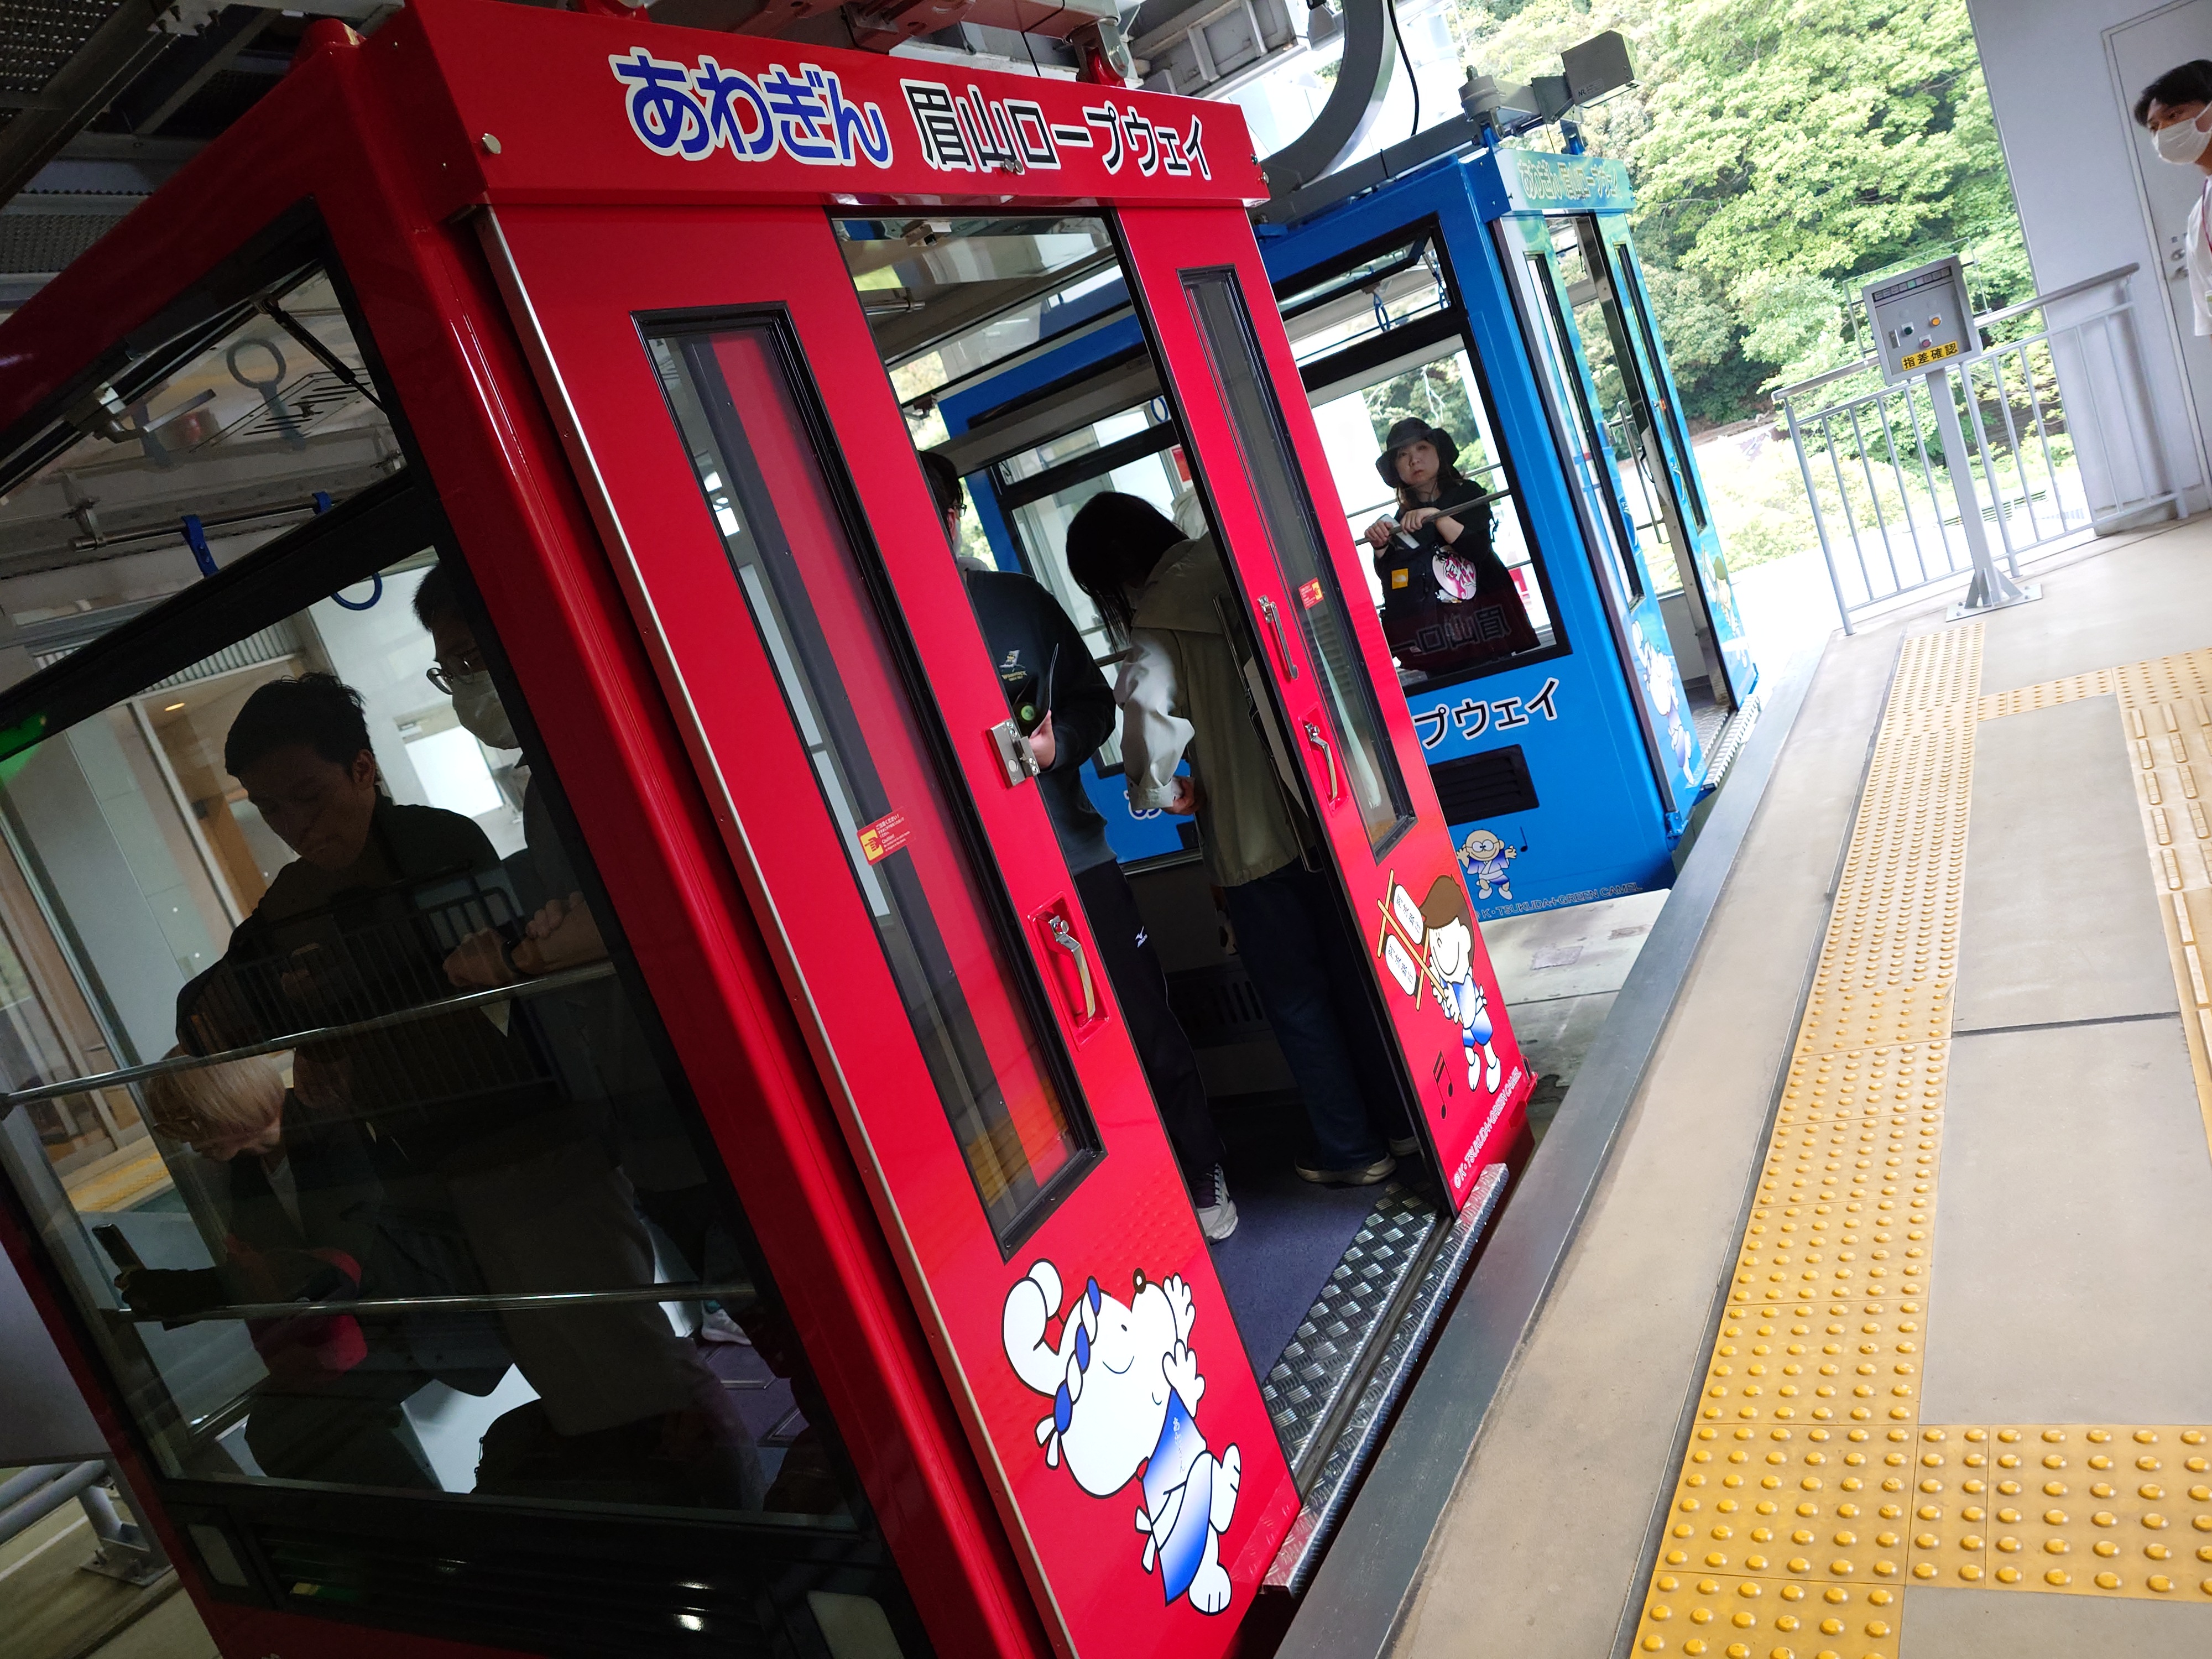
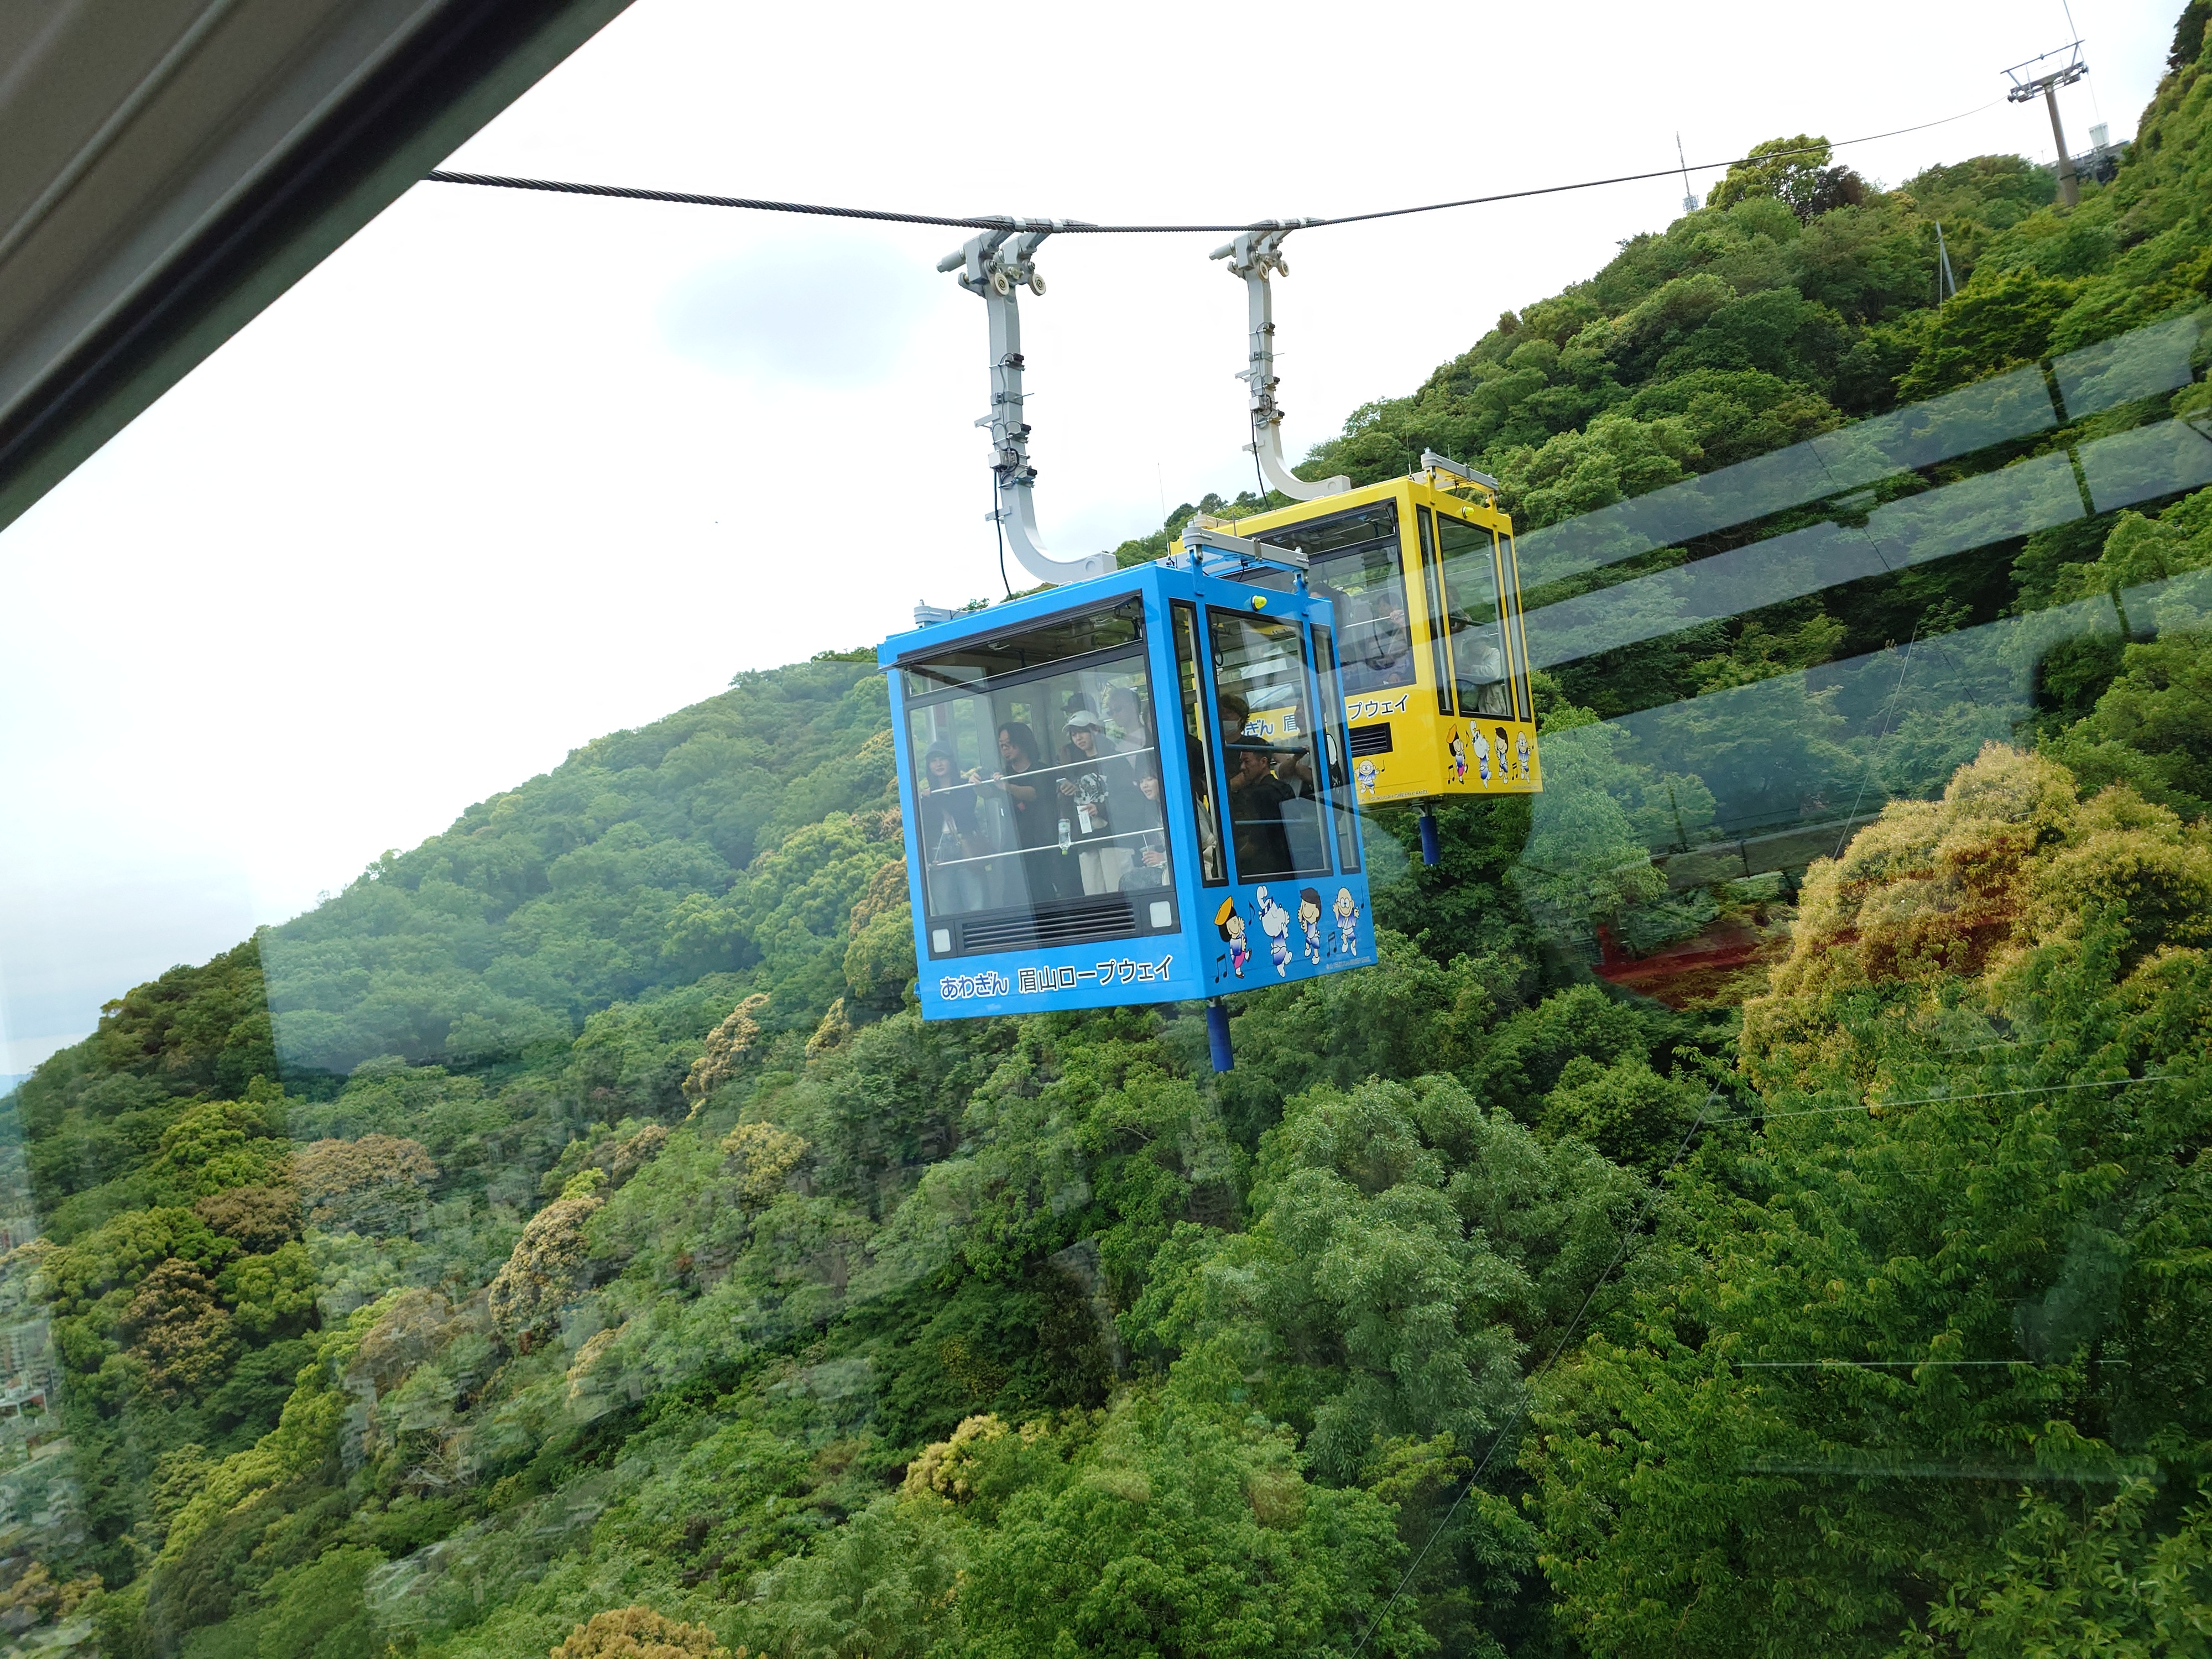
そうして阿波踊り会館を満喫した後は目的の眉山ロープウェイに乗車した。眉山ロープウェイはゴンドラが二連結されている面白いものだった。
ゴンドラからの眺望はよく、乗車中は鬼滅の刃の煉獄杏寿郎による眉山案内やちょっと難易度の高いクイズが流れており、これもまたよかった。上りと下りで別の内容が放送されており、凝っているなと感じた。
特に下りのアナウンスには不意打ち要素があり、サプライズとしてよかった。
ufotable一色だったロープウェイ山頂口
しばらくし、ロープウェイが山頂口駅に到着すると、そこにはufotableが様々な作品で描いた阿波踊りのイラストが飾られており、非常に壮観だった。一体ここまで地元のためにしてくれるアニメスタジオが他にあるだろうか?
これは個人的に非常にufotableによる徳島愛を感じる光景だった。何より幾つかのポスターは繋がって一枚の絵になっているのもいい。「おへんろ。」のもある。
もし徳島に訪れることがあり、ufotableのファンであれば、或いはアニメファンであれば、ここは是非一度は訪れるとよいスポットだろう。
余談だが私は初めてリアタイで見た深夜アニメが「がくえんゆーとぴあ まなびストレート!」であったため、ufotableへの思い入れは深い。これは鬼滅の刃やFateが余りにも有名すぎるためマイナーな作品だが、当時としては人気の作品で、今でも知る人ぞ知る名作だと思う。テーマも未来を見据えたような作品で、革新的な作品だったように思う。
「がくえんゆーとぴあ まなびストレート!」は声優陣も豪華で、堀江由衣や野中藍、井上麻里奈、平野綾、藤田咲といった大物声優が出演している。
ufotableカラーのある眉山山頂
眉山山頂にはマチ★アソビCAFEがあるため、山頂にはufotableカラーが見られた。
しかし仮にも成人向け作品がここまで日の目を浴びる日が来るとは、Fate/stay nightがリリースされた当時、いったい誰が考えただろうか?すさまじい躍進であるし、元が成人向けタイトルであったことなど、もはや誰も覚えてはいないレベルだろう。それほどまでにコンテンツを深化させたufotableの凄さには頭が上がらない。
マチ★アソビCAFE
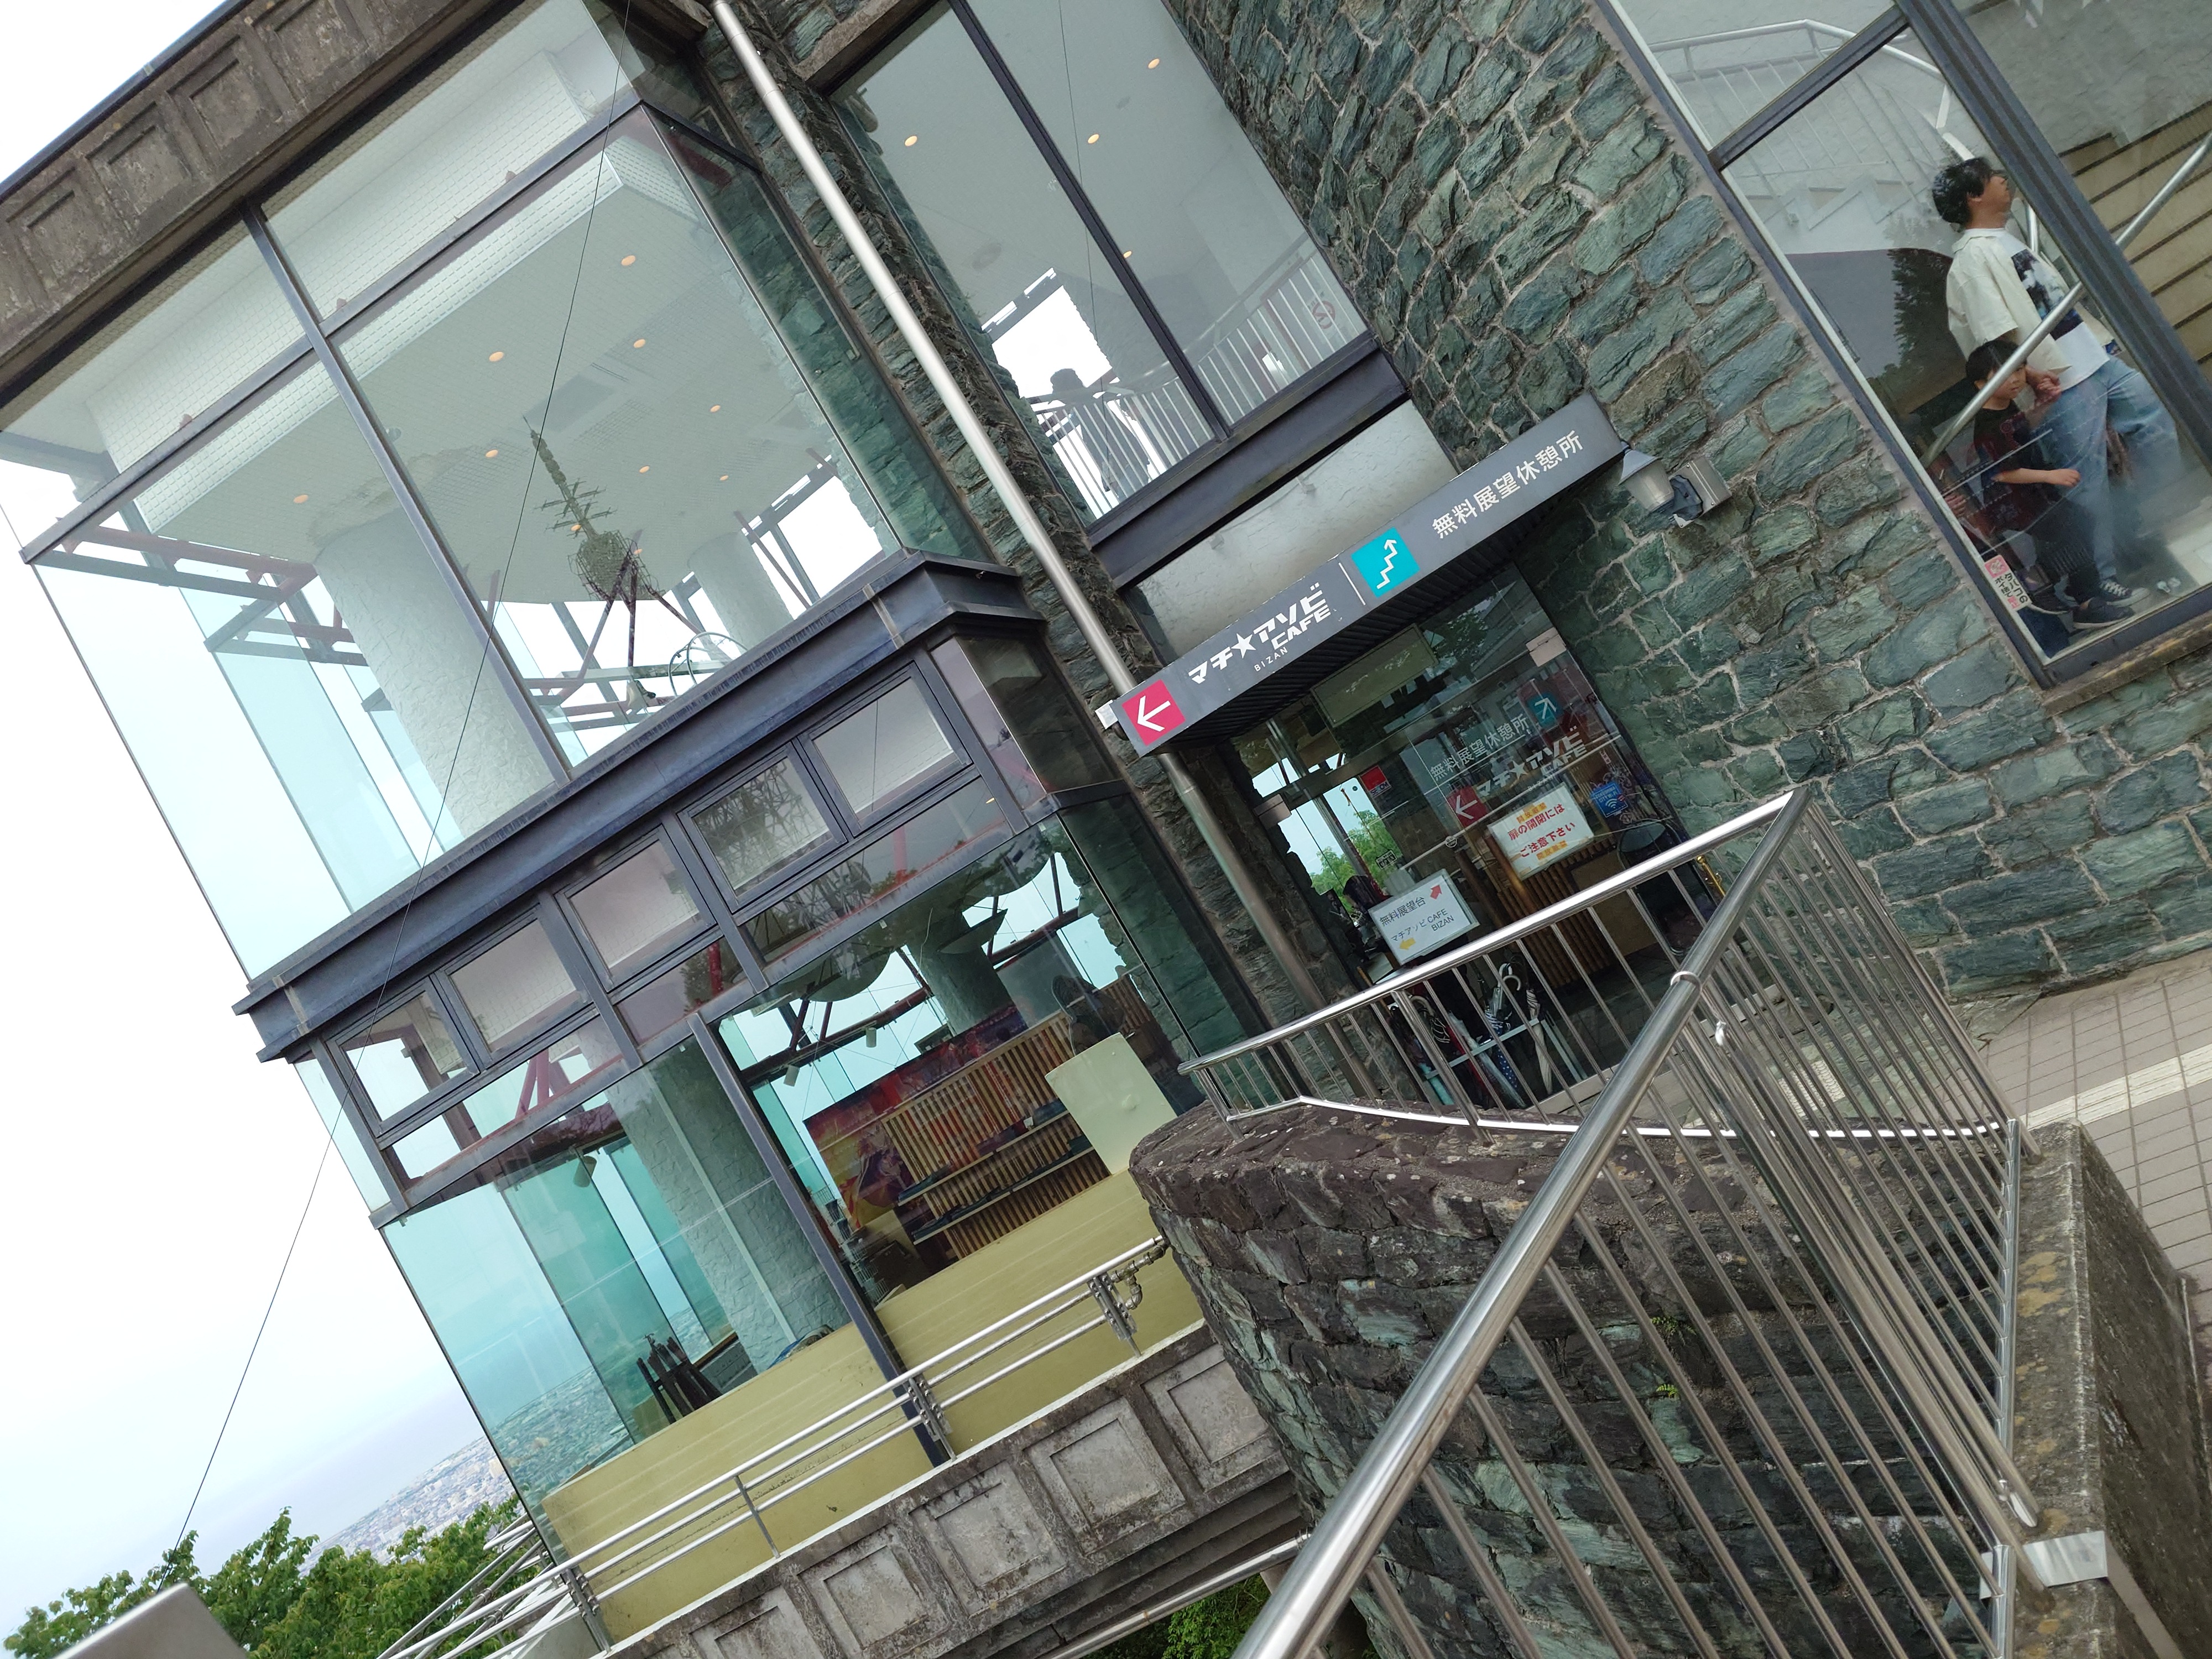
ロープウェイ駅を出てすぐ右手にあり、空中に張り出したような構造をしているのが面白い建物だった。徳島市内を一望できるベストポジションを陣取っている感じで、上階には無料展望室もあった。
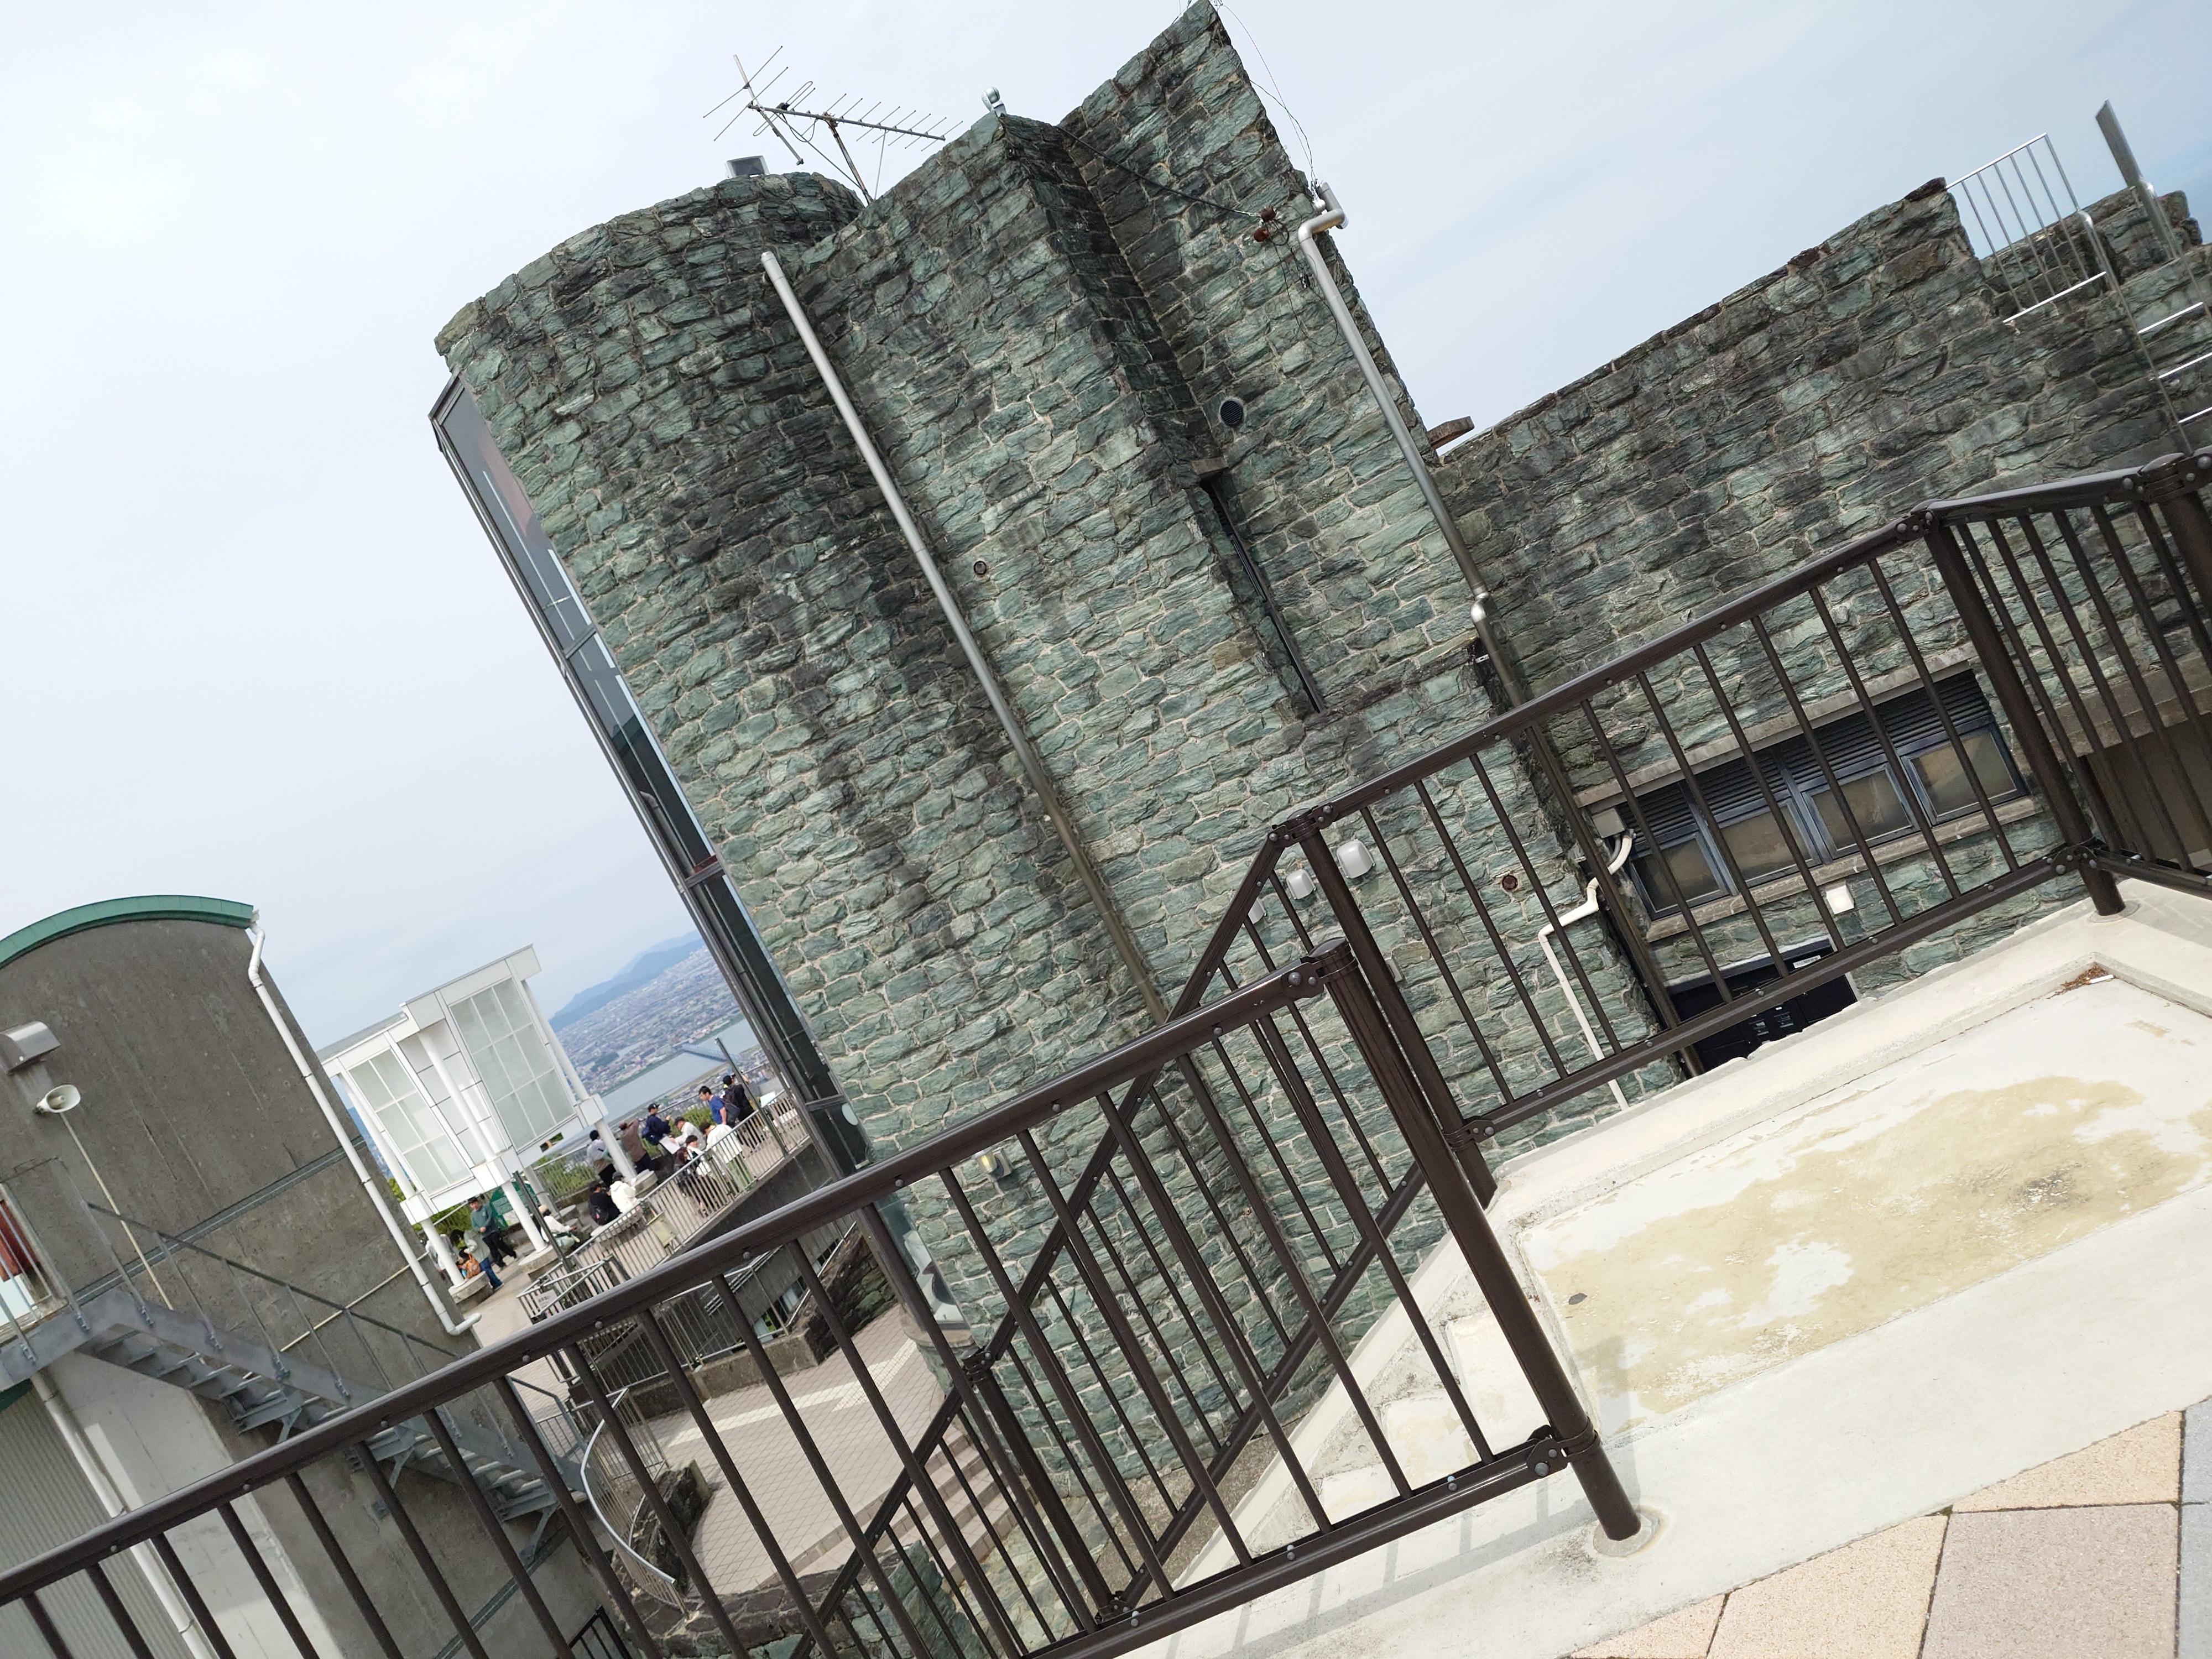
また、この建物は後ろから見ると西洋の古城にも見えるデザインで面白い。
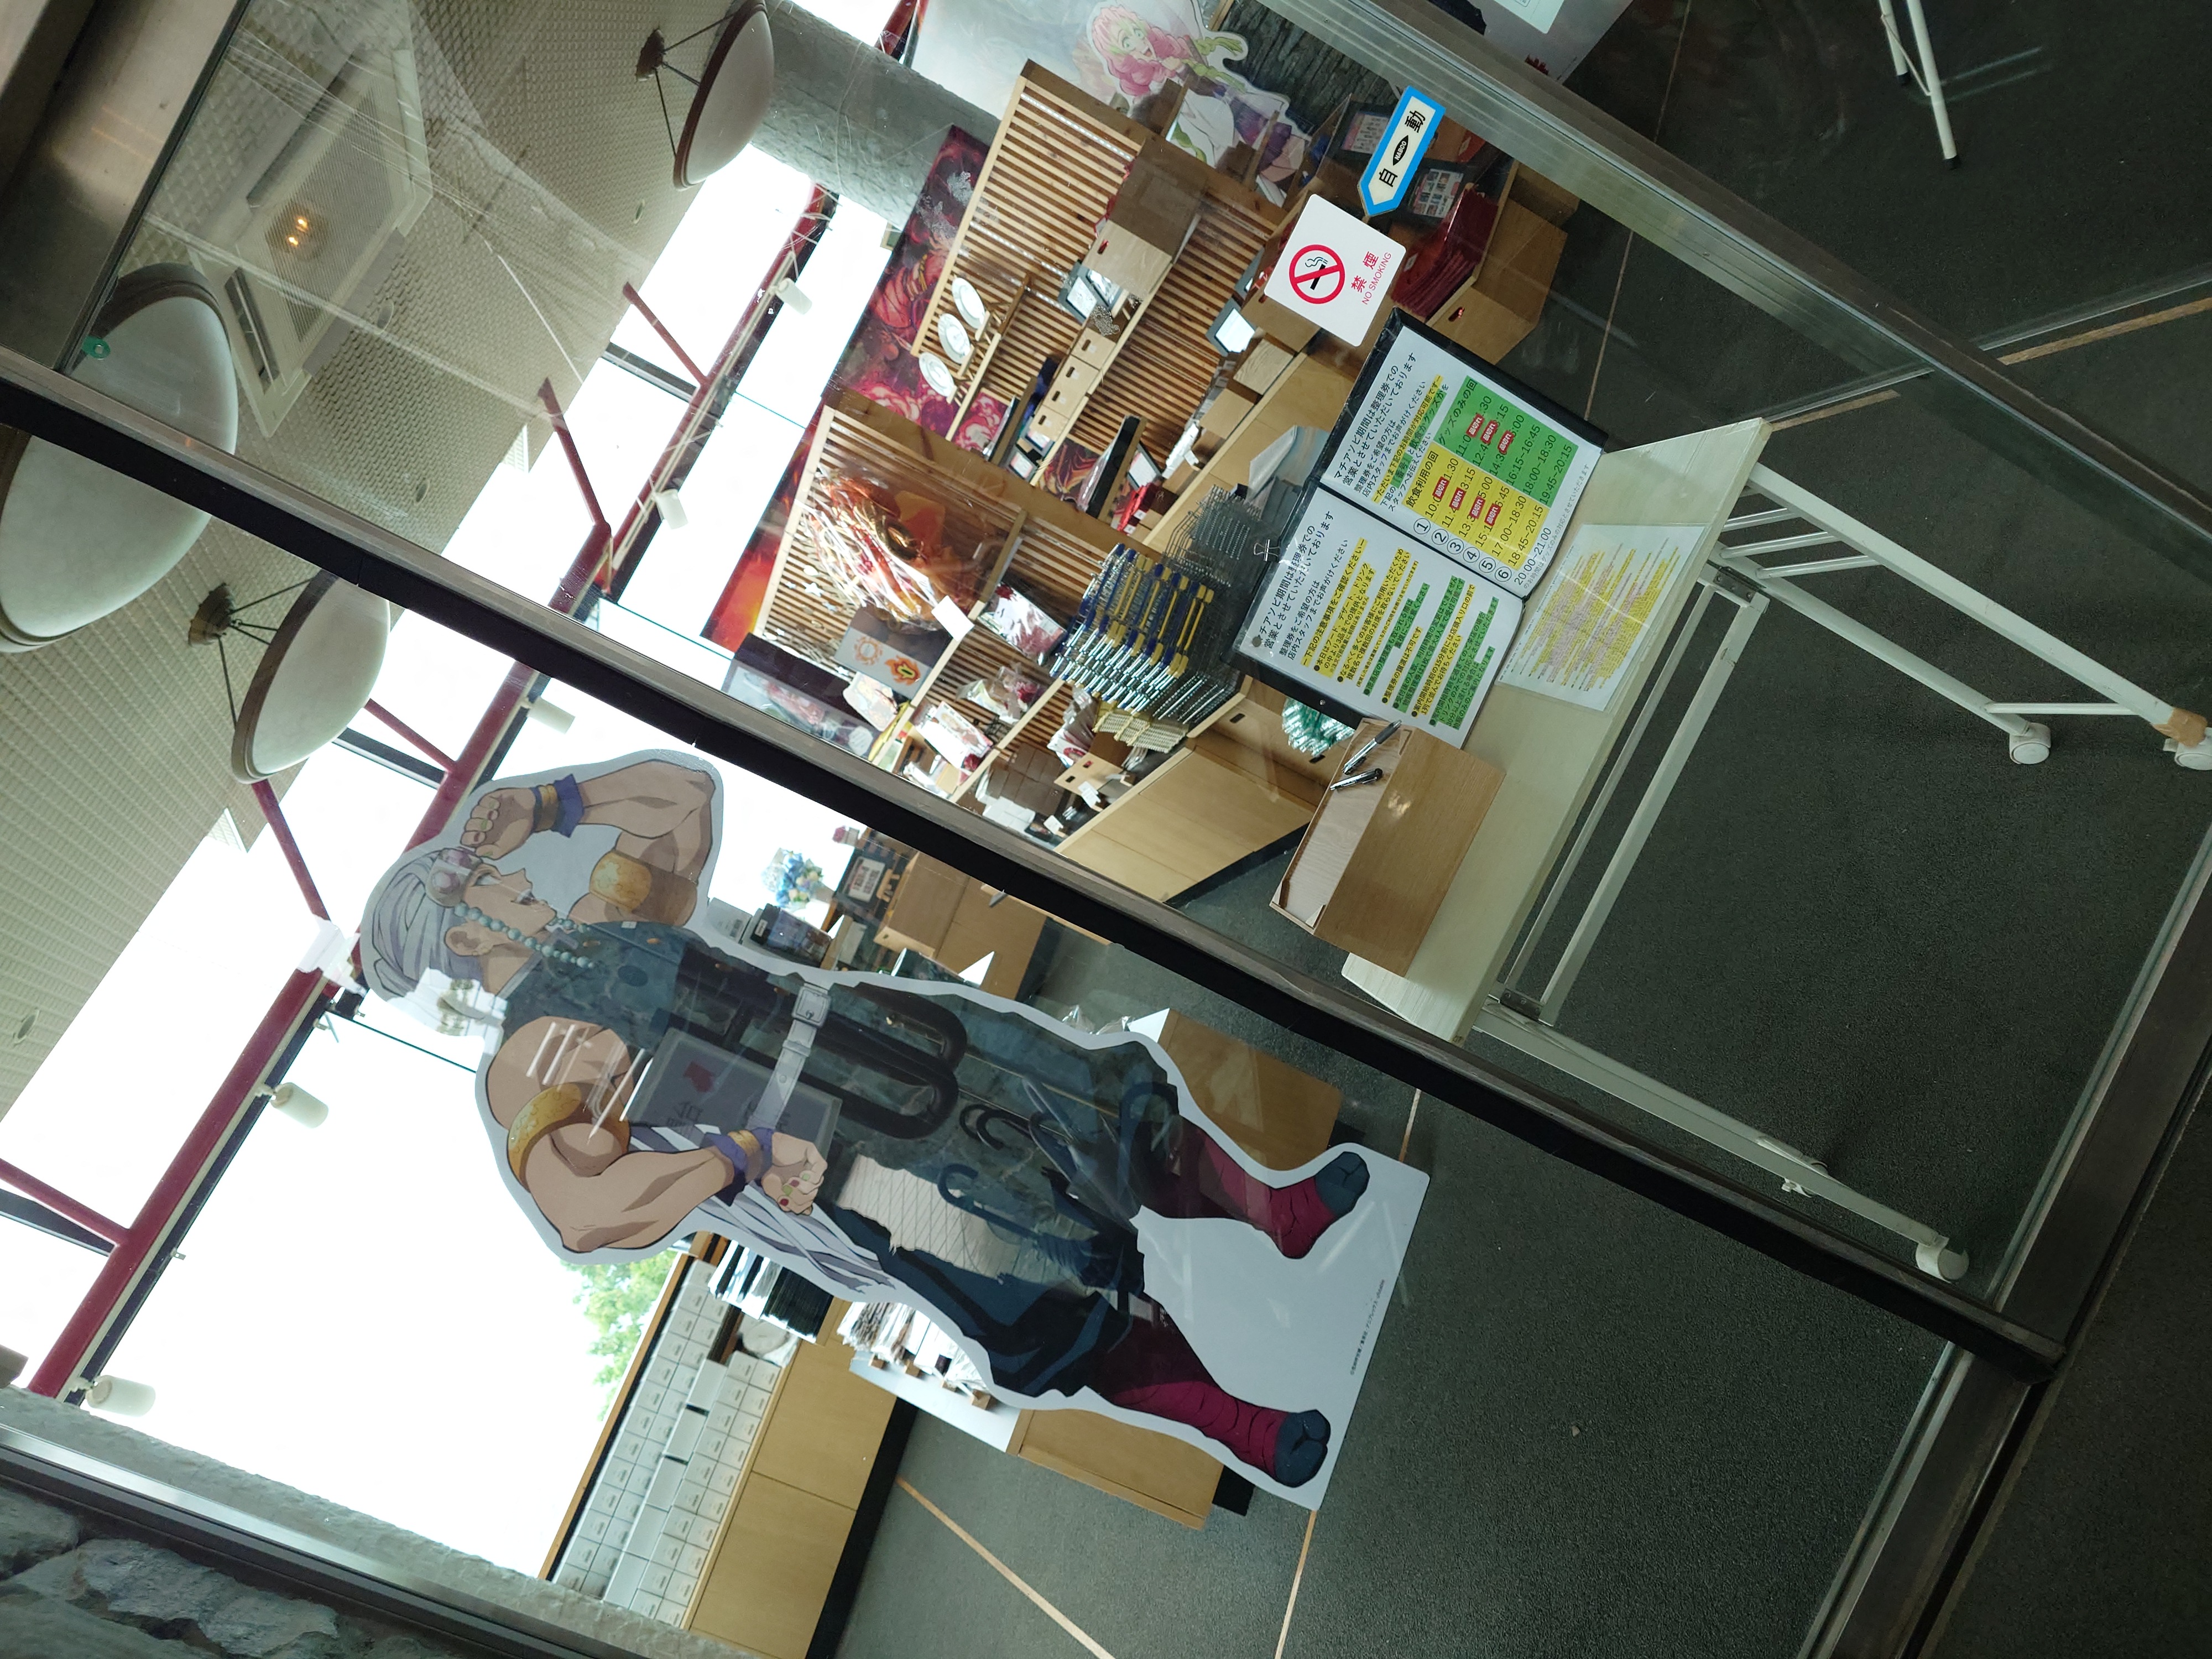
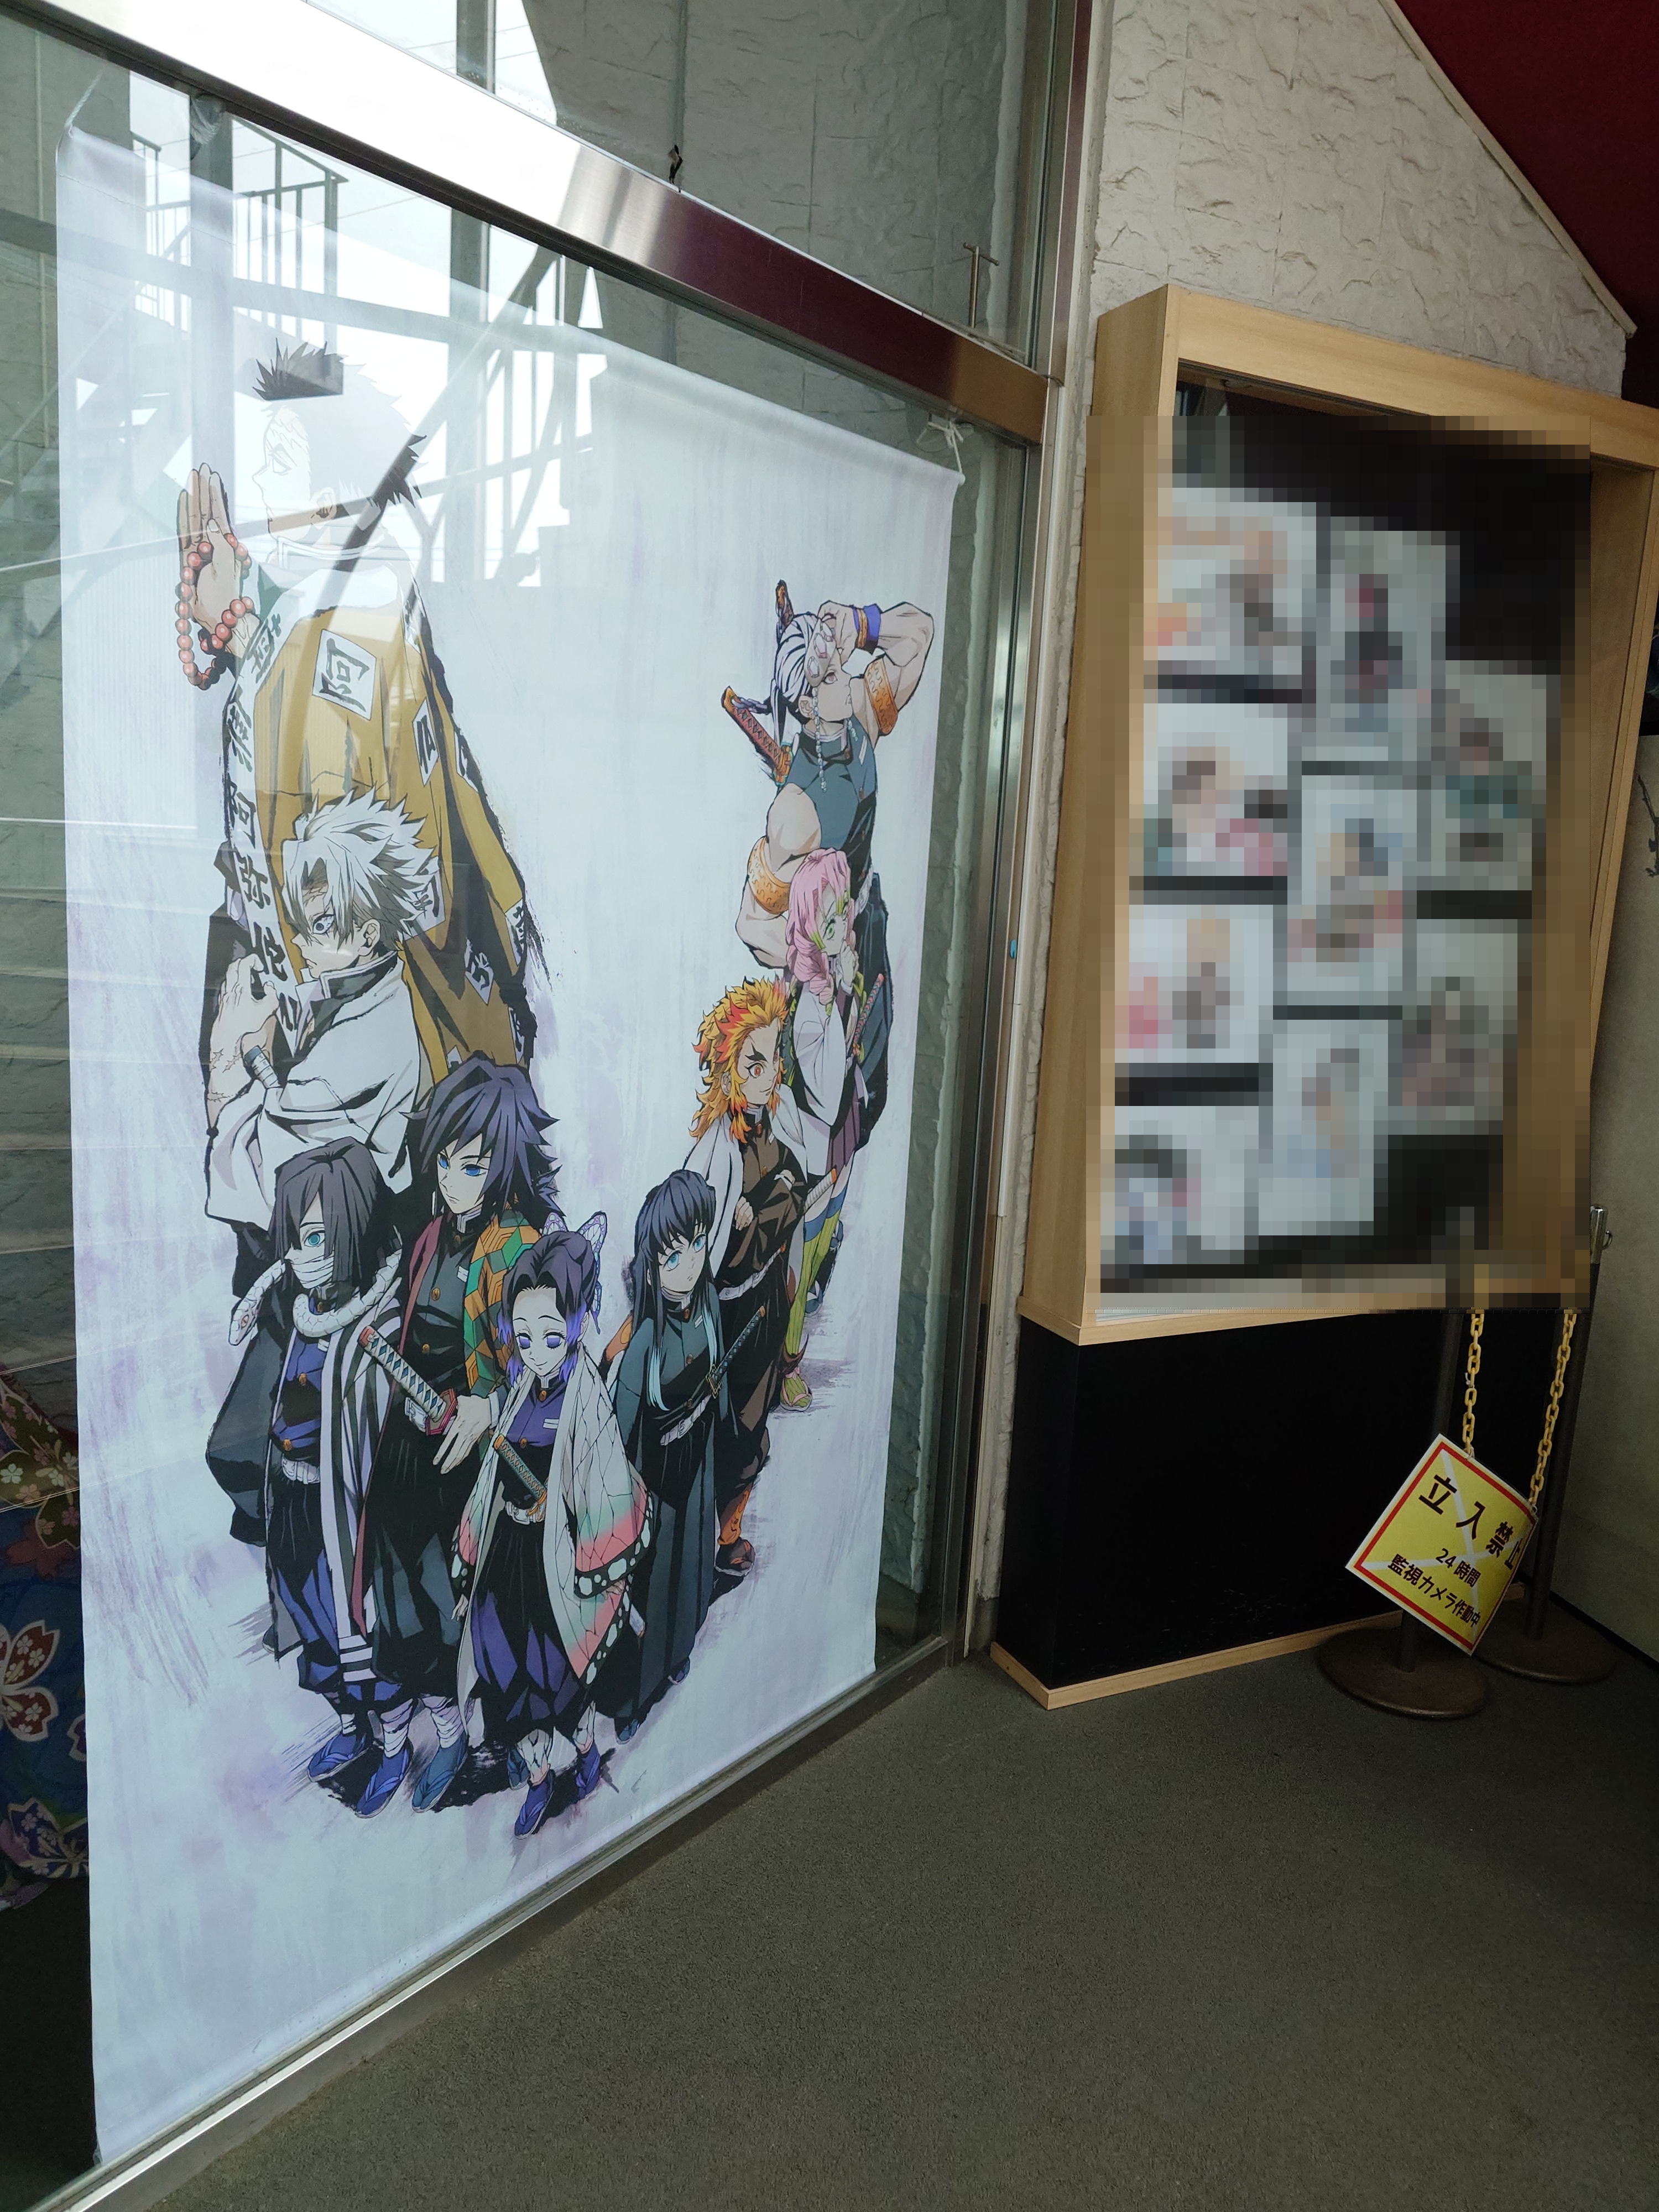
マチ★アソビCAFEはマチアソビ期間は予約制になっており入ることができなかったが、鬼滅の刃を前面に押し出した営業をされていた。撮影禁止とあった部分があったため、そこだけモザイクでぼかしている。
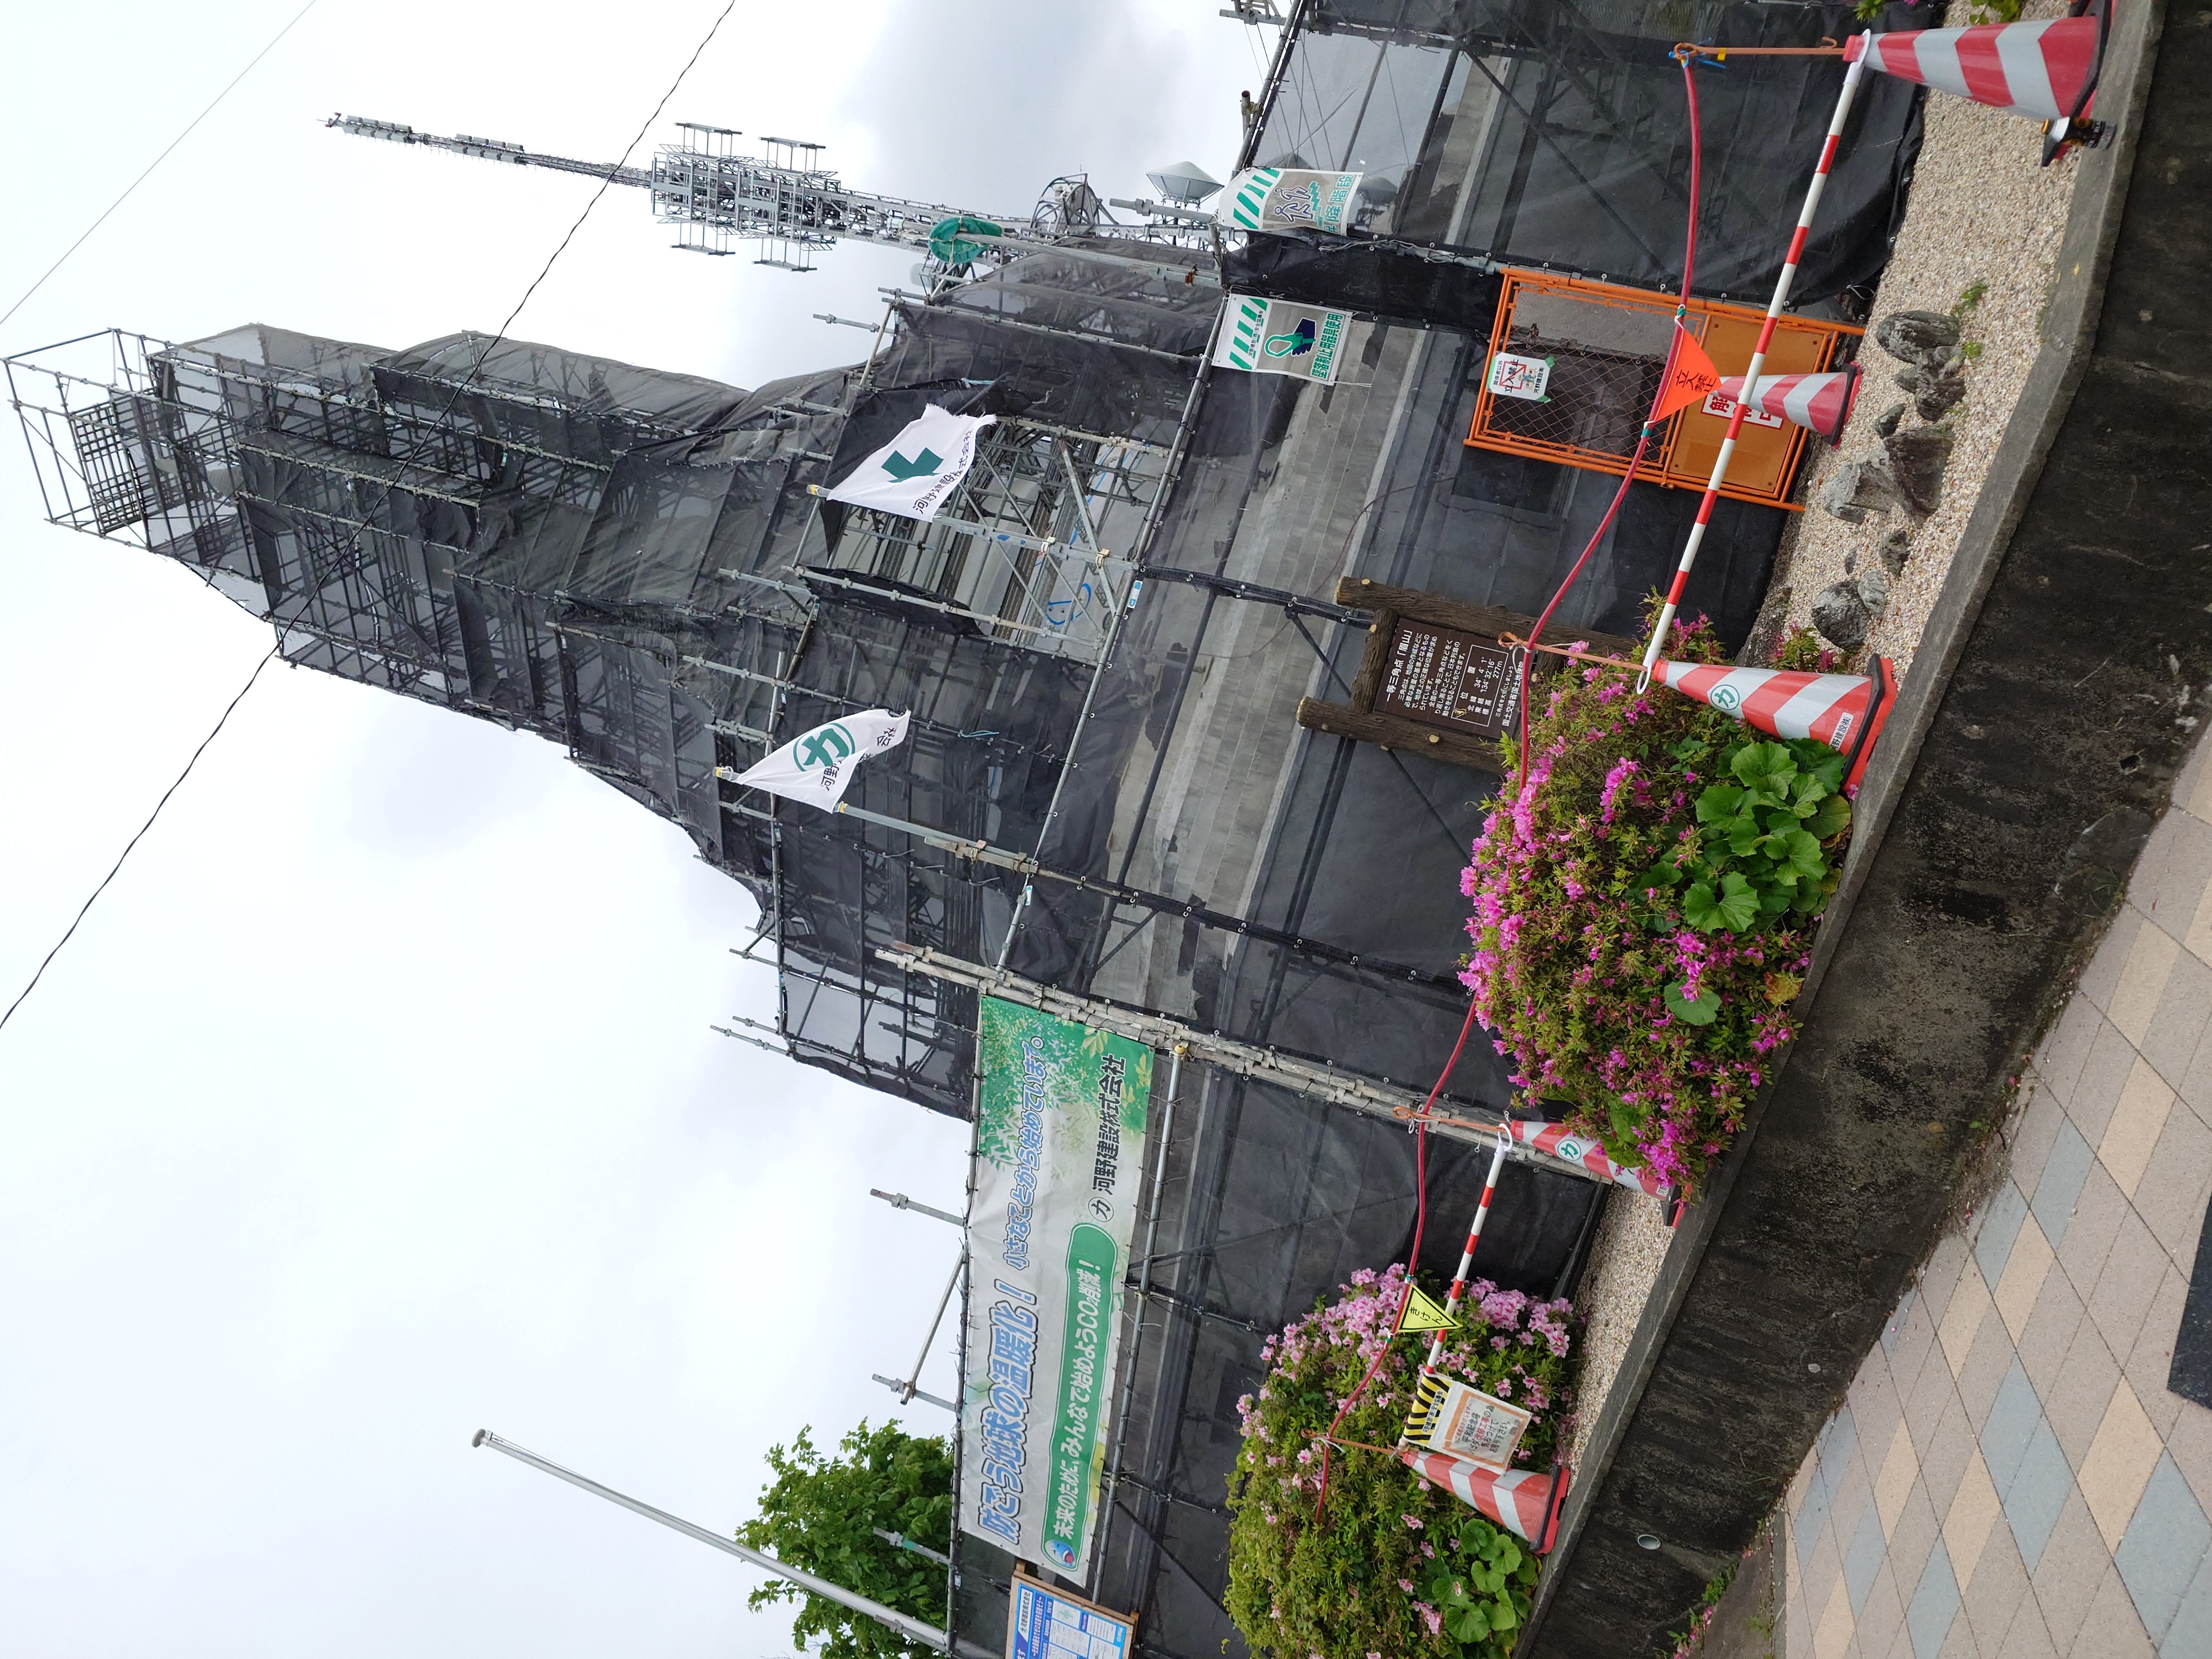
一等三角点「眉山」と平和記念塔パゴダ
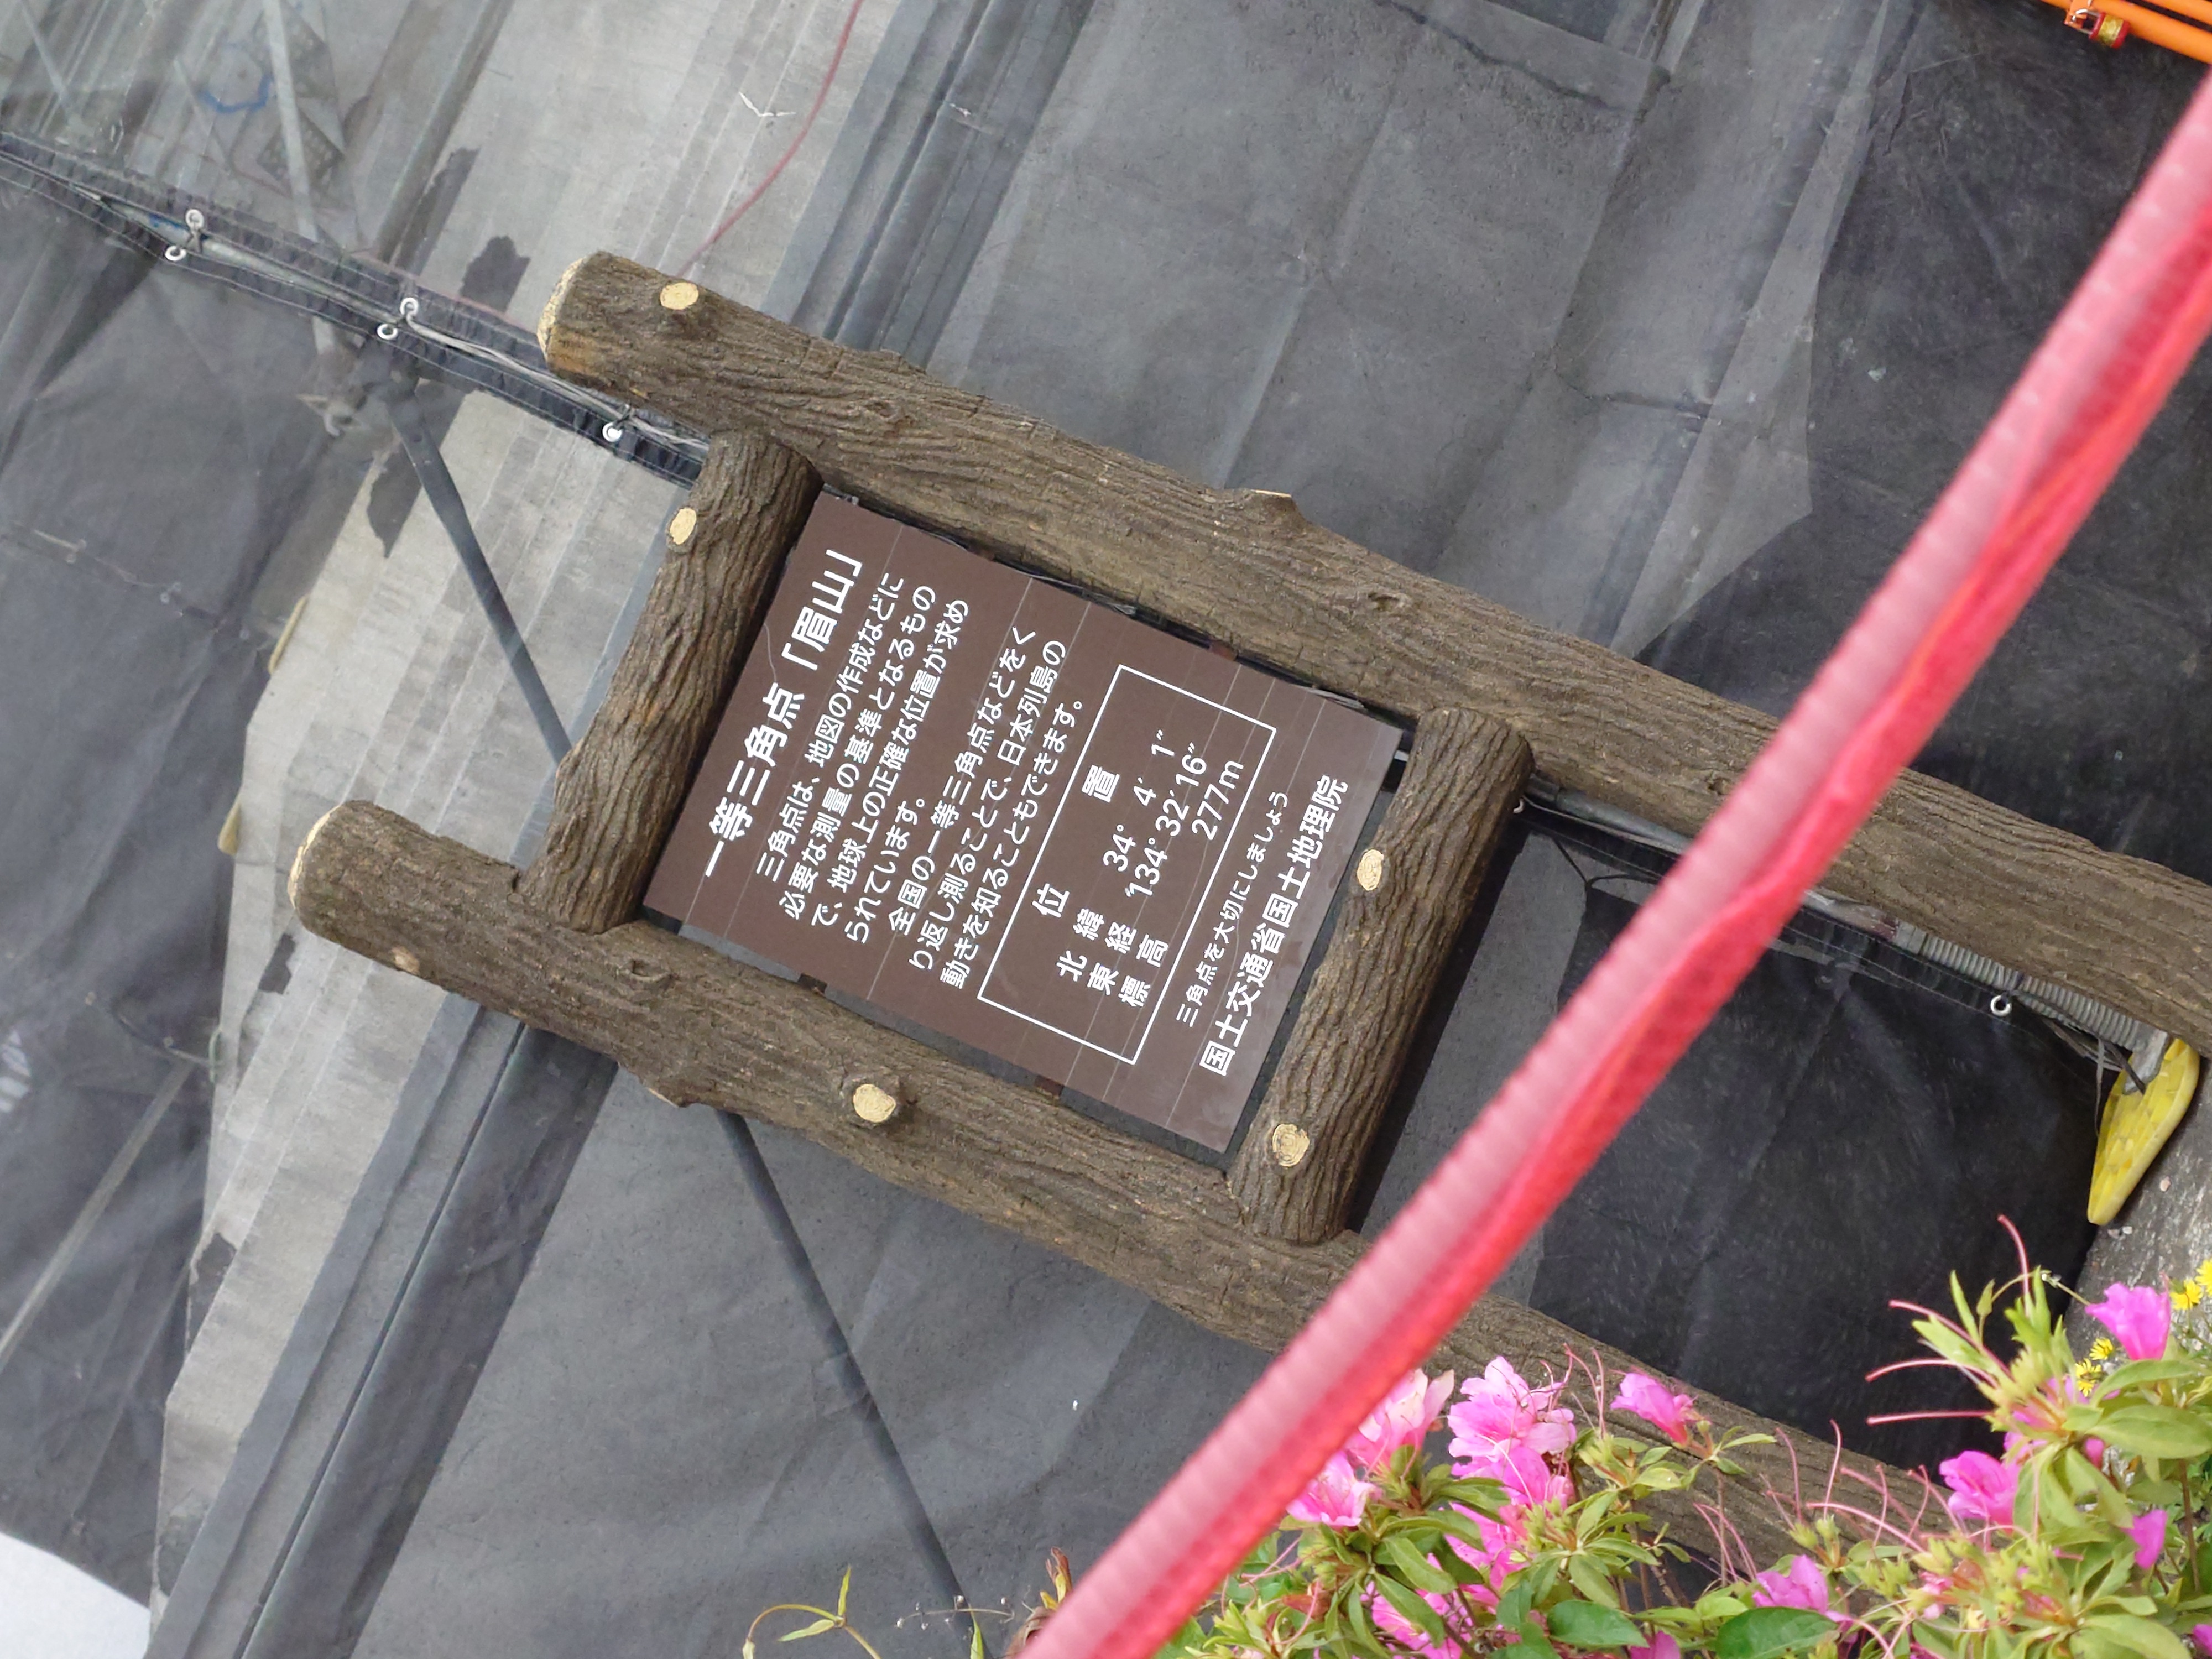
眉山には一等三角点があった。
写真ではわかりづらいが写真右下のコーンの内側、立ち入り禁止の逆三角の下にある石積みの中央の角柱がそれだ。

写真に写っているネットで囲まれた謎の建物は平和記念塔パゴダというらしく、ビルマで戦死した人を慰霊するためのもののようだった。工事中のため本来の姿を見ることがかなわなかったのが残念だが、こういった記念施設がちゃんと保全されているというのは良いことだ。
眉山とキッチンカー
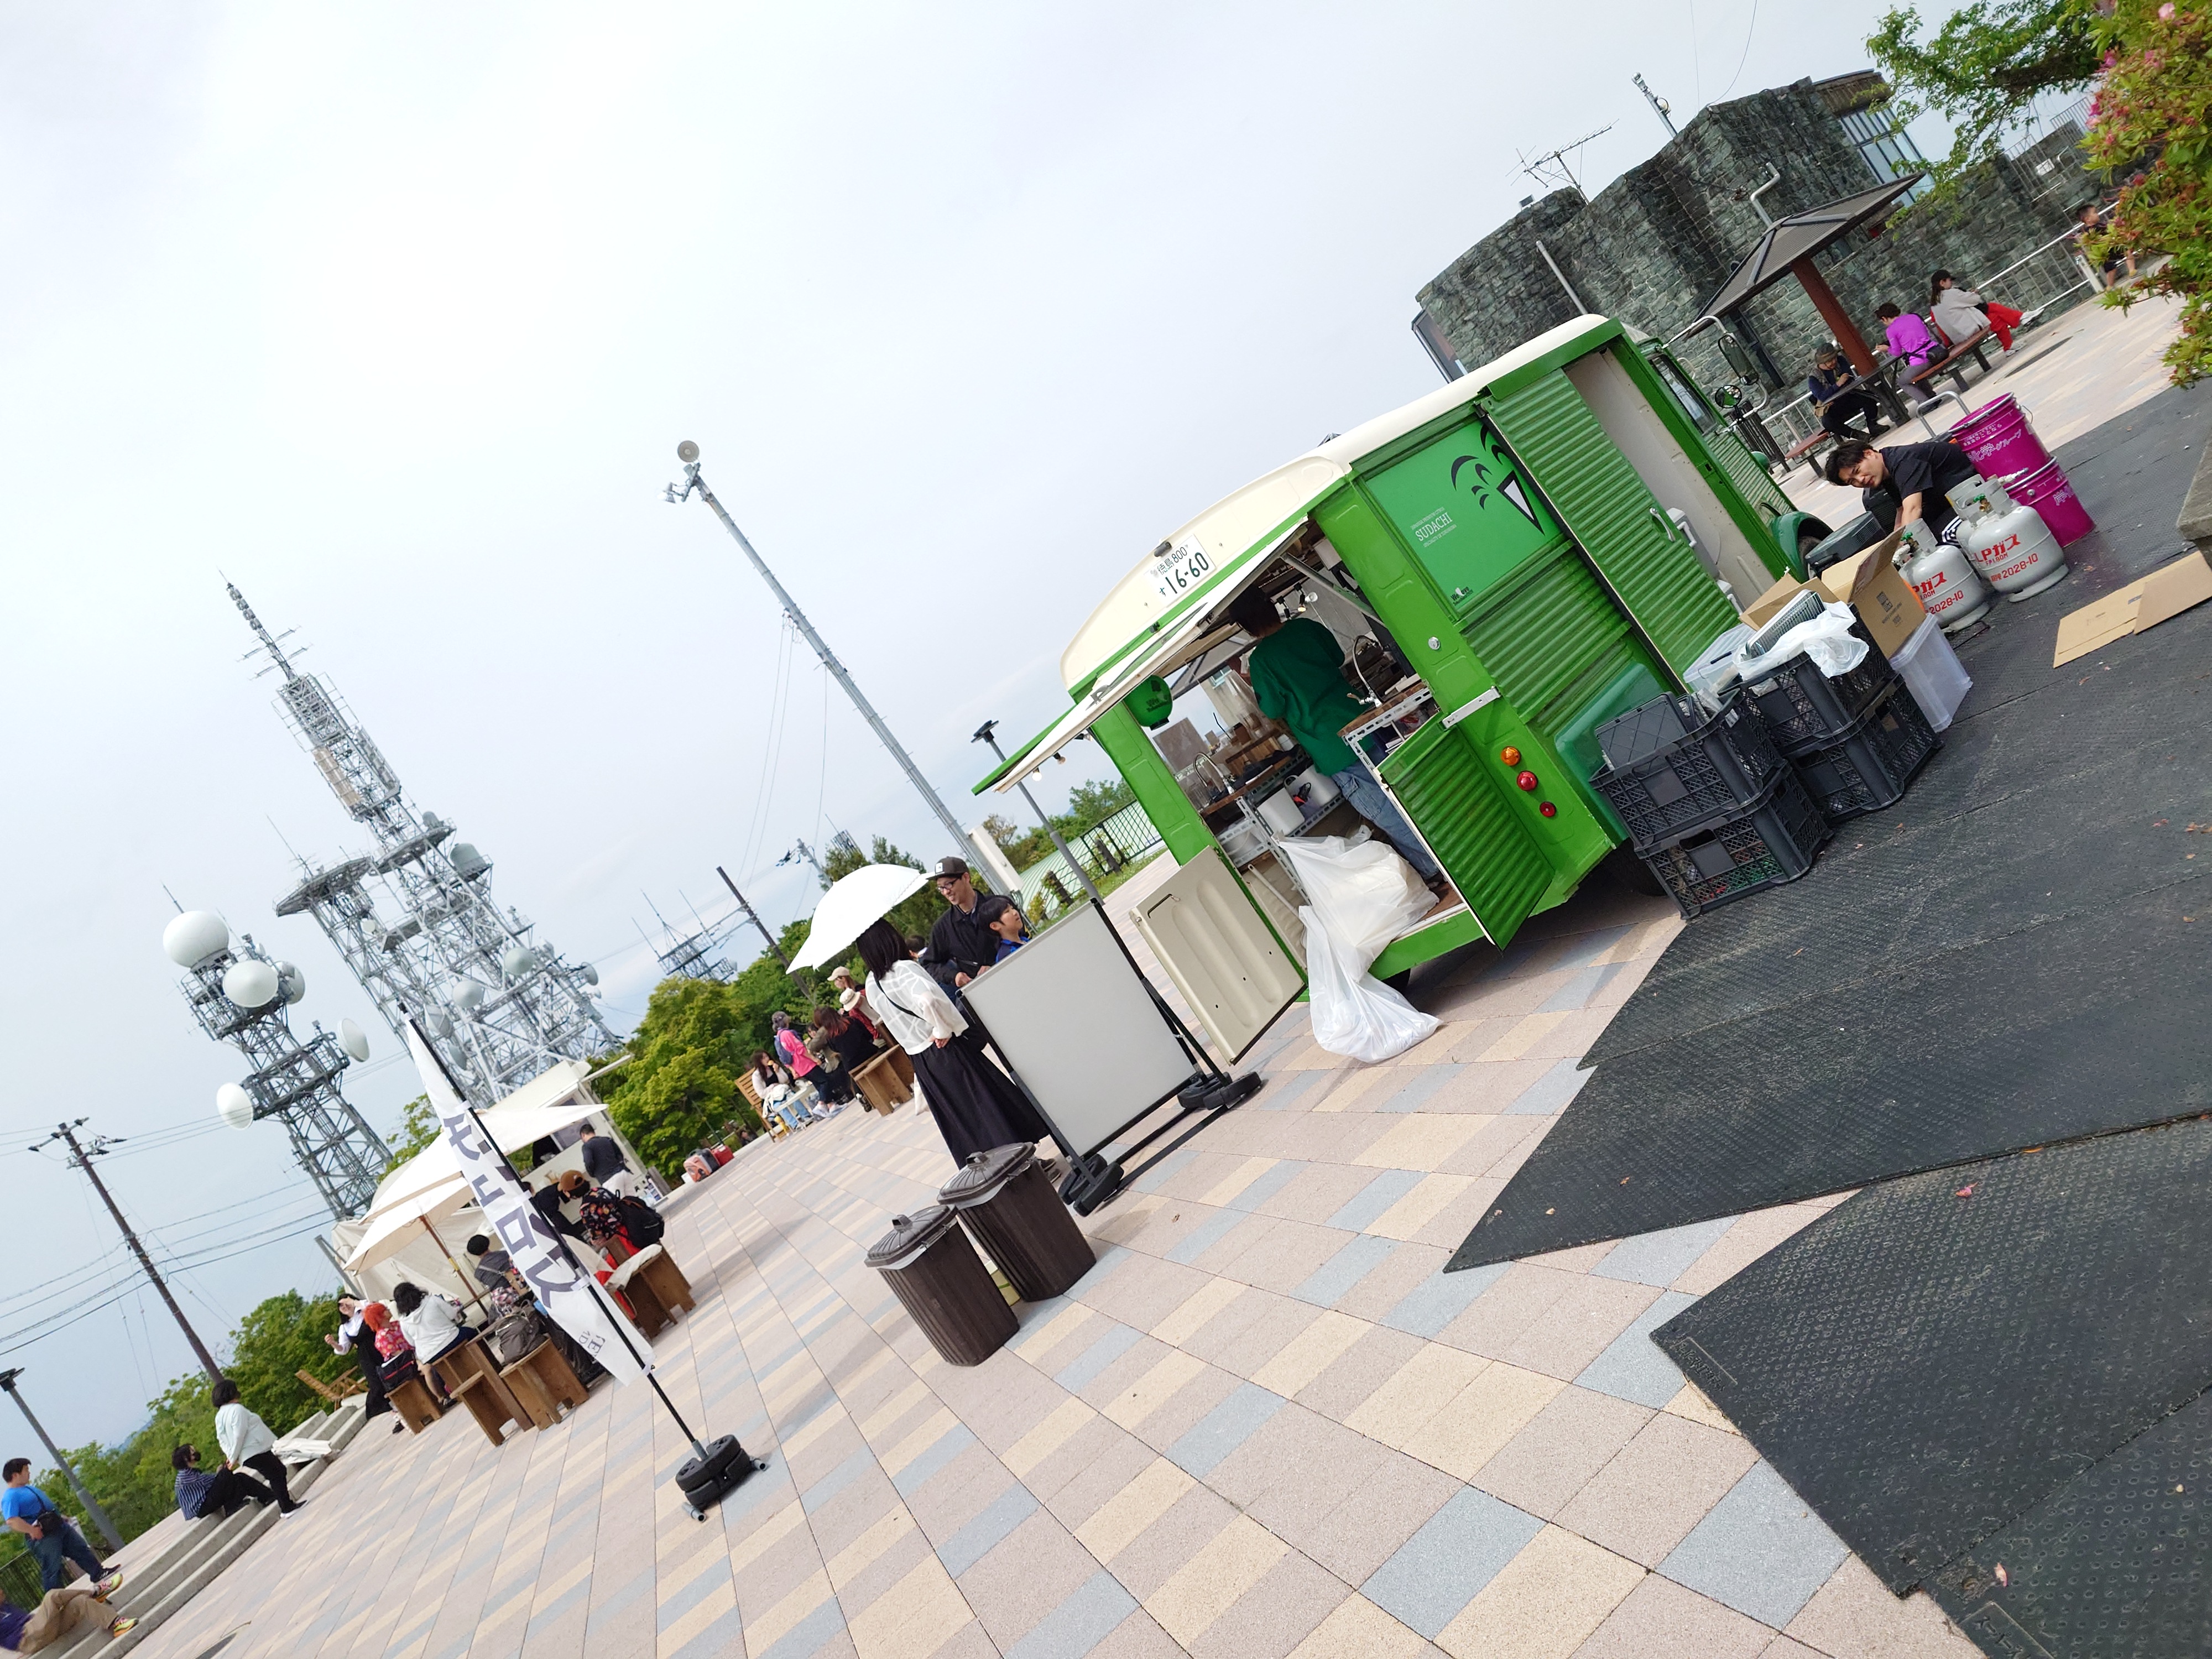
マチアソビ関連かは不明だが、眉山にもキッチンカーが4-5台見られたと思う。中にはマチアソビを意識したものもあったように思う。
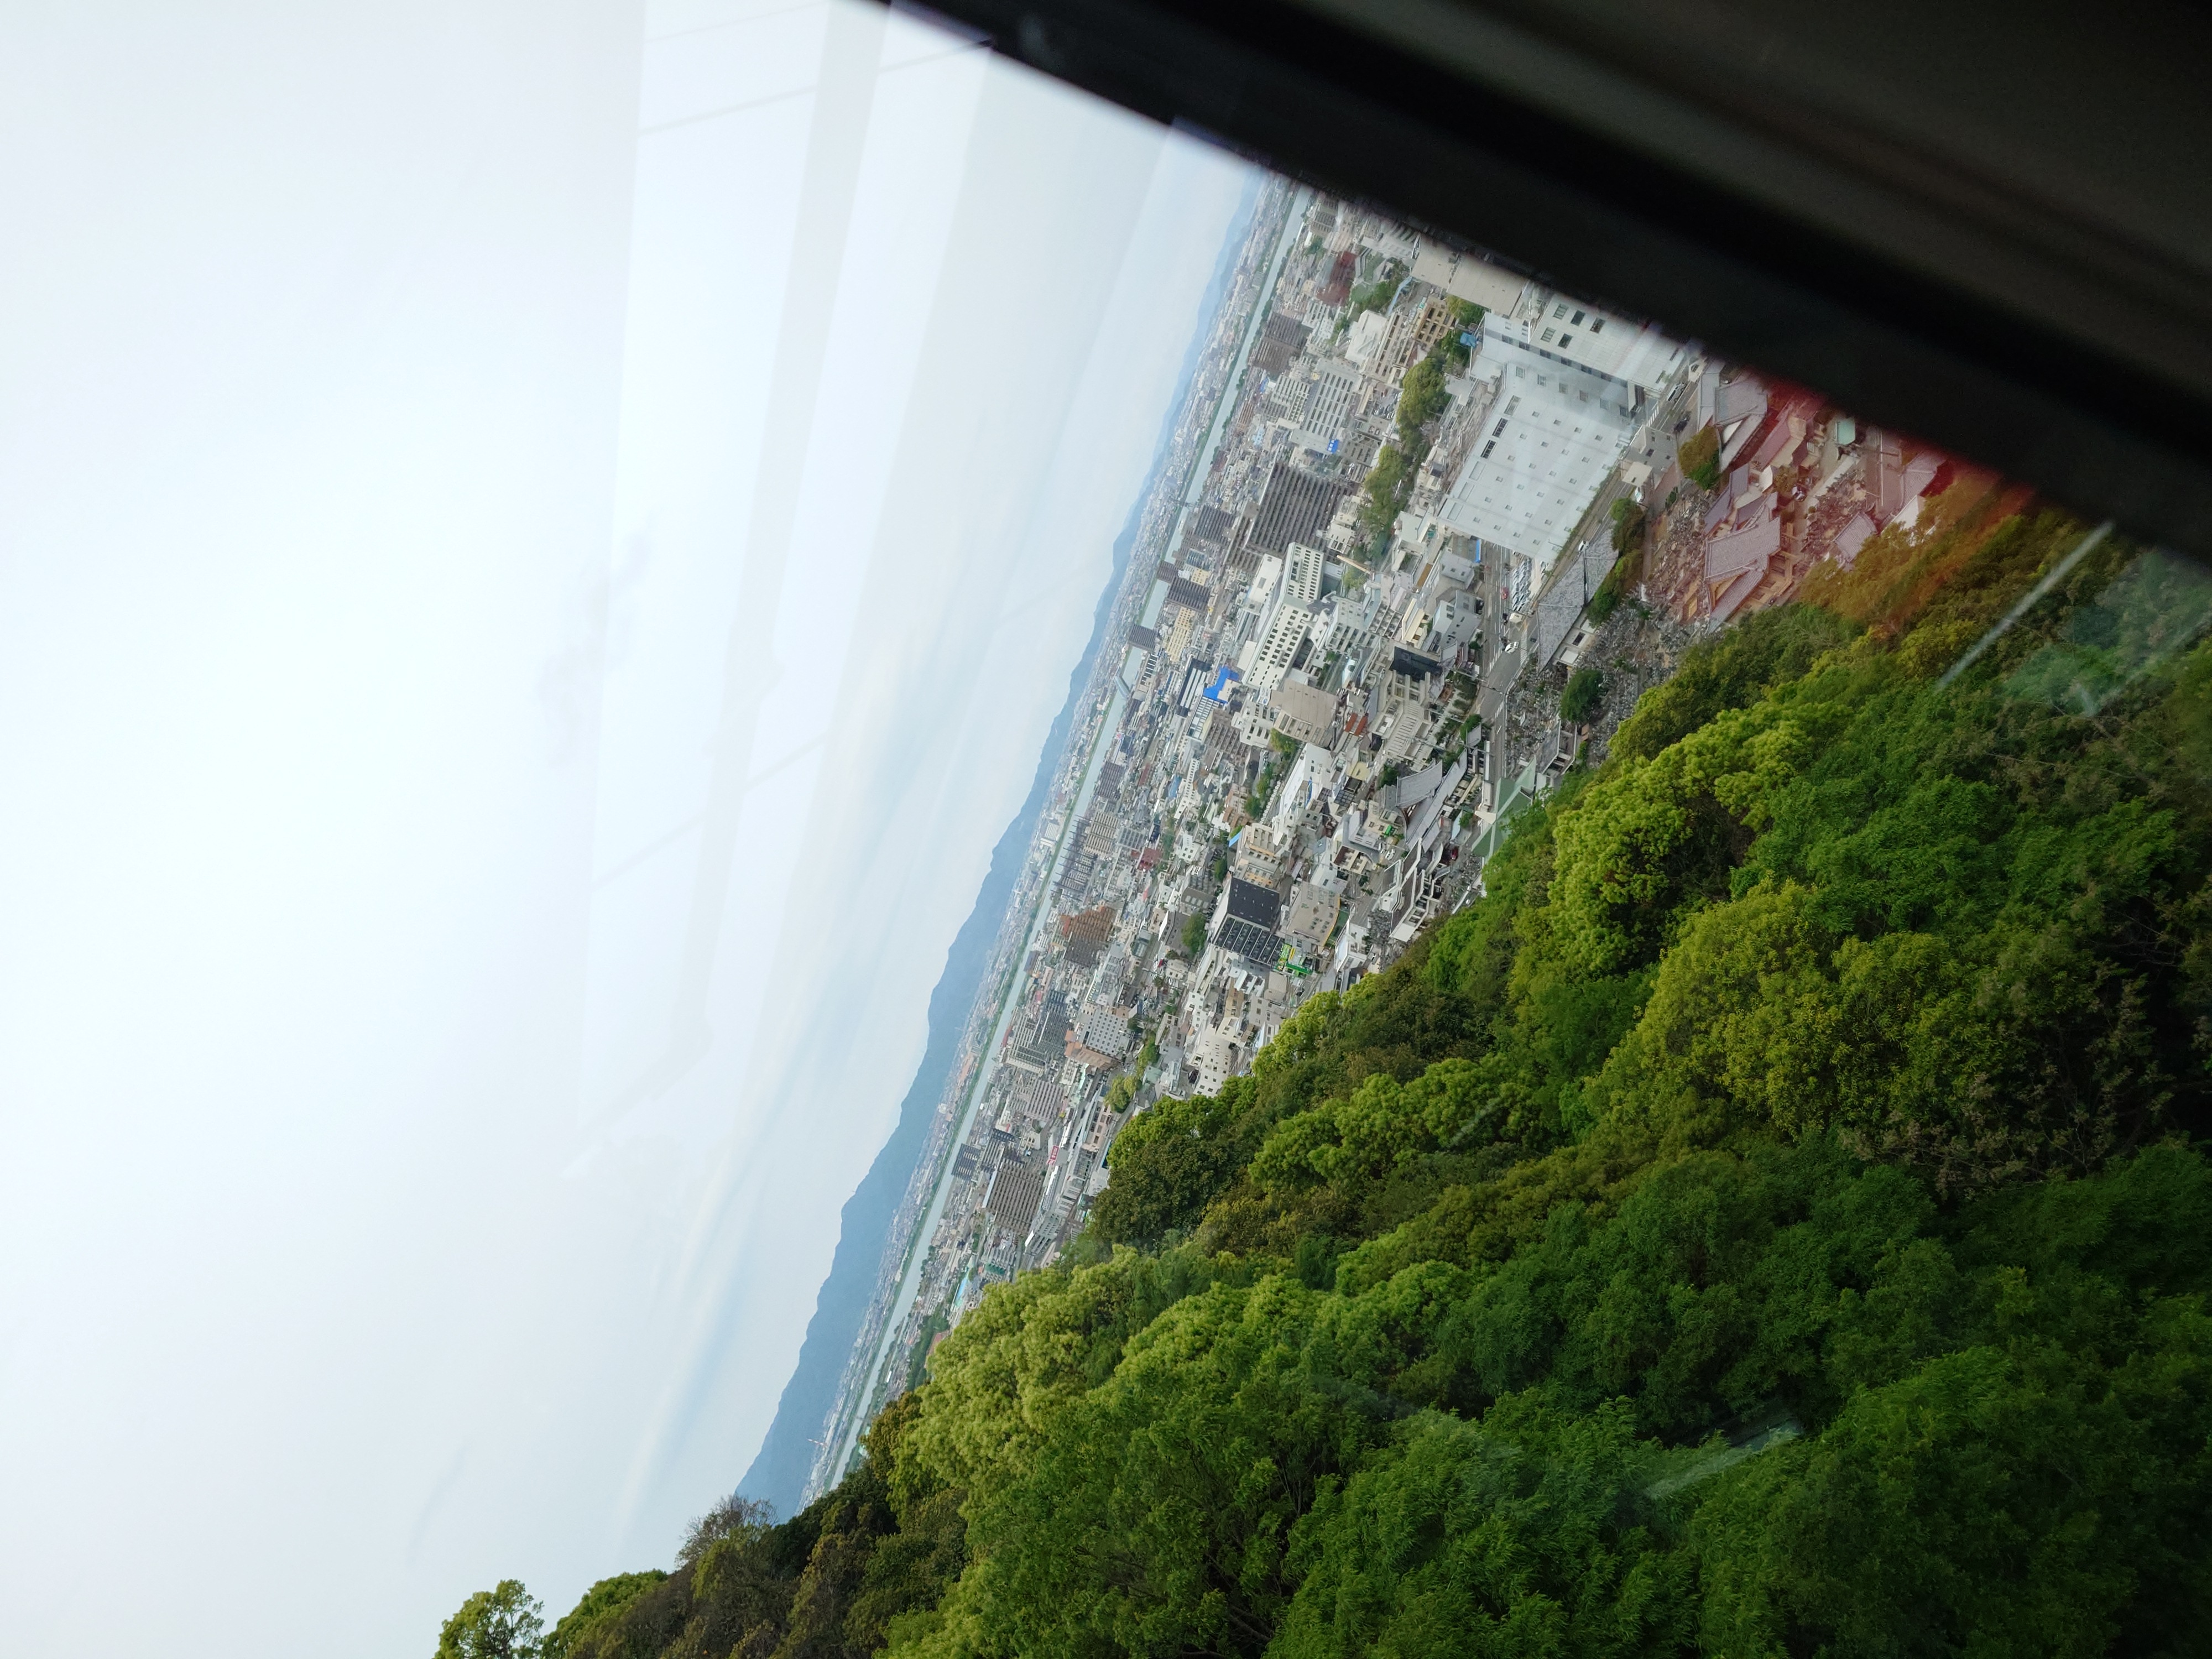
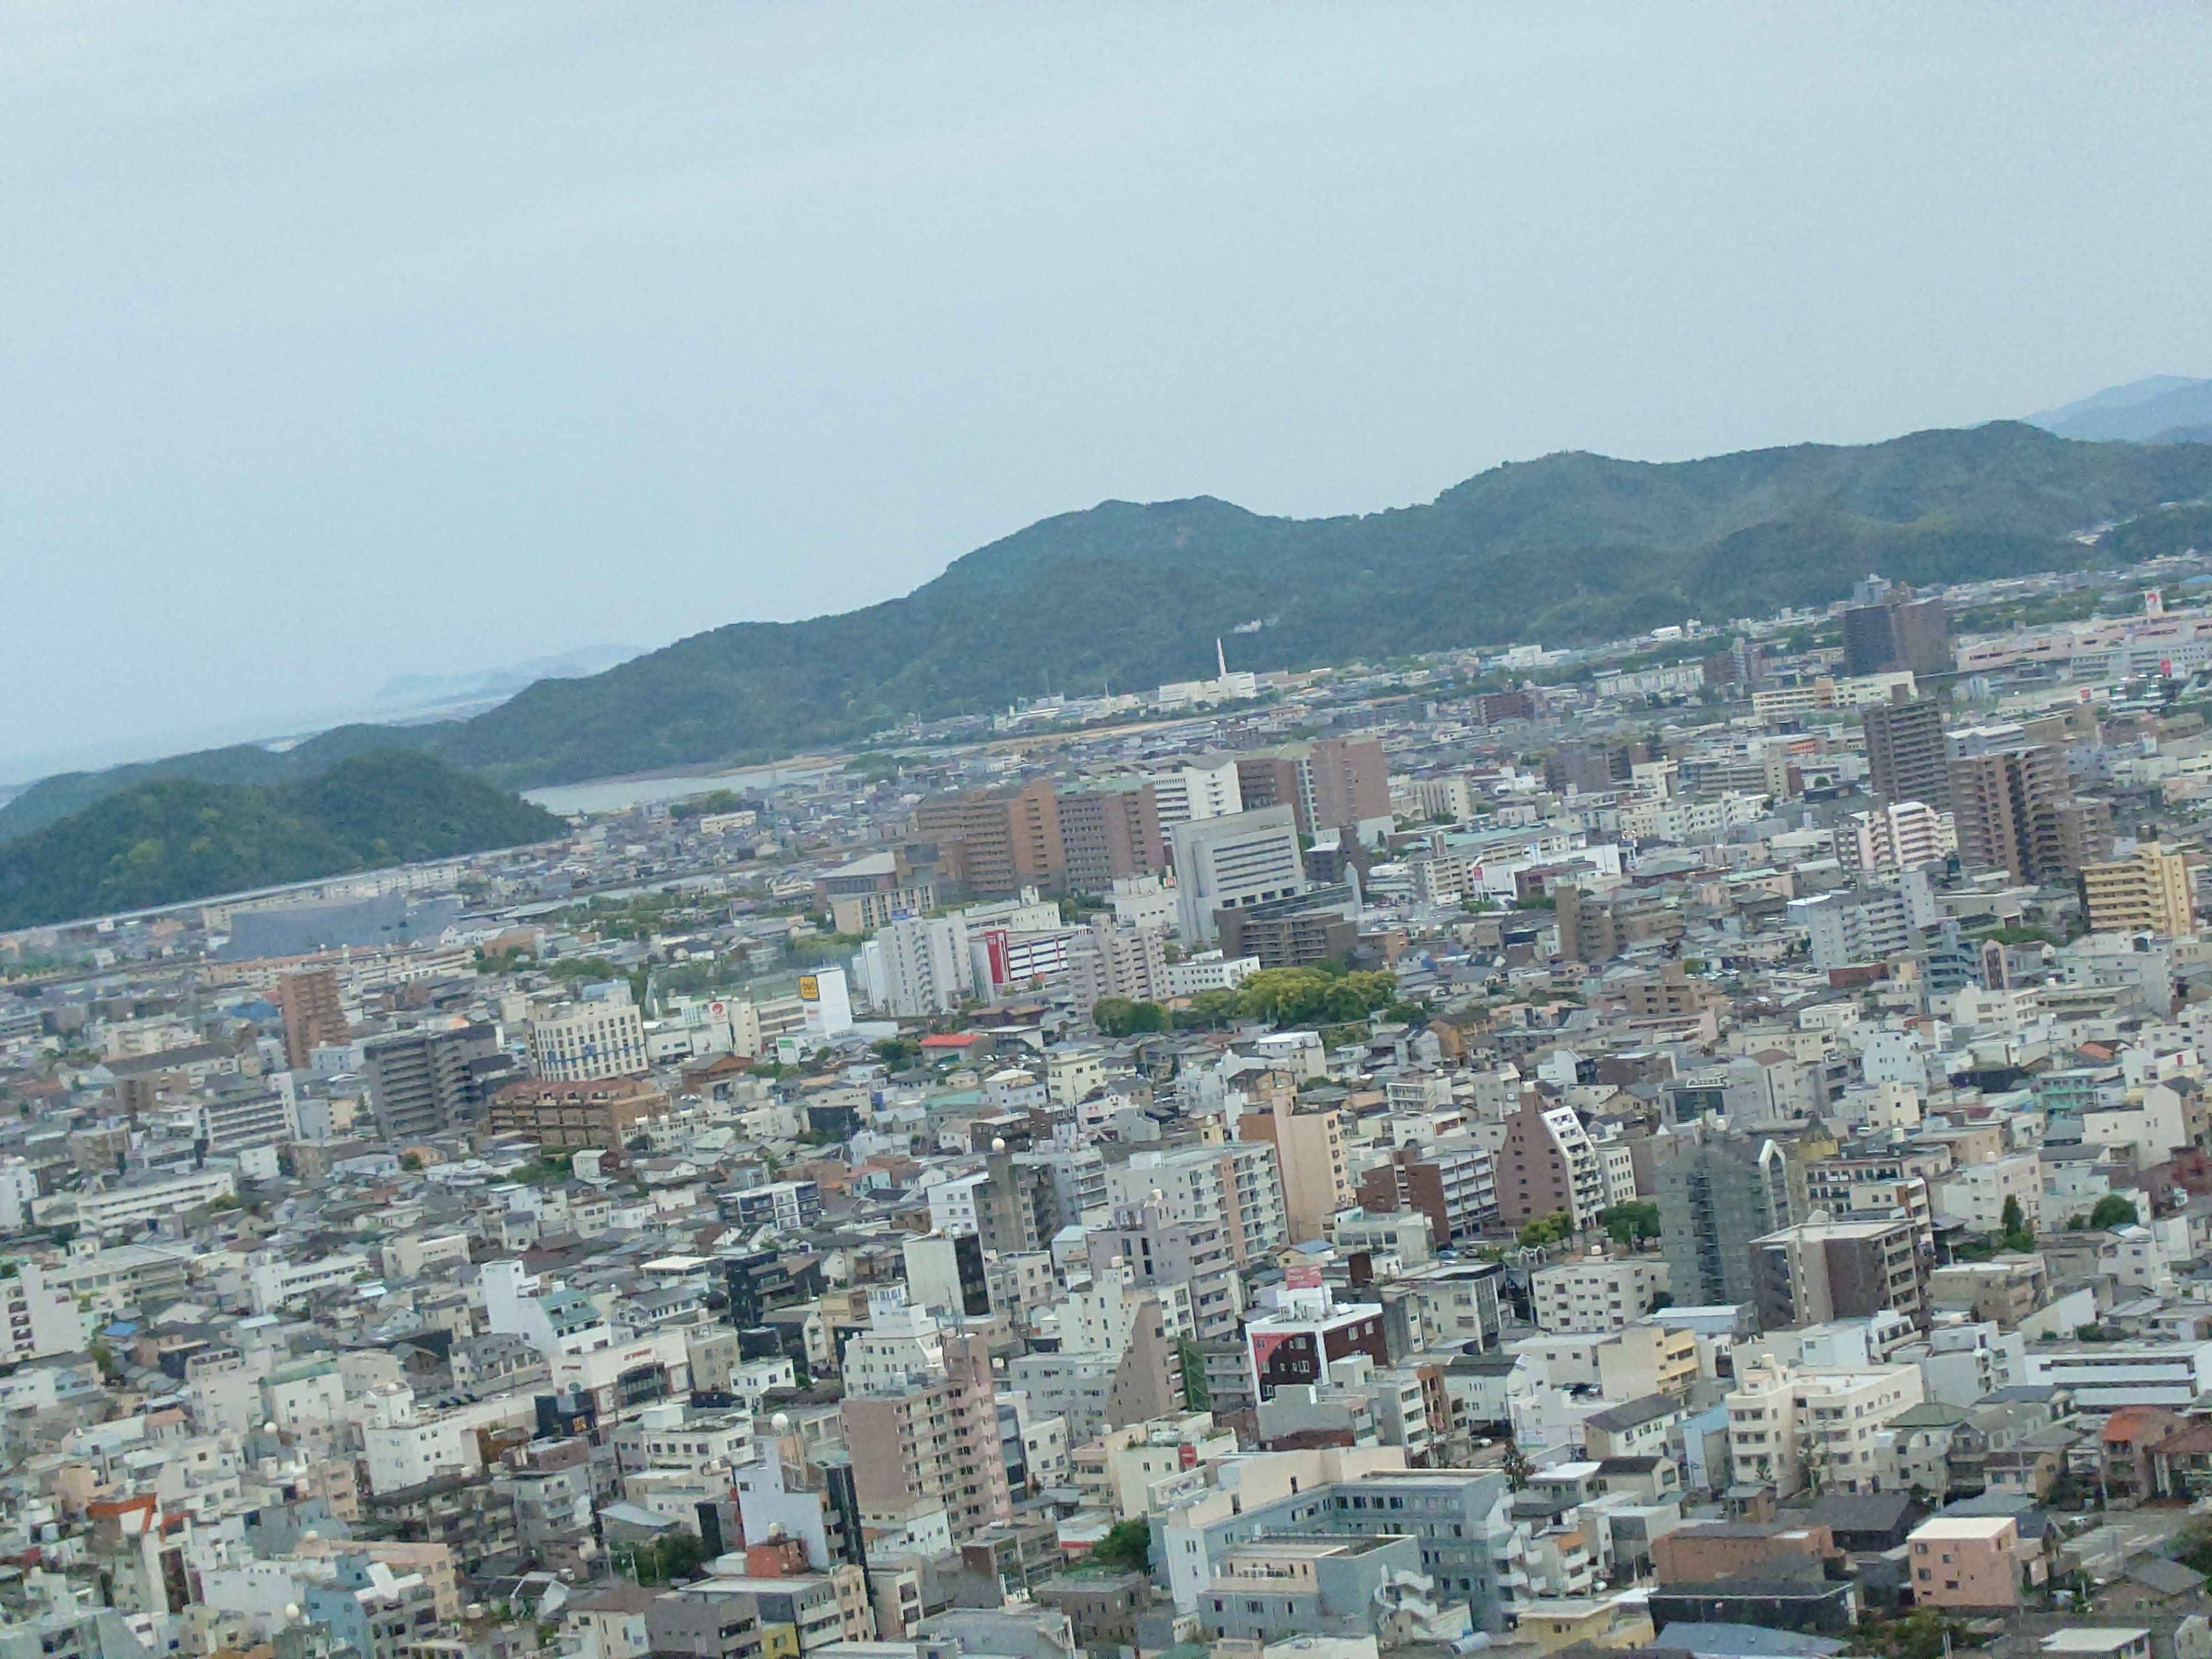
眉山から徳島市街を望む
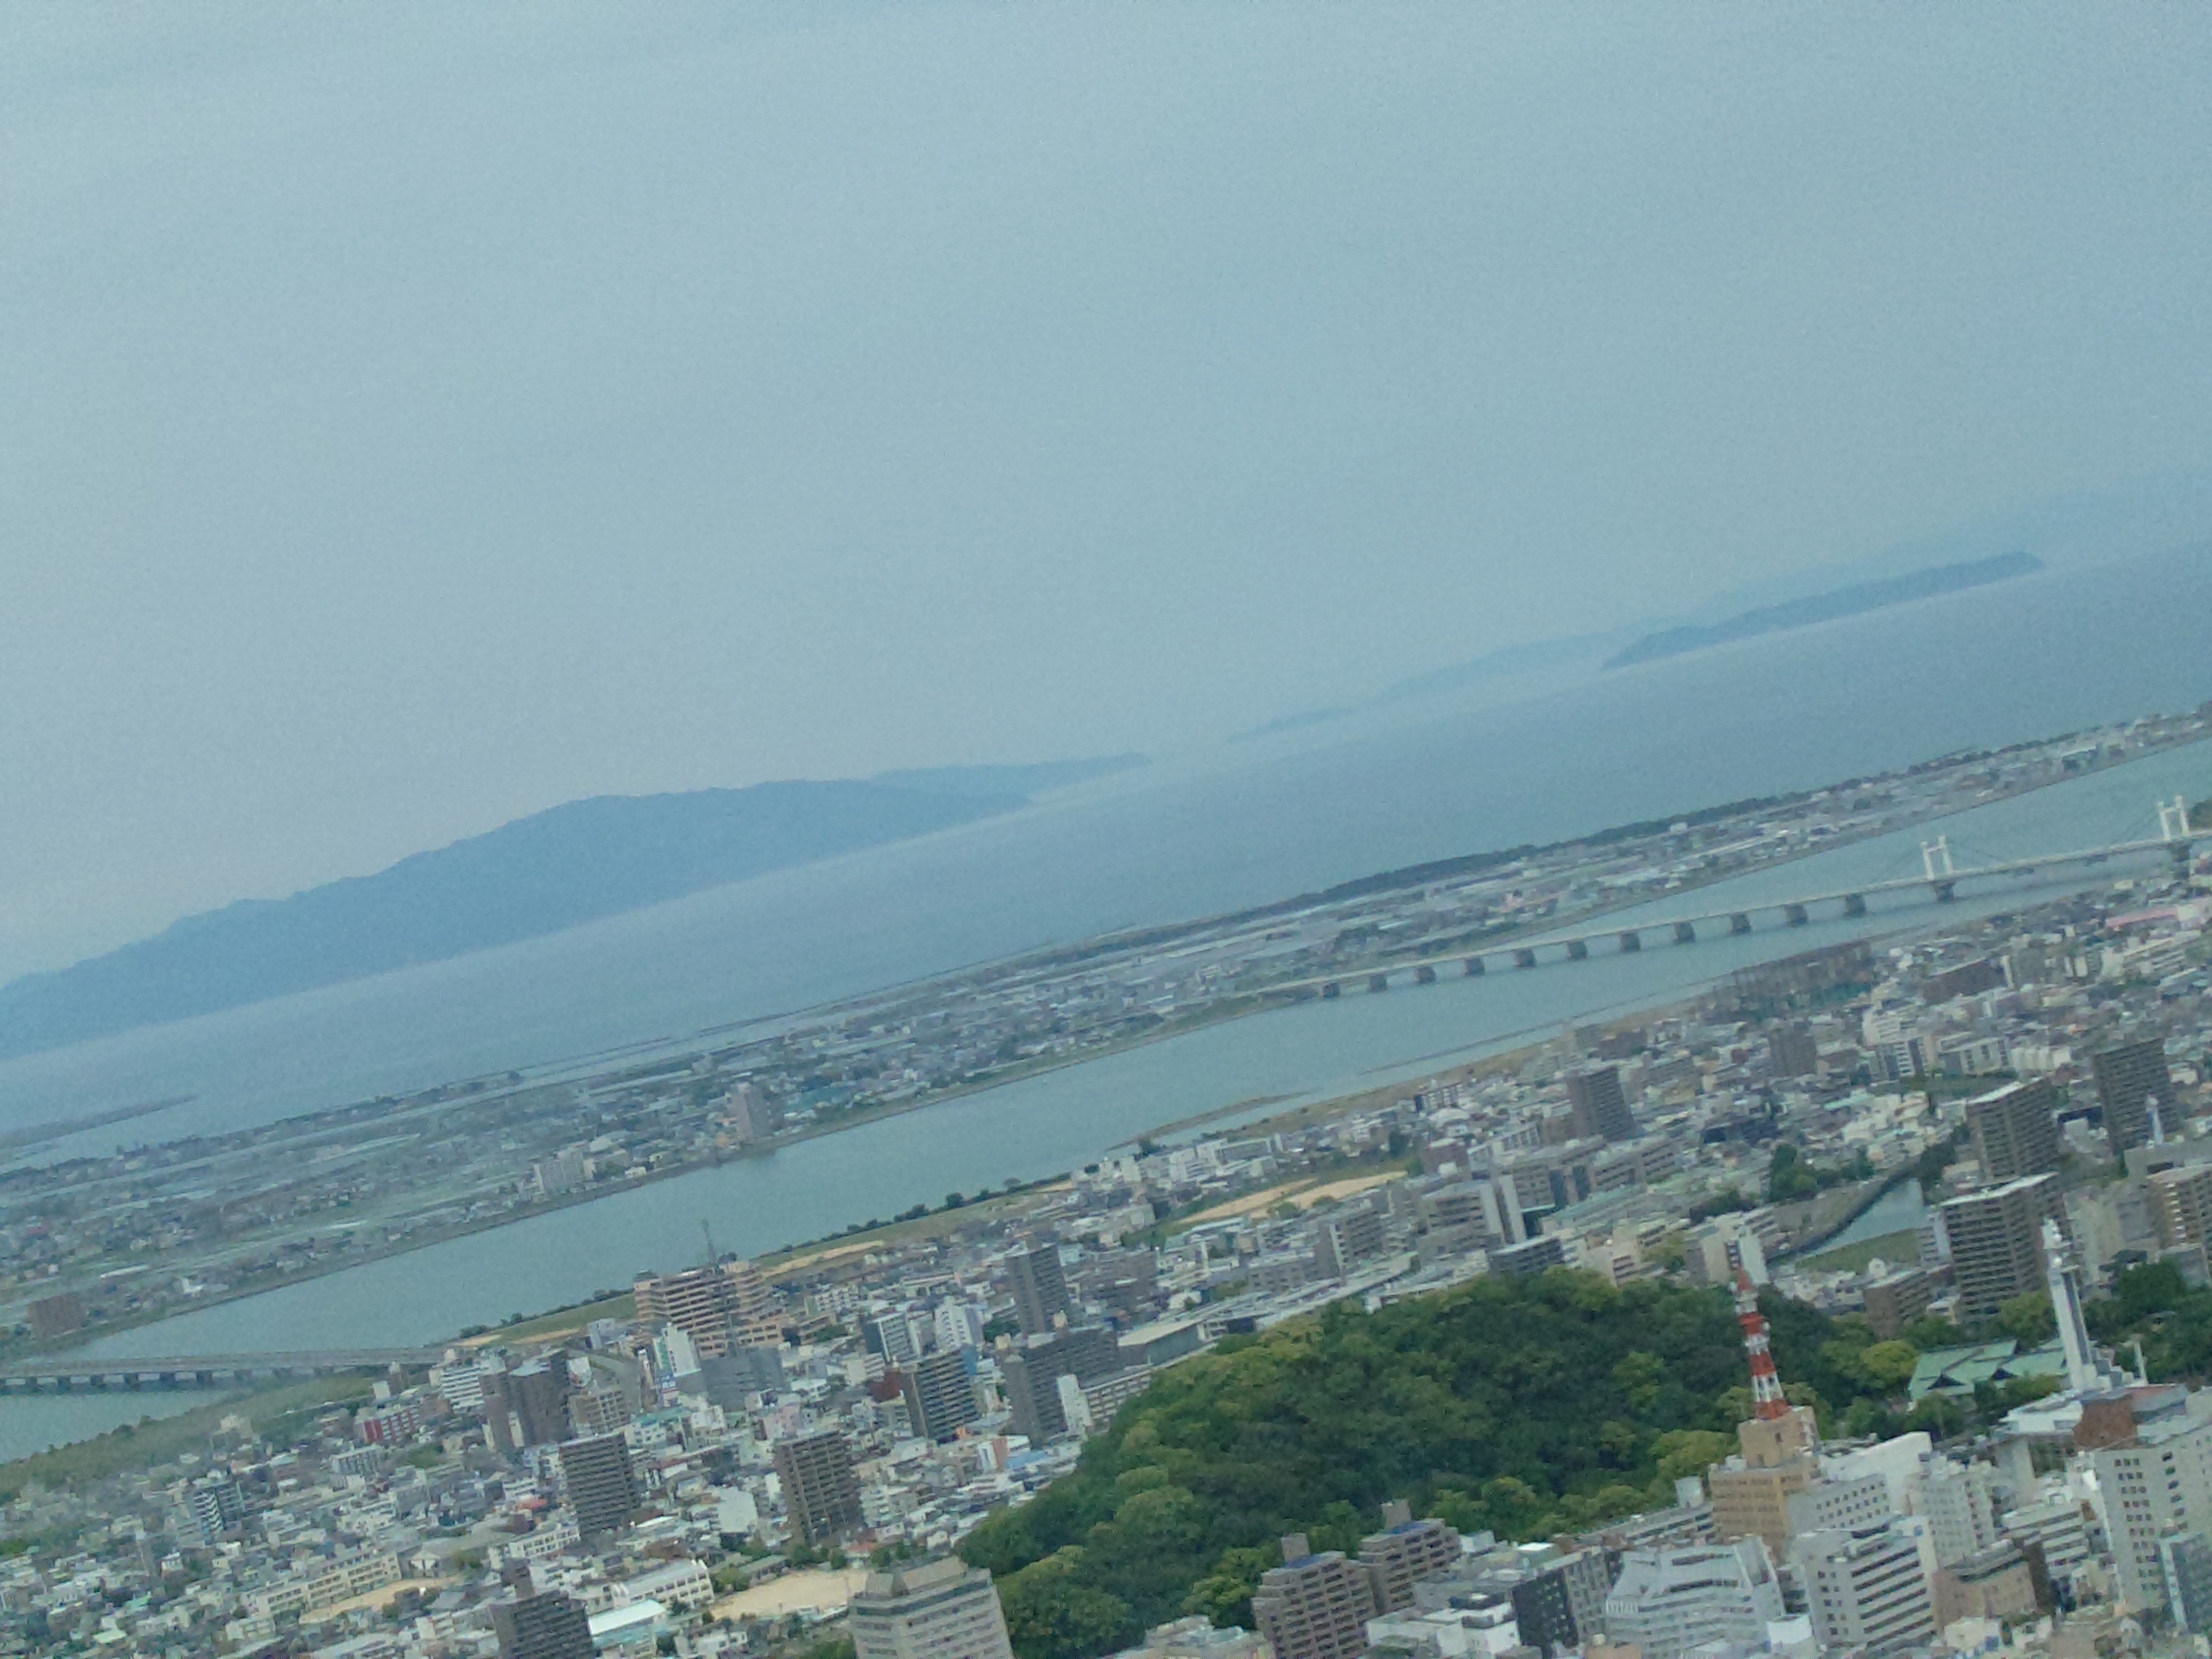
日本で二番目に太いといわれる吉野川の大きさがよくわかる景色だ。
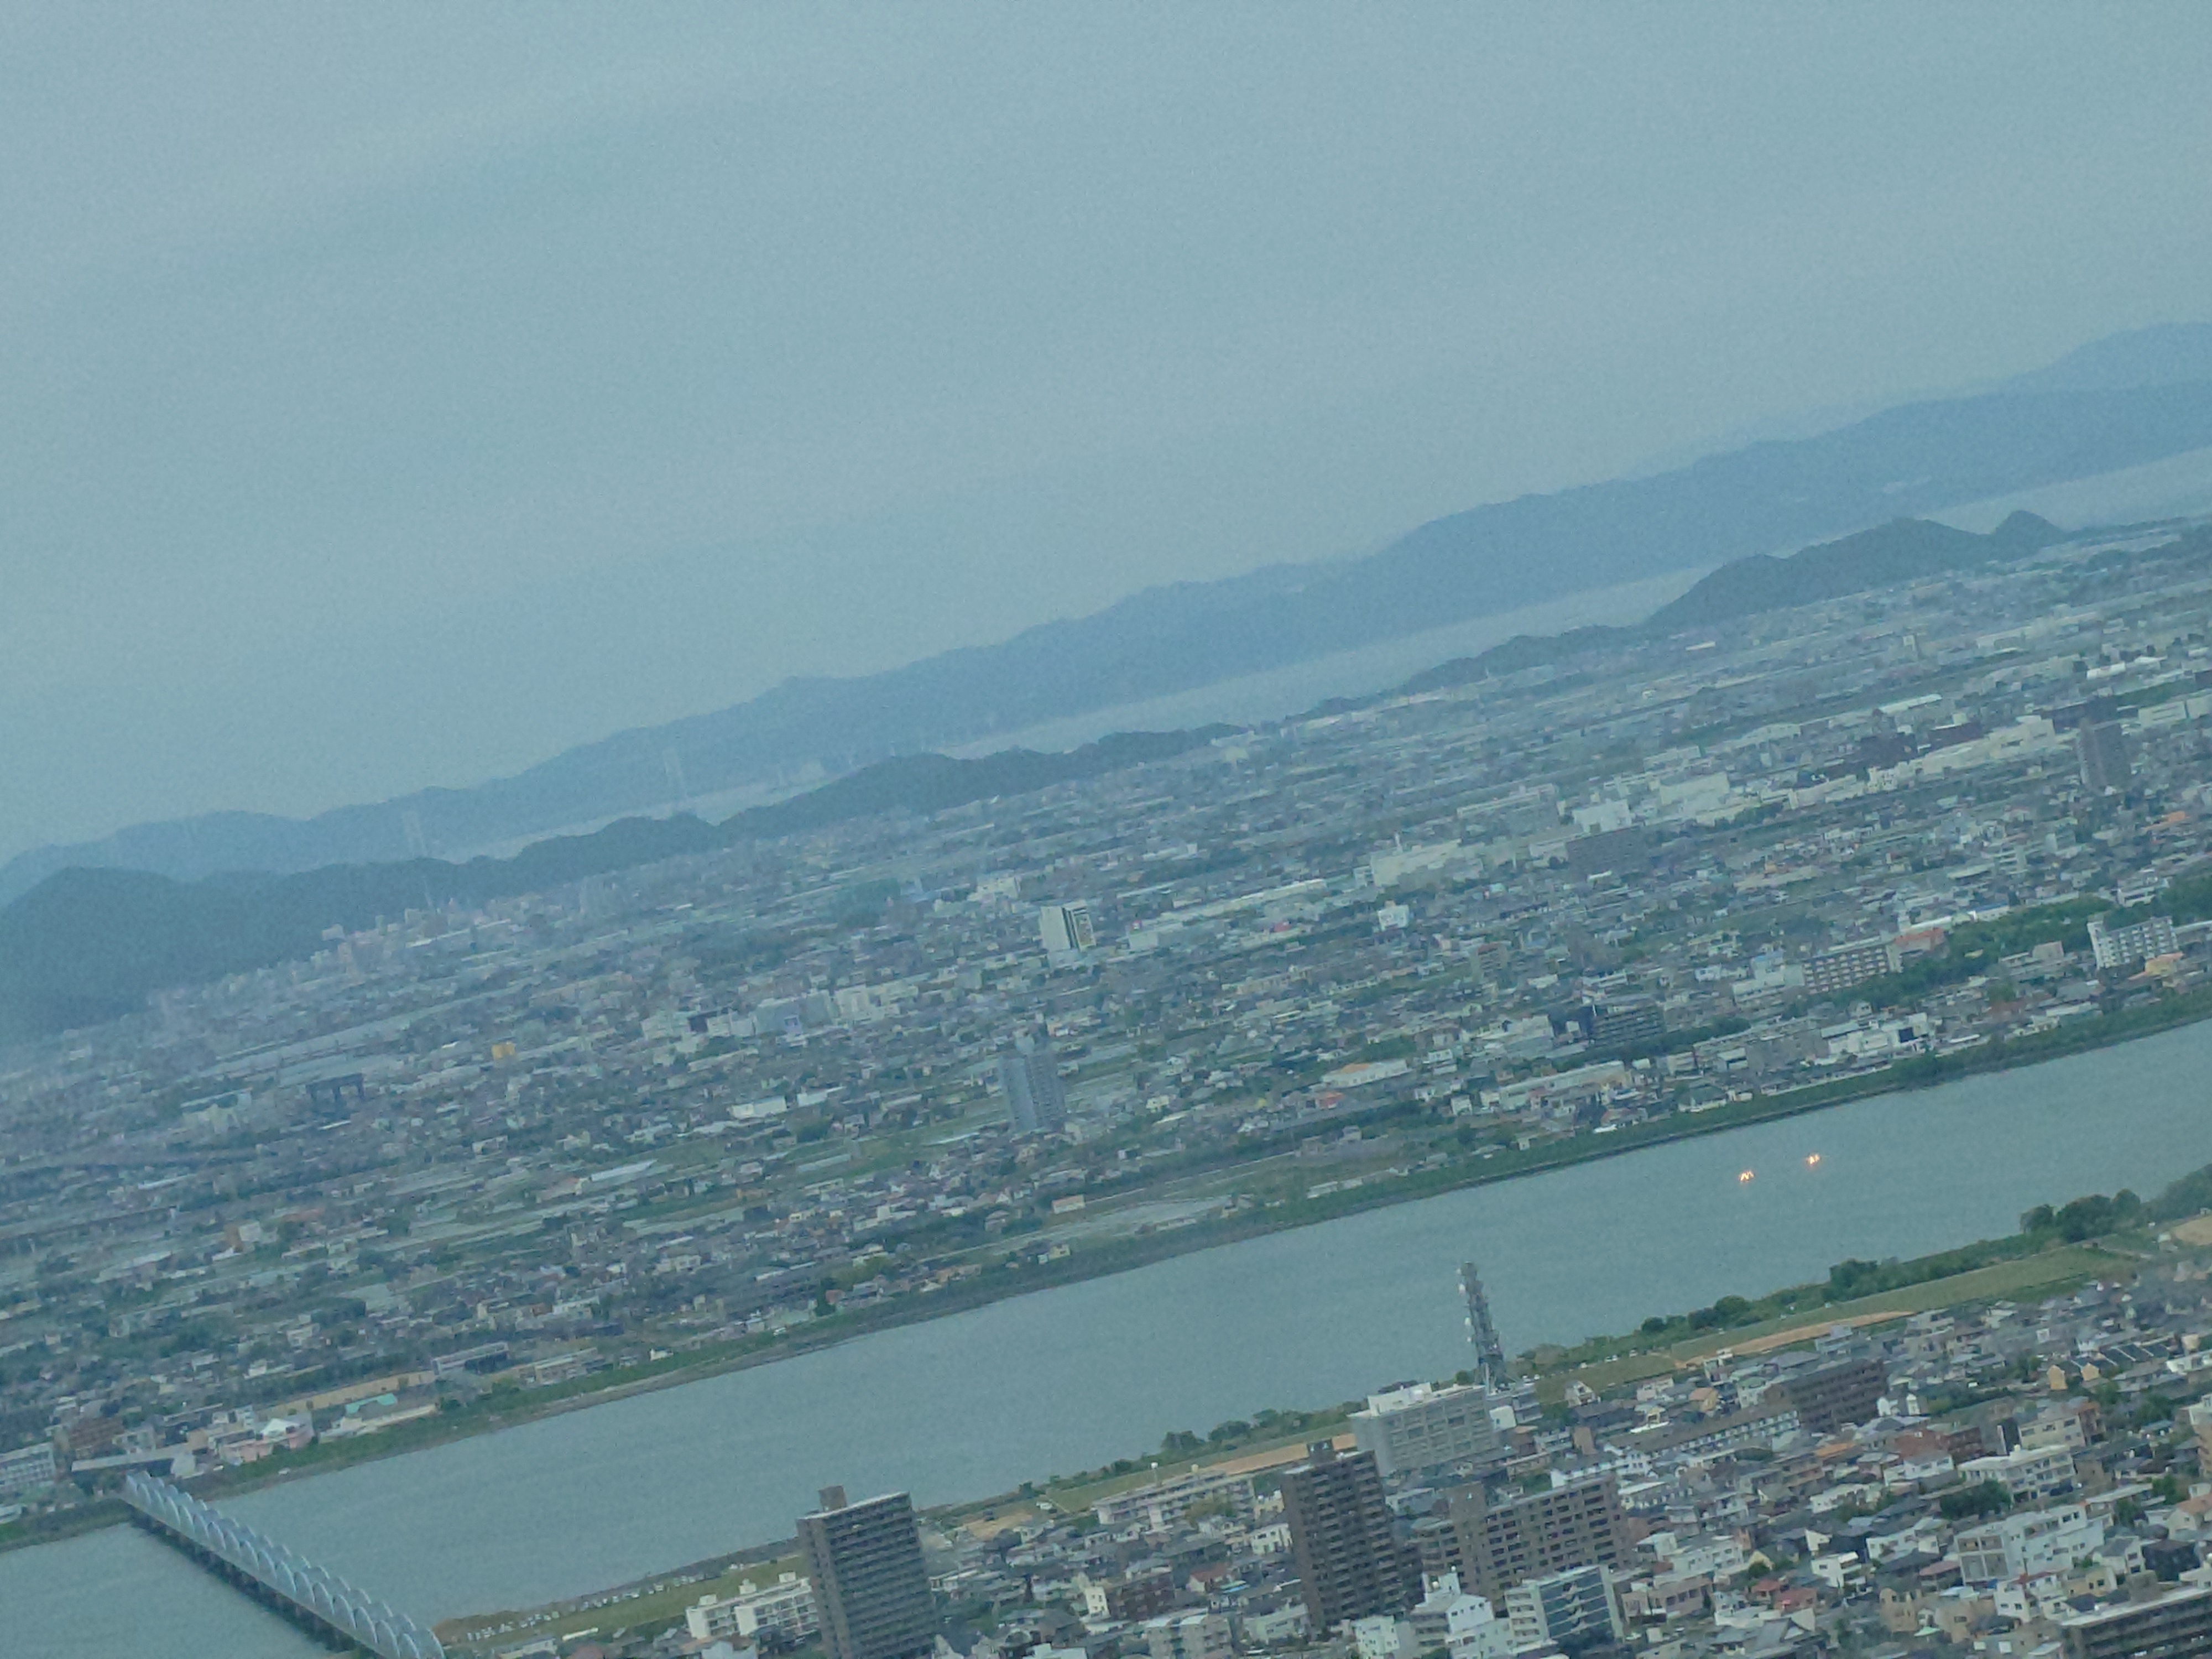
曇りなのもあって遠景がいまいちだが、鳴門大橋もうっすら見える。つまり対岸の陸地は淡路島ということだ。
帰りのロープウェイ駅
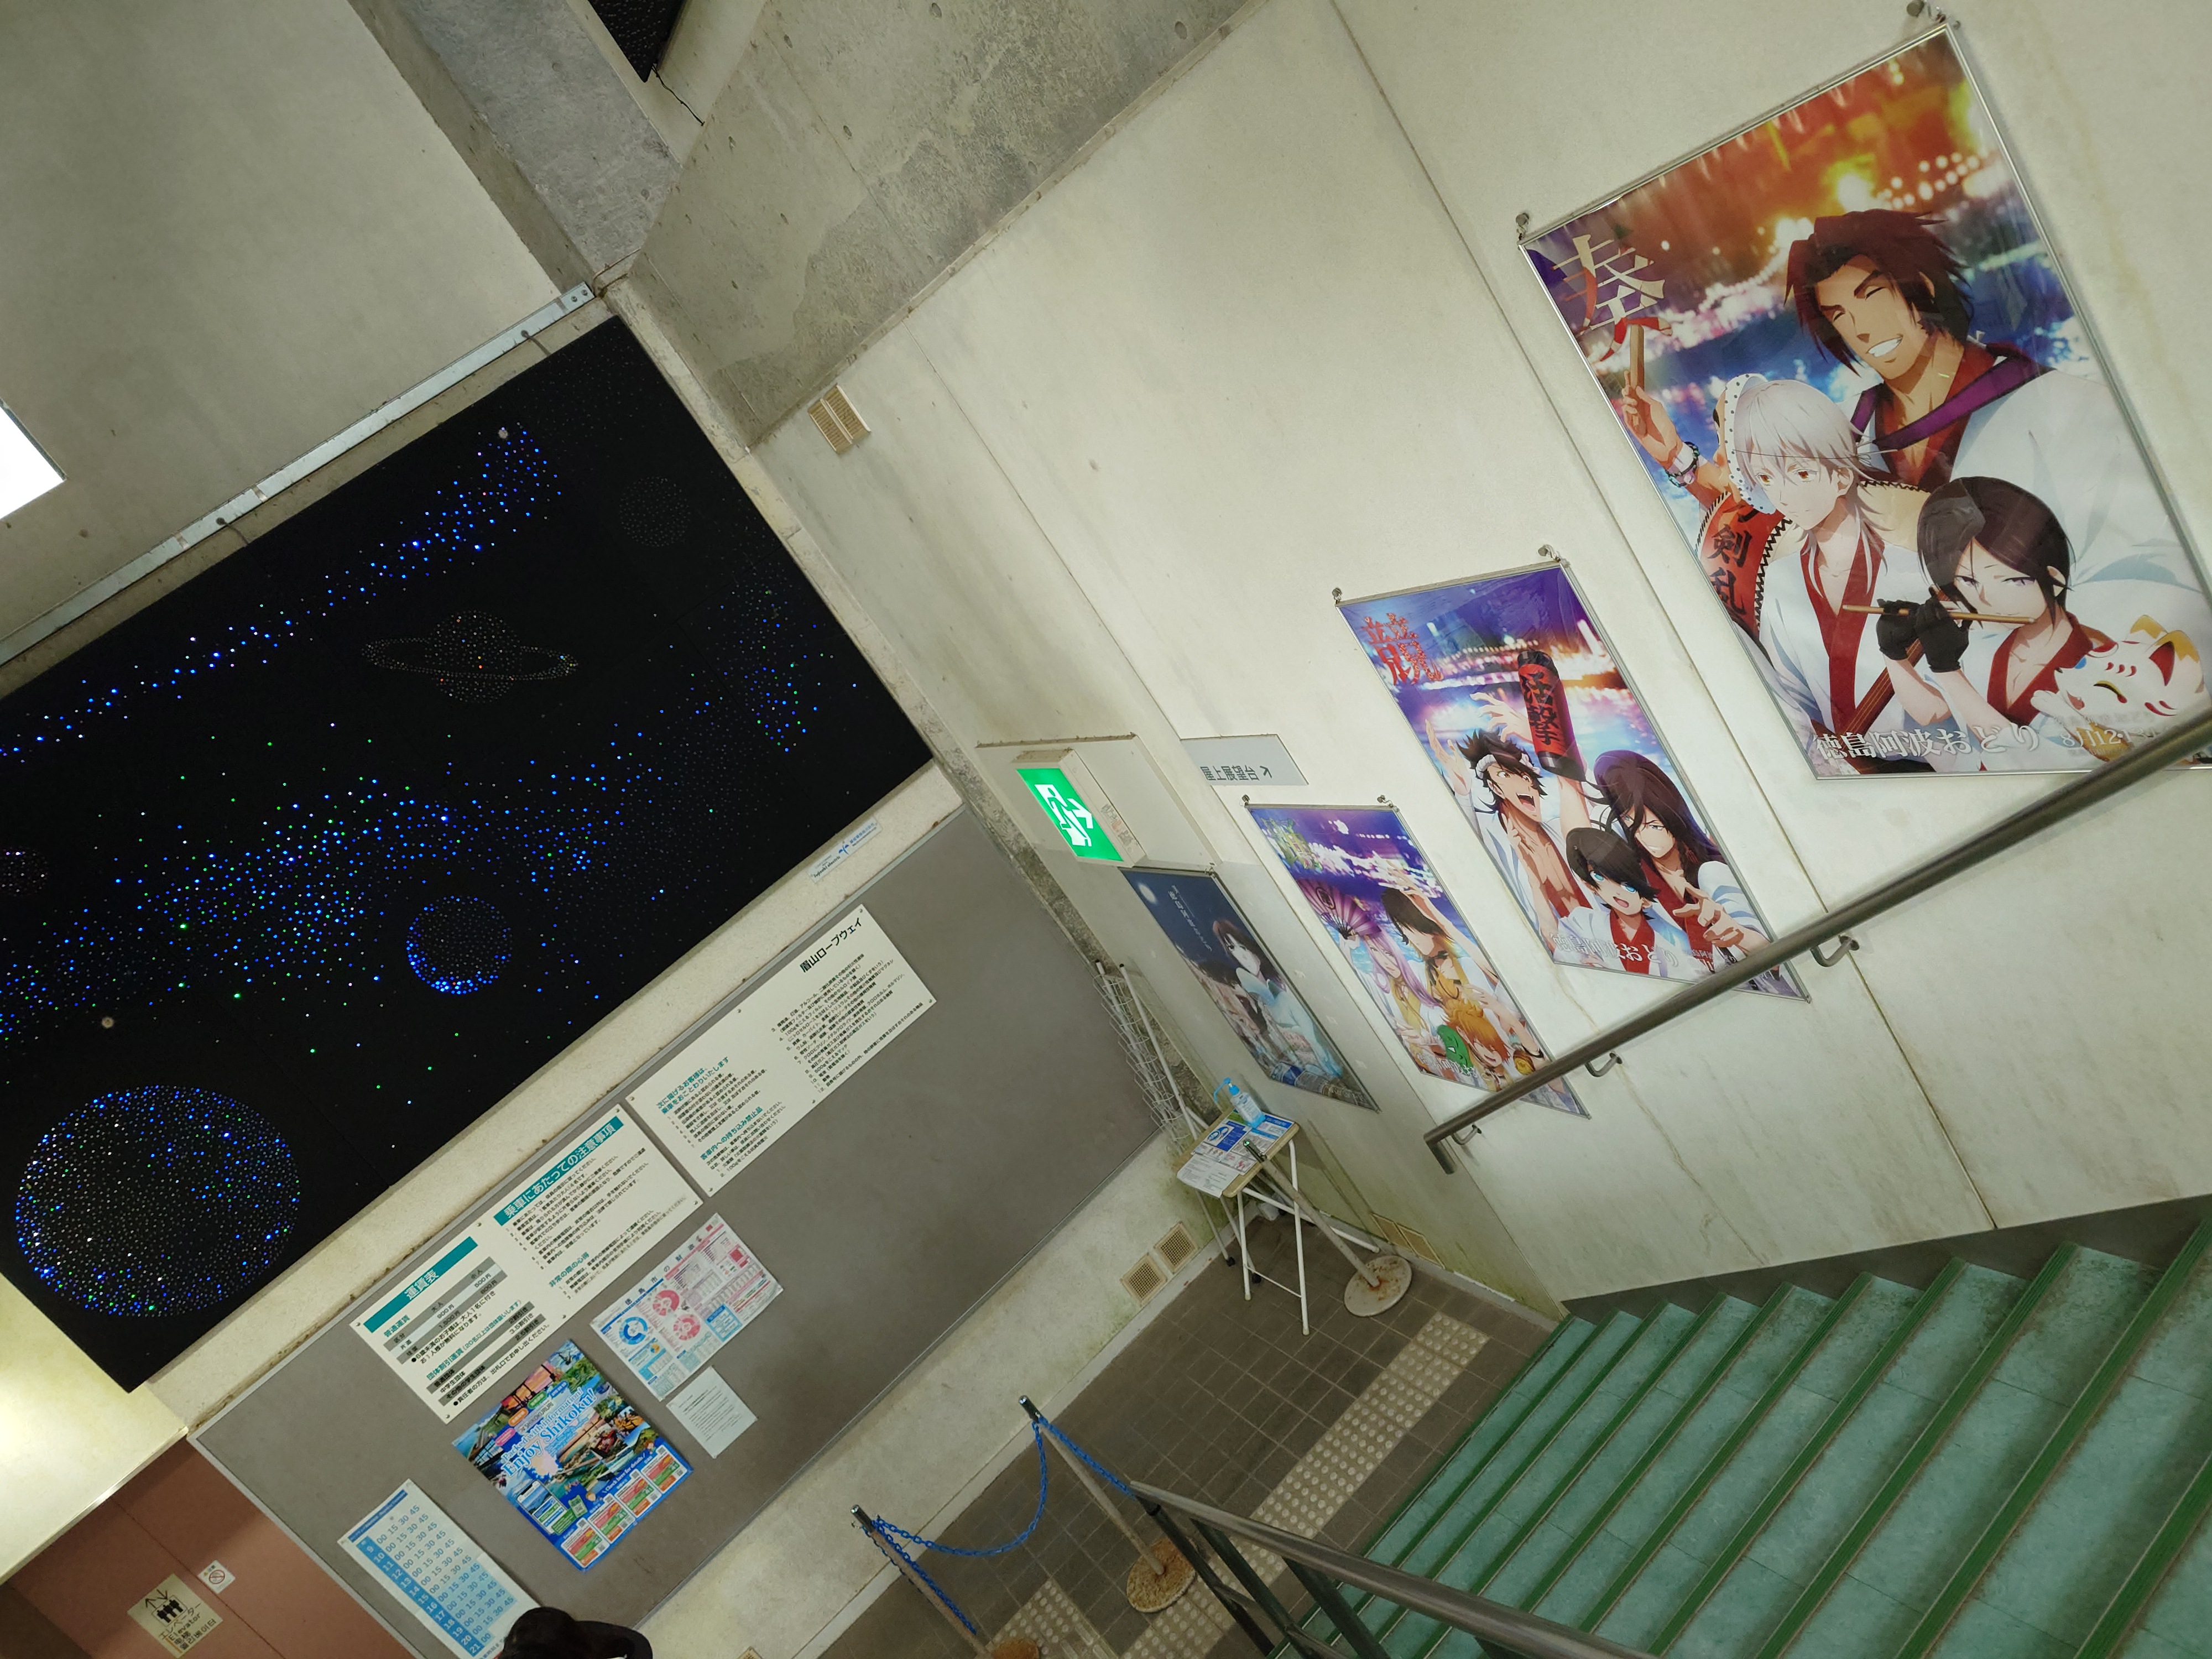
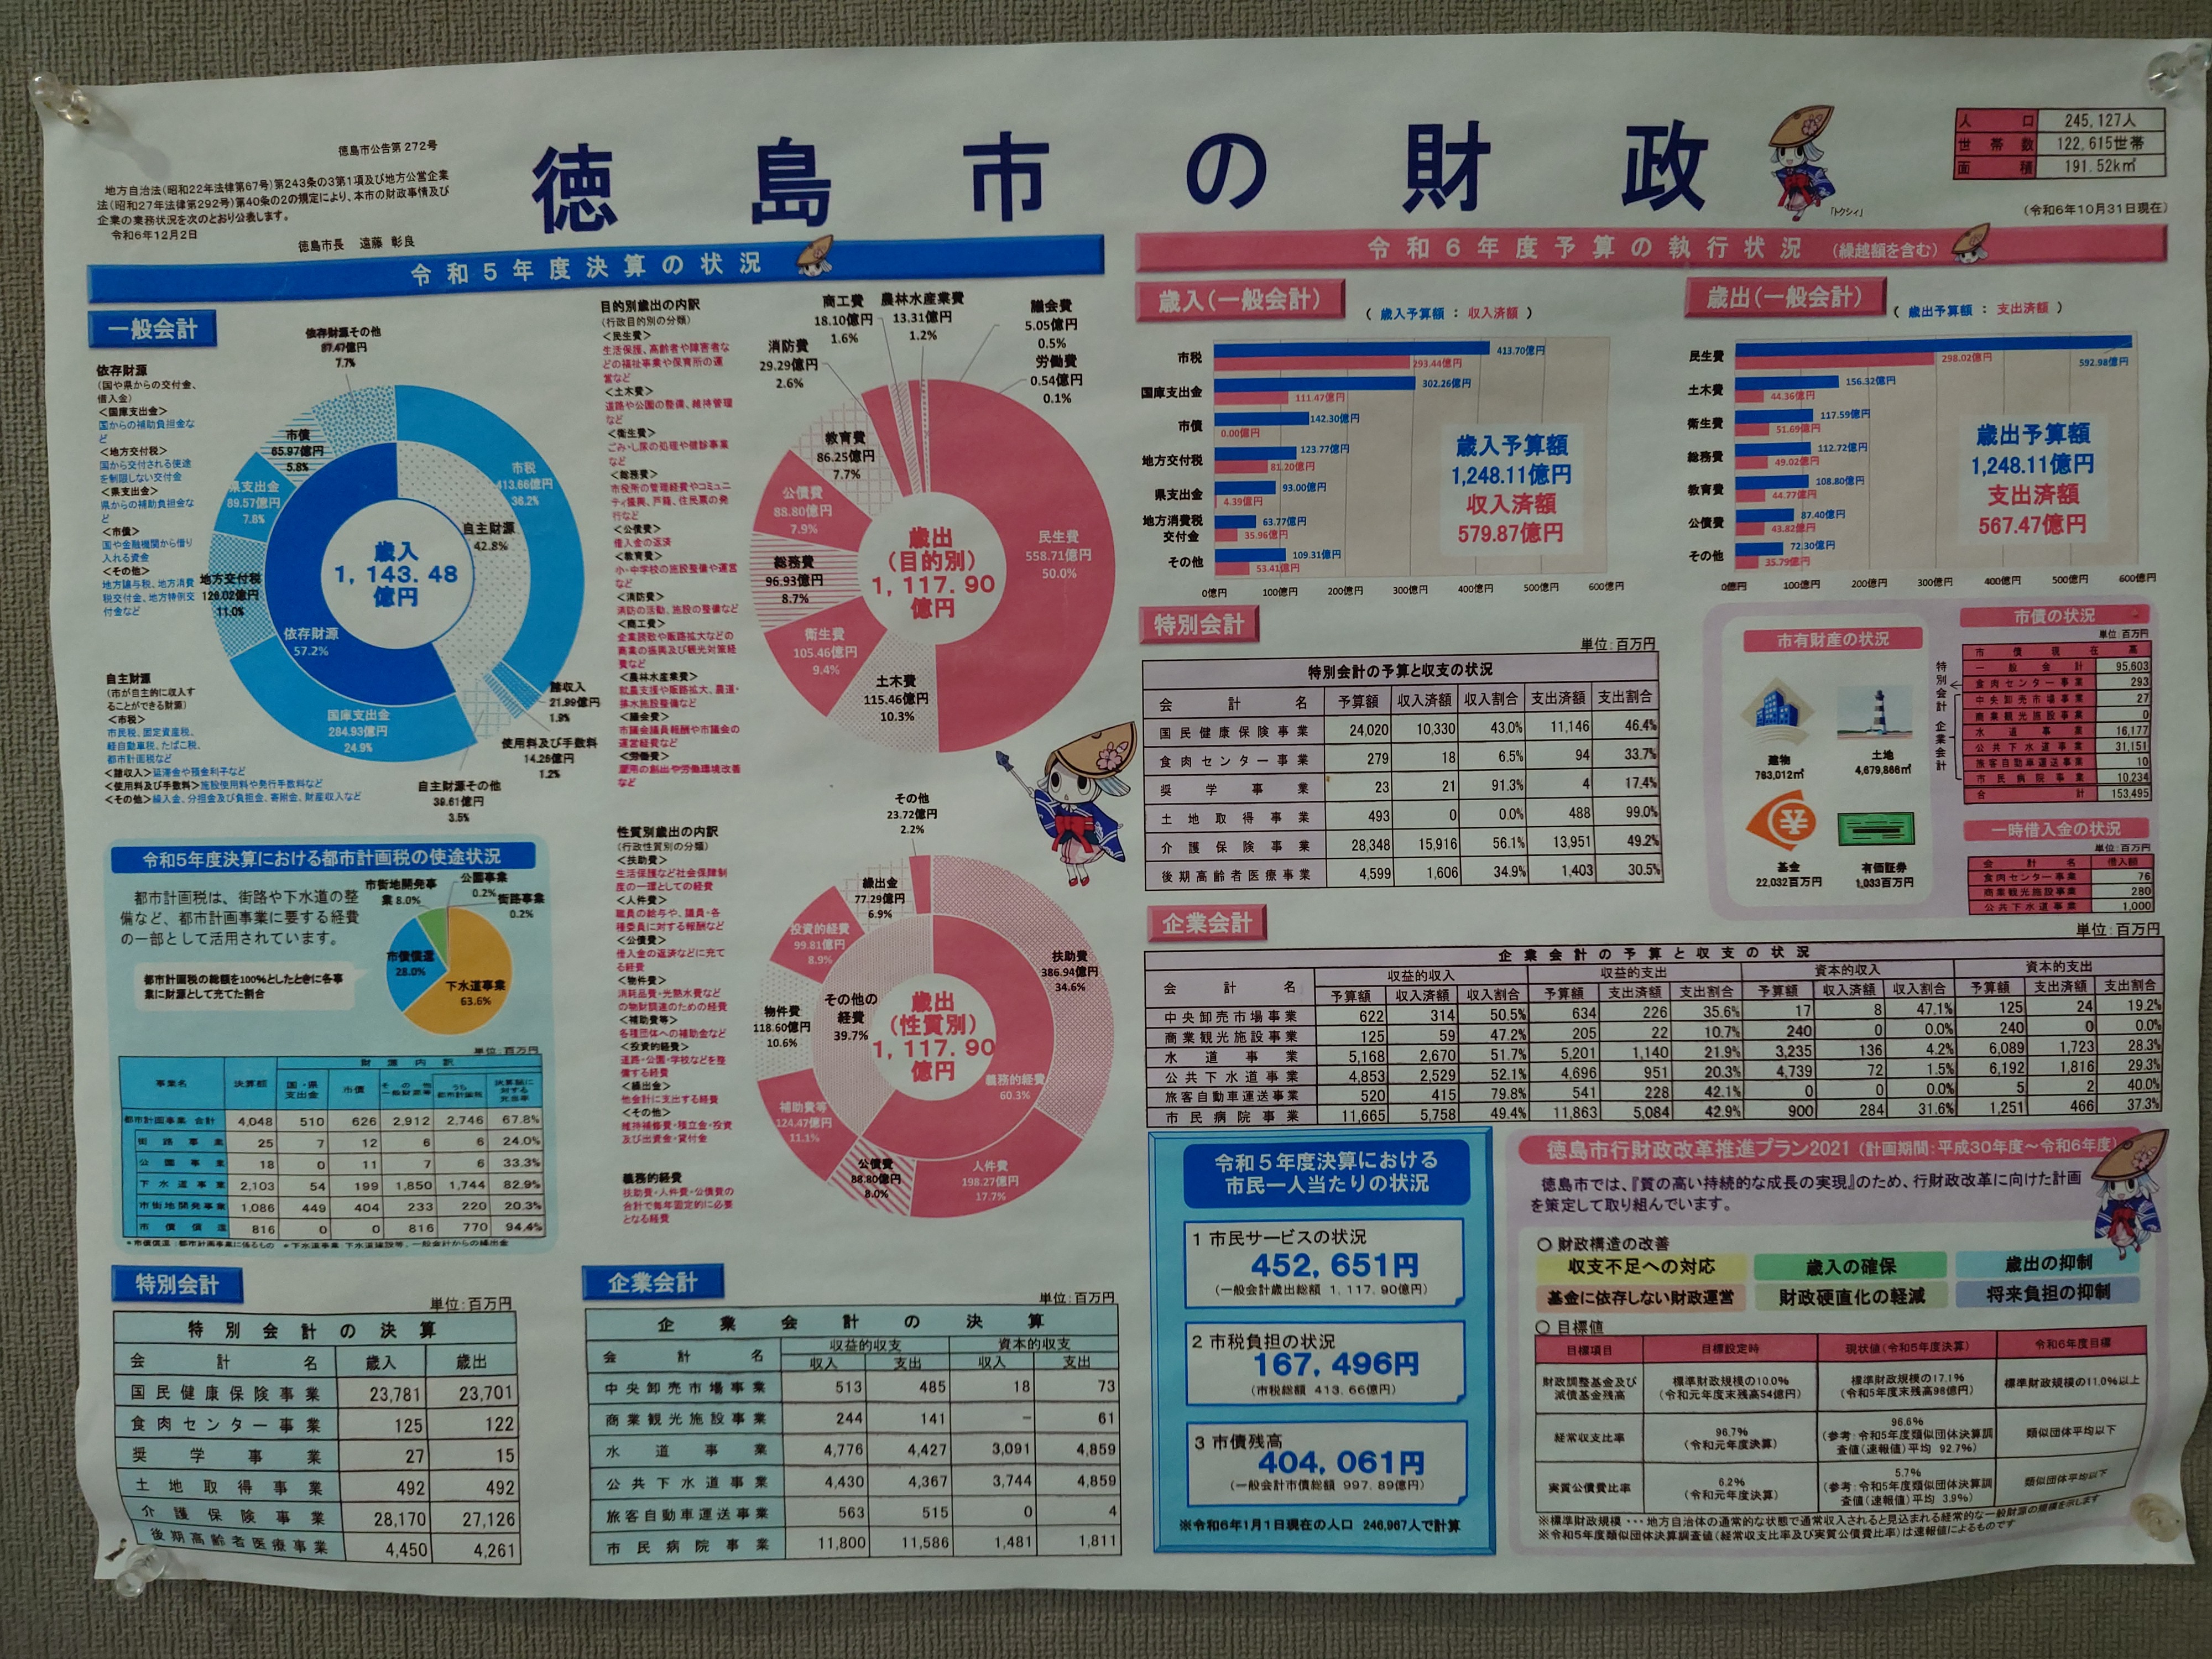
ロープウェイを降りていくと徳島県の会計情報が貼ってあり、トクシィもいて可愛らしかった。市税だけでは足りず、過半数を国税や県税などの依存財源に頼っている状況がうかがえた。
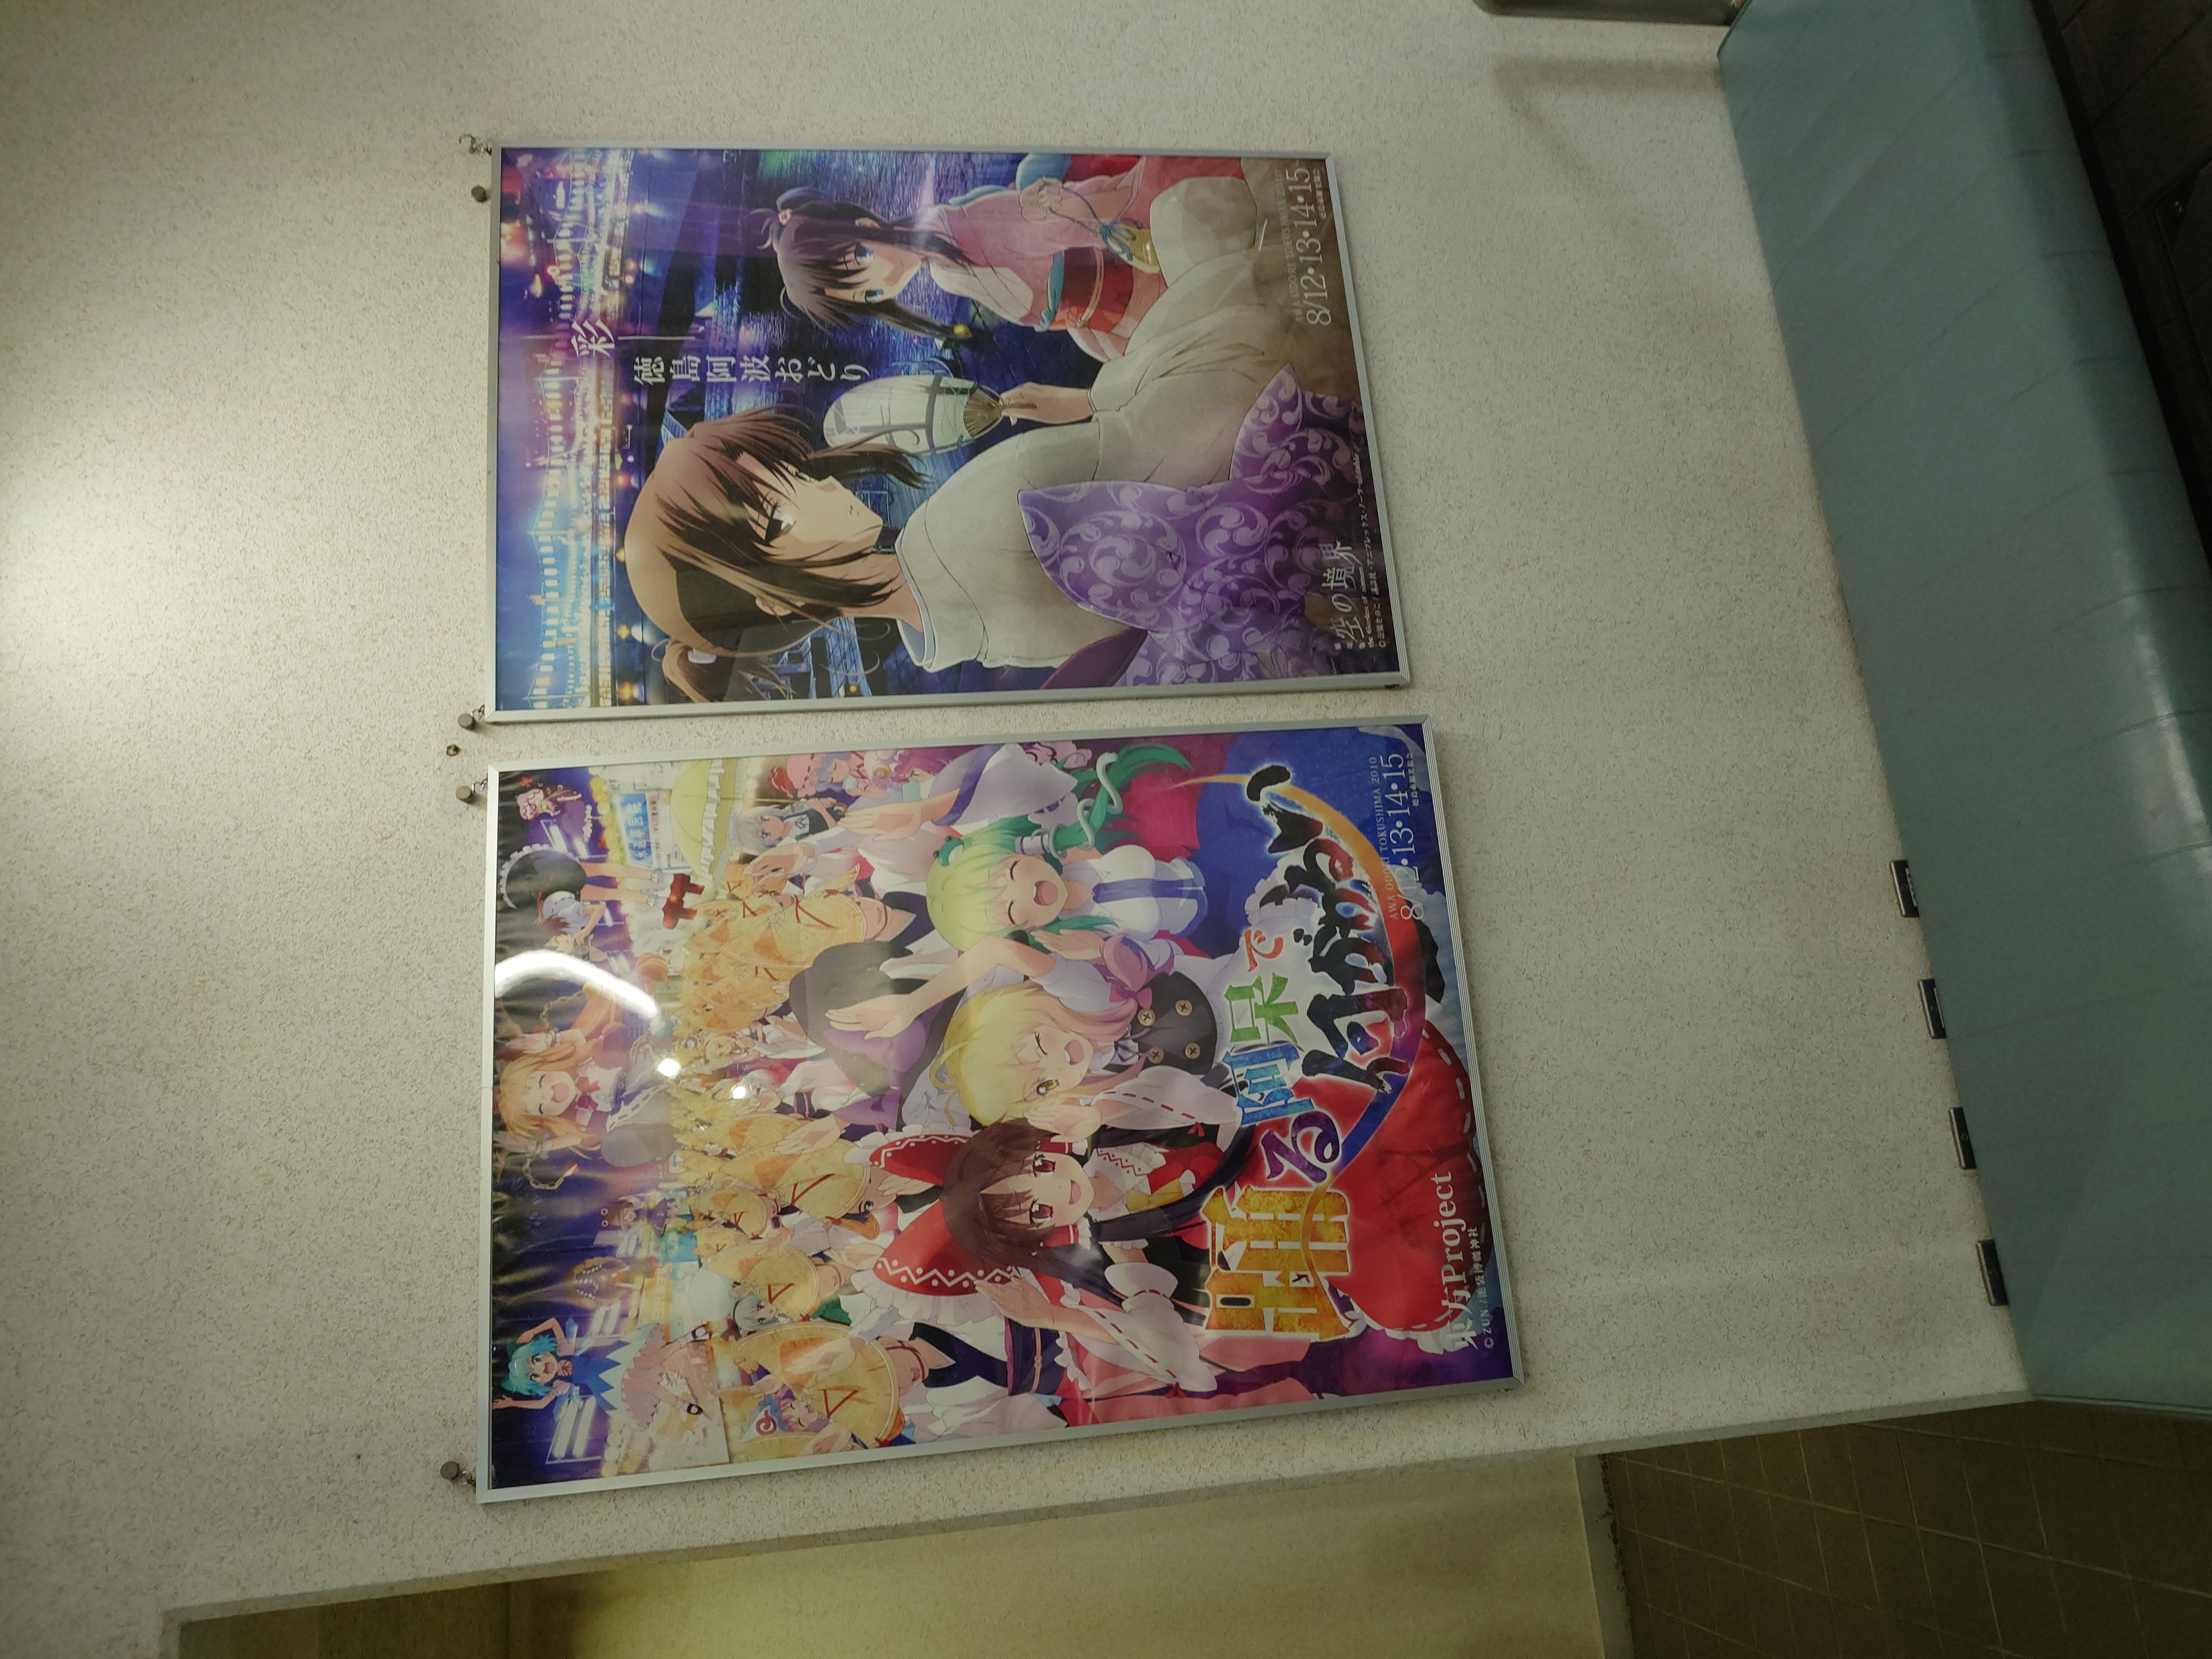
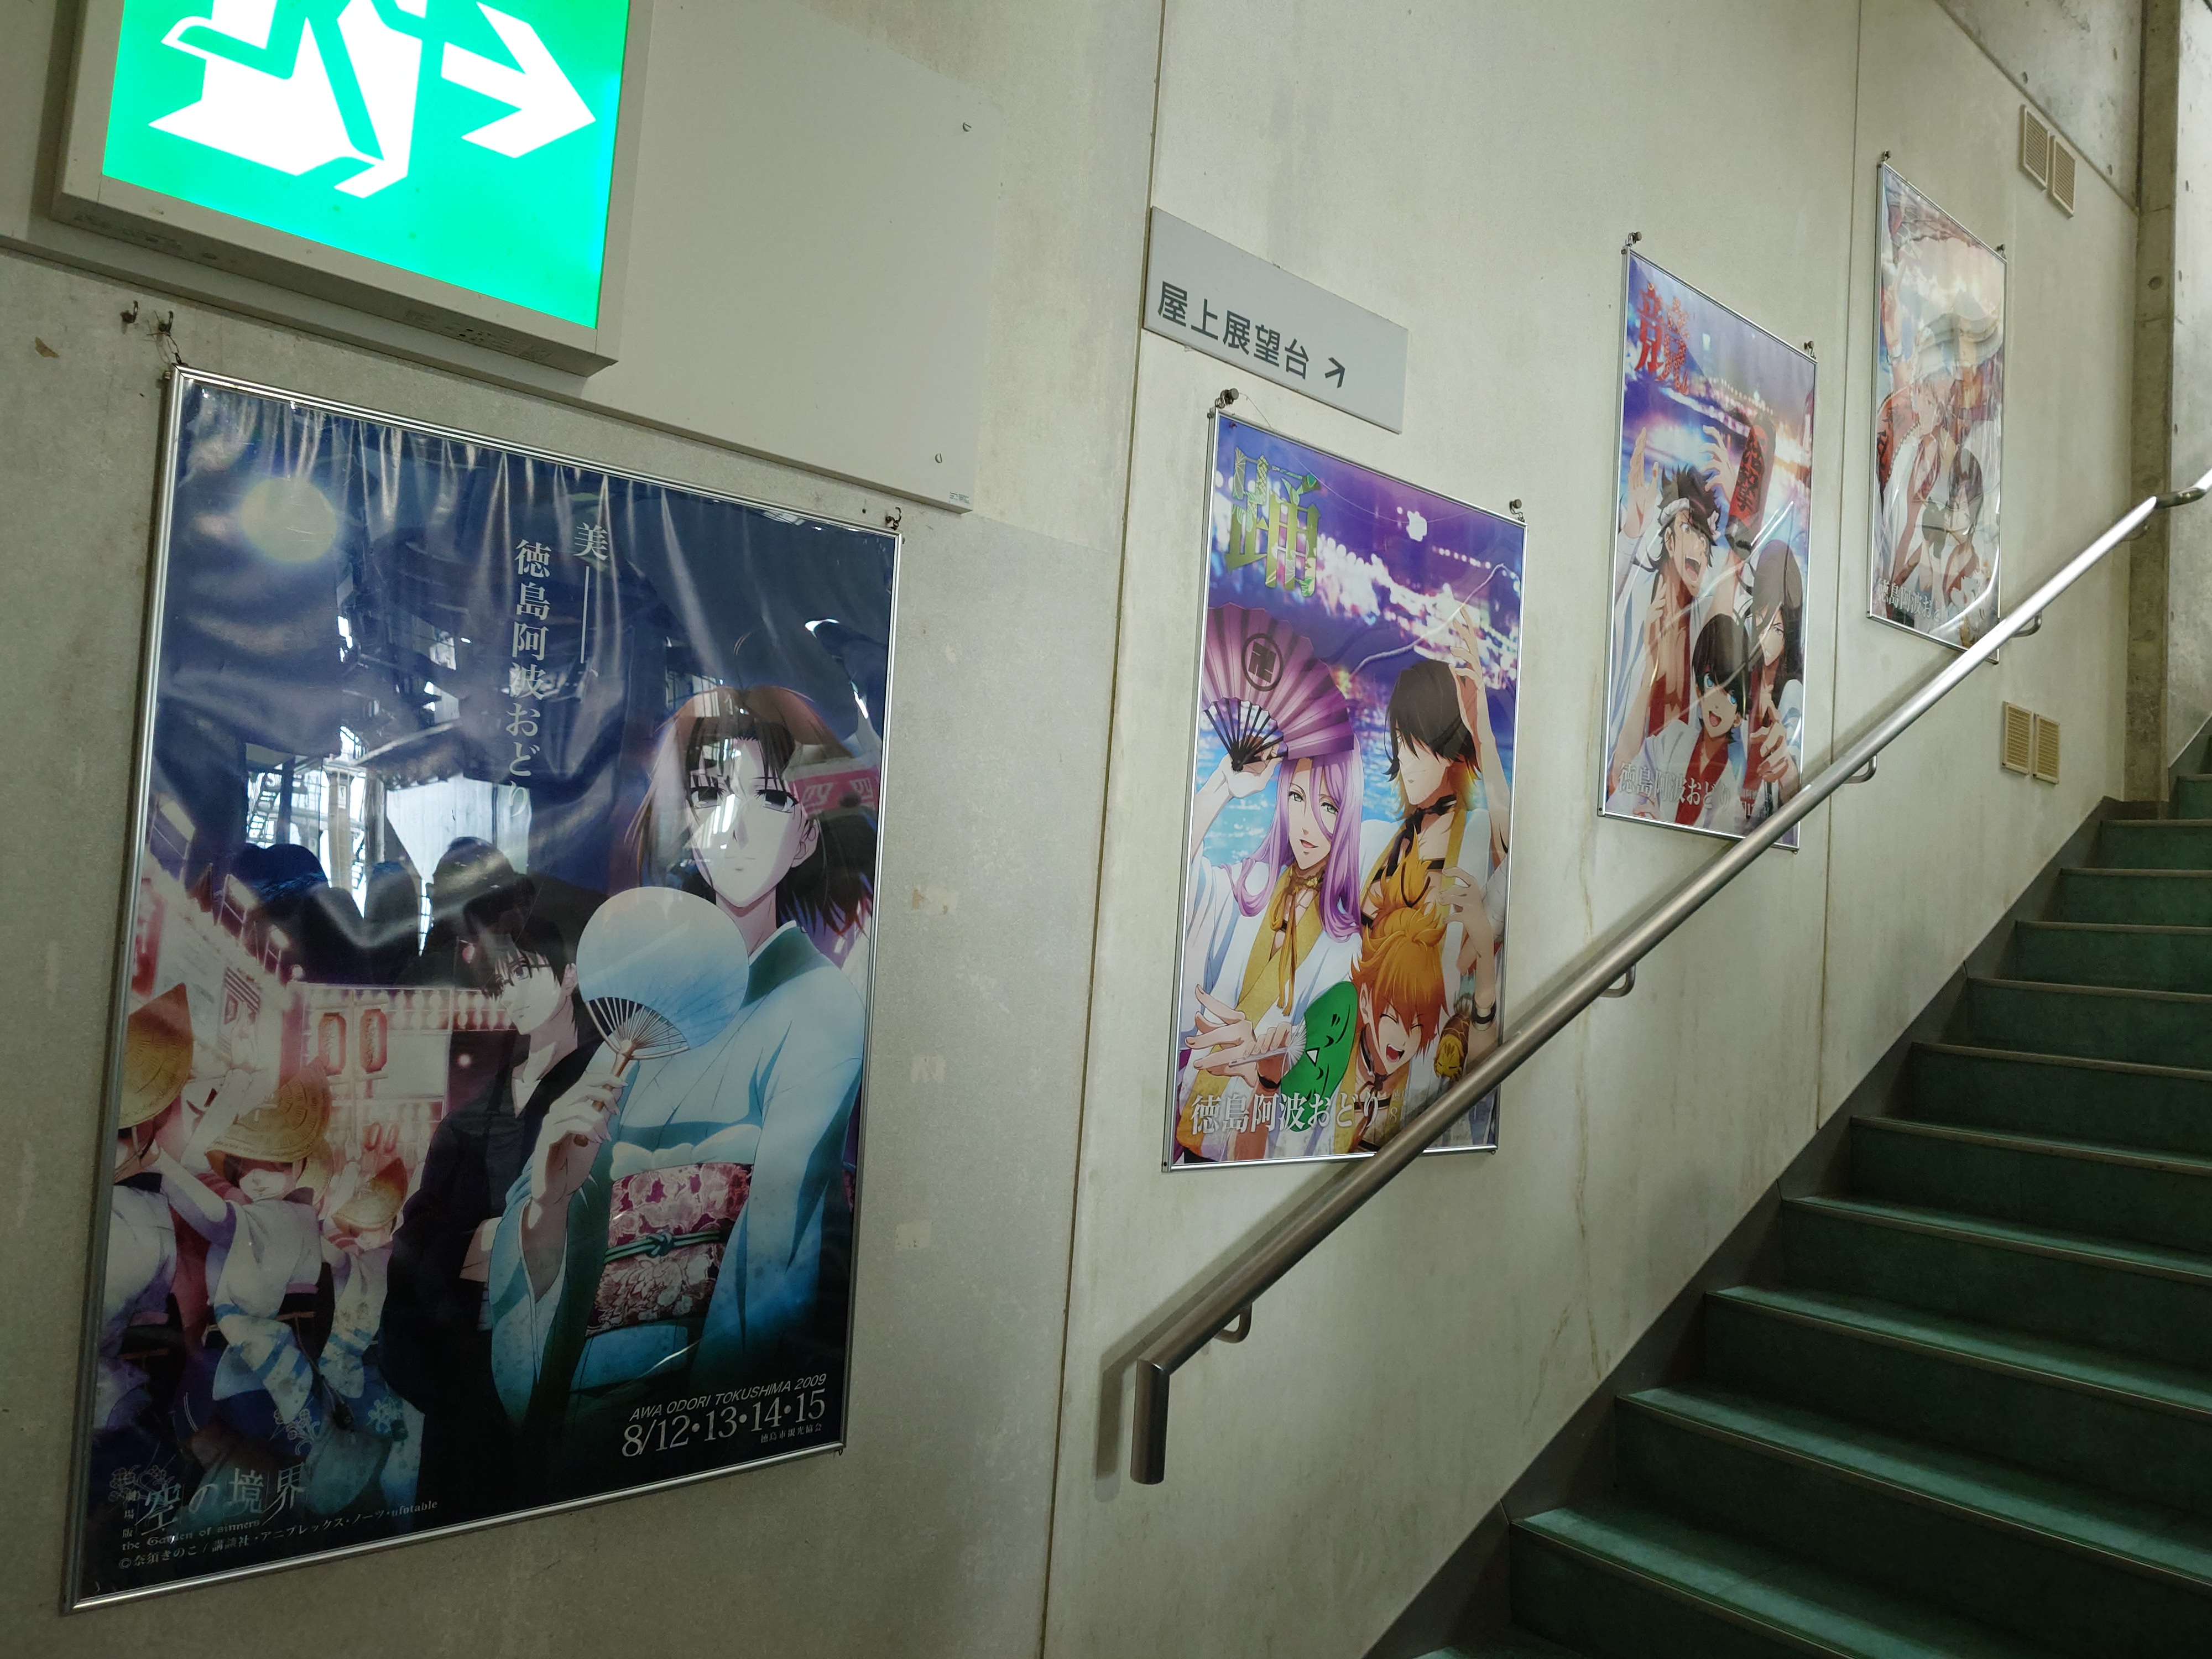
来る時は気が付かなかったが乗り場の壁にもマチアソビ要素のあるポスターが貼ってあった。東方Projectのほうにはufotableの文字が見えないので、東方Projectとしての協賛があったのだろうか?だとしたら面白いなと思った。
空の境界も懐かしく感慨深い気持ちになった。高校生のころに学校の図書館に県内巡回図書として回ってきたのを読んだ記憶が今でもある。まさか地方の高校の図書館にやってくるとは思わなかったので当時は驚いた。確か岡山県下の高校の図書館に一定期間ごとに順次回している内容だったと思う。
さてここからは神戸に帰るため、帰路になってくる。
阿波踊り会館ちょい前にあった謎の肉屋
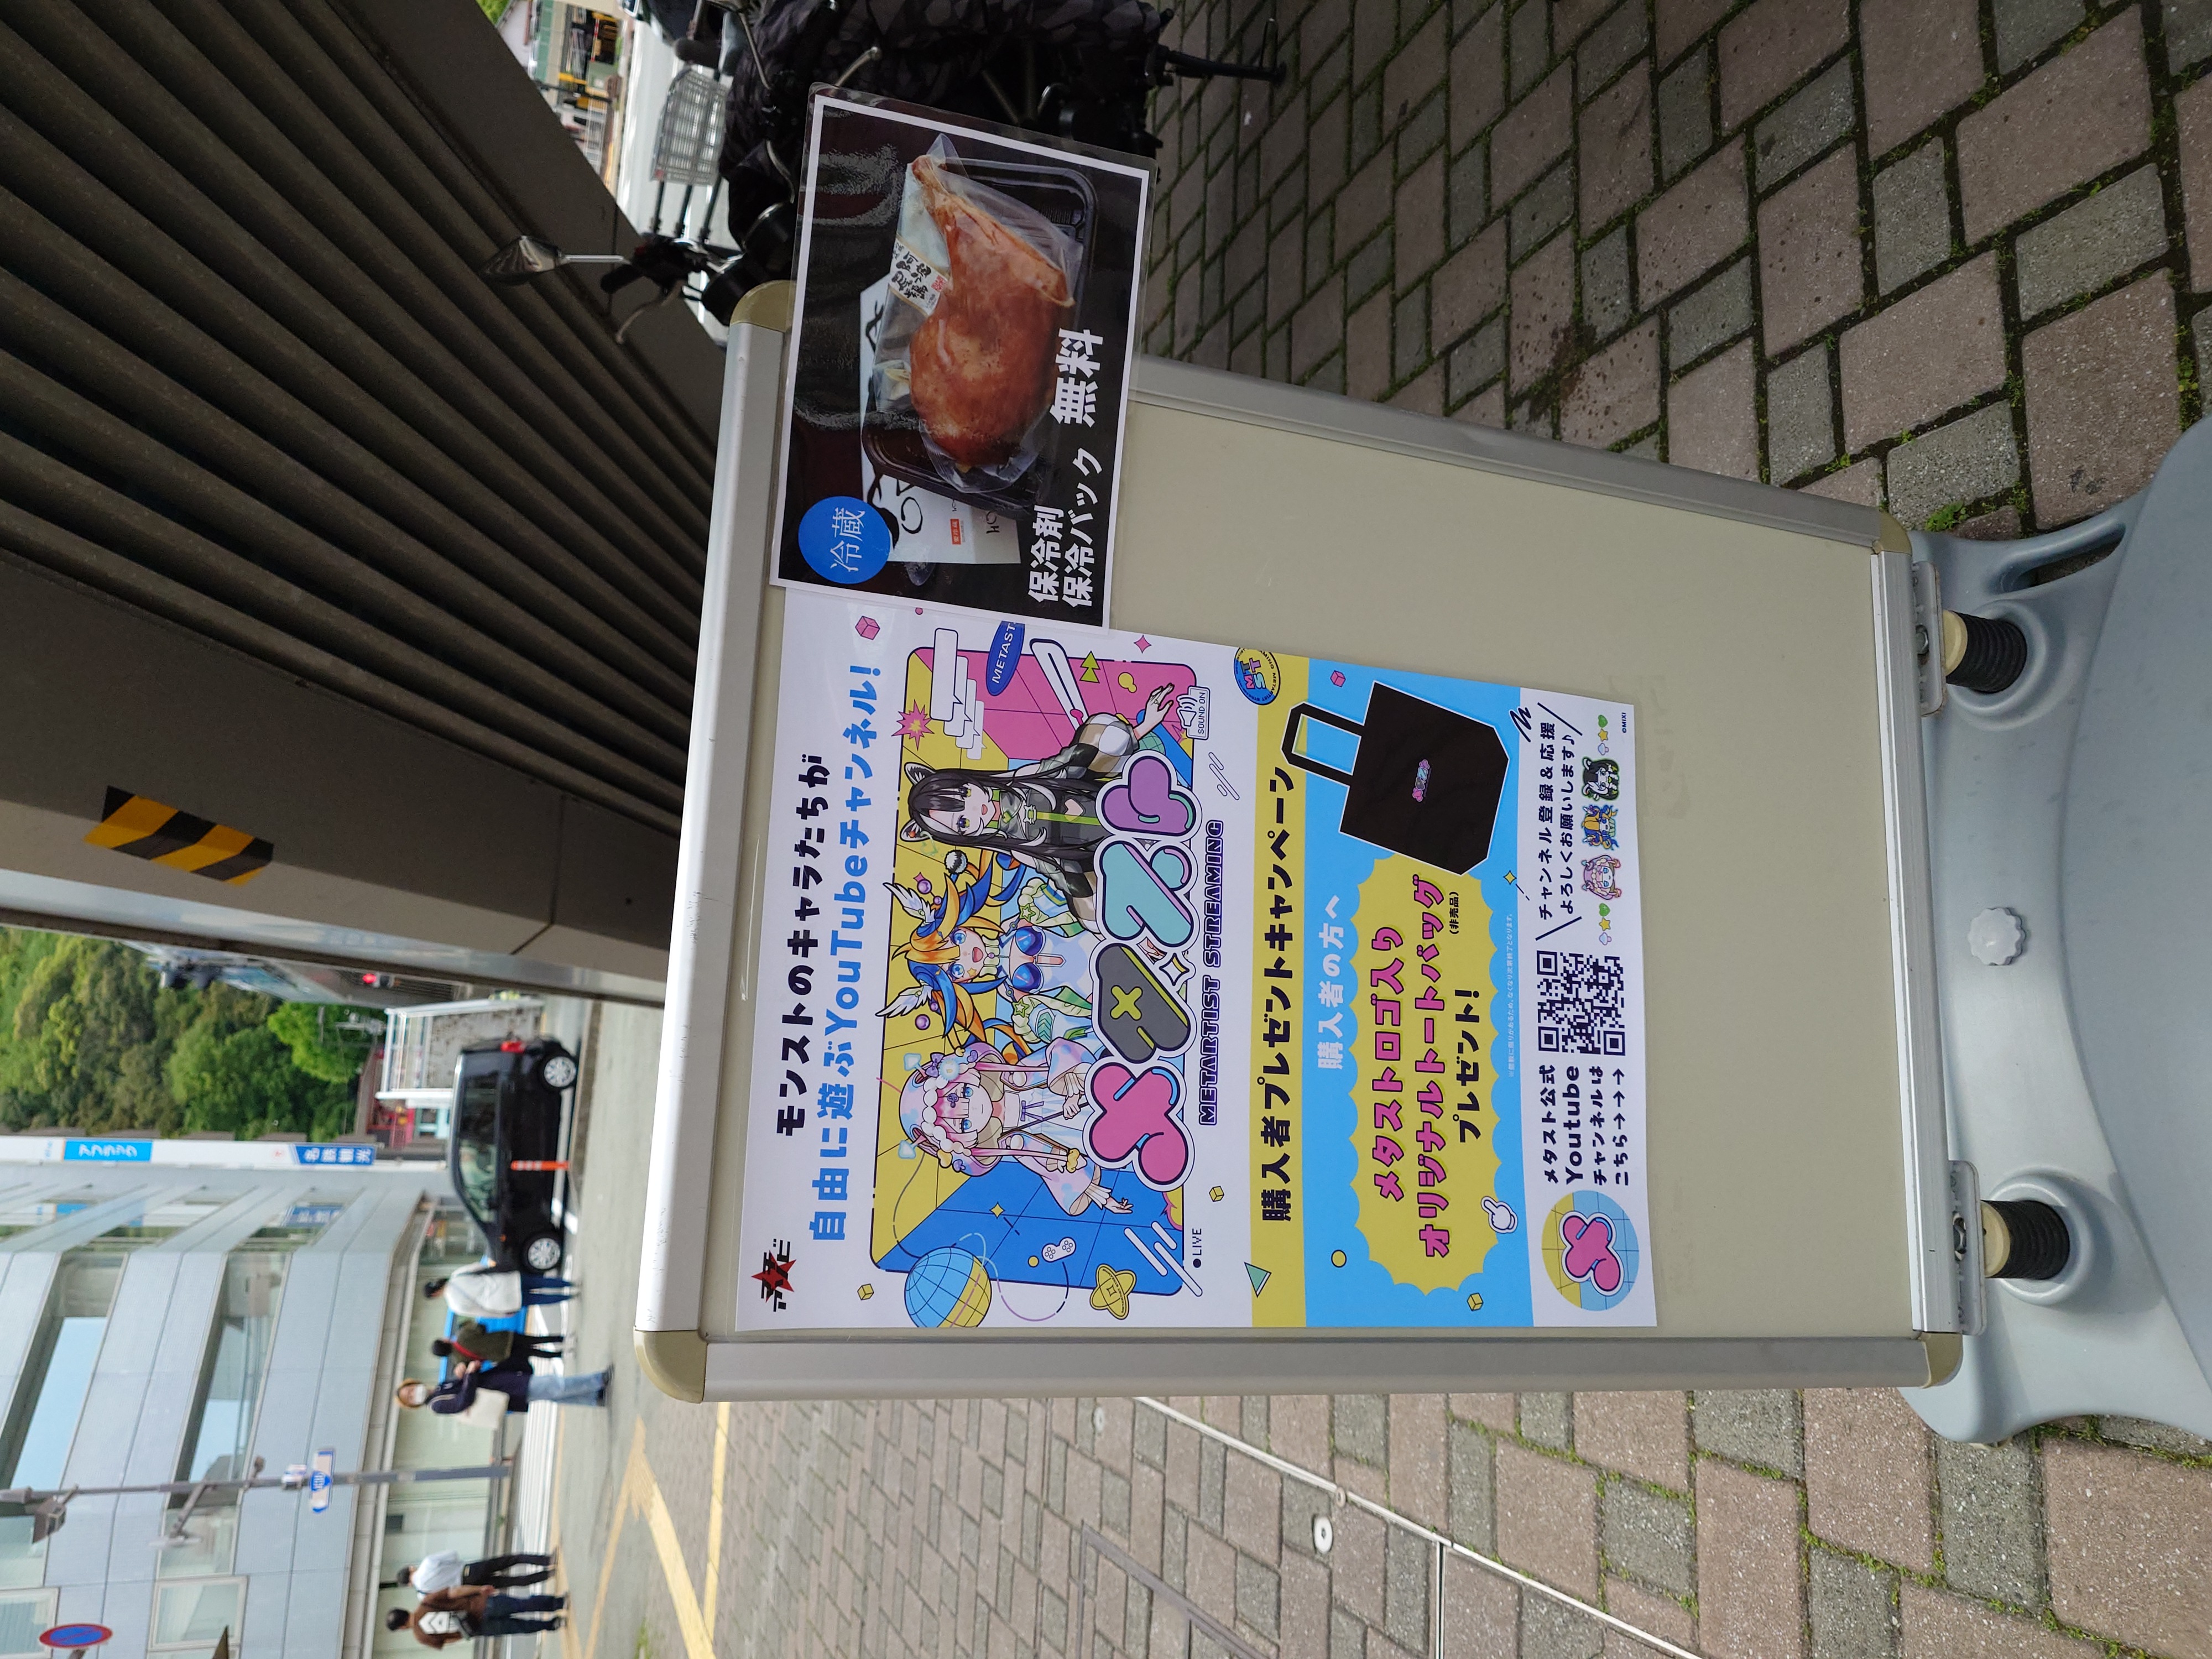
モンストとコラボしている?謎の肉屋があった。阿波尾鳥の貼り付け方が強引すぎるw
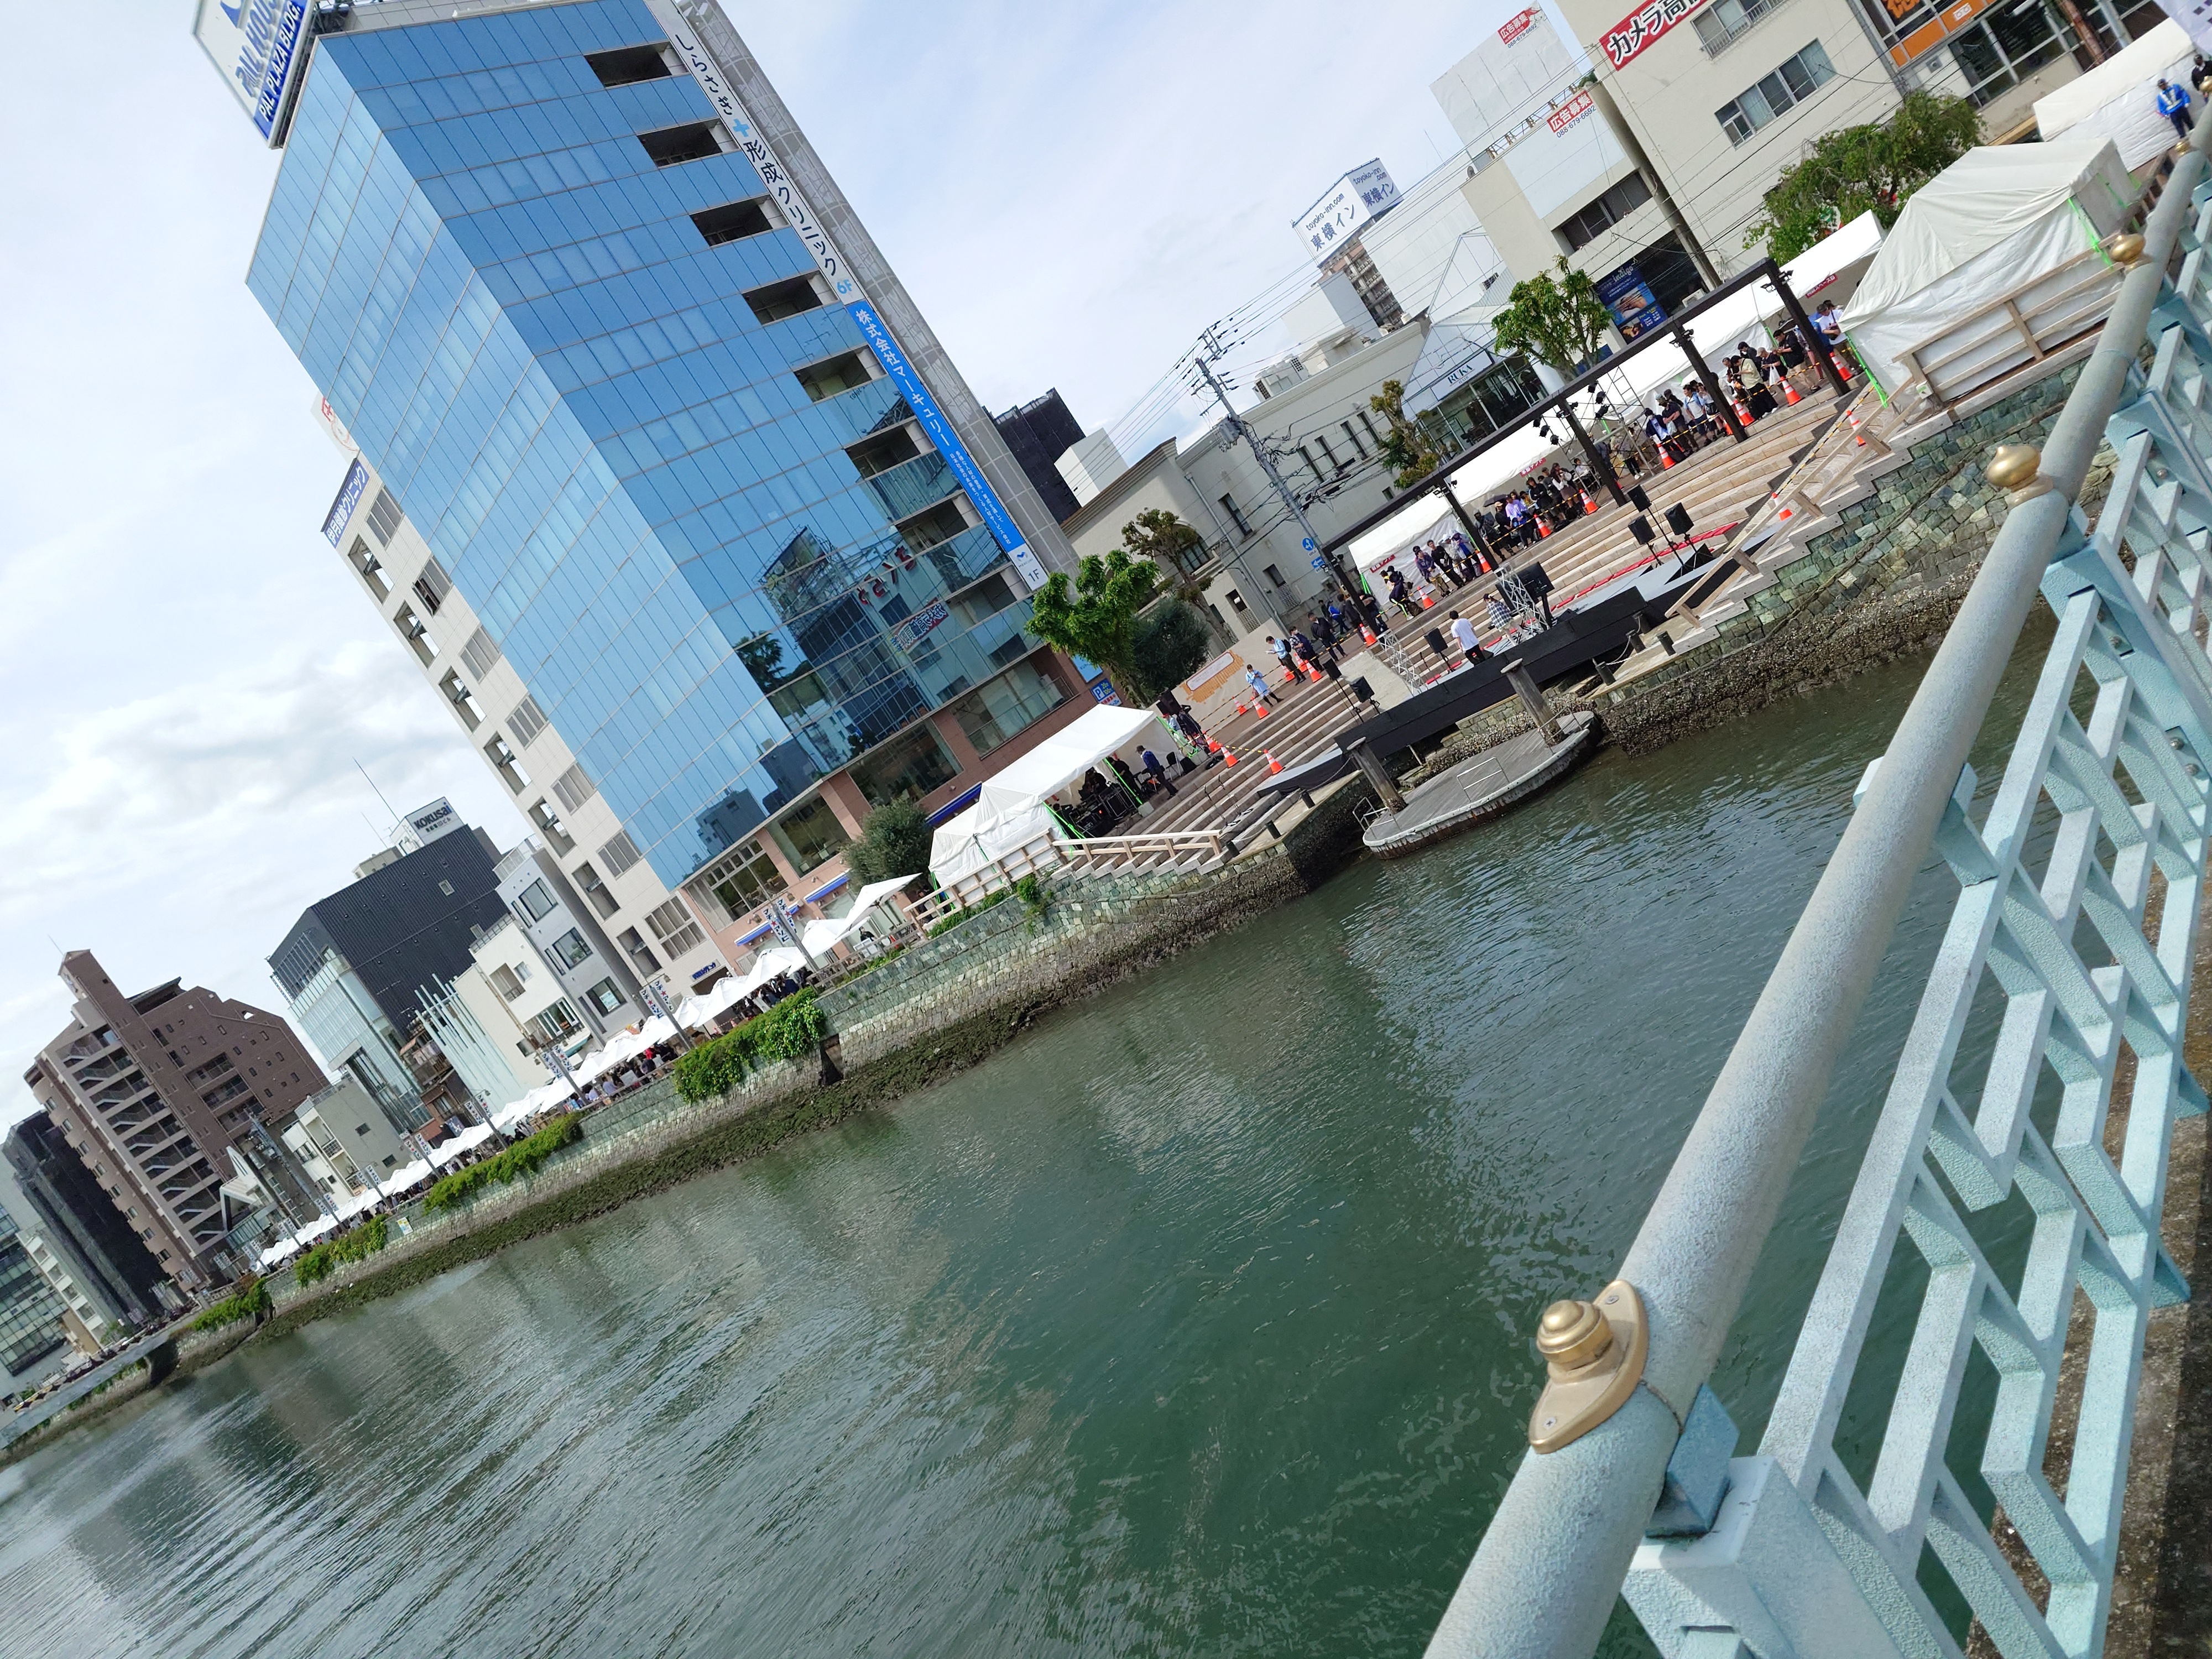
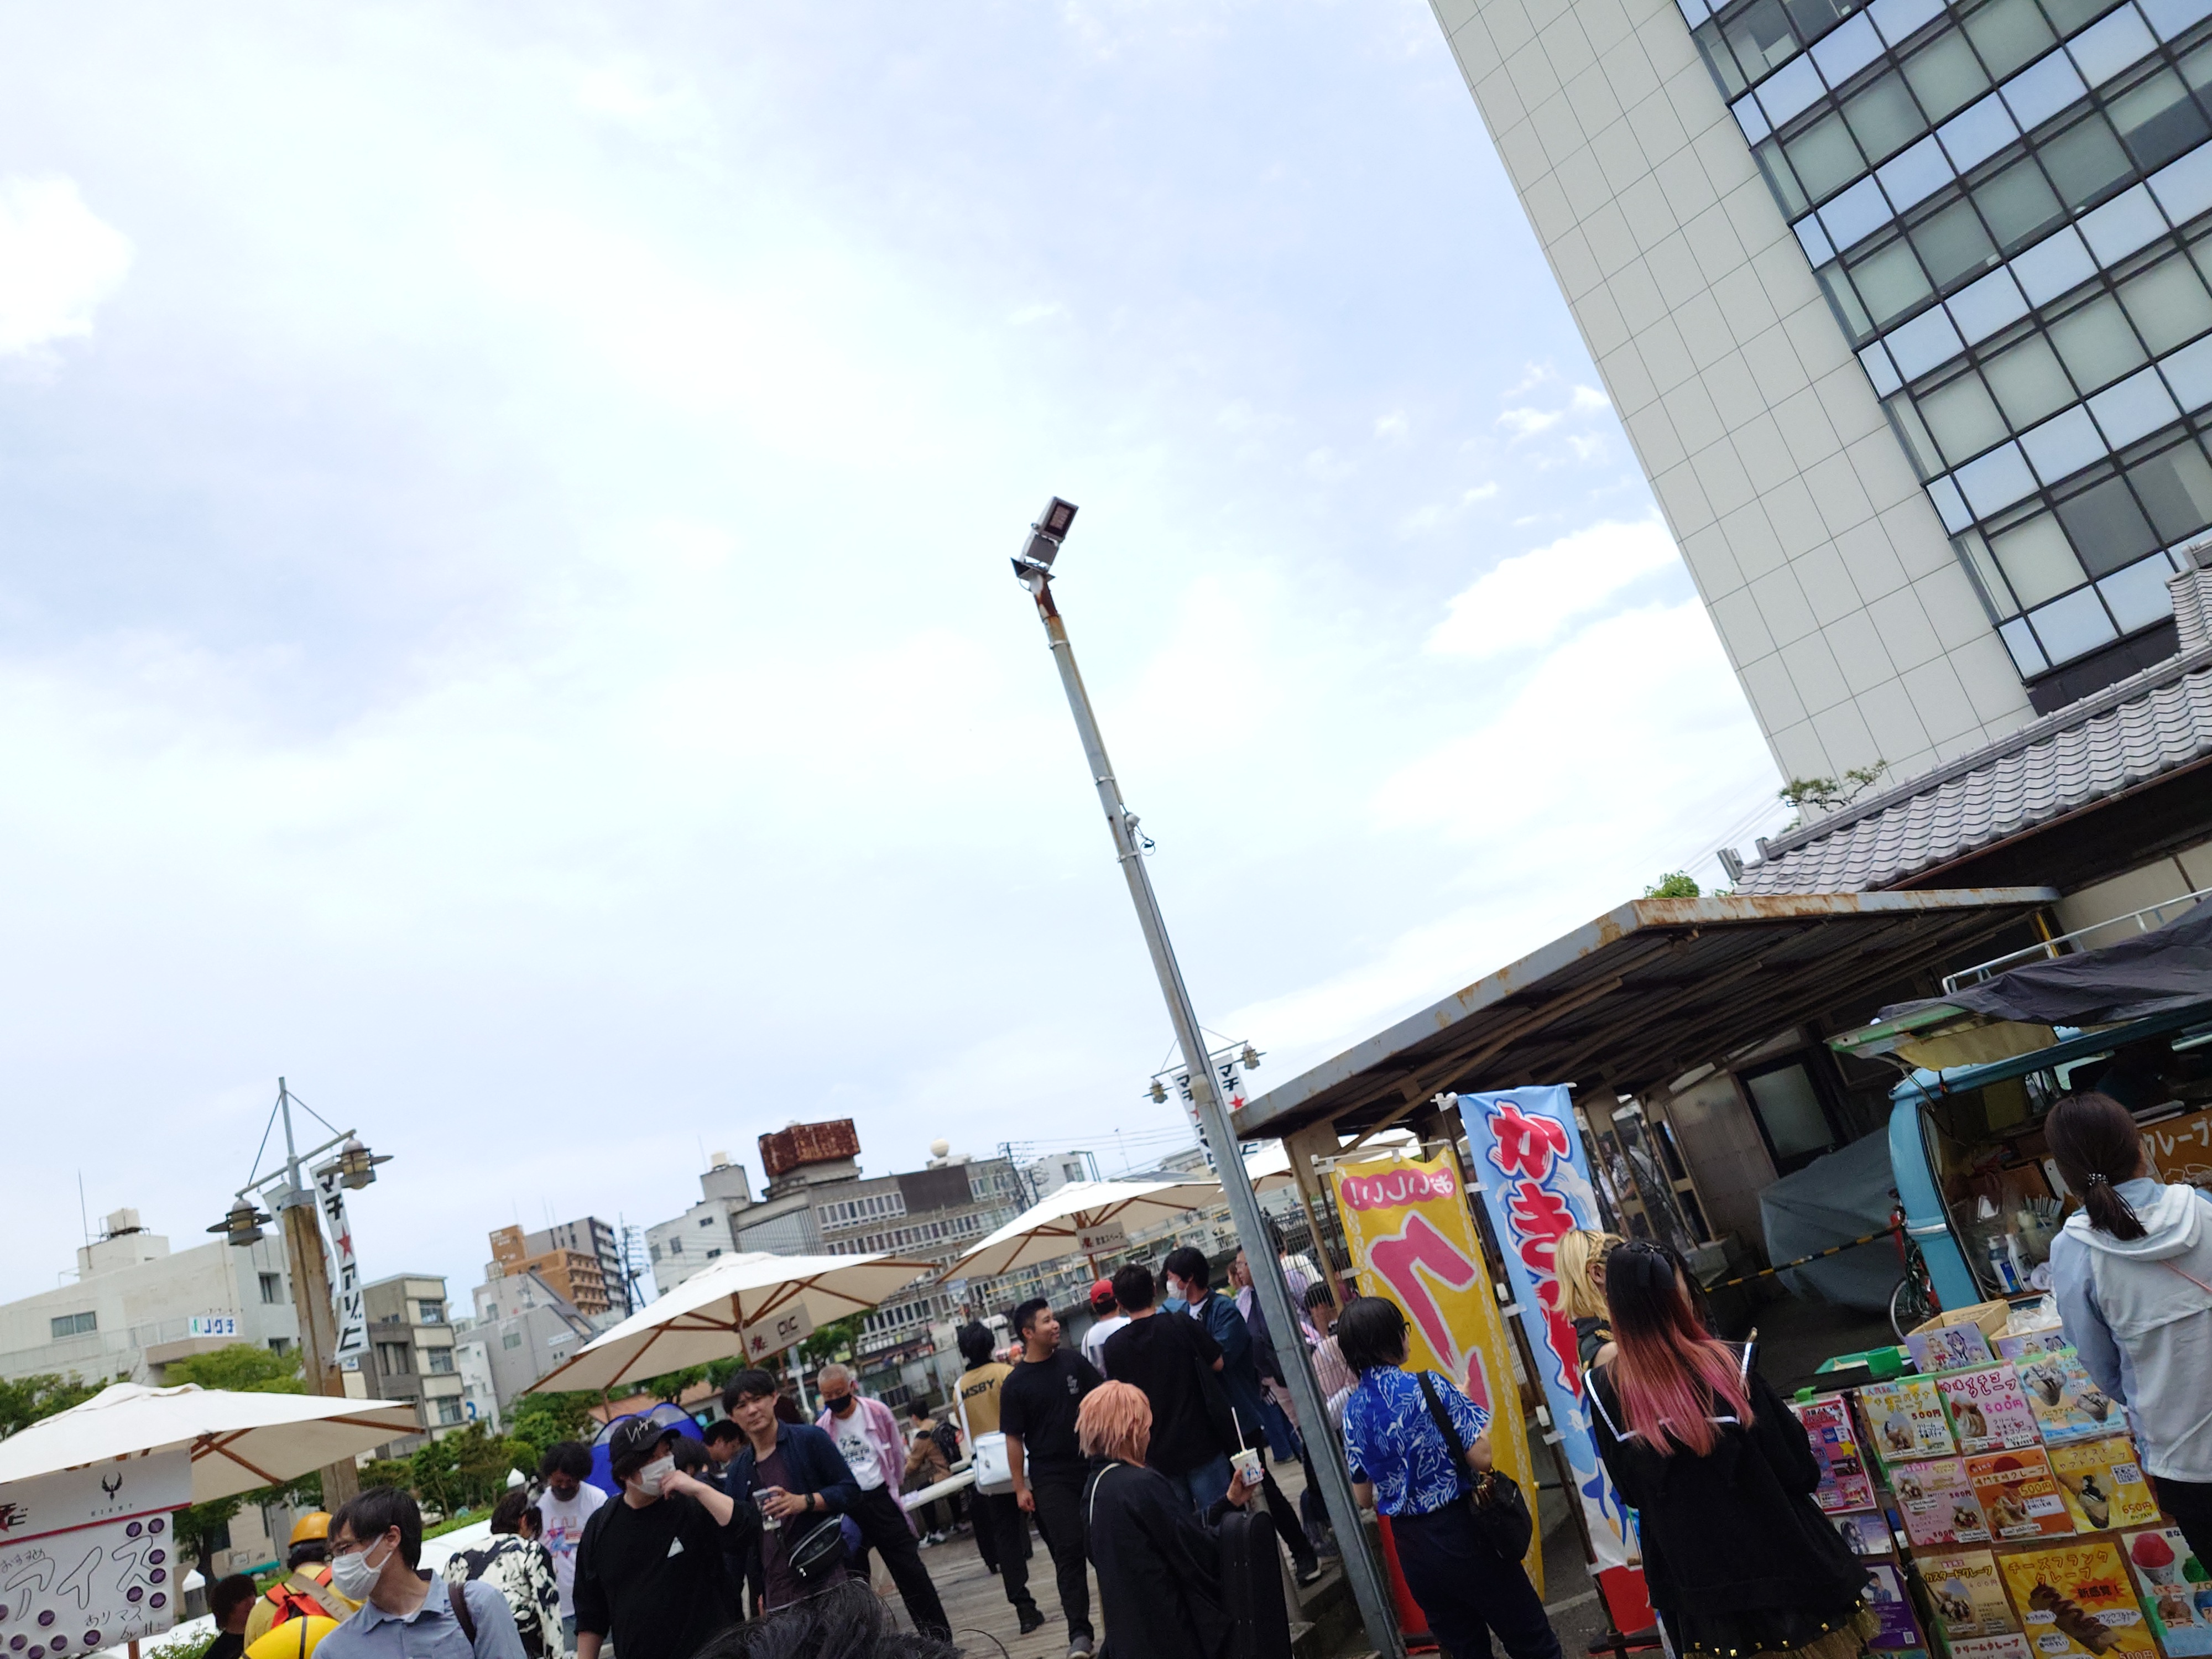
ボードウォーク
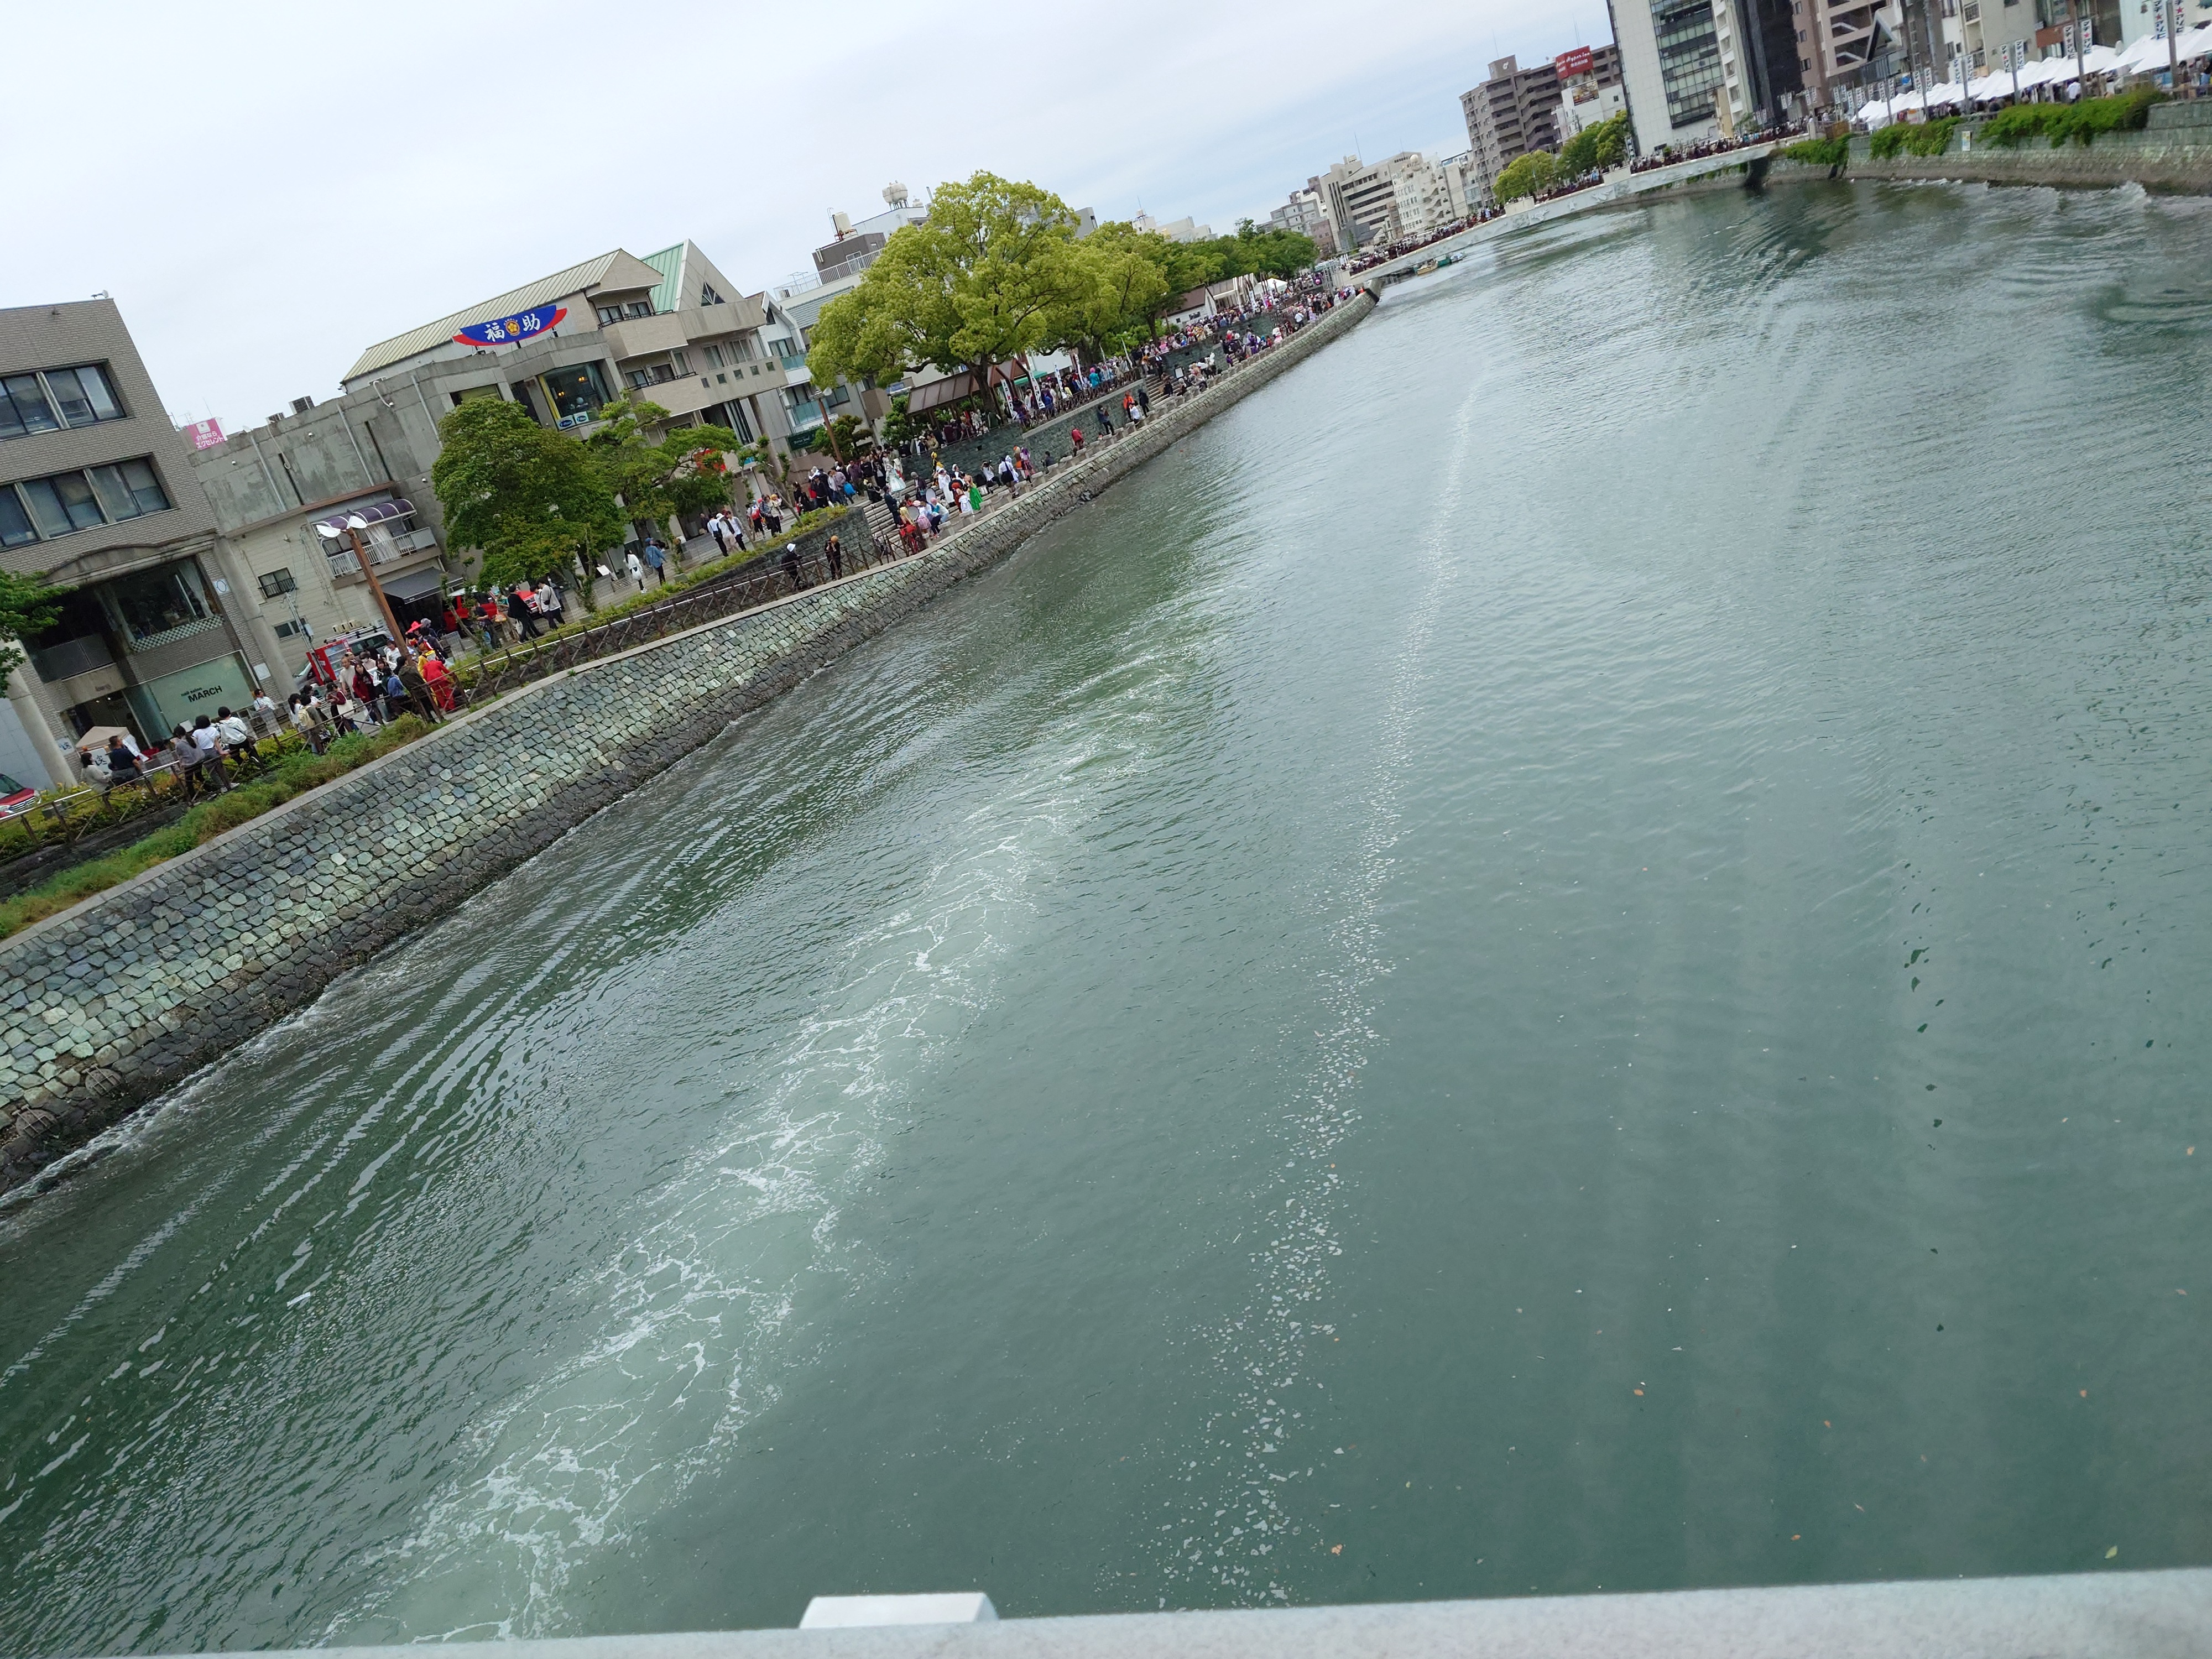
時刻は14:27、閉会式まではまだあり、LiSAのライブも控えていることから来場者は多くいた。また川にボートの跡があるが、今調べたところ、これはマチアソビの名物でもあるようなので次回来るときに是非乗ってみたい奴だ。おそらく常設だと思うので、マチアソビ以外で来ることがあれば、その時にも乗ってみたい。
行列のできる大判焼き
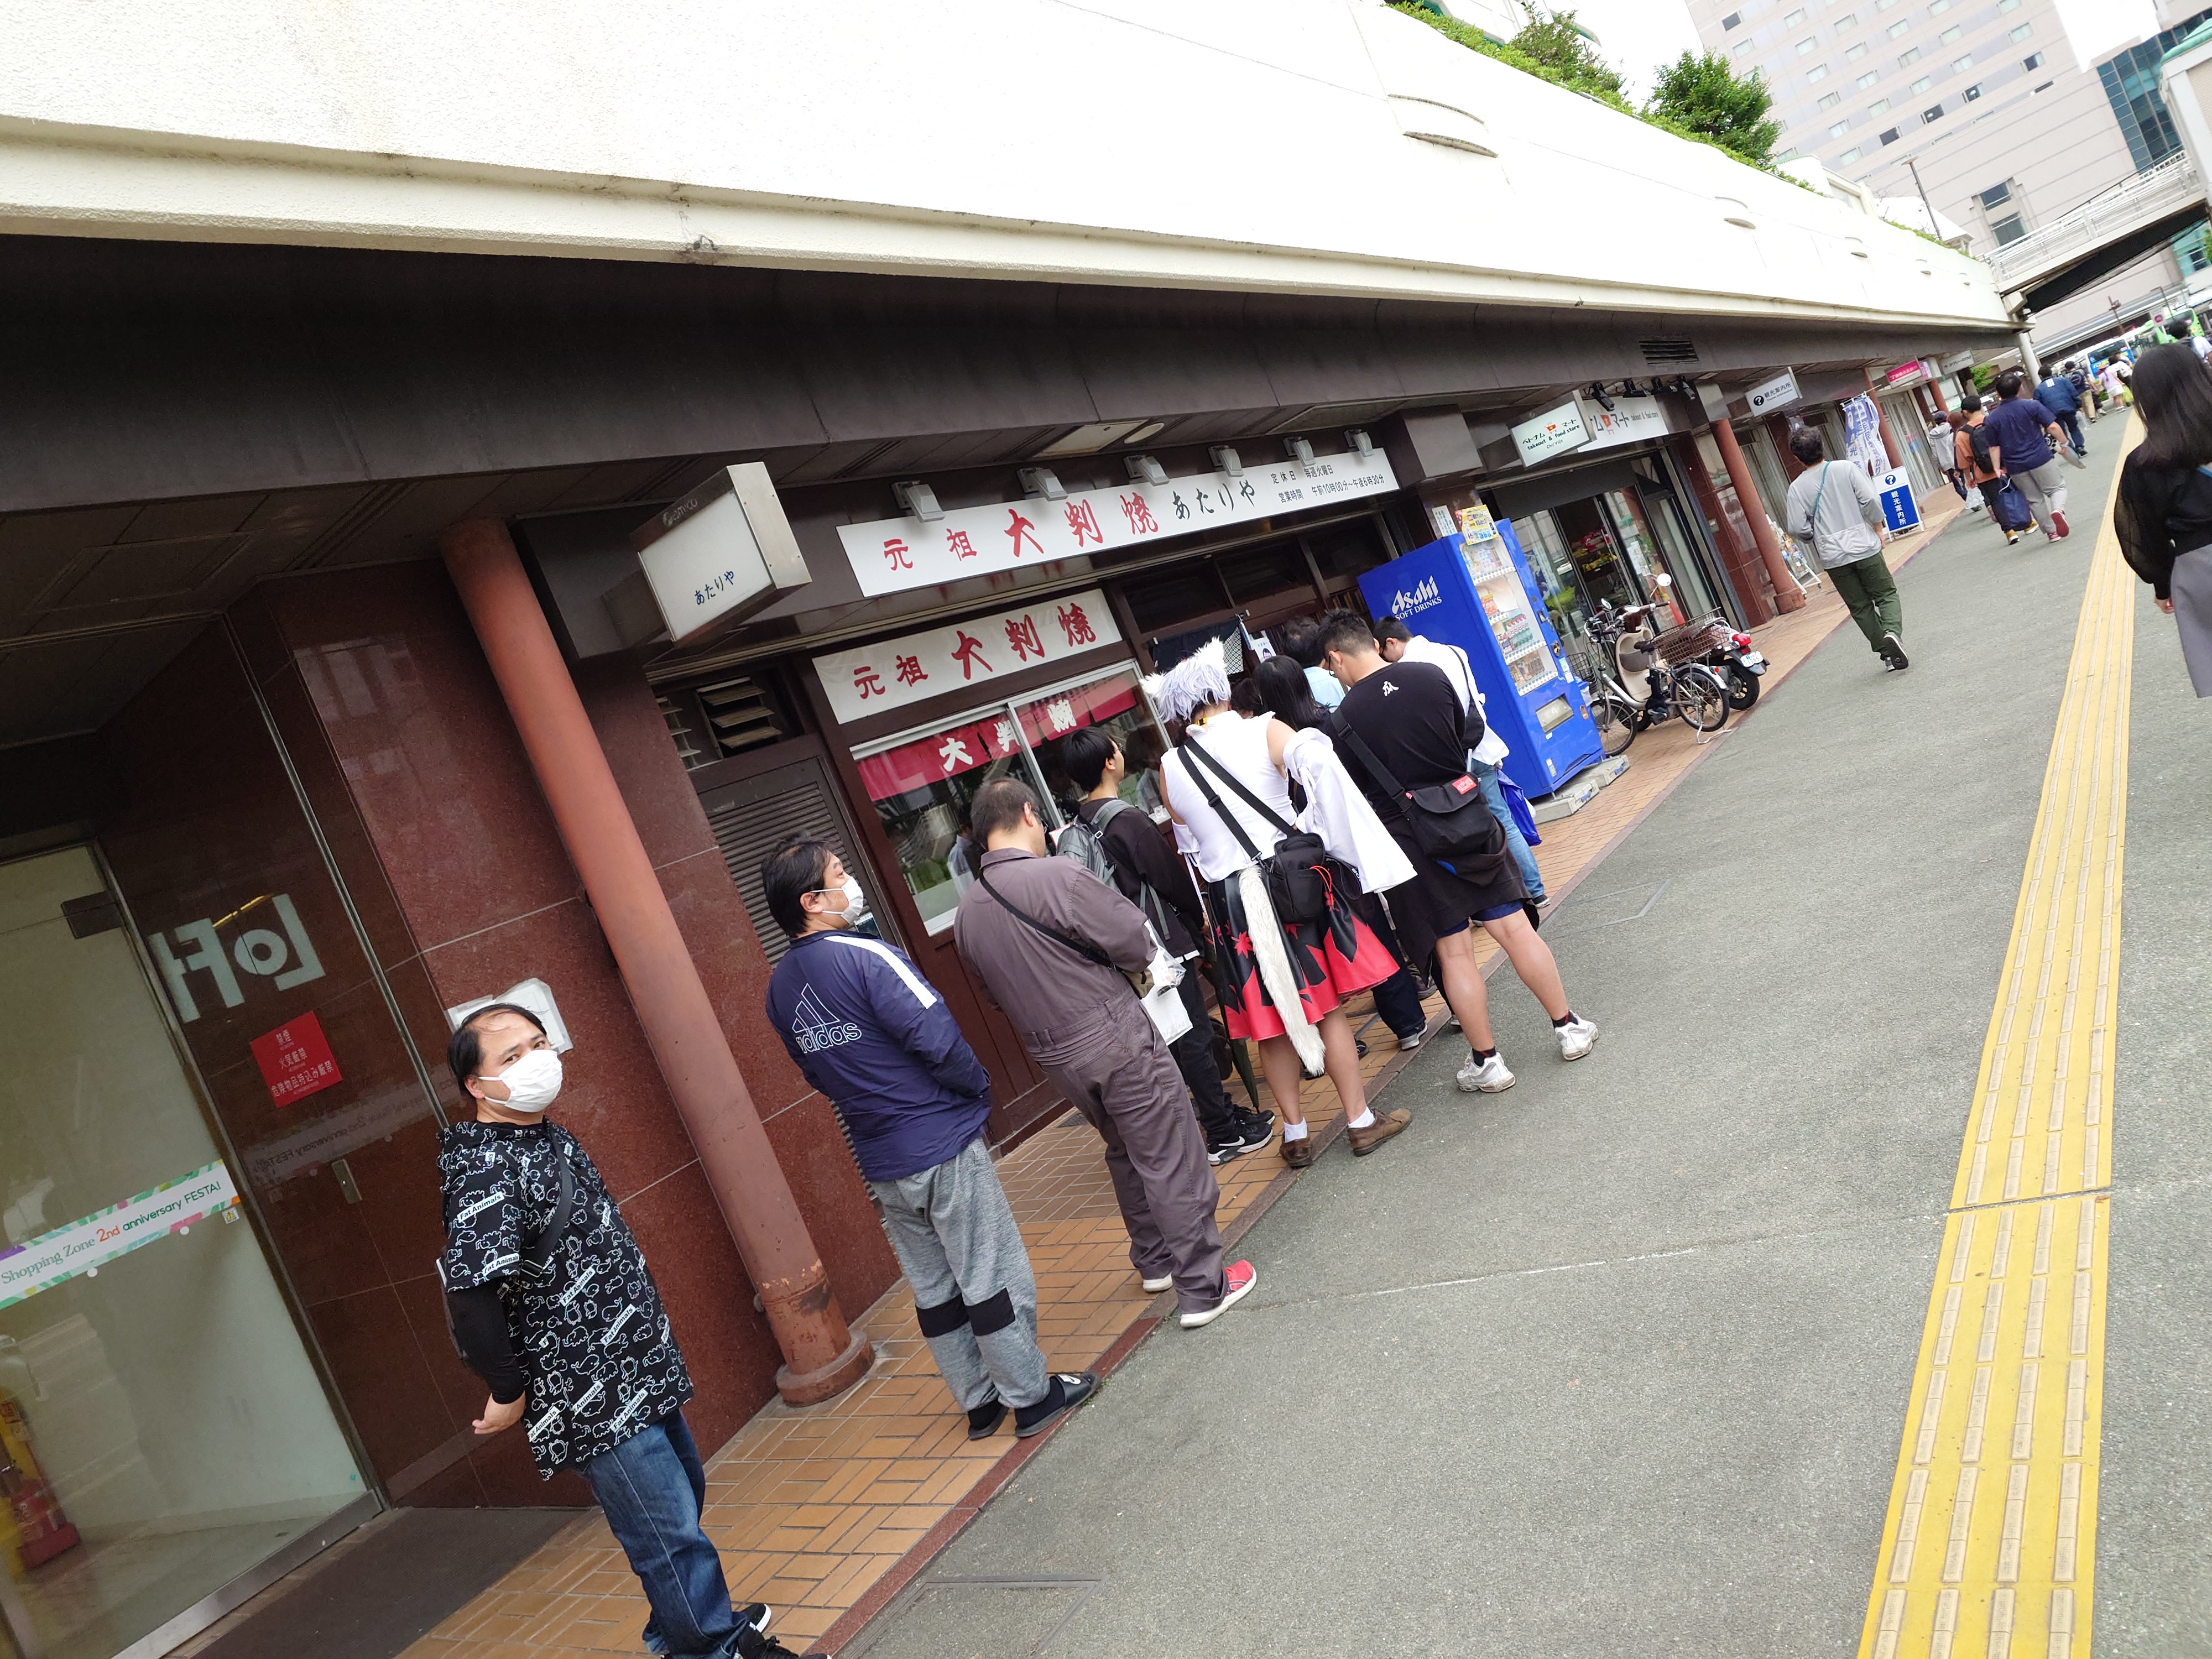
三宮の御座候なんかもそうだけど、この名称に議論を呼ぶ今川焼き的サムシングはやけに人気あるよなぁと思う。
アワライズ無料試飲キャンペーン
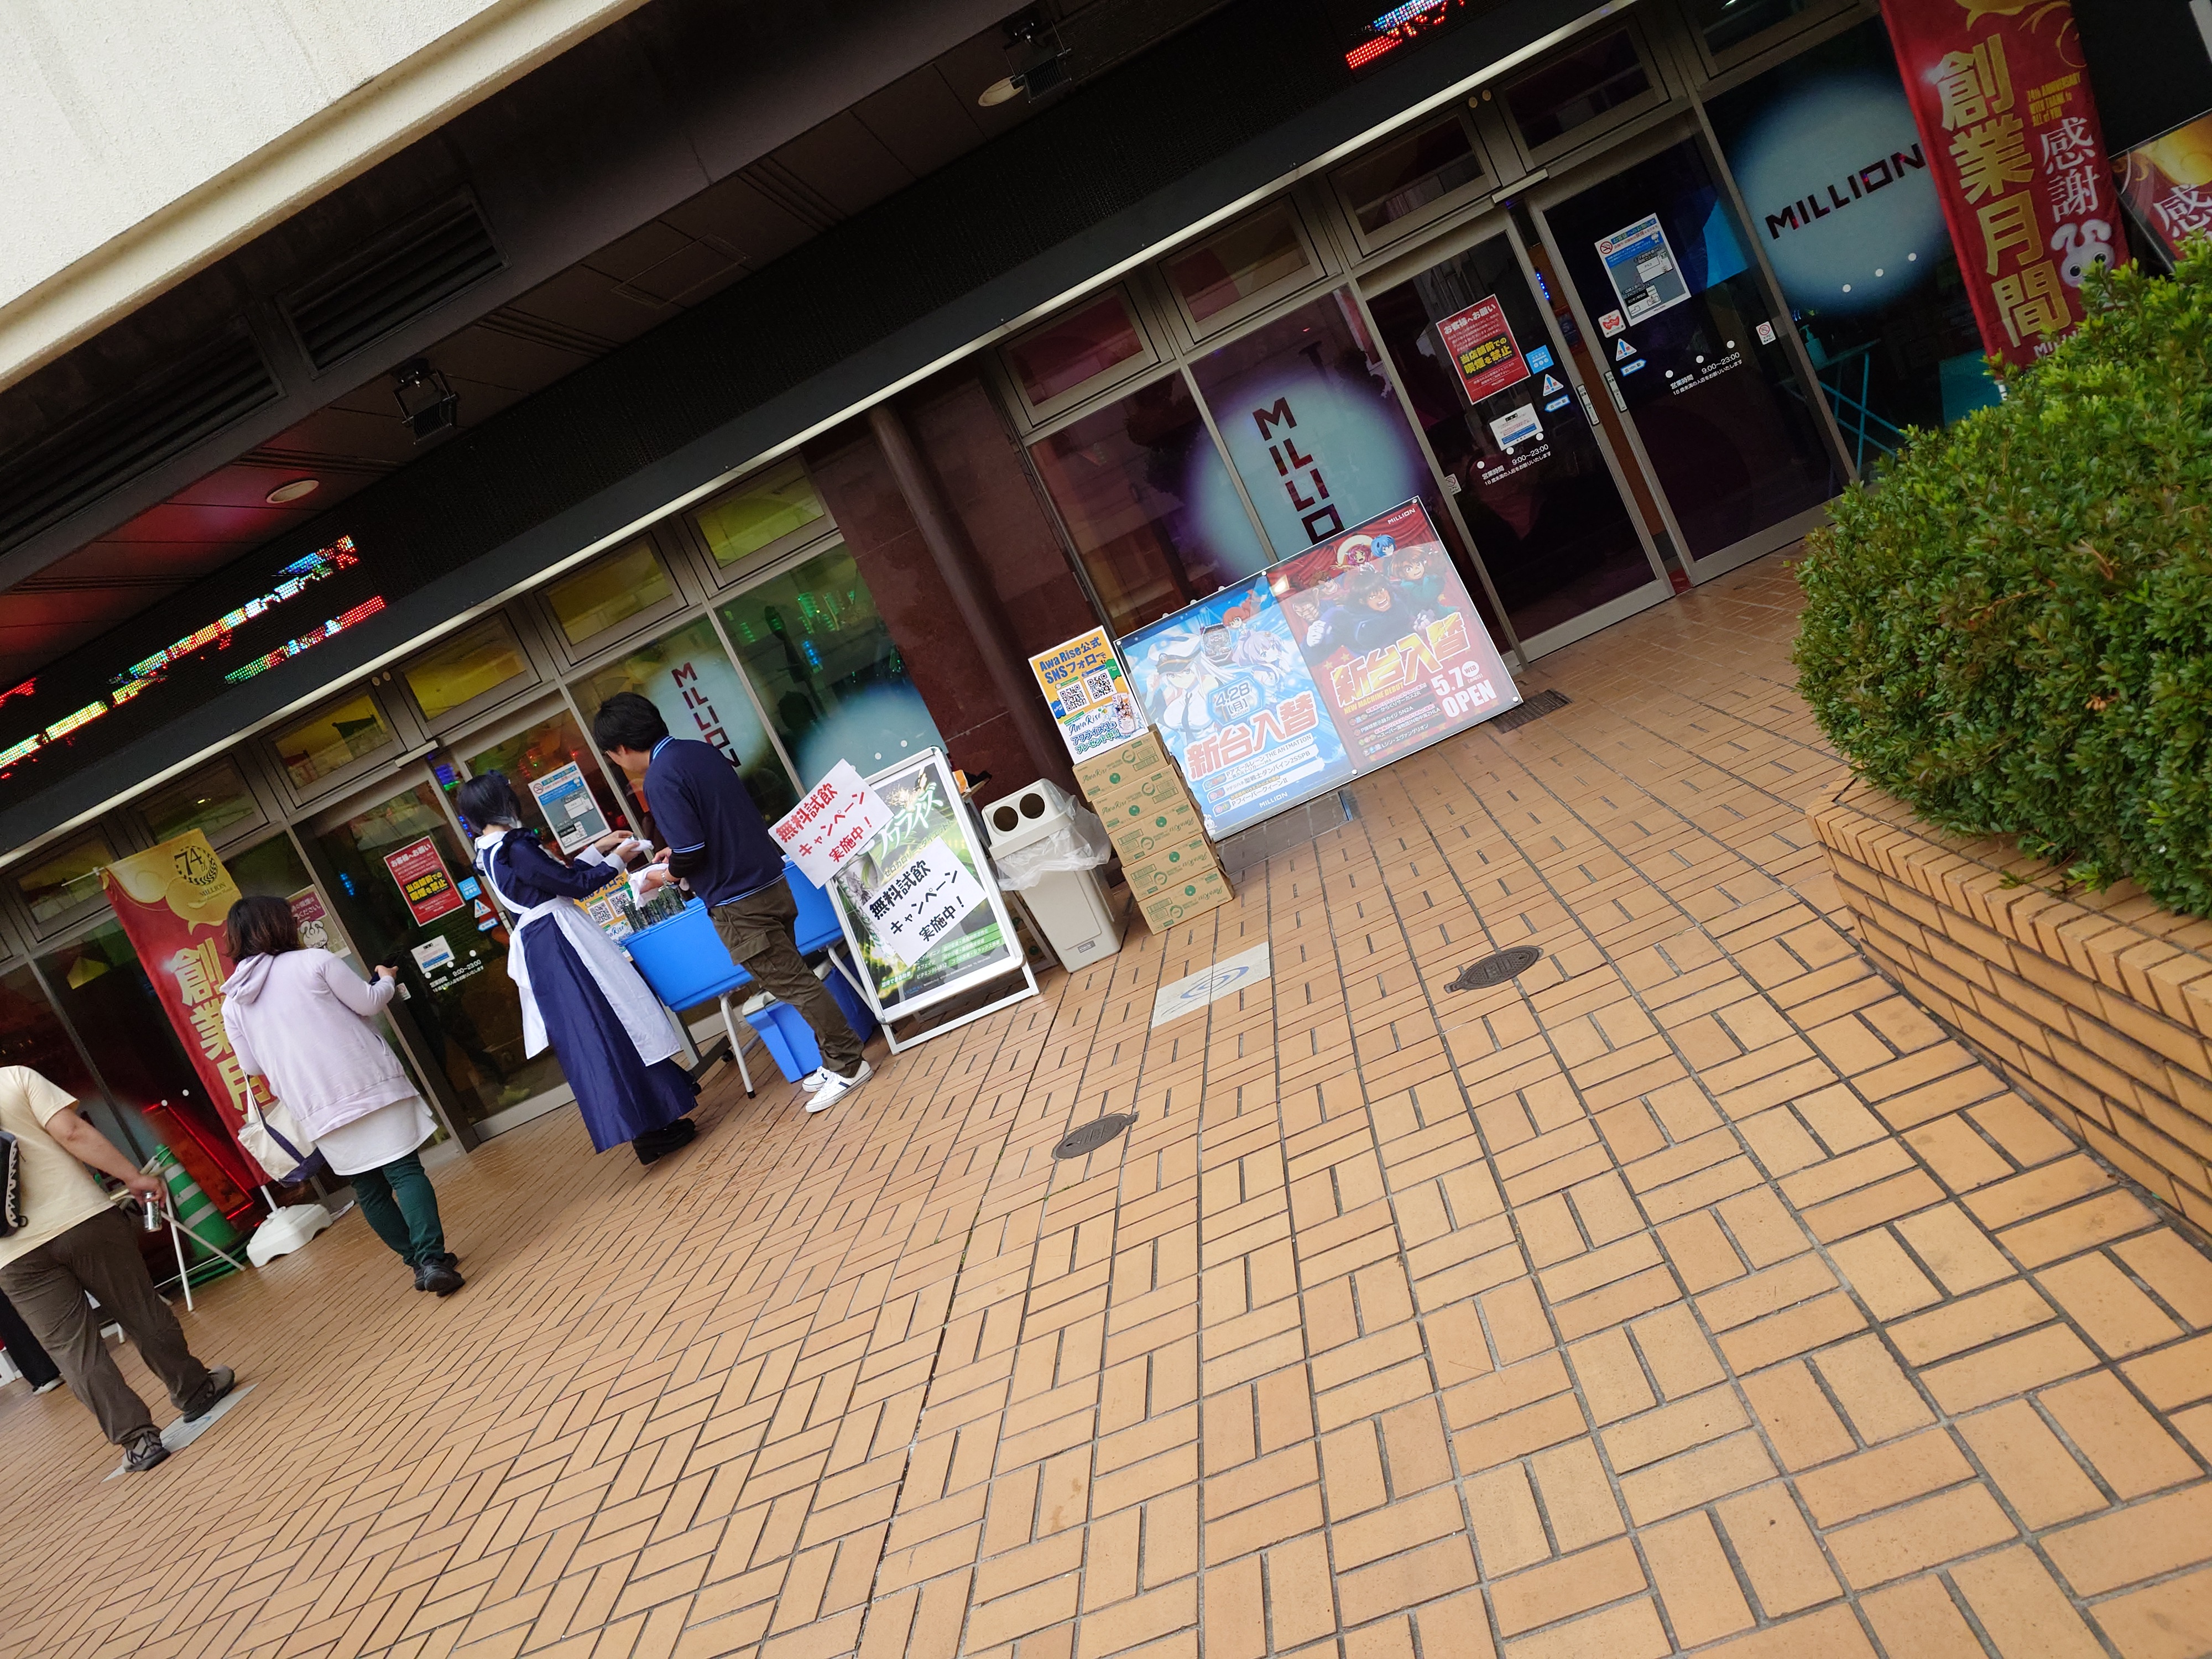
アミコ1Fのパチ屋の前でモンエナやレッドブルのノリなのか、アワライズの無料試飲が行われていた。メイドさんがいるあたり完全にマチアソビ狙いだ。
森珈琲店
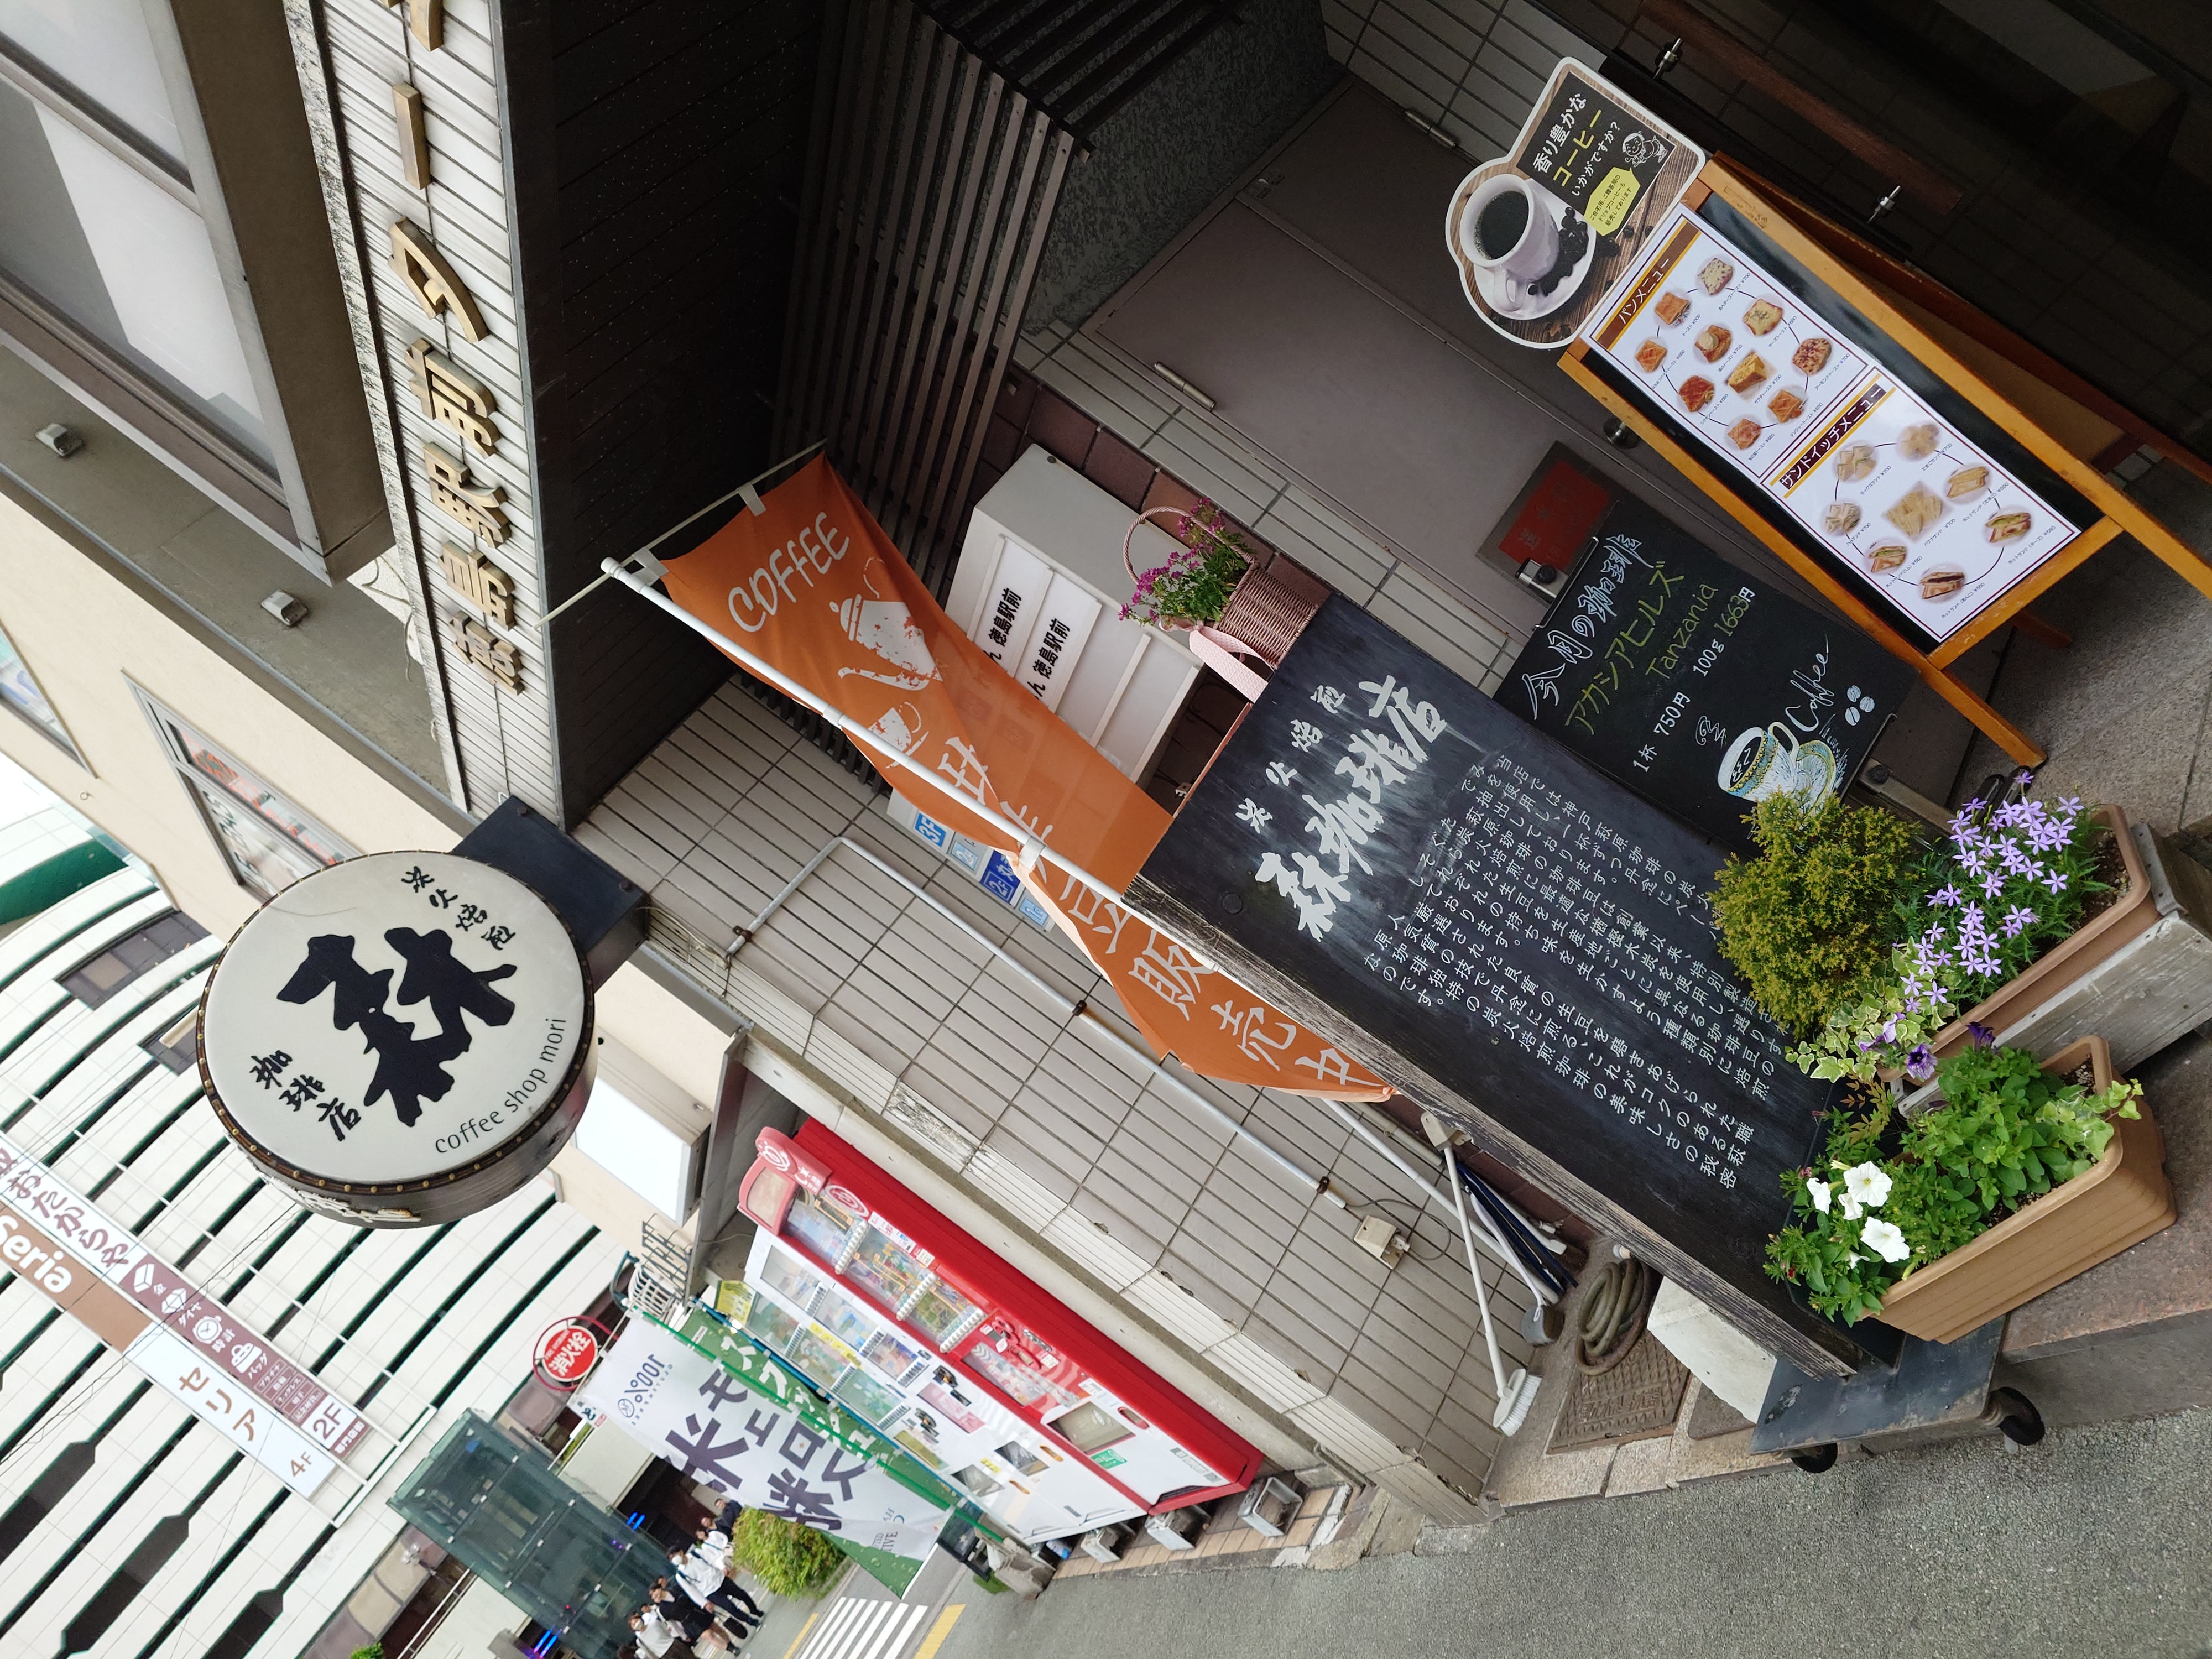
高速バスの時間までまだ少しあったことやマチアソビの核心で森珈琲店はマチアソビ関連がすごいと聞いたので訪れることにした。
神戸にある萩原珈琲から取り寄せているとあり、神戸市民である私はここだけで妙な親近感を覚えてしまった。
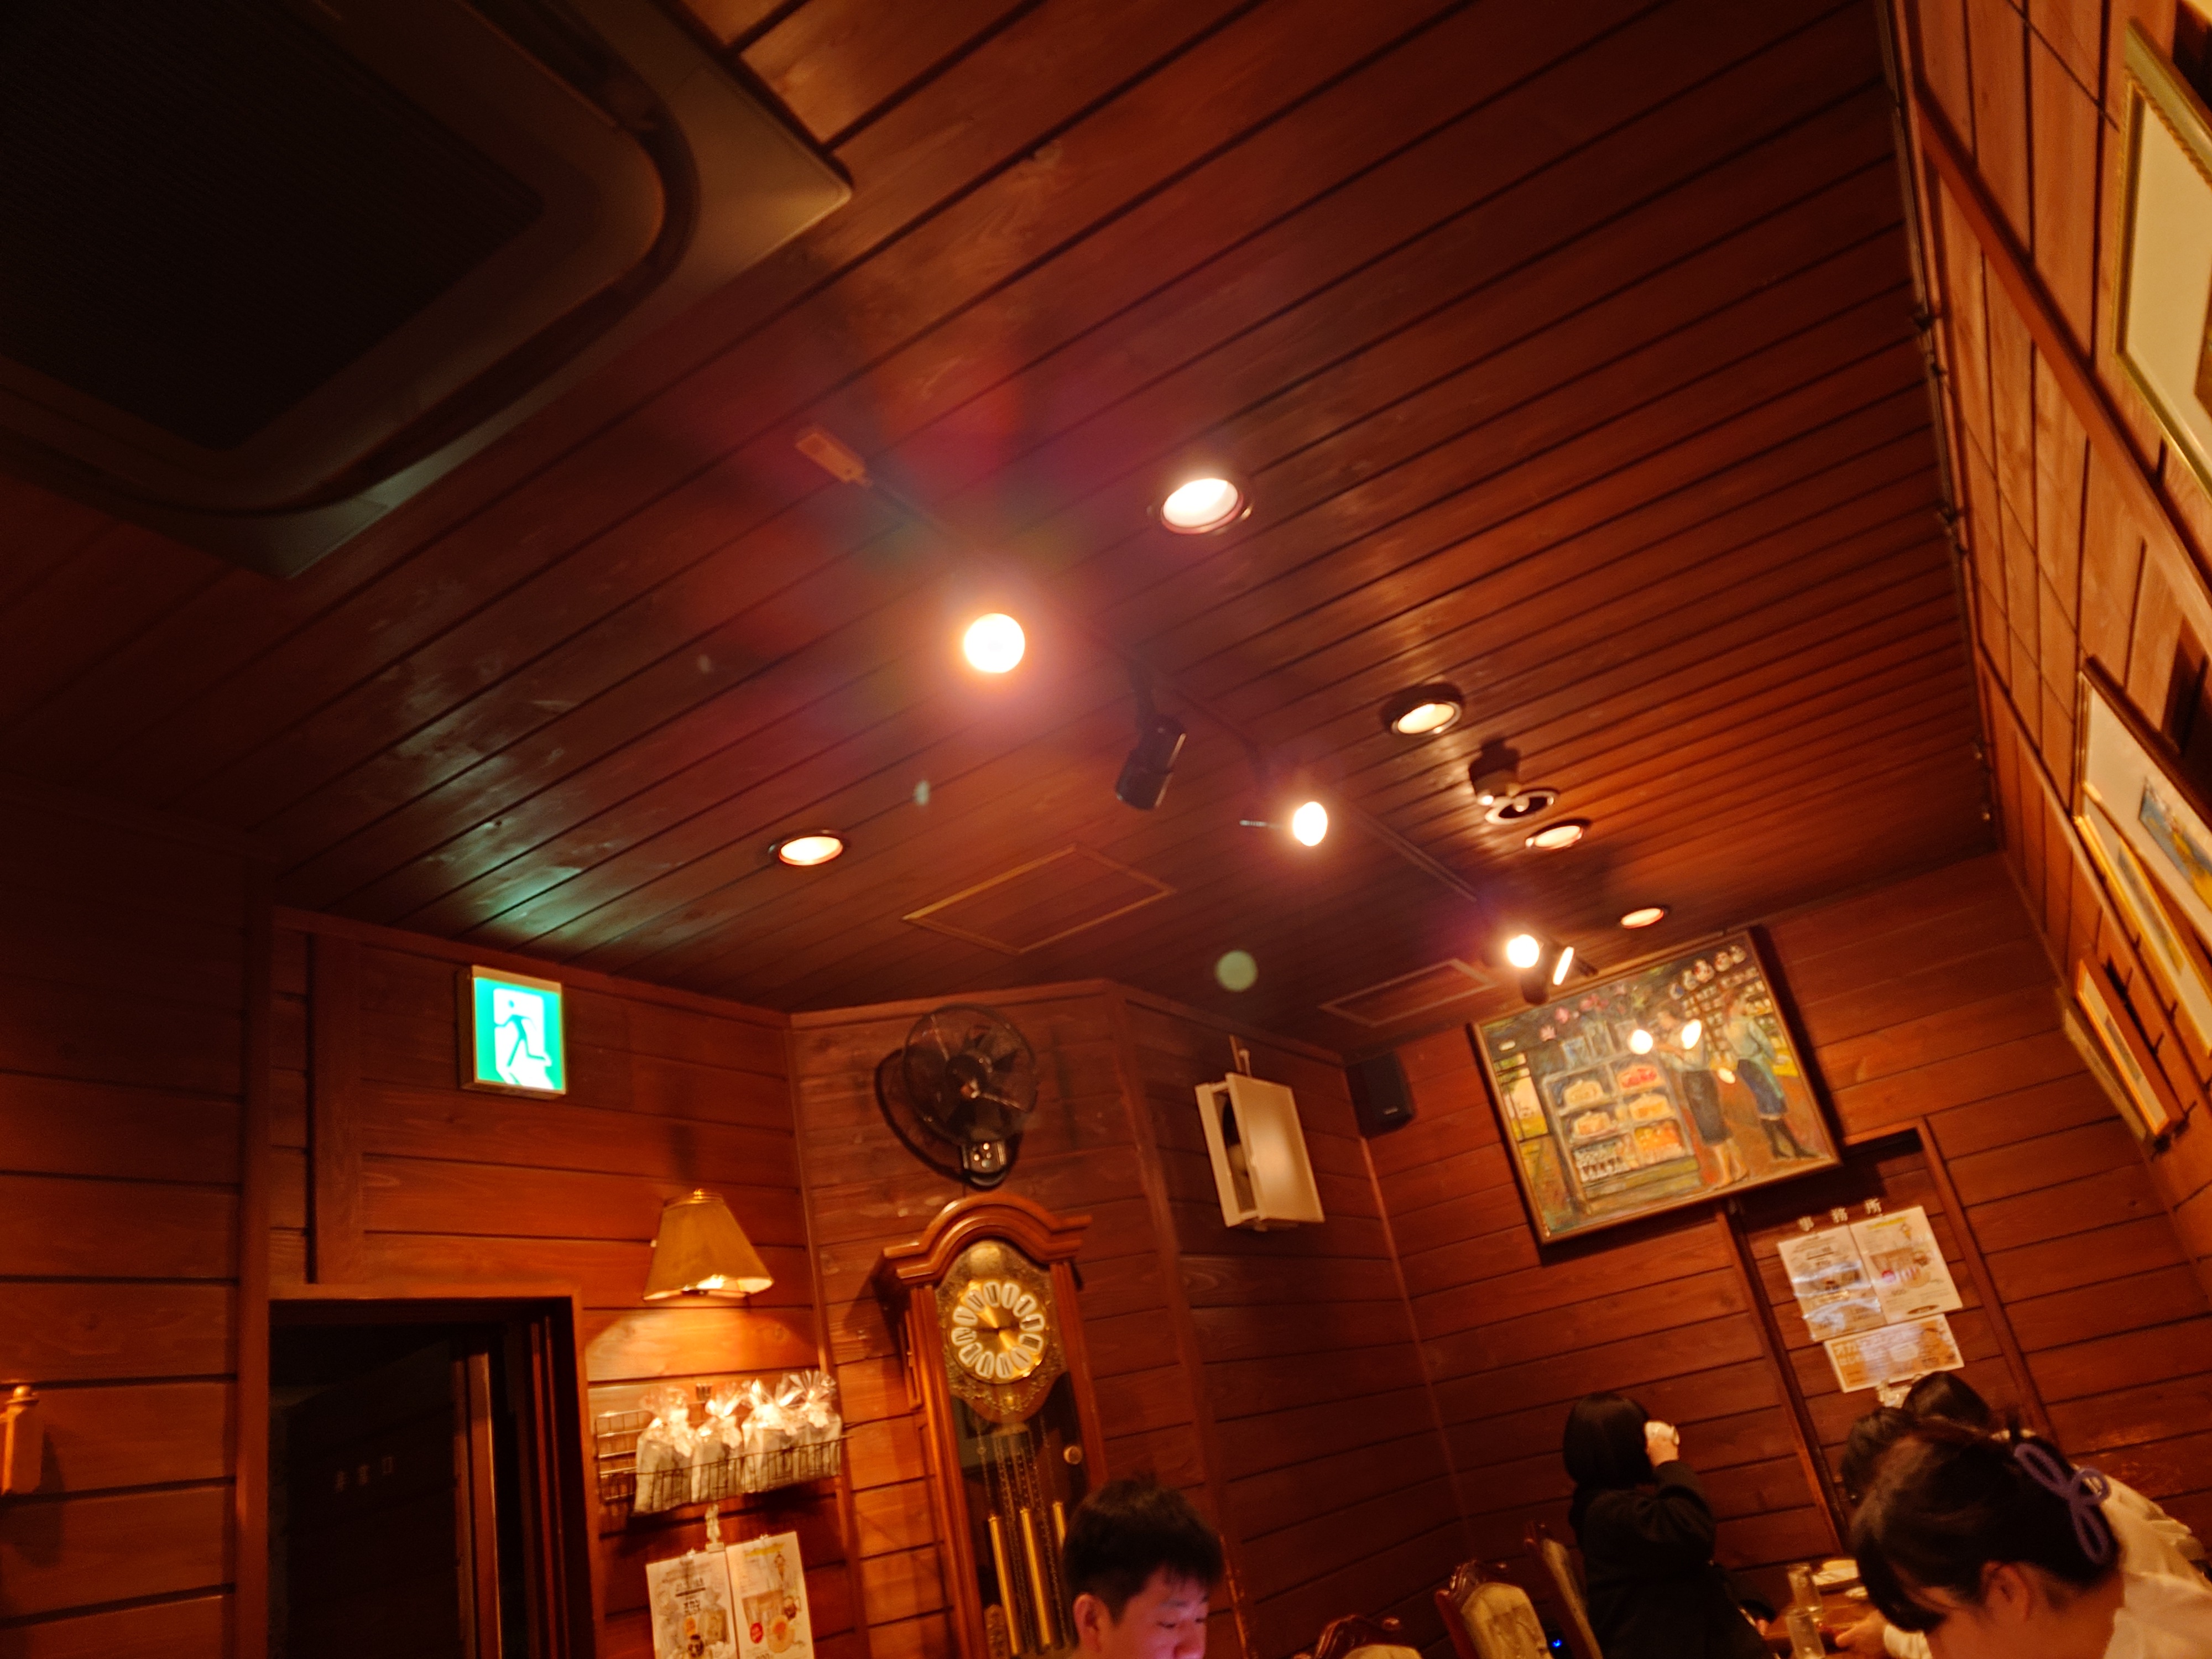
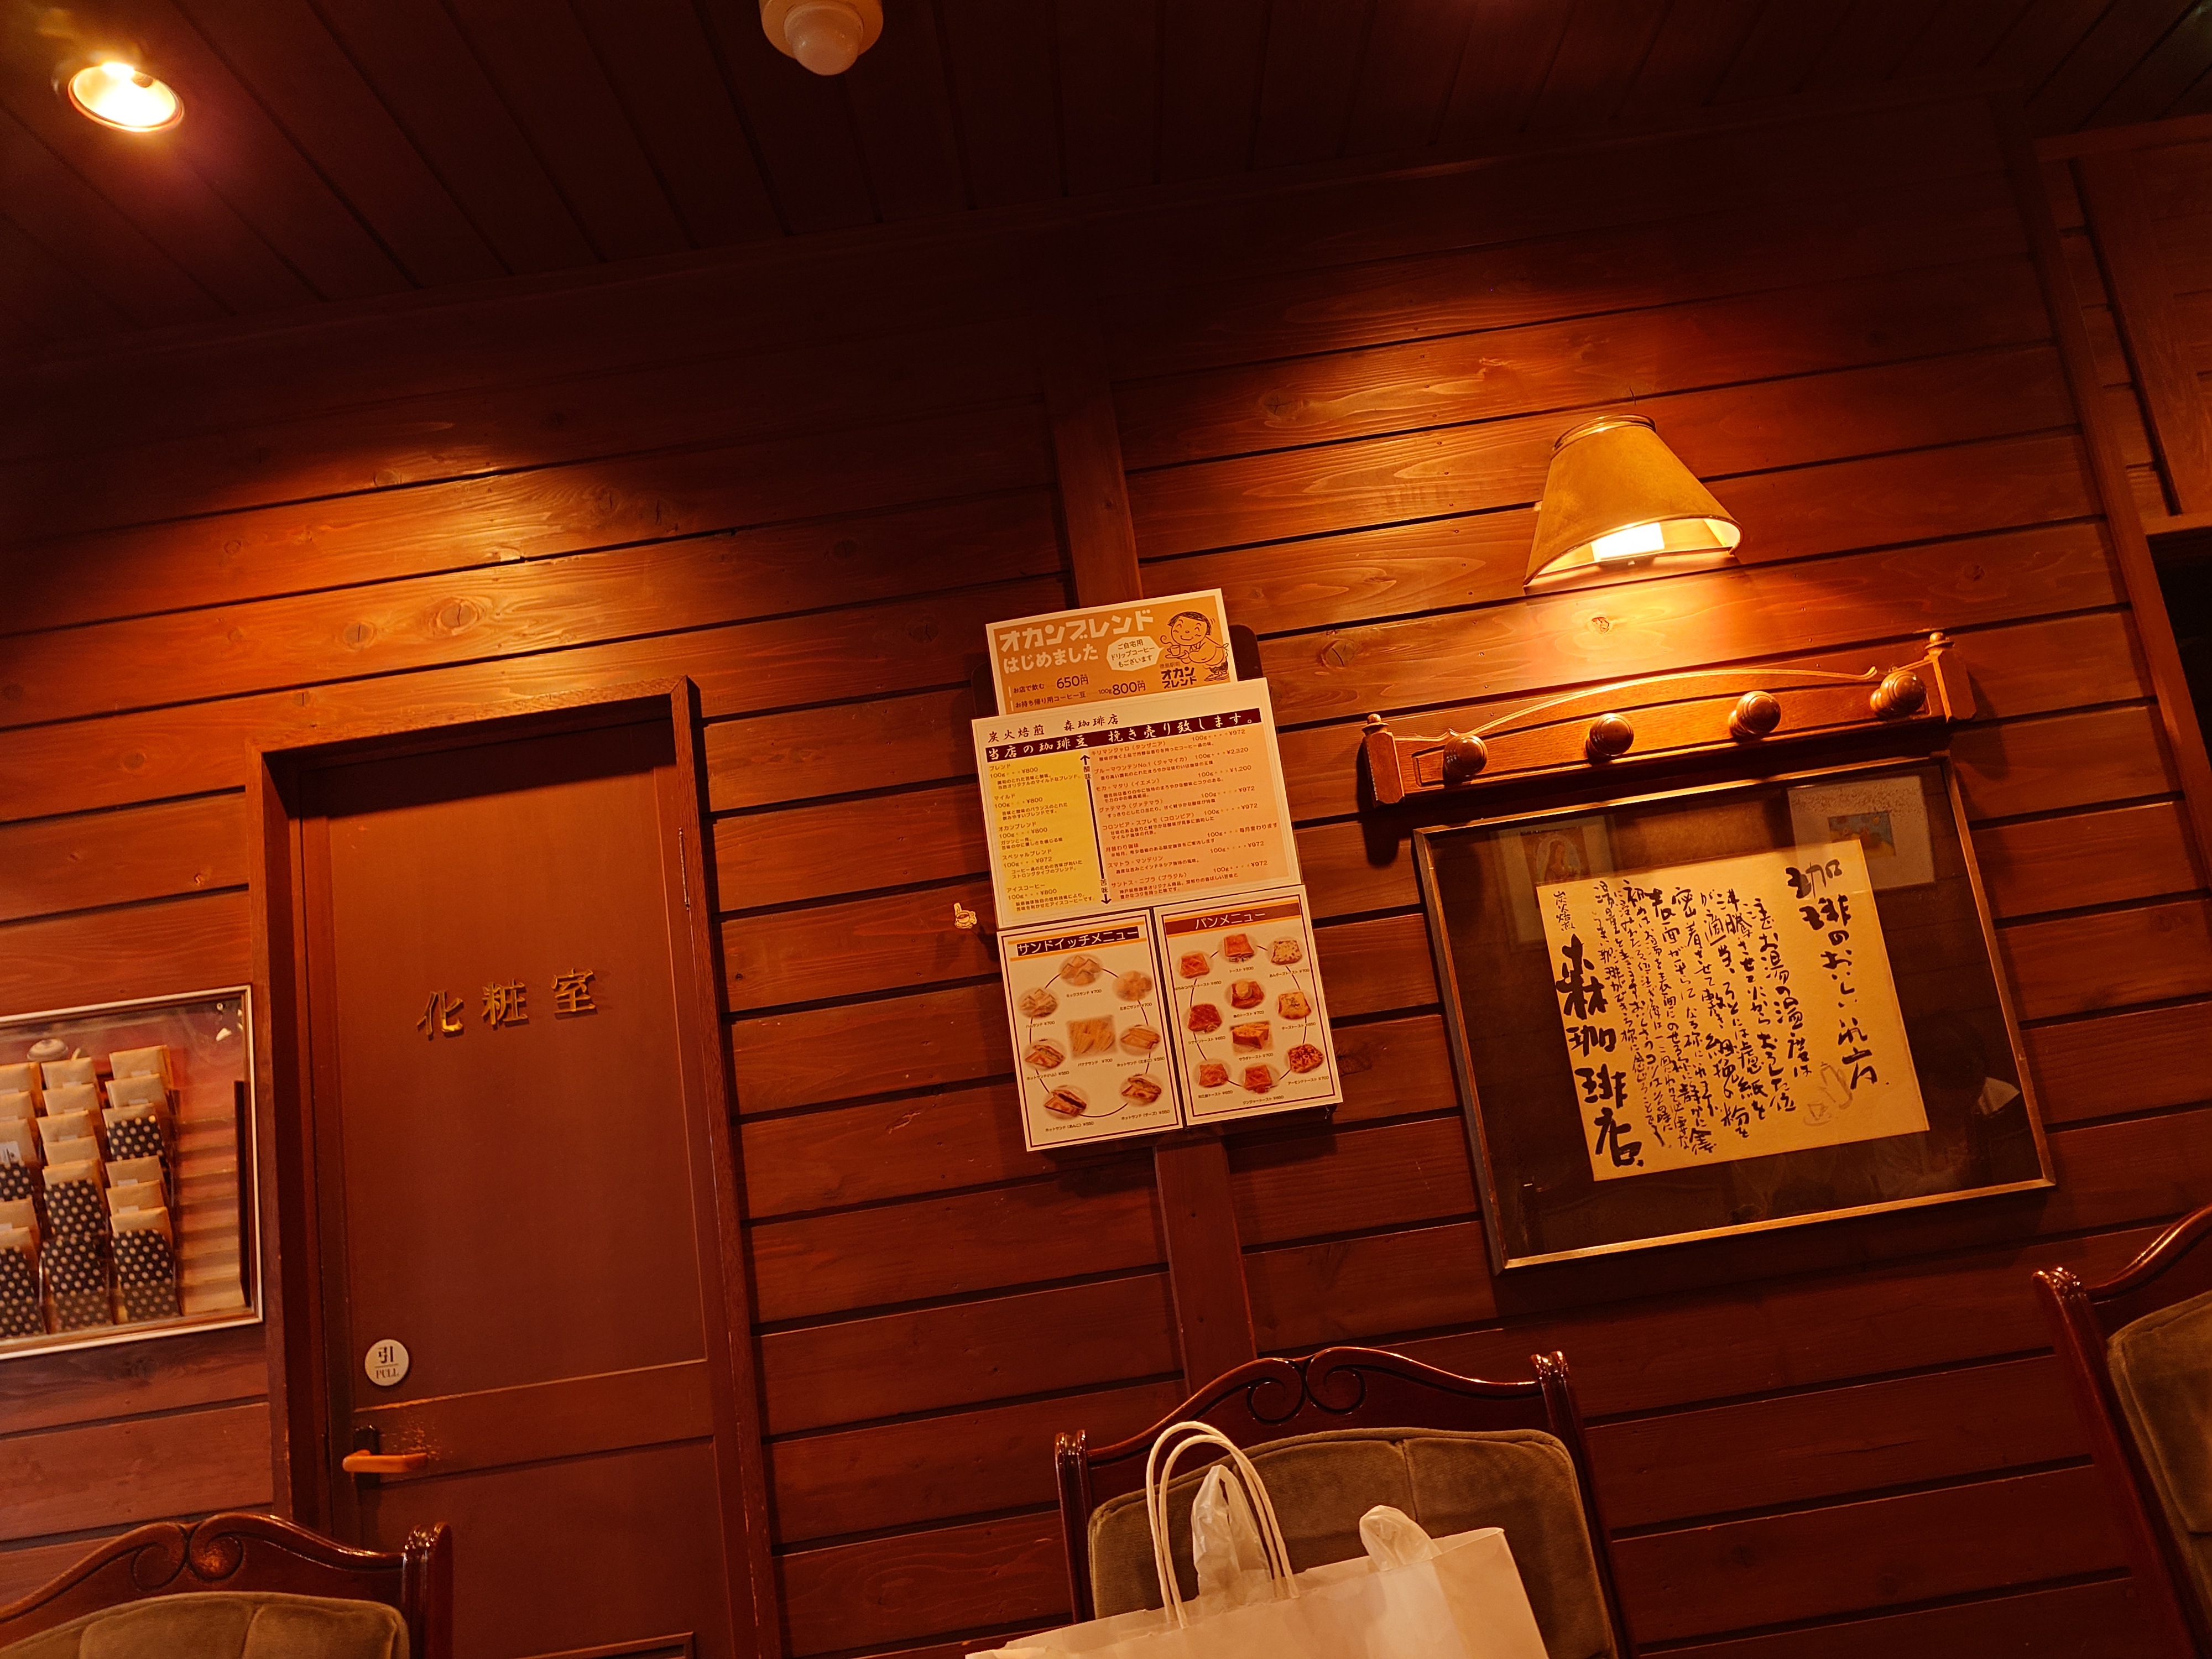
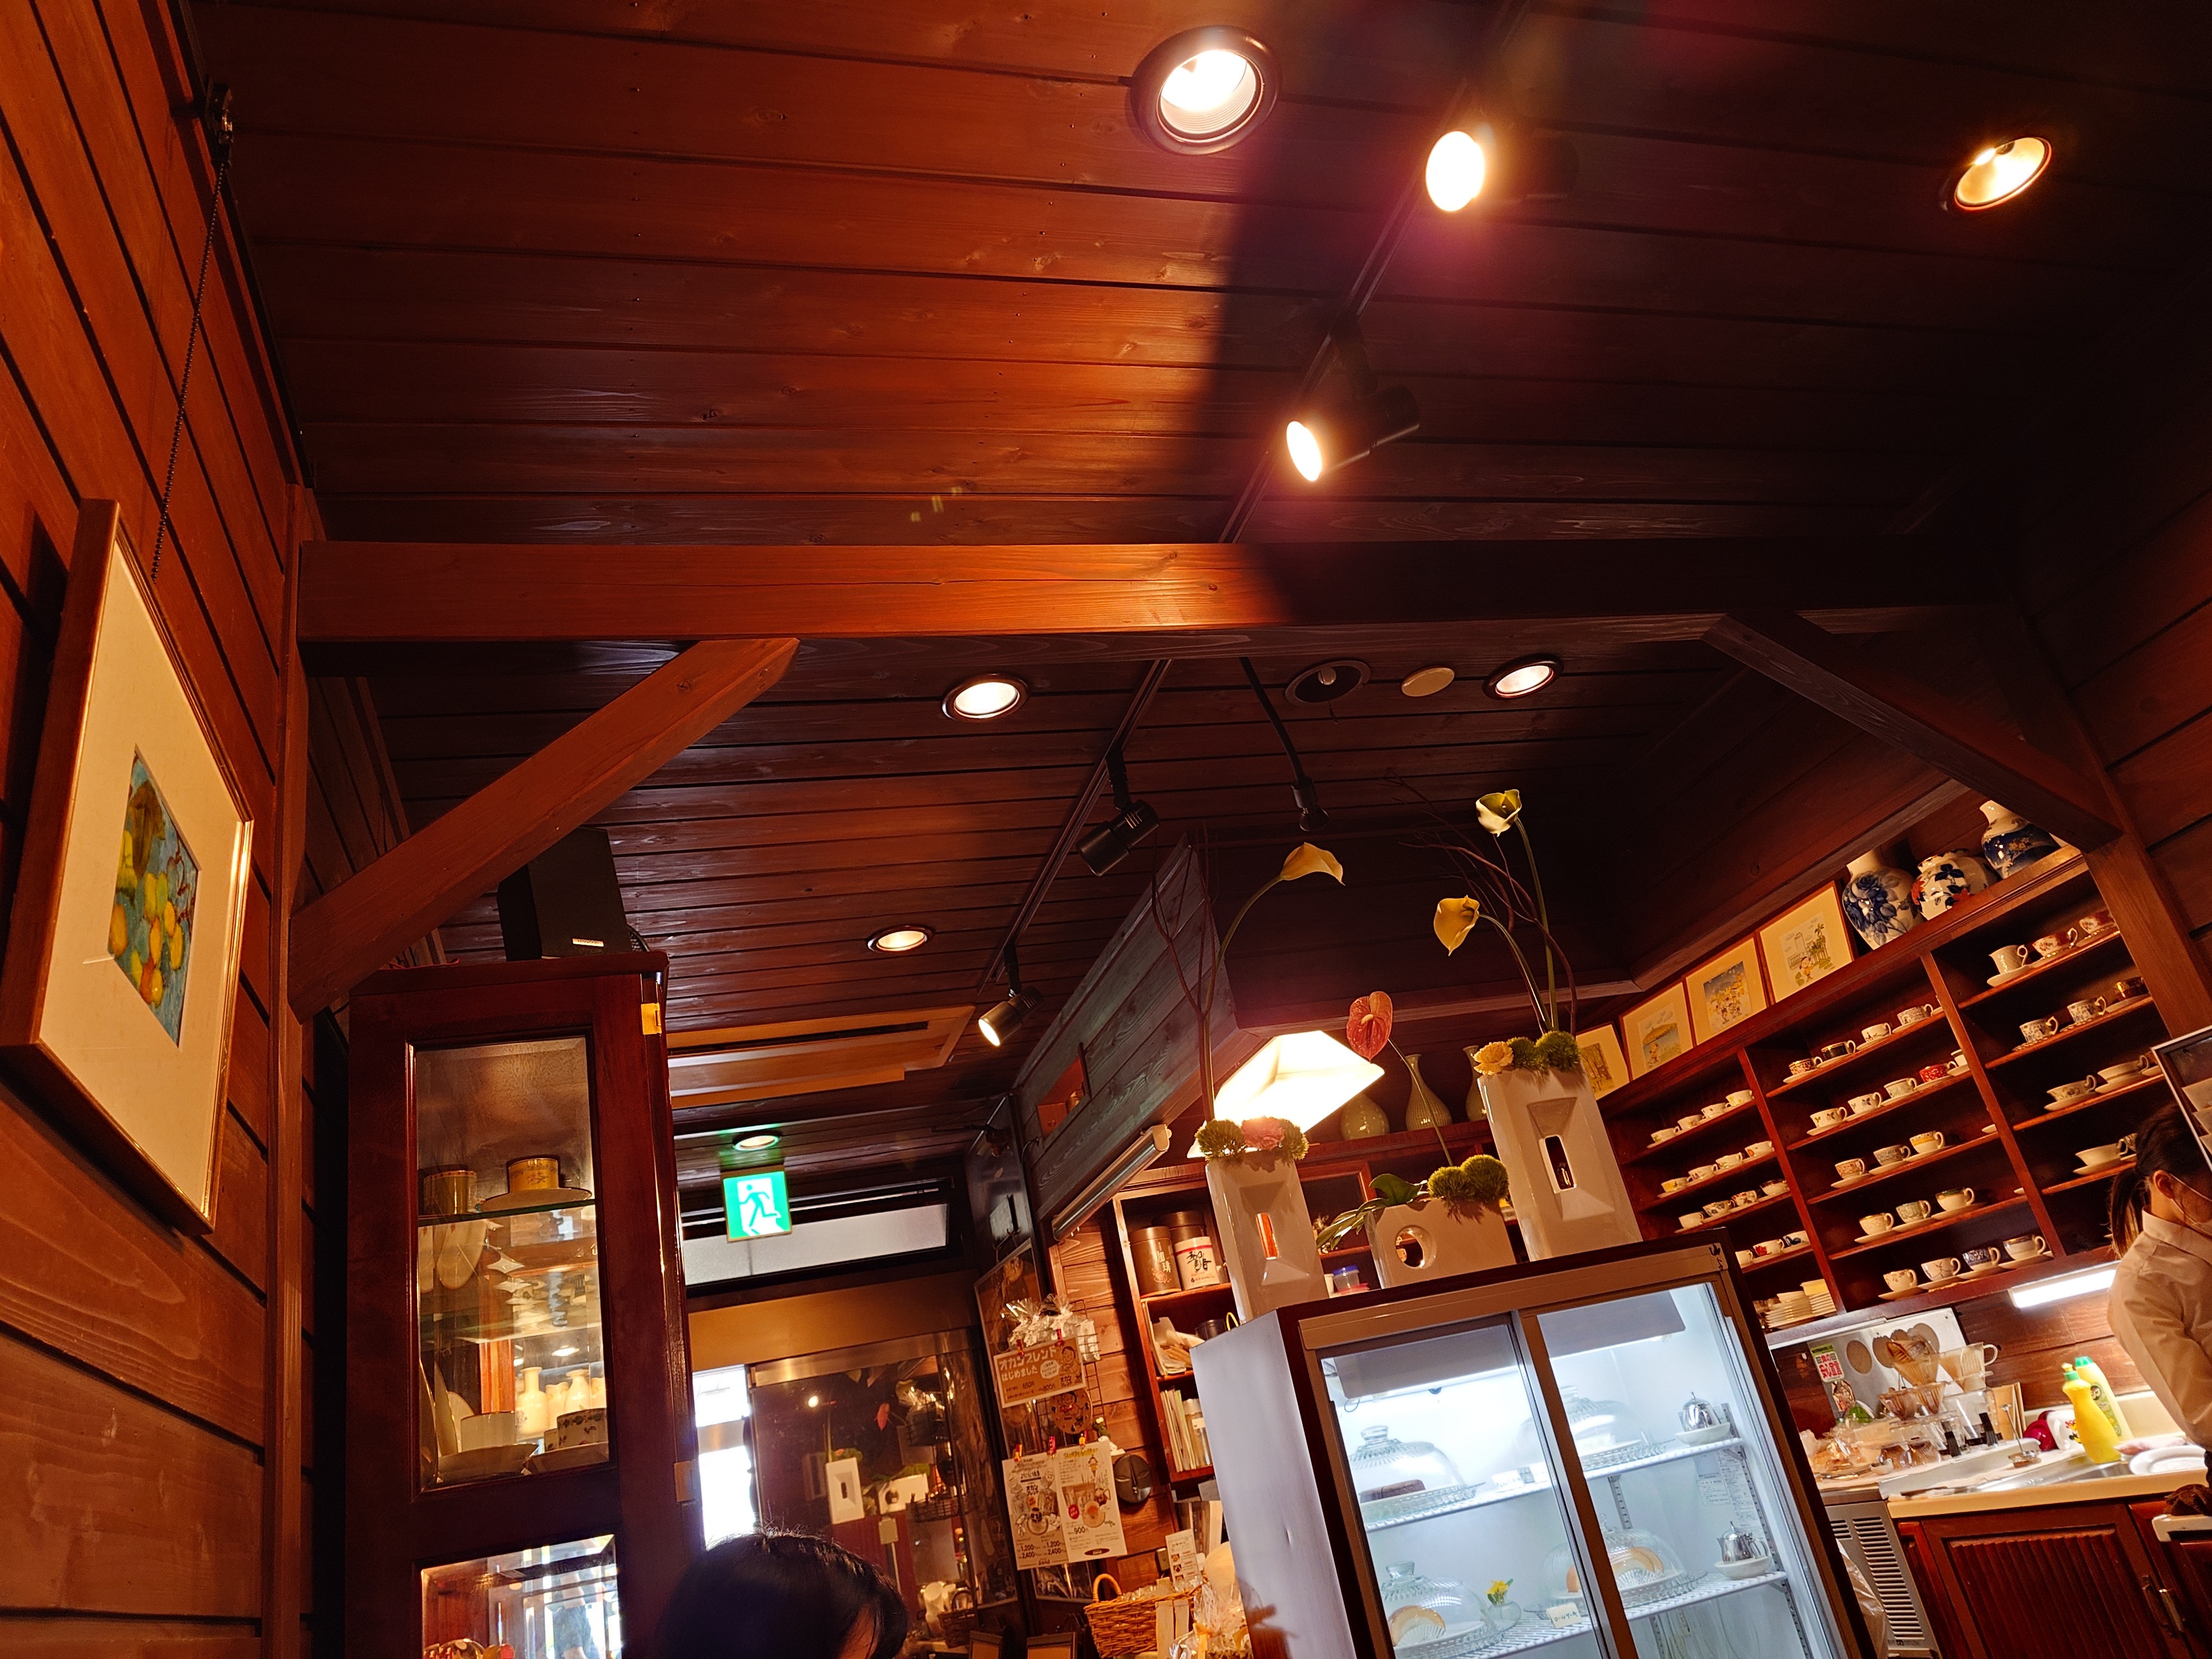
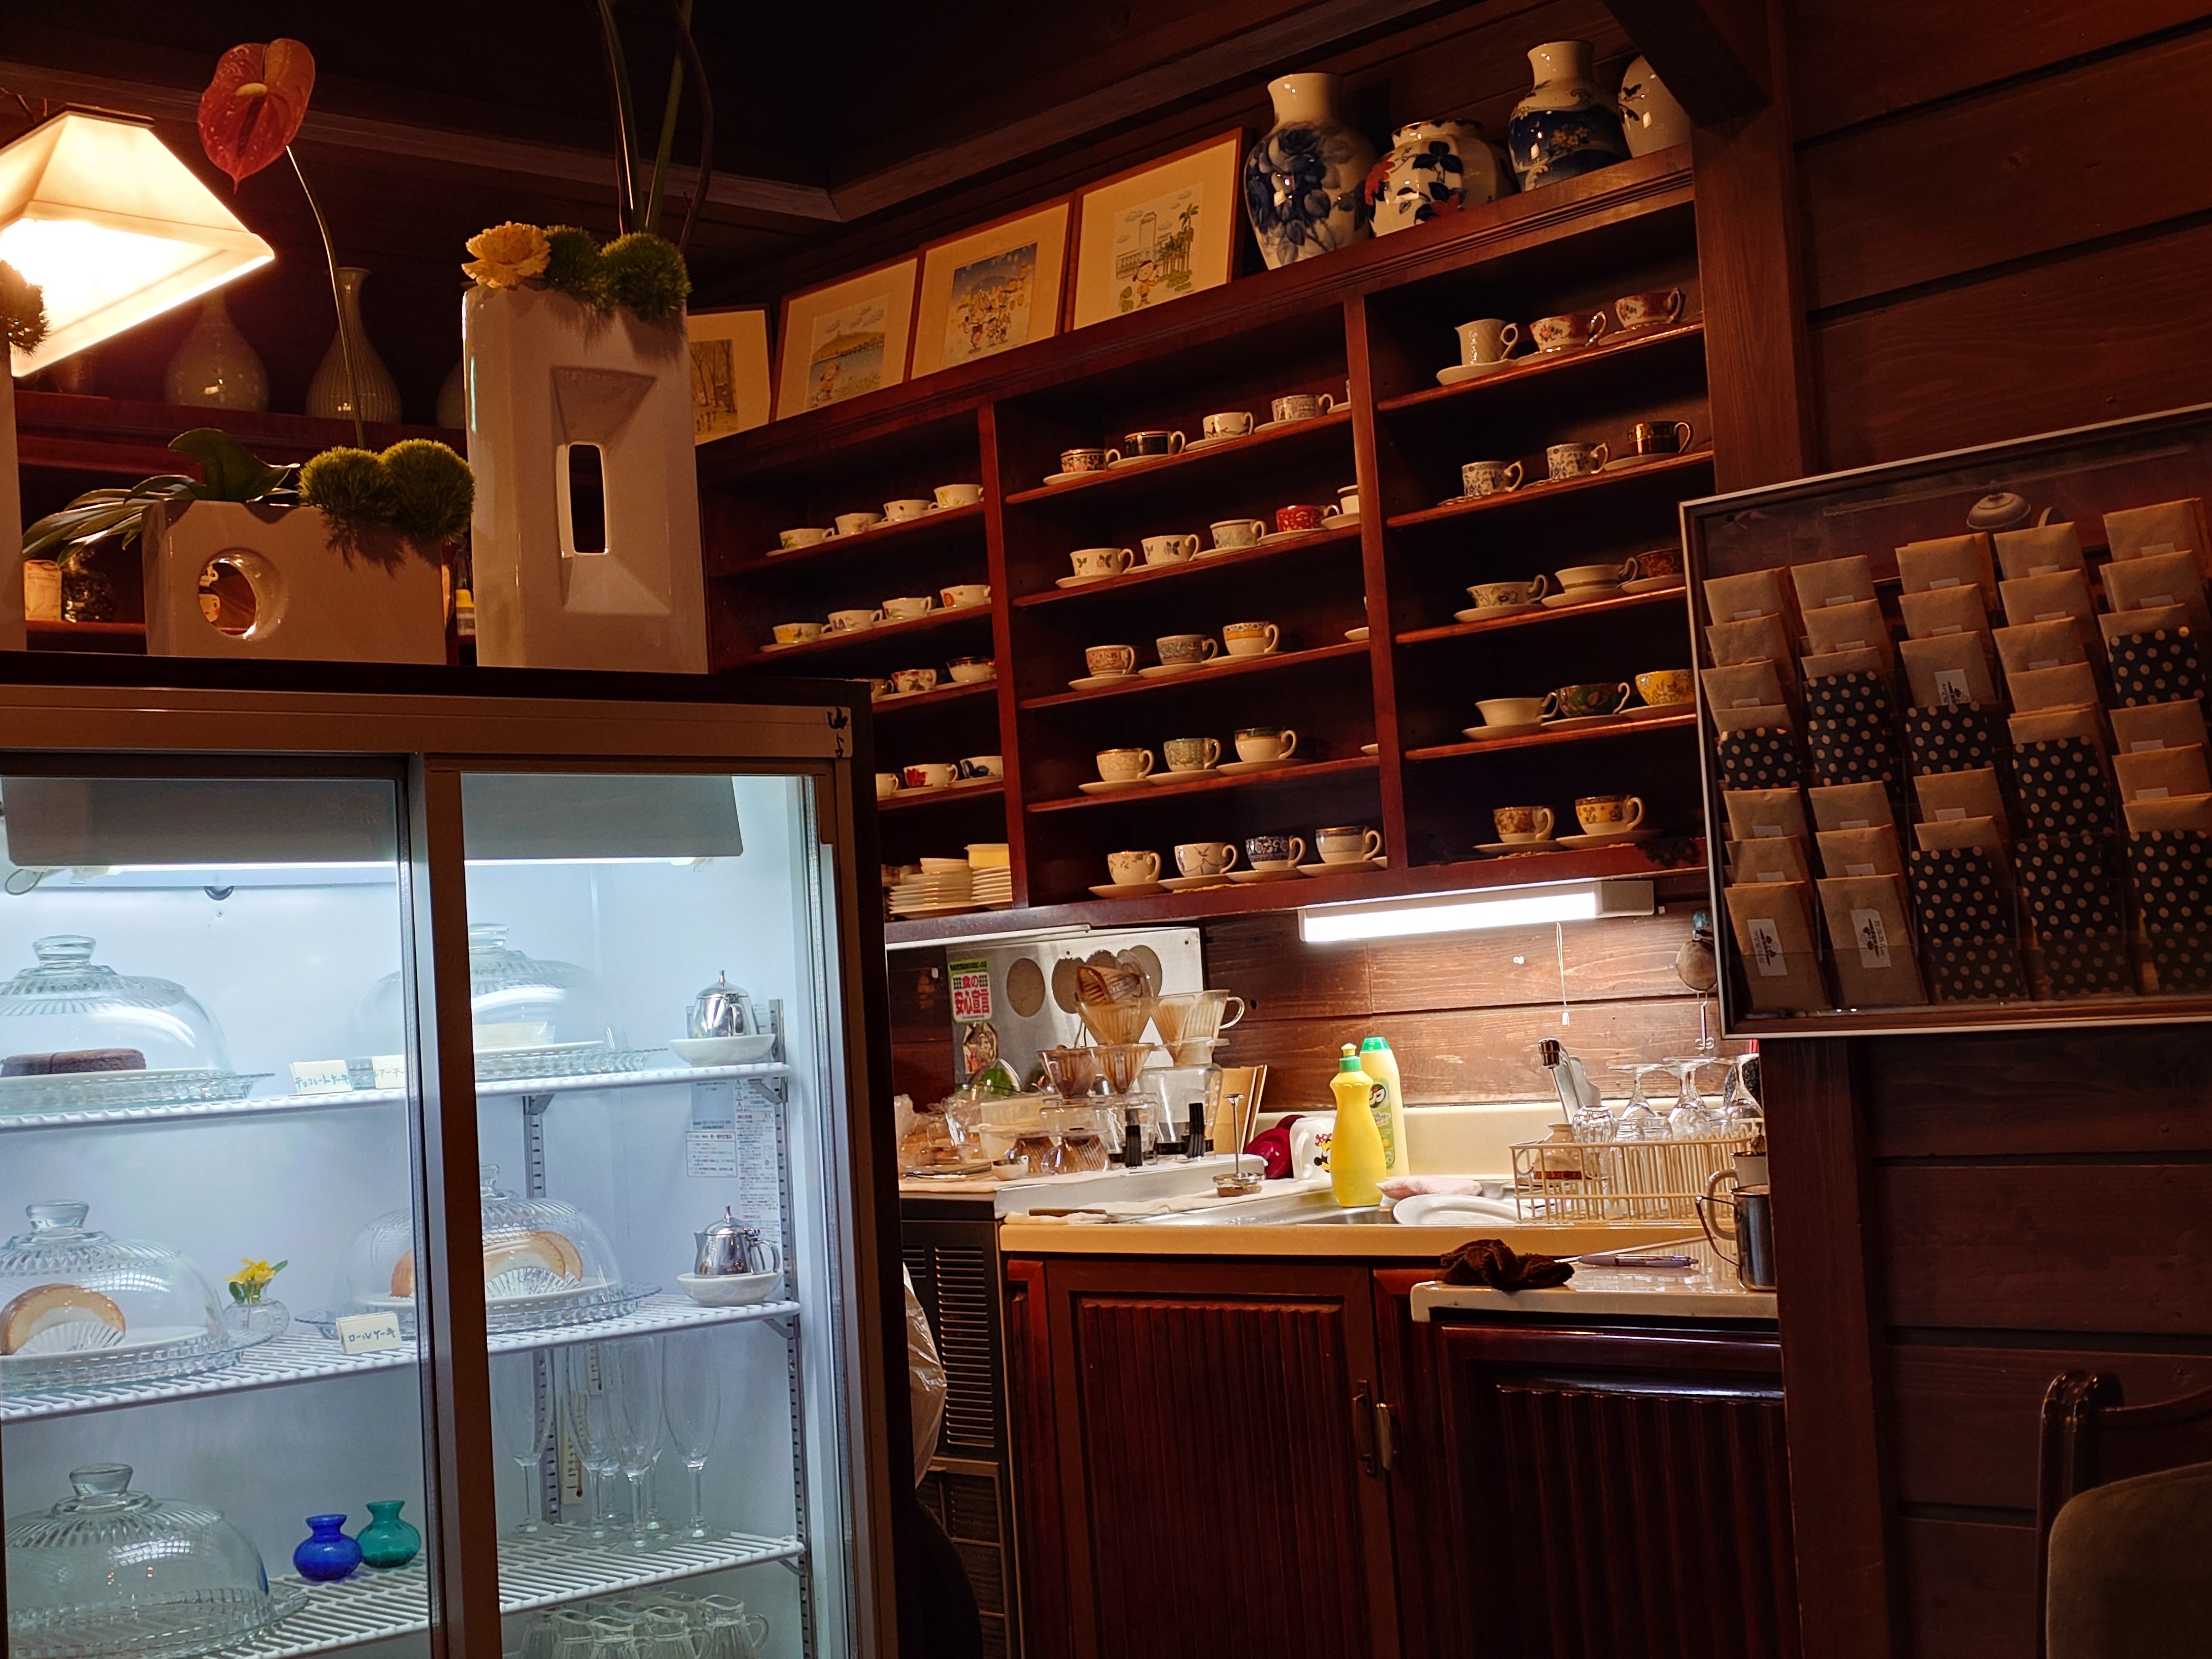
店内にマチアソビ要素がないかずいぶん見回したものの、この時点では核心で聞いていた壁一面に飾られた「おへんろ。」関連の展示は見当たらず、少し残念な気分になっていた。
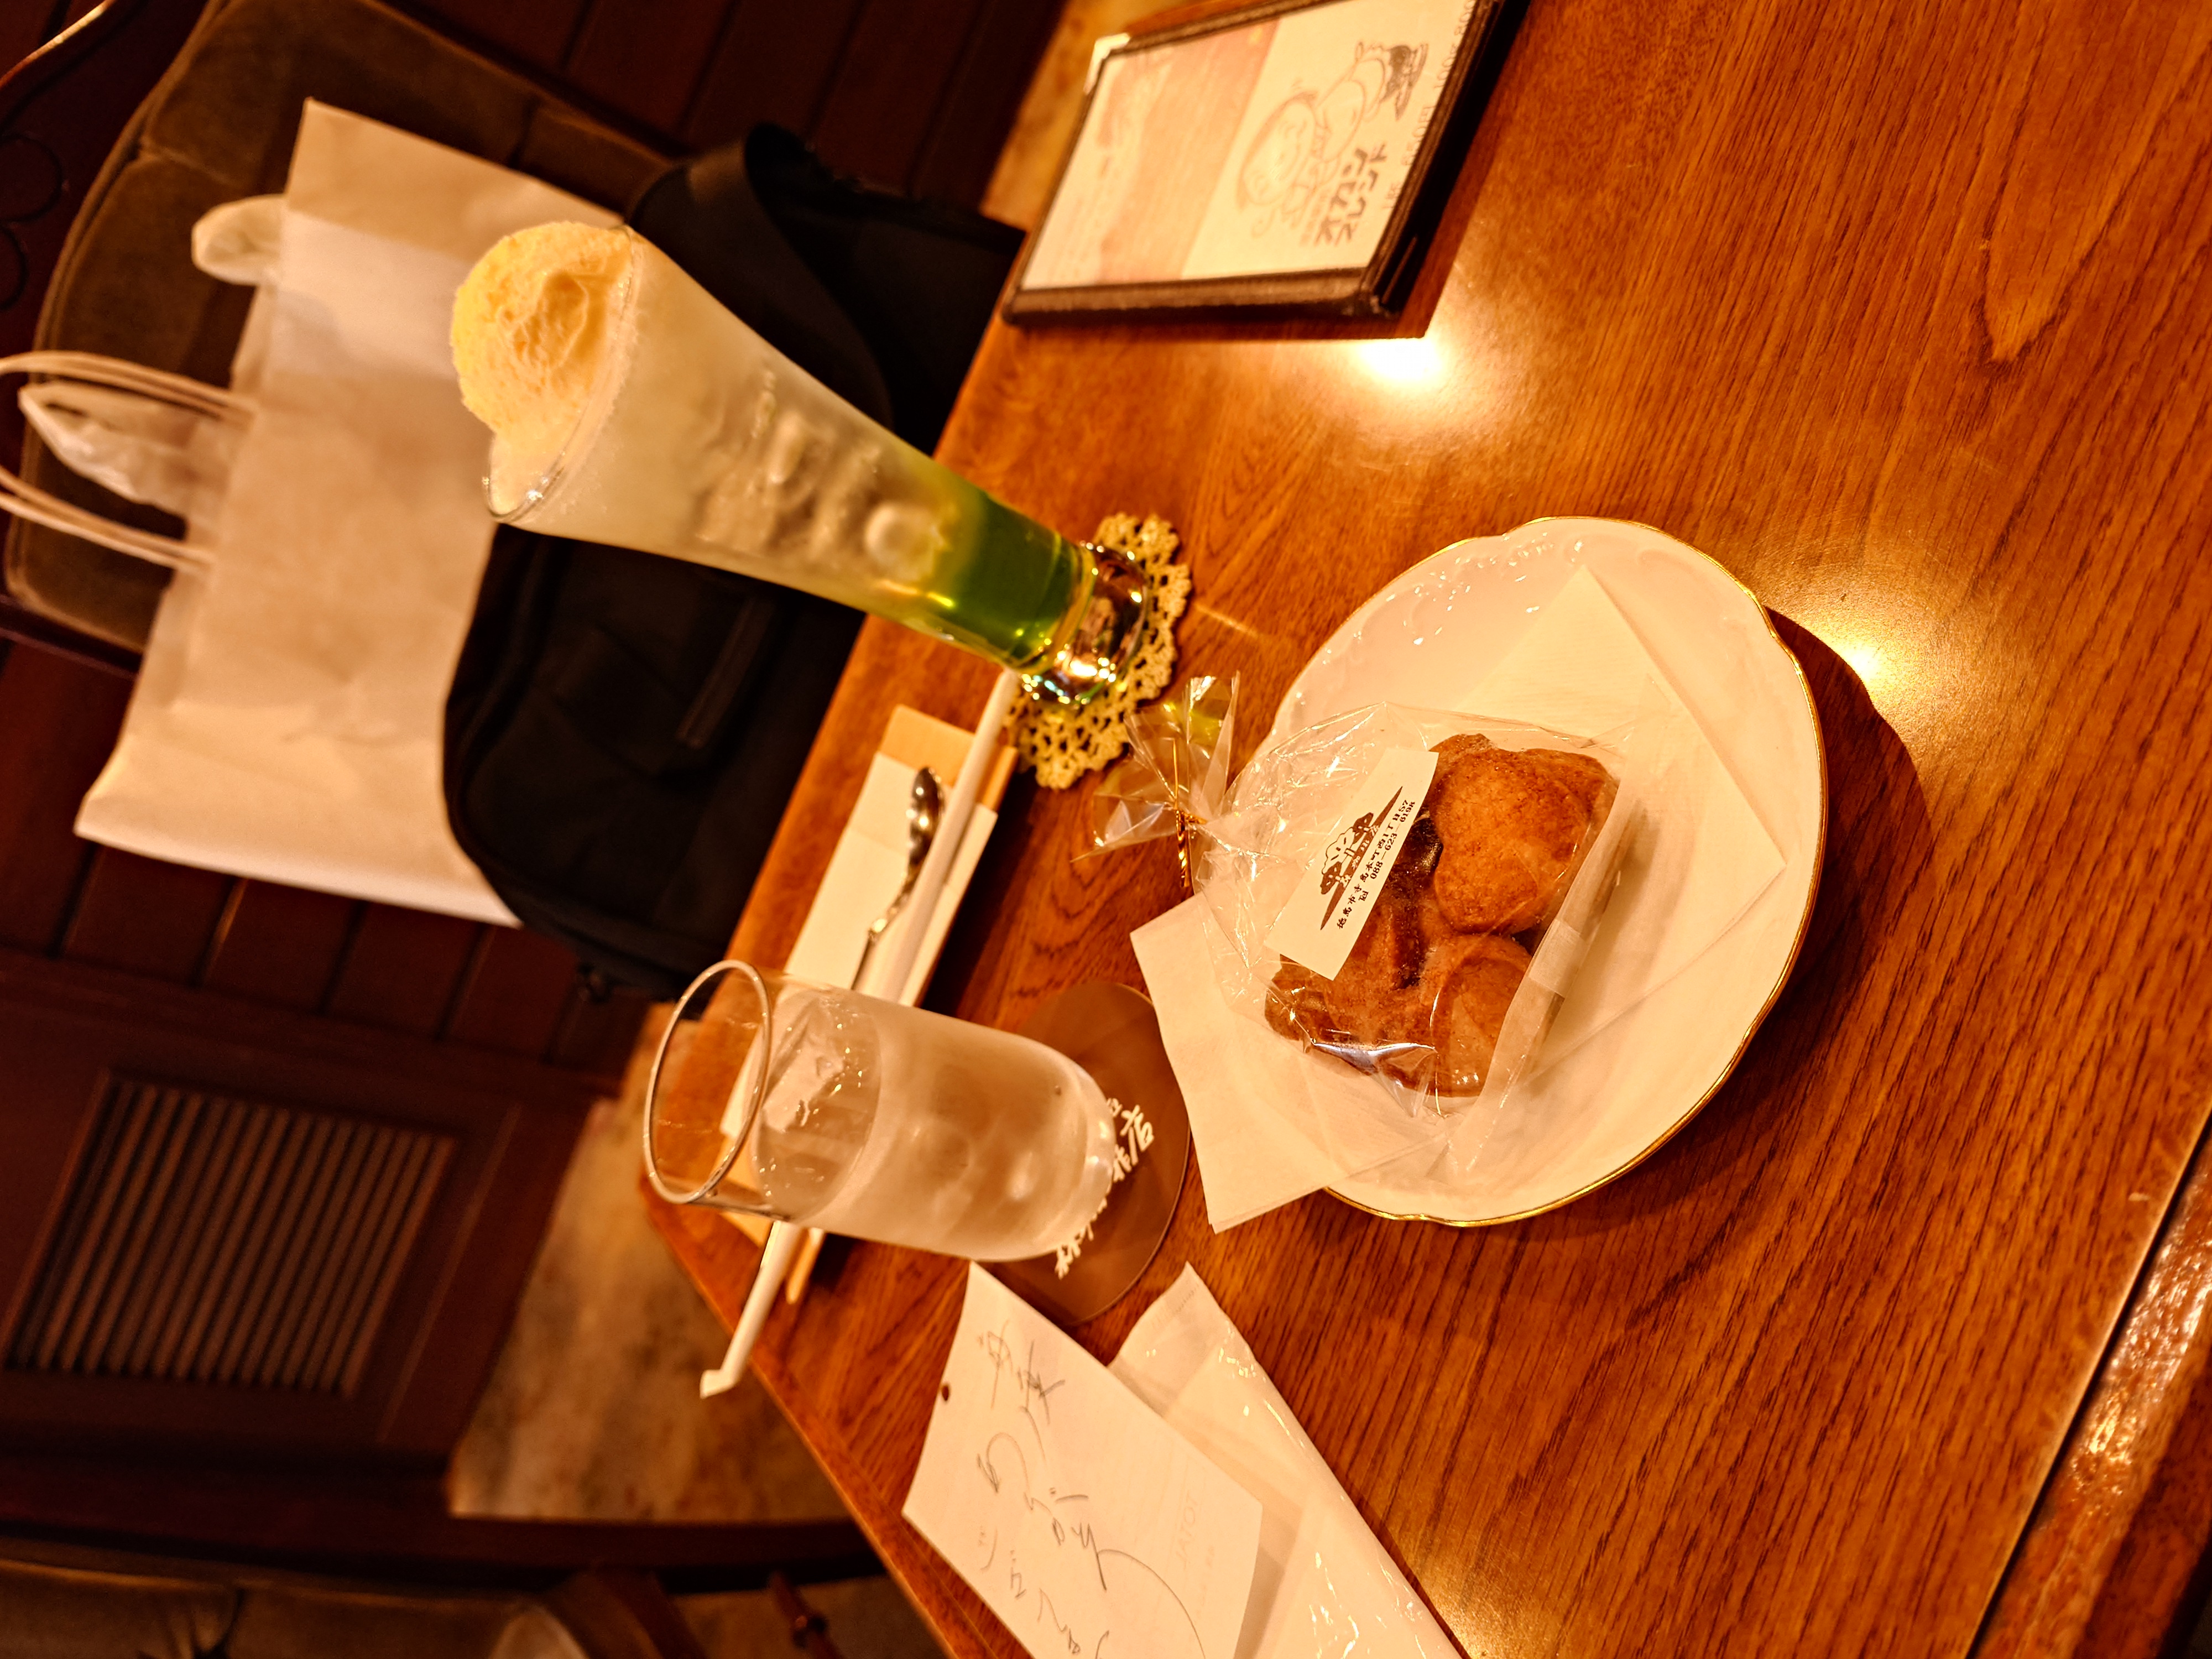

頼んでいたものが届くと伝票には手書きの謝辞が書かれていて、今時ここまでしてくれる喫茶店があるのかと軽く感動してしまった。
会計時にカウンターに行くと「おへんろ。」を見つけることができた。やけにポスターの色合いがよかったのでマスターに聞いたところ、10年もの間ここに置かれているというのを聞き驚いた。
また核心で聞いていた前面の「おへんろ。」展示については過去には確かに行っていたが、毎回は大変なのと、みんなもう飽きているだろうということでやっていなかったとのことだった。しかし希望する人がいるなら次回、つまり秋のマチアソビでは検討したいといって下さり嬉しかった。
普段は雑貨の展示を月1でやっており、マチアソビの時だけ展示を取りやめておへんろ。の展示に切り替えていたということも聞いた。結構な重労働で大変と話されていたので、次回もし覚えていてくれて、またやってくれるのだとしたら非常にありがたいことだ。
おそらく私はそれを見るために秋のマチアソビに行くことだろう。勿論それだけではなく、ほかにも目的はあるが、それはまた後で書こうと思う。
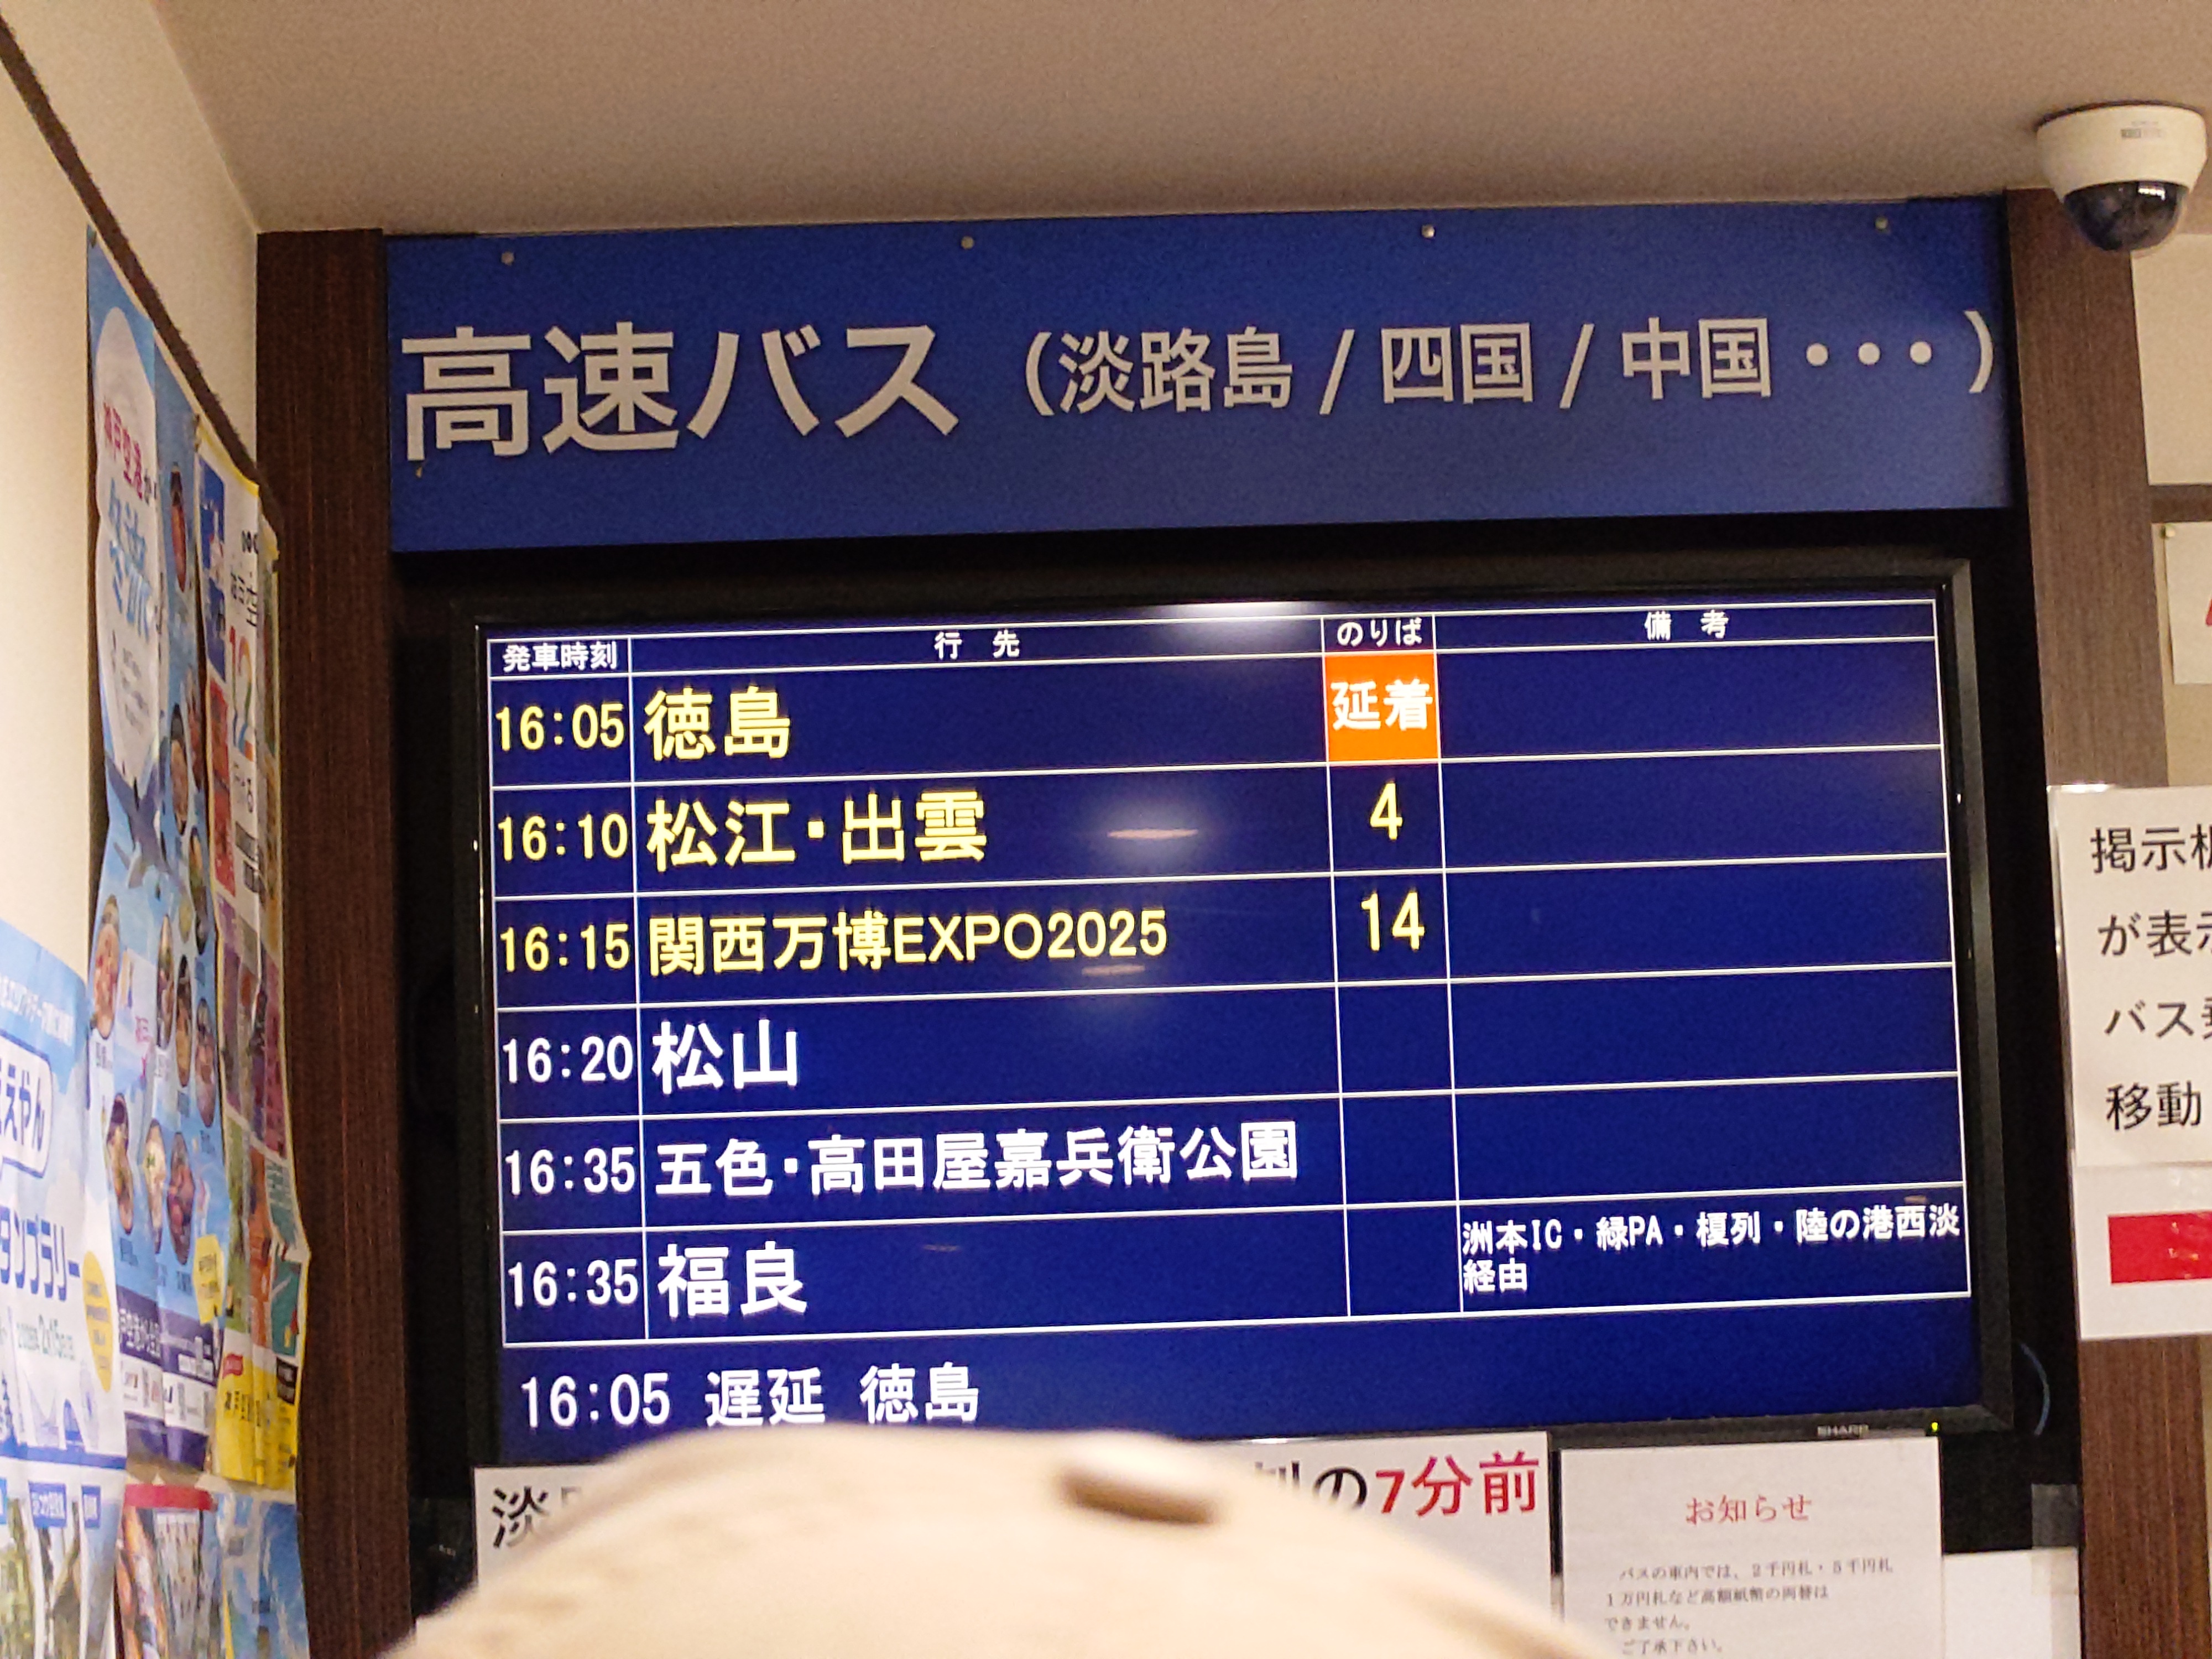
徳島駅高速バスターミナル
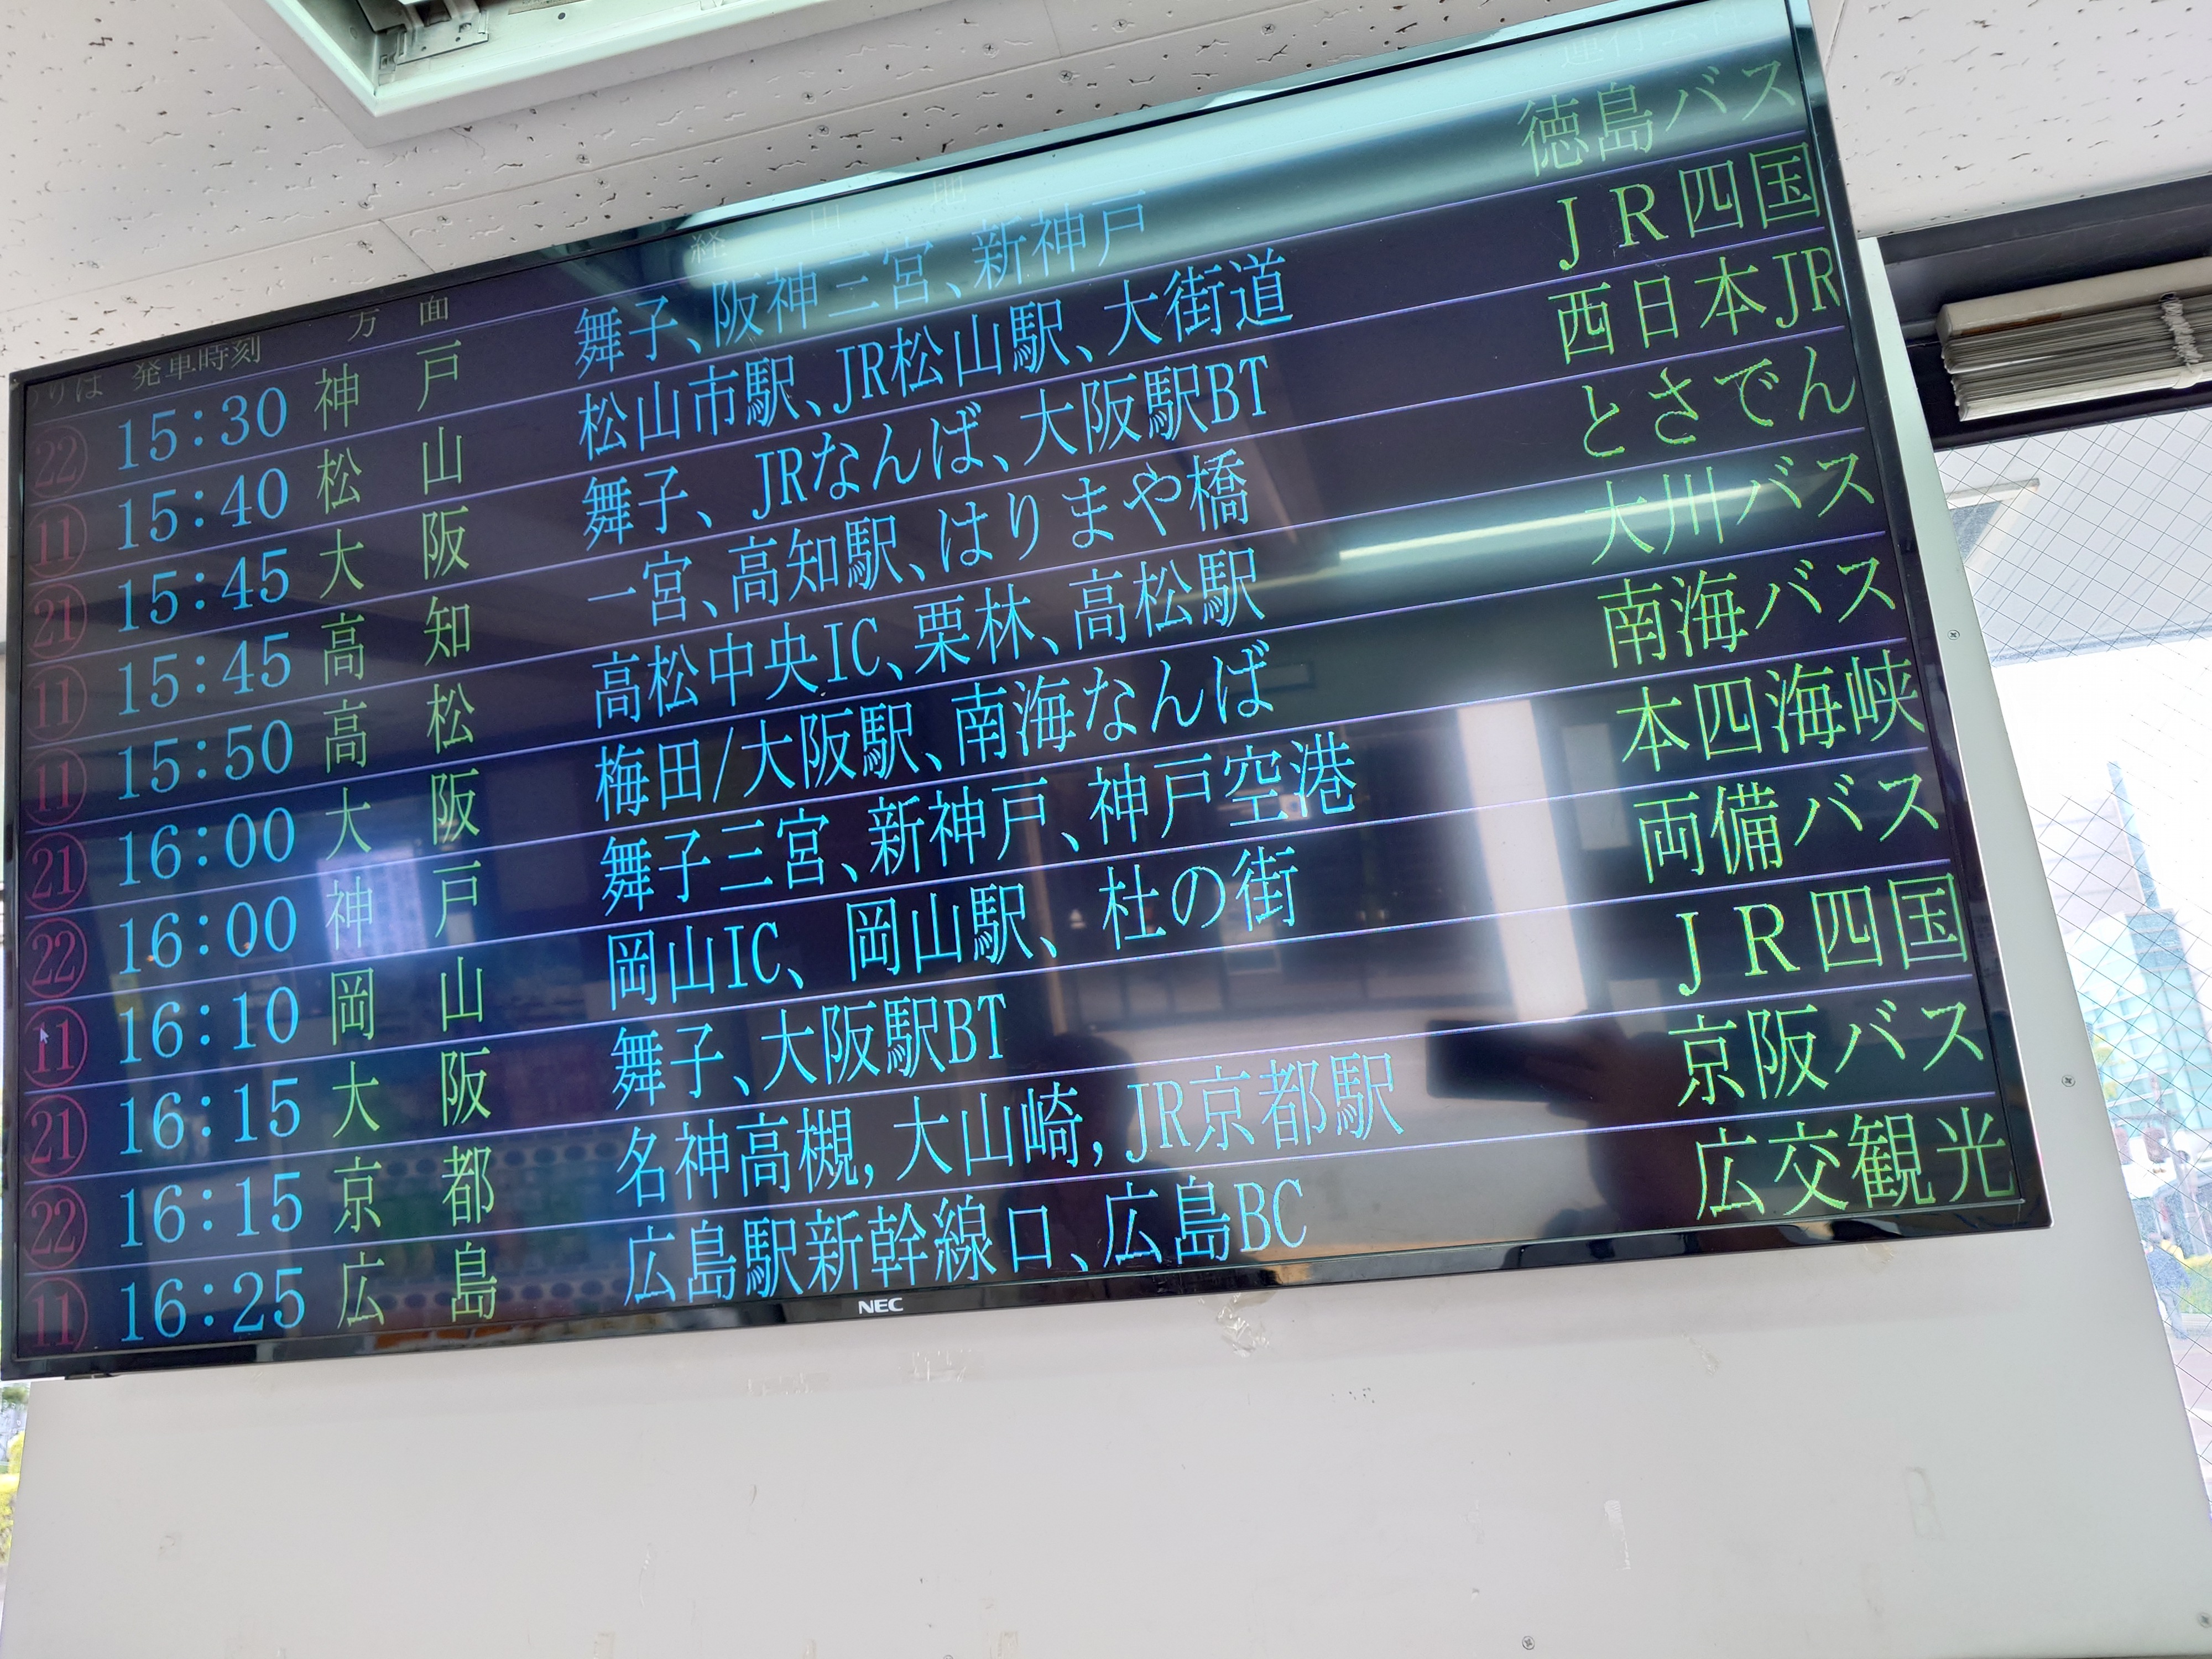
時刻は15時19分、バスターミナルには神戸便の表示が出ていた。
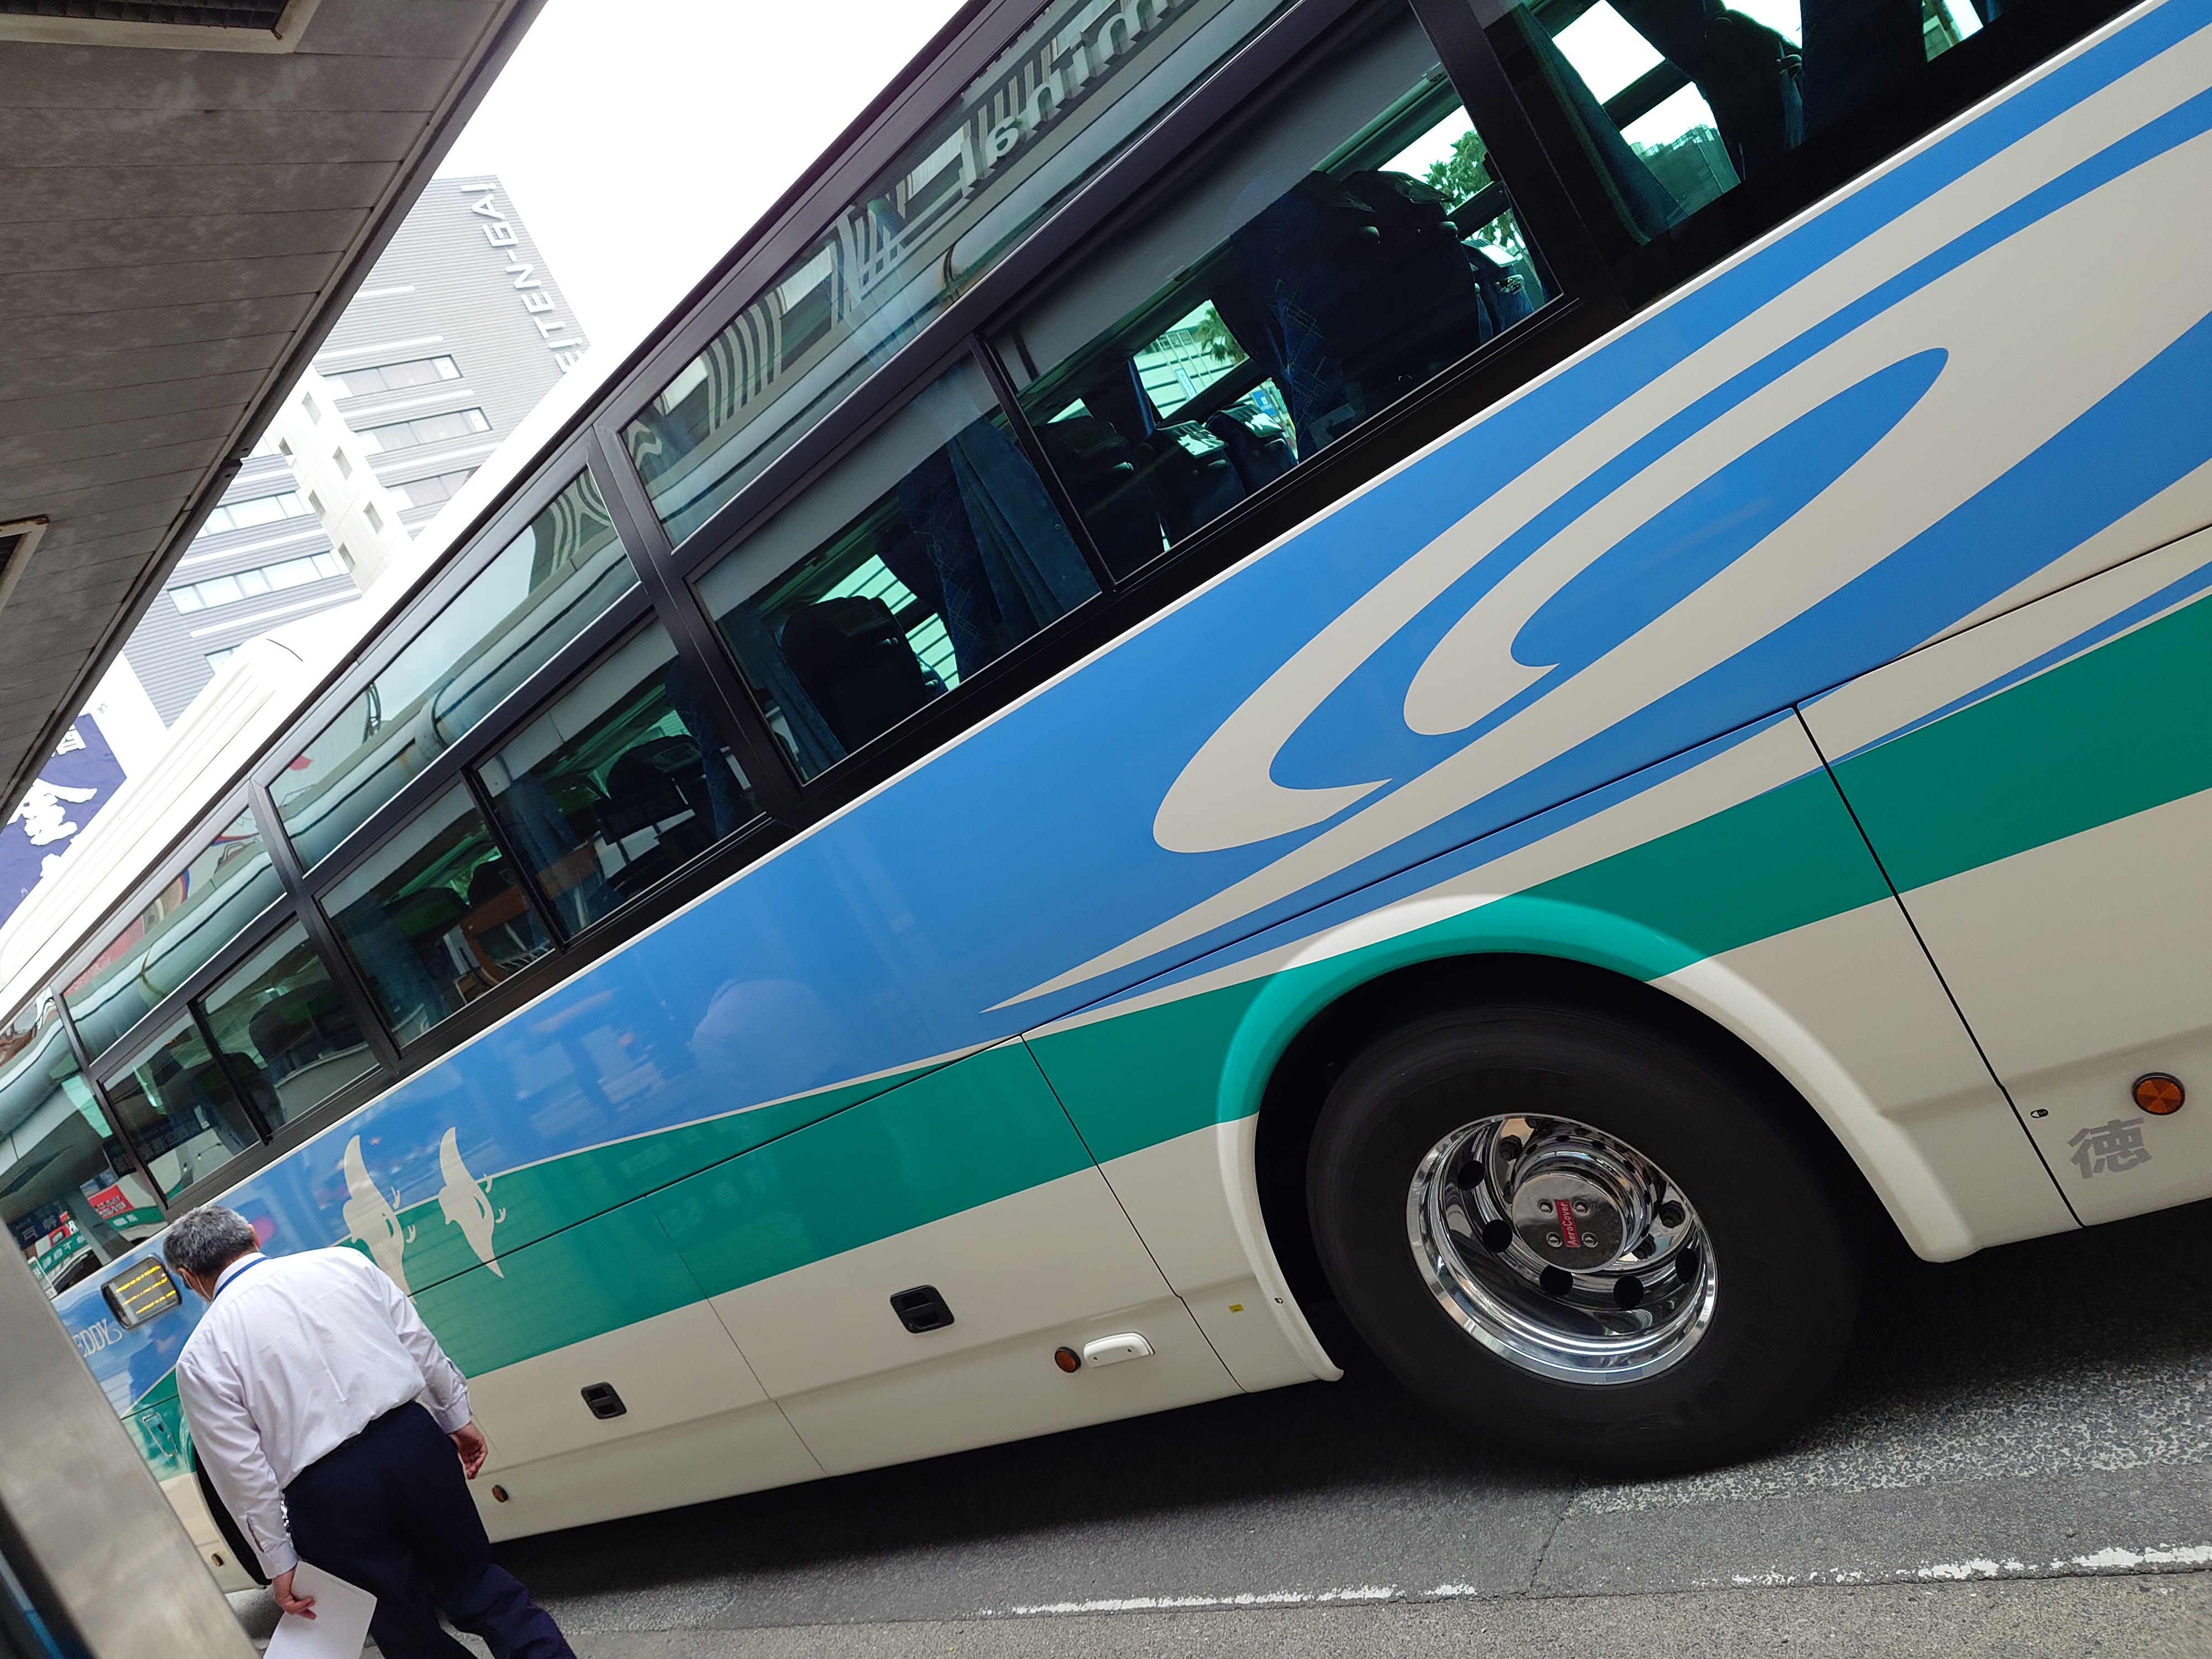
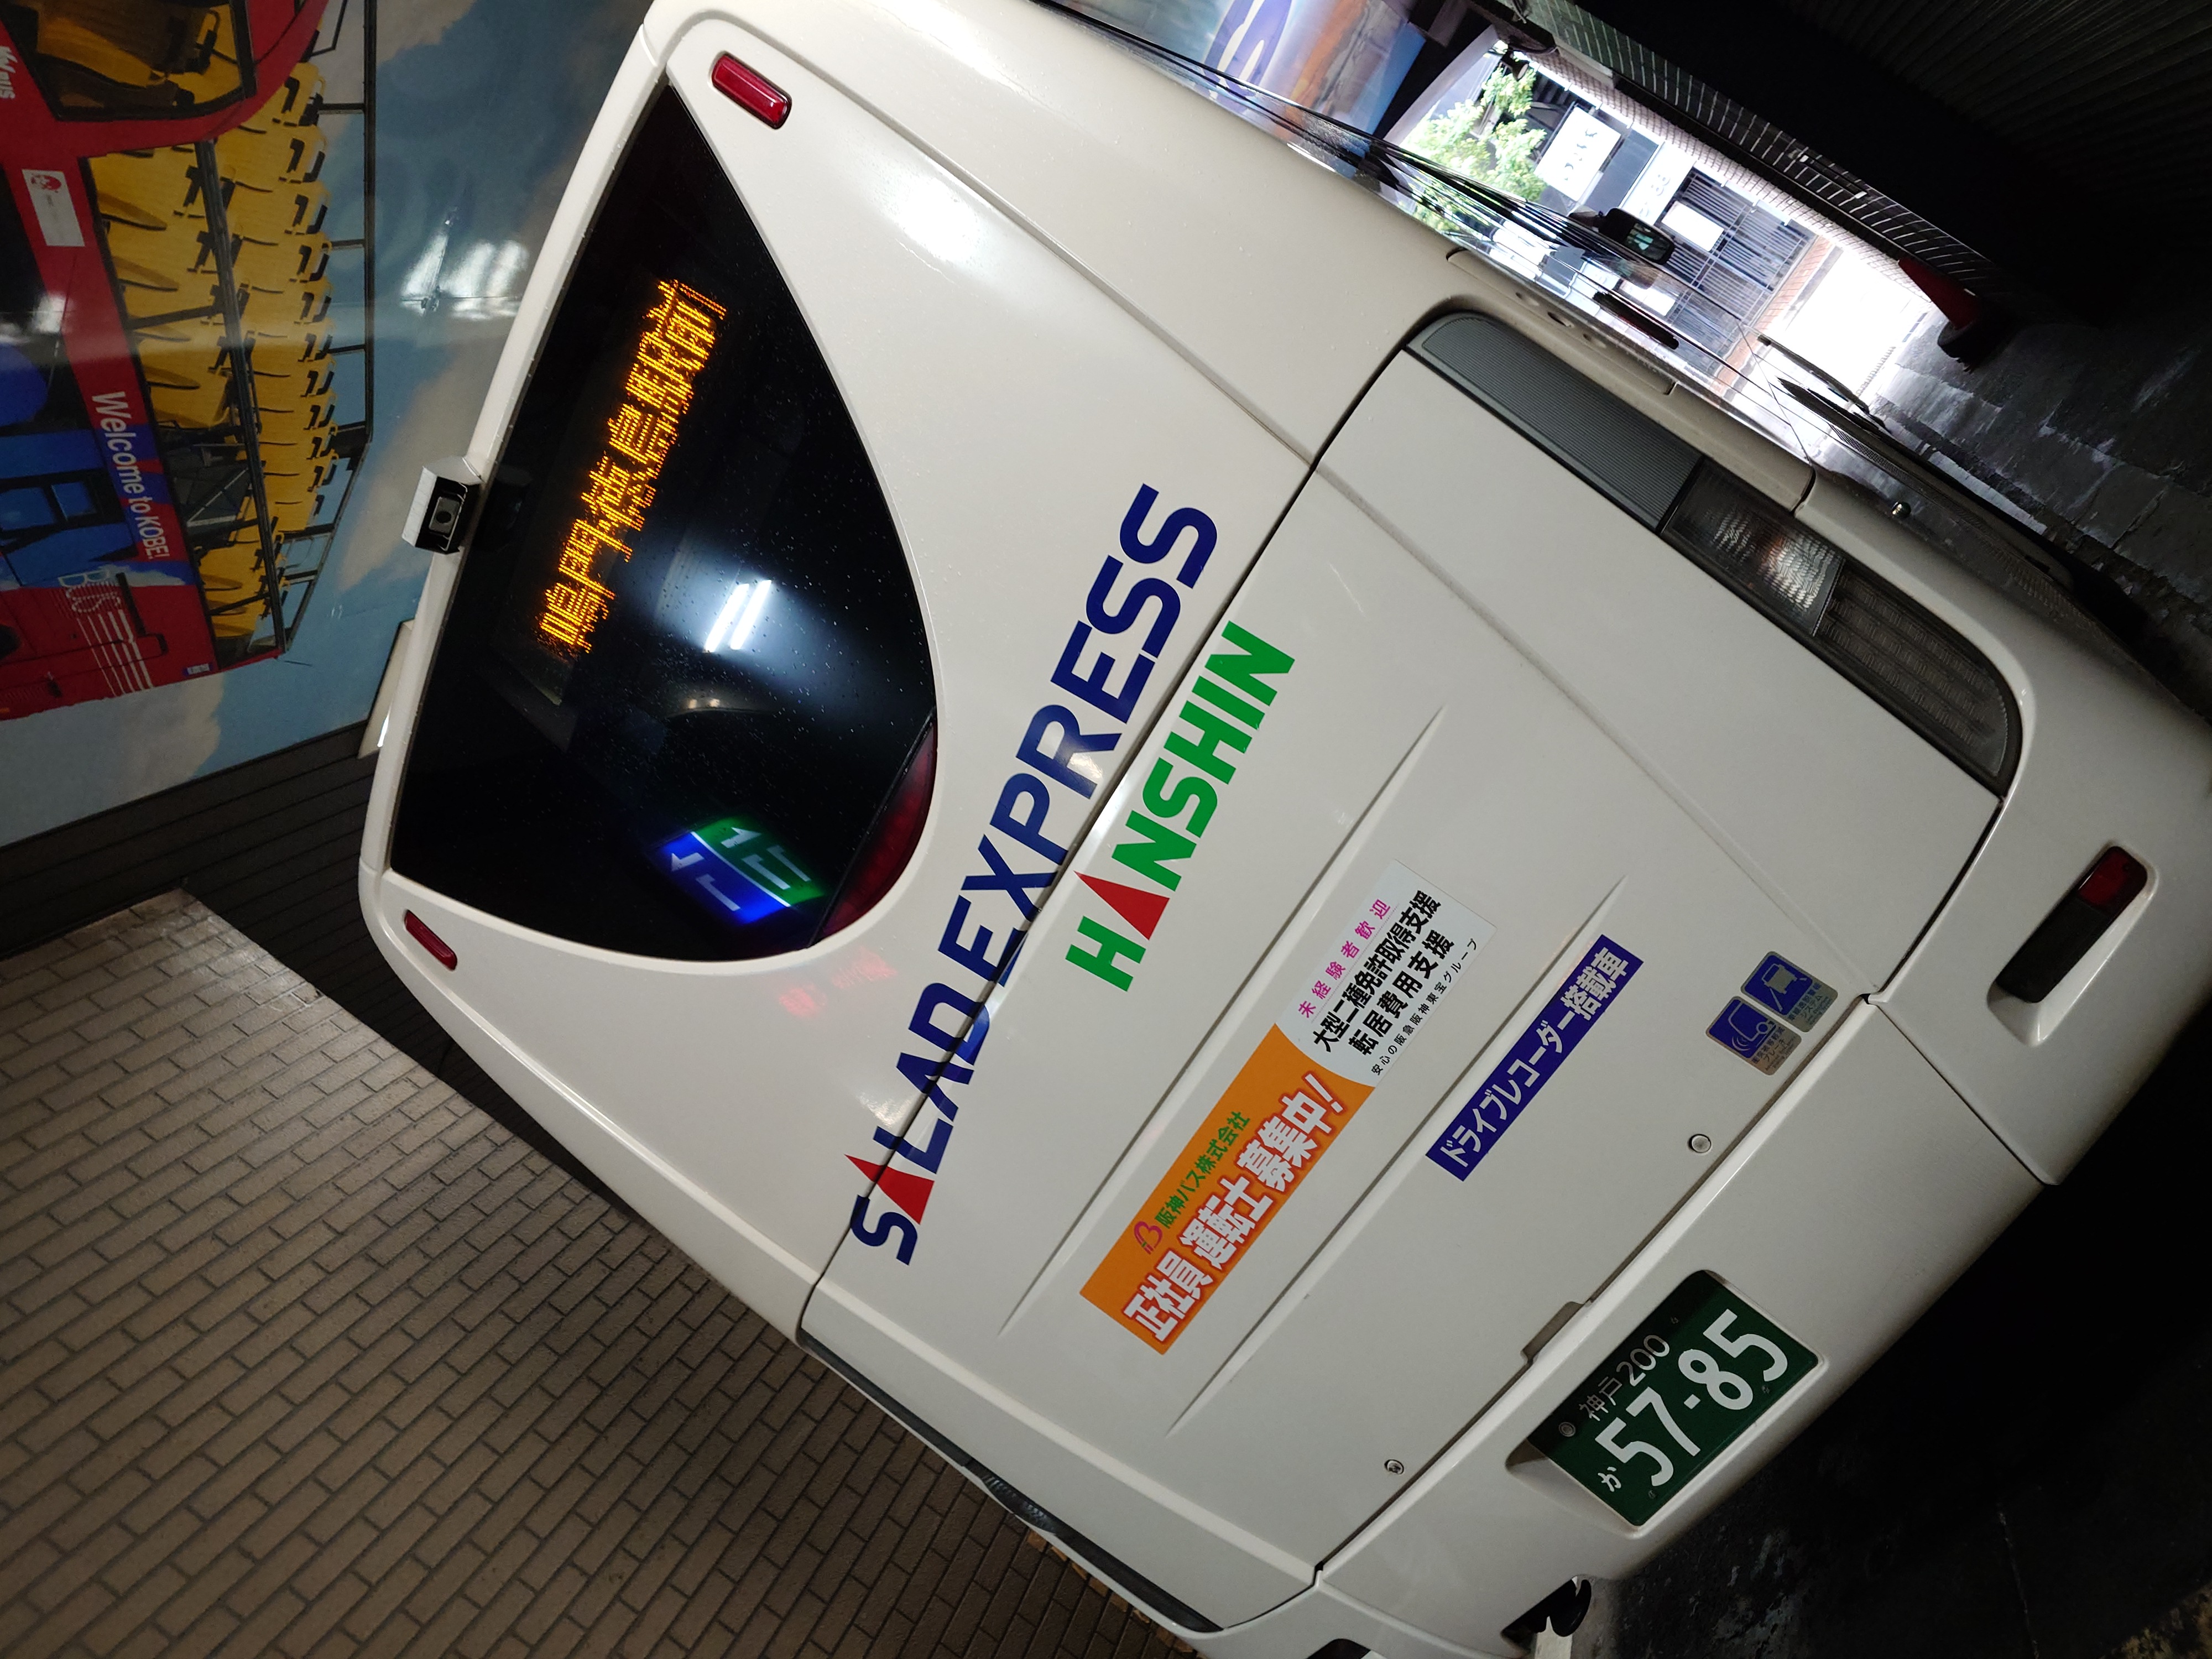
しばらく待っていると帰りのバスが来た。徳島バスに乗るのはこれが初めてだ。
関係ないが徳島バスは神姫バス三宮BTに入るときスタックしている光景を昔何度か見たので、その印象が深い。(あのターミナルは入庫が難しい)
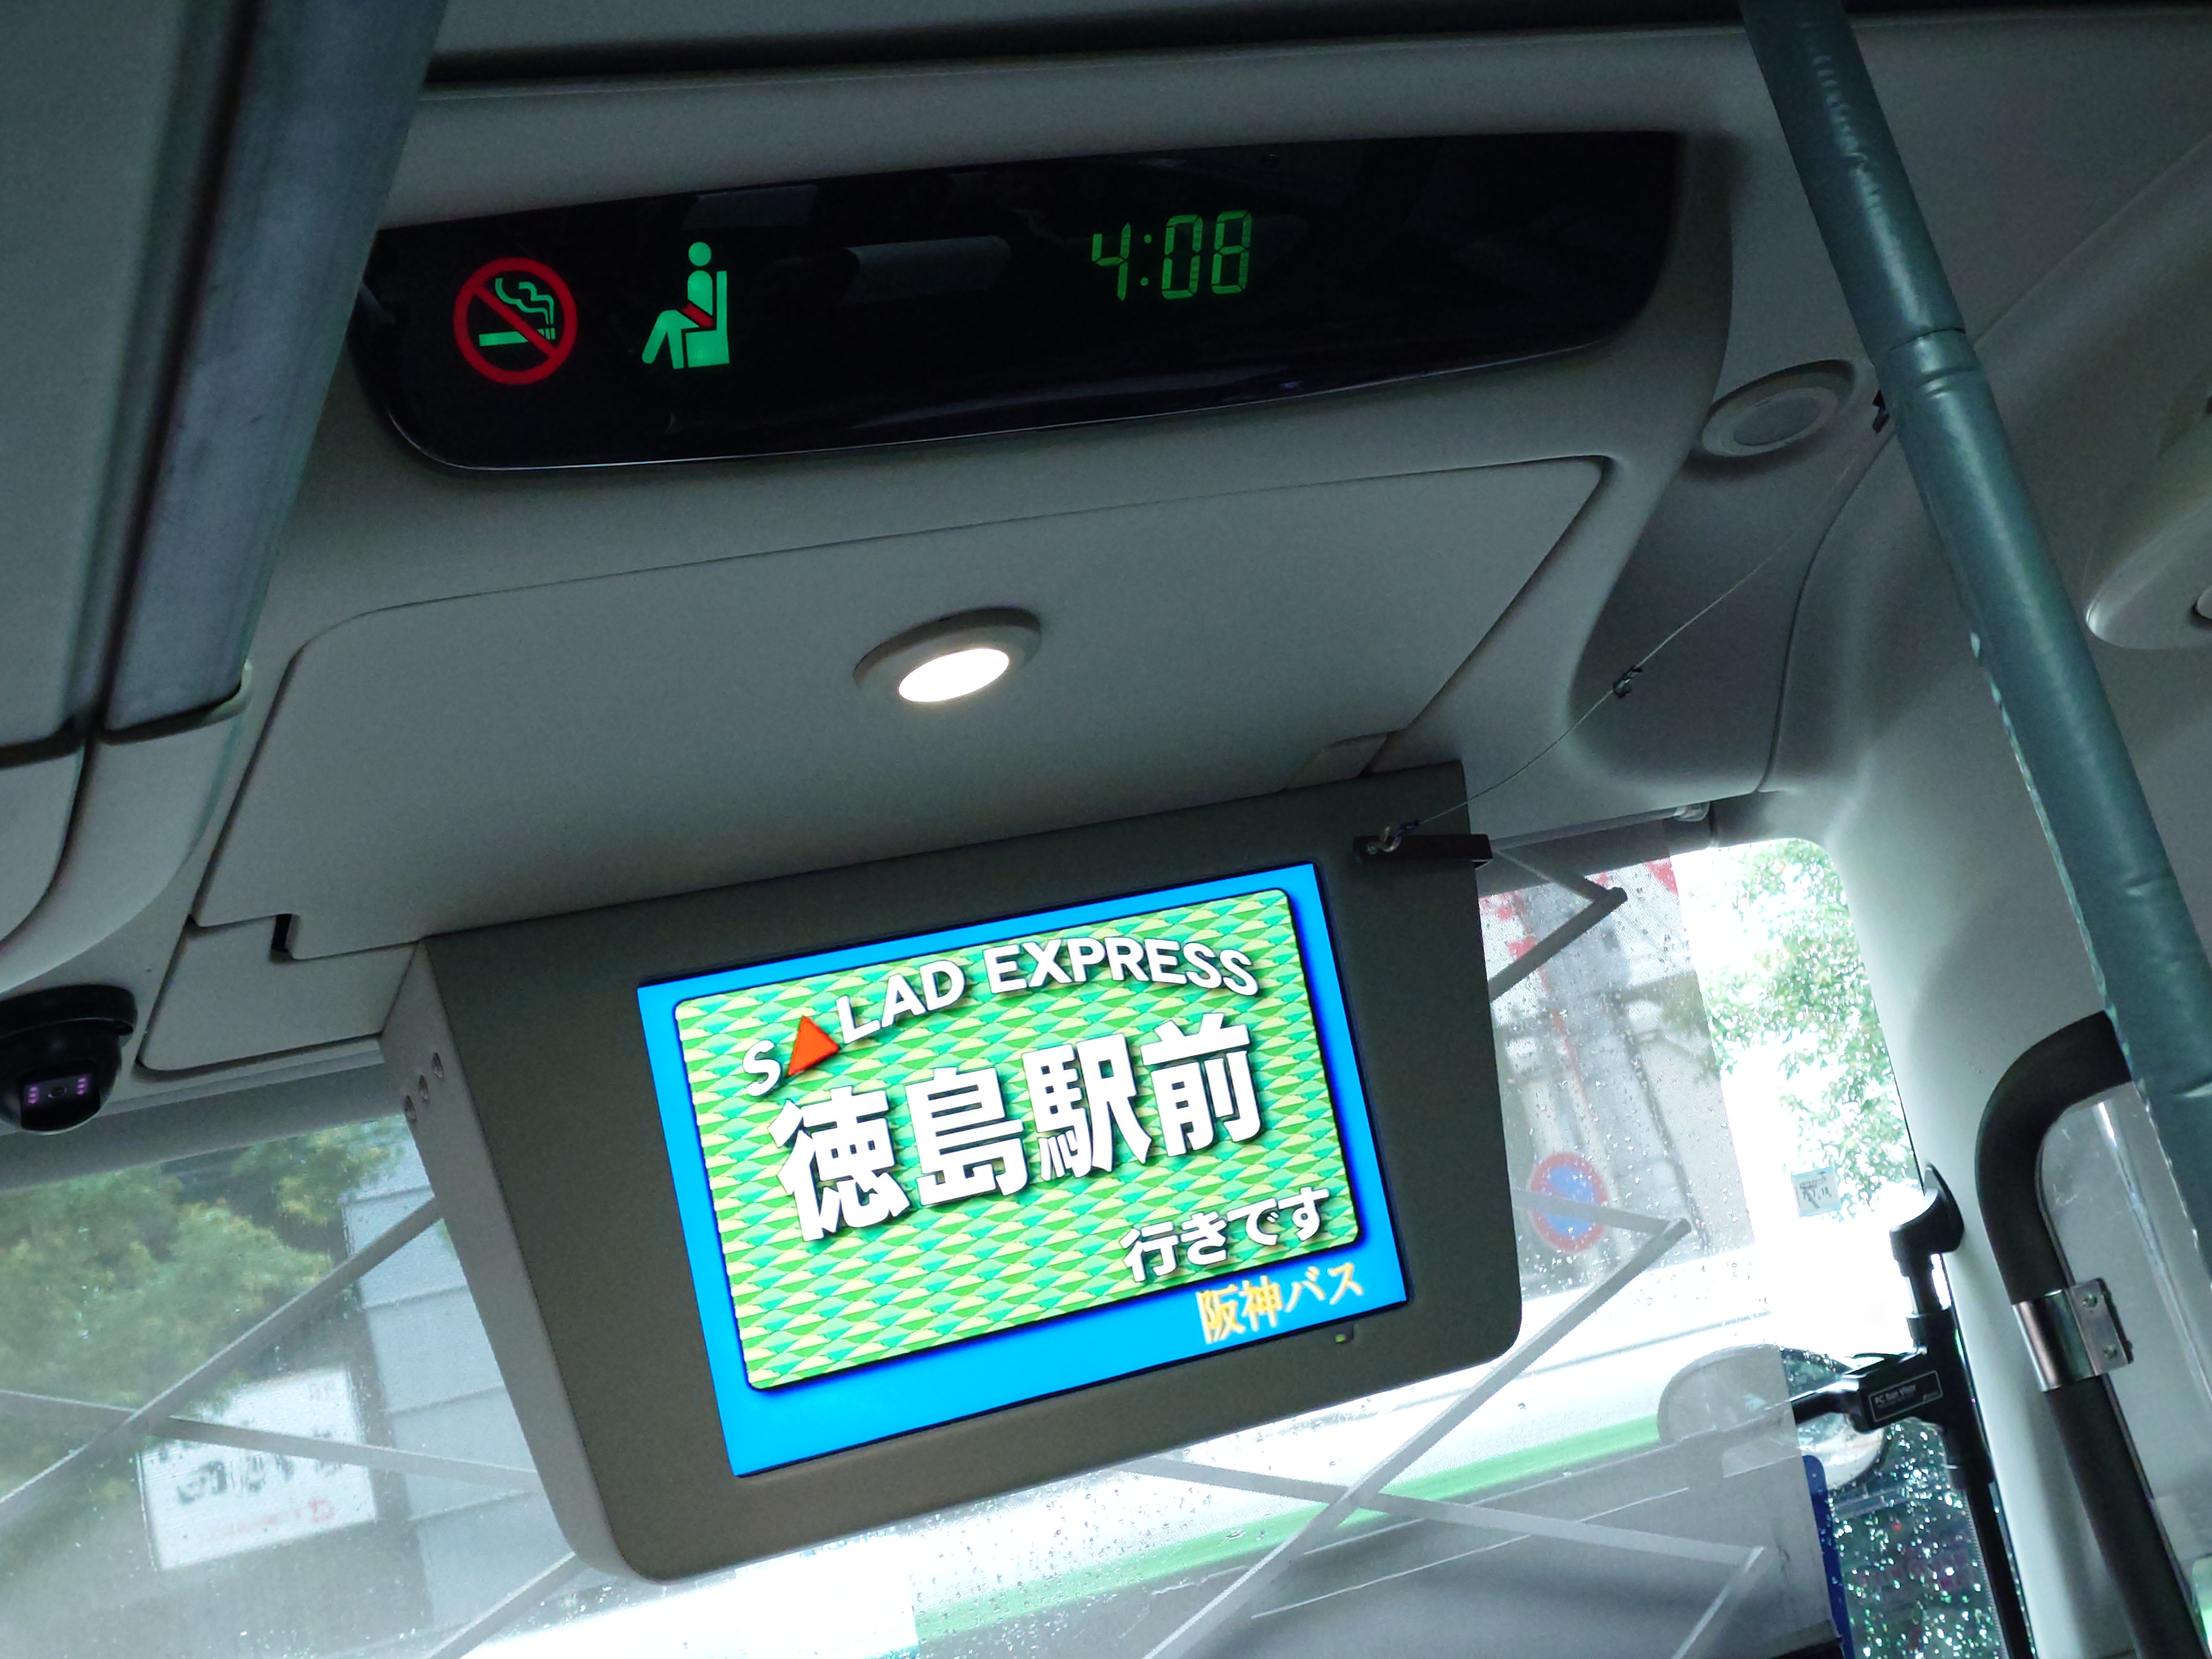
徳島バス車内
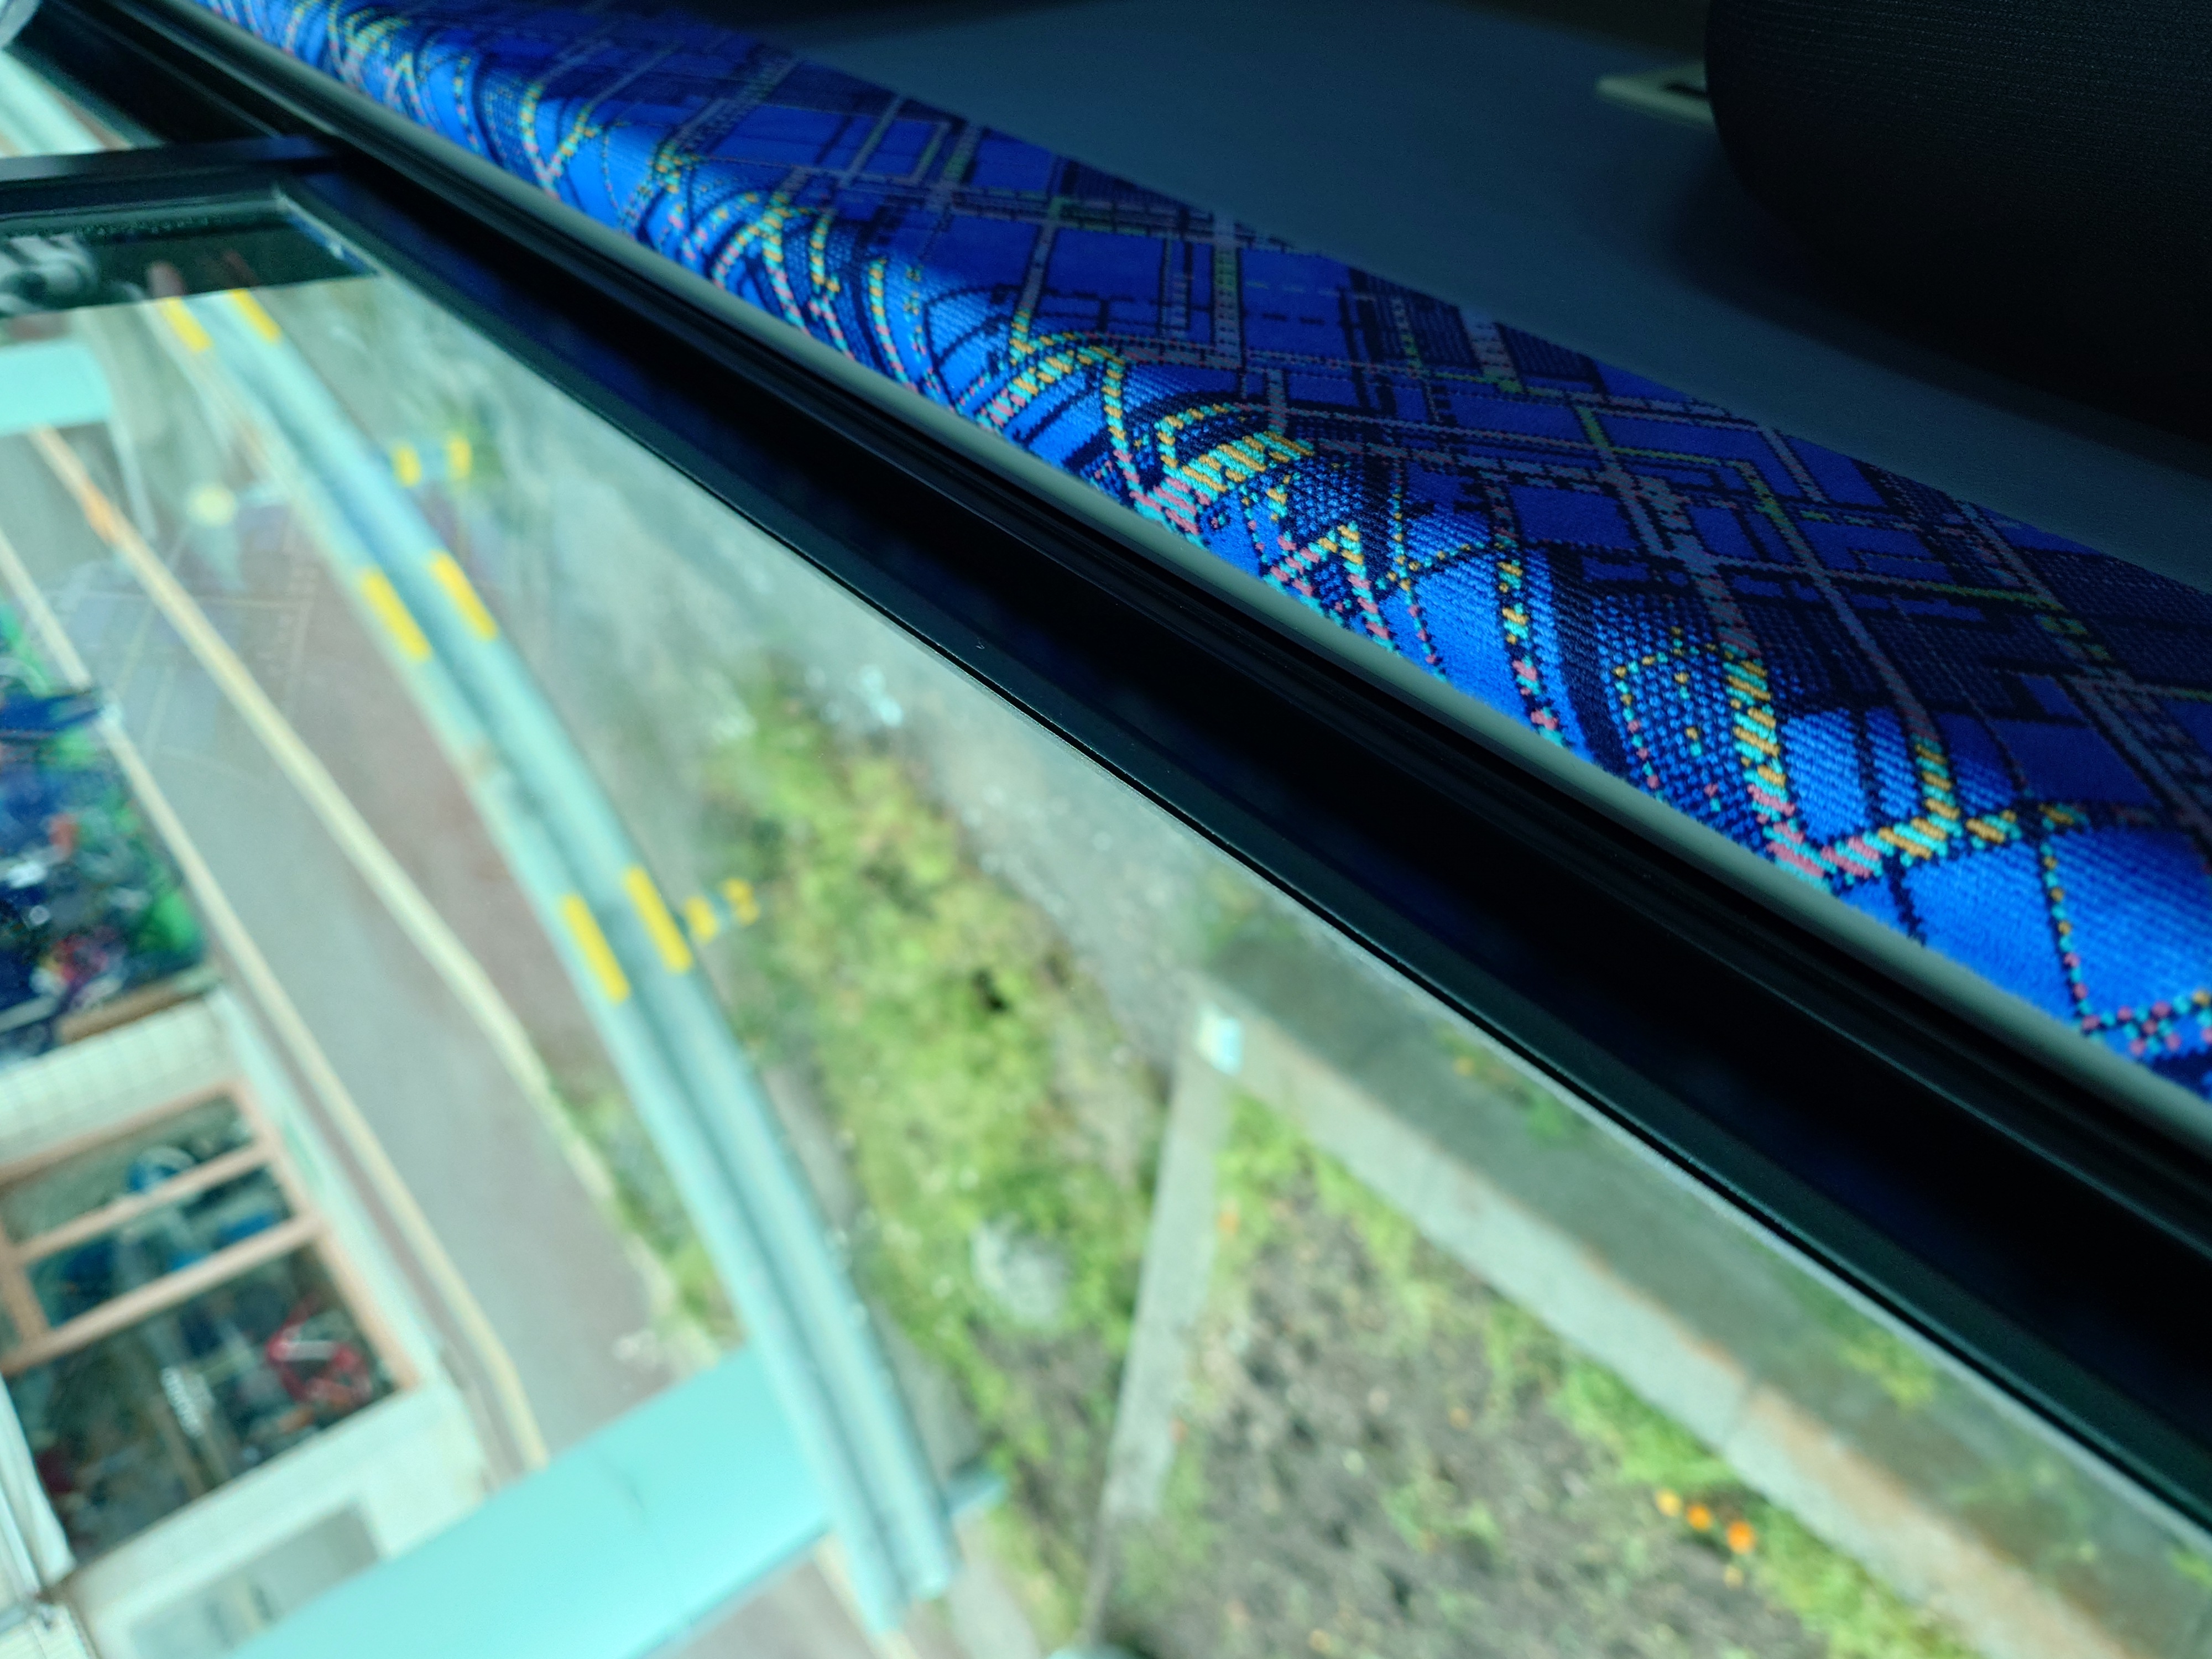
神姫バスと違って眼鏡を置けるようなスペースはなかった。

エチケット袋が装備されており、これにはちょっと感心した。これまで私が利用してきた神姫バスや淡路交通には確かなかったと思う。西日本JRバスや両備バスはちょっと記憶にない…。
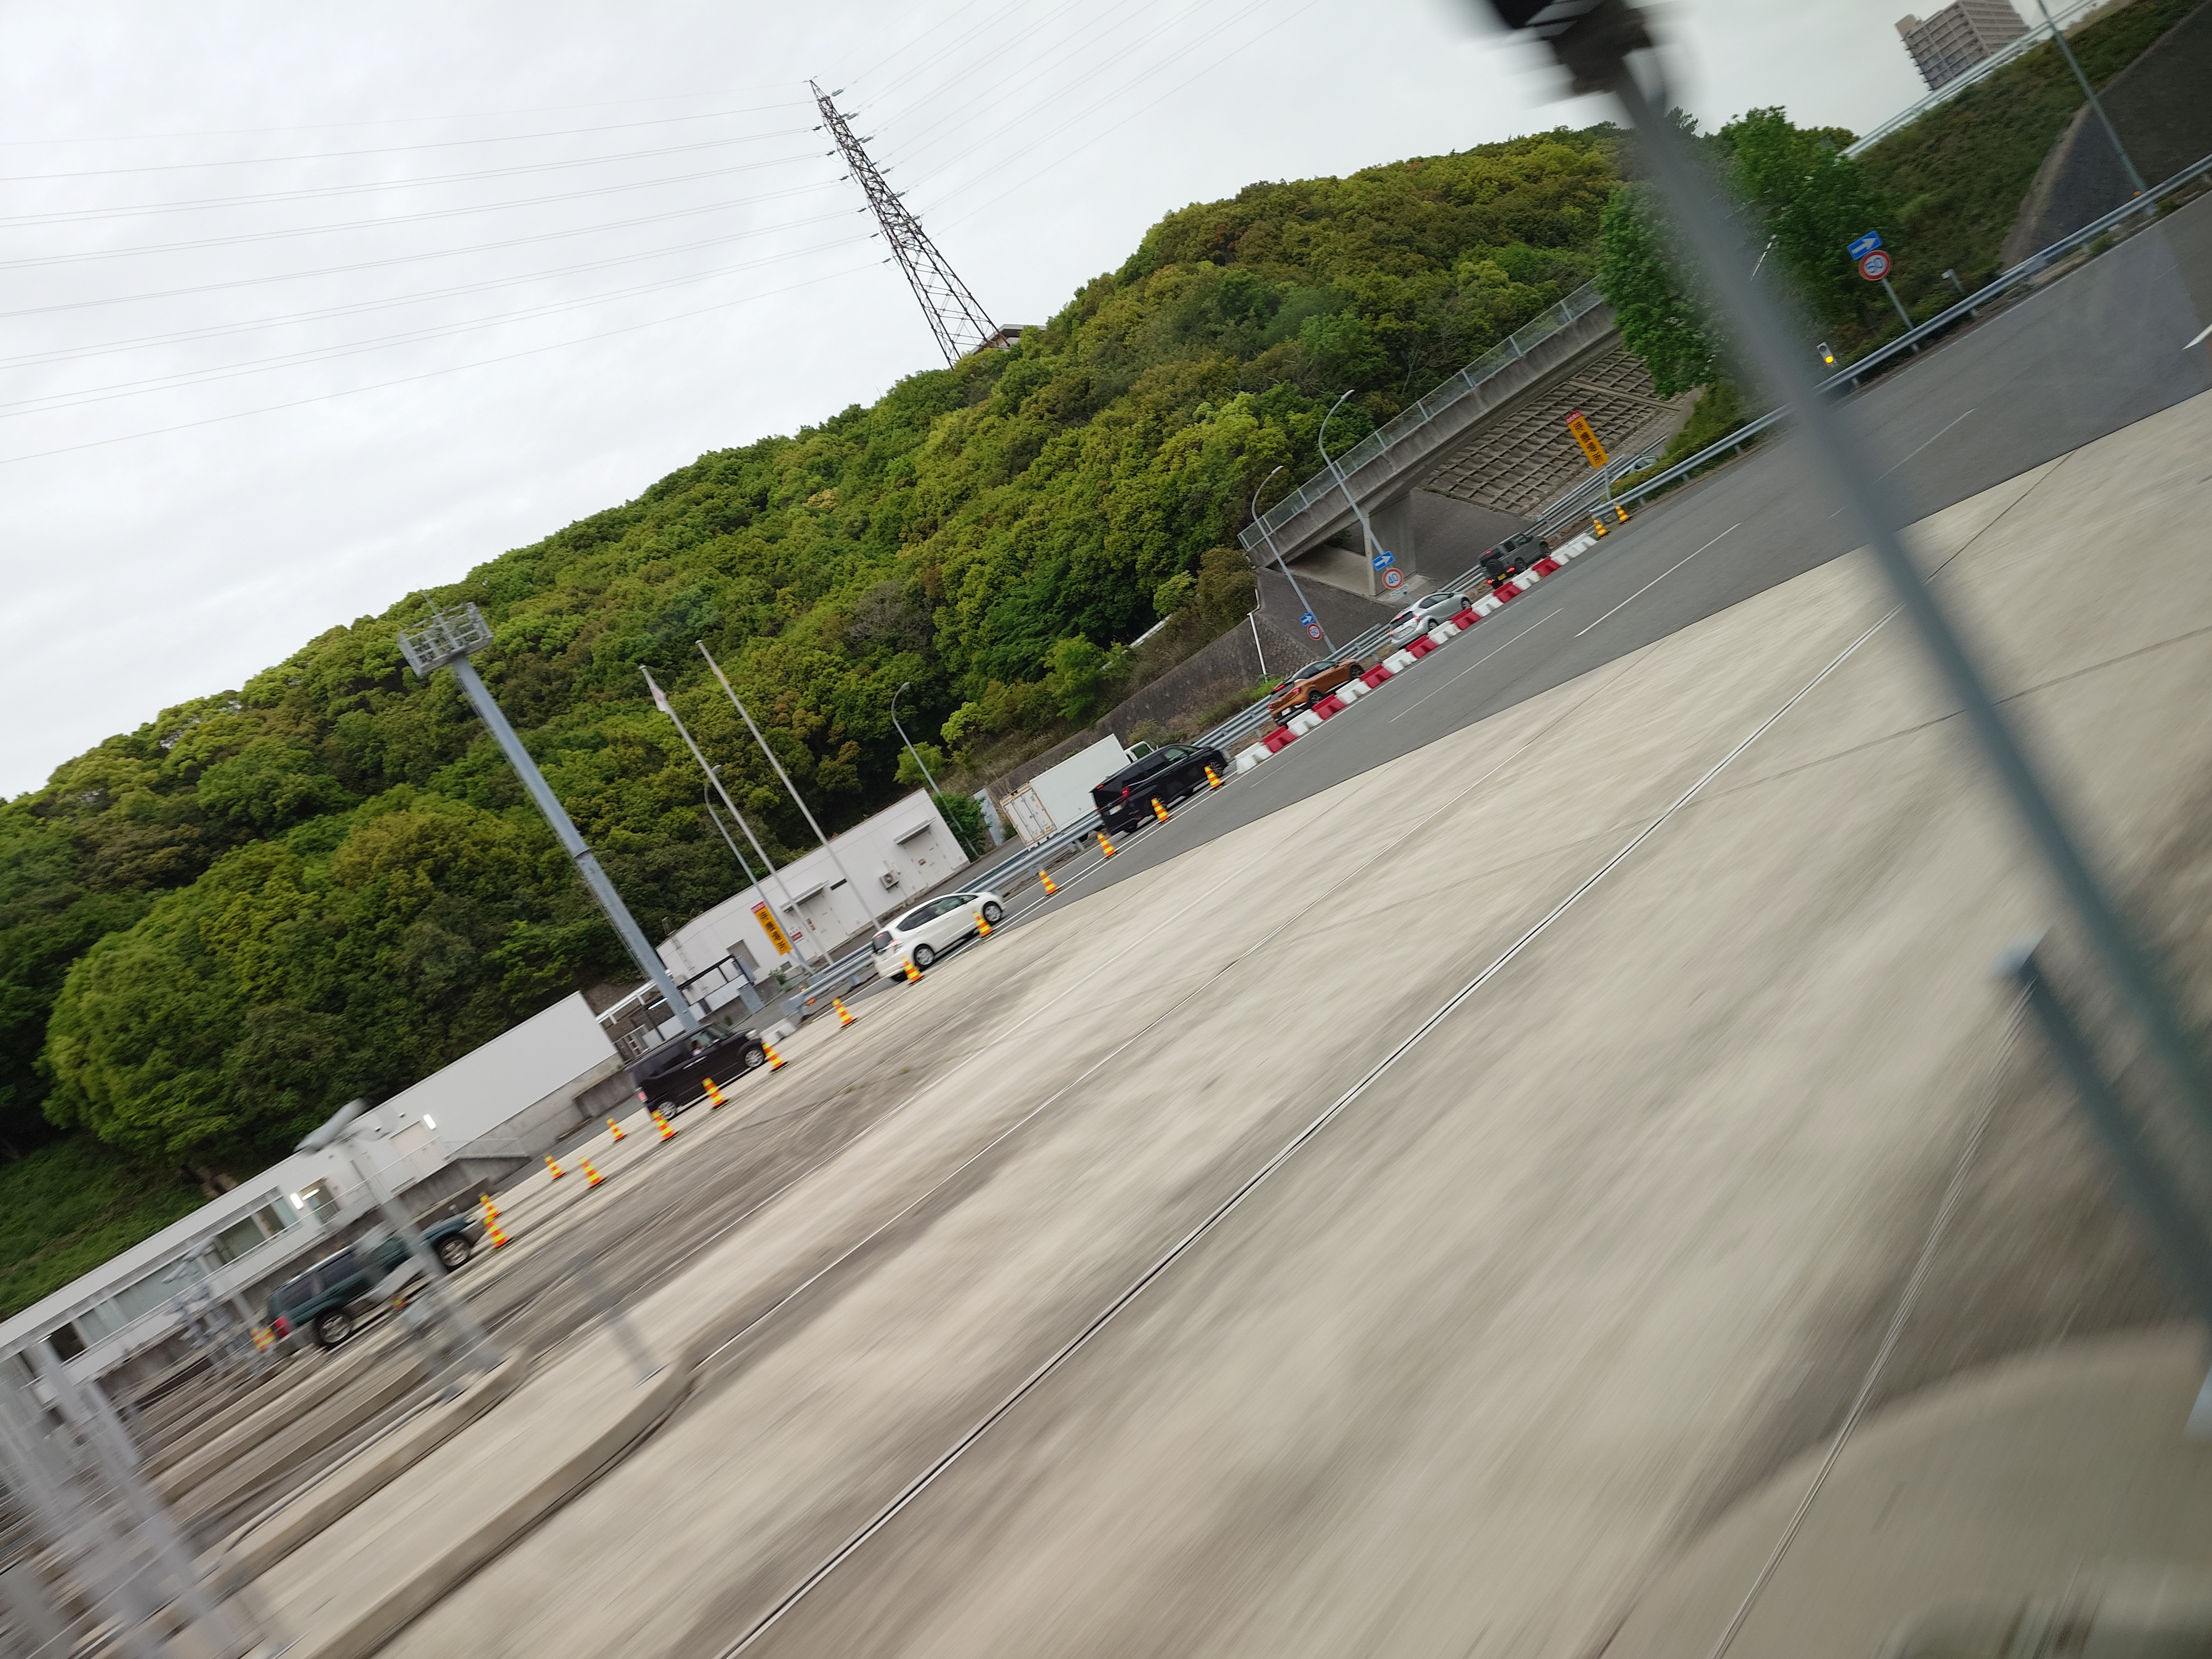
四国側最終出口

高速に乗りしばらく走っていると四国側最終出口というちょっとヒヤッとする標識と出会った。とはいえ、四国を抜けたからと言って特別何かあるわけではないだろうし、意味はあまりよくわからなかった。
淡路島には淡路島側最終出口とか、兵庫県側最終出口とか、近畿側最終出口みたいなのはなかったと思うので、四国愛の賜物か何かなのだろうか?単に過去に何かあって設置したとかもあるかもしれないが…。
なおこのバスはここで確か一旦下道に降りた。
アオアヲナルトリゾート
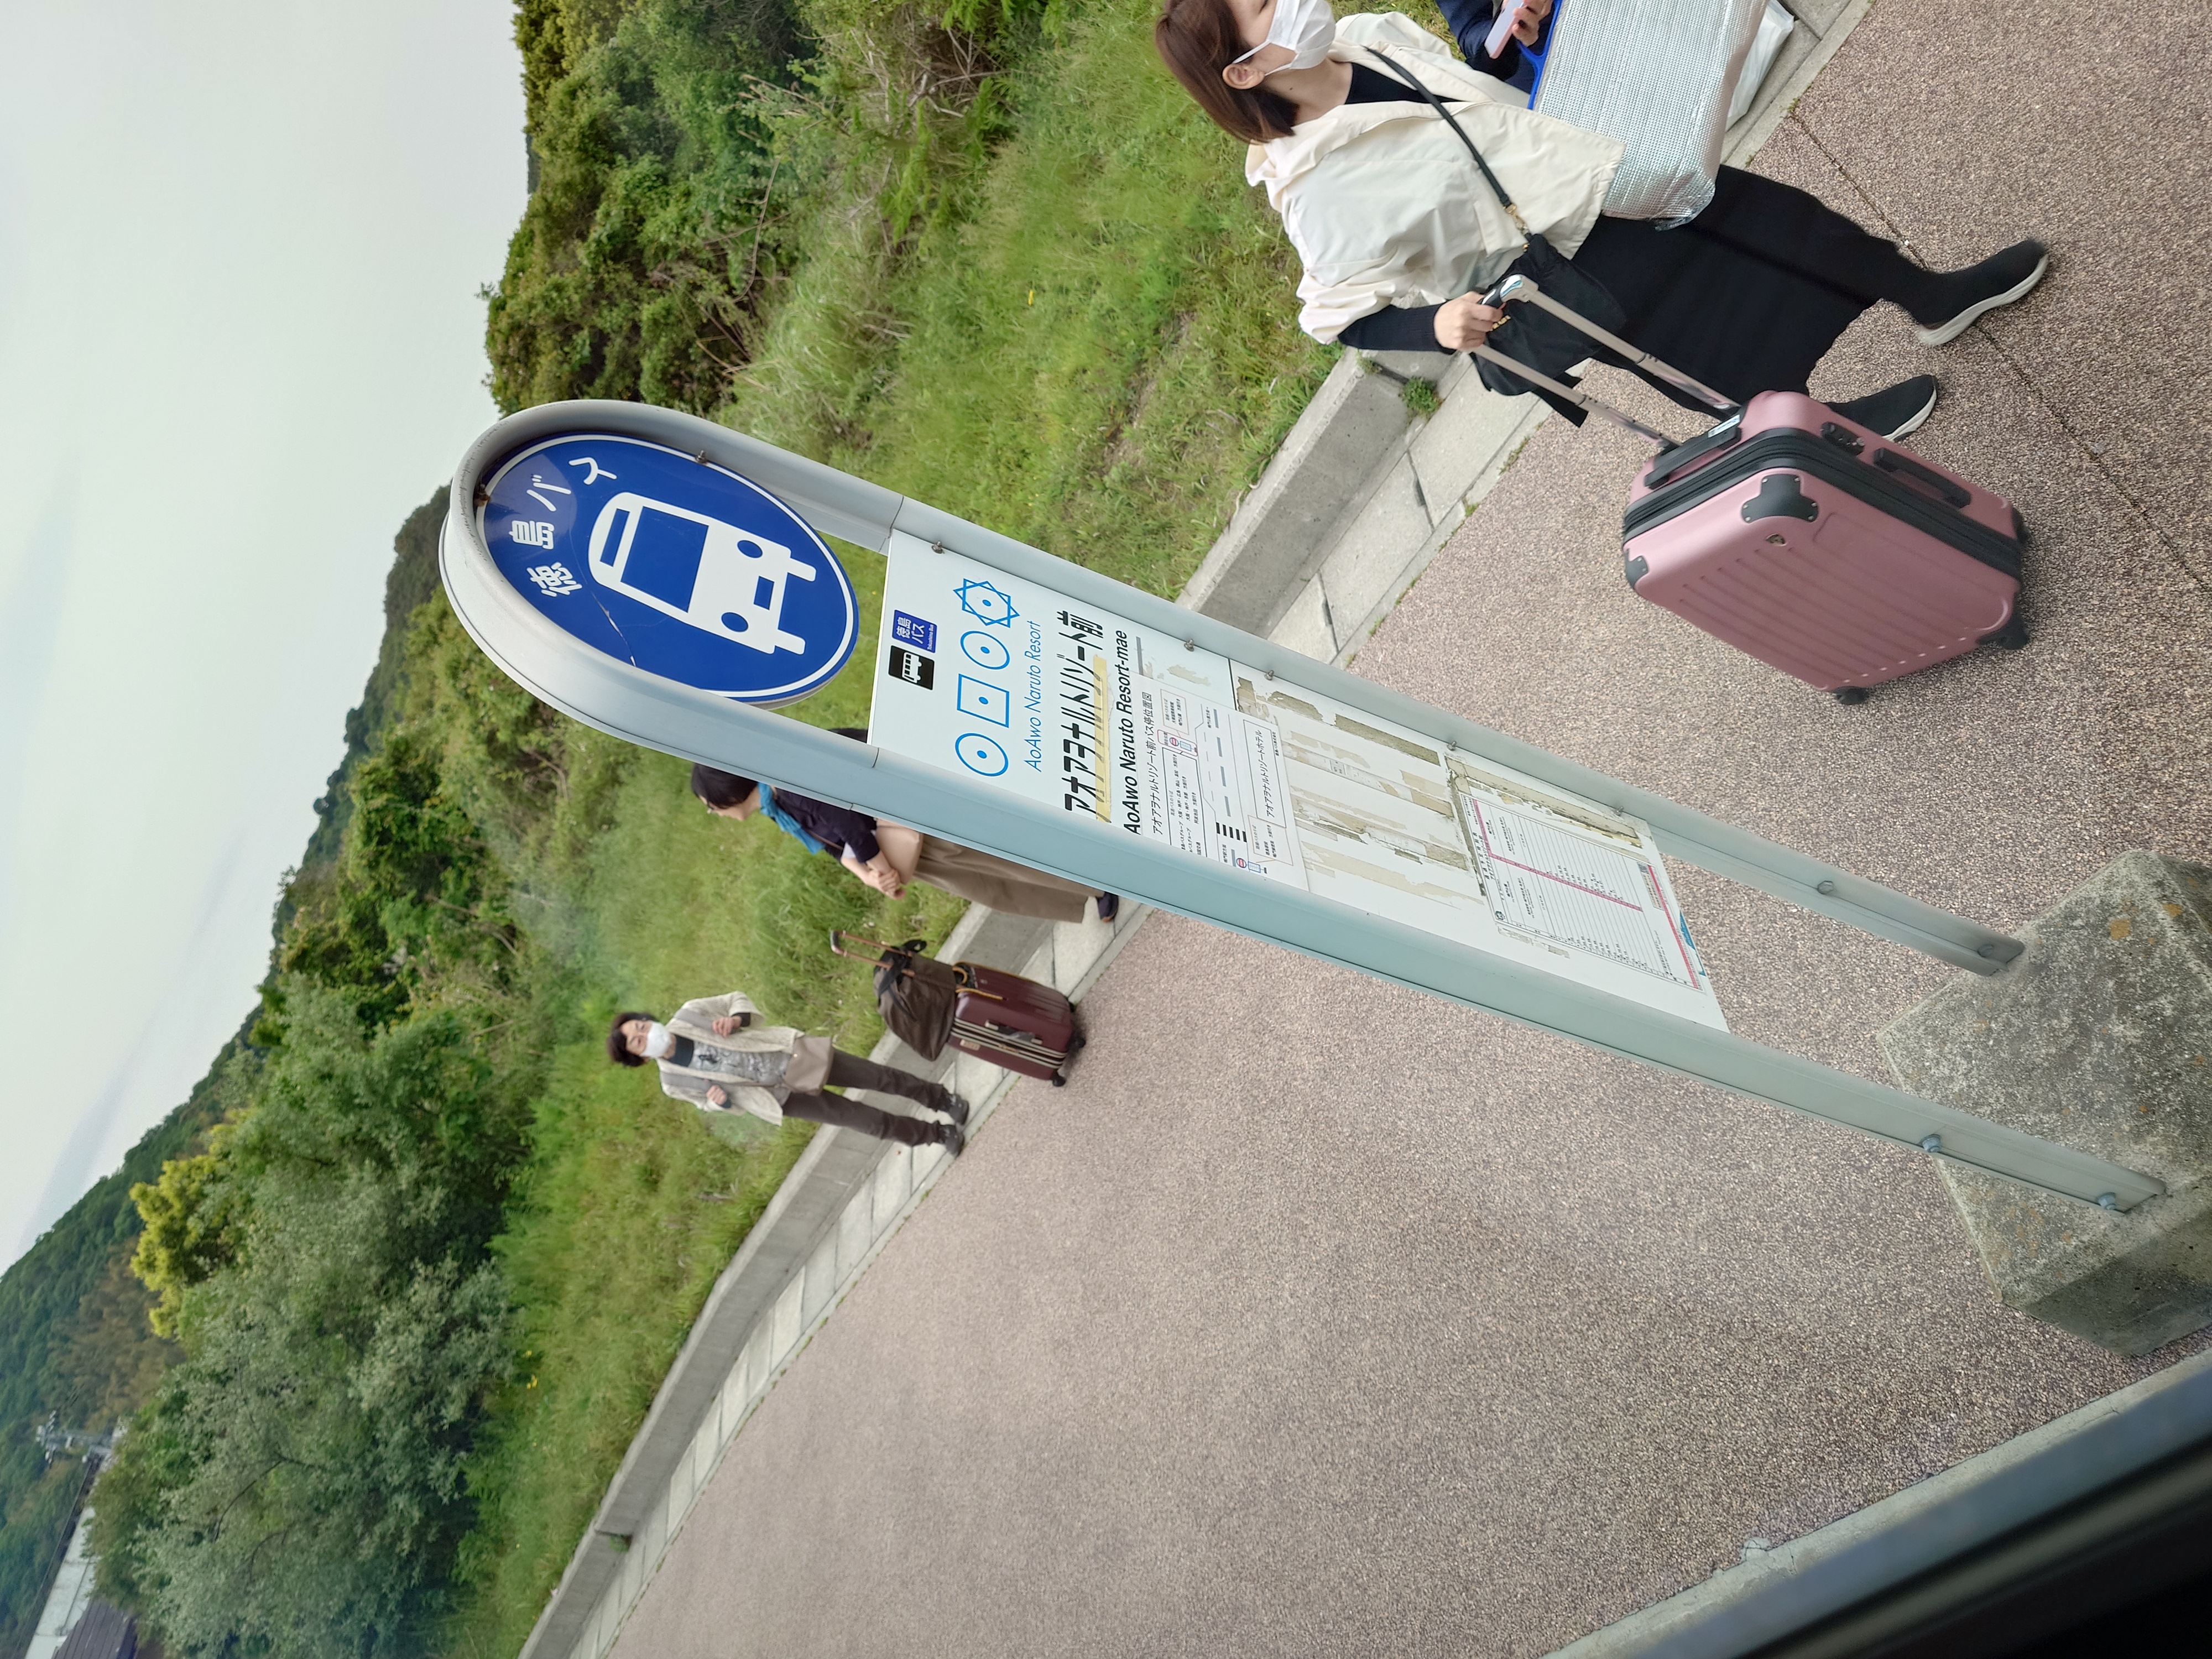
かなり独創的な地方にありがちなサイケデリックな名前の場所に止まった。神姫バスは寄らなかったはずなので徳島バスならではなのかもしれない?
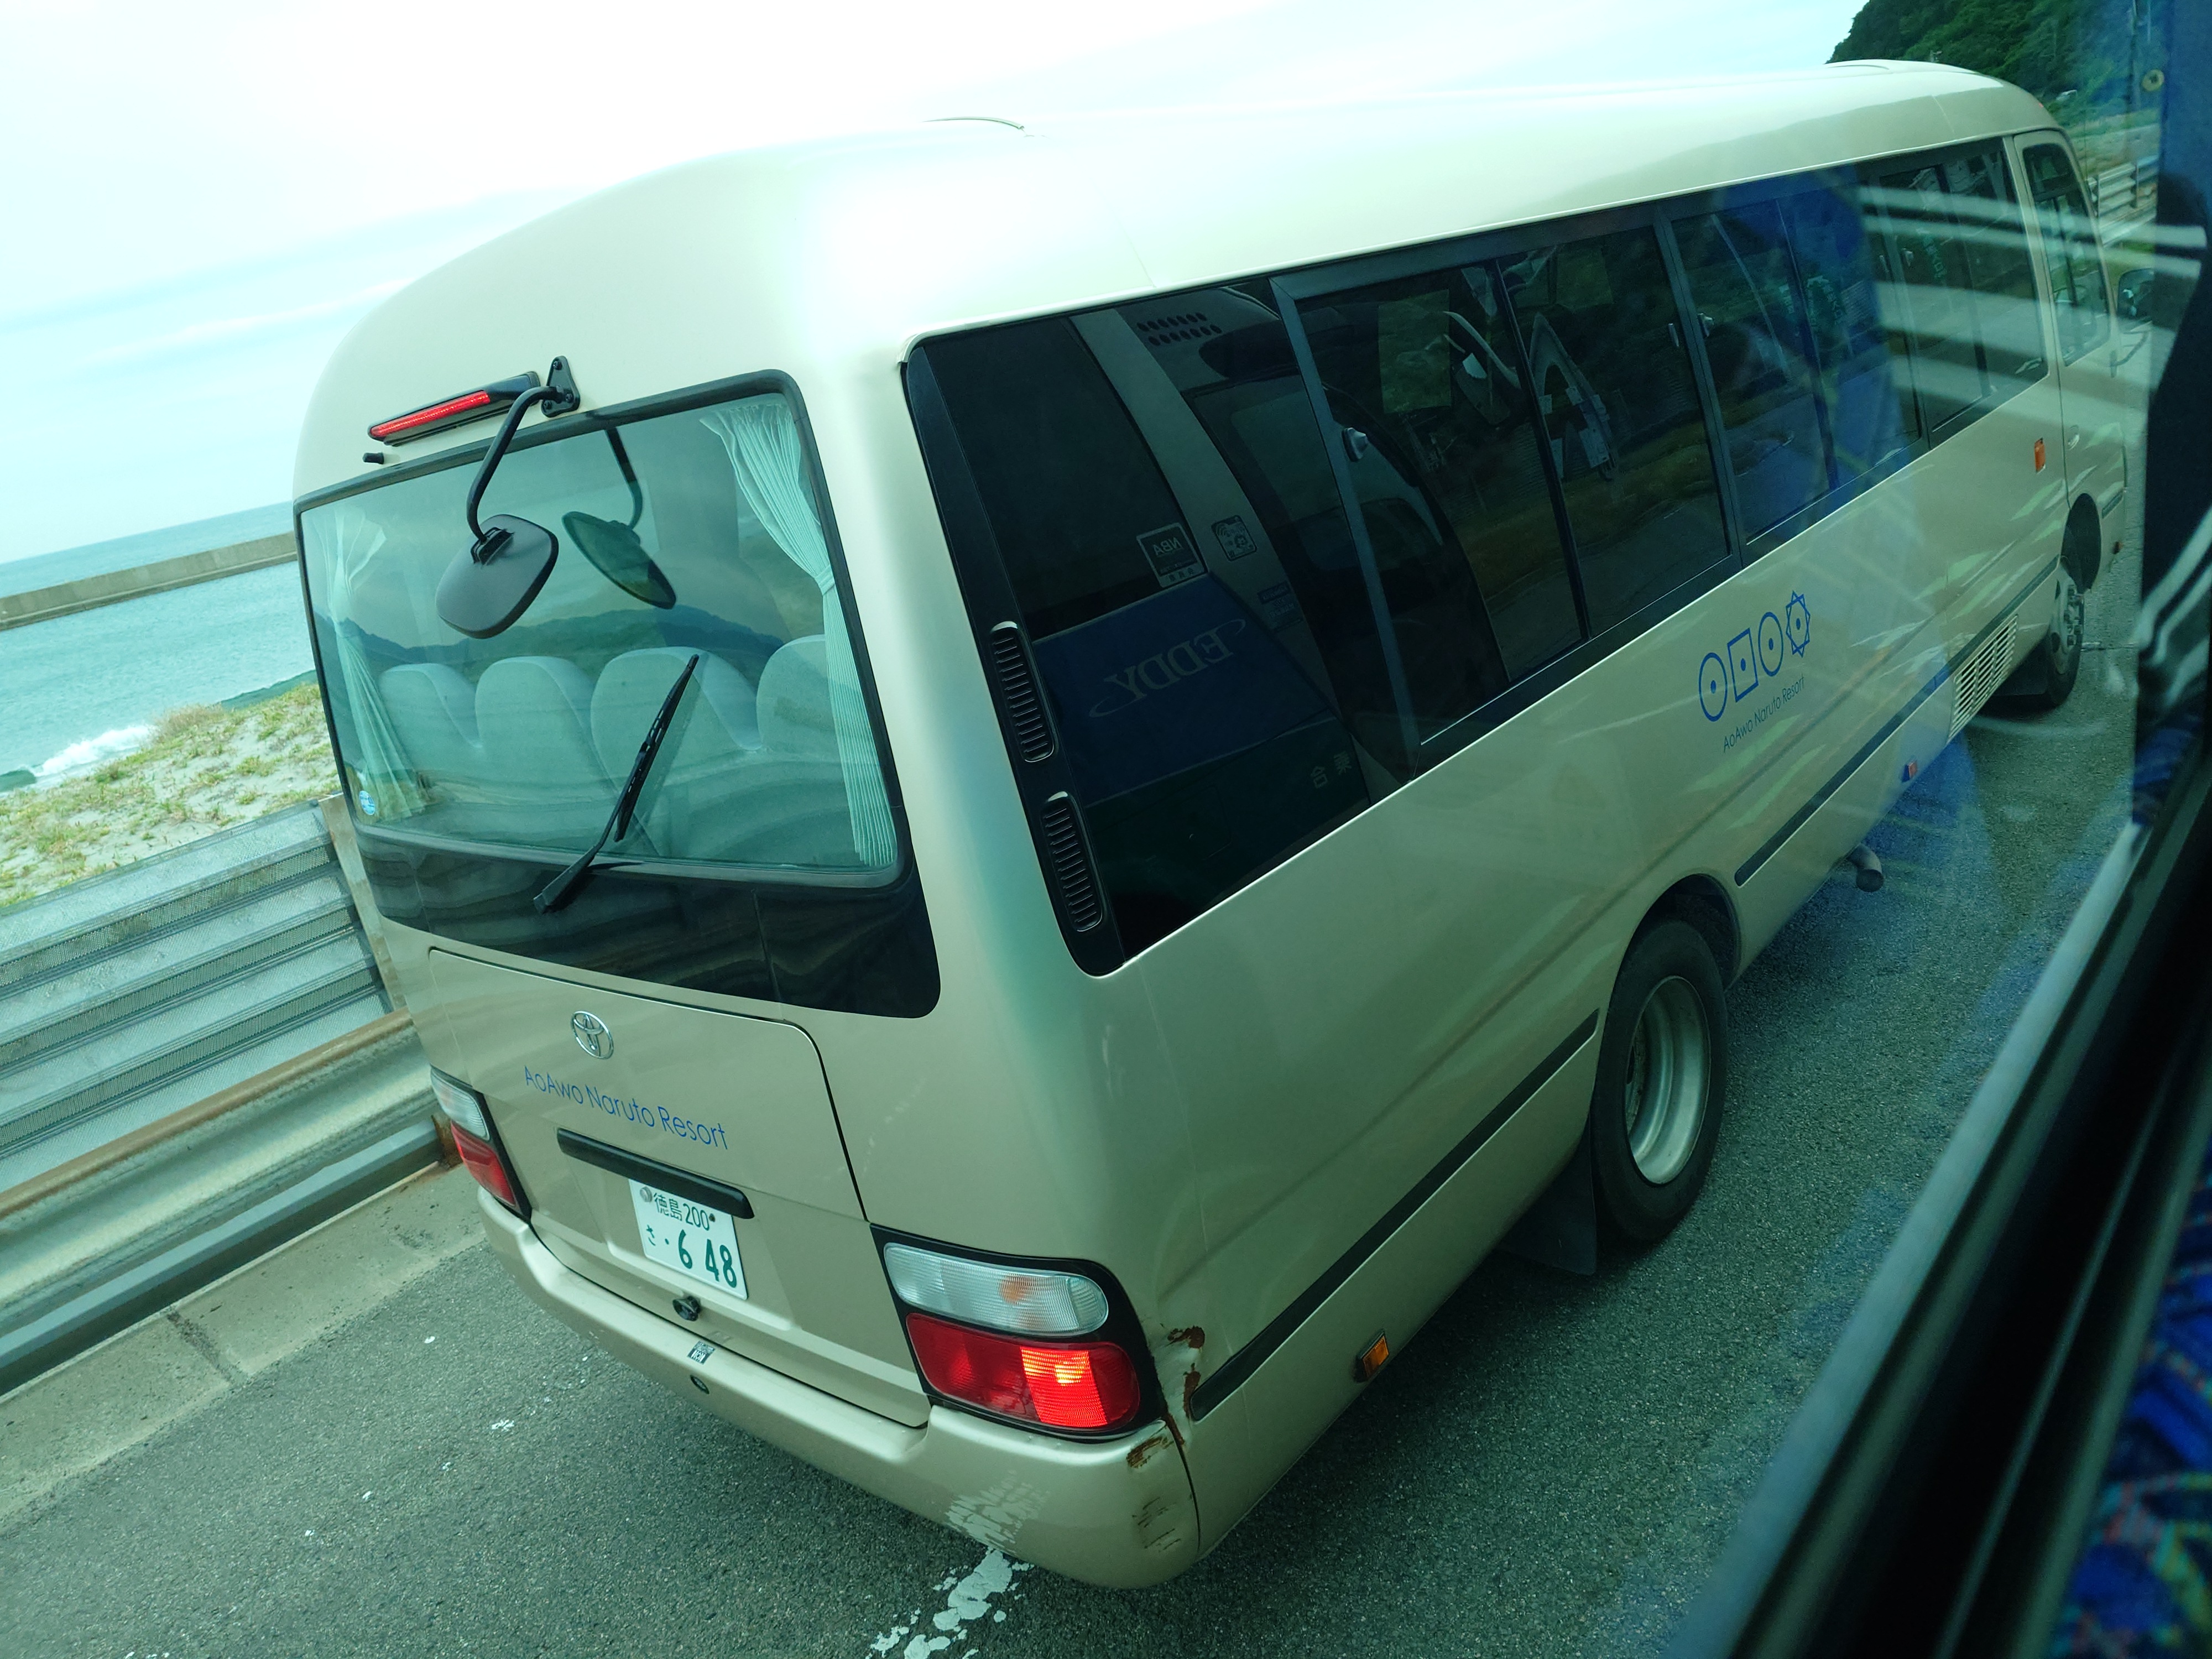
建物がボロかったので失礼ながら廃墟の一種だと思っていたのだが、送迎バスを見かけたのでどうやら生きている施設だったらしい(失礼)
大塚潮騒荘・大塚国際美術館
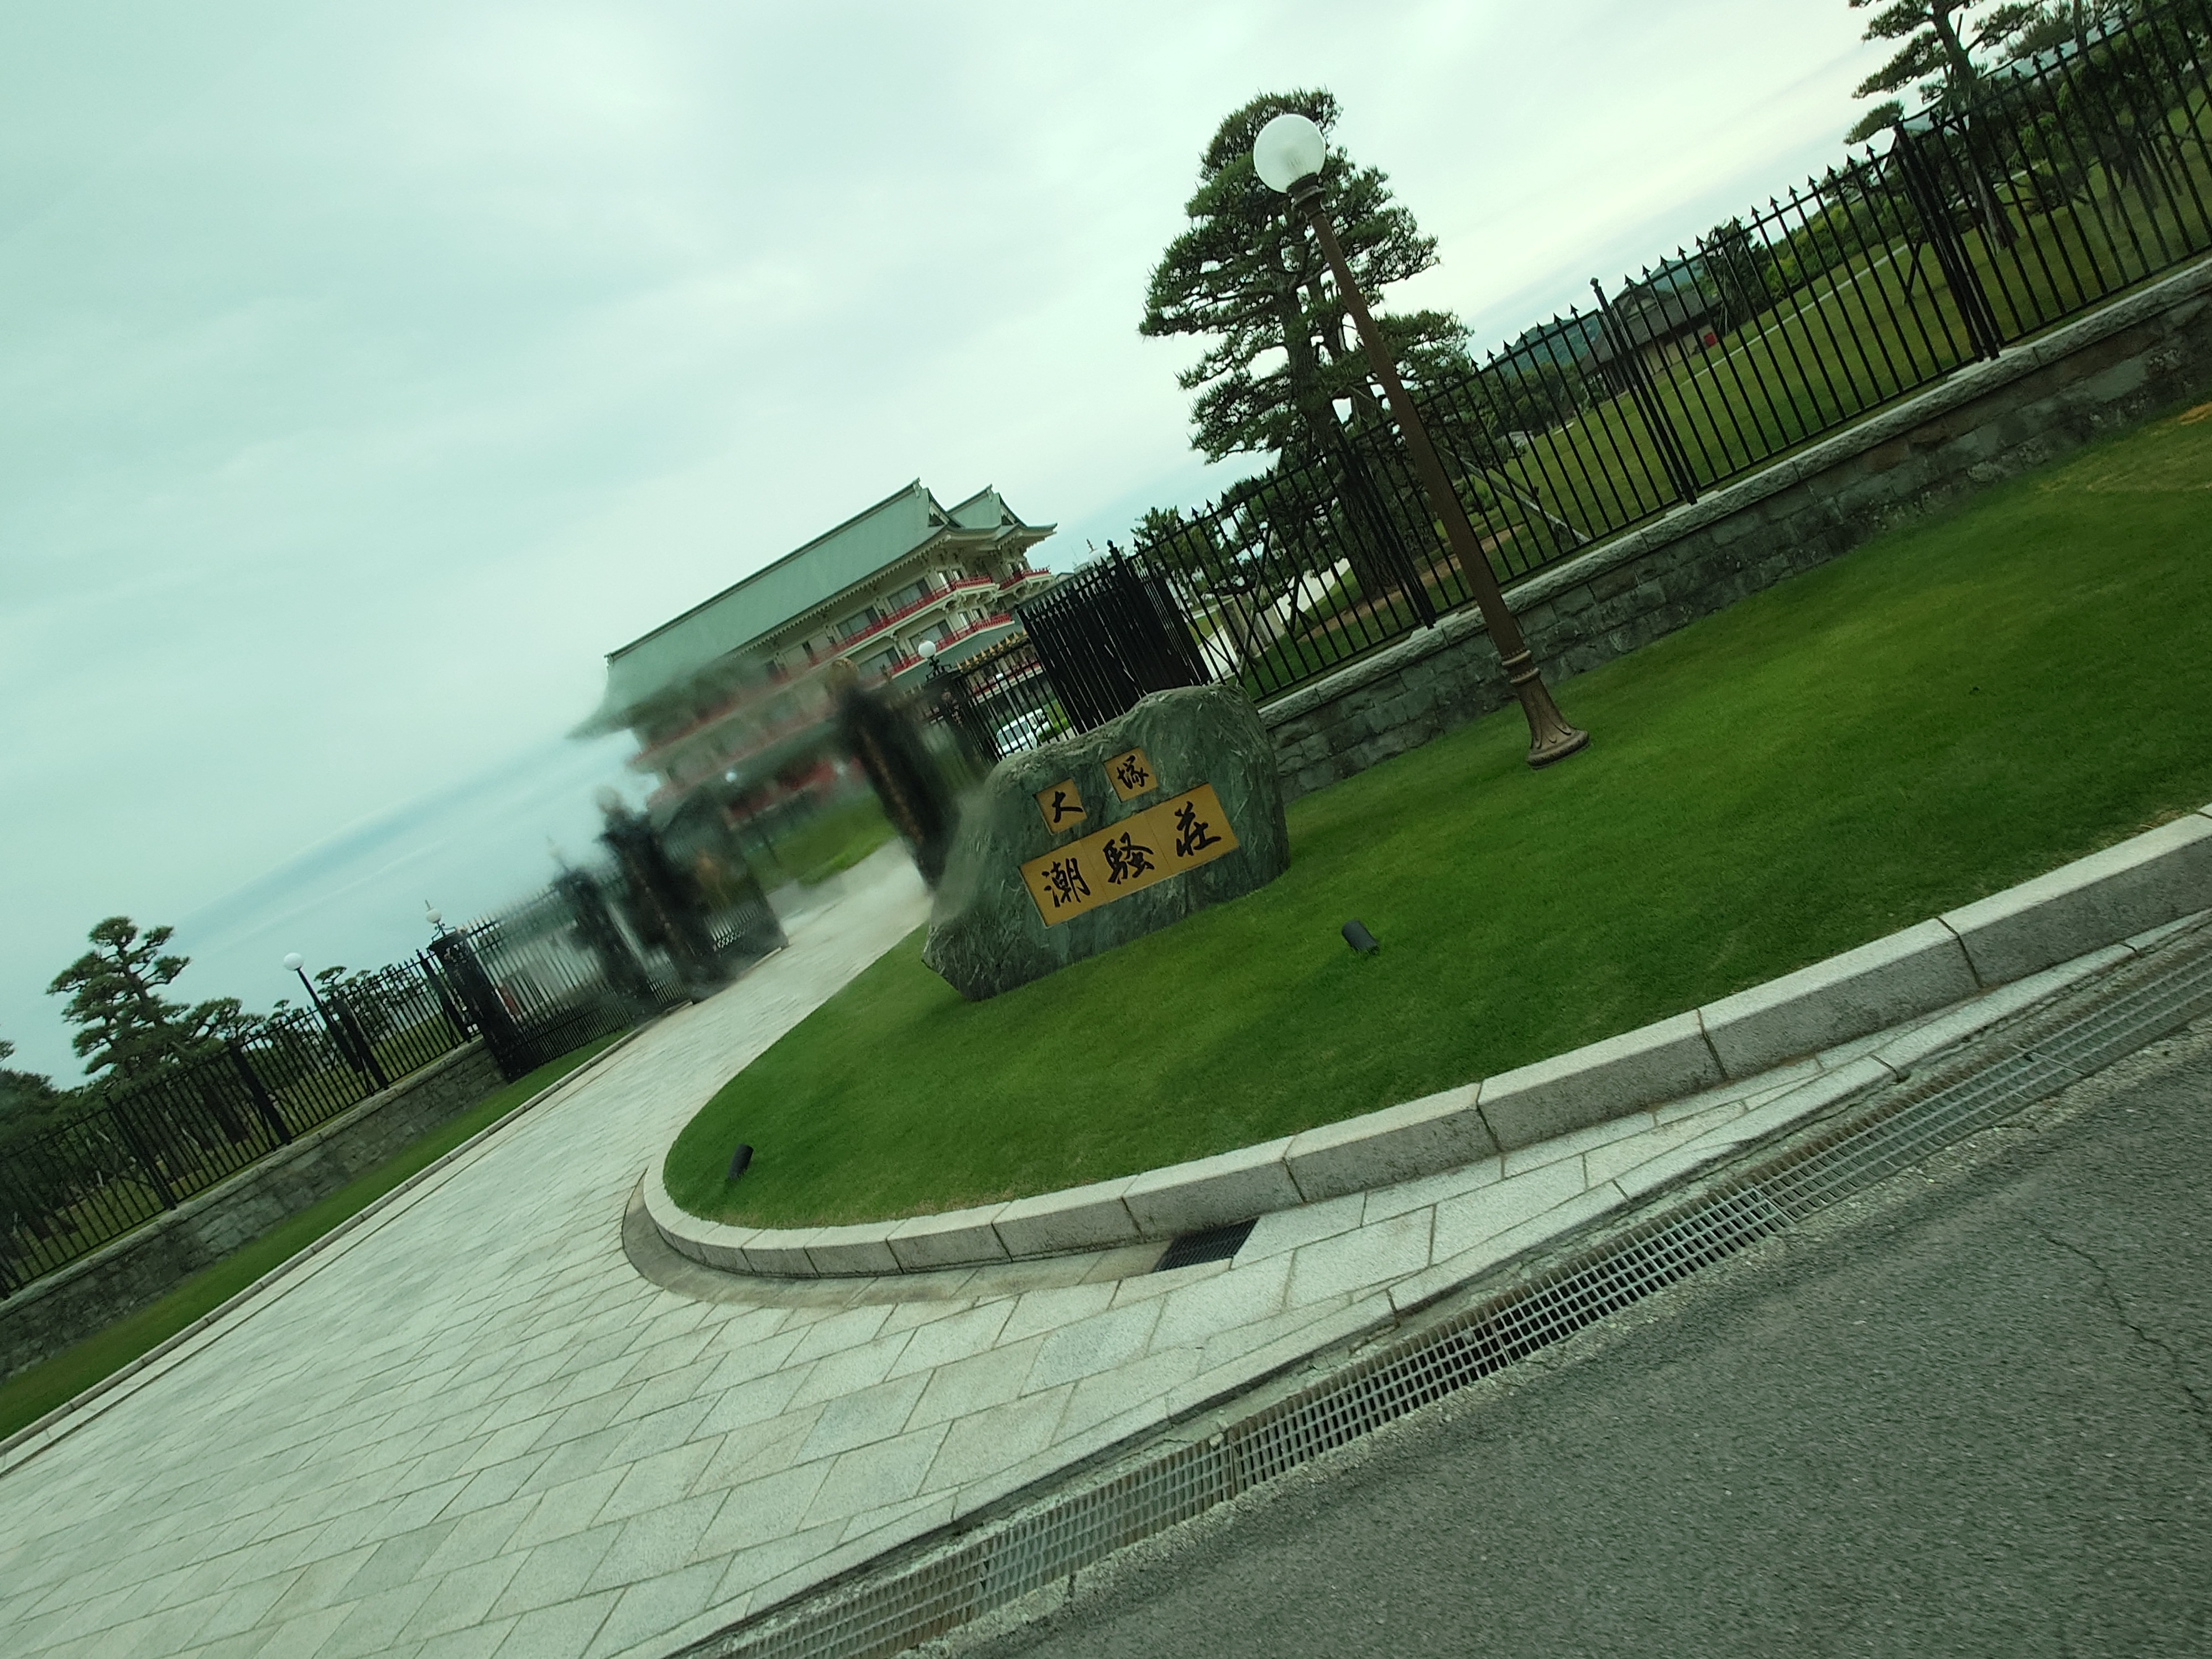
やたら立派な屋敷が現れ、この後すぐに大塚国際美術館にバスは到着する。
大塚国際美術館には下電バスがいて、倉敷からここまで来るのかと、軽くびっくりした。
調べてみると大塚潮騒荘や大塚国際美術館は大塚製薬の関連施設で、大塚製薬が鳴門市で創業したことに由来する施設のようだった。
ちなみに大塚製薬の源流となった大塚製薬工場(工場とついているが工場ではなく社名)は今でも鳴門市に本社をおいているらしい。
今回のマチアソビの話とは直接関係ないのだが、別件で調べ物をしていた時に旧一宇村十家(現つるぎ町一宇十家)を訪れた人が水を求めに集落の家を訪ねた時にオロナミンCを譲ってもらえたという情報を見たことがあり、もしかしてそんな辺鄙なところにオロナミンCがあったのも、徳島繫がりなのかな?などと思ったりした。
高速道路への復帰
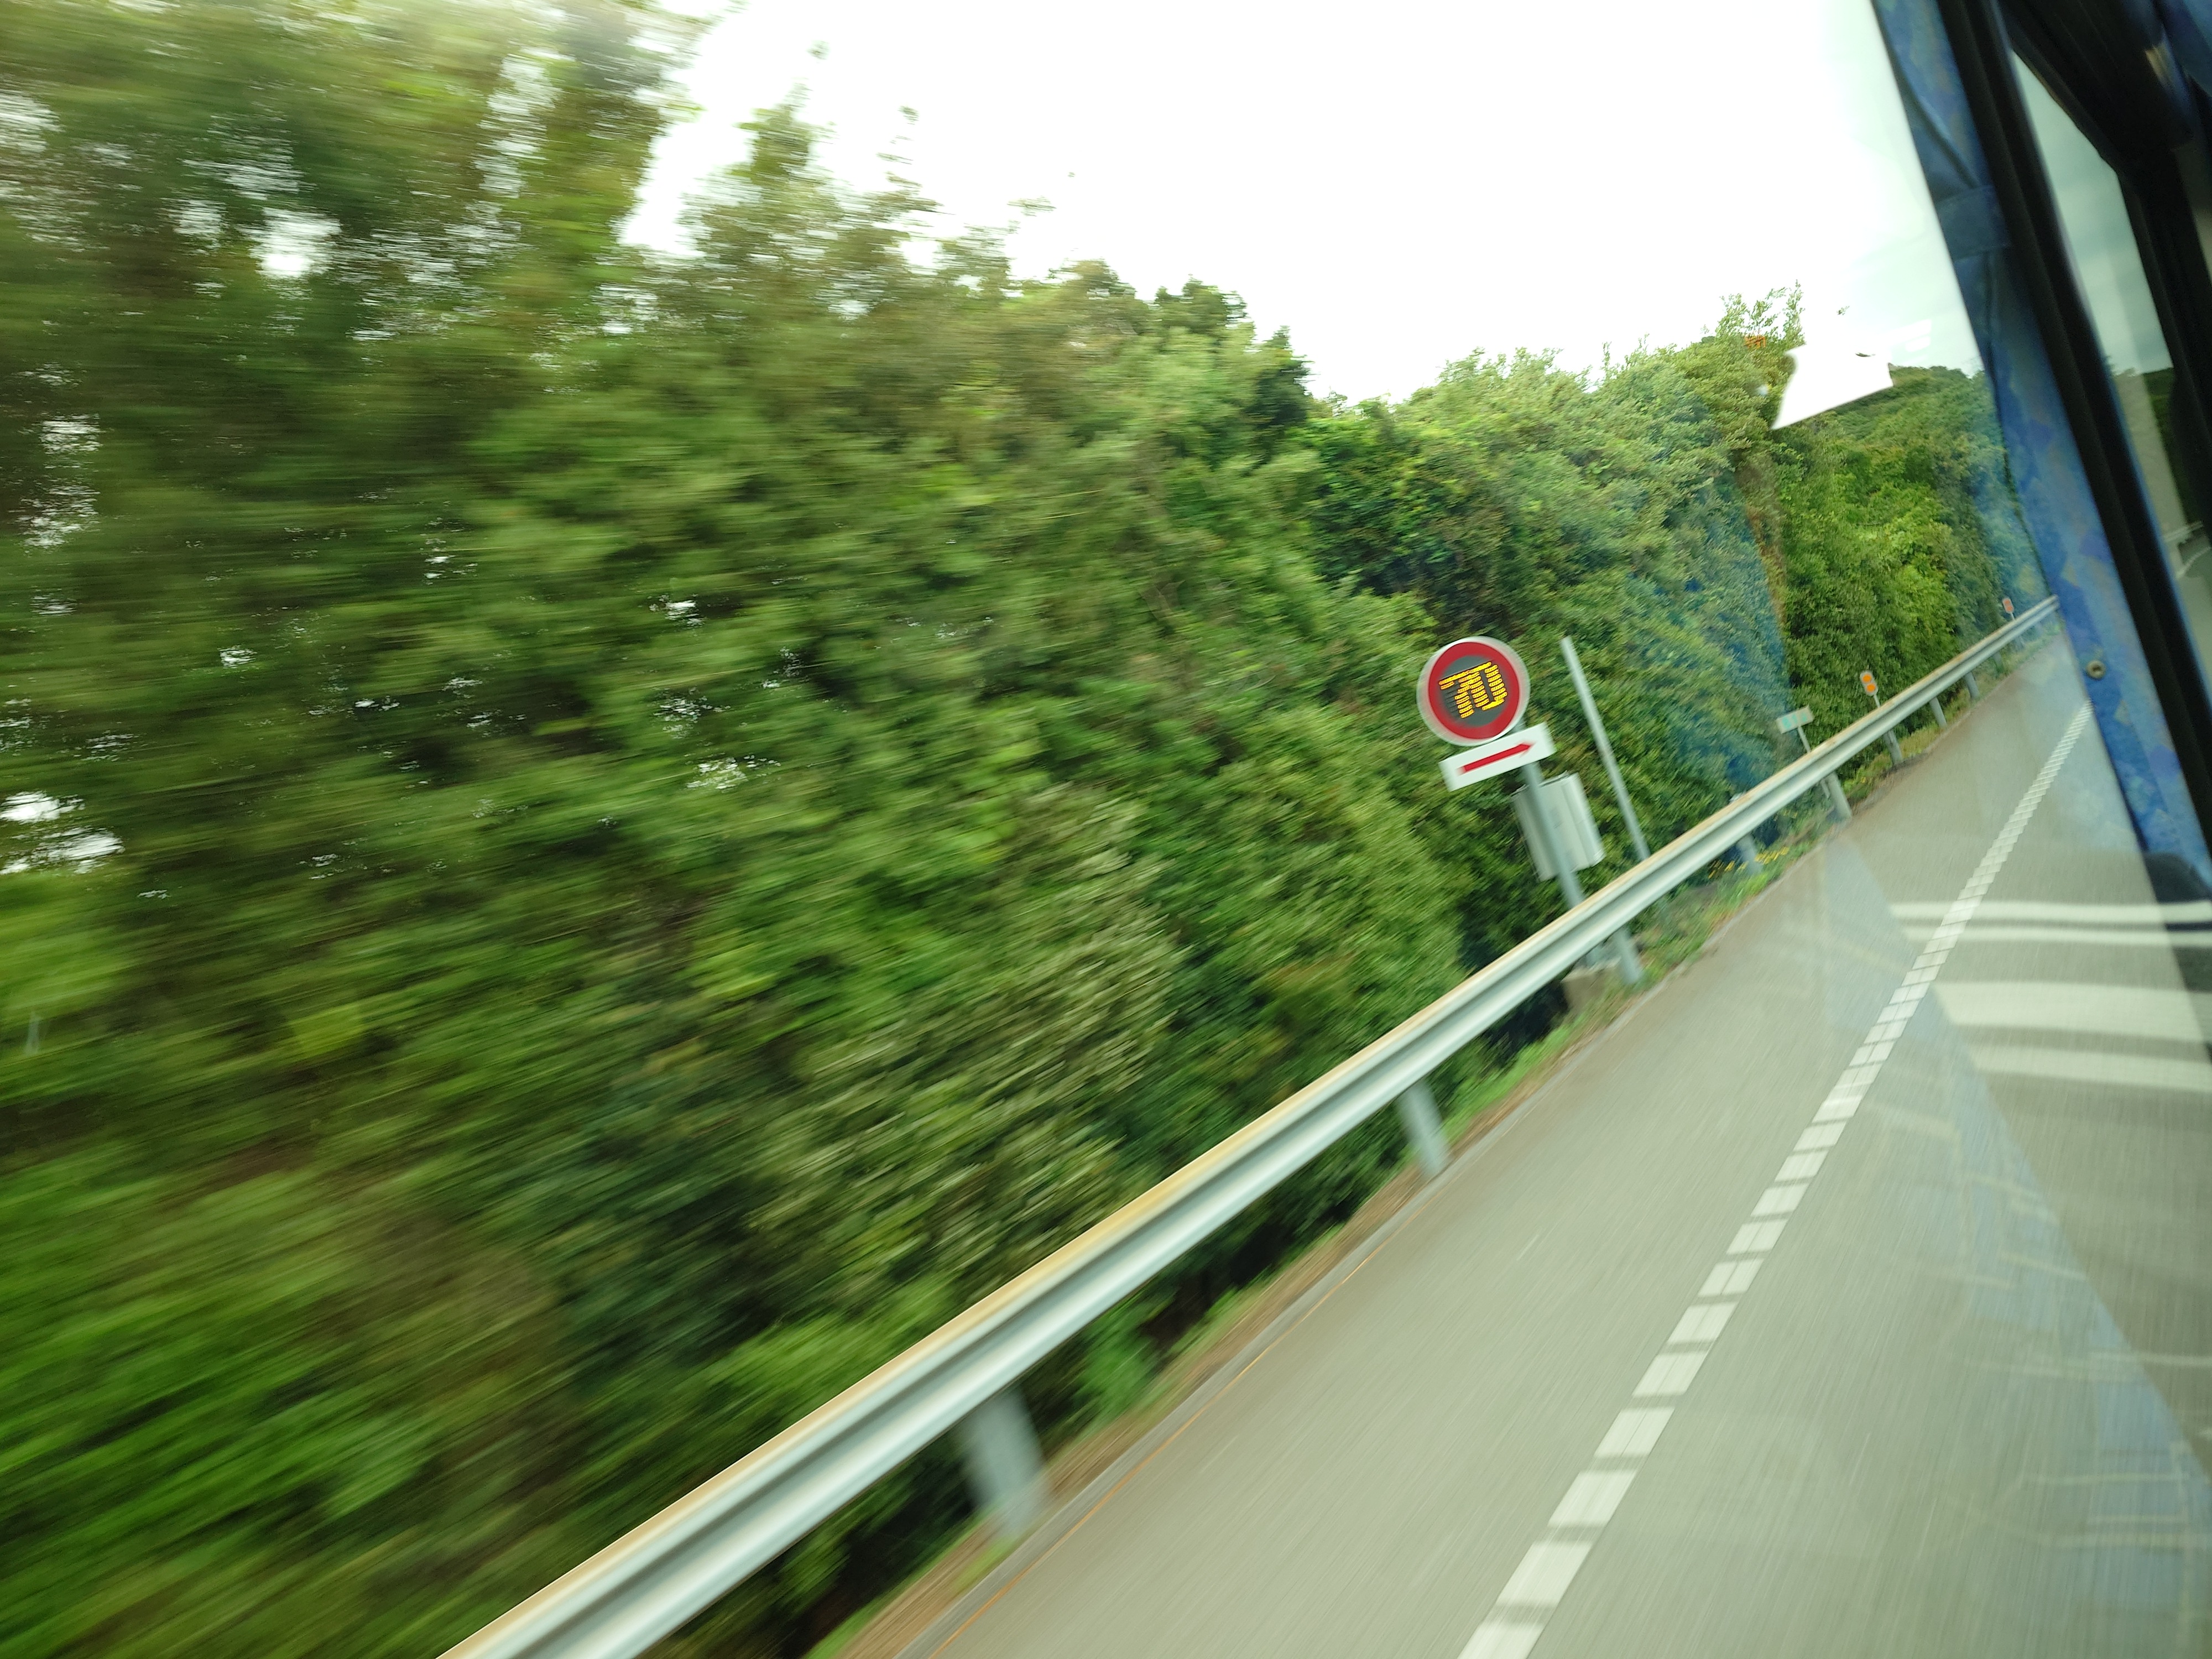
制限速度が70km/hとやけに遅かった。
Wikipediaによると非分離2車線で簡易中央分離施設がある区間だと、この速度になるとのことだった。規制最高速度と実勢速度には大きな乖離があると書かれているが、バスは法定速度をきちんと守っており、遅かった。
ここの前後には80km/h区間もあったと思う。
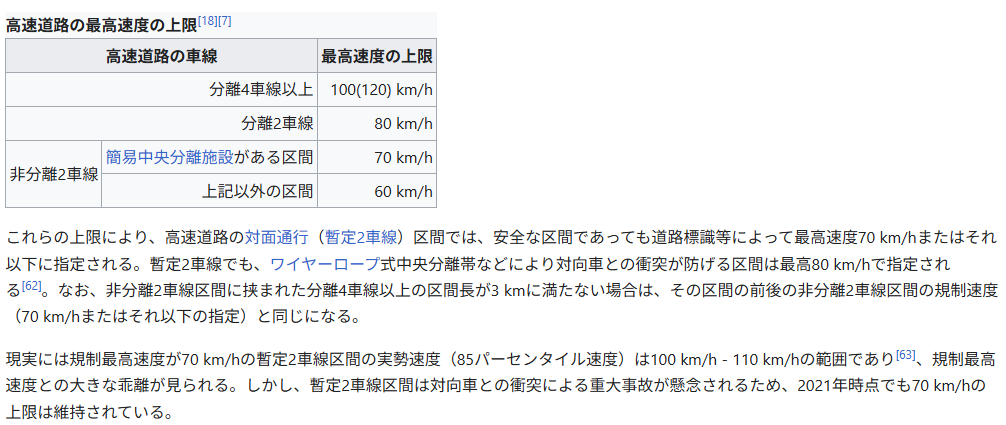
鳴門糸わかめ販売所
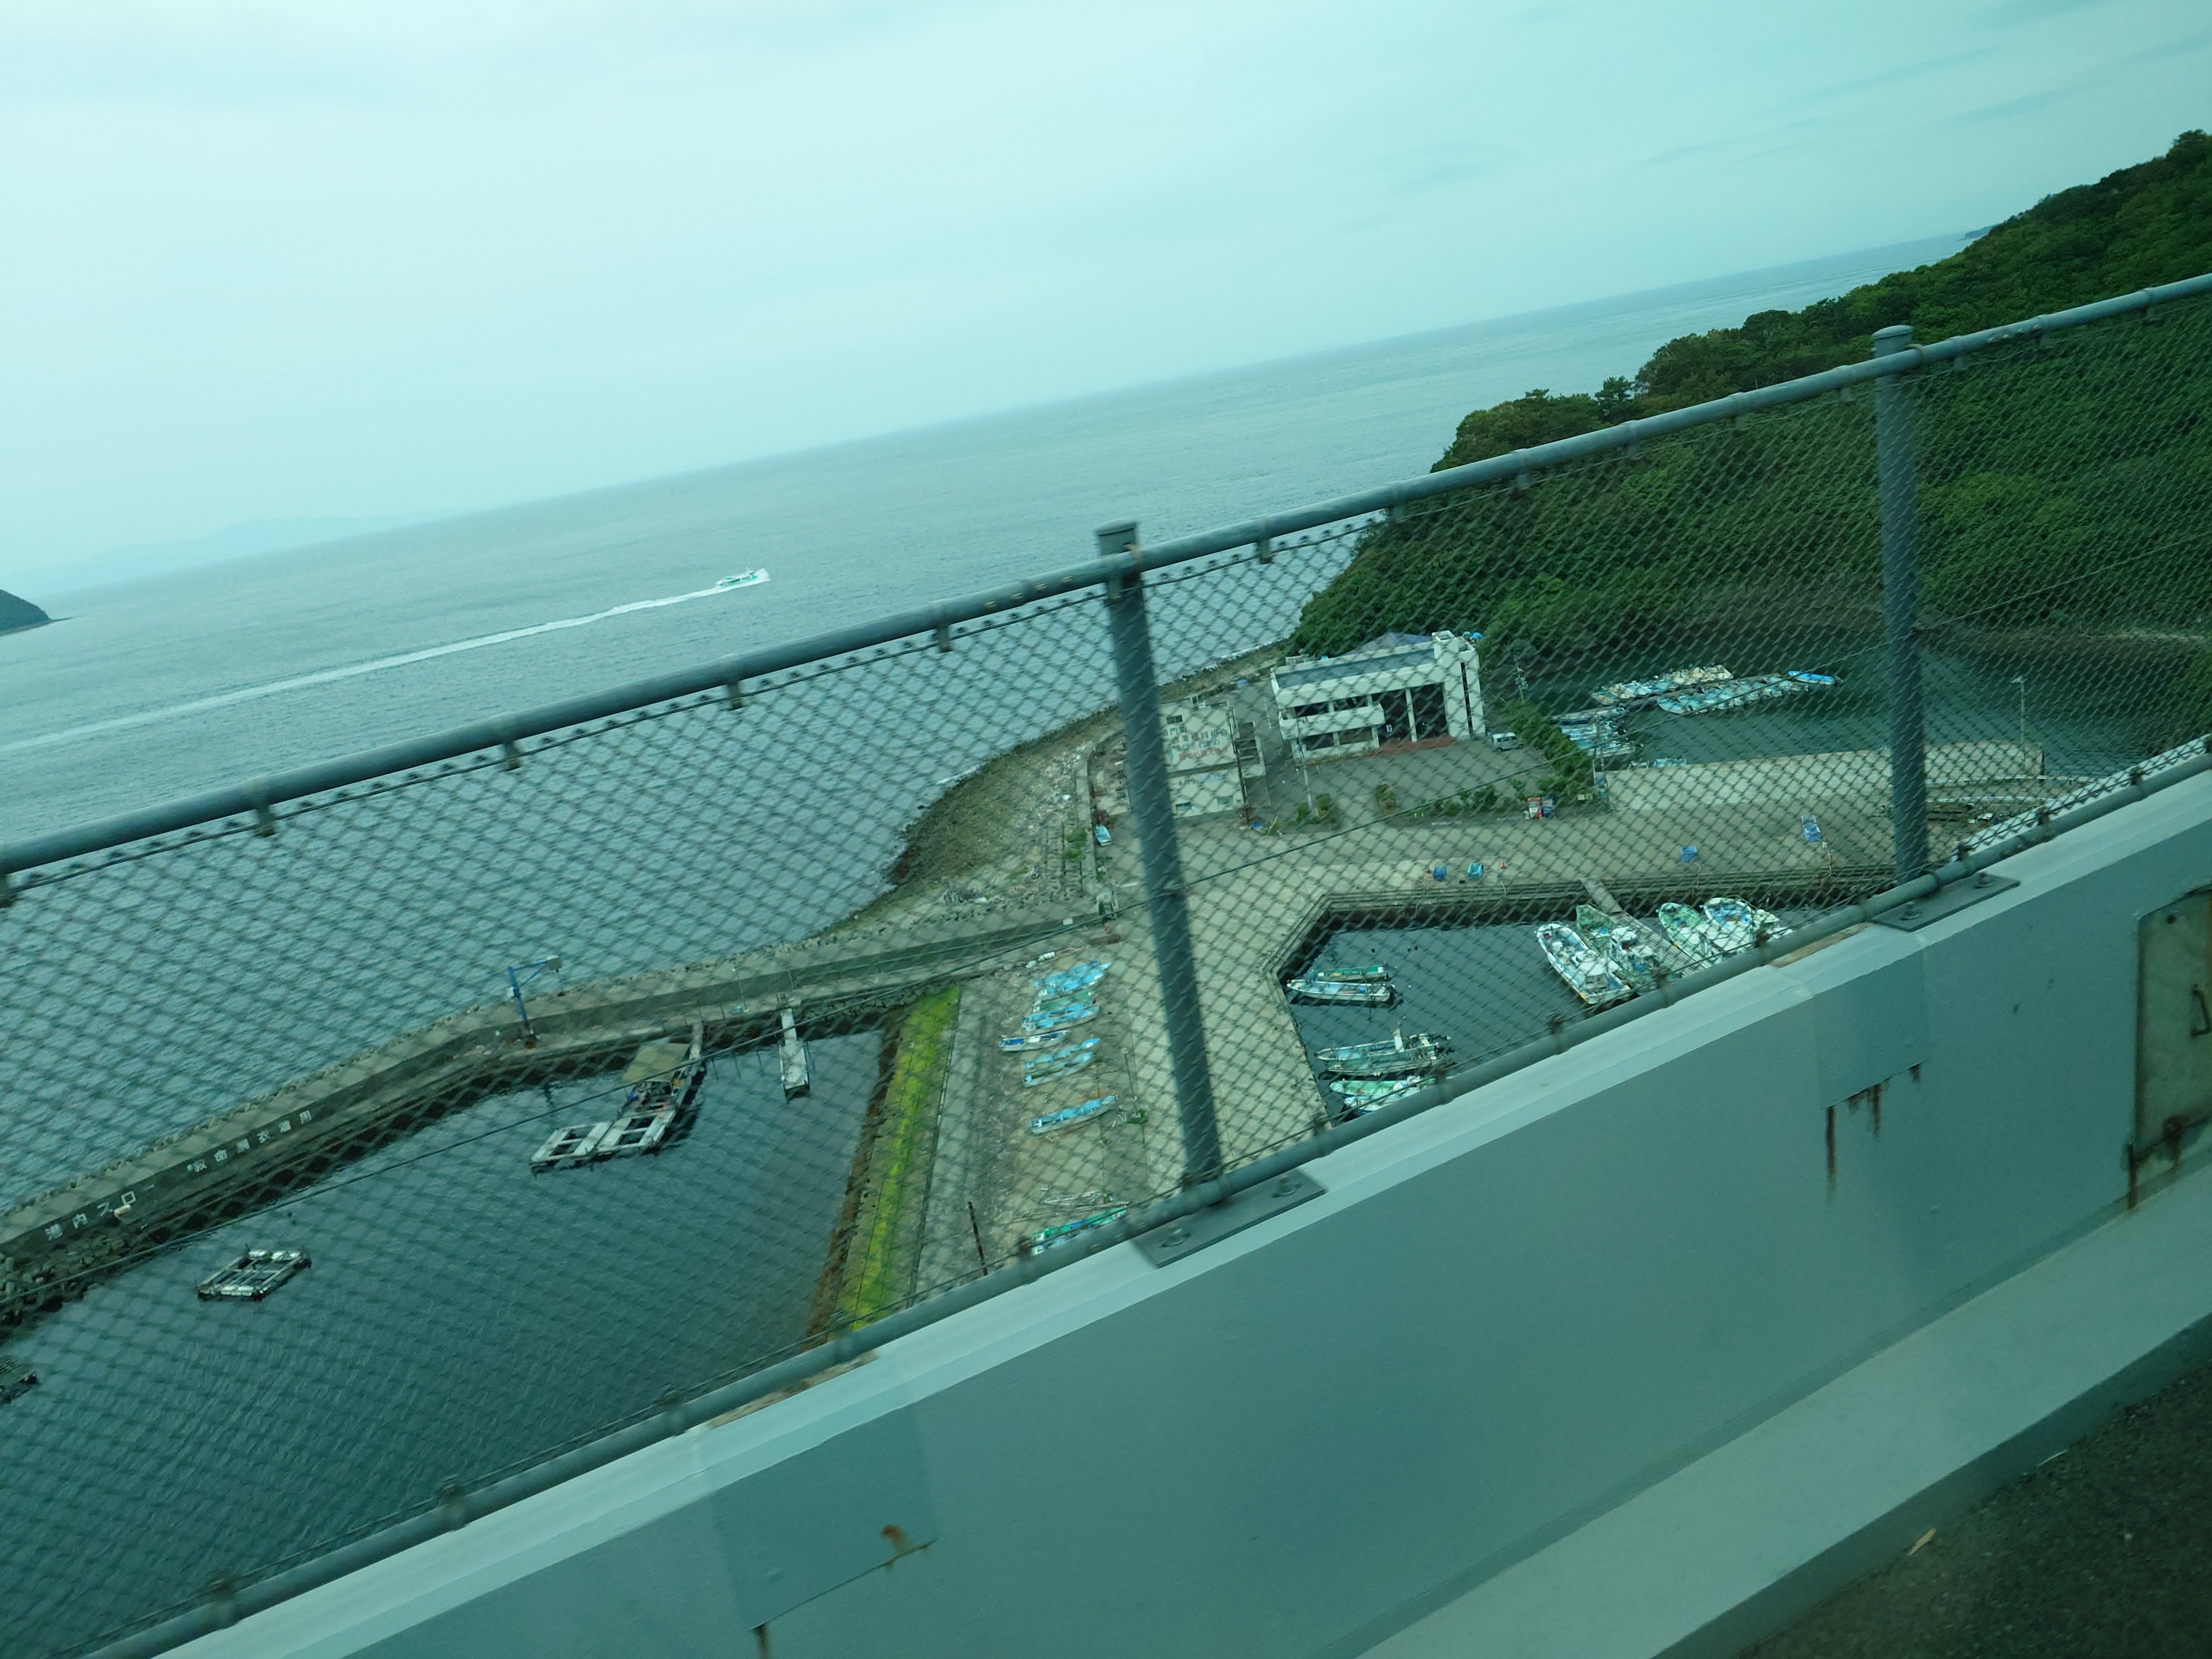
車窓を眺めていたら鳴門糸わかめの販売所があり、誰でも買えるとのことだった。もし機会があれば行ってみたいかもしれない。
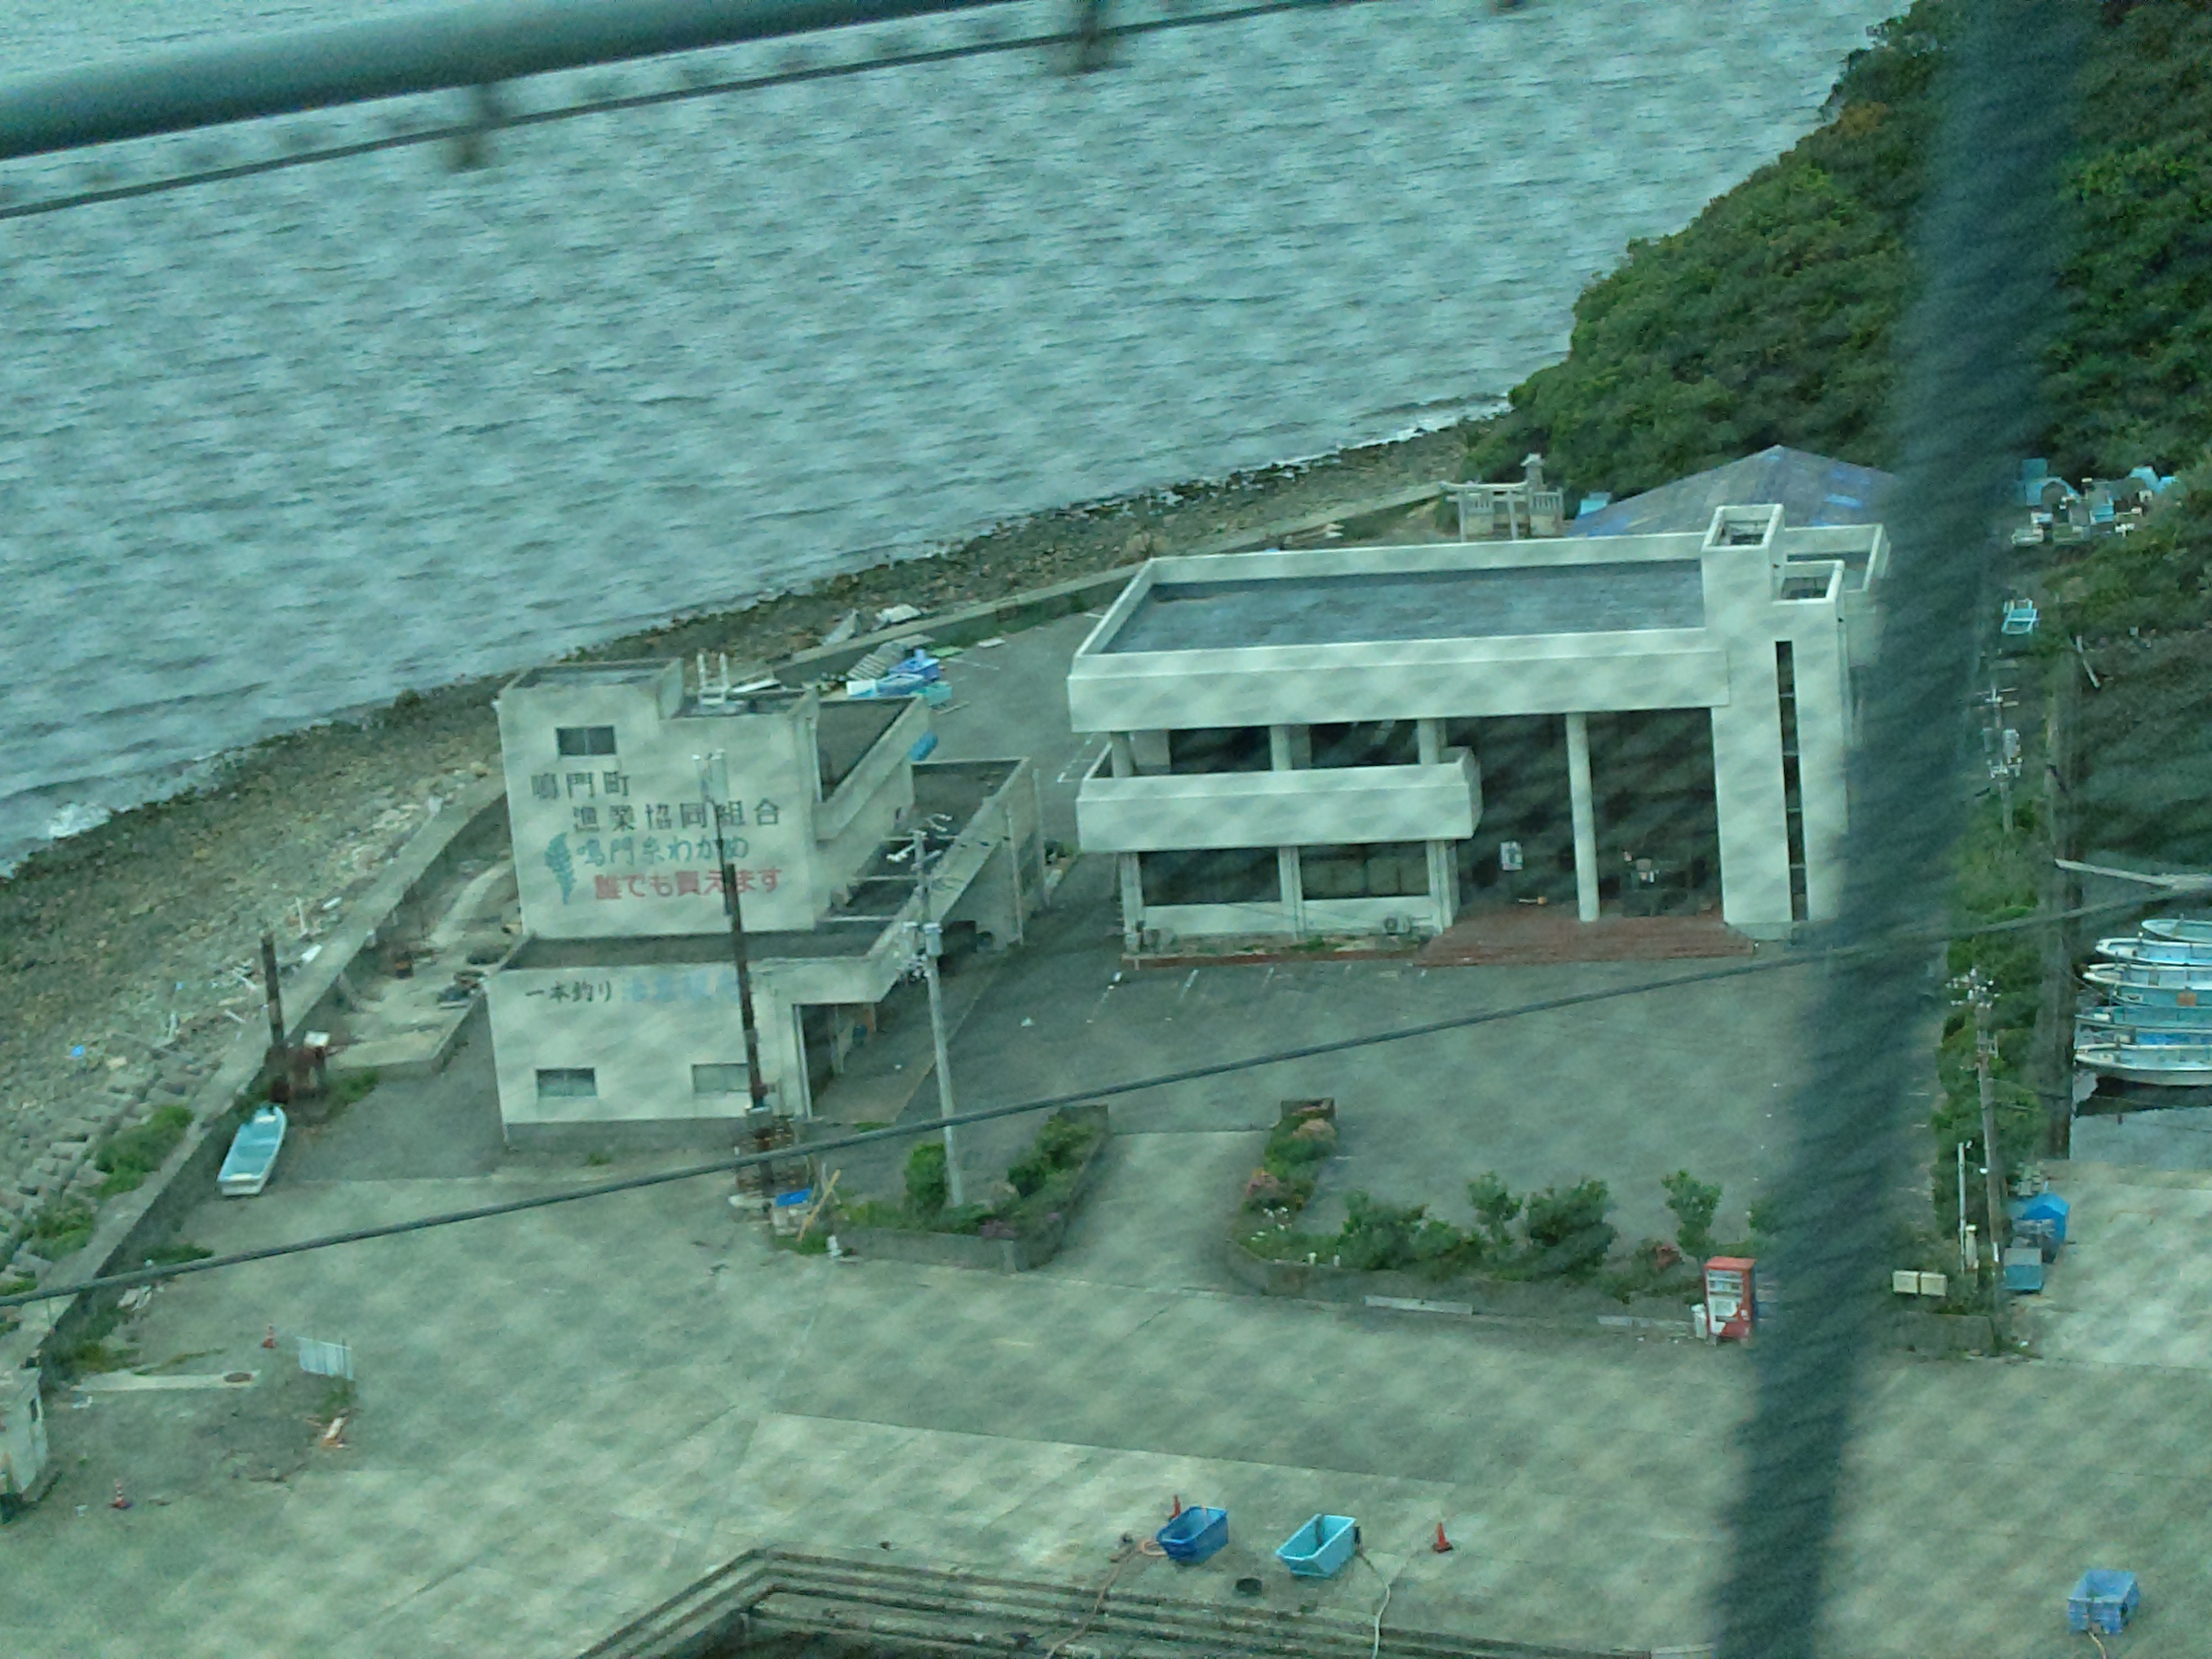
鳴門の渦潮

時刻は16時17分。残念ながら、まだ渦潮はあまり形成されていなかった。確かこの日の渦潮予想は観光サイトによると17時半くらいだったように思う。往路で渦潮が見えたのもそのくらいの時間だったため合致する。
本州に入り詰まり始める高速道路
舞子トンネル内の電光掲示板に「この先渋滞」とあり、走行車線ではハザードを炊き徐行している車も見られたが、バスは追い越し車線を走っており、スイスイ進んでいた。
しかしトンネルを出たあたりで車窓から不穏な景色が見え、バスの速度が一気に落ちた。
この辺りでは徐行スレスレの速度まで落ちたり、そこそこの速度になったりを繰り返しつつ進んでいた。
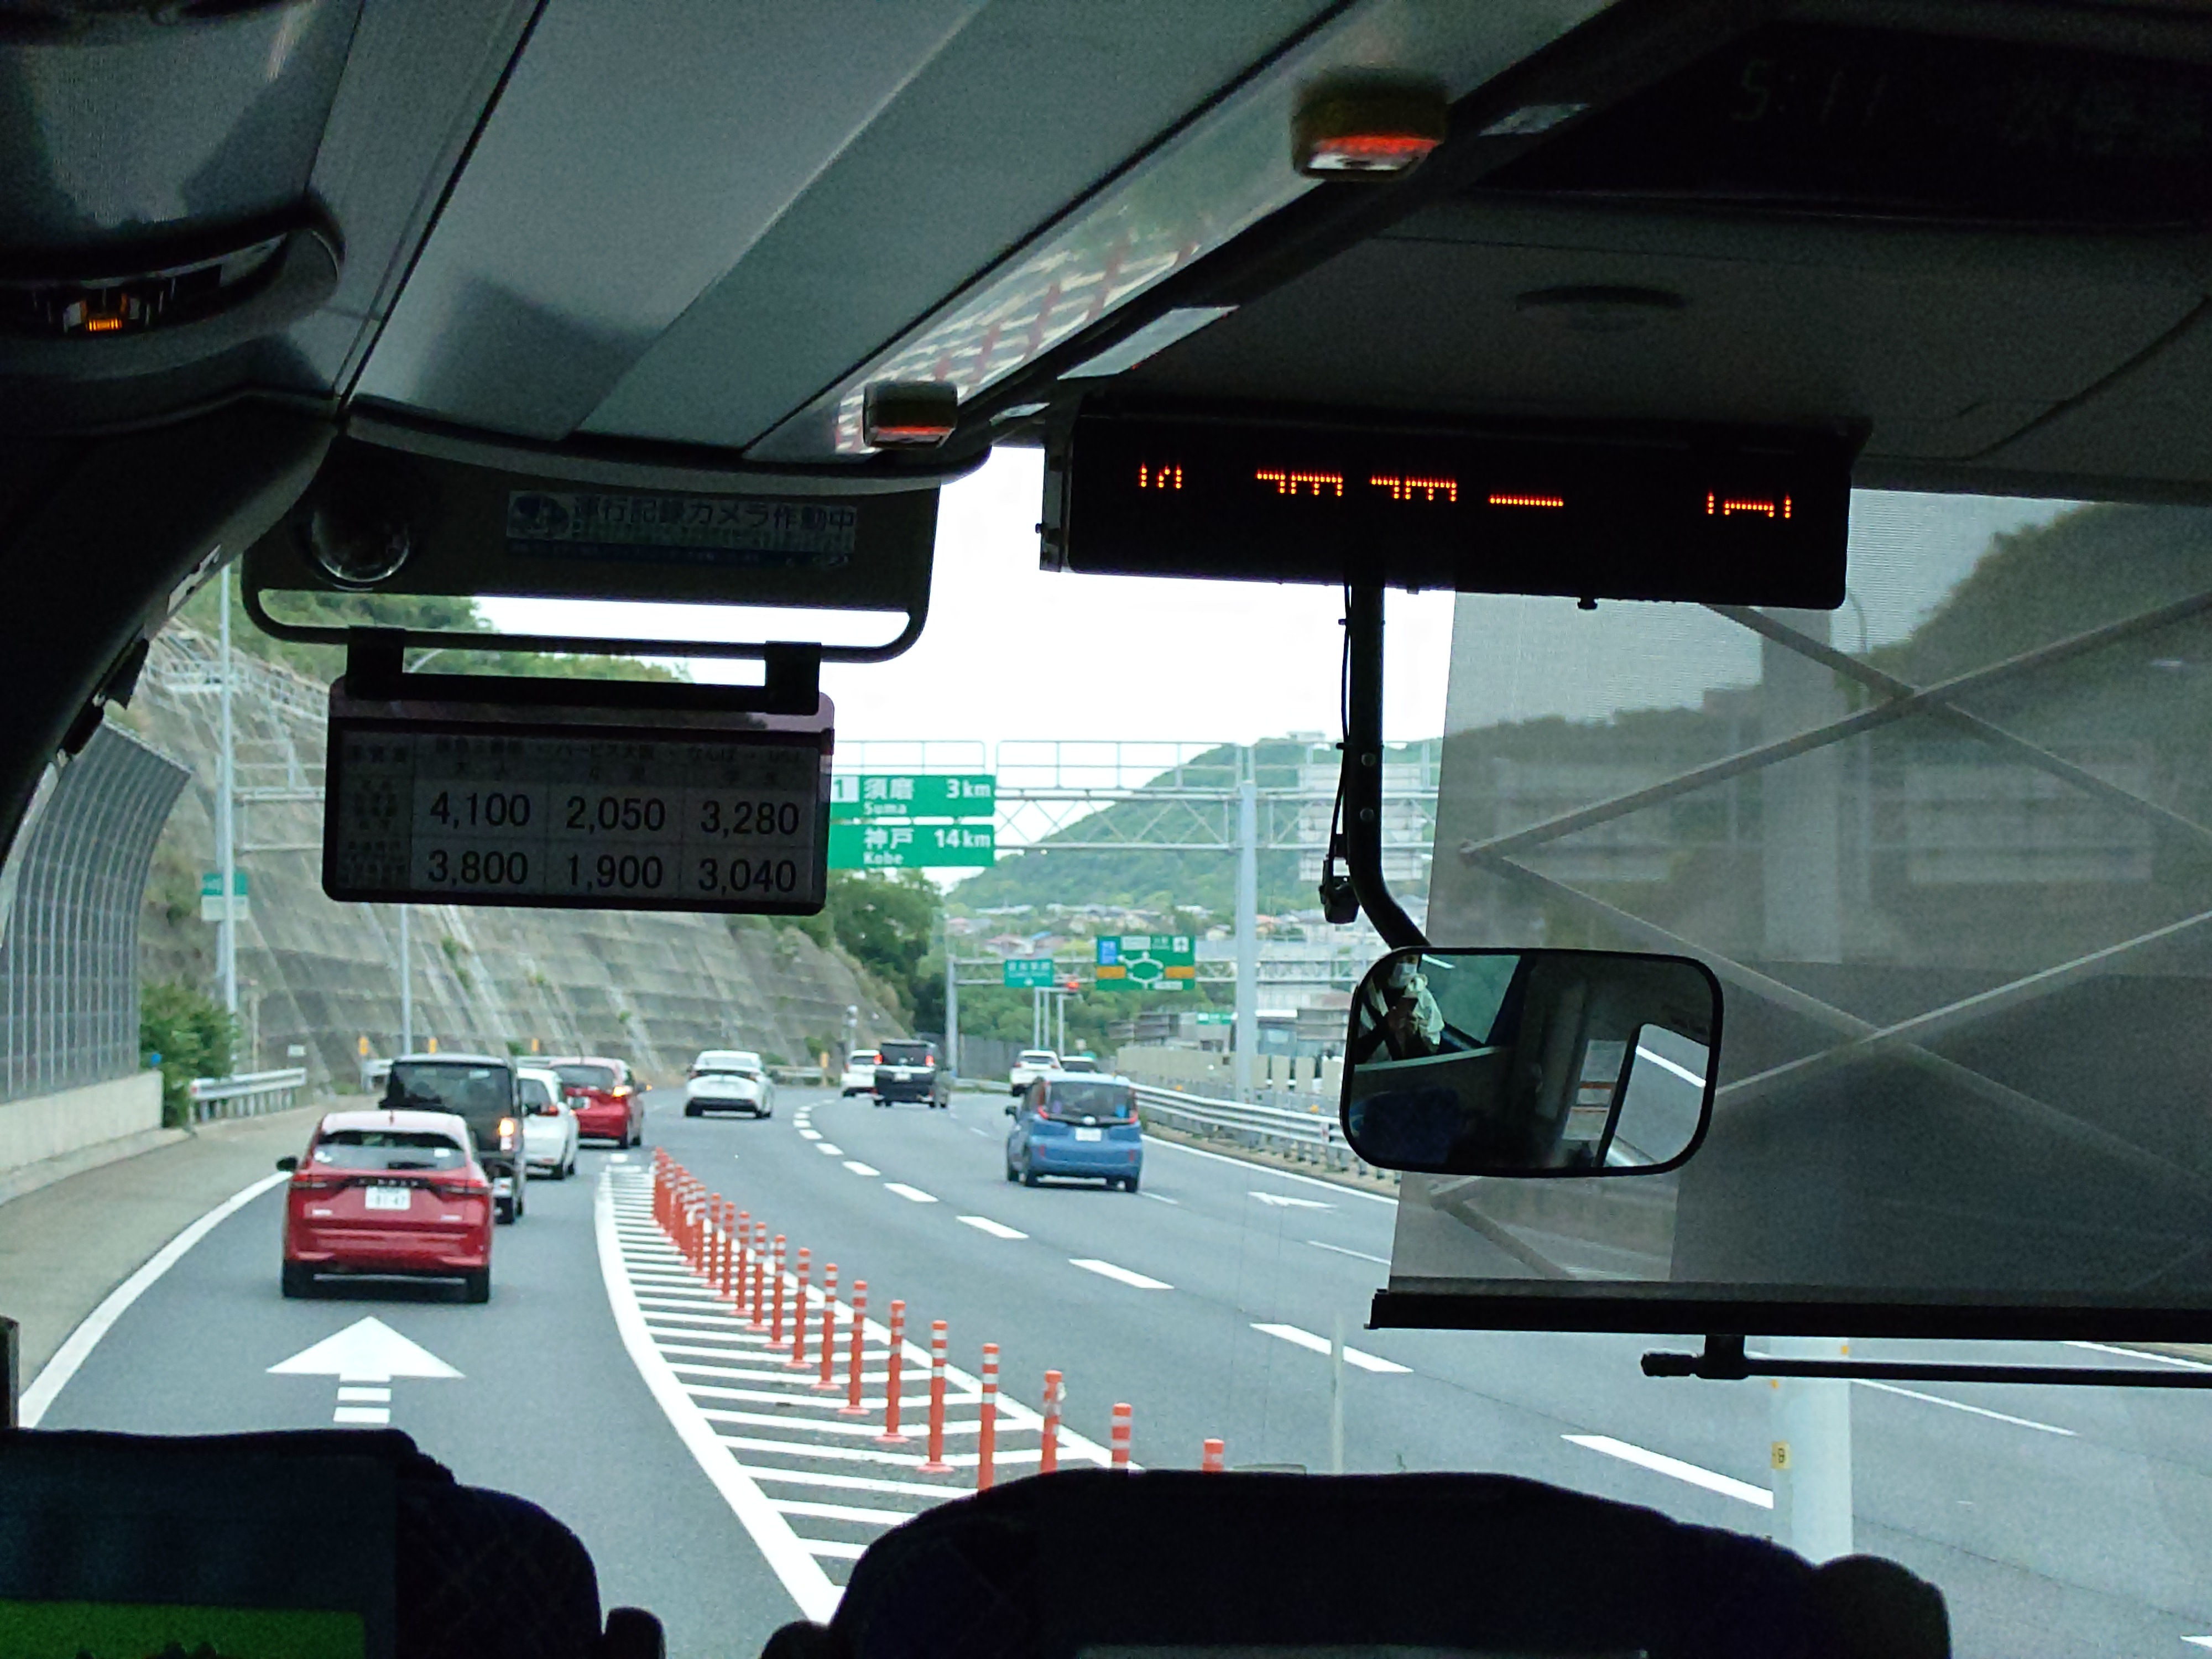
垂水JCTを抜け第二神明との合流当たりでは比較的空いてきたように見え、速度も戻ってきた。
この日は高速バスの徳島→神戸が16時以降満車というのもあったとはいえ、恐らく徳島からの帰りでこれほど混んでいるというのは考えづらい。徳島の帰りで混んでいるのなら徳島県内の下道や淡路道も詰まっていたはずなので、恐らく違う理由だろう。
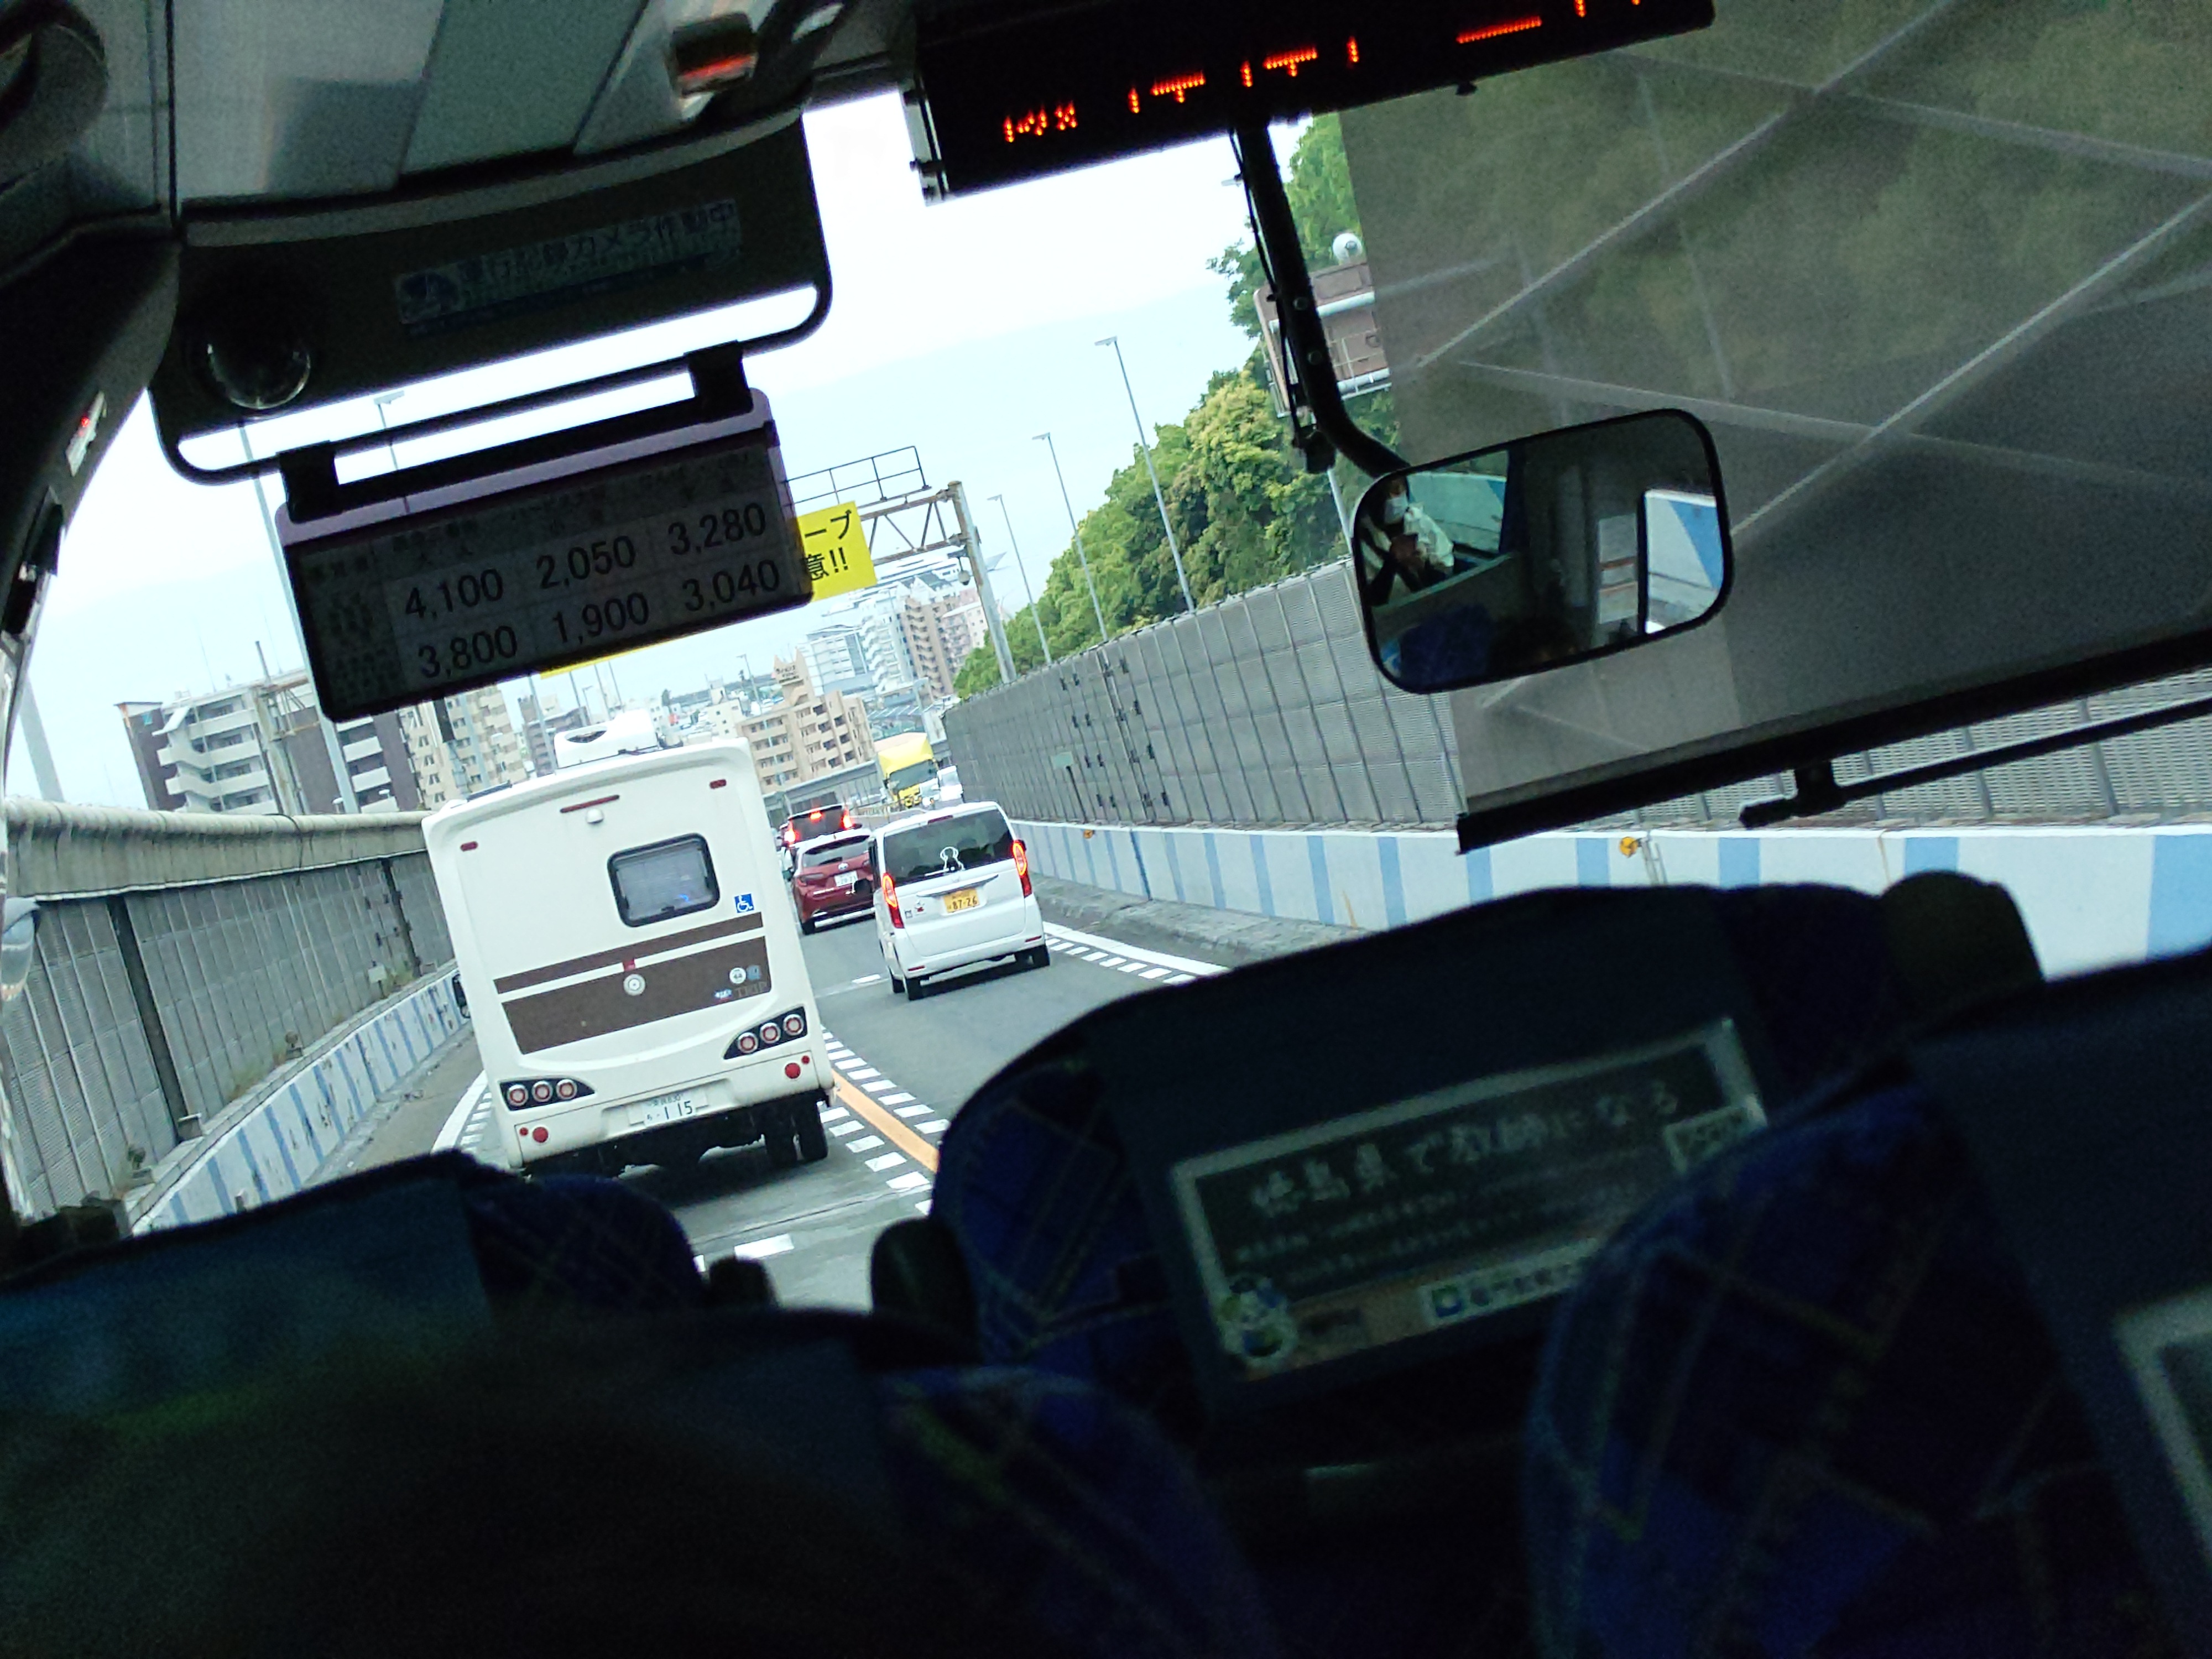
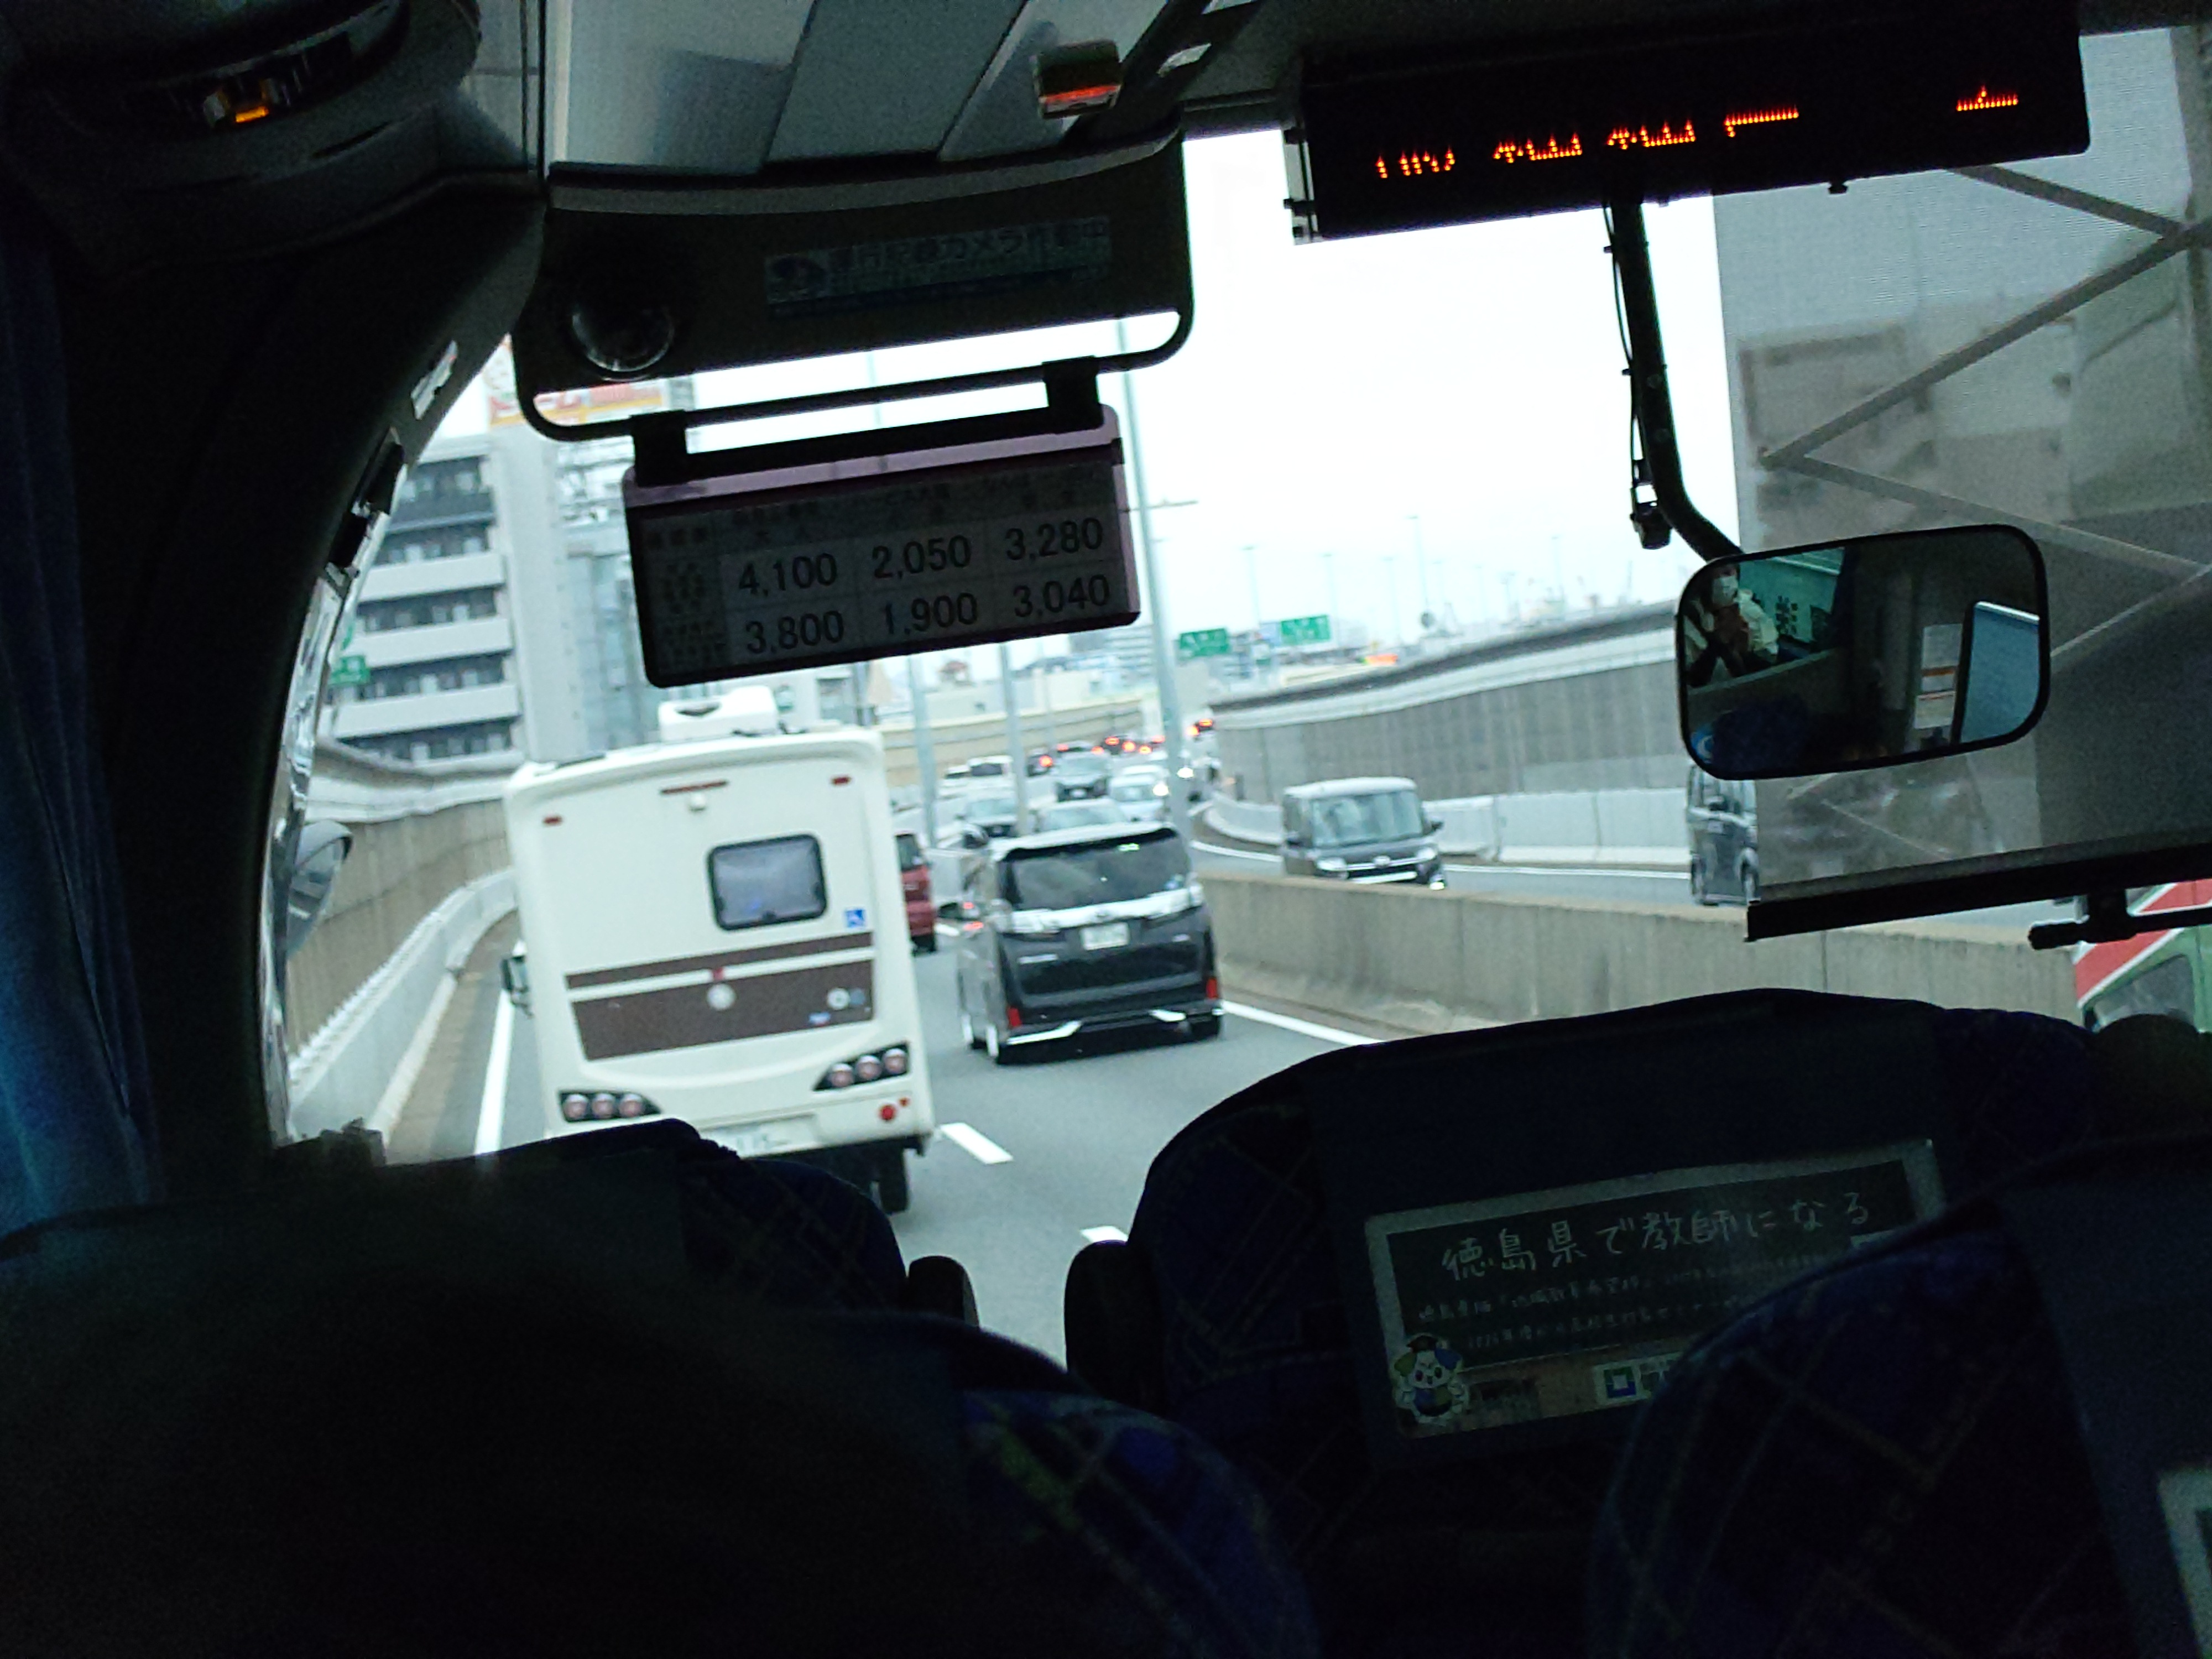
しかし渋滞多発という看板を過ぎた直後、一気に詰まり始めた。場所的には湊川の前あたりだろうか?ちょっと記憶がないが…。
そして兵庫駅南あたりで完全に徐行モードに入ってしまう。走行車線の車は完全に止まっていた。
その後も三宮がゆったり眺められるほどのんびり走りつつ、何とか下界に降りてくることができた。
下界、三宮へ
流石に高速を出たら道は空いていた。自動音声では「間もなく阪神神戸三宮」とか言っていたのに運転手は「阪神三宮に到着いたします」とアナウンスしており、やっぱ「神戸」の部分いらないよなぁ…と思うなどしていた。
時刻は17時30分。無事三宮に帰ってくることができた。

乗り場案内を見ると徳島線以外は軒並み減便運休のオンパレードなのに徳島便だけ怒涛の本数で驚いた。よほど需要があるのだろう。
三宮を走るバスたち
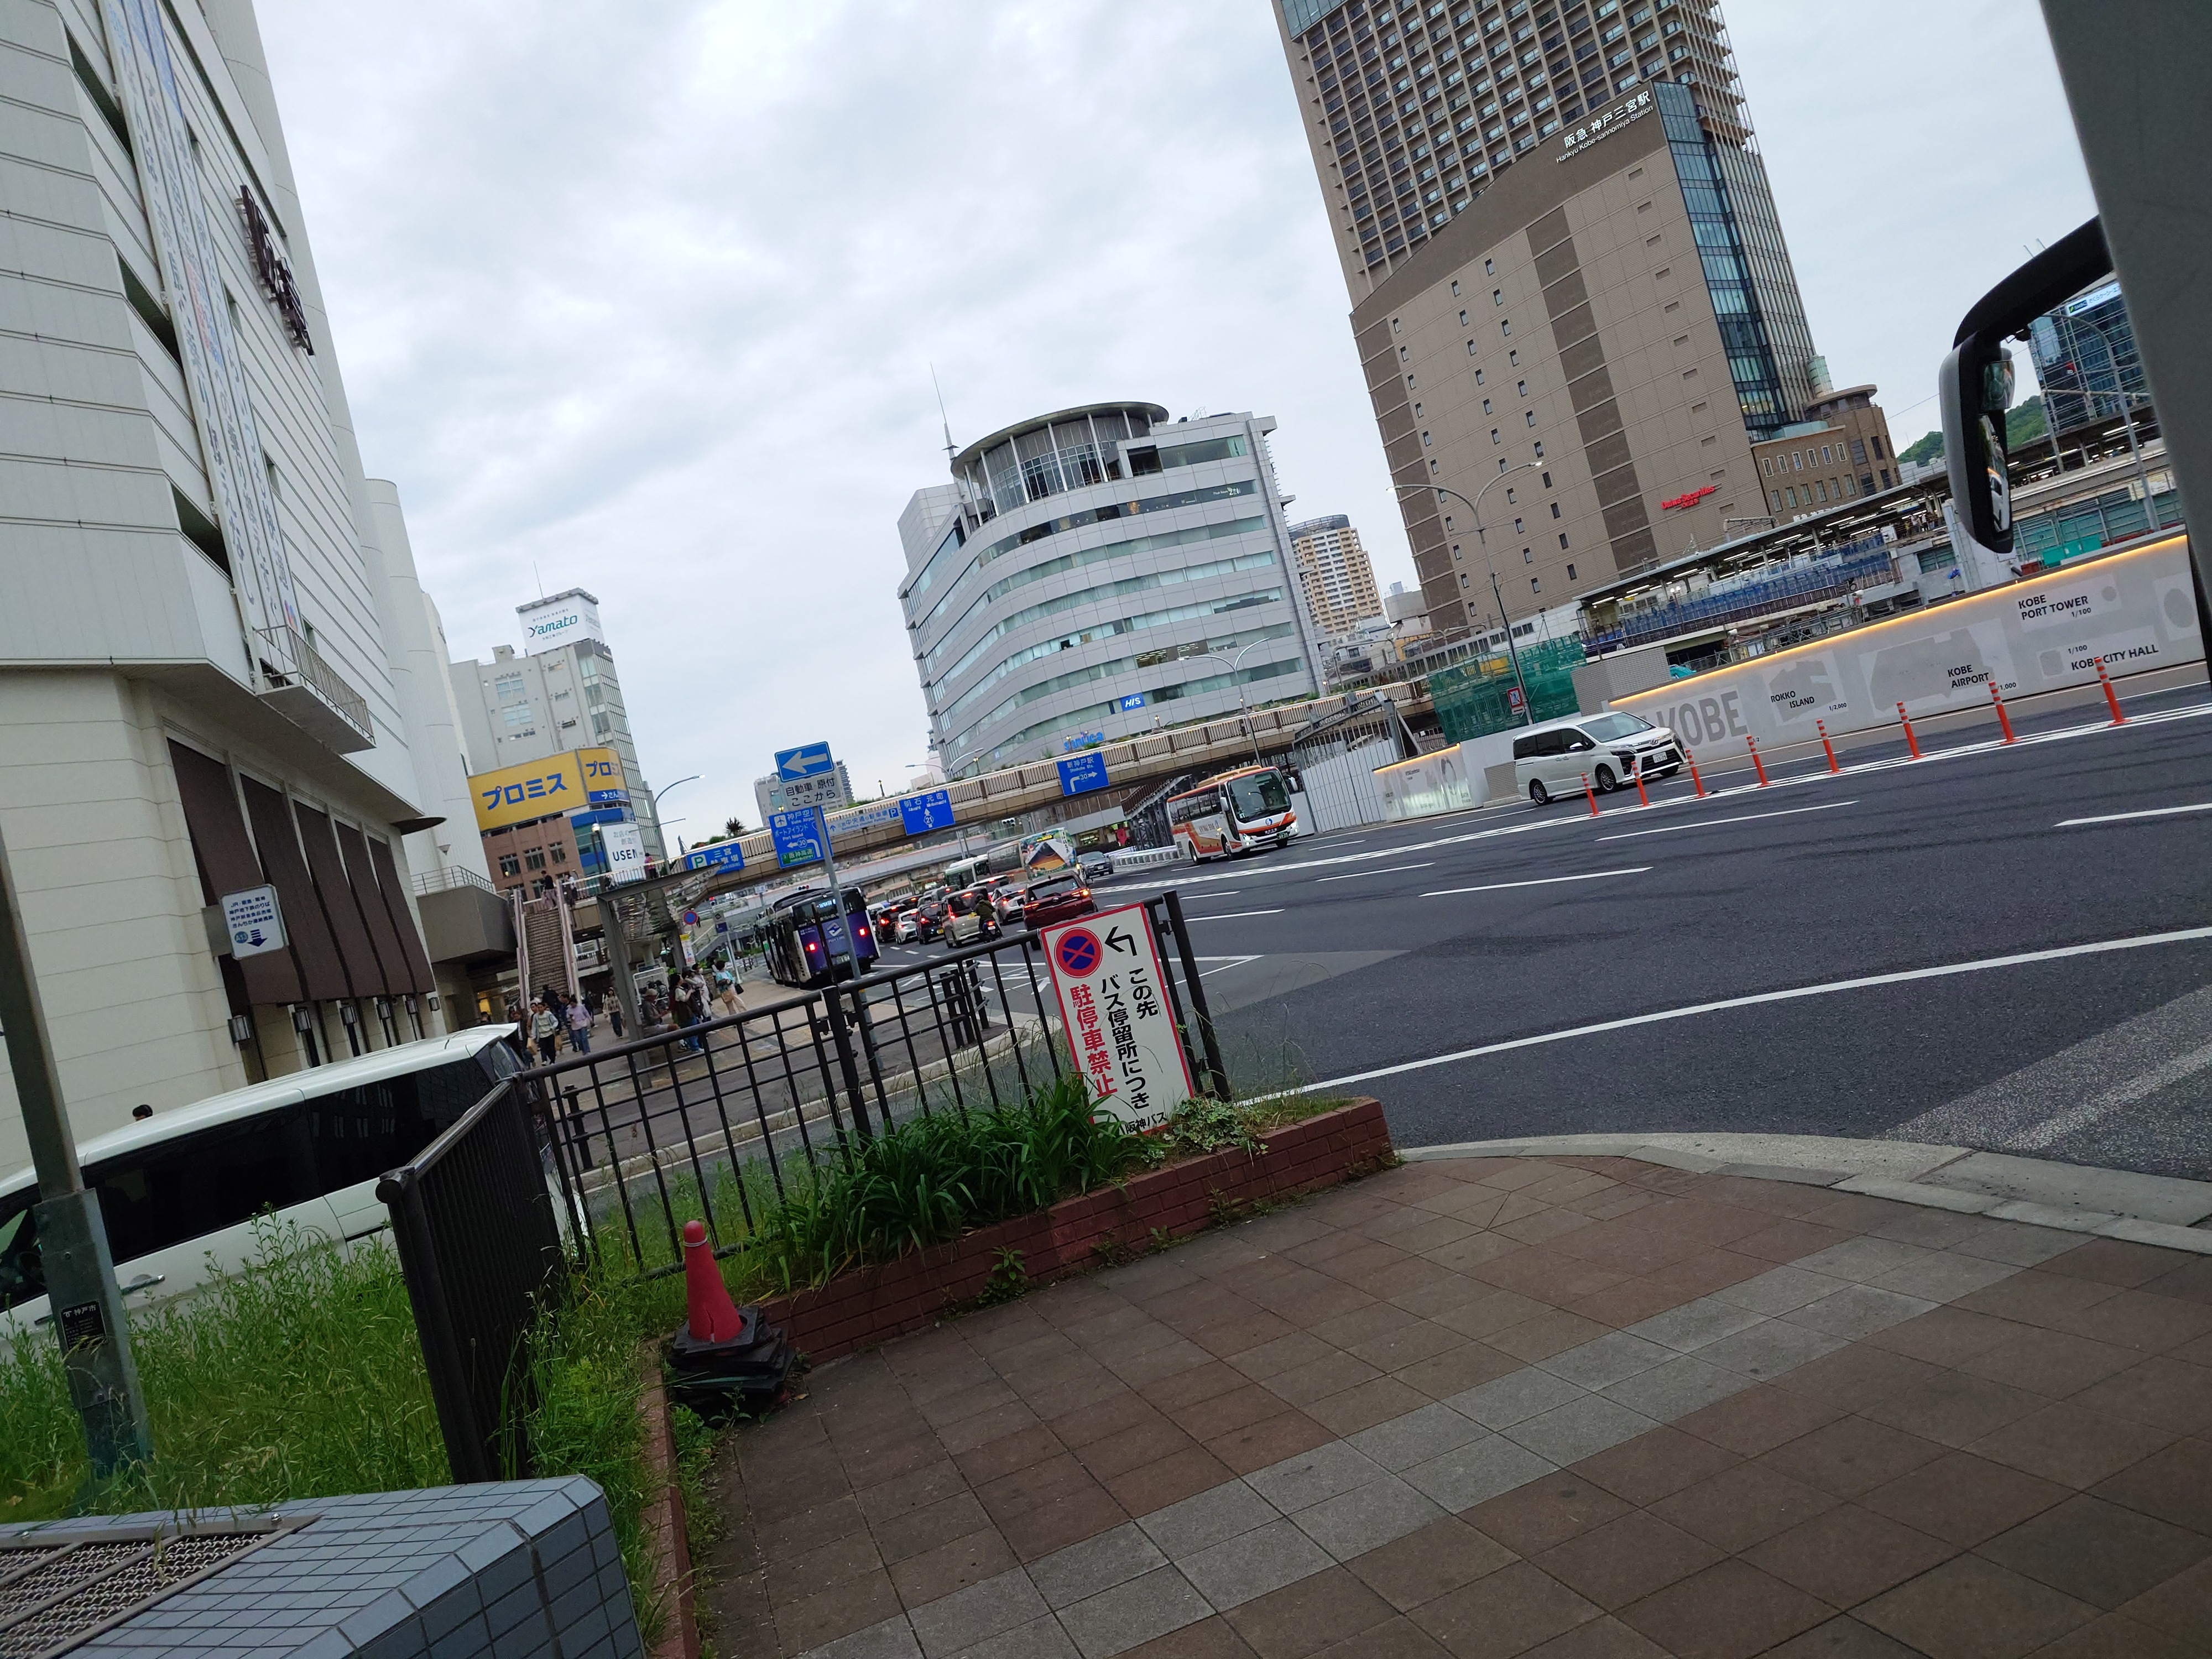

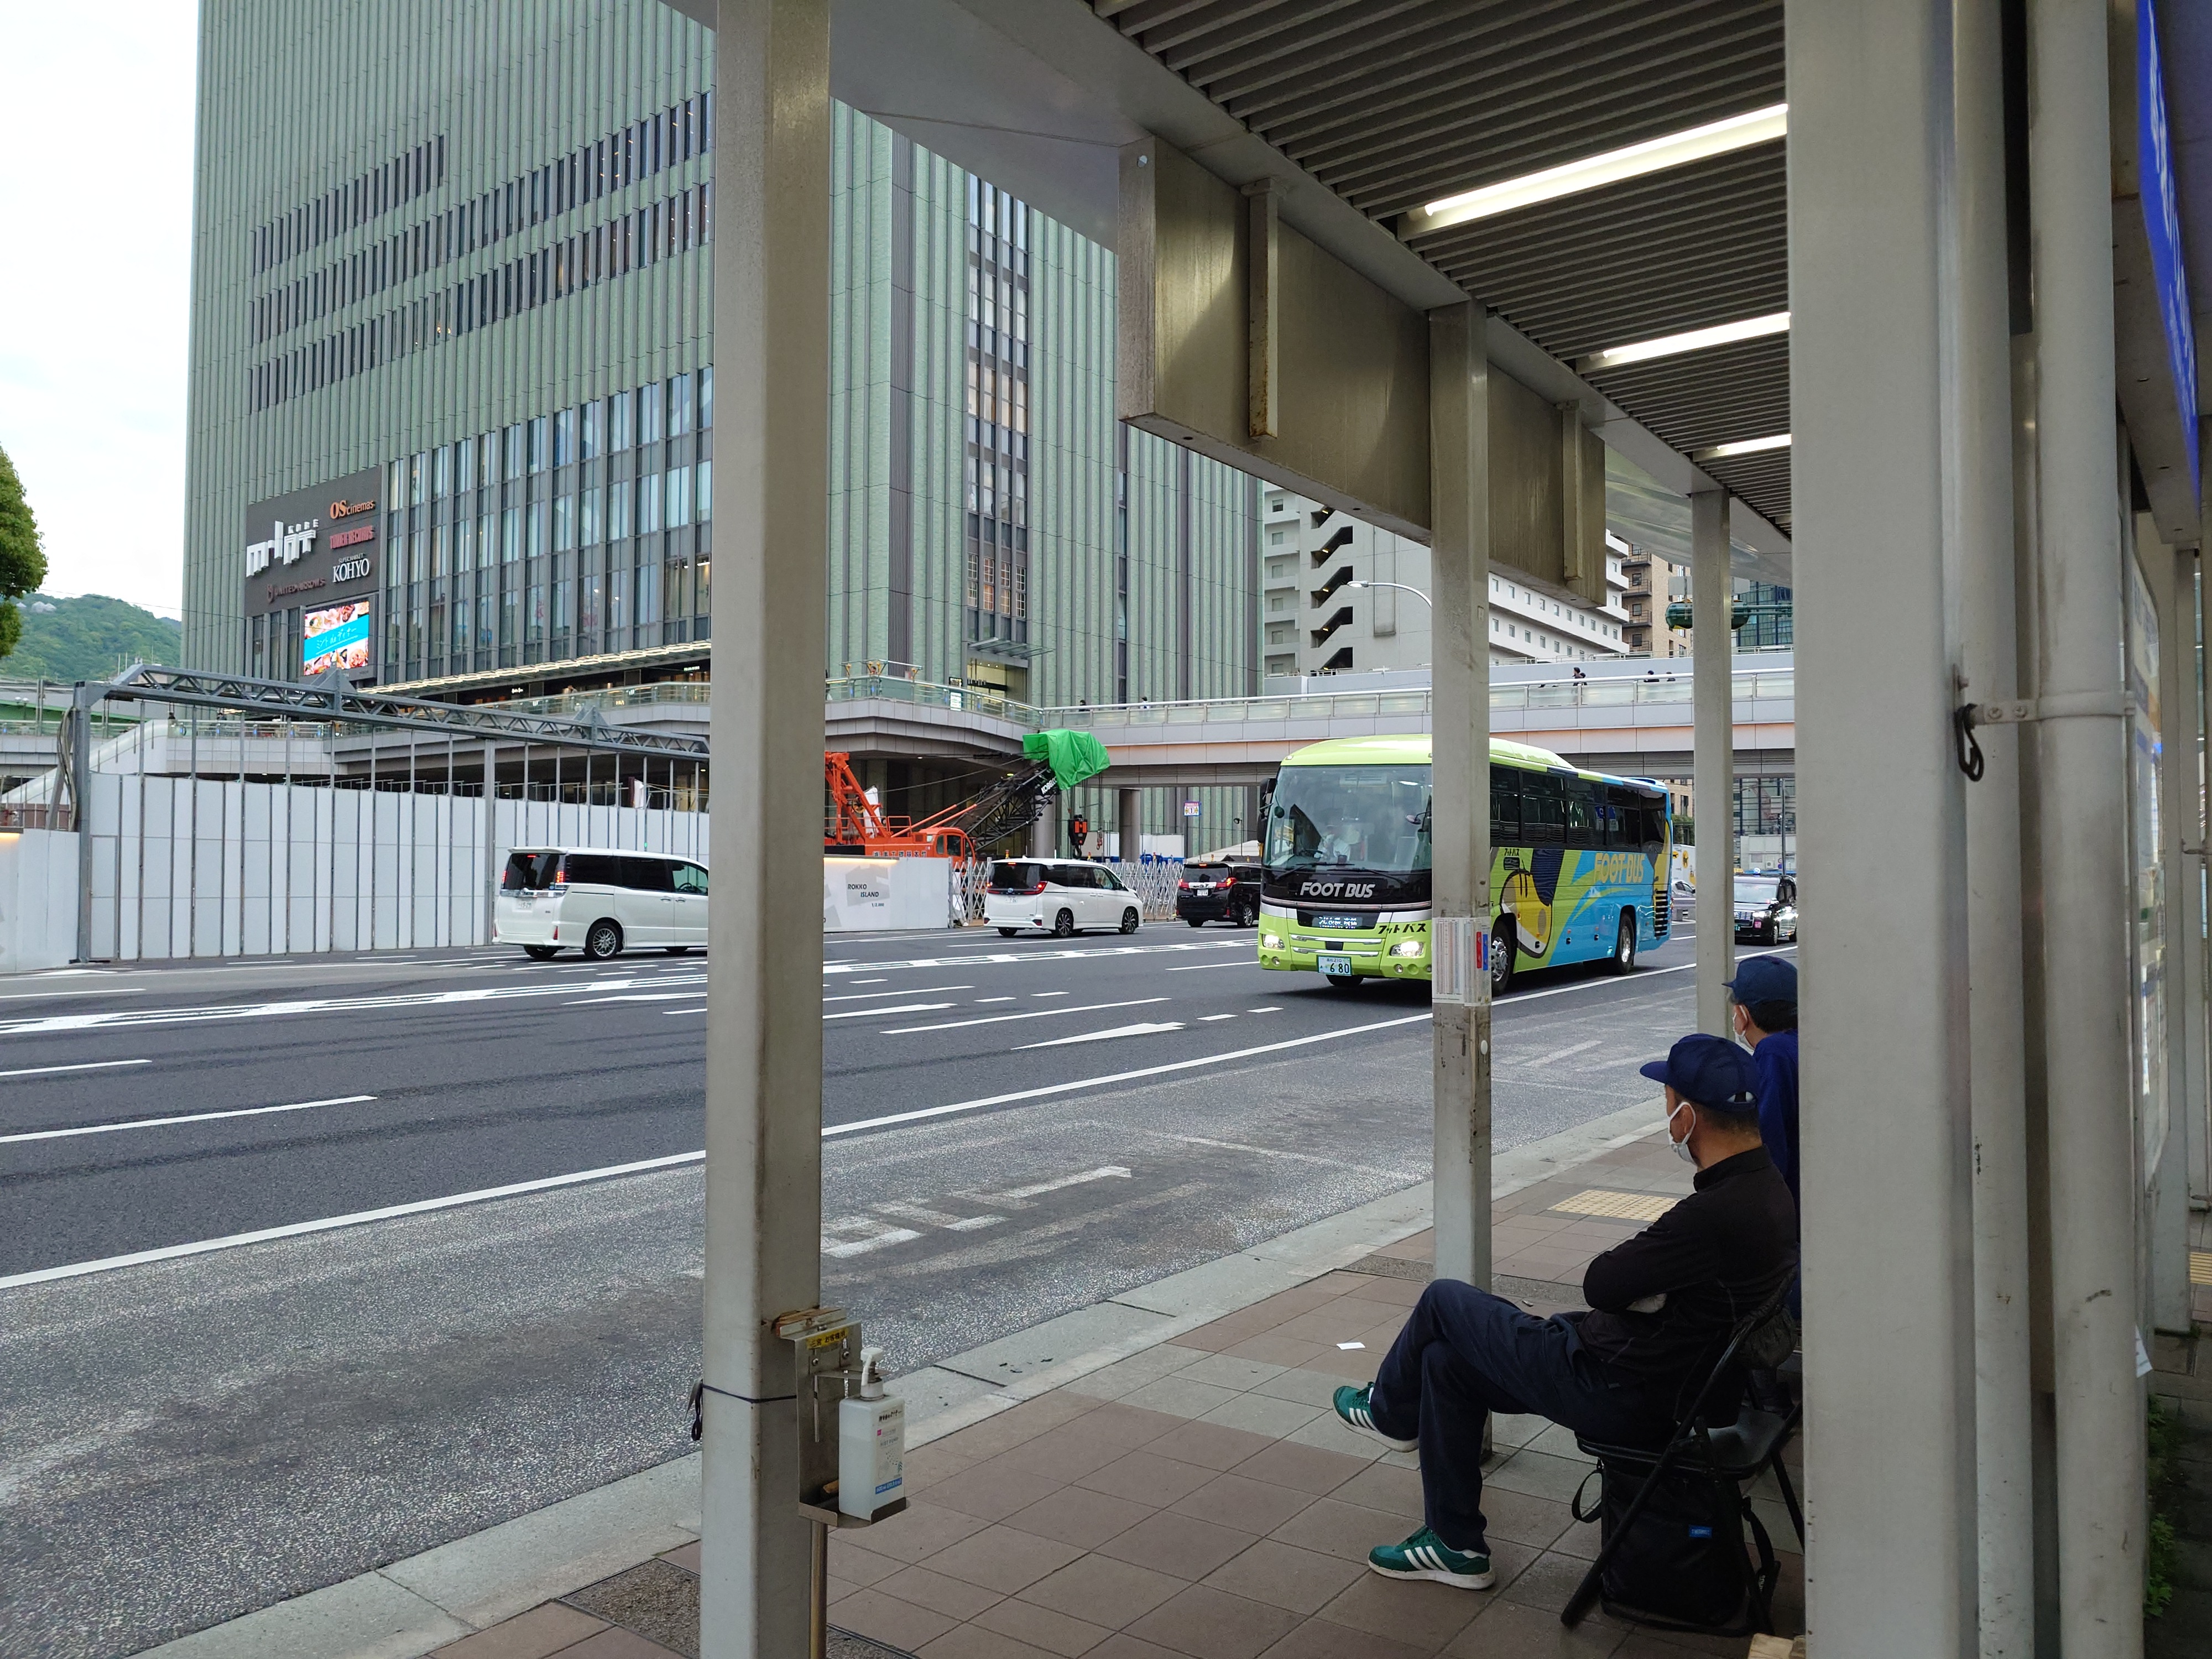
これはバスが多く走っていて景観がよかったので何となく撮ったやつ。
帰宅
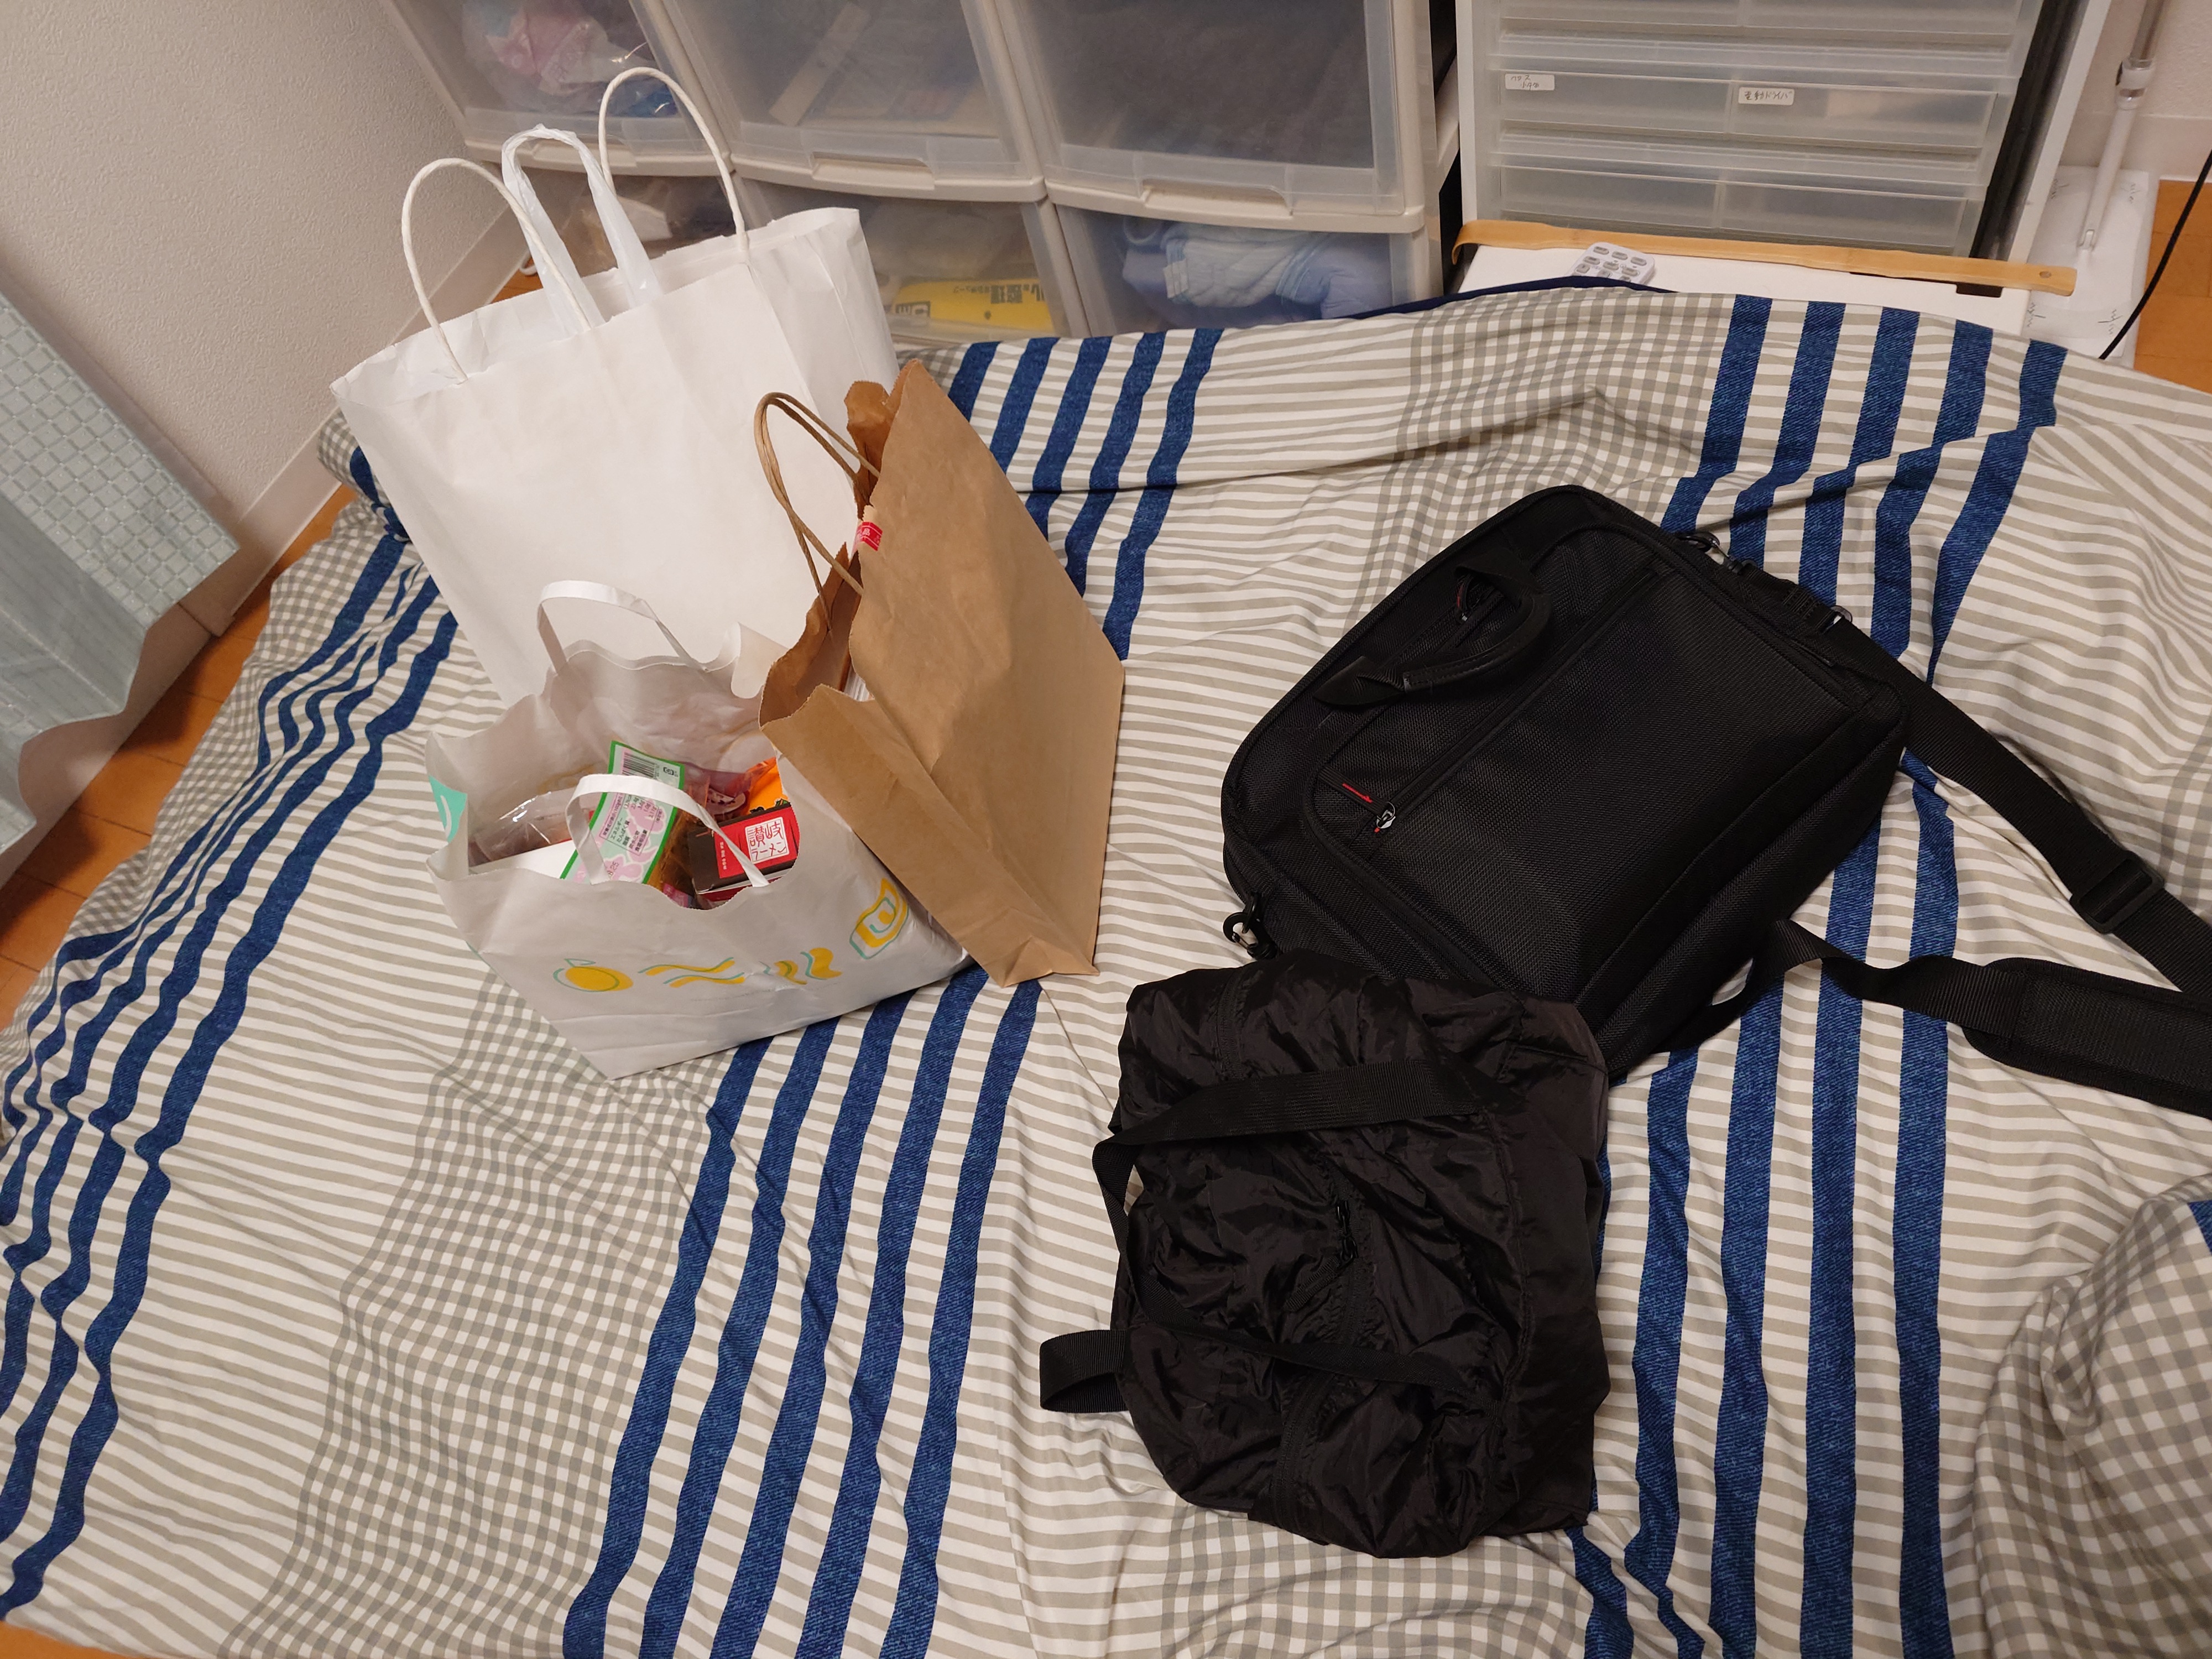
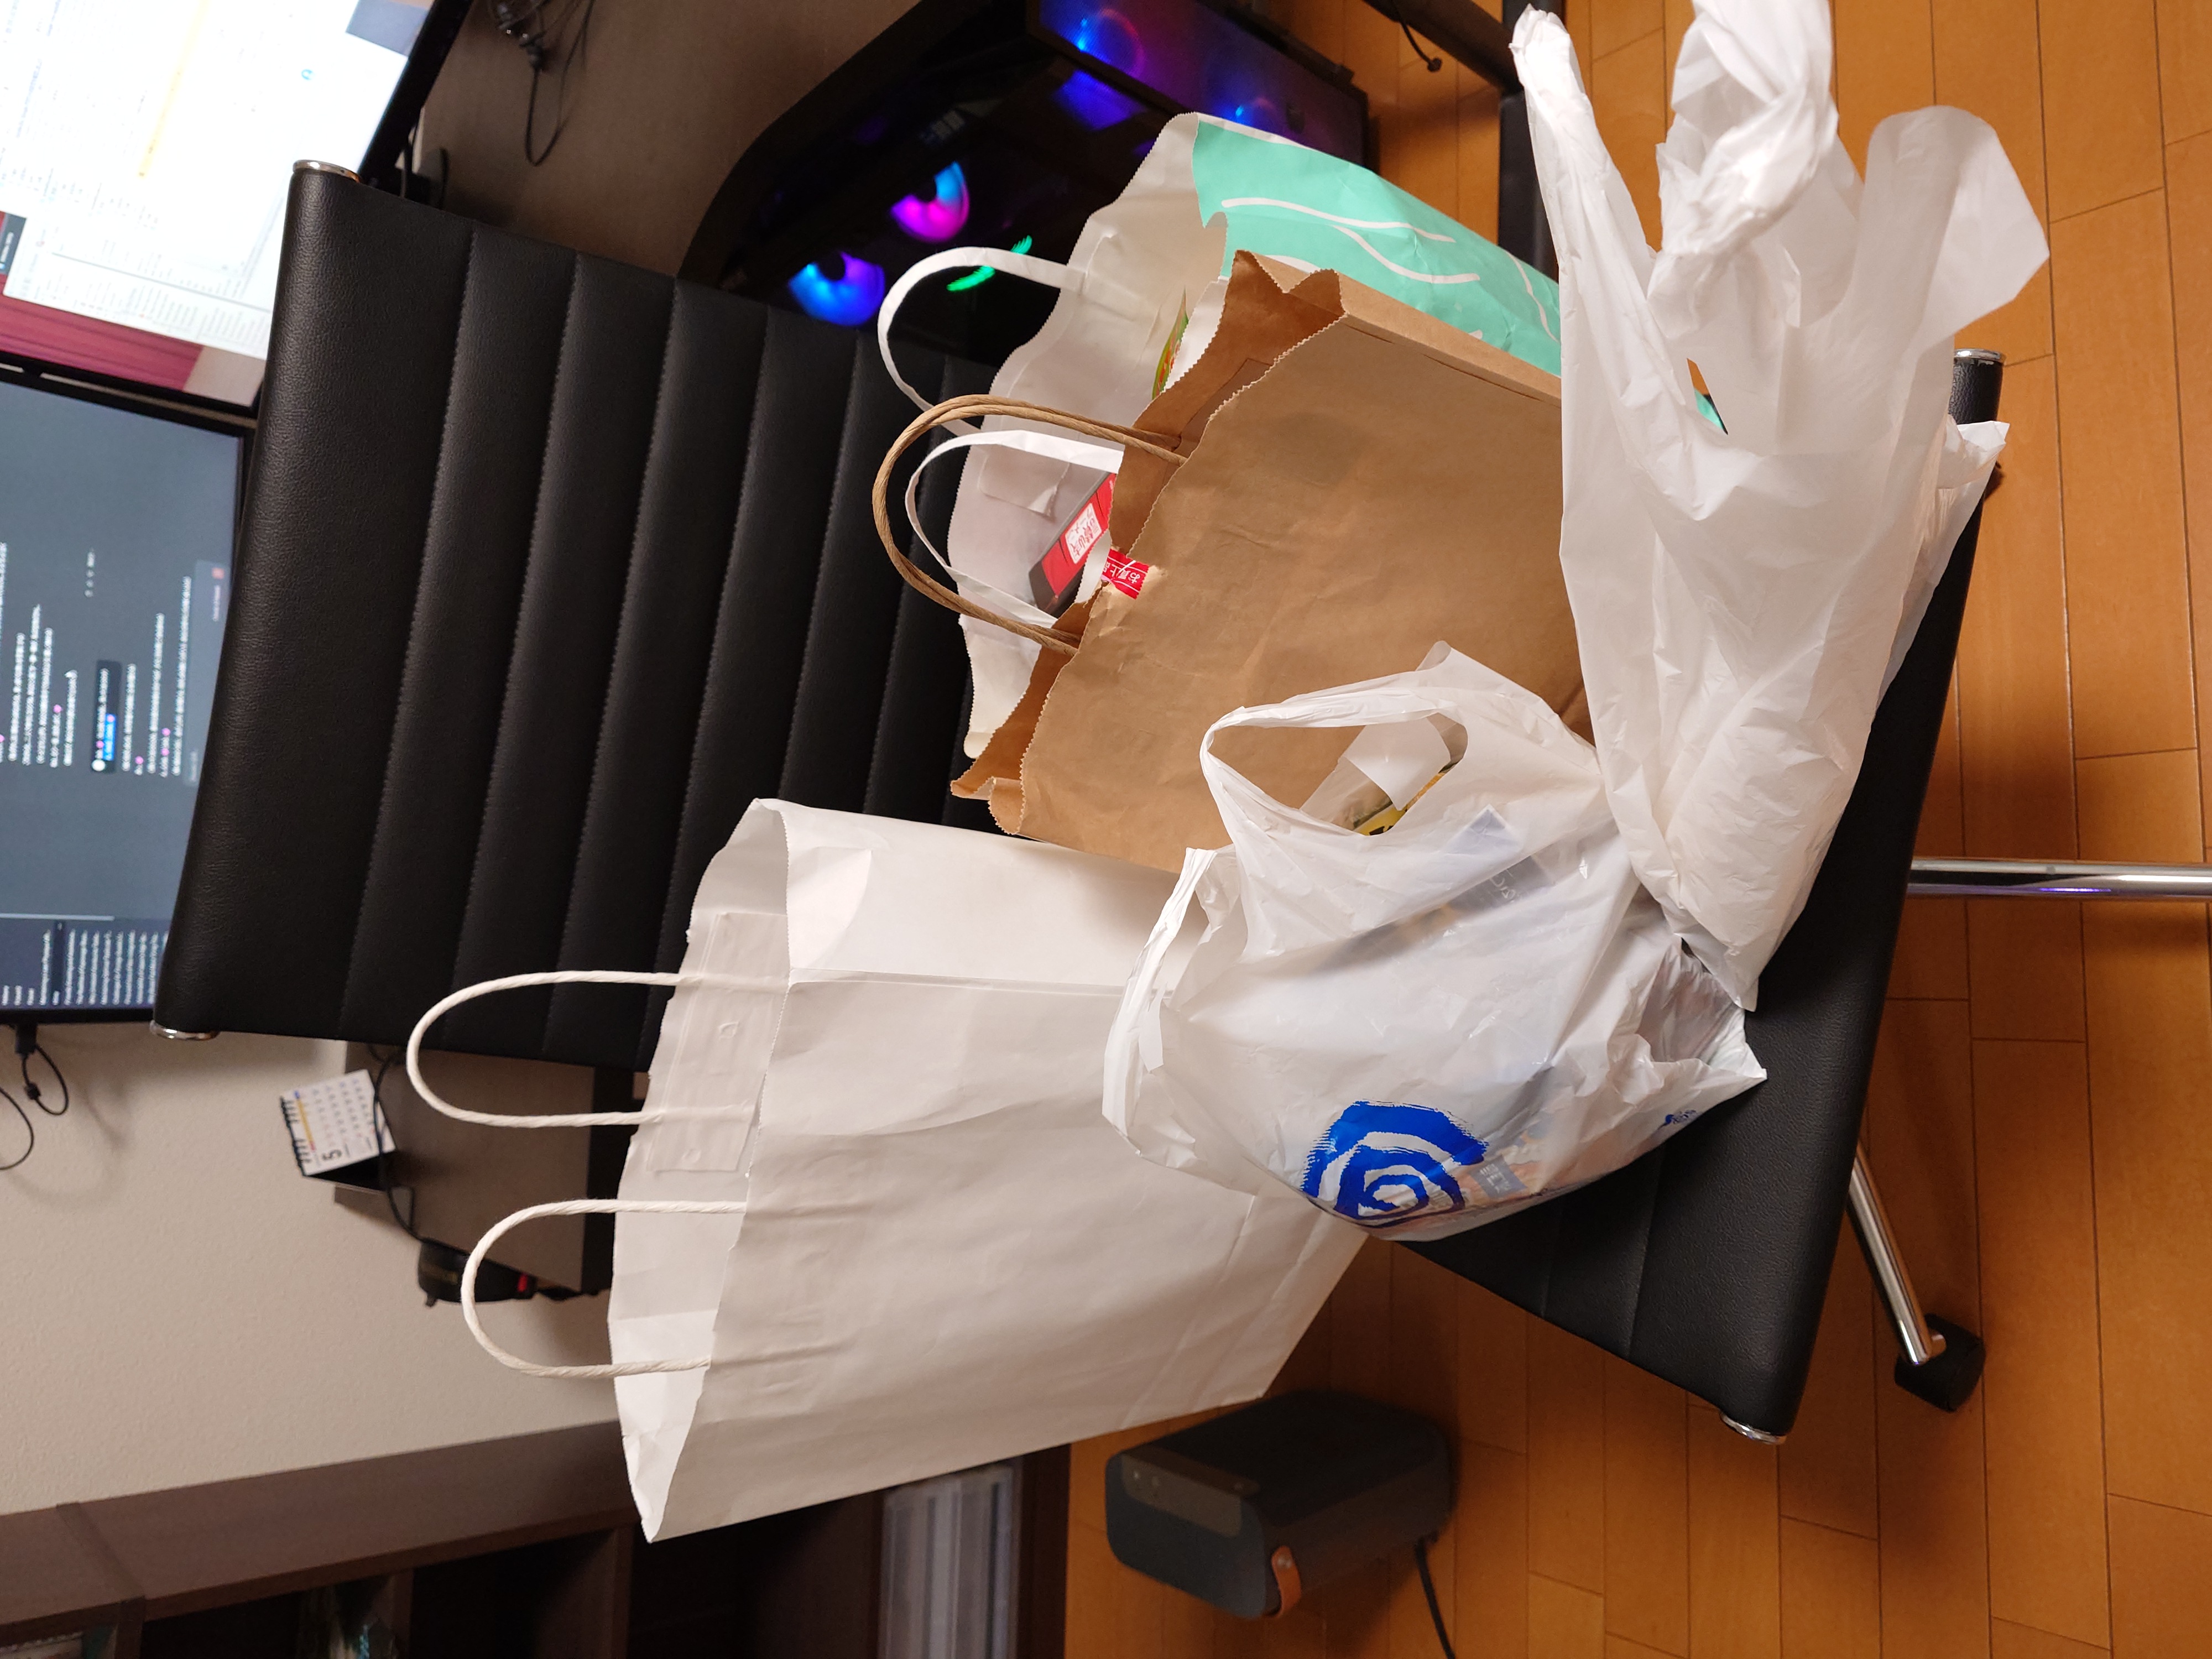
土産品や徳島のオタクショップS'Dreamで買った戦利品の山に、無駄に持って行っていたノートPCなどの荷物が多く、帰路は中々えらい目にあった。
徳島土産
ずいぶん買い込んだ。
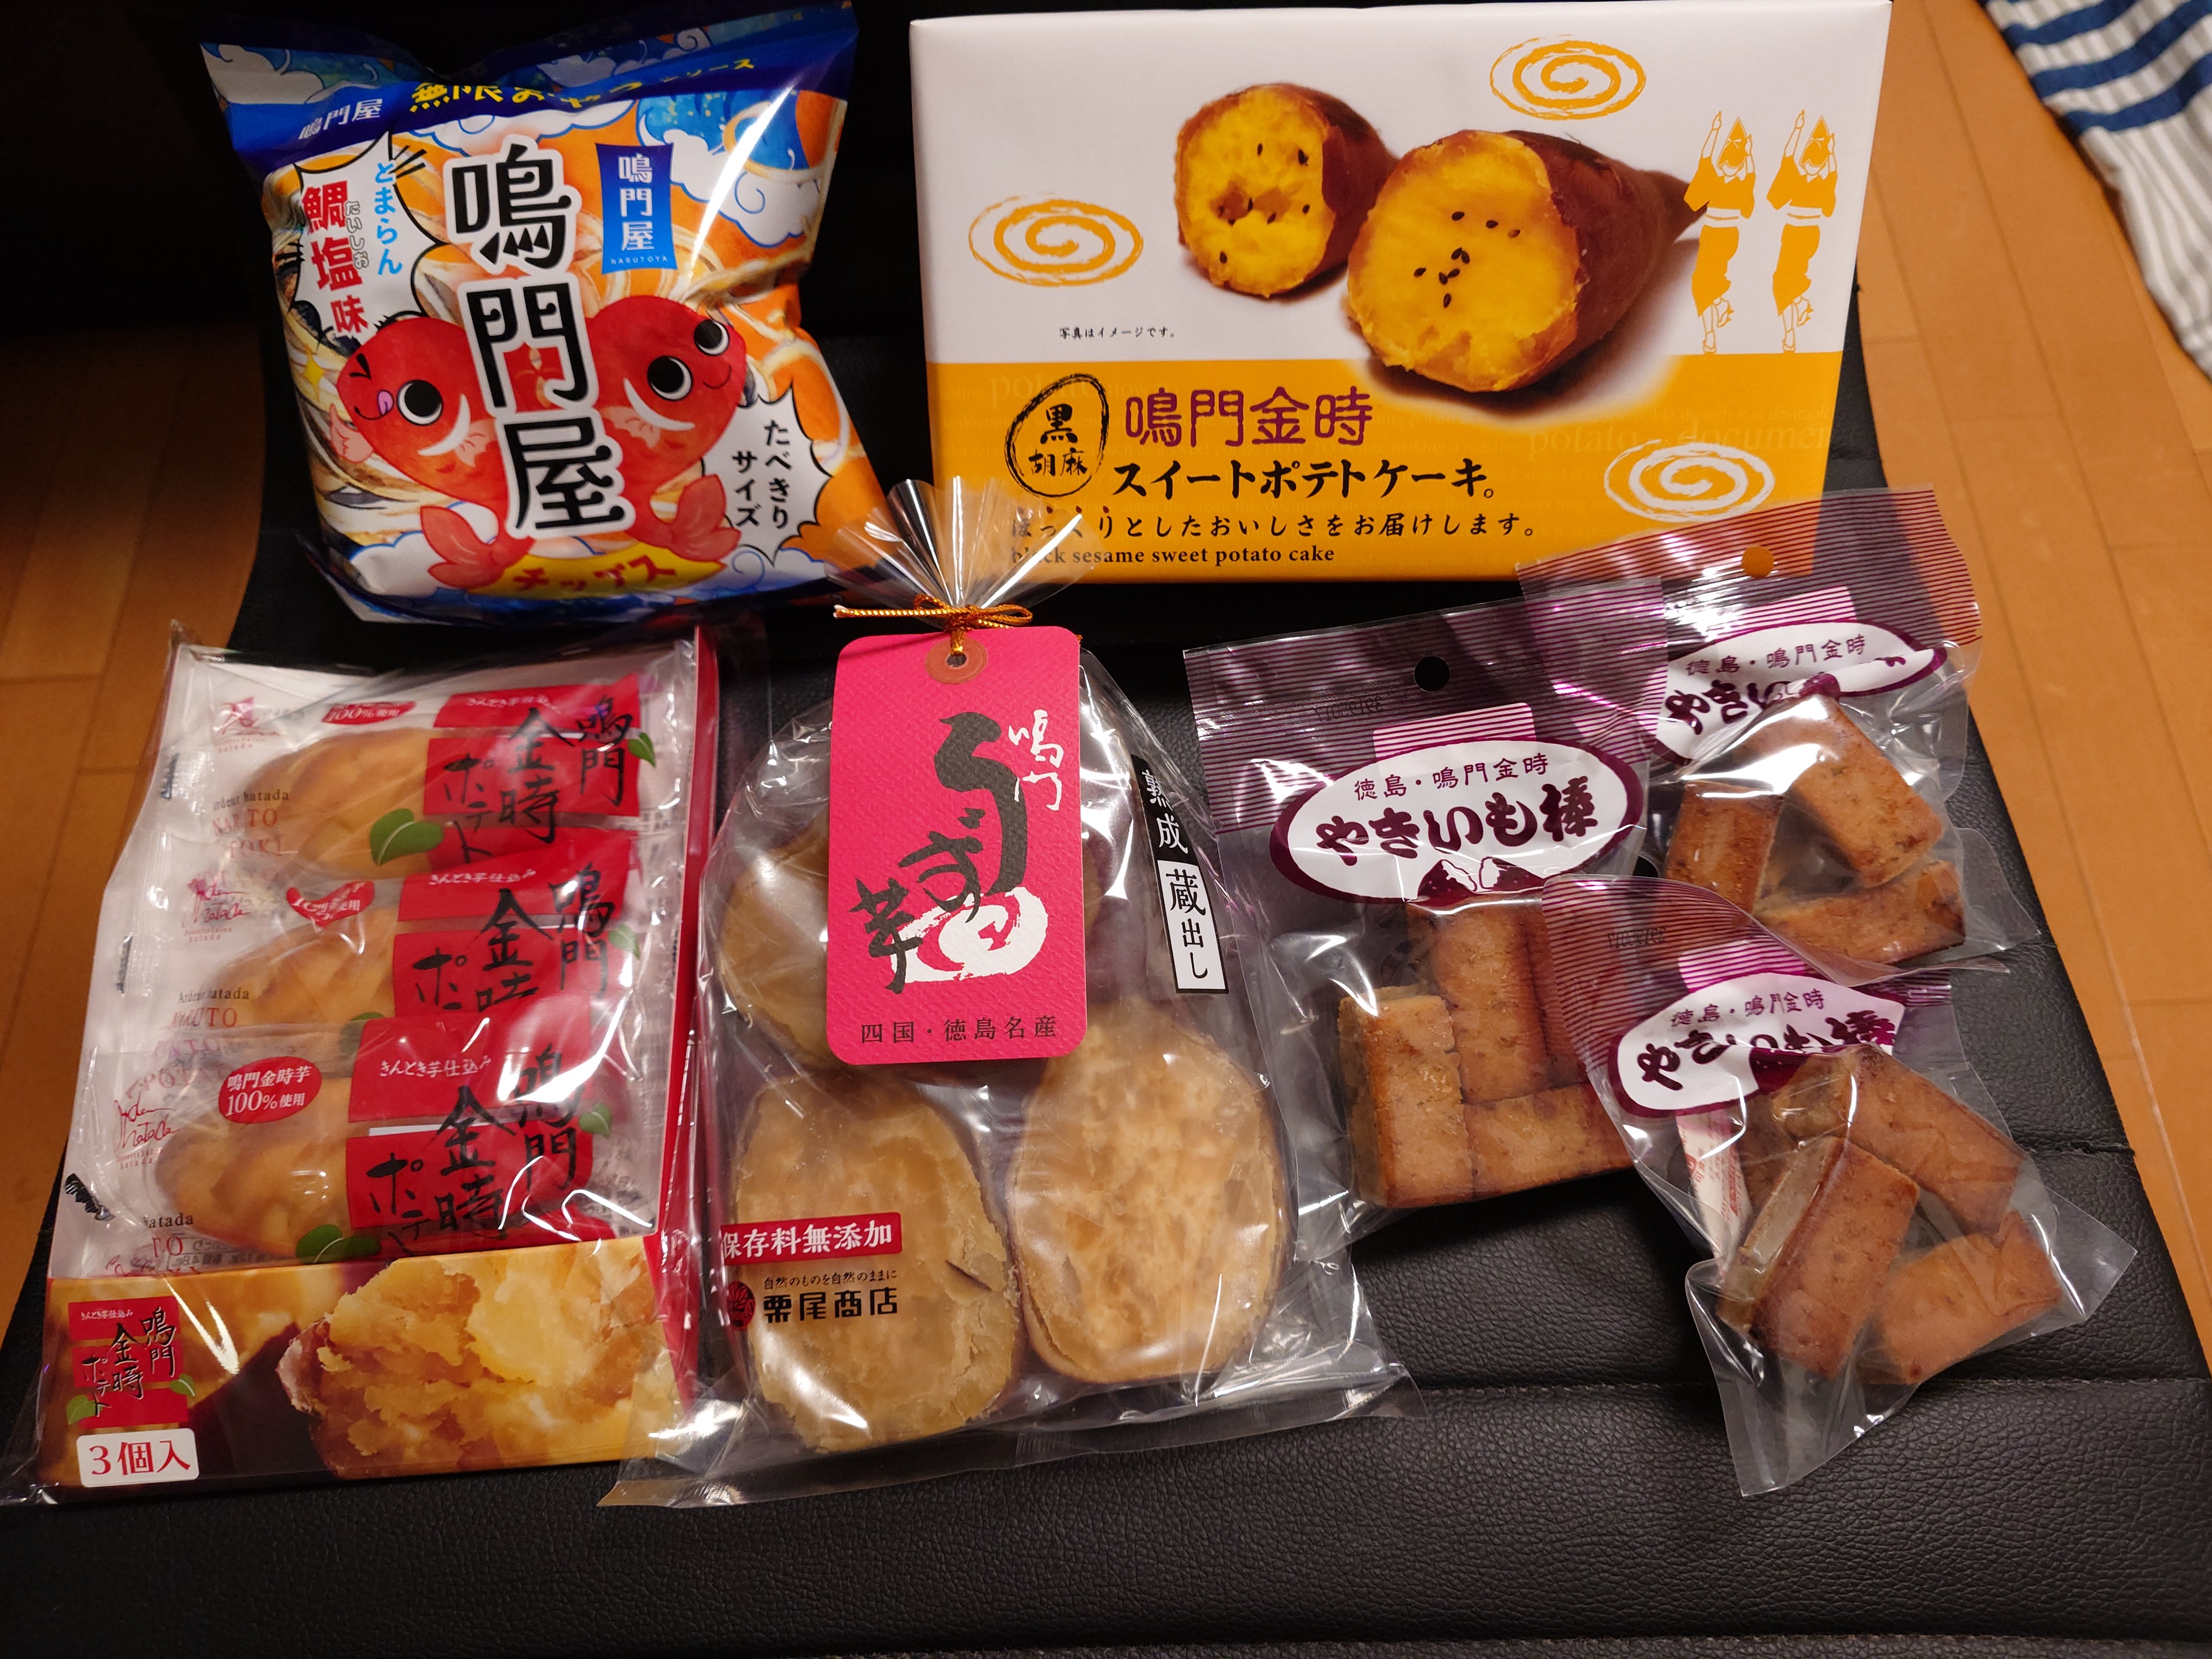
~郷土菓子編~
鳴門うず芋とやきいも棒は神戸阪急でも買えるため買ってきた意味は特にないのだが買ってきたやつ。やはり鳴門うず芋とやきいも棒の美味さが抜きんでていた。やきいも棒はサツマイモをすりつぶしたものを調味して固めたものと思われるが、皮まで入っており本格的だ。両方とも徳島県つるぎ町の栗尾商店のお菓子だ。このつるぎ町というのも、私にとって今回のマチアソビのキーワードの一つになっている。
鳴門屋チップスはなんとも言えないB級スナック感があり、一回食べたら二度はいいかなという感じのやつだった。
鳴門金時ポテトは愛媛のハタダ、鳴門金時スイートポテトは高松の民サ麺業というところが作っていた。うどん屋が徳島の洋菓子土産を作るのは面白いなと思ったが、調べたところ香川土産用に和三盆サブレを作っているようで、たぶんその繫がりなのだろう。多角化ってやつだ。
なお鳴門金時スイートポテトはサツマイモのうち鳴門金時9%使用とのことで、イマイチ徳島度が薄かった。日頃断水されている腹いせだろうか?(そんなことはない)

~食べ物編~
徳島に関係ないものが多々あるが気にしてはいけない。

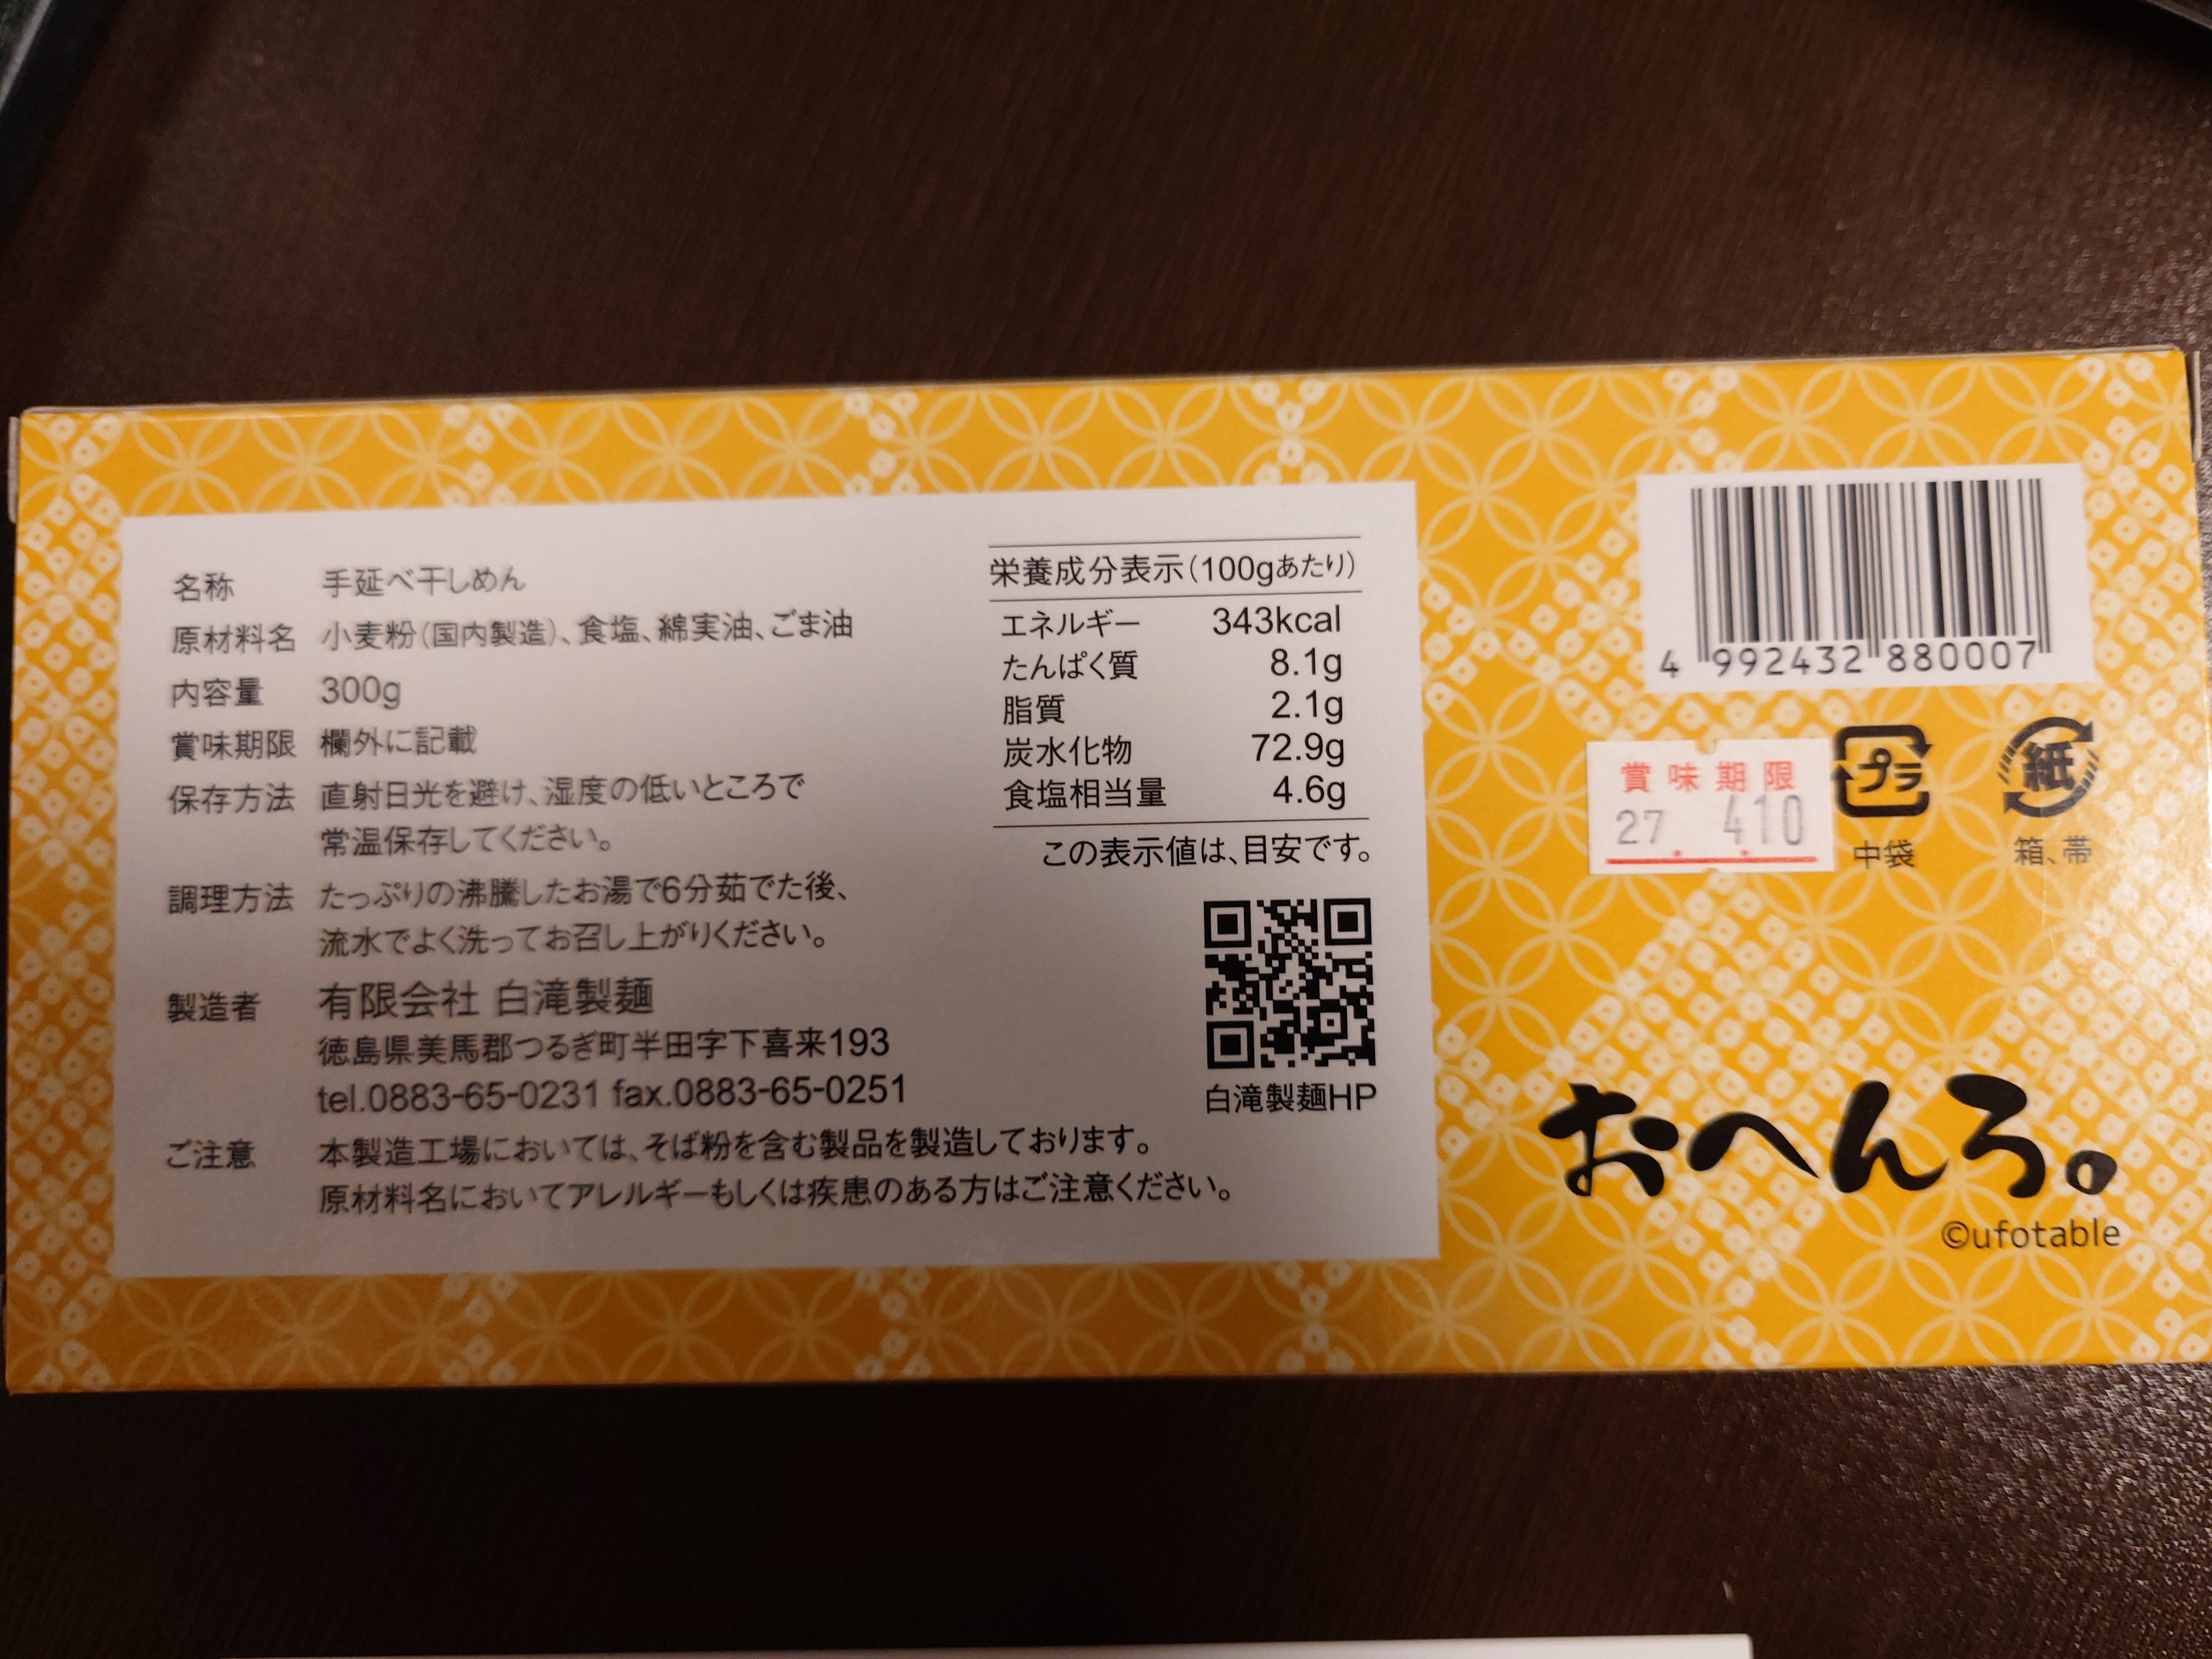
中でも目玉は間違いなく白滝製麺の手延べ半田そうめんだろう。「おへんろ。」とコラボしたパッケージは非常に特徴的で、マチアソビという感じがすごくある。

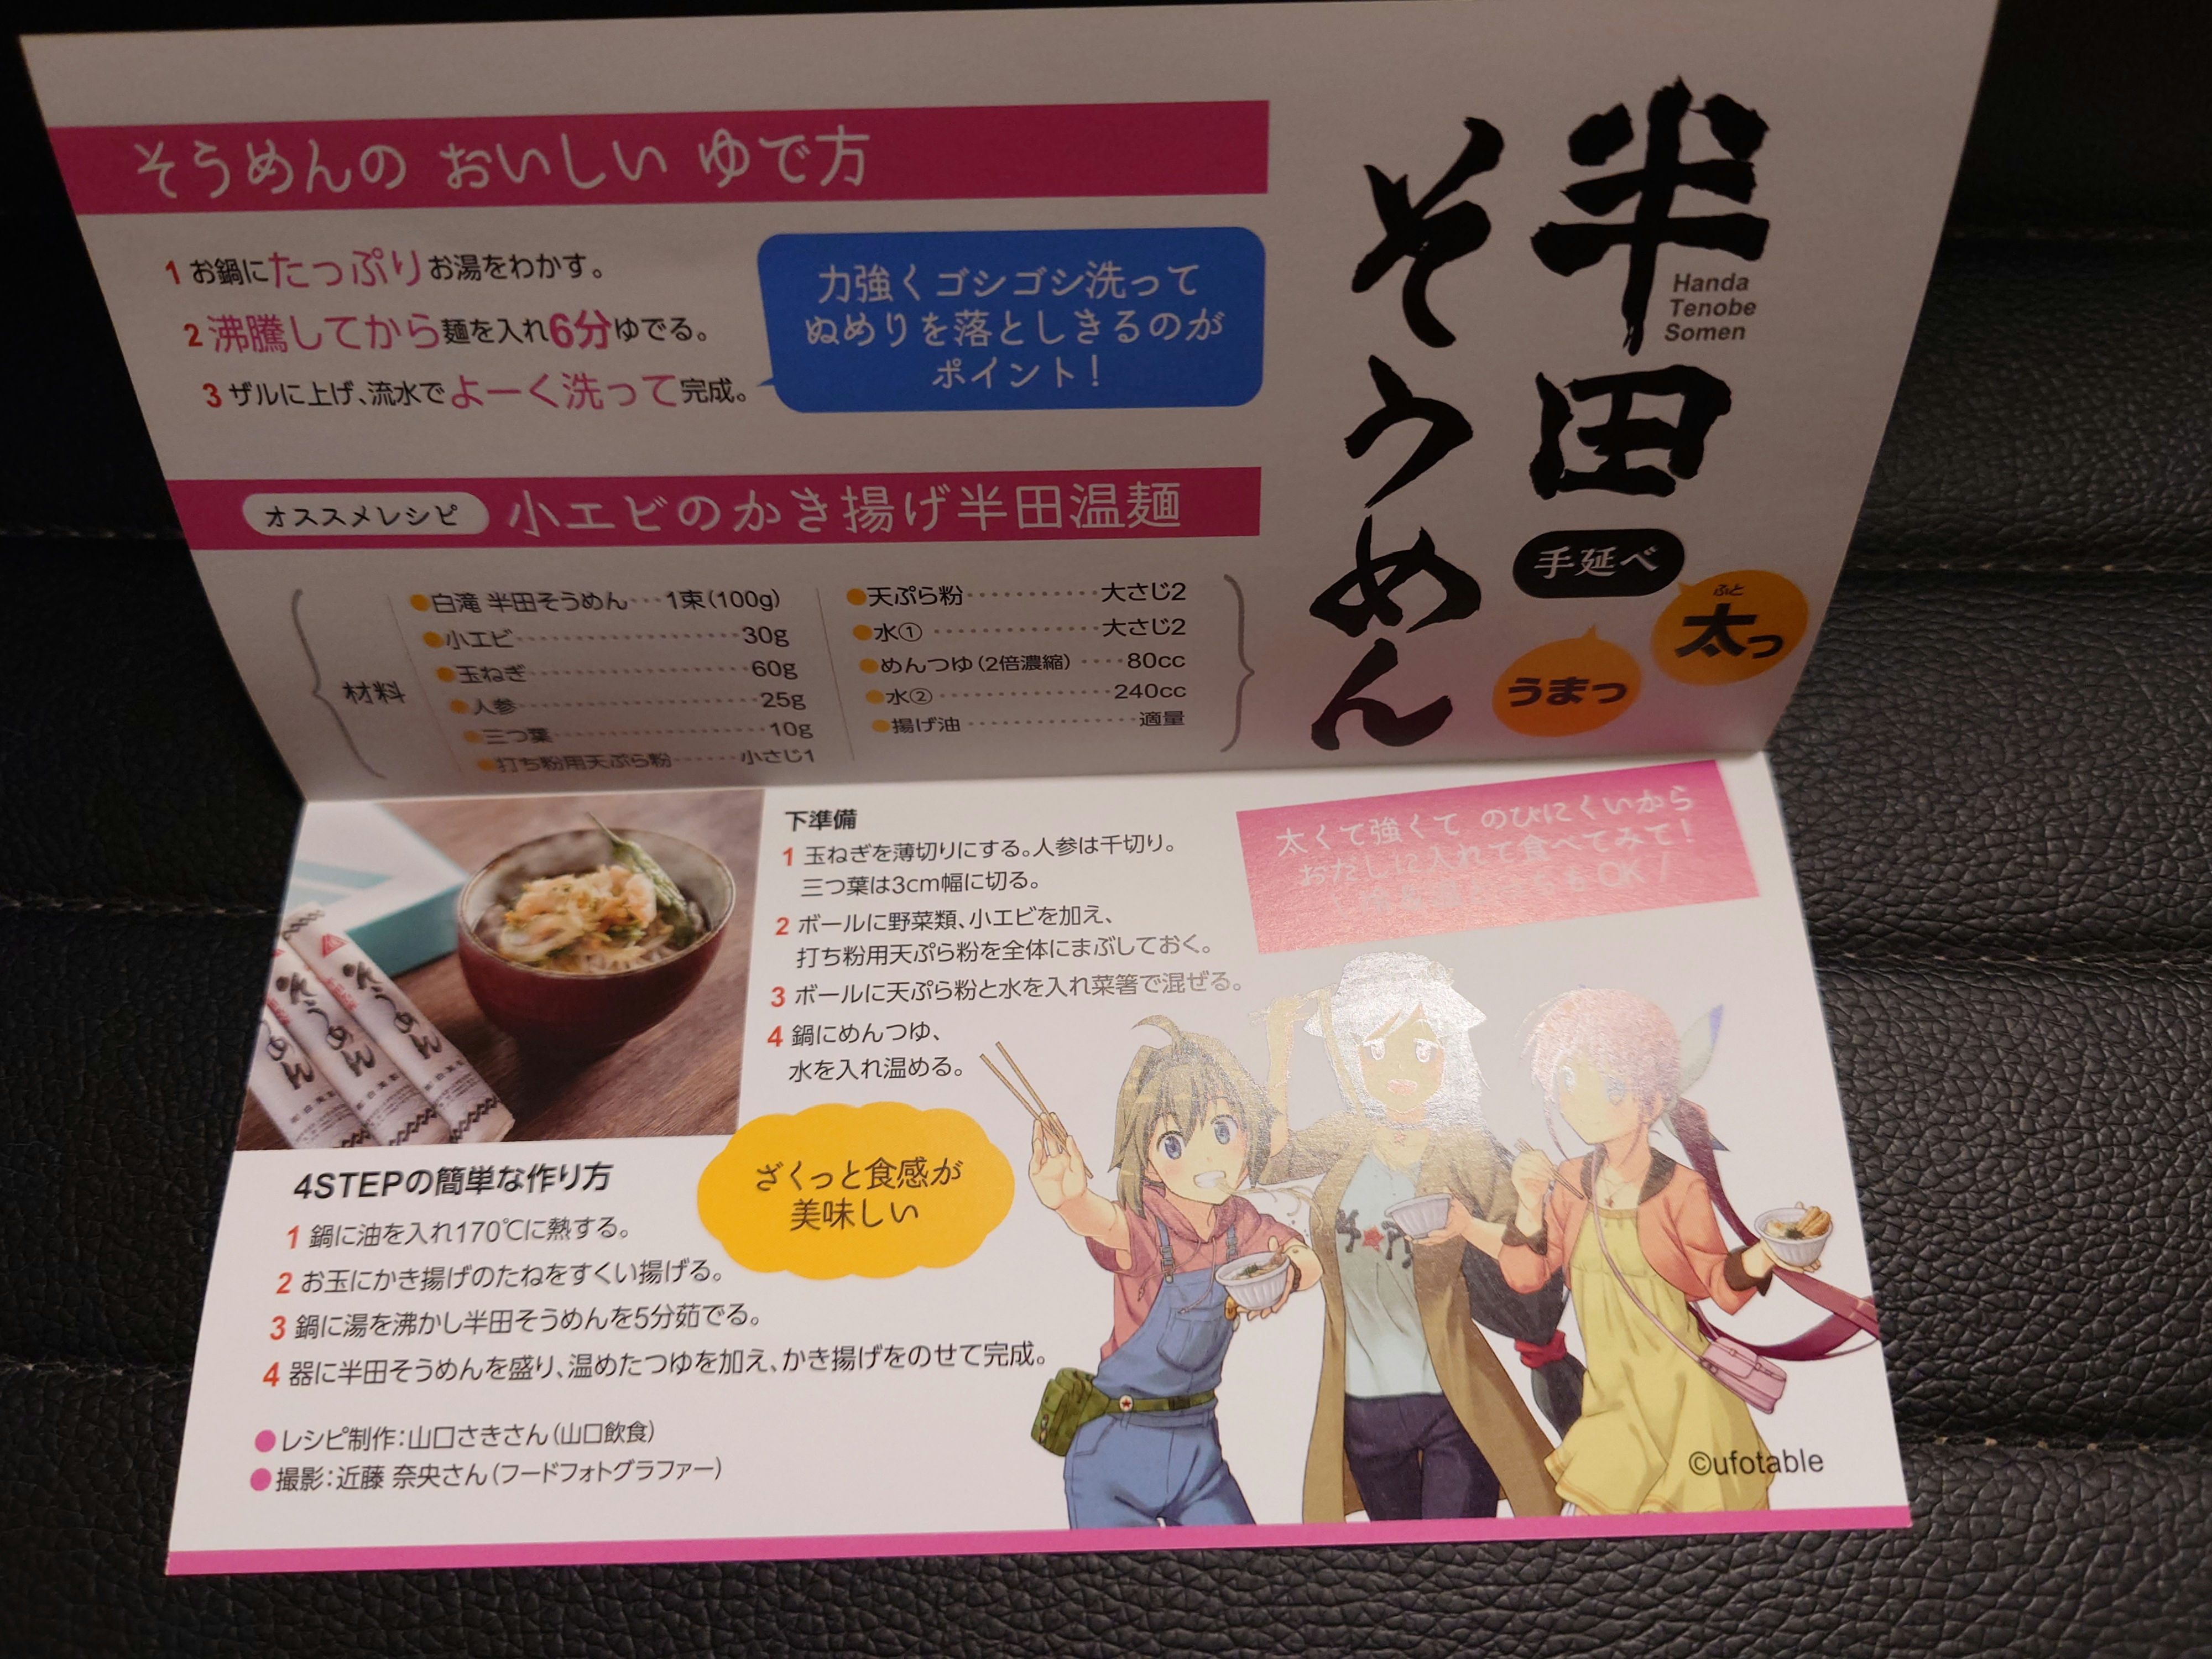
中にはパンフレットまで入っており、非常に素晴らしい。それもよくある説明口調ではなくとても可愛らしい書き方になっているのもポイントだ。
イラストもアス比がちゃんとしており、とてもいい。素晴らしい。最高だ。
そして、この半田そうめんも徳島県つるぎ町で作られている名産品の一つだ。冷や麦並みに太いのが特徴で、半田手延べそうめん協同組合によると、JAS規格上はひやむぎだが、江戸時代より続く伝統と麺文化の地域性が認められ、特別に「そうめん」と表記できることとなっているそうで、現代においても伝統を守られていることがうかがえる。
実際に作って食べてみたが、間違いなく冷や麦ではなく、しかし揖保乃糸でもない、これは半田そうめんだ。できる限り無理なくマチアソビにあったものを再現できるレシピを作っているので別記事にレシピを載せておいた。
白滝製麺の手延べ半田そうめんは通常パッケージであれば山陽百貨店地価のスーパーでも手に入れることができるため、徳島県まで行かなくても食べられるのはうれしいポイントだ。また、手延べ半田そうめんだけであれば三宮近辺のスーパーなら大抵置いてあるため入手が容易だ。その場合、ほとんどは小野製麺の商品になるだろう。
「おへんろ。」コラボパッケージも徳島県物産協会の通販サイトで手に入るようだ。徳島駅の土産売り場のやつは売り切れたと耳にしたので、こちらが確実だろう。
徳島県つるぎ町を舞台としたRPG「ツルギスタ」

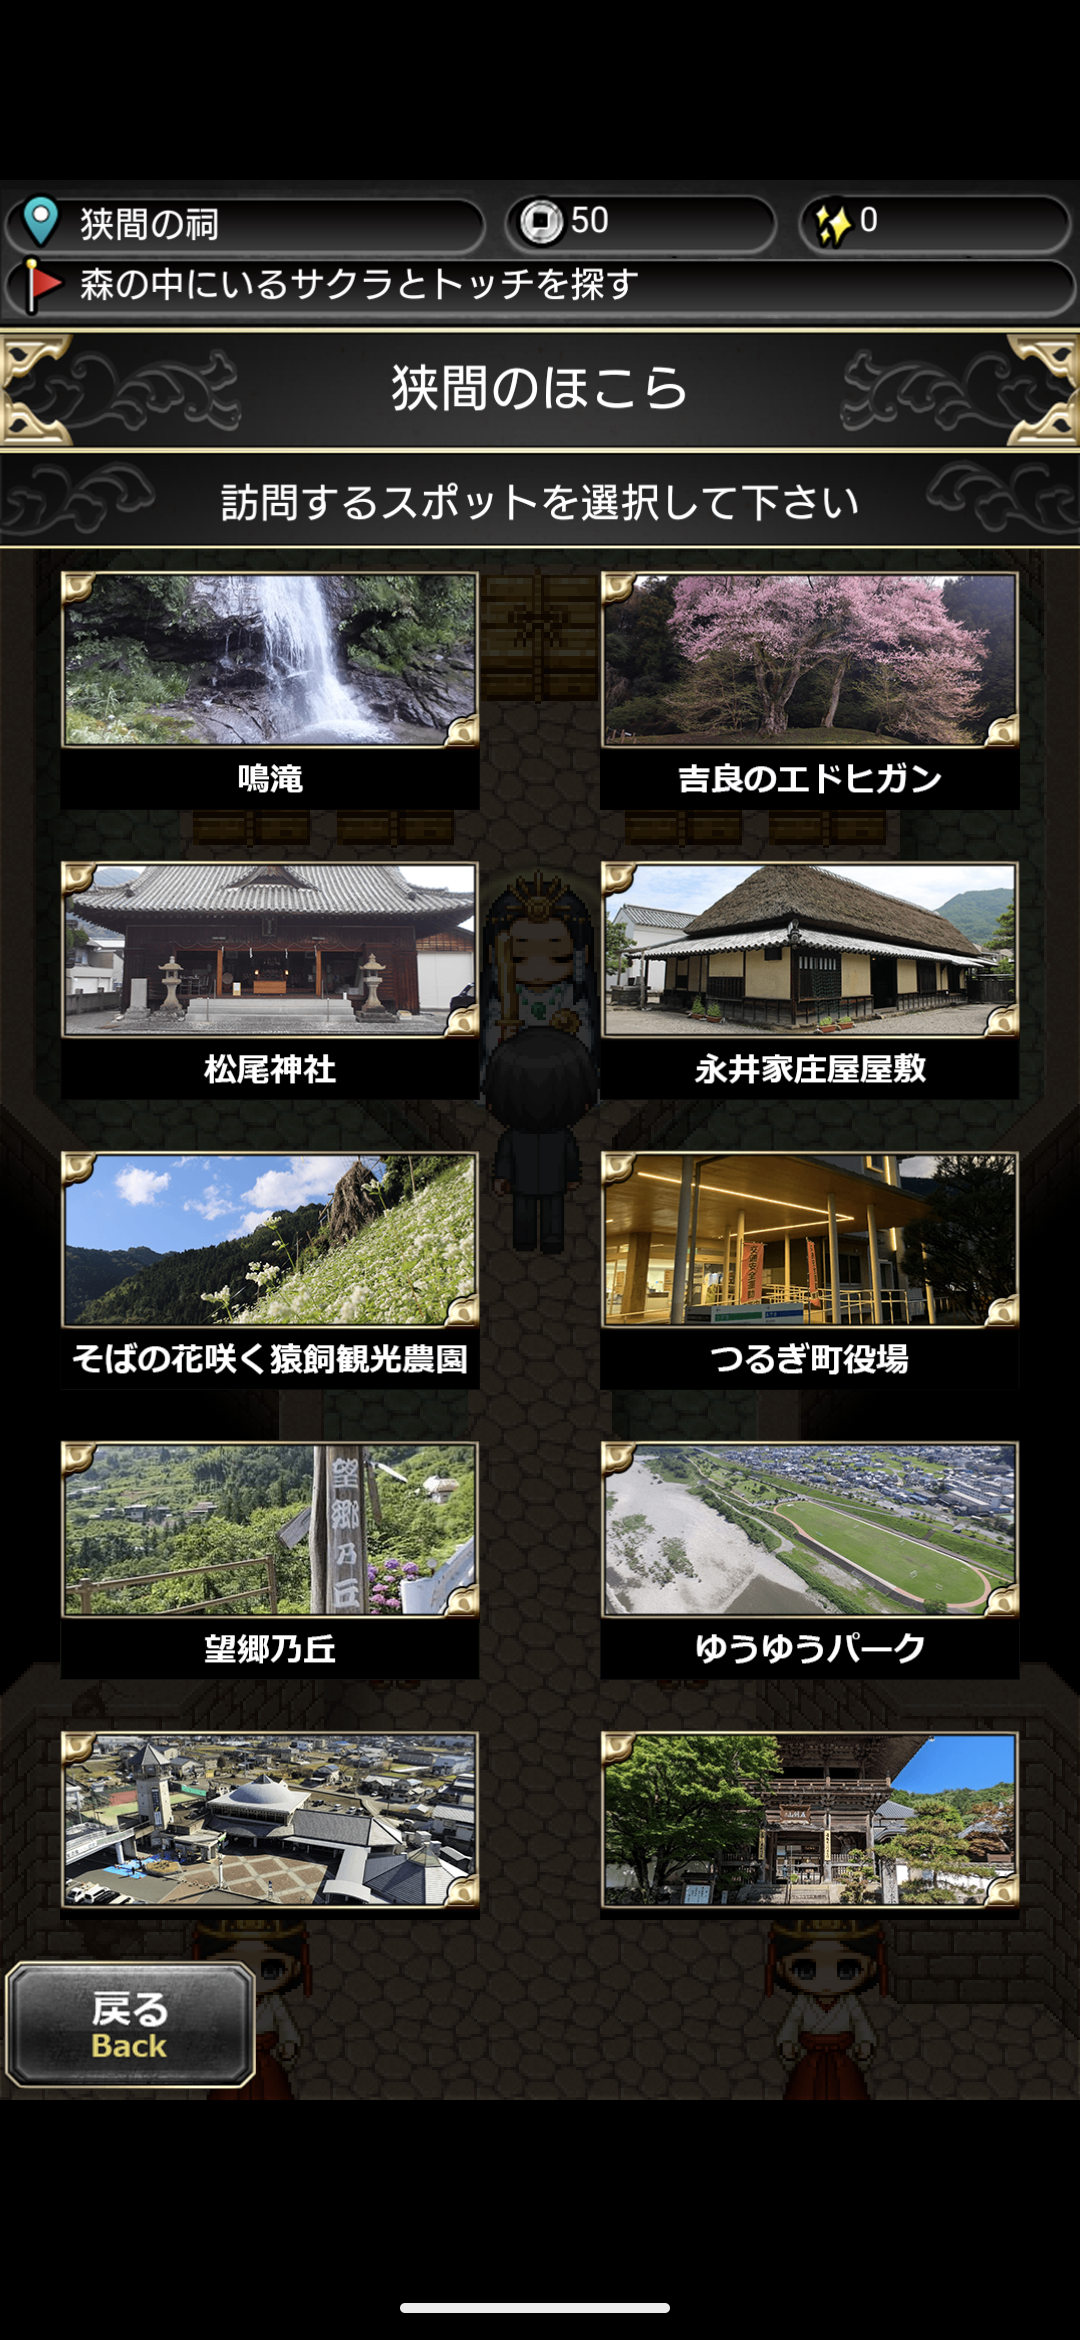
マチアソビでは実際に赴くことができなかったが、徳島県つるぎ町という、この記事に何度か出てきた自治体がツルギスタというRPGを作っており、後日それをプレイすることができた。
現地で気づけていたらグッズなどが貰えたそうなのでちょっと惜しかった。
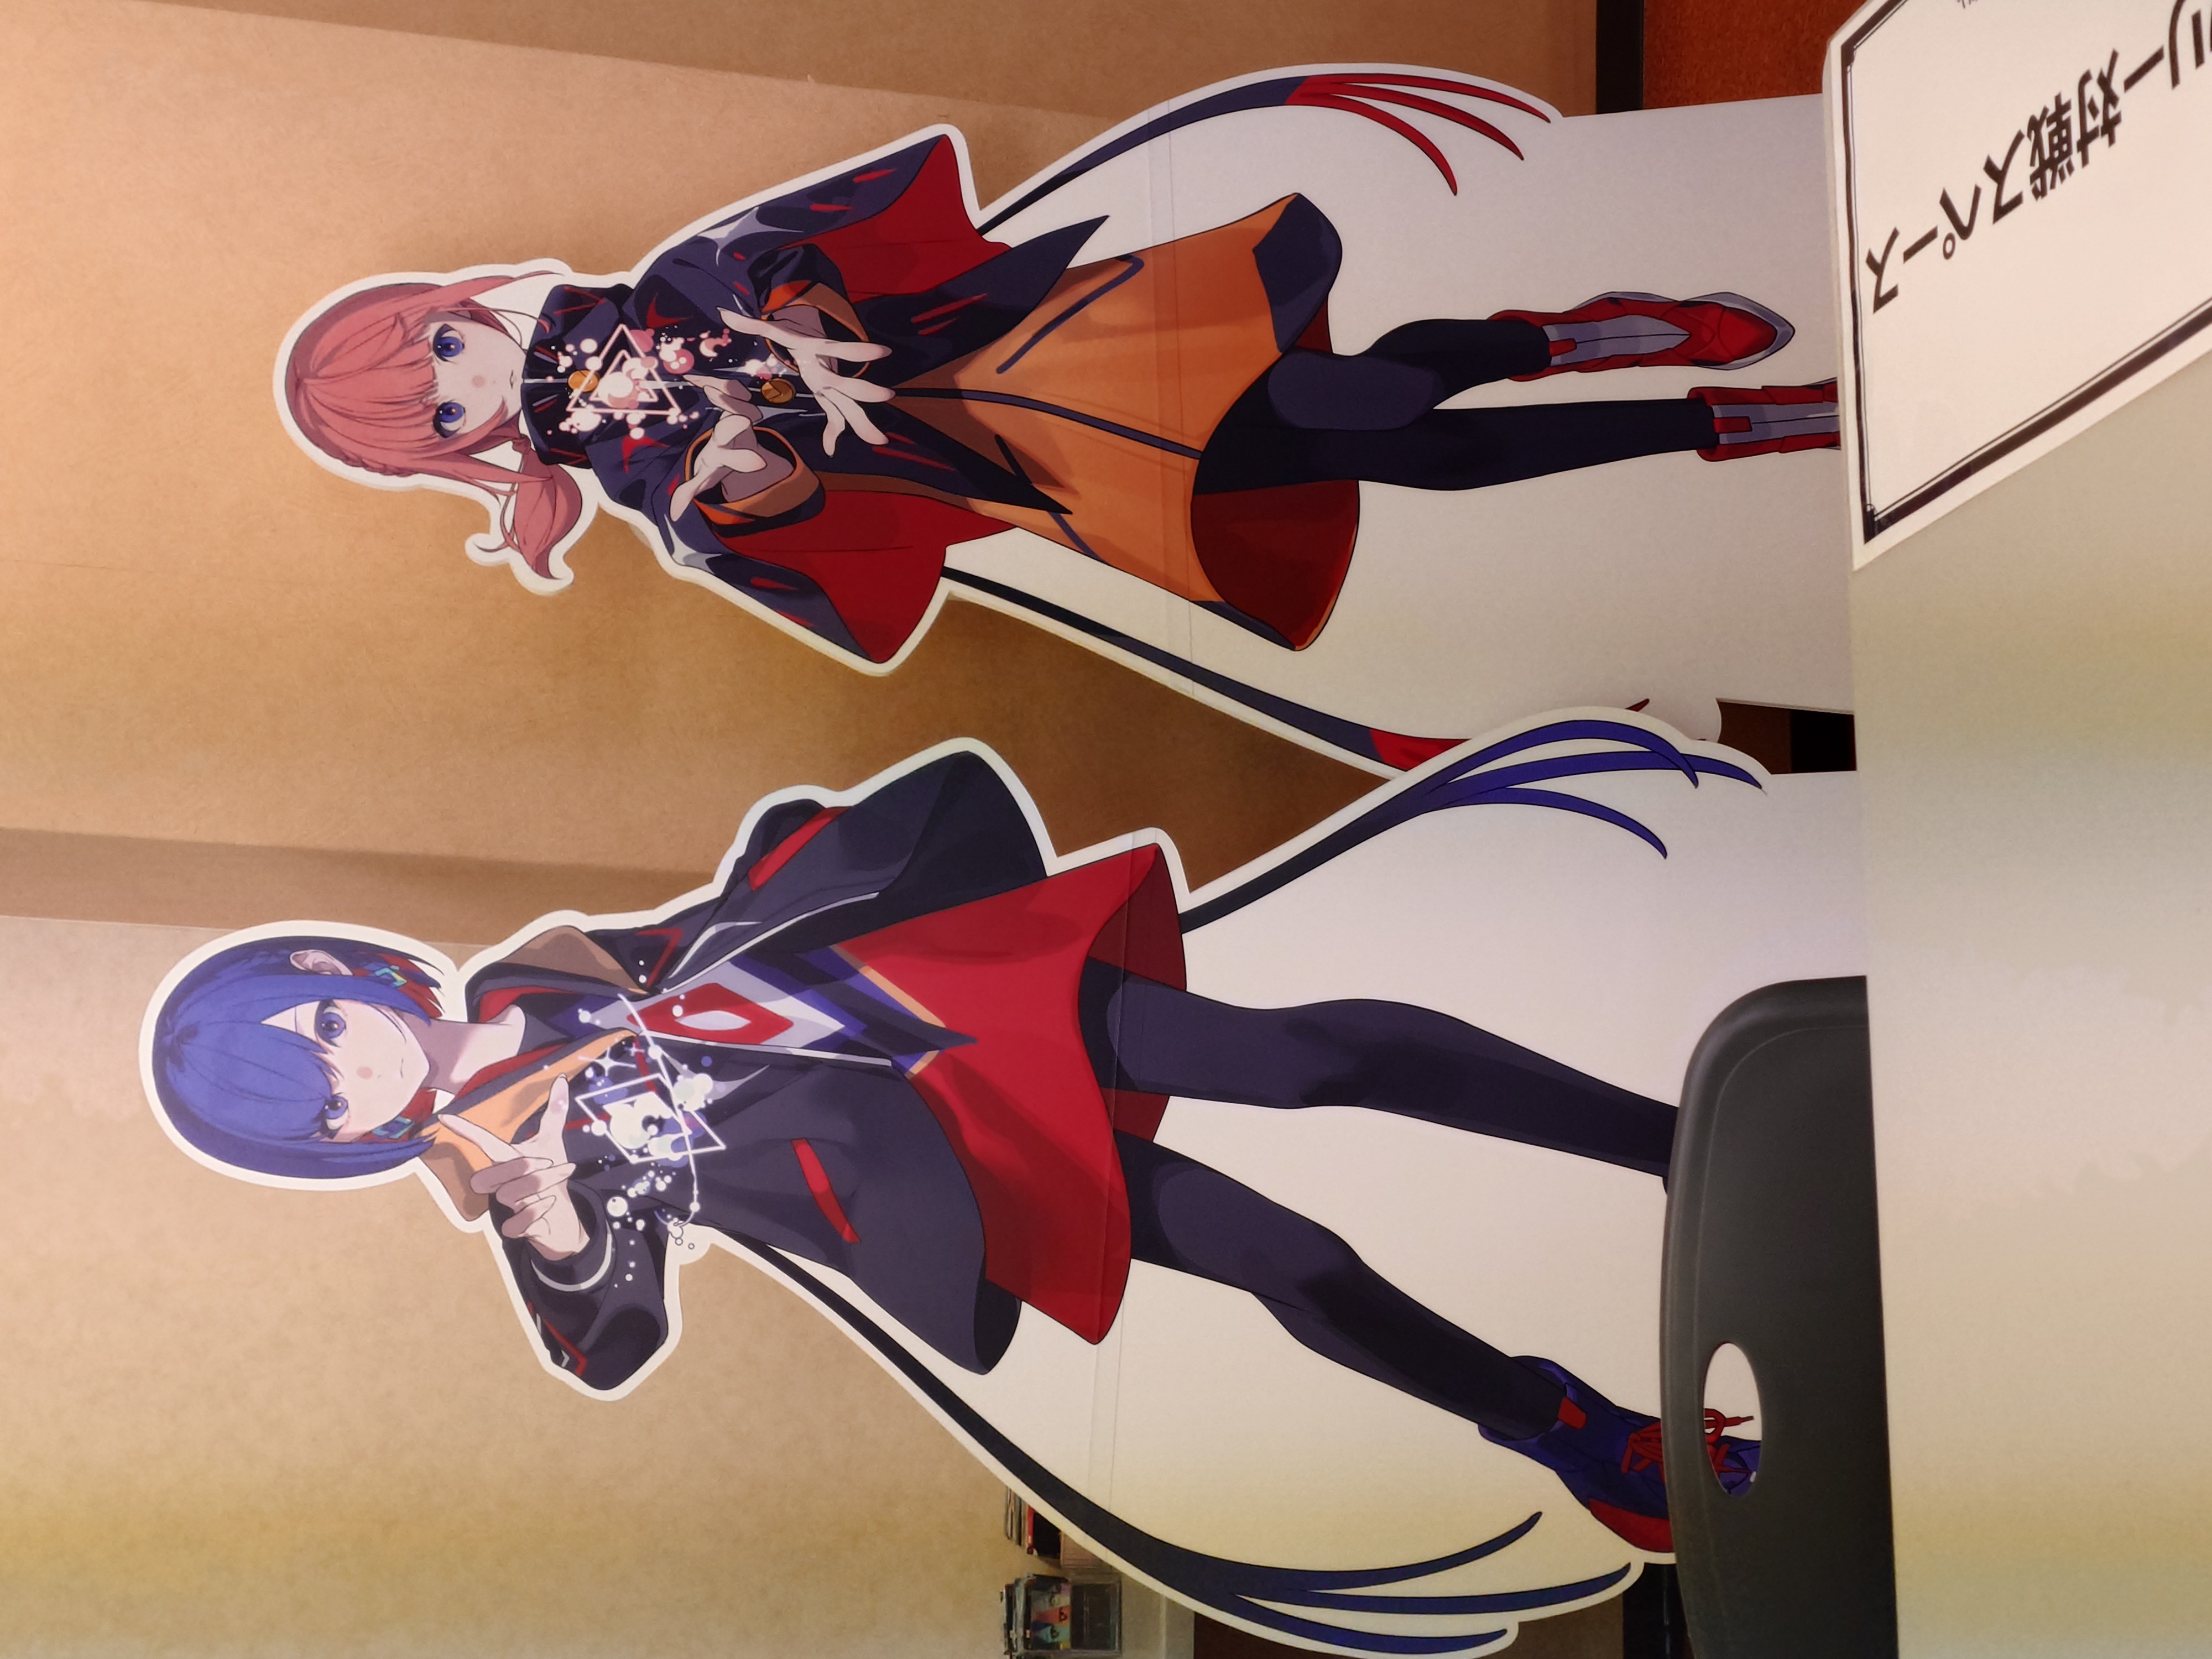
キャラクターのビジュアルがかわいい
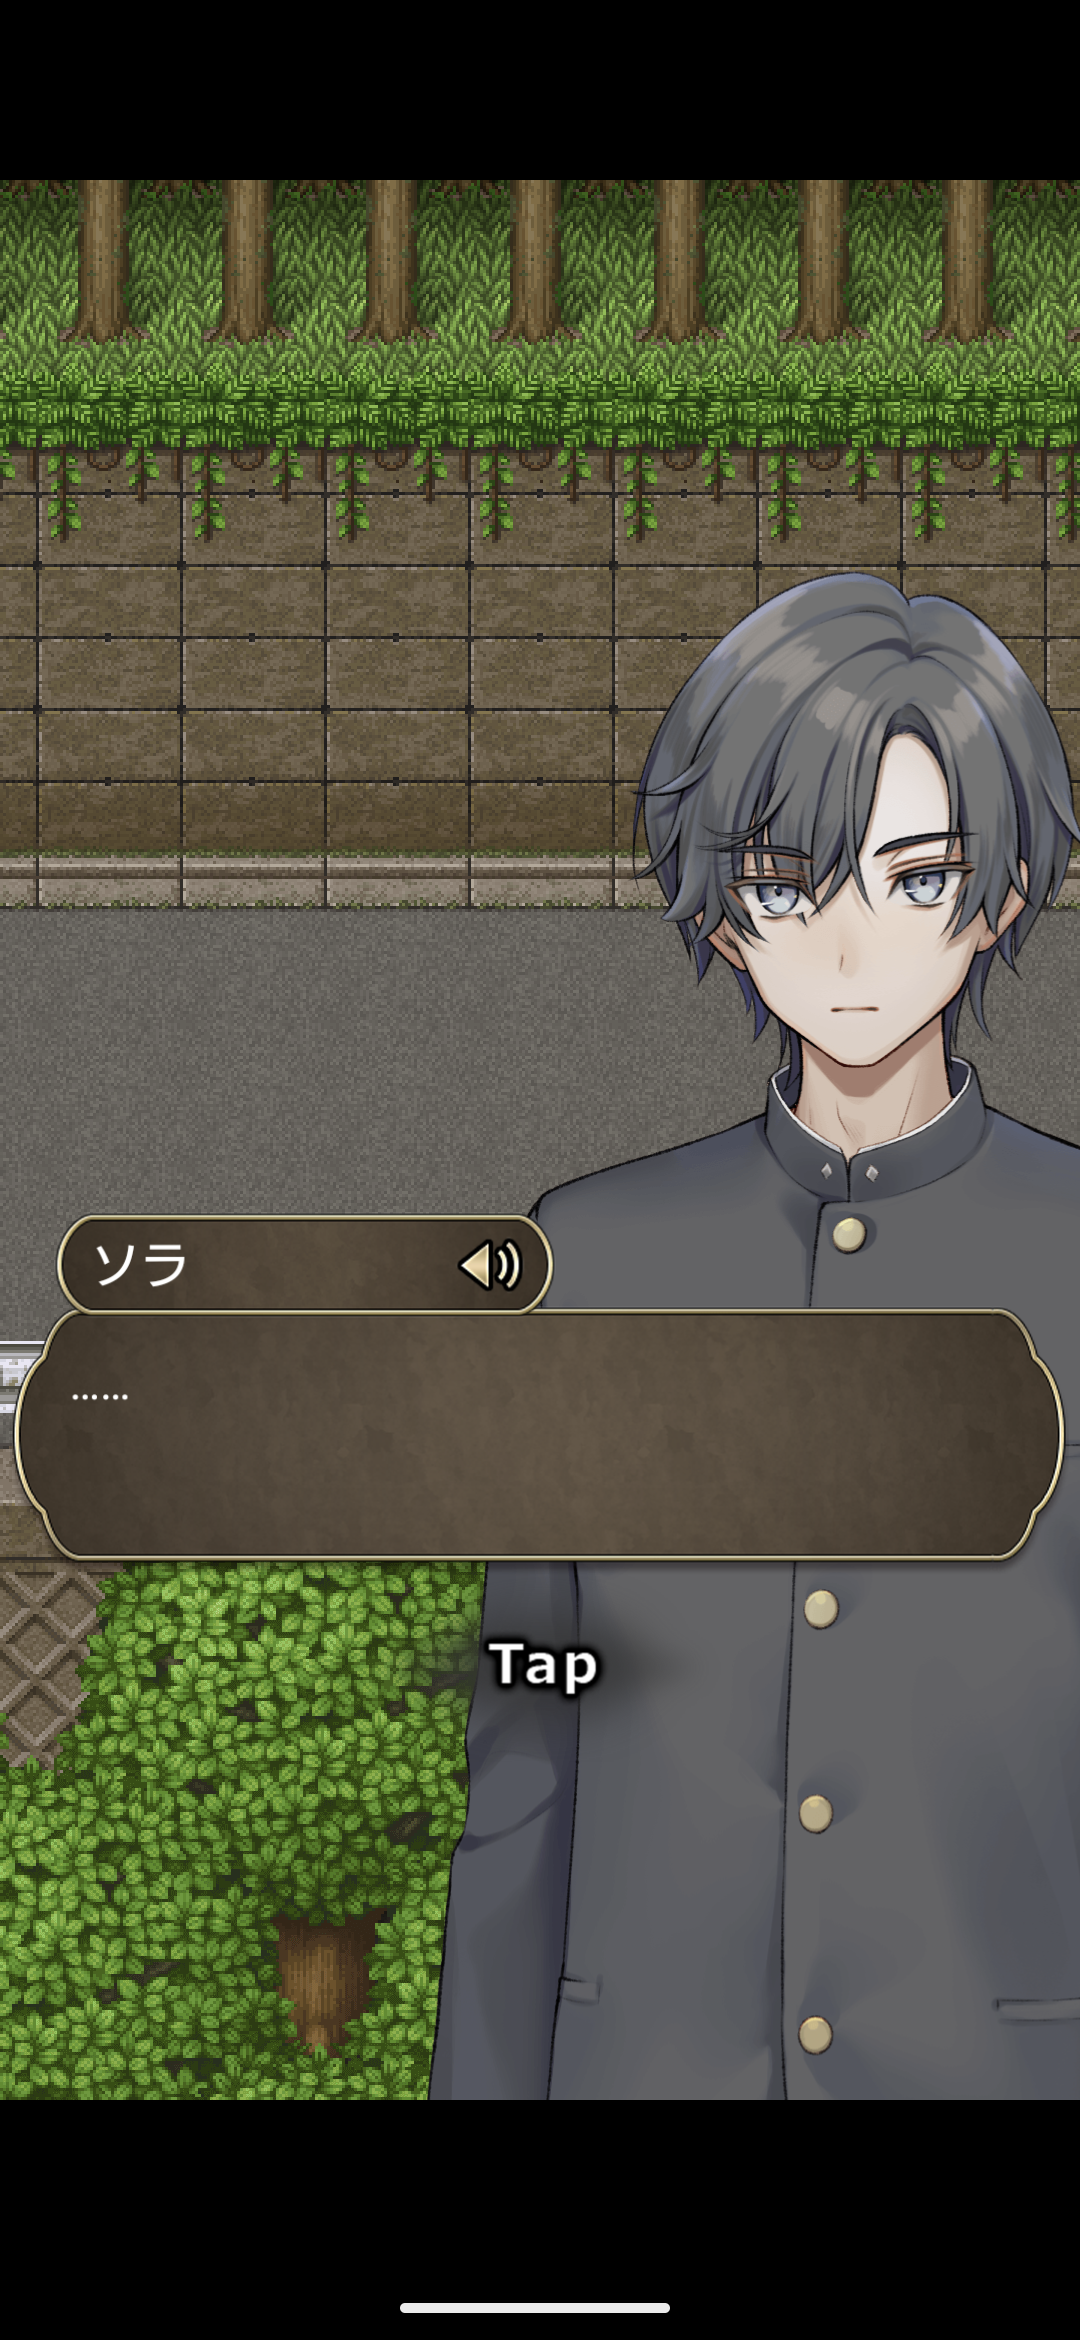
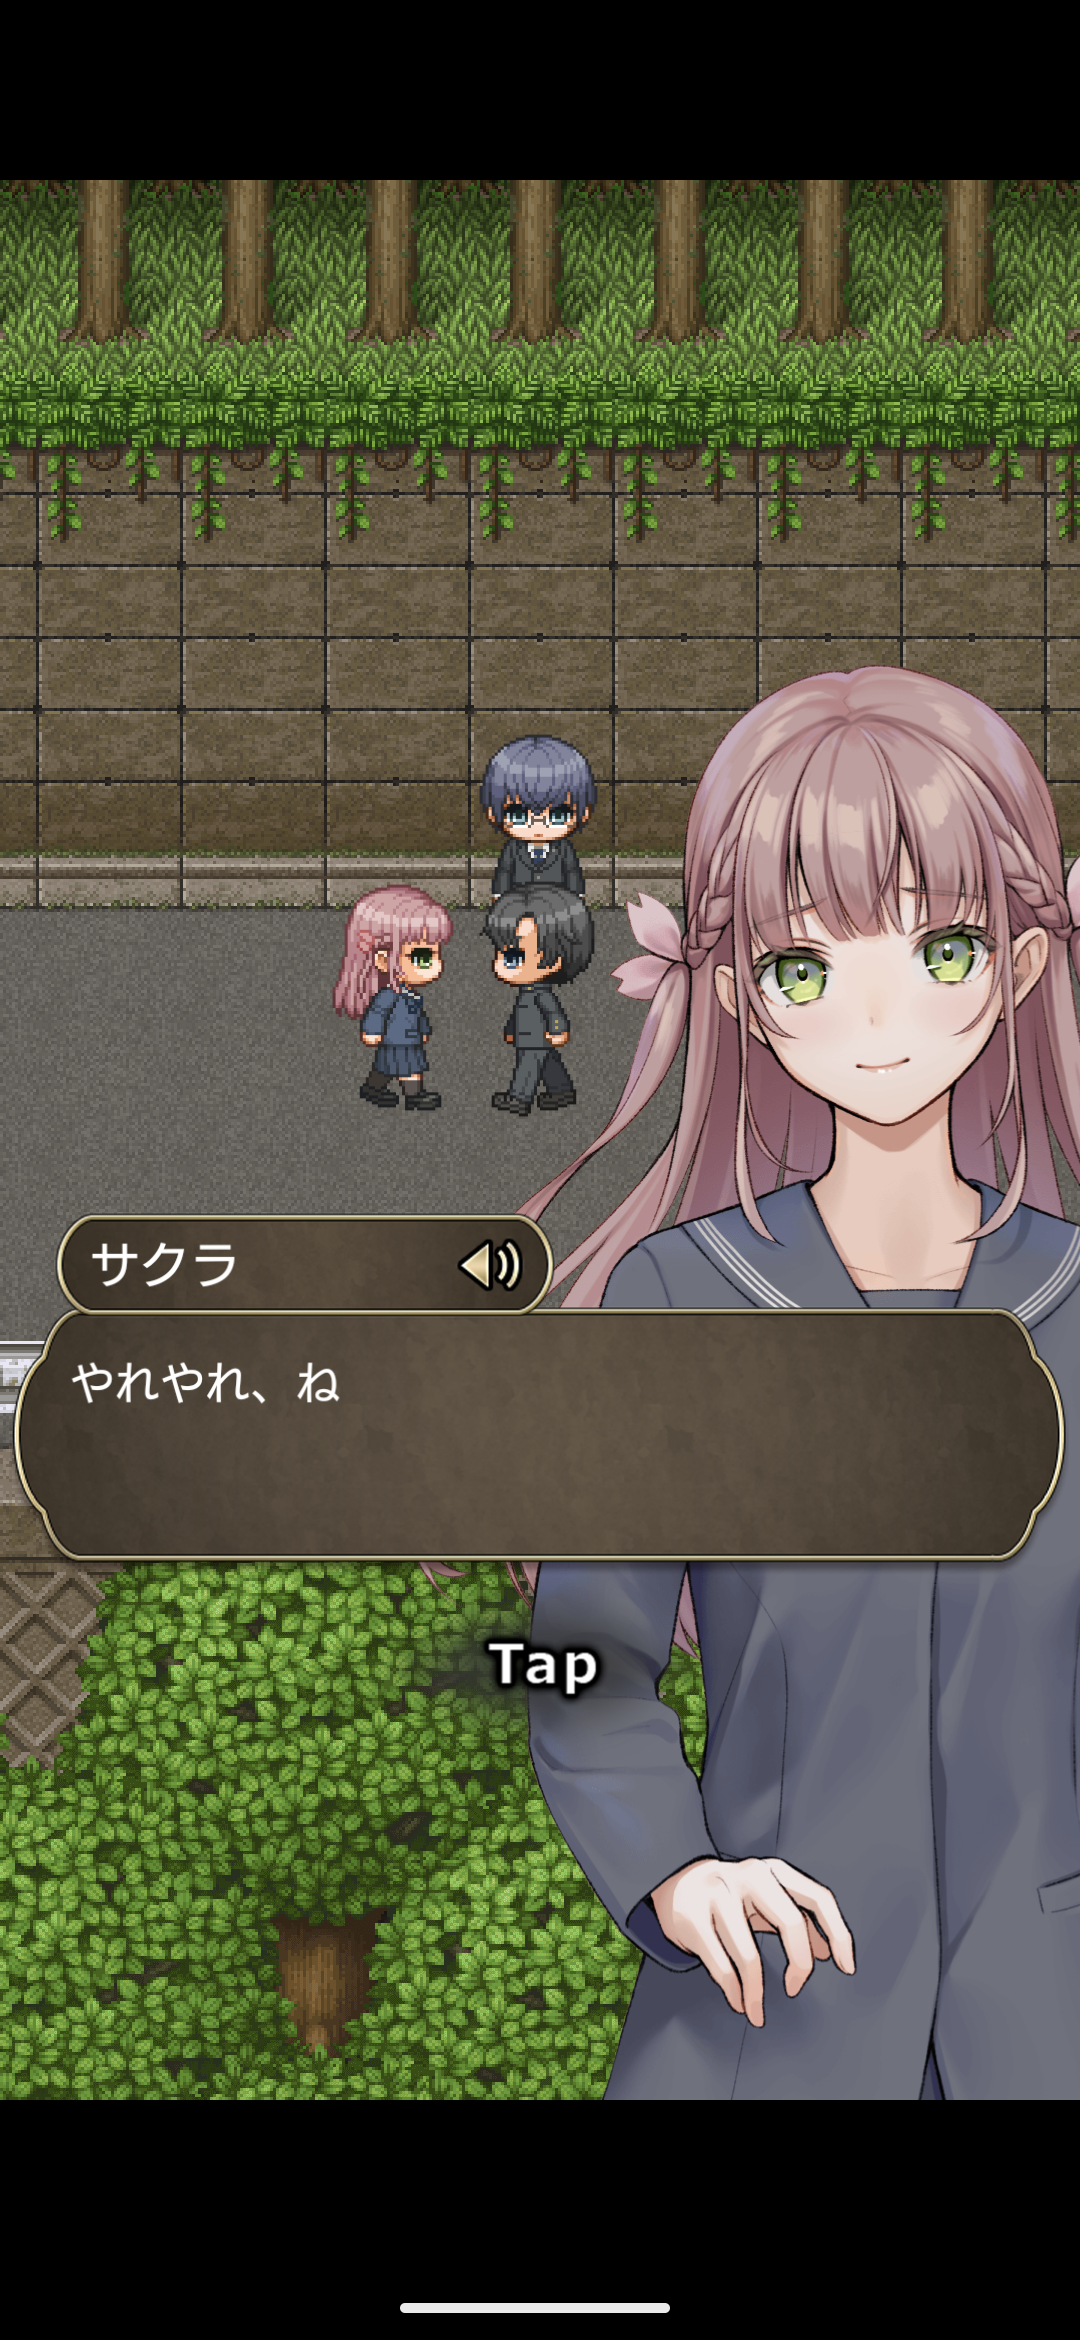
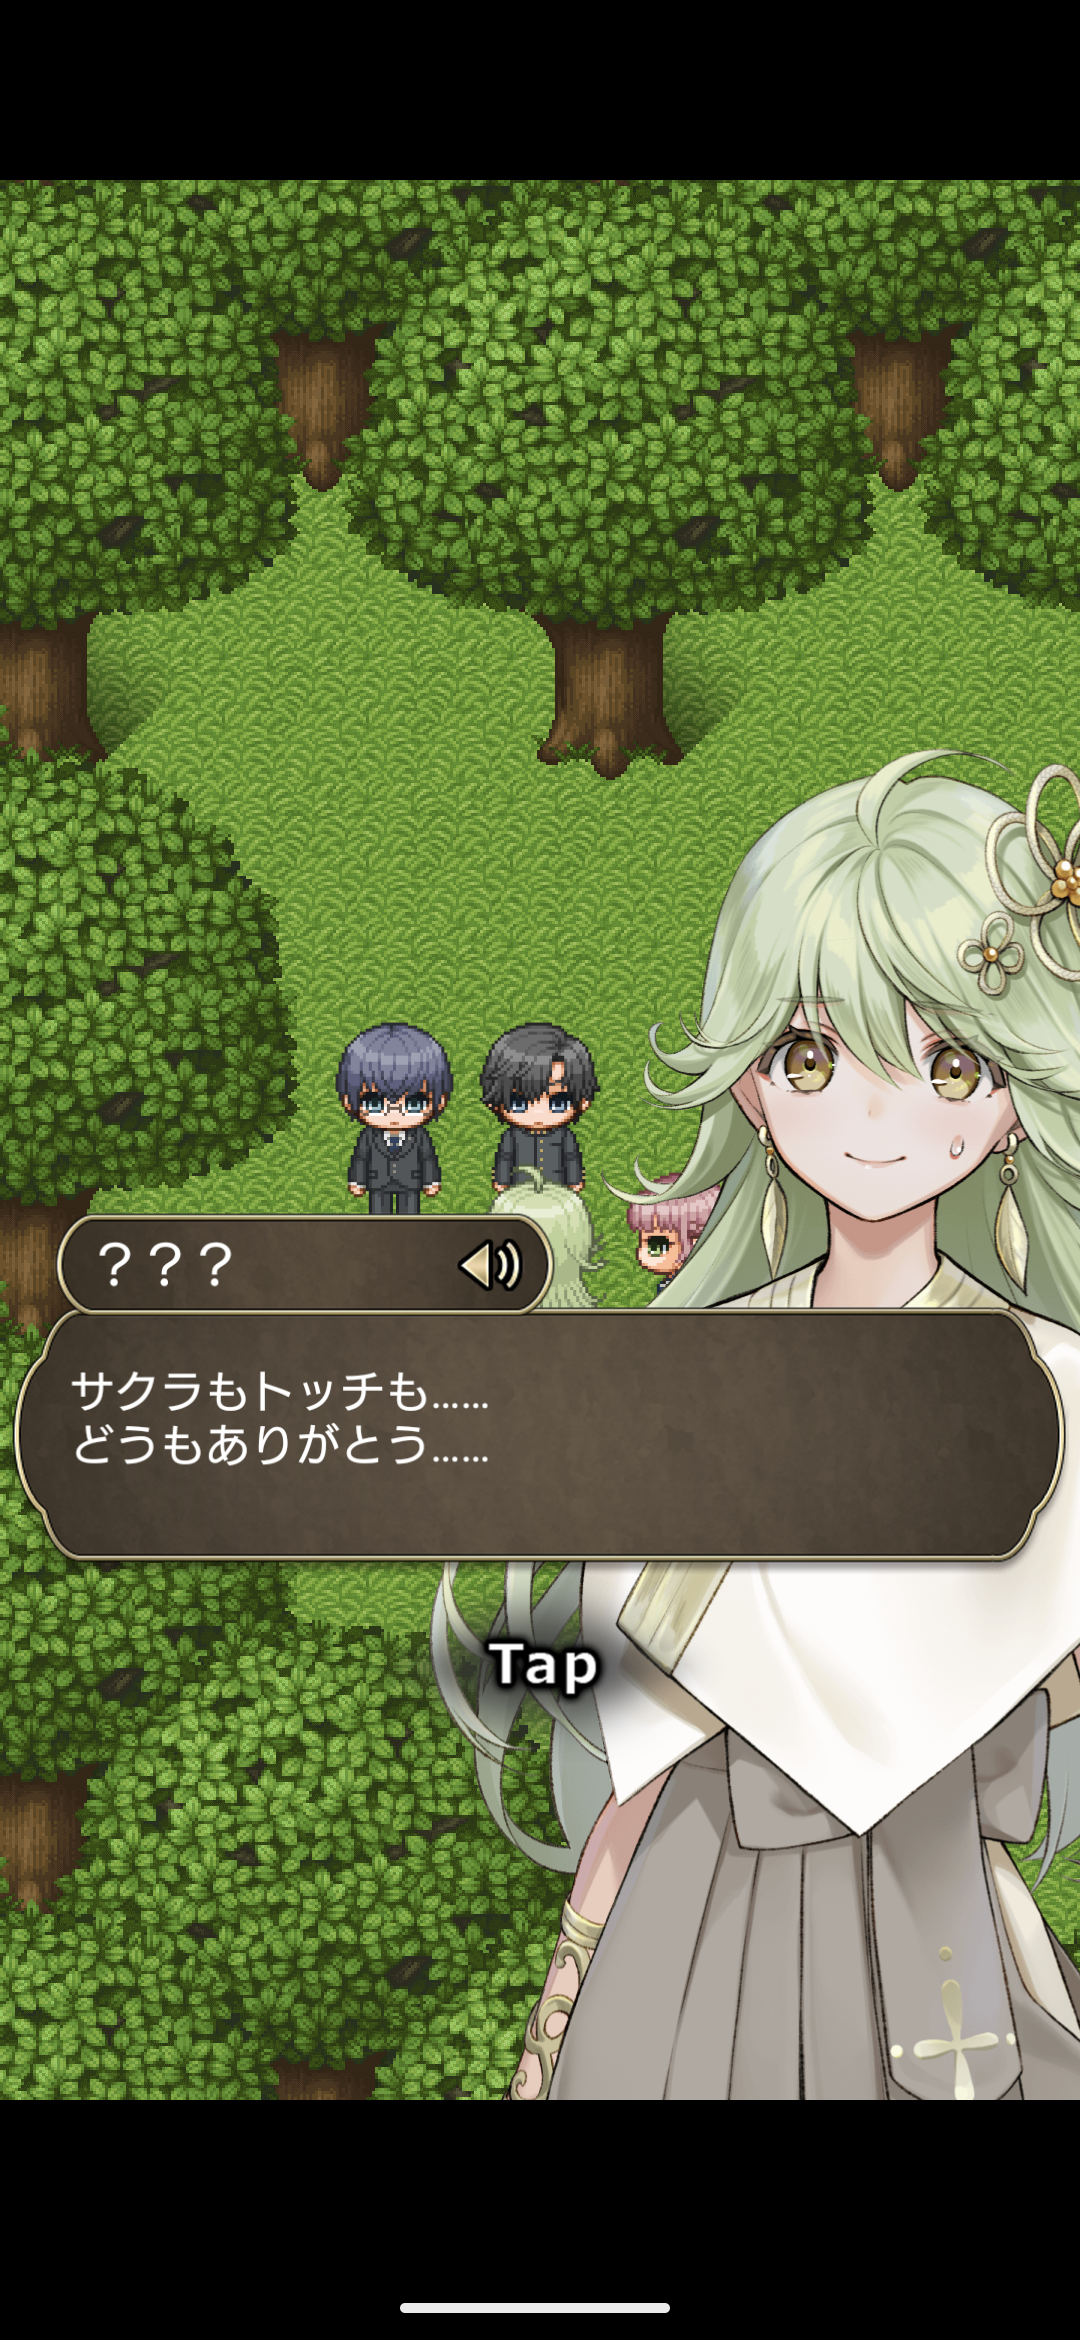
さて肝心のゲームのほうだが、まずキャラクターが非常にかわいい。CVもあり、プロの声優を起用しているためクオリティもちゃんとしている。
RPGとしてよく出来ている
しかもお役所が作ったゲーム感は薄く、やりこみ要素もちゃんとある。例えばダンジョンでイベントが発生し、強制的に移動させられた後、元の場所に戻ると宝箱がある、隠し通路がある、ゲーム序盤で難易度の高い場所に移動できレベリングや強力な装備を手に入れられるなど、趣向が凝らされている。
他にもストーリーの進行に伴い、序盤のフィールドの敵が強くなるとか、RPGとしてしっかりと作りこまれている。グラフィックもスーファミを彷彿とさせるレトロさがあるのが良い。
キャストには徳島県出身の声優が起用されており、メインテーマも徳島県出身のシンガーソングライター、皆谷尚美さんが担当しているとのことで、非常に徳島色の強い作品となっている。
舞台はつるぎ町
勿論ゲームとしてちゃんとしているだけではなく、内容もちゃんとつるぎ町がテーマになっている。
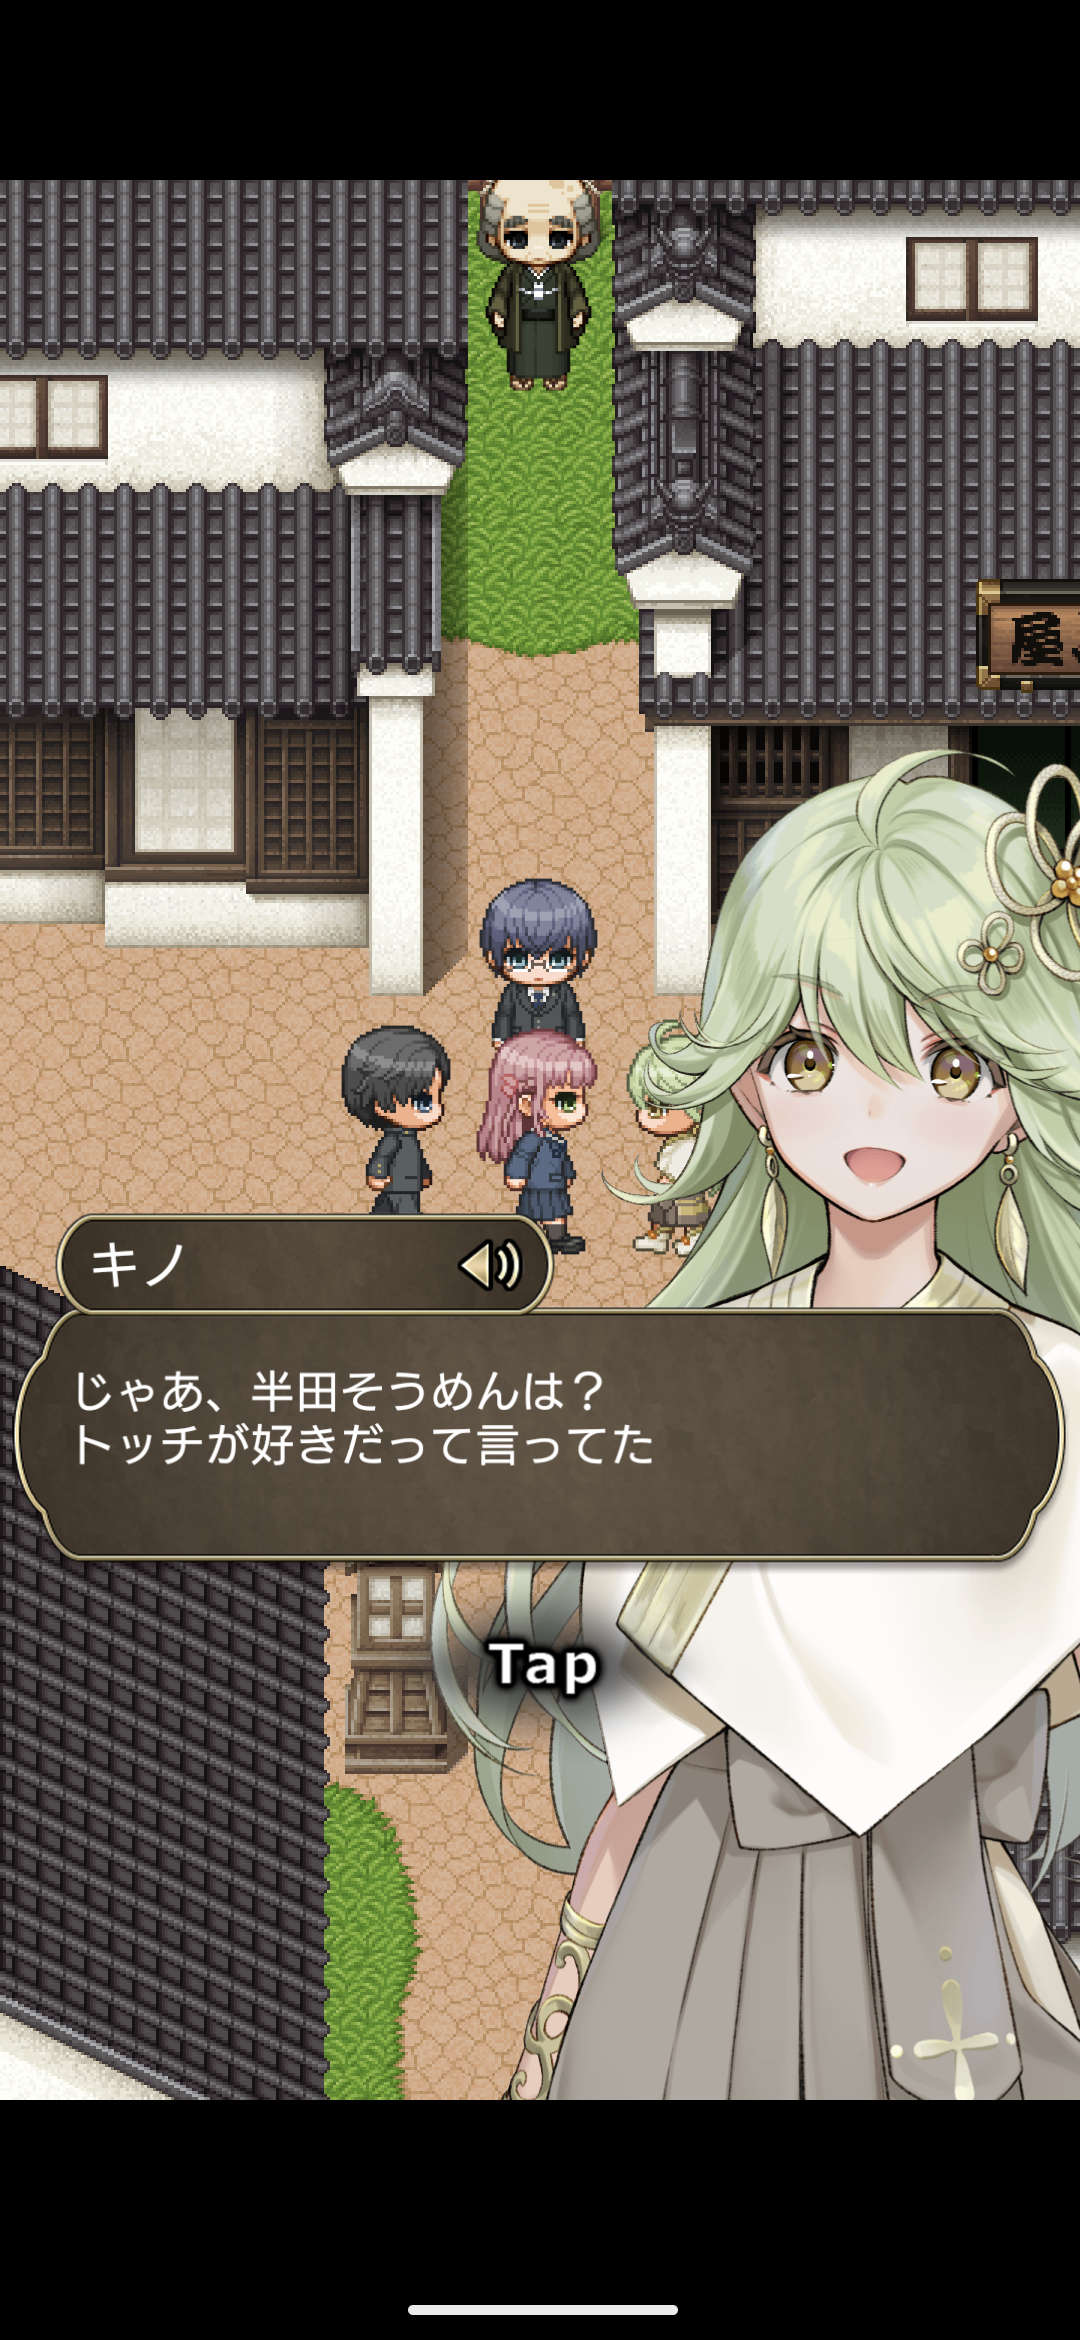
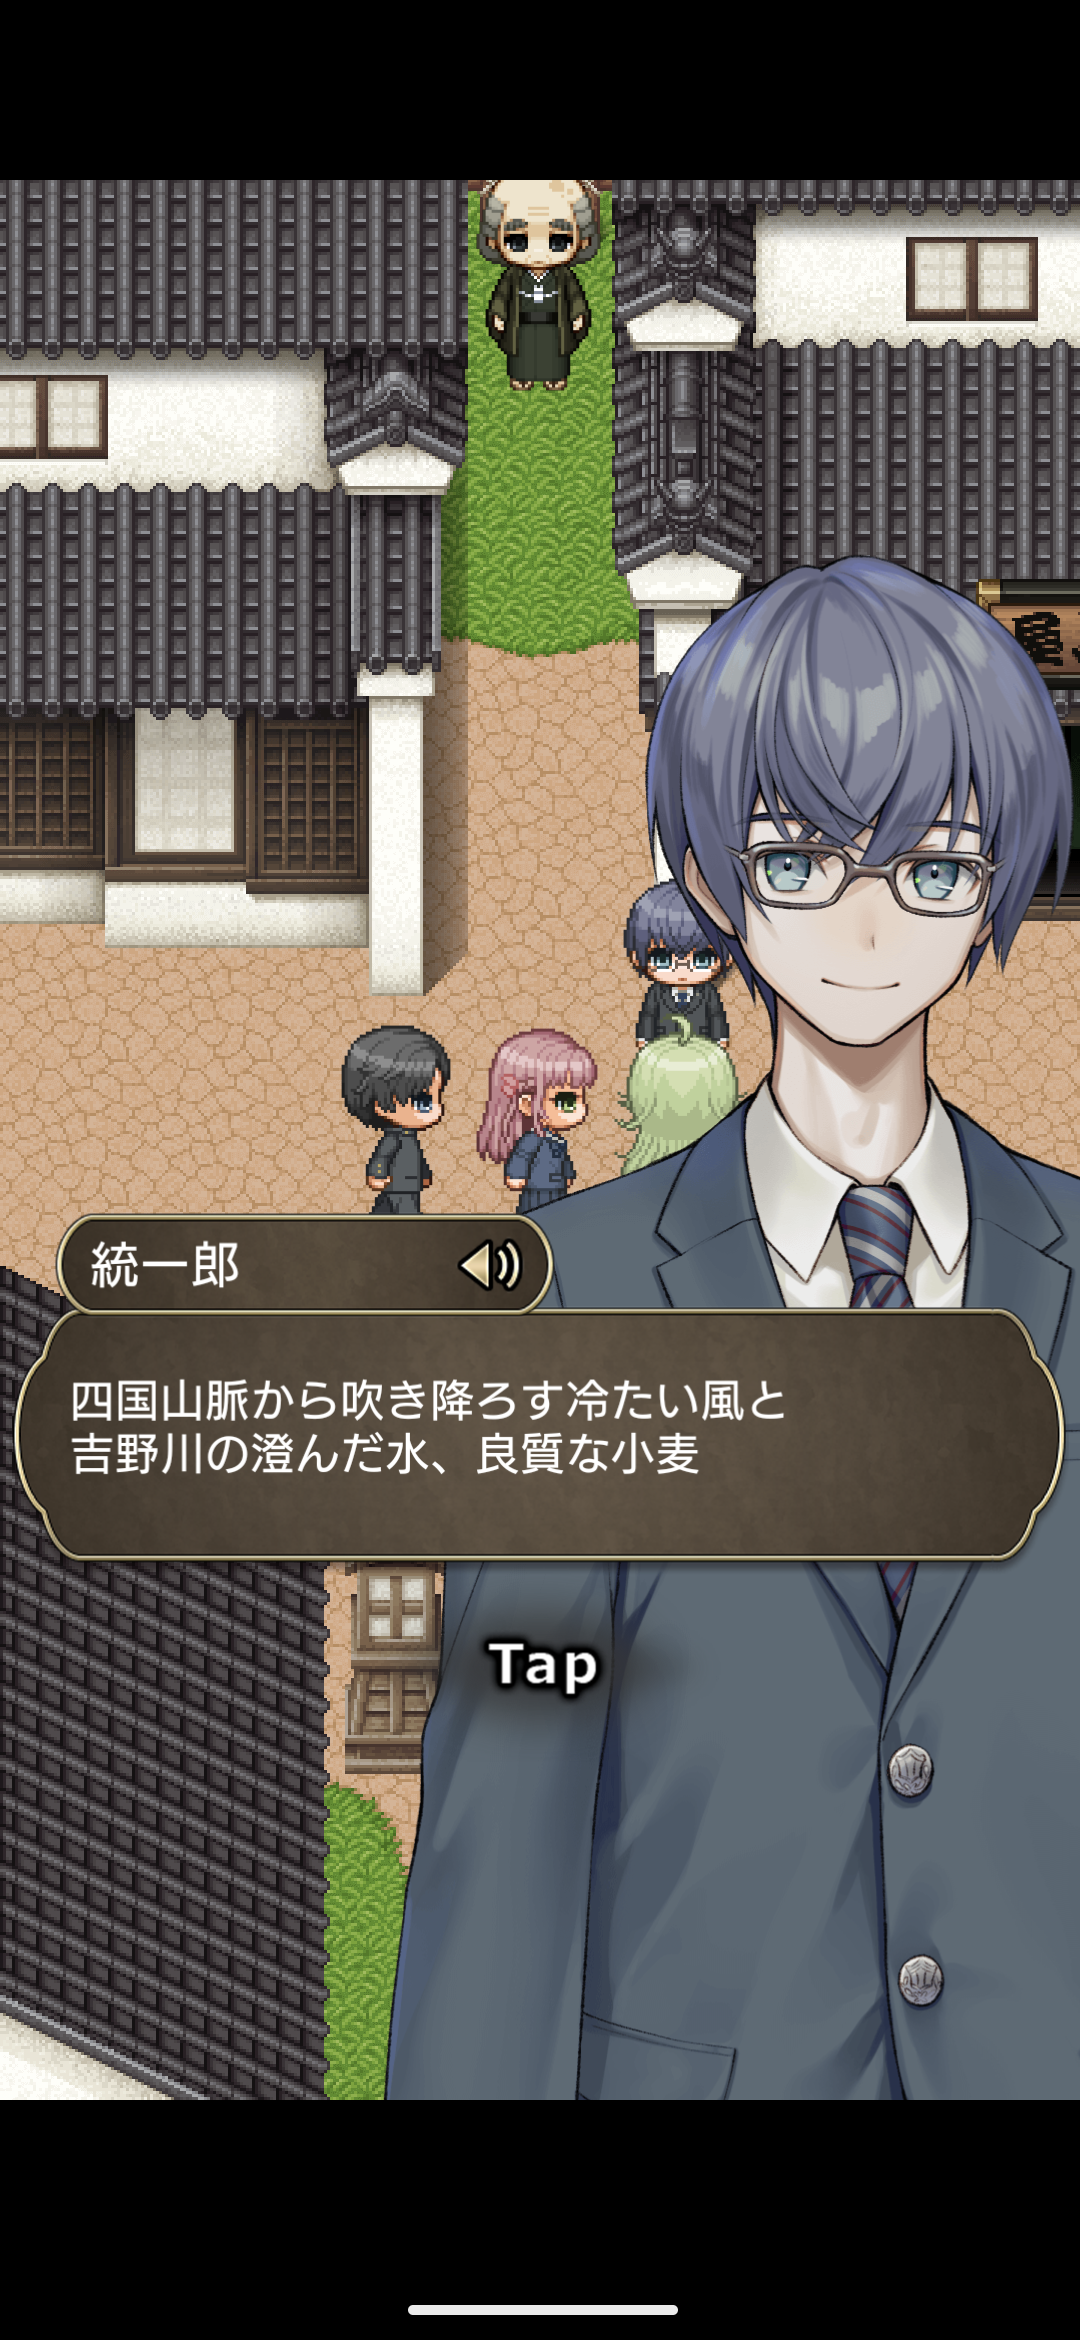
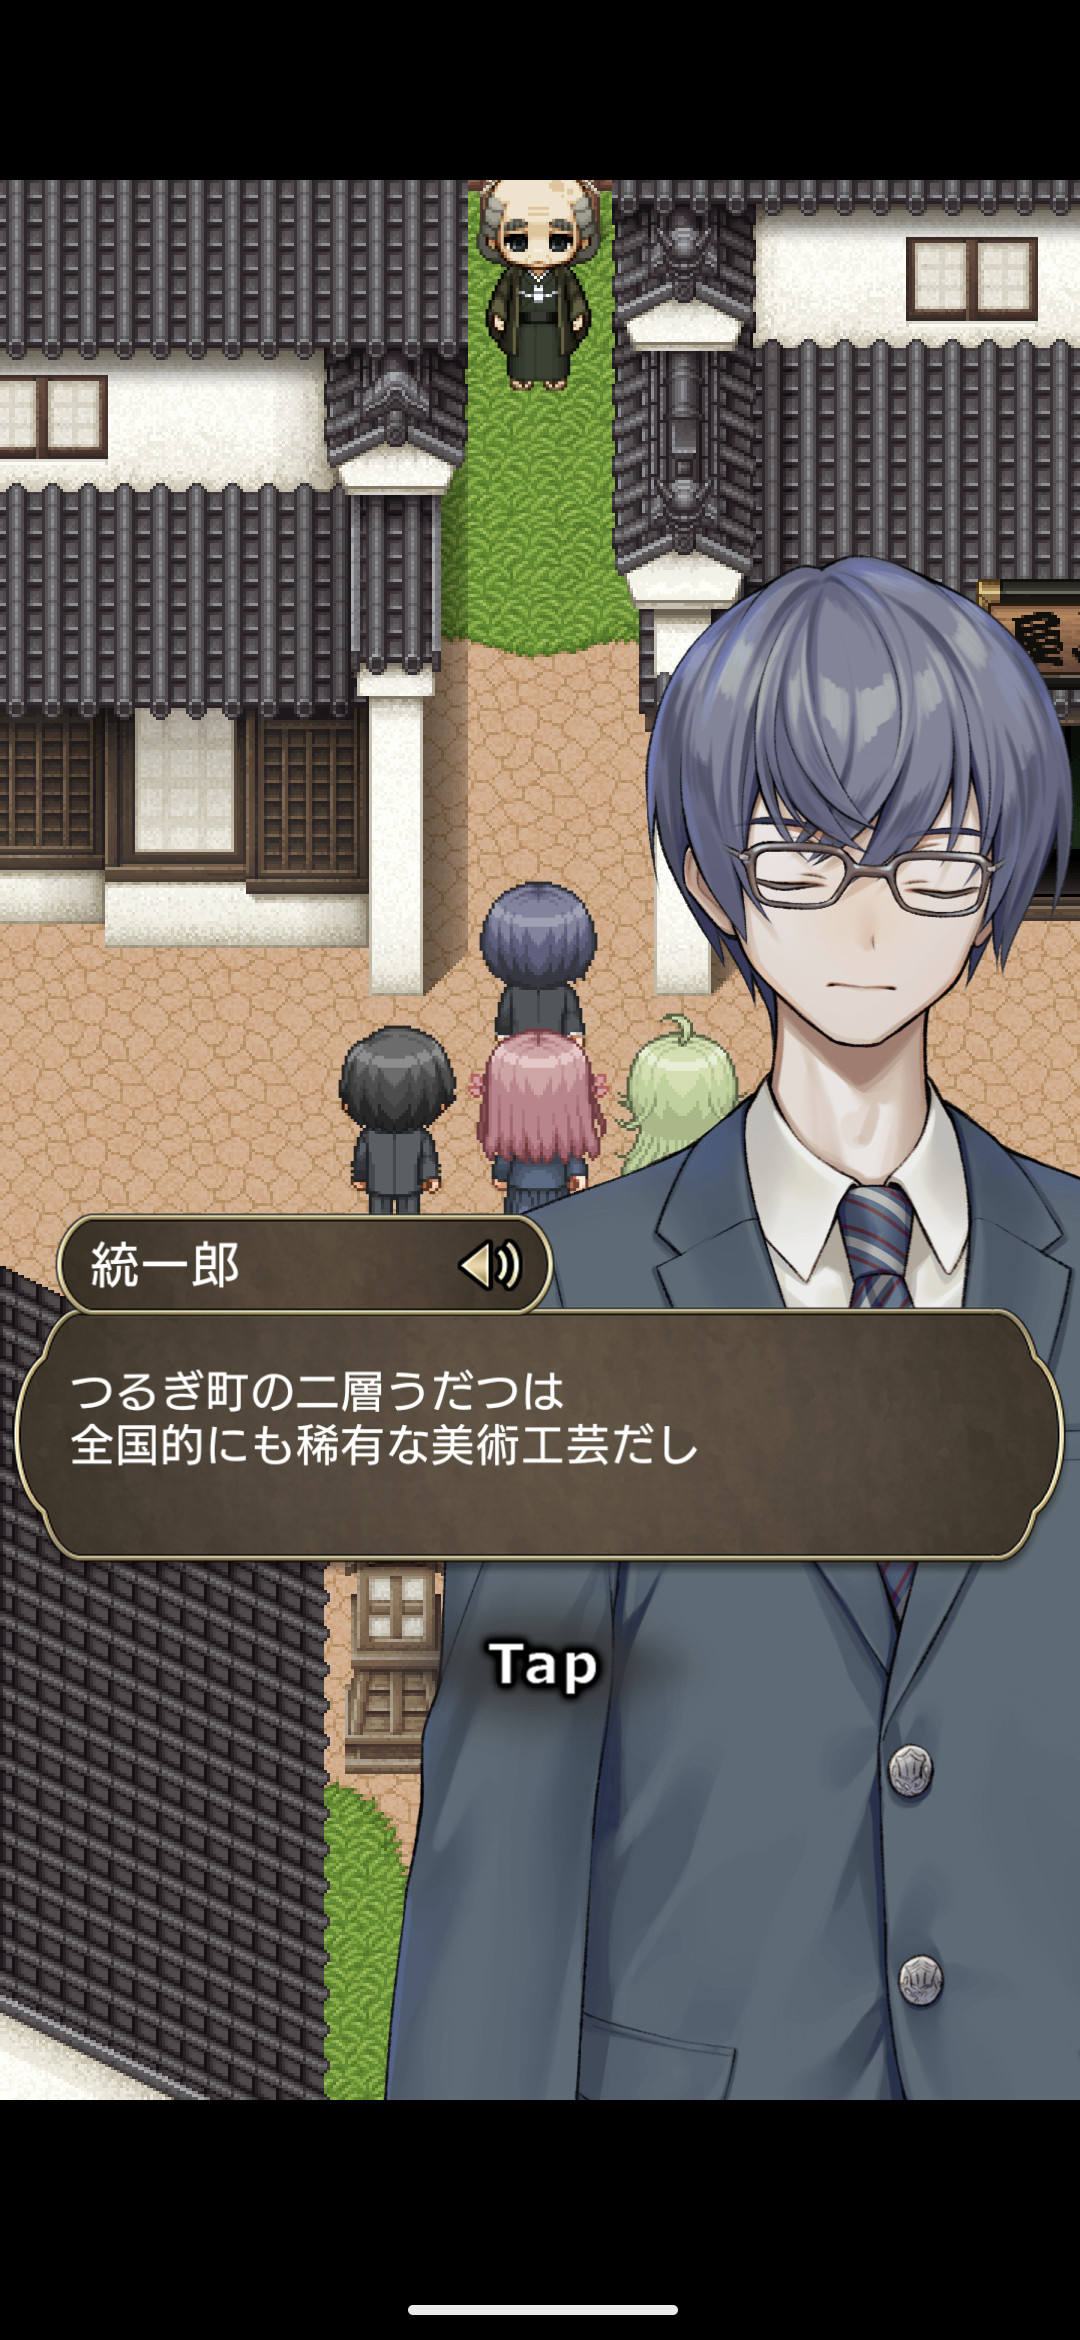
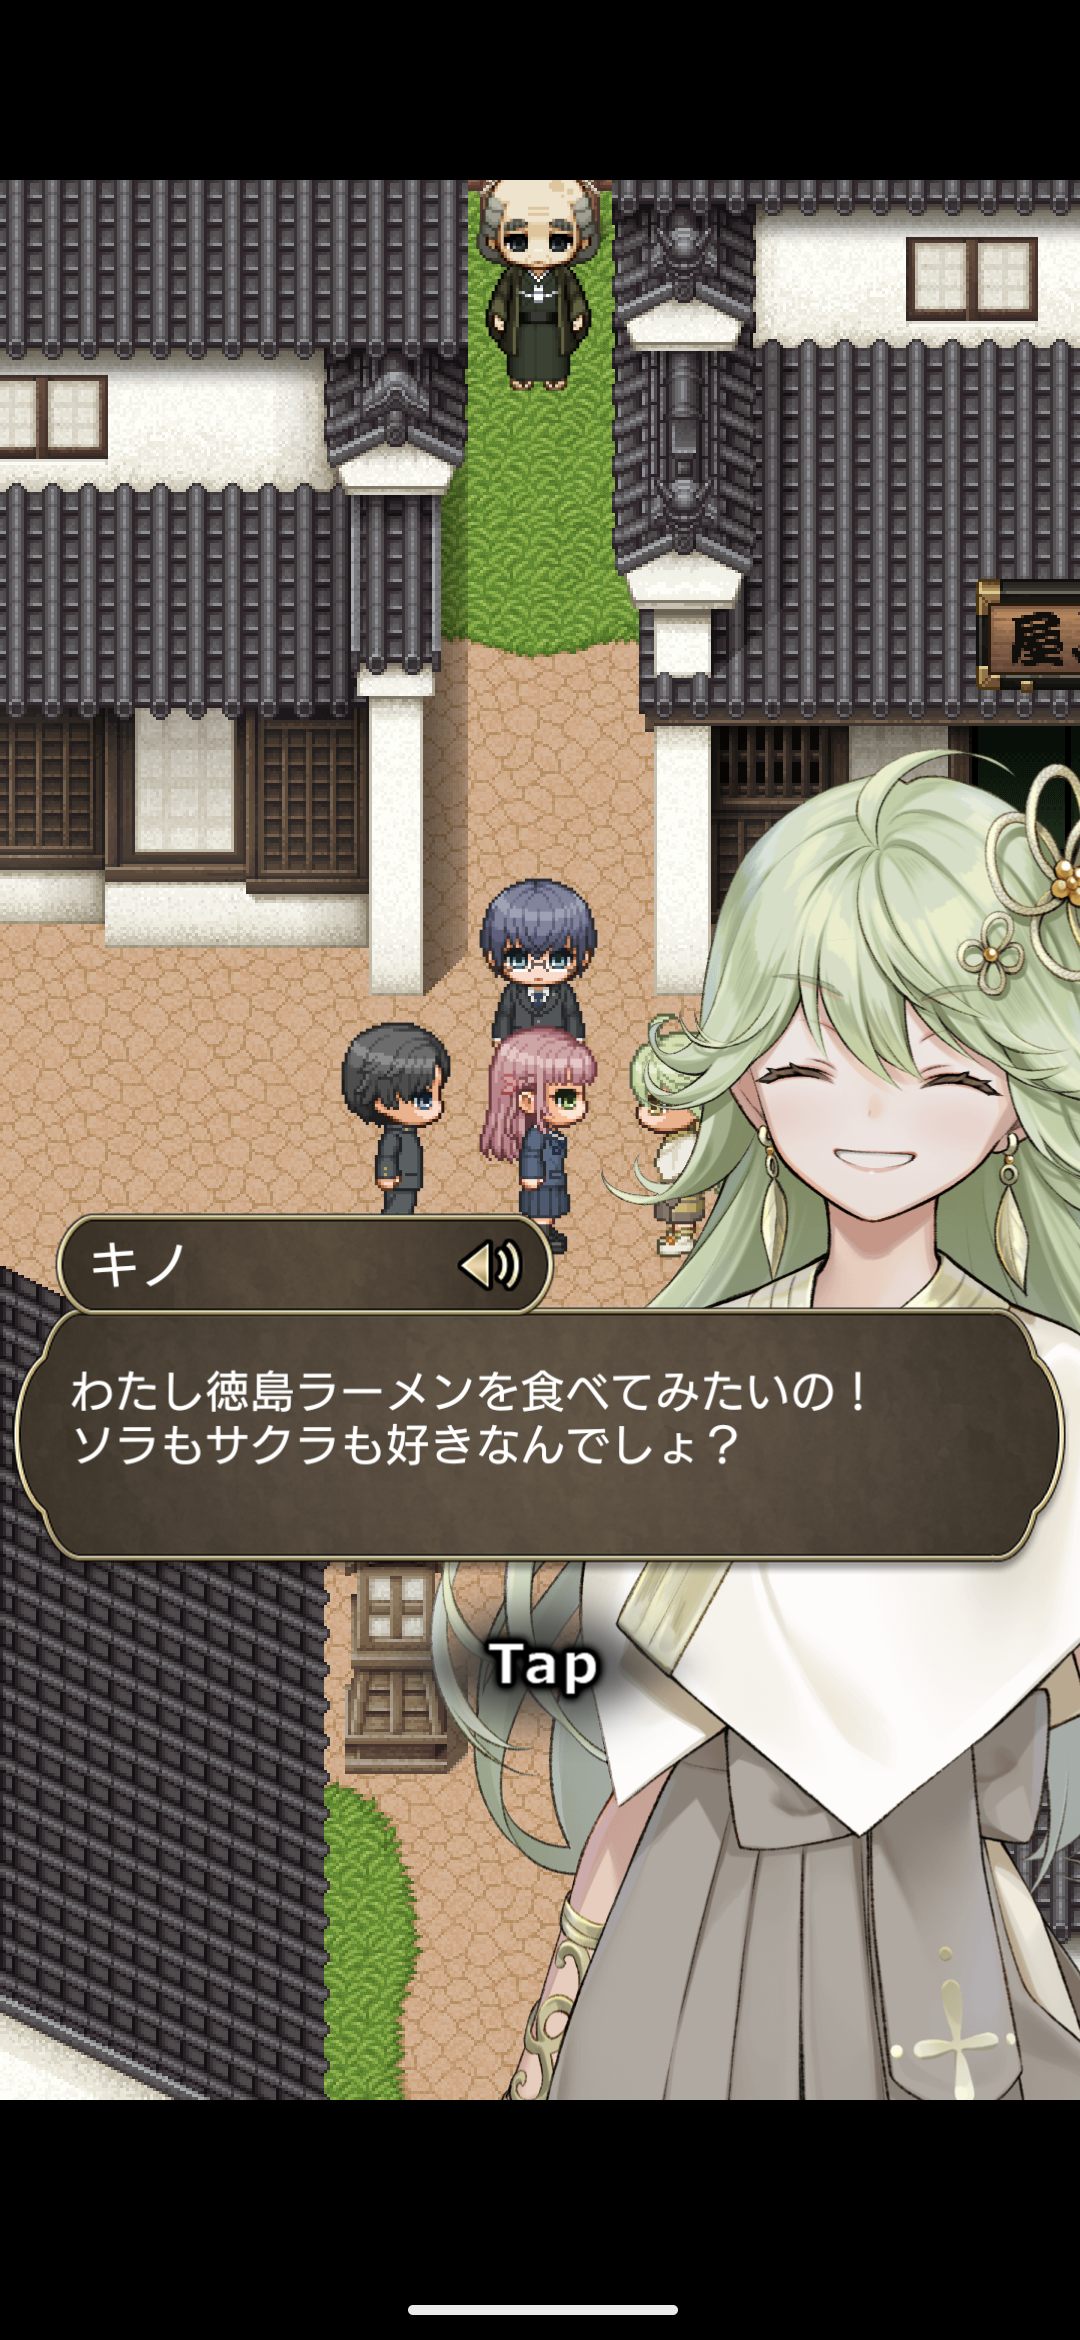
このように半田そうめんが出てきたり、貞光の二段うだつが登場したりする。徳島ラーメンはつるぎ町とは関係ないが、徳島県であることを踏まえればありだろう。
他にもメインテーマには、巨樹王国といわれるつるぎ町一宇地区の樹々が採用されており、作中でも複数の巨樹がキーキャラクターとして登場するほか、つるぎ町が合併する前の各村も出てくるなど、非常につるぎ町らしい作品に仕上がっている。
聖地巡礼システム
GPSチェックインでポイントが得られ、それを基に装備交換ができる聖地巡礼システムもあるようだ。
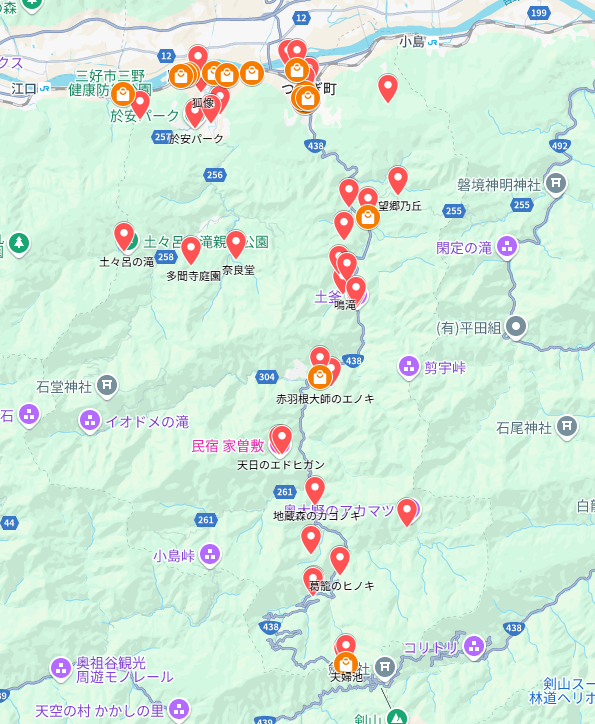
有志が作成したマップもあり、極めて広大な範囲に複数のポイントが散らばっており、相当巡りがいがある内容になっている。公共交通機関がないので、自家用車かタクシー前提だろう。幸いなことに貞光駅の前にタクシー会社があり、巨樹巡りについての理解もありそうなので有用だろう。スポットは巨樹だけではないが、上手く活用すれば二日くらいで全部回れるかもしれない。
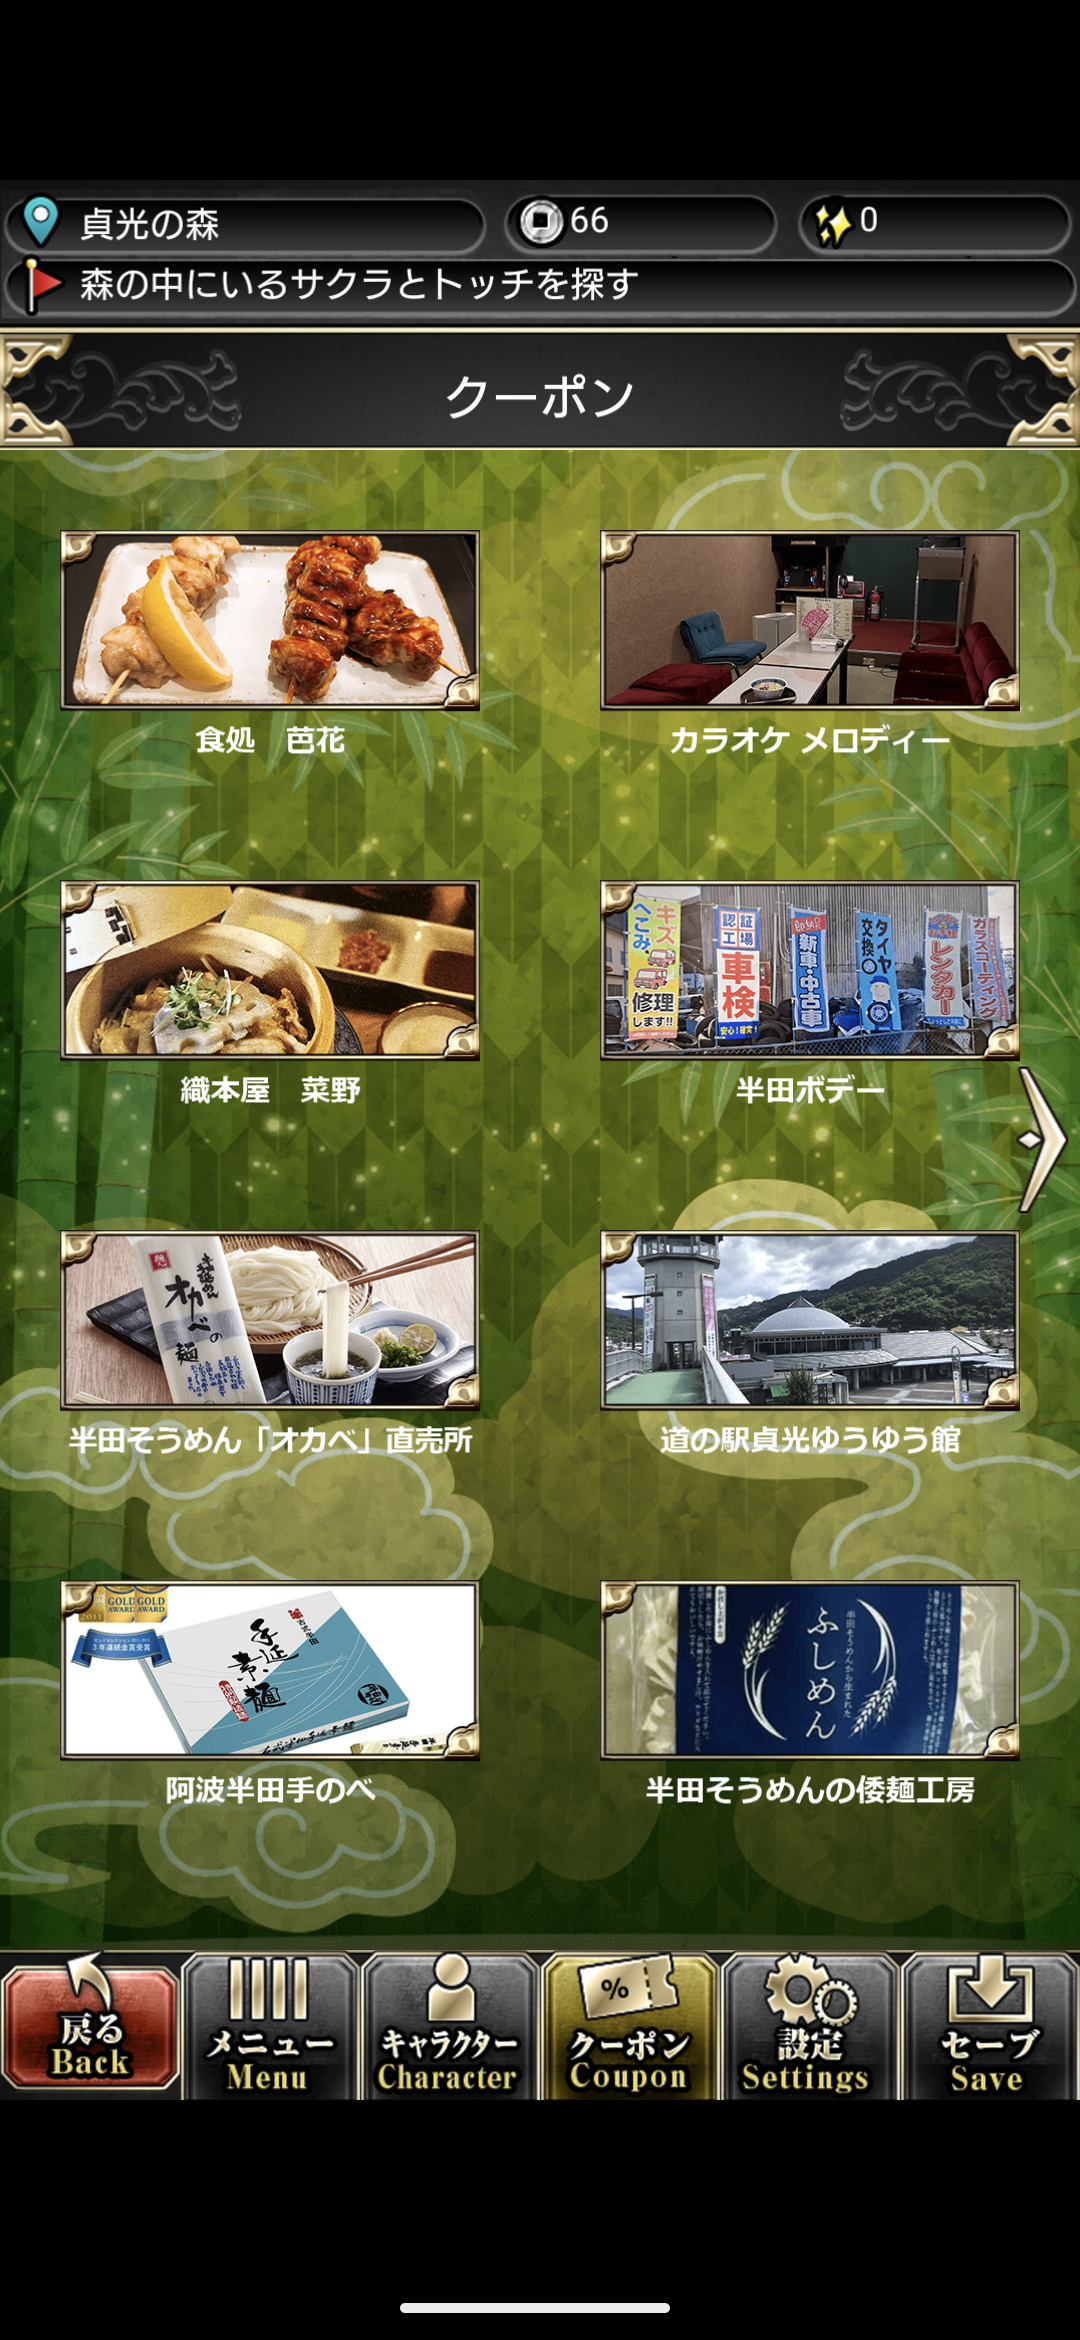
つるぎ町の商店で使えるクーポンもついており、聖地巡礼を前提とした設計であることが伺える。つるぎ町には宿泊施設が幾つかあるため、ゆっくりと楽しむこともできそうだ。
製作元は有限会社井桁屋
ここまでしっかりした作品をつるぎ町単体で作れるのか?と思い調べてみたところ、有限会社井桁屋が提供する地方創生RPGというシリーズの一つのようだった。
淡路島のRPGを作っているところと同じというのでちょっと驚いた。淡路島のRPGは存在は知っているものの、地方が作ったイマイチなハコモノRPGだろうと思い、こっちはプレイしていなかった。
こちらでは地域の地理歴史・産業・観光・民話などを盛り込んだオリジナルストーリーを作成、GPS連携での観光誘致、クーポン機能による消費促進といった、地方へ観光客を引き込むアプローチとして開発しているようで興味深い。
また観光誘致だけでなく、地元民に向けて「自分たちが暮らしている地域のことをもっと知ってほしい」という郷土学習の切欠にもなるなど、非常に多角的にアピールされていて感心する。何がなんでも自治体に採用してもらうぞという意気込みが感じられる。
ゲーム依存をさせず、ガチャなどの課金性を排したゲーム設計や、射幸性より物語を重視したシステムというのも、非常に健全で素晴らしい。
開発費用についても6ヶ月500万円という事例があり、実績値としても200~1500万円とのことで、かなりリーズナブルに制作できるようだ。説明を読む限り恐らくRPGツクール的なフレームワークを開発しており、それで制作しているのだろう。
他にも保守運用プランや、アプリによる成果がどれほどあったかのレポートをしてくれたり、観光資源がなくともメーカー側で地域の伝承などを調べて作成してもらえるなど非常に手厚くなっている。しつこいくらいに保守運用費用は別途必要という表記があるのも真摯で好感的だ。
開発体制
Google Playを見ると9256というデベロッパが開発しているようだったので調べてみたところ、Facebookに痕跡を見ることができ、どうやら元はゲーム開発サークルのようだったように見える。大学のサークルか何かが起業したのが今の形なのかもしれない。
予算が低く抑えられているのも恐らく少数で対応しているからだろう。イラストは絵柄が広いため外注と思われる。
まとめ
メイクアガールを観に行くためだけに来たマチアソビだったが、予想以上に収穫があってよかった。初日ホテルでダラダラしたのが本当にもったいなかったと思えたほどだ。
マチアソビでの核心や、森珈琲店で書いた事柄についてもそうで、意外な出会いがあり、自分から話しかけることで得られる情報や楽しみ、交流があり、なんというか、ナンパ力というか、見ず知らずの人と適切な距離を保ち雑談をする力みたいなのがあると、楽しみが増やせるように感じた。実際いろんなスタッフの人と話してる人は割と見たし、列形成とかでも前後の人と話している人も見たので、楽しみ方の一つとして成り立っていたように感じた。
また実際にブースに赴くことはできなかったものの、ツルギスタの存在も大きい。つるぎ町は徳島土産や半田そうめんなど、中々インパクトのあるものを作っている場所だが、そこに更にツルギスタが出てくるというのがすごい。つるぎ町は全体でみると一宇地域が深刻な過疎化に直面していることや、伝統農業や地域の名物の後継者問題などもあり、典型的な山間の過疎地域みたいな状態だとは思うのだが、その中でこう言ったものが出て聞くるというのが、かなり興味深く、魅力的に感じた。
私はツルギスタのGPSスポット巡りに釣られたので、実際につるぎ町に行く計画も立てており、行ってみる予定だ。タクシーで回るのでかなり高くつくし、時間的な制約もあるので、そこまで十分には見れないかもしれないが、限りある時間の中で楽しんできたいと思っている。
本当に来てよかったイベントで、秋に行われるであろう次回の開催も森珈琲店の計らいをチェックしたり、今回見れなかった部分や、新たに表れる表情、そしてツルギスタの次回出展にも期待して、見に行きたいと思う。
しかし余りにも長々と書きすぎてしまい、出すのに一ヶ月以上もかかってしまった。がんばっていきまっしょいの記事や、万博も大概だったが、この記事は更に長く書きすぎた。それでも形として出せたのはよかったと思うが、次回からはもう少し現実的に書いていきたいところだ。
タイムスタンプを見たところ、5月13日から、ちまちまと書いていたようだ。6月5日からは執筆ログも残している。