この設定を入れただけ。
    gzip on;
    gzip_types
        text/plain
        text/css
        text/javascript
        text/xml
        application/javascript
        application/json
        application/xml
        application/rss+xml
        application/atom+xml
        application/font-woff
        application/octet-stream
        image/gif
        image/png
        image/jpeg
        image/gif
        image/webp
        image/svg+xml;
nginxからApacheにリバースプロキシしてる時、nginxを前段のTLS終端、Apacheを後段にしているときにApacheの中でリダイレクトが走るとhttpsが壊れることがある現象を確認した。
これはディレクトリに対しhttps://example.com/hogeのようにアクセスするとhttp://example.com/hoge/に301リダイレクトがかかるのだが、どうもこの時にスキーマが引き継がれずHTTPになってしまうようだ。初めからhttp://example.com/hoge/としてアクセスすれば問題ない。
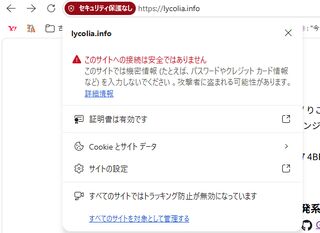
またこの現象が起きると証明書があるのにエラー表示になることも確認しているが、サブ機やスマホでは起きないようにも見えるので、この端末の証明書が何かしら変になっている可能性がある。キャッシュクリアしてもhttp降格が起きると再発するので、原因はよくわかっていない。GPT-5.5に聞いたもののハルシネーションしか得られず、ググってもnginx→Apacheの情報はほとんど得られなかった。多分ニッチな構成なのだろう。
さくらのレンタルサーバーもnginxからApacheに繋いでいるので、これをどうやっているかが知れれば改善の手掛かりになりそうだが、知る術がないので何ともだ。まさか聞くわけにもいかないし…。
そういえばさくらのレンタルサーバーではSNI SSL[1]が使われていると聞くので、これを使えば上手くいくのかもしれない。
SSL/TLS接続のはじめに、クライアントはSSL/TLSのサーバから(サーバとCAの)証明書を受け取り、証明書の改ざんされていないことなどを確認する。サーバ証明書にはホスト名が書かれており、それが今接続しようとしているホスト名と一致することをクライアントは確認する。そうでない場合、なりすましや中間者攻撃の恐れがあるため、クライアントはユーザに警告をする。ユーザの責任で証明書を信用し、警告を迂回することができるアプリケーションも存在する。
というかWikipediaに上記の記述があったので、これのせいかもしれない。問題が起きているドメインはlycolia.infoで、元々さくら側で証明書を設定していたのでHTTPに落ちたときにその証明書が引っかかってエラーになっているとかはあるのかも?
さくらのドメインであるsakura.ne.jpを踏むとhttpでもhttpsに転送されるのと、ひょっとしたら類似の現象が起きているのかも…?いや、わからないが…。
このサイトの構成がイケてないなという思いが強くなったのでやることにした。
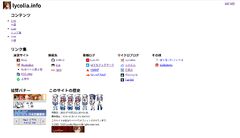
まずlycolia.infoが単なるLPに成り下がっていることが勿体なかったので、このドメインの傘下にコンテンツを増やすことにした。
一つ目はtool.lycolia.infoのドメインを廃止して、lycolia.info/tool/にぶら下げた。これはそもそもドメインを分割してやるようなサイトではなかったし、コンテンツの一部でいいと思ったからだ。
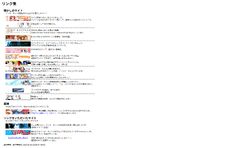
二つ目はこのブログにあったリンク集をlycolia.info/link/にぶら下げた。そもそも、本質的にサイトトップではない、このブログにリンク集があることに長らく違和感があったので丁度よかった。また移設に伴い紹介コメントも多少変更しているほか、元々のリンクが間違っていたなどもあったので、そのあたりも修正している。
そして今後は自己紹介などもブログから剝がして移動したいと思っている。ただ今のところすべてサーバー内からのHTML手打ちで、厳しさを感じるので、将来的にはCMSにしたいとも思った。
少なくとも今今は自宅サーバーである以上、家の中にいれば直にファイルをいじれるので問題はない。出先で書き換えたくなった時に困るくらいだ(一応頑張れば出先からもいじれなくはないが…)
本日リアルタイムでサイトを書き換えていて本番Hot Module Replacementみたいなことになっていた風景の一部を残しておく。
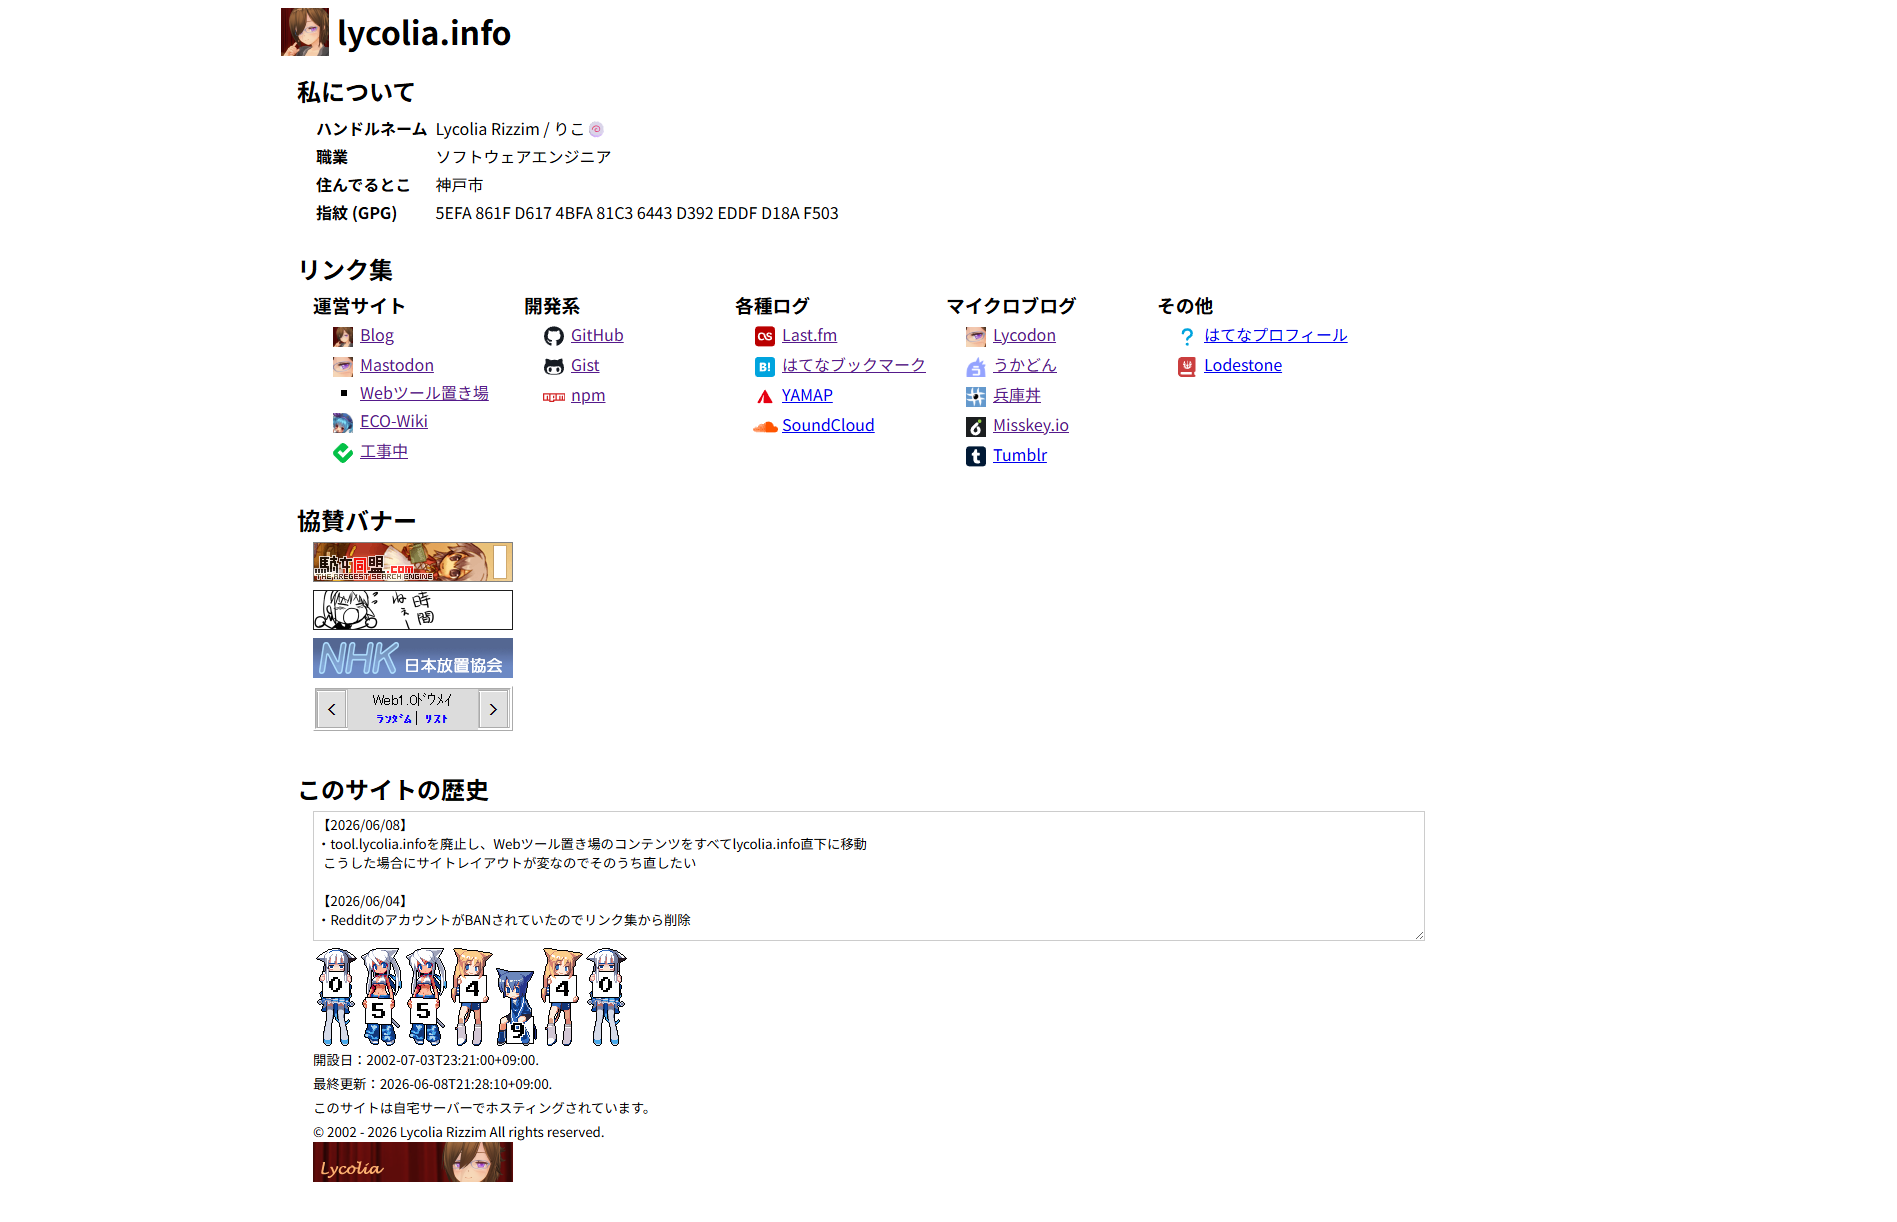
これが元々の状態。
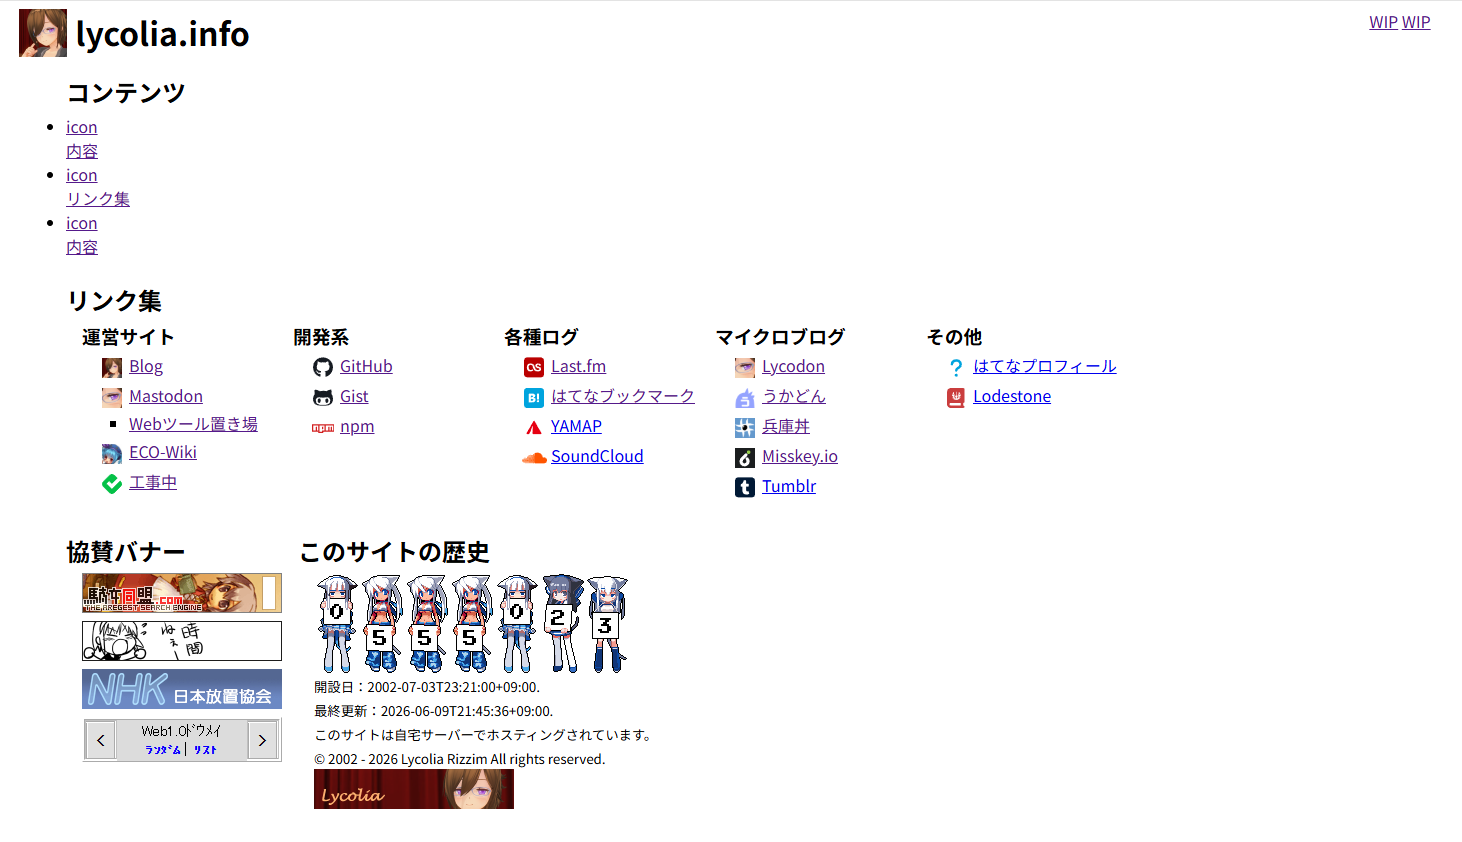
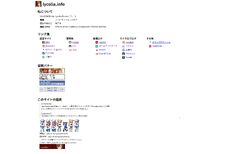
改築途中の状態、なんか色々アレなことに…。

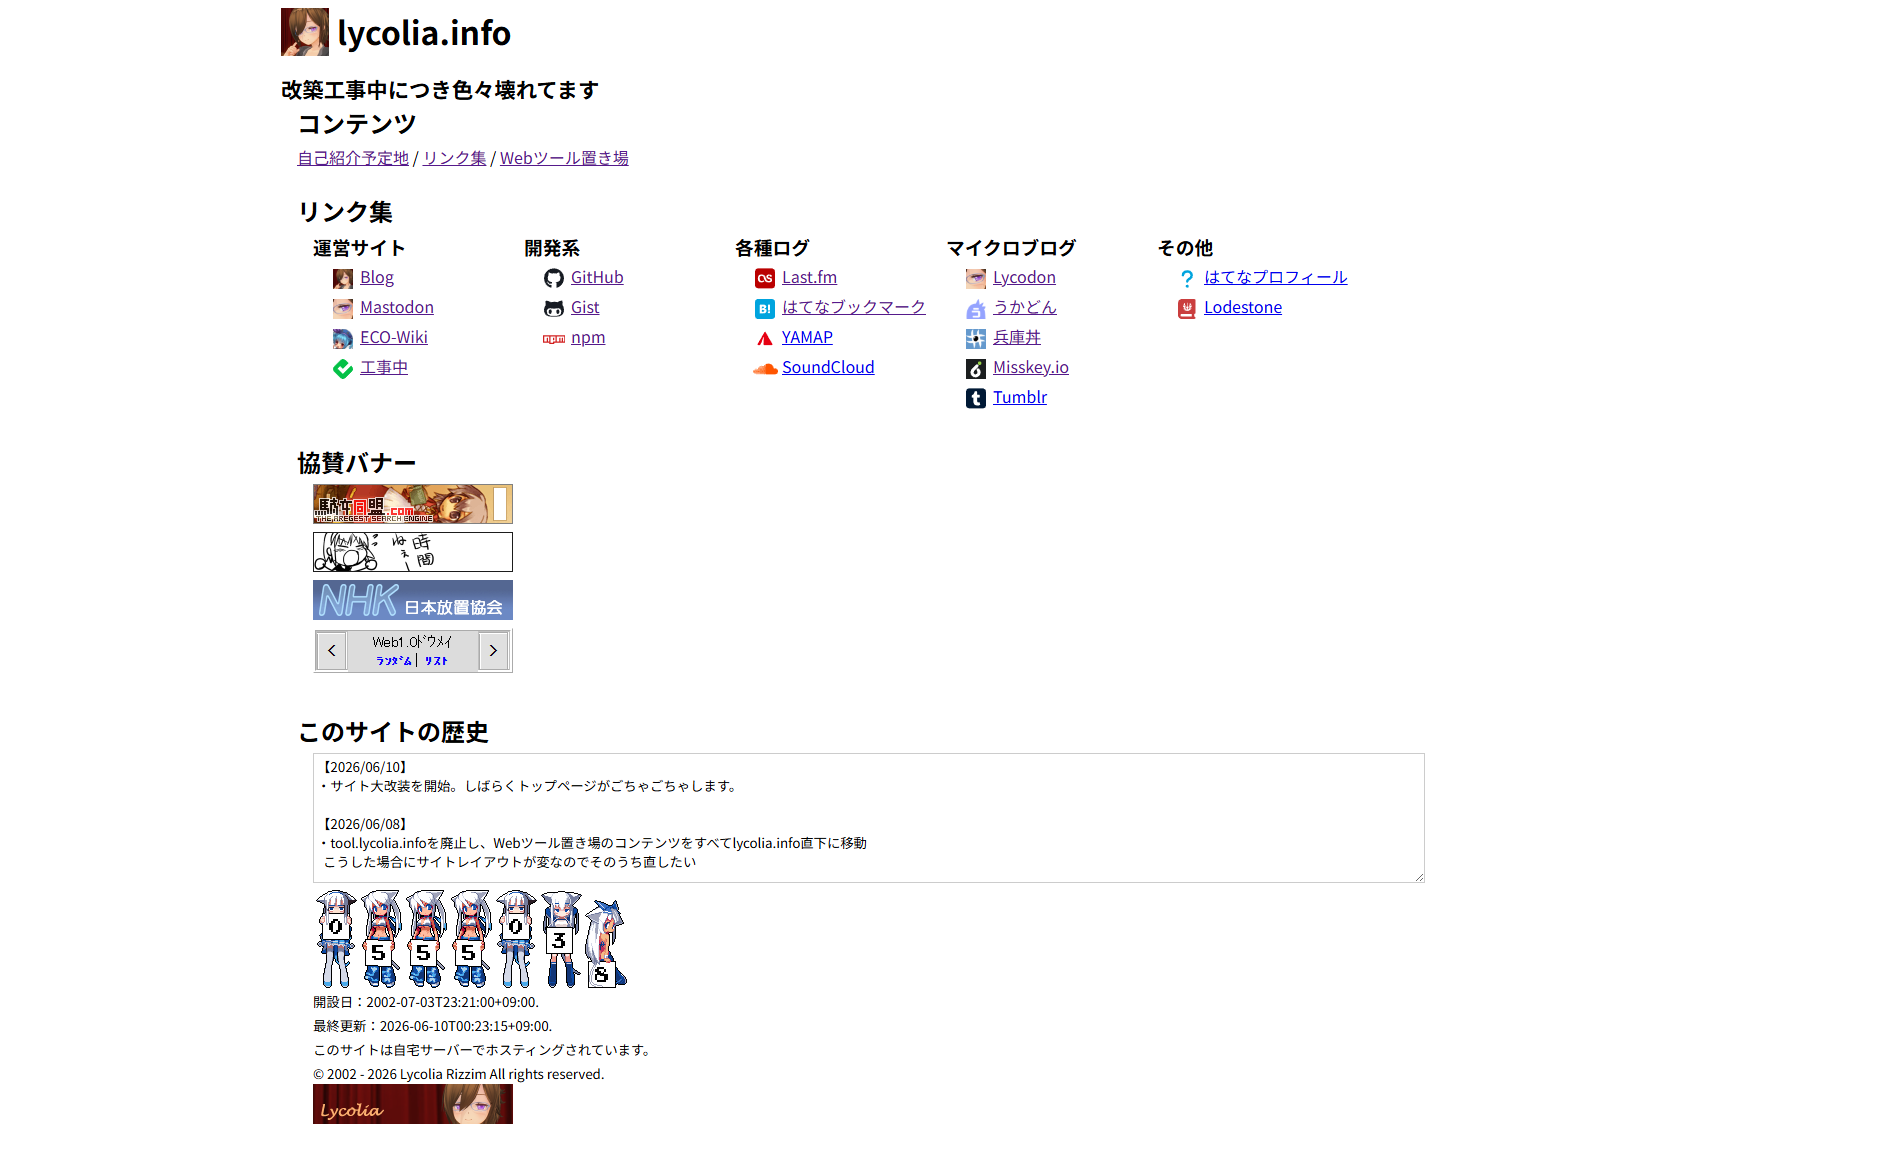
そして一旦本日の作業が終わった状態。また明日以降ちょいちょい直していくと思う。
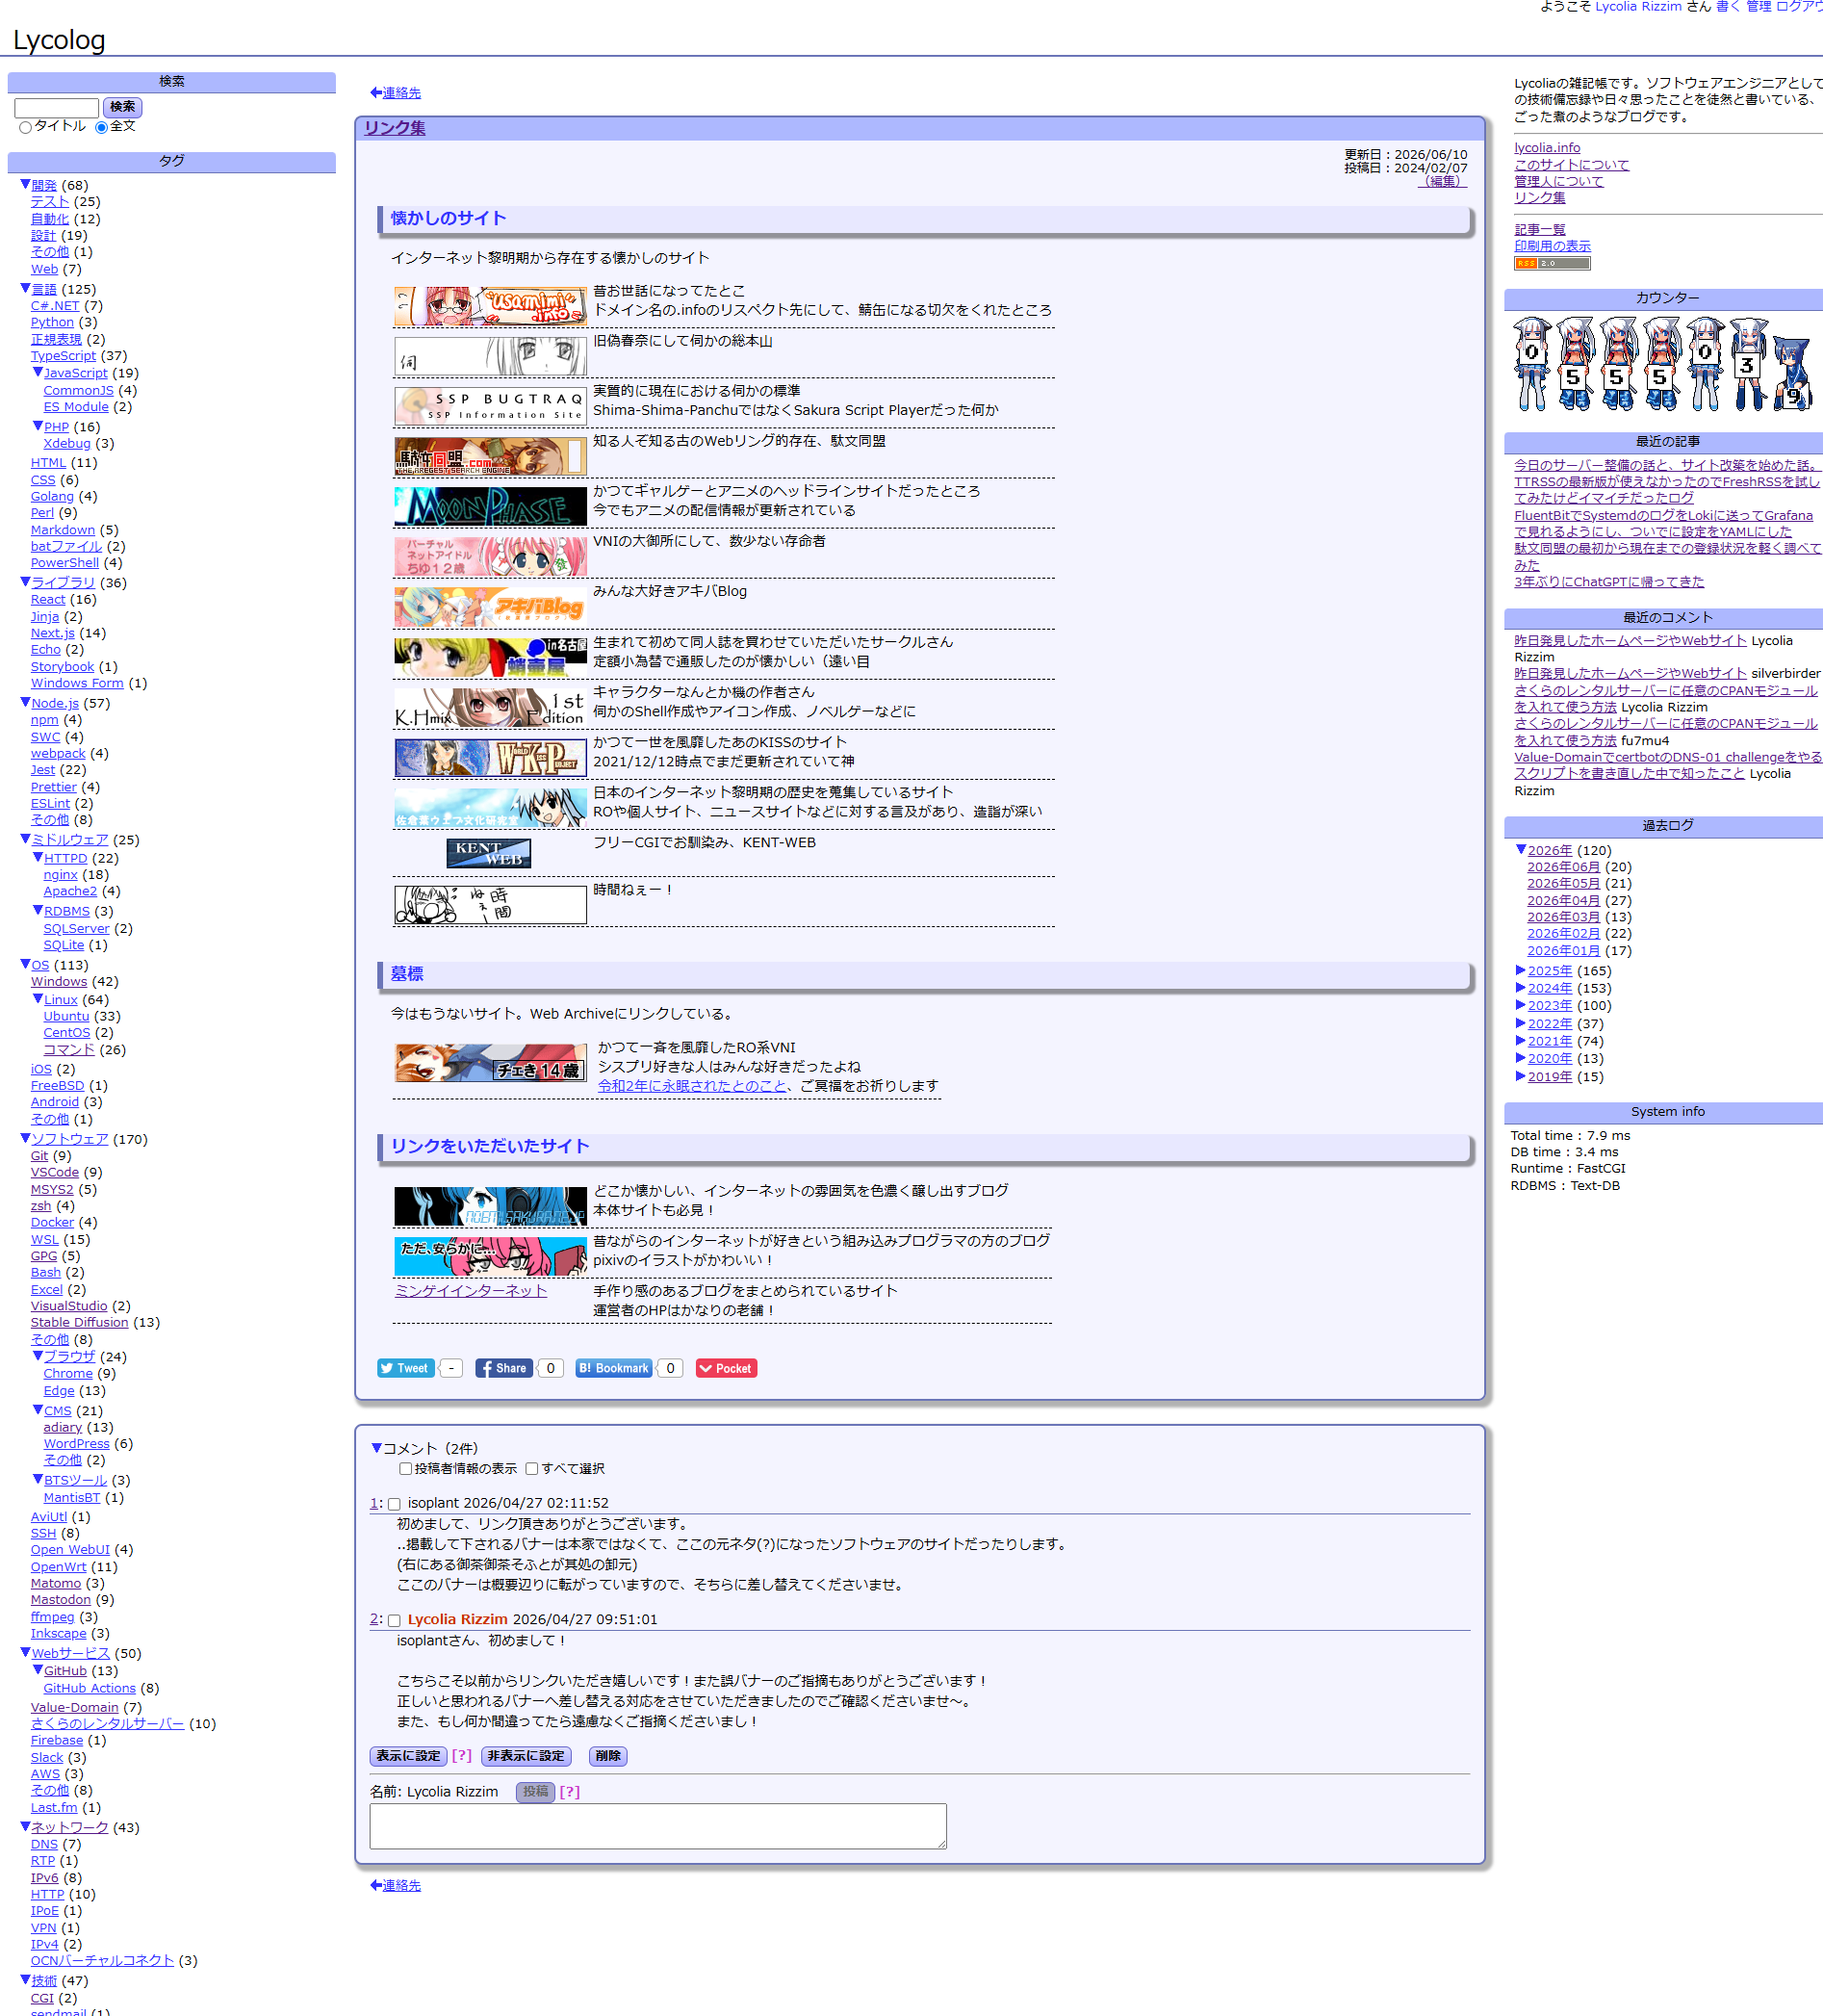
| 移設前 |
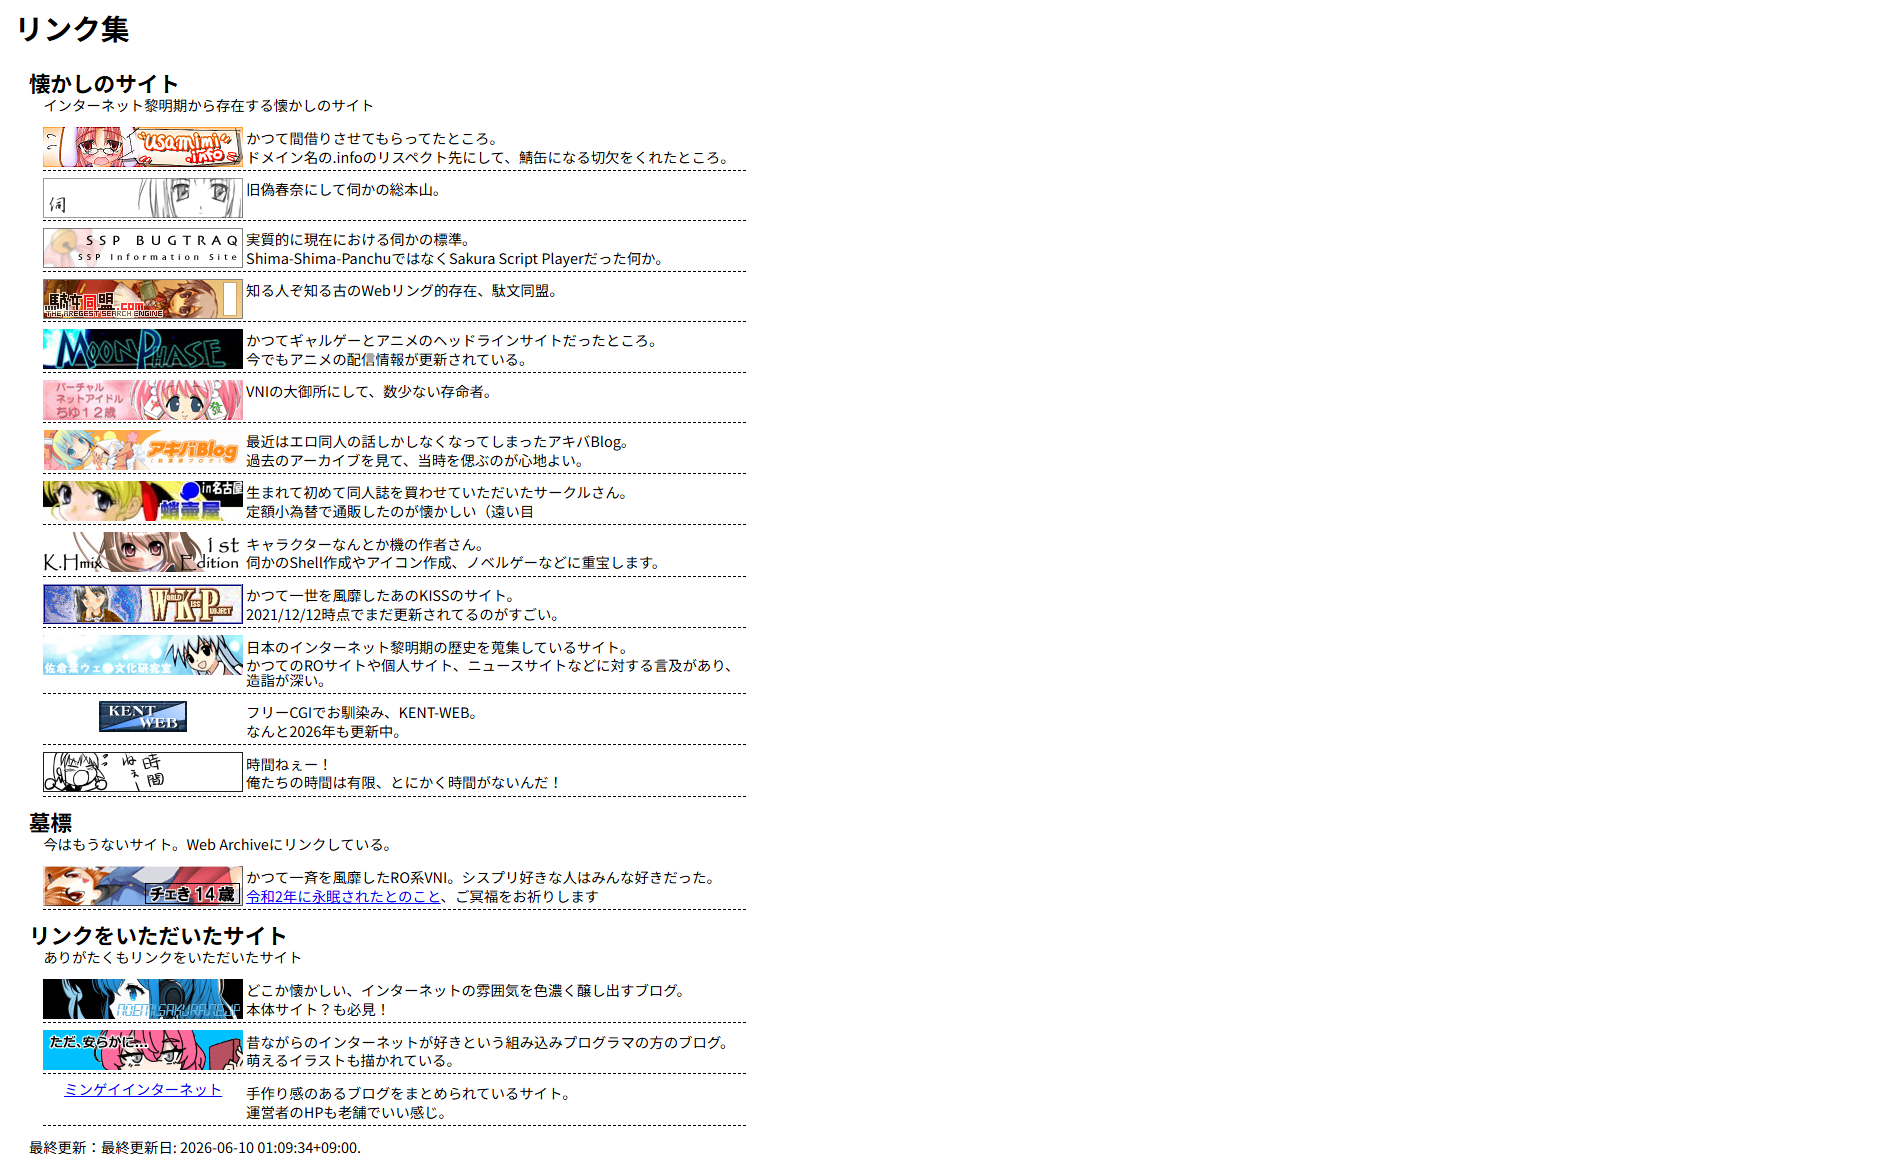
移設後 |
 |
 |
見た目的には大きく変わり映えしないどころか、まともにスタイルを当ててないので殺風景だが、その辺りは追々どうにかしていこうと思う。
これでも一応レスポンシブデザイン、しかもモバイルファーストで作っているのでスマホで見たときの見やすさは向上している。
何せフルスクラッチでHTMLを手書きして、置換ではなく手作業で移設を行ったので移設するだけで時間が溶けてしまったので、今日はこんなところといった感じだ。